Gluten Free Chicken Cordon Bleu

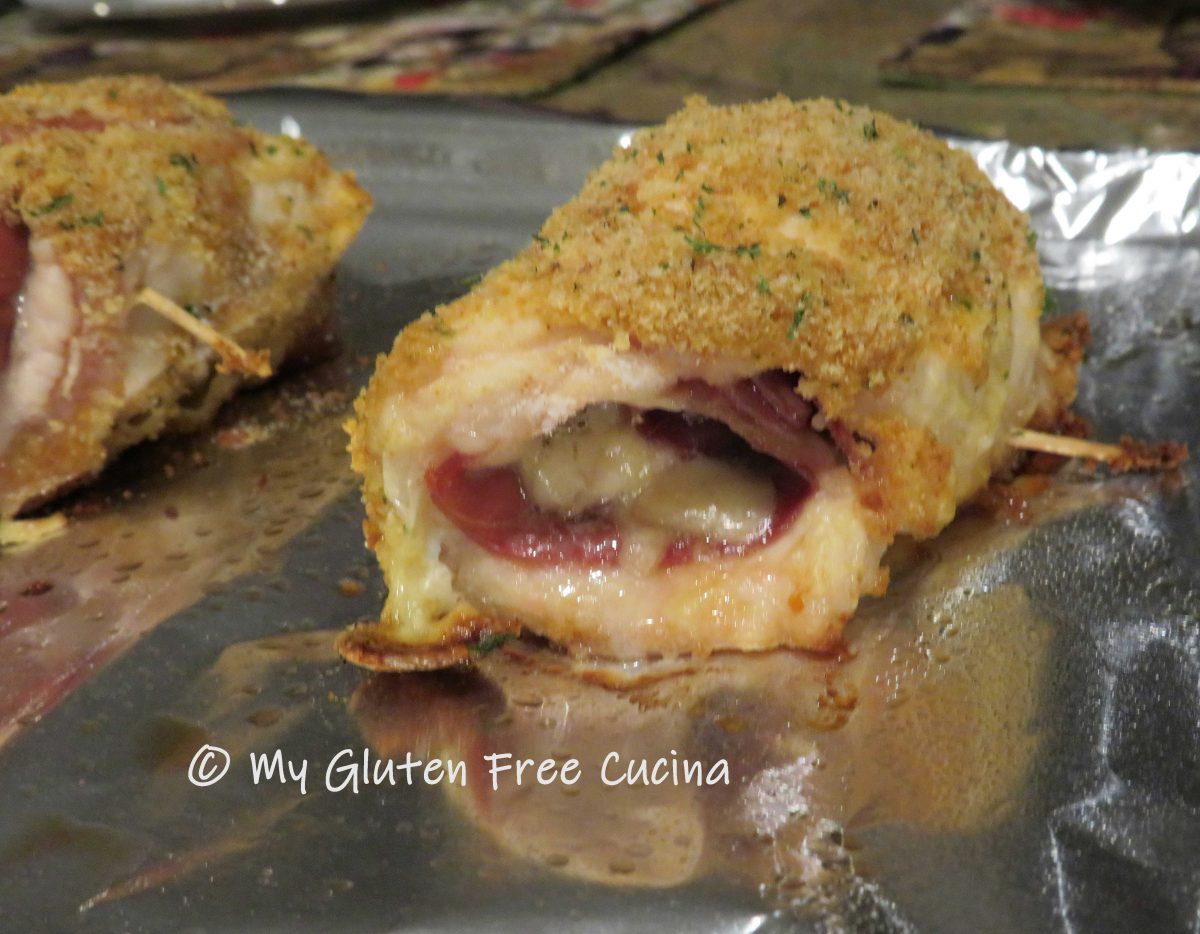
Classic Chicken Cordon Bleu.  Years ago this dish was a restaurant standard, and it has long been on my culinary bucket list to make a gluten free version at home!  Swapping out the flour and breadcrumbs for gluten free was all that was needed.

This is a great dish for a dinner party, or a romantic dinner for two.  When planning your meal, allow about 6 oz. chicken cutlet and 2 slices prosciutto per serving.  You can save time by purchasing thin sliced chicken breast, but if all you can find are larger breasts then you can follow my instructions to cut and pound them into thin slices.

This post contains affiliate links.

Ingredients:

  • boneless chicken breast cutlets, 6 oz. per serving
  • thin sliced prosciutto, 2 slices per serving
  • grated gruyere cheese, 2-3 tbsp. per serving
  • 1 egg or 1/4 cup egg whites
  • 1/4 cup white rice flour seasoned with paprika
  • 1/2 cup gluten free seasoned breadcrumbs
  • cooking spray

Preparation:

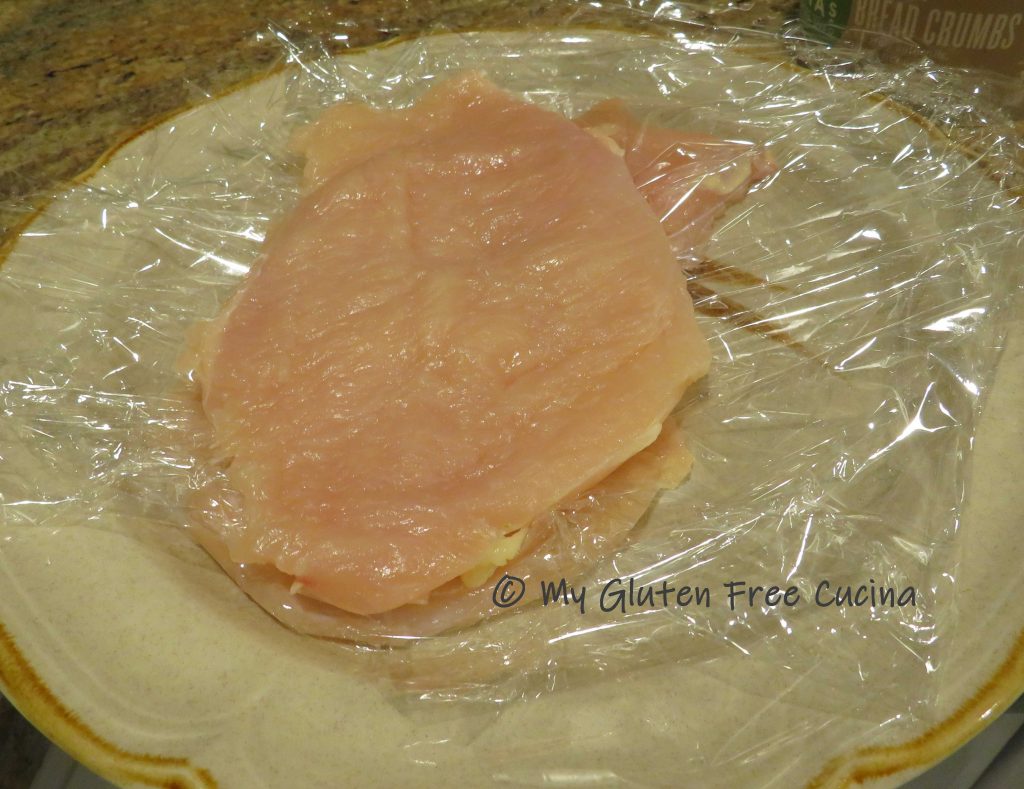
Using a sharp paring knife, slice horizontally through the center of the breast making 1/2″ slices about 6 oz. each.  Cover with plastic wrap and use the flat side of a meat mallet to pound each slice to an even thickness.

Continue with each slice, stacking between layers of plastic wrap.

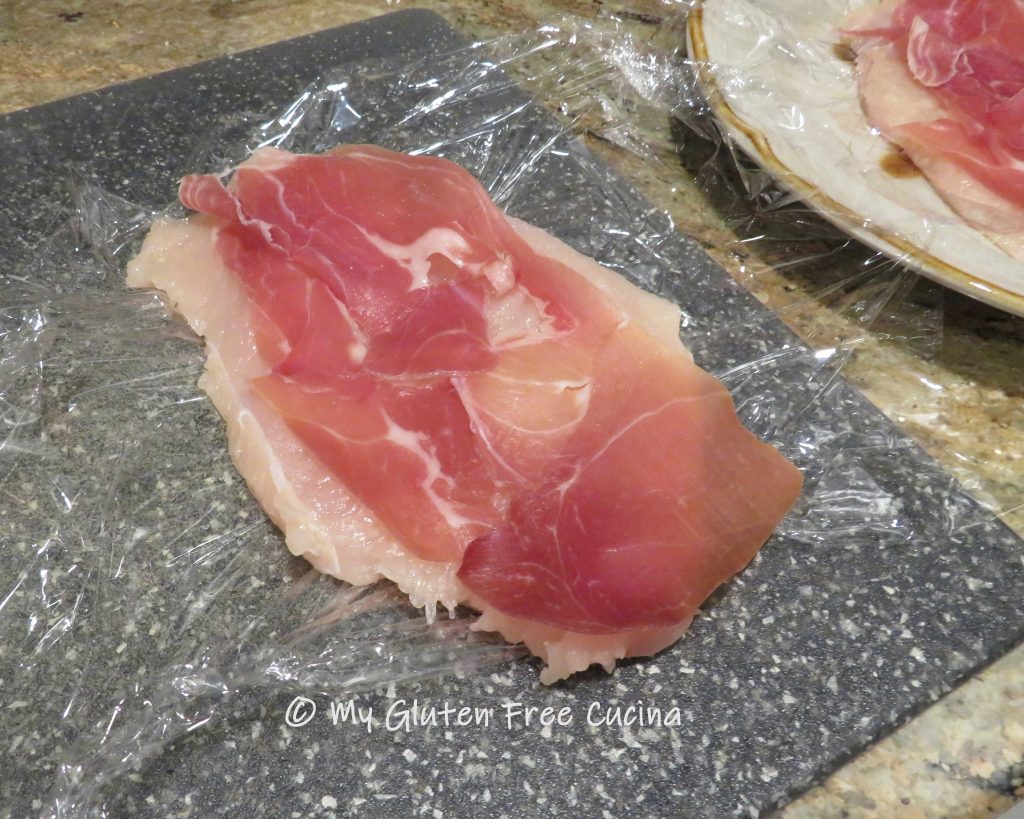
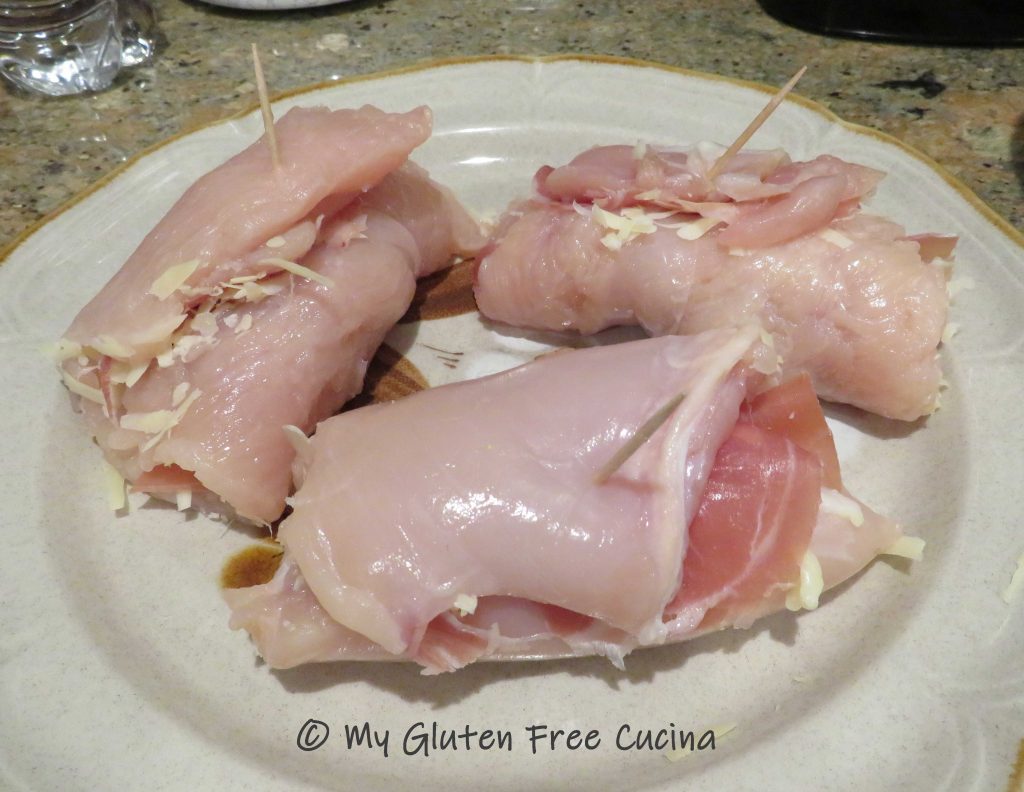
When you are ready to assemble, layer each piece of chicken with 2 slices of prosciutto.

Sprinkle evenly with Gruyere cheese and roll up into a bundle.

If you have the time, roll up the chicken in plastic wrap, twisting the ends like a sausage casing.  Refrigerate for at least 1 hour.  This is a great trick for to help the bundles stay together without using twine or toothpicks!

Pressed for time and don’t have that extra hour?  Don’t worry!  Just secure the bundles with a toothpick, like this.

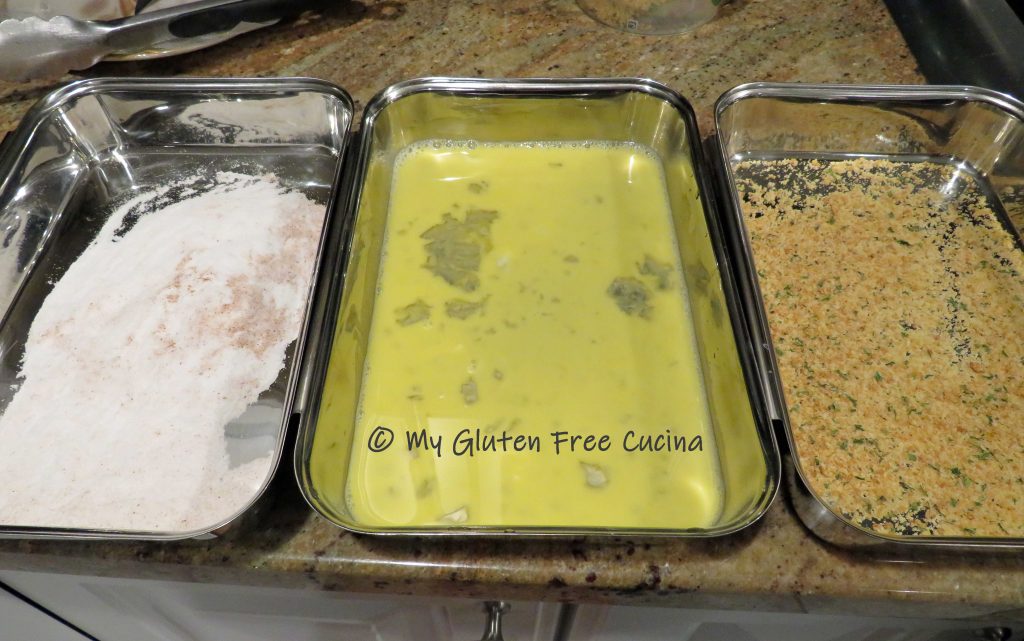
Set up breading trays with the flour, egg and breadcrumbs.

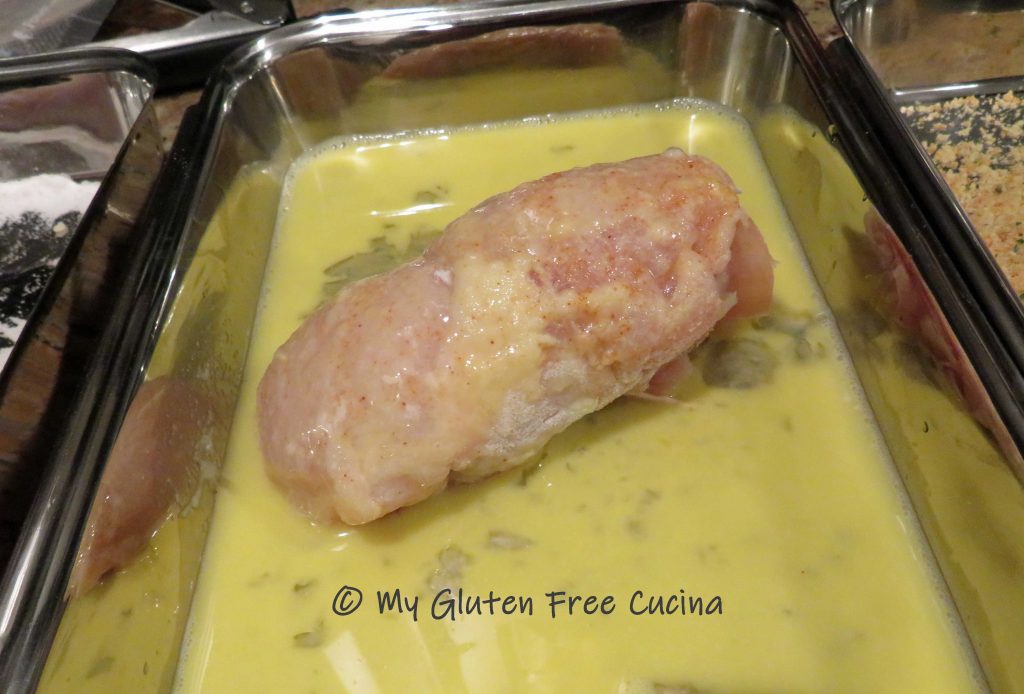
Gently roll the bundles in the flour, then dip in the egg, and finally roll in the breadcrumbs.

Set the bundles seam side down on a baking sheet lined with foil and coated with cooking spray.

Bake for 40 minutes at 350º and rest 5 minutes before serving.

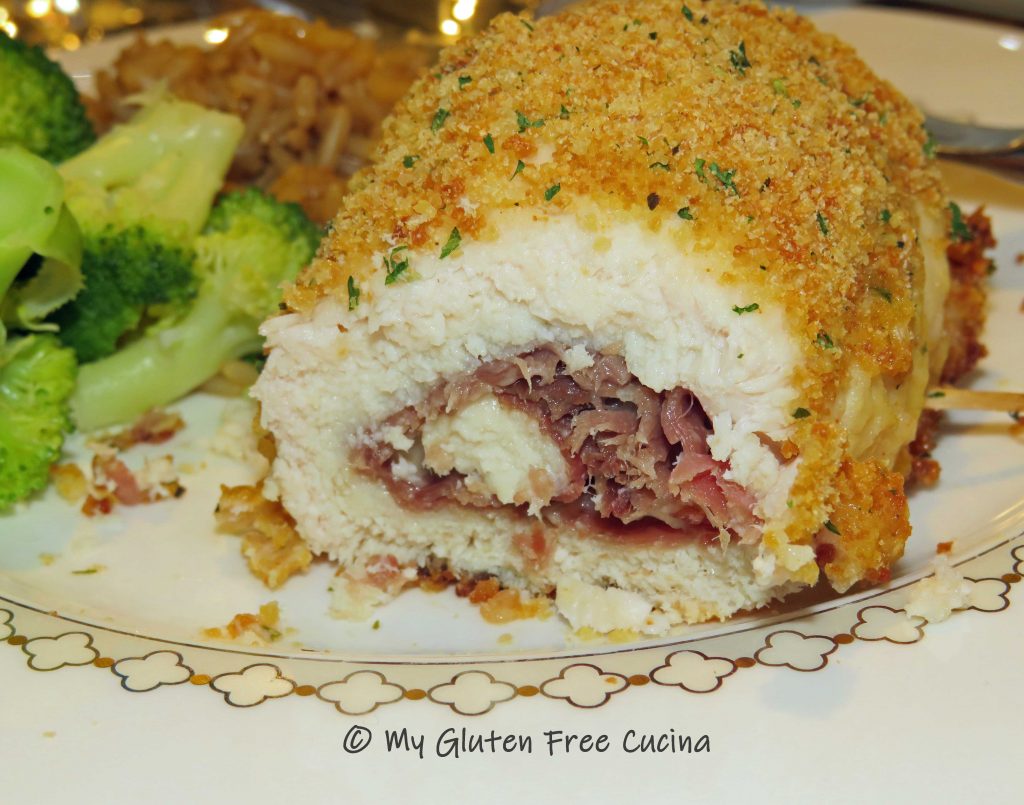
And that’s it friends.  A beautiful plate!

I hope you enjoyed this post and have been inspired to give the recipe a try! Be sure to check out some of my other restaurant classics that you can make at home, gluten free.

Notes ♪♫ Ingredients make the difference!  I used Aleia’s gluten free Italian breadcrumbs in this recipe.  They are simply the best!

Print This Post Print This Post

Italian Pot Roast

When I was growing up in the 1960’s, Sunday morning in our Italian neighborhood was all about making the sauce.  I can still see my Mom’s Farberware Stockpot simmering on the stove, filled to the rim.

She often cooked a pot roast right in the sauce, as it was so easy to do and the resulting meal was delicious.  The aromas filled our home and beyond, in fact it seemed every kitchen in the neighborhood was busy preparing their own Italian Sunday Dinner.

This post contains affiliate links.

I always think of my mom when I make this recipe, but instead of stovetop I prefer using my crock-pot, which makes it virtually hands off while you go about your busy day.  The roast can be cooked on the weekend and reheated during the week, for an easy meal when you get home from work.  Chuck roast is an economical cut of beef and after nine hours in the crock-pot the meat will be melt in your mouth tender!

Ingredients:

  • 2-4 lb. chuck roast, allow 1/2 lb. per serving
  • 4 garlic cloves cut into slivers
  • 1/2 sweet onion, diced
  • cooking spray
  • olive oil
  • 1/2 cup red wine
  • 1 large can (28 oz.) tomato sauce
  • 3 tbsp. tomato paste
  • 1-1/2 tsp. basil
  • 1 tsp. oregano
  • 1/2 tsp. marjoram
  • 1/2 tsp. parsley
  • 1 tbsp. brown sugar

Preparation:

I got a great deal on a 4 lb. chuck roast, so I cut it into 2 pieces and froze half.  A roast like this will shrink during cooking, so when planning portions I allow 1/2 lb. per person.  If you have leftovers, this pot roast is great in sandwiches the next day.

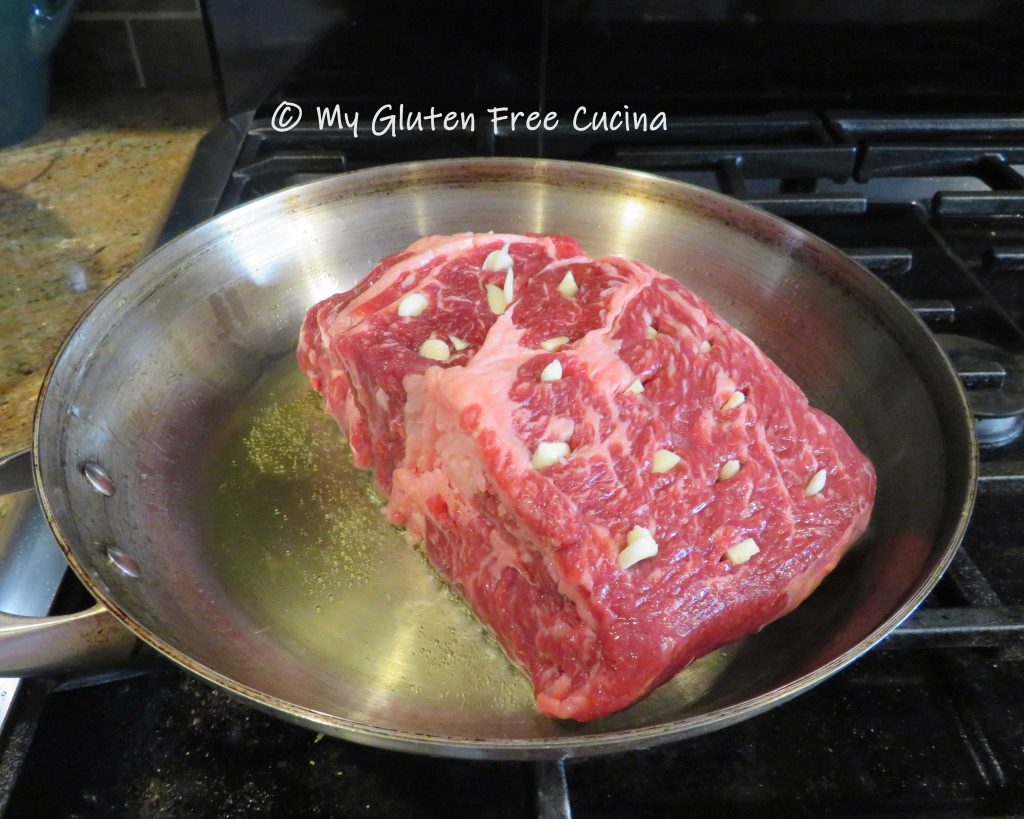
To get started, set up your crock-pot and mist with cooking spray.  Cut the garlic cloves into long slivers.  Use a paring knife to make slits in the top of the roast and insert the garlic slivers.

Sear the roast on all sides in a hot skillet with olive oil, then place it in the crock-pot.

Add onions to the same skillet and cook until translucent.  Add them to the roast then deglaze the skillet with the red wine and pour over everything.
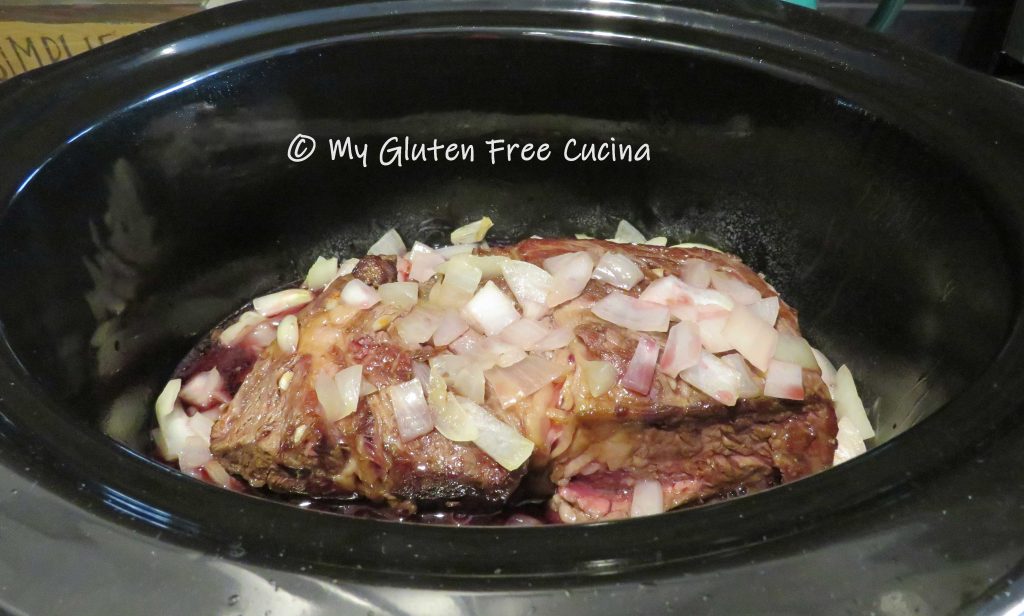
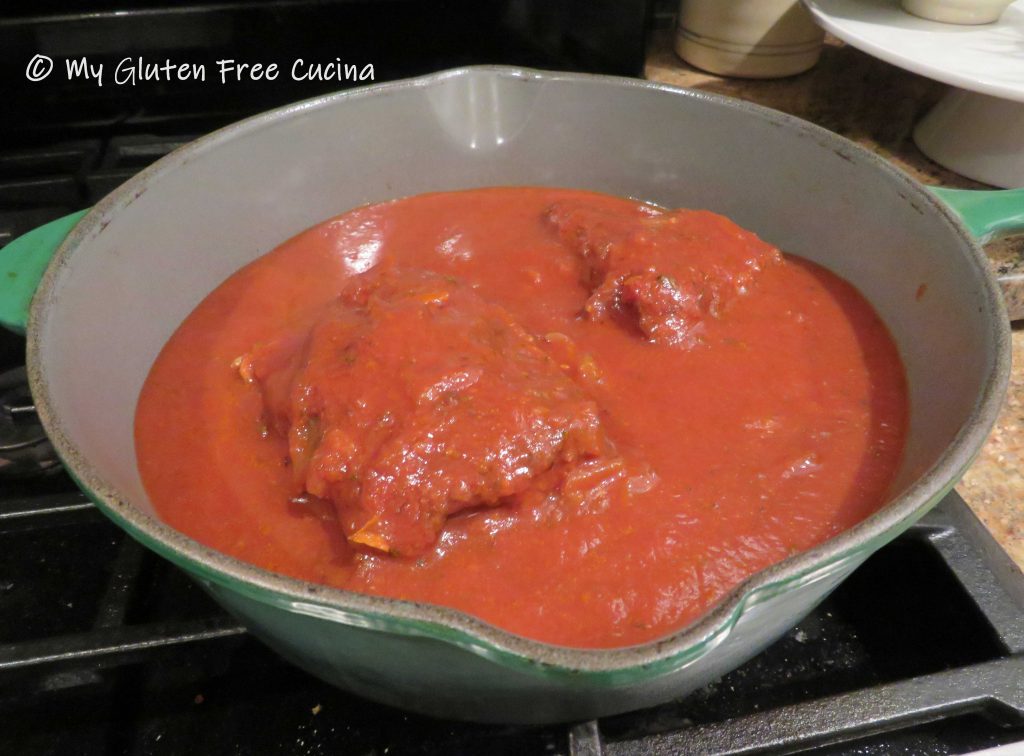
Whisk the tomato paste into the tomato sauce along with the remaining ingredients, through brown sugar.  Add to the crock-pot and cook on low for 9 hours.  Give it a stir about halfway through.  You can serve it immediately, but my personal preference is to refrigerate it overnight.  The flavors will continue to meld, and the sauce will thicken.

The next day, reheat the roast on the stovetop over low heat.  You can see that mine was so tender that it had broken into two pieces.

Most of the onions will have melted into the sauce at this point, but if you want an extra smooth sauce (or have picky eaters) you can puree it with a stick blender.
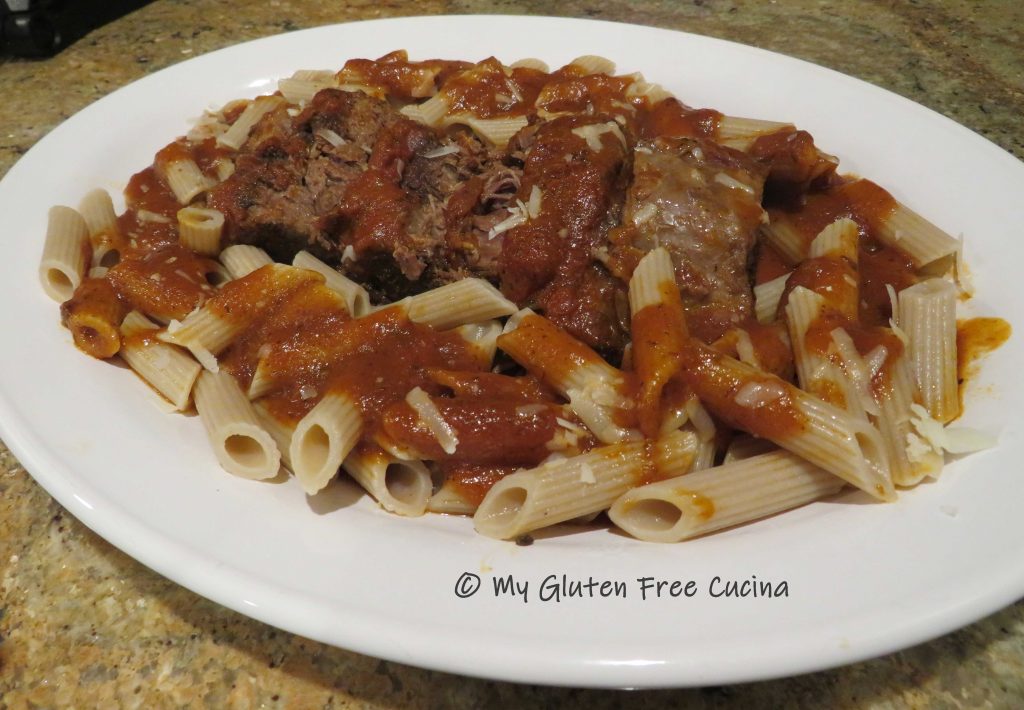
Slice the roast and arrange on a serving platter.

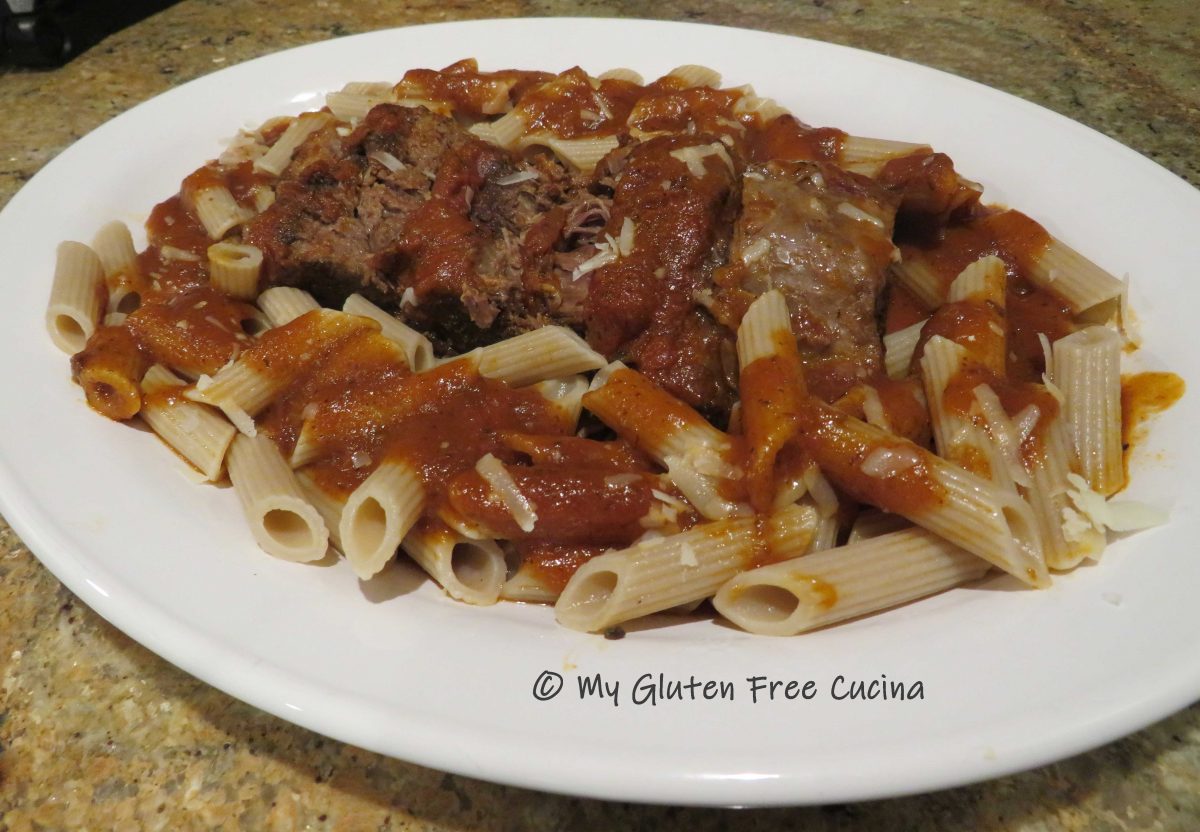
Serve with your favorite gluten free pasta.  Jovial gluten free penne is one of mine.

Bring to the table with extra sauce and grated cheese.  The only thing missing here is fresh parsley from my herb garden.  I guess I’ll have to wait for summer and make this again!

Notes ♪♫ When starting the gluten free diet, you may feel like you will never enjoy your old family recipes again.  The truth is many recipes like this one are naturally gluten free.  The only thing I changed was the pasta.  With a little patience and experimentation, I have learned that many of my childhood favorites can be recreated and enjoyed!

Print This Post Print This Post

Cauliflower Pizza Wreath

Since this is Christmas week, I thought I would make a festive wreath shaped Cauliflower pizza!  Both gluten free and grain free, try this guiltless indulgence to balance out all those holiday cookies!

This post contains affiliate links.

Ingredients:

  • 4 cups grated cauliflower
  • 1/4 cup cream cheese, softened
  • 3/4 cup grated gruyere cheese
  • 1/4 cup grated parmesan cheese
  • 2 boneless, skinless chicken thighs
  • 1/2 sweet onion, diced
  • 1/4 cup gluten free BBQ sauce (I love Stubbs)
  • 1 egg
  • Italian seasoning or seasoned salt
  • olive oil

Preparation:

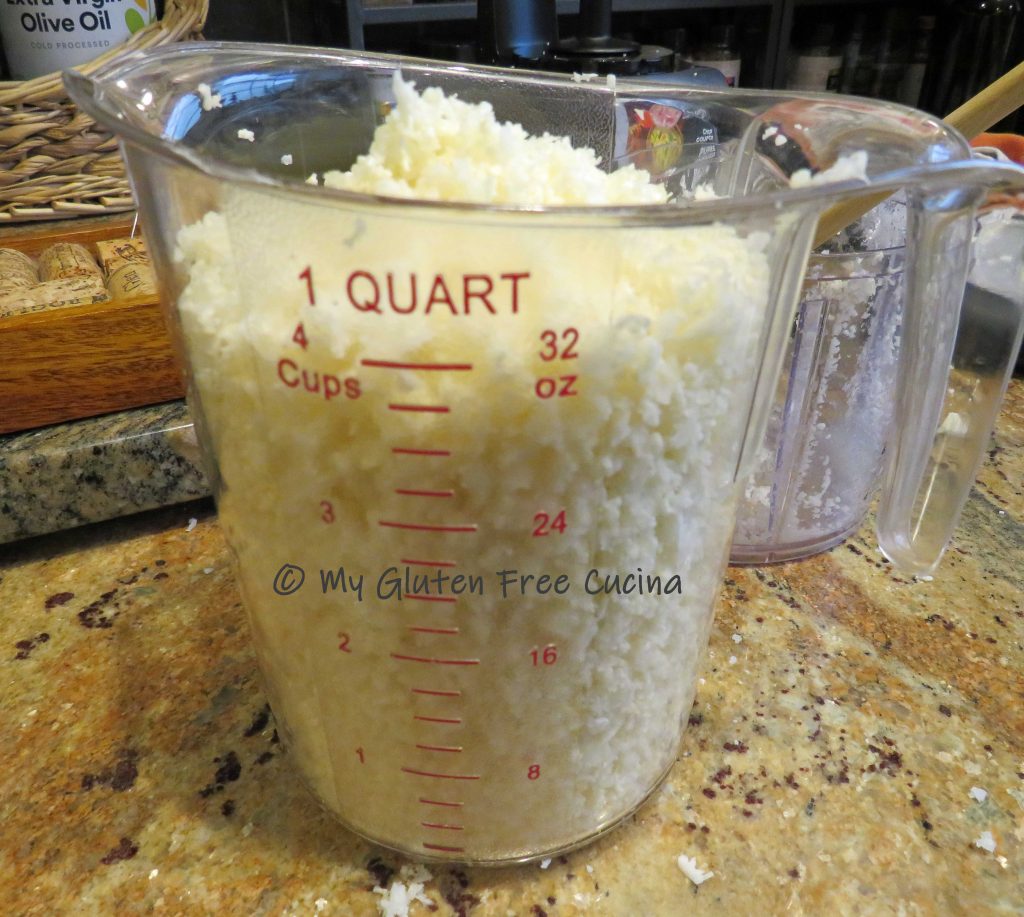
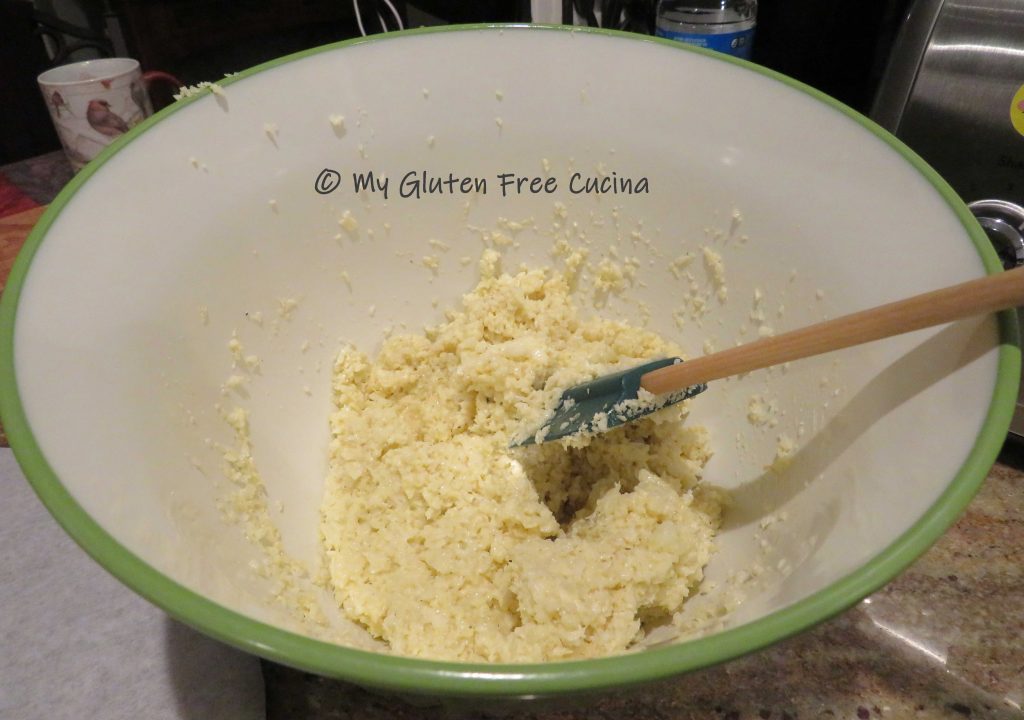
Use a hand grater or electric chopper to make 4 cups of grated cauliflower.  I usually grate my own, but you can purchase pre-grated in the fresh or frozen section.

Cook the grated cauliflower for 3-5 minutes in a large nonstick skillet, with 2 tbsp. olive oil and 1/2 tsp. Italian seasoning.  Set aside to cool.

Toss the chicken thighs with 1 tbsp. olive oil and sprinkle with seasoning.  Bake for 1/2 hour at 350º.

Mix the cooled cauliflower with the beaten egg, cream cheese and gruyere cheese.

Line a pizza stone with parchment paper cut to size.

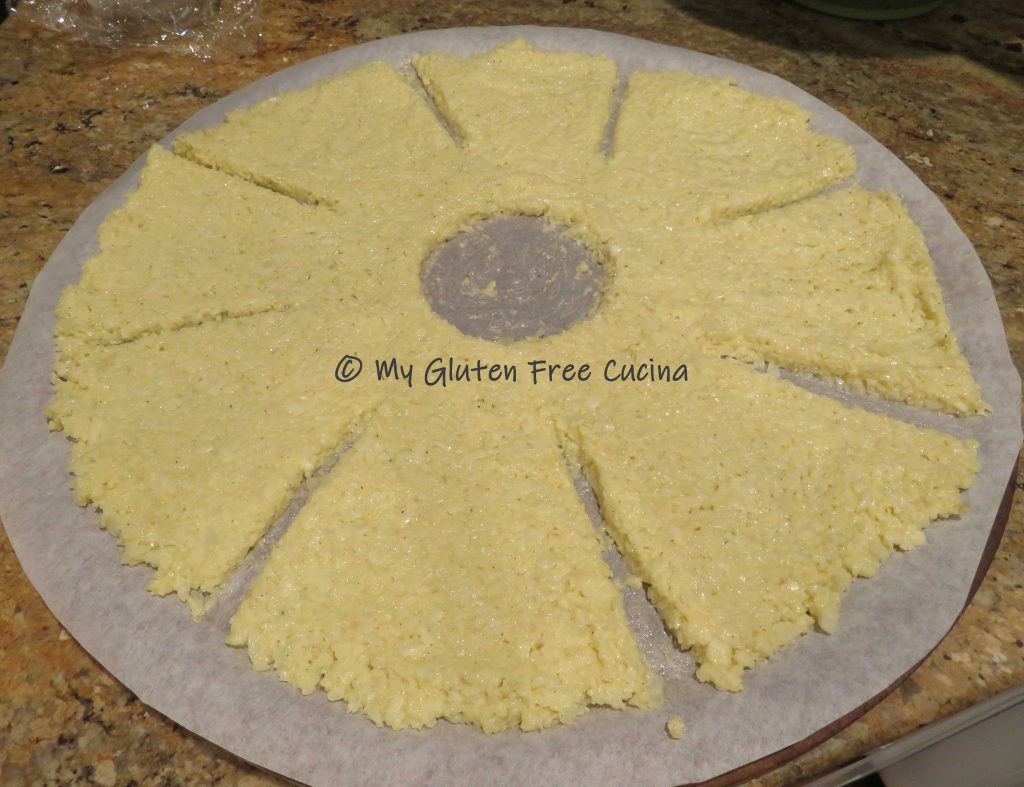
Spoon the cauliflower mixture onto the parchment and spread into a 1/2″ thick circle.

I used a small pinch bowl to make a circle in the center and scooped it out with a spoon.

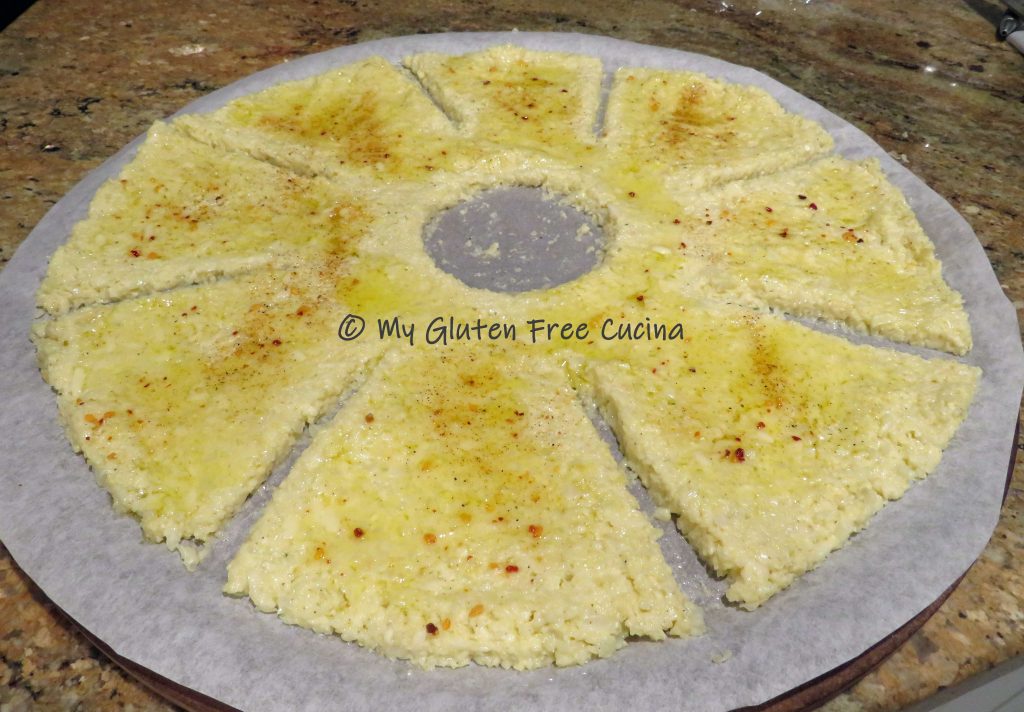
Next use a spatula to create 8 sections and smooth the edges.  Brush with olive oil and sprinkle with more seasoning.

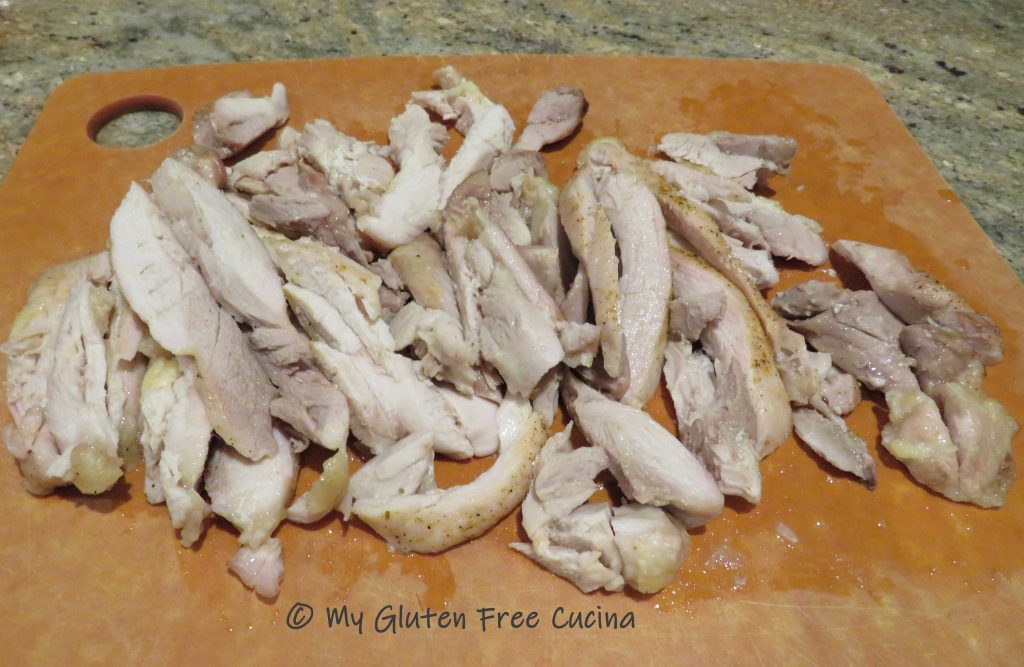
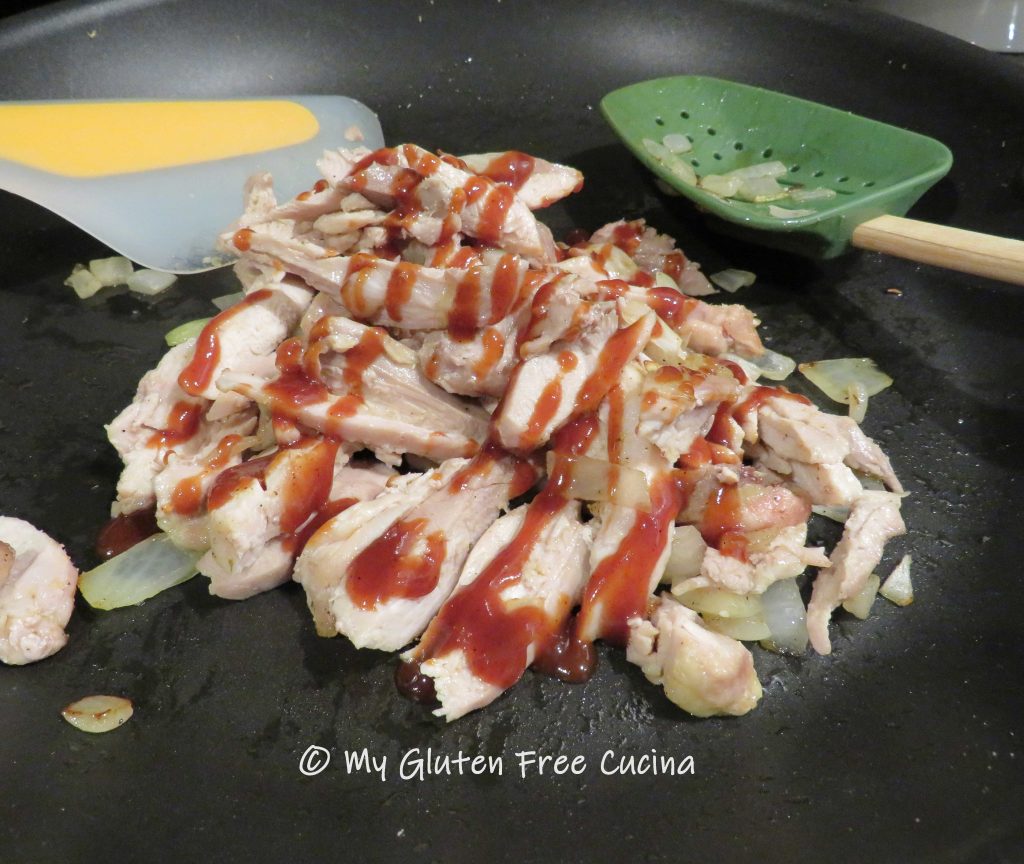
Bake for 25 minutes at 400º.  Meanwhile, cook the onion in a little olive oil until softened.  Chop the cooked chicken and add to the onion, drizzle with BBQ sauce.

Brush the baked cauliflower with more olive oil, especially around the edges and arrange the filling in an even layer.  Sprinkle with parmesan and drizzle more BBQ sauce.

Return to the oven for 5 more minutes to heat the chicken through and melt the cheese.

Notes ♪♫ Remember, a cauliflower pizza crust is baked separately from the toppings, which are added during the final 5 minutes of cook time.  That means any toppings you choose, like our chicken and onions must be fully cooked before adding to the pizza.

If you enjoyed this post, check out my Sausage and Mushroom Pizza on a Cauliflower Crust and my Cauliflower Cakes!

Print This Post Print This Post

Roast Turkey Breast

I so look forward to our Thanksgiving turkey dinner each year and all the delicious sides!  But what if you don’t want to deal with roasting a whole turkey?  A turkey breast might be just the ticket for smaller gatherings.  I always plan on 1/2 lb. per serving, so a 3 lb. breast is perfect for 6 people.

So easy to prepare, just rub the breast all over with herbed butter and roast it.   You can do this!  I am so lucky to still have chives and rosemary growing in my garden in late November, but if you can’t get fresh herbs, use a smaller amount of dried.

This post contains affiliate links.

Ingredients:

  • 3 lb. turkey breast, thawed
  • 1/2 stick butter, softened
  • 1/2 tsp. lemon peel
  • 1/2 tsp. thyme
  • 1 tbsp. fresh chives (or 1 tsp. dry)
  • 1 tbsp. fresh rosemary (or 1 tsp. dry)
  • 1 cup chicken broth, or use white wine, or water

Preparation:

Mince the herbs and combine with the lemon peel and softened butter.

Preheat the oven to 325º and spray a small roasting pan and rack with cooking spray.  Rinse the turkey breast and pat dry with paper towels.  As you can see, the breast has a pop-up thermometer but untrusting soul that I am, I also inserted a meat thermometer.

Rub the breast all over with the butter mixture and pour 1 cup of liquid (chicken broth, wine, water or combination) into the bottom of the pan.

Roast for 25 minutes per pound, or until a thermometer inserted into the thickest section registers 150º.  The pop up thermometer didn’t work on mine so I was glad that I used my own.

Tent with foil and let it rest 10 minutes.  Internal temperature will continue to rise as the turkey rests.

That’s all there is to it, slice and serve.

Enjoy with Gluten Free Roast Turkey Gravy and be sure and check out my Gluten Free Ramekin Stuffing Cups!

Notes ♪♫ White meat lovers will love this easy meal.  For all the dark meat lovers out there be sure and check out my from scratch Gluten Free Roast Turkey Gravy made with legs or thighs, or for ultimate ease try my Crock-Pot Turkey Drumsticks.  Happy Thanksgiving to all from My Gluten Free Cucina!

Print This Post Print This Post

Easy Gluten Free Ramekin Stuffing Cups

As another year draws to a close and the holidays approach, many are planning a scaled down version of the usual Thanksgiving and Christmas celebrations.  Even with the pandemic behind us, I still hear from friends and neighbors that their family gatherings will be smaller this year.

This post contains affiliate links.

Micro gatherings mean smaller portions.  I will still be making soup and roasting a turkey breast.  Instead of stuffing the bird though, I’ll be making these cute Ramekin Stuffing Cups.

Since beginning my gluten free journey a few years ago, I have enjoyed making a delicious Gluten Free Cornbread Stuffing from scratch each Thanksgiving.  This year though, I’ll be taking a shortcut and using these Savory Gluten Free Stuffing cubes from Aleia’s.

If you follow my blog, you know that I use Aleia’s gluten free breadcrumbs in many of my recipes.  Since I love their breadcrumbs so much, I thought I would give their savory stuffing a try, and it was a win!

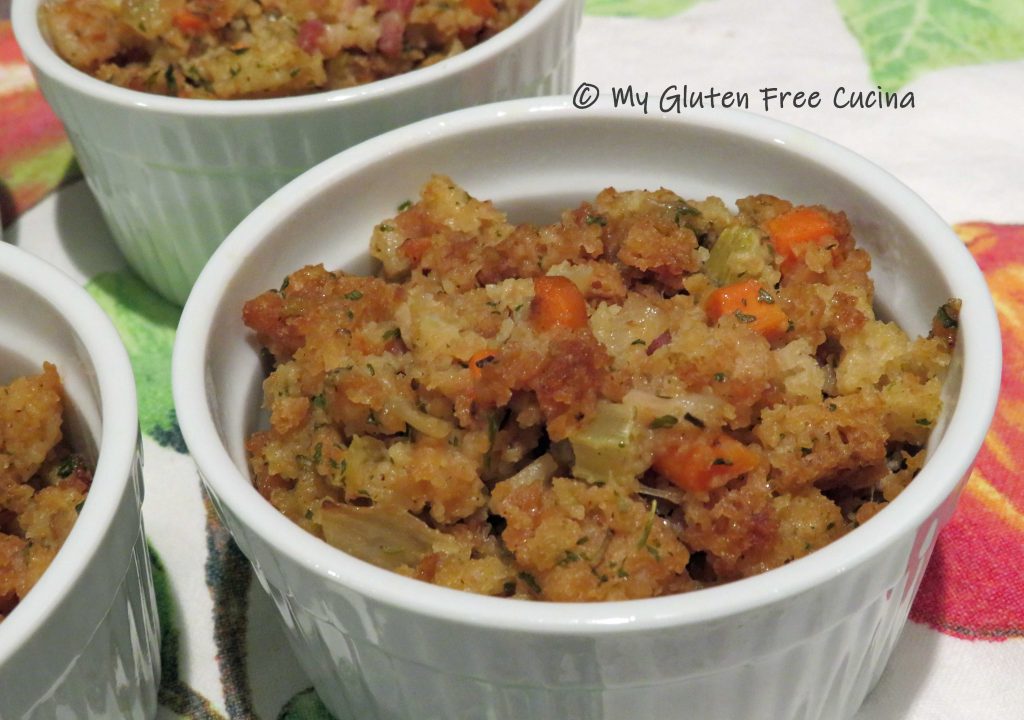
These stuffing cubes are delicious!  They remind me of the stuffing mix we all grew up with😉.  The 6 oz. ramekins are perfect for portion control.

4 Servings

Ingredients:

Preparation:

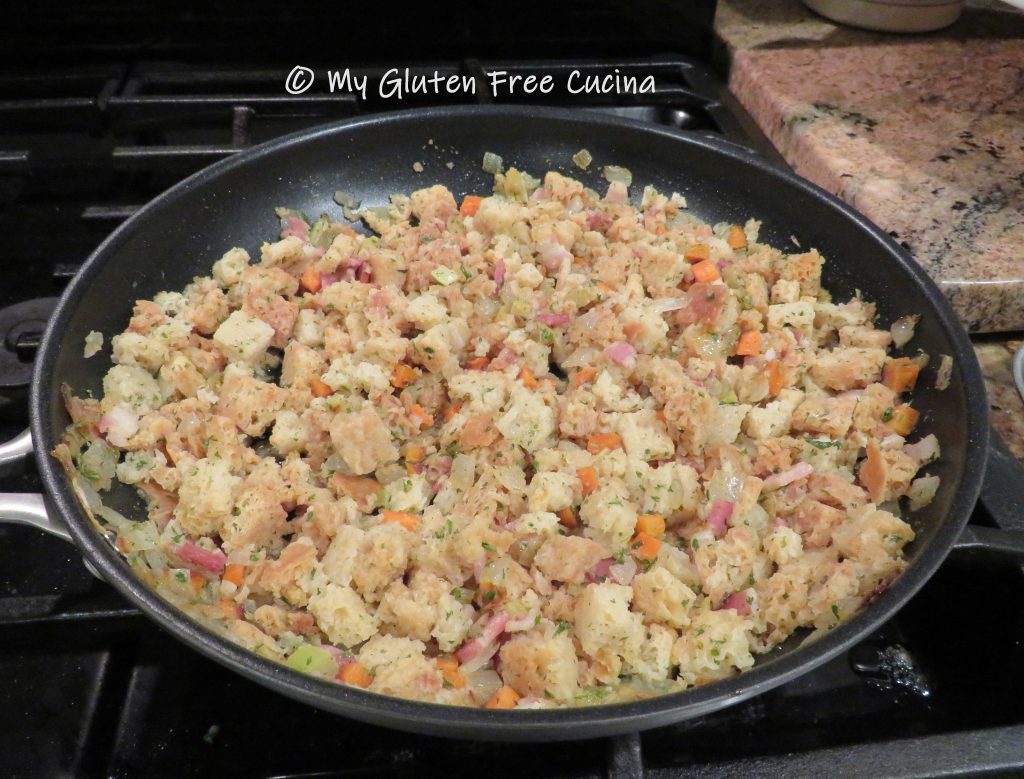
Chop the veggies into small dice.  Melt the butter and olive oil in a nonstick skillet and add the veggies.  Cook 2-3 minutes, stirring frequently.

Next chop the bacon into 1/4″ pieces and add it to the pan.  Continue cooking until the bacon is crisp and the veggies are just beginning to brown.  Remove from heat and cool slightly.  Note: You can make ahead to this point and refrigerate or freeze.

When ready, add the stuffing cubes.

Pour 1 cup chicken broth over the stuffing and stir to moisten.  Return to low heat.

Pour the beaten egg over the stuffing, while quickly stirring and turning to incorporate.

Arrange 4 ramekins on a rimmed baking sheet and coat with cooking spray.  Spoon the stuffing lightly into the ramekins, about 3/4 cup each.  Leave room for the stuffing to expand during baking, don’t overfill or pack it in.

Cover tightly with foil and bake at 325º for 35 minutes.

Serve hot out of the oven and don’t forget the gravy!

Notes ♪♫ Notice I didn’t add salt to the recipe?  The stuffing cubes and the bacon have plenty of salt, so I decided not to add more.  I also used unsalted chicken broth.  If you are not limiting sodium, then by all means salt away!
Print This Post Print This Post

Gluten Free Stuffed Peppers

Bell peppers are a favorite of backyard gardeners and are available in stores year-round.  They come in so many beautiful colors!  Whether you grow them yourself, or do your harvesting at the supermarket, you will definitely want to try this recipe for Italian style stuffed peppers. 

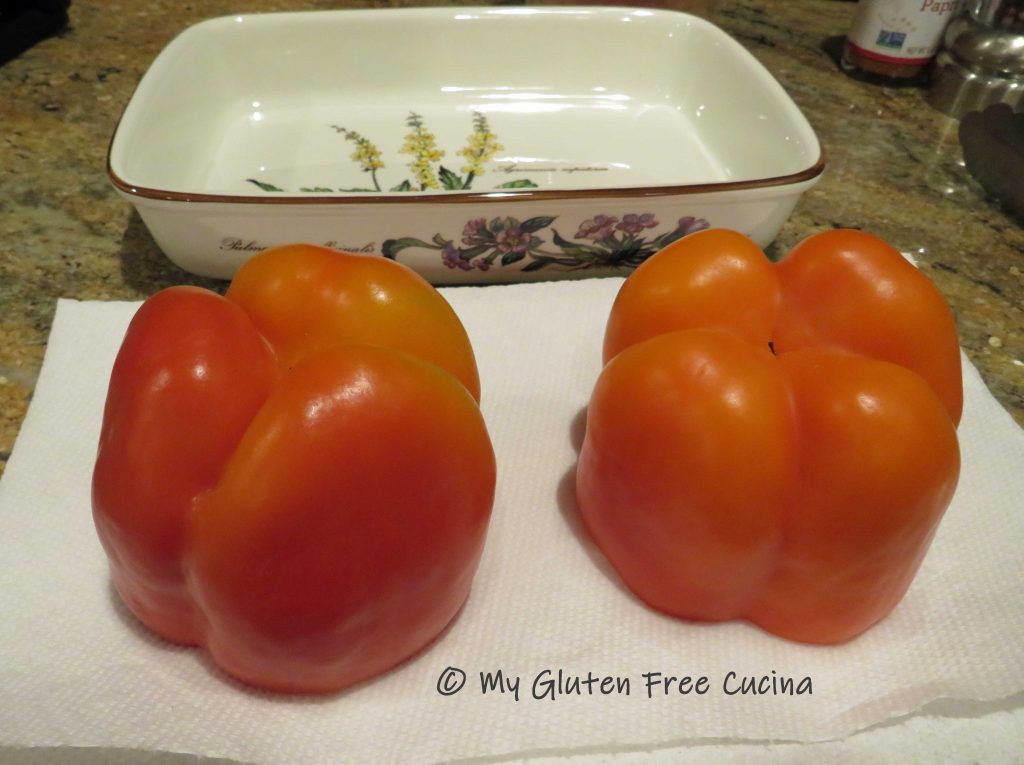
Choose peppers that are uniform in size, and check that they can stand upright.

The sausage and rice stuffing is so delicious and can stand on its own as a casserole!  For a really special touch, try using my homemade Mushroom Soup and homemade Italian Sausage in this recipe, both are fabulous!  Of course, you can use store bought if you like, just make sure the ingredients are gluten free.    
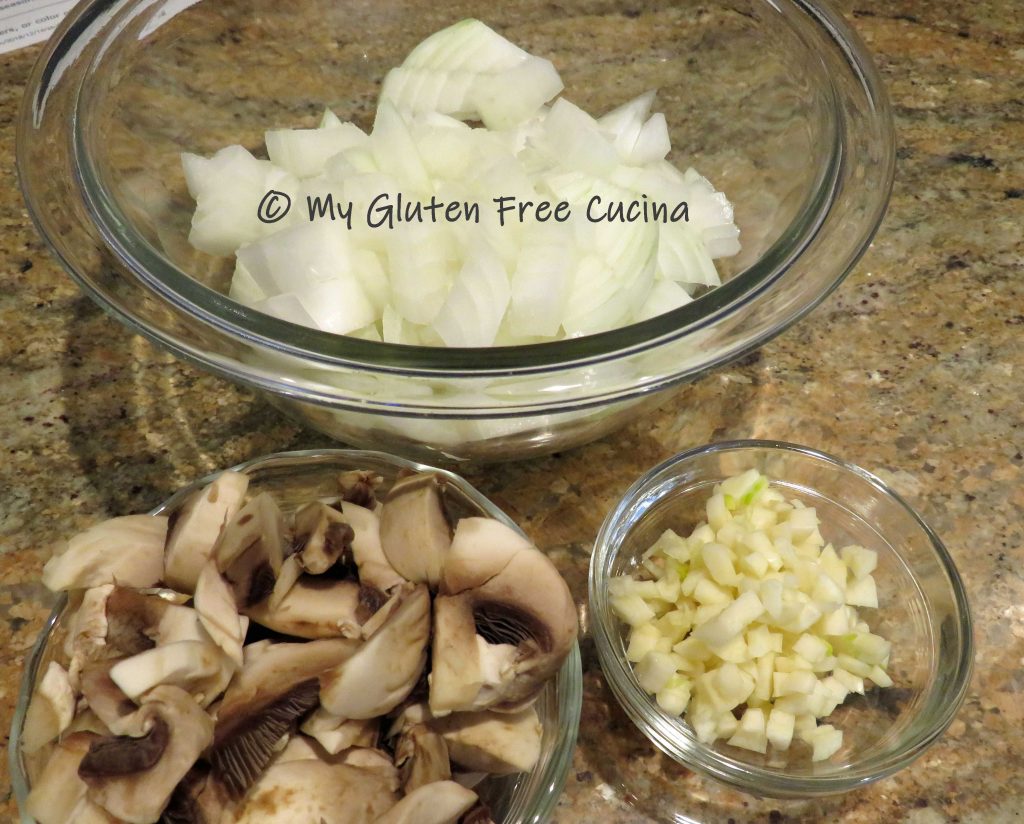
This recipe will yield enough stuffing for 4 medium peppers.  In this post I am stuffing 2 peppers and serving the rest as a casserole.

This post contains affiliate links.

Ingredients: 

  • 1/2 cup long grain brown rice (uncooked) 
  • 1-1/2 cups gluten free Lower Sodium or Unsalted Chicken broth 
  • olive oil 
  • 1/2 sweet onion diced 
  • 3 garlic cloves, minced 
  • 1 cup sliced mushrooms
  • salt and pepper to taste 
  • 8 oz. gluten free Italian Sausage, casings removed
  • 1-1/2 cups gluten free Mushroom Soup 
  • 1/4 cup 1% milk, plus more as needed 
  • paprika 
  • 1/3 cup shredded gruyere cheese 
  • 1/3 cup gluten free Italian breadcrumbs 

_____________________________________

  • 4 bell peppers, color of your choice 
  • 1/4 cup grated gruyere or Parmesan cheese 
  • 1/4 cup gluten free Italian breadcrumbs 
  • 2 cups purchased marinara sauce for serving or make your own

Preparation: 

Cook the rice in the chicken broth.  I used long grain brown rice which takes about 50 minutes to cook, so I gave it a 35-minute head start before adding to the casserole. 

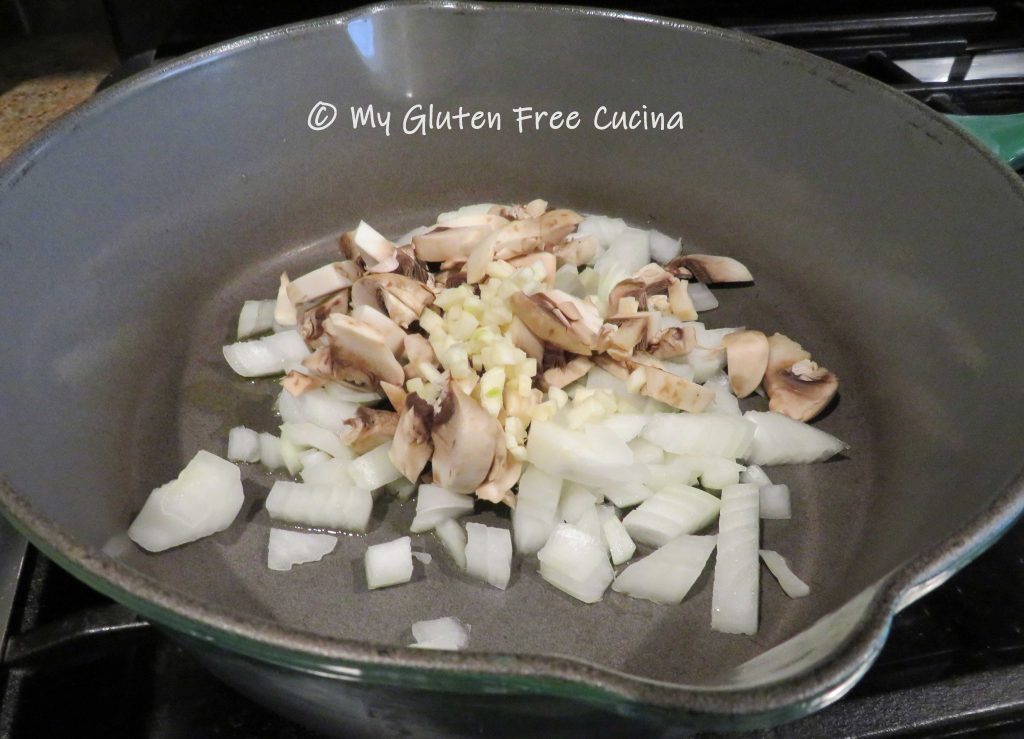
Next heat a deep, oven proof skillet to medium low and add the onions, mushrooms and garlic with a little olive oil.  Season with salt and pepper.

Cook for 2 minutes, stirring frequently.

Push the veggies to the side, leaving a space in the center of the pan and add the sausage.

Break up the meat with a spatula to brown it all over, then stir into the veggies.

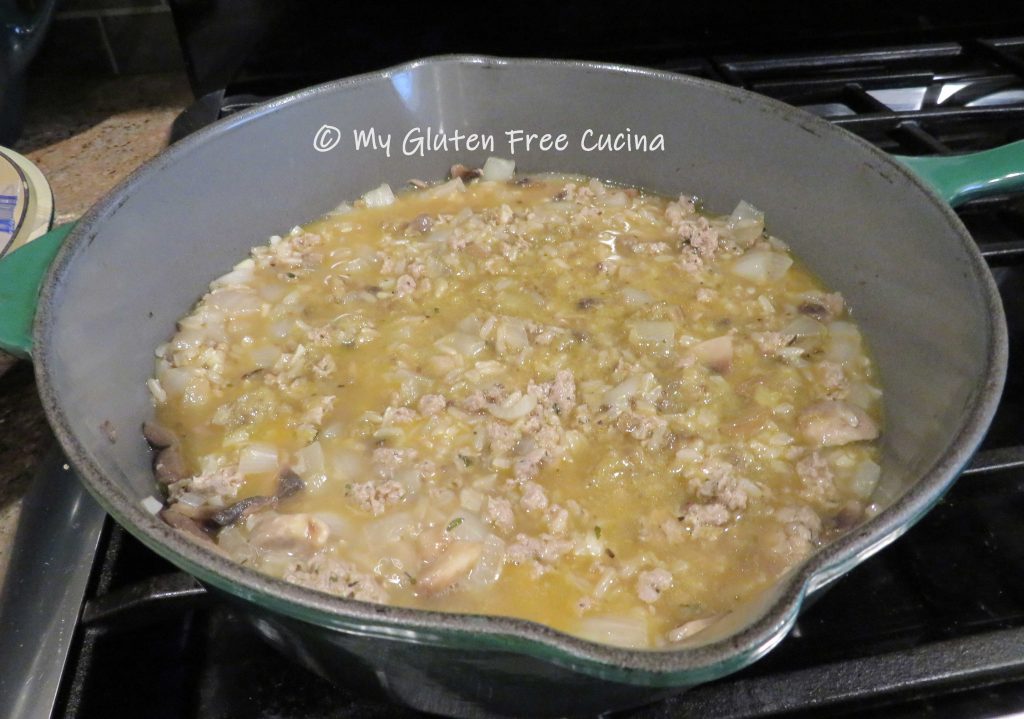
When the rice has simmered for 35 minutes, add it to the skillet along with any broth that has not been absorbed.  Add the Mushroom Soup and 1/4 cup milk.

Sprinkle the top with paprika and place the skillet in a 350° oven.  Bake for 30 minutes uncovered. 
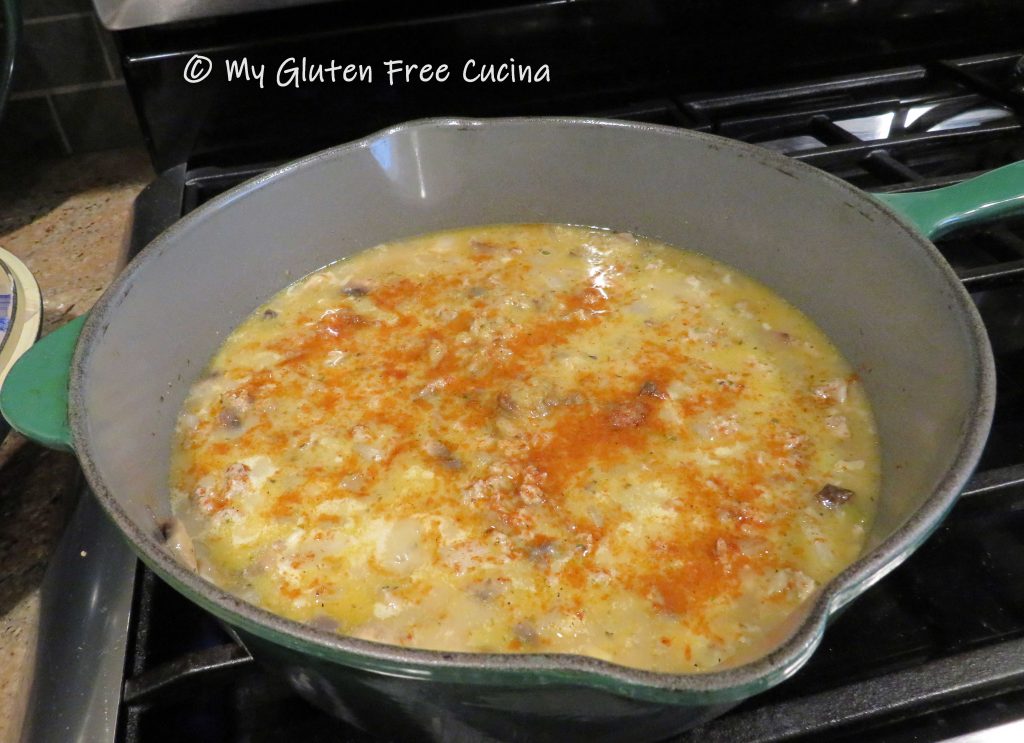
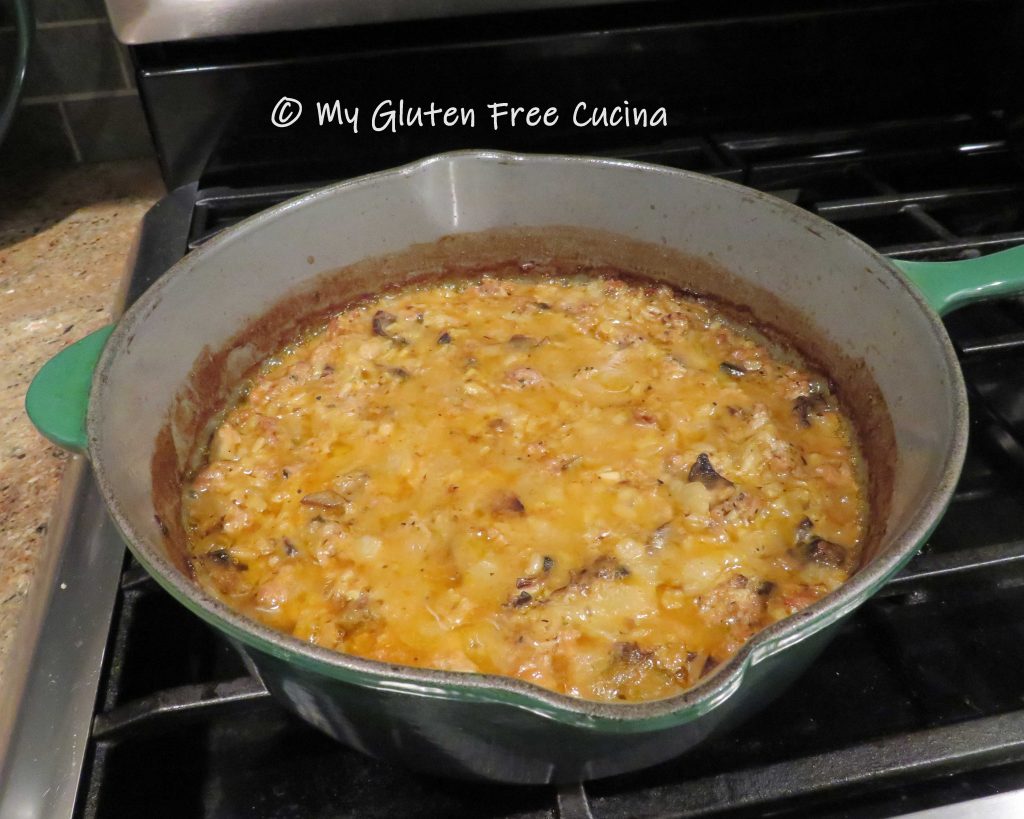
Stir the casserole after 30 minutes and add an additional 1/4 cup milk if it appears dry.  Continue baking for another 30 minutes.  The casserole should be set but moist.

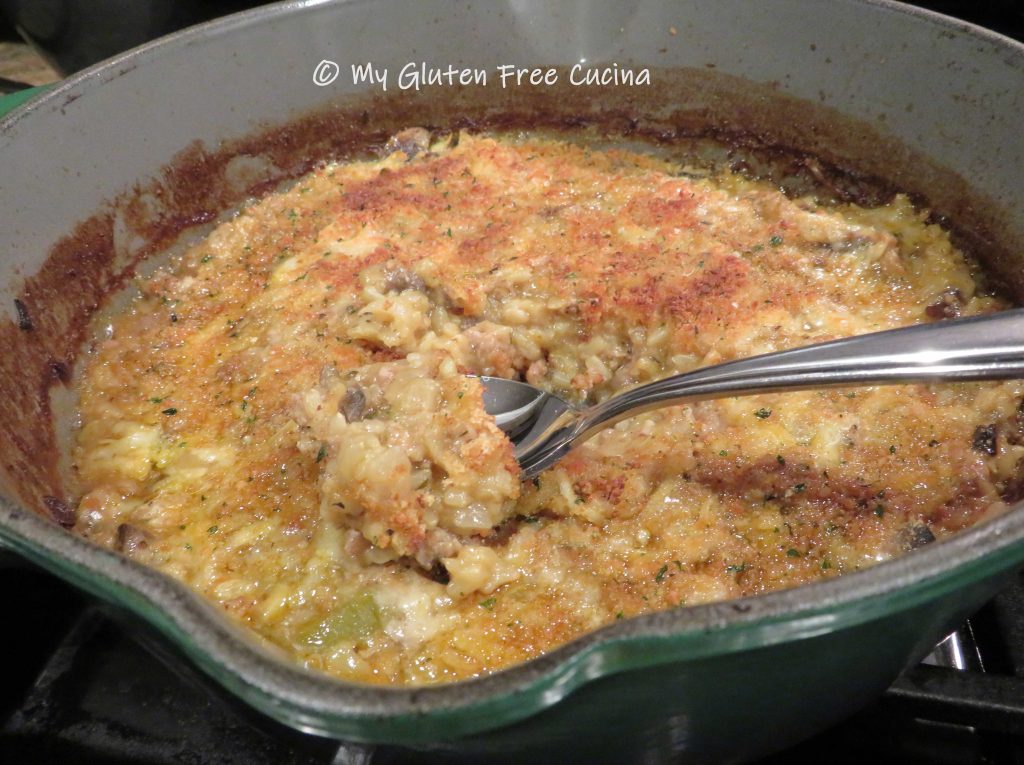
Sprinkle with the Gruyere cheese and breadcrumbs. 

Broil on low for 5 minutes or just until the top is nicely browned.  You can prepare up to this point a day ahead.

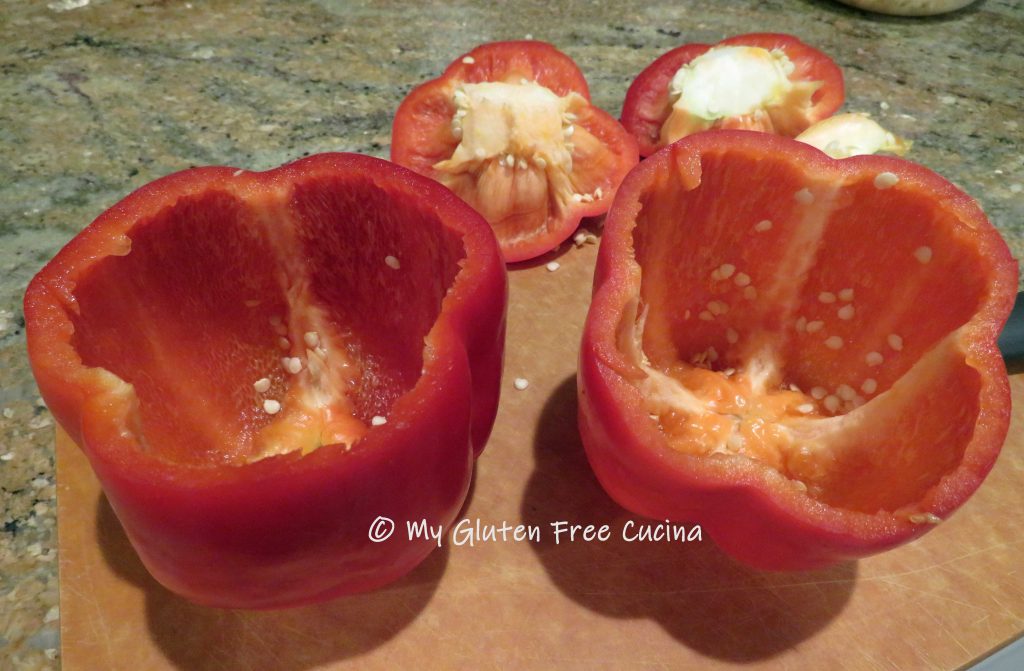
Cut the tops off the bell peppers and remove the ribs and seeds.

Blanch in boiling water for 3 minutes.

Use tongs to remove the peppers from the water and set them aside on paper towels to drain and cool. 

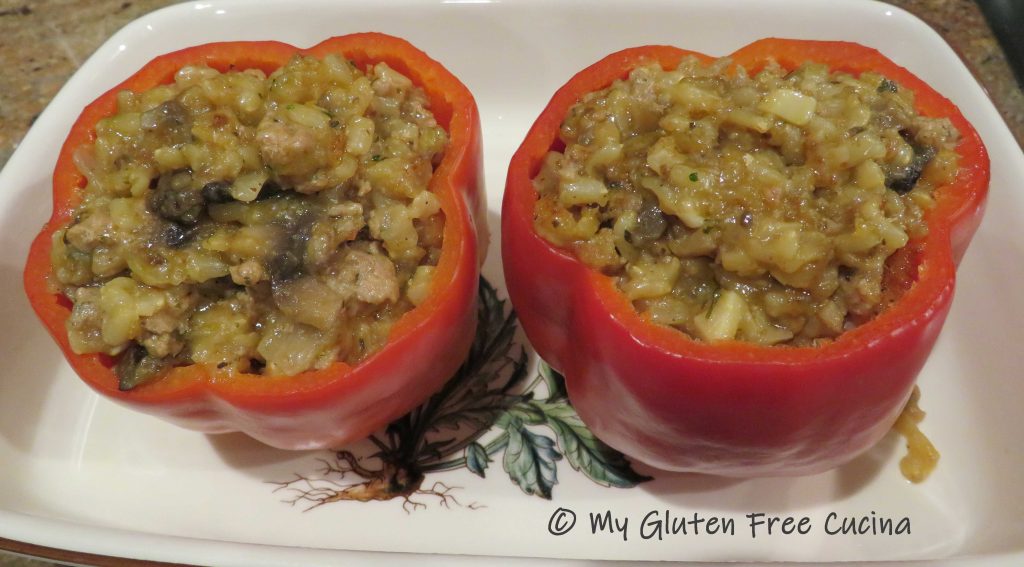
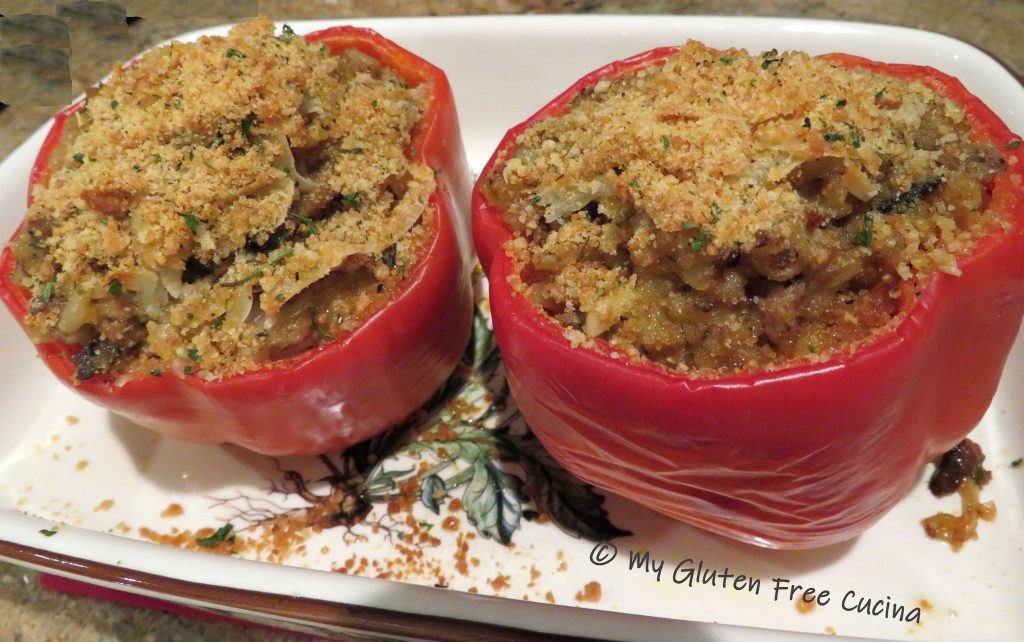
Arrange the cooled peppers in a baking dish coated with cooking spray and spoon in the stuffing.
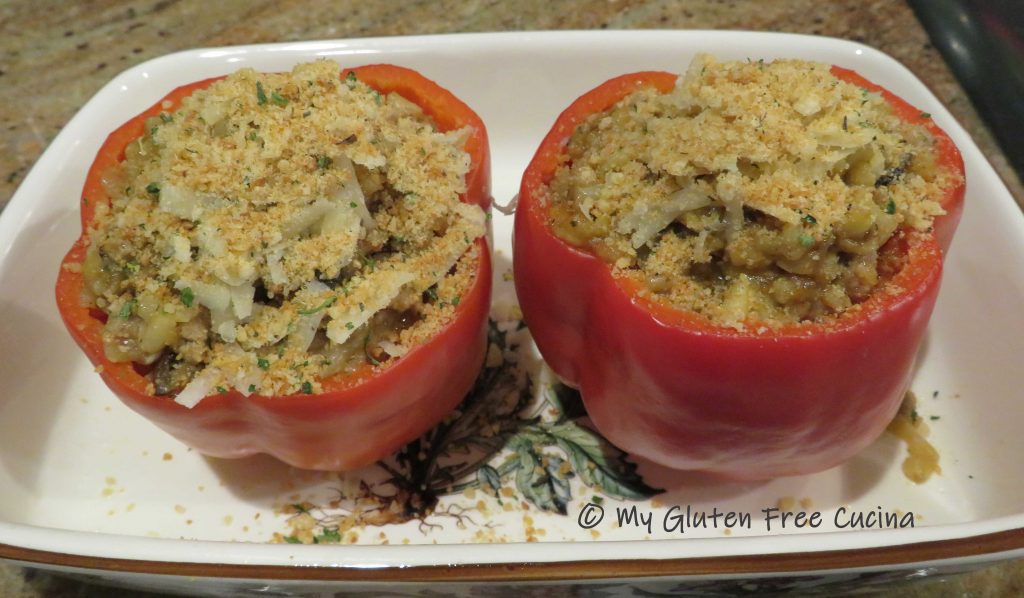
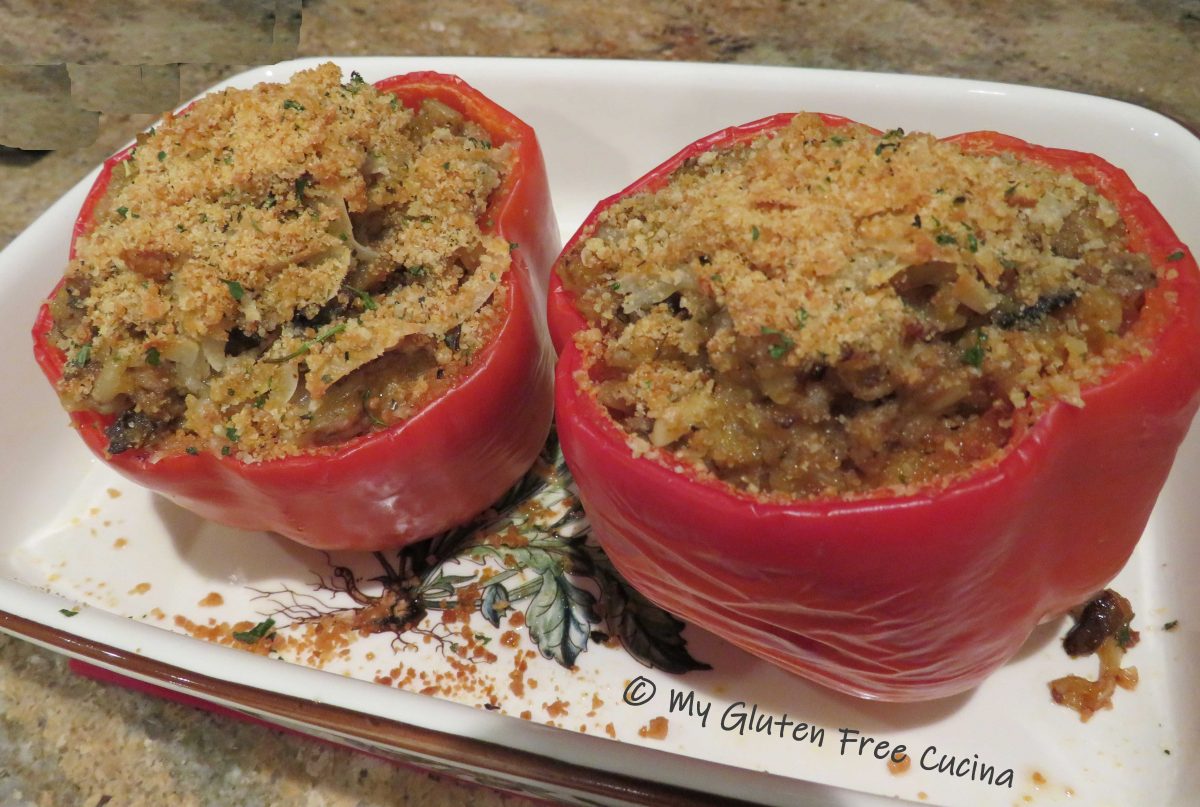
Top with more cheese and breadcrumbs, then bake for 35 minutes at 350°.

Simmer 2 cups of marinara sauce on very low heat while the peppers are baking.

Finish under the broiler for 1-2 minutes, just until the tops are browned. 
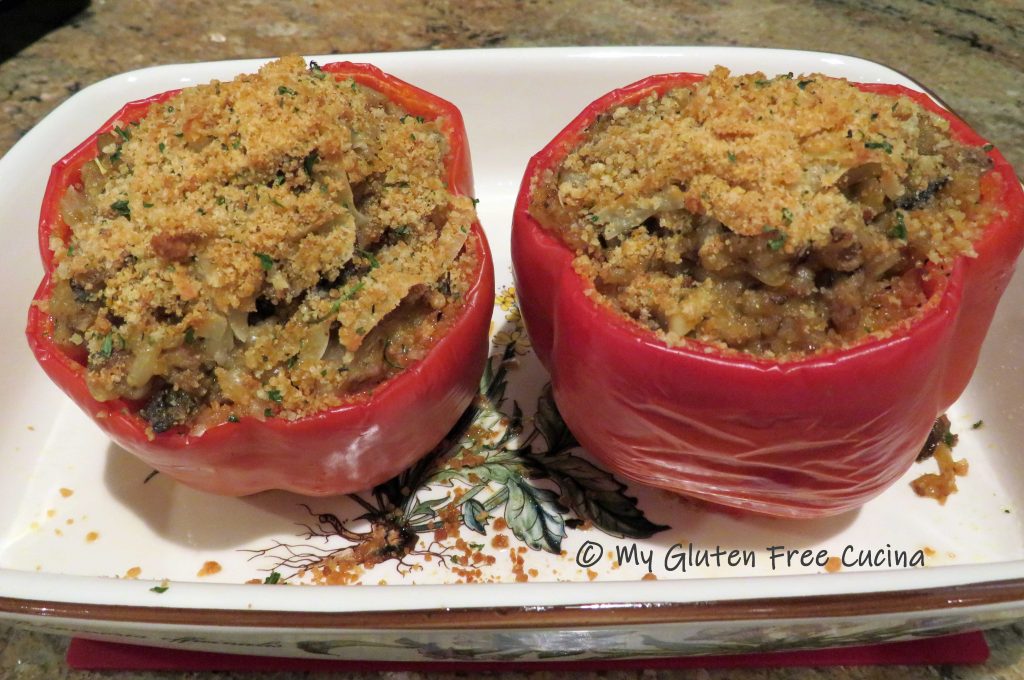
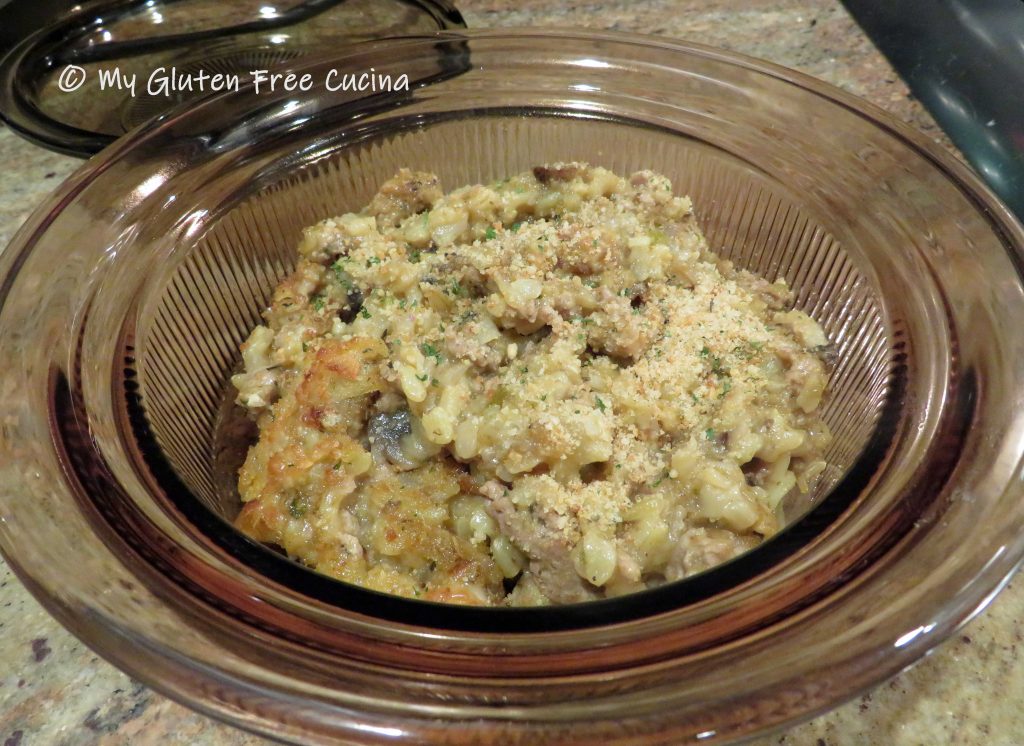
Remember I said the stuffing can stand alone as a casserole?  For those who don’t care for the peppers you can set aside some stuffing and simply top with cheese and breadcrumbs and finish under the broiler.  It’s delicious!

Serve with marinara sauce as a main course or side.  The peppers freeze well.  Just cool to room temperature and wrap them in foil, then store in freezer safe bags.

Notes ♪♫ I used Aleia’s gluten free Italian breadcrumbs in this recipe.  My favorite gluten free breadcrumbs, I always have them on hand in my pantry.

Print This Post Print This Post

Sirloin Tips

Sirloin tips have always been one of my favorite restaurant entrees.  Much to my dismay, many restaurants use soy sauce in their steak marinade, making this meal off limits for those of us with Celiac disease.  Fortunately, it is easy to recreate this great meal at home.  Be sure and check out my homemade, gluten free steak marinade, or use coconut aminos for a lower sodium option.

Dinner for two

This post contains affiliate links.

Ingredients:

Preparation:

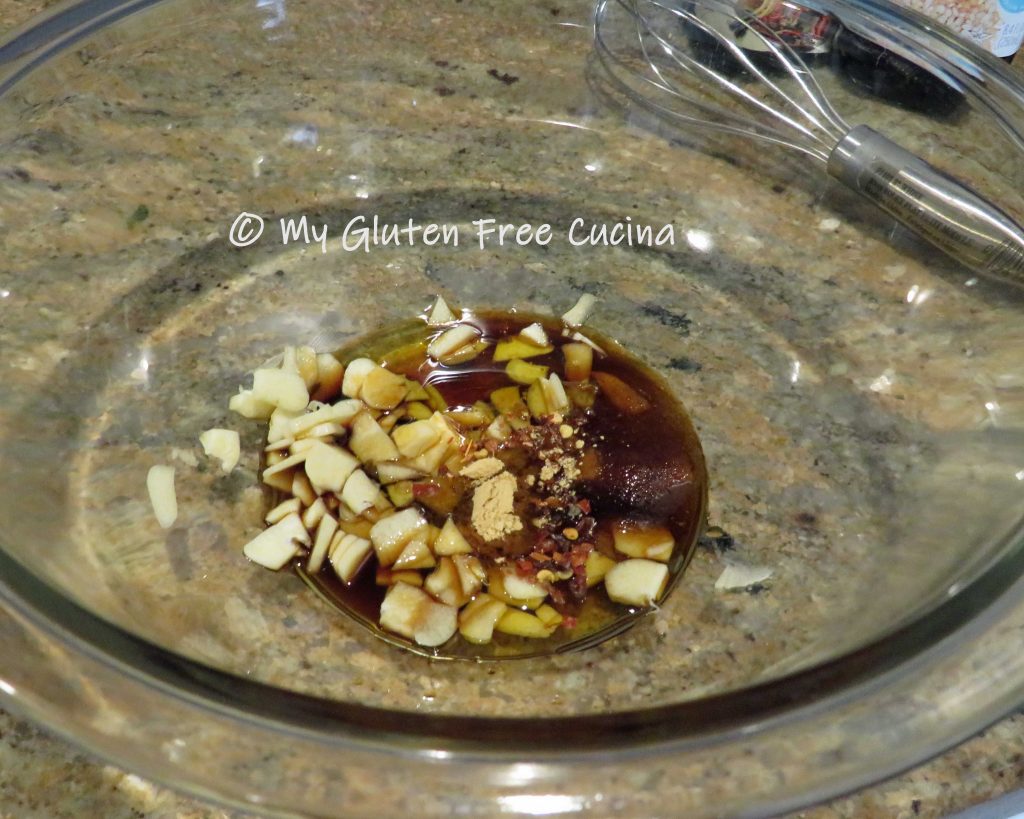
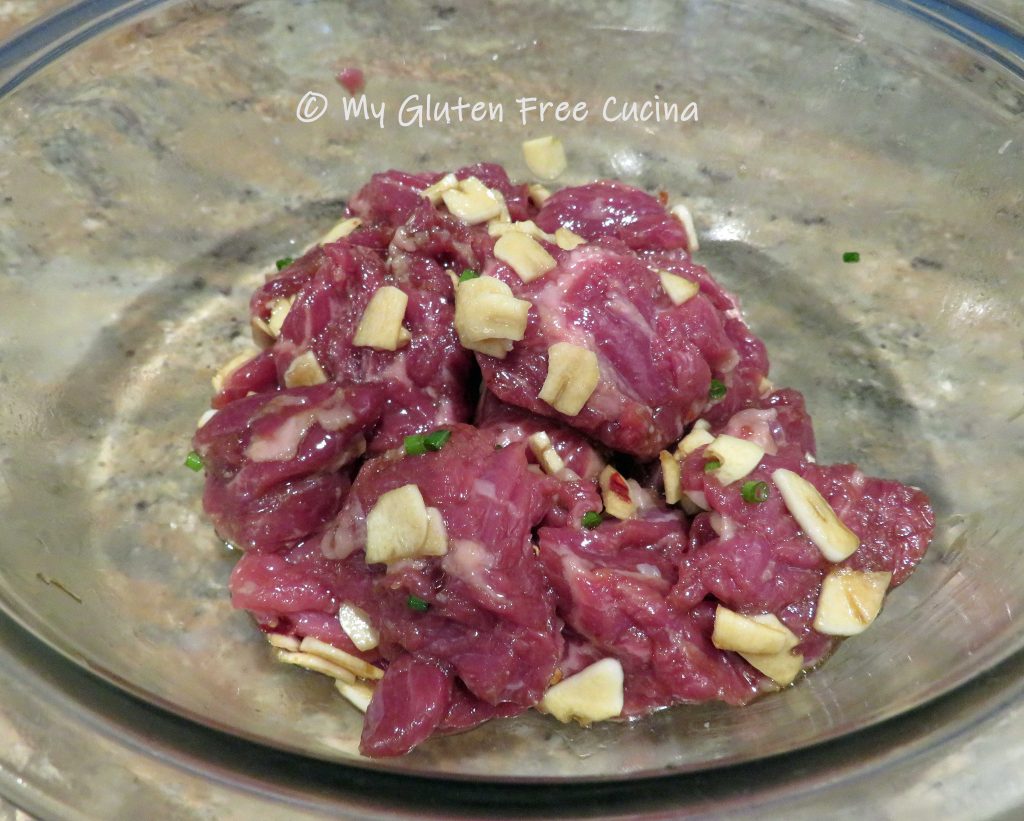
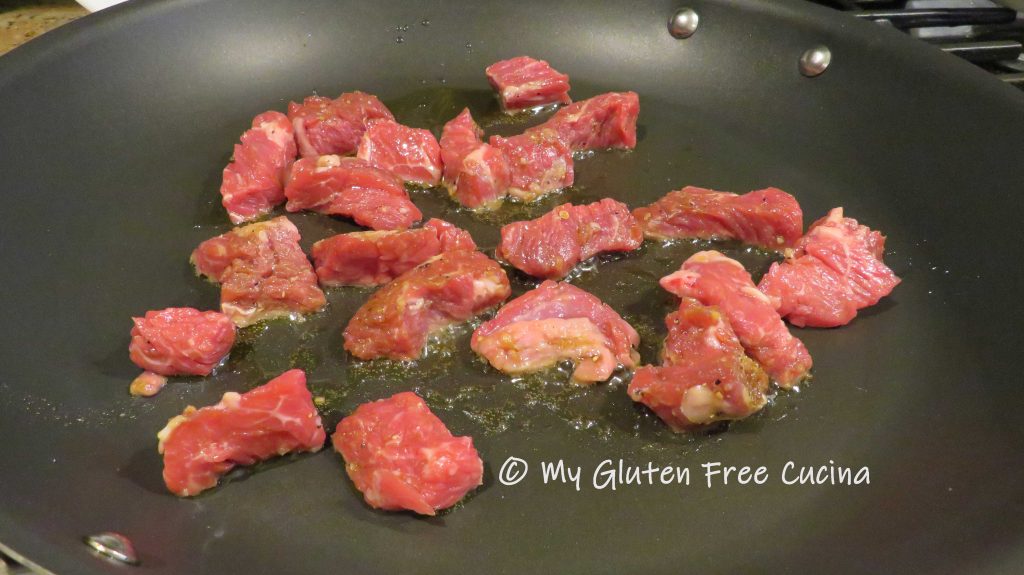
Combine the steak tips with 2 tbsp. gluten free steak marinade.  Let them marinate for 30 minutes to an hour at room temperature.

While the steak marinates, cook the rice in 2 cups broth, either stovetop or in a rice cooker (here’s mine, it’s perfect for 2 people).  Heat a large nonstick skillet with a little olive oil over medium low.  Add the steak tips.

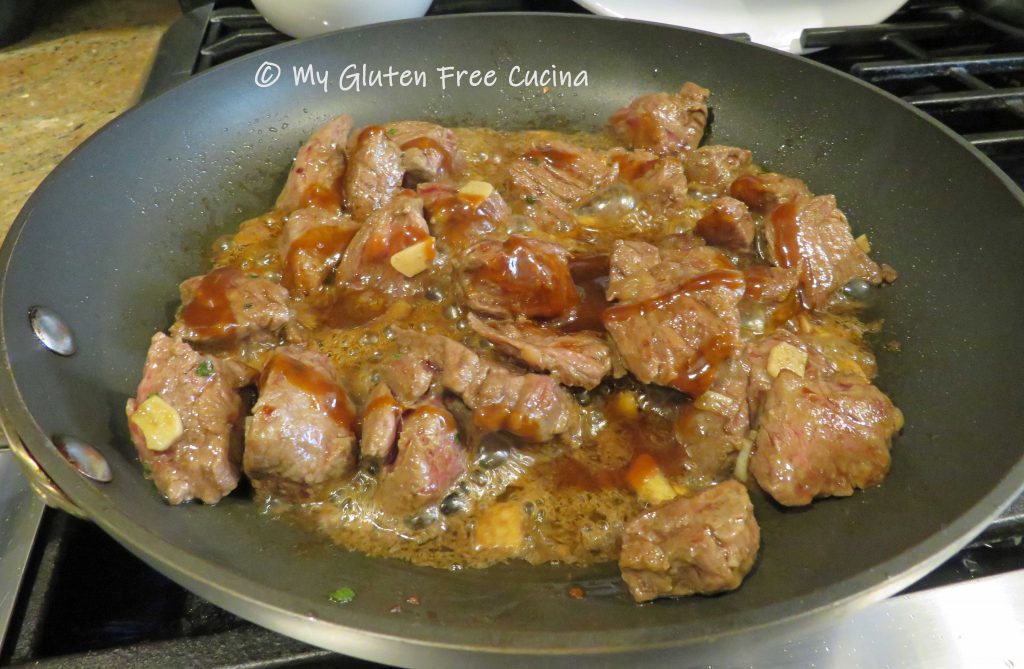
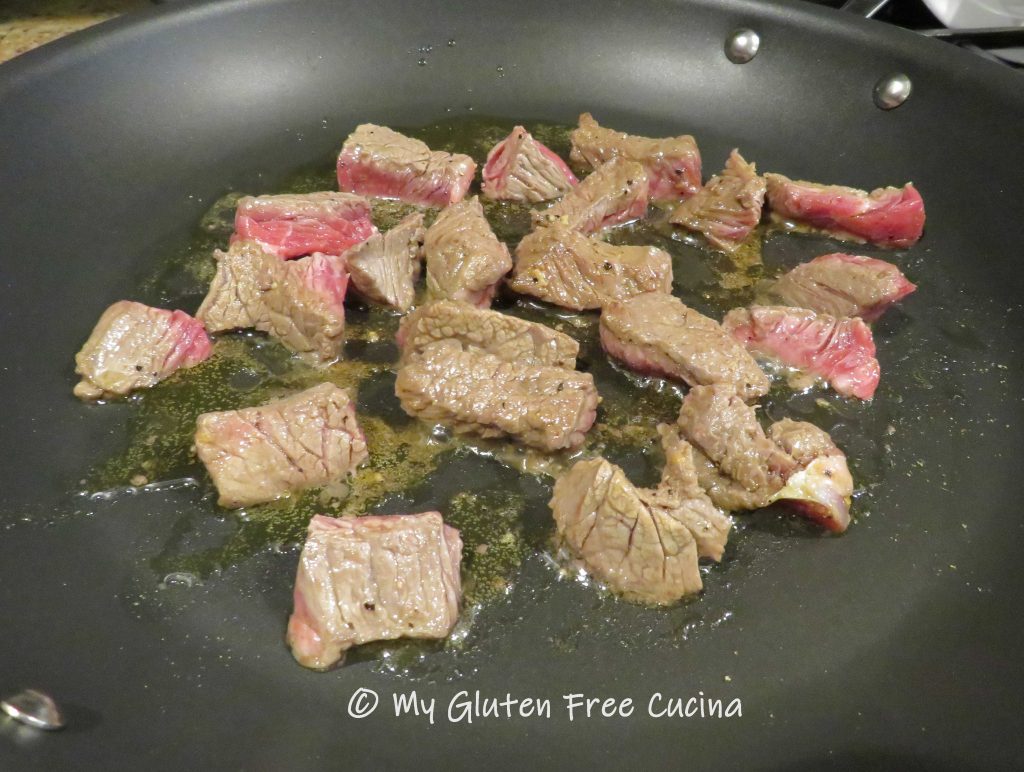
Brown the meat on both sides, turning once.

It doesn’t have to be cooked through at this point.

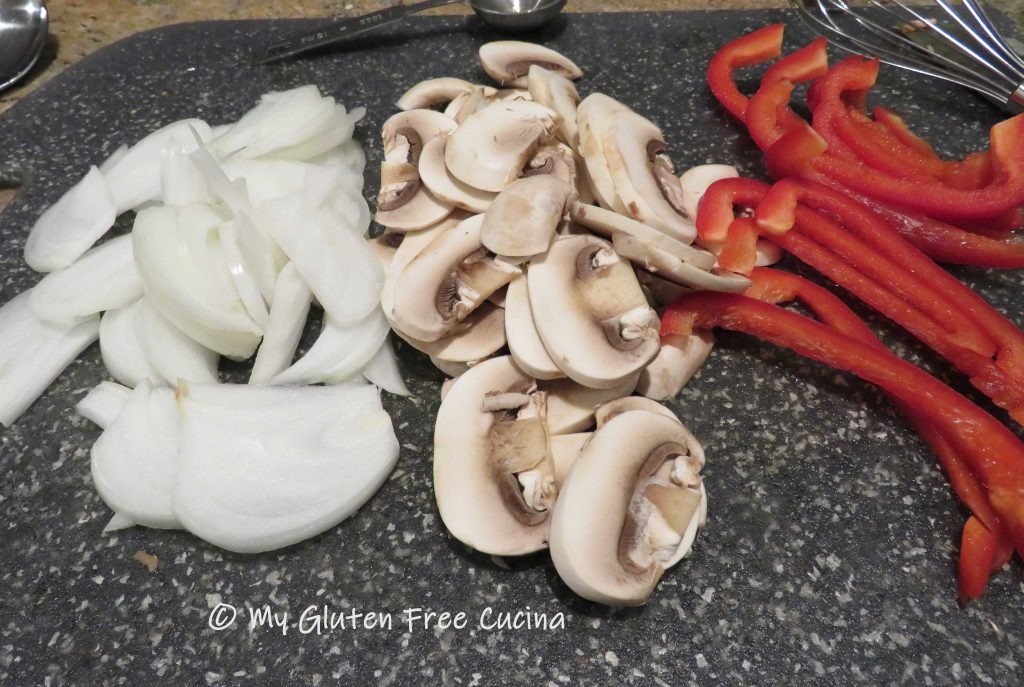
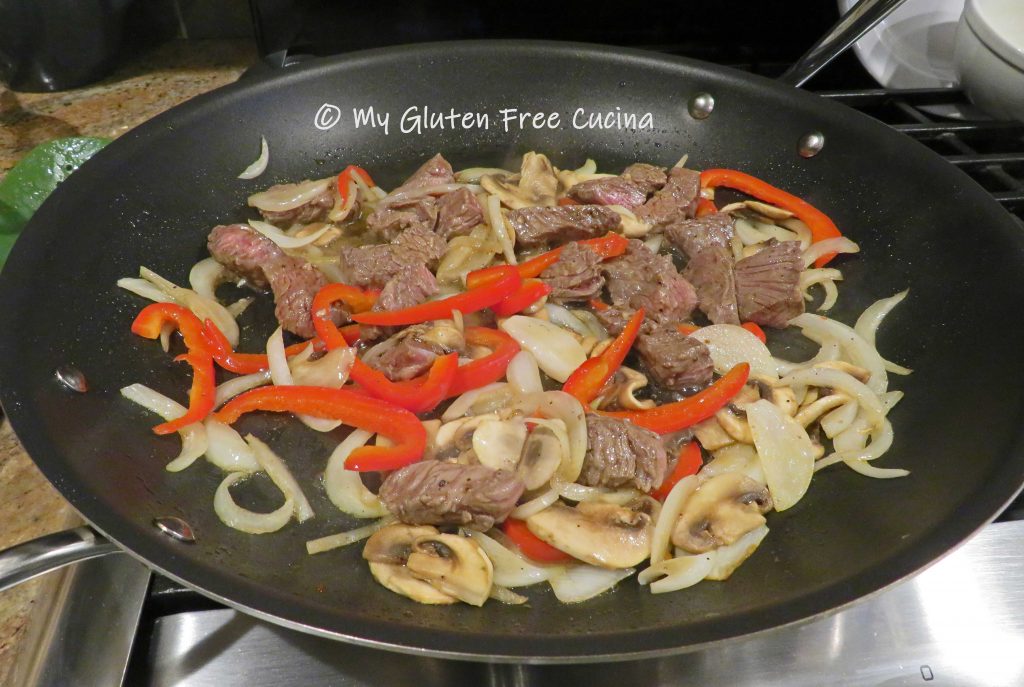
Transfer to a bowl, wipe the skillet clean and add the veggies with more olive oil.

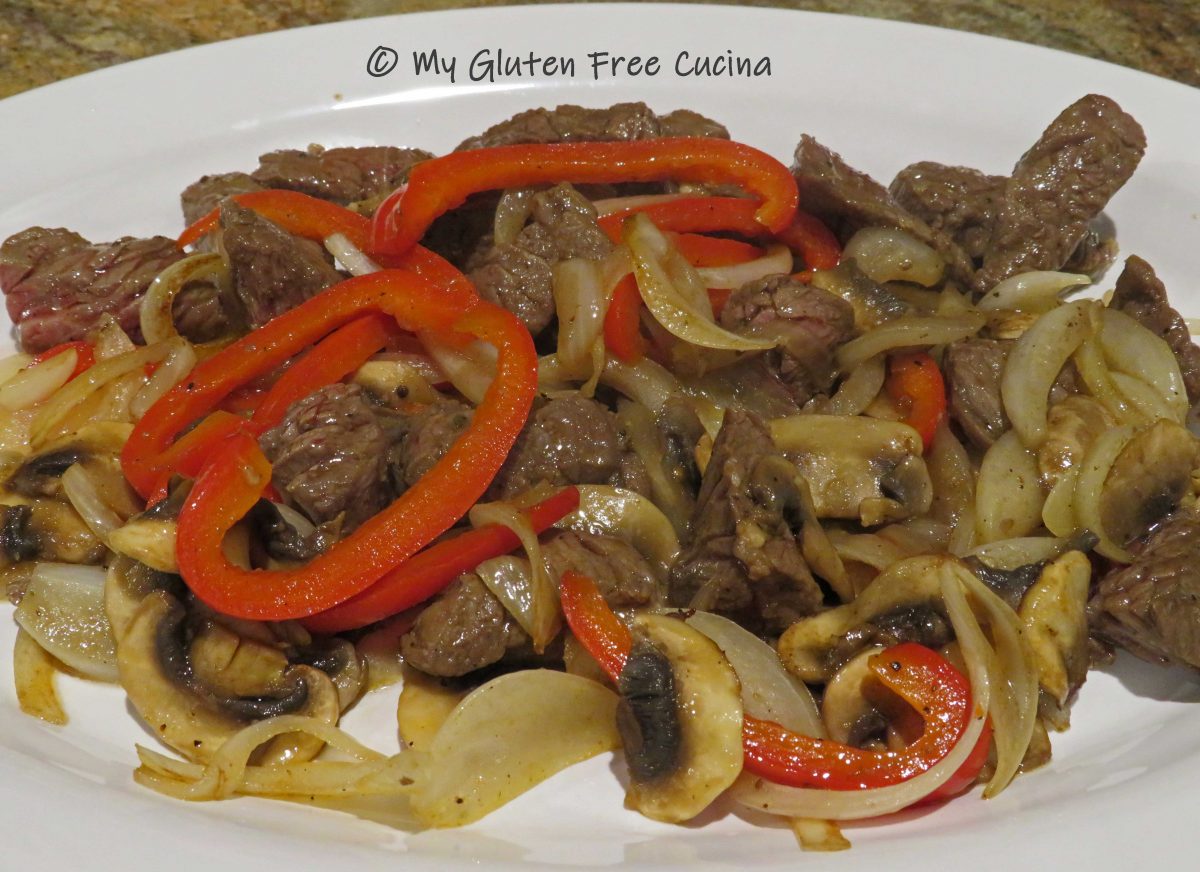
Cook several minutes until crisp tender.  Season with salt and pepper.  Add the steak tips back to the skillet to finish cooking.

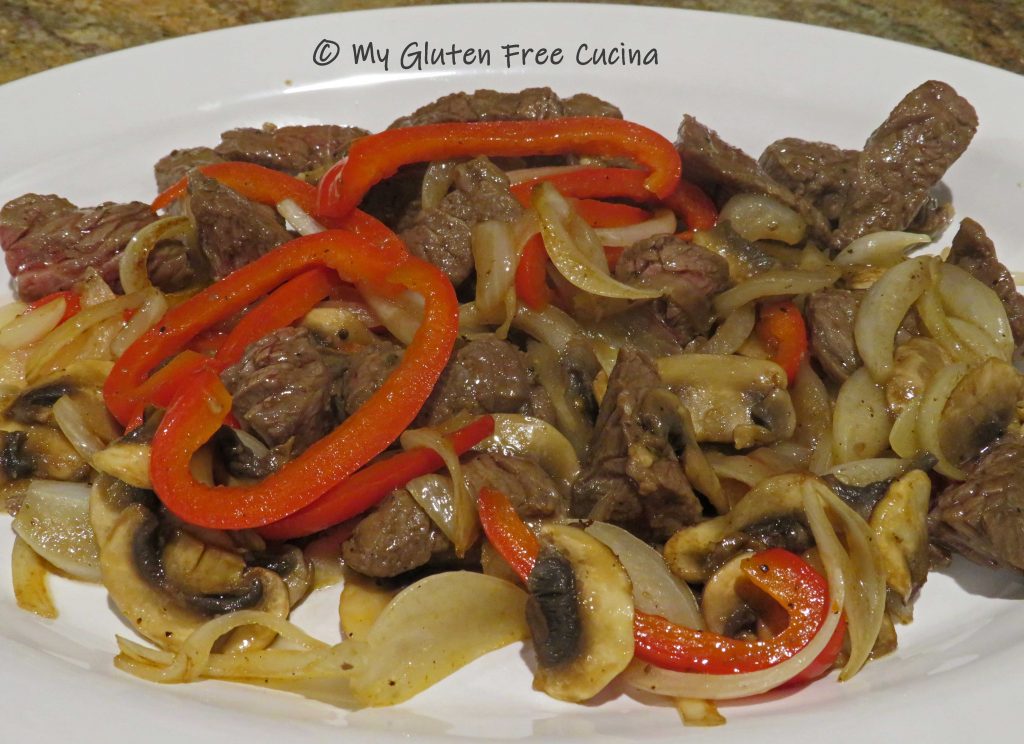
Finish with 1 tbsp. tamari or coconut aminos, and transfer to a serving platter.  You can combine with the rice at this point or keep the rice separate if you’re watching carbs.

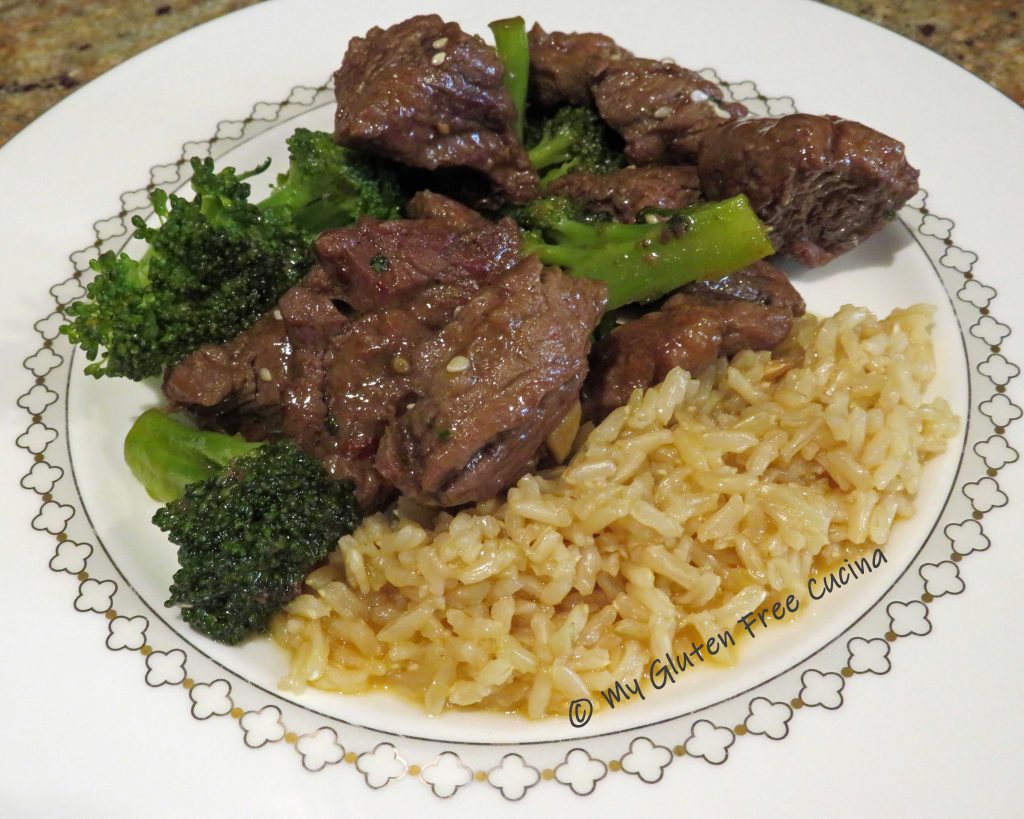
Serve with rice and you have one easy meal!

Notes: ♪♫ Tamari is a delicious, gluten free alternative to soy sauce.  San-J gluten free Tamari is my favorite.  If sodium is a concern, try Coconut Aminos.  Both gluten free and soy free, Coconut Aminos have a much lower sodium content.  Coconut Secret is the brand I use, and it works well in this recipe as well as many of my Asian inspired favorites.

Print This Post Print This Post


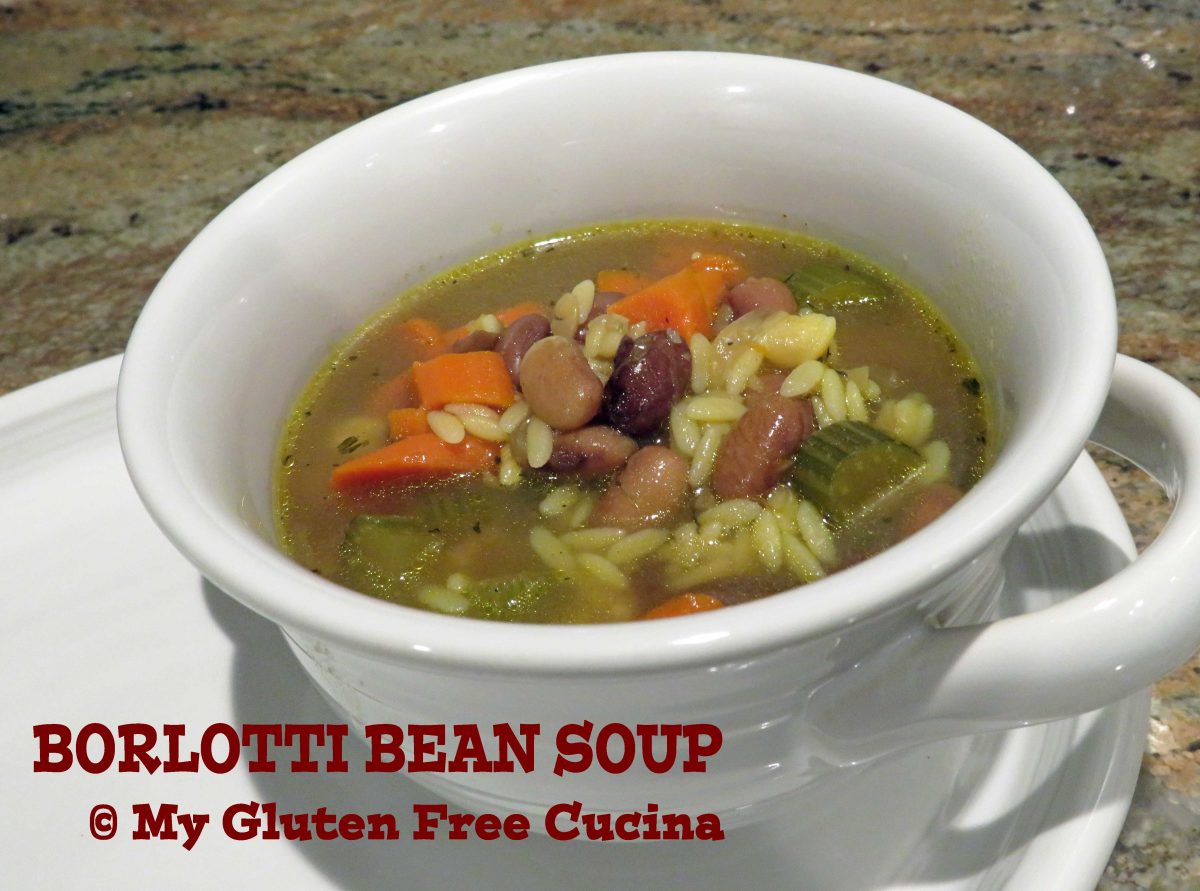
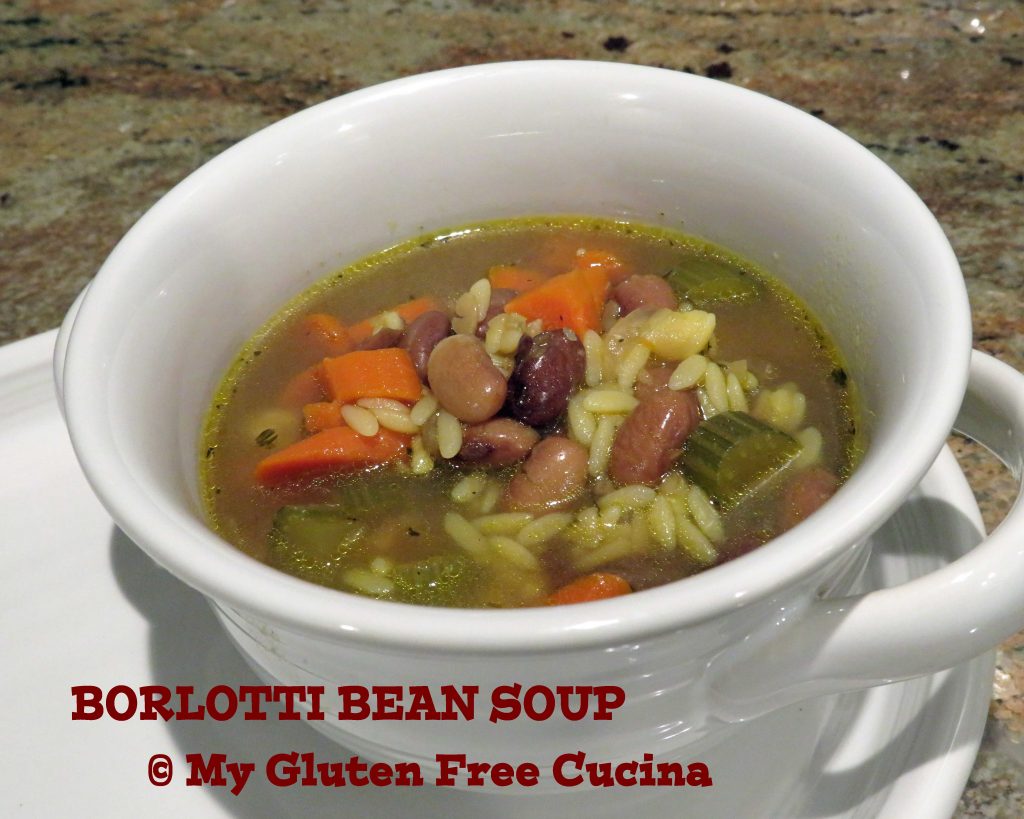
Borlotti Bean Soup

I love the smooth, creamy texture of Borlotti beans.  Also known as Cranberry beans, they are easy to work with, and an Italian favorite for winter soups.  When using dried beans, an overnight soak followed by a long slow simmer is the secret to success.  For soft, creamy beans that aren’t tough, don’t add salt until the final steps of the preparation.

I make soup frequently over the winter months.  I usually make a small pot, as I don’t want to be eating it for weeks!  This recipe makes about 4 servings, but you can definitely double or triple the recipe for a larger family.

4 servings

This post contains affiliate links.

Ingredients:

Preparation:

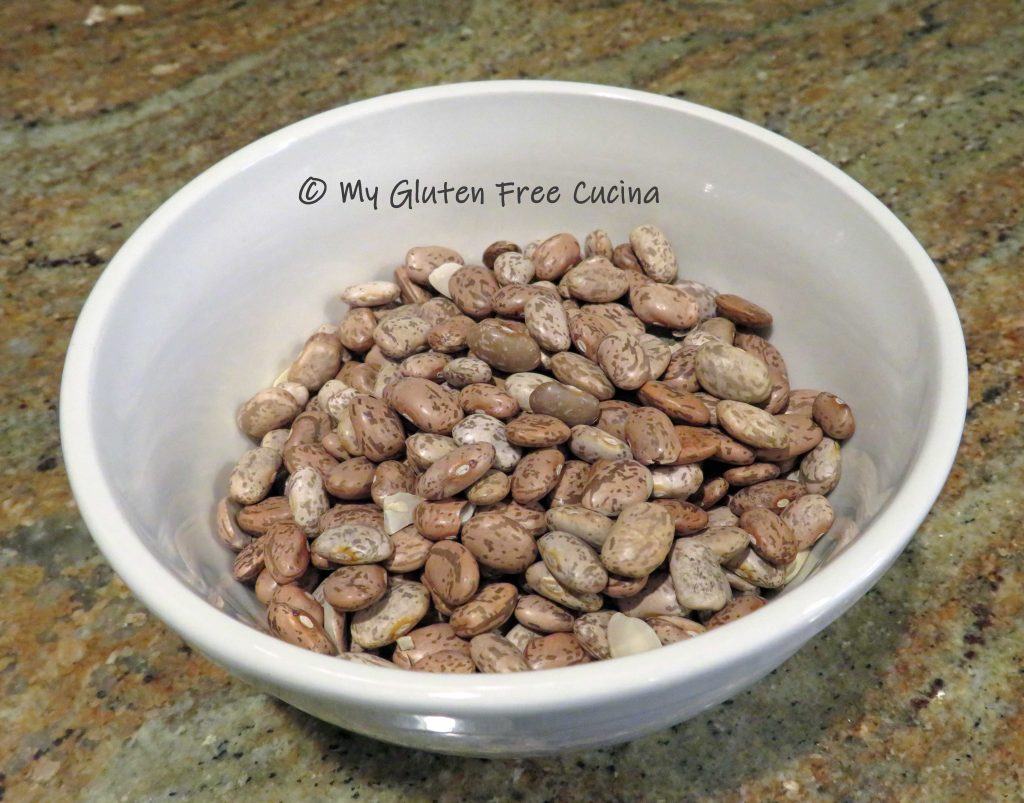
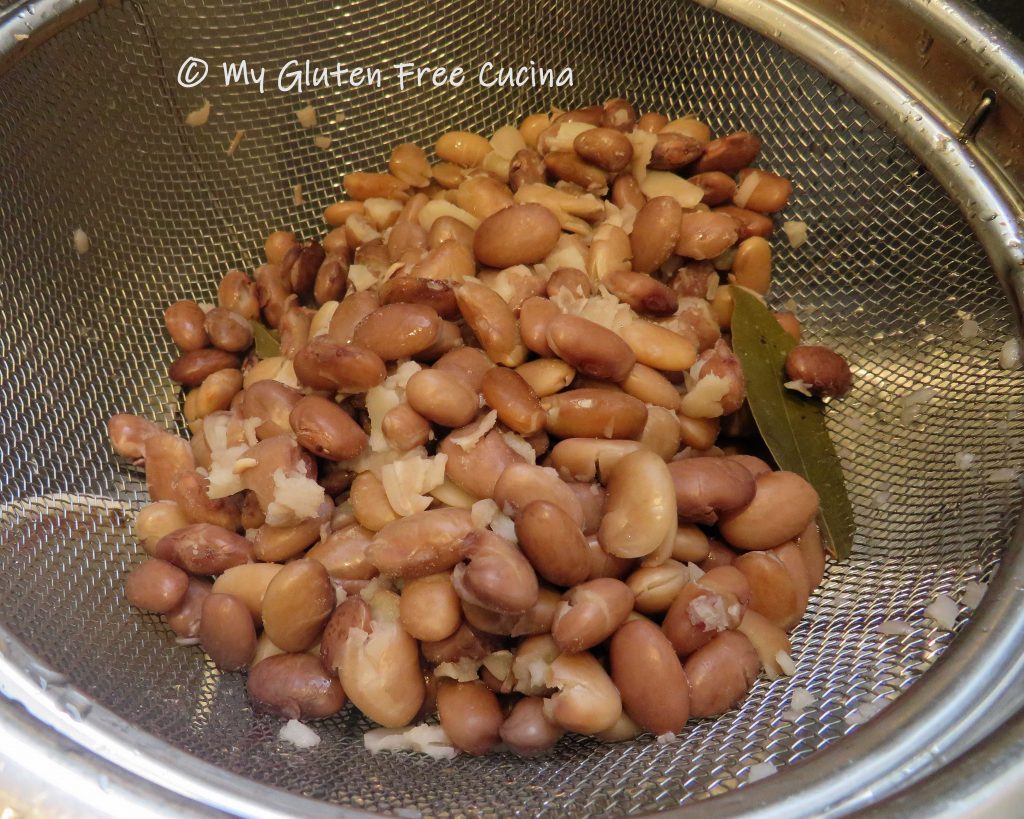
Soak the beans overnight, then drain and rinse.  Add them to a soup pot with cold, unsalted water and 2 bay leaves.  Cover and simmer 45 minutes, drain and rinse.  Then one more time, back into the pot with cold unsalted water, cover and simmer 45 minutes, drain and rinse.

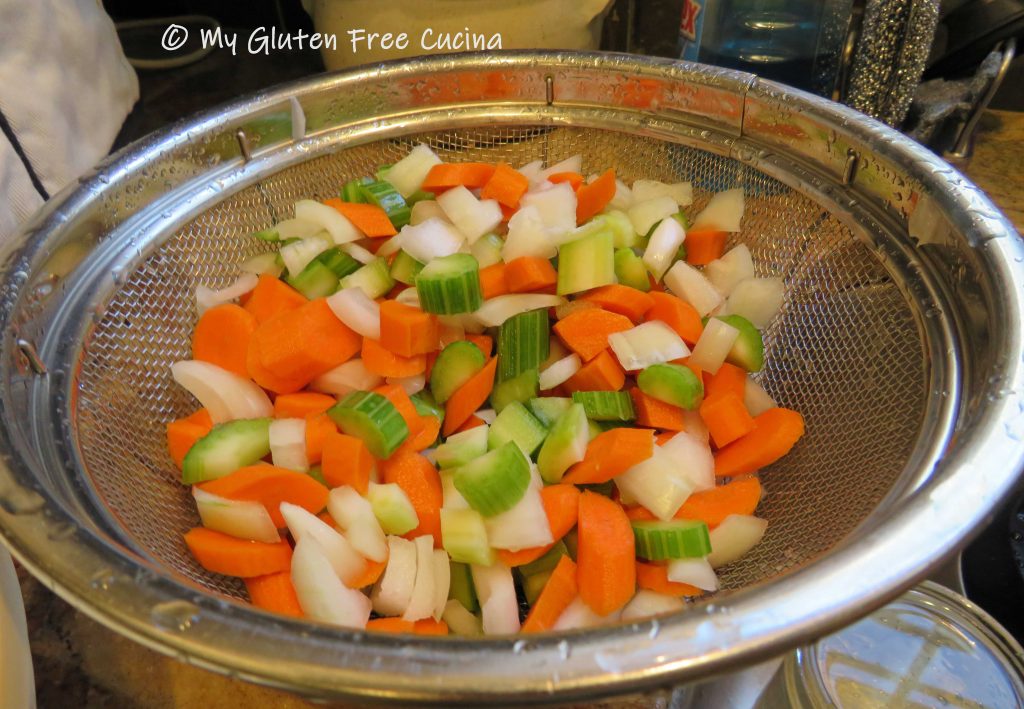
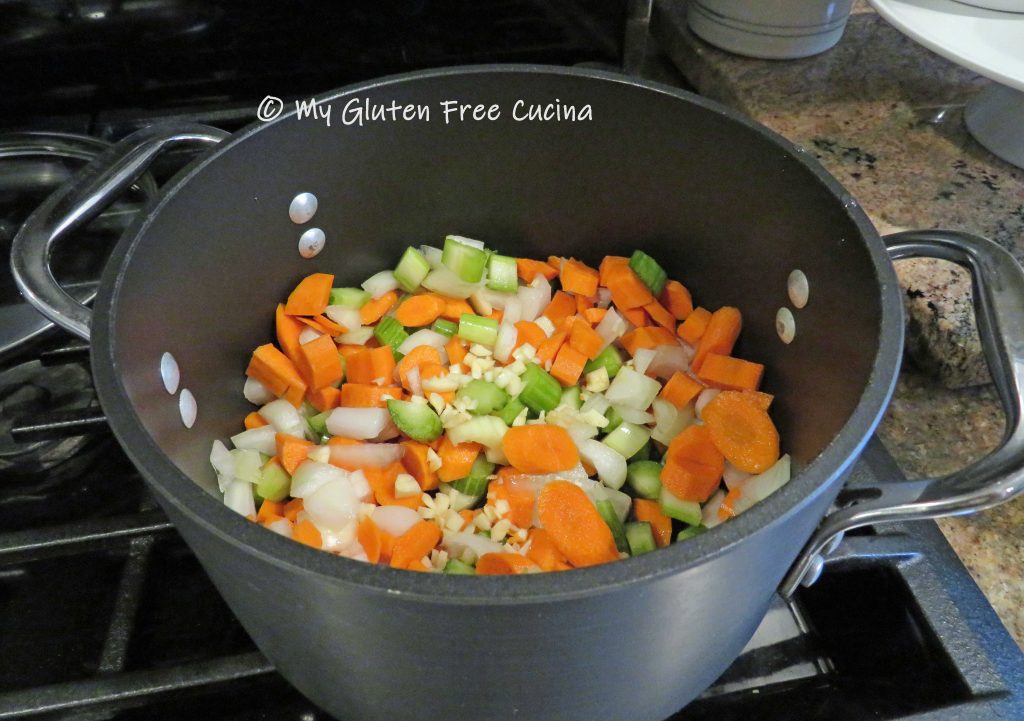
Wipe the pot clean and add a little olive oil.  Cook the carrots, celery, onion and garlic over low heat until vegetables are translucent and release some of their liquid.  Season with salt and pepper to taste.

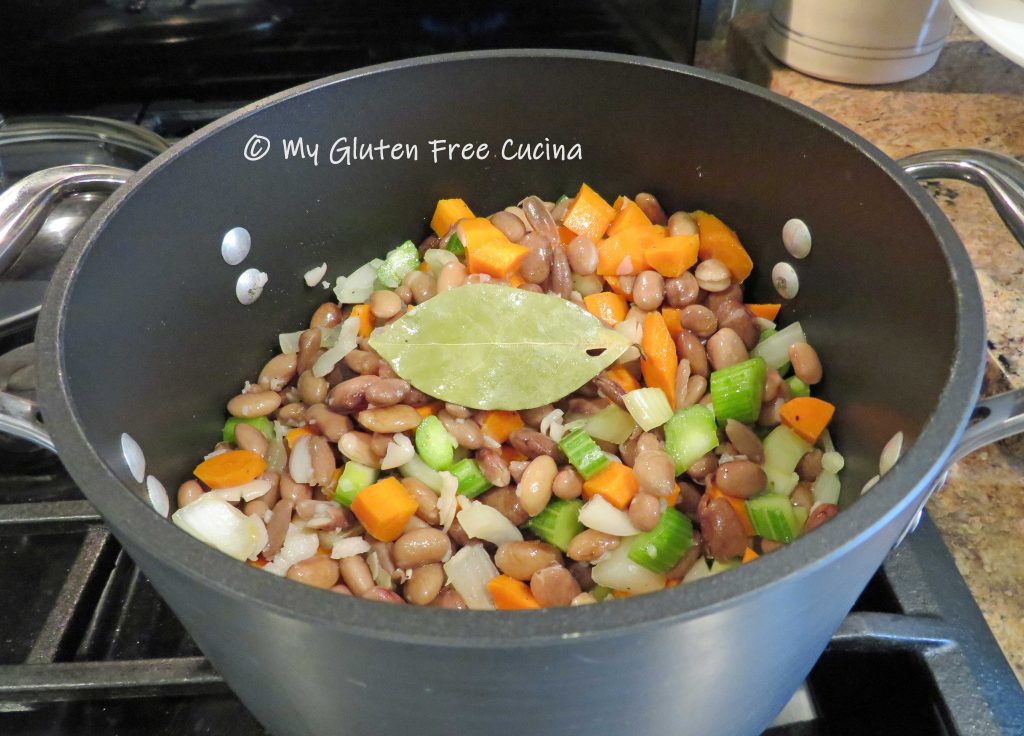
Add the cooked beans, sage, thyme, turmeric and one more bay leaf.  Season with salt and pepper.

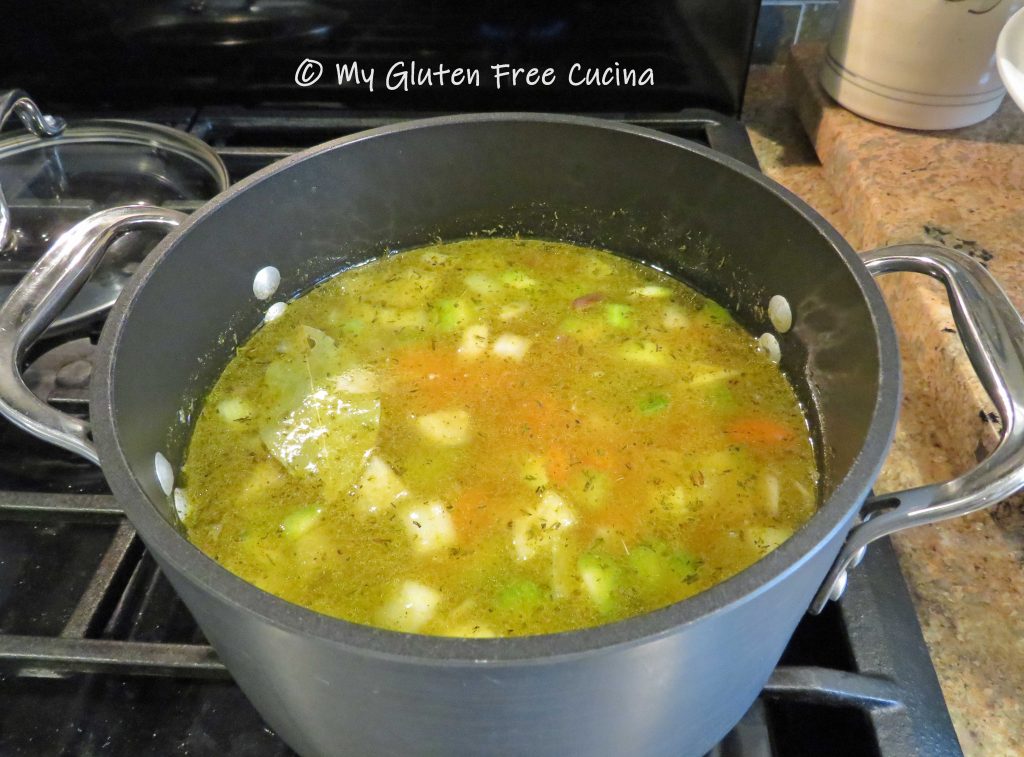
Add the chicken broth and simmer 1-1/2 hours.  Taste and adjust the seasoning if needed.

Remove from heat and add the cooked pasta or rice.  Cover and let stand for 30 minutes before serving.

Notes: ♪♫ If you like a creamier soup, you can partially puree the beans and veggies before adding the pasta.  Don’t forget to remove the bay leaves first!

Print This Post Print This Post

Apple Stuffed Honeynut Squash

Have you seen the adorable Honeynut Squash at your local market this fall? I couldn’t resist buying one, they are so cute!  At about 6″ in length, the size is perfect for two servings.  Similar to butternut squash, the Honeynut is much smaller and sweeter, with a dark orange pulp.

Unlike the larger butternut and acorn variety, you won’t pull a muscle slicing through this petite squash.  The skin is much thinner, so thin that you can eat it!

Roasted and stuffed with a simple sauté of diced apples, the finished dish is as appealing to the taste buds as it is to the eye.

Follow these easy steps to create the perfect fall side dish!

Ingredients:

  • 1 Honeynut squash
  • olive oil
  • maple seasoning
  • 1 small apple
  • 1 tsp. butter
  • cinnamon
  • fresh rosemary for garnish

Preparation:

Roasting is the way to go with this tiny squash.  Simply cut the squash in half, scoop out the seeds and brush the inside with olive oil.

Sprinkle with seasoning of your choice.

Arrange cut side down on a baking sheet lined with parchment or foil and bake for 35 minutes at 375º.

The Honeynut squash is so small, you can easily fit one on a sheet pan with another veggie course.

While the squash is baking, peel and dice the apple.  I used a Honeycrisp apple.  Heat a small skillet on medium low.  Add the apples with a pat of butter and toss to combine.  Cook 3 minutes, stirring frequently.  Sprinkle with cinnamon.

Remove the squash from the oven turn it over carefully, use tongs.  Spoon the apples into each half.  Garnish with fresh rosemary.

The old saying “we eat with our eyes first” is so true.  Look at that beautiful presentation!  Guest worthy, but on the table in under an hour so you can try it on a weeknight!  Be sure to pin this side dish to your fall favorites!

Notes ♪♫ Not a paid link, just sharing that I used Taste of Inspirations Maple and Sage Pork Rub in this recipe!  It is both gluten free and low sodium.

Print This Post Print This Post

Hibachi Style Chicken with Fried Rice, Gluten Free and Low Sodium

Asian inspired meals are among my favorites, and while I have had no problem adapting my recipes to a gluten free version, they still have quite a bit of salt.  So, in this recipe, I used Coconut Aminos, a staple in my gluten free pantry.

What exactly are coconut aminos?

A soy free alternative to soy sauce, coconut aminos are made with coconut tree sap and salt.  A savory seasoning with a salty, umami flavor profile it contains far less sodium than traditional soy sauce or tamari.  In fact, I was shocked to find that a tablespoon of coconut aminos had 1/10th the sodium of tamari!  A huge difference.

This meal was a success, gluten free and lower in sodium, still delicious!

4 servings

This post contains affiliate links.

Ingredients:

  • 16 oz. boneless chicken breast
  • 1 cup mixed vegetables such as peas, carrots, onions, celery, mushrooms
  • 1 tbsp. olive oil
  • 3 tsp. toasted sesame oil, divided
  • 4 tbsp. Coconut Aminos, divided
  • 1 tsp. Tamari
  • 1/4 cup gluten free chicken broth
  • 1/4 tsp. powdered ginger
  • 1/4 tsp. garlic powder
  • 1 tsp. cornstarch

For the rice

  • 3/4 cup long grain brown rice
  • 1 cup gluten free broth (chicken or vegetable)
  • 1 cup water
  • 1/4 tsp. seasoned salt

For the egg

  • 1 egg + 1 tbsp. water
  • cooking spray

Preparation:

First make the rice.  You can do this ahead of time, in fact it will be better if you make the rice a day ahead and refrigerate.  Cook the rice according to package directions either stove top or in a rice cooker.

Next, whisk together the chicken broth, garlic powder, ginger and cornstarch.  Dice the chicken into 1″ cubes and toss with 1 tbsp. coconut aminos and 1 tsp. tamari.  Cut the vegetables into small dice (if using frozen vegetables, thaw them while you make the rest of the dish).

Coat a large, nonstick skillet with cooking spray over medium low heat.  Scramble the egg, chop into small pieces and set aside.

Add 1 tbsp. olive oil and 1 tsp. sesame oil to the skillet.  Add the diced chicken and begin browning.

Turn to finish cooking through.

Transfer the chicken to a bowl and keep warm.  Add the veggies to the skillet with 1 tsp. sesame oil and 1 tbsp. coconut aminos.

When the veggies are crisp tender add back the chicken.  Pour in the chicken broth mixture, stirring and tossing to combine until the liquid thickens.

Finish with 1 tbsp. coconut aminos and transfer to a serving dish.  Leave a few veggies in the pan to toss with the rice.

Finally, add the cooked rice to the skillet with 1 tbsp. coconut aminos and 1 tsp. sesame oil and stir to heat through.  Add back the cooked egg and this meal is ready!

Dinner is served, gluten free and low sodium!

Notes ♪♫ My late husband Mr. Cucina and I had a long-standing tradition of going out for Hibachi on Halloween night.  We did this every Halloween for over 20 years!  When I was diagnosed with Celiac disease, we even found a Hibachi restaurant that would prepare my meal gluten free, and the tradition continued.  When his health took a turn for the worse and we could no longer go out to eat, I made this meal for us at home one Halloween night.  Things change, but this old tradition of ours will always bring back happy memories.

Print This Post Print This Post