Veal Stew with Caramelized Onions

You won’t believe how a few simple ingredients can produce the most tender, flavorful stew.  With today’s prices, you may think that veal is not in the budget, but stew veal is made with those tough but economical cuts that benefit from slow braising, easy on the pocketbook and perfect for Sunday afternoons!

This post contains affiliate links.

The basic stew is quite versatile and pairs well with so many things.  The onions cook down to make a delicious gravy.  You can serve it with risotto, pasta or polenta.  For a New England style dish, you could add potatoes and carrots.  So many possibilities!  And those caramelized onions- oh my!

I used a stainless-steel universal pan to cook this meal, excellent for both caramelizing the onions and browning the meat.

Ingredients:

  • 1 lb. veal stew meat
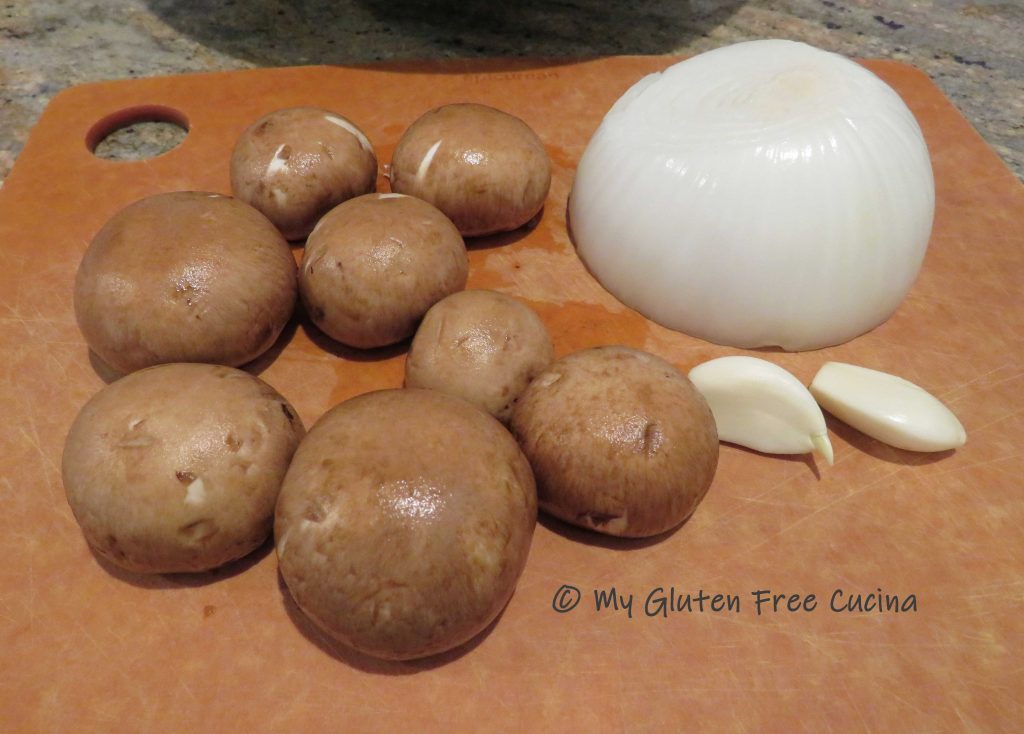
  • 1 large, sweet onion
  • gluten free Italian seasoning
  • salt and pepper to taste
  • 2 tbsp. olive oil, divided
  • 2 tbsp. butter, divided
  • 1/2 cup white wine

Preparation:

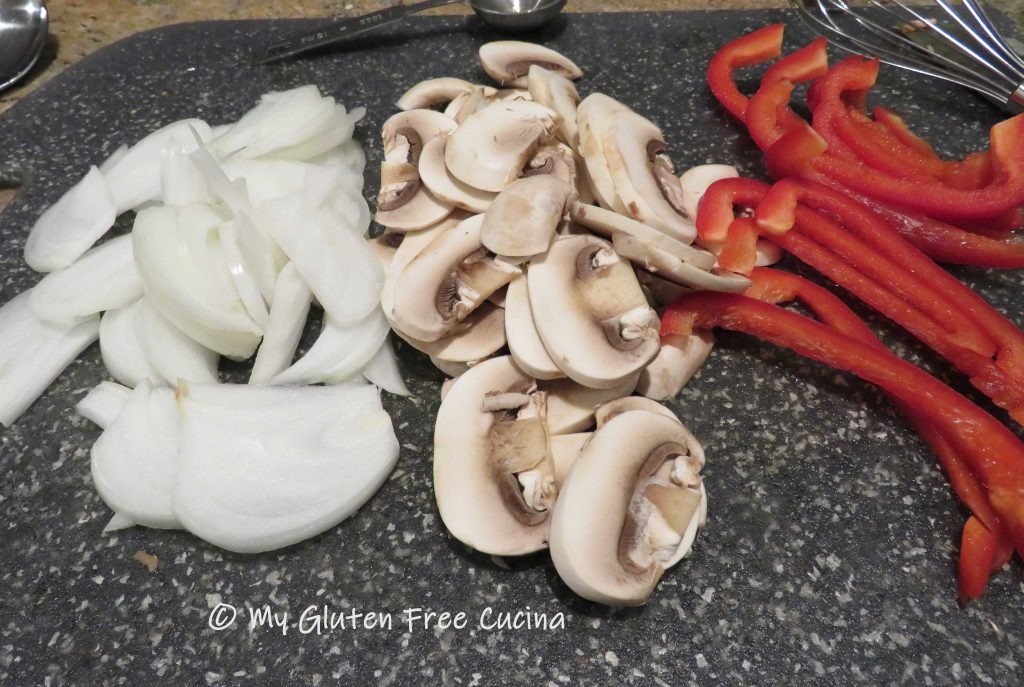
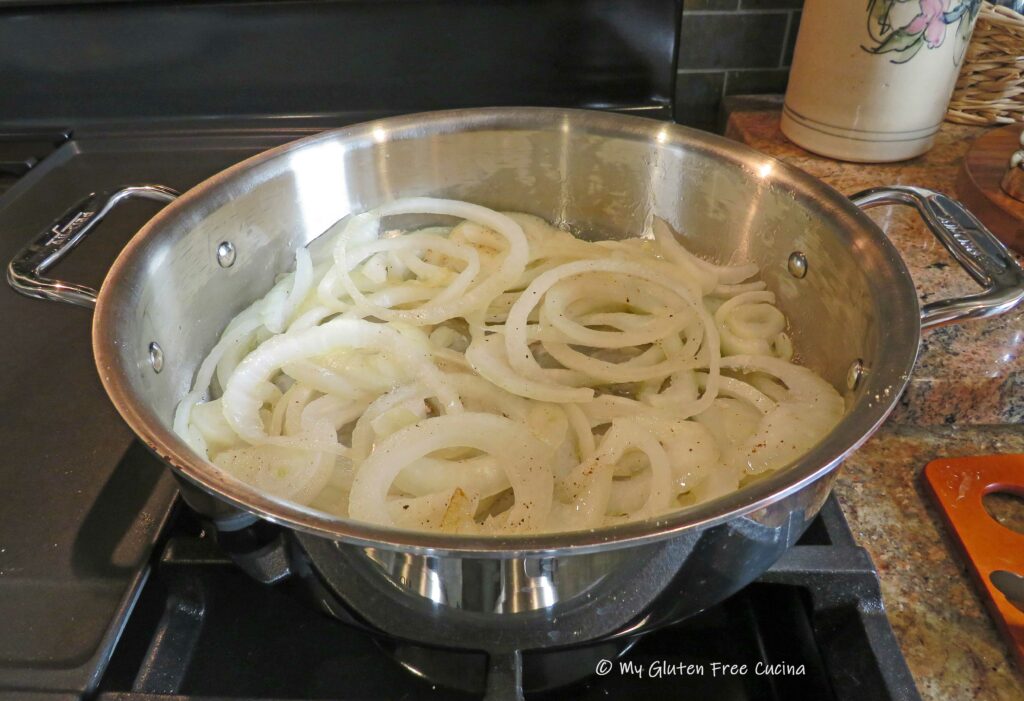
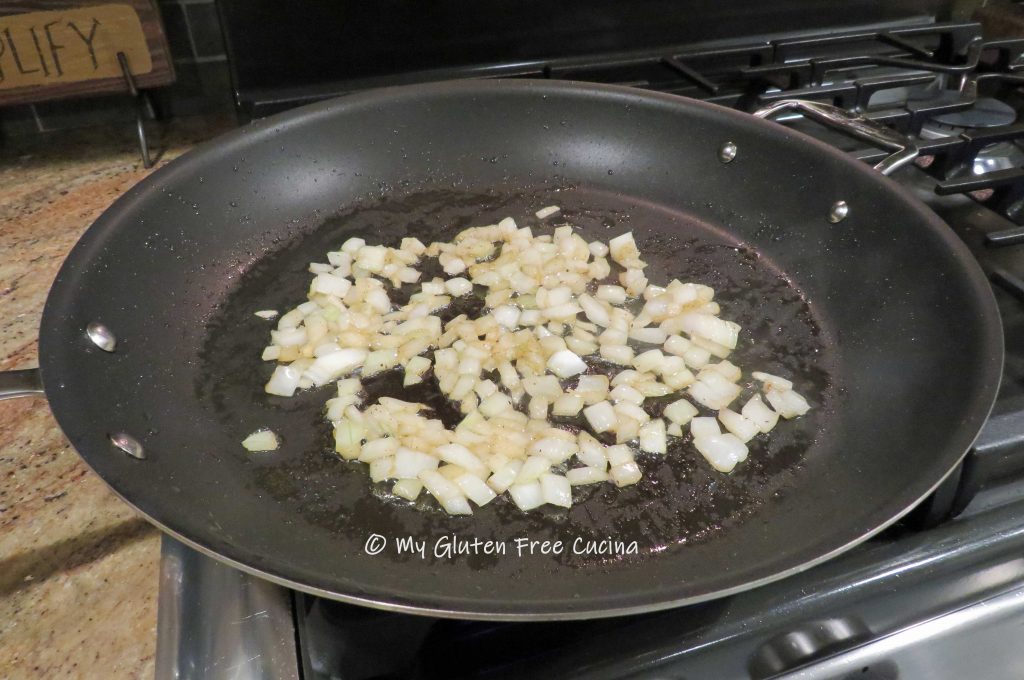
Slice the onion into thin rings.  In a stainless-steel pan with cover, add 1 tbsp. each olive oil and butter.  Begin cooking the onions on low heat.

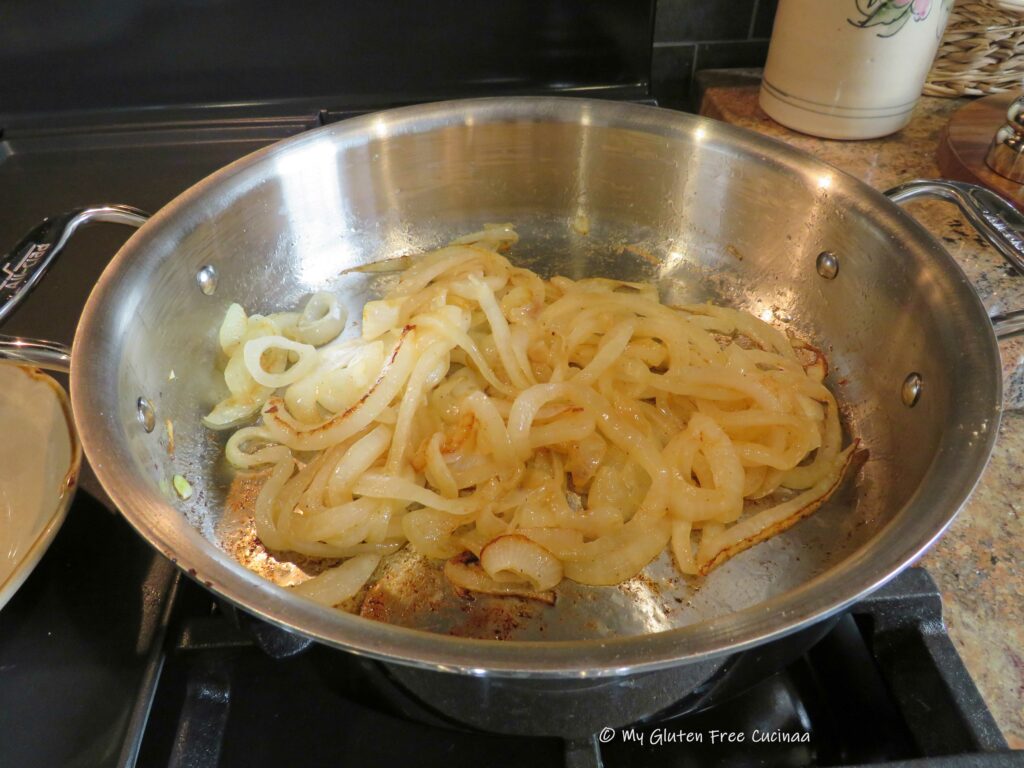
When the onions are soft and just beginning to brown, remove them from the pan and set aside.  They will finish caramelizing in the oven.

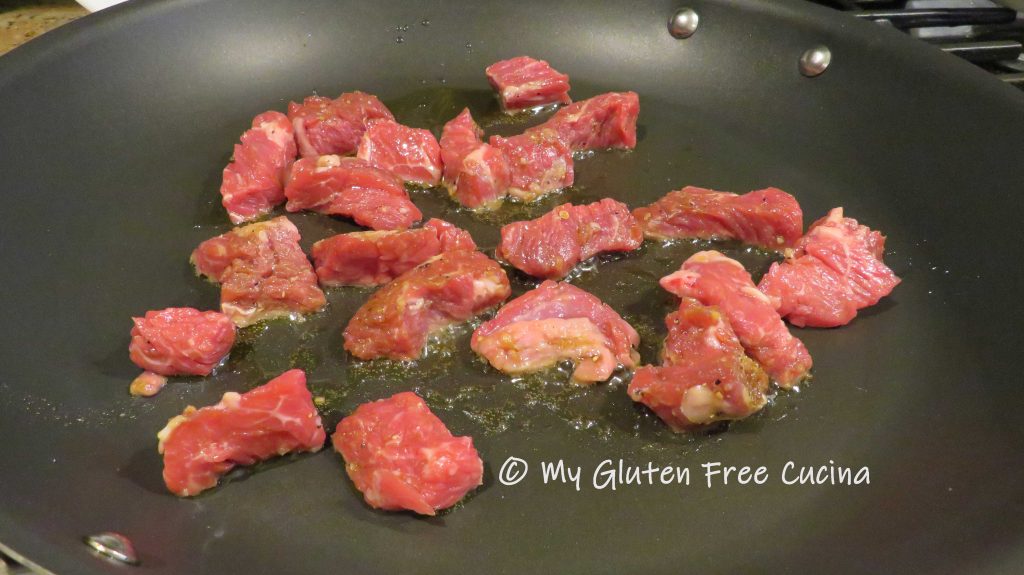
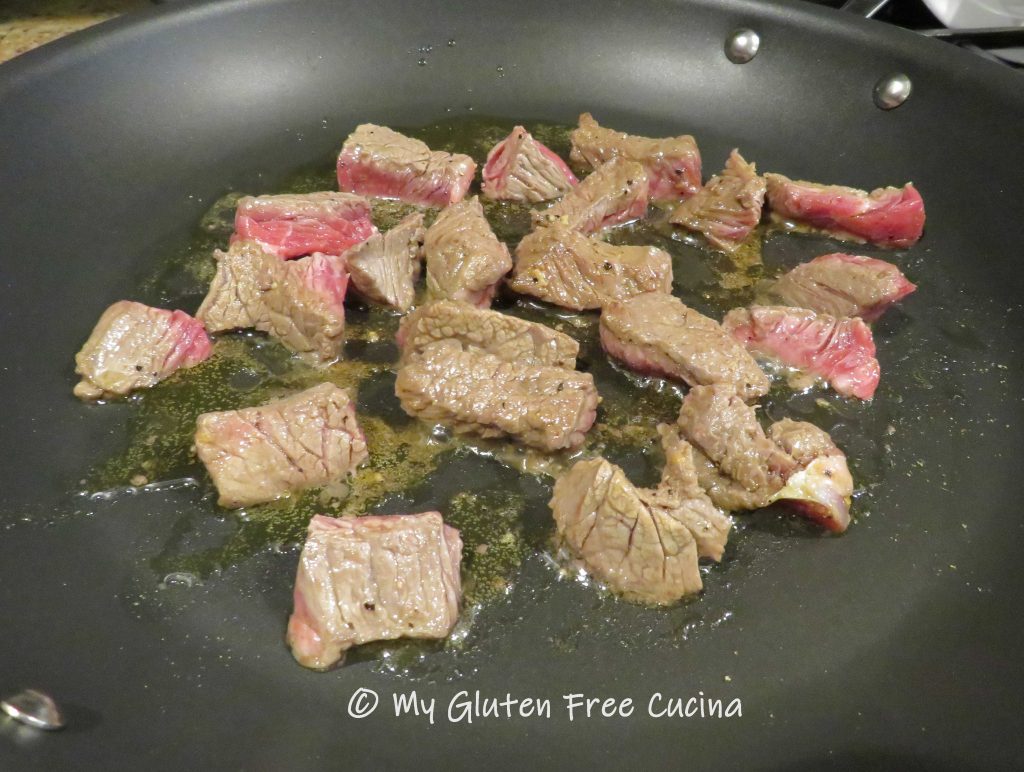
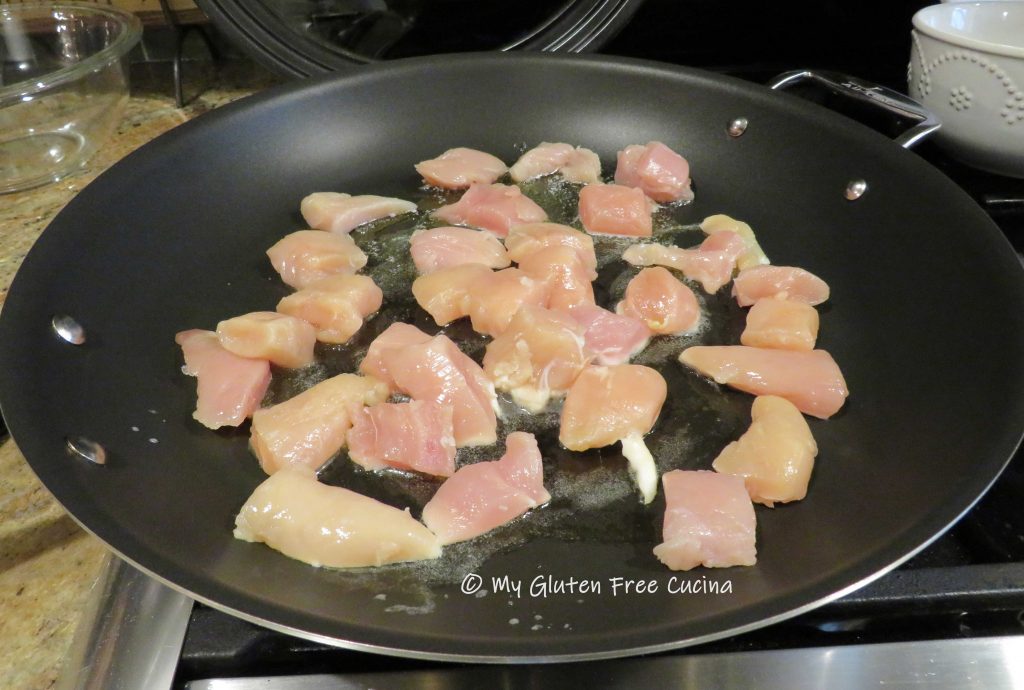
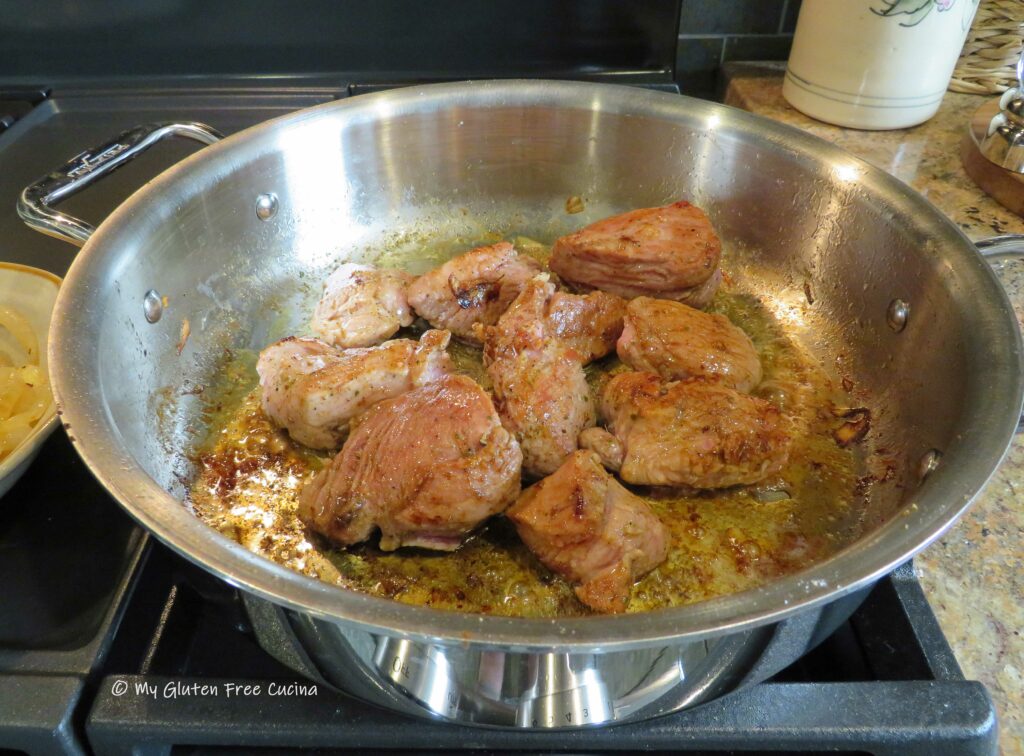
In the same pan, heat the remaining olive oil and butter and begin browning the meat on all sides.  Season with salt, pepper and Italian seasoning.

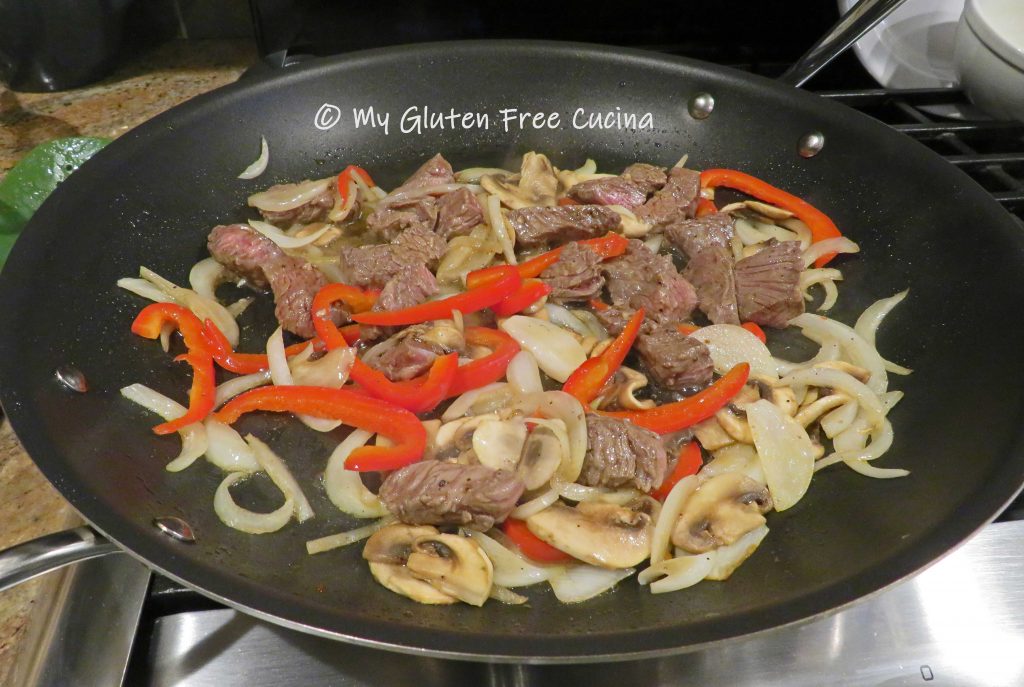
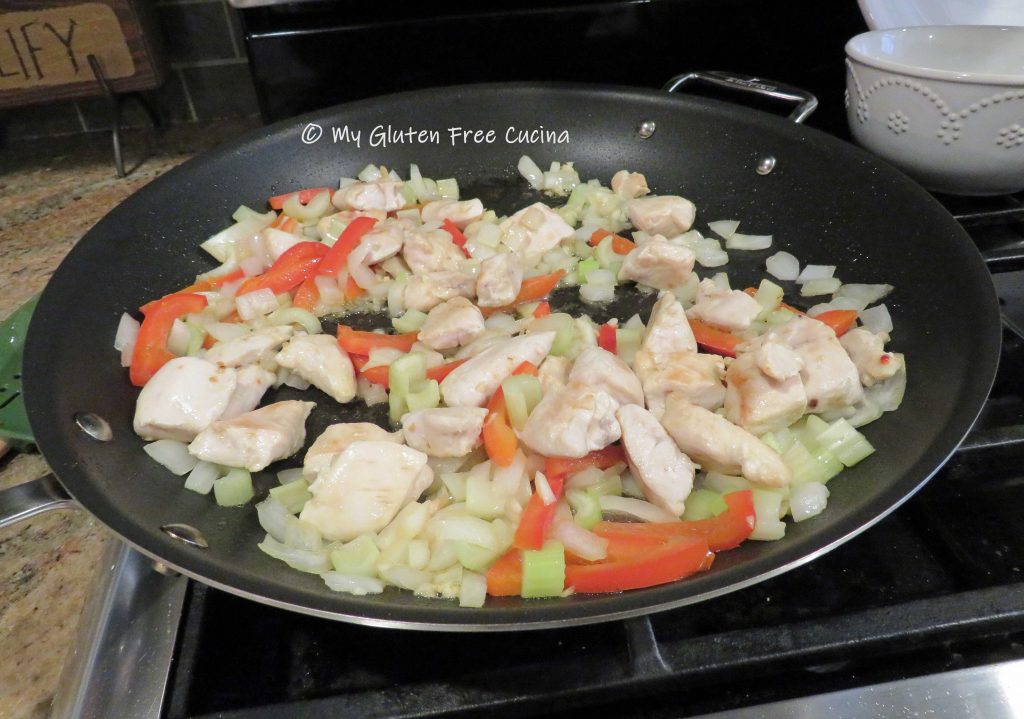
Add the onions back to the pan along with 1/2 cup of white wine.

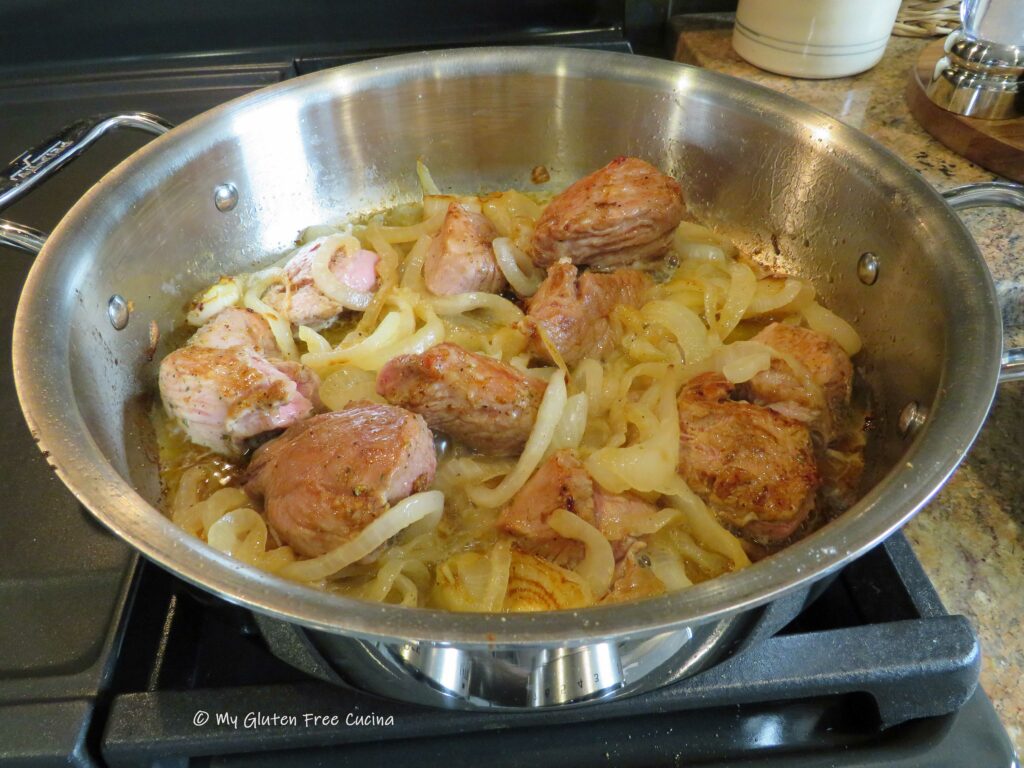
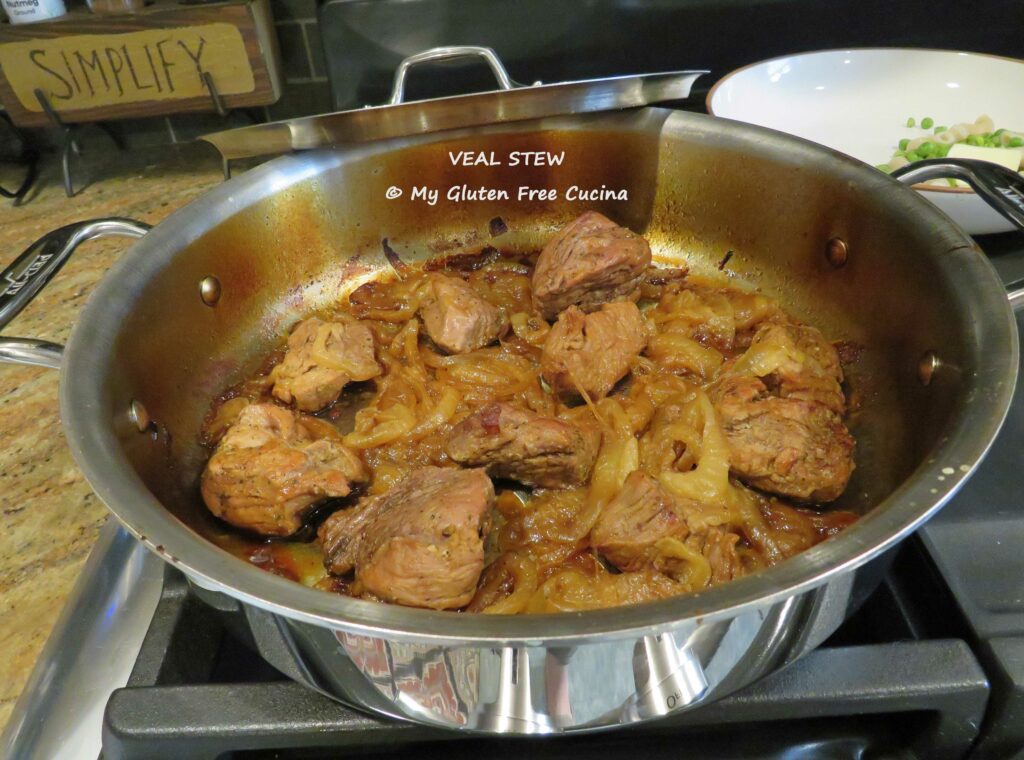
That’s it friends.  Cover the pan and place in a 300º oven for 2 hours.

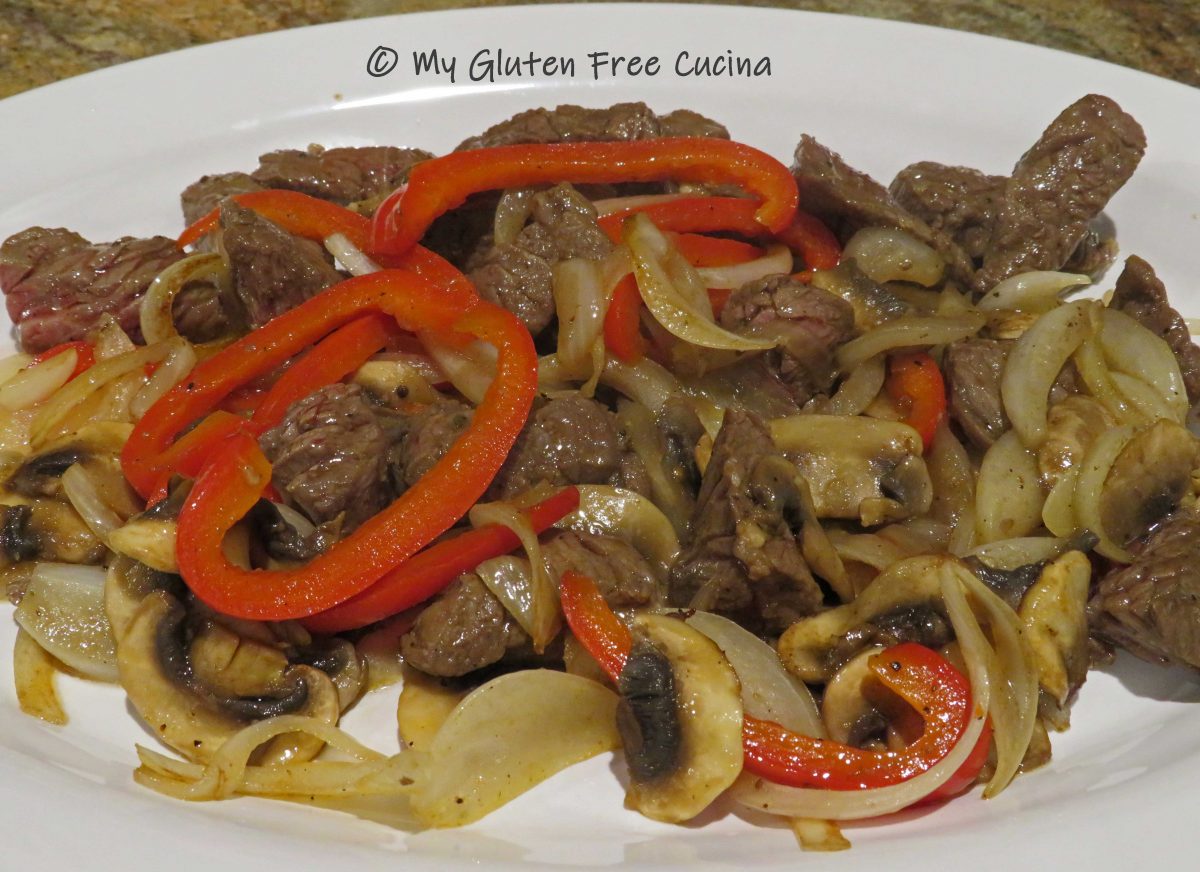
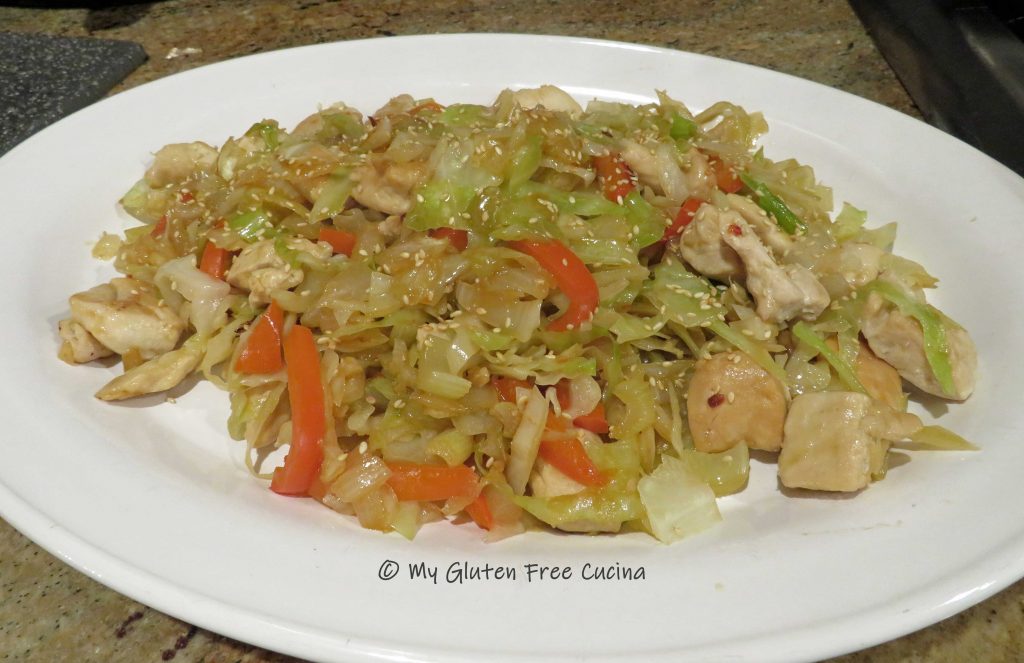
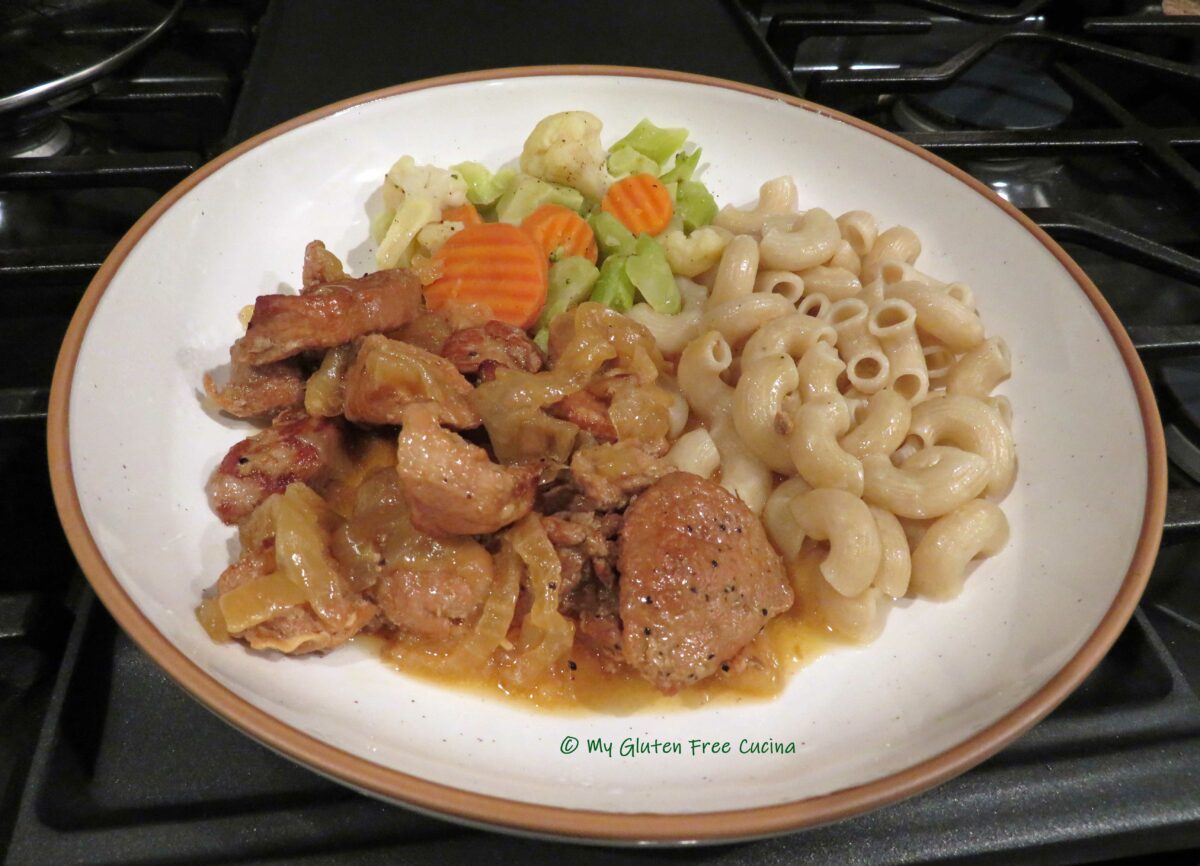
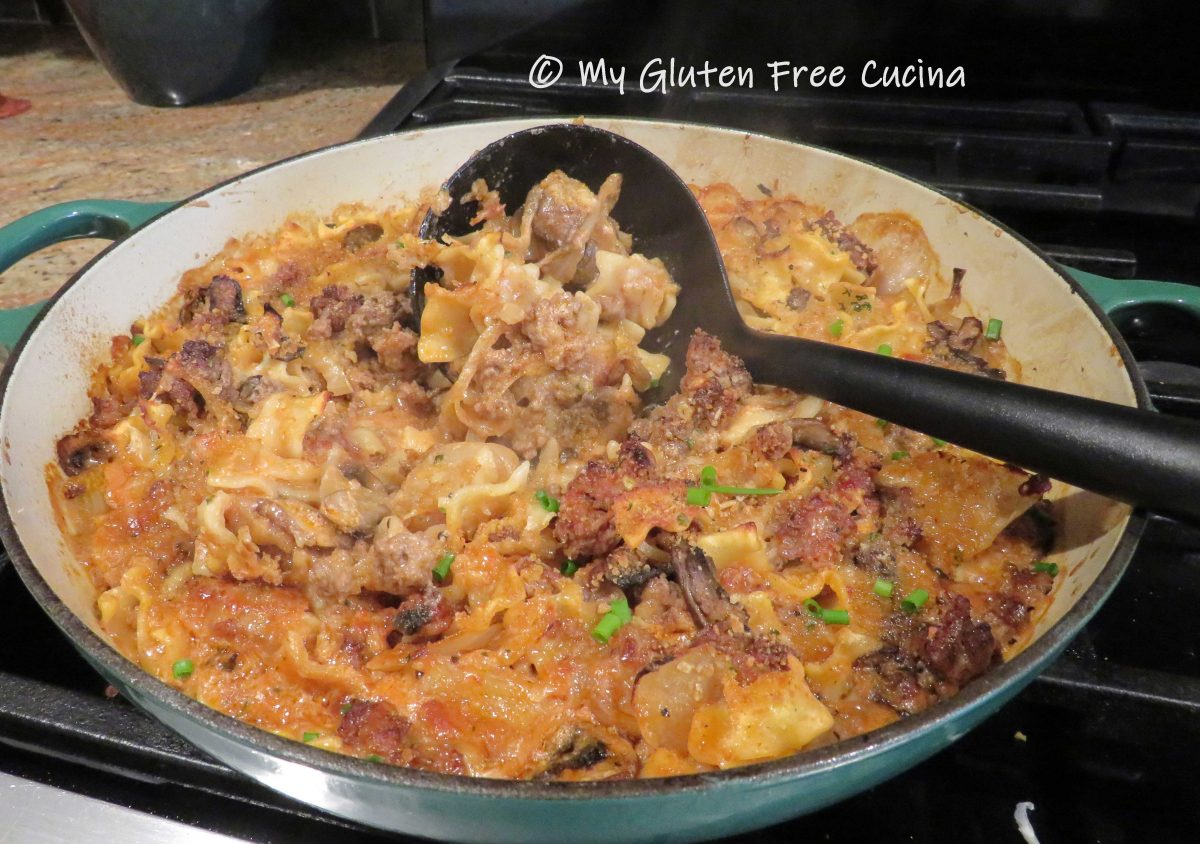
Look at that!  No knife needed to cut this meat- it is melt-in-your-mouth tender.

This was an easy meal that turned out great.  I love comfort food during the winter months and this one is on repeat!   

Notes ♪♫ Be sure to use real white wine (that you would drink) in this recipe.  Do not use cooking wine, it’s full of salt and who knows what!  I do not drink white wine, but I always keep a 4-pack of single serve bottles in the pantry for cooking.  Opening one small bottle at a time for a recipe means there is less waste.  Once opened, the remainder can go in the refrigerator.  If you enjoy the white wine, then pour a glass for the cook (red 🍷for me, please)!  Cheers!

Print This Post Print This Post

Skillet Farfalle with Diced Ham

I love easy skillet dinners like this one for busy weeknights!  You can make the whole meal beginning to end in about 30 minutes.  Honestly, if you prep the veggies the night before it can be ready in less time than that.  It’s a great way to use leftover ham, or you can purchase a ham steak which is what I did here.  Don’t forget those little finishing touches that can make a meal special, in this case it’s a sprinkle of toasted Pignoli (pine nuts), a favorite at our house!

3-4 Servings

This post contains affiliate links.

Ingredients:

  • 8 oz. boneless ham steak, cut into small cubes
  • 4 oz. gluten free pasta
  • 1 cup sweet onion, diced
  • 1 tbsp. garlic, minced
  • 1 cup frozen peas, thawed
  • 1 can (14.5 oz.) diced tomatoes
  • 1/2 tsp. gluten free Italian seasoning
  • salt and pepper to taste
  • Olive oil
  • 1 tbsp. pignoli (pine nuts), toasted
  • 1/2 tsp. Italian seasoning
  • fresh Italian parsley, for garnish
  • grated Parmesan, for serving

Preparation:

Toast the pignoli until lightly browned and fragrant.  I like to use a small saucepan, so they don’t jump all over the place.  Set aside for garnish.

Cook the pasta to 1 minute less than package directions, drain and set aside.  While the pasta cooks, heat a large, nonstick skillet with 1 tbsp. olive oil and cook the ham 3 minutes.  Remove and set aside.

Add a little more olive oil and cook the onions until just beginning to brown, about 3 minutes.  Add the garlic and peas, cook 2 minutes more stirring frequently.  Season with salt and pepper.

Add the tomatoes with their liquid, toss well to combine and cook until liquid almost evaporates.  If the pan is too dry add a ladle of pasta water.  Sprinkle with Italian seasoning.

Add back the ham.

Next add back the drained pasta and toss well.  Drizzle with olive oil, stir and toss to finish cooking the pasta, 1 minute more.  Sprinkle grated cheese.

Transfer to a serving dish, garnish with parsley and toasted pignoli, and serve with grated cheese.

Notes ♪♫ I used Jovial gluten free farfalle (bowtie pasta) in this recipe.  One of my favorites, it has great taste and chew.  The Smithfield ham steak was labeled gluten free.  Always check ingredient labels for hidden gluten, especially in processed foods and seasoning blends.

Originally published 5/16/2020        Updated 12/10/2022

Print This Post Print This Post

Gluten Free Beef Stroganoff

I love making over my favorite comfort foods!  Looking back through my old recipe files, I realized that I hadn’t made this dish since 2013!  Why I don’t know, because this lightened up, Gluten Free Beef Stroganoff is delicious, not to mention easier and healthier than the traditional version.  Try it, I promise you won’t miss the gluten or the extra calories!

4 Servings

This post contains affiliate links.

Ingredients:

Preparation:

Preheat the oven to 350º.

For best results use a heavy, oven safe pan or skillet.  I used my Cast Iron Braiser, it goes from stovetop to oven to table.  Don’t you love one dish cooking and cleanup?

Heat the pan on medium low with a little olive oil.  Add the onions and stir to coat, cook for 2 minutes.

Add the mushrooms and continue cooking until they release their liquid.  Transfer to a bowl and set aside.

Add a bit more olive oil and begin browning the meat, breaking it up with a spatula.

Clear a space in the center of the pan and add the tomato paste.  Let it toast for a minute, then stir it into the beef.

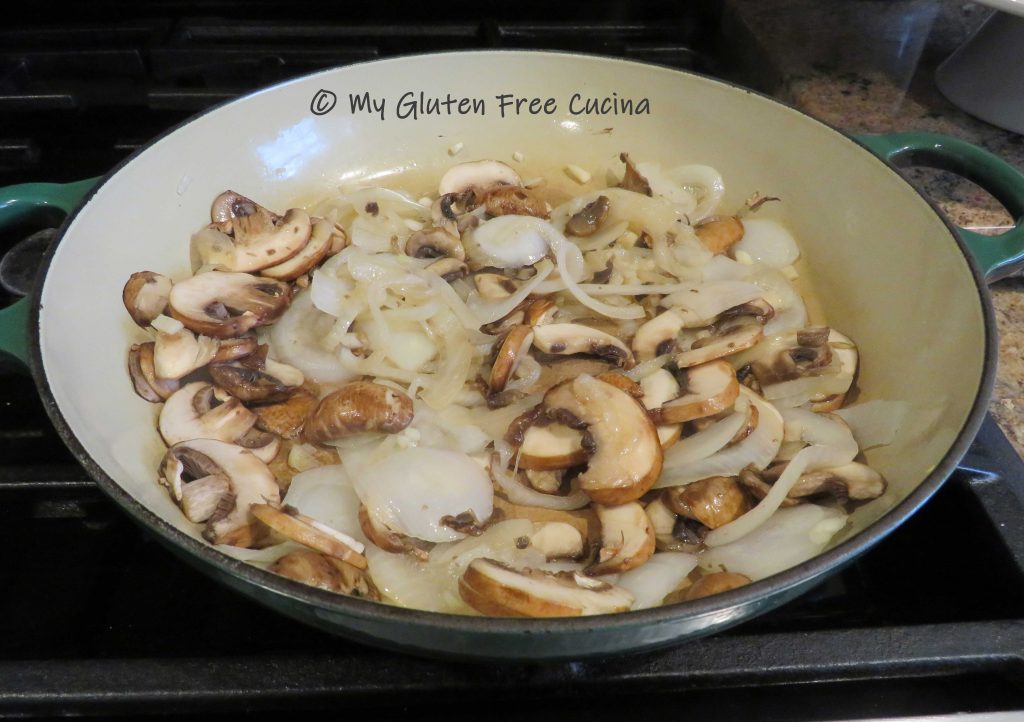
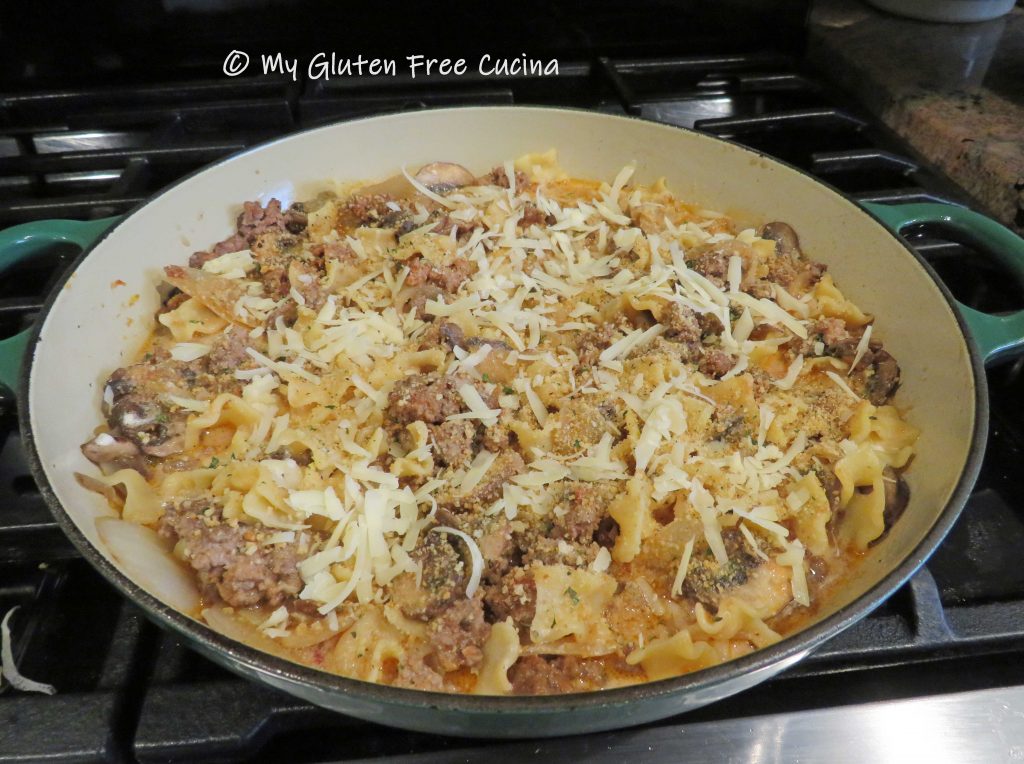
Add back the mushrooms and onions, with a sprinkle of seasoning.

Cook the pasta to 3 minutes less than package directions, drain and add to the beef mixture.

Whisk together the broth, sour cream and half and half.  Pour the mixture over everything and stir to thoroughly to combine.

Sprinkle the top with breadcrumbs and cheese.  Bake for 25 minutes at 350º.

I like to finish it under the broiler for 3-4 minutes, to give it that great color.  Just watch that it doesn’t burn!

Garnish with fresh chives and bring this delicious meal to the table.  Serve it right from the pan!

Leftovers (if you have any 🙂 ) will be great the next day, just pop them in the microwave!

Notes ♪♫ I was lucky enough to spot these gluten free noodles on sale locally, and they were absolutely perfect in this dish.  If you can’t find them near you, check online or substitute your favorite gluten free pasta.

Print This Post Print This Post

Hasselback Chicken Breast

How many times a week do you cook chicken?  If you’re like me, it’s at least once every few days.  In fact, I have some 30 recipes and counting on the blog that are made with chicken!  Fried, baked, broiled, grilled.  Chicken soup, chicken pasta, chicken pizza.  And this.

The inspiration for today’s recipe was of course the Hasselback potato.  With bacon and colorful veggies tucked into the fanned out chicken cutlets, it makes quite the fun and impressive presentation!

Dinner for 2 (we found them quite filling and saved half for lunch the next day!)

This post contains affiliate links.

Ingredients:

  • 2 boneless chicken breasts, 8 oz. each
  • 1/4 sweet onion, sliced thin
  • 4 mushrooms, sliced thin
  • 1/4 red bell pepper, sliced thin
  • 2 slices of bacon, cut into 1″ pieces
  • olive oil
  • gluten free Italian seasoning
  • grated Parmesan cheese
  • cooking spray
  • salt and pepper to taste

Preparation:

Preheat the oven to 400º.  Line a baking sheet with foil and mist with cooking spray.  Cut the veggies into uniform thin slices or ribbons.

Arrange the chicken breasts on the prepared baking sheet and cut horizontal slits about 3/4 inch apart, be careful not to cut all the way through.  Brush with olive oil and sprinkle with Italian seasoning.

Into each pocket, place one slice of onion, 1 slice of mushroom, 1 piece of bacon and 1 slice of bell pepper.  Press down gently to secure them in place.

Drizzle with a bit more olive oil and sprinkle liberally with Parmesan cheese.

And that’s it!  Now just bake for 25 minutes at 400º.

Come closer, take a look!  Can you smell it?  It was absolutely delicious!

Notes ♪♫ I tried this recipe a couple of ways.  On my first attempt I cooked the veggies before stuffing the chicken.  It turned out ok, but I found the chicken was far more tender and juicier when the veggies and bacon were not cooked in advance.

Print This Post Print This Post


Sirloin Tips

Sirloin tips have always been one of my favorite restaurant entrees.  Much to my dismay, many restaurants use soy sauce in their steak marinade, making this meal off limits for those of us with Celiac disease.  Fortunately, it is easy to recreate this great meal at home.  Be sure and check out my homemade, gluten free steak marinade, or use coconut aminos for a lower sodium option.

Dinner for two

This post contains affiliate links.

Ingredients:

Preparation:

Combine the steak tips with 2 tbsp. gluten free steak marinade.  Let them marinate for 30 minutes to an hour at room temperature.

While the steak marinates, cook the rice in 2 cups broth, either stovetop or in a rice cooker (here’s mine, it’s perfect for 2 people).  Heat a large nonstick skillet with a little olive oil over medium low.  Add the steak tips.

Brown the meat on both sides, turning once.

It doesn’t have to be cooked through at this point.

Transfer to a bowl, wipe the skillet clean and add the veggies with more olive oil.

Cook several minutes until crisp tender.  Season with salt and pepper.  Add the steak tips back to the skillet to finish cooking.

Finish with 1 tbsp. tamari or coconut aminos, and transfer to a serving platter.  You can combine with the rice at this point or keep the rice separate if you’re watching carbs.

Serve with rice and you have one easy meal!

Notes: ♪♫ Tamari is a delicious, gluten free alternative to soy sauce.  San-J gluten free Tamari is my favorite.  If sodium is a concern, try Coconut Aminos.  Both gluten free and soy free, Coconut Aminos have a much lower sodium content.  Coconut Secret is the brand I use, and it works well in this recipe as well as many of my Asian inspired favorites.

Print This Post Print This Post


Asian Chicken and Cabbage

With St. Paddy’s Day right around the corner you probably have cabbage in the fridge for your Corned Beef Dinner.  If so, be sure and save a chunk for this Asian inspired stir fry!  Fiber rich cabbage and whole grain brown rice make this a very healthy and diet friendly dish, and most of the ingredients are naturally gluten free (see notes).  Prepping veggies and rice the night before saves time and you will have a delicious meal on the table in minutes.

This post contains affiliate links.

Serves 4

The Lazy Gastronome

Ingredients:

 Rice:

 Stir Fry

  • 16 oz. boneless chicken breast, cut into 1″ cubes
  • 1 tbsp. olive oil
  • 1 tbsp. butter
  • salt and red pepper flakes
  • 1/2 sweet onion, diced
  • 3 celery stalks, sliced thin
  • 1/2 red bell pepper, cut into strips
  • 3 garlic cloves, minced
  • 4-5 cups shredded green cabbage
  • 2 tbsp. olive oil
  • 1 tsp. toasted sesame oil

Whisk together

Whisk together

 Garnish

 Preparation:

Brown rice is the perfect accompaniment to this stir fry.  I prefer brown rice for its flavor, texture and nutrition.  It does take longer to cook, (about 45 minutes) but it’s worth it.  Give the rice a 10 minute head start so it will be ready as you finish the dish.  Cook 1 cup brown rice in 1 cup water and 1 cup chicken stock.  Season to taste with salt and red pepper flakes.  (Note: If using a rice cooker, follow the given instructions for ratio of rice to liquid.)

Toast the sesame seeds, watching carefully that they don’t burn.

Next, heat a large nonstick skillet over medium and coat with 1 tbsp. butter and 1 tbsp. olive oil.  Brown the diced chicken on all sides, about 5 minutes.  It doesn’t need to be cooked through at this step, just get some color on the outside.  Season with salt and red pepper flakes.

Remove the cooked chicken from the skillet, set aside and keep warm.  Wipe the skillet clean.  Add 2 tbsp. olive oil and 1 tsp. sesame oil to the skillet.  Add the onions, celery, bell pepper and garlic, stir fry 5 minutes.  Return the chicken to the skillet.

Add all of the cabbage.  It looks like a lot but it will cook down.  Toss well.

Drizzle in the soy sauce mixture and toss well to combine.  Cover and cook 5 minutes more.

The cabbage should be wilted but still retain a little crunch.  Whisk the corn starch and chicken stock and add to the skillet.  Stir and toss until the liquid thickens.

Transfer to a serving platter and garnish with the toasted sesame seeds.  Serve with brown rice.

I actually like this dish more than the corned beef dinner.  My family gave it a big thumbs up and yours will too.  Please comment, like and share!

Notes: ♪♫ Most of the ingredients in this recipe are naturally gluten free.  Always check labels carefully and be sure that you are purchasing gluten free soy sauce and chicken broth.

Print This Post Print This Post