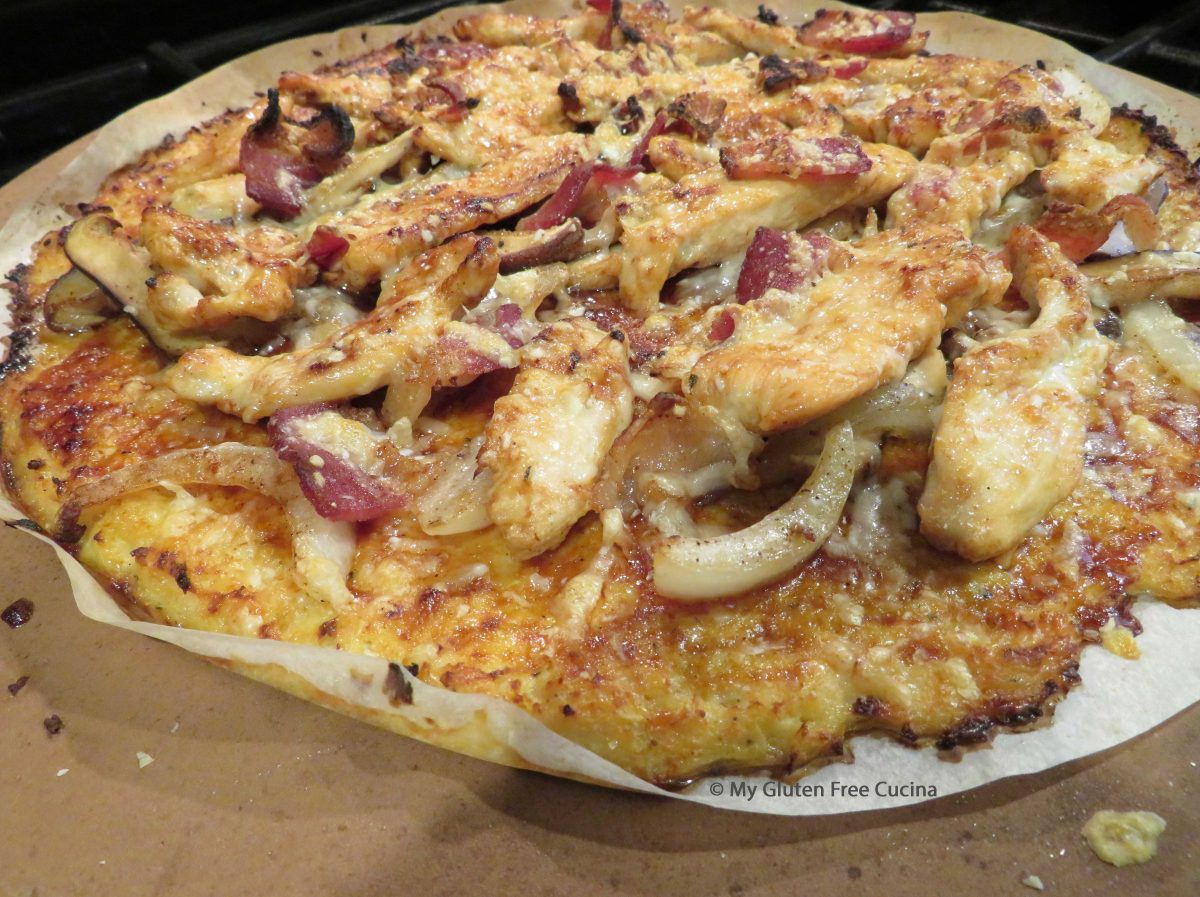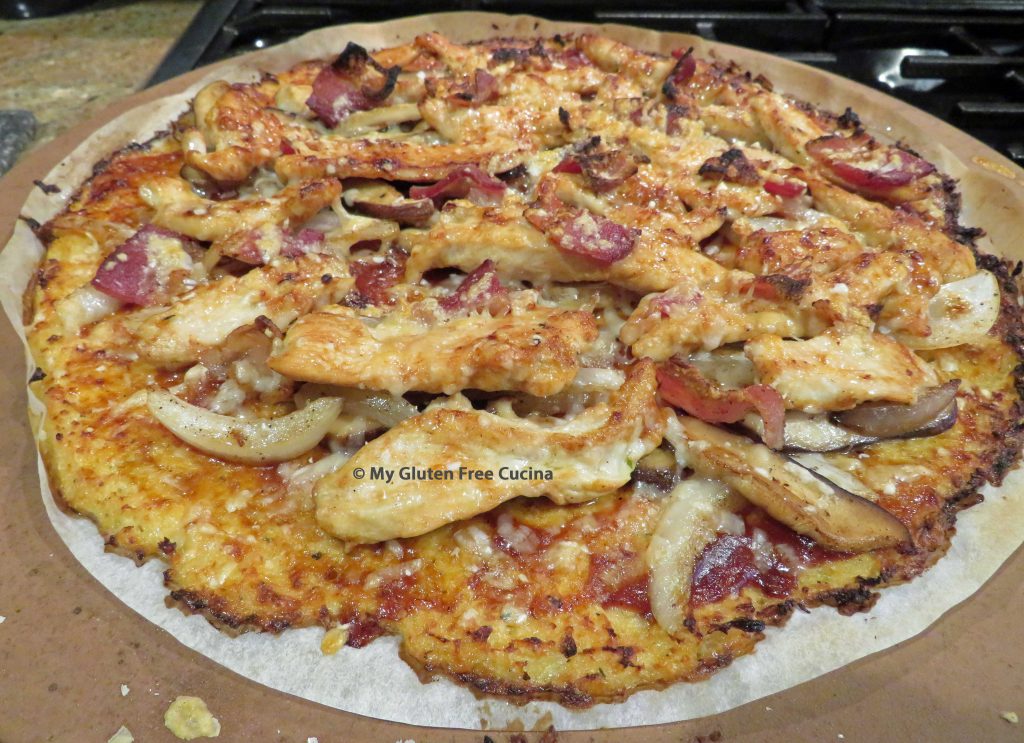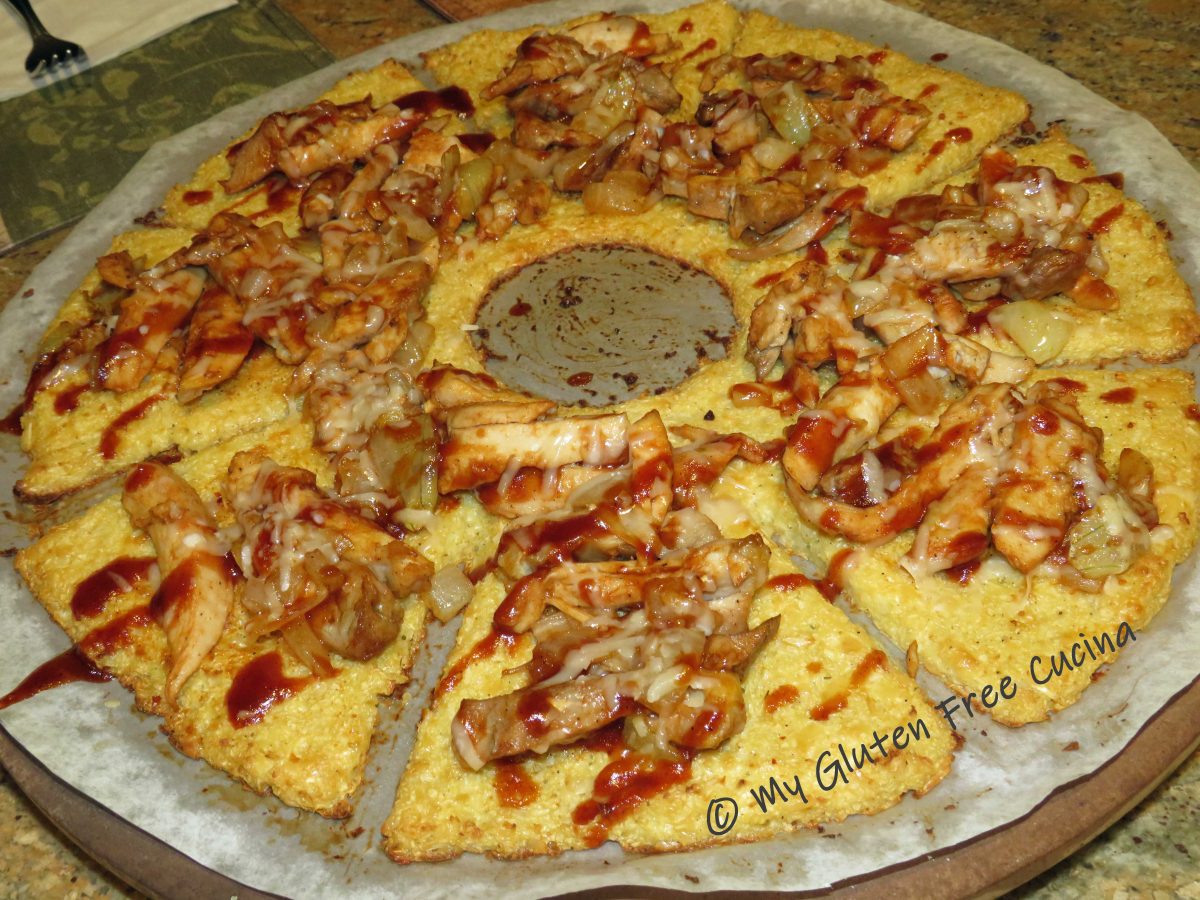
Since this is Christmas week, I thought I would make a festive wreath shaped Cauliflower pizza! Both gluten free and grain free, try this guiltless indulgence to balance out all those holiday cookies!
This post contains affiliate links.
Ingredients:
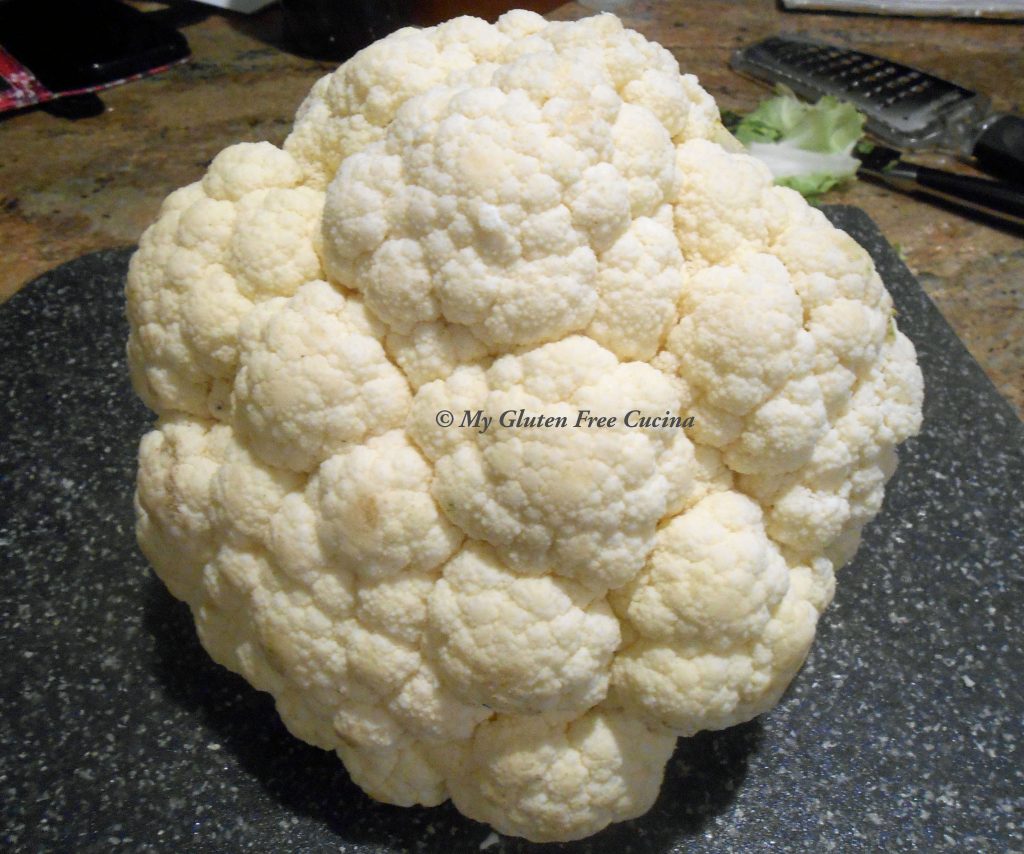
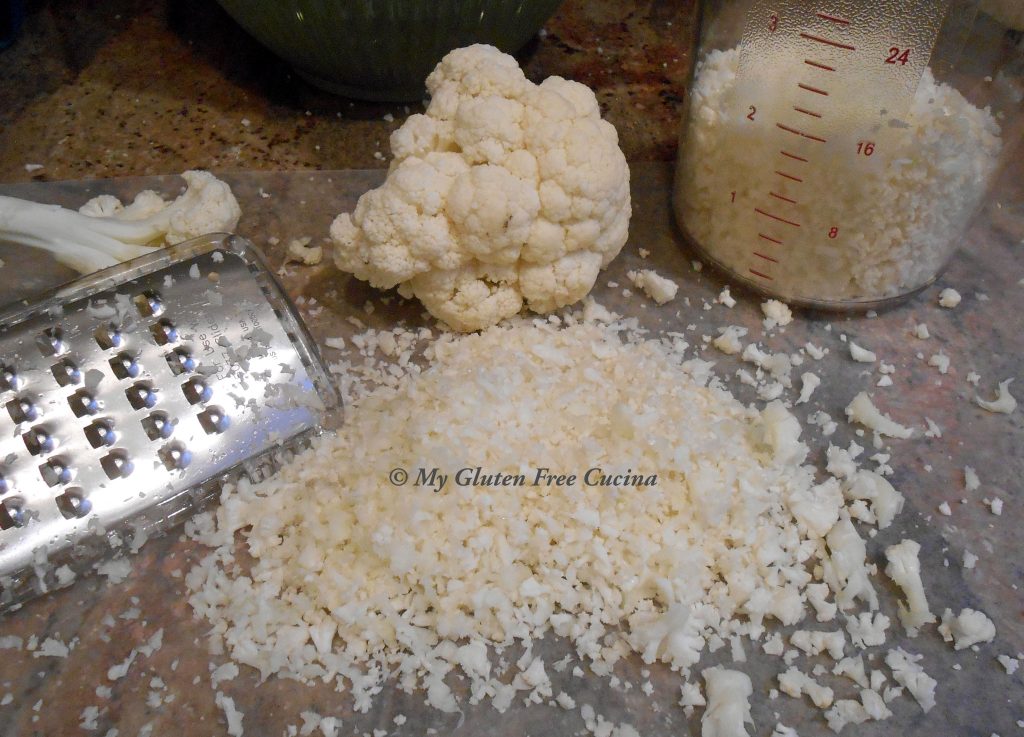
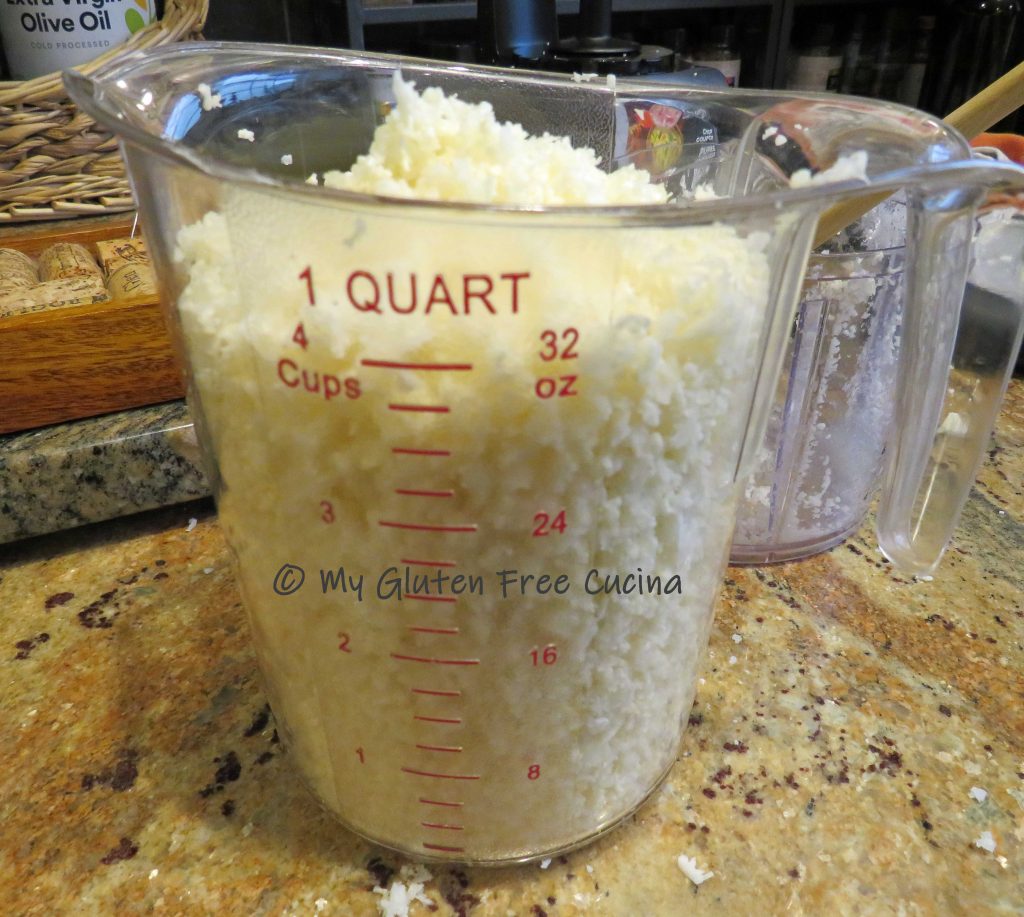
- 4 cups grated cauliflower
- 1/4 cup cream cheese, softened
- 3/4 cup grated gruyere cheese
- 1/4 cup grated parmesan cheese
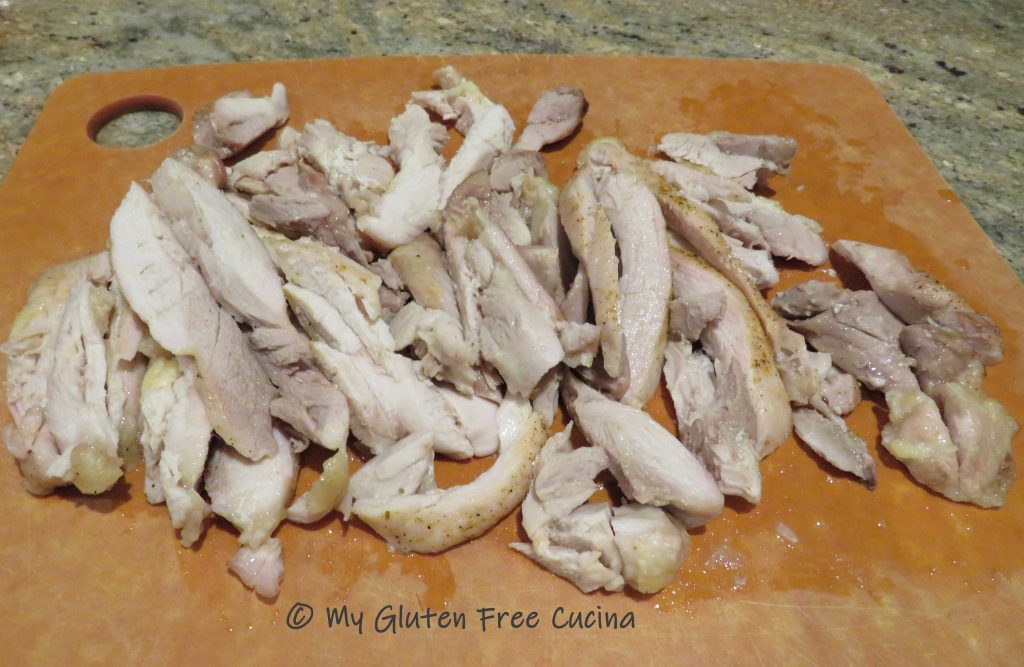
- 2 boneless, skinless chicken thighs
- 1/2 sweet onion, diced
- 1/4 cup gluten free BBQ sauce (I love Stubbs)
- 1 egg
- Italian seasoning or seasoned salt
- olive oil

Preparation:
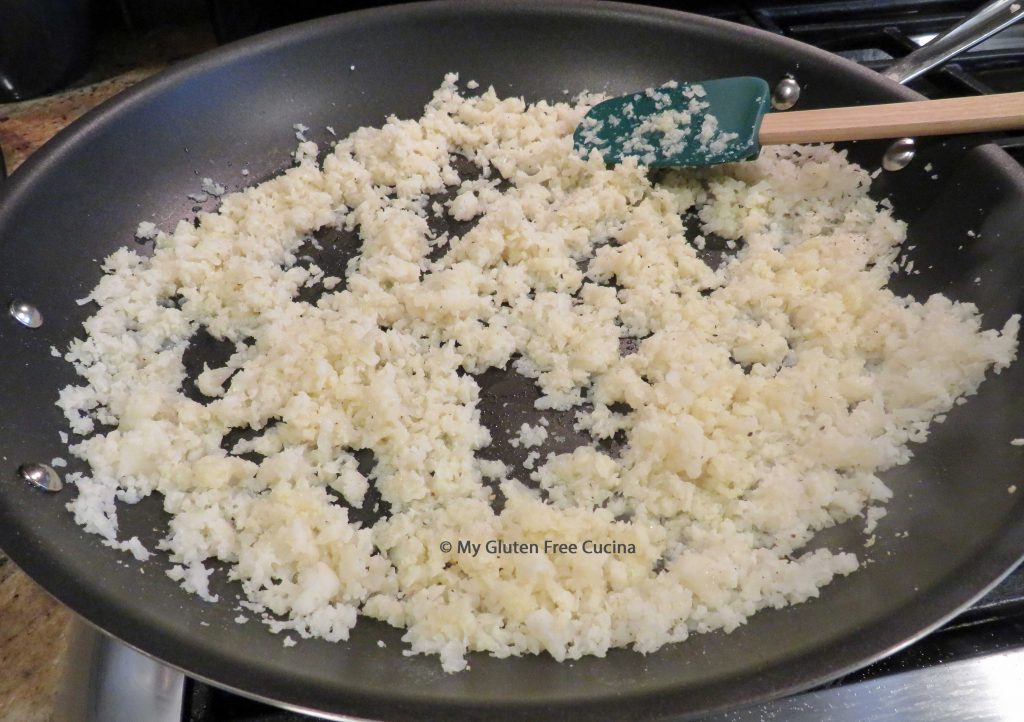
Use a hand grater or electric chopper to make 4 cups of grated cauliflower. I usually grate my own, but you can purchase pre-grated in the fresh or frozen section.
Cook the grated cauliflower for 3-5 minutes in a large nonstick skillet, with 2 tbsp. olive oil and 1/2 tsp. Italian seasoning. Set aside to cool.

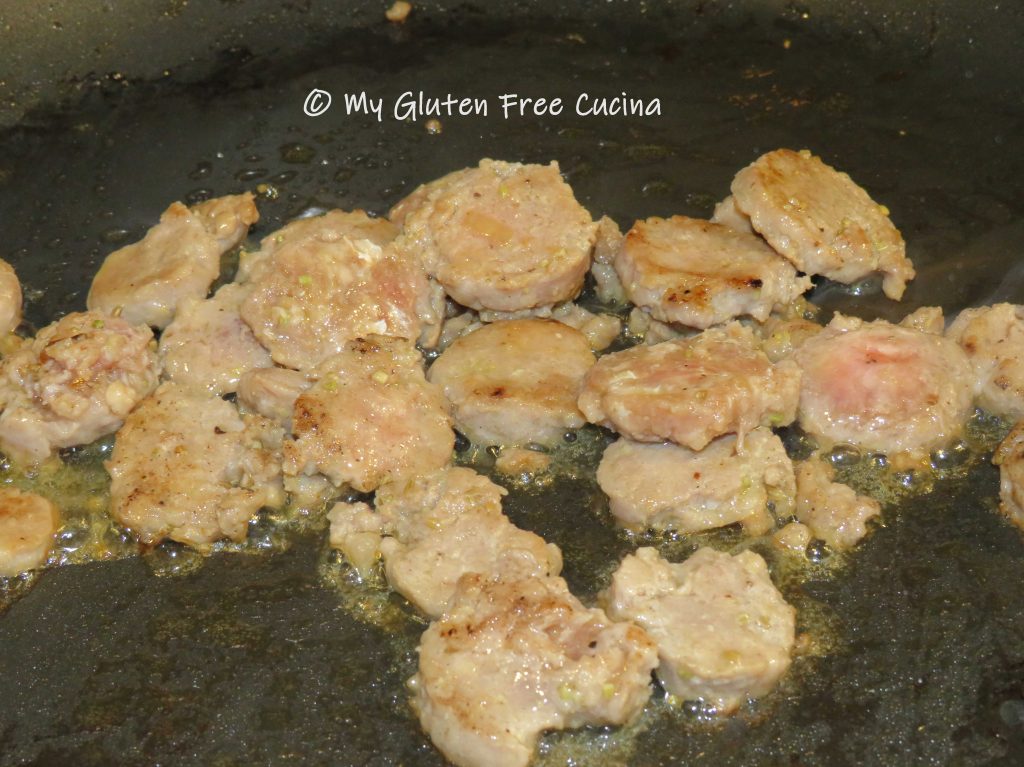
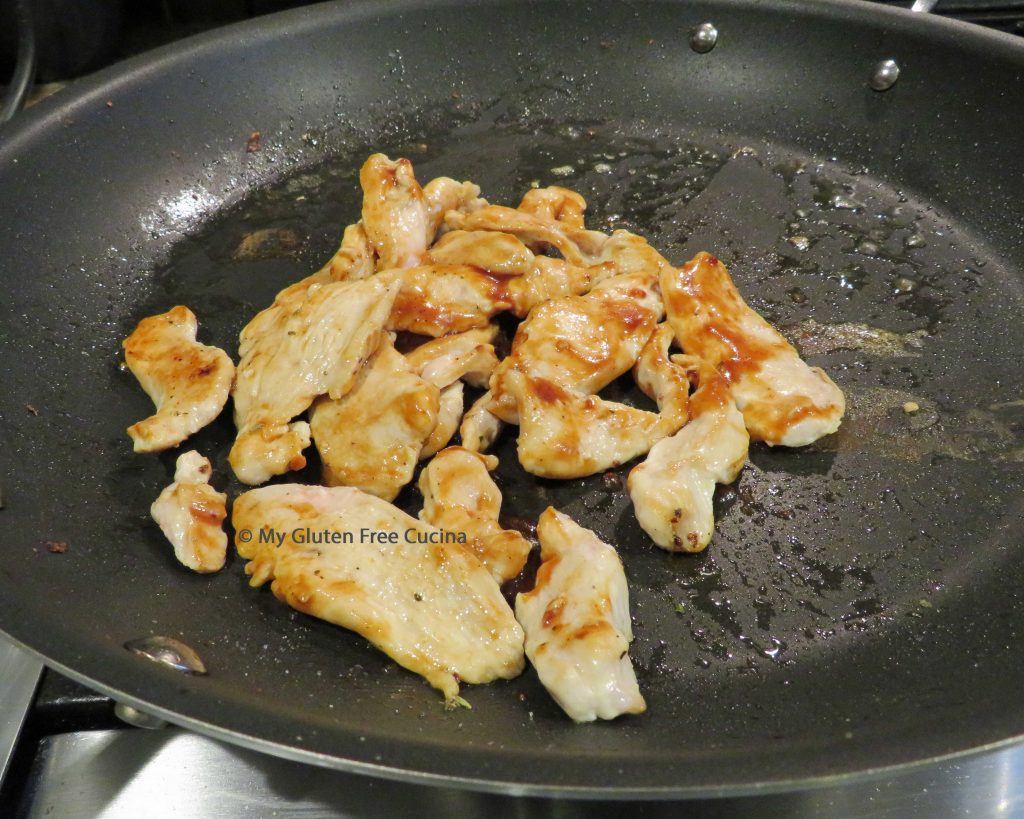
Toss the chicken thighs with 1 tbsp. olive oil and sprinkle with seasoning. Bake for 1/2 hour at 350º.
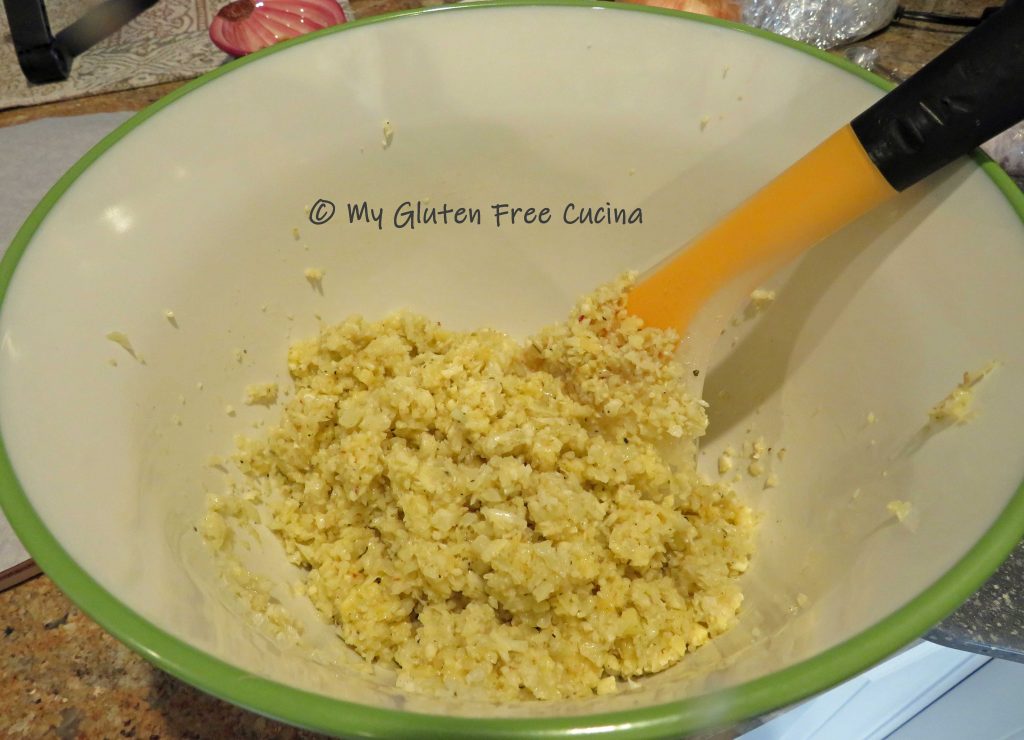
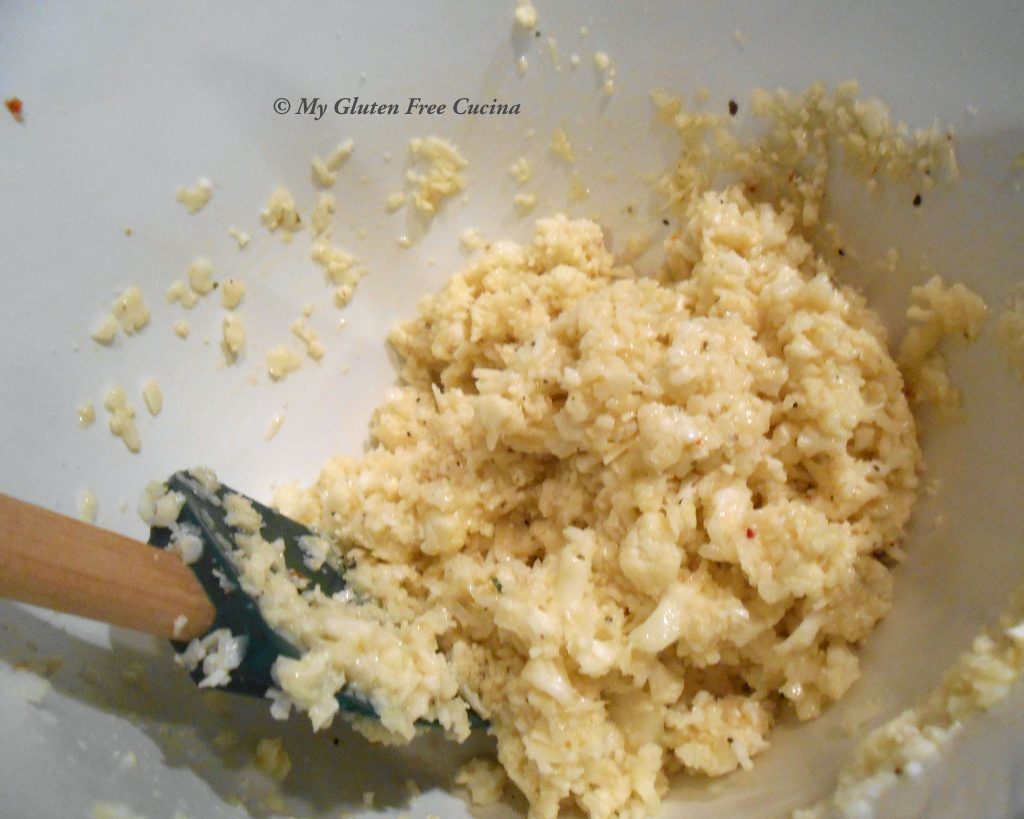
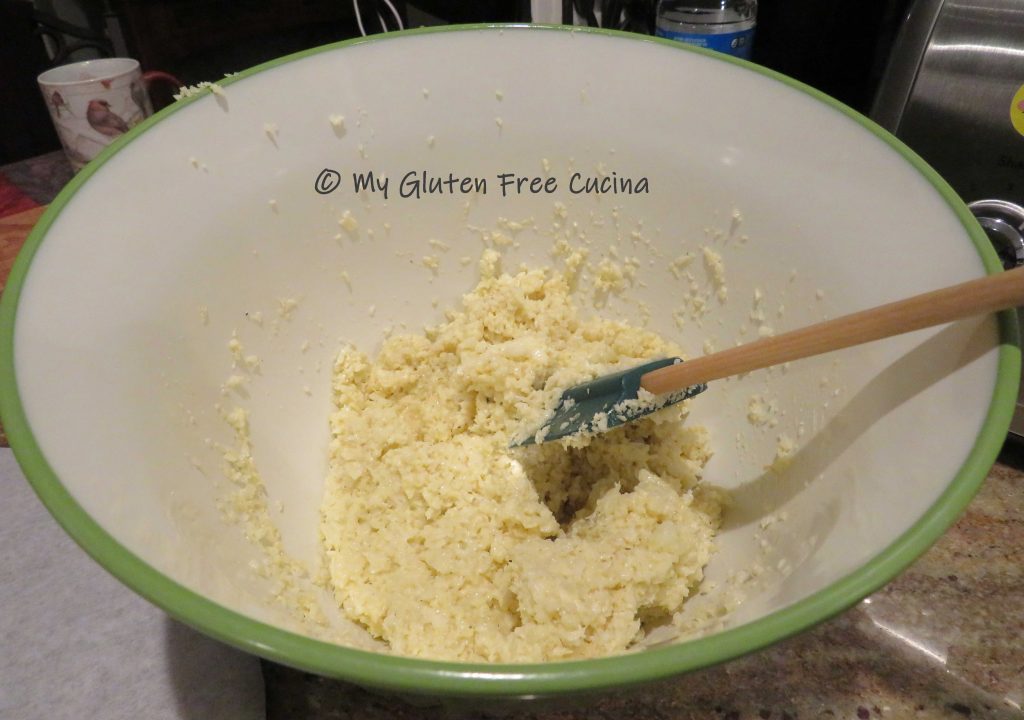
Mix the cooled cauliflower with the beaten egg, cream cheese and gruyere cheese.
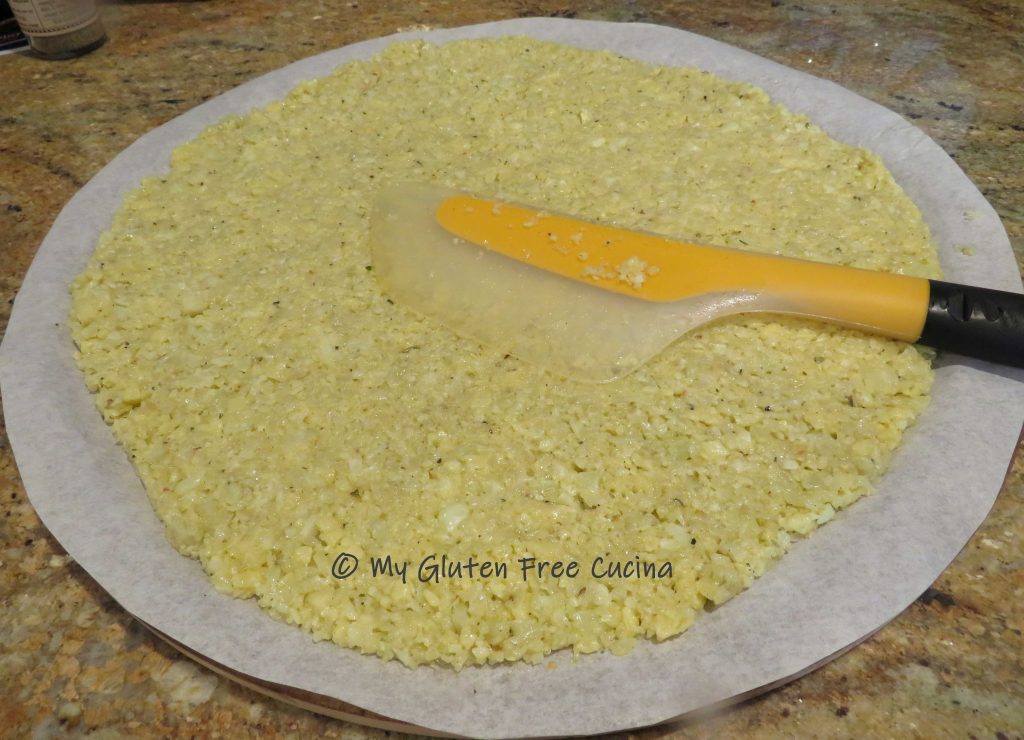
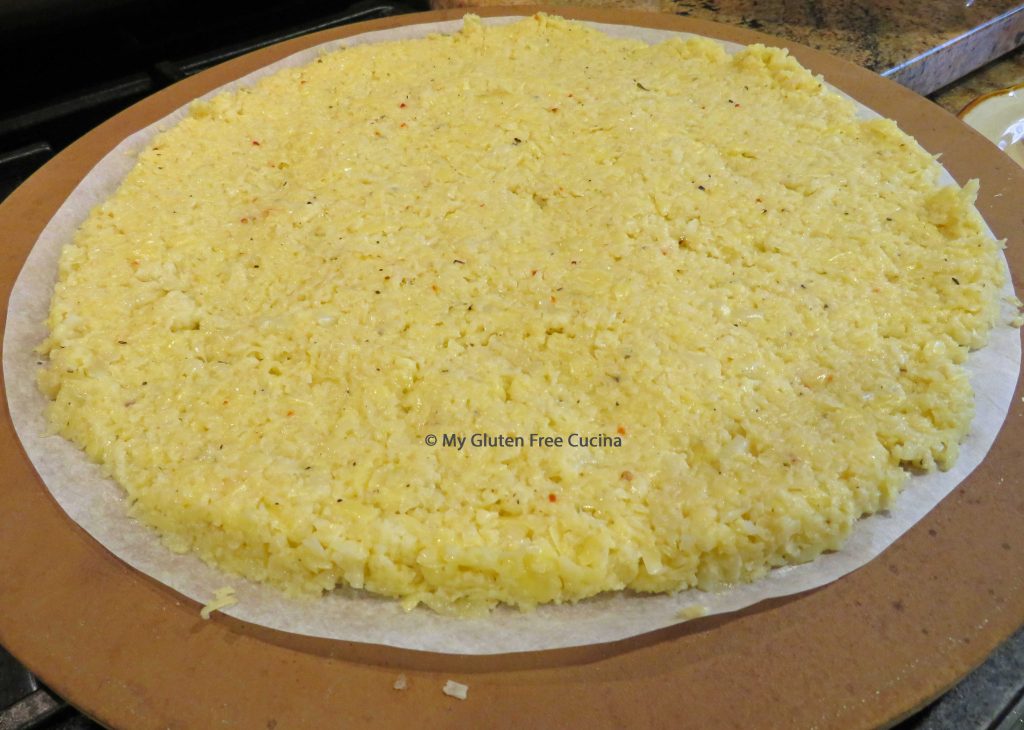
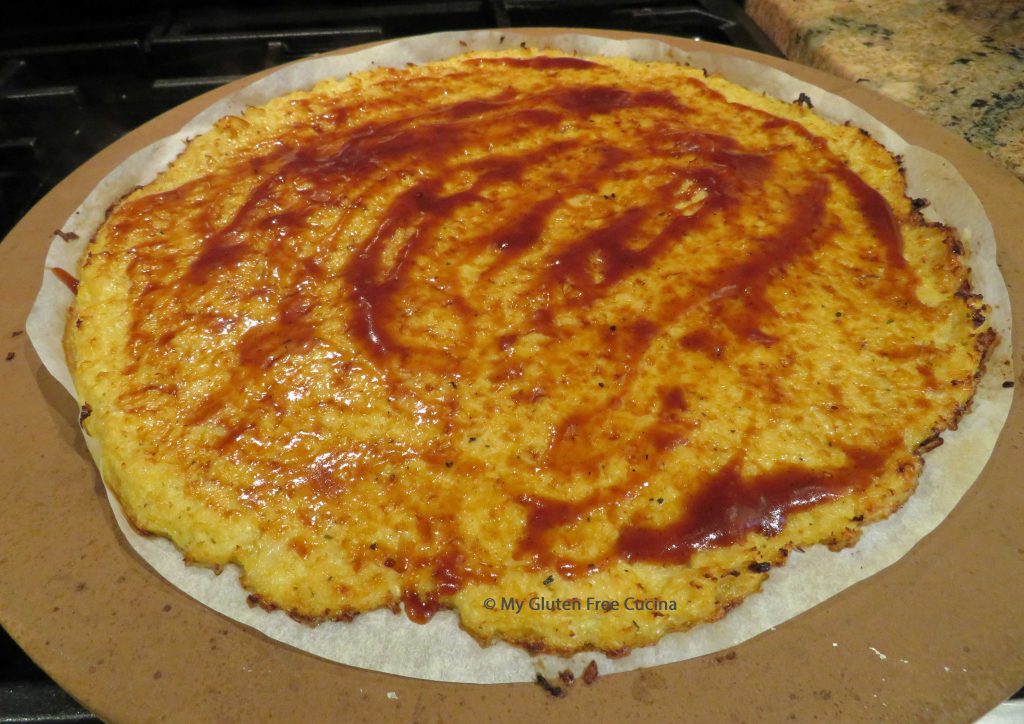
Line a pizza stone with parchment paper cut to size.

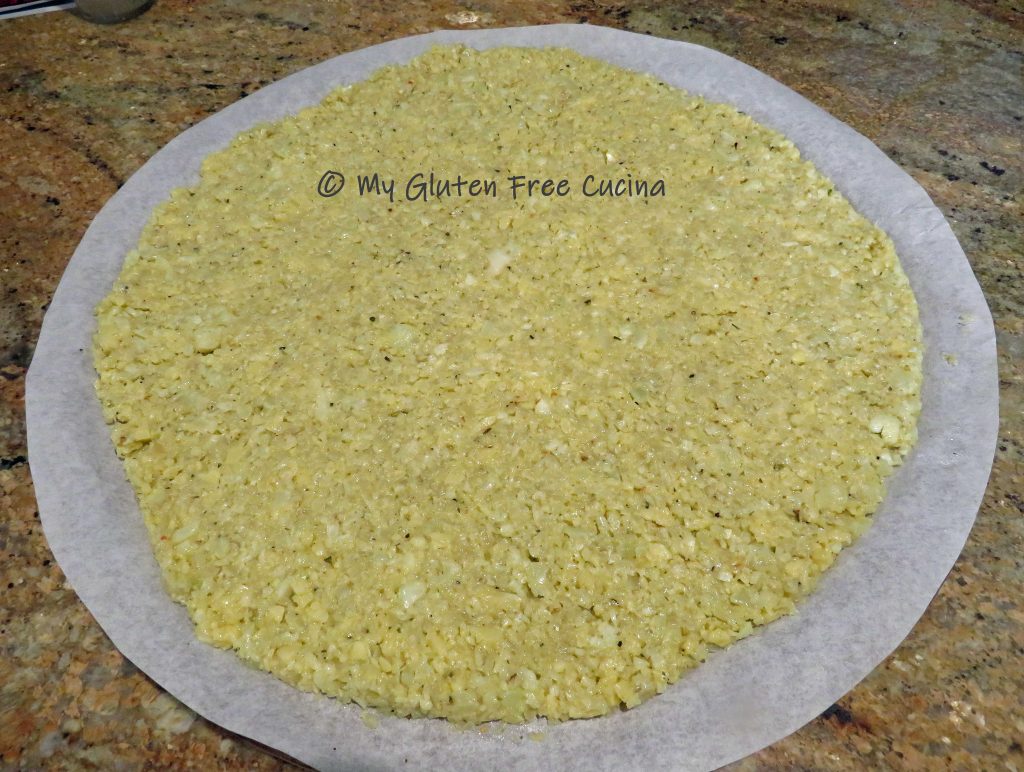
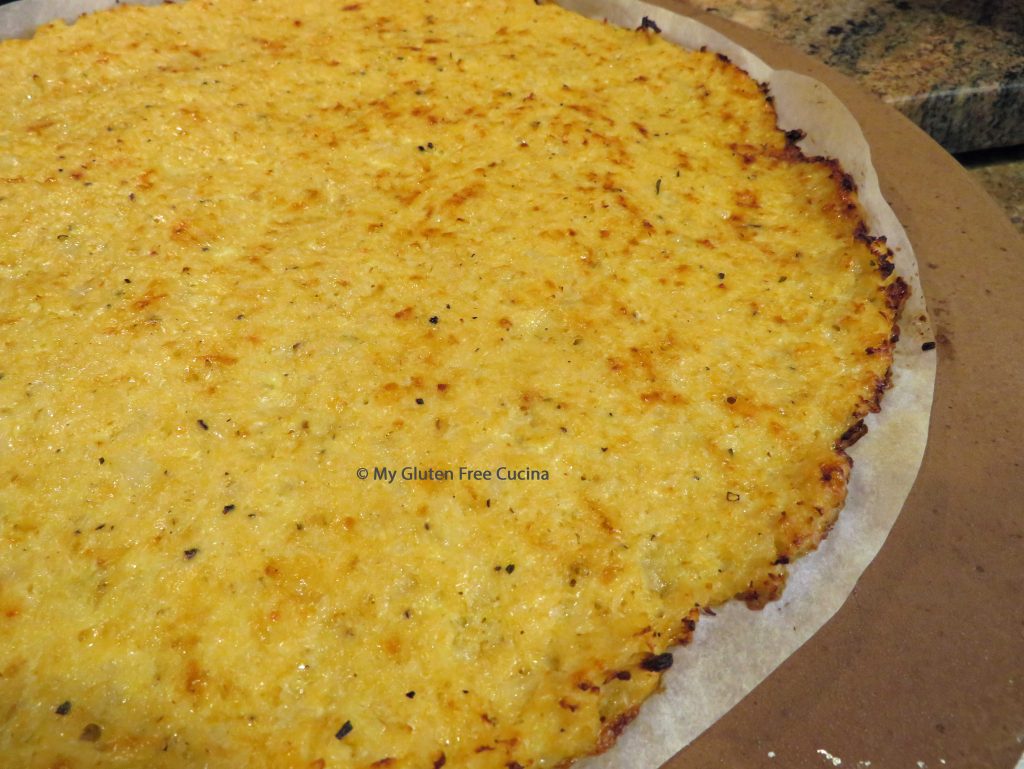
Spoon the cauliflower mixture onto the parchment and spread into a 1/2″ thick circle.

I used a small pinch bowl to make a circle in the center and scooped it out with a spoon.
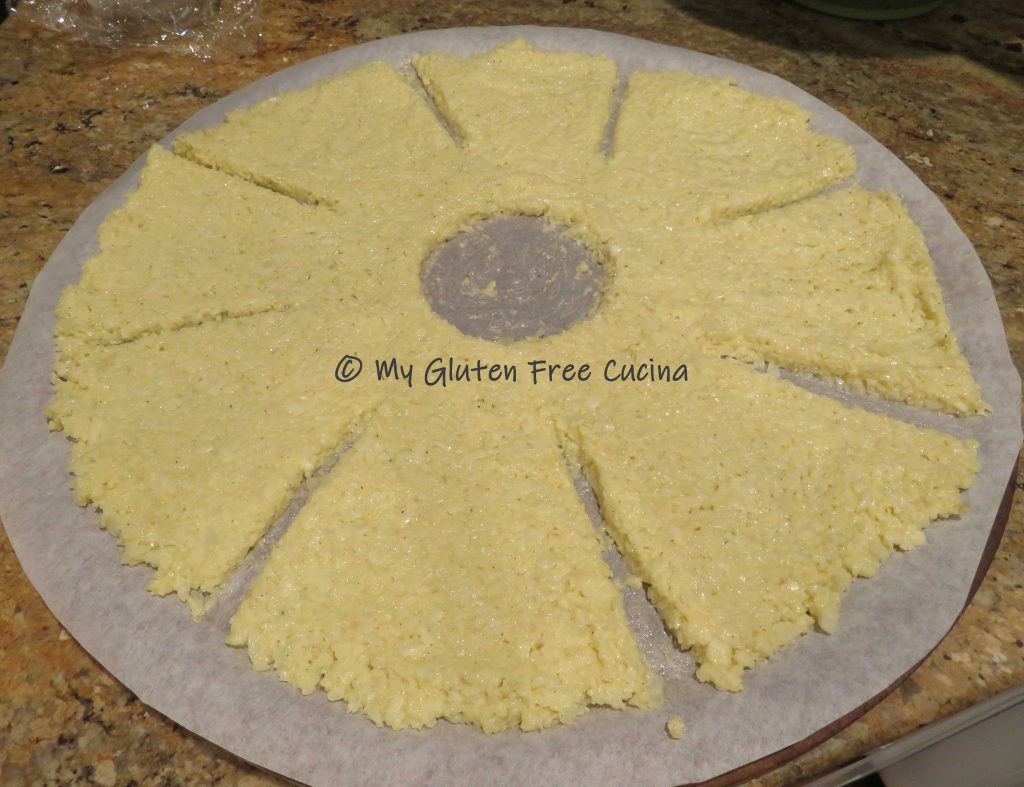
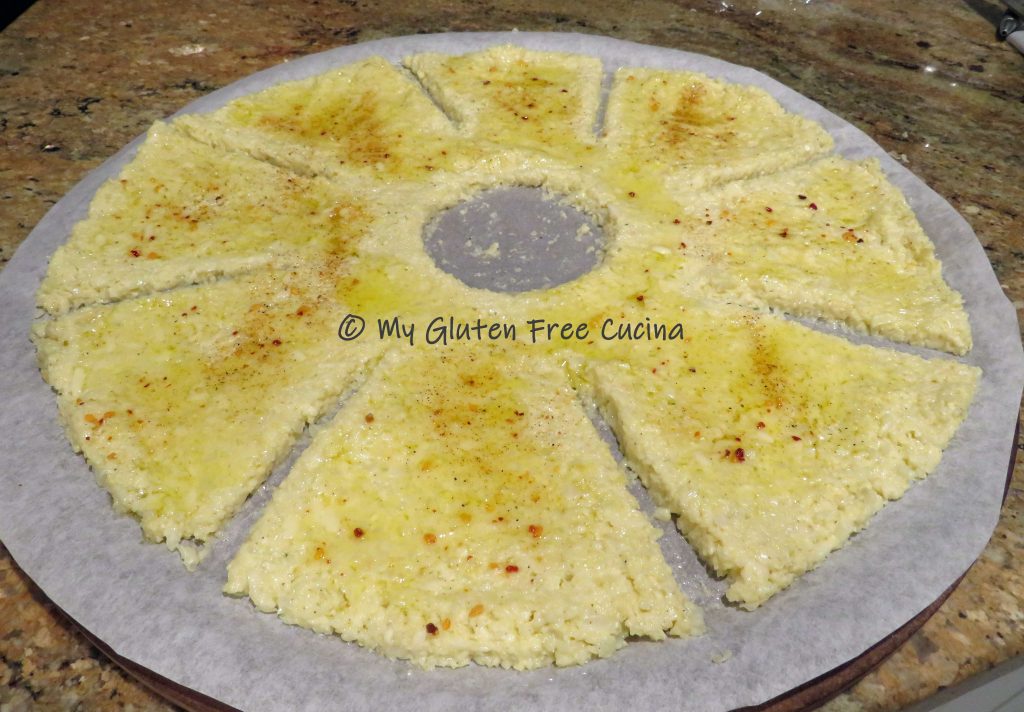
Next use a spatula to create 8 sections and smooth the edges. Brush with olive oil and sprinkle with more seasoning.
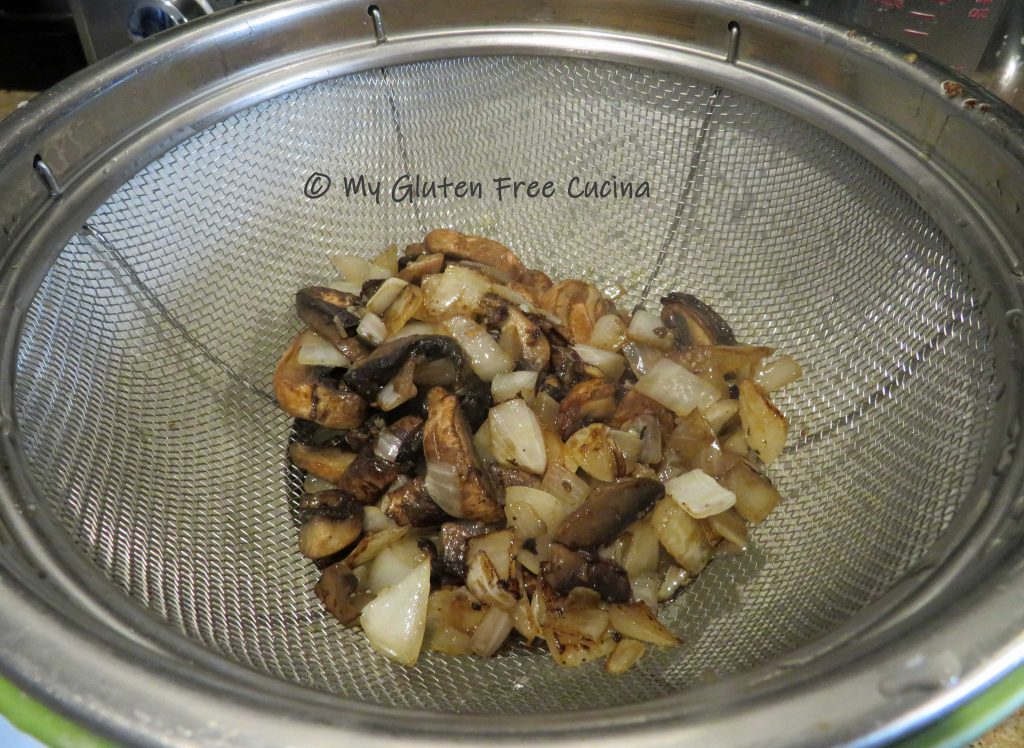
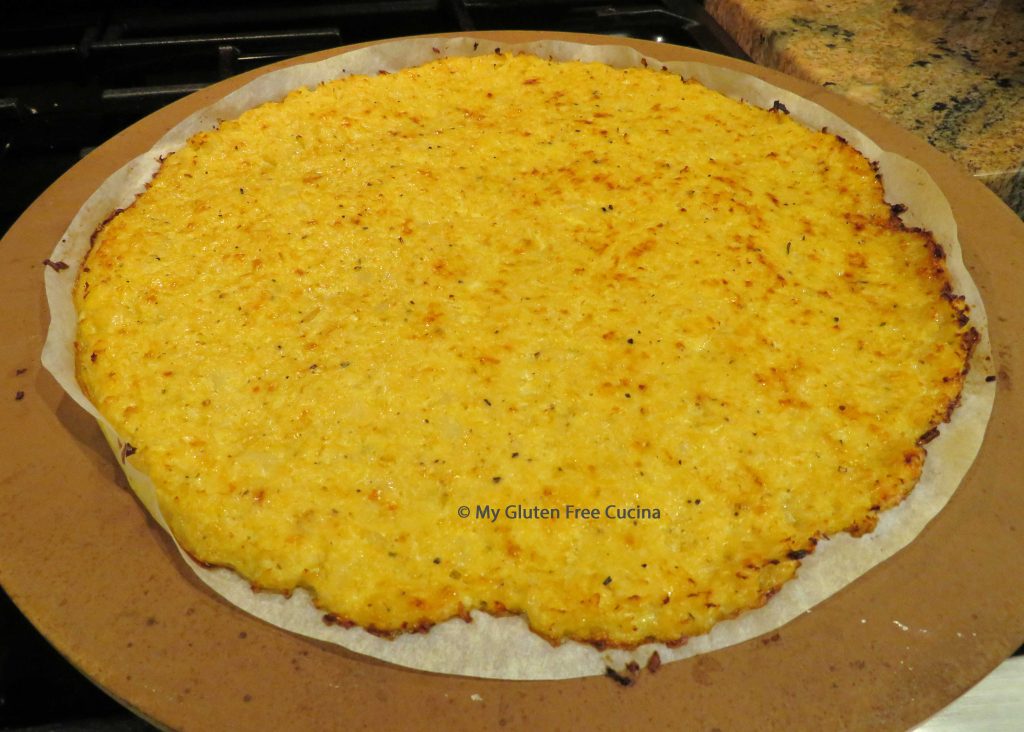
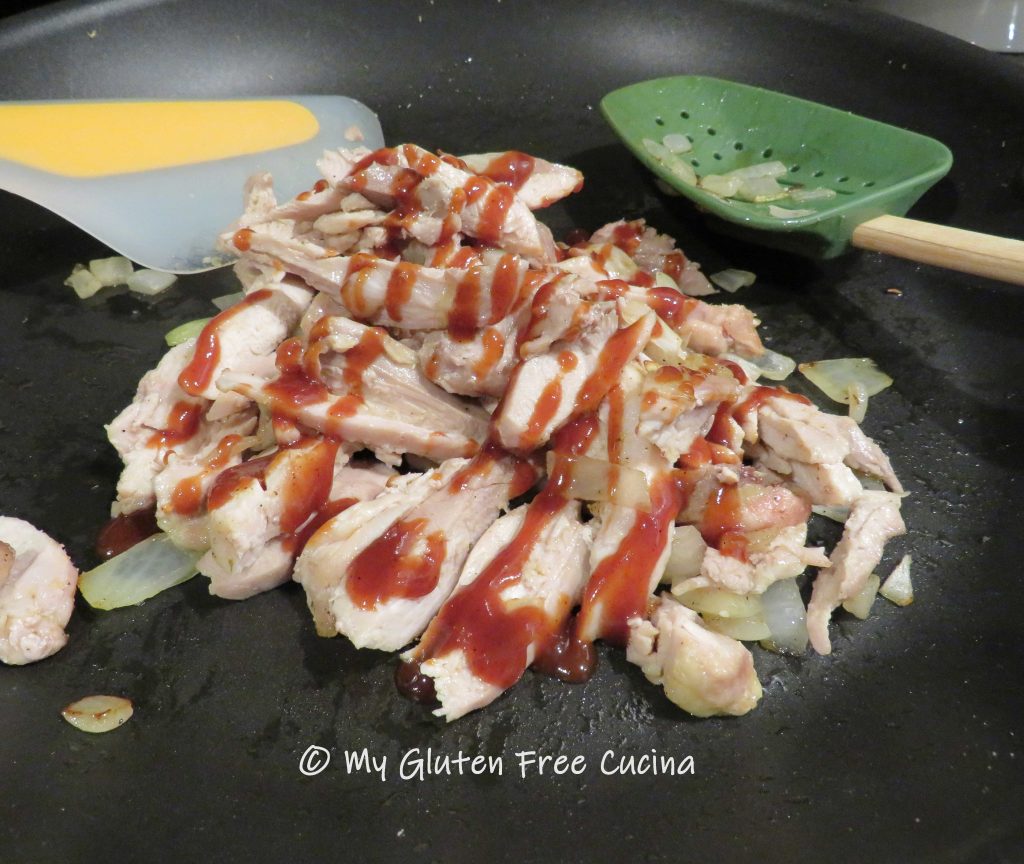
Bake for 25 minutes at 400º. Meanwhile, cook the onion in a little olive oil until softened. Chop the cooked chicken and add to the onion, drizzle with BBQ sauce.
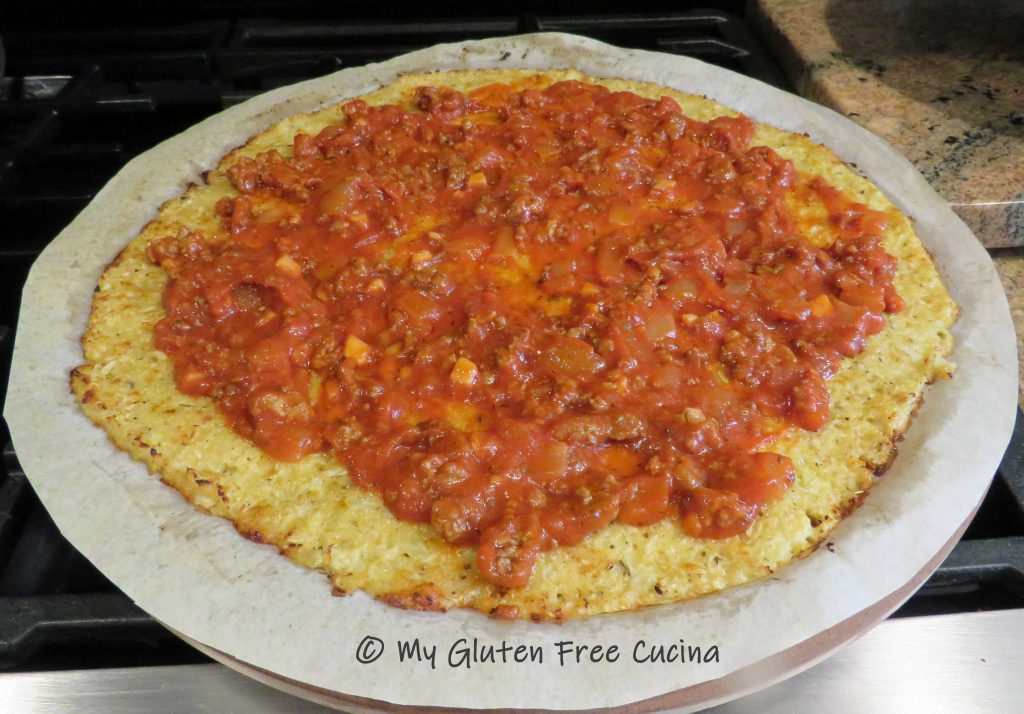
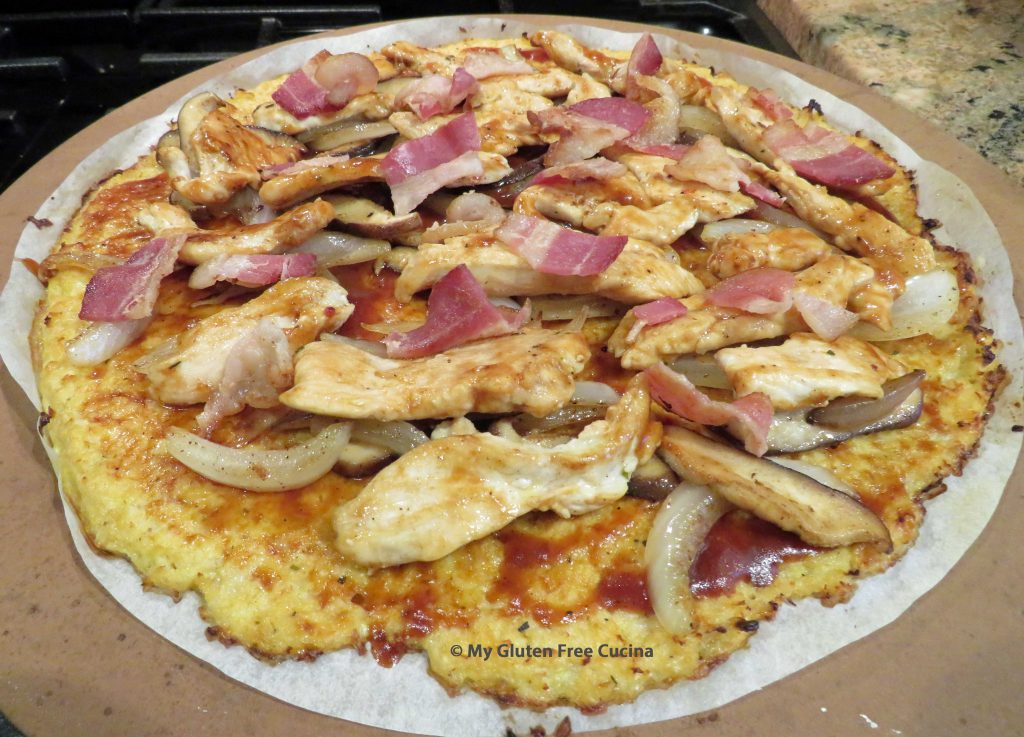
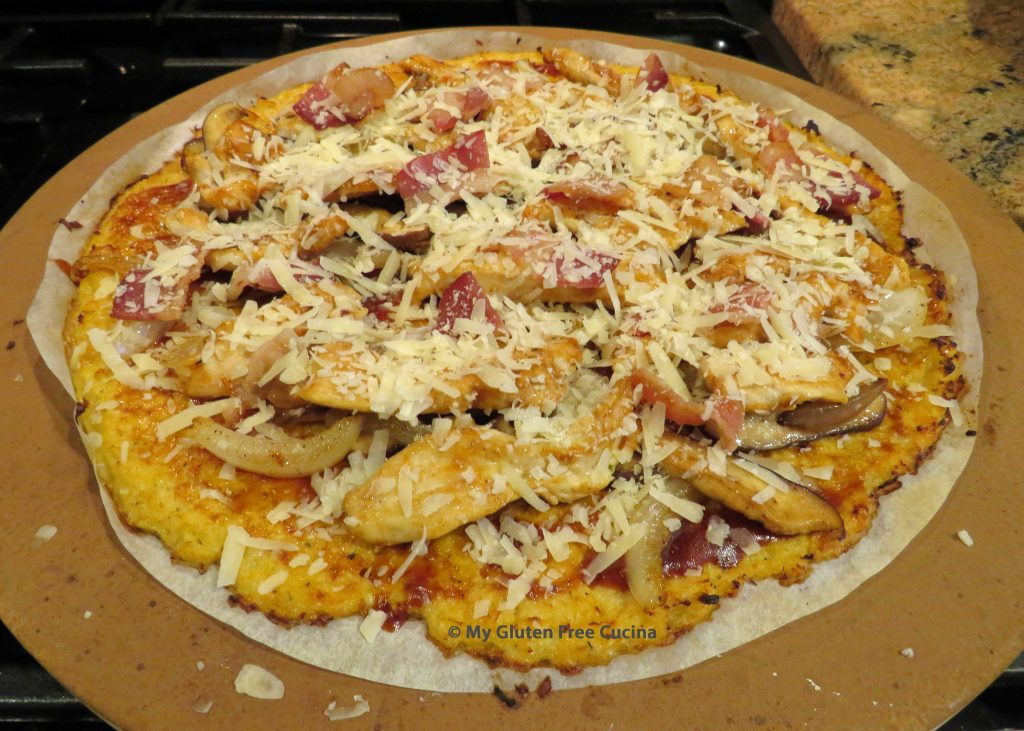
Brush the baked cauliflower with more olive oil, especially around the edges and arrange the filling in an even layer. Sprinkle with parmesan and drizzle more BBQ sauce.

Return to the oven for 5 more minutes to heat the chicken through and melt the cheese.

Notes ♪♫ Remember, a cauliflower pizza crust is baked separately from the toppings, which are added during the final 5 minutes of cook time. That means any toppings you choose, like our chicken and onions must be fully cooked before adding to the pizza.
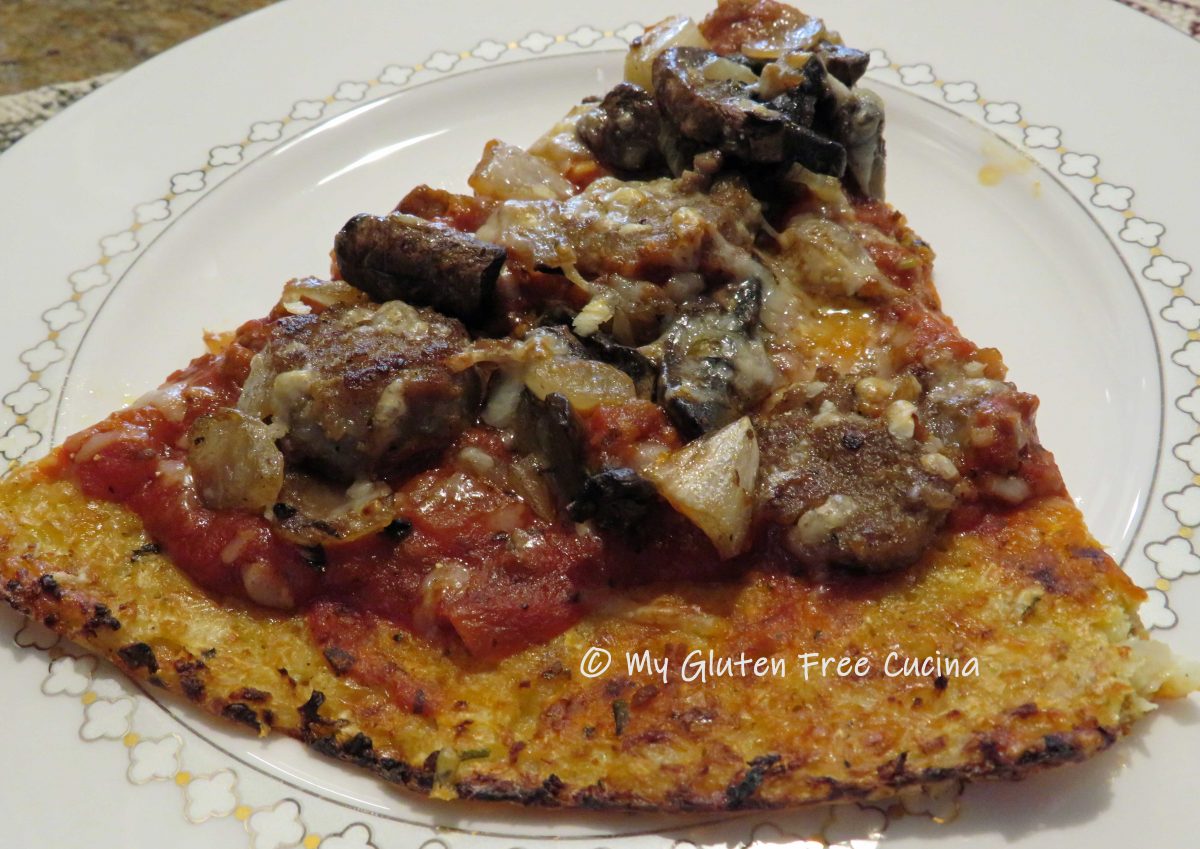
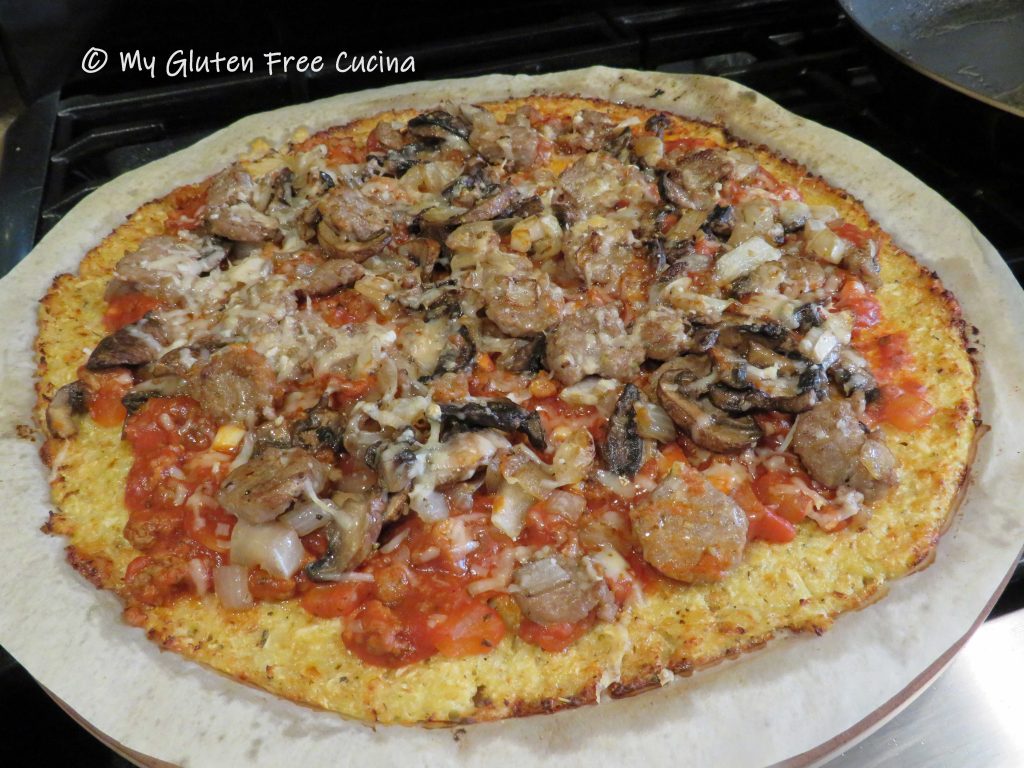
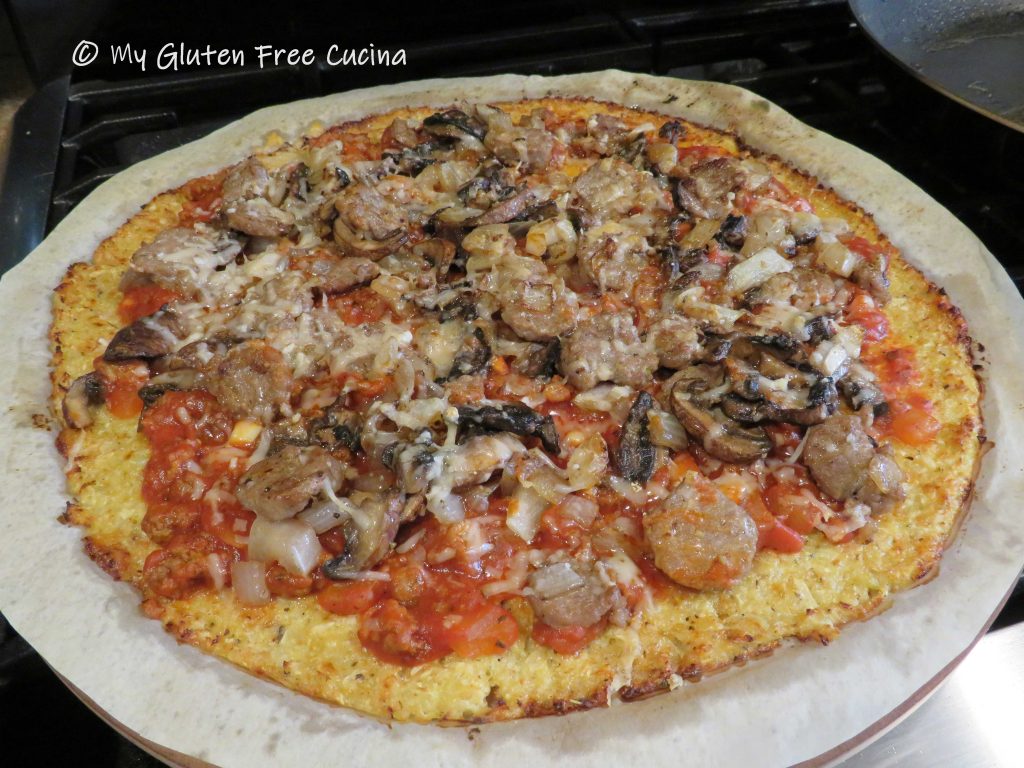
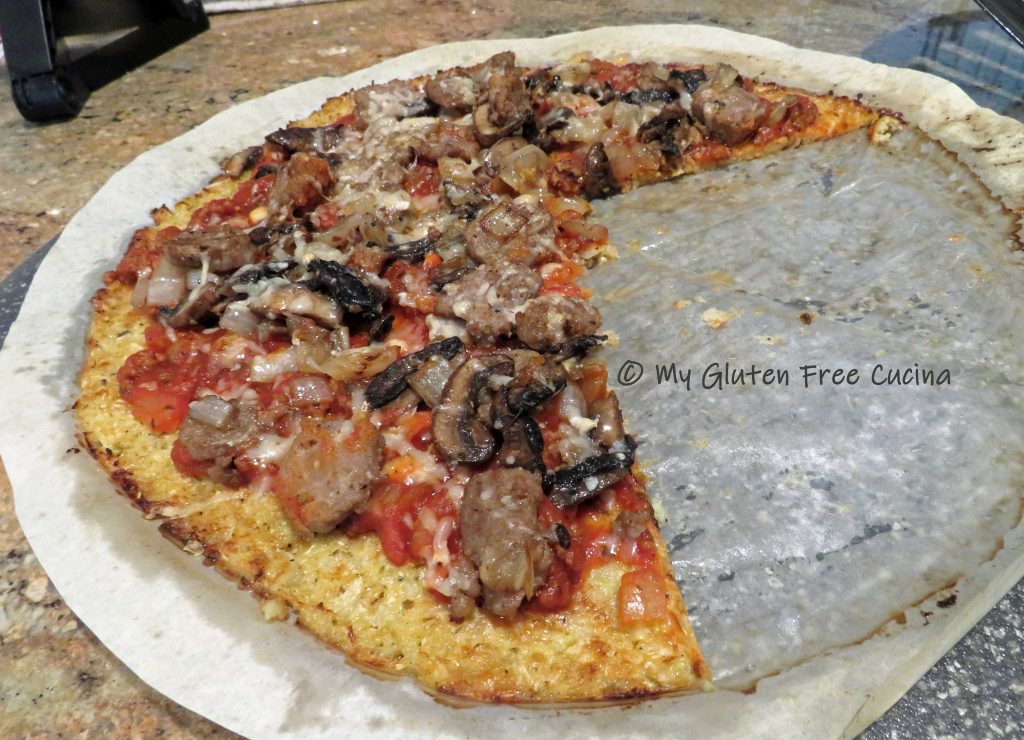
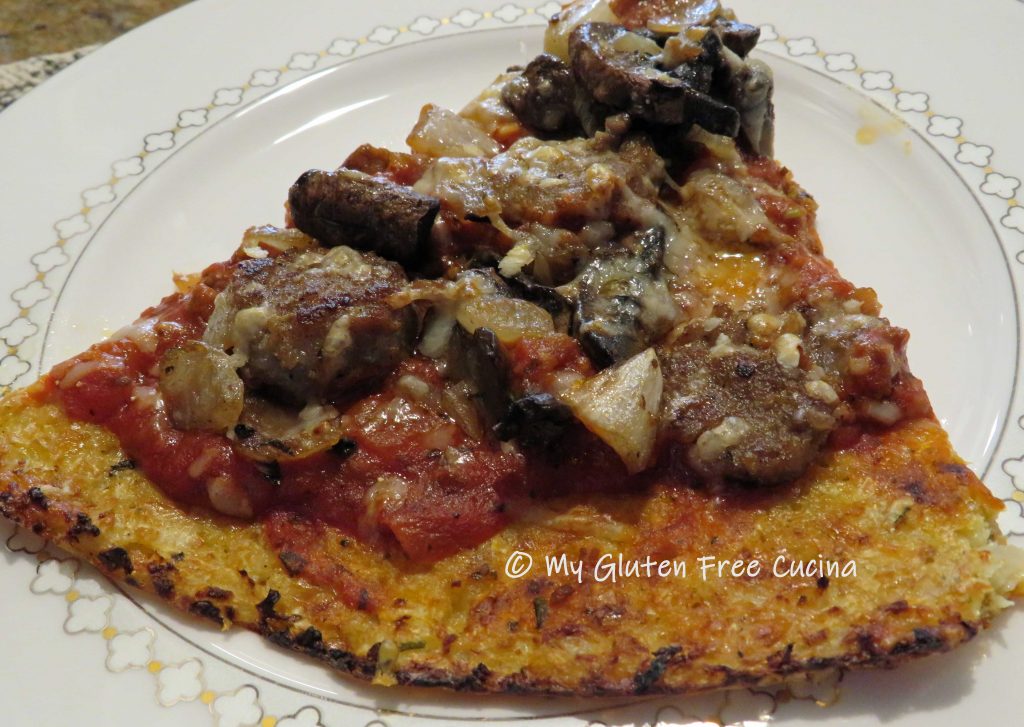
If you enjoyed this post, check out my Sausage and Mushroom Pizza on a Cauliflower Crust and my Cauliflower Cakes!

[print_link]