
Baking with sourdough has really upped my gluten free bread game. The long, slow rise really develops the flavor of the dough in a way that commercial yeast alone cannot accomplish. It makes such a difference in the taste and texture of the finished loaf or rolls.
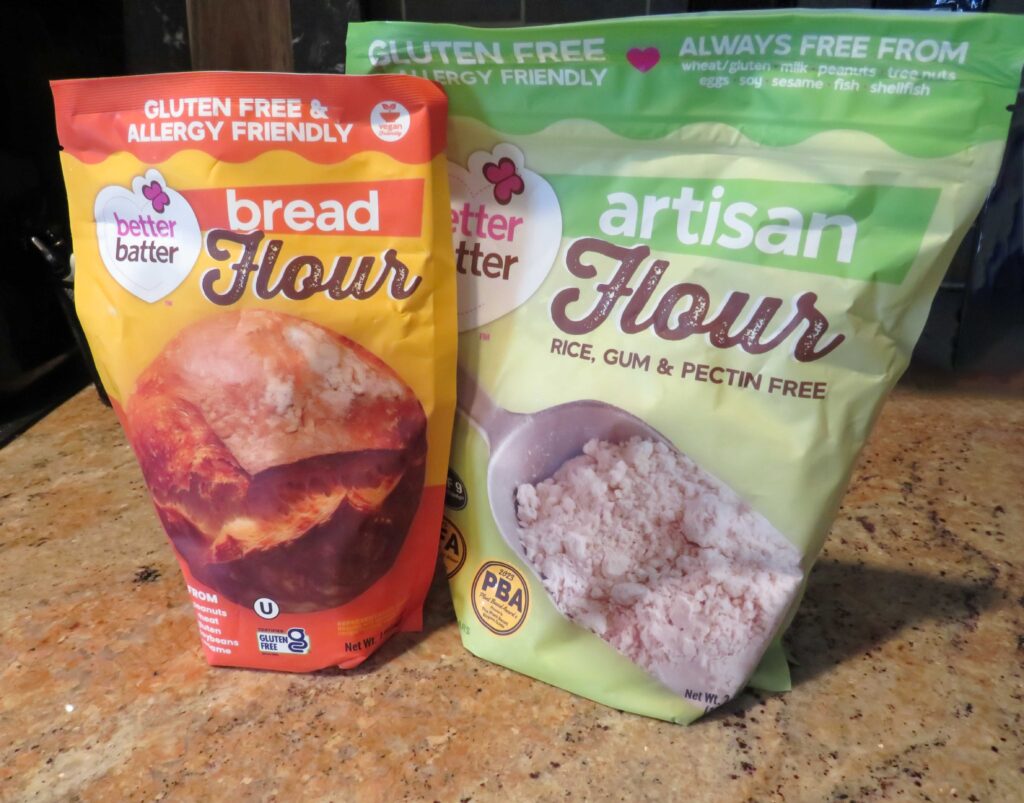
This recipe is for all the gluten free sourdough bakers who like to mix up your own flour blends! I enjoy experimenting with different flour combinations and was really happy with this bake! The dough was easy to work with and the rolls tasted great.
 This post contains affiliate links.
Ingredients:
- 250 g. fully active sourdough starter
- 300 g. warm water
- 15 g. milk
- 30 g. canola oil
- 65 g. non-fat dry milk powder
- 70 g. tapioca starch
- 80 g. arrowroot flour/starch
- 75 g. brown rice flour
- 65 g. white rice flour
- 80 g. sorghum flour
- 15 g. potato starch
- 10 g. xanthan gum
- 1/8 tsp. instant yeast (optional, if your starter is a little
- 5 g. salt sluggish)
- 1 egg, or milk, or water (optional, to help the seeds adhere)
- poppyseeds for topping
- coarse salt, optional
Preparation:
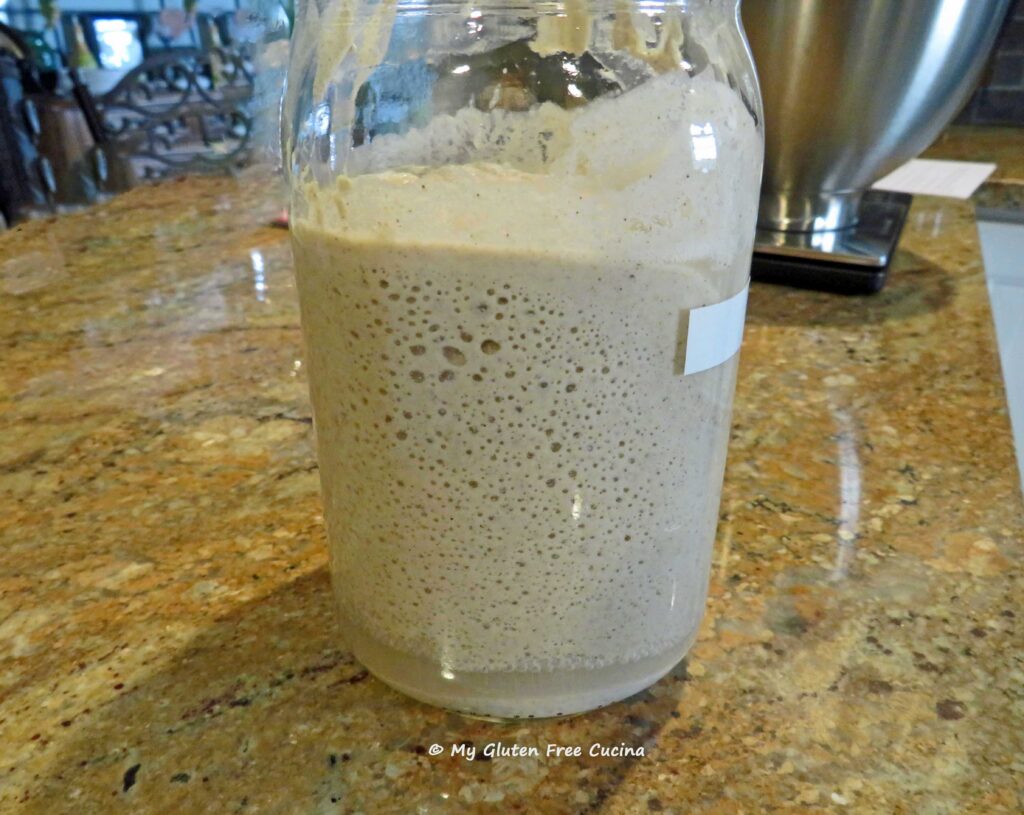
Note-> You will need a fully active sourdough starter for this recipe. You can read about my gluten free sourdough starter Sophie, in this post!
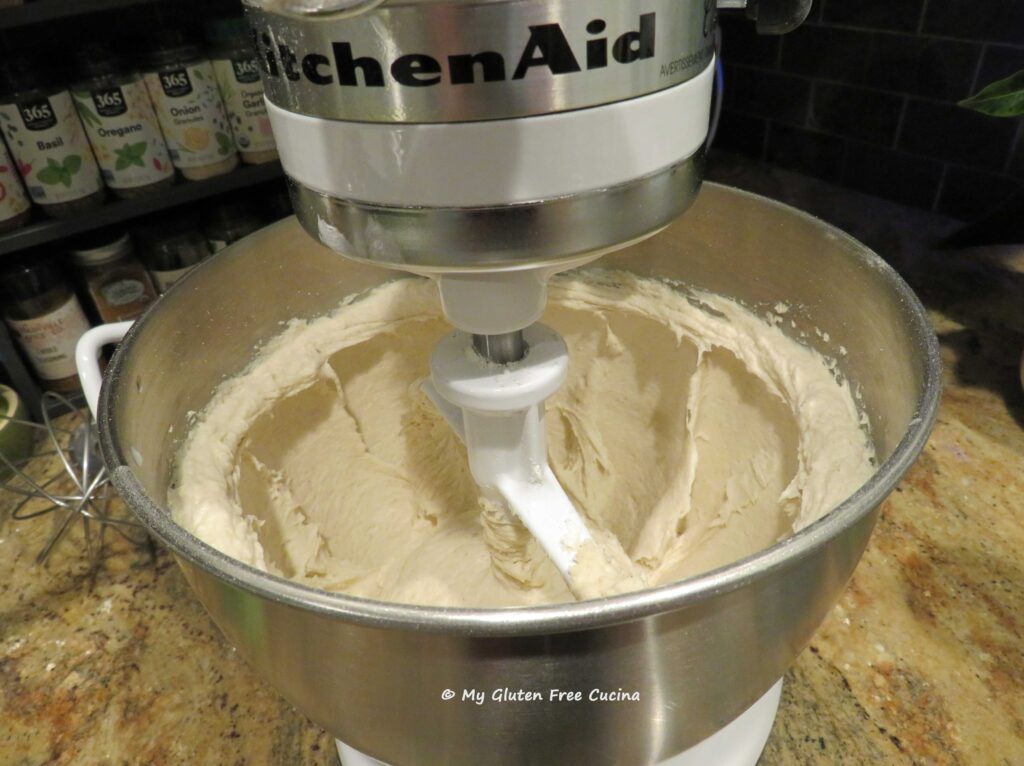
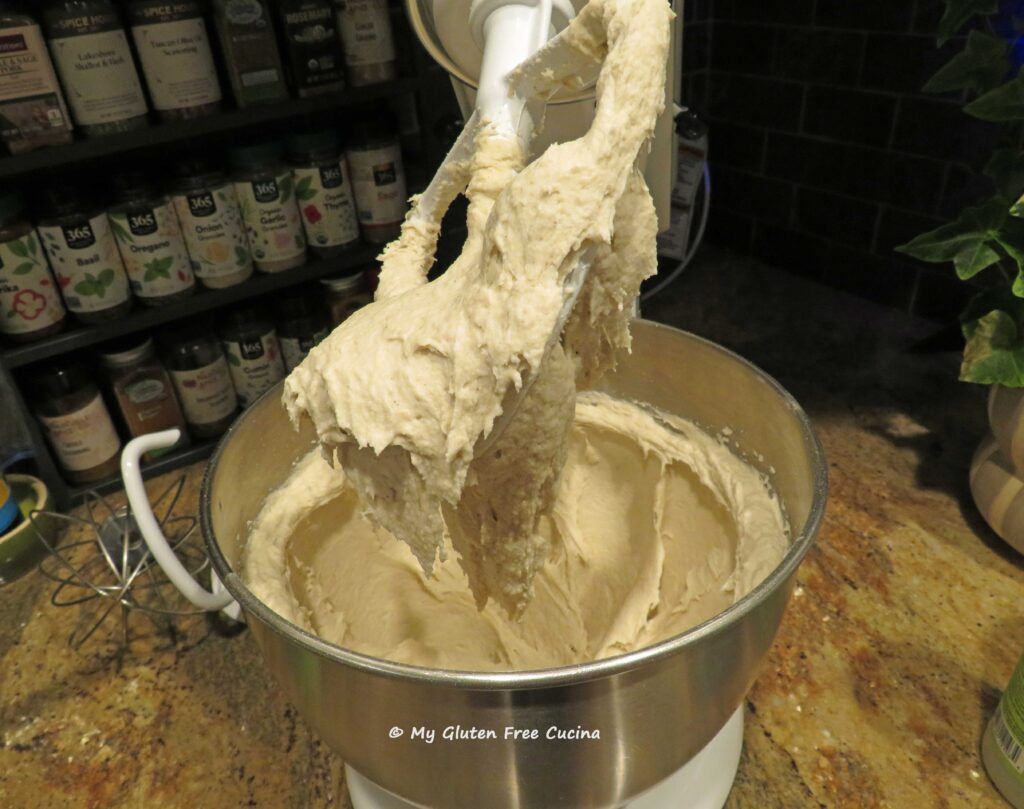
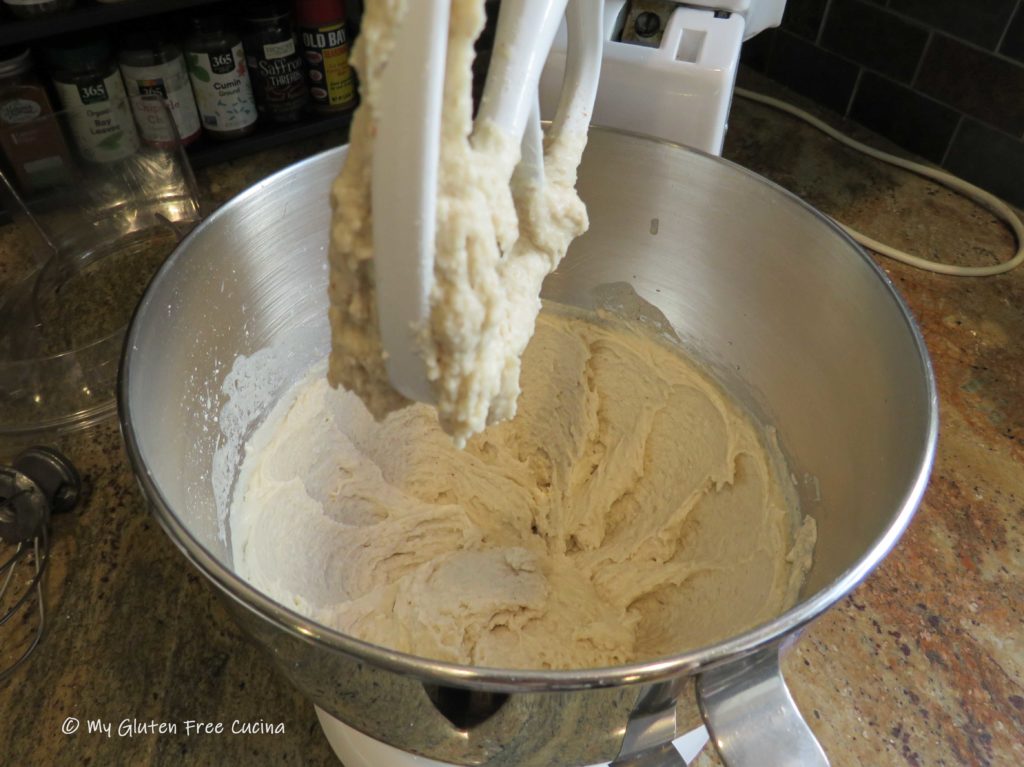
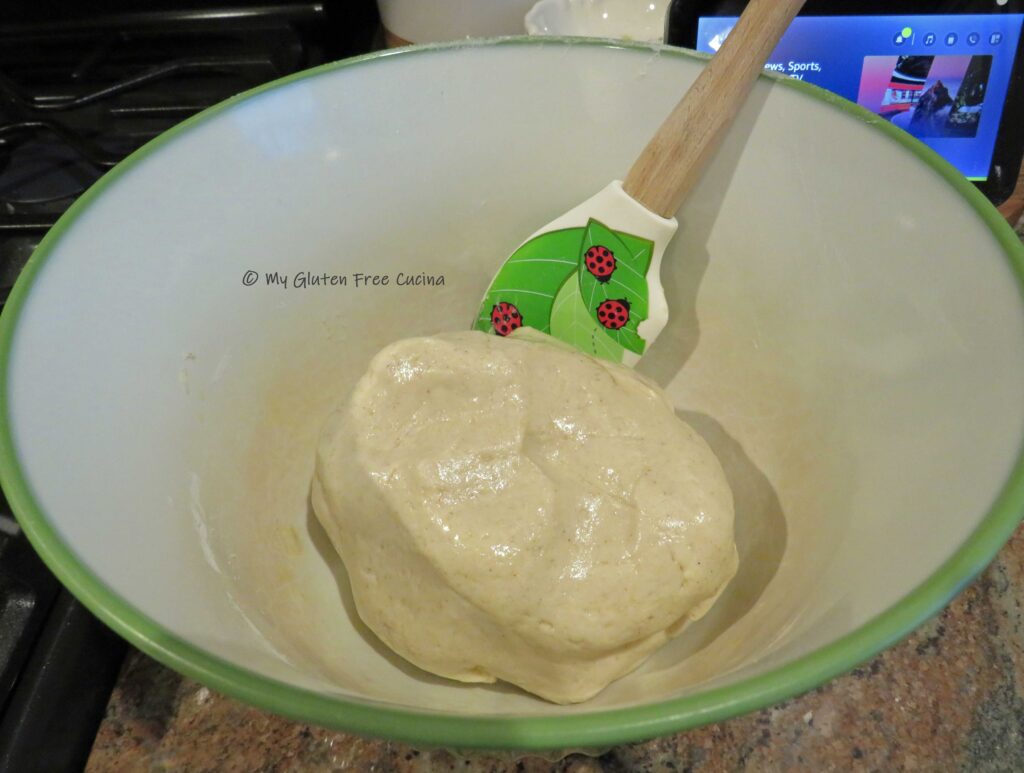
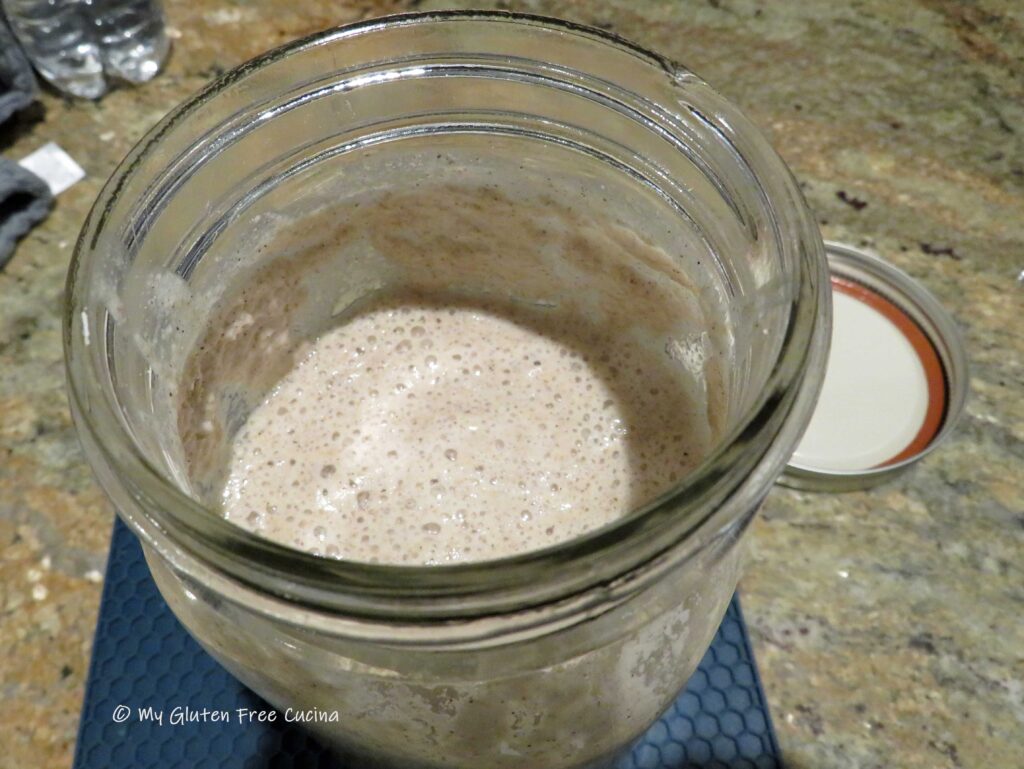 Combine the wet ingredients, starter through canola oil, in the bowl of a stand mixer. In another bowl, whisk together the dry ingredients, dry milk powder through instant yeast. Add the dry ingredients to the mixer bowl with the paddle attachment and beat on low speed for 5 minutes to form a smooth, sticky dough.
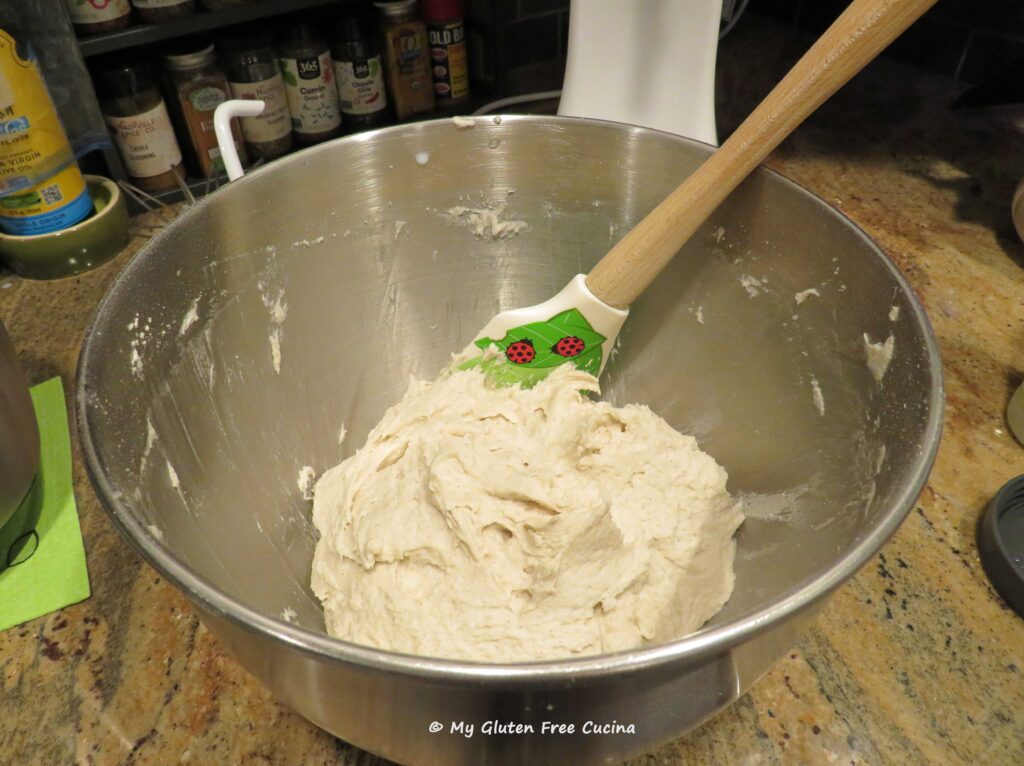
Gather the dough together in the mixer bowl, cover and let it rest for 20 minutes.
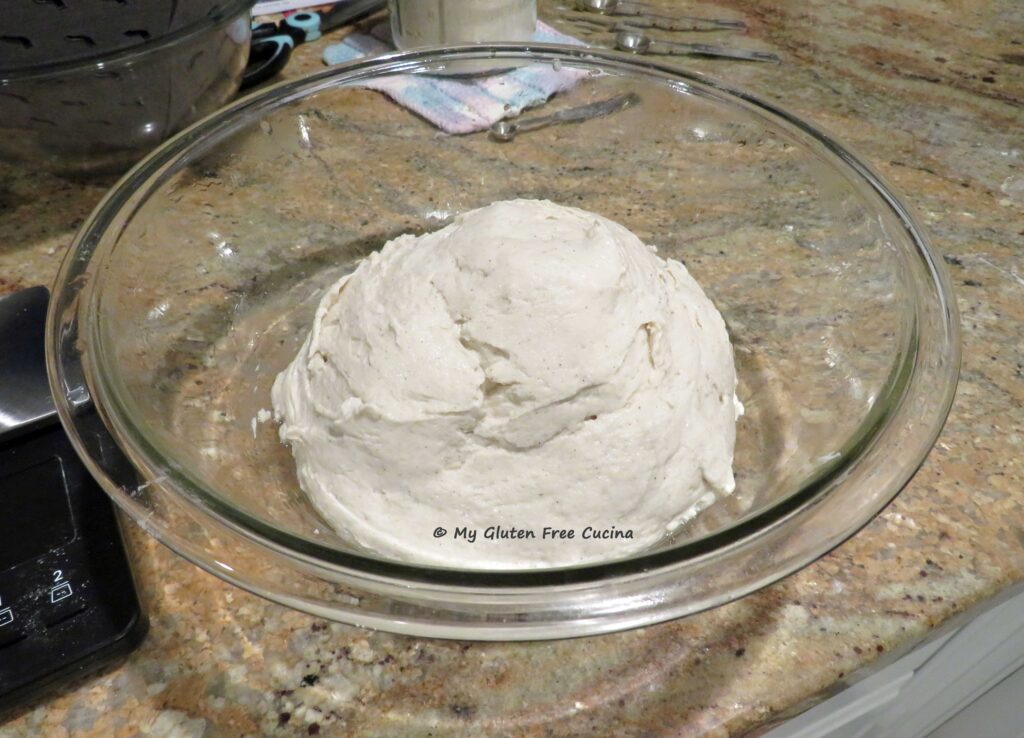
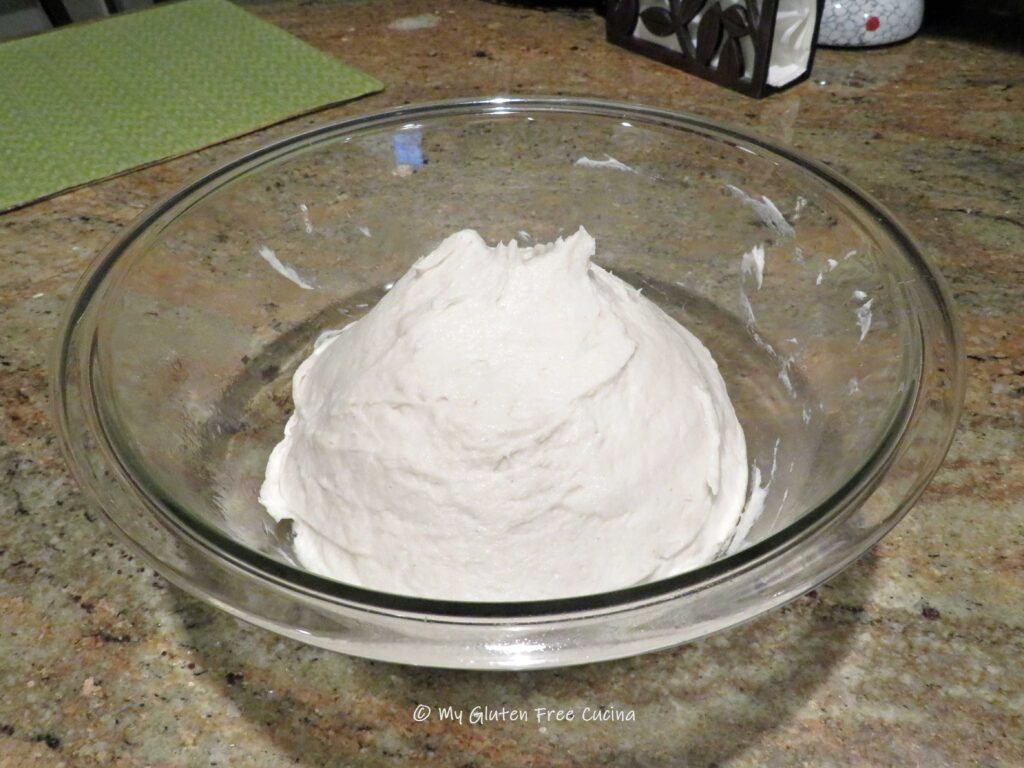
 Transfer the dough into an oiled bowl and smooth the top with a wet spatula. Cover with plastic wrap and refrigerate overnight, up to 15 hours.
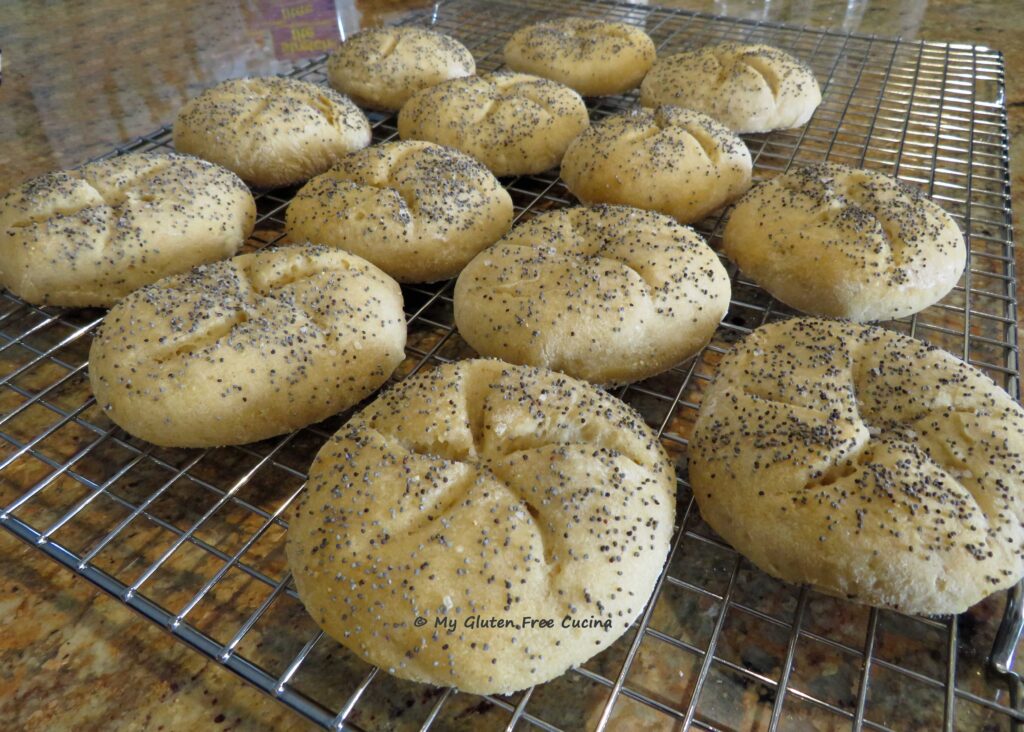
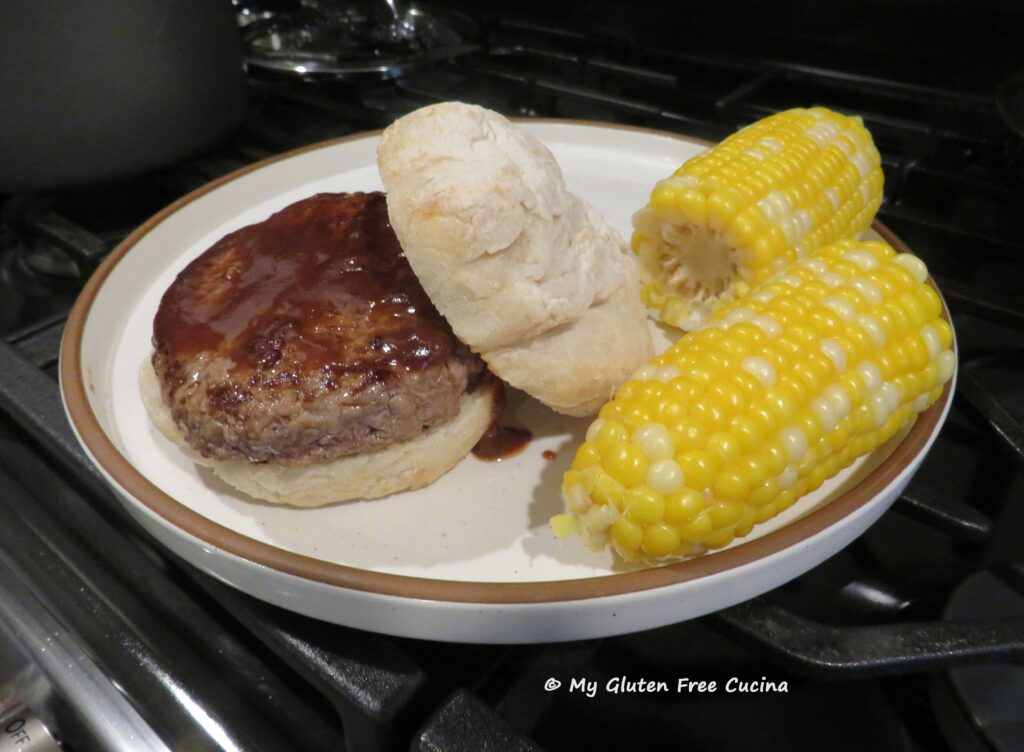
 I usually make small rolls for my lunch sandwiches, so I divided my dough into 13 rolls that weighed about 2½ oz. each. You could do 2 oz. each for dinner rolls or sliders. For hamburger buns, 3-4 oz. is a good size.
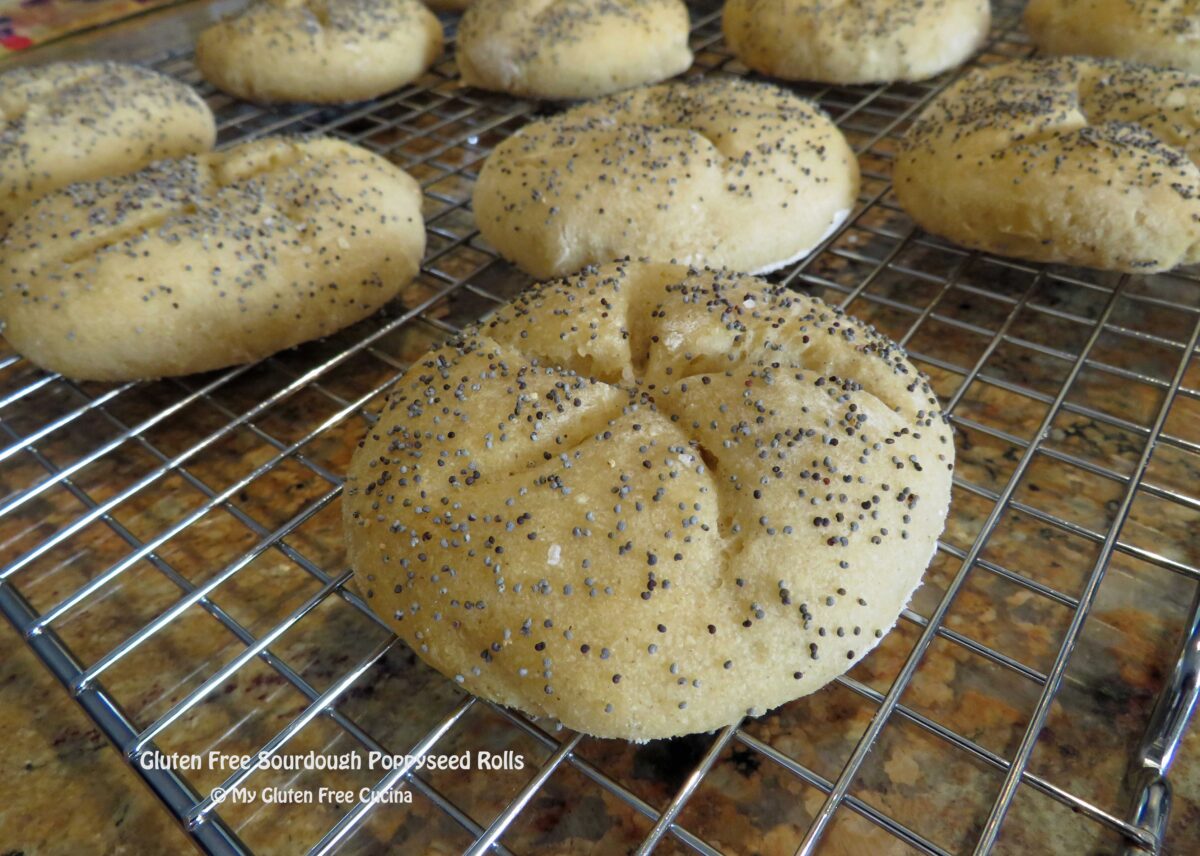
Sprinkle a cutting board with flour and working with one piece at a time, roll the dough between your palms into a round. Place it on a lightly floured cutting board and rotate it in a circular motion to form a smooth round shape. Finally, use your palm to flatten it to about 3/4″ thick.
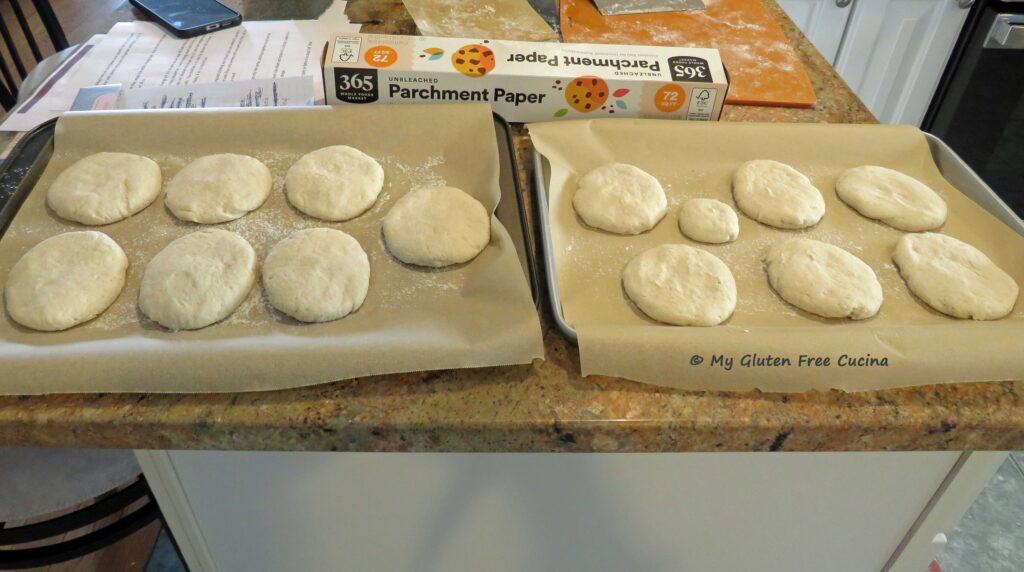 Continue with the rest of the dough, arranging your shaped rolls on a parchment lined baking sheet (use 2 sheets if needed).
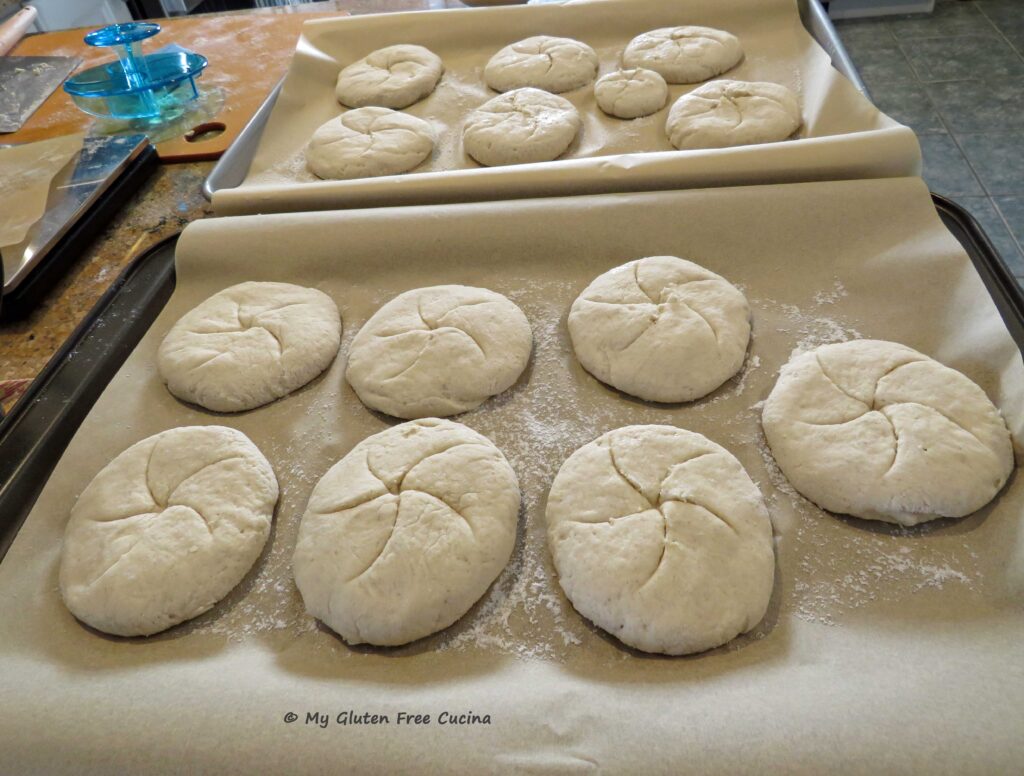
 Cover the rolls and let them rest for 30 minutes while you preheat the oven to 475º. Score the top of each roll.

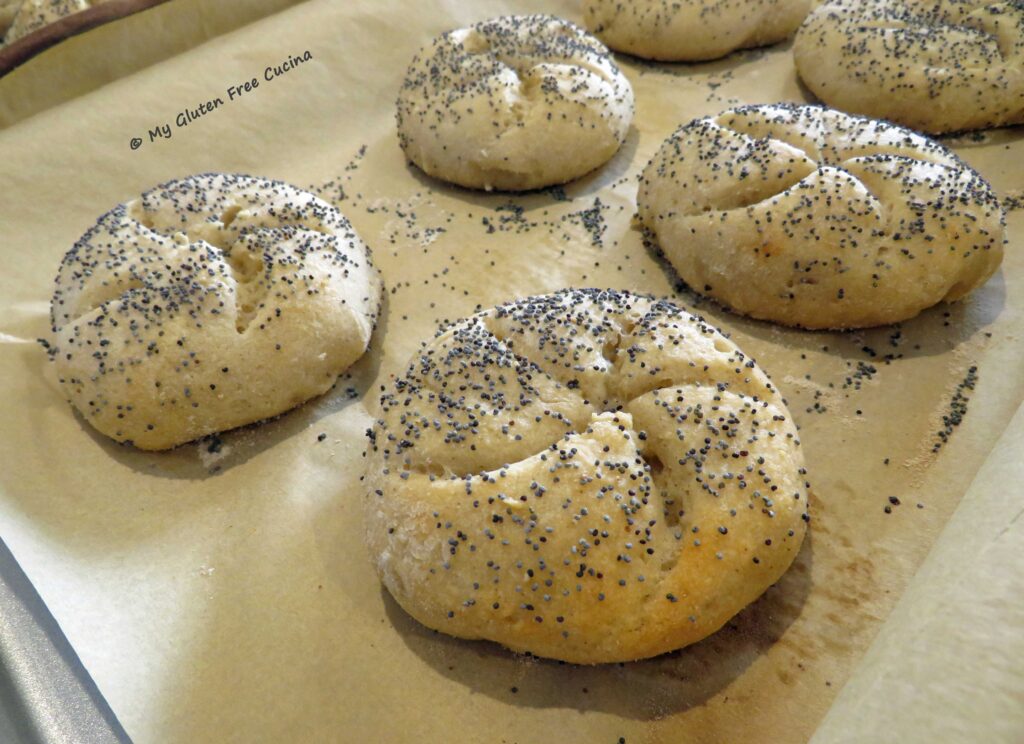
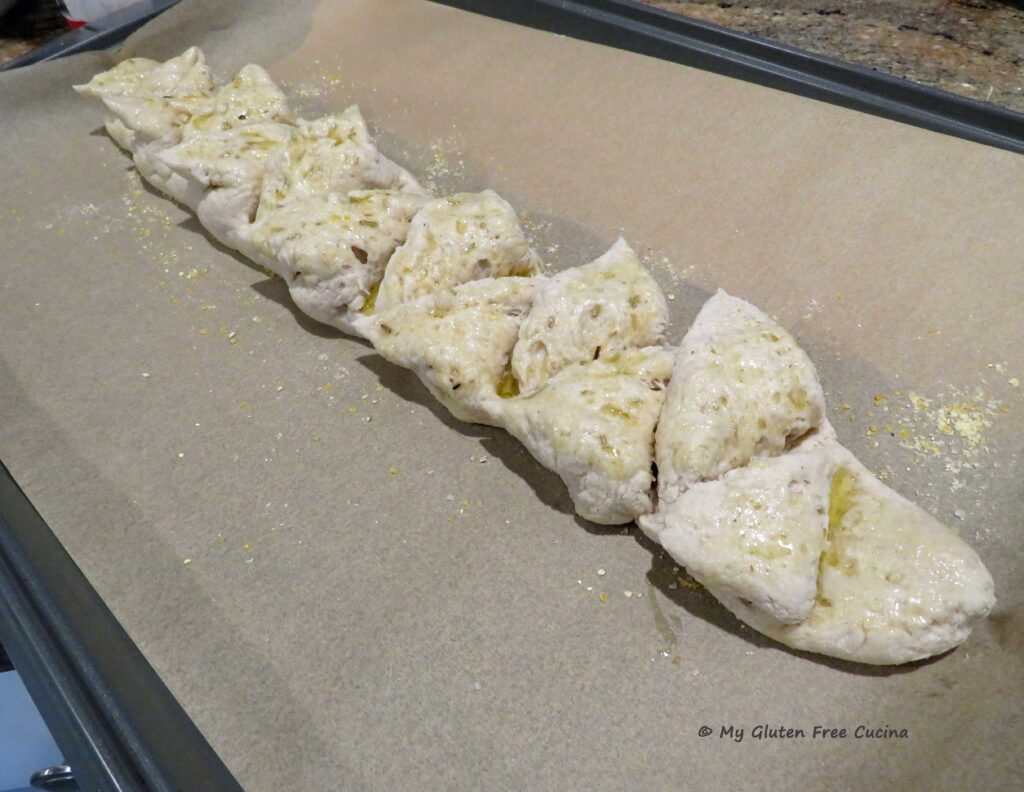
 Just before baking, brush the rolls with milk, or spray with water (you can also use an egg wash). Sprinkle the rolls with poppy seeds and coarse salt (optional).
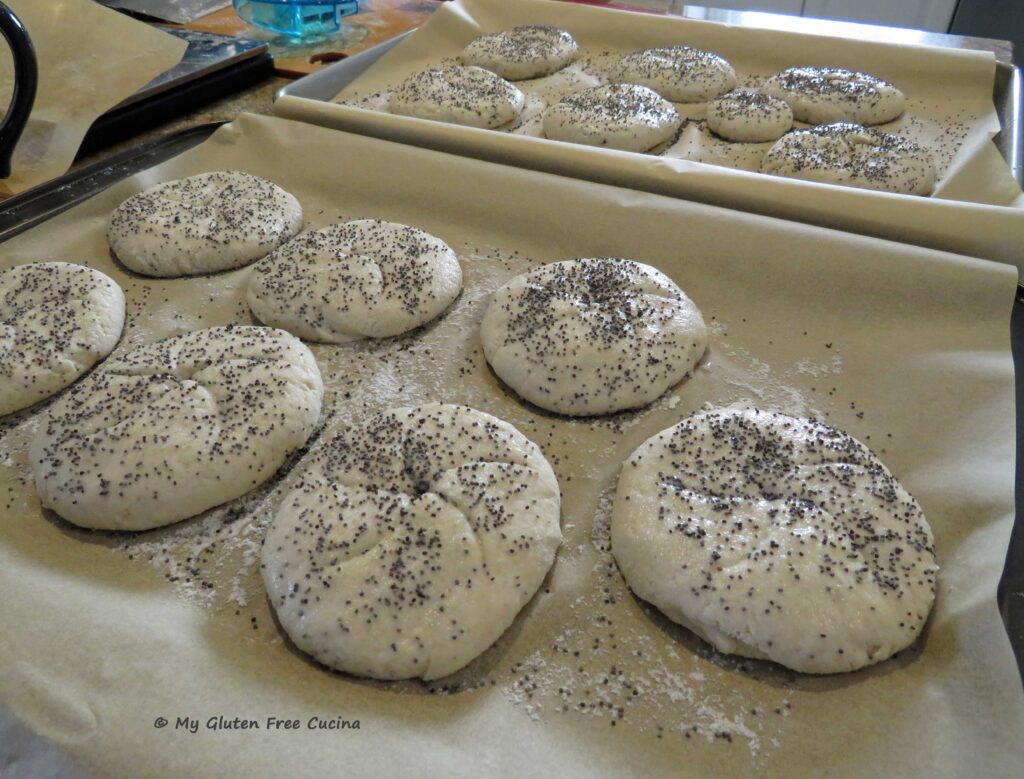 Place the pans on the center rack and throw a few ice cubes into the bottom of the oven. Bake for 5 minutes, then lower the oven temperature to 375º.
Continue baking 15 minutes longer, or until the internal temperature of the rolls reaches 210º (check with a thermometer).
Cool in the pan for 15 minutes then transfer to a rack. Allow the rolls to cool completely before slicing.
For best texture, I let mine cool to room temperature then stored them on the counter in a plastic bag overnight. In the morning, I sliced them and wrapped each roll individually in plastic wrap. I left a few out for lunch and the rest went into a freezer safe bag. Freezing is recommended if you are not going to eat them immediately.
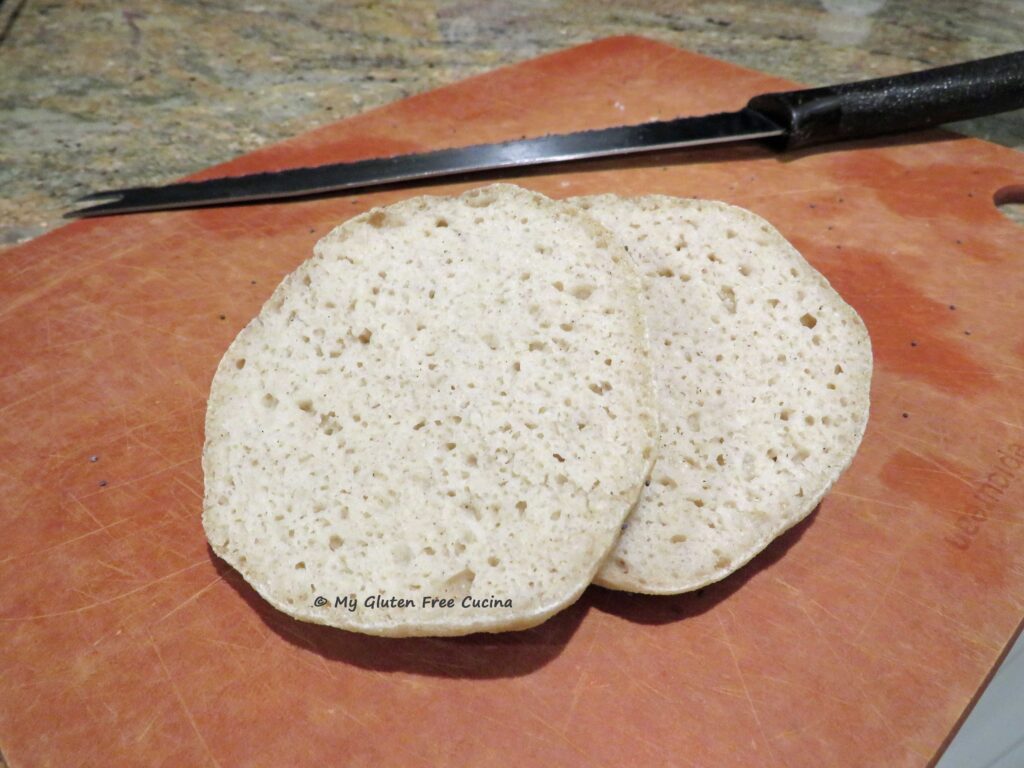
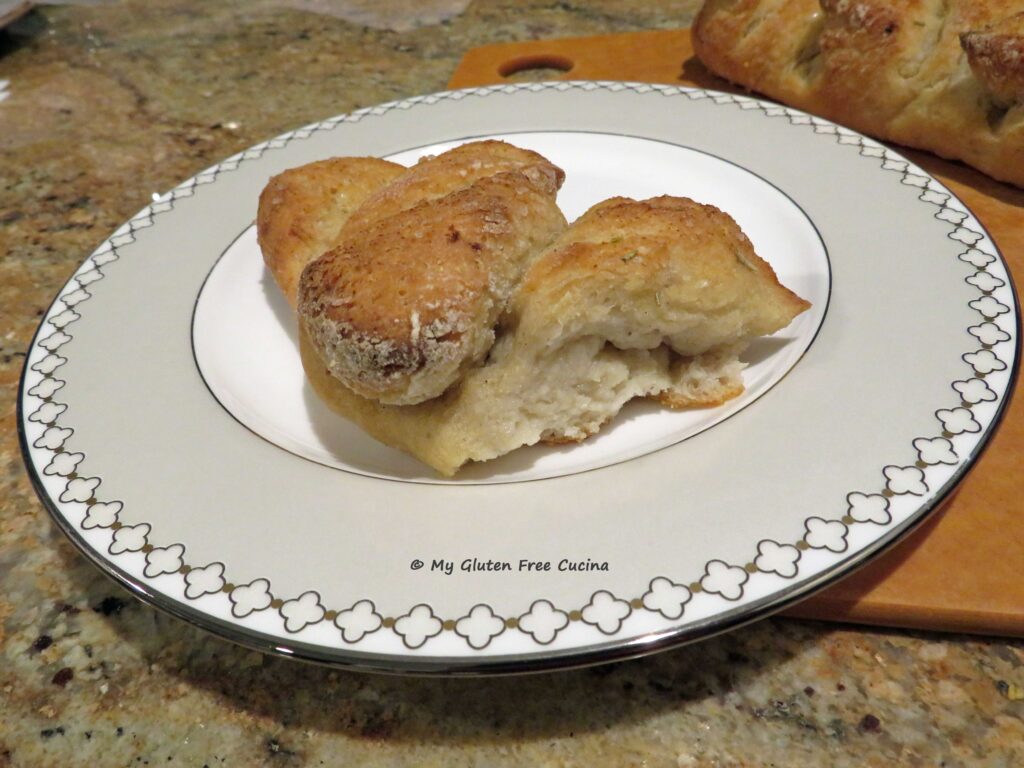
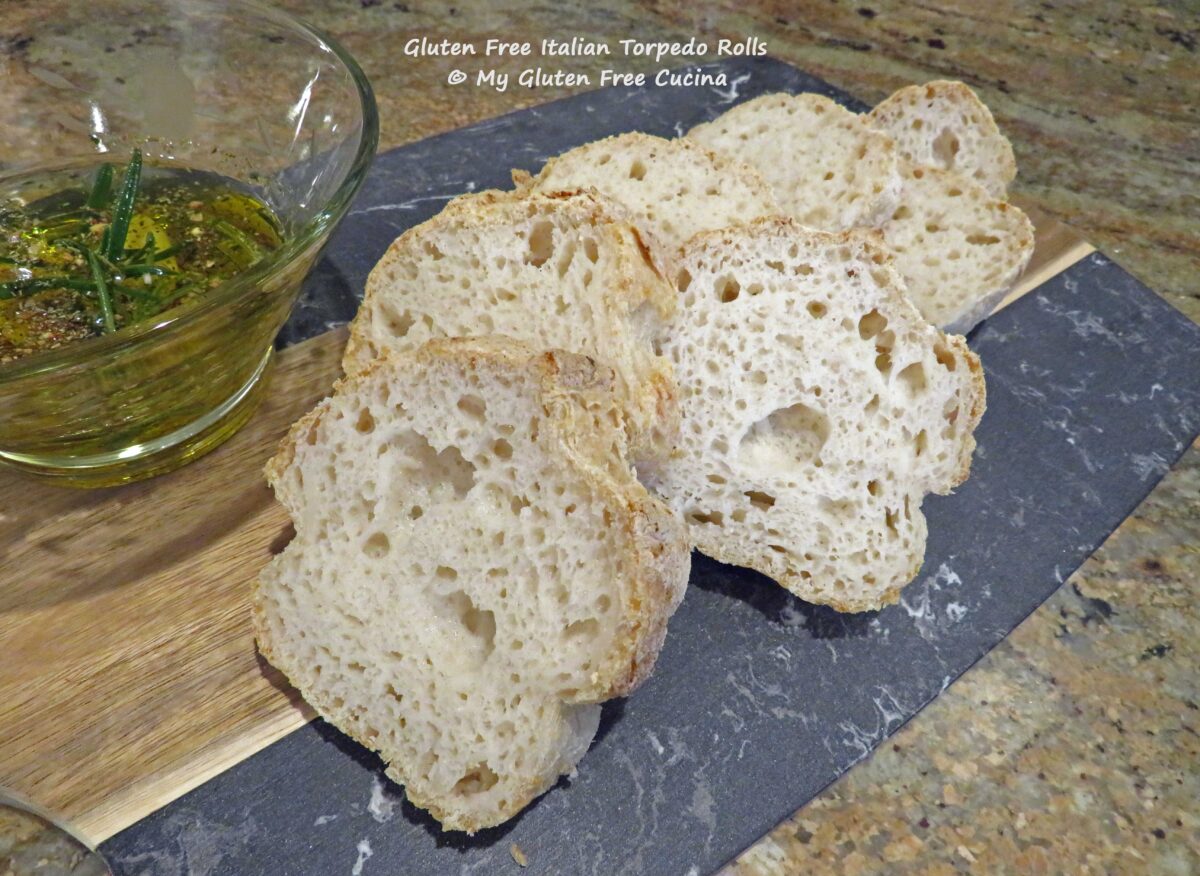
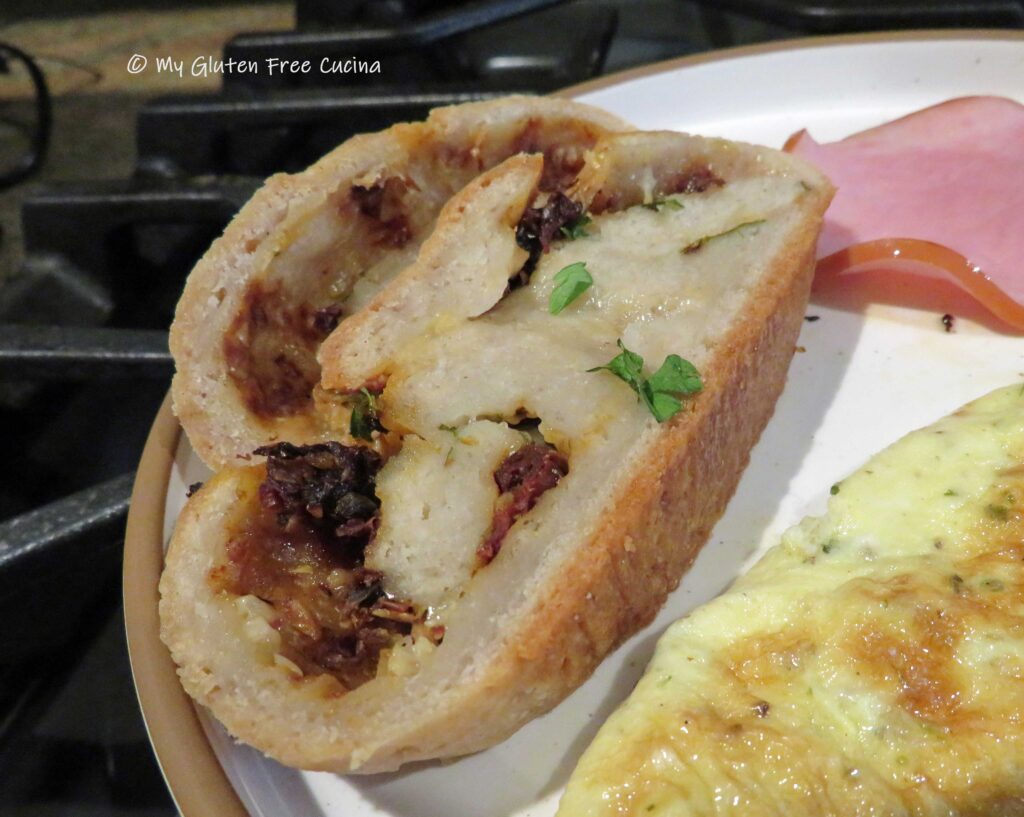
 Here’s the crumb shot. The rolls don’t need to be toasted, but they are great either way. Just the right size for me.
Notes ♪ Baking times given are for 2.5 oz. rolls. If you make yours smaller or larger you will need to adjust accordingly. Remember, the internal temperature should reach 210º, check- don’t guess, use a thermometer!
Notes ♫ For instructions on how to make a gluten free sourdough starter, read this post and meet my sourdough starter Sophie!

Notes ♪♫ For rice flour, always use a superfine grind. I like the Superfine White Rice Flour from Authentic Foods, available on Amazon.
Notes ♫♫ Check out this cute little Kaiser Cutter tool, from Ateco! My favorite Chef friend, Patrick Auger told me about it!


 The recipe is easy and straightforward; made with common ingredients. Fresh tomatoes and basil are a must here (don’t use canned!). If you grow your own or can get them from a farmer’s market that would be great. But for everyone else, plum tomatoes from the grocery store are the best choice.
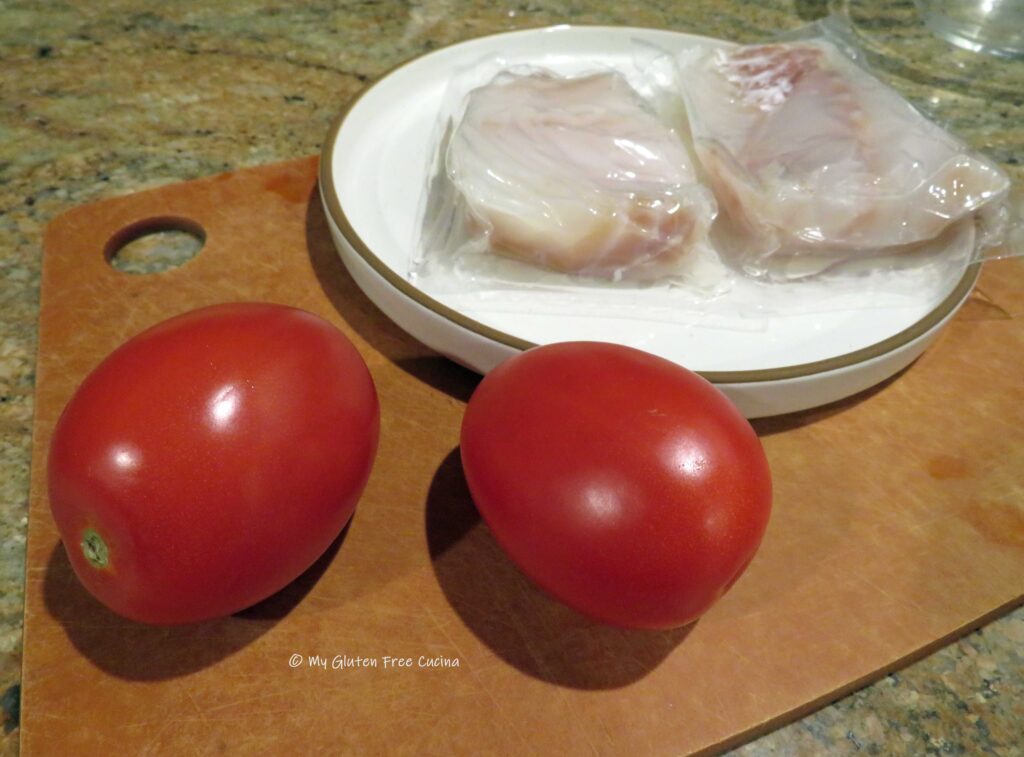 Preparation:
 Place the diced tomatoes in a small bowl, and toss with 1 tbsp. olive oil, the balsamic vinegar, sea salt and ground pepper. Cut one large basil leaf into thin strips (chiffonade) and stir into the tomatoes. Let the mixture stand for about 30 minutes at room temperature.
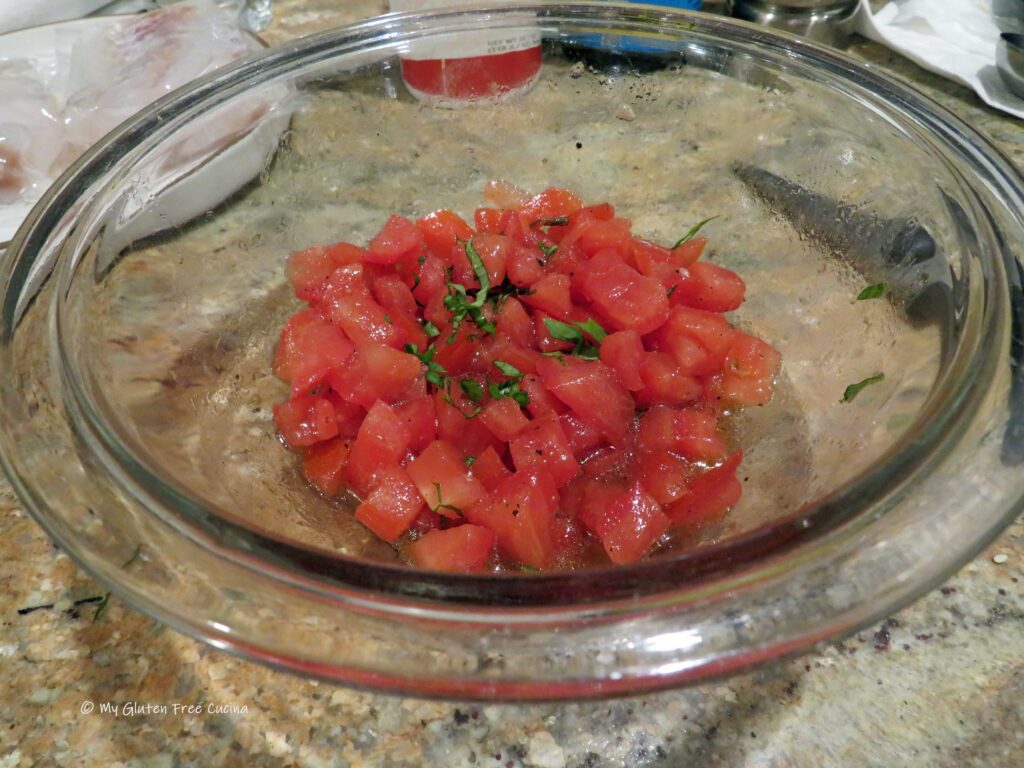 Preheat the oven to 350º. Coat a baking dish with cooking spray and arrange the cod with space in between. Drizzle with the remaining olive oil and a pinch of sea salt.
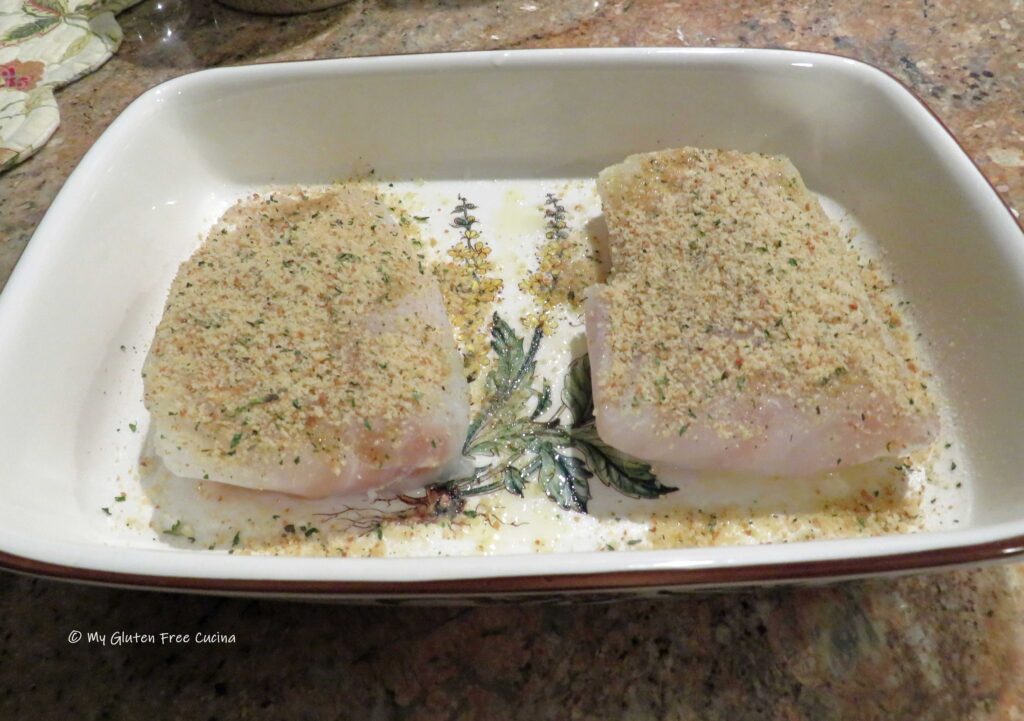 Top each piece of fish with 1 tbsp. of breadcrumbs, then divide the diced tomatoes evenly over each piece.
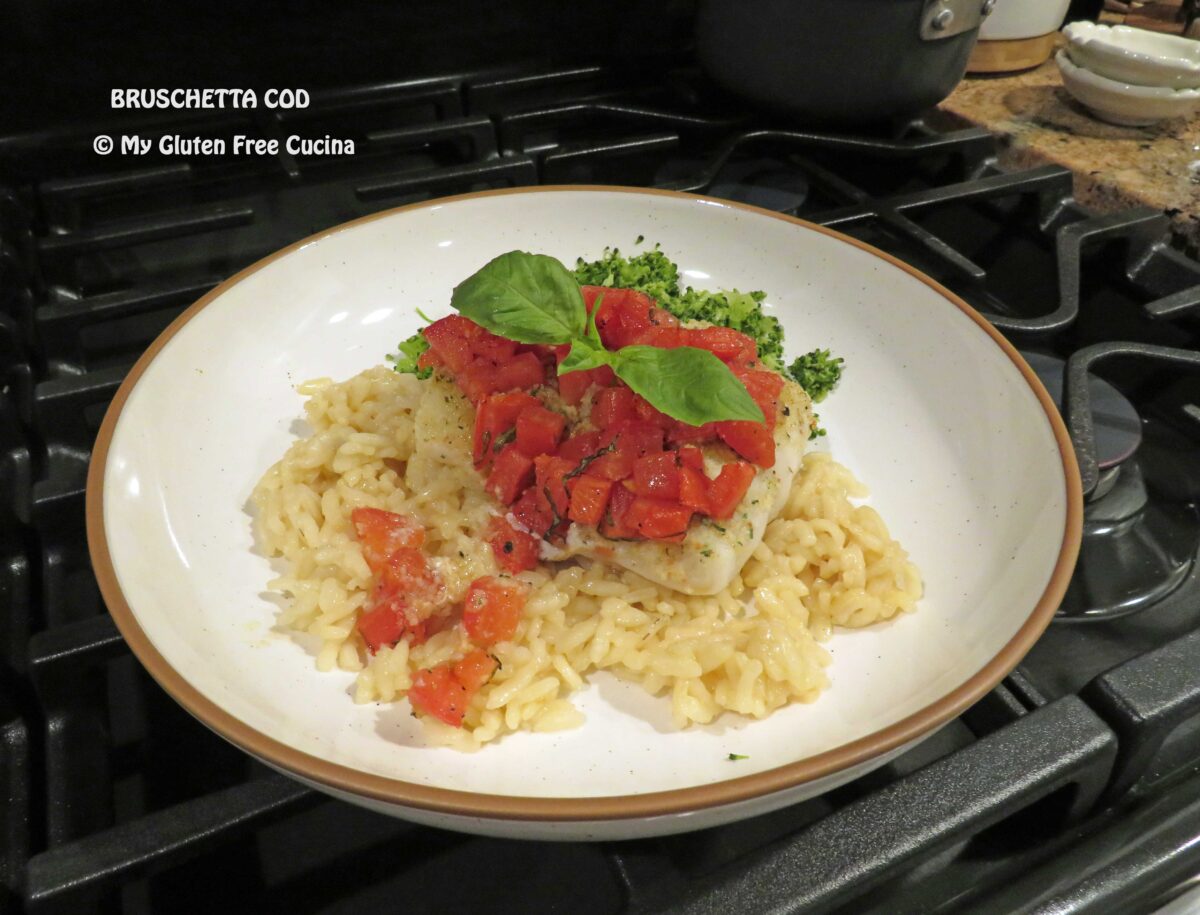
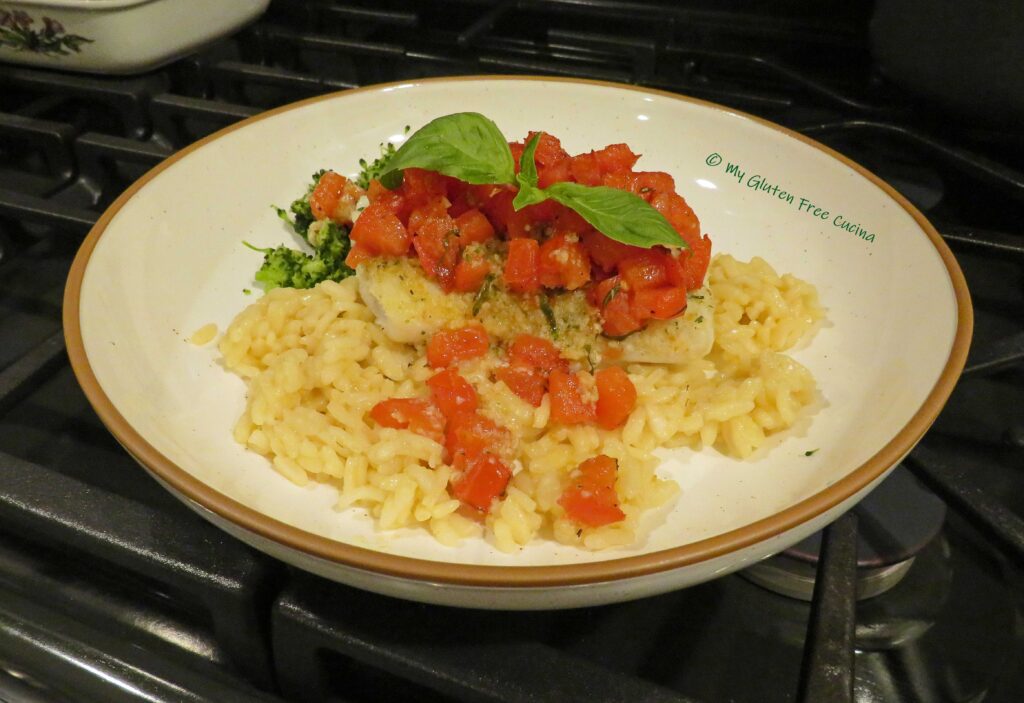
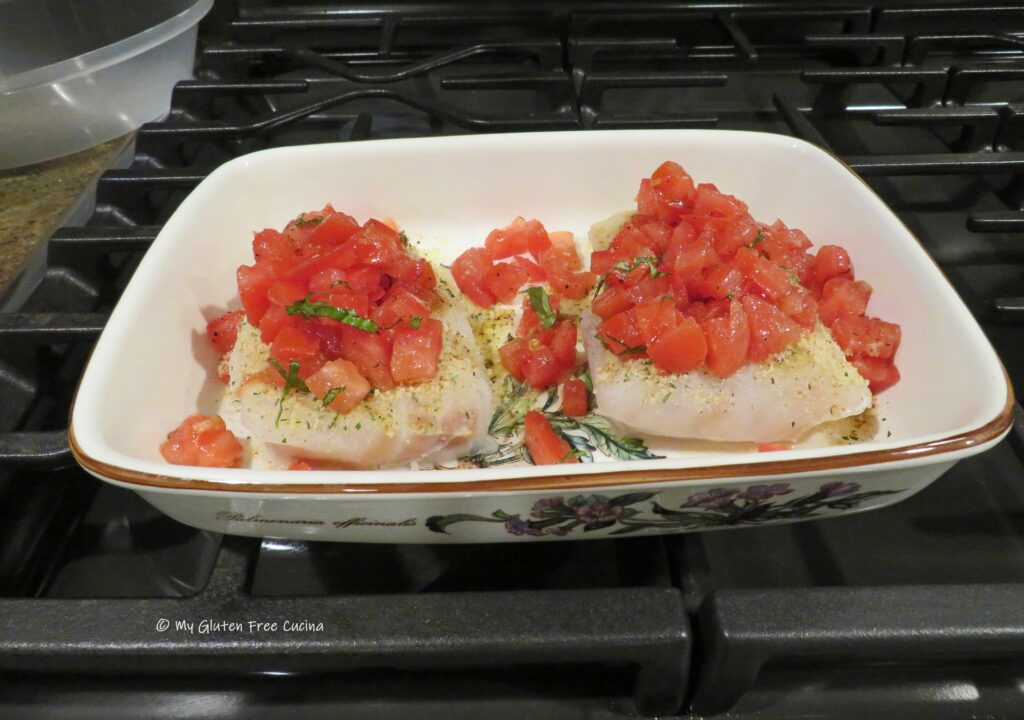 Bake for 25 minutes. That’s it! Plate with a garnish of fresh basil leaves.
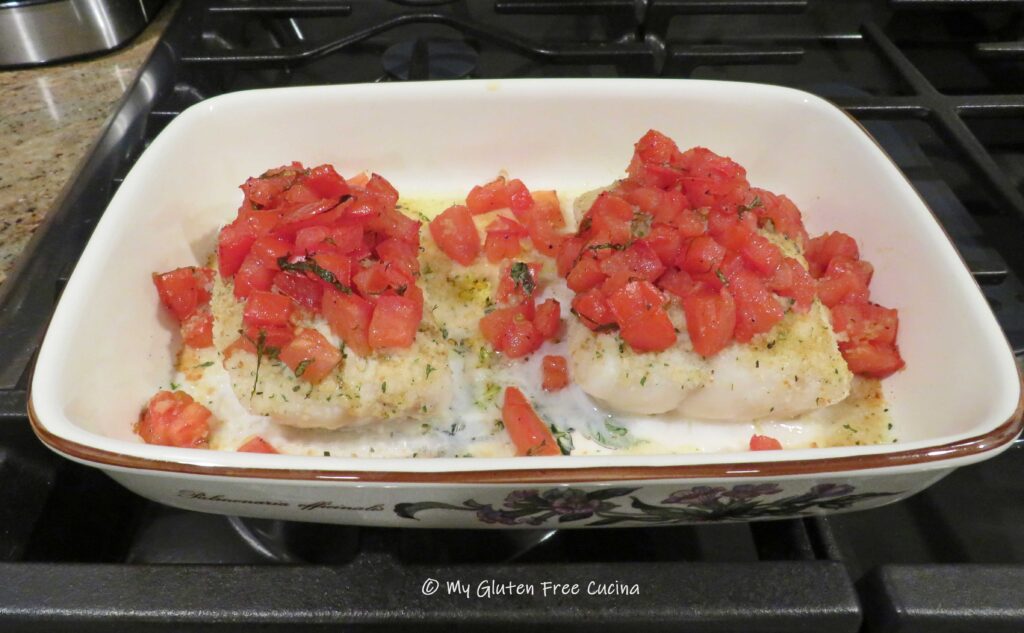 I served my Bruschetta Cod over risotto, and it was SO delicious. If you don’t know how to make risotto, jump over to
 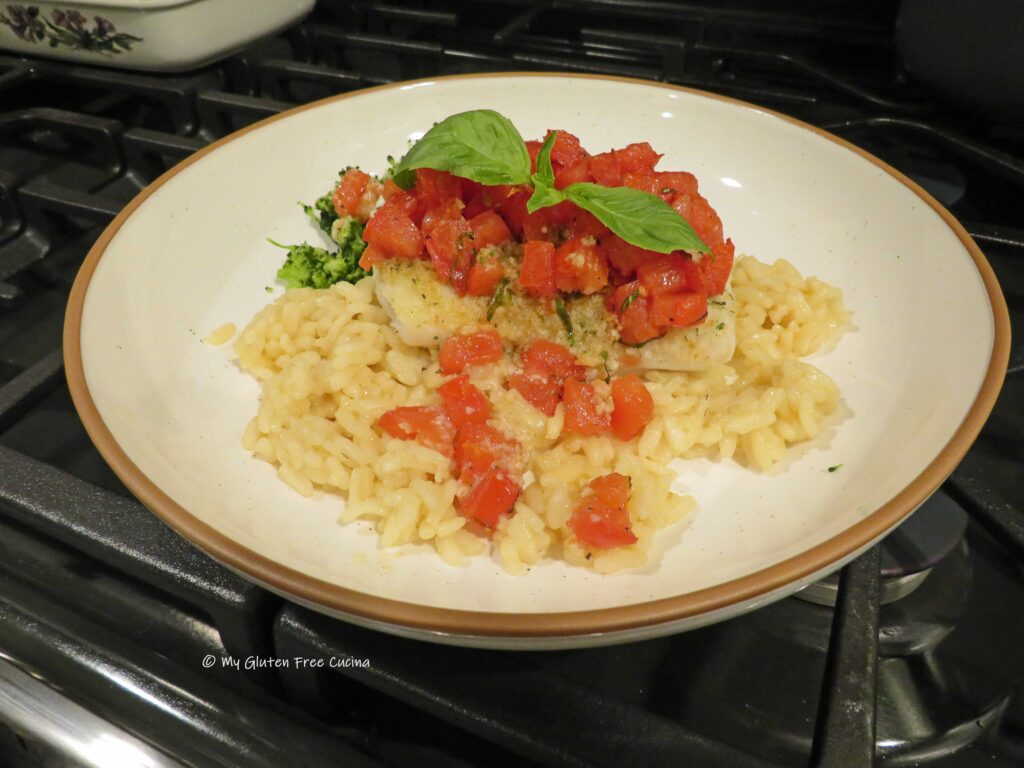 Notes ♪♫
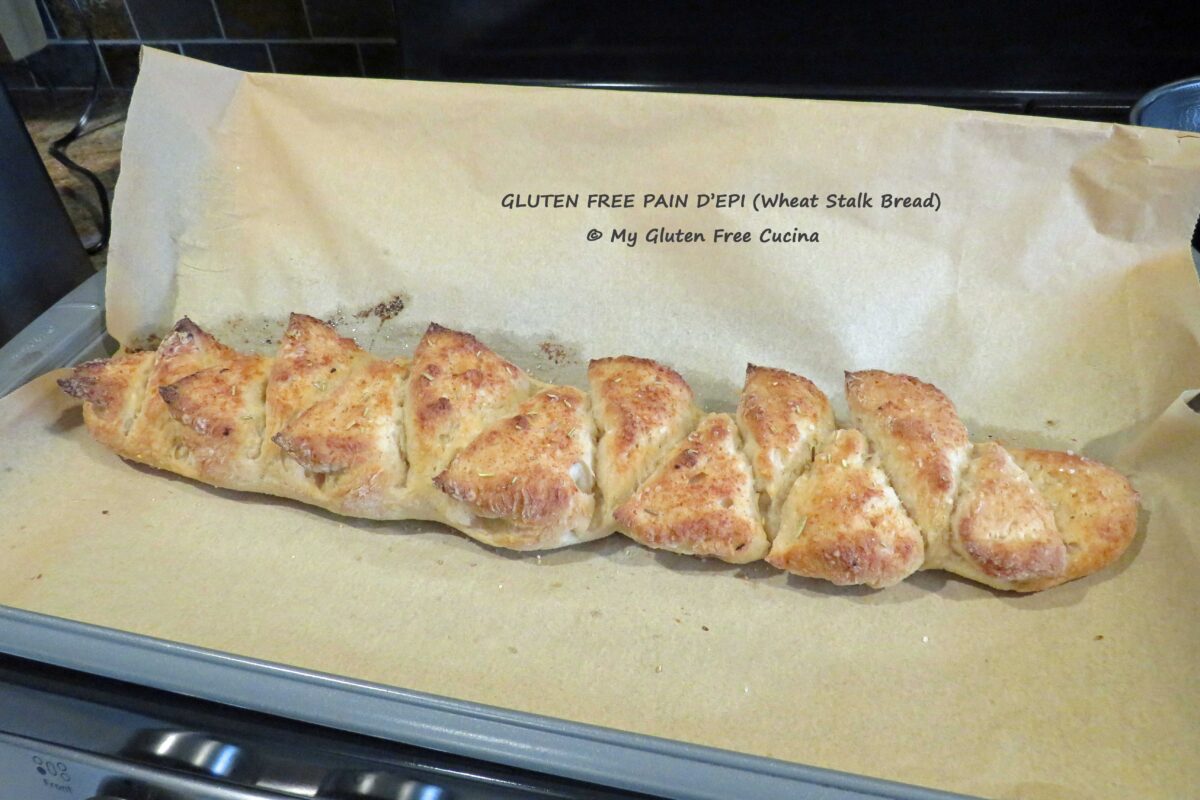


 This post contains affiliate links.

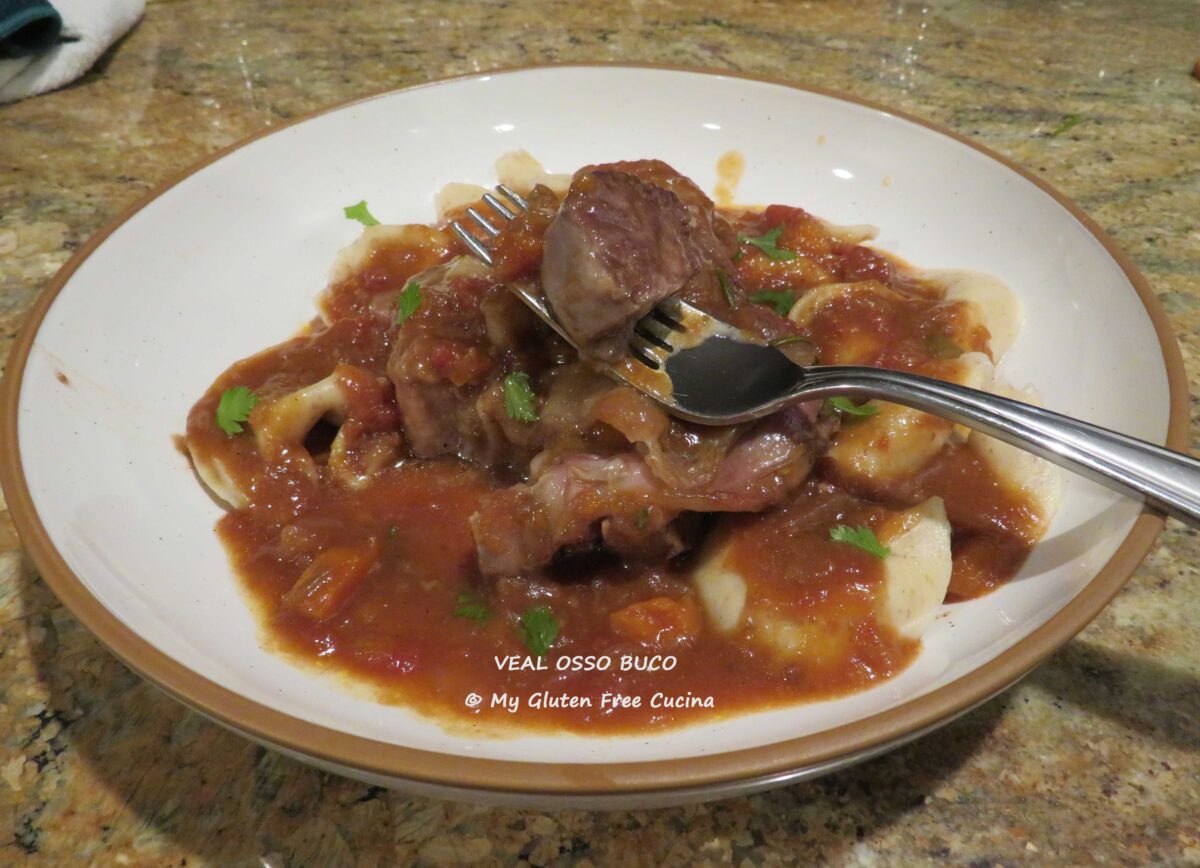
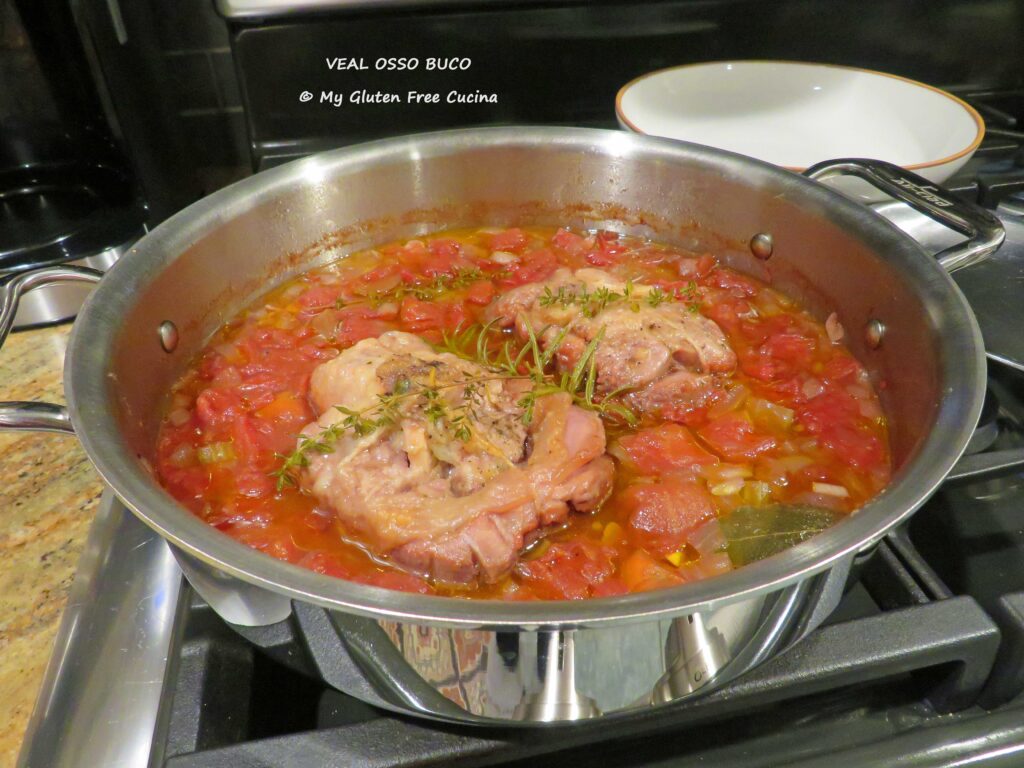
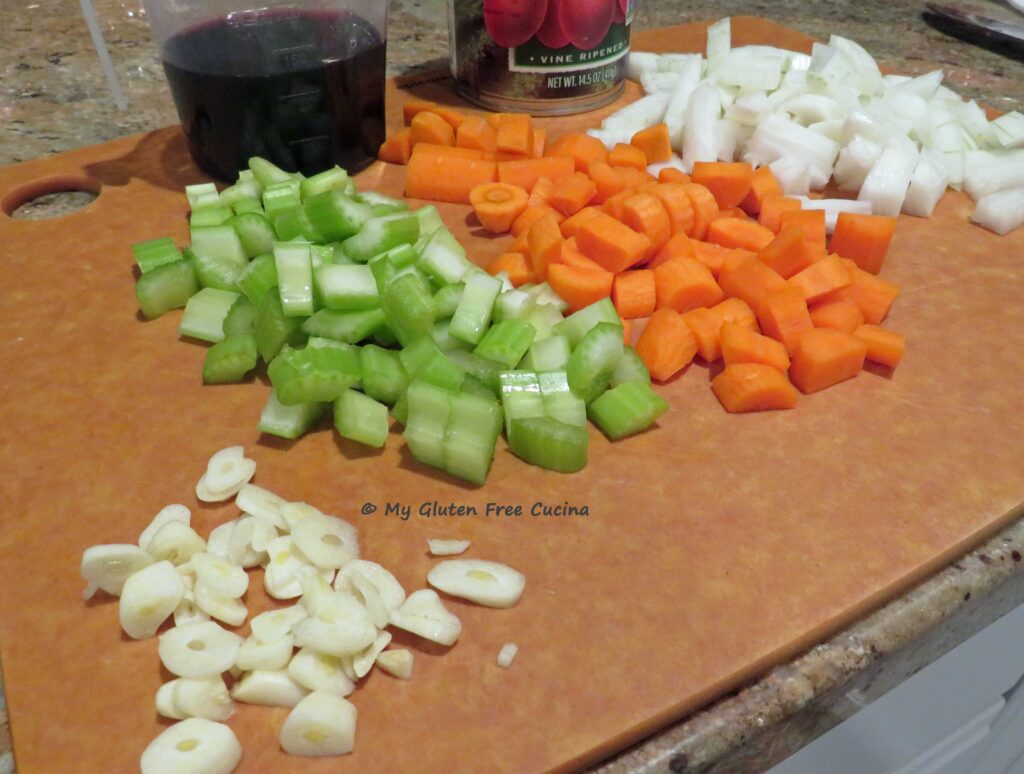
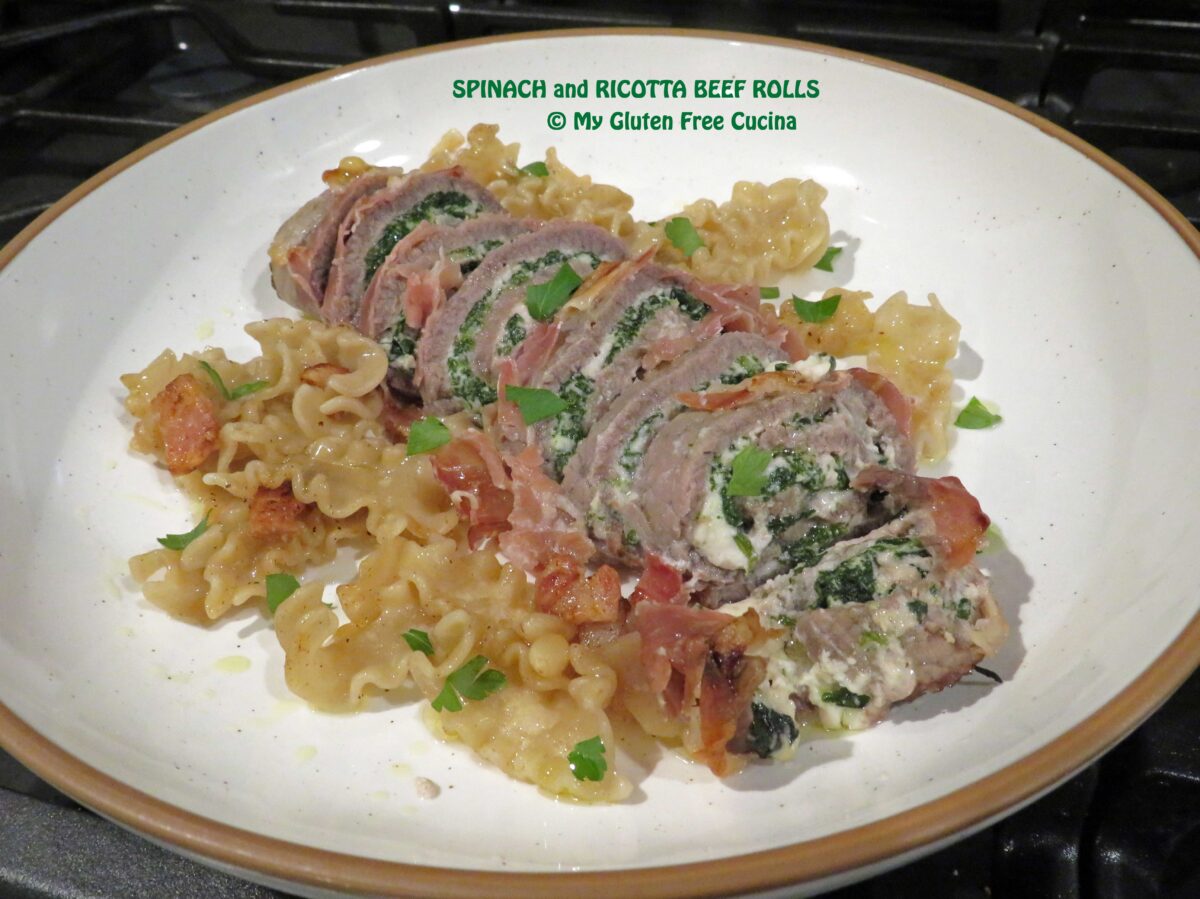
 Spoon sauce over the veal shanks and garnish with Italian parsley.
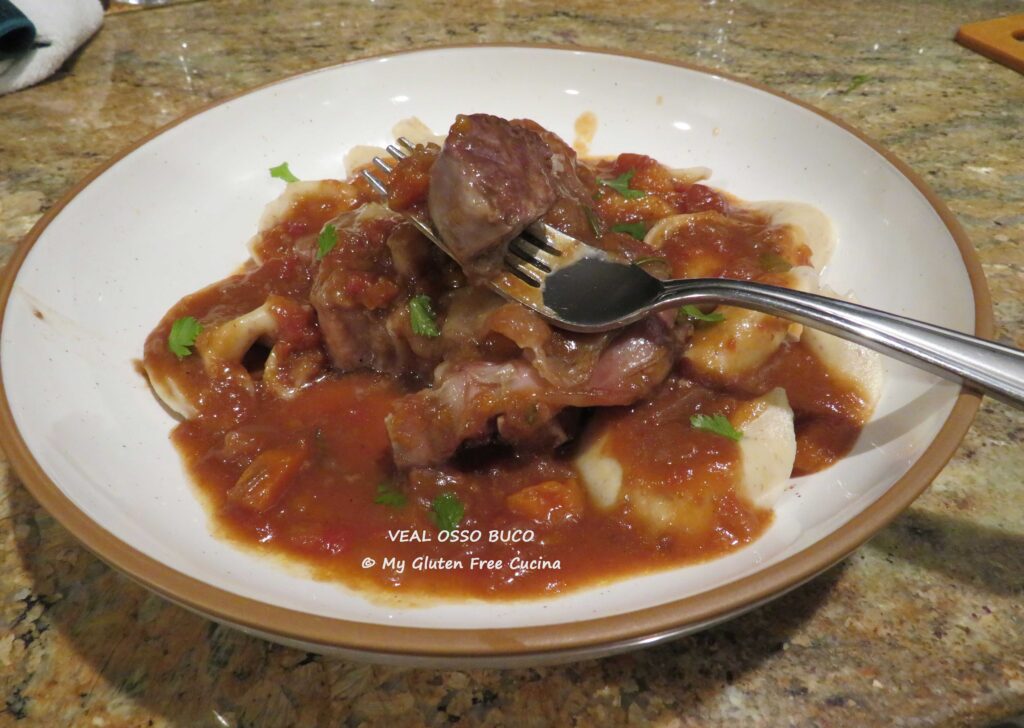
 Yes, they are gluten free!
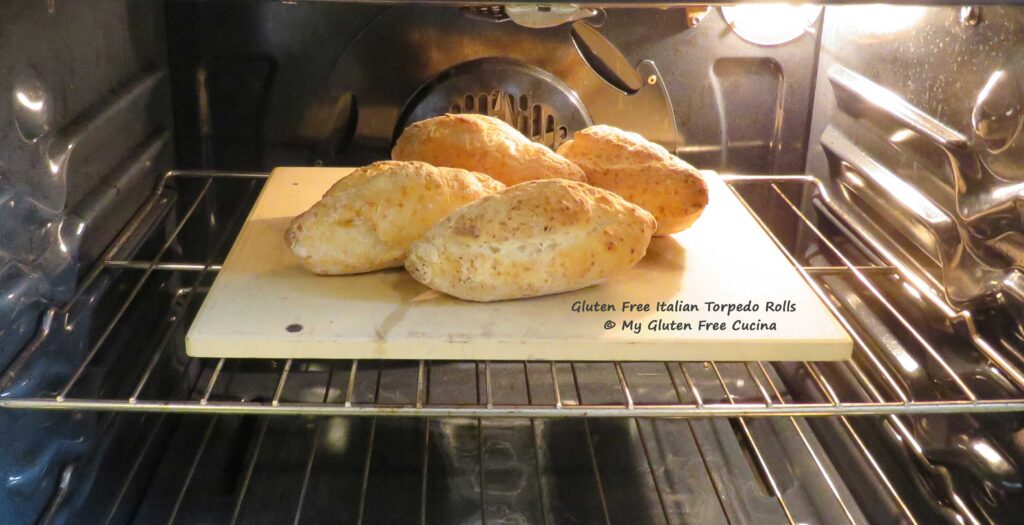 You are going to love this recipe!
 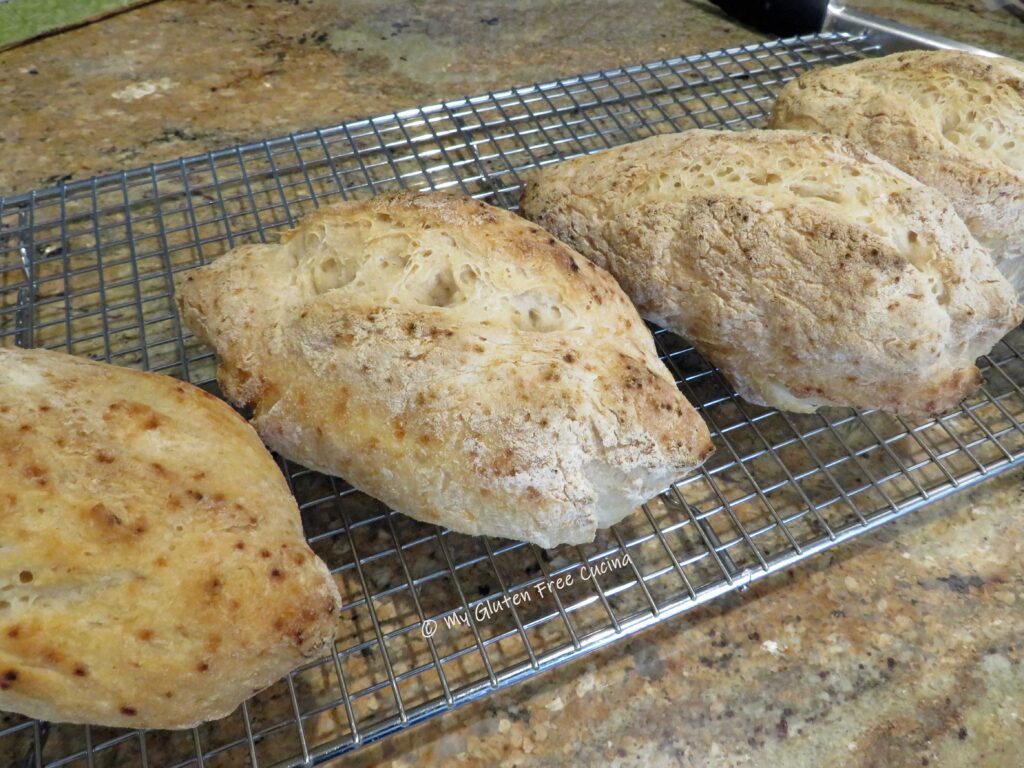 Ingredients:
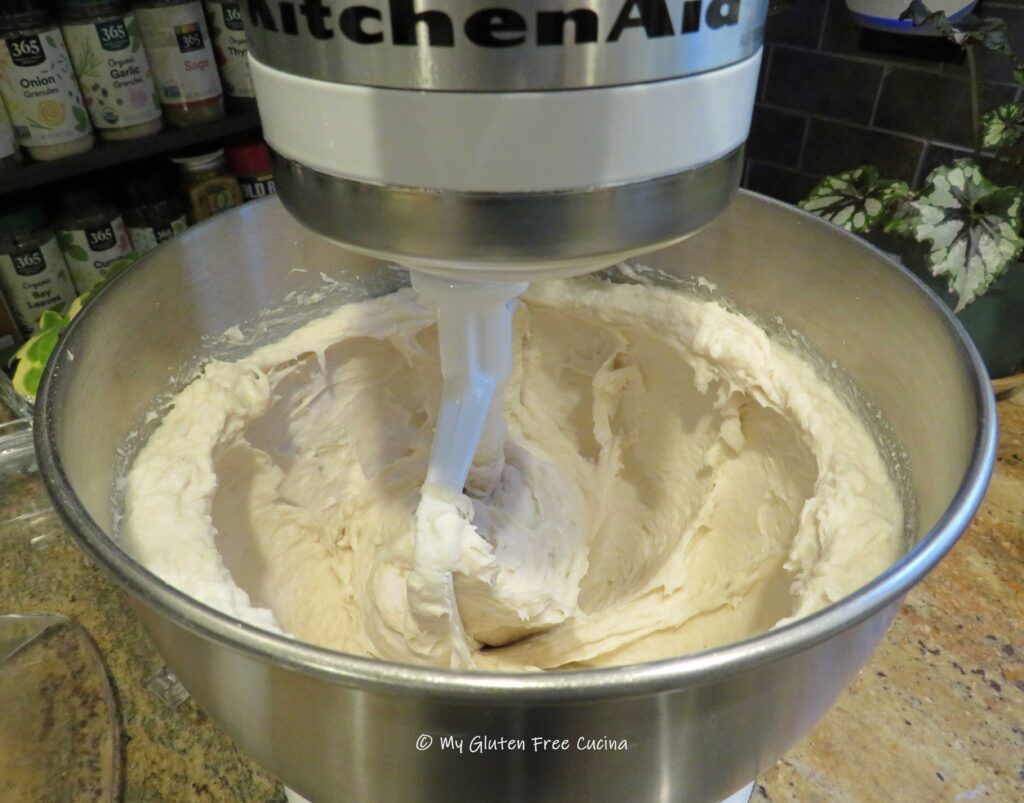 No stand mixer? You can combine everything in a large bowl with a
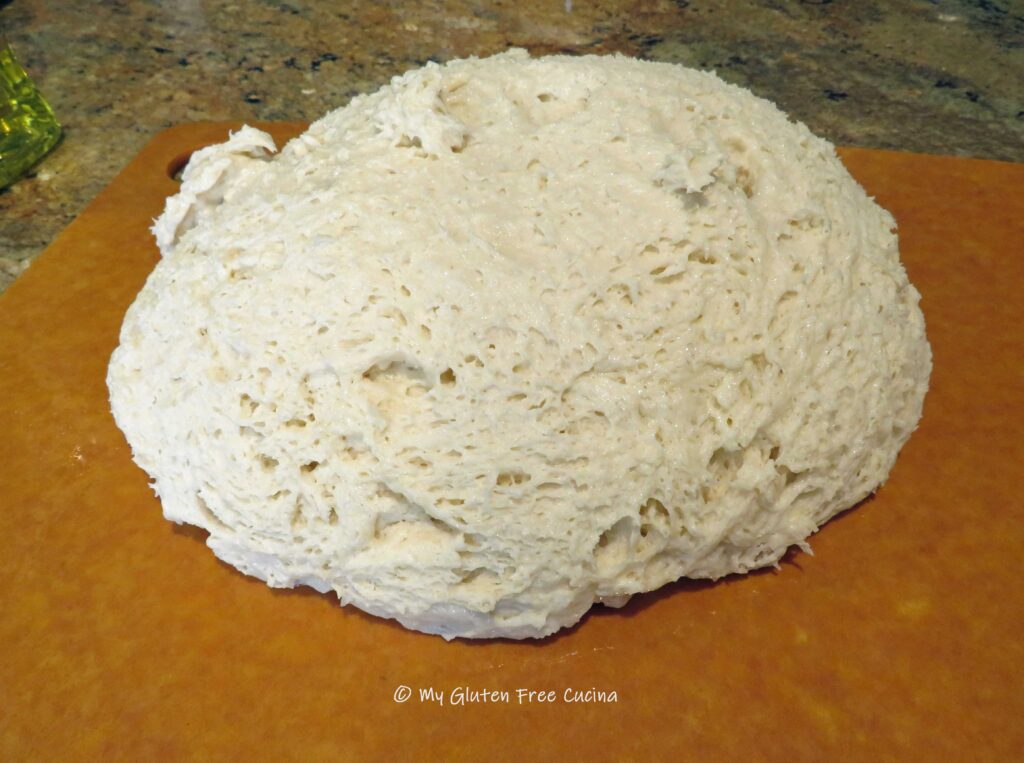
 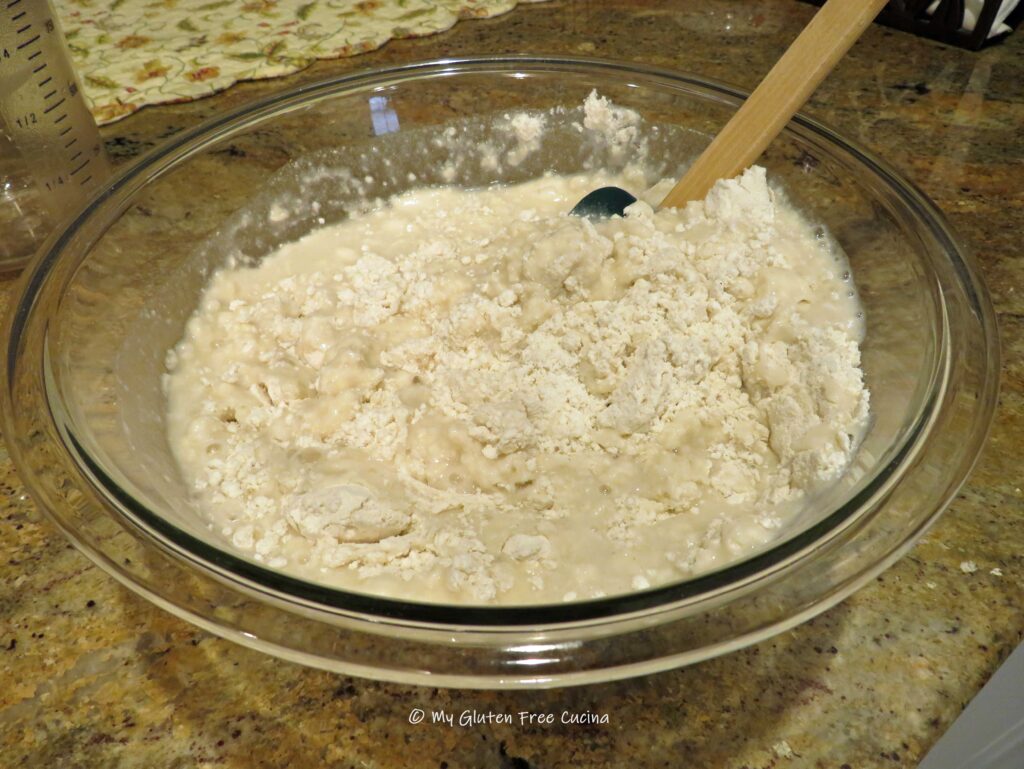 Now cover the bowl with plastic wrap and leave it on the counter (room temperature) overnight for 12-13 hours. I like to make my dough around 8pm, then shape the rolls while I’m having coffee the next morning, around 9am.
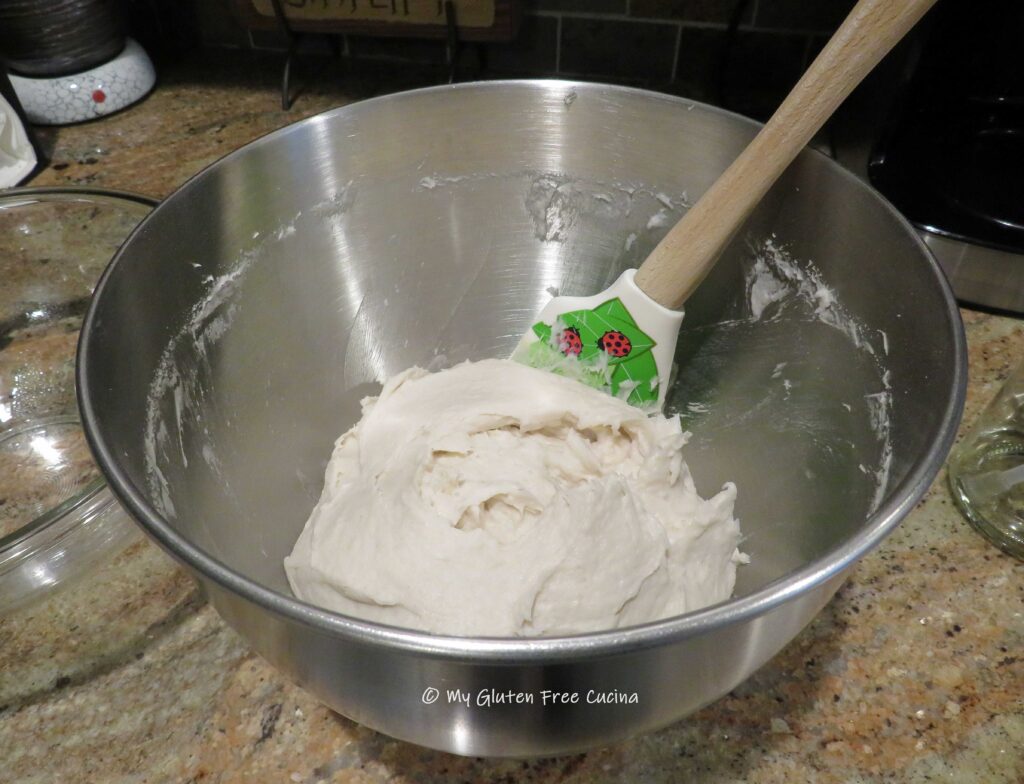
 In the morning, preheat the oven to 475º with a
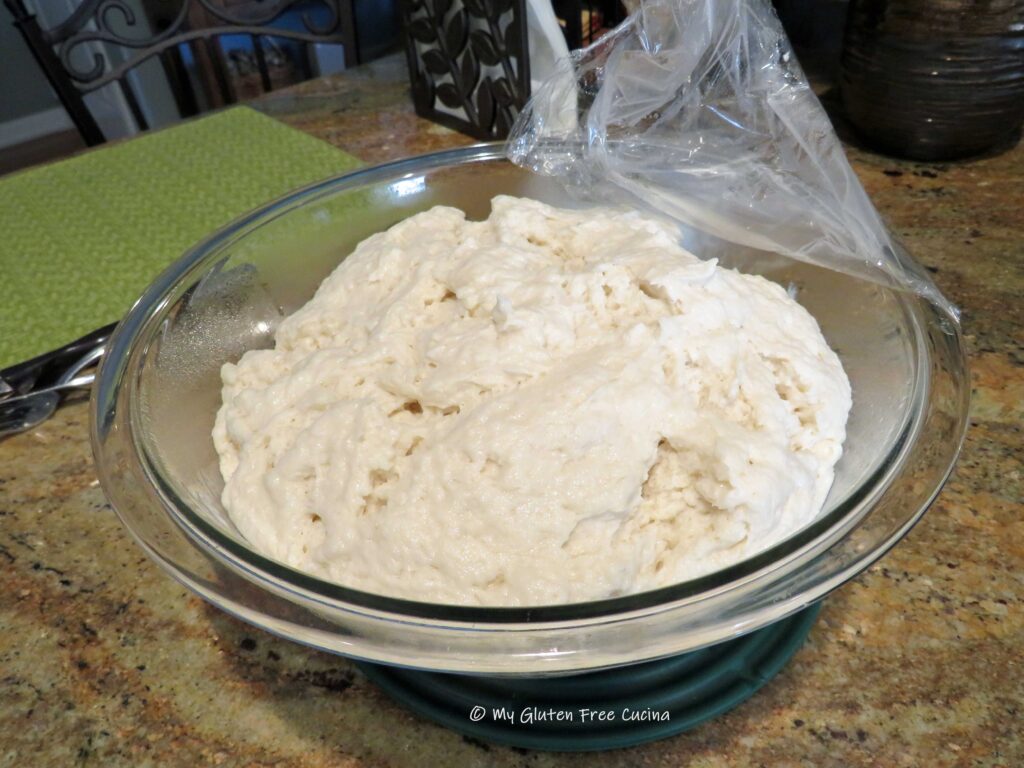
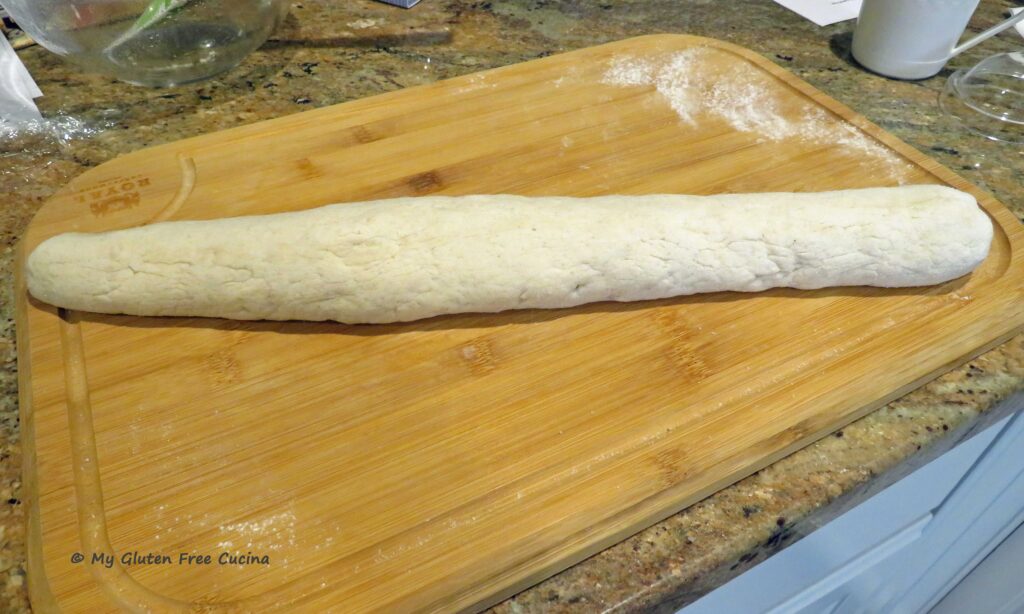
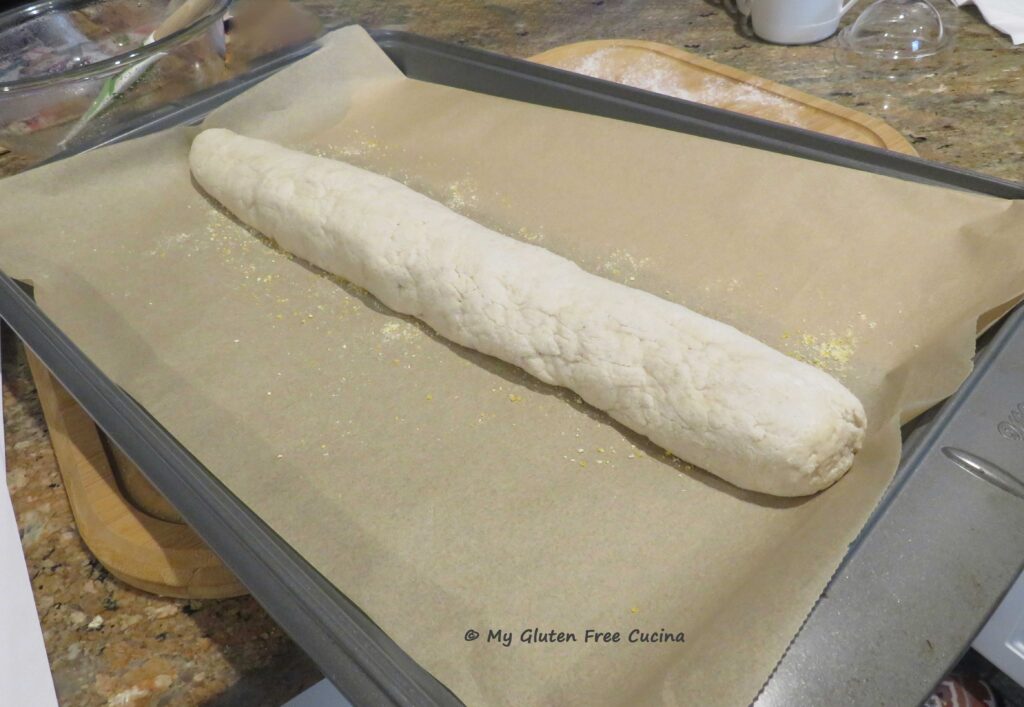
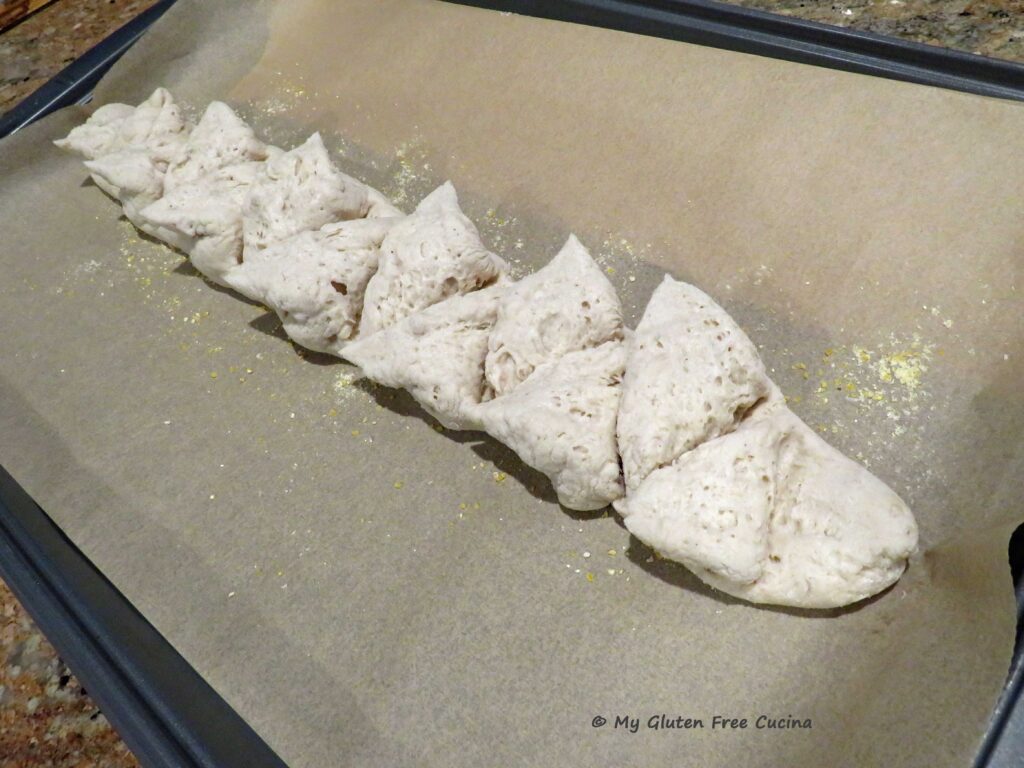
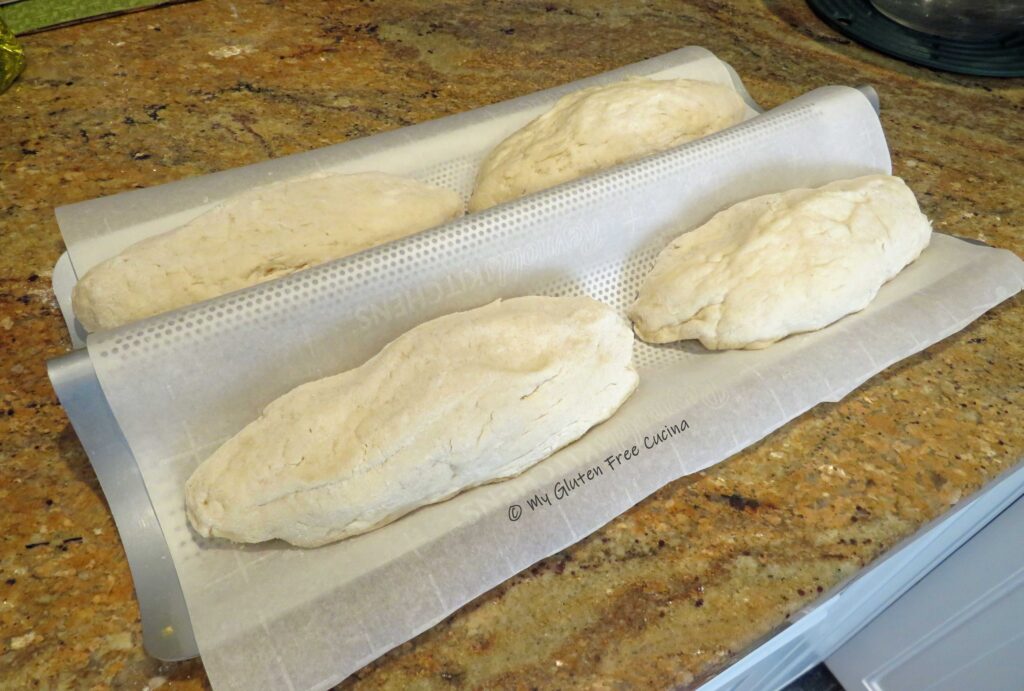
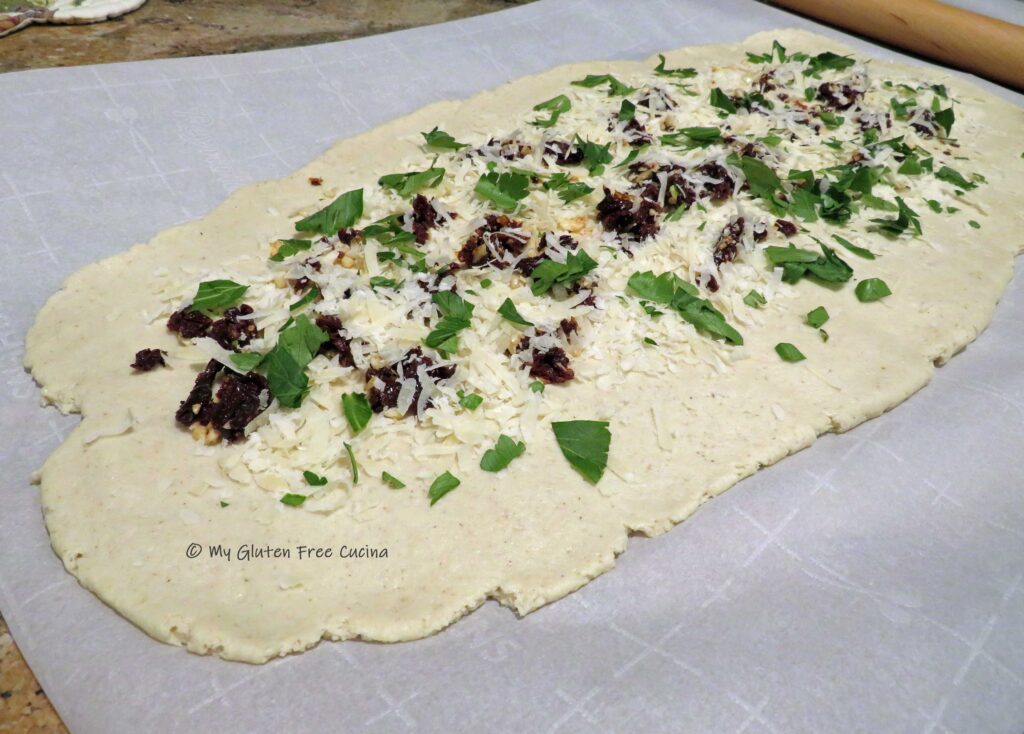
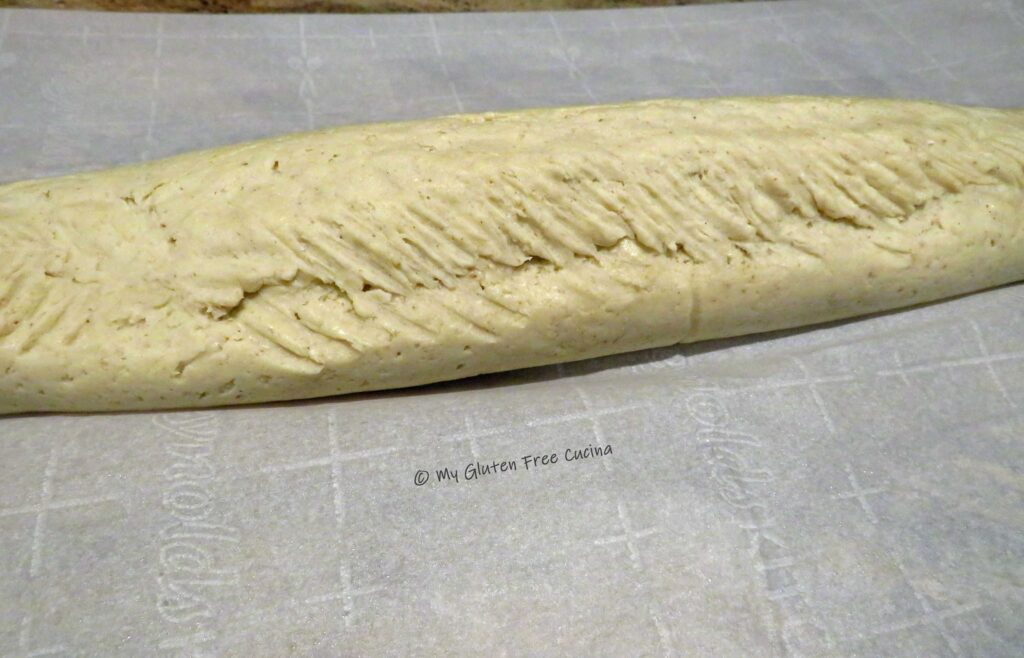
 Flour your work surface and gently roll each section into a torpedo shape (oval with tapered ends). Arrange them on a lightly floured baking sheet lined with parchment or use a
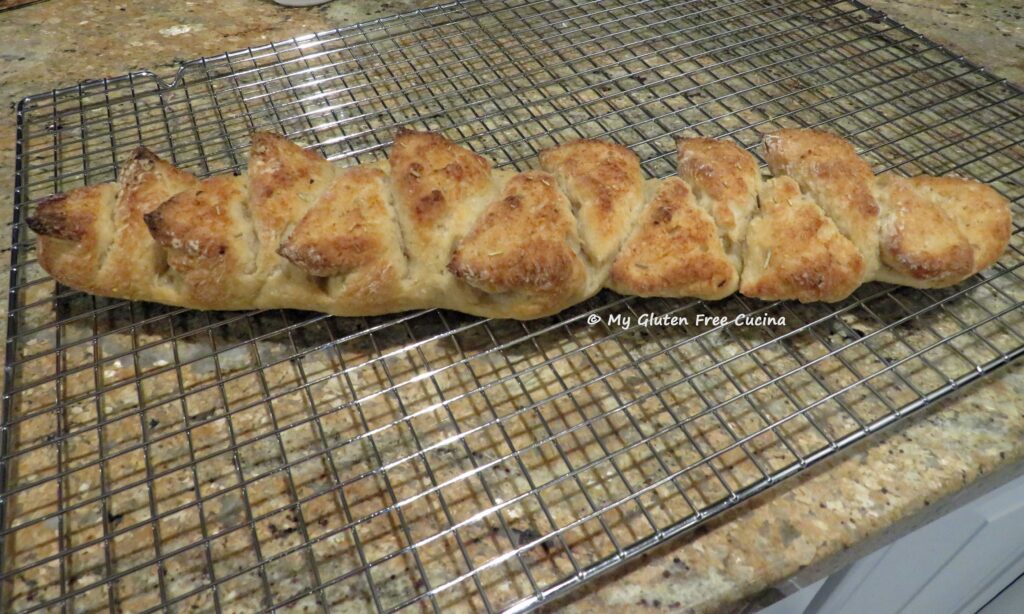
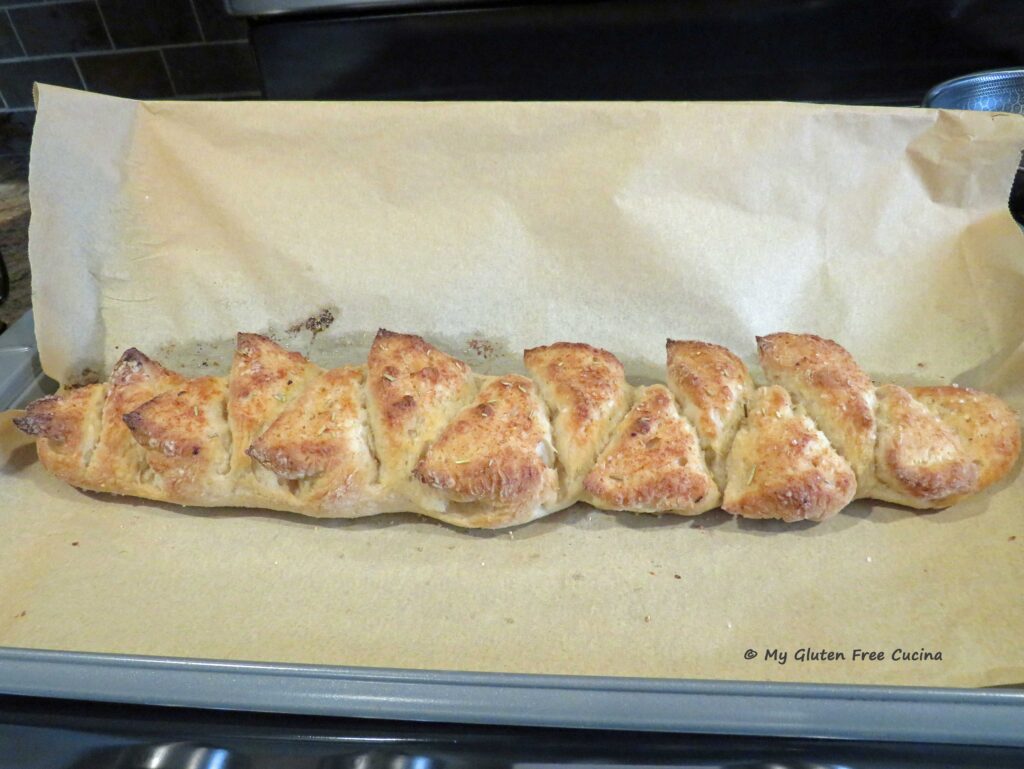
 Place in the oven and spray the rolls and sides of the oven with water to create steam. Bake for 35 minutes at 475º, then remove from the pan and bake directly on the stone during the last 10 minutes.
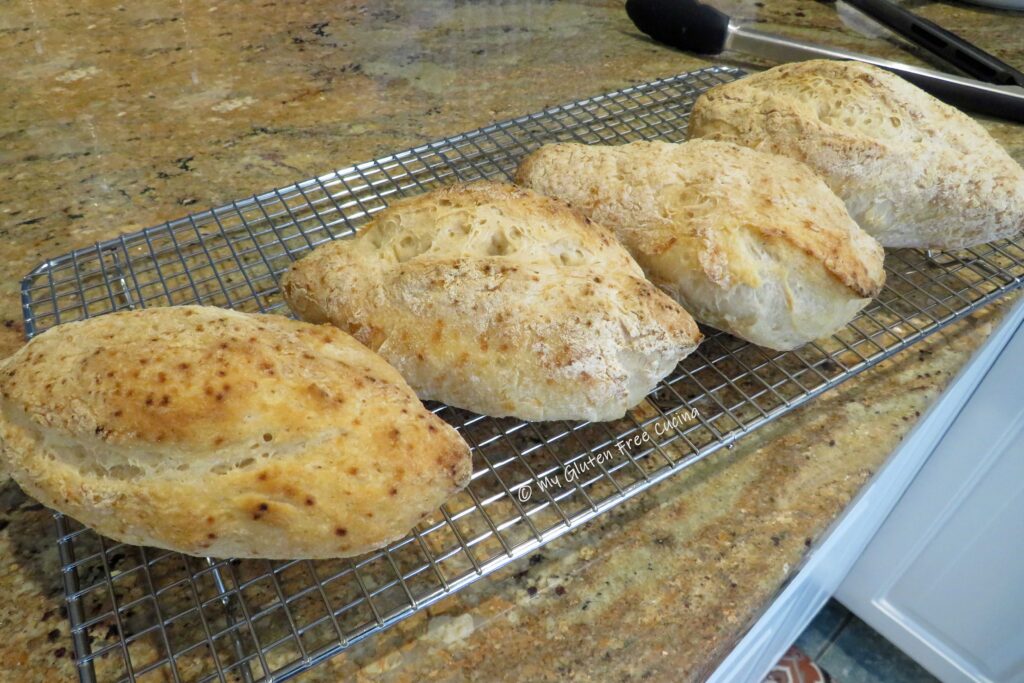
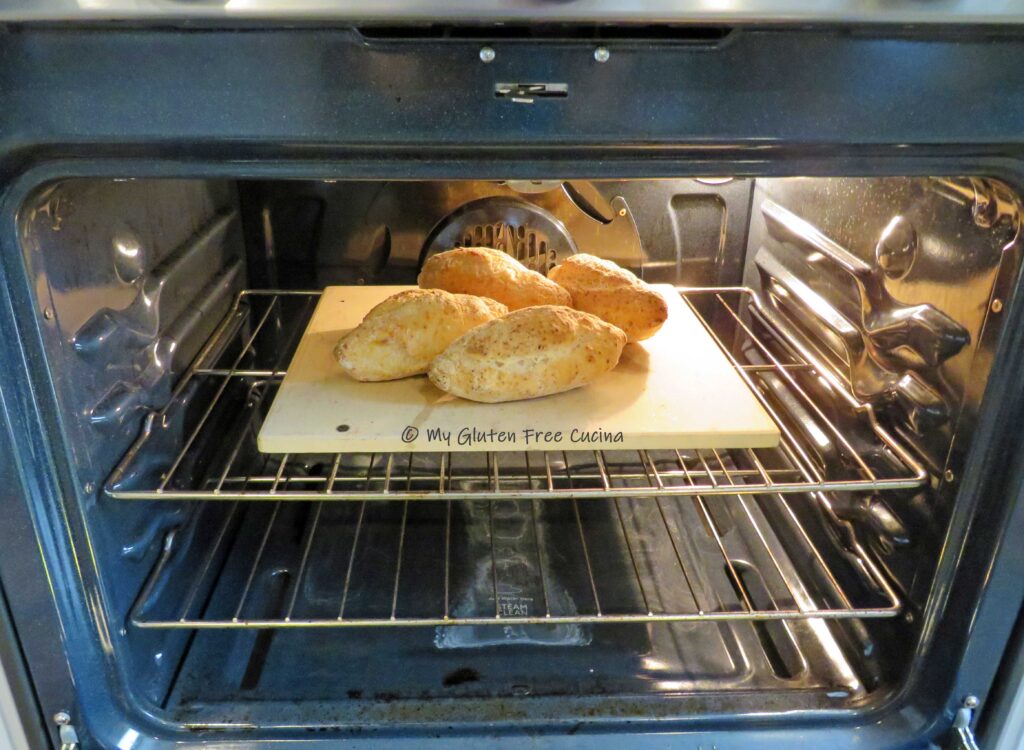 Rolls are done baking when the internal temperature reaches 210º. The crust should be firm and dry, and you will get that hollow sound when you give the rolls a sharp tap. Remove from the oven and place on a rack to cool.
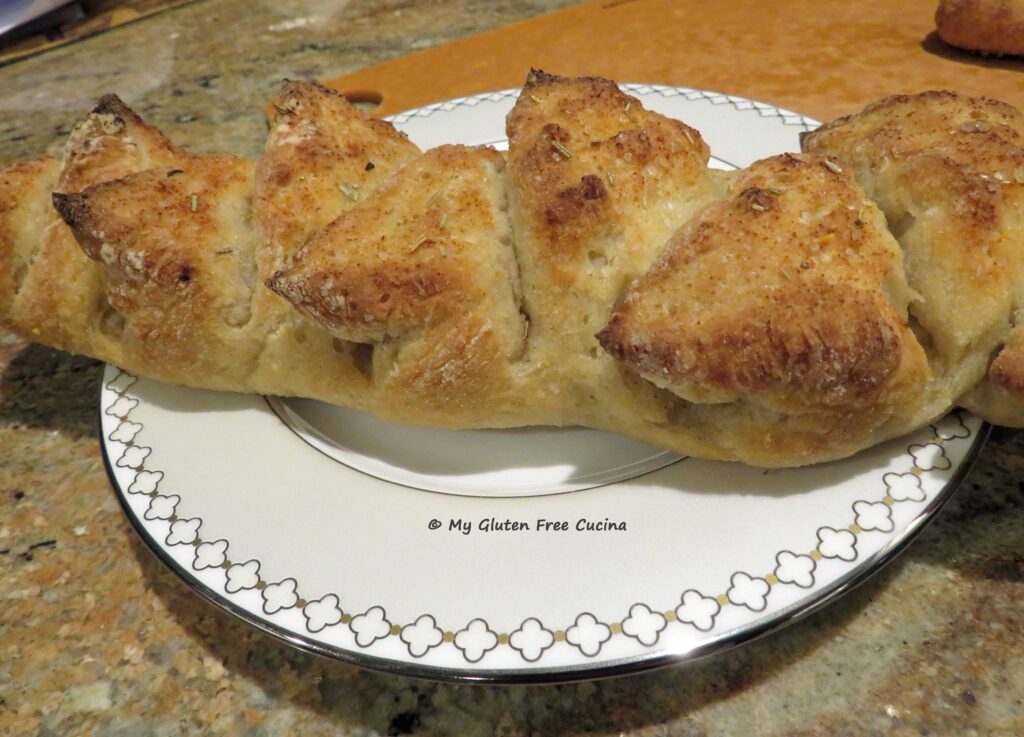
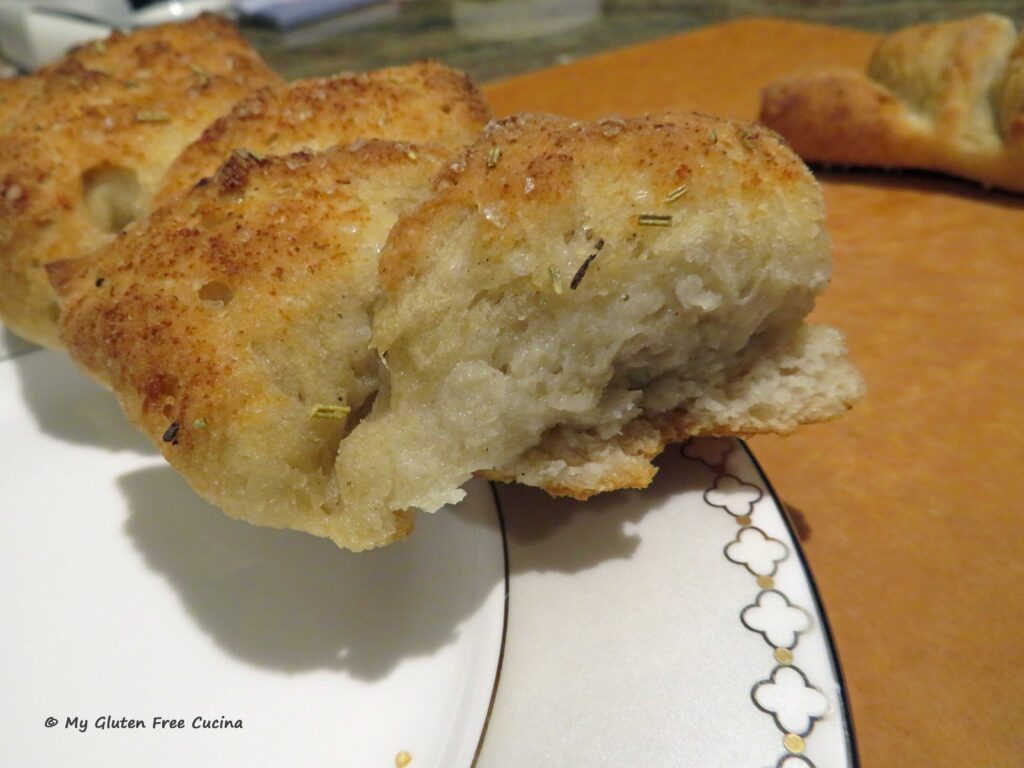
 What would you do with a homemade, hot out of the oven Italian roll like this? Dip it in olive oil, or slather with garlic butter and toast it? Slice it thin for bruschetta? Maybe load it up with veggies, cold cuts and cheese to make a panino (a/k/a sub, hoagie)! And for big appetites, you can serve them as dinner rolls (mop up that sauce!) or sandwich rolls.
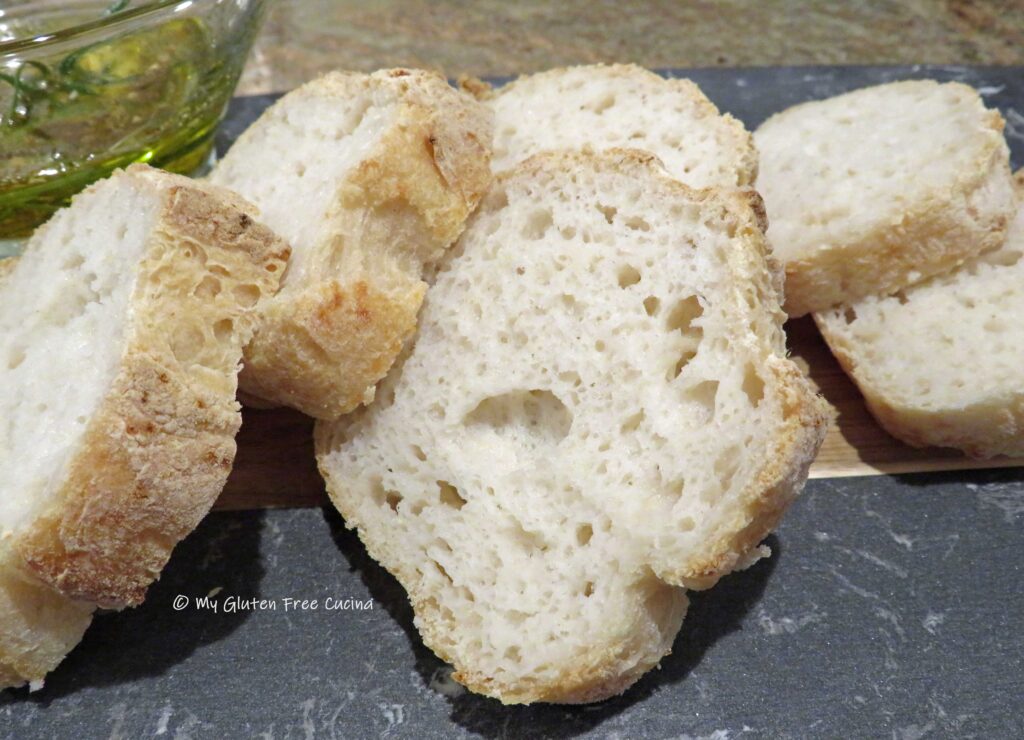 However you choose to enjoy them, these rolls are delicious!
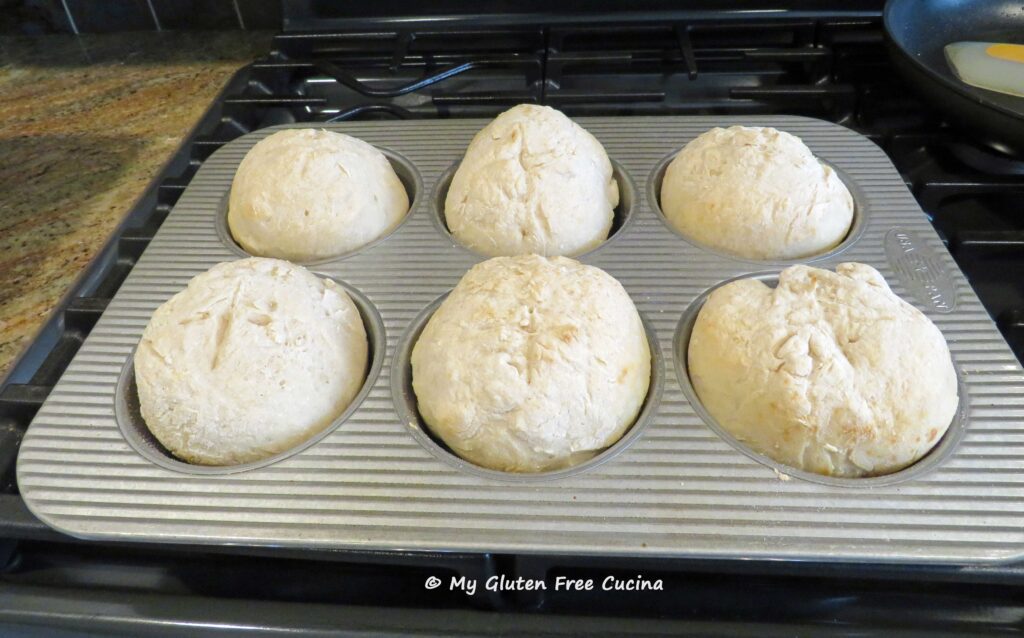


 Ingredients:
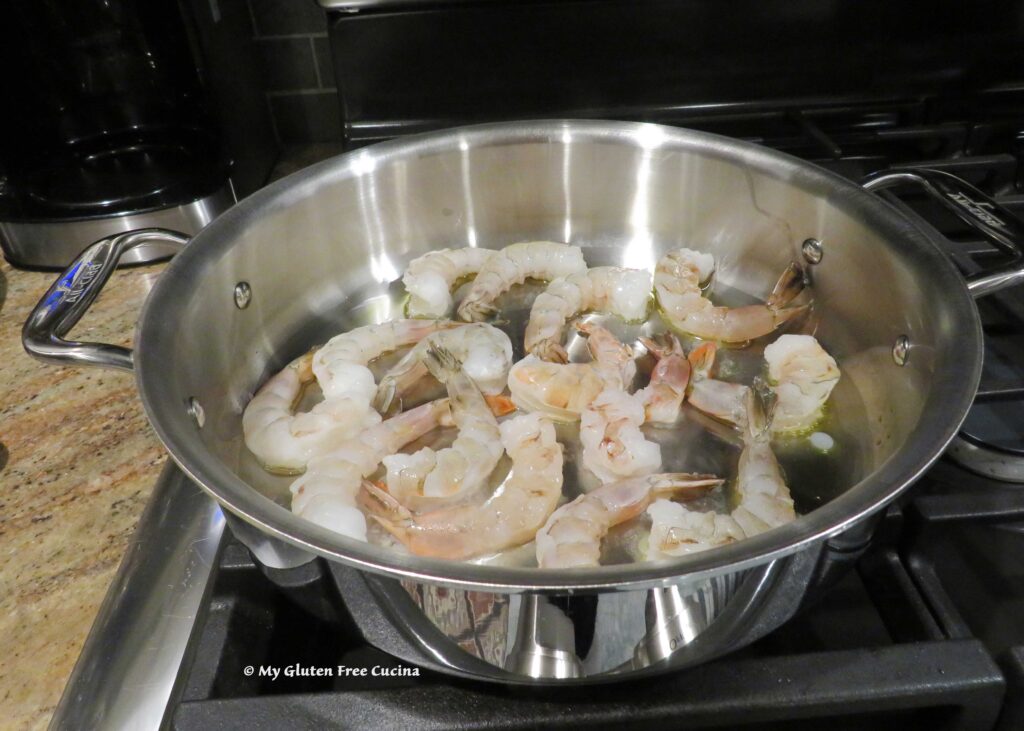
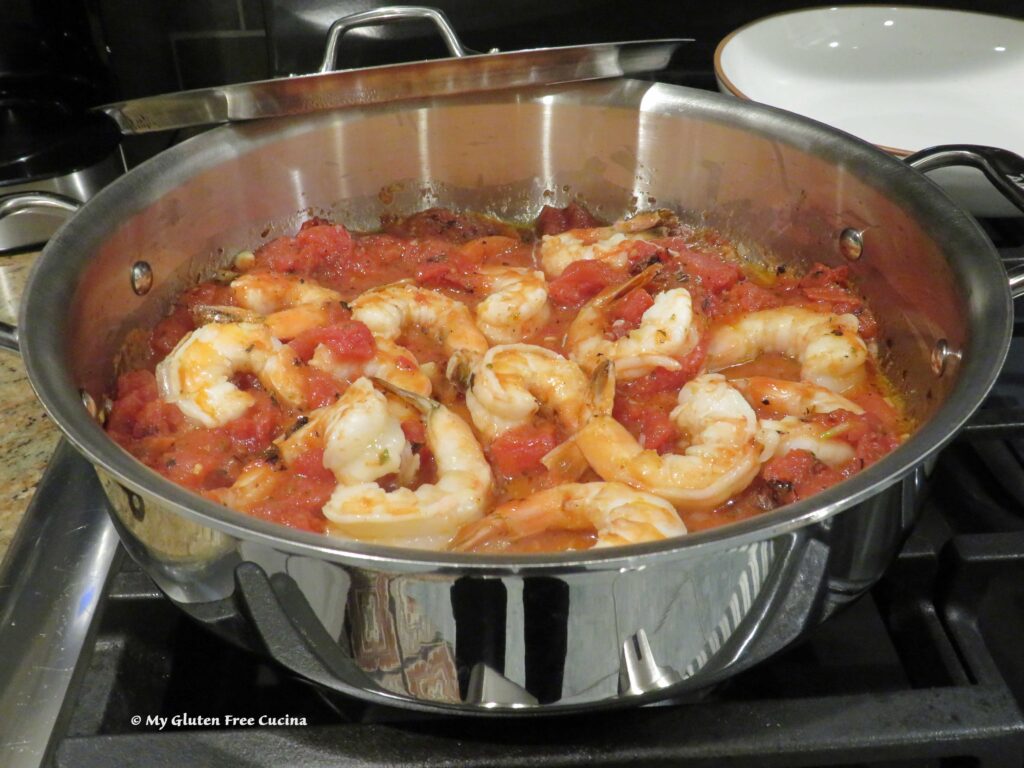
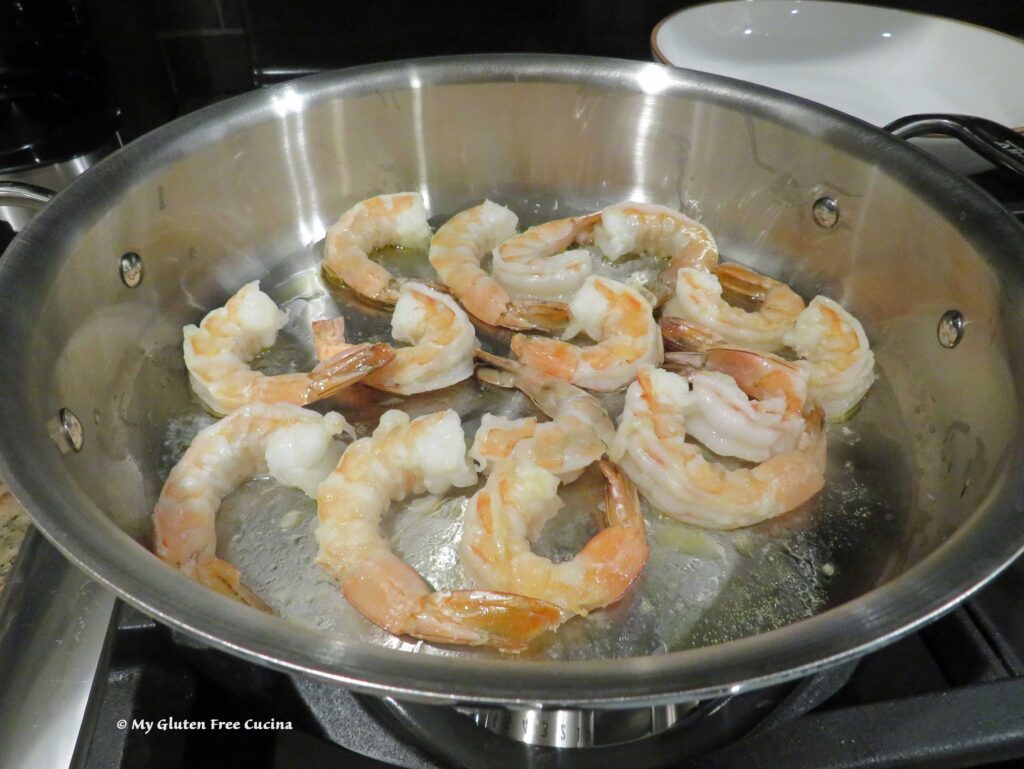 Remove the shrimp to a bowl and add another tbsp. olive oil to the skillet. Add the garlic and red pepper flakes, and cook for 30 seconds, stirring several times.
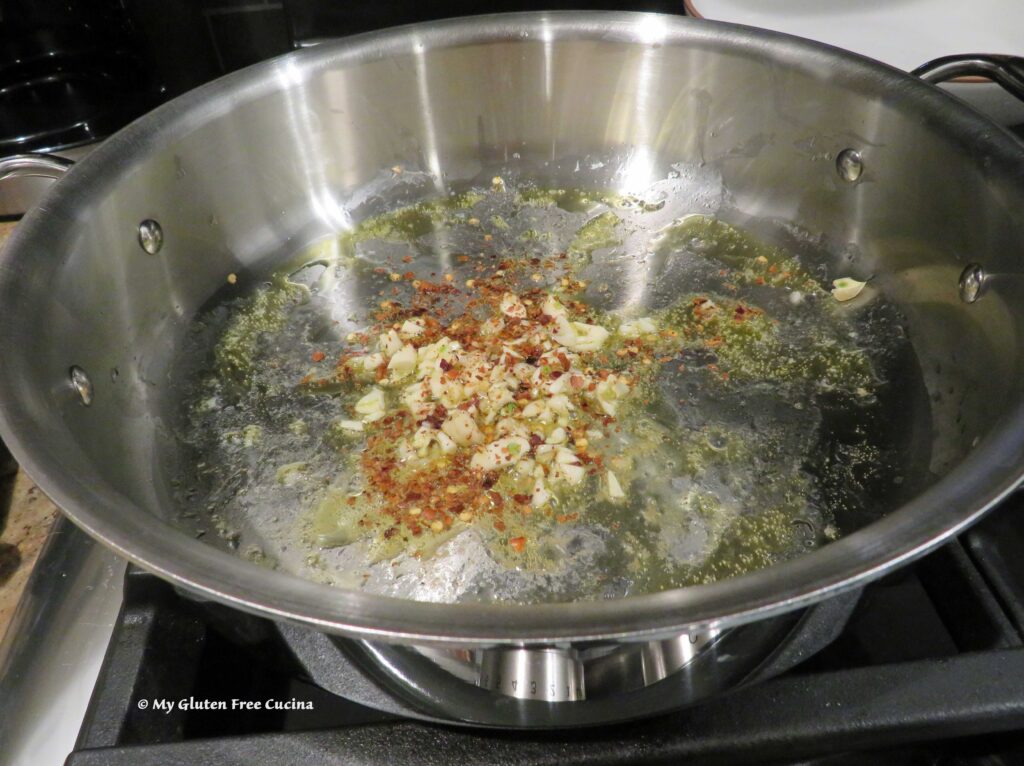 Add the fire roasted tomatoes with juice, 1/2 tsp. oregano and salt to taste.
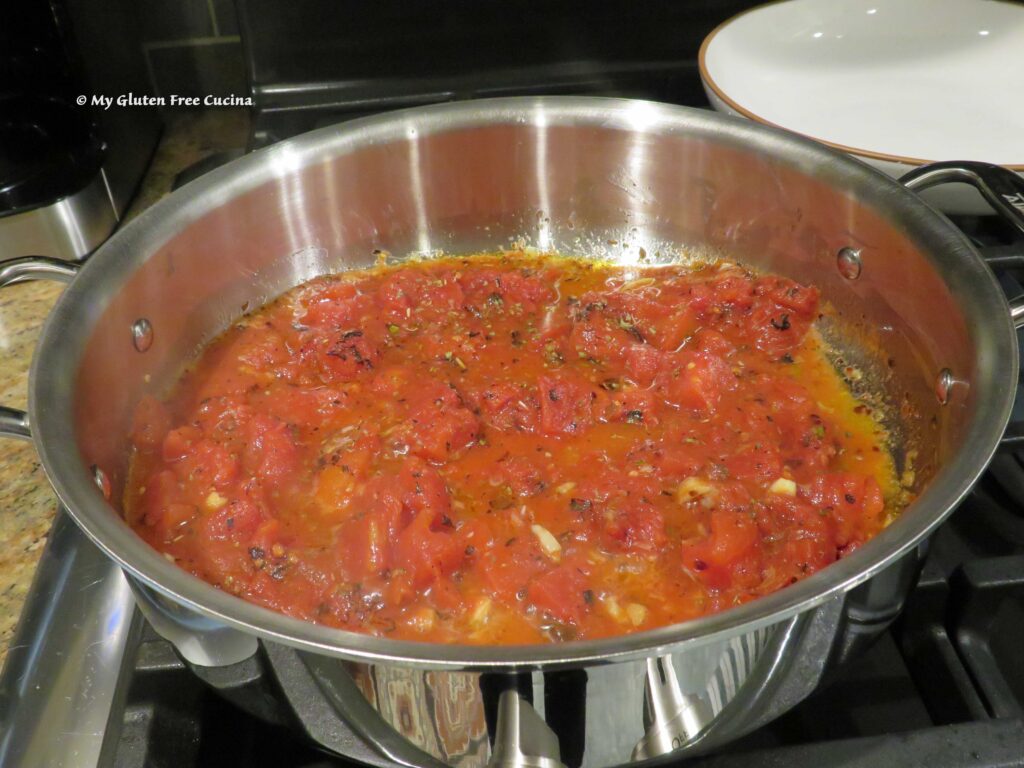 Cook the pasta to 2 minutes less than package directions. With 4 minutes to go on the pasta, add the shrimp to the sauce.
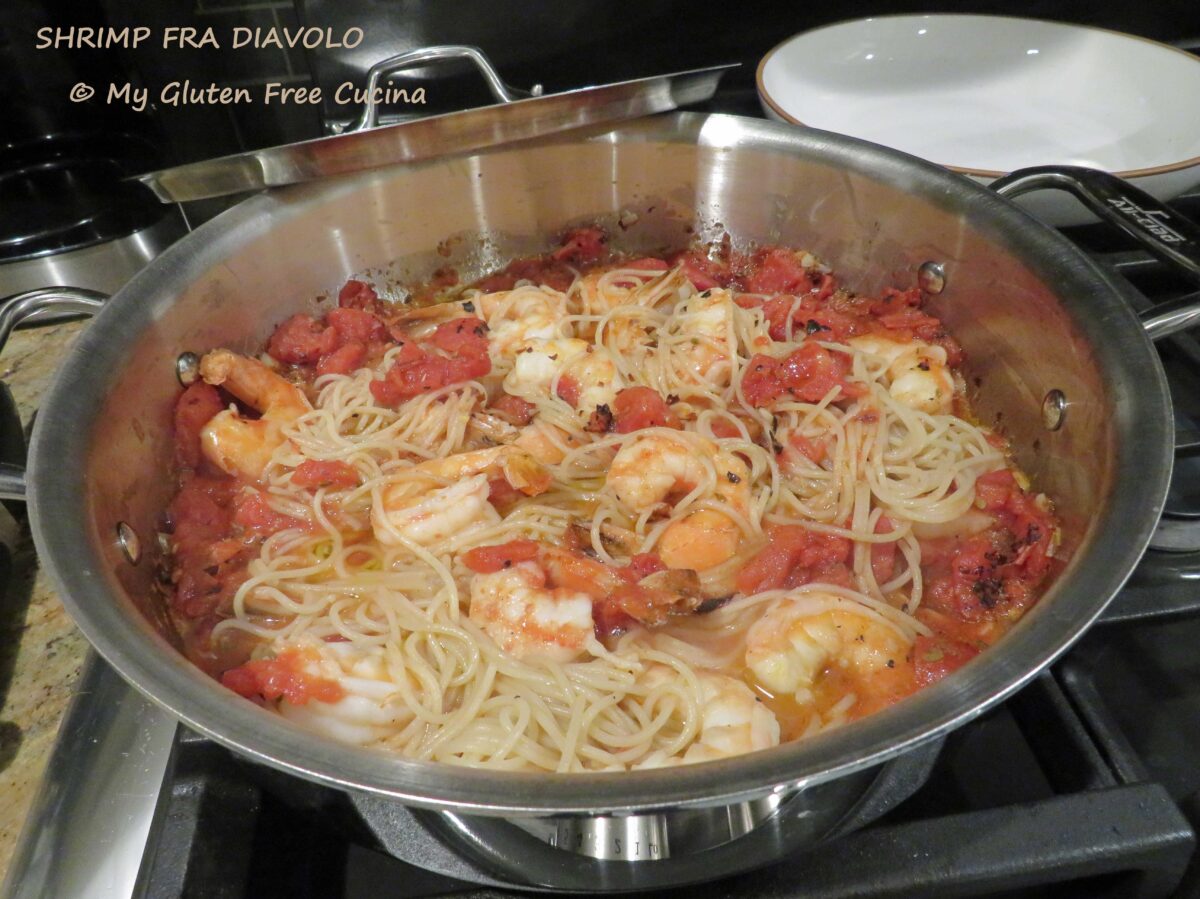
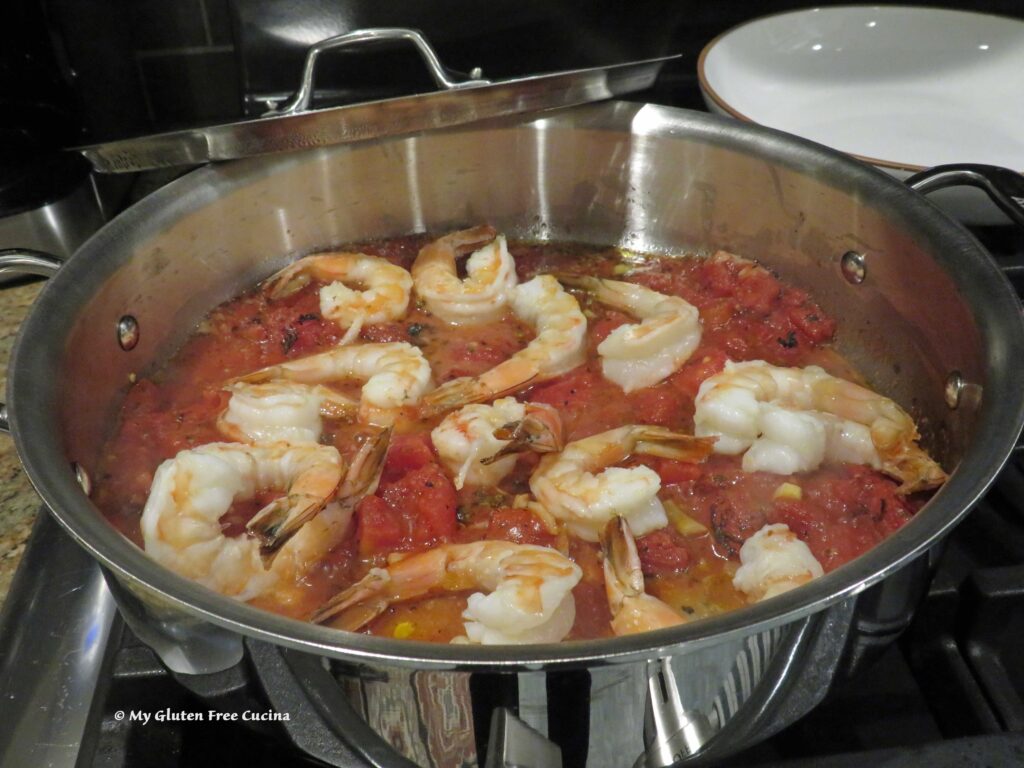 Drain the pasta, add it right into the sauce and toss with 1 more tbsp. olive oil and more red pepper flakes if you dare! ♨️
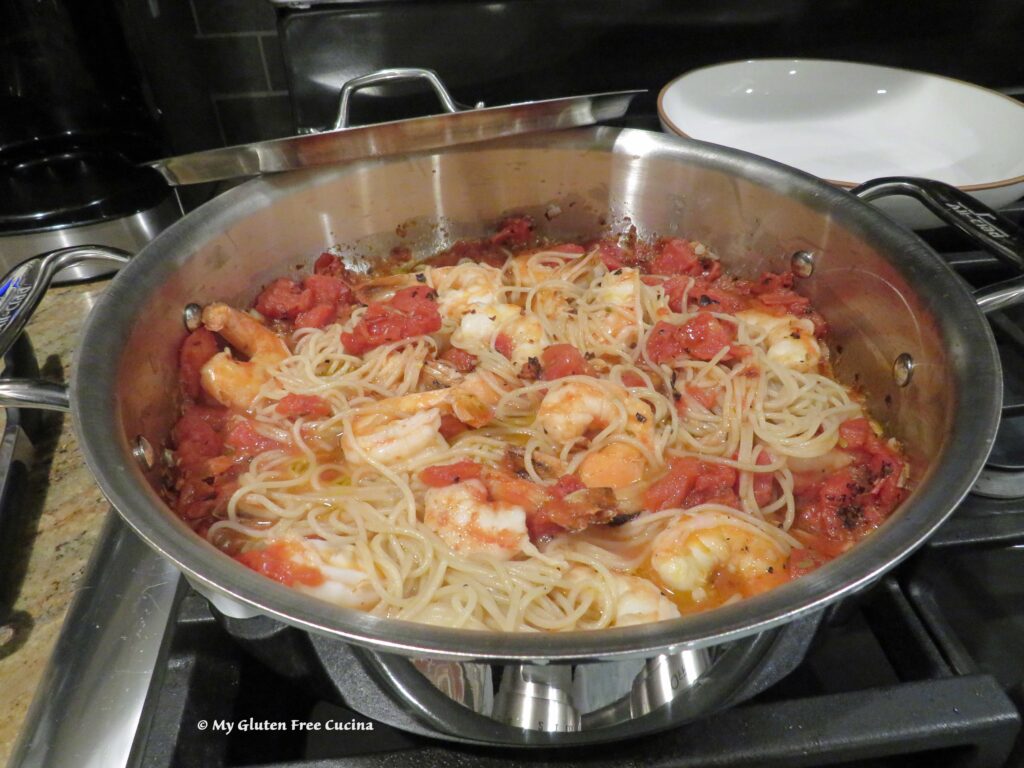 Transfer to serving bowls and garnish with fresh Italian parsley.
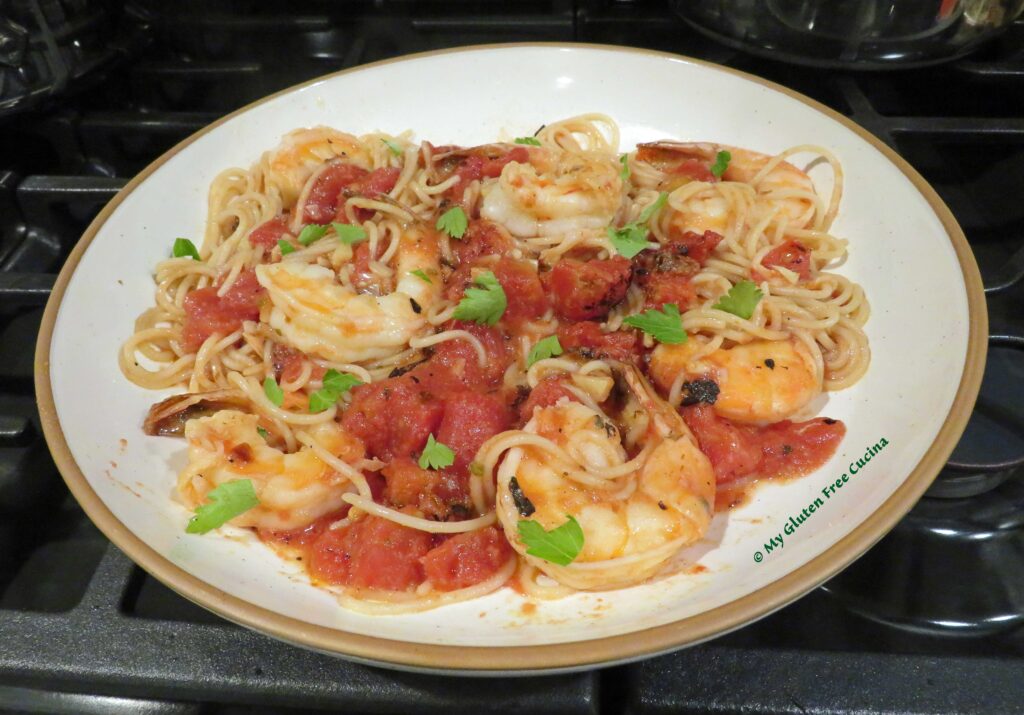
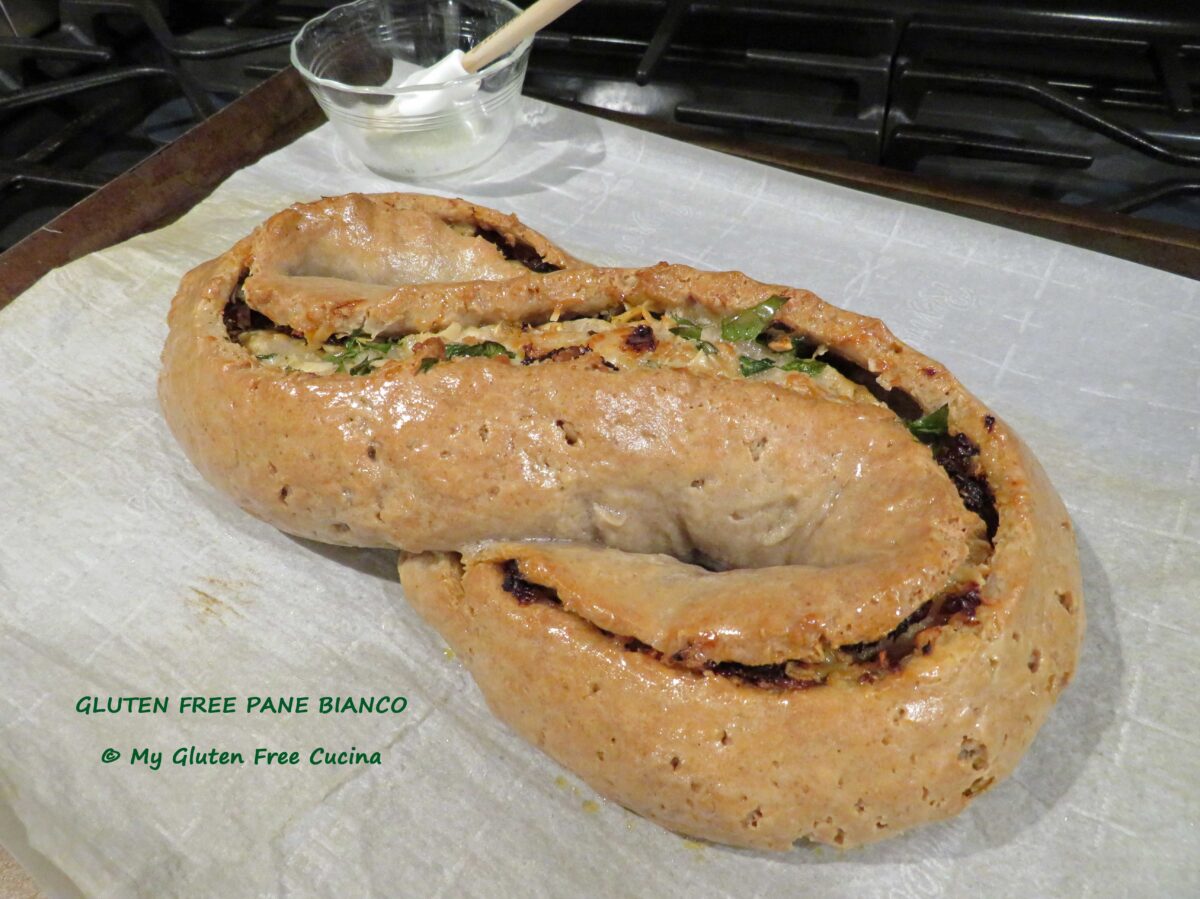


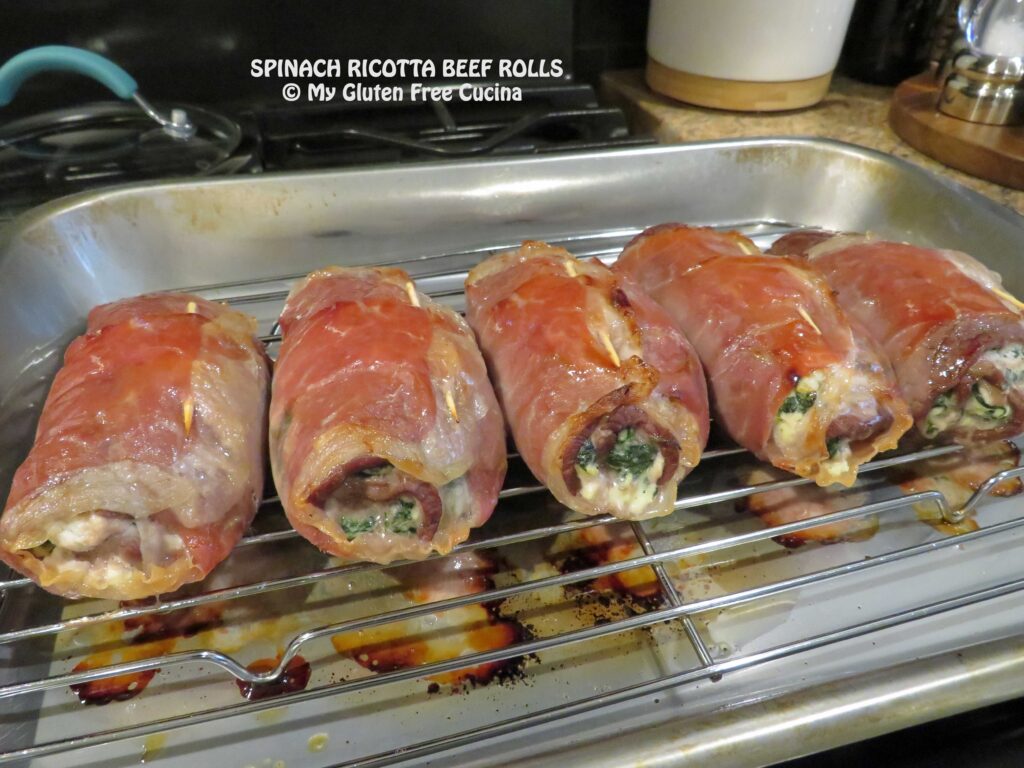
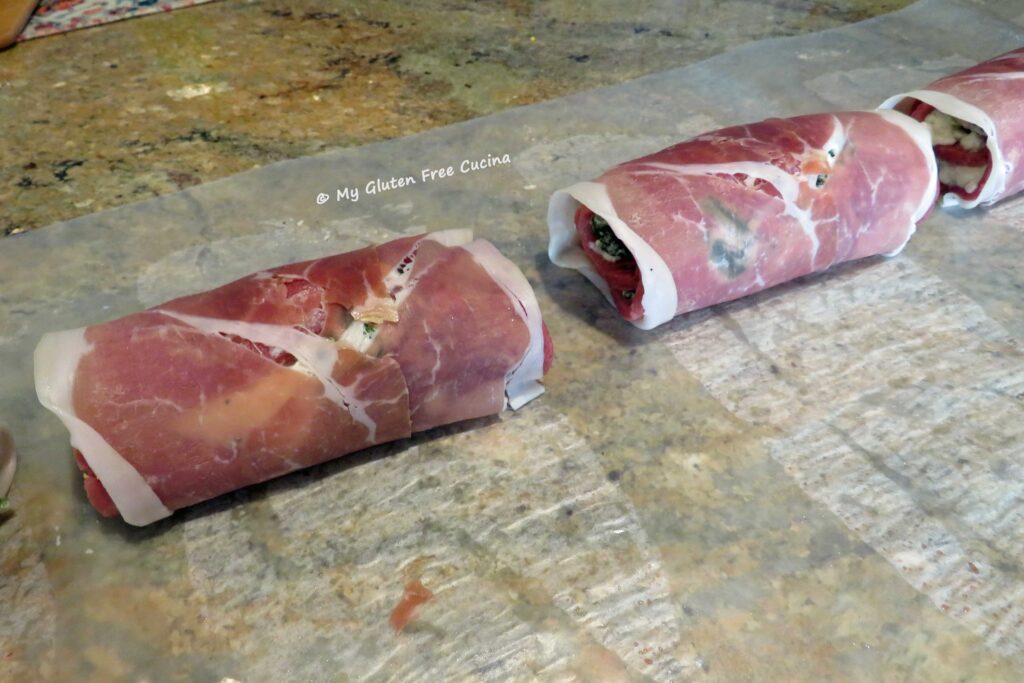
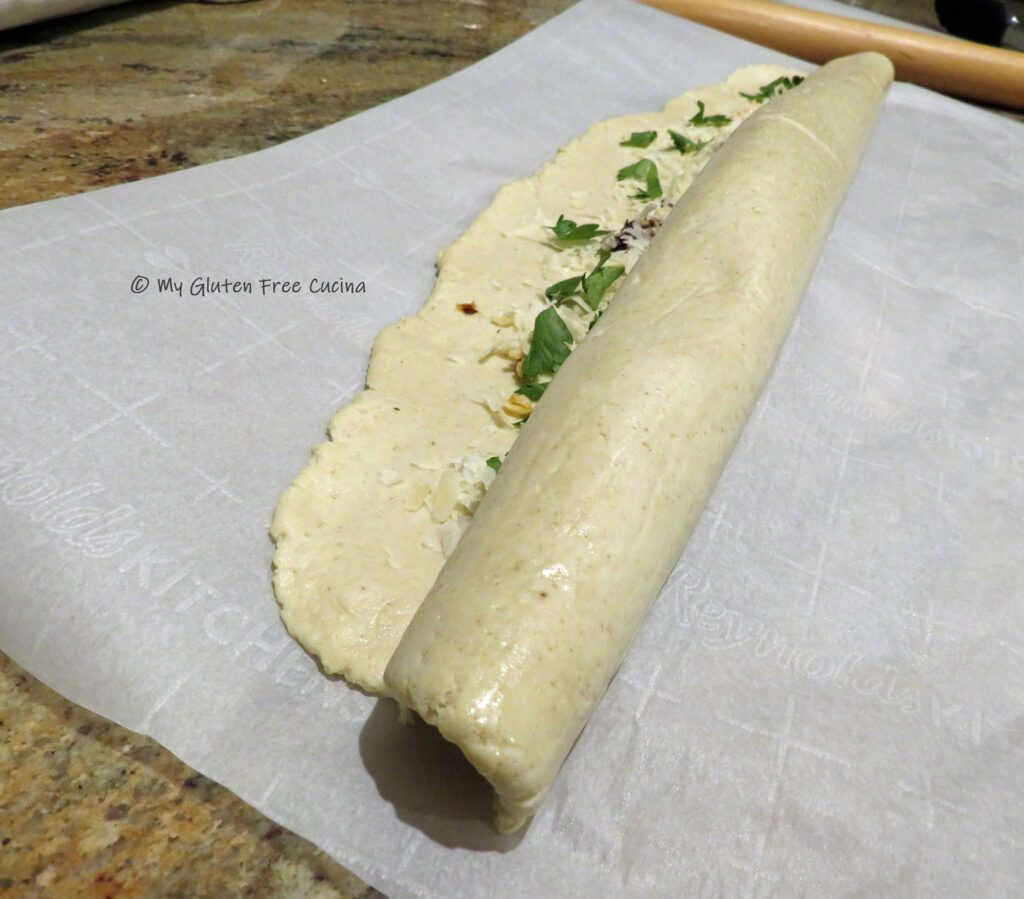 Pinch the edges together and if they don’t seal use a fork to smooth out the seam.
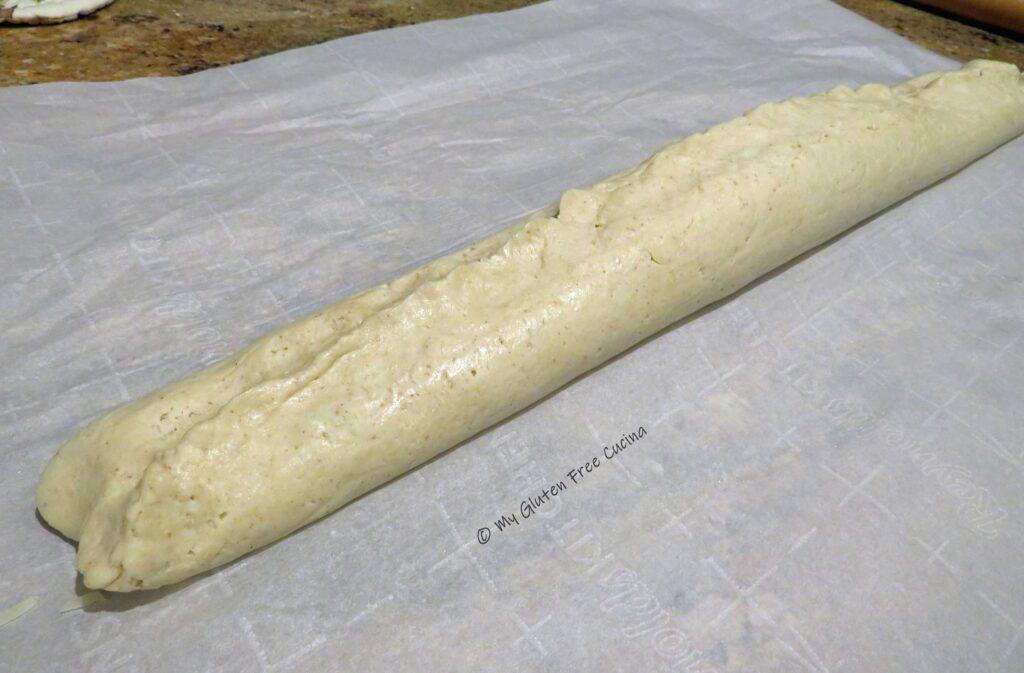

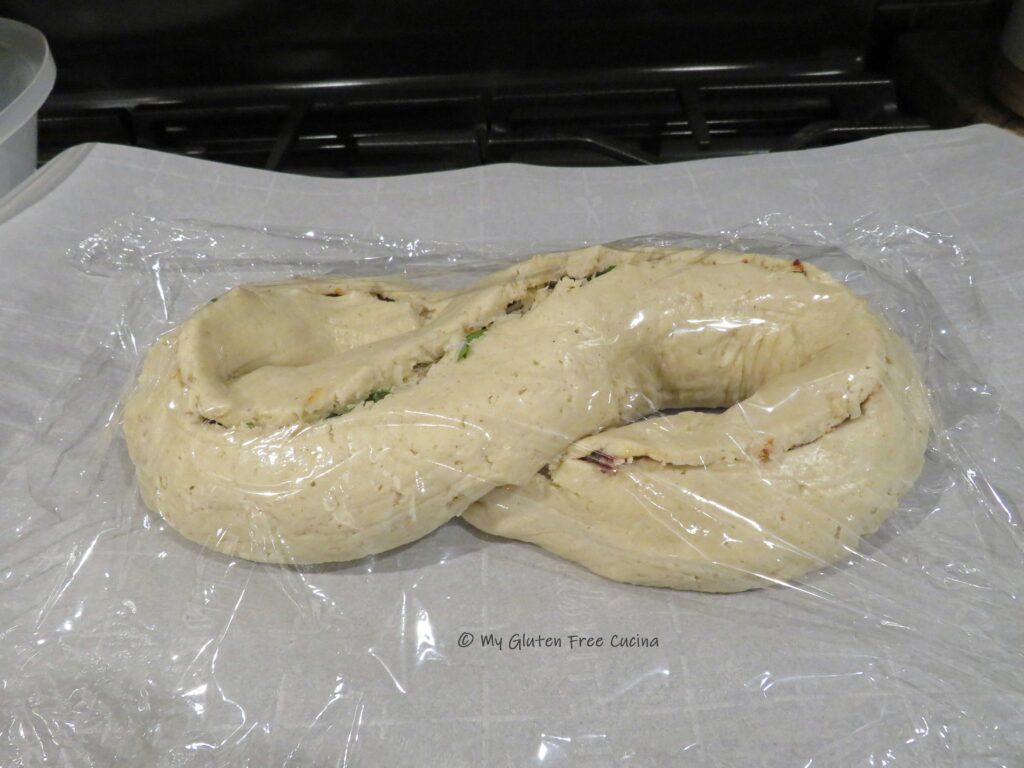
 You can store the loaf at room temperature for up to a day, then freeze the leftovers.