For those of us who are gluten free, potatoes tend to be on the menu quite often. After a while, it becomes a challenge to keep things interesting! Recipes like this one are fun and easy, something different that both adults and kids will love. Hash Brown Waffles are the perfect side for BBQ dinners, pork, chicken and even fish.

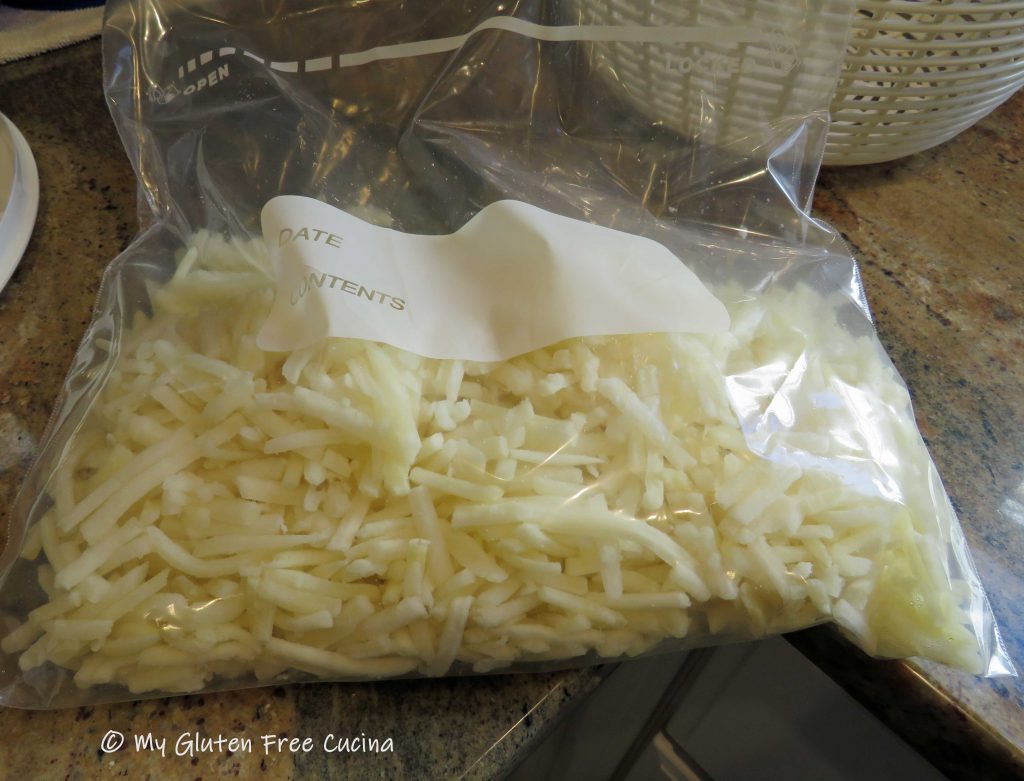
Wondering what makes the recipe so easy? The secret is using frozen, shredded hash brown potatoes. Not only do you avoid having to shred the potatoes yourself, but you can skip the step of wringing out all the moisture.

When shopping for shredded hash browns, look for plain, unseasoned. Not all hash browns are gluten free, so check for the gluten free label or verify that there are no gluten containing ingredients. I like the Ore-Ida brand.
4 Servings, Serving size = 1 waffle
This post contains affiliate links.
Ingredients:
- 3/4 lb. (12 oz.) frozen gluten free shredded hash brown potatoes
- 1 egg
- 1/4 cup milk (I used 2%)
- 1 tbsp. canola oil
- 1/4 tsp. garlic granules
- 2 tsp. dried onion flakes
- 1/2 tsp. seasoned salt
- salt and fresh ground pepper, to taste
- 1/8 tsp. paprika
- cooking spray
Preparation:
Take the hash browns out to thaw about 2 hours ahead of time, they do not have to be completely defrosted.
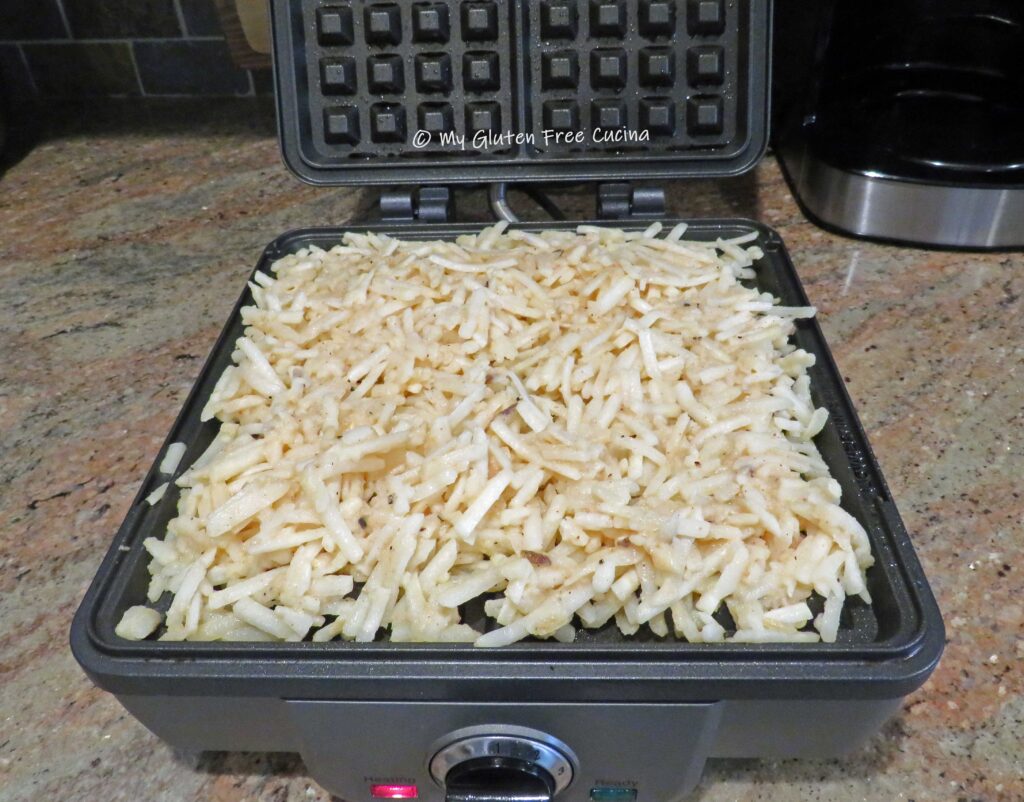
Whisk together the egg, milk, oil and seasonings. Add the hash browns and stir together with a spatula until evenly coated. Cover and let it sit at room temperature while you preheat your waffle iron to 350º.

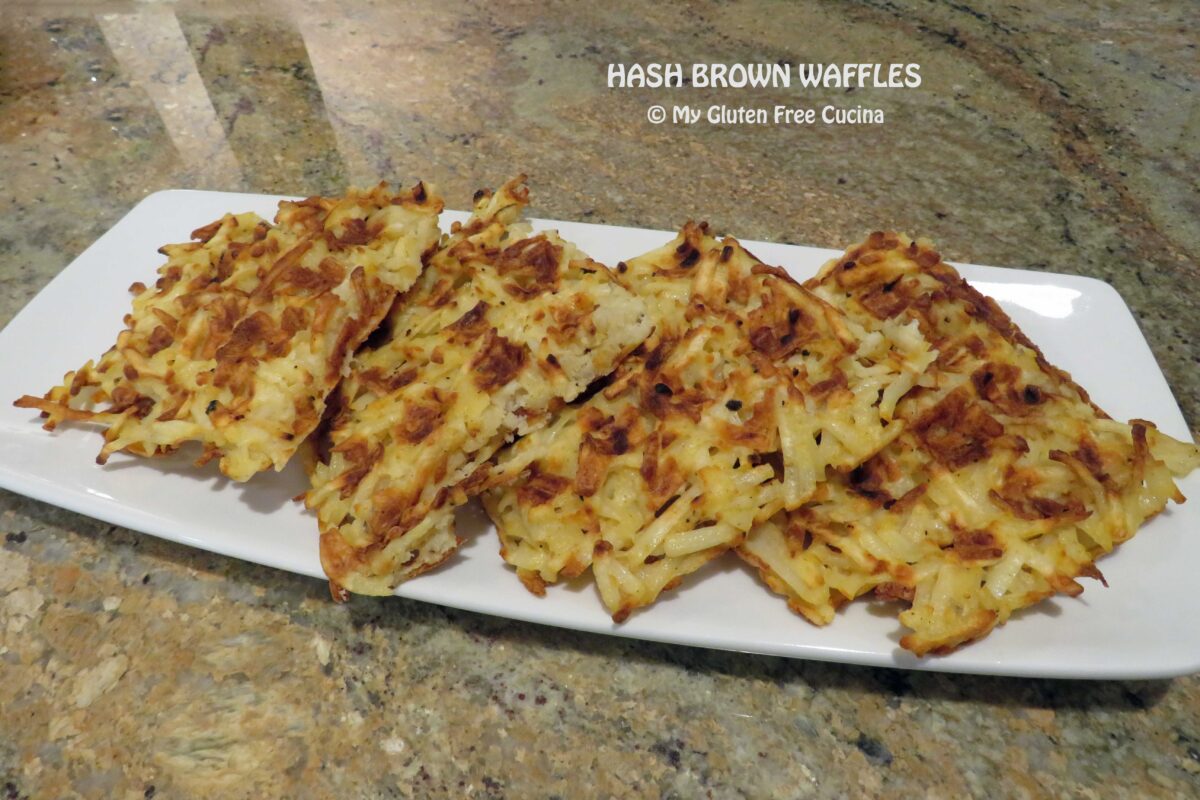
Mist the waffle iron generously with cooking spray. Scoop the hash brown mixture onto the waffle plate and spread them out in an even layer with a spatula. Use all of the hash browns, they will cook down as the potatoes release their liquid.
Cook for 15 minutes, then check every 5 minutes to see how they’re doing. Mine took close to 30 minutes to get nicely browned with crispy edges.
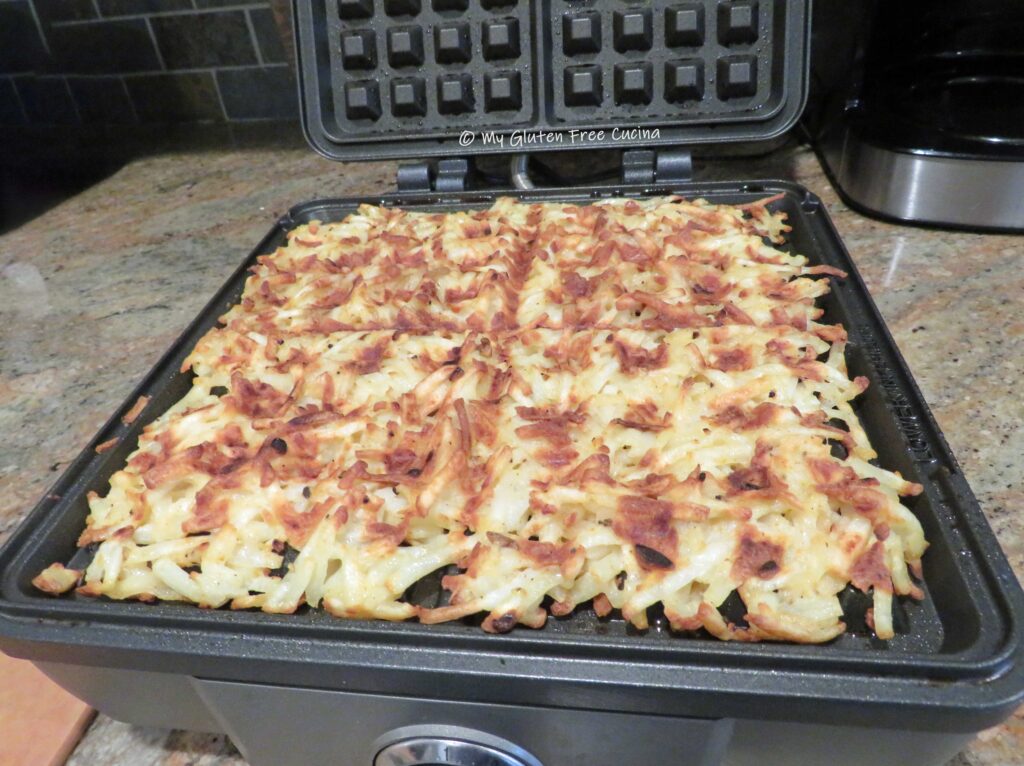
Gently lift one corner and slide a spatula underneath to transfer the waffles to a cutting board.
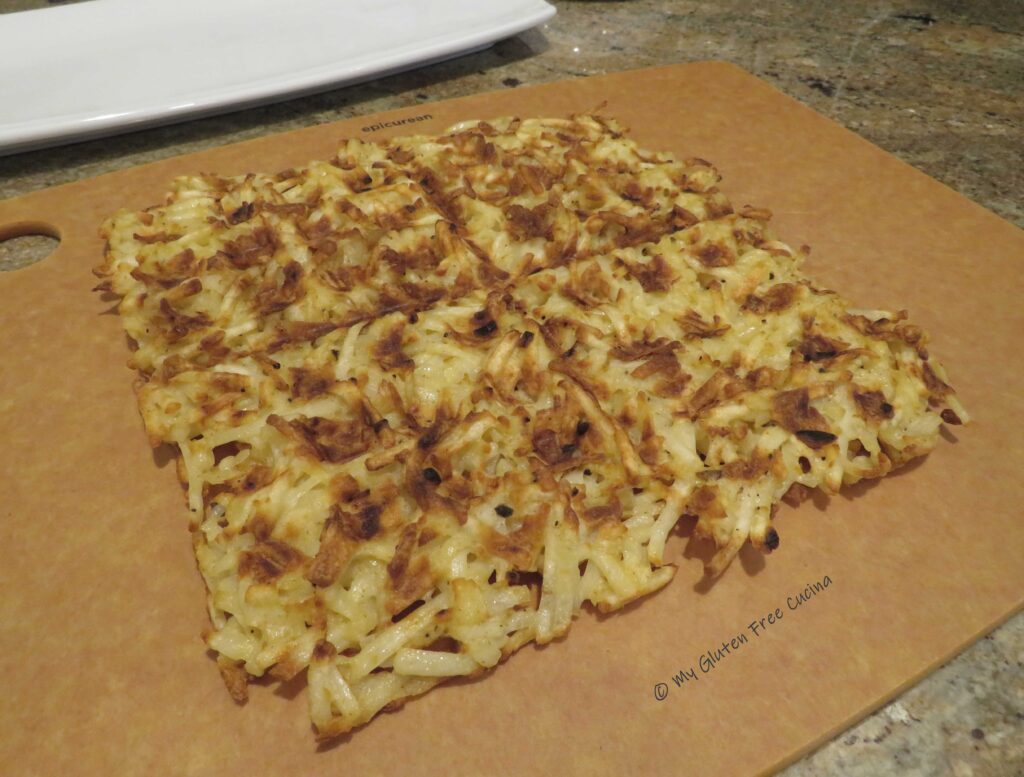
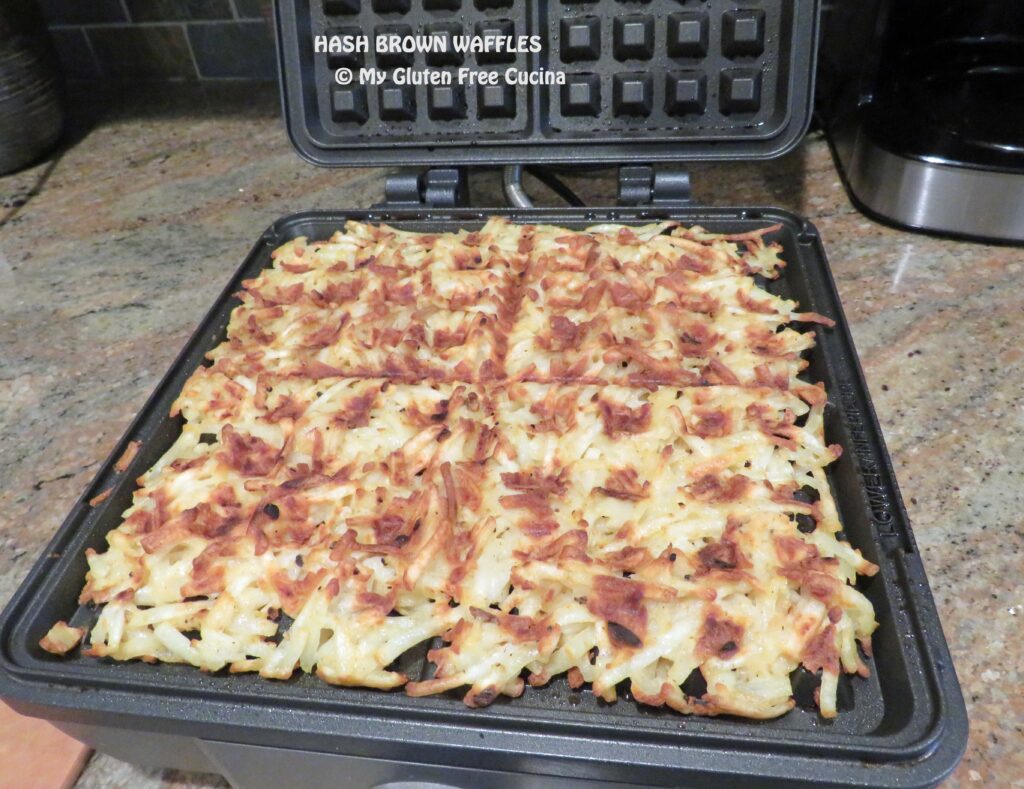
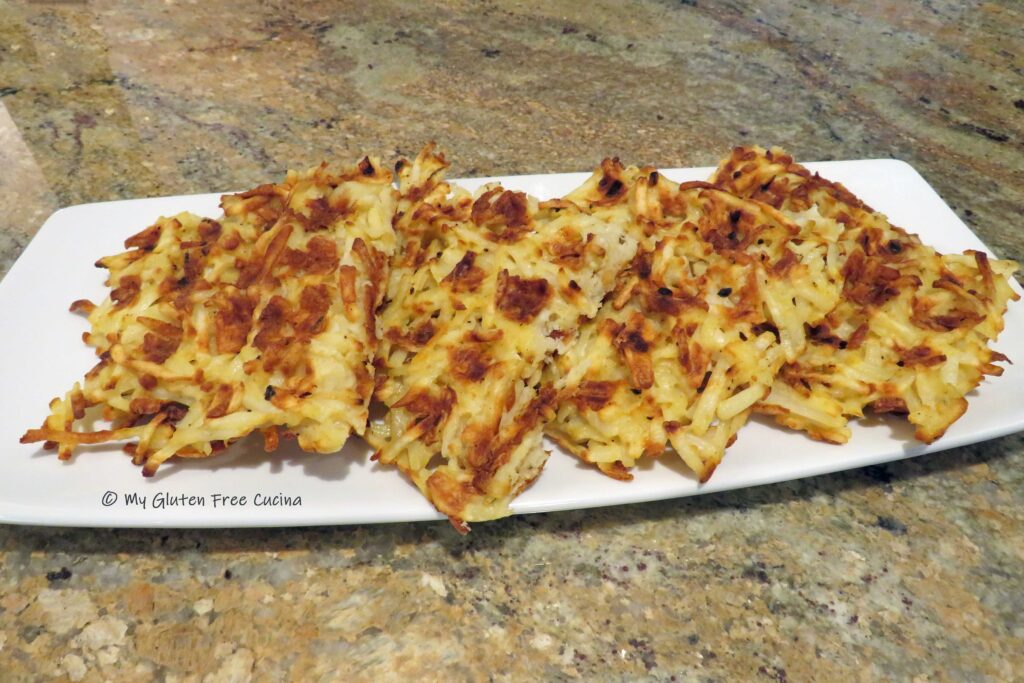
Use a knife or pizza wheel to break waffles into 4 sections.
The waffles are best eaten immediately. They will lose some of their crispness as they cool off.
If you have leftovers, they can be reheated in the oven on a pizza stone, in an air fryer, or in the toaster (toaster bags are recommended). Microwaving is always an option, but the waffles will be soft.
Notes ♪♫ I love using frozen hash browns in recipes and always have them on hand in my freezer pantry. Check out my brunch worthy Gluten Free Sausage and Hash Brown Casserole, or for a hearty dinner, check out my Gluten Free French Meat Pie.
Originally posted 07/19/2021 Rephotographed 04/30/2025

[print_link]
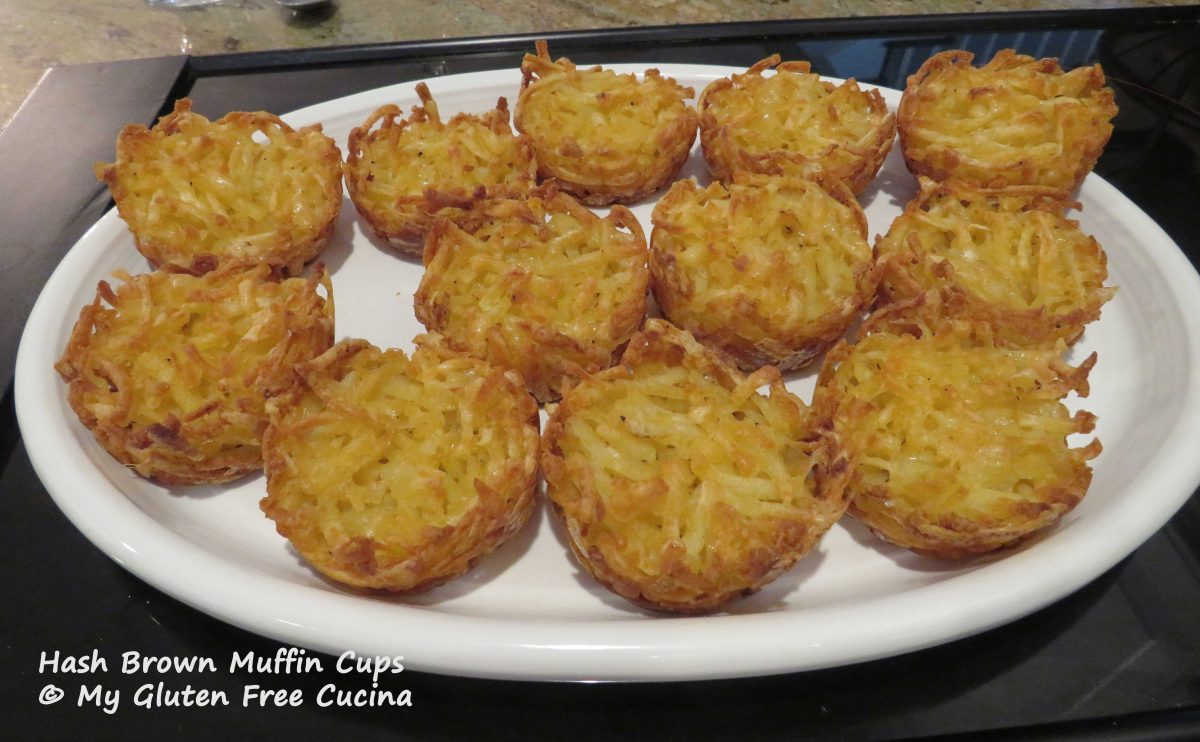
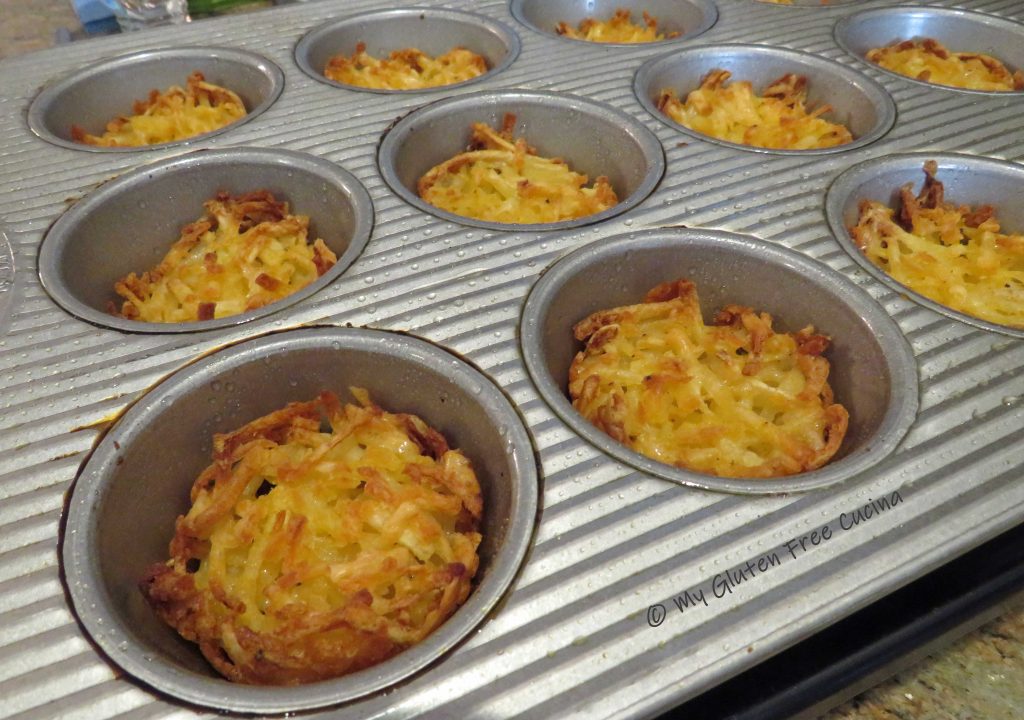

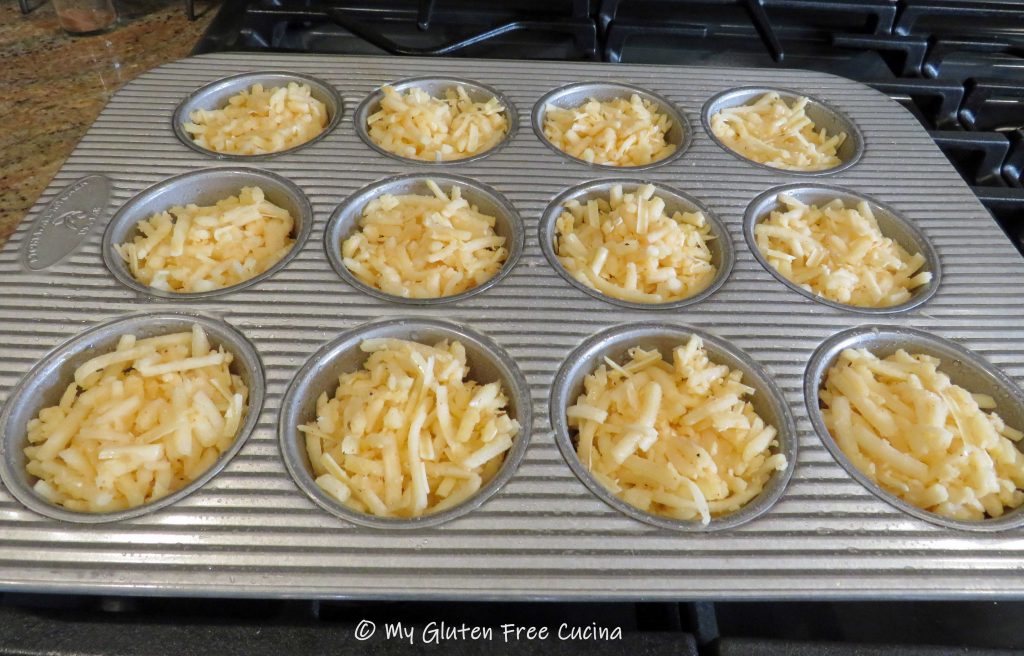
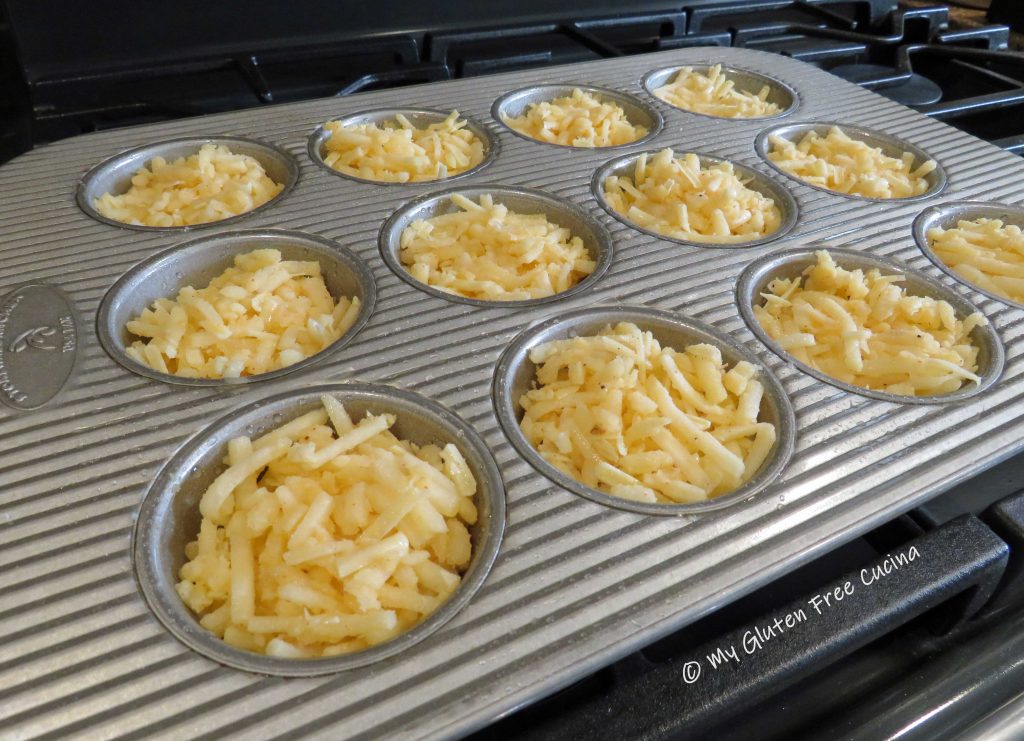

 Hash Brown Muffin Cups will be a great addition to your brunch menu, or a fun dinner side. They reheat well, and ours stayed crispy even after microwaving. You will want to keep a bag of hash browns in your freezer pantry, so you can make a batch any time you like!