Gluten Free Sourdough Pain d’Epi (Wheatstalk Bread)

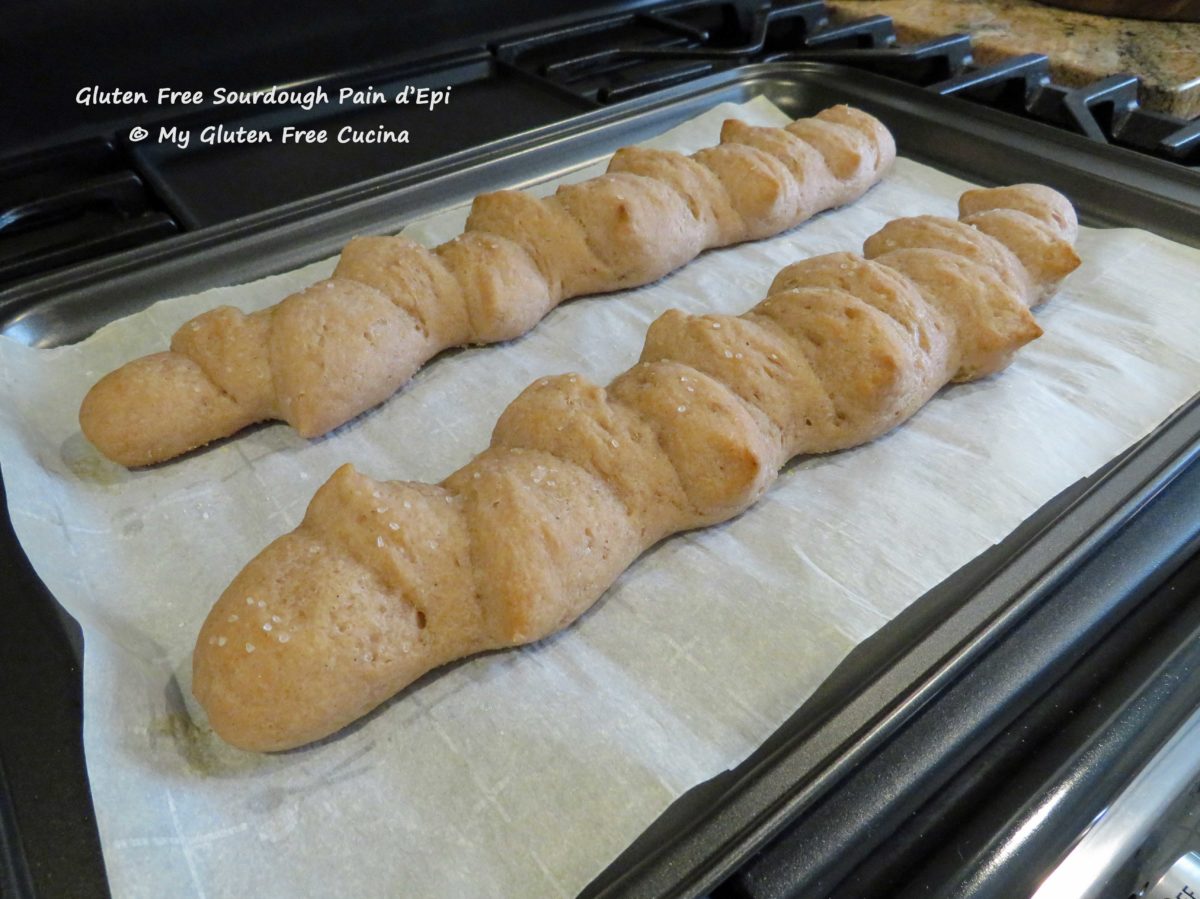
My sourdough starter “Sophie” is in good form, and I’ve been feeding her for a couple of days in anticipation of another bake.  Instead of my usual round or oval loaf though, I decided to step out of my comfort zone with this beautiful Gluten Free Pain d’Epi, also known as Wheat Stalk Bread (ah, the irony).

Ever since I got my gluten free sourdough starter established (read about it here), I’ve had a few bucket list recipes that I wanted to make.  This is one of them.

For the flour, I used the Artisan Flour Blend from Better Batter and as usual it did not disappoint.  The flavor was fantastic, and the bread was perfect for dipping.  This was my first time making a gluten free version of this style loaf and it was SO good.

This post contains affiliate links.

Ingredients:

  • 200g Better Batter Artisan Flour Blend, about 1-1/2 cups
  • 4g salt, about 1 tsp.
  • 235g warm water, about 1-1/8 cups
  • 70g active GF sourdough starter, about 1/4 cup
  • 8g olive oil, about 1 tbsp.
  • 10g honey, about 1 tbsp.
  • more olive oil for brushing
  • coarse salt, for topping

Preparation:

Combine the flour and salt and whisk well.  Add the starter, honey and olive oil to the bowl of a stand mixer with the paddle attachment. Gradually add the flour mixture, alternating with the warm water.  Note: Use all of the water, the Artisan Blend flour needs more liquid than usual to fully hydrate.  Increase the speed and knead for 5 minutes to form a soft, supple dough.
Transfer the dough to an oiled bowl, cover with plastic wrap and proof in a warm place for 4 hours.  I used my proofing box.

Here is the risen dough.  Place it in the refrigerator overnight to really develop that sour flavor.

The next morning, bring to room temperature.  You can see how nicely the dough has puffed up, and there are lots of happy air bubbles!

It smells so good already! Now transfer the dough onto an oiled cutting board and divide it in half.  You can use a scale or just eyeball it.

With oiled fingers, gently press each section into an oval shape.  Don’t use a rolling pin, you don’t want to deflate the air bubbles.

Use a bench knife to do a letter fold with each section.

Next, with oiled hands, roll each piece onto a log.  Cover with plastic wrap and rest for 15 minutes.

Preheat the oven to 425º.  Line a baking sheet with parchment paper and dust with cornmeal where you will lay out the loaves.

Once the dough has rested, you should easily (again, with oiled hands) be able to shape each log into a long thin baguette, about 15″ x 2″.  Lay them on the baking sheet, leaving space in between.

To create the wheat stalk pattern, use scissors to snip the loaves every few inches (don’t cut all the way through), and as you snip each section, pull it over to one side, alternating left and right.

Now brush the loaves with olive oil and sprinkle with coarse salt.  I infused my olive oil with garlic and rosemary, and the aroma as it baked was wonderful.
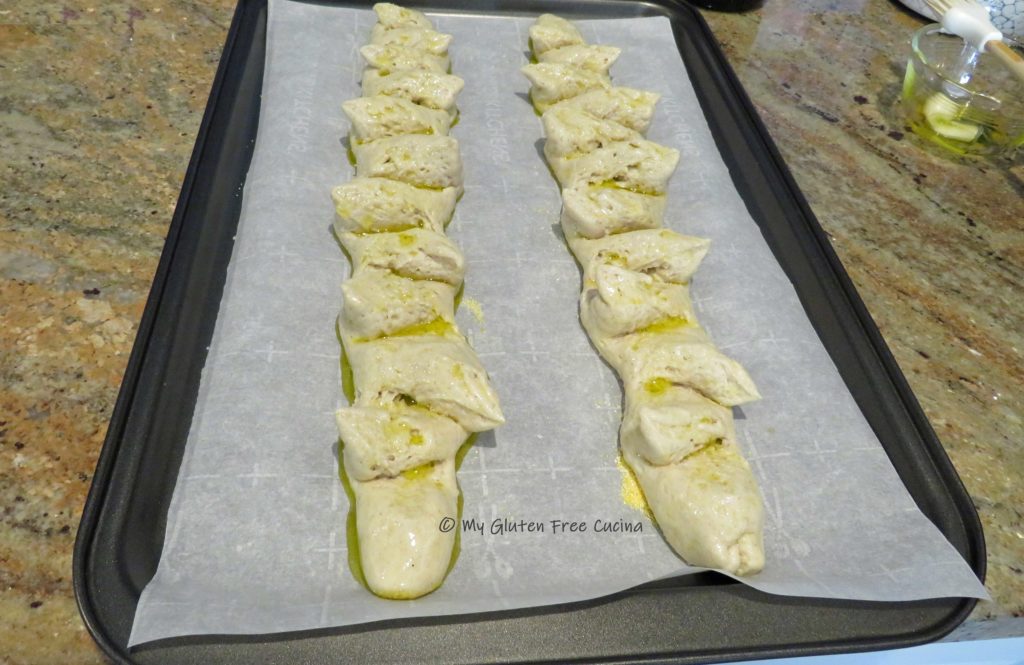
Bake for 30 minutes on the middle rack.  The internal temperature should read 210º.  Cool in the pan for 10 minutes.
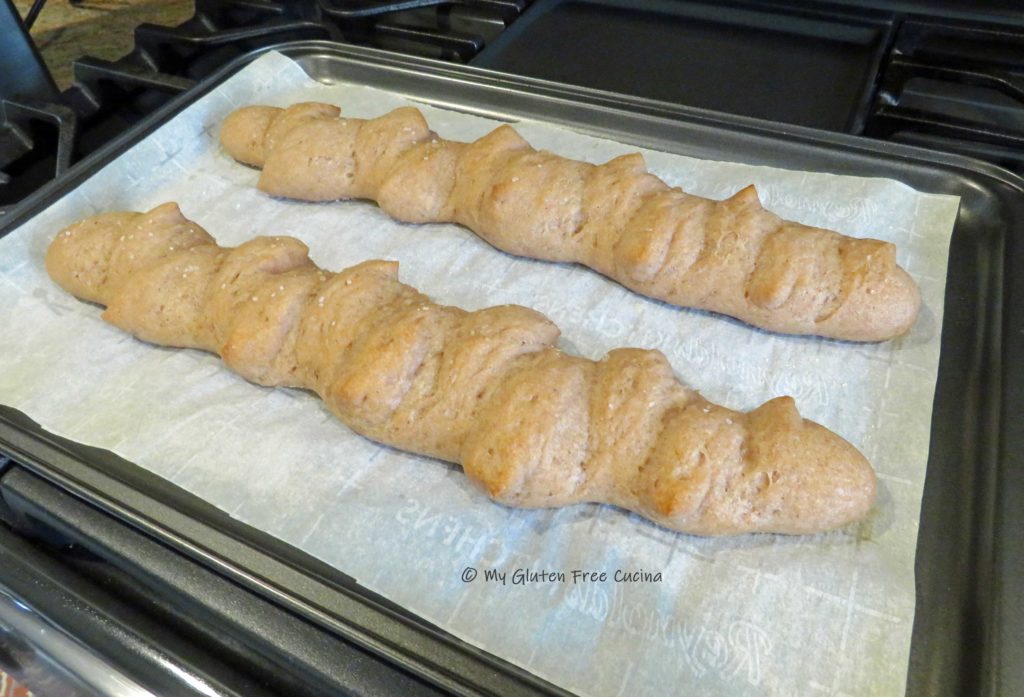
I was really pleased with how the loaves came out, especially with this being a first attempt.  The smell of freshly baked bread (REAL BREAD!) filled the entire house.

I recommend you allow the bread to cool for at least 4 hours before slicing, so the center won’t be gummy.  Trust me, you will have a hard time waiting!

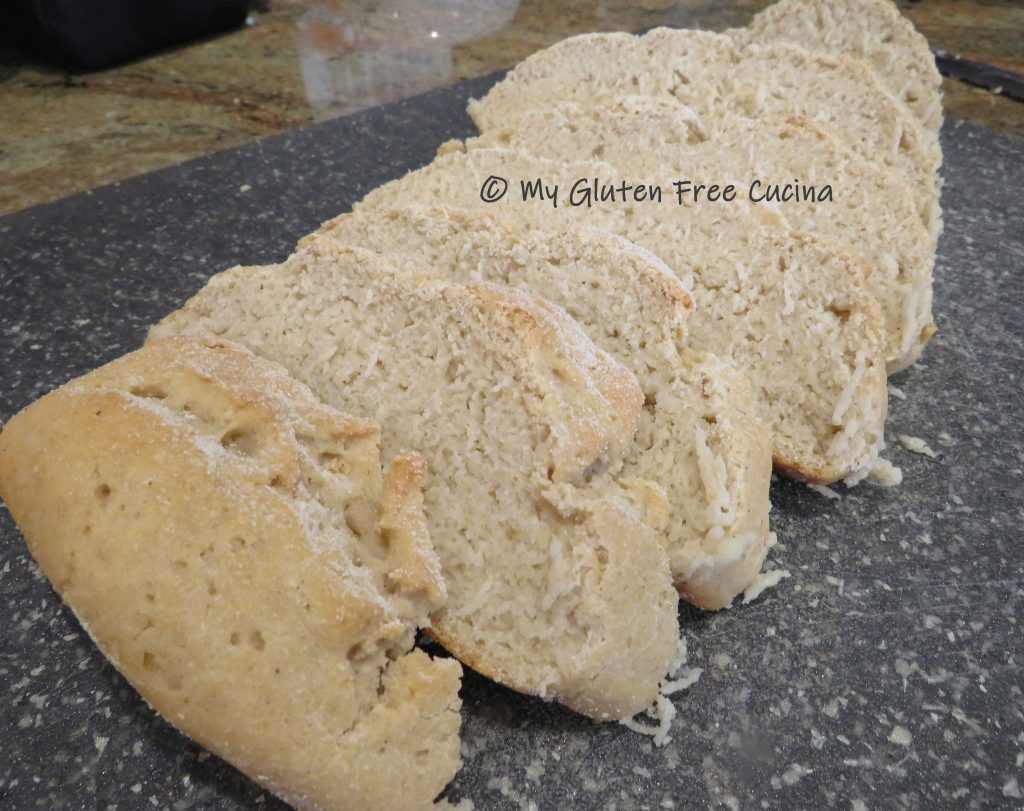
And now for all my bread friends who have been patiently waiting, check out that crumb!  I made up some dipping oil with Tuscan seasoning, fresh garlic and rosemary.  My sister came over and we had a pasta dinner.  She said she couldn’t tell the bread was gluten free!

So, have you got your sourdough starter going yet?  It will take your gluten free baking to the next level with results you never dreamed possible.  Read about my sourdough starter Sophie here.

Notes ♪♫ This bread is best eaten the day it is baked.  Leftovers can be refreshed in the microwave or toasted.  Store at room temperature up to 2 days.

Print This Post Print This Post

Gluten Free Multigrain Sandwich Loaf

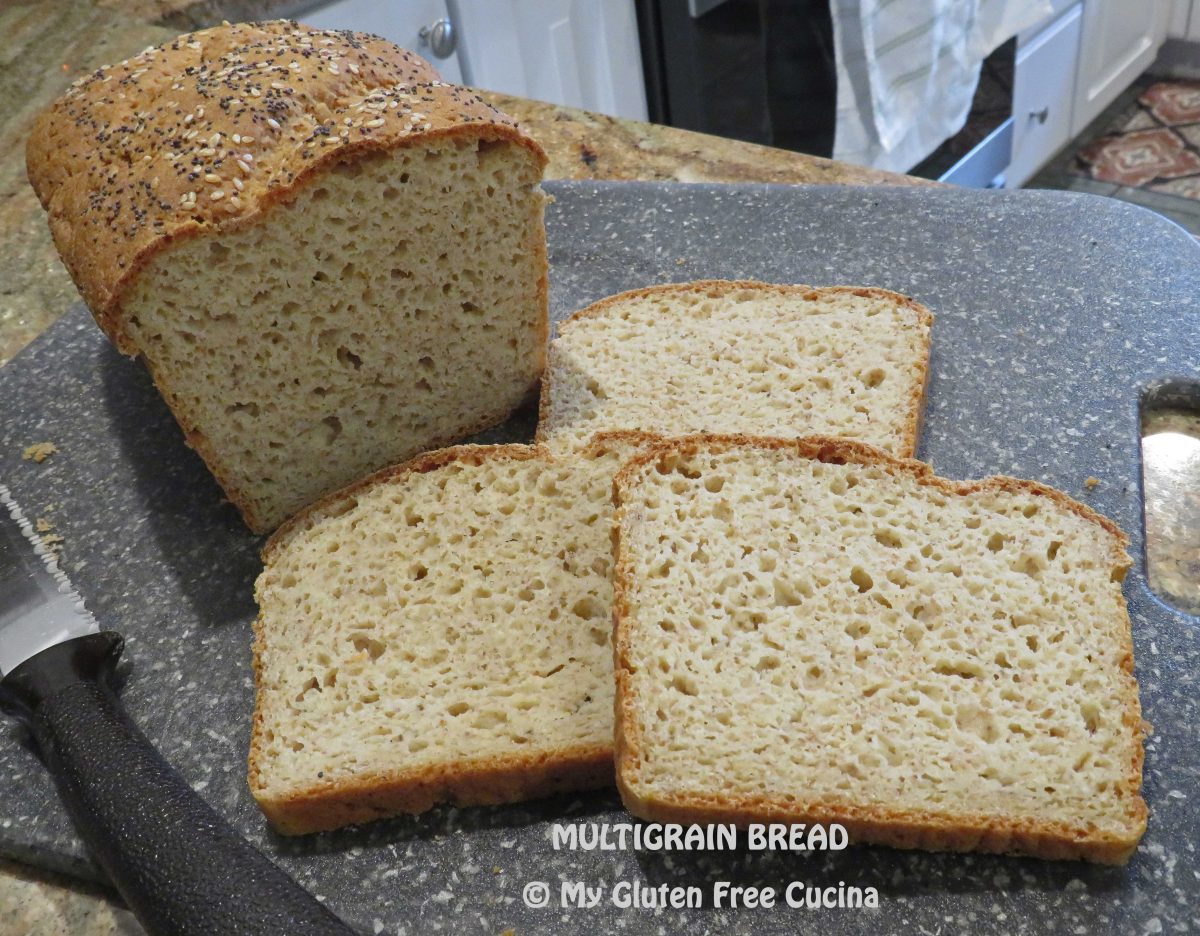
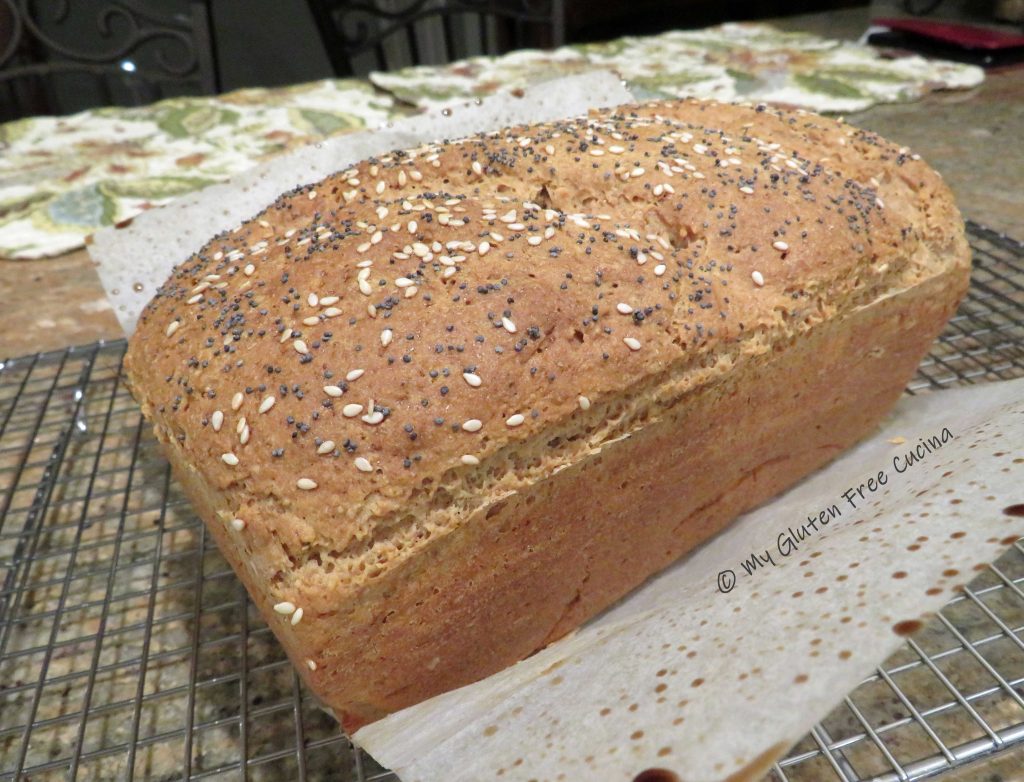
Just look at that beautiful loaf of bread!  In the gluten free universe, this is what dreams are made of!  Not only does it taste great, but it is also nutritious and wholesome, made with a combination of grains that delivers real bread flavor without the gluten.

If you like to mix up your own flour blends, then this recipe is for you!

I adapted this recipe from one of my own, Gluten Free Sandwich Thins.  I always made them for lunch when I worked in an office, but now that I’m home most of the time I find that I like to have sliced bread in the house.  When you make a loaf, you can slice it as thin or as thick as you want for sandwiches, toast or just to go with dinner.

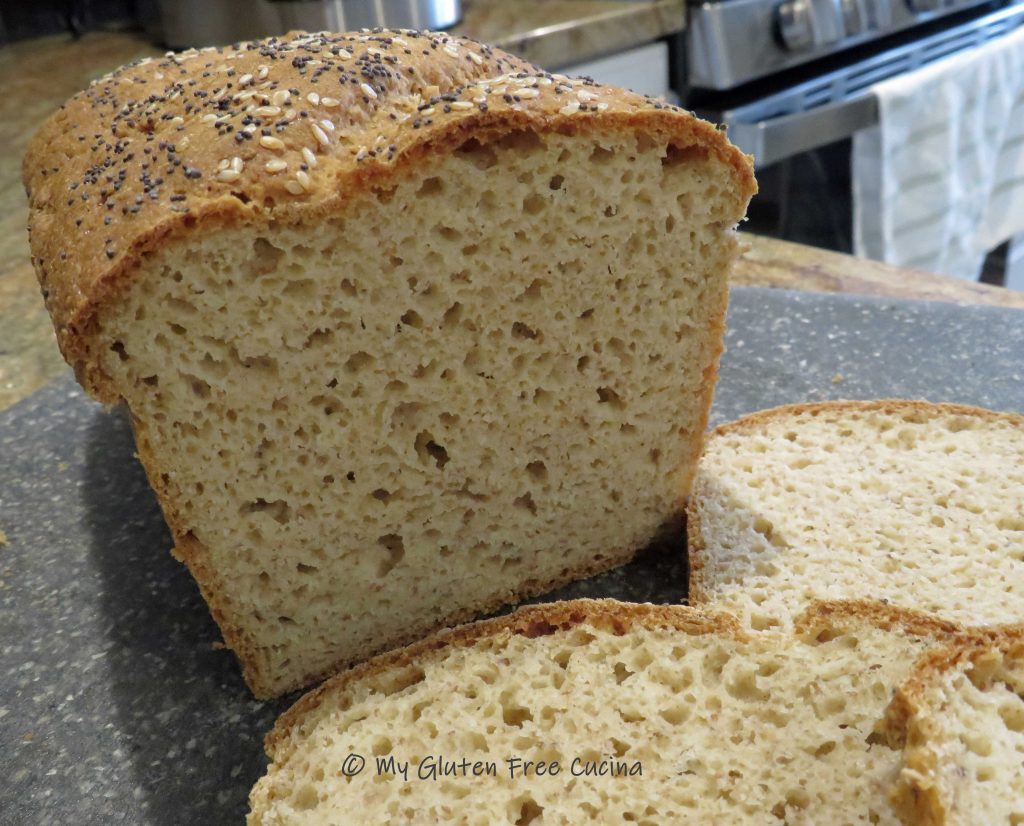
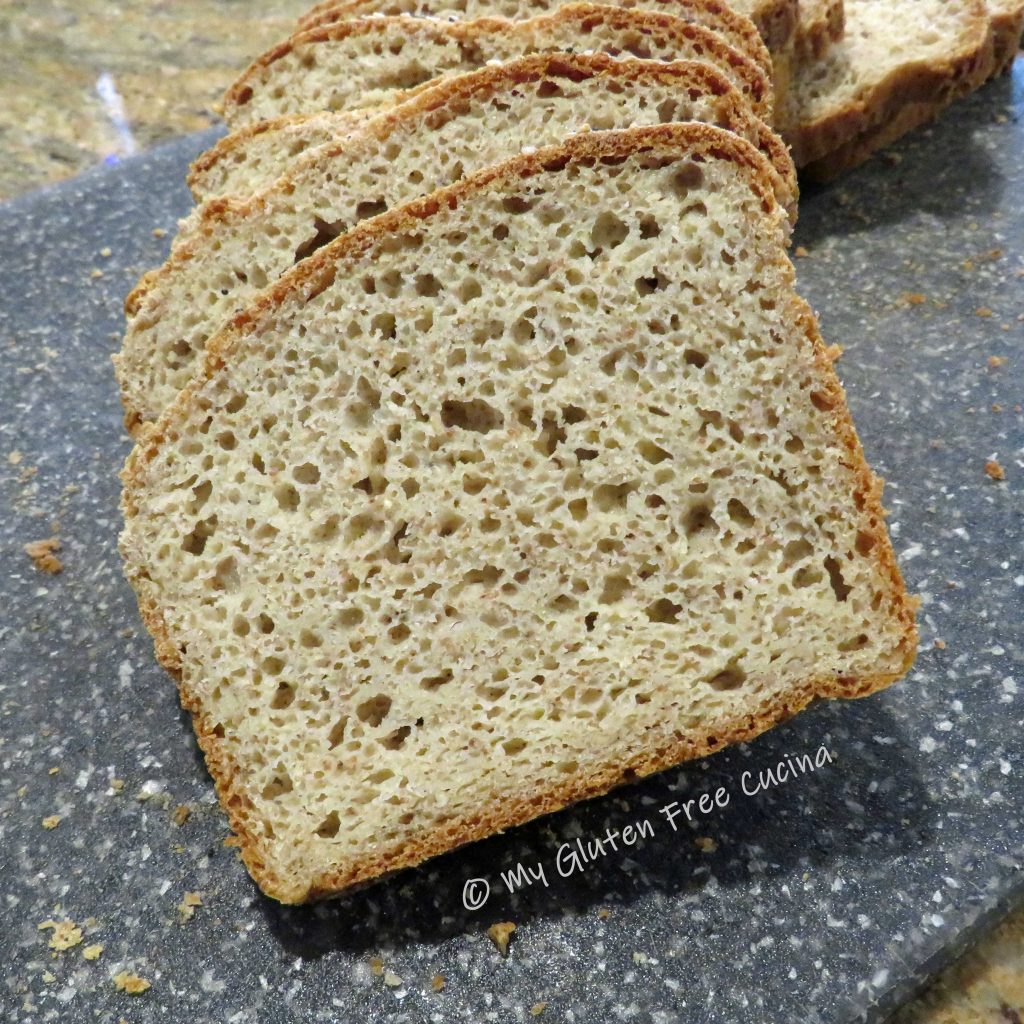
This bread is wonderful for sandwiches.  It doesn’t need toasting, doesn’t fall apart in your hands and the middle is not wet or tacky at all.  It’s a gluten free dream come true!

This post contains affiliate links.

Ingredients:

  • 1 tbsp. yeast
  • 1 tbsp. ground chia seeds
  • 1 tbsp. sugar
  • 1/2 cup warm water
  • 127 g. whole grain sorghum flour
  • 183 g. brown rice flour
  • 56 g. tapioca starch
  • 56 g. arrowroot starch
  • 56 g. potato starch
  • 21 g. teff grain, ground
  • 1 tsp. gelatin
  • 1.5 tsp. xanthan gum
  • 1 tsp. salt
  • 1 large egg
  • 3 tbsp. olive oil
  • 3/4 cup warm milk (I used 2%)
  • 1/2 cup warm water
  • 2 tbsp. milk, for brushing
  • sesame seeds
  • poppy seeds

Preparation:

Line a 1 lb. loaf pan with parchment paper and mist with cooking spray.

Combine the yeast, ground chia seeds, sugar and 1/2 cup water in a small bowl or measuring cup.  Let the mixture rest for 10 minutes.
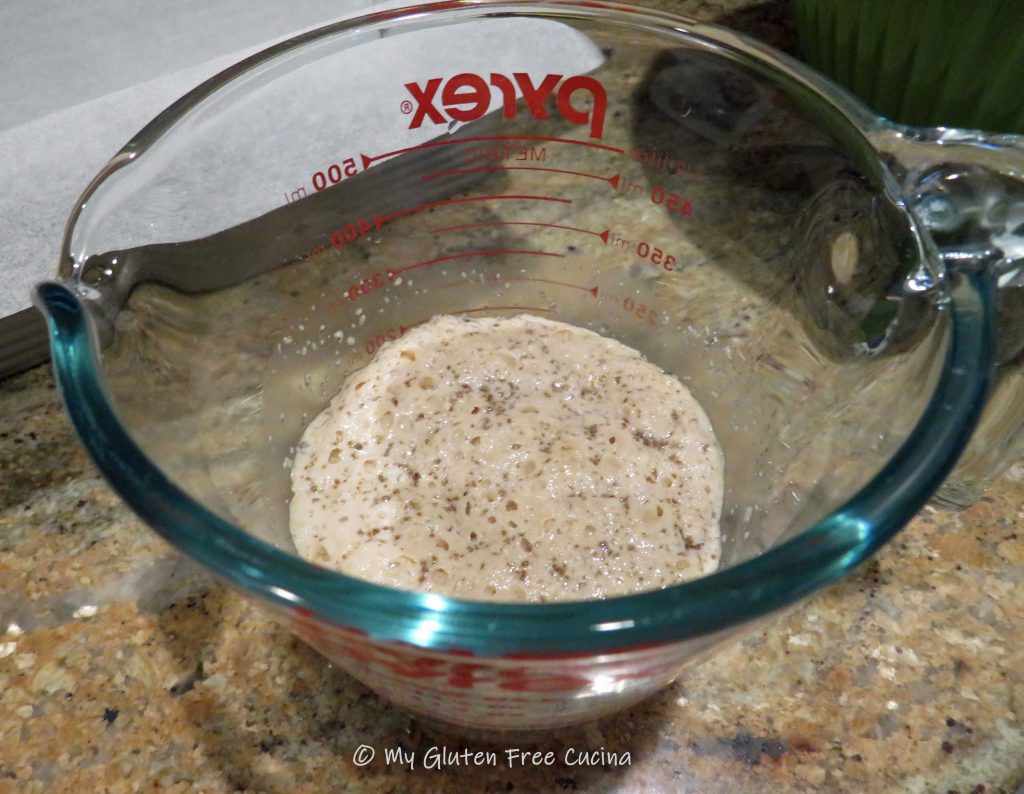
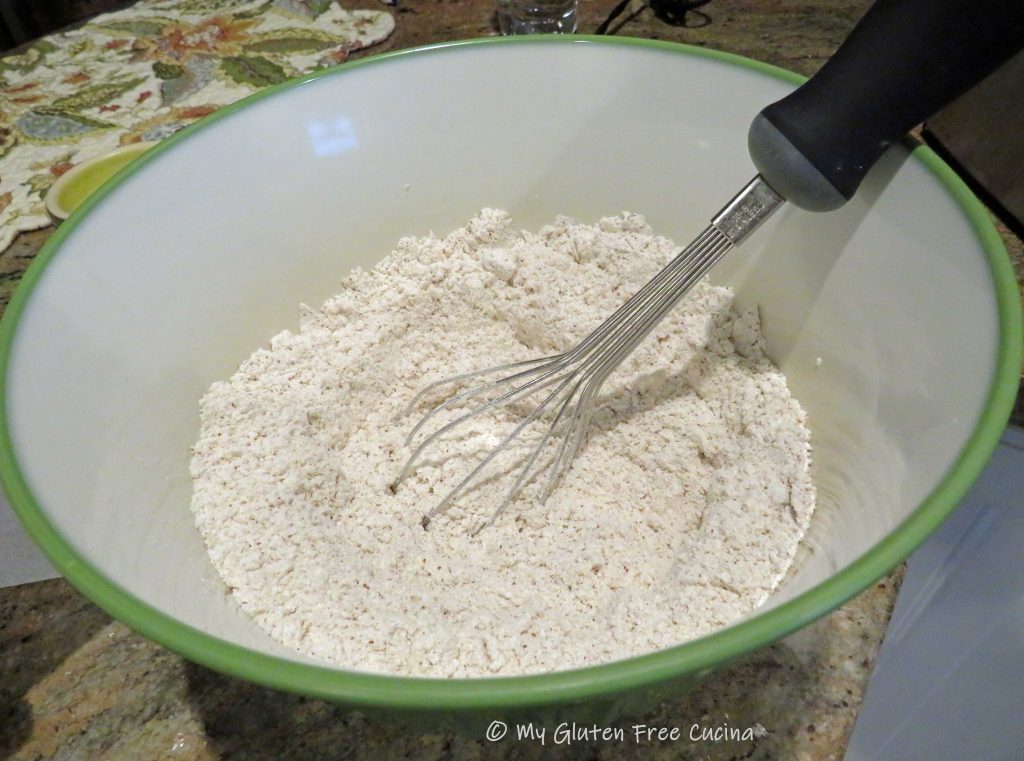
In a separate bowl, whisk together all of the dry ingredients, sorghum flour through salt.

When the yeast has bloomed, add the mixture to the bowl of a stand mixer along with the egg, olive oil, milk and water.

Whisk it all together, and then add the dry ingredients into the wet.  Mix for 5 minutes with the paddle attachment.  The dough will be heavy and wet.
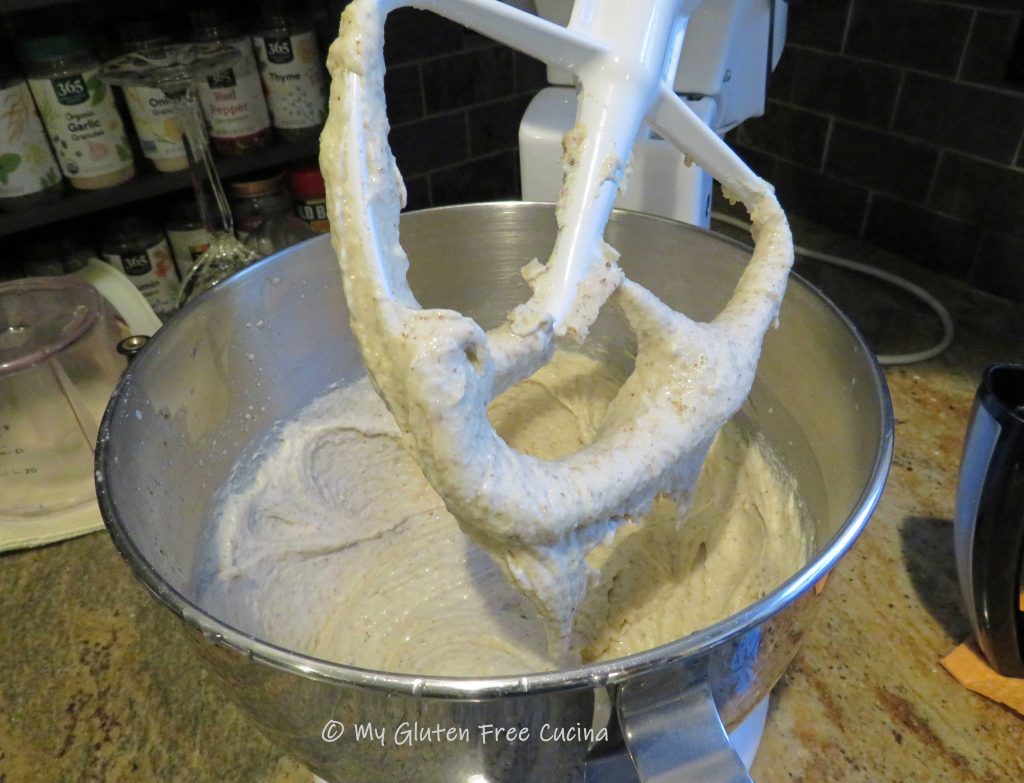
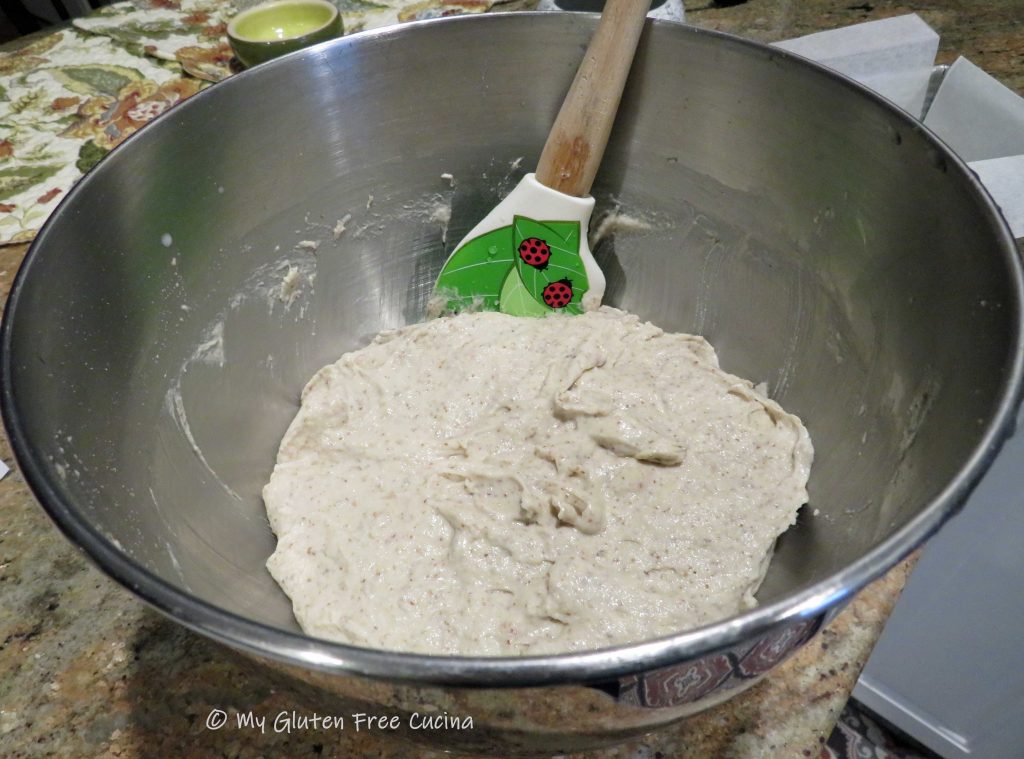
Scrape the dough into the prepared pan, smoothing out the top with a spatula dipped in water.
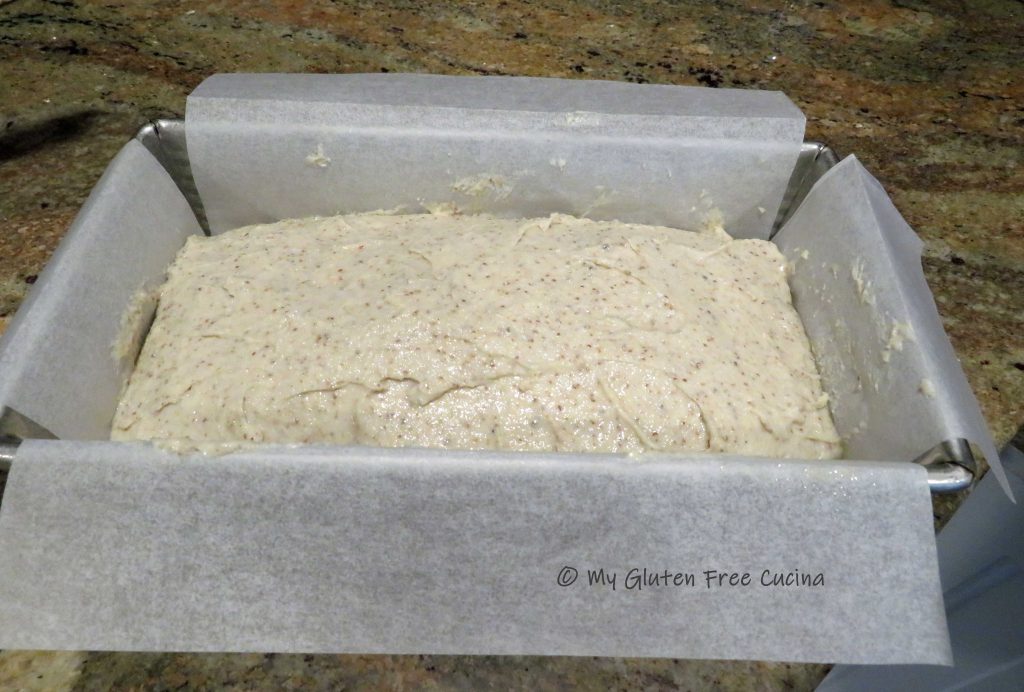
Covered with oiled plastic wrap and let it rise for 30 minutes while you preheat the oven to 400 degrees.

Brush the top of the loaf with milk, and sprinkle with sesame and poppy seeds.

Quickly make 2 diagonal slashes across the top of the loaf with a sharp knife.

Place the loaf on the middle rack of the oven, close the door and drop the temperature to 375º.  Bake 50-55 minutes, or until the internal temperature reaches 205º (use a thermometer).

Cool in the pan 15 minutes, then transfer to a rack.

Cool to room temperature, then bag it and let the loaf stand at room temperature overnight.  Resist the urge to cut into that loaf right away, and your patience will be rewarded with this amazing crumb!  It is truly worth the wait!
Notes ♪♫ You might be interested to know that I mill some of my flour from the whole grain.  In this recipe, I used my KitchenAid grain mill attachment to mill whole sorghum berries into flour.  For the teff flour, I ground whole teff grain in a coffee grinder.  Storing grain in its whole form will keep it fresh longer, great for those infrequently used ingredients.  If you would like to learn more about using a grain mill, check out this post.

Print This Post Print This Post

Gluten Free Peasant Loaf

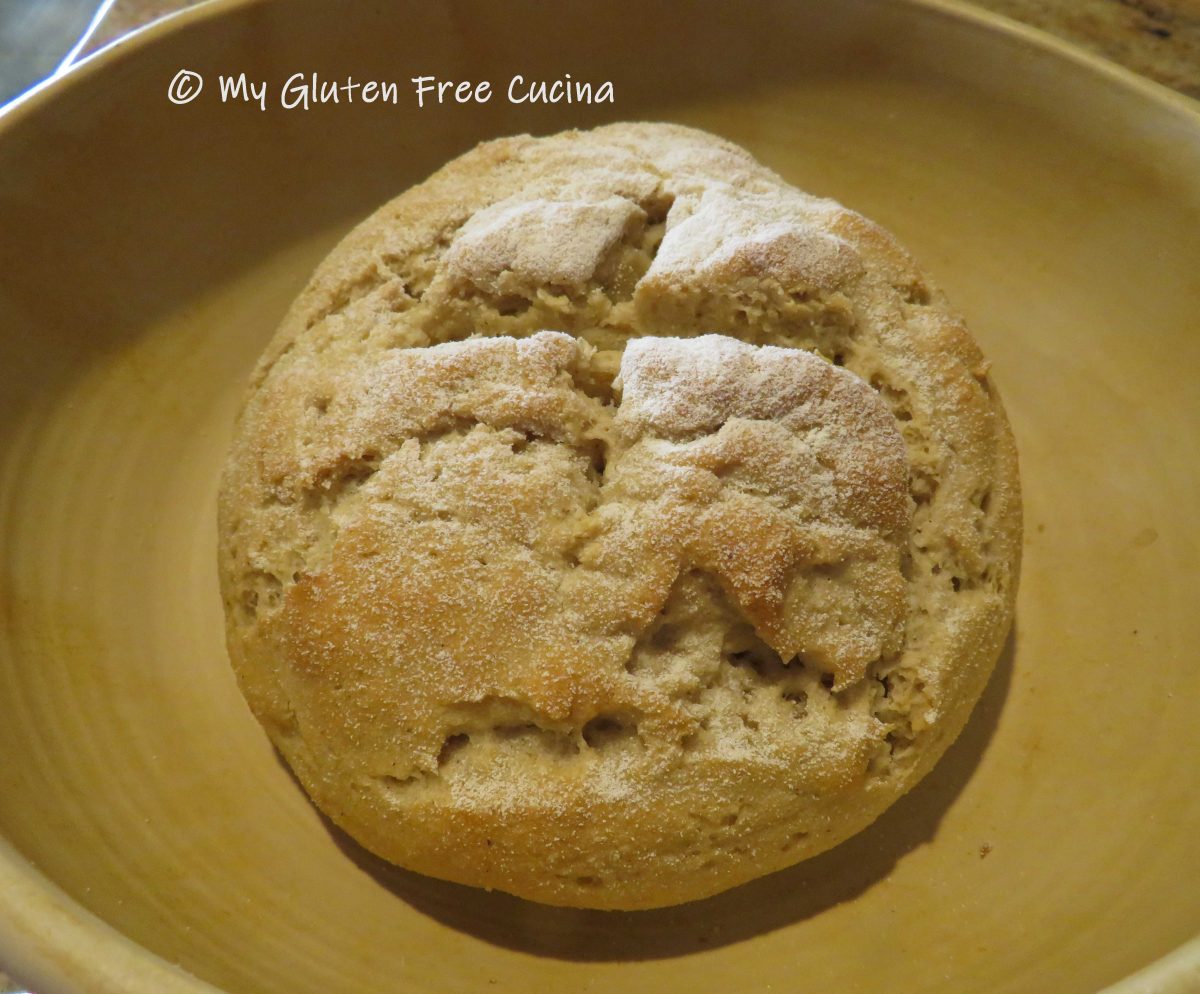
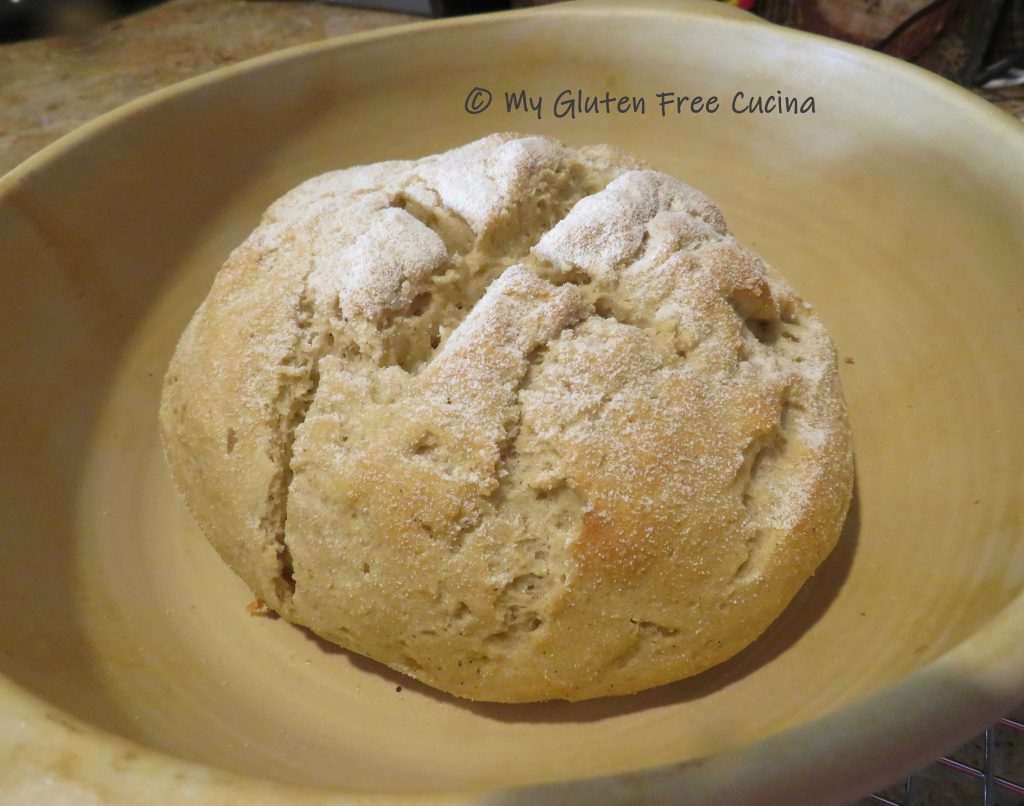
Years ago I loved making peasant style country loaves like this one.  I made them so often, I didn’t even use a recipe!  We would have bread with dinner and leftovers were saved for toasting in the morning.  This Gluten Free Peasant Loaf is a throwback to those days and to my ongoing attempts to recreate my old breads.

I have tweaked this recipe again and again, always changing a little something to improve the taste and texture.  Ingredients are key, but sometimes using the right tools will make a difference.

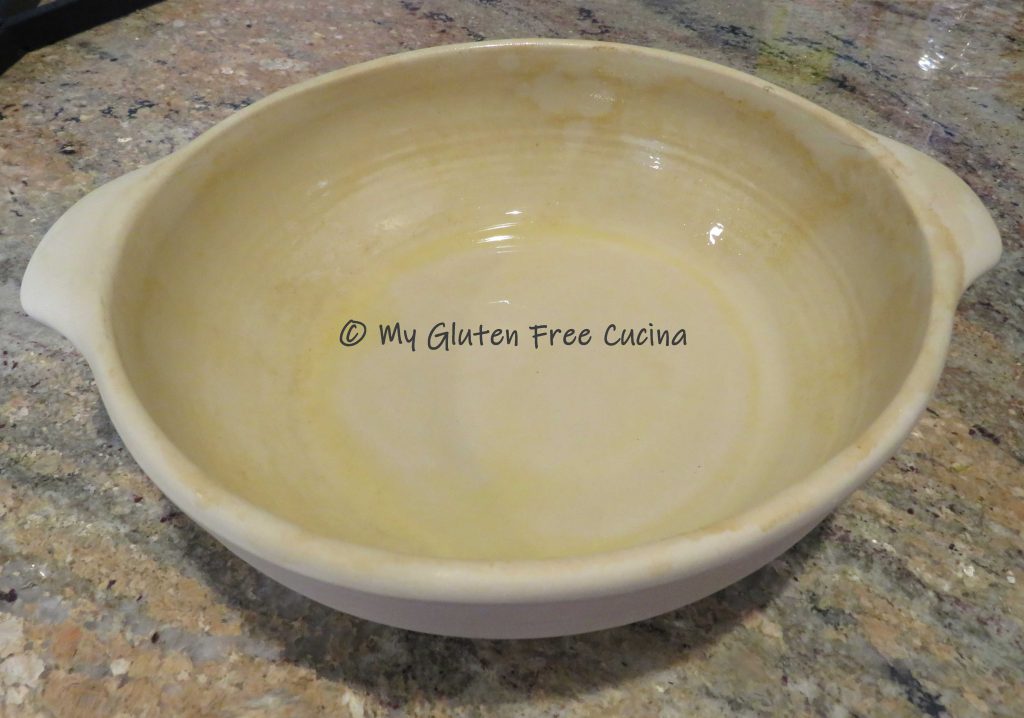
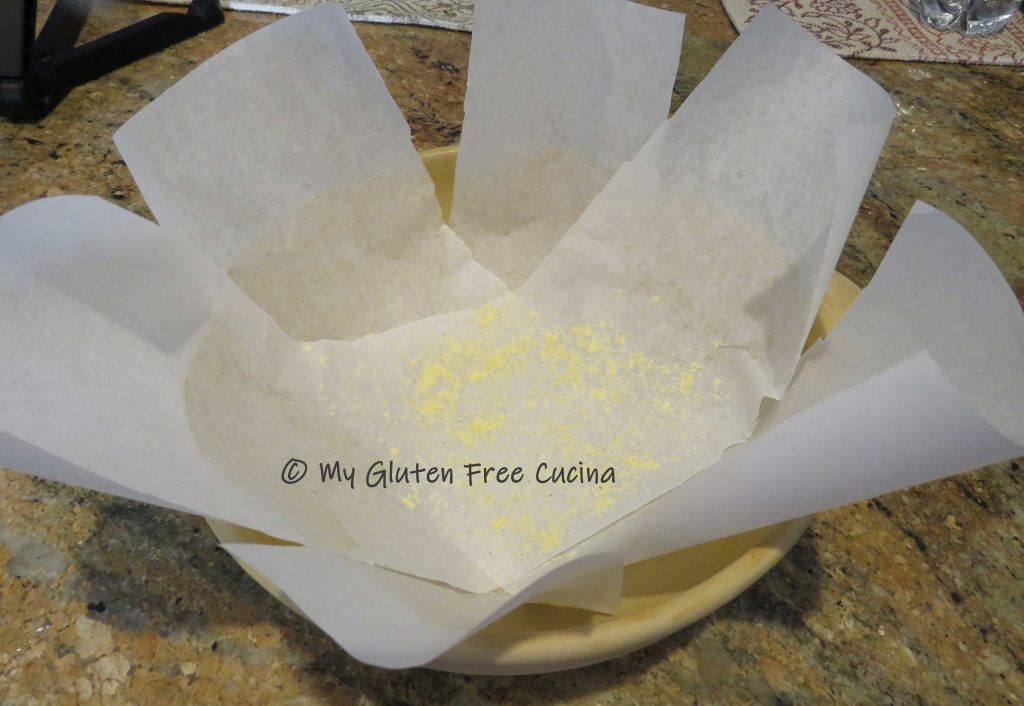
The baking dish you see in this post is from King Arthur (not a paid link), it works well with gluten free bread as the round bowl helps the dough keep its shape as it rises and bakes.  I seasoned it with olive oil and then lined it with parchment paper.  About half way through baking I removed the parchment to crisp up the bottom of the loaf.

Unlike most of my gluten free breads, this one is also dairy free.  The flour blend of brown rice and sorghum is reminiscent of a country wheat loaf with a crisp crust and soft center.  In the world of gluten, this would be called a no knead bread.  But really, all gluten free bread is no knead bread so I’m just calling it a peasant loaf!

Yield: 1 small loaf – about 8 slices

This post contains affiliate links.

Ingredients:

Preparation:

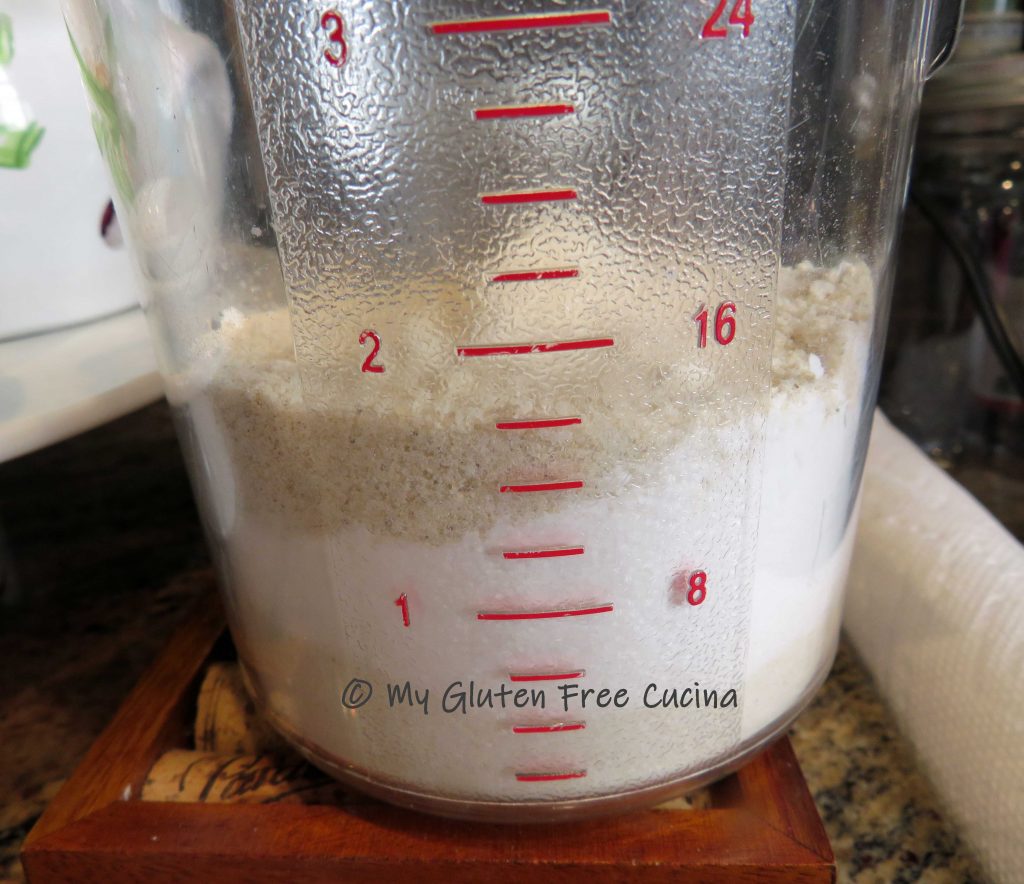
In the bowl of a stand mixer, combine the water, yeast and sugar.  Proof 15 minutes while you gather the other ingredients.  Measure the dry ingredients (rice flour through salt) and whisk well.

Oil the baking dish, line with parchment and sprinkle with corn meal.

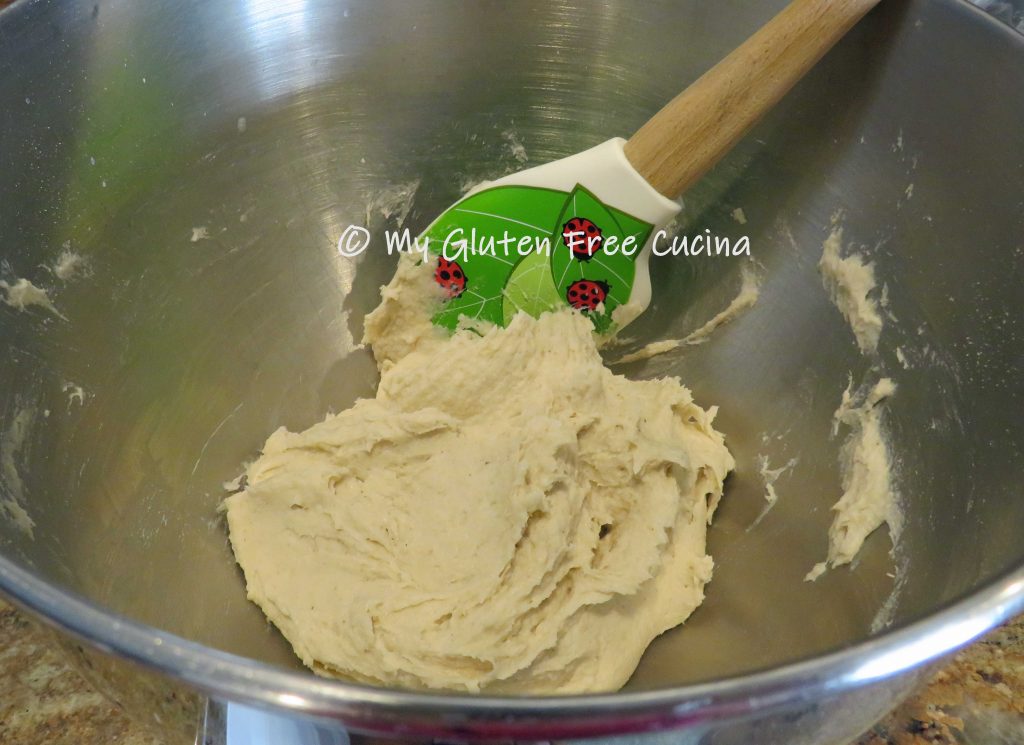
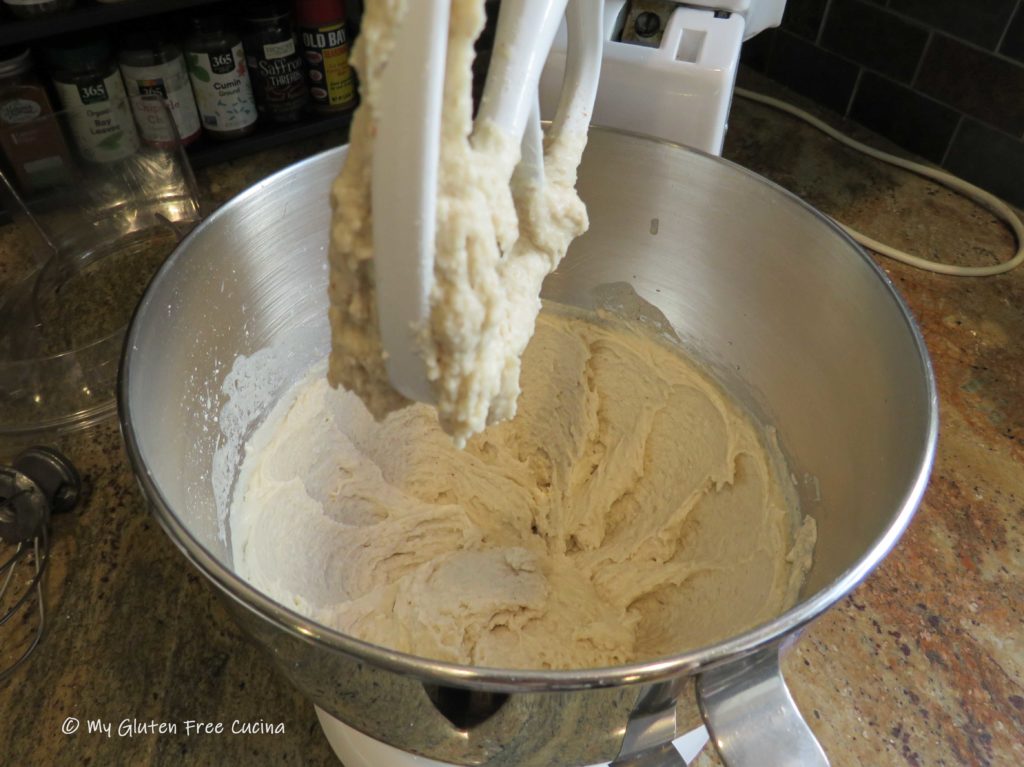
When the yeast has bloomed, whisk in 1/4 cup egg whites.  With the beater attachment, slowly add the dry ingredients and mix for 5 minutes to form a smooth dough.  The consistency will be like that of mashed potatoes, and the dough will cling to the beater, like this.

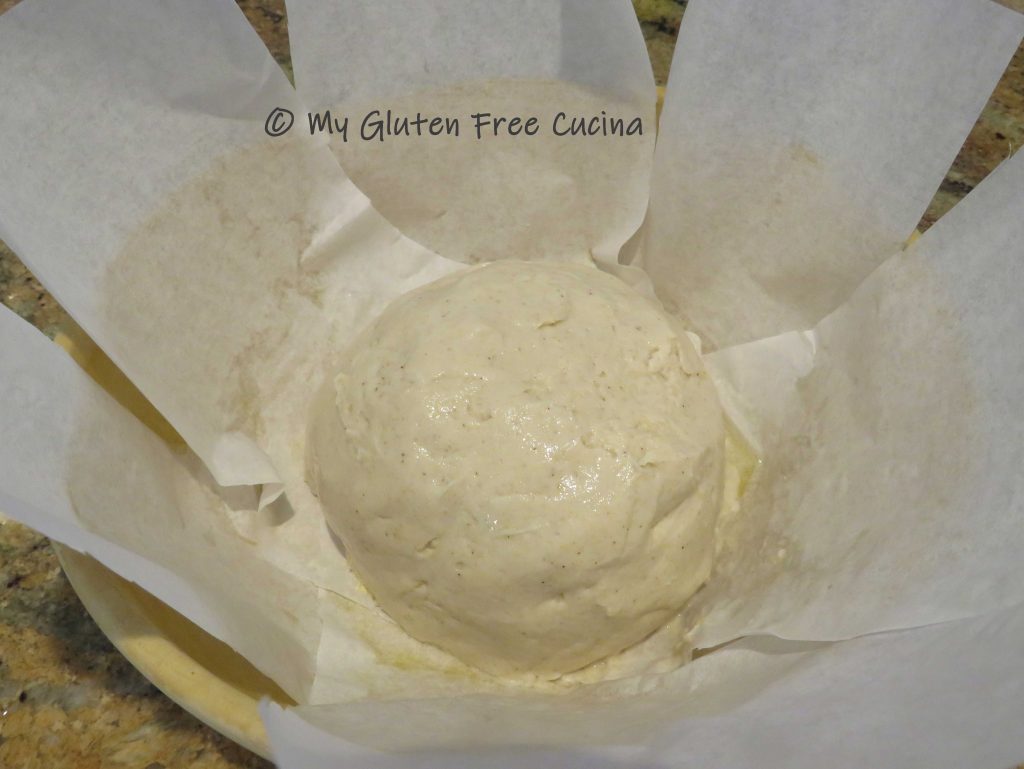
Scrape the dough into the prepared baking dish, then use a wet spatula to smooth the surface into a ball shape.

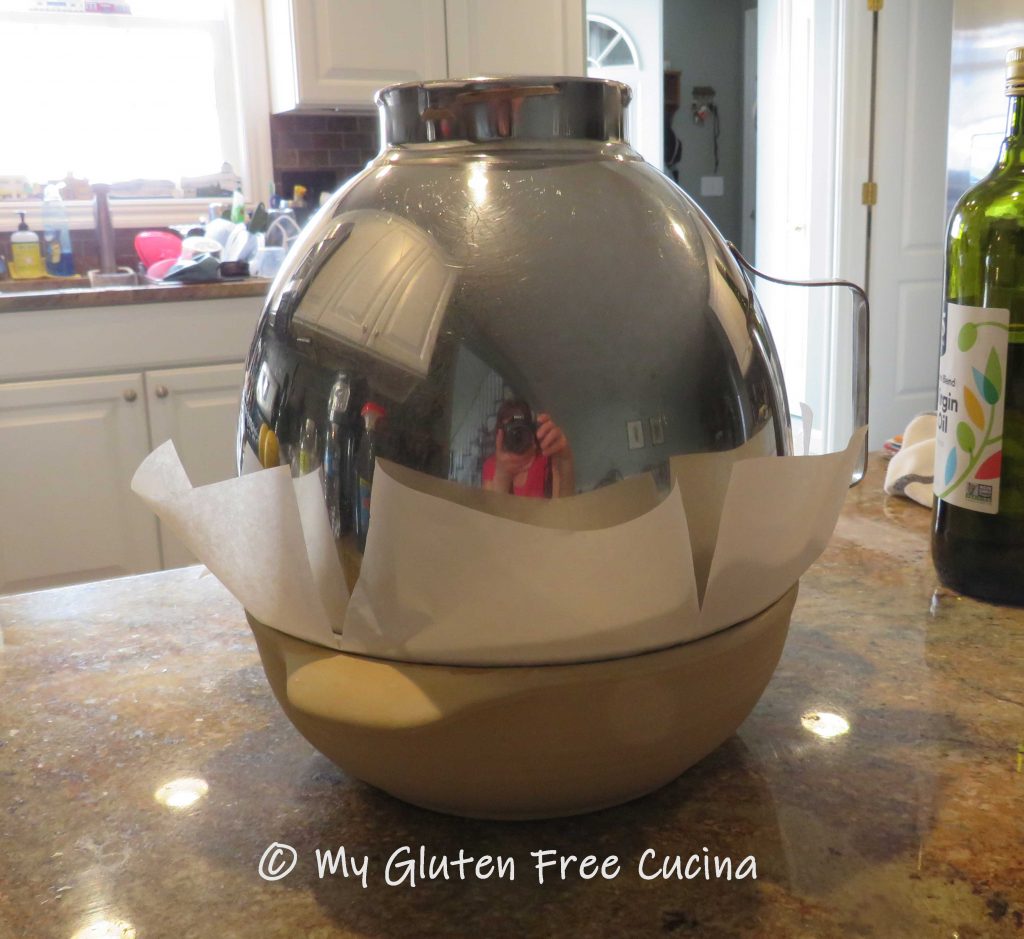
Invert the mixing bowl over the top and let the dough rise for one hour at room temperature.

Preheat the oven to 400º.  Place the racks at top and center.  Place a pizza stone on the middle rack.  Dust the top of the loaf lightly with rice flour and slash the top in a cross or a # pattern.

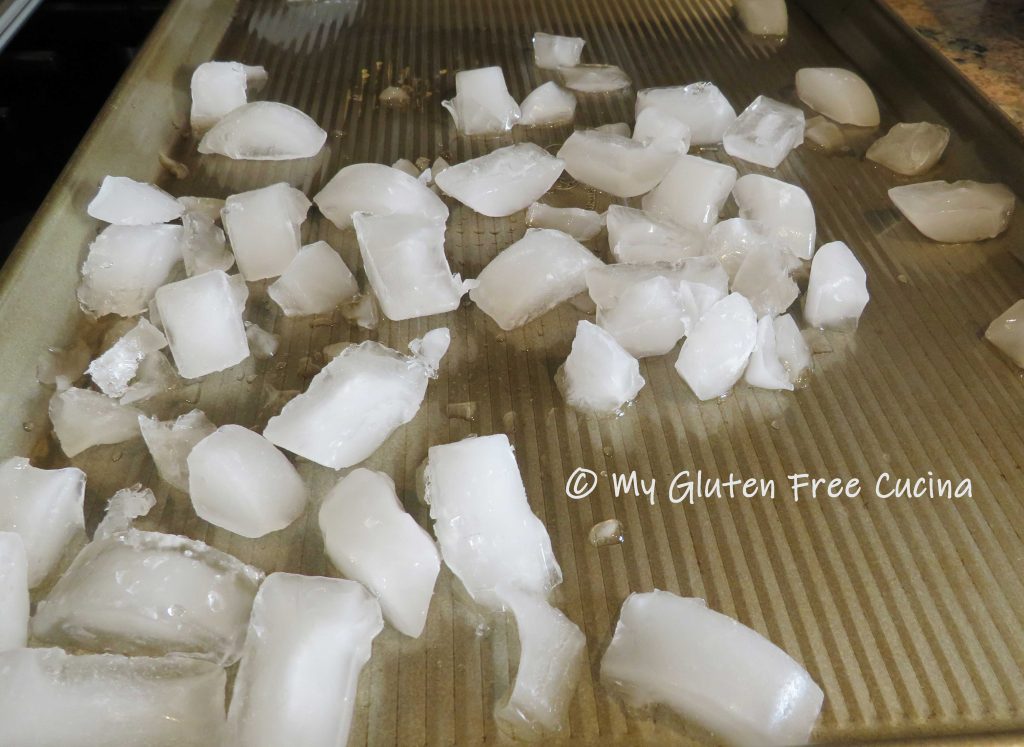
When the oven reaches full temperature, place 2 cups of ice cubes in a pan on the top shelf to create steam, and place the pan with the bread on top of the pizza stone.

Bake for 45 minutes.  About half way through baking carefully remove the parchment (use tongs and gloved hands) to get a good crust on the bottom.

Transfer to a rack and cool the loaf completely before slicing, at least 2 hours to allow the bread to set.  If you slice it too soon, the center will be gummy.

Serve with dipping oil, or use it to soak up whatever sauce you may be having for dinner!  Leftovers, if you have any are great for toasting!

Notes ♪♫  If you don’t own a baking bowl, you can use any stoneware pan, pizza stone, glass baking dish or baking sheet.  The loaf will likely spread out a bit more on a flat surface.  I recommend using parchment paper with any of these options.

Print This Post Print This Post