Pane Bianco!
Have you seen this bread before? Pane Bianco first appeared in the King Arthur catalog around 2018. At the time, I had recently been diagnosed with Celiac Disease, and the thought of making breads like this seemed impossible!
I saved the recipe though, and as I was going through old folders recently, there it was. That was the moment I decided to make a gluten free version of this gorgeous bread!

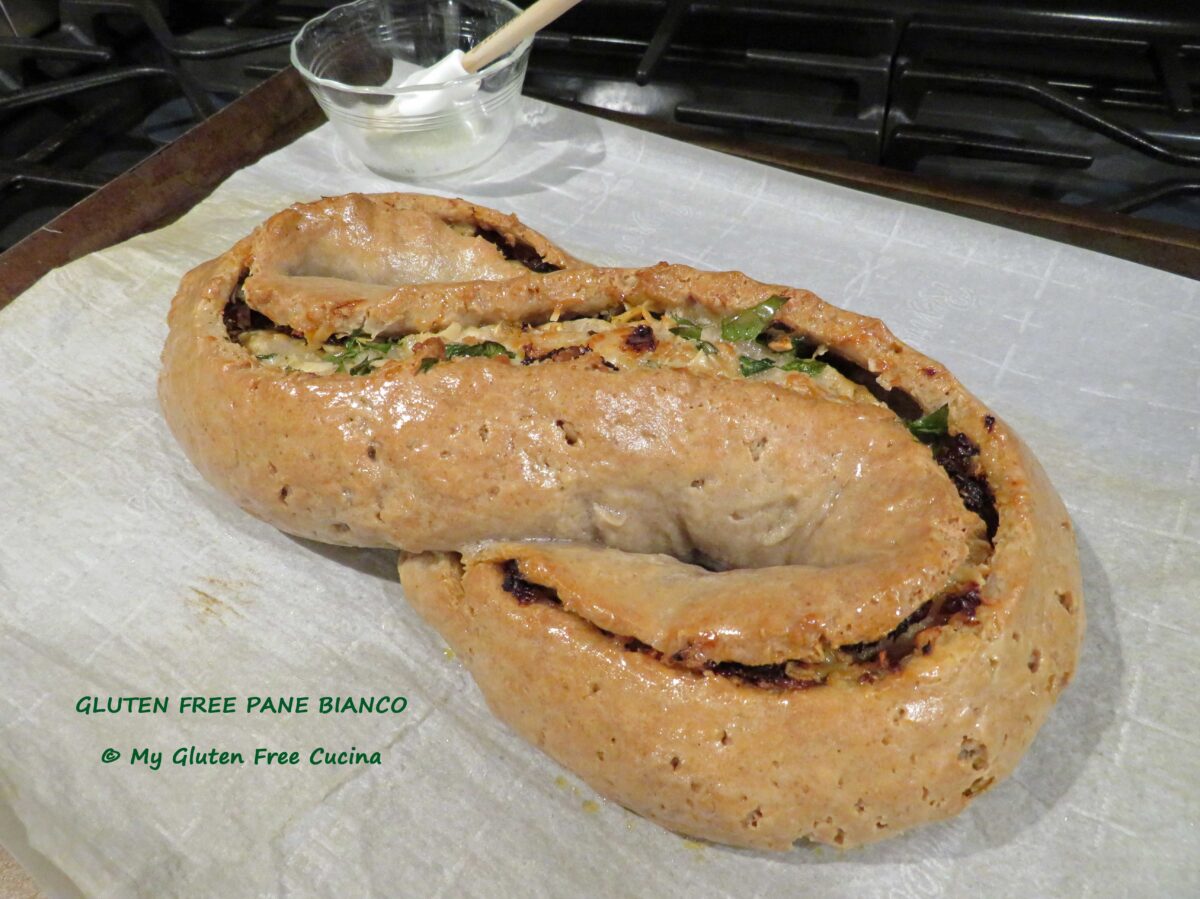
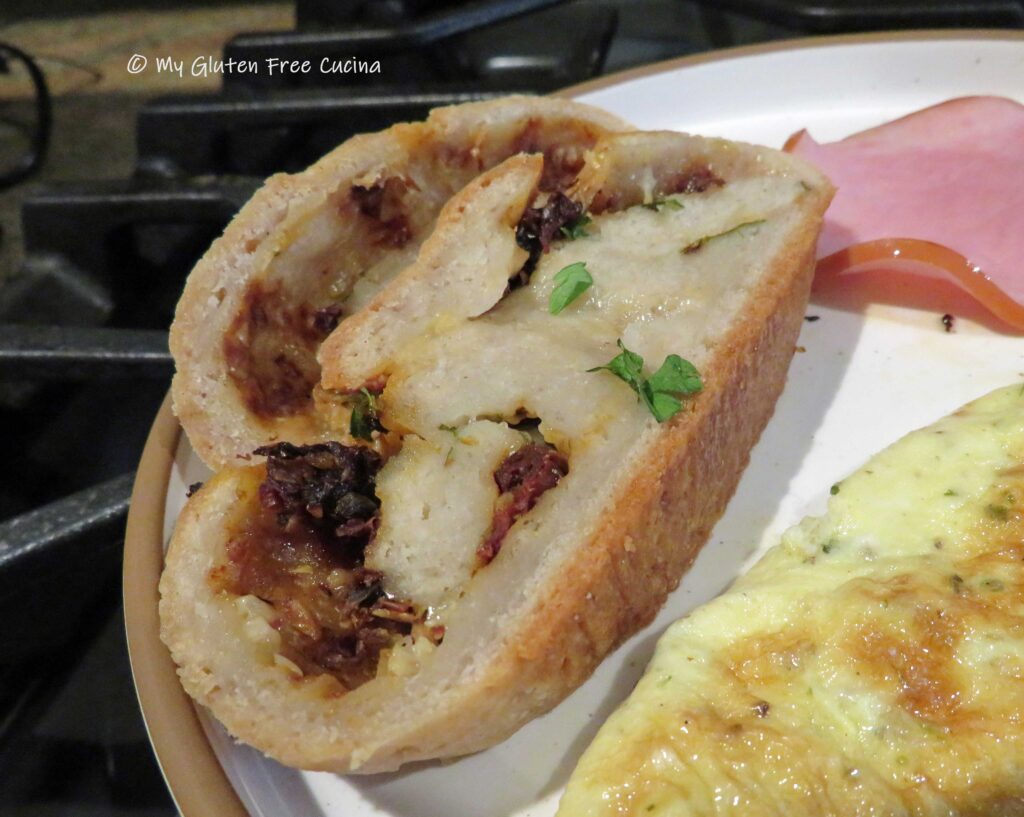
Pane Bianco literally translates to “White Bread”. That sounds oh so dull and ordinary, when this eye-catcher of a loaf is anything but. The S-shape looks so fancy, with the scored dough revealing a filling of sundried tomatoes, garlic, cheese and basil. It’s a stunner as it opens up during baking, and don’t get me started on the aroma!
This post contains affiliate links.
Think you can’t roll and shape gluten free dough like this? It’s all in the flour blend, and you can probably guess that for my gluten free makeover, I used Better Batter. My personal favorite is their Artisan blend, but either that or their new Bread flour are great choices for this recipe.
Sometimes when I can’t decide I use some of each! For this bake I used a 50/50 combination of the Artisan blend and Bread flour. I’ve done some experimenting with this combination, and I just love the flavor and texture. You can use 360 g. of either flour, or a blend like I did.

Better Batter flour now has limited edition 1 lb. size bags of their Bread Flour and Artisan Blend. So, if you wanted to try this recipe the way I made it you don’t have to make a big commitment. Just grab yourself a 1-pound bag of each and bake along with me!
Use my promo code MGFC30 at checkout and get 30% off full price on your purchase at Better Batter!
Ingredients:
- 180 g Better Batter Artisan Flour Blend
- 180 g Better Batter Bread Flour
- 7 g (1 pkg.) instant yeast
- 8 g table salt
- 45 g egg (1 large)
- 170 g milk (I used 2%)
- 111 g warm water
- 52 g olive oil
- 3/4 cup shredded cheese (I used parmesan)
- 1/2 cup sundried tomatoes in oil, drained and chopped
- 4 garlic cloves, minced
- 1/3 cup fresh basil leaves (or Italian parsley), chopped
- 1 tbsp. melted butter, for finishing

Preparation:
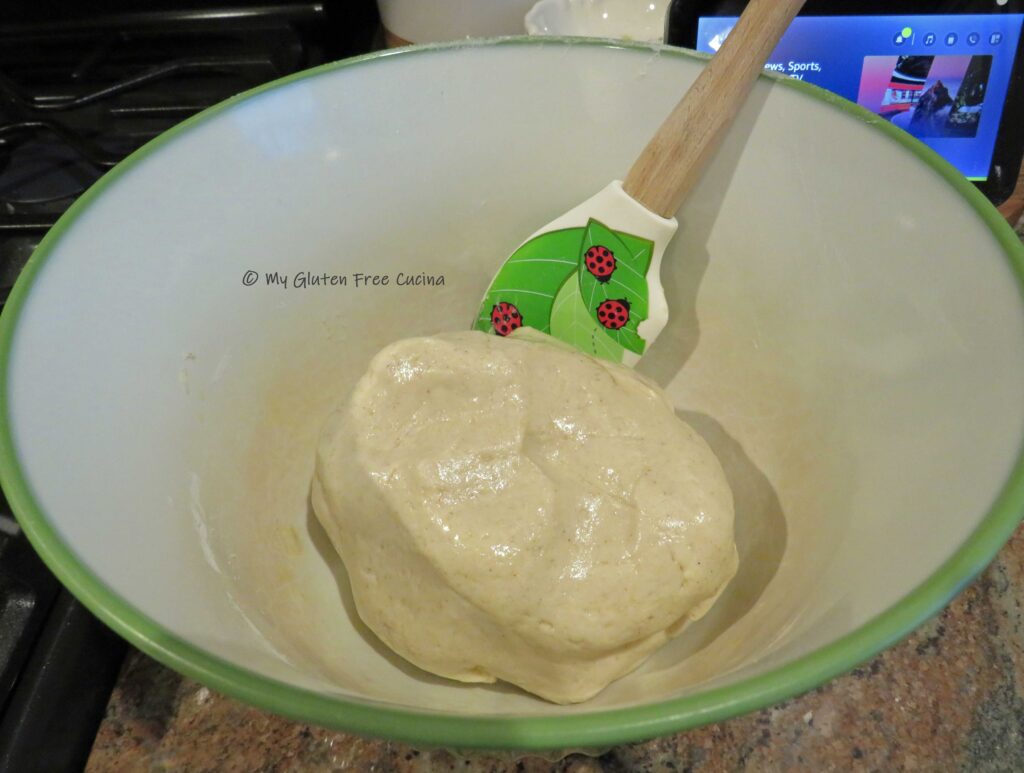
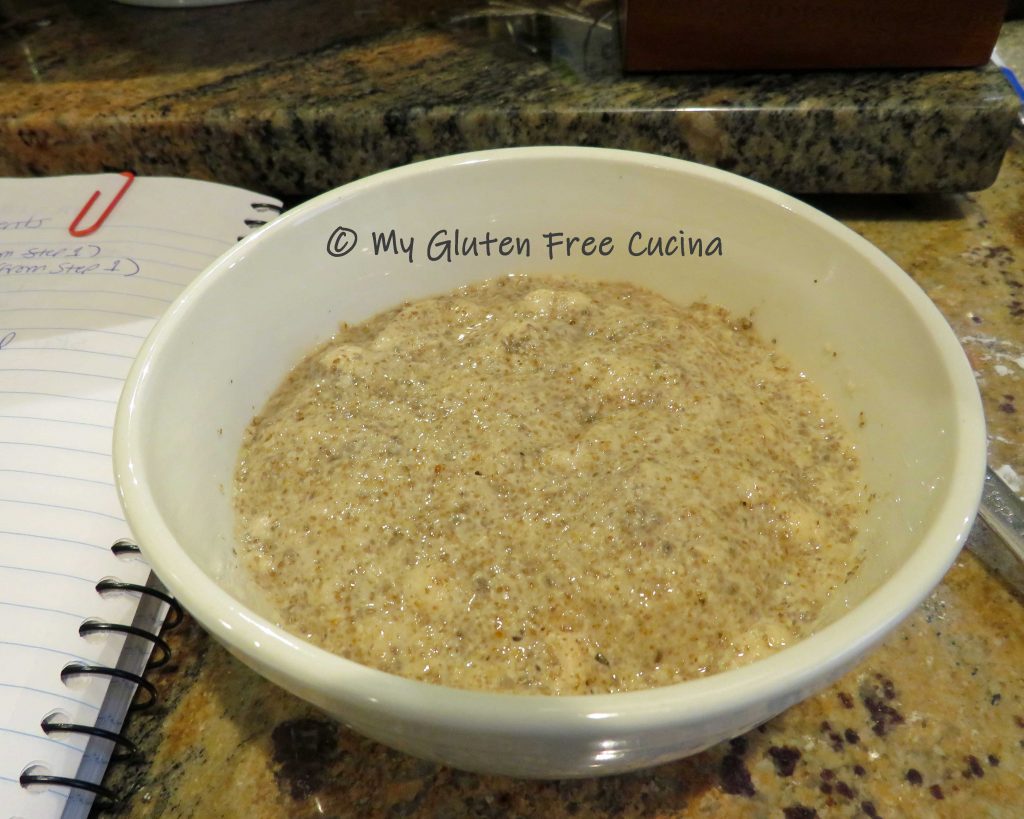
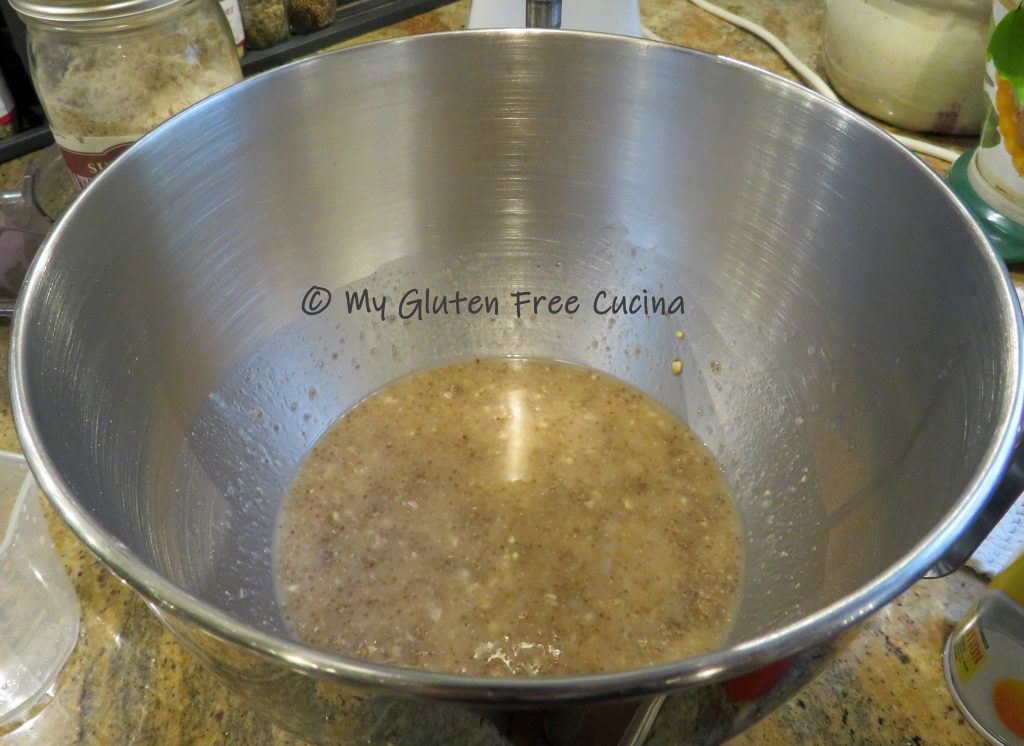
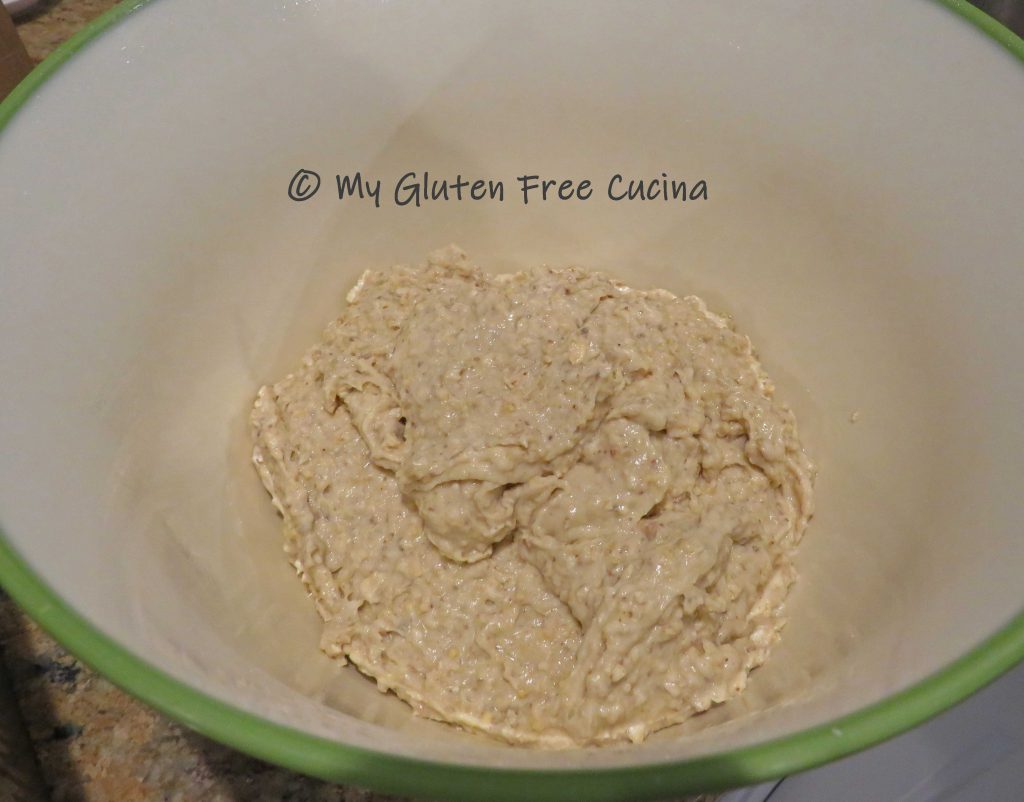
Whisk together the flours, yeast and salt. In the bowl of a stand mixer, combine the egg, milk, water and olive oil. Add the flour mixture to the wet ingredients and mix for 5 minutes with the paddle attachment to form the dough. Place the dough in an oiled bowl and let it rise for 45 minutes. It may not double and that’s ok.
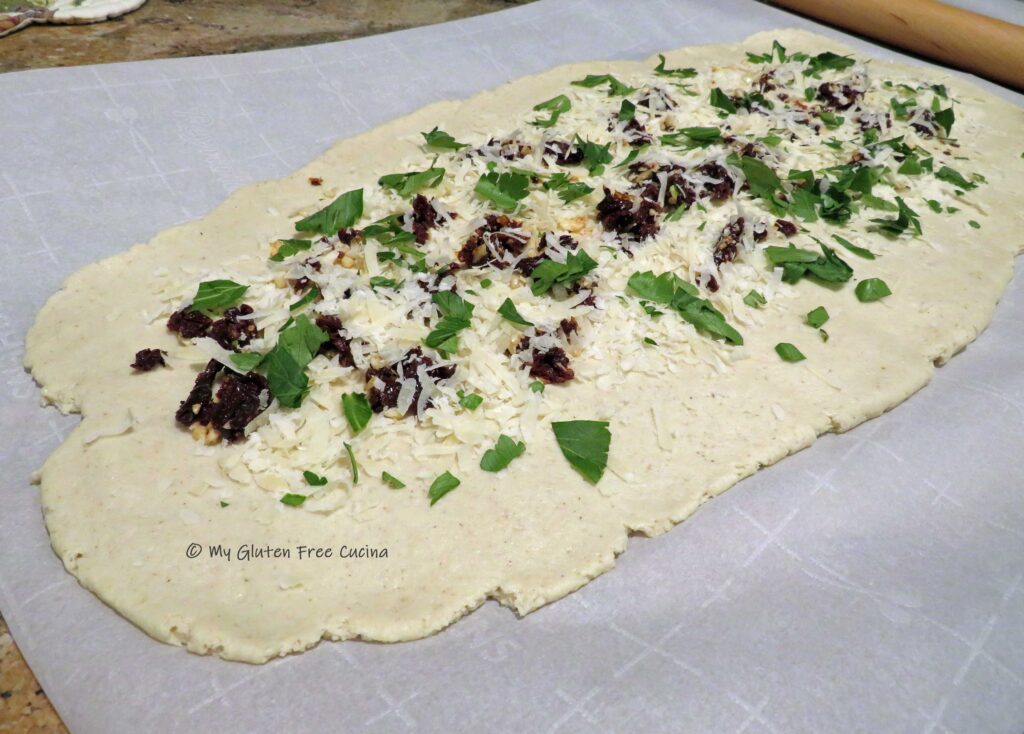
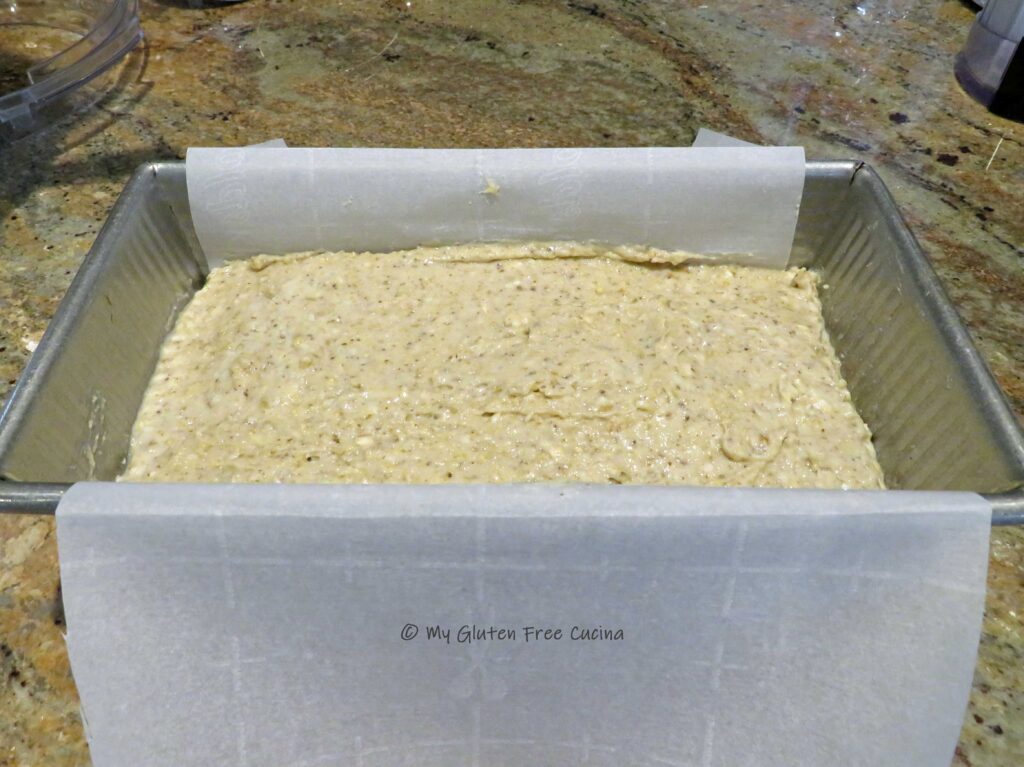
Measure a 2 ft. sheet of parchment paper. Roll the dough out into a rectangle shape, approximately 22″ x 8″.

Spread with the sundried tomatoes, garlic, cheese and basil (I could not get fresh basil this time of year, so I used Italian parsley). Go easy on the filling, don’t add too much or the bread will be wet.
Using the parchment to assist you, roll the dough into a log.
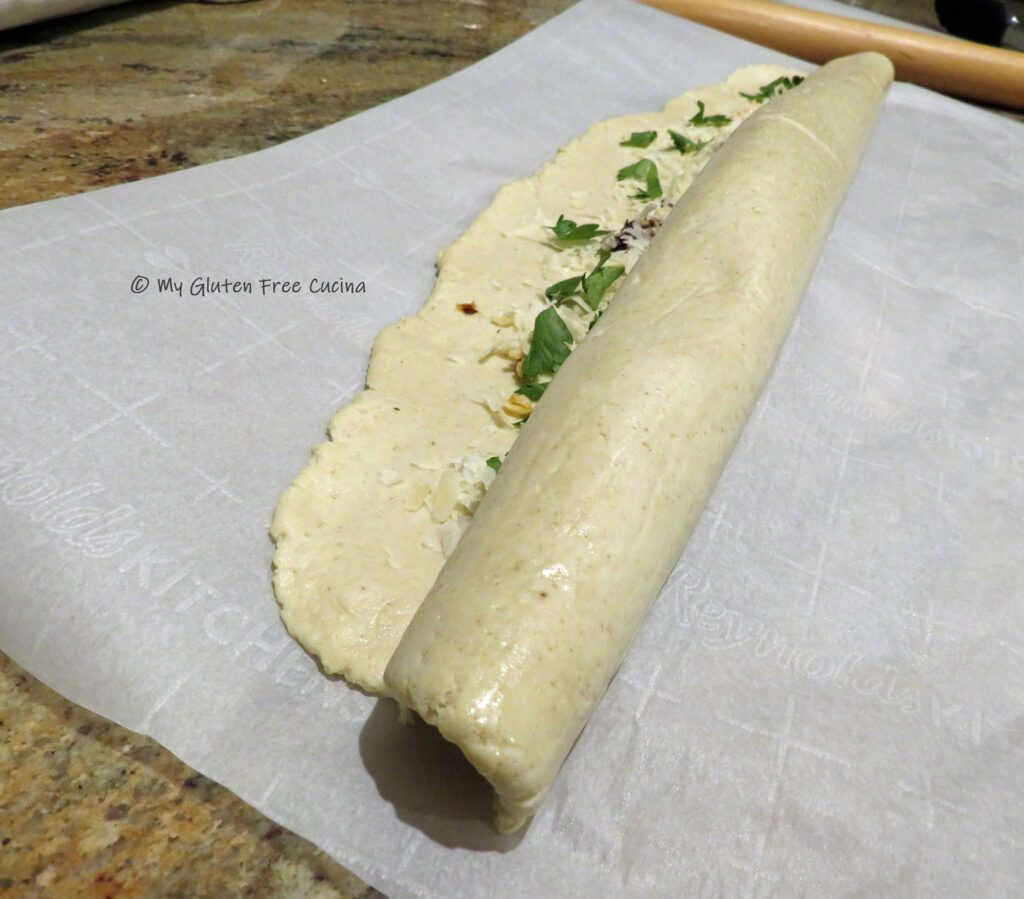 Pinch the edges together and if they don’t seal use a fork to smooth out the seam.
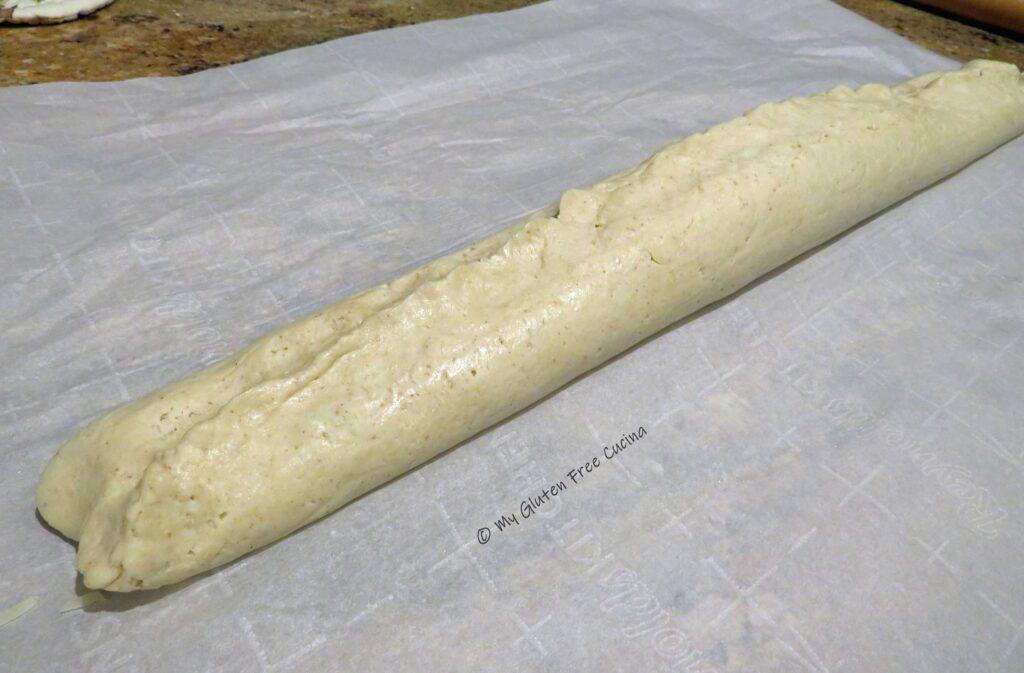
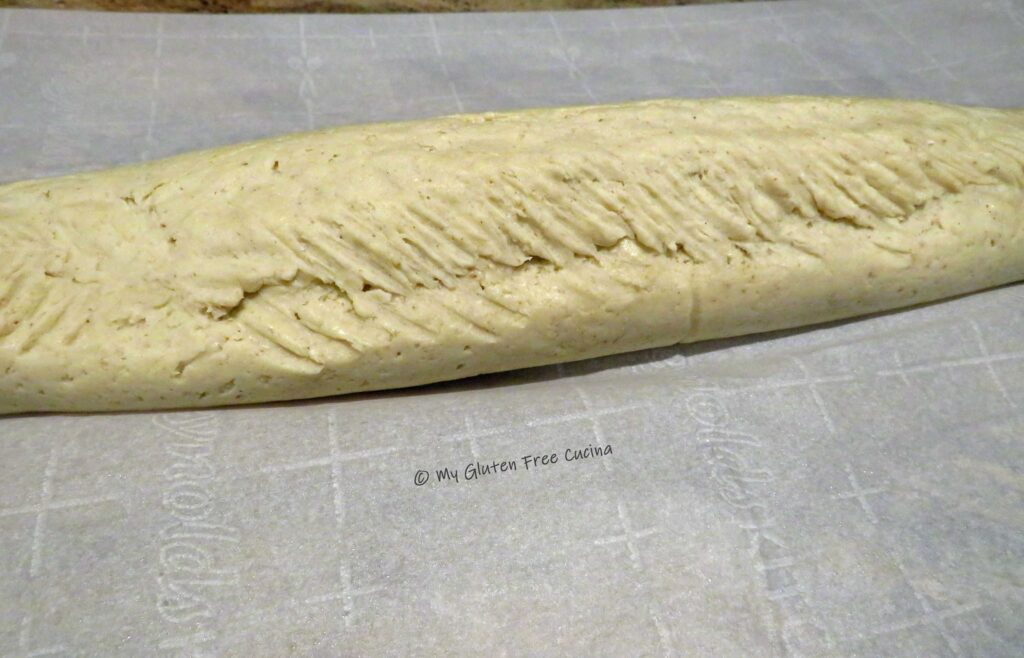
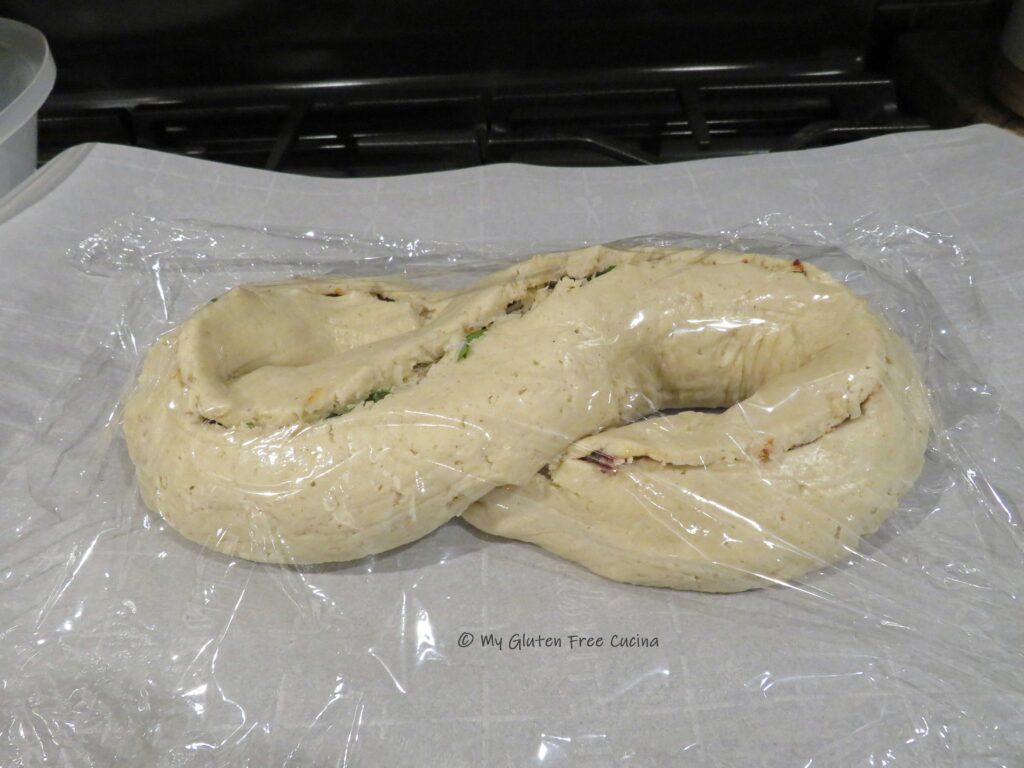
Place the roll seam side down on the parchment. Use kitchen shears to cut down the center from one end to another, leaving 1/2″ on each end.

Carefully twist the dough into an S shape and tuck the ends underneath like this. Go slowly, so the dough doesn’t break (just pinch together if it does). Slide the loaf onto a baking sheet, cover with plastic wrap and let it rise for 45 minutes. Preheat the oven to 350º.
Bake for 45 minutes or until the internal temperature reaches 200º (check with a thermometer). Remove from the oven and brush with melted butter.
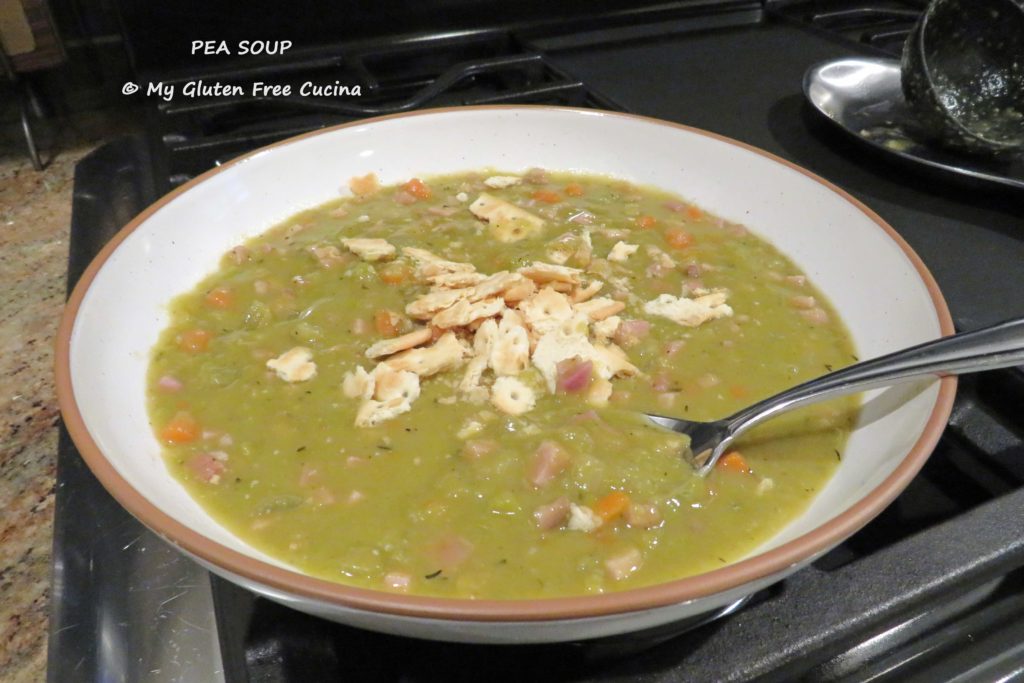
Cool slightly then slice and serve warm. This is one of those breads you do not want to wait on. That cheesy filling! Leftovers can be reheated in the microwave or toaster (try these toaster bags!).
 You can store the loaf at room temperature for up to a day, then freeze the leftovers.
Notes ♪♫ The original recipe for Pane Bianco appeared here on the King Arthur website. Better Batter recommends that when adapting gluten bread recipes with their flour, you should increase the liquid ingredients by 50%. My gluten free adaptation includes this adjustment.


 Wet Ingredients:
 Preparation:
 Preheat the oven to 400º. Add the dry ingredients to the wet and use a
  Let the batter rest while the oven preheats, then spoon into a
  Bake for 20 minutes and check that they are done with a toothpick.
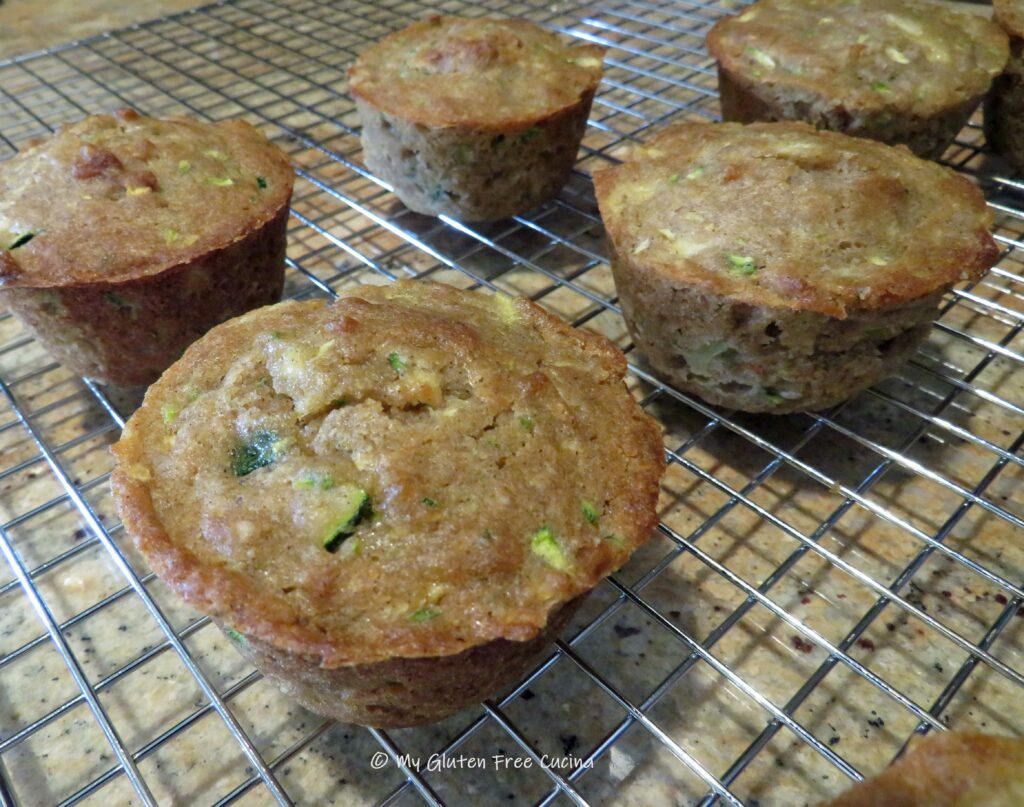
 Cool in the pan for 15 minutes, then transfer to a rack.
 If not serving immediately, you can cool to room temperature then wrap individually in plastic wrap and store in a freezer safe bag. I usually freeze muffins to have for breakfast during the week.


 Preparation:
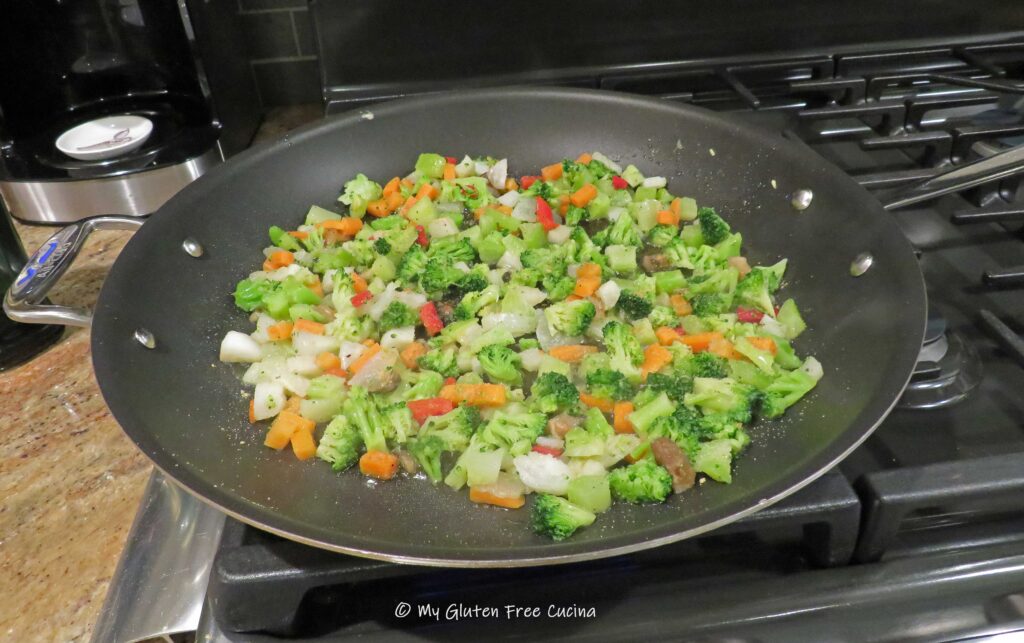
 I did think the veggies were a bit large for fried rice, so I cut them into smaller pieces. Season the veggies with salt and pepper to taste. Sprinkle with garlic and ginger powder and leave them out to defrost.


 Notes ♪♫
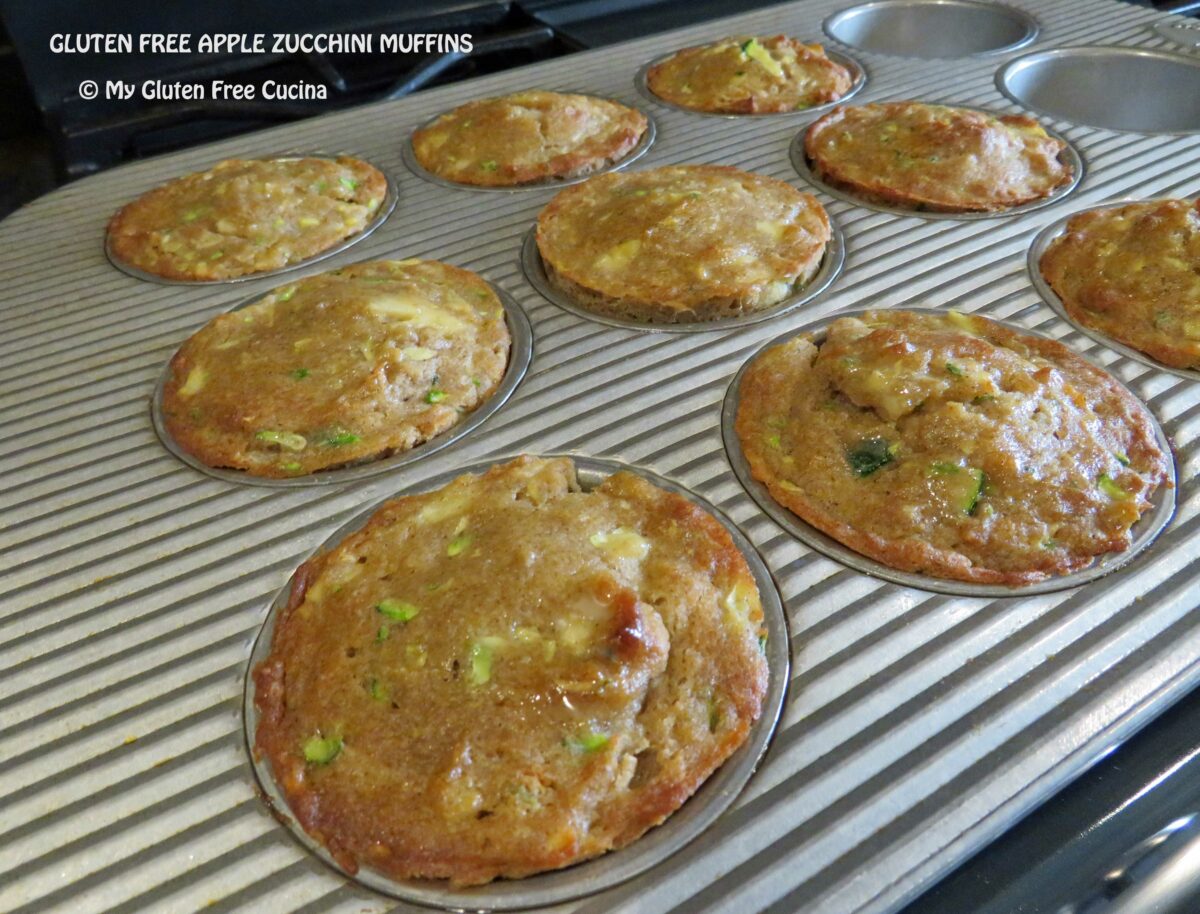
 Use an


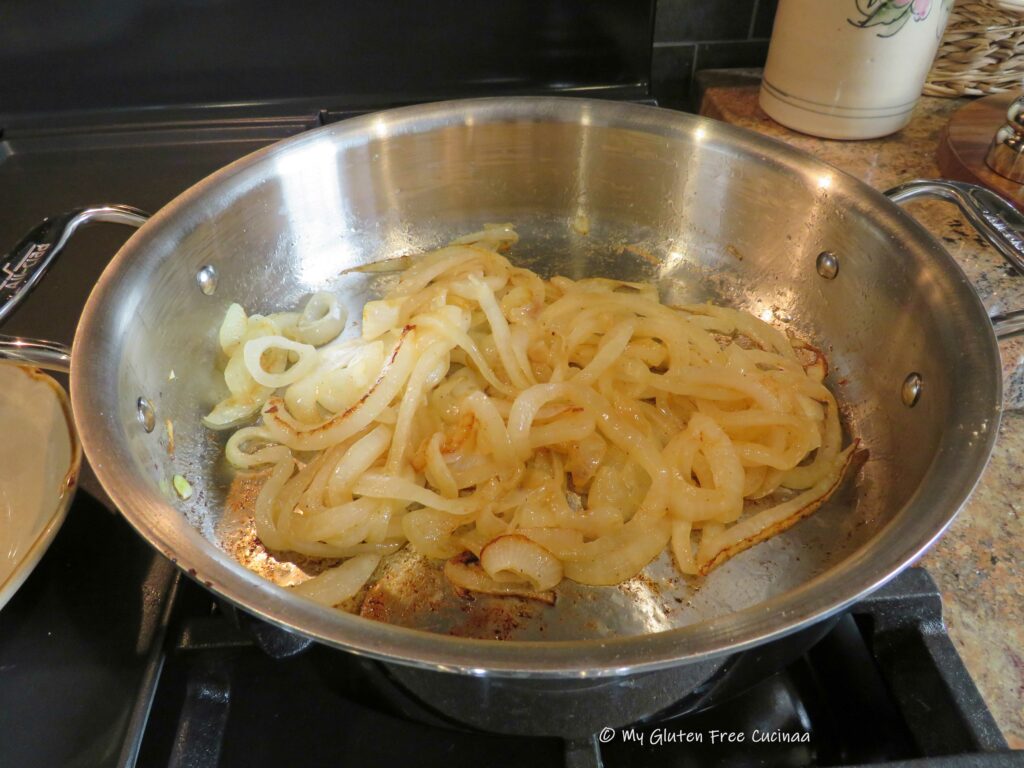
 Preparation:

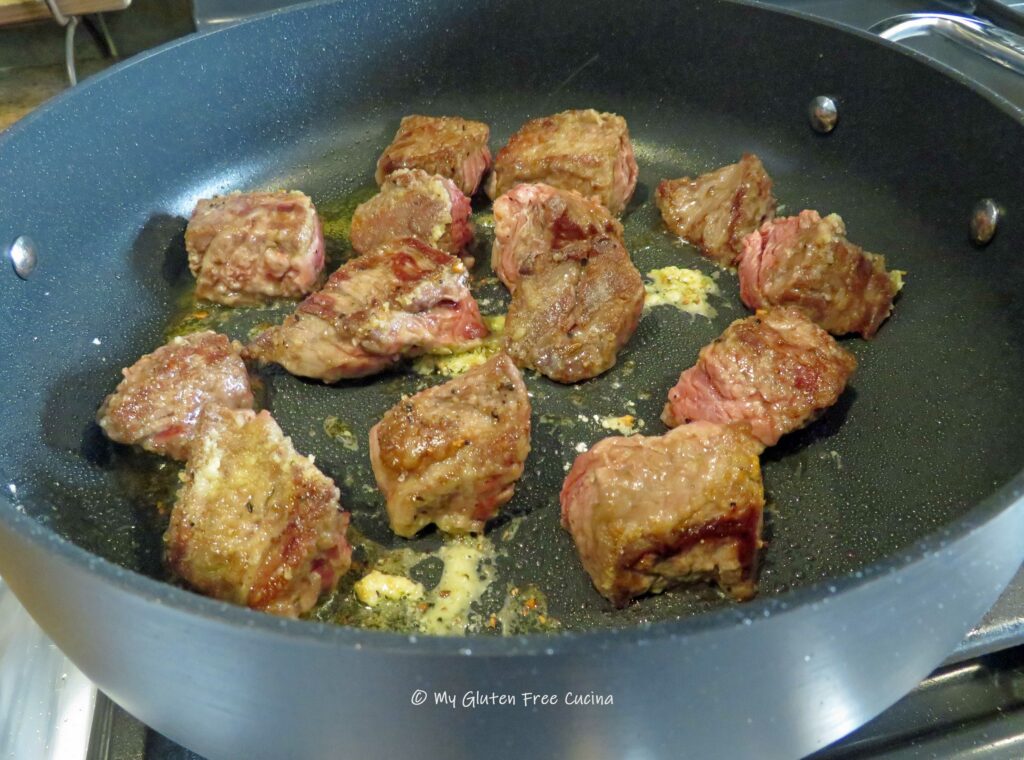
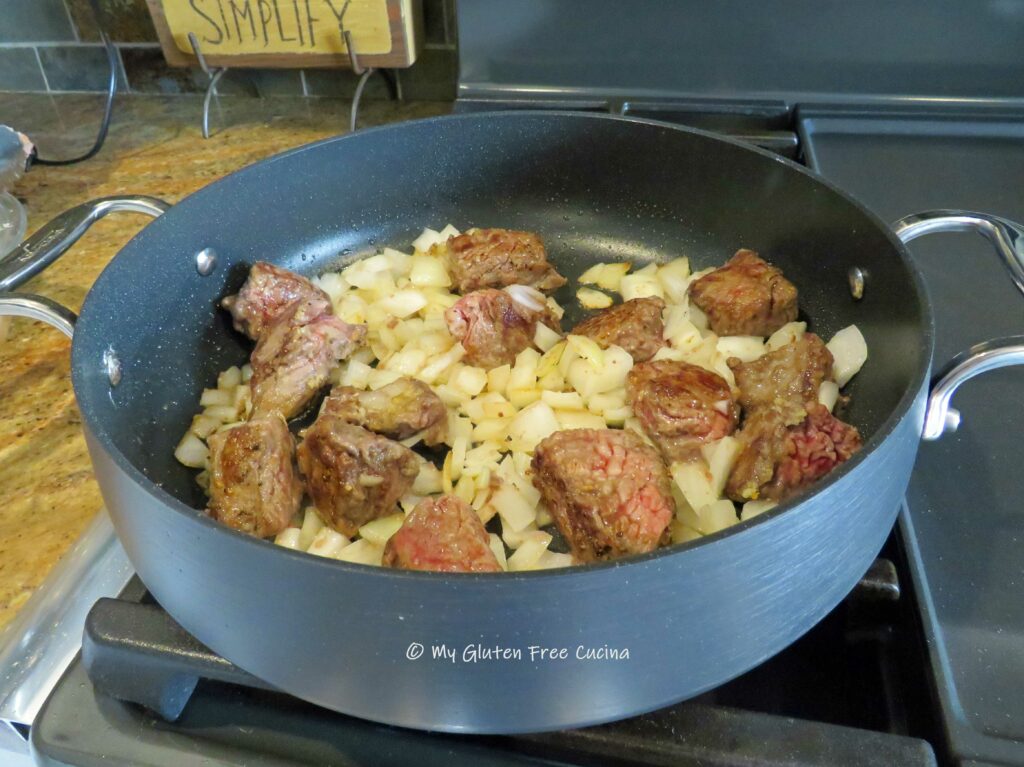


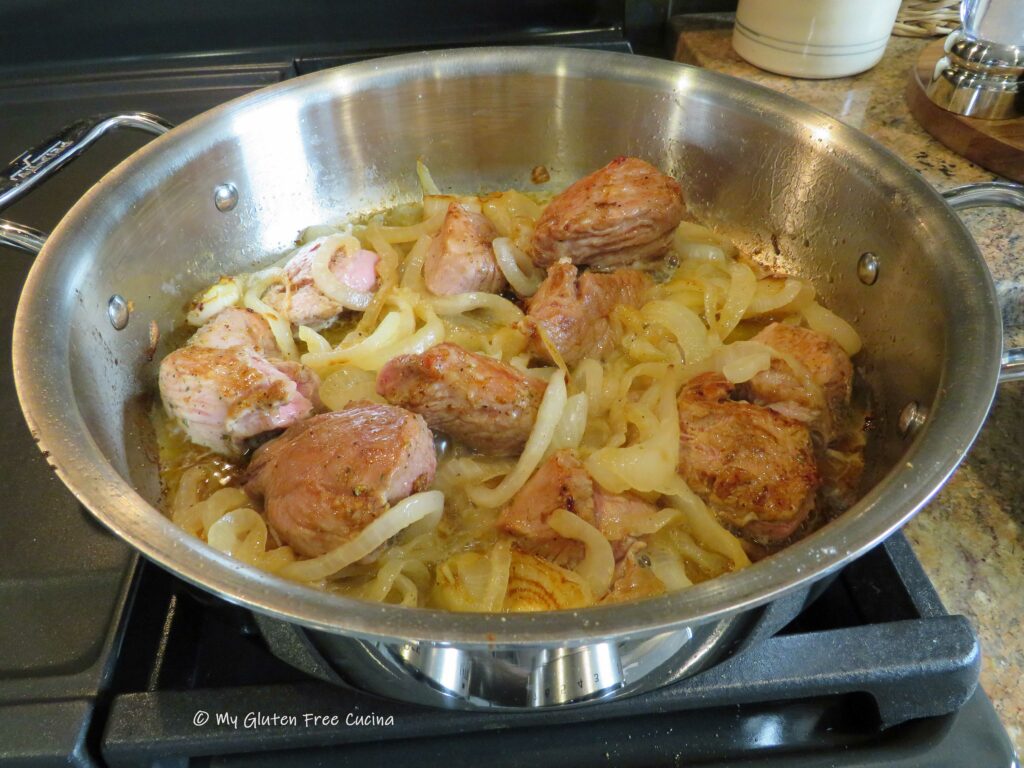
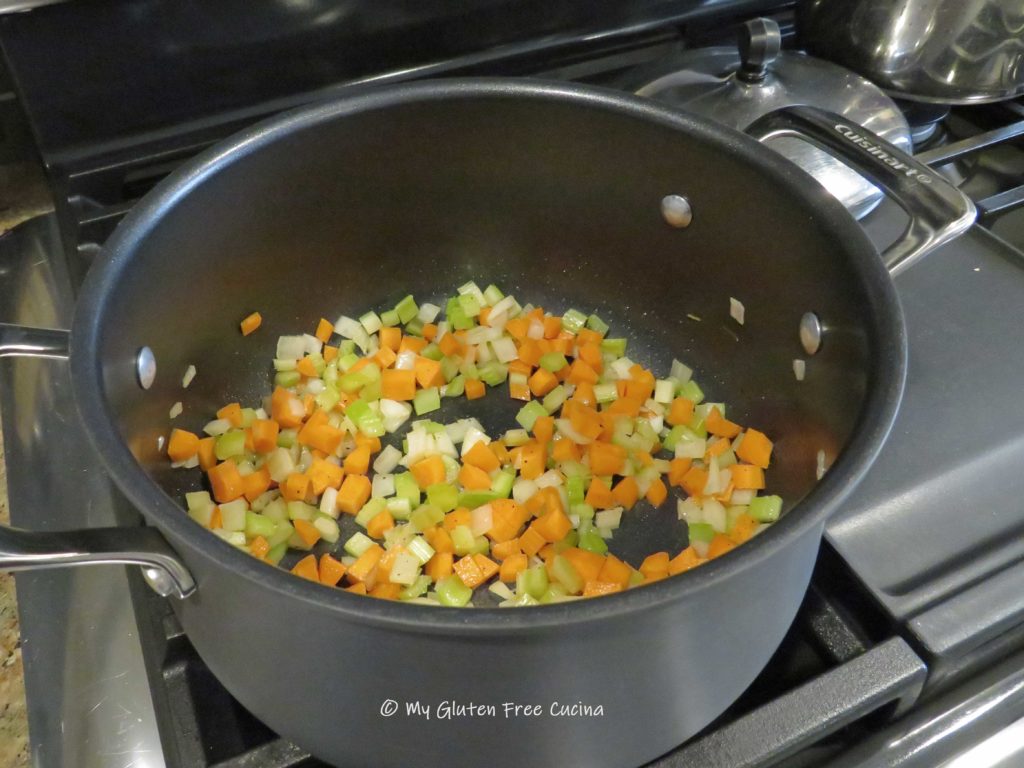
 In the same pan, heat the remaining olive oil and butter and begin browning the meat on all sides. Season with salt, pepper and Italian seasoning.
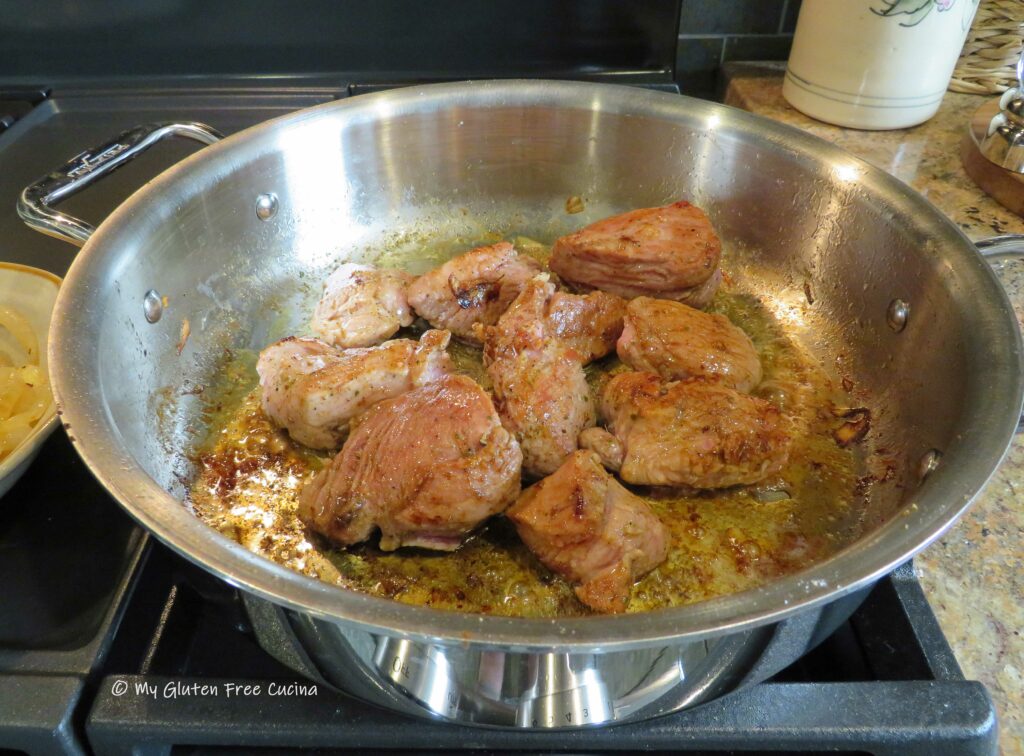

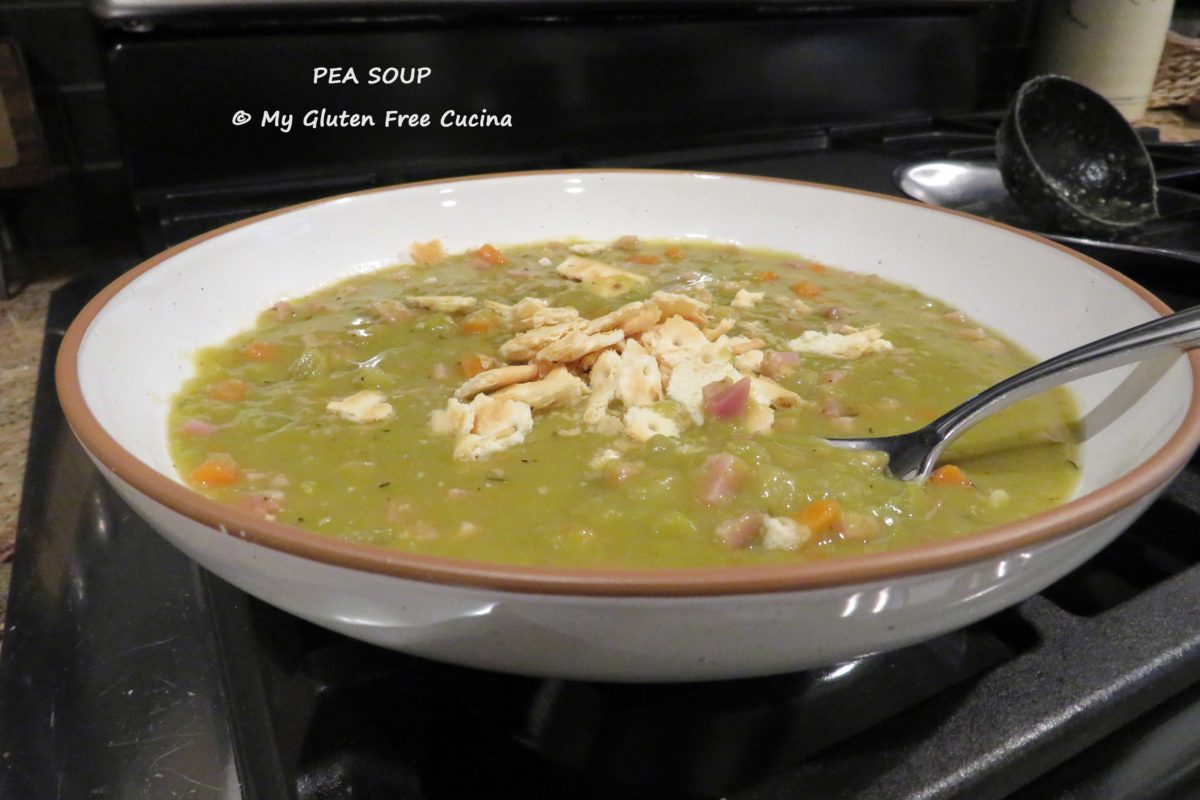
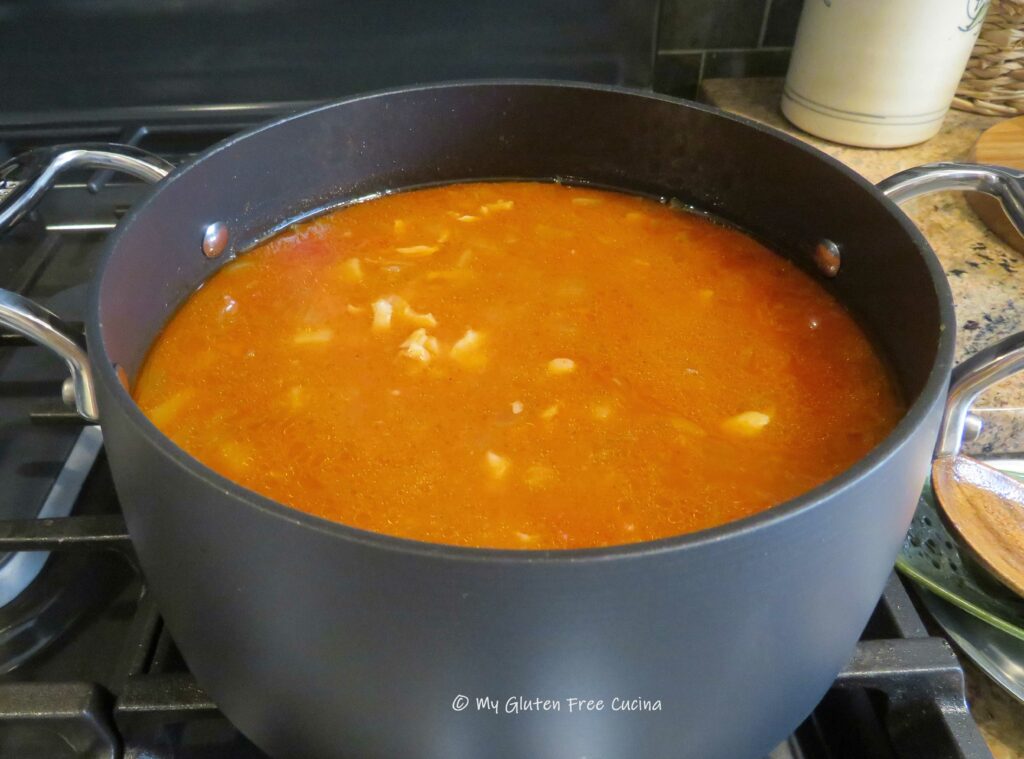
 Season with sage, thyme, salt and pepper. Add 32 oz. of the chicken stock, bay leaves, and bouillon. Simmer 30 minutes.
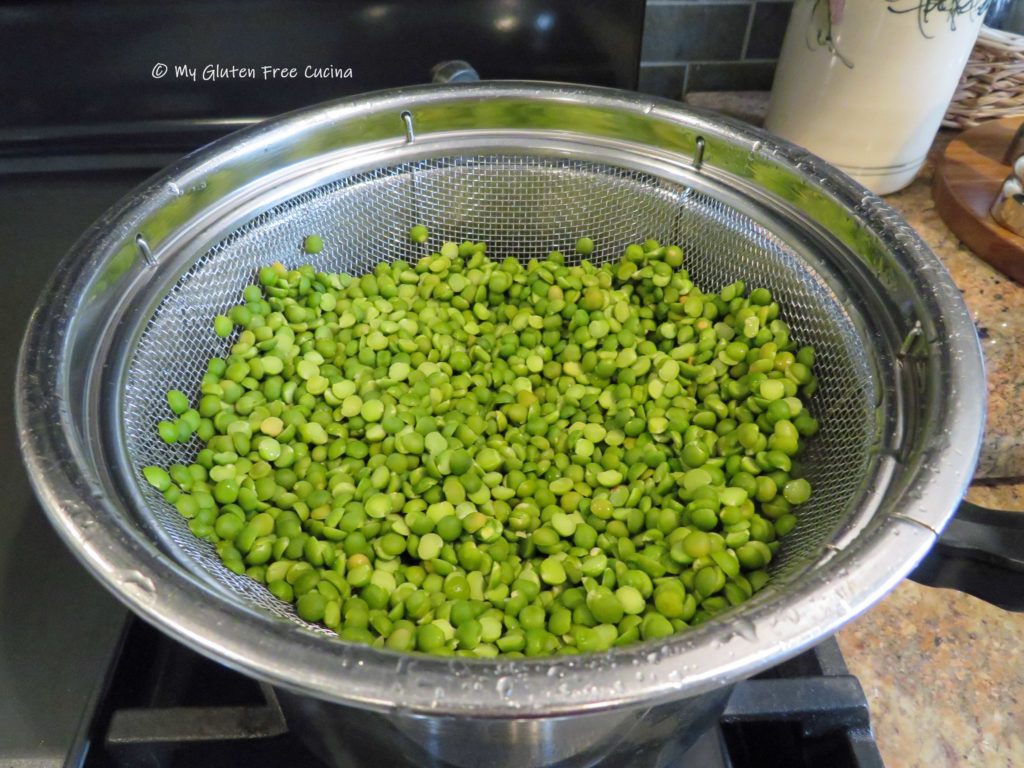
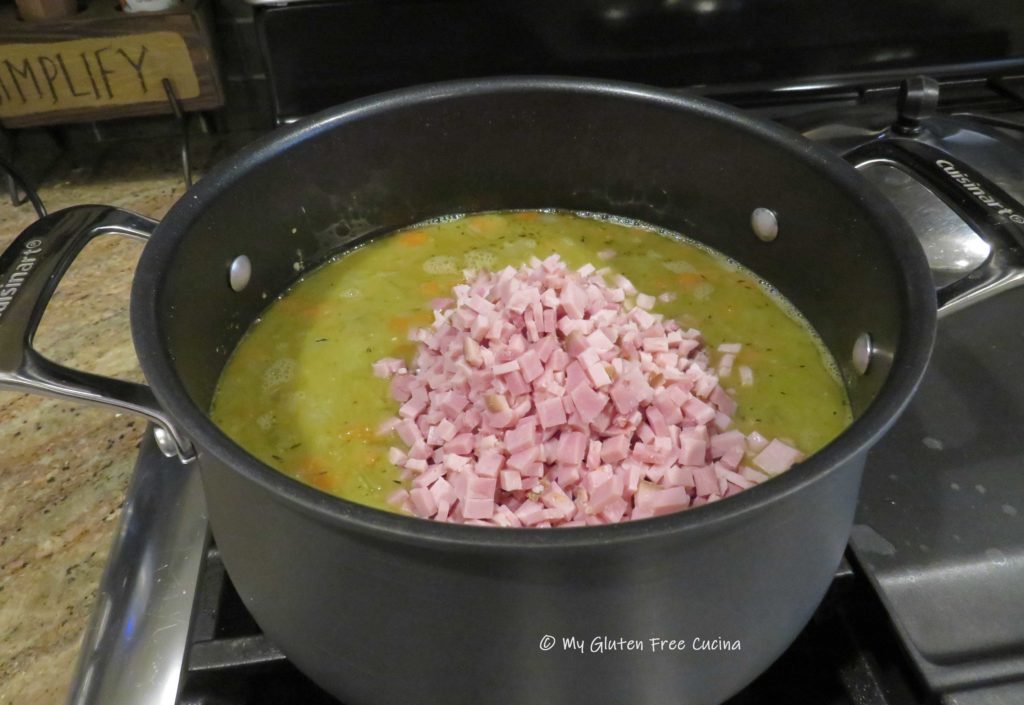
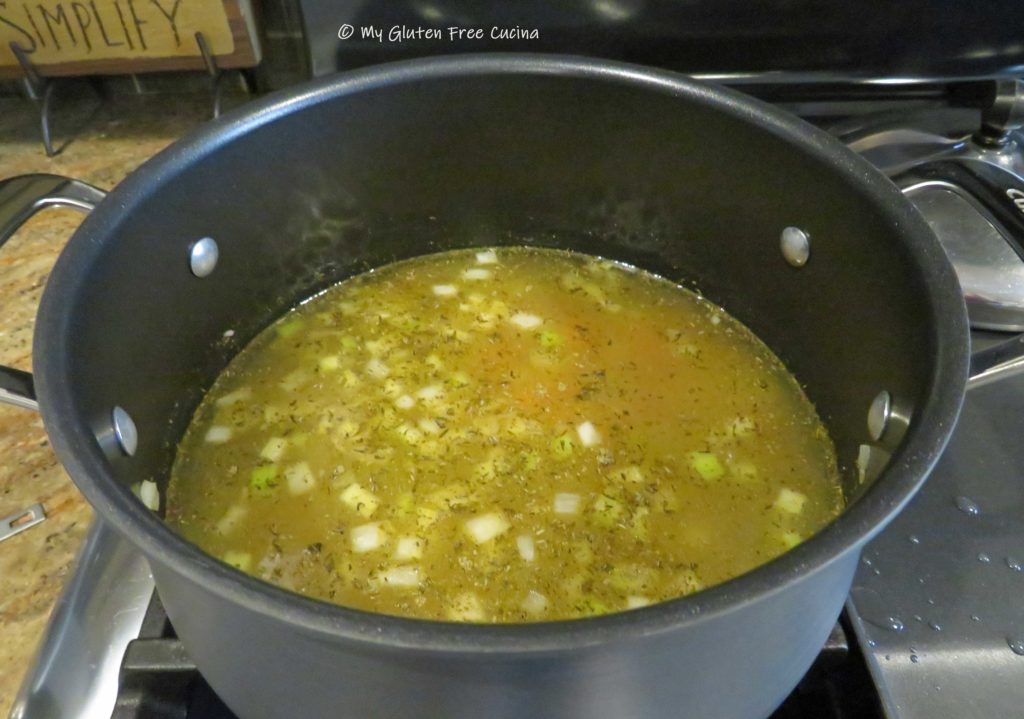 Drain and rinse the peas again. Add them to the pot, stir well and continue cooking for another 45 minutes to an hour, or until the peas are tender.
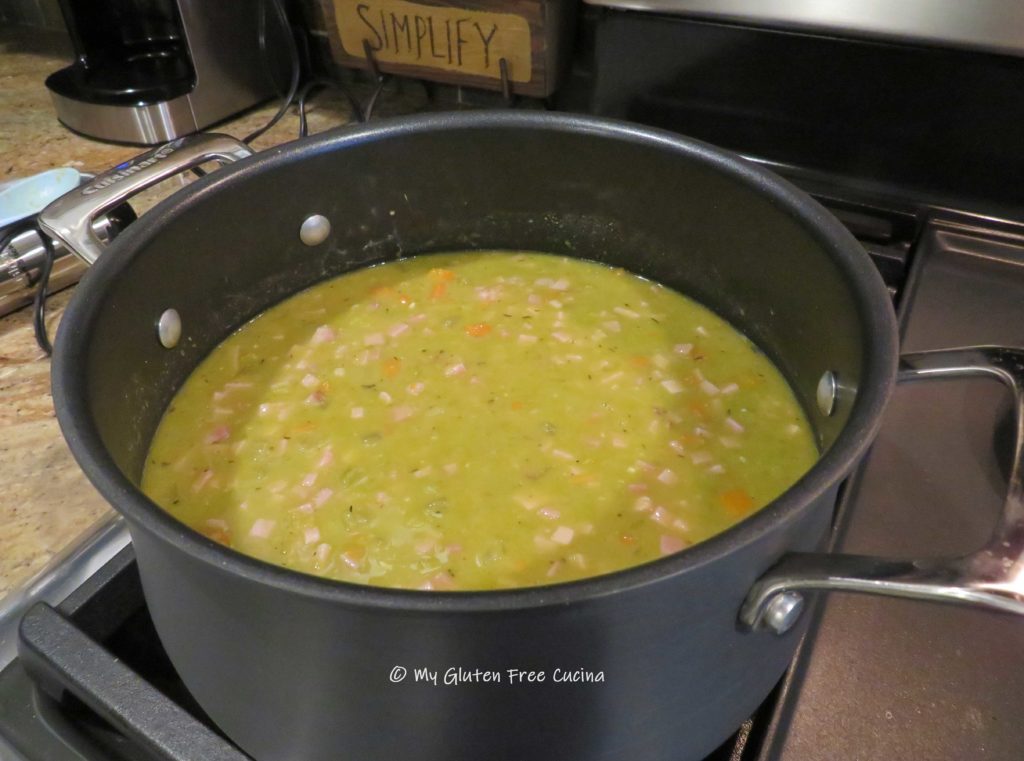
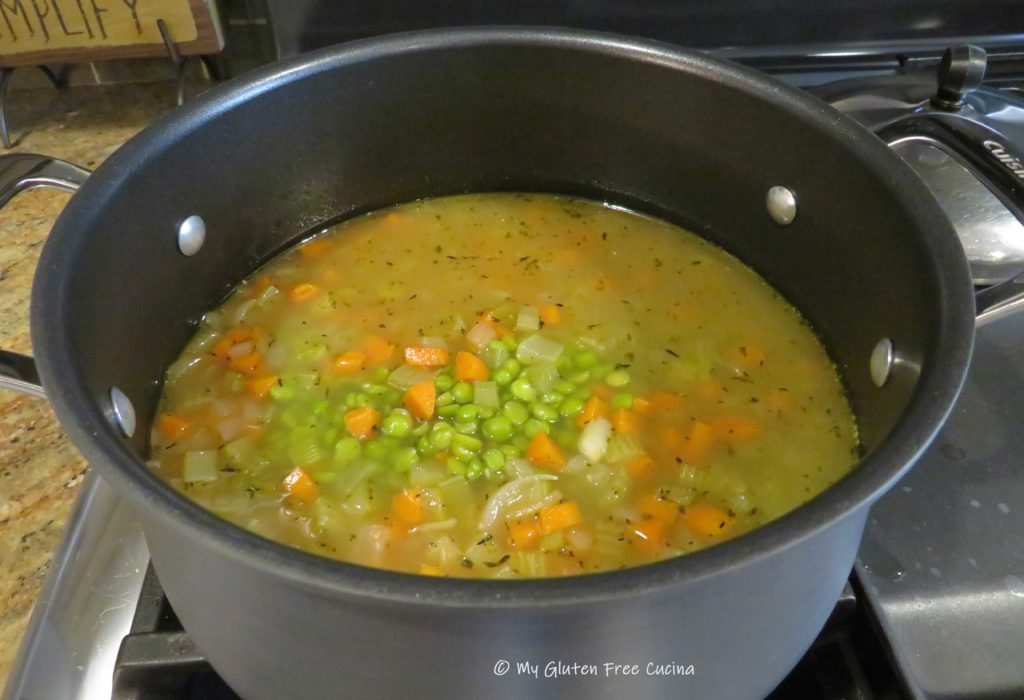 As they simmer, the peas will absorb quite a bit of liquid, so add more chicken broth as needed.
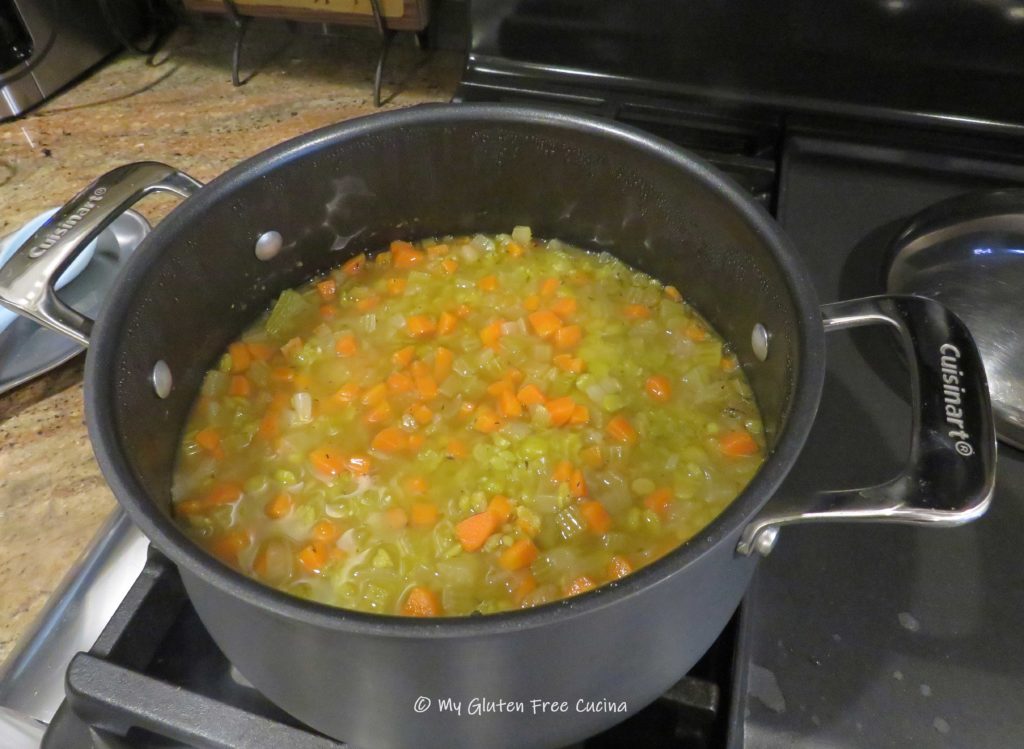

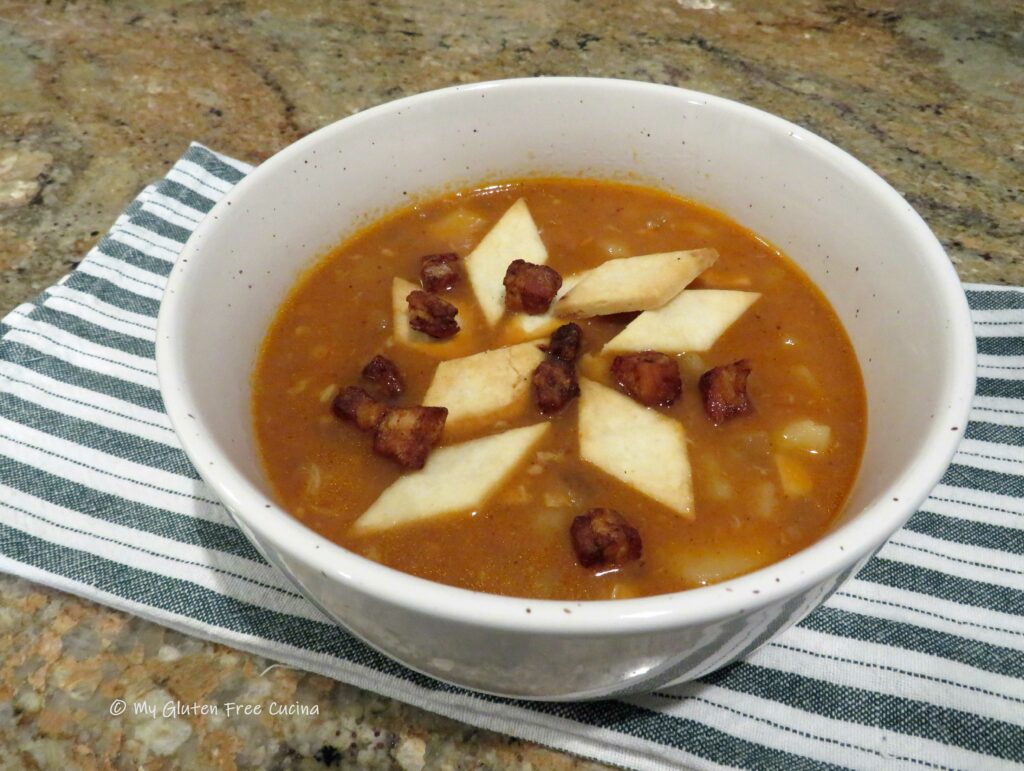
 Cover and simmer on low for 20 minutes, adding a bit more water if it seems dry.