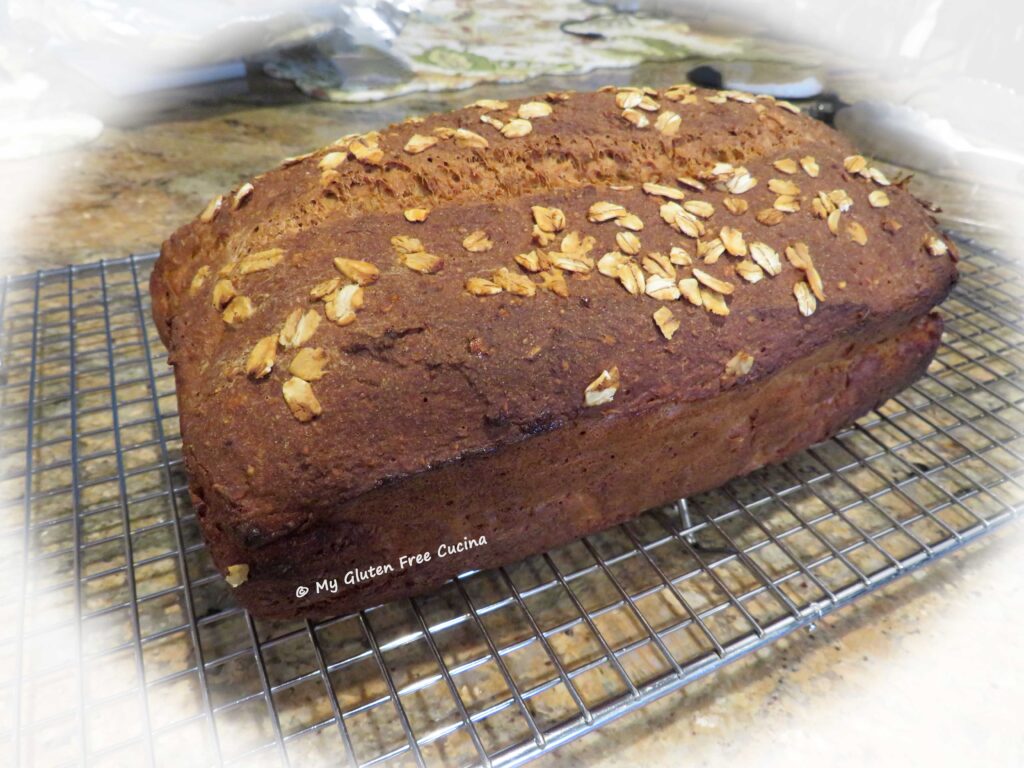
Baking with sourdough has really upped my gluten free bread game. The long, slow rise really develops the flavor of the dough in a way that commercial yeast alone cannot accomplish. It makes such a difference in the taste and texture of the finished loaf or rolls.
This recipe is for all the gluten free sourdough bakers who like to mix up your own flour blends! I enjoy experimenting with different flour combinations and was really happy with this bake! The dough was easy to work with and the rolls tasted great.
 This post contains affiliate links.
Ingredients:
- 250 g. fully active sourdough starter
- 300 g. warm water
- 15 g. milk
- 30 g. canola oil
- 65 g. non-fat dry milk powder
- 70 g. tapioca starch
- 80 g. arrowroot flour/starch
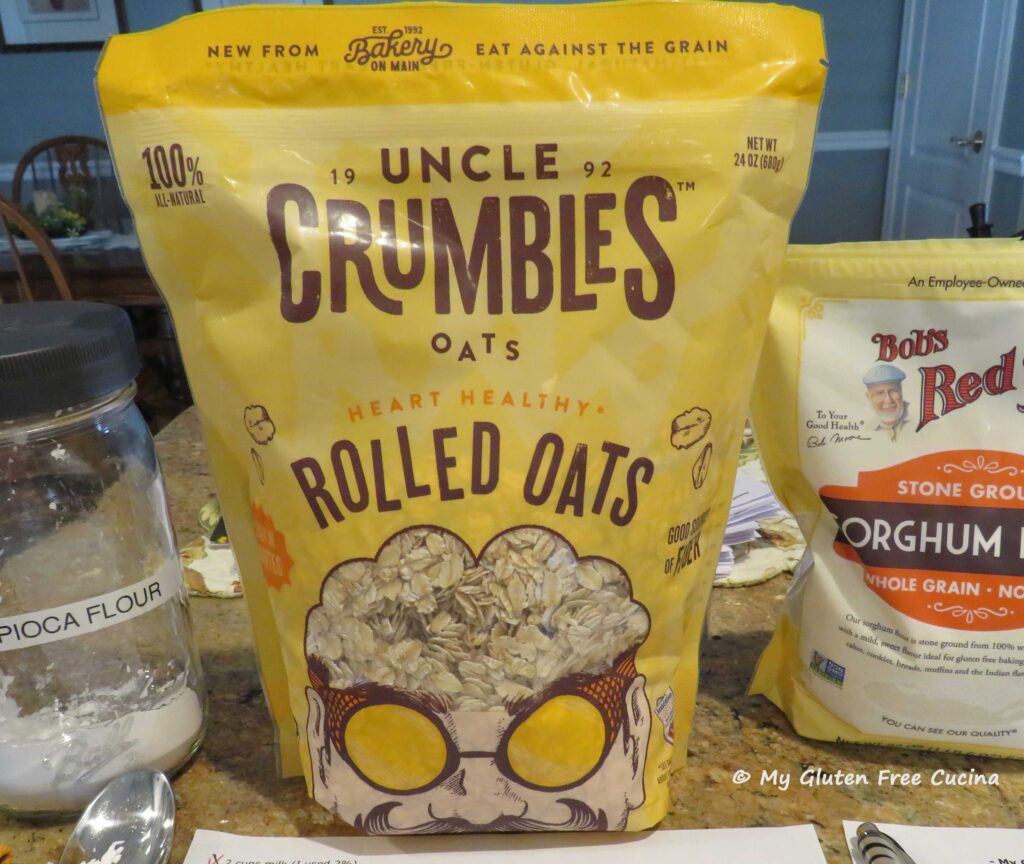
- 75 g. brown rice flour
- 65 g. white rice flour
- 80 g. sorghum flour
- 15 g. potato starch
- 10 g. xanthan gum
- 1/8 tsp. instant yeast (optional, if your starter is a little
- 5 g. salt sluggish)
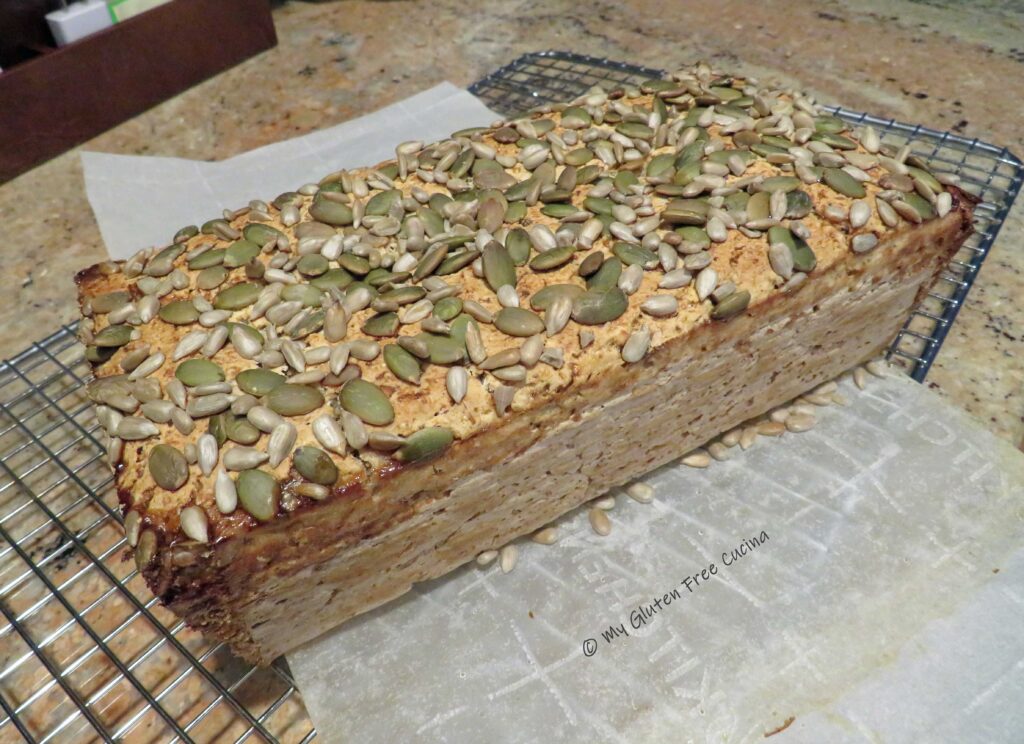
- 1 egg, or milk, or water (optional, to help the seeds adhere)
- poppyseeds for topping
- coarse salt, optional
Preparation:
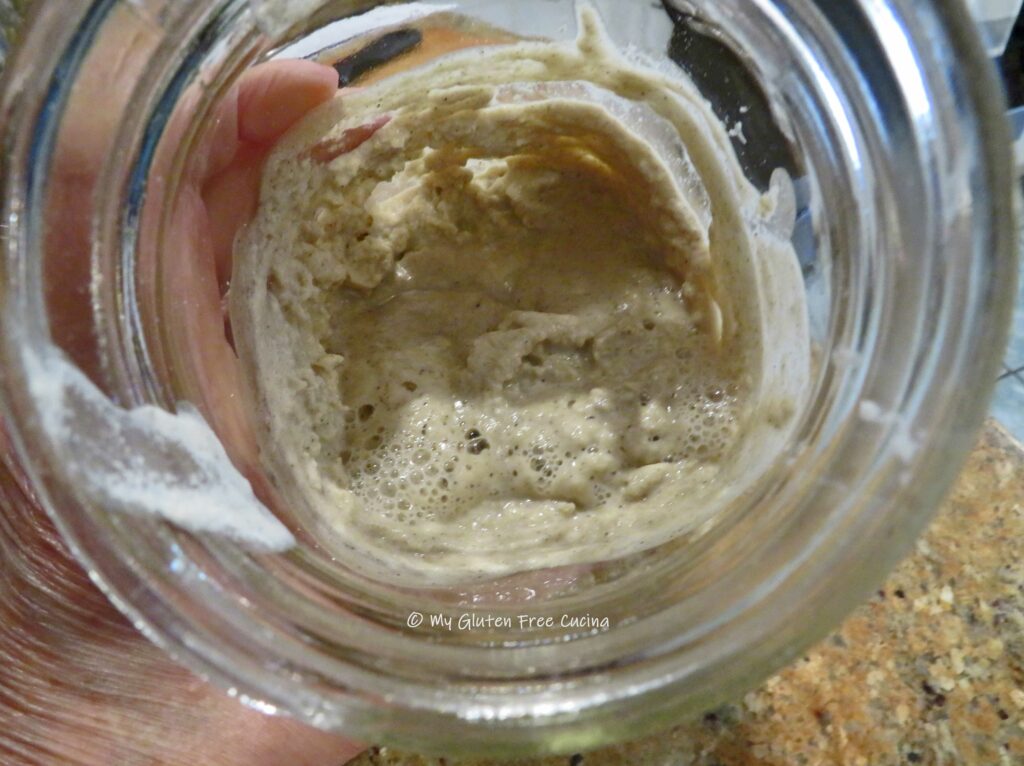
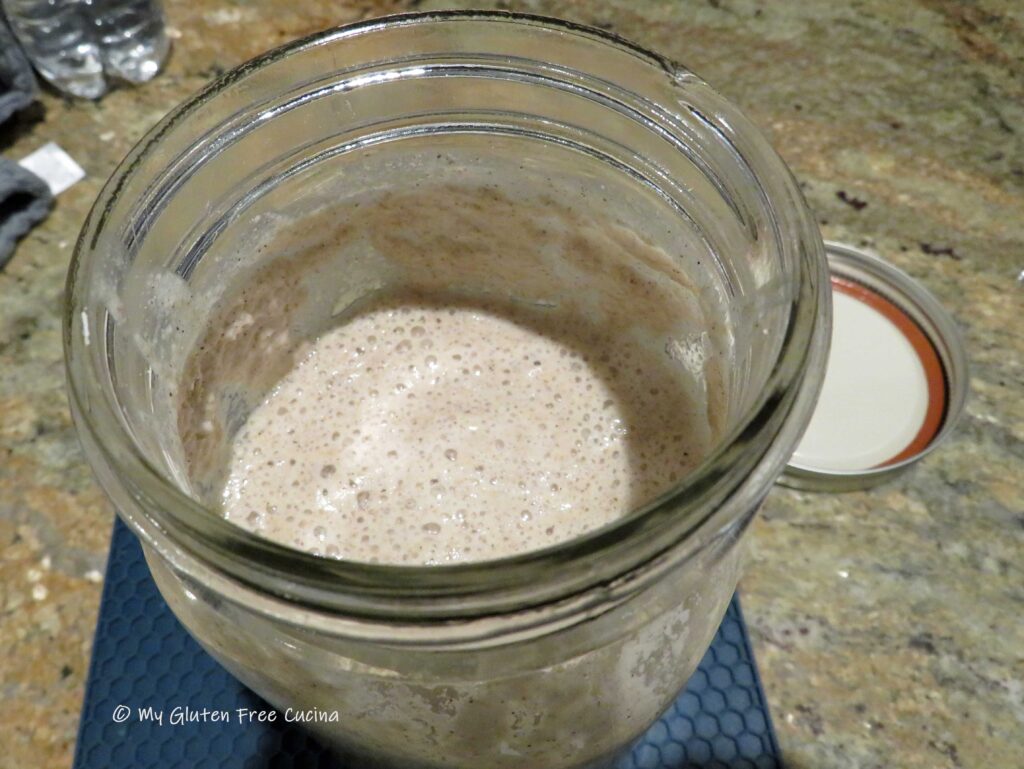
Note-> You will need a fully active sourdough starter for this recipe. You can read about my gluten free sourdough starter Sophie, in this post!
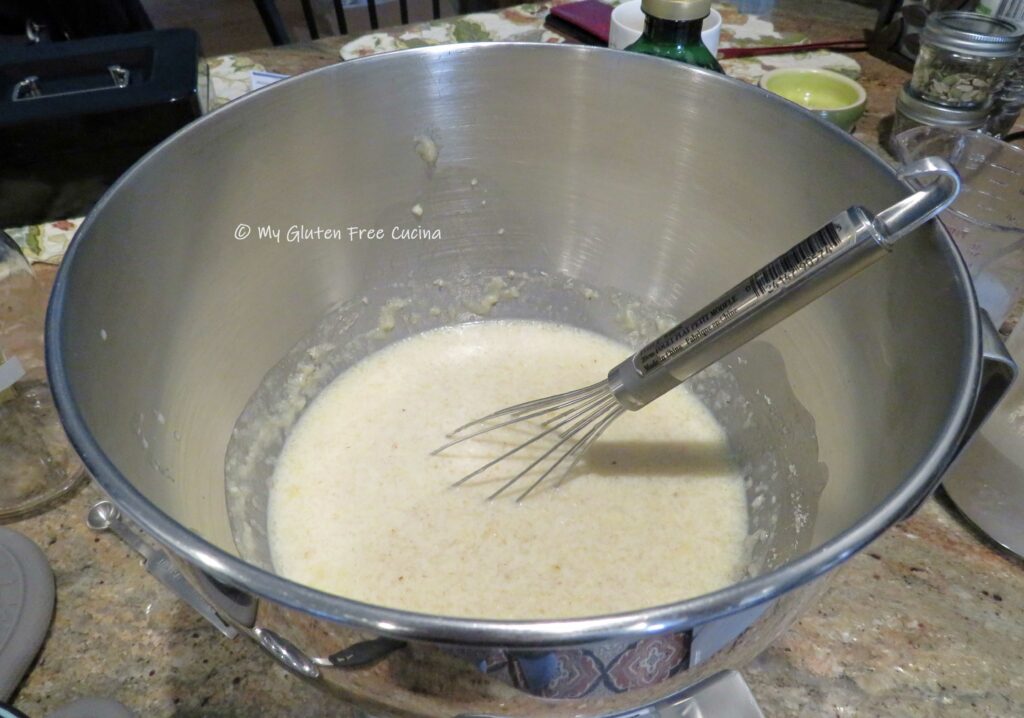
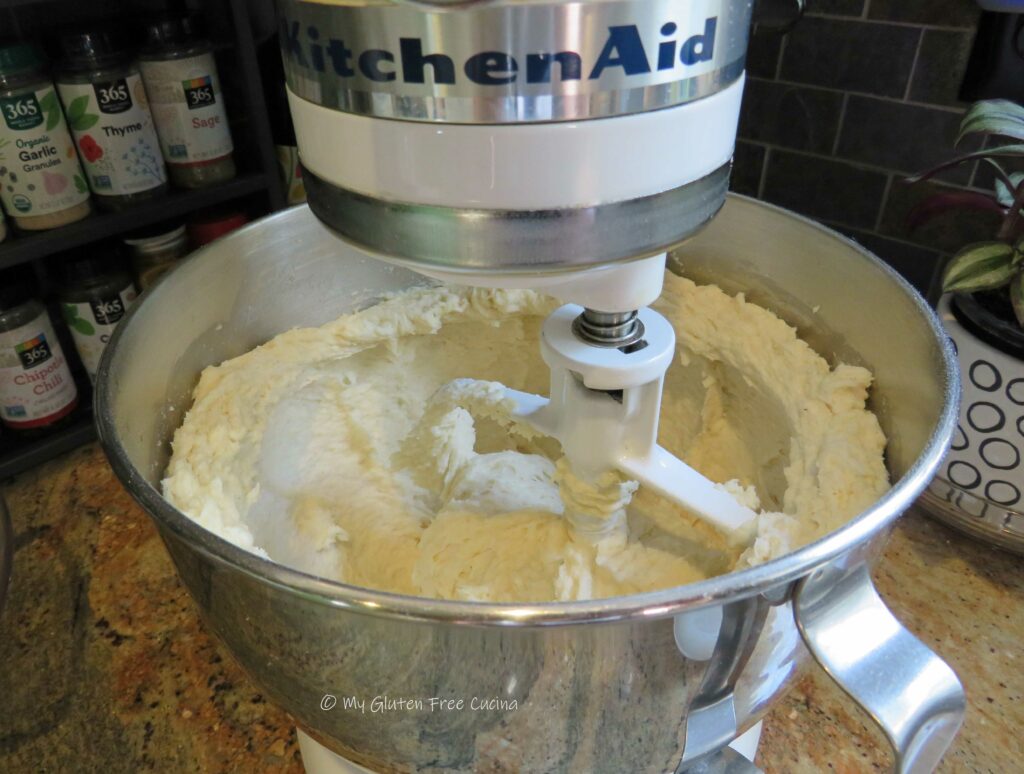
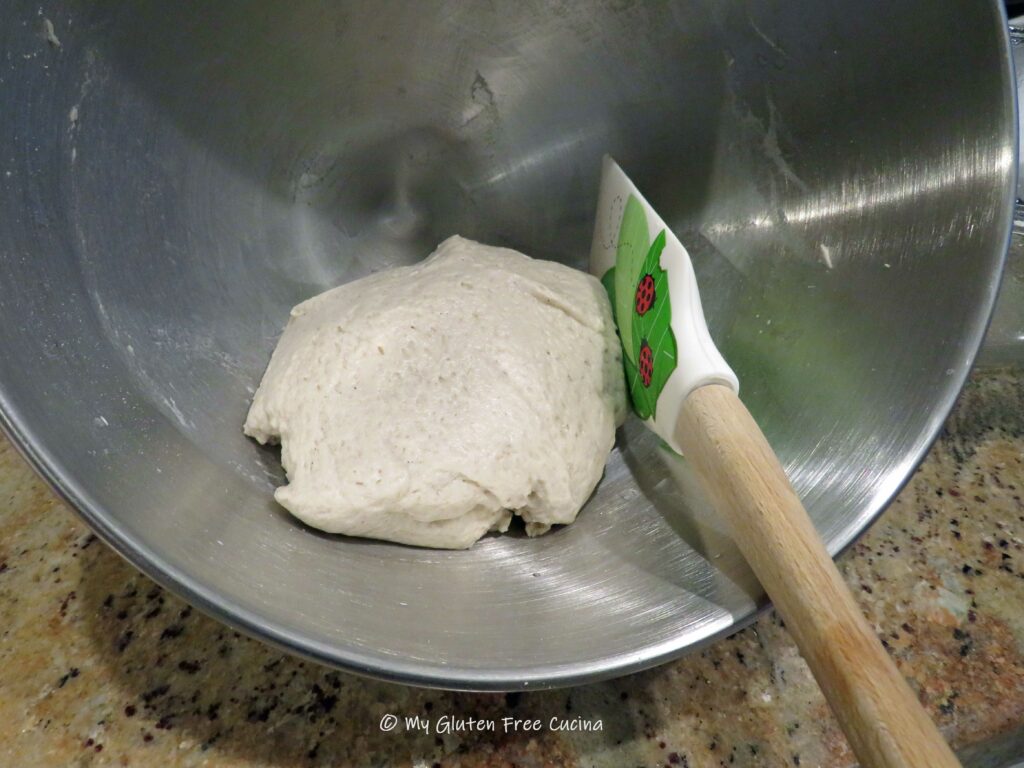
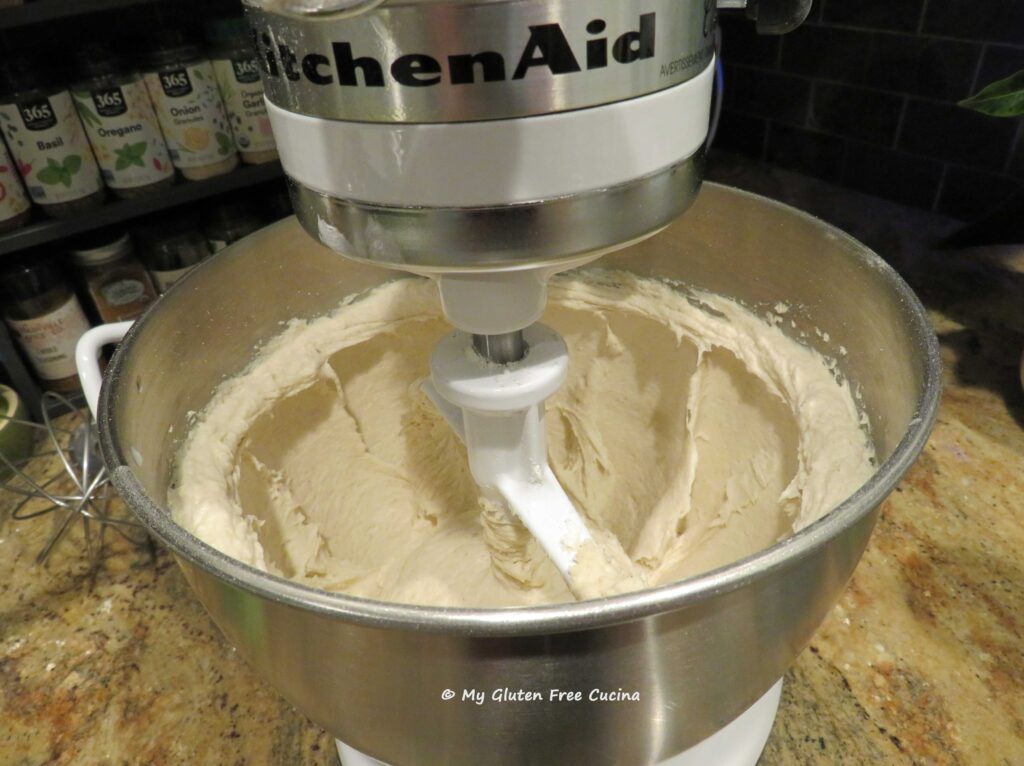
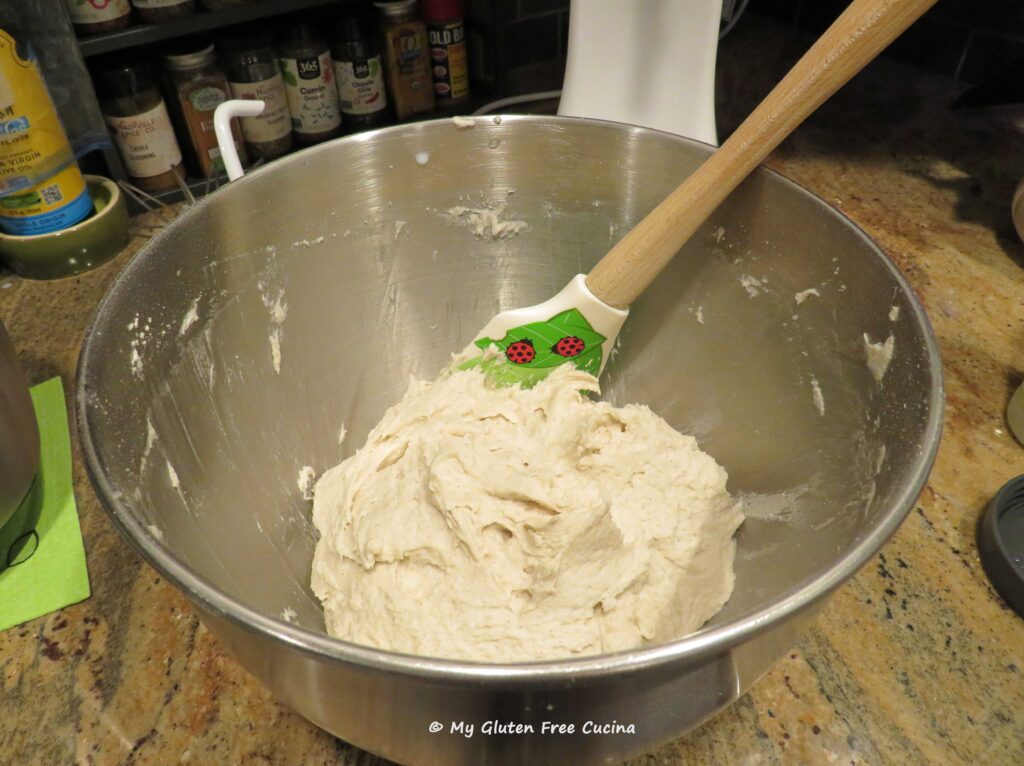
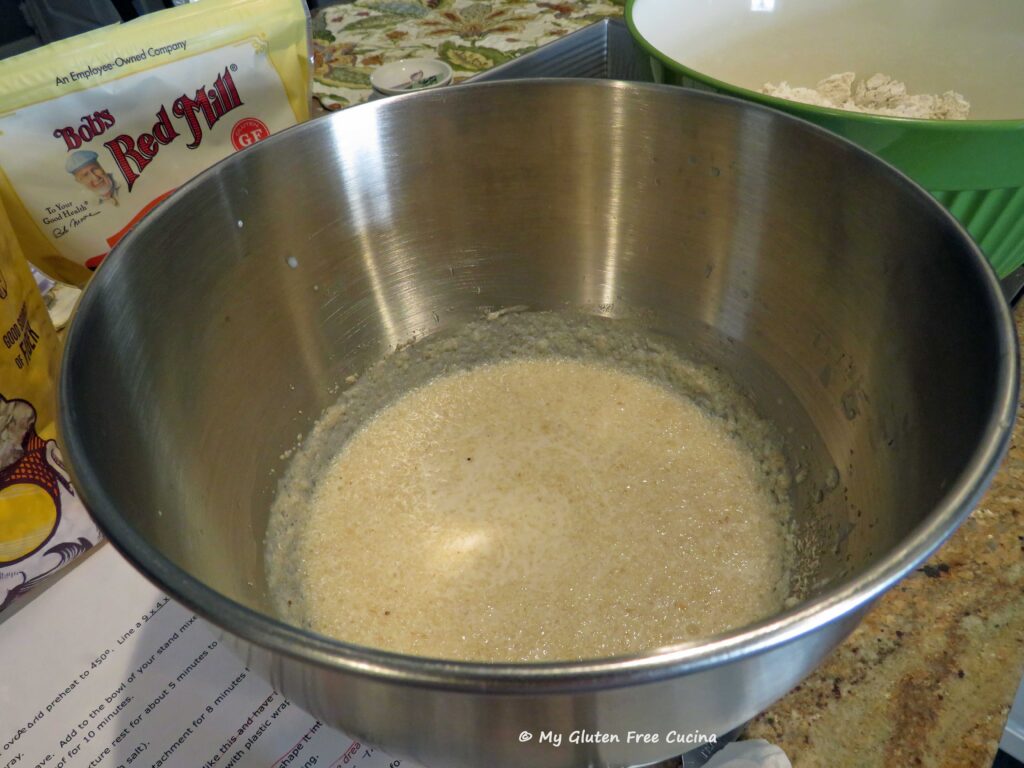
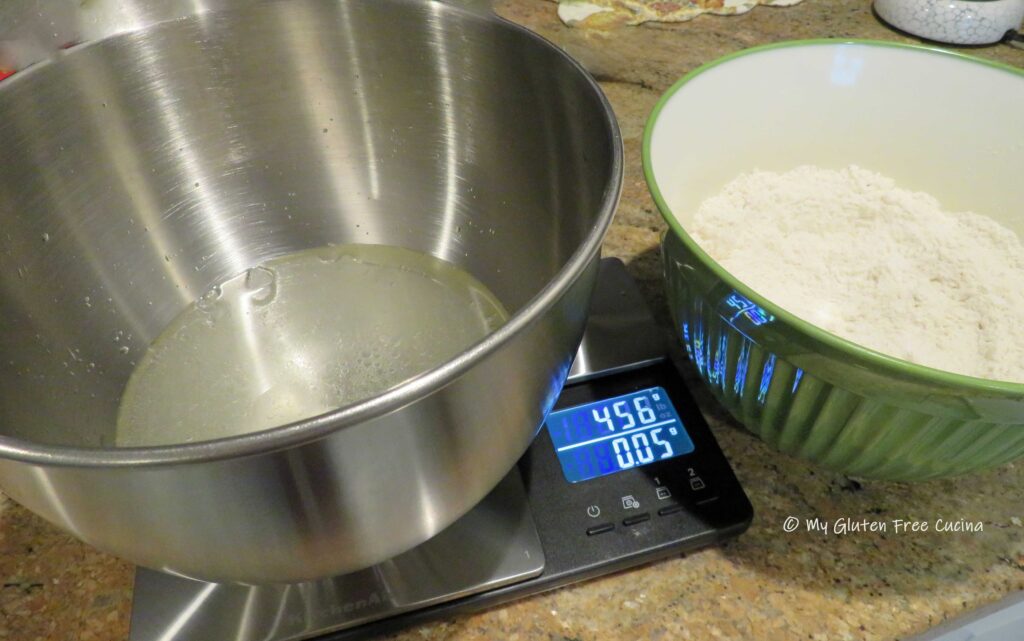
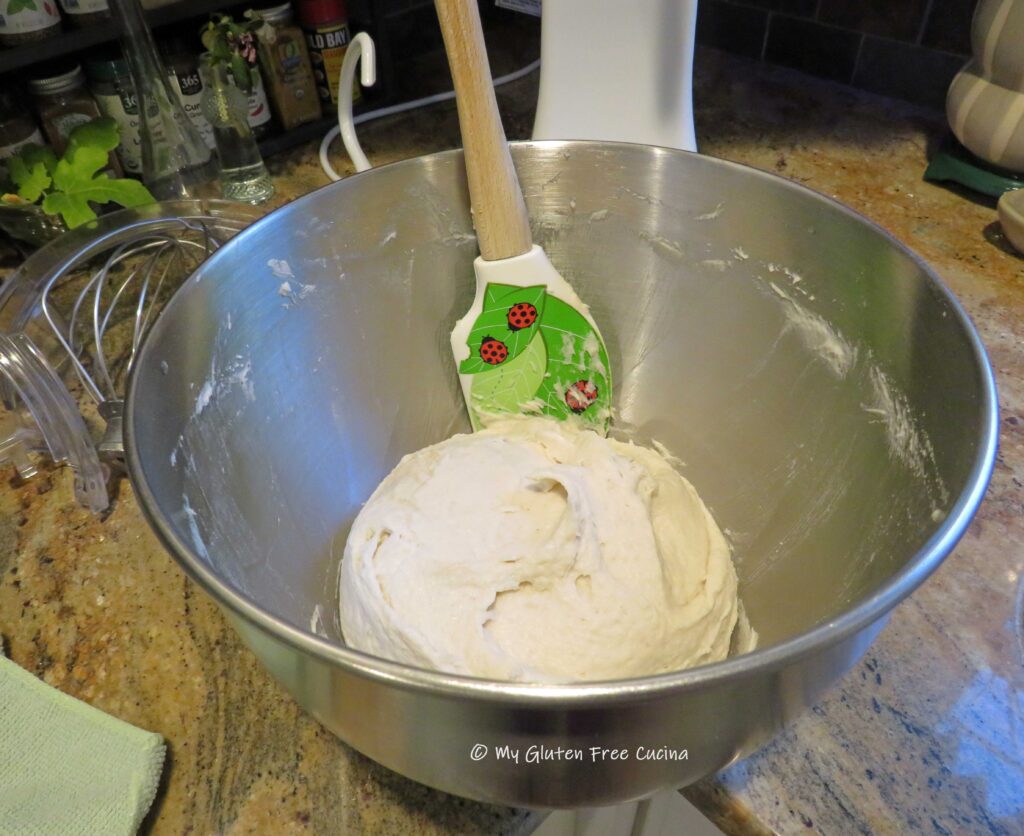
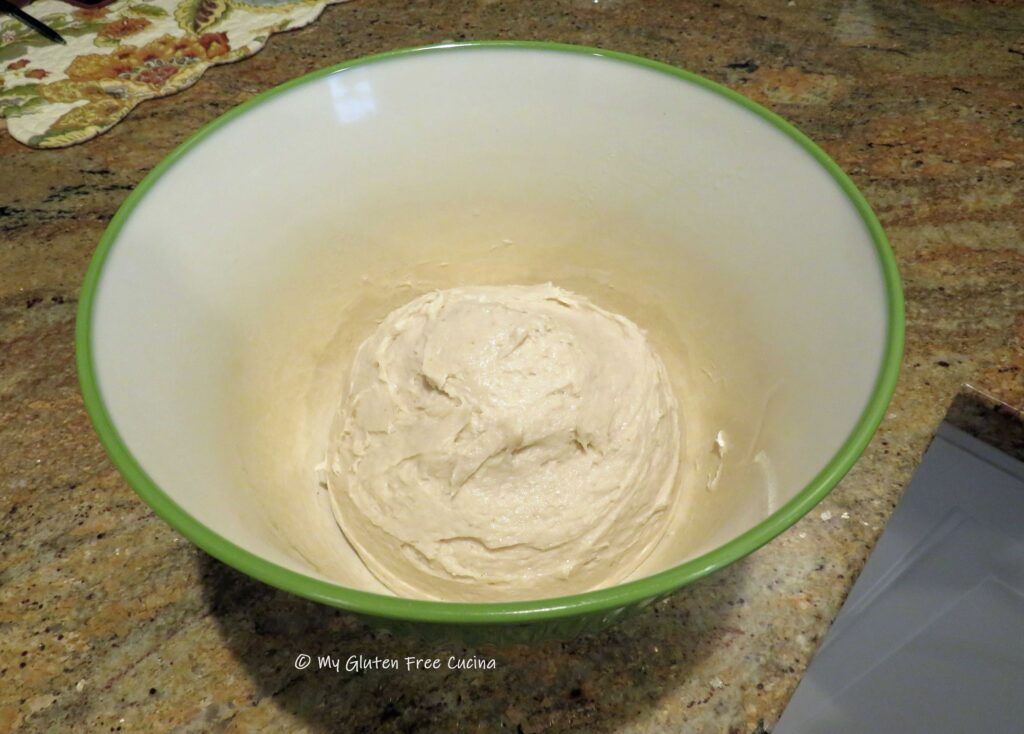
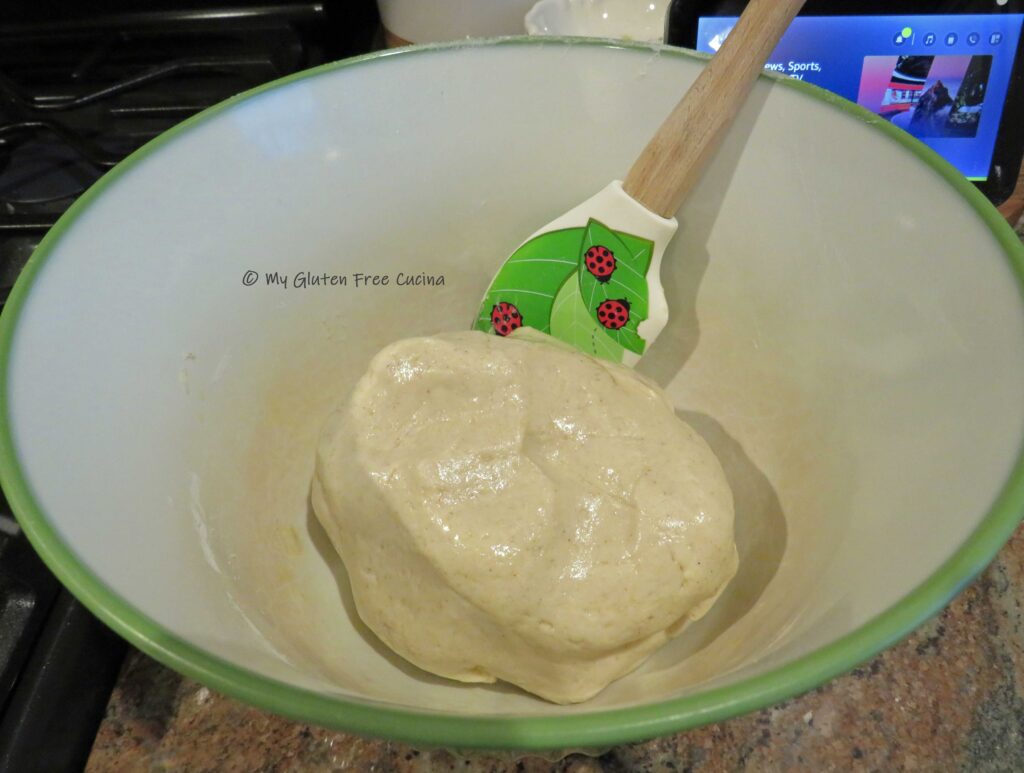
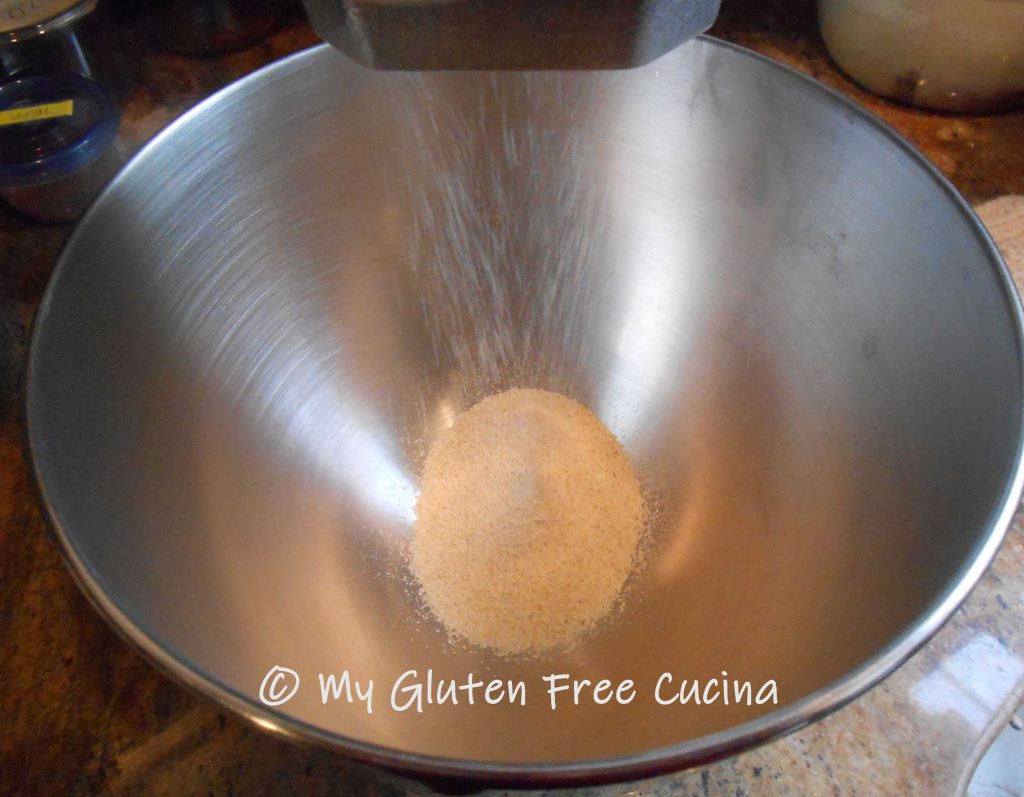
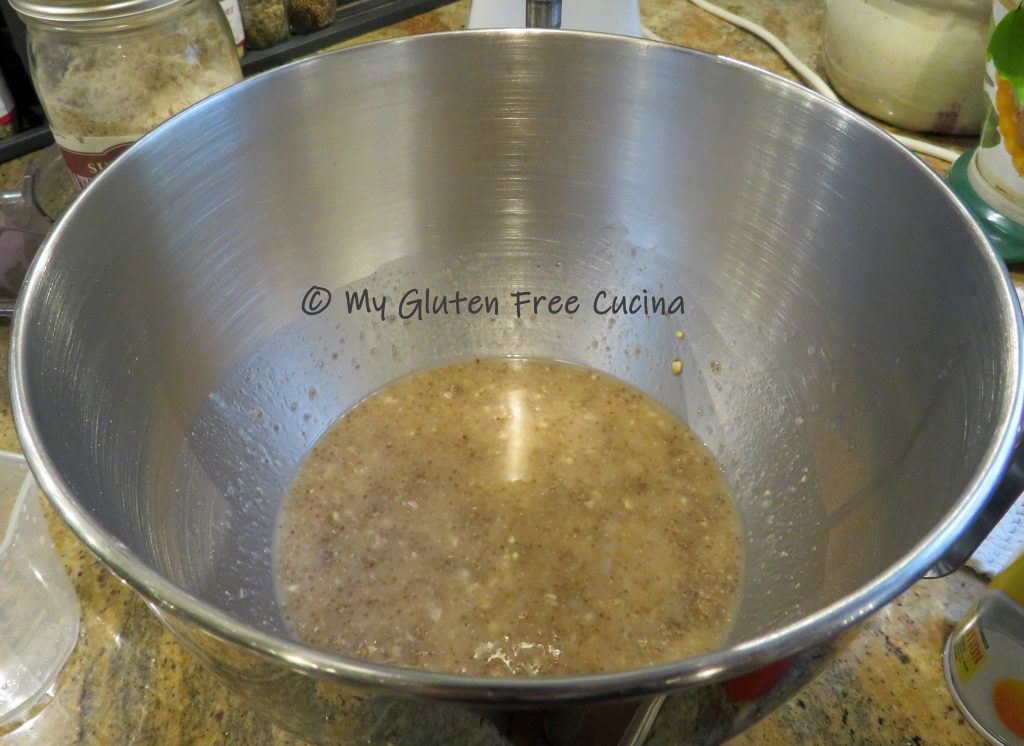
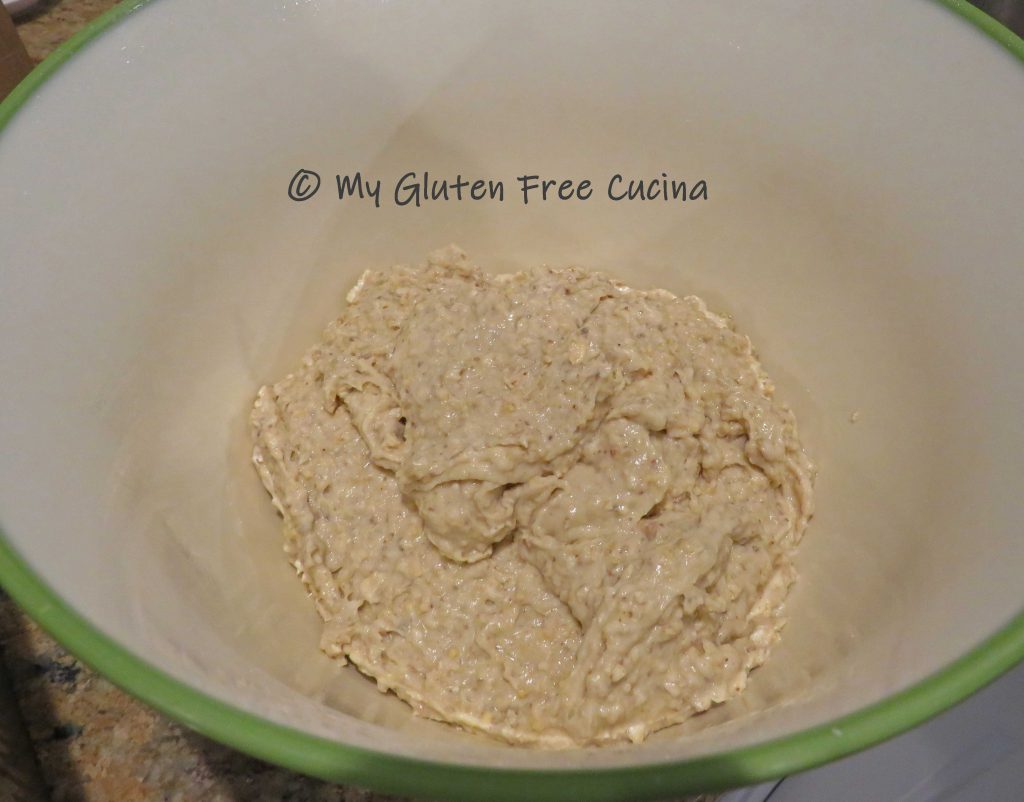
 Combine the wet ingredients, starter through canola oil, in the bowl of a stand mixer. In another bowl, whisk together the dry ingredients, dry milk powder through instant yeast. Add the dry ingredients to the mixer bowl with the paddle attachment and beat on low speed for 5 minutes to form a smooth, sticky dough.
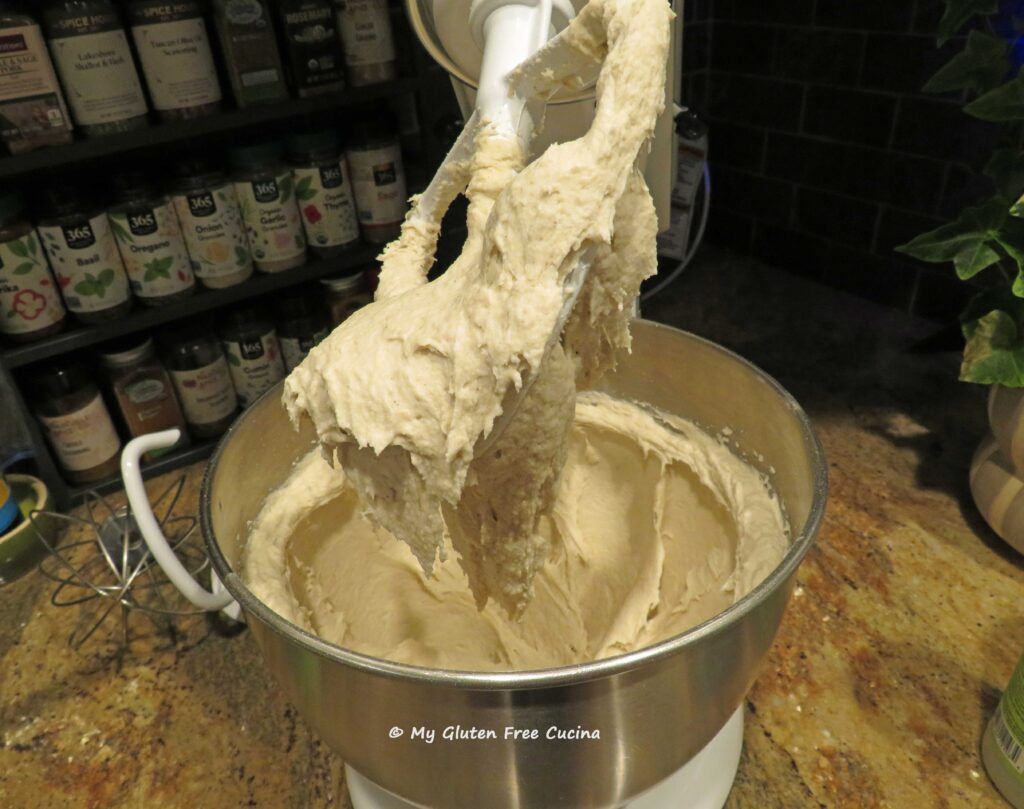
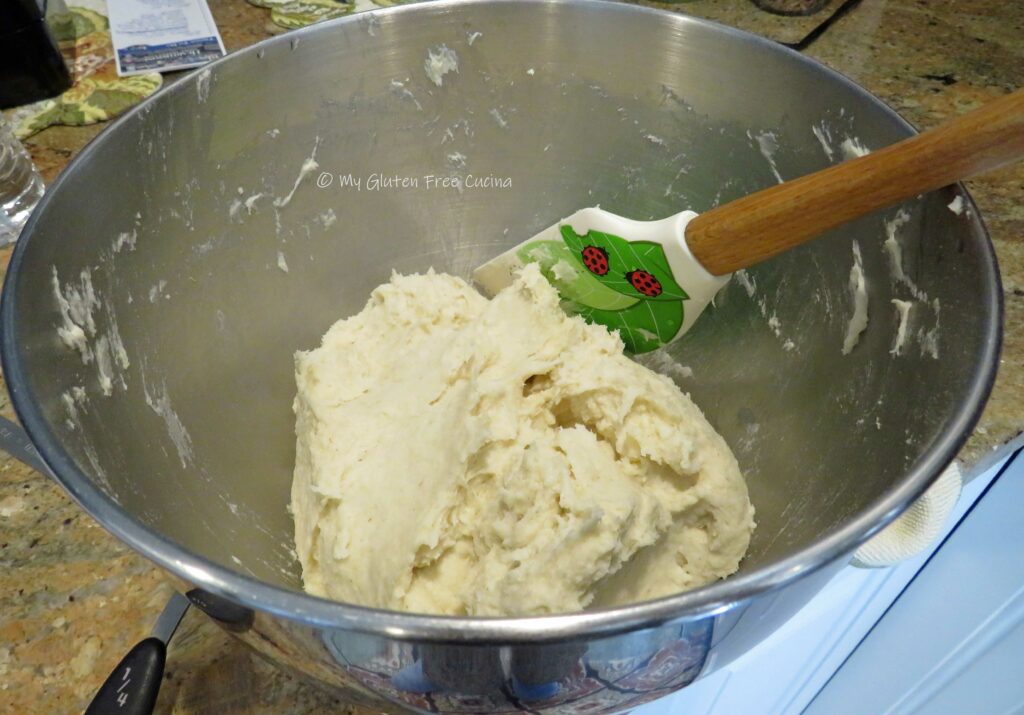
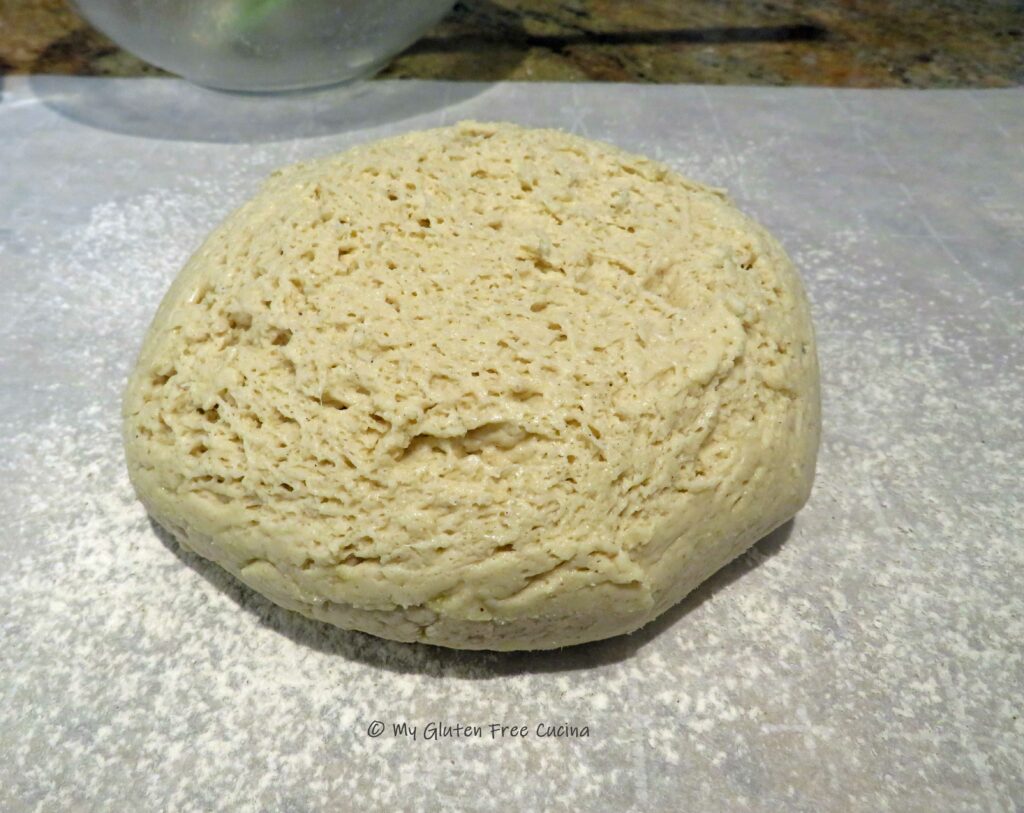
Gather the dough together in the mixer bowl, cover and let it rest for 20 minutes.
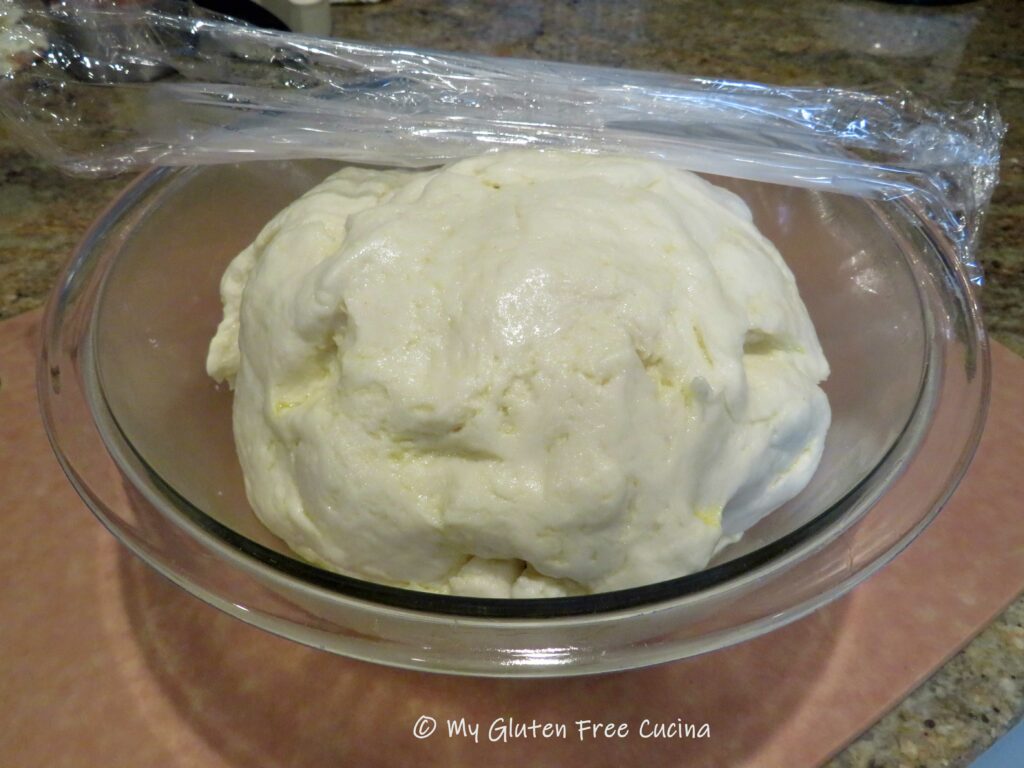
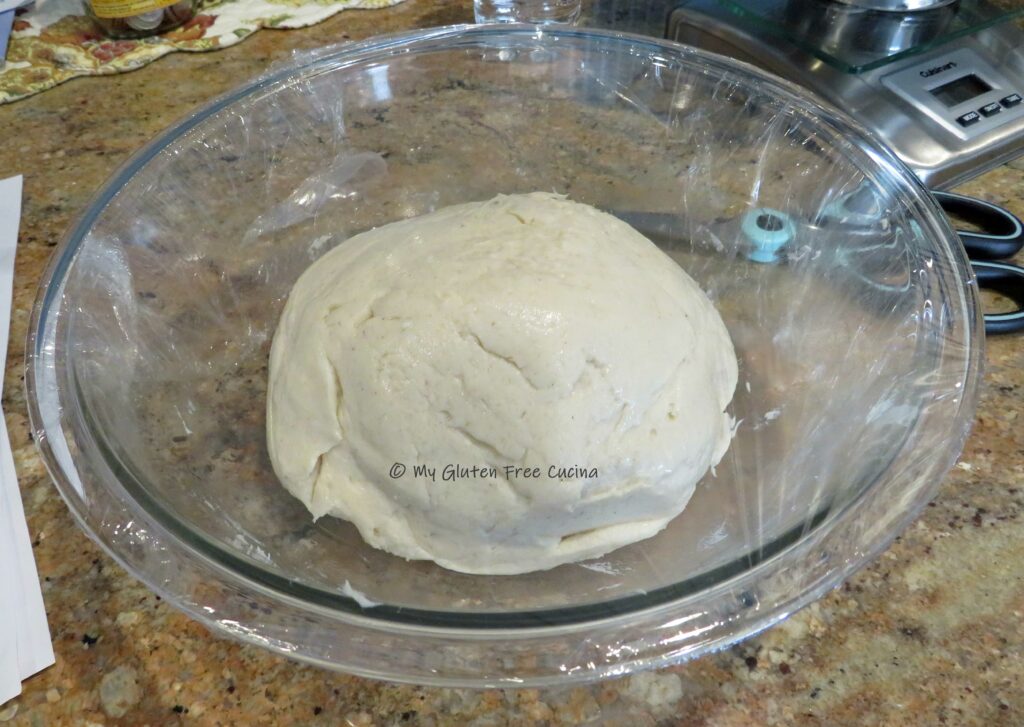
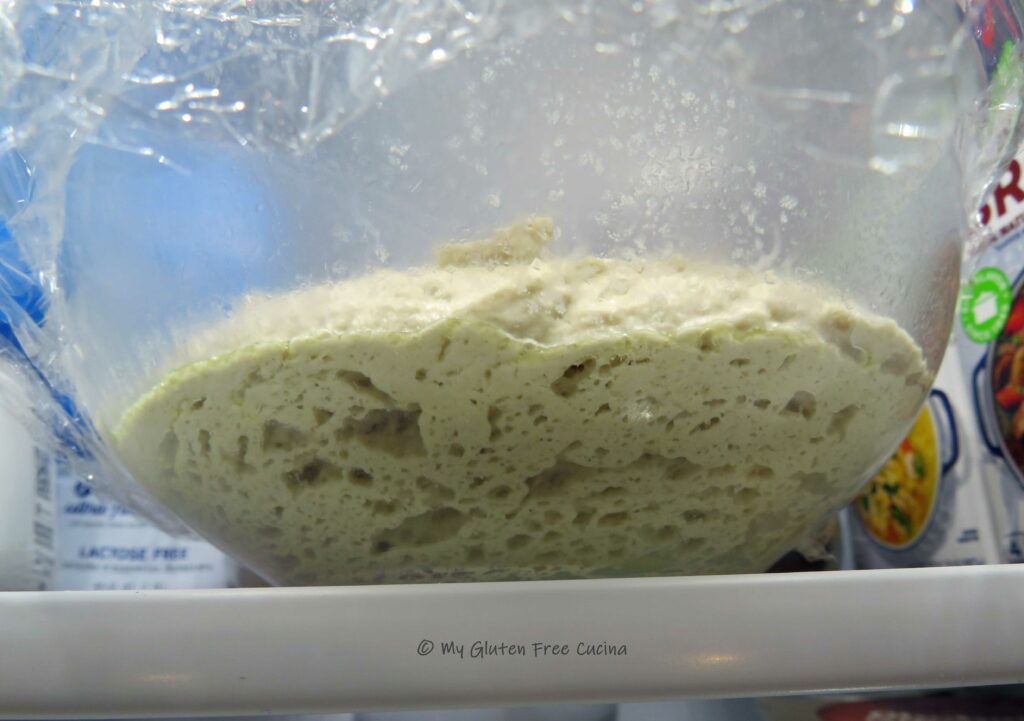
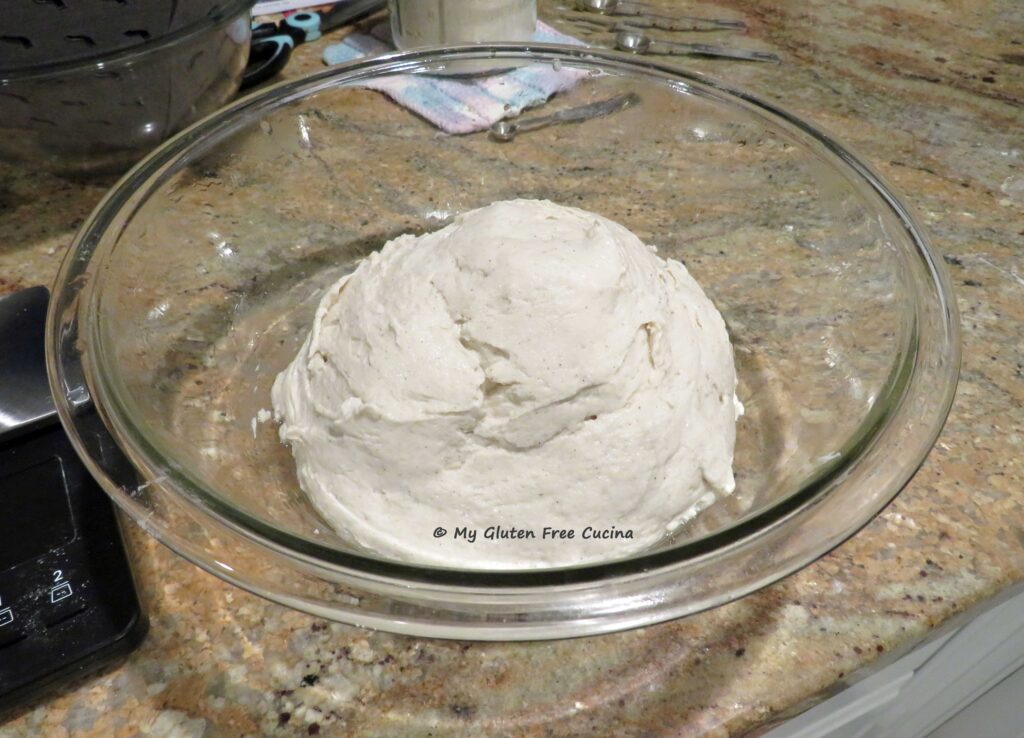
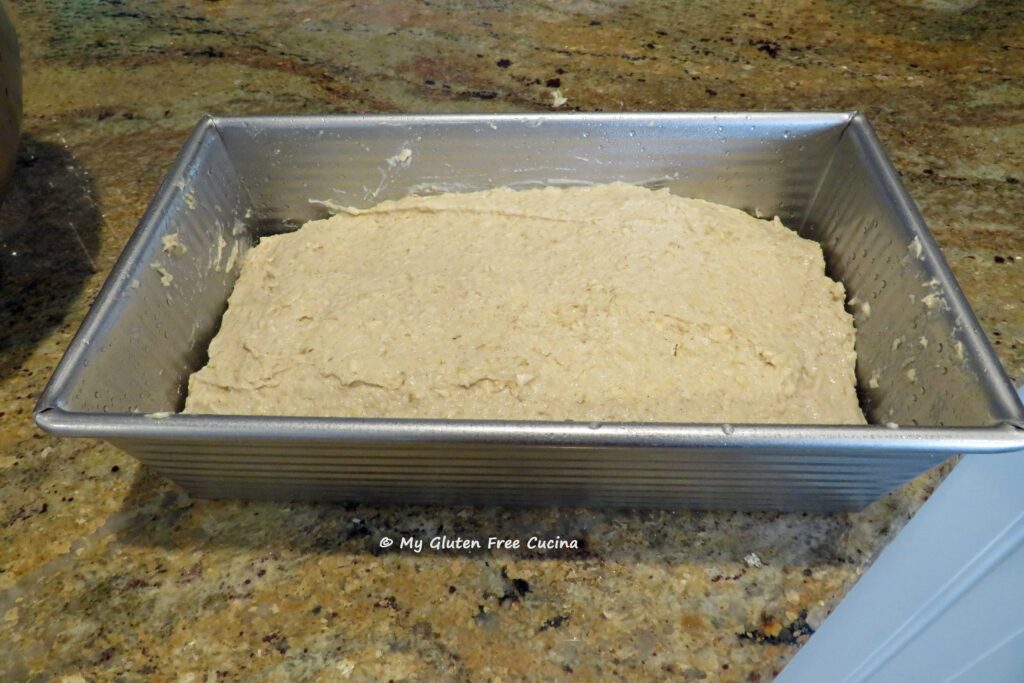
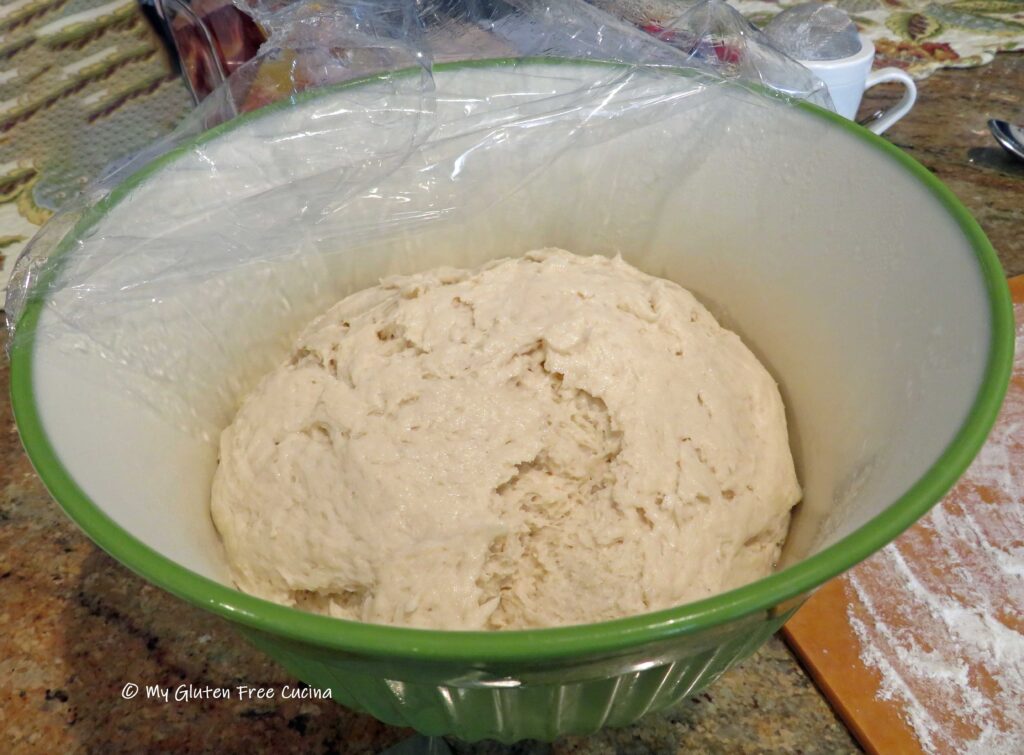
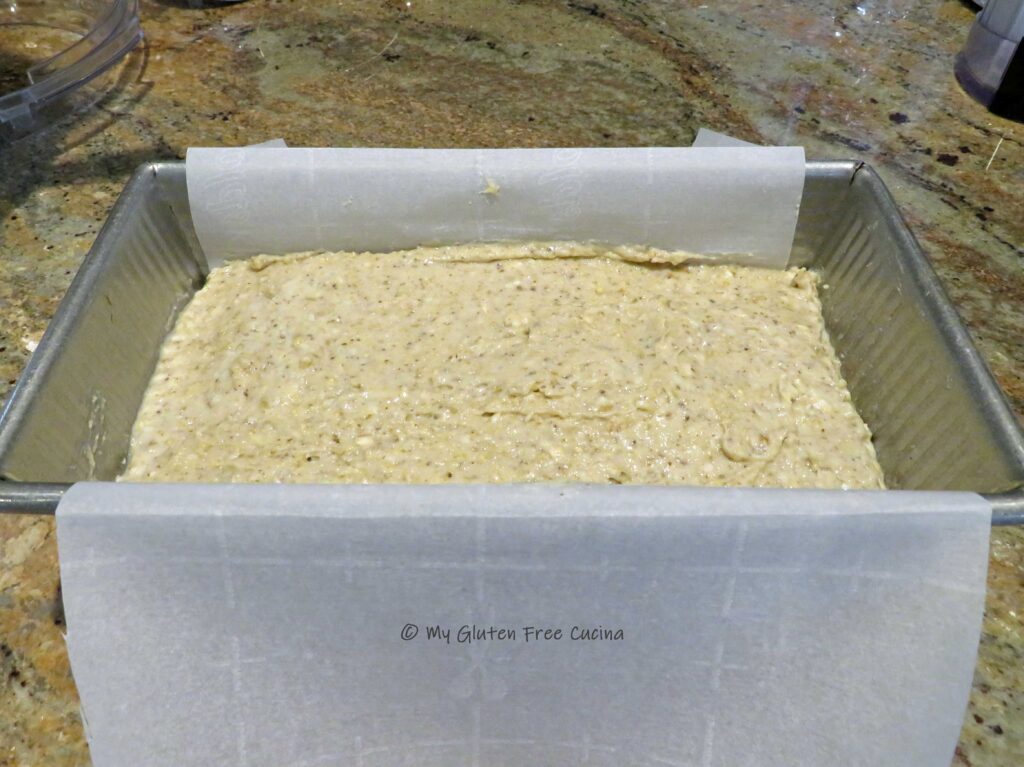
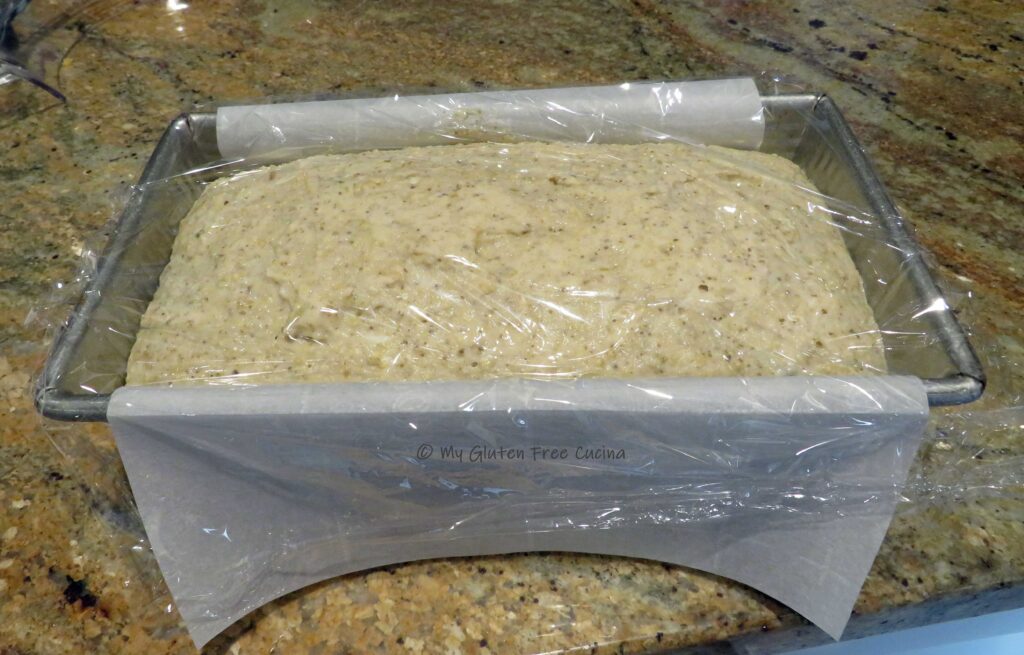
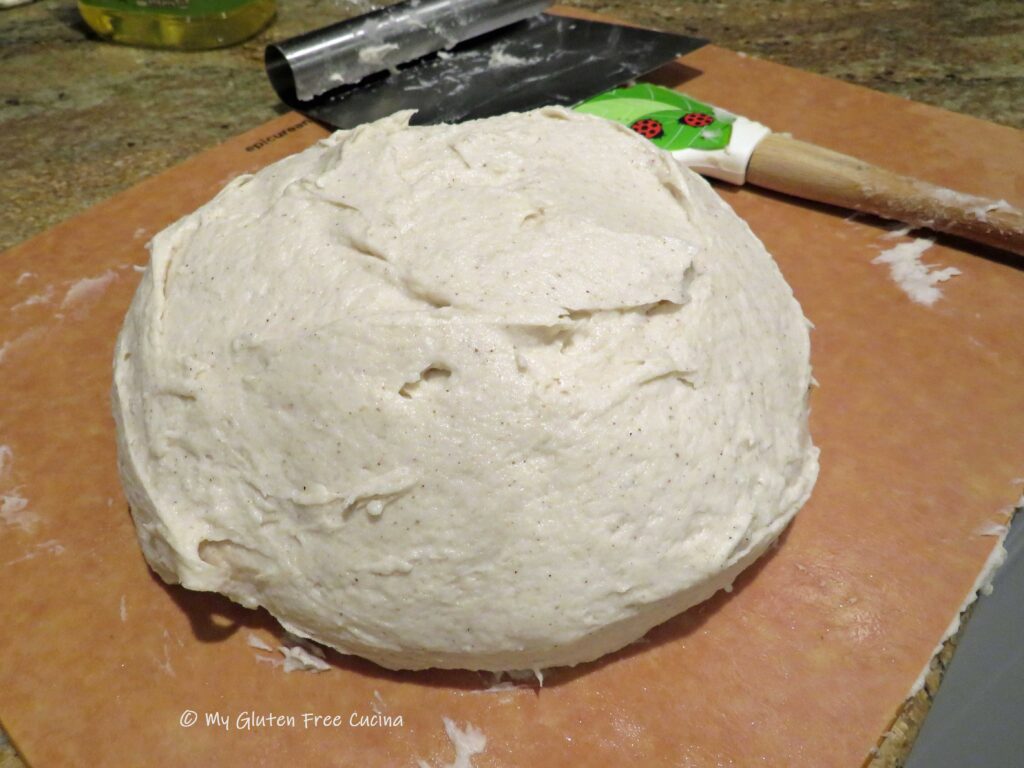
 Transfer the dough into an oiled bowl and smooth the top with a wet spatula. Cover with plastic wrap and refrigerate overnight, up to 15 hours.
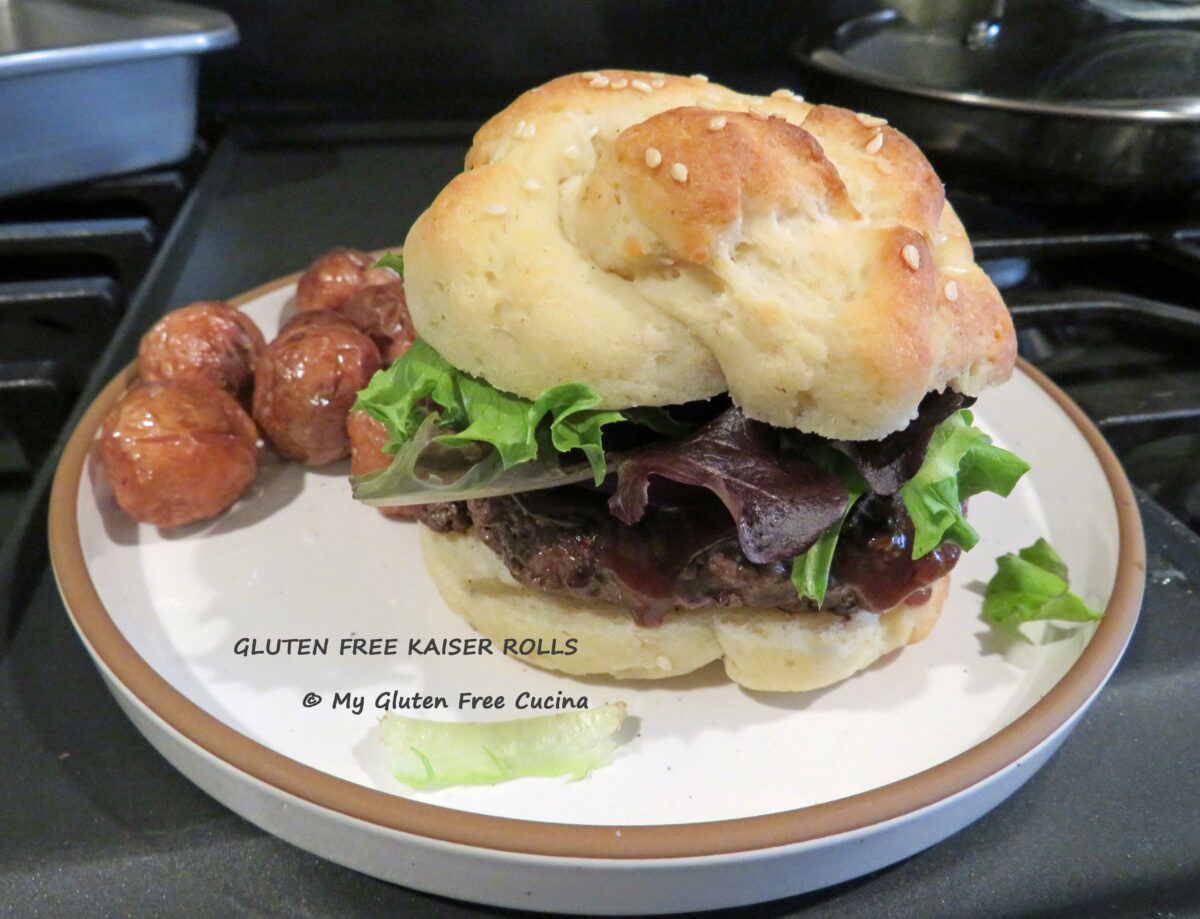
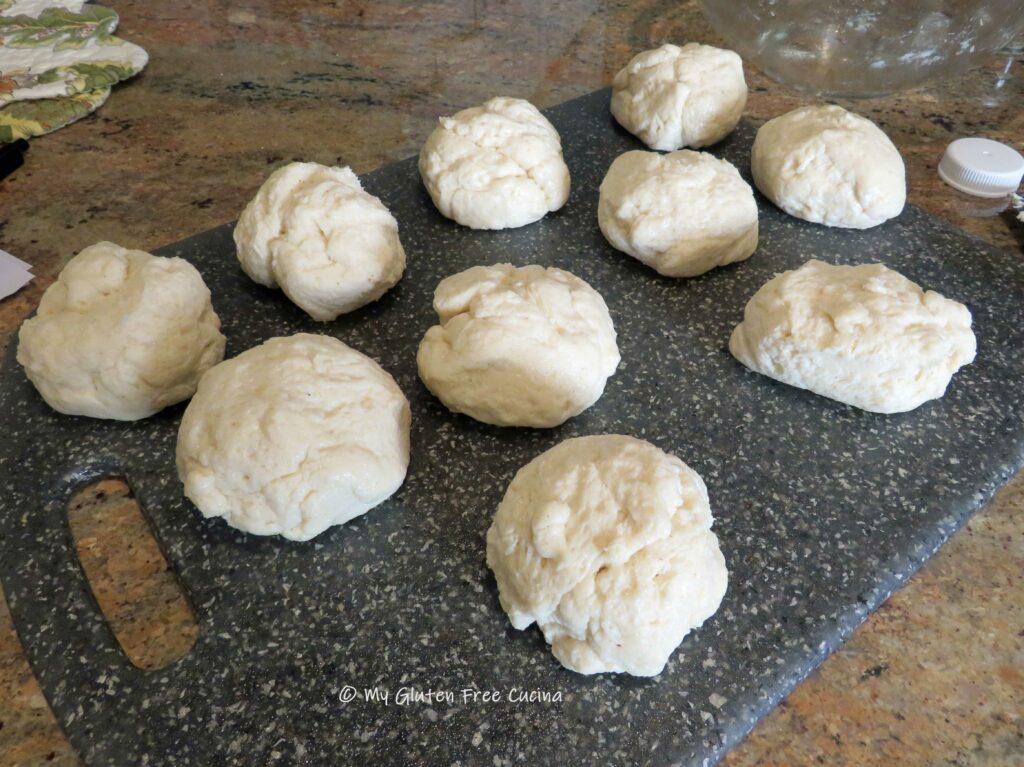
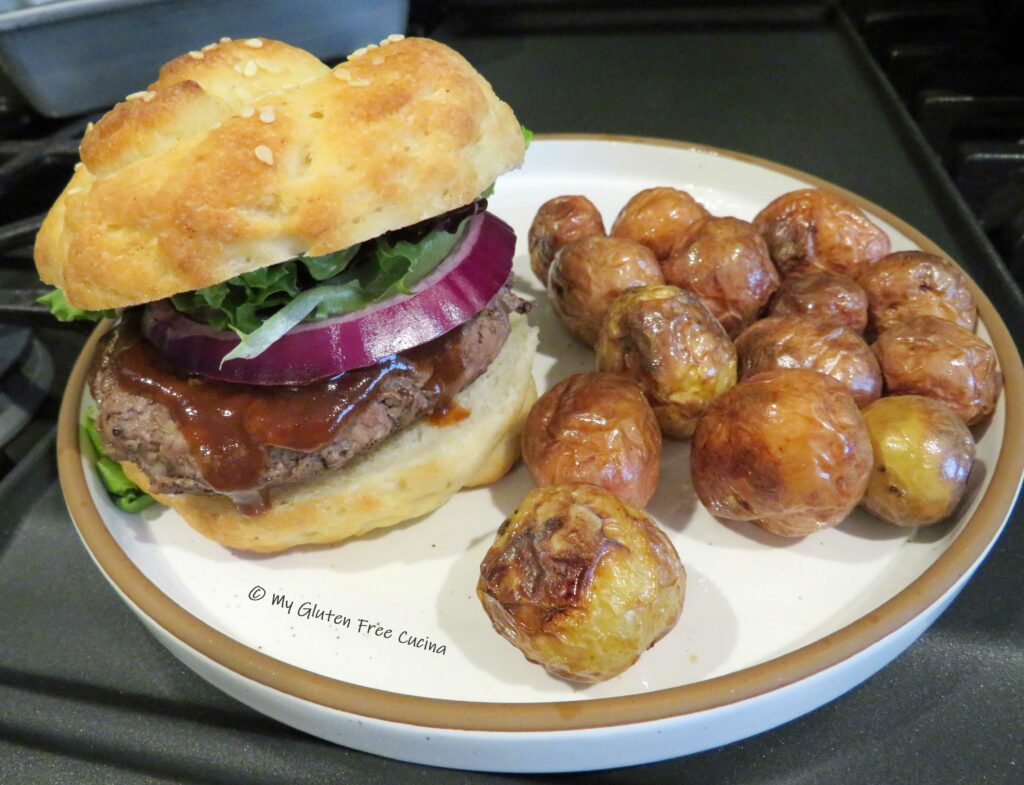
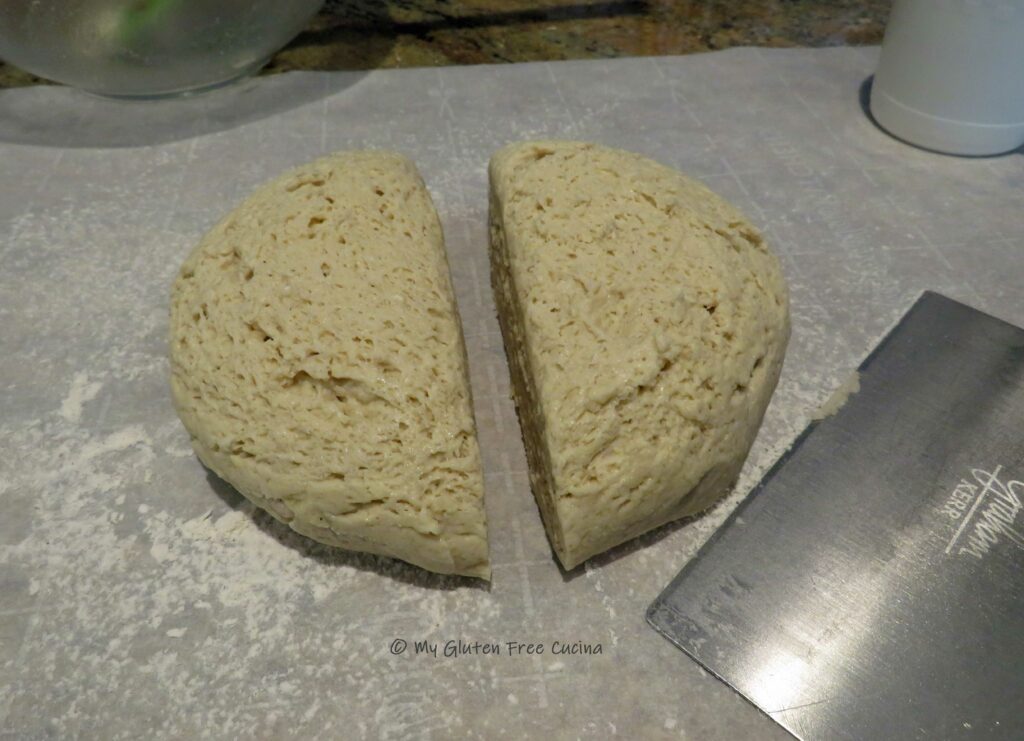
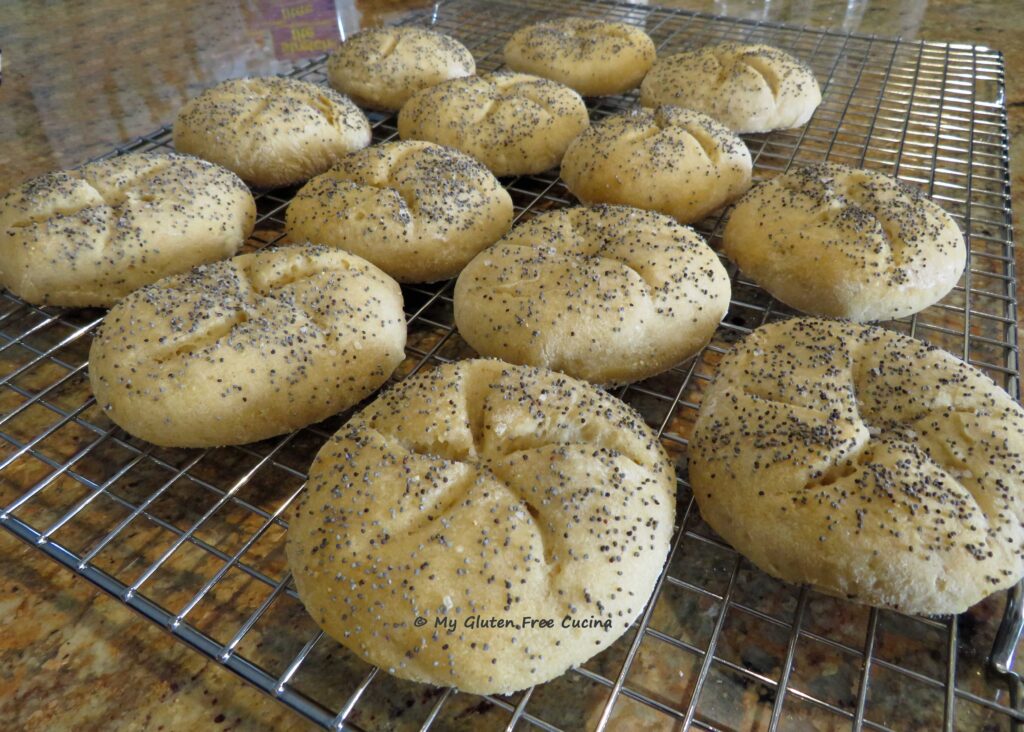
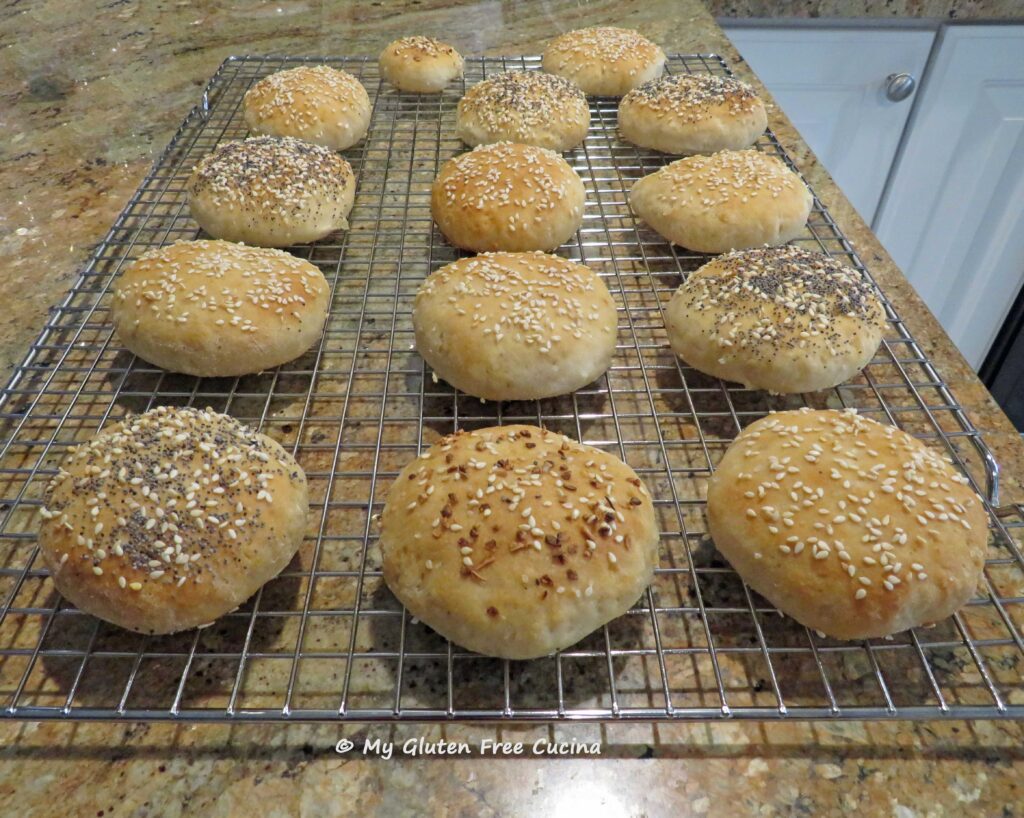
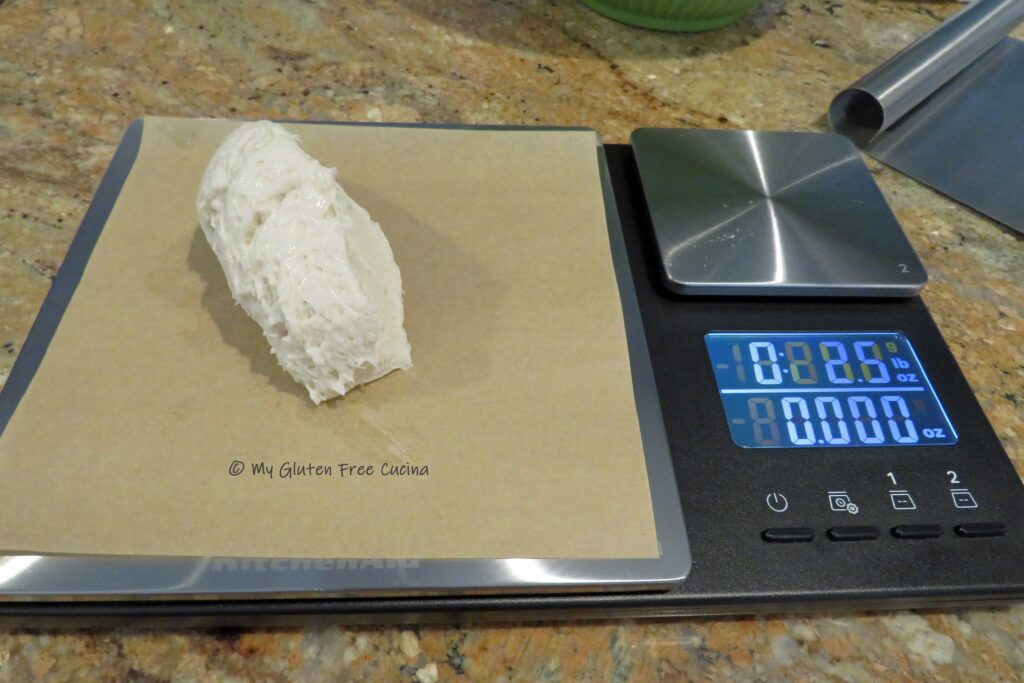
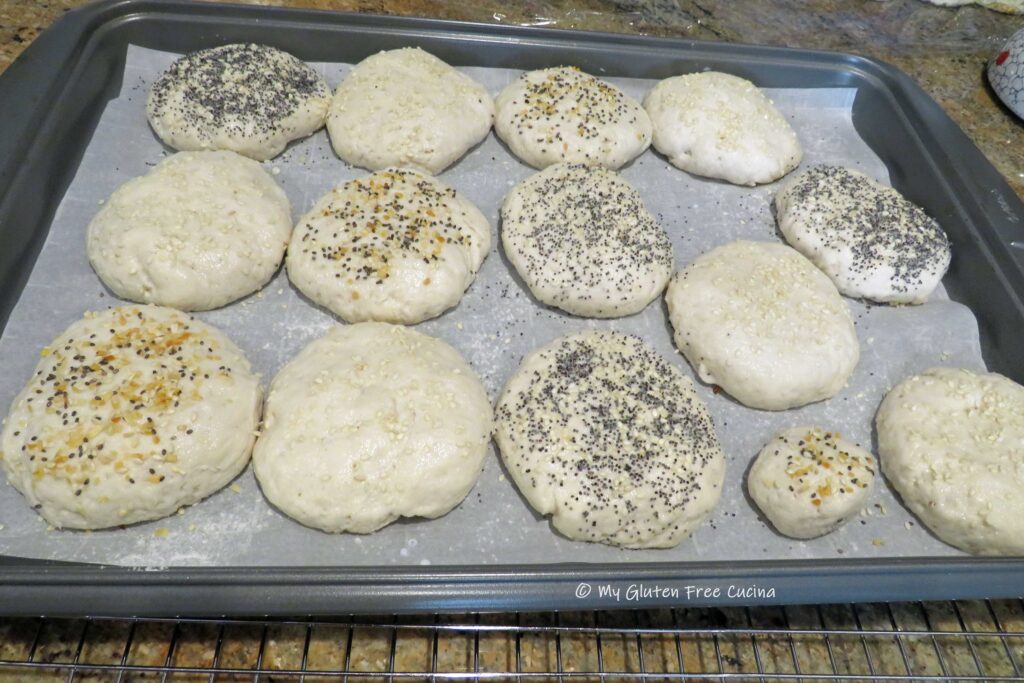
 I usually make small rolls for my lunch sandwiches, so I divided my dough into 13 rolls that weighed about 2½ oz. each. You could do 2 oz. each for dinner rolls or sliders. For hamburger buns, 3-4 oz. is a good size.
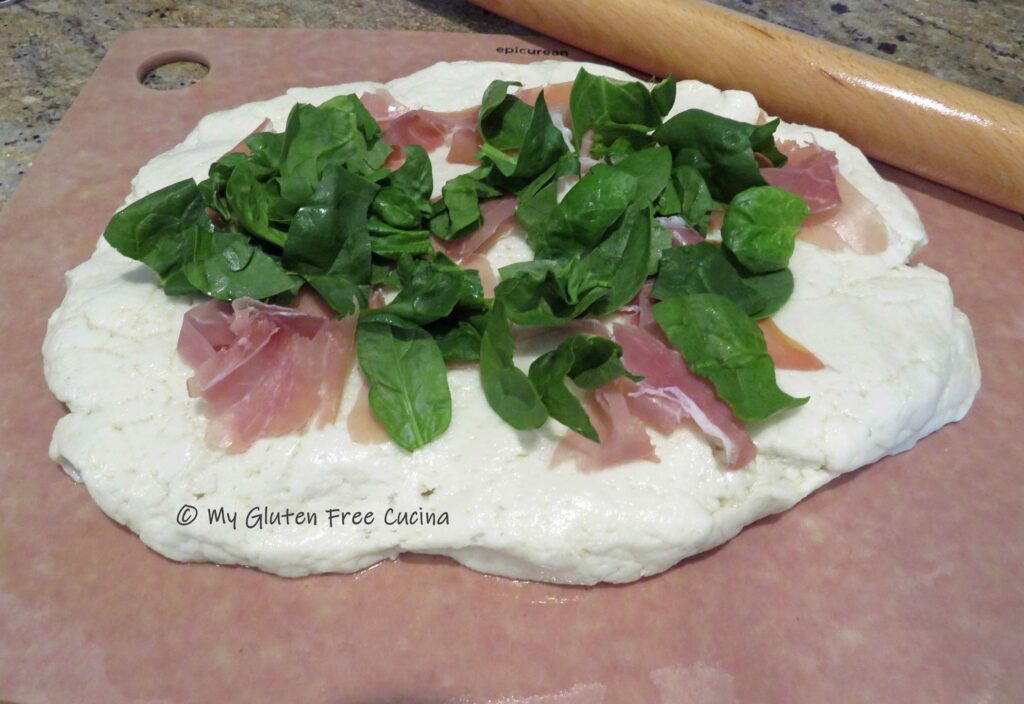
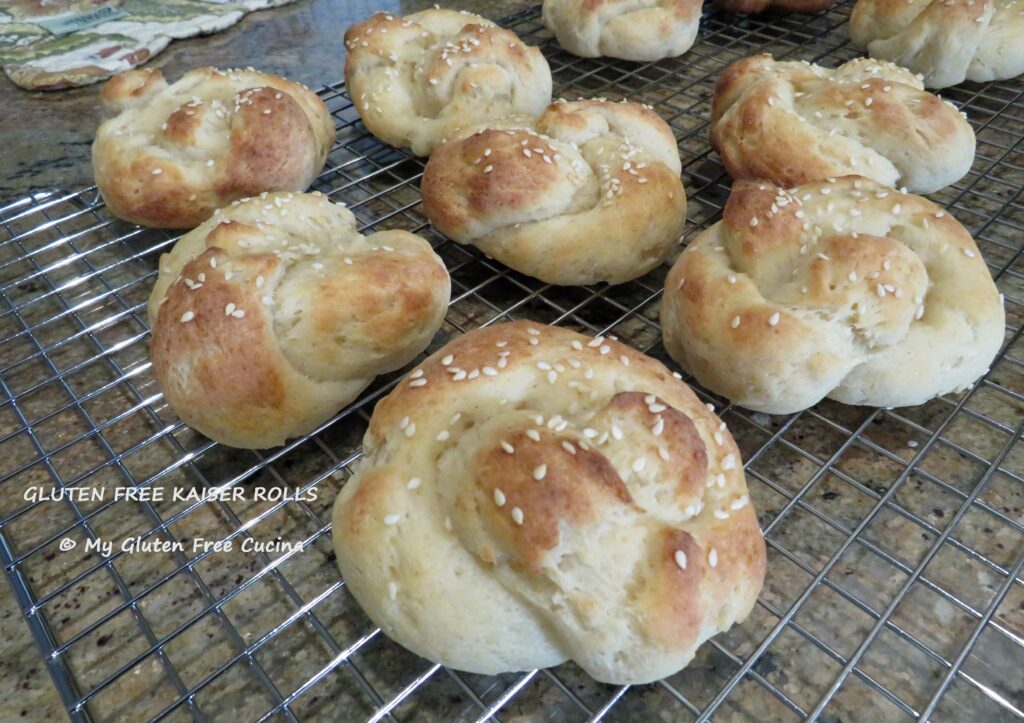
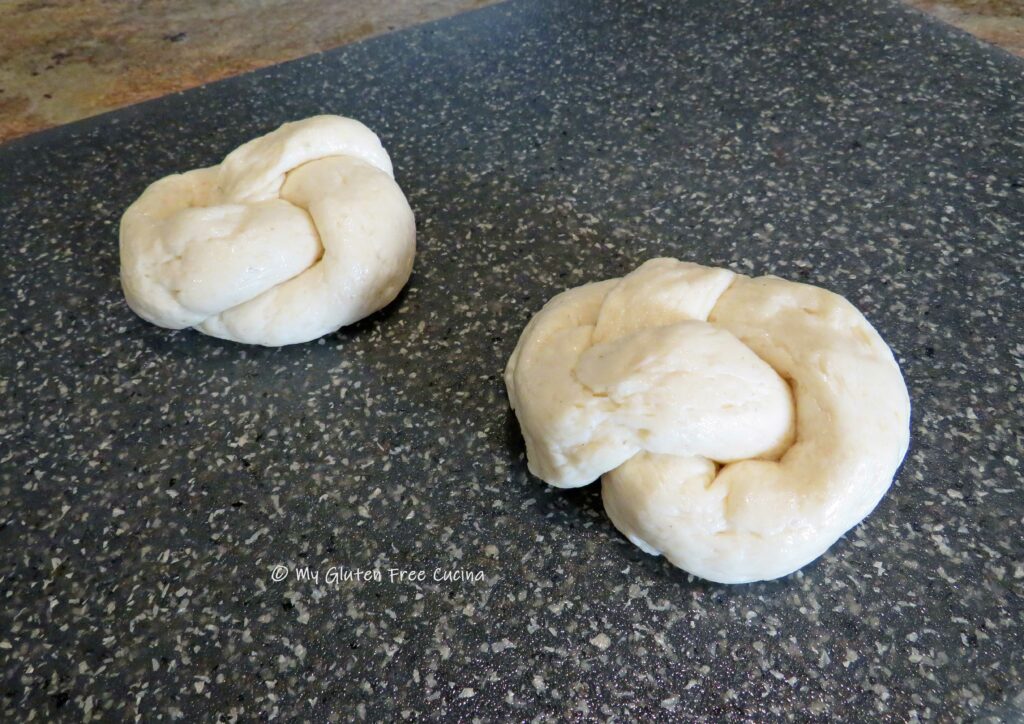
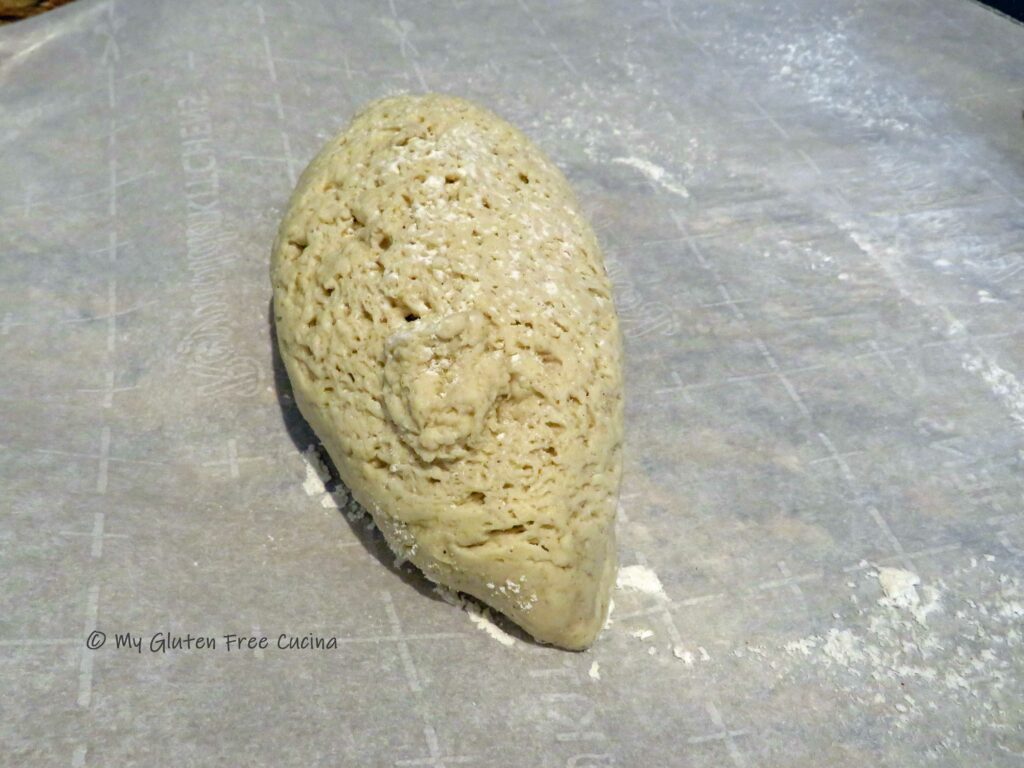
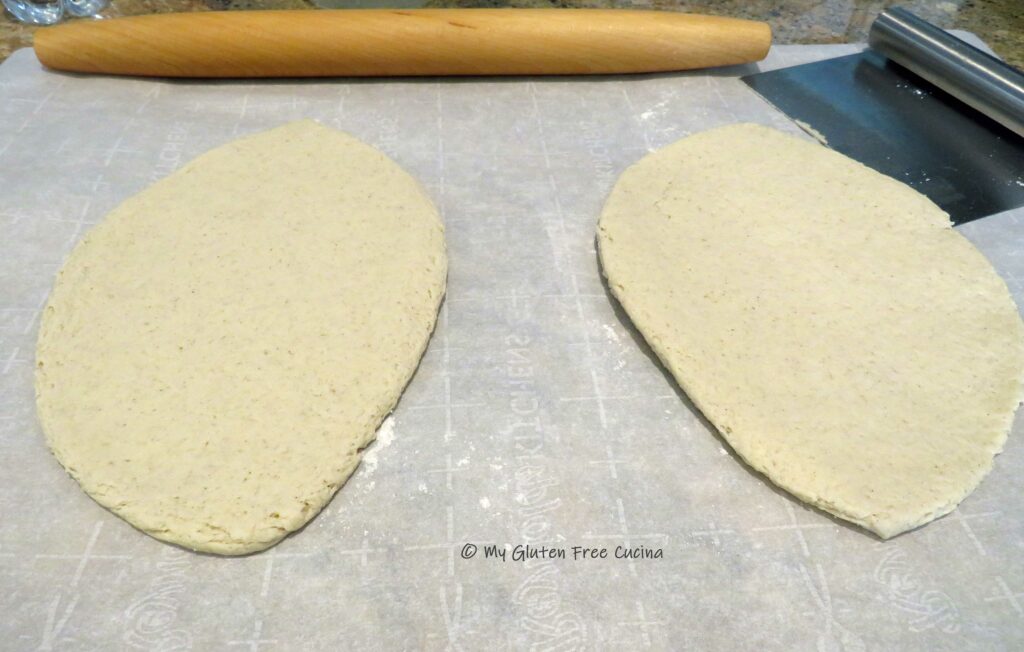
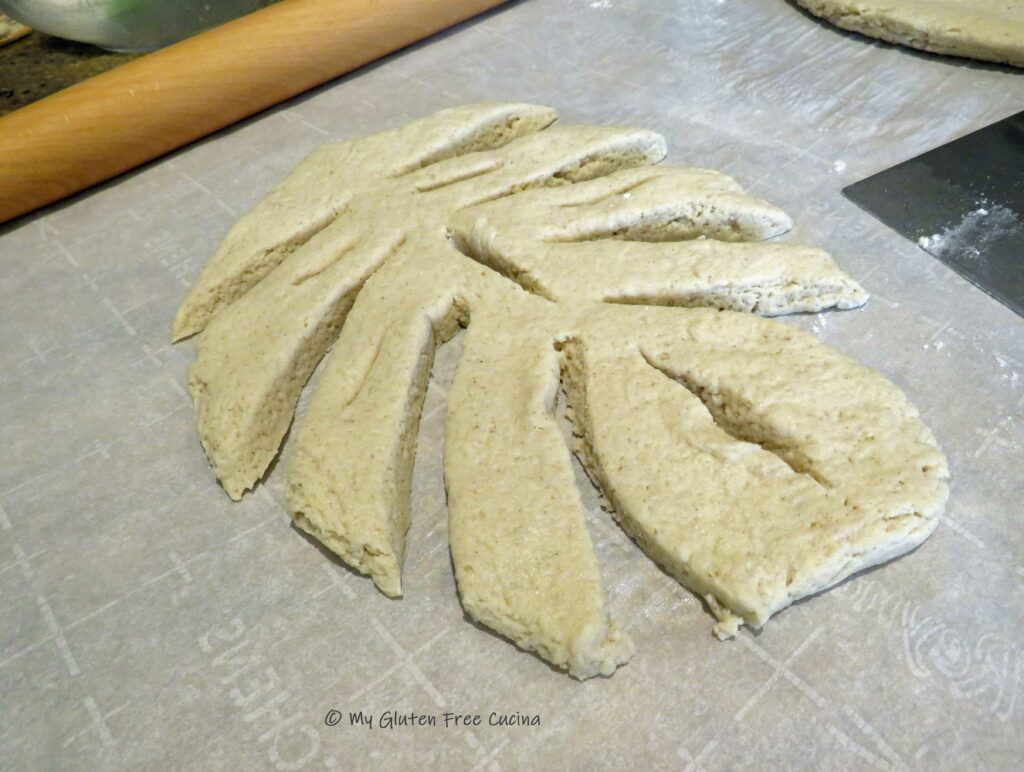
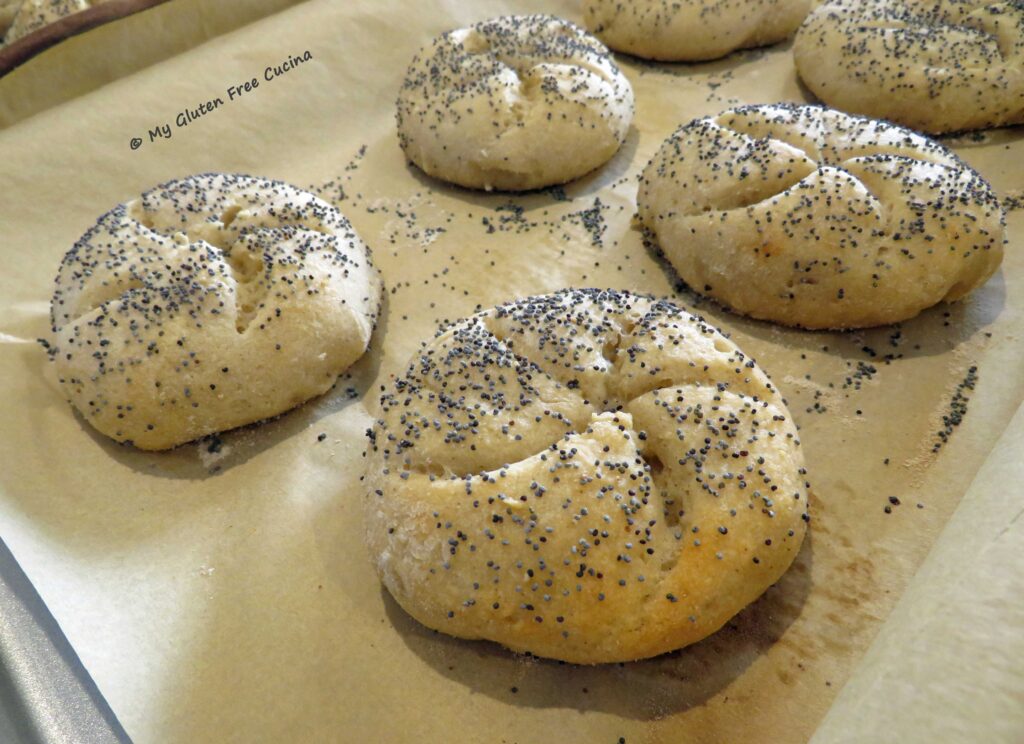
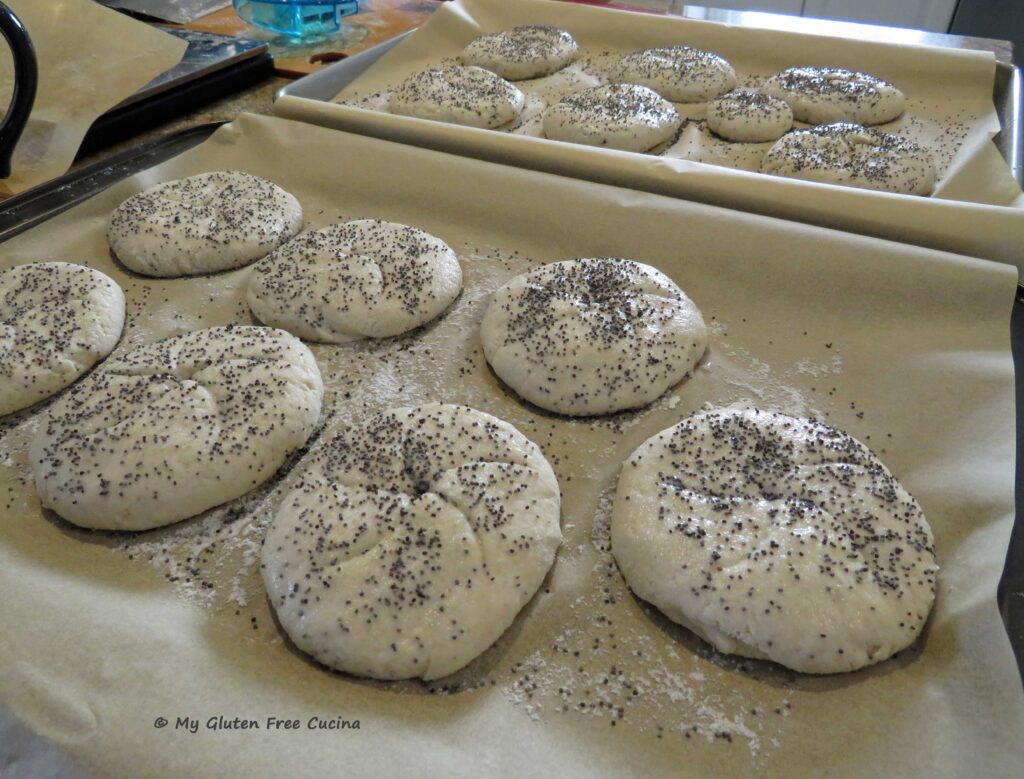
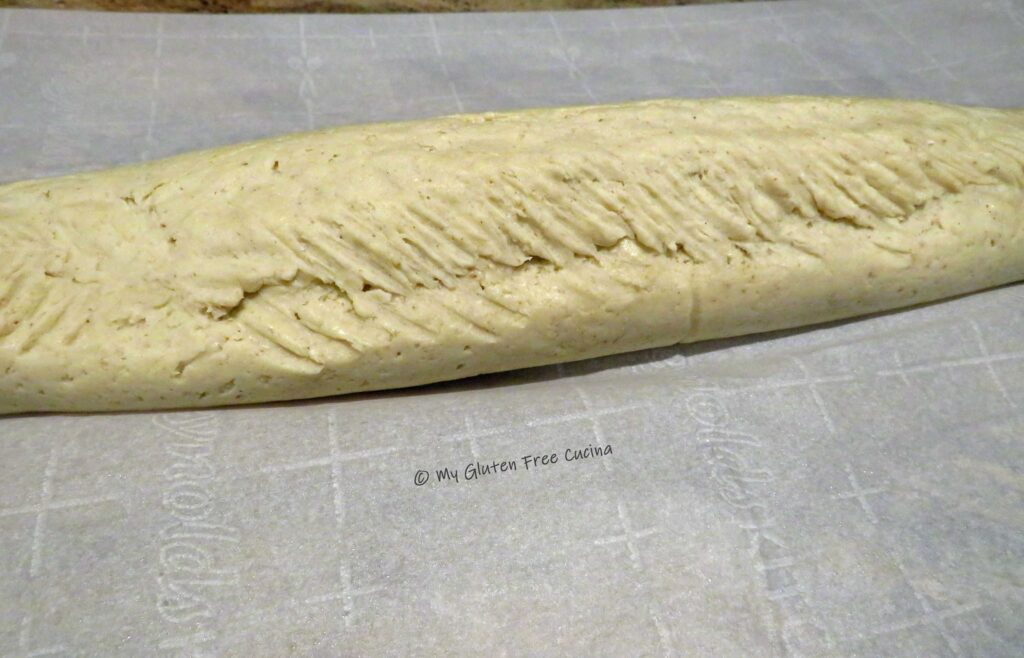
Sprinkle a cutting board with flour and working with one piece at a time, roll the dough between your palms into a round. Place it on a lightly floured cutting board and rotate it in a circular motion to form a smooth round shape. Finally, use your palm to flatten it to about 3/4″ thick.
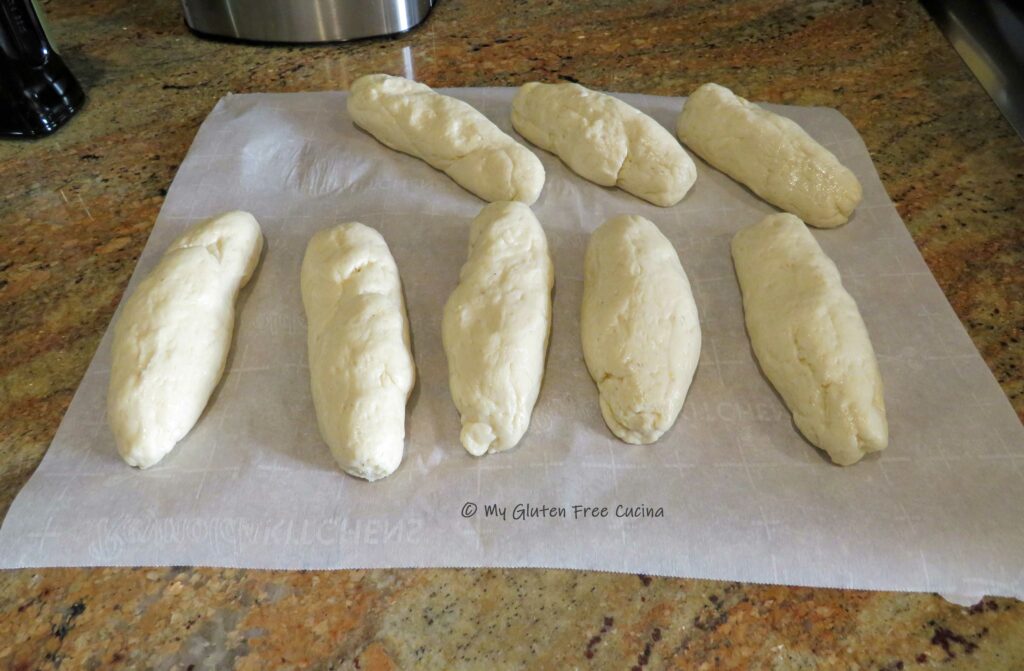
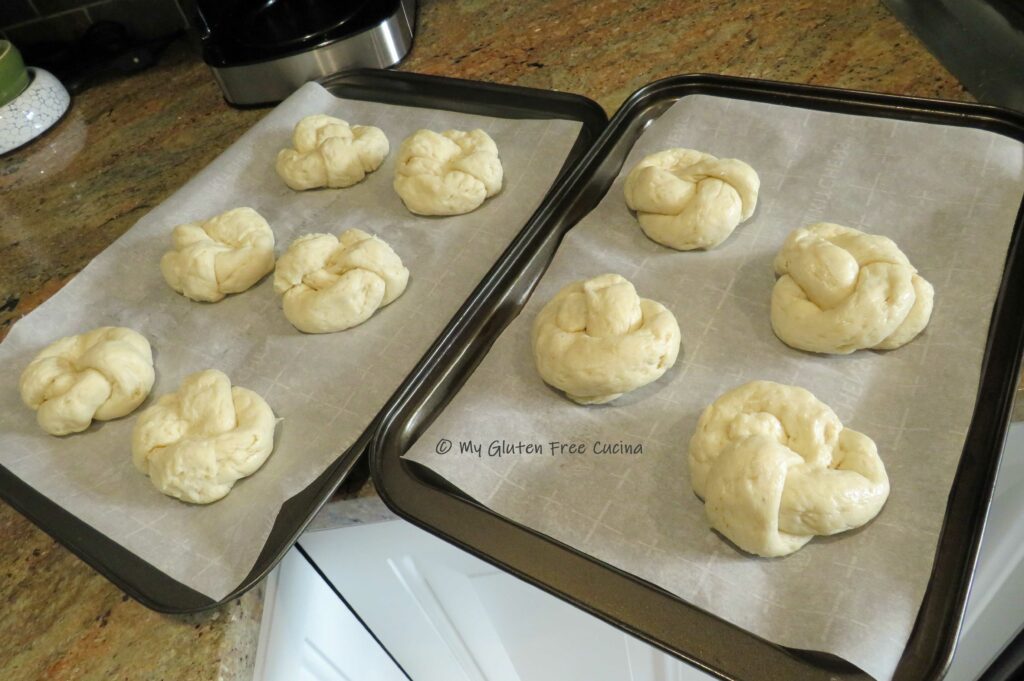
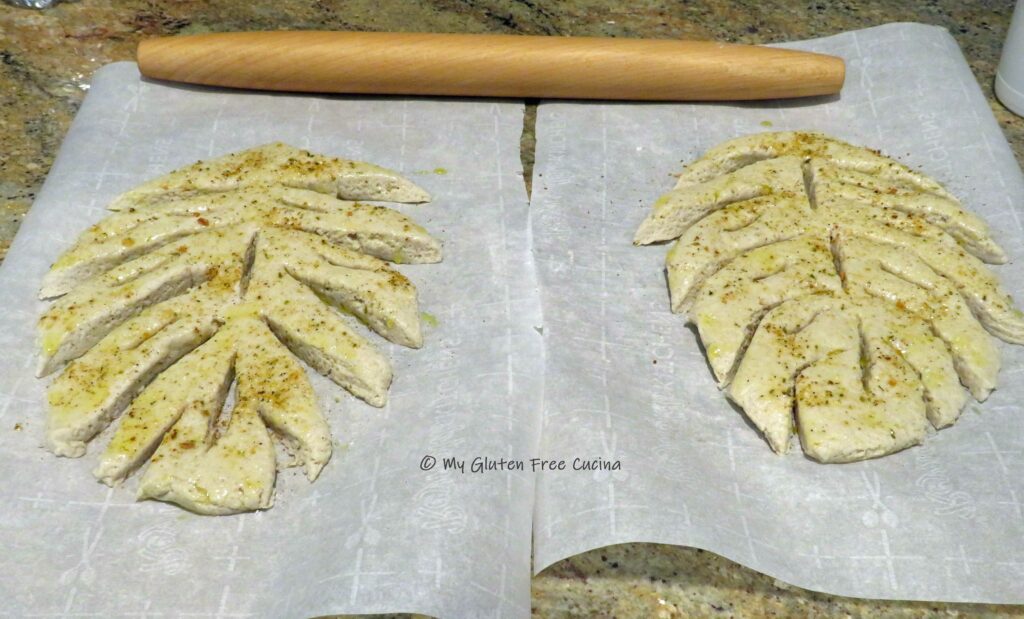
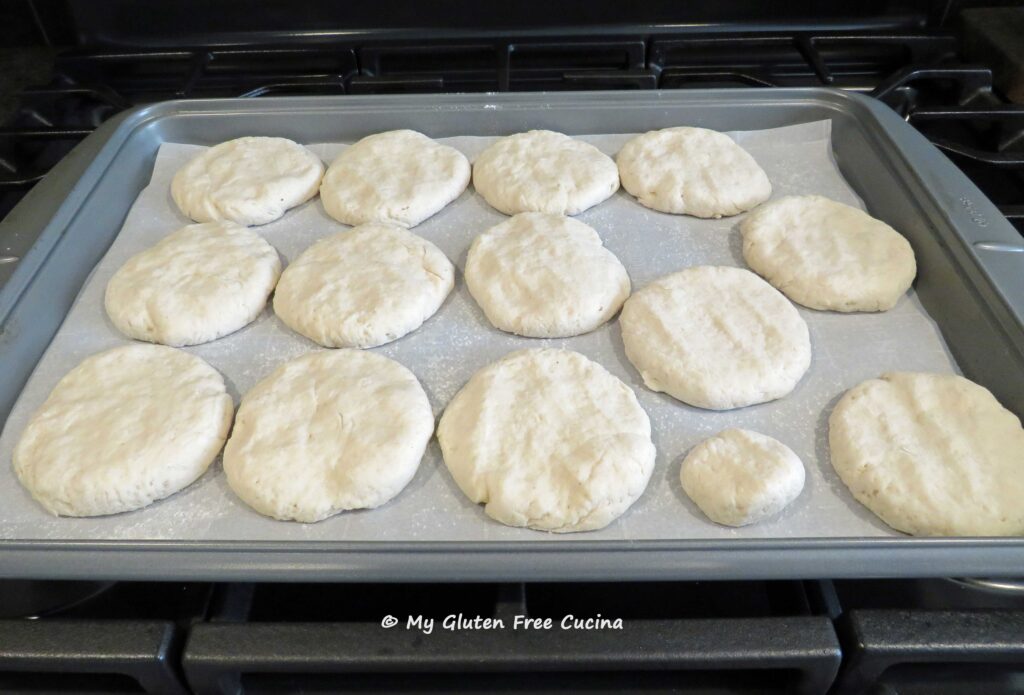
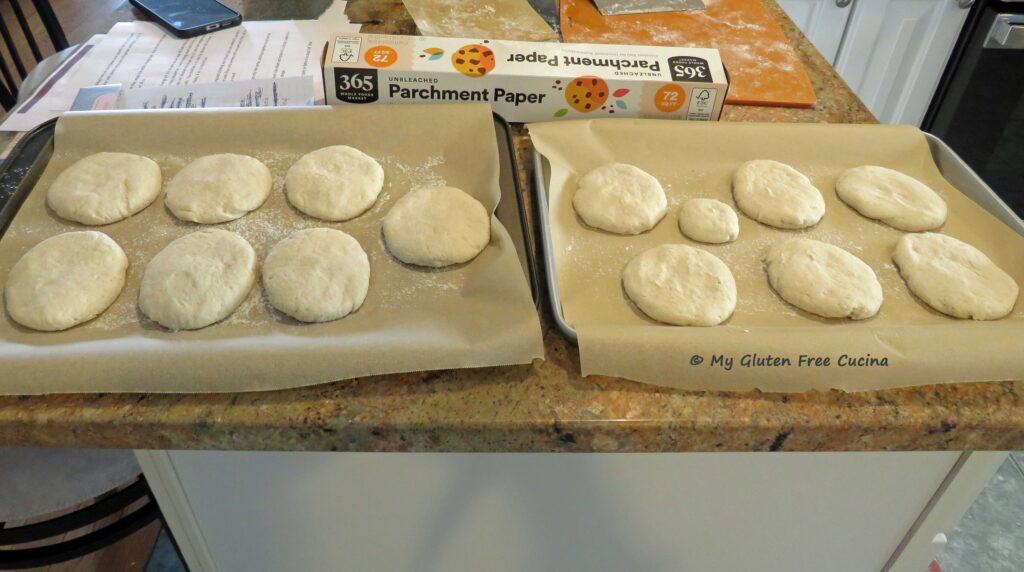 Continue with the rest of the dough, arranging your shaped rolls on a parchment lined baking sheet (use 2 sheets if needed).
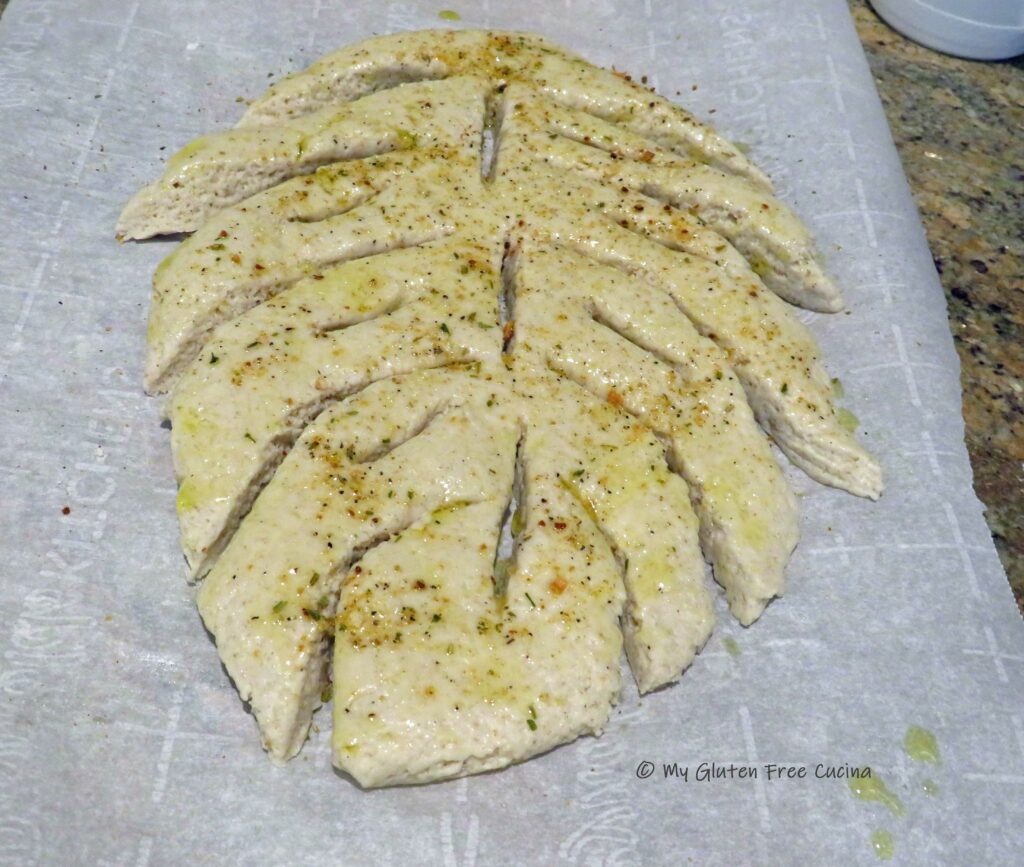
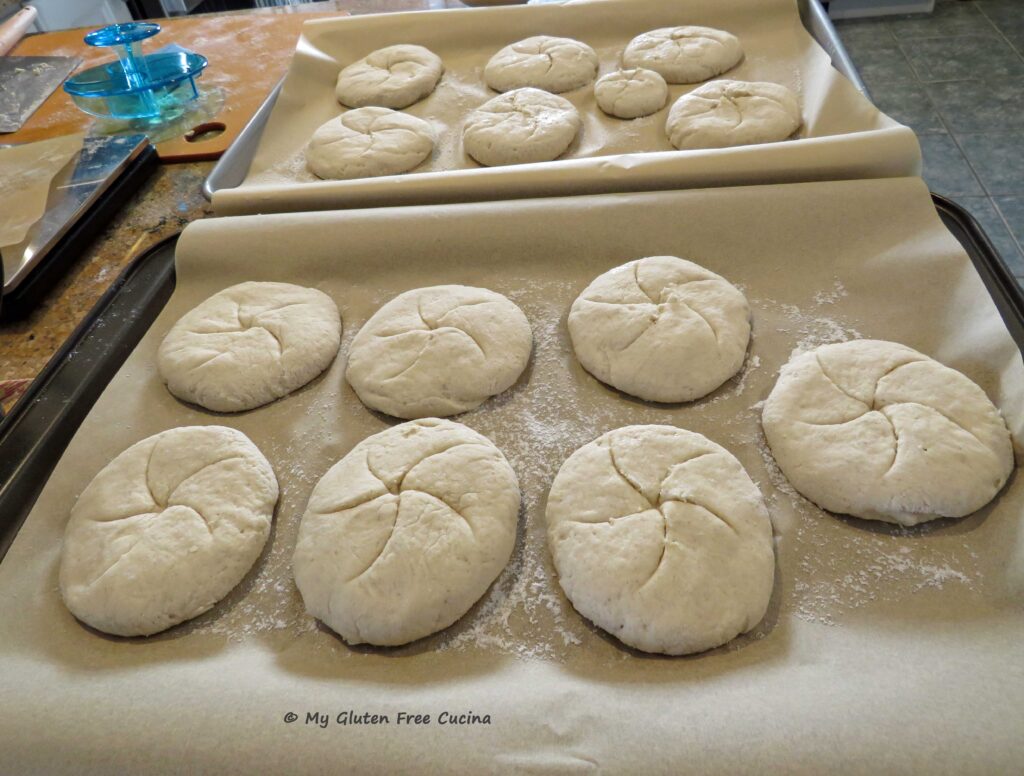
 Cover the rolls and let them rest for 30 minutes while you preheat the oven to 475º. Score the top of each roll.

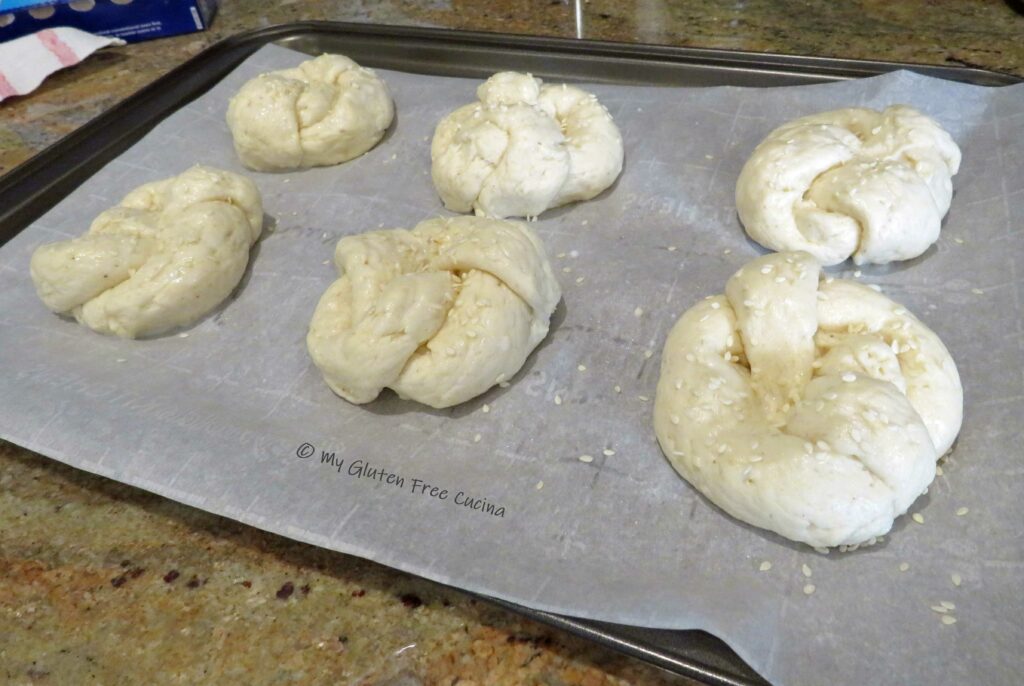
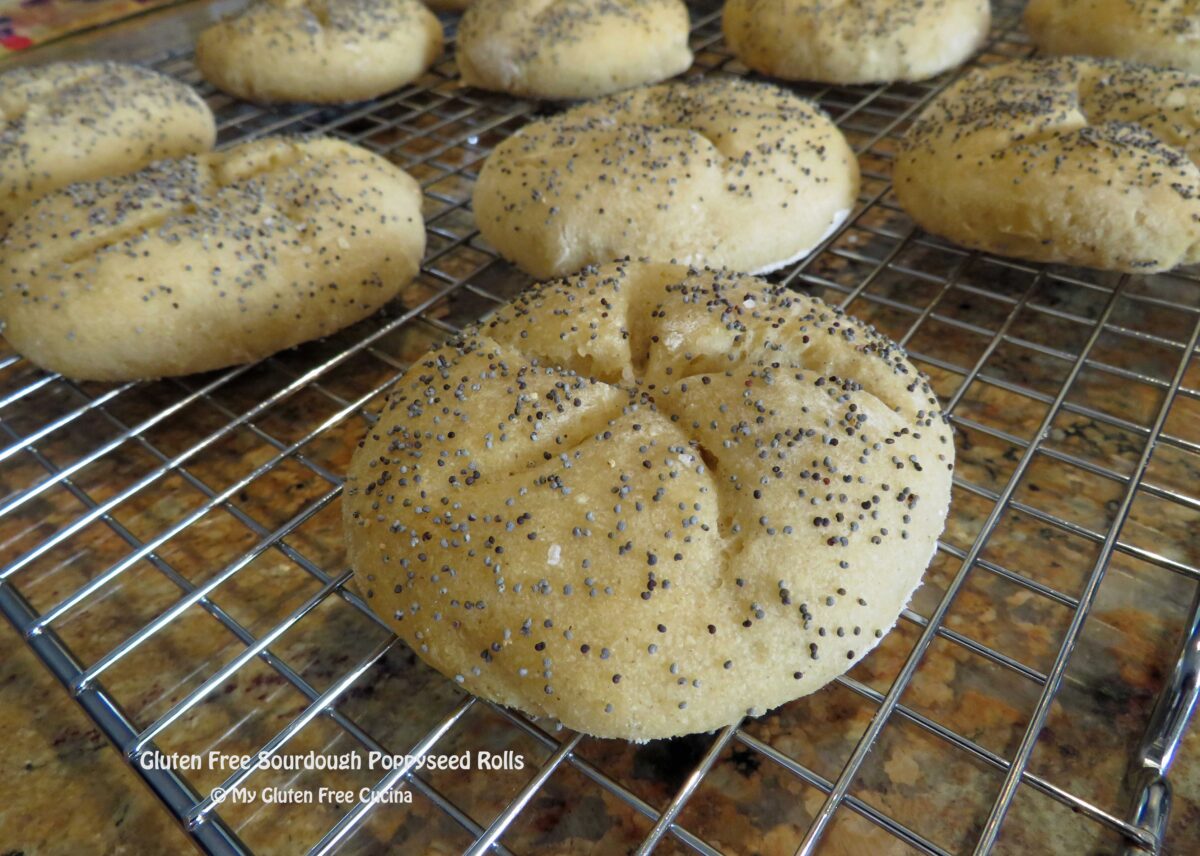
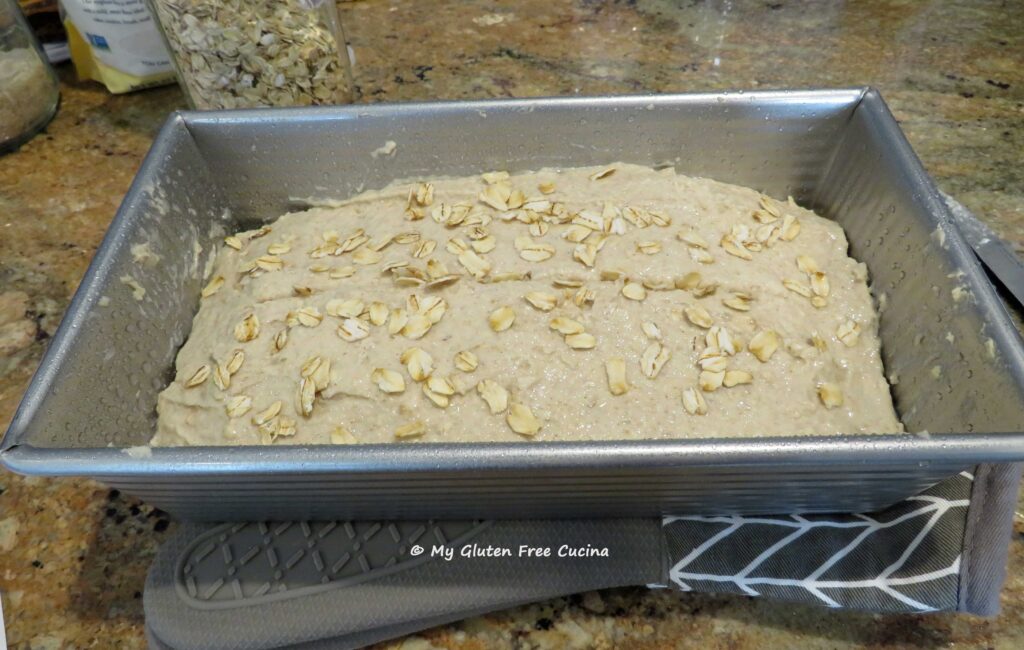
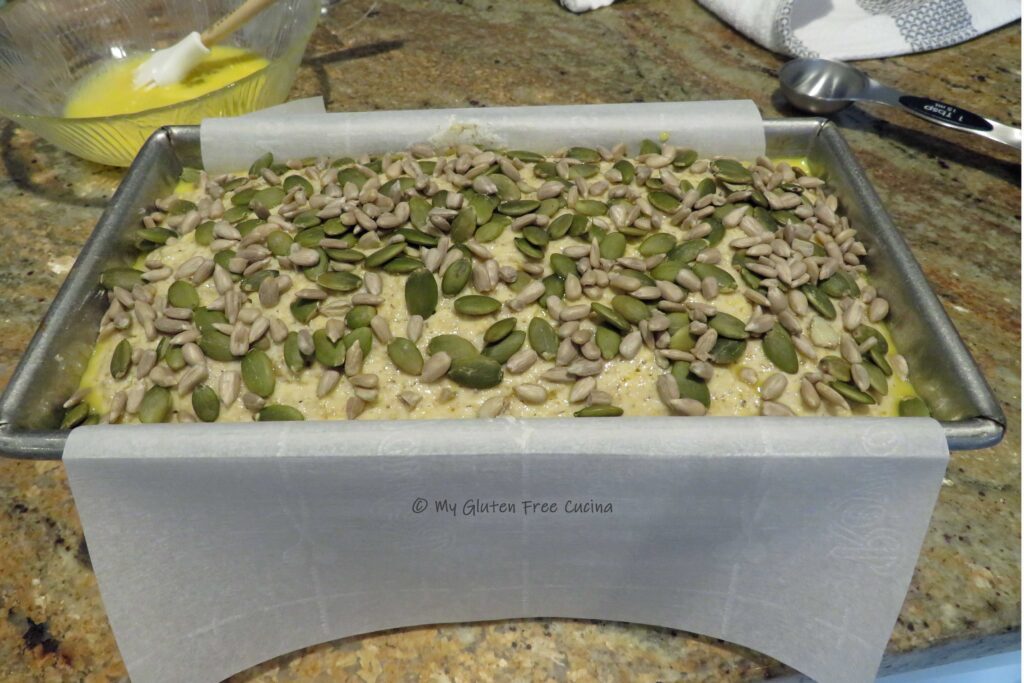
 Just before baking, brush the rolls with milk, or spray with water (you can also use an egg wash). Sprinkle the rolls with poppy seeds and coarse salt (optional).
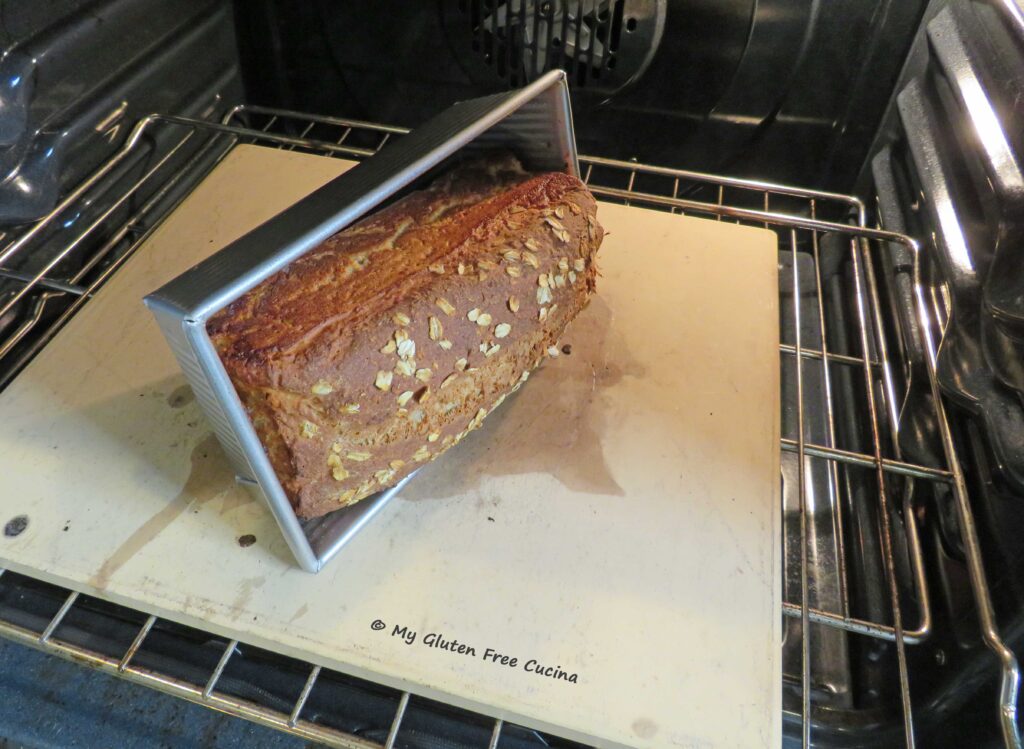
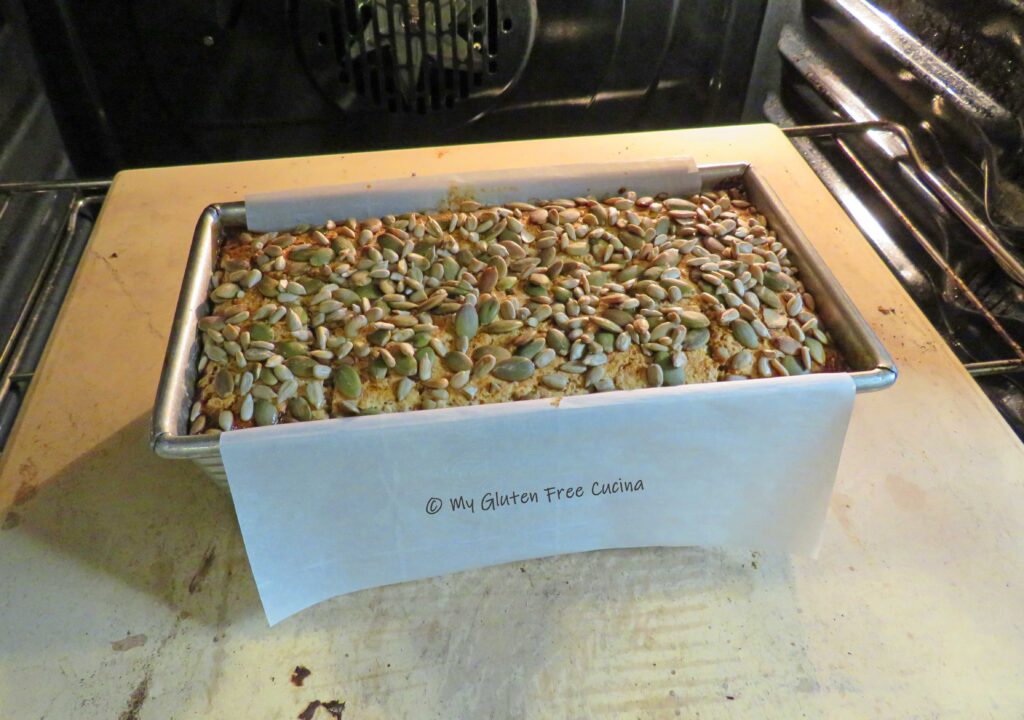
 Place the pans on the center rack and throw a few ice cubes into the bottom of the oven. Bake for 5 minutes, then lower the oven temperature to 375º.
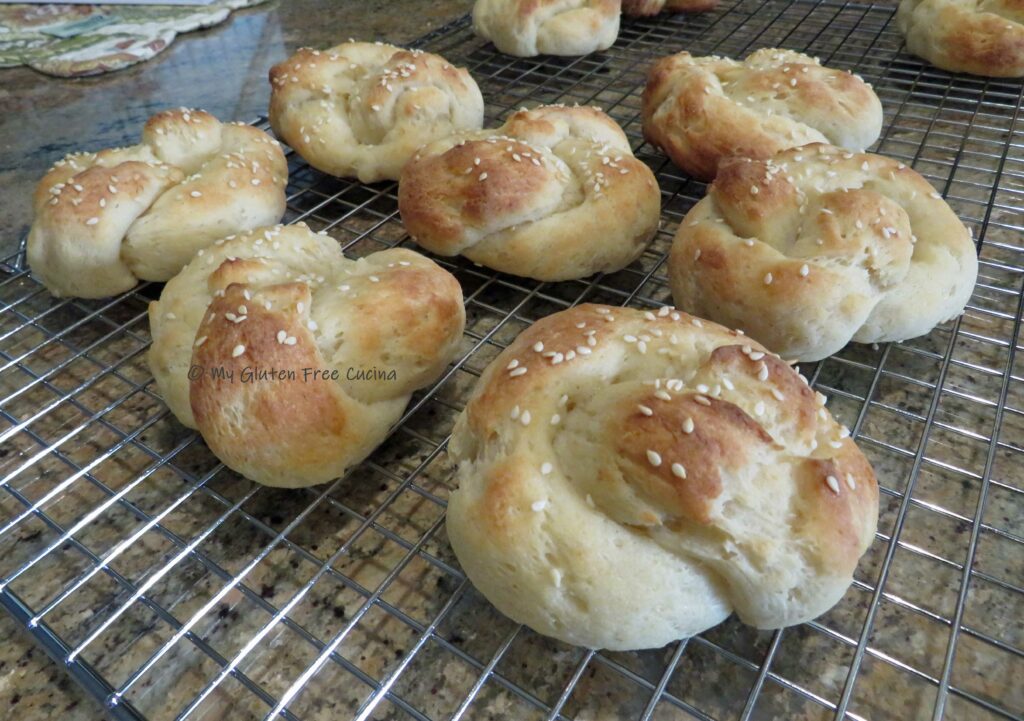
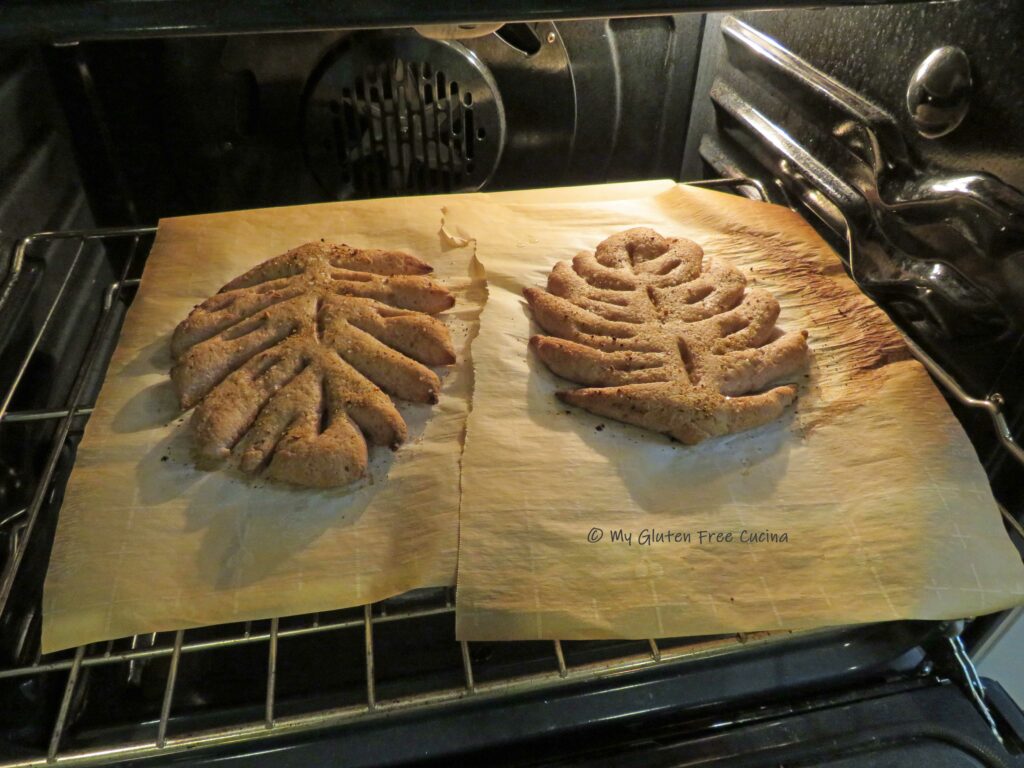
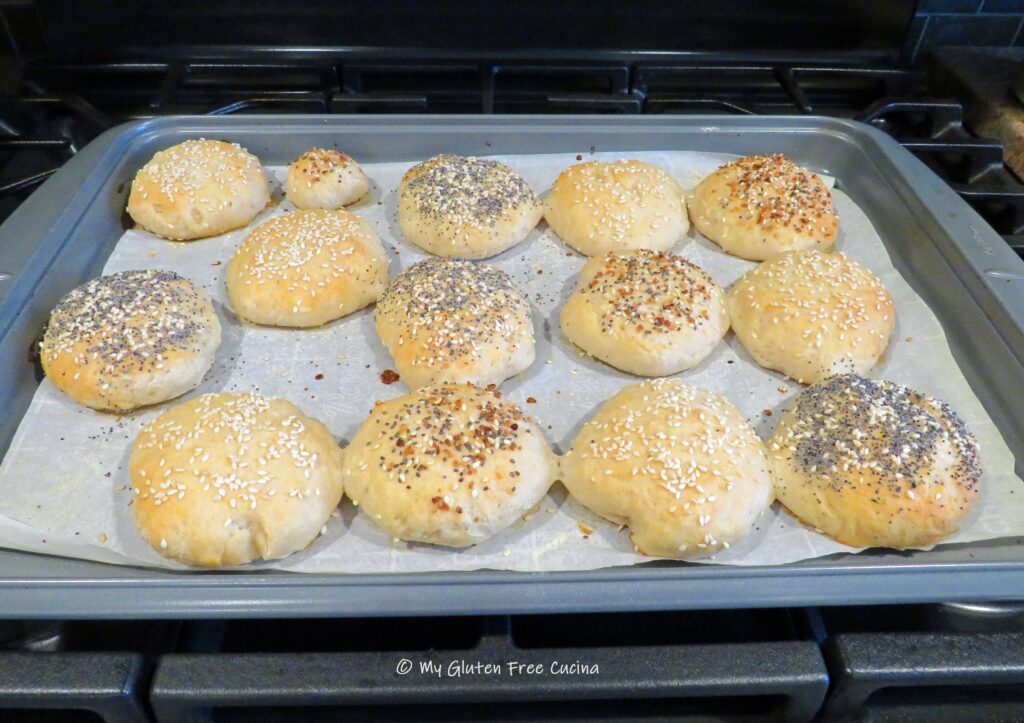
Continue baking 15 minutes longer, or until the internal temperature of the rolls reaches 210º (check with a thermometer).
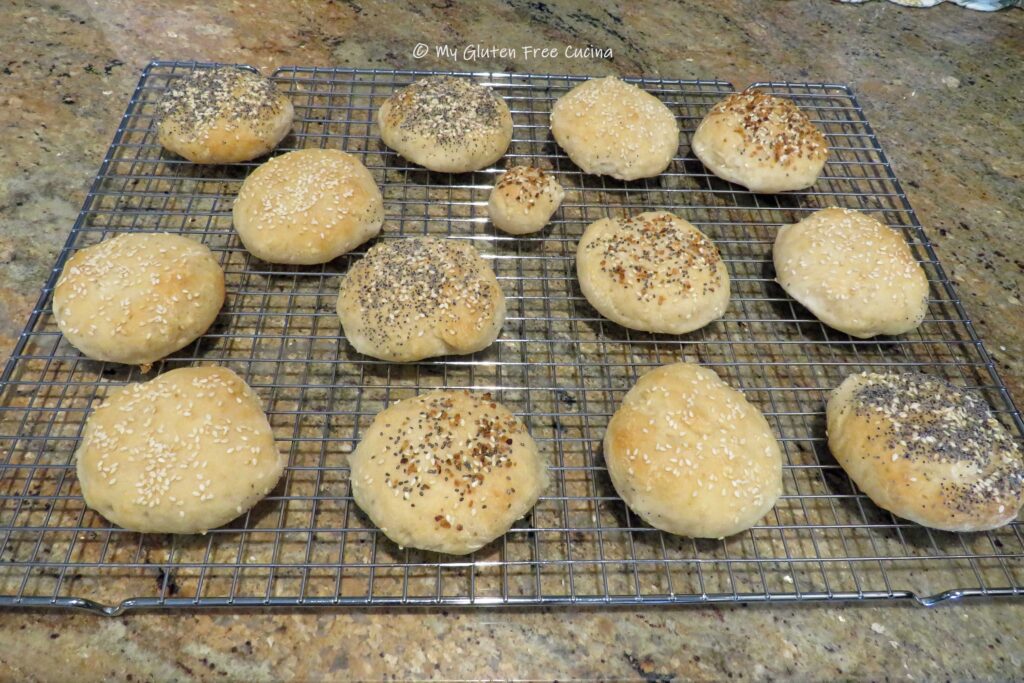
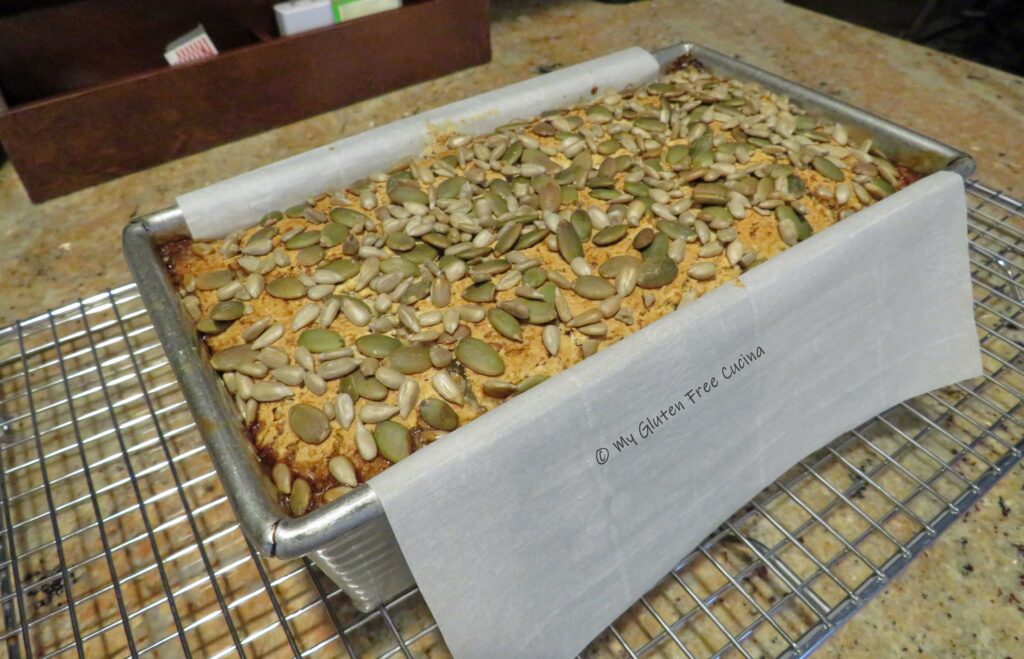
Cool in the pan for 15 minutes then transfer to a rack. Allow the rolls to cool completely before slicing.
For best texture, I let mine cool to room temperature then stored them on the counter in a plastic bag overnight. In the morning, I sliced them and wrapped each roll individually in plastic wrap. I left a few out for lunch and the rest went into a freezer safe bag. Freezing is recommended if you are not going to eat them immediately.
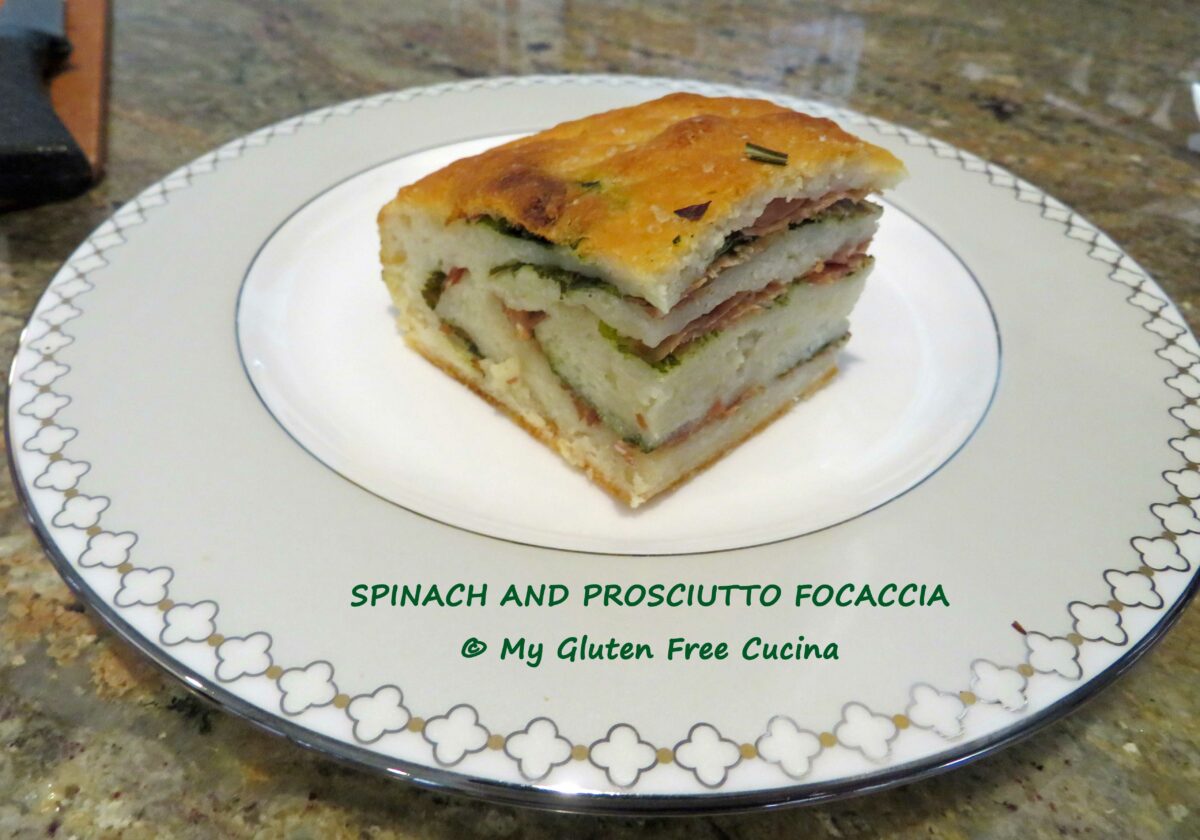
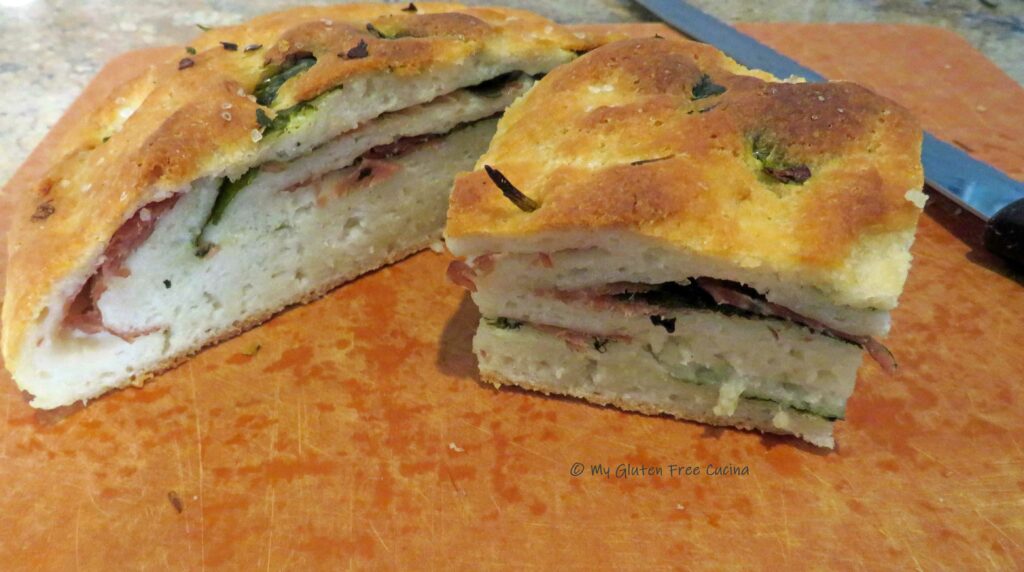
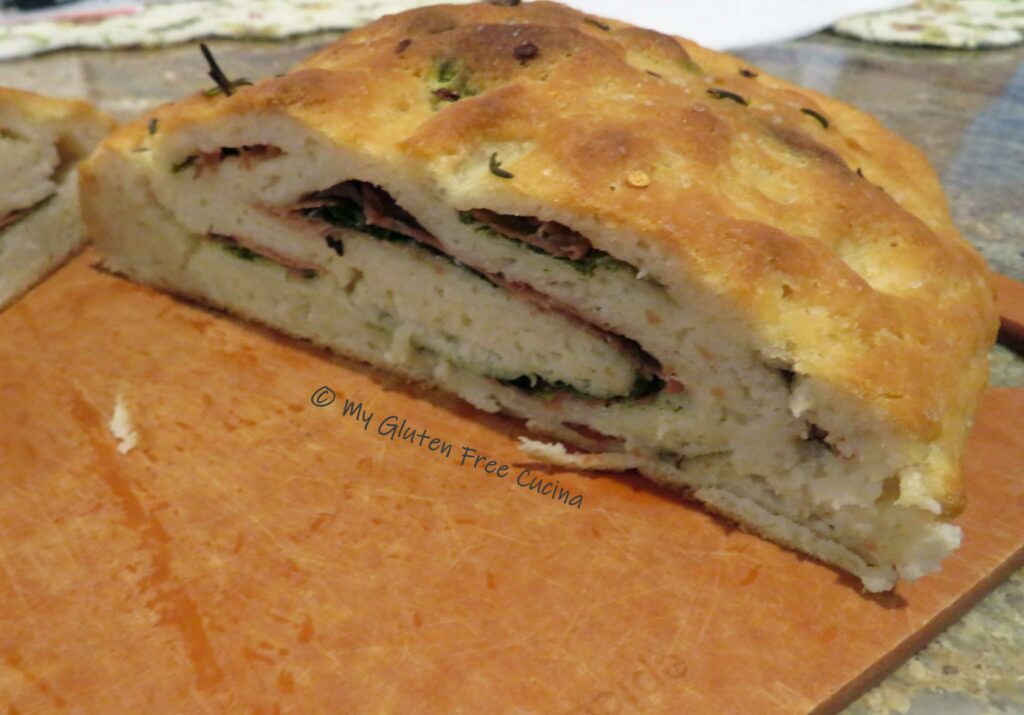
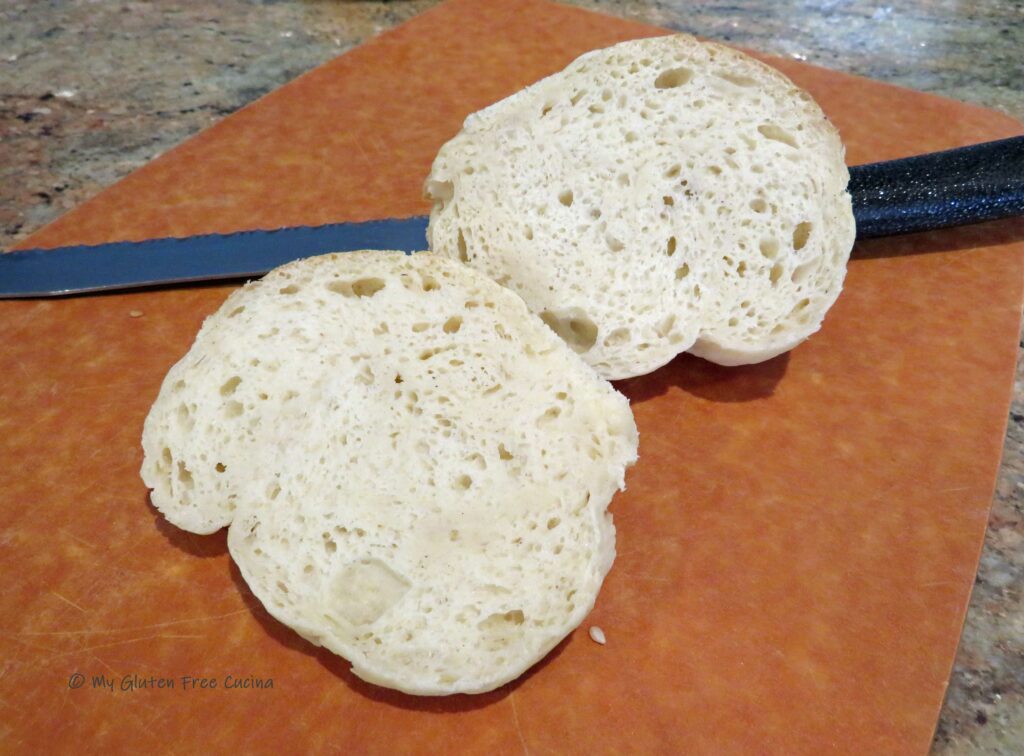
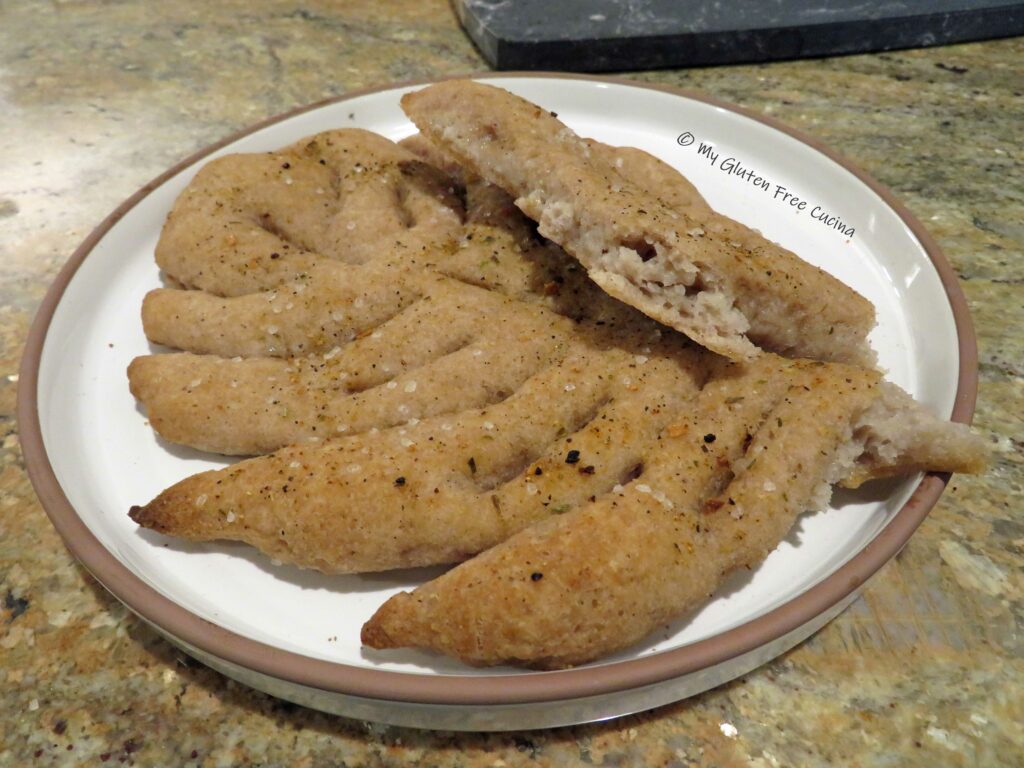
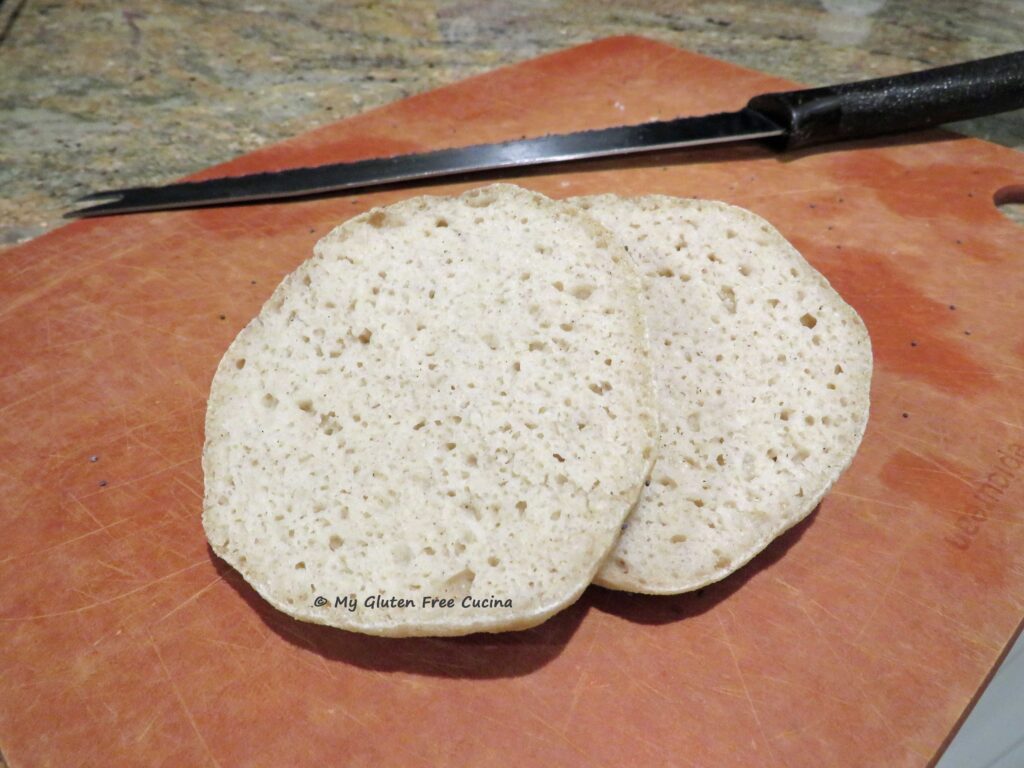
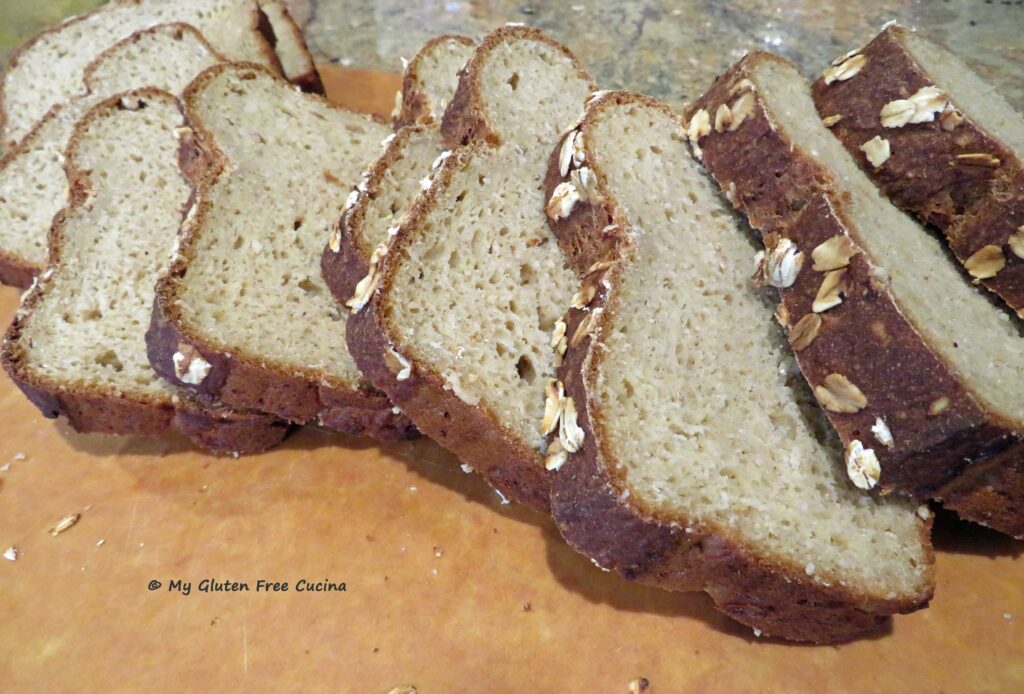
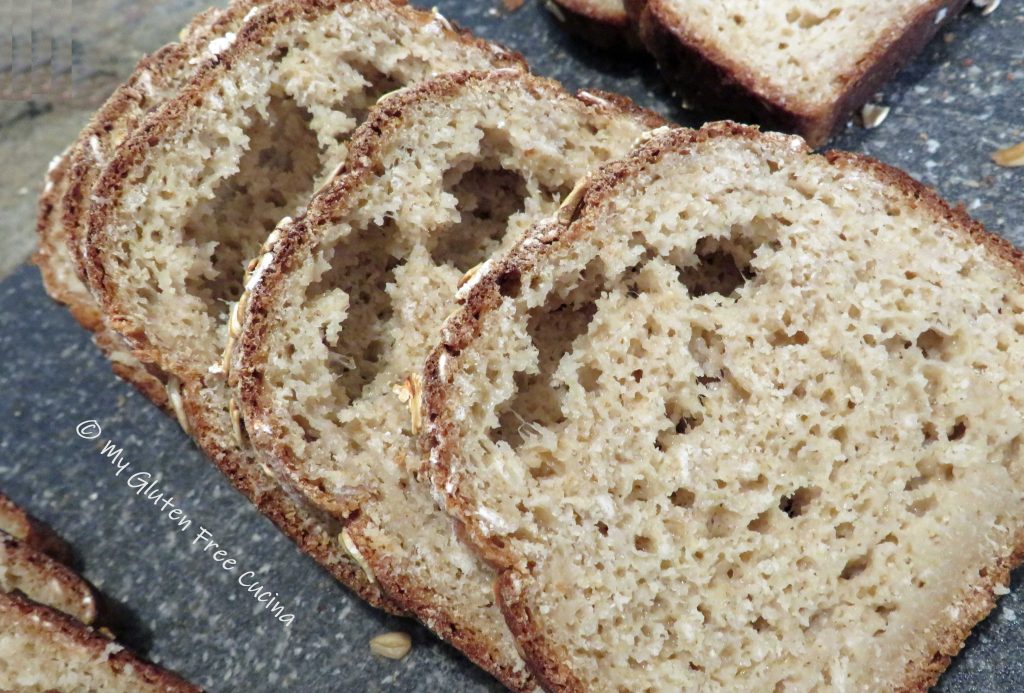
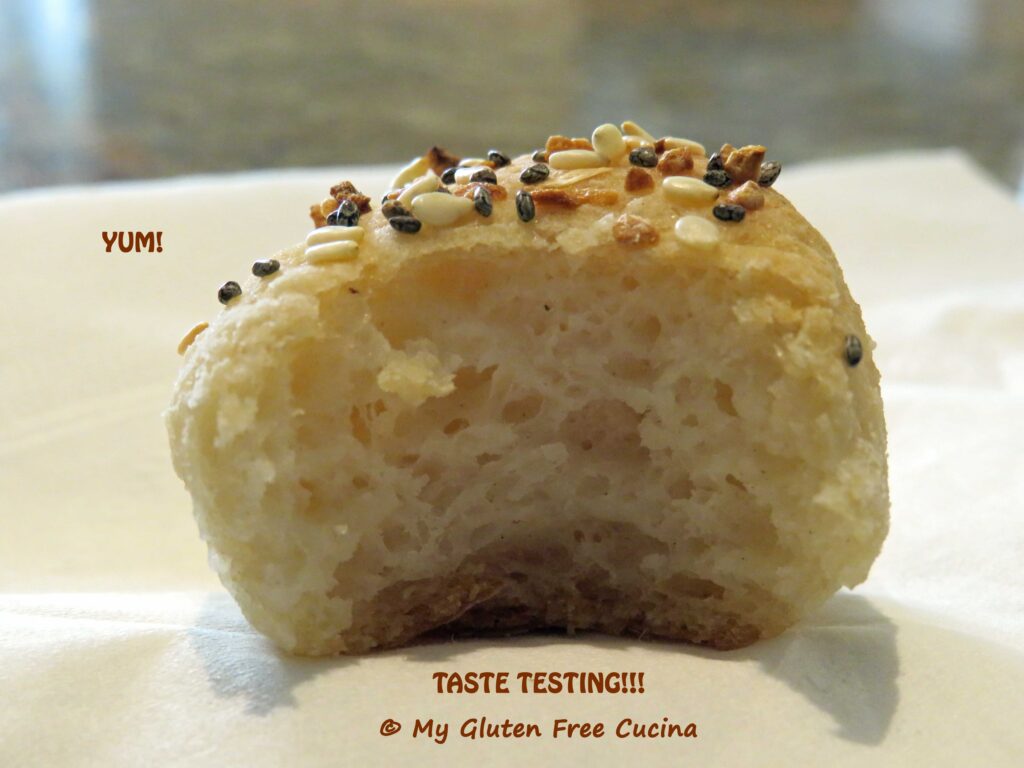
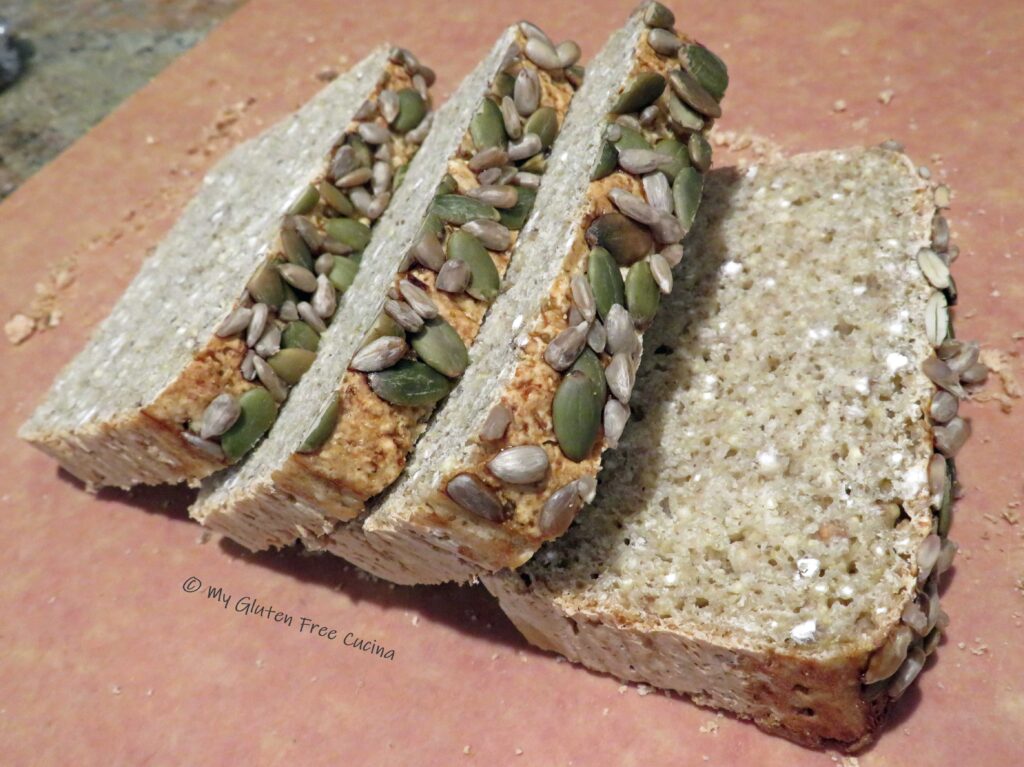
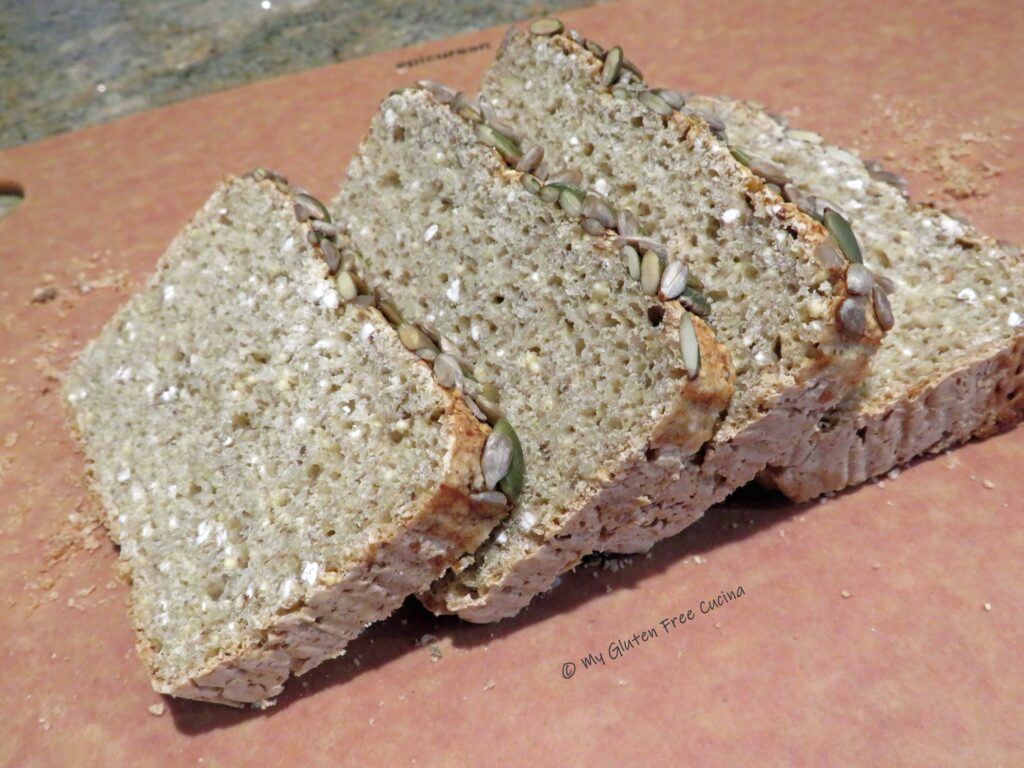
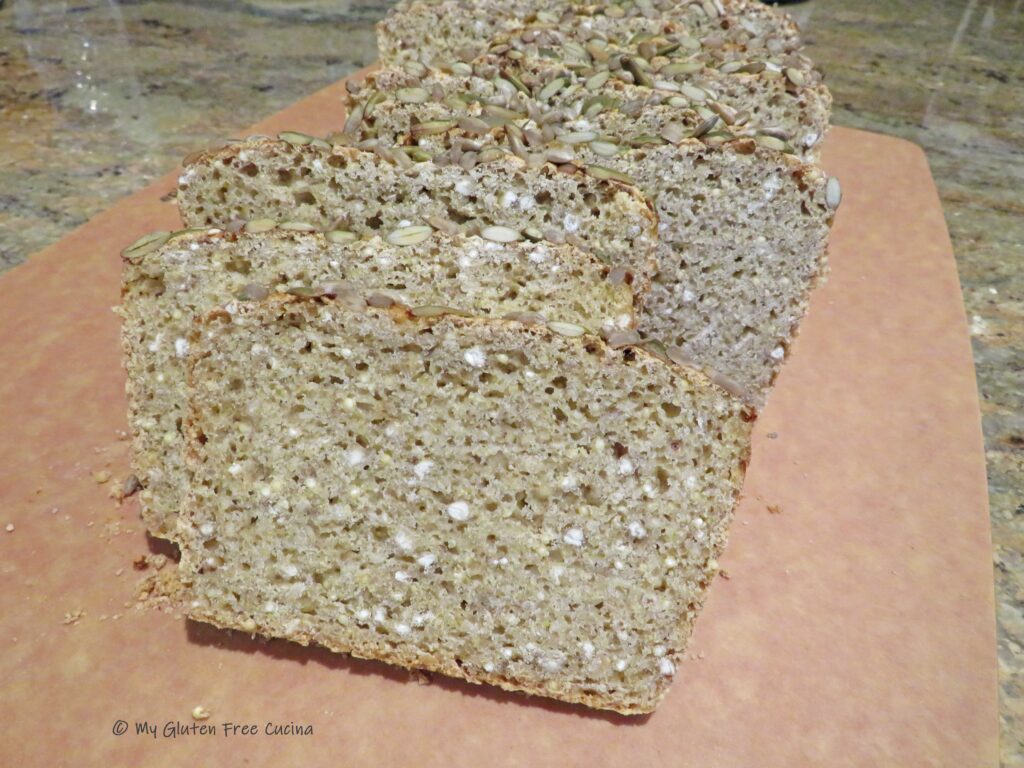
 Here’s the crumb shot. The rolls don’t need to be toasted, but they are great either way. Just the right size for me.
Notes ♪ Baking times given are for 2.5 oz. rolls. If you make yours smaller or larger you will need to adjust accordingly. Remember, the internal temperature should reach 210º, check- don’t guess, use a thermometer!
Notes ♫ For instructions on how to make a gluten free sourdough starter, read this post and meet my sourdough starter Sophie!

Notes ♪♫ For rice flour, always use a superfine grind. I like the Superfine White Rice Flour from Authentic Foods, available on Amazon.
Notes ♫♫ Check out this cute little Kaiser Cutter tool, from Ateco! My favorite Chef friend, Patrick Auger told me about it!


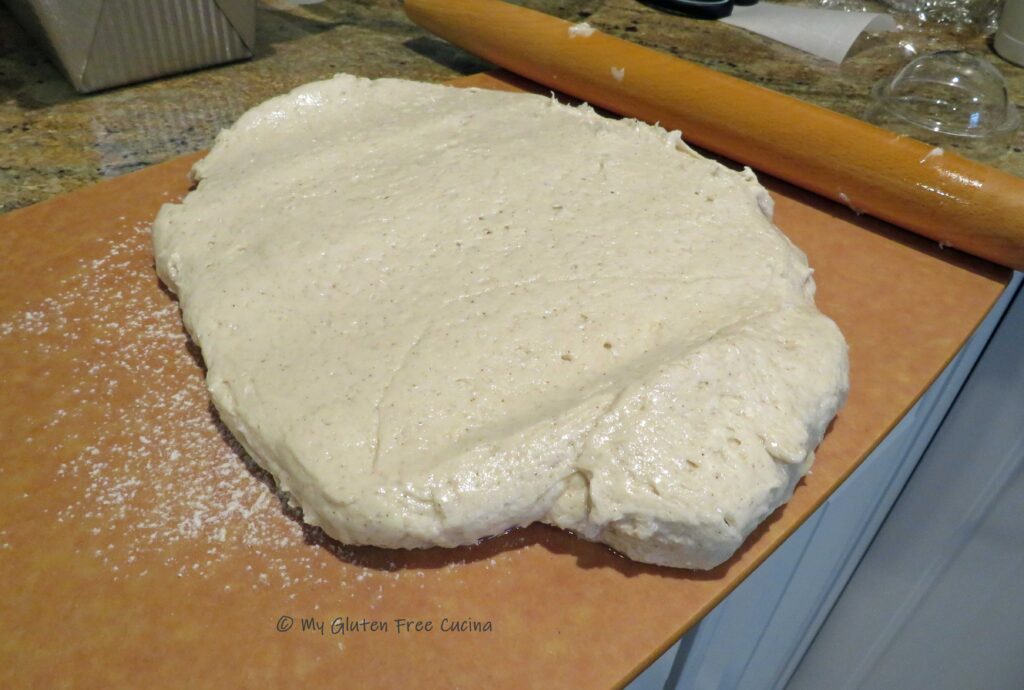
 Whisk together the dry ingredients (sorghum flour through salt).
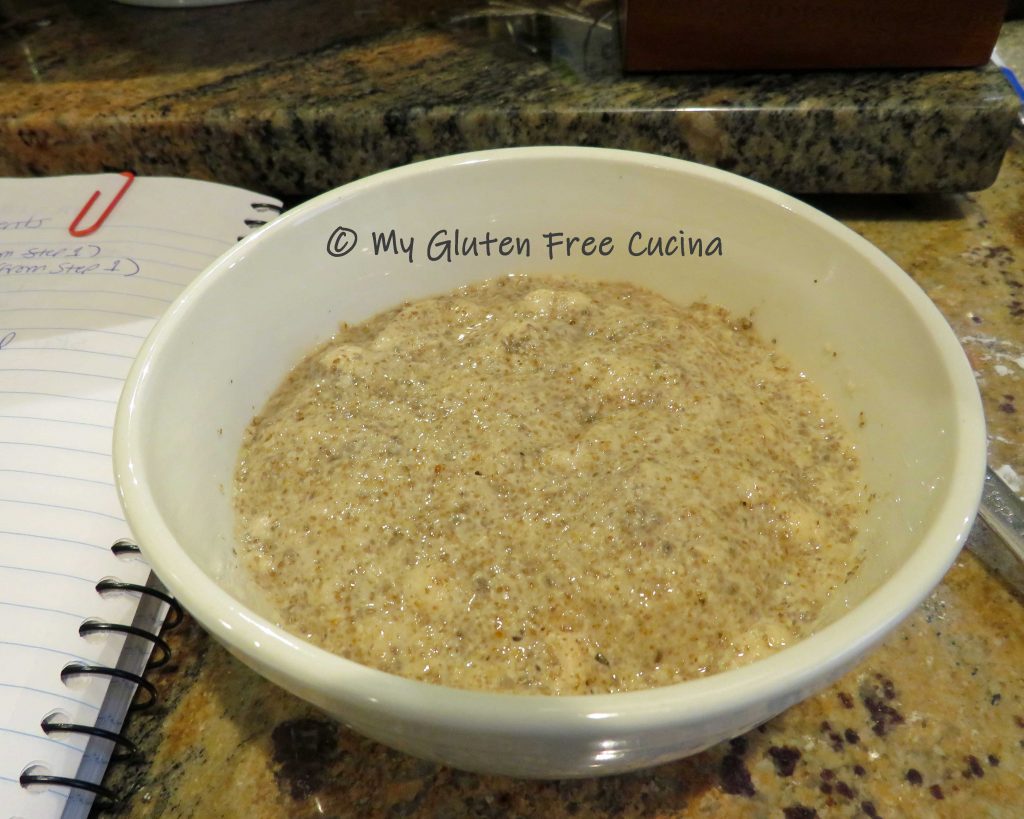
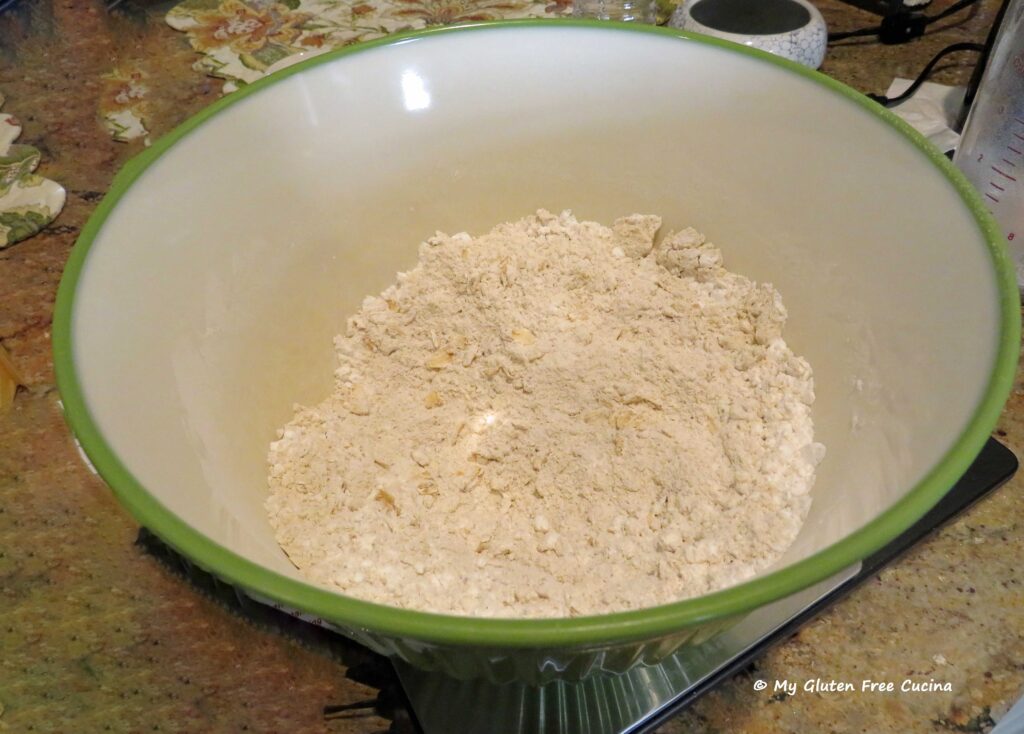 Add the dry ingredients to the wet and mix with the paddle attachment for 8 minutes to form a thick batter.
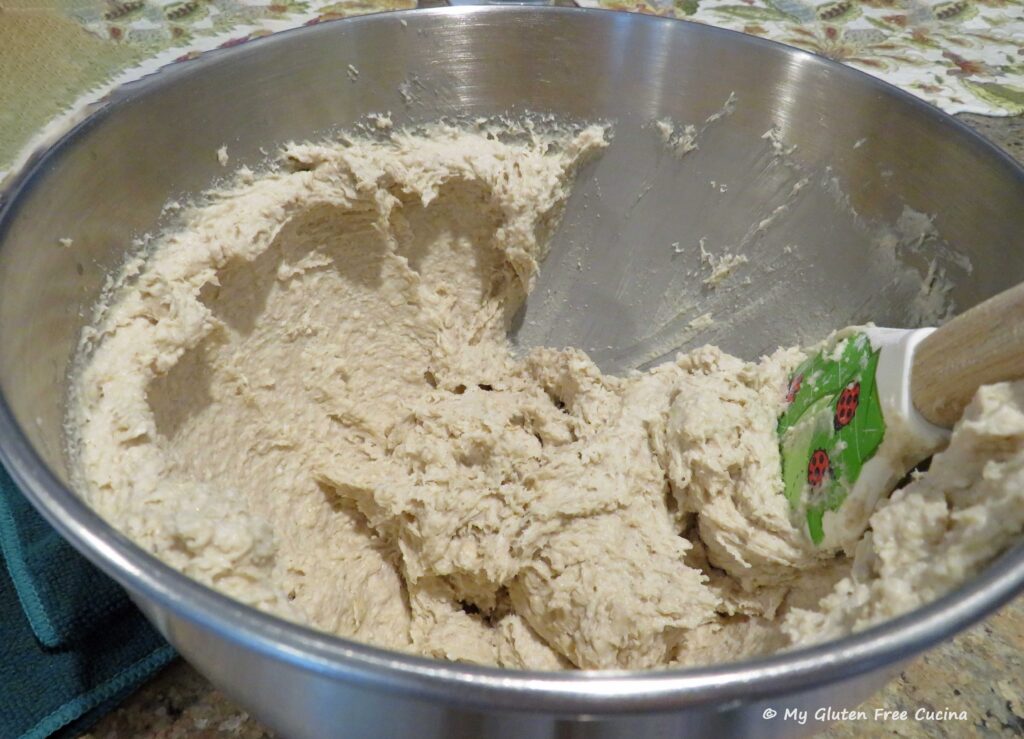

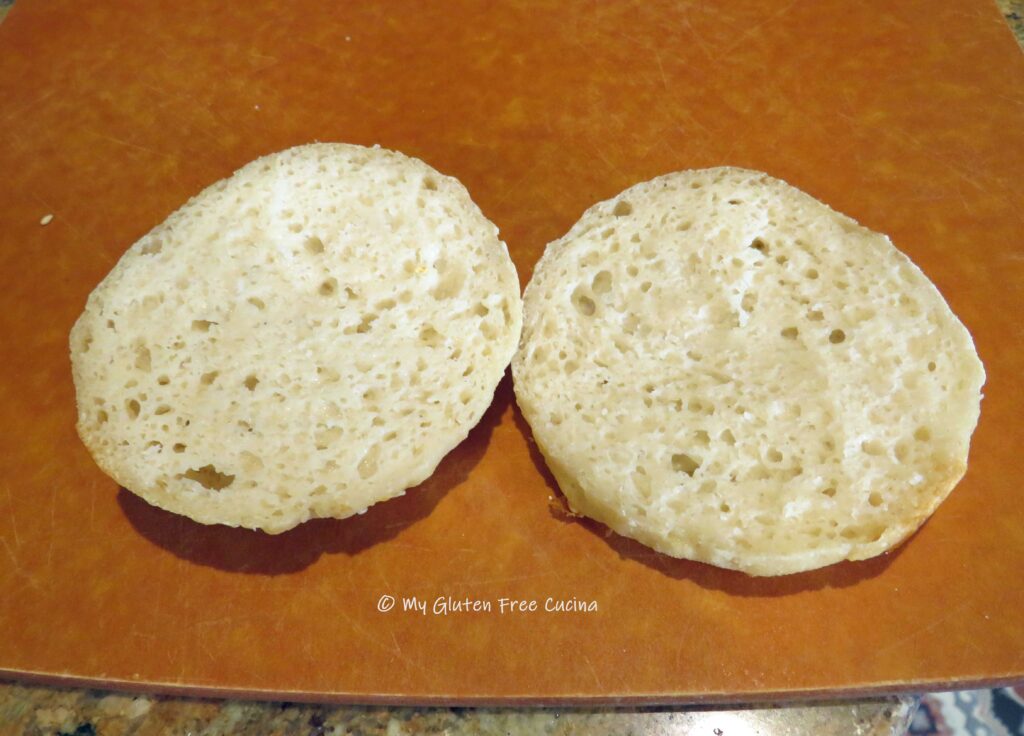


 How nice that these rolls do not
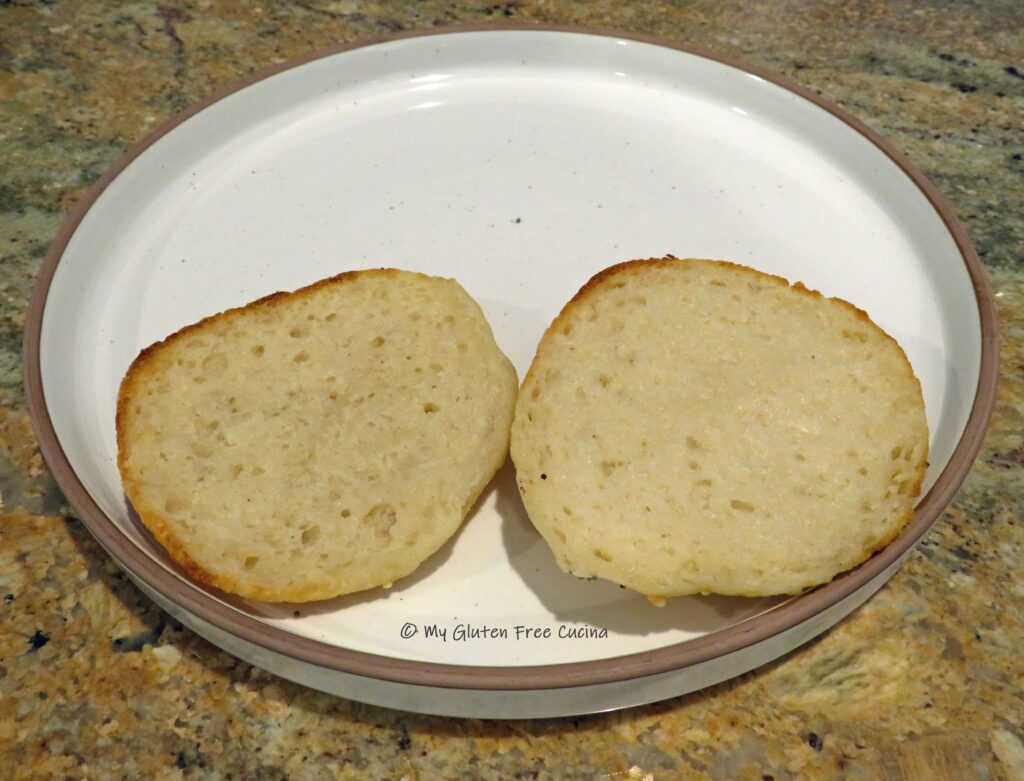


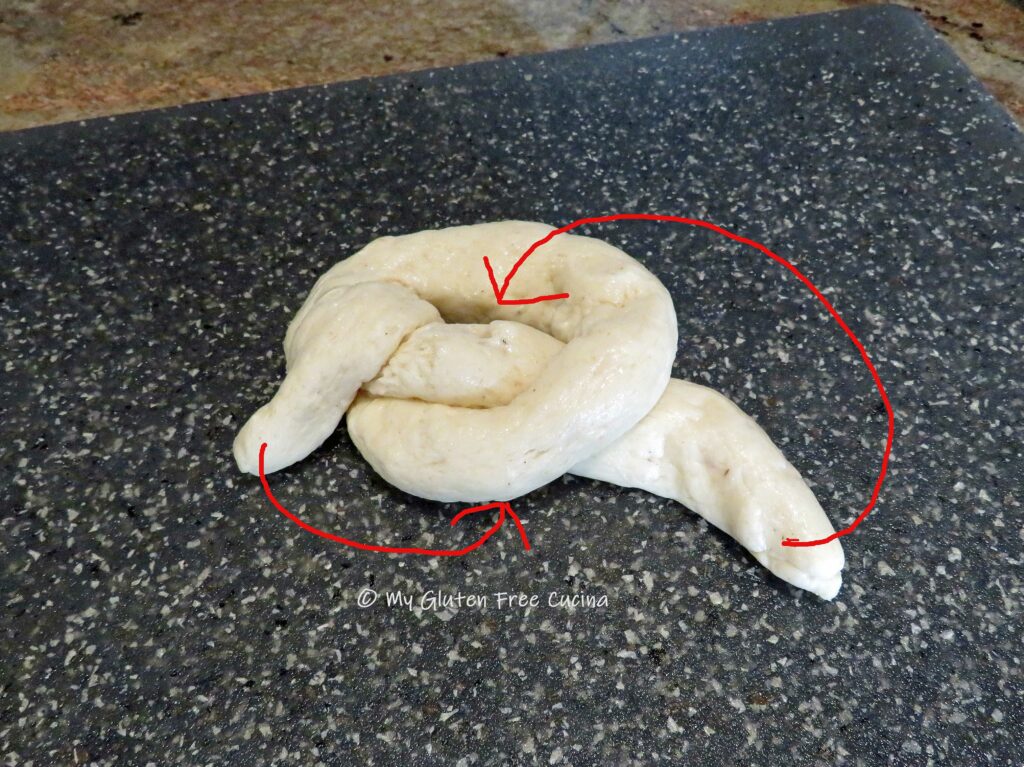
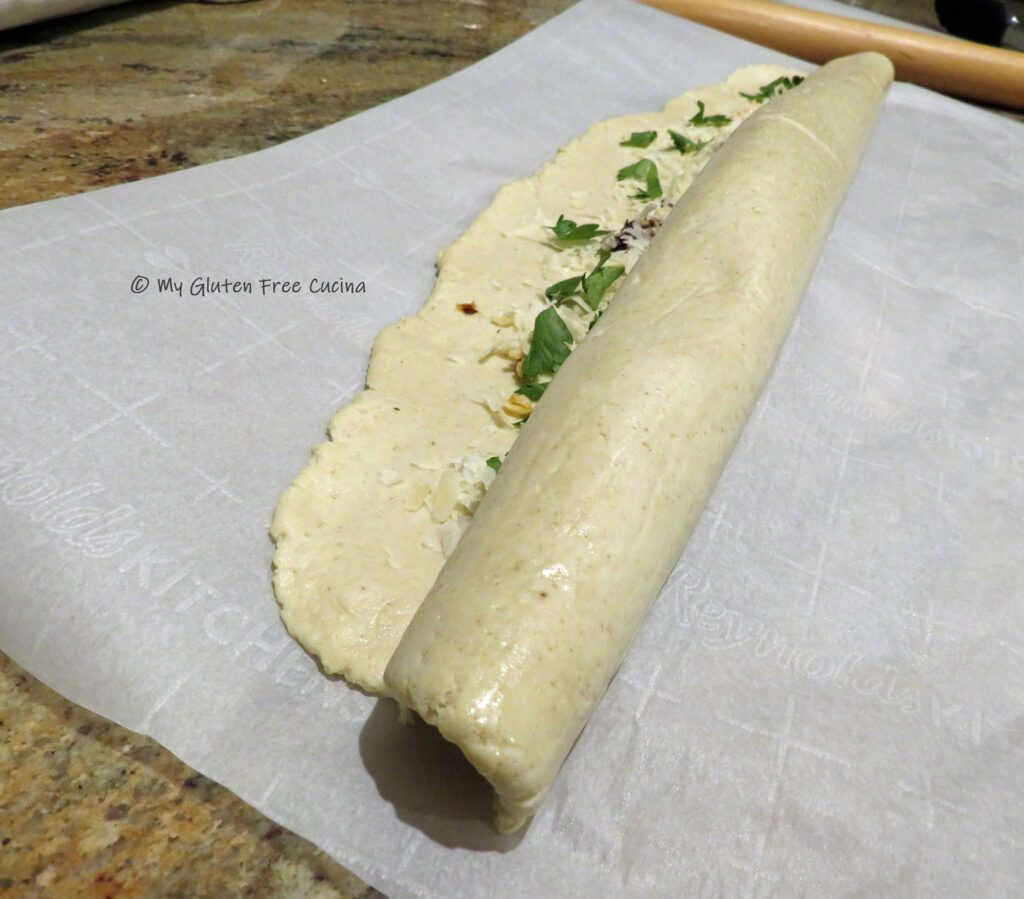 Pinch the edges together and if they don’t seal use a fork to smooth out the seam.
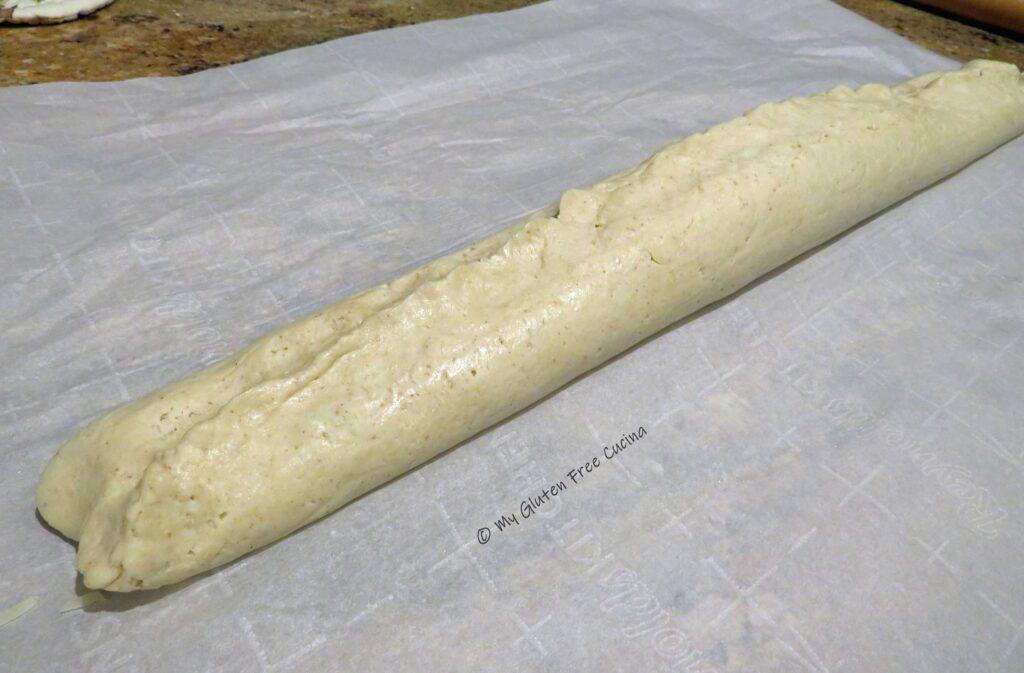

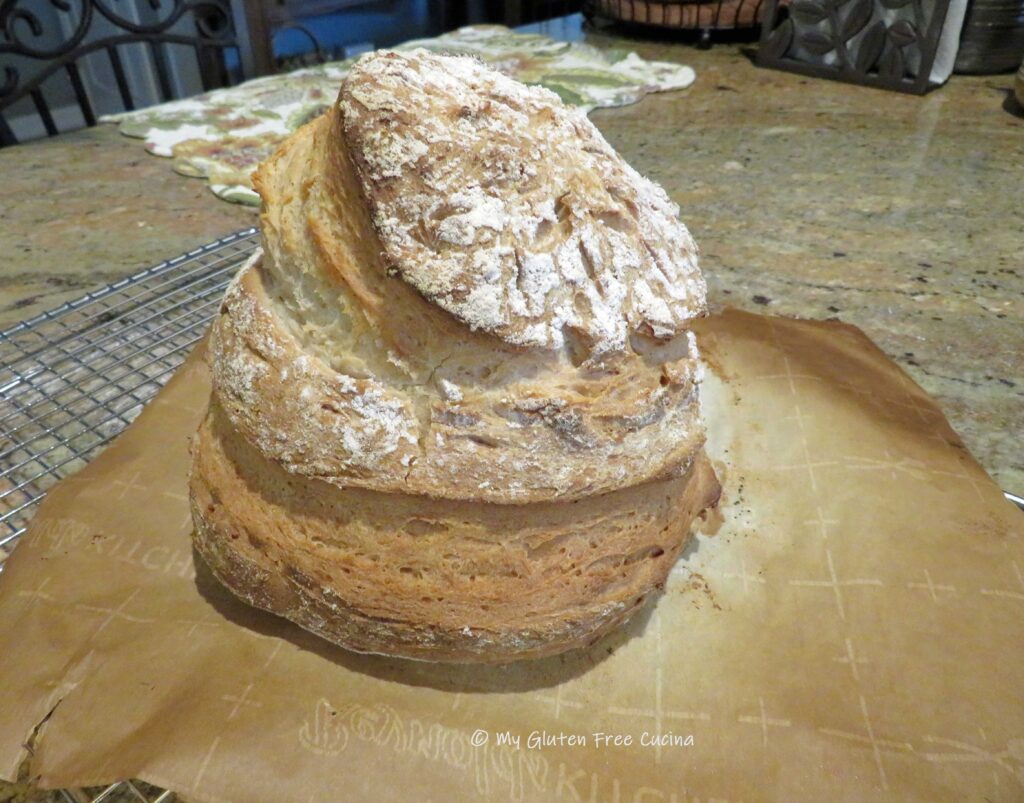
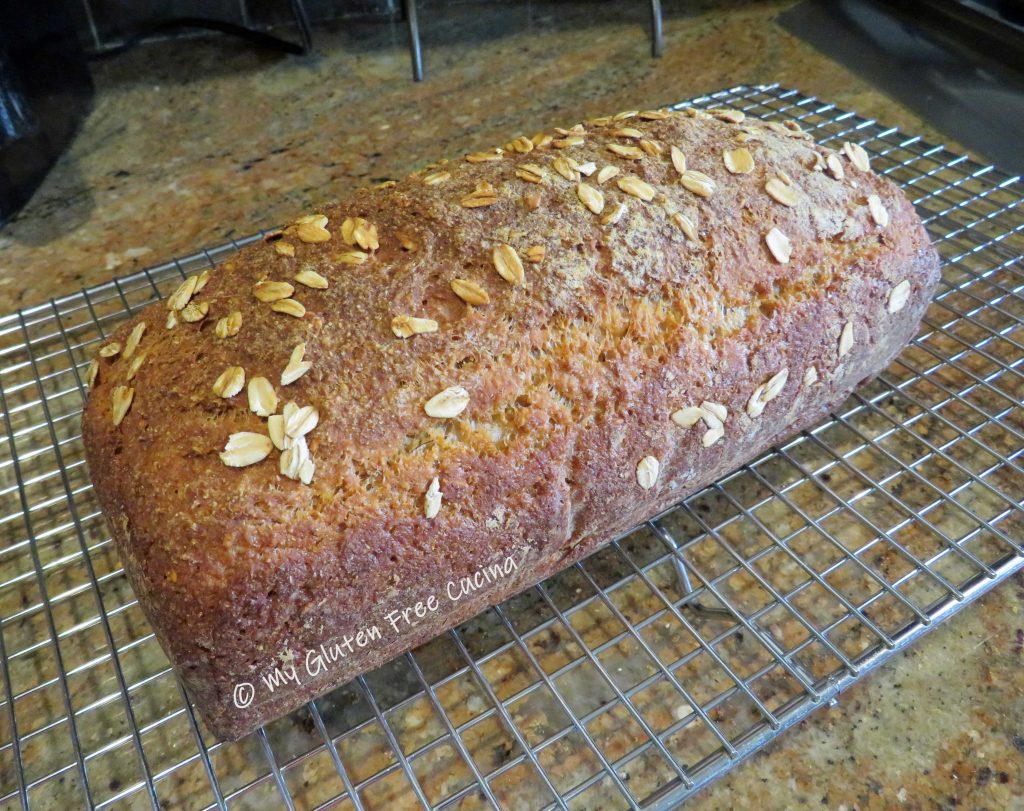
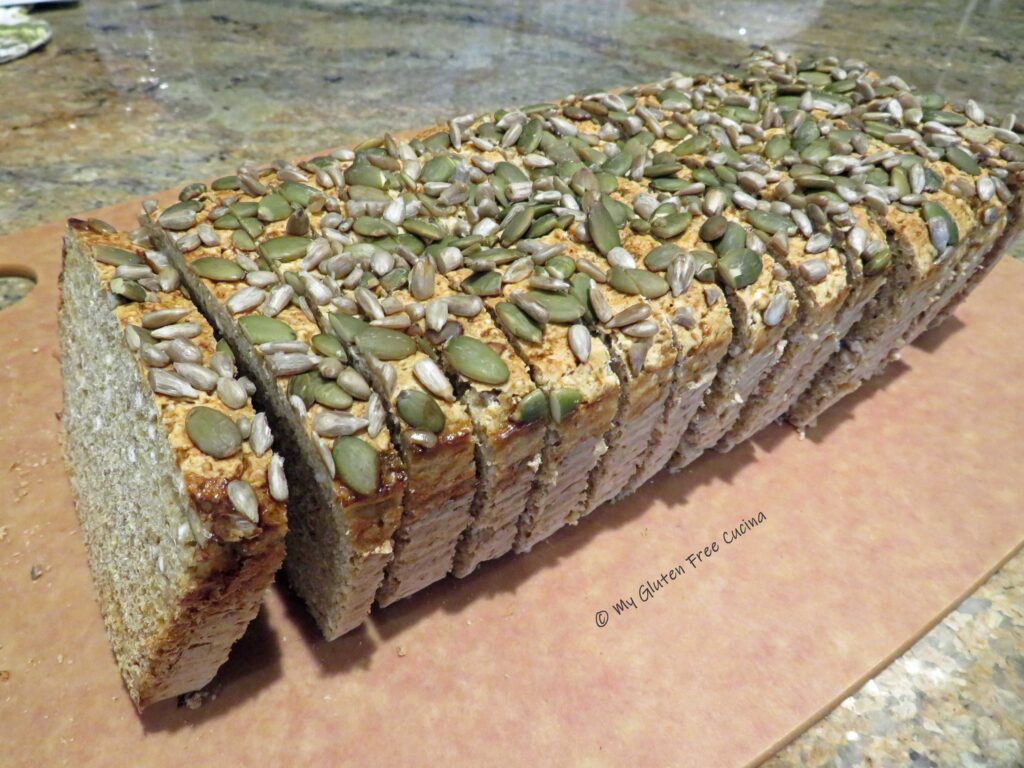
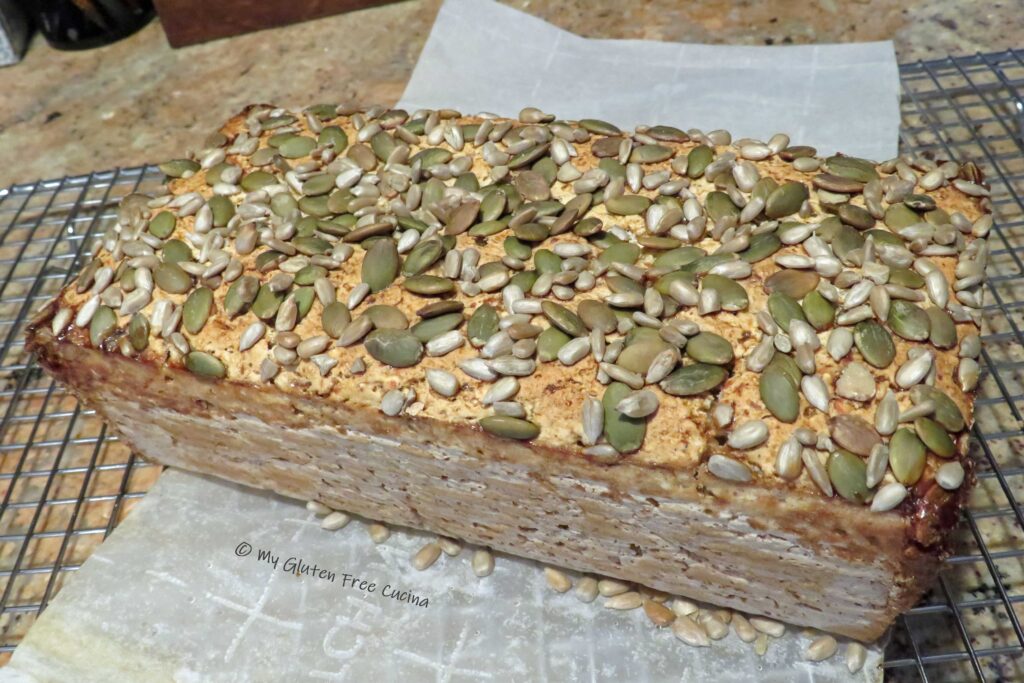
 You can store the loaf at room temperature for up to a day, then freeze the leftovers.
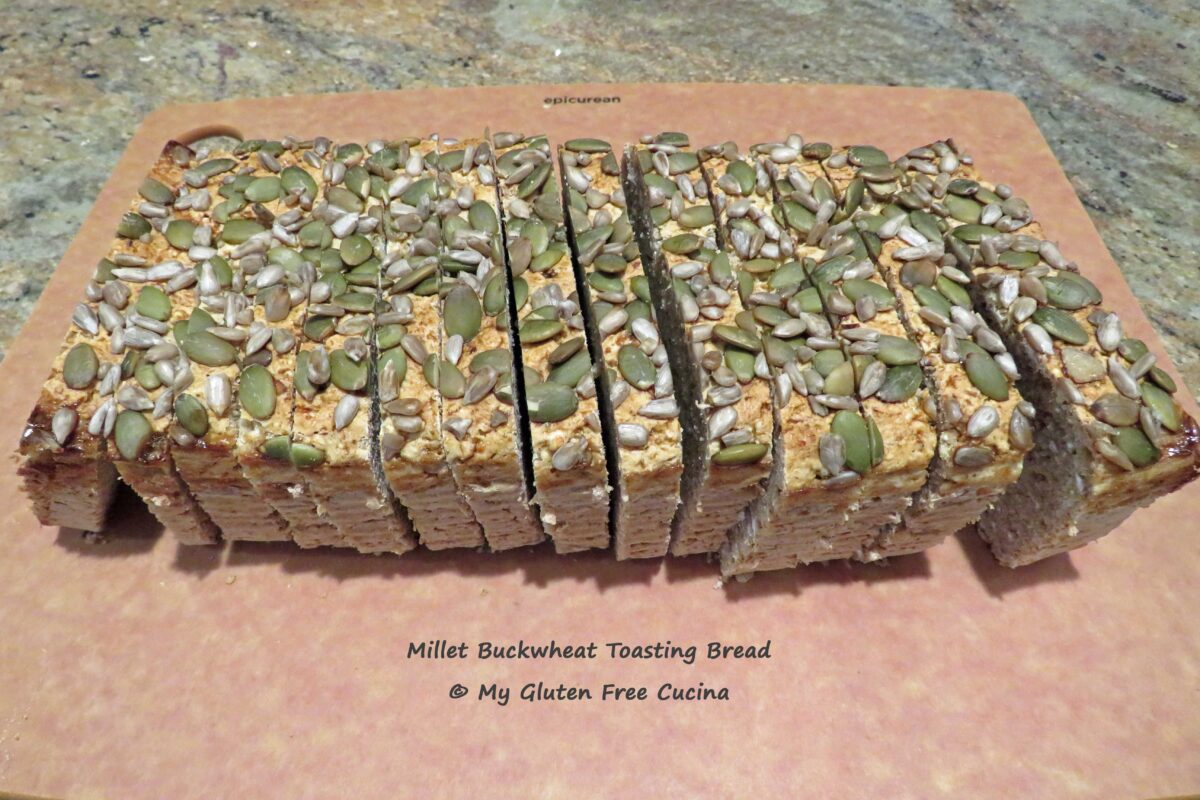


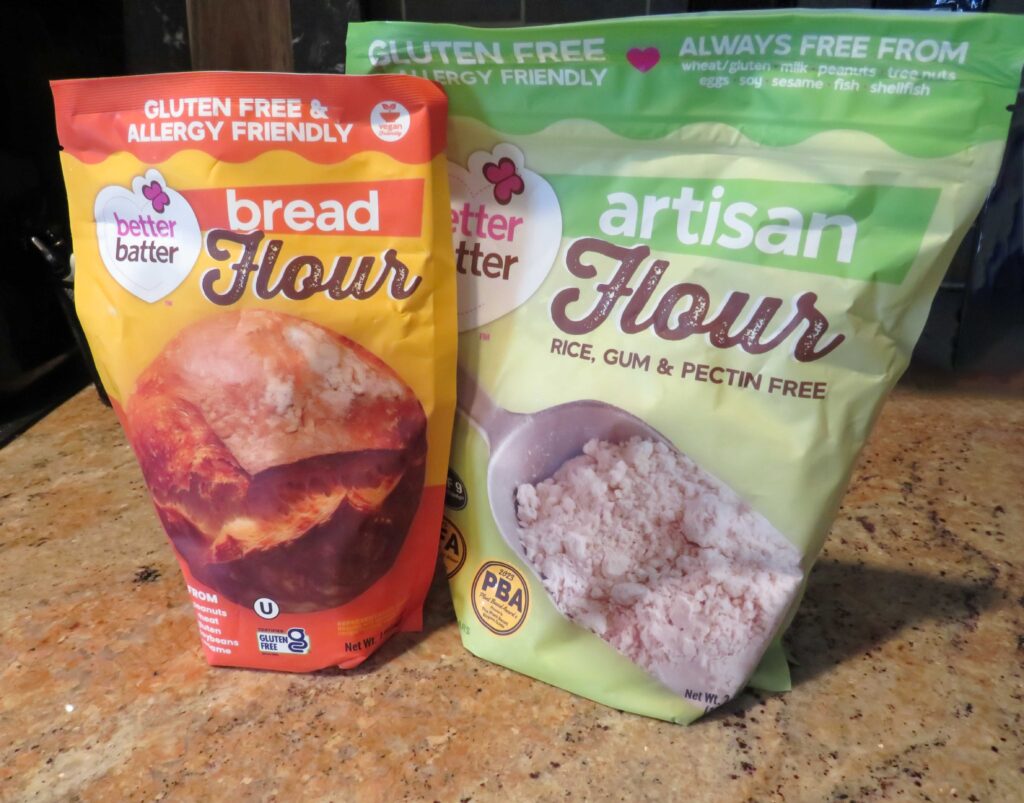
 Have you ordered the new Bread Flour from Better Batter yet?
 Preparation:
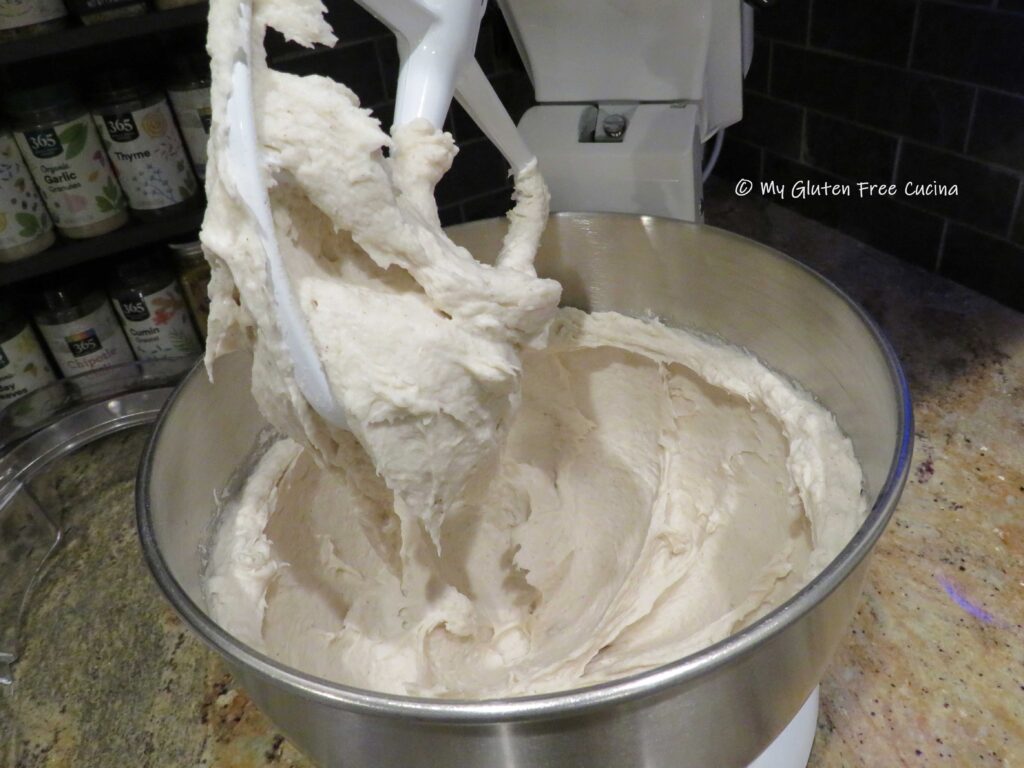


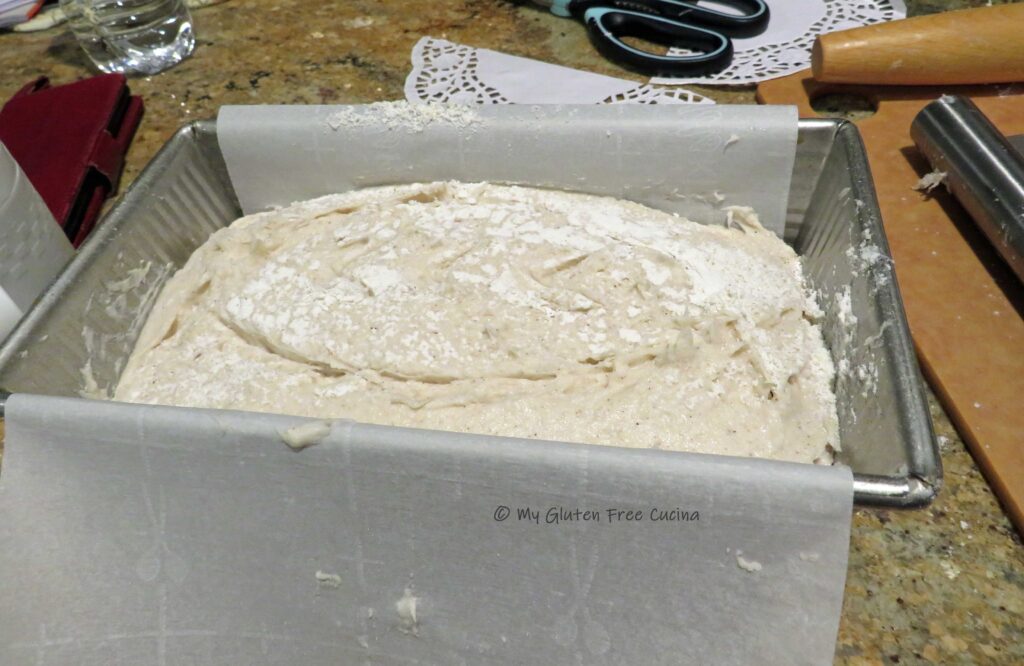
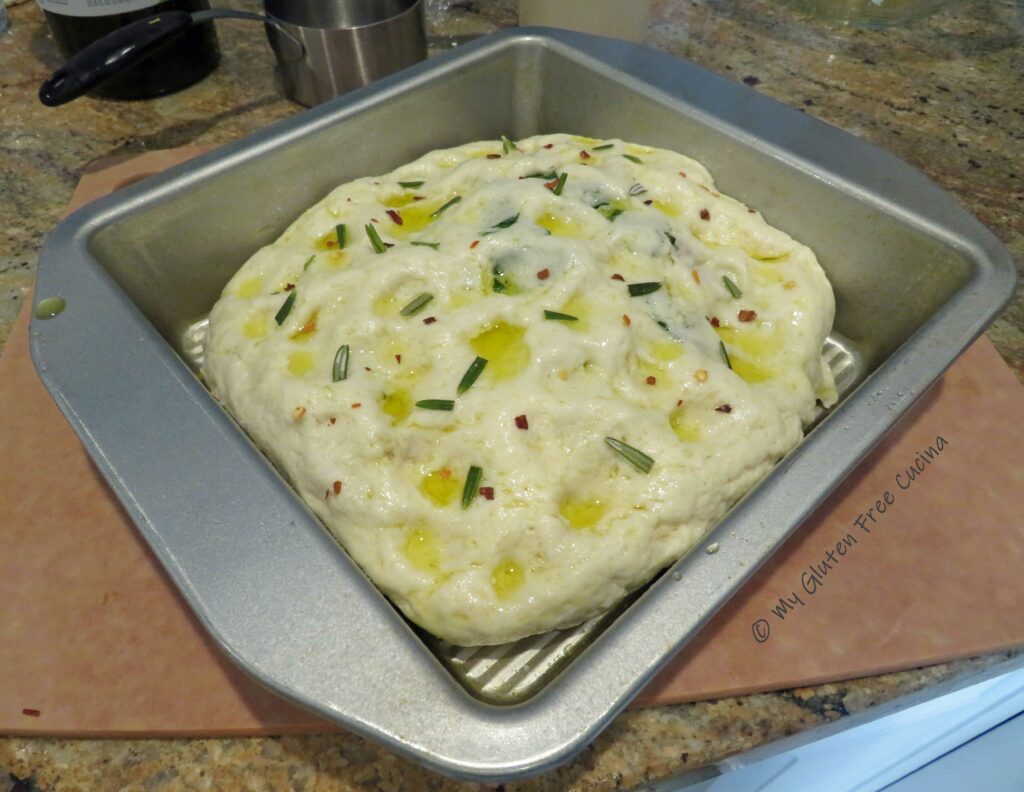
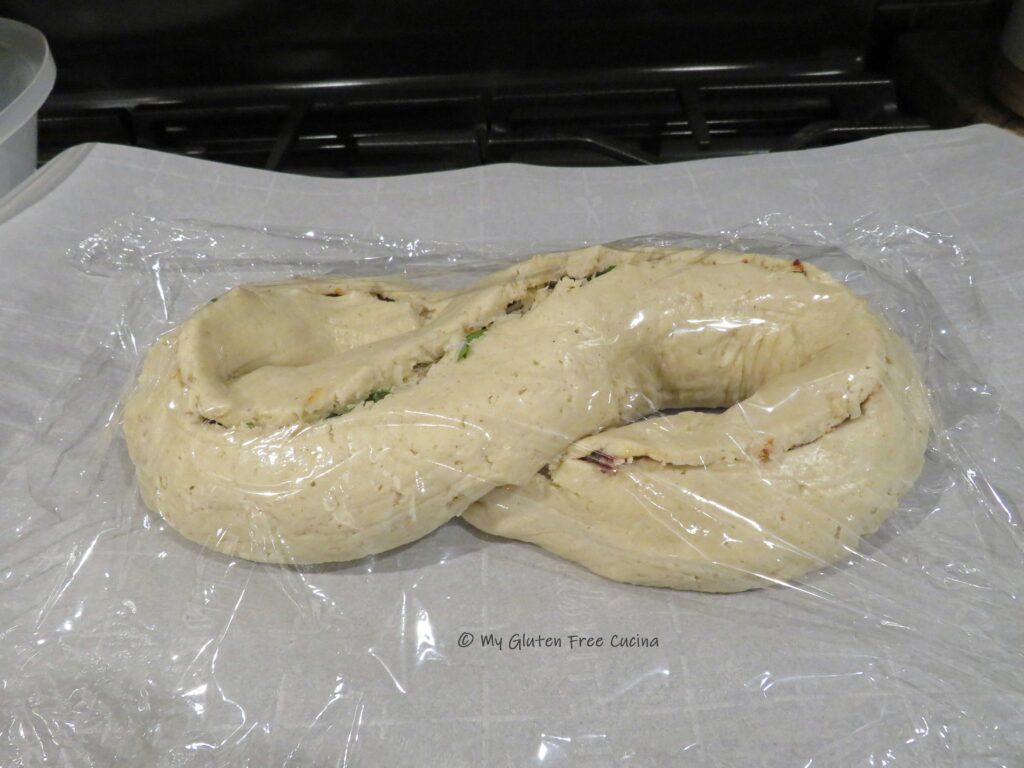
 Place the dough ball in an oiled bowl, cover with plastic wrap and refrigerate overnight for 12 hours.
 In the morning, preheat the oven to 475º with
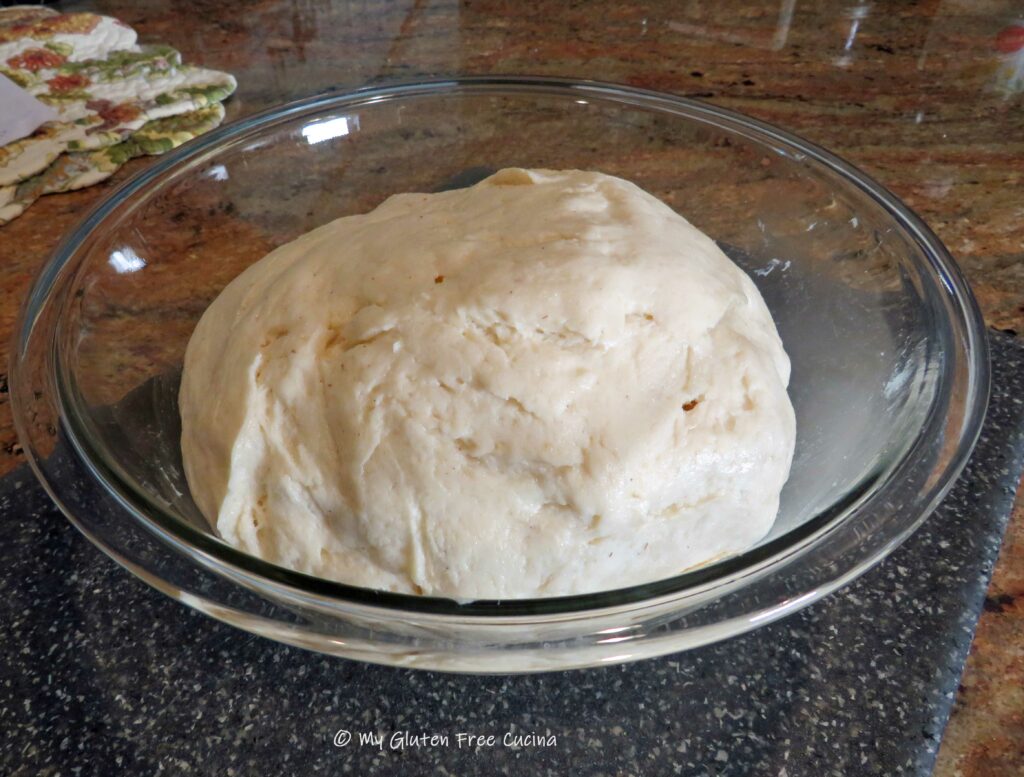
  Use a spatula to smooth it into a round shape.
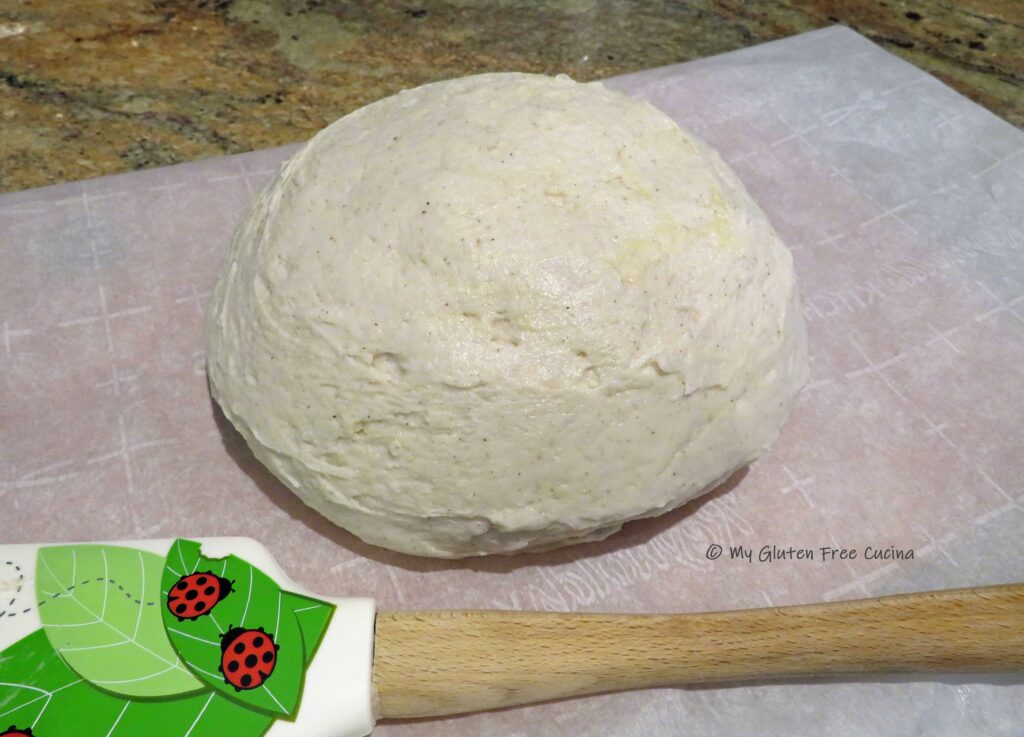 Use a
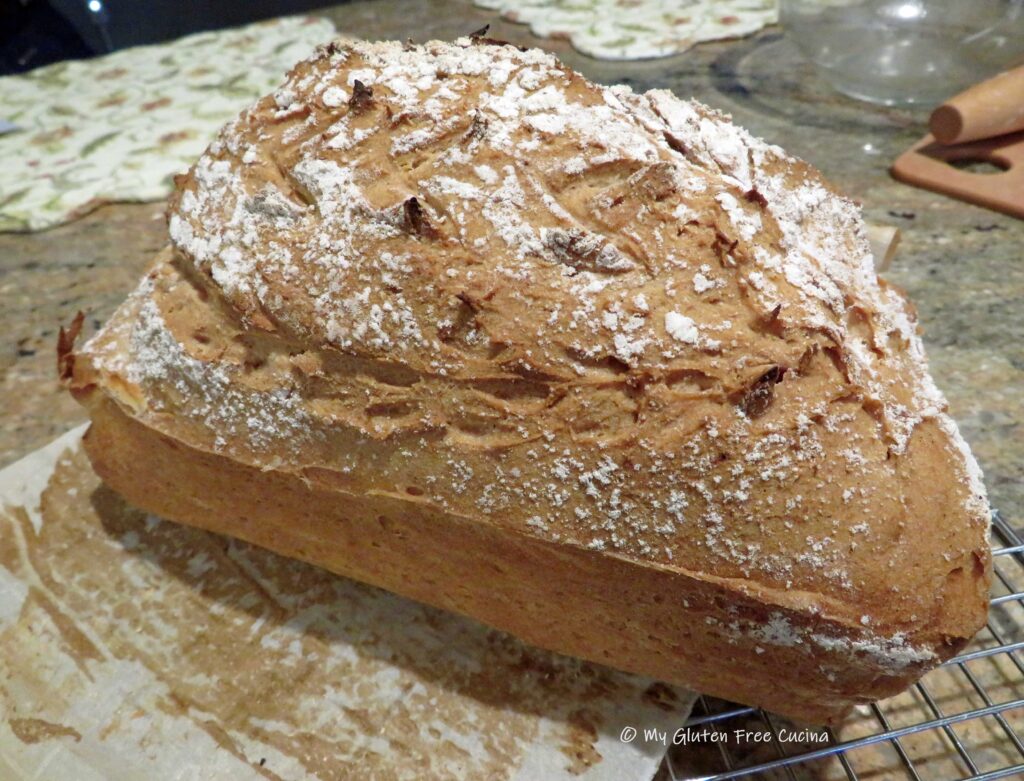
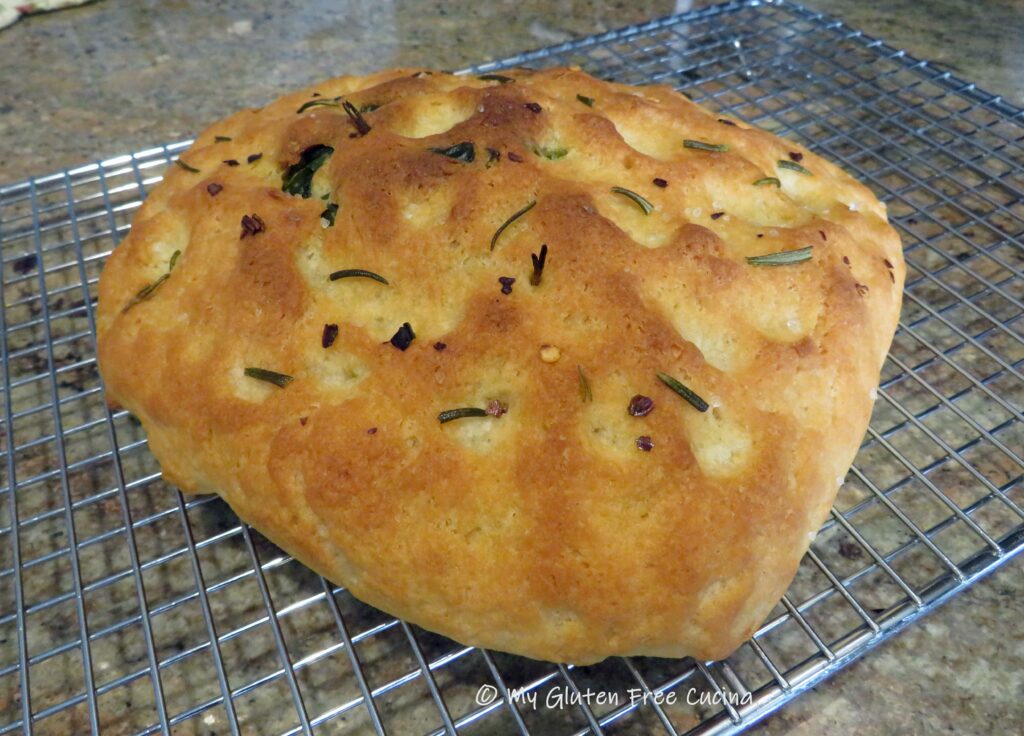
Use a 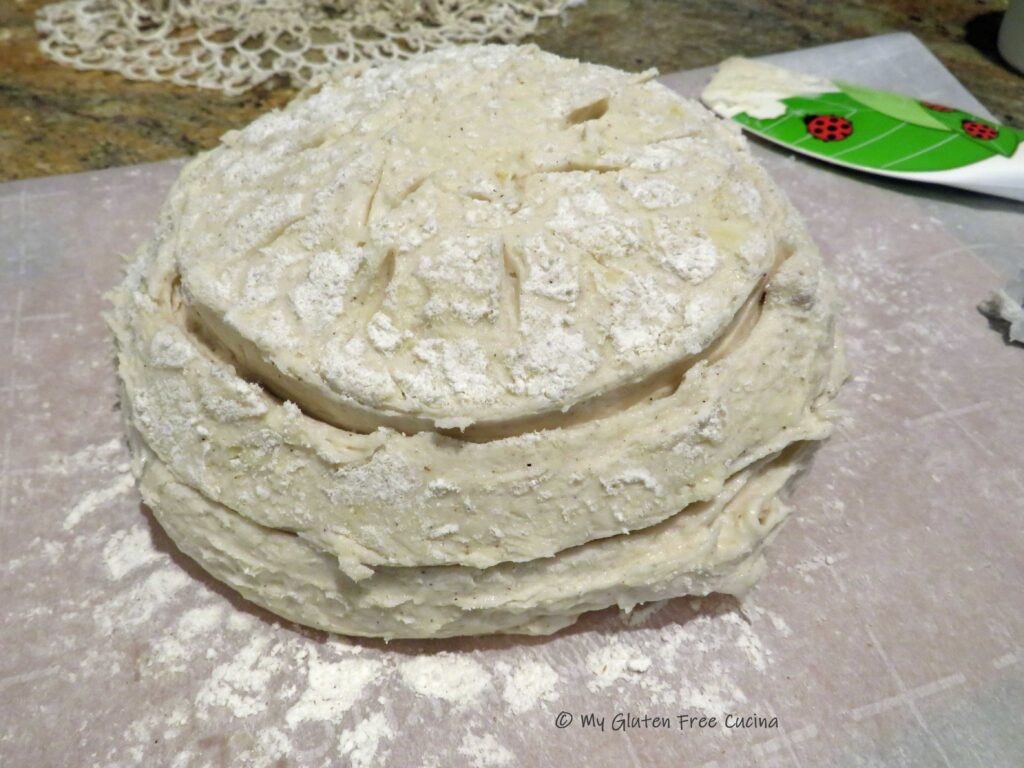 Transfer the dough, with parchment to the oven. Throw a few ice cubes onto the bottom of the oven and quickly shut the door. After the first 5 minutes throw in a few more ice cubes.
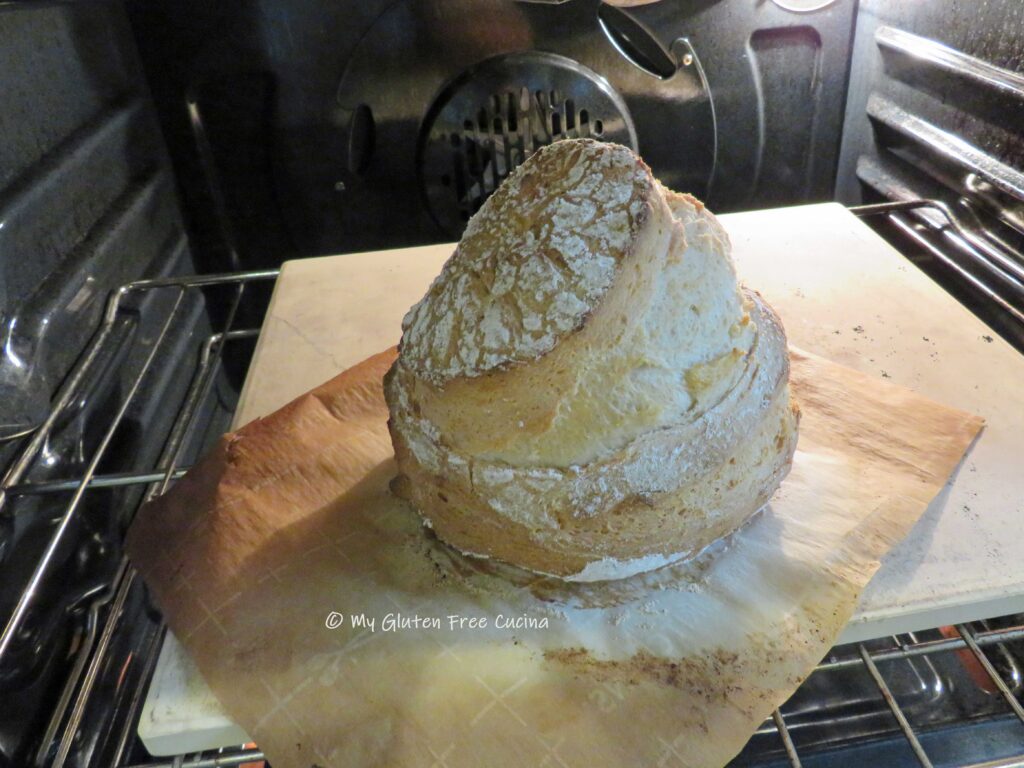 Cool completely on a rack then store in a plastic bag at room temperature. Wait 24 hours to slice.