French Toast Casserole is my favorite thing to make for brunch. I have been making some version of this dish for years, even before my Celiac diagnosis. This Easter, I decided to change it up with a blueberry cream cheese filling and it was so delicious! Just prep the night before and bake in the morning, a real time saver when you are having company!
This post contains affiliate links.

At the heart of the recipe are those sweet, enriched bread cubes, but don’t use any old gluten free bread. Ingredients matter, and that cardboard loaf you got at the supermarket is not going to do this casserole justice!
A recipe within a recipe…
The secret to this dish is my Gluten Free Millet Bread. I make this bread specifically for French toast and it is amazing! Bake it two days before, and you will have more than enough for this French Toast Casserole.
If you are going to buy the bread, choose a good quality gluten free enriched loaf, like a brioche or challah. But I do hope you will give this Millet Bread a try, I promise you will not be disappointed!

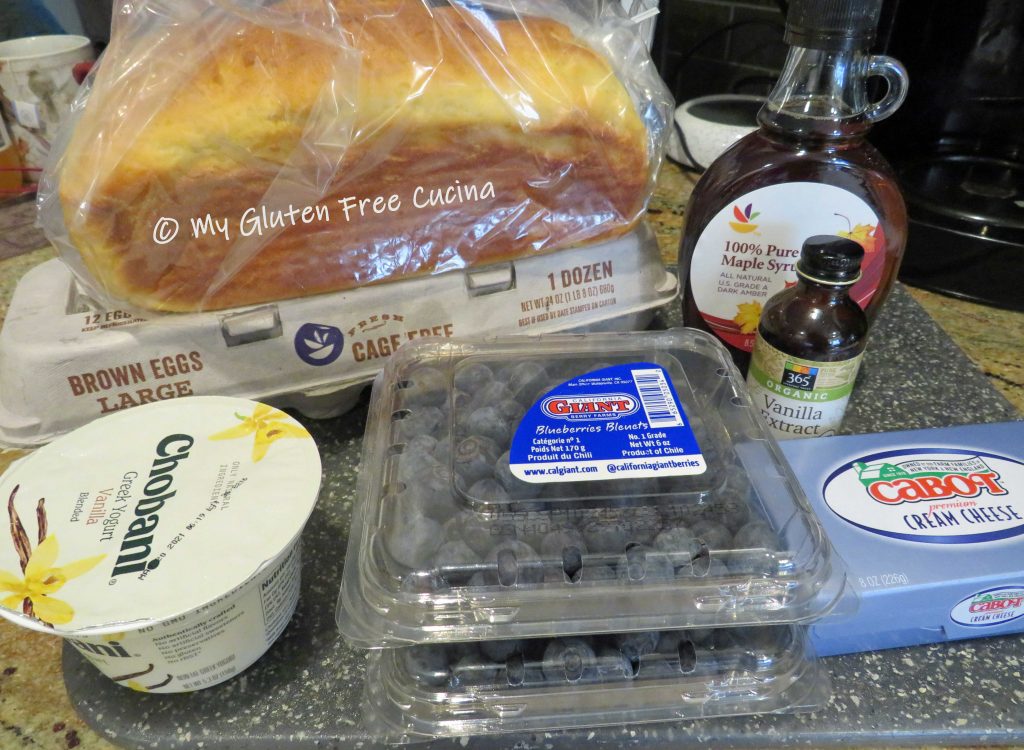
Ingredients:
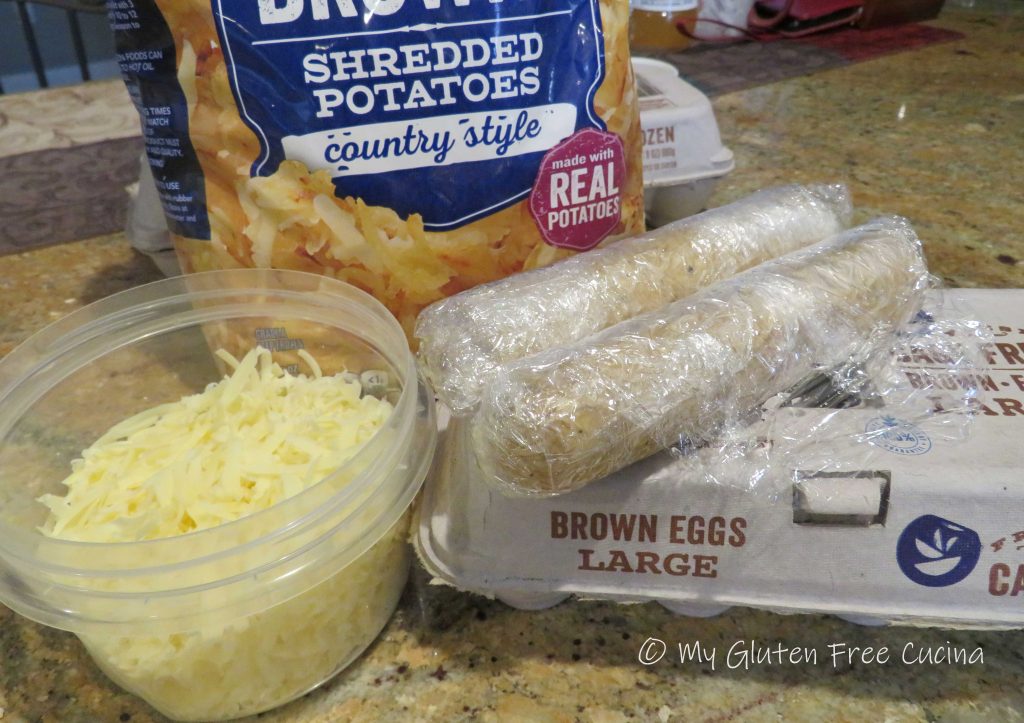
- 9 slices gluten free millet bread, cut into cubes
- 8 oz. cream cheese, softened
- 4 oz. vanilla Greek yogurt
- 1 cup fresh blueberries, divided use
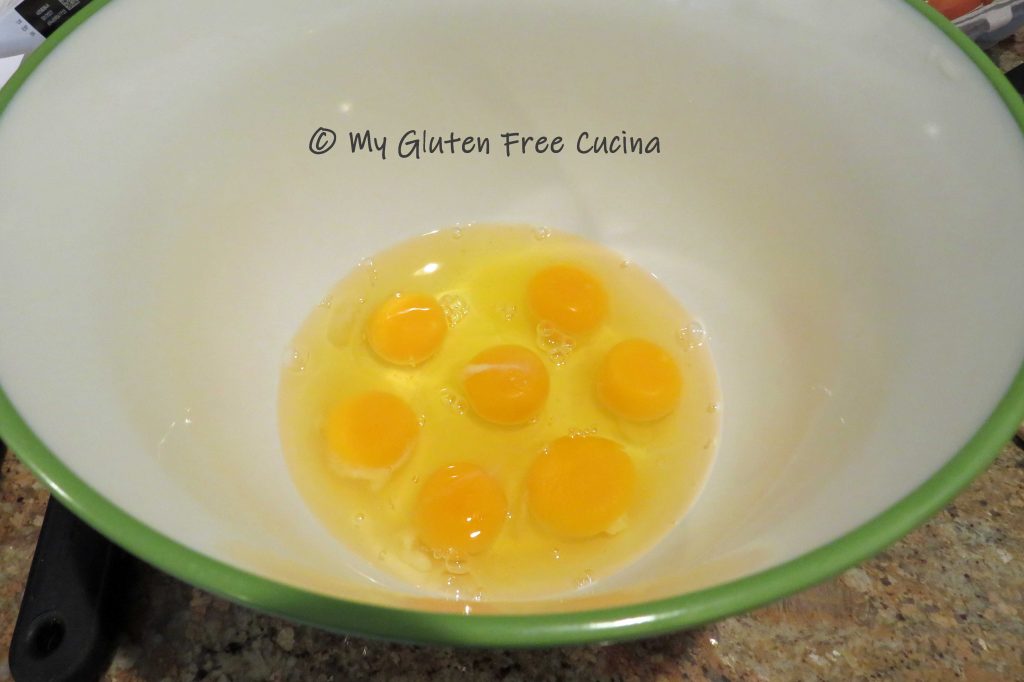
- 9 large eggs
- 1-1/2 cups 1% milk
- 3/4 tsp. vanilla extract
- 1/4 cup real maple syrup
- pinch of nutmeg and cardamom
- powdered sugar, for dusting
Preparation:
Two days before, bake the Millet Bread. Cool completely on a rack and store it at room temperature for 24 hours in a plastic bag.
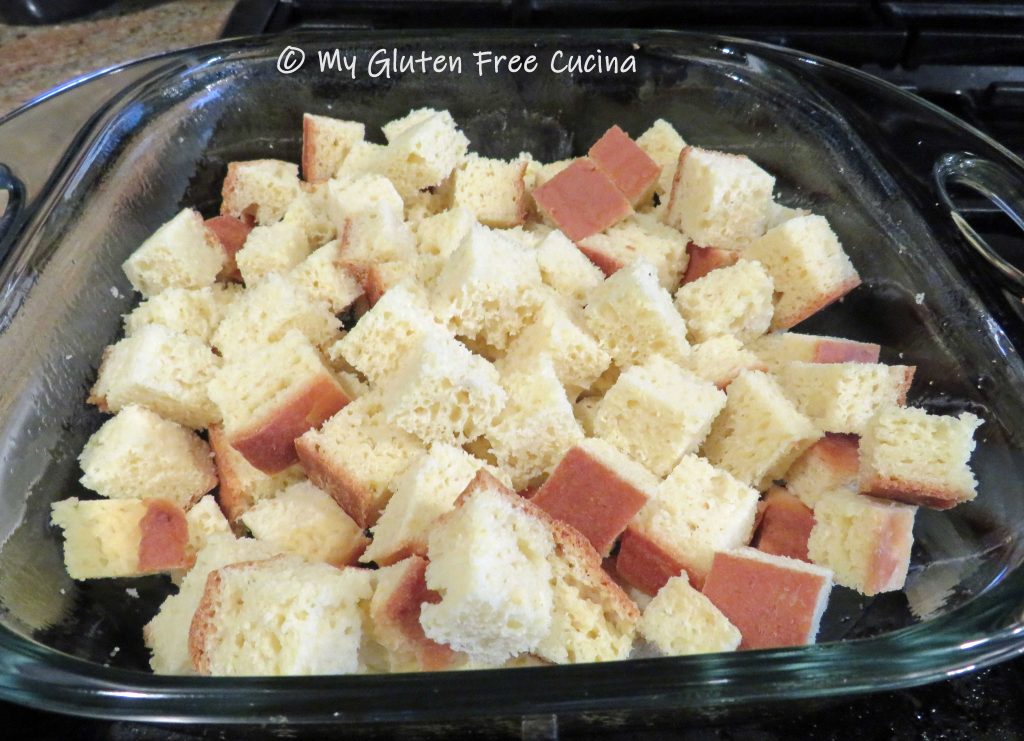
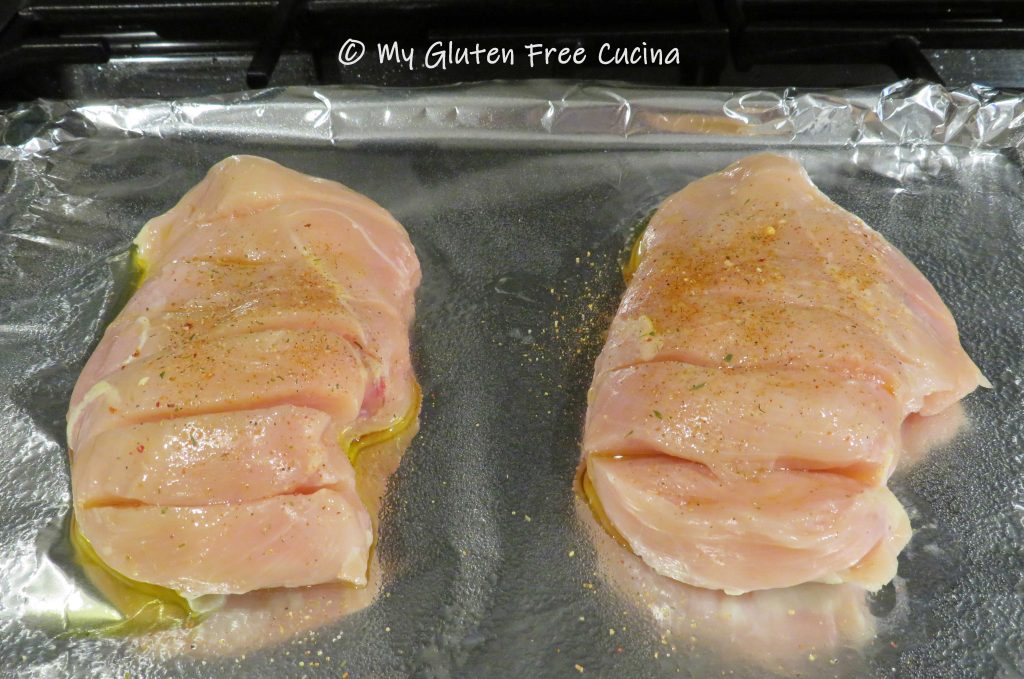
The night before, coat a 2-quart square glass baking dish with cooking spray. Spread half of the bread cubes in an even layer.
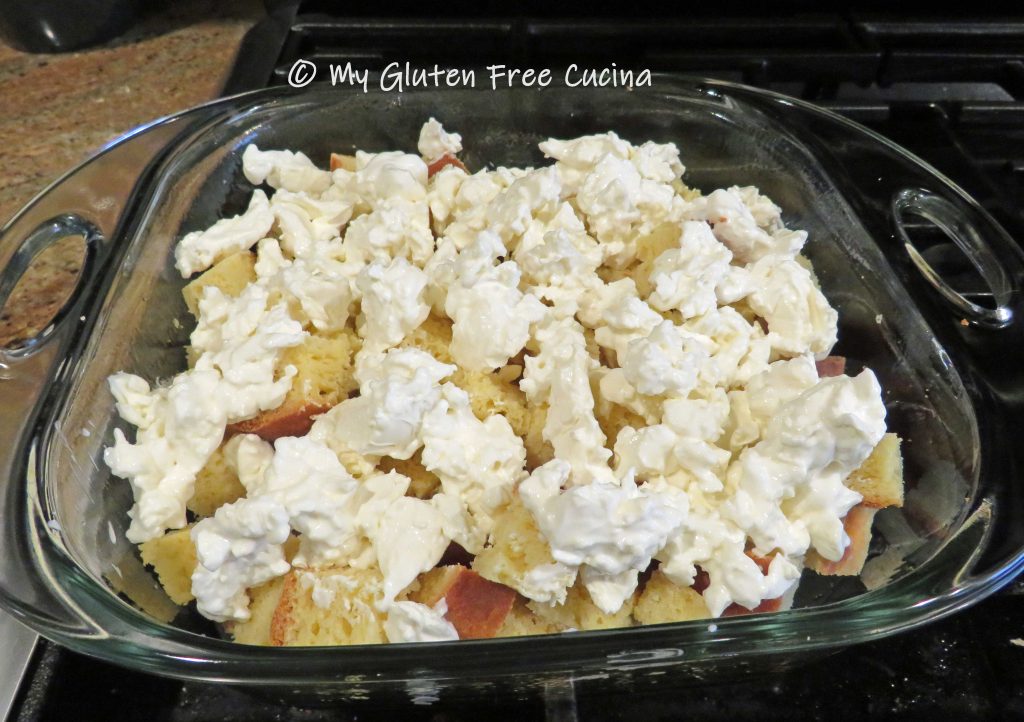
Mash the softened cream cheese and vanilla yogurt together with a fork until well blended.
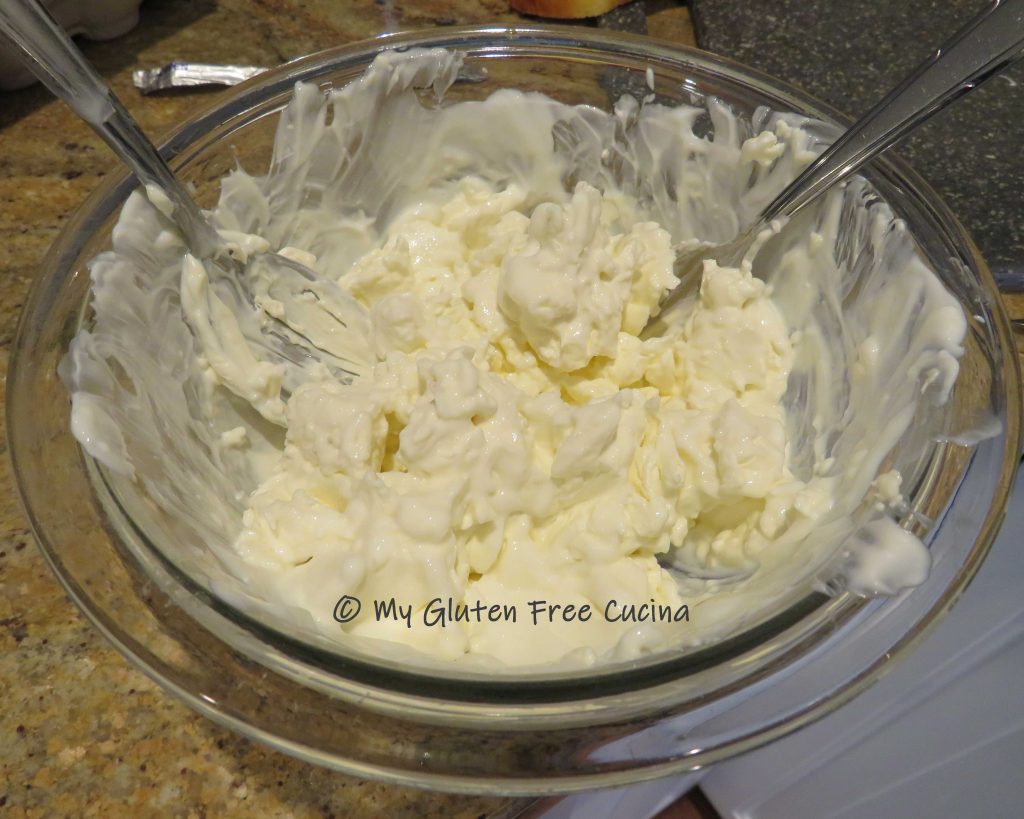
Distribute the cream cheese mixture evenly over the bread cubes, like this.
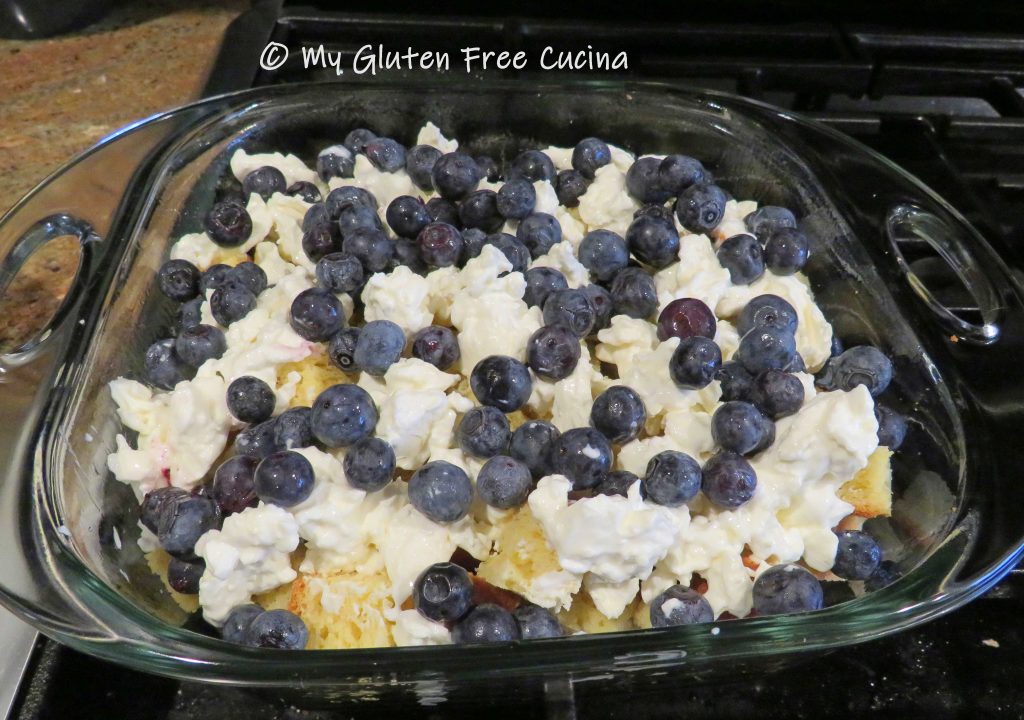
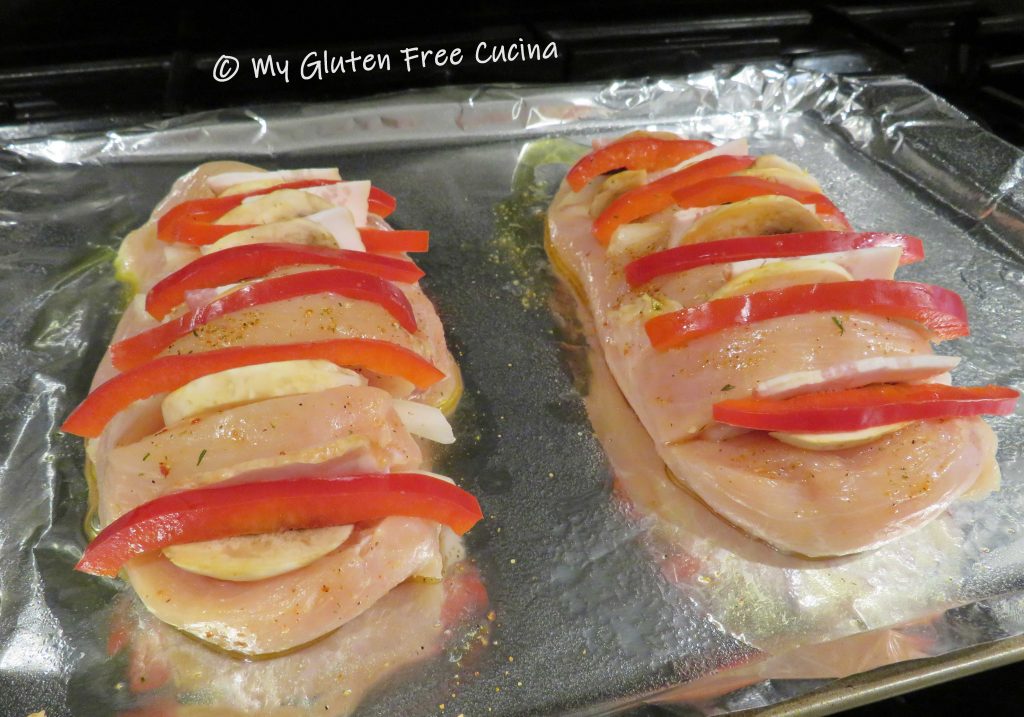
Top with 3/4 cup of the blueberries.
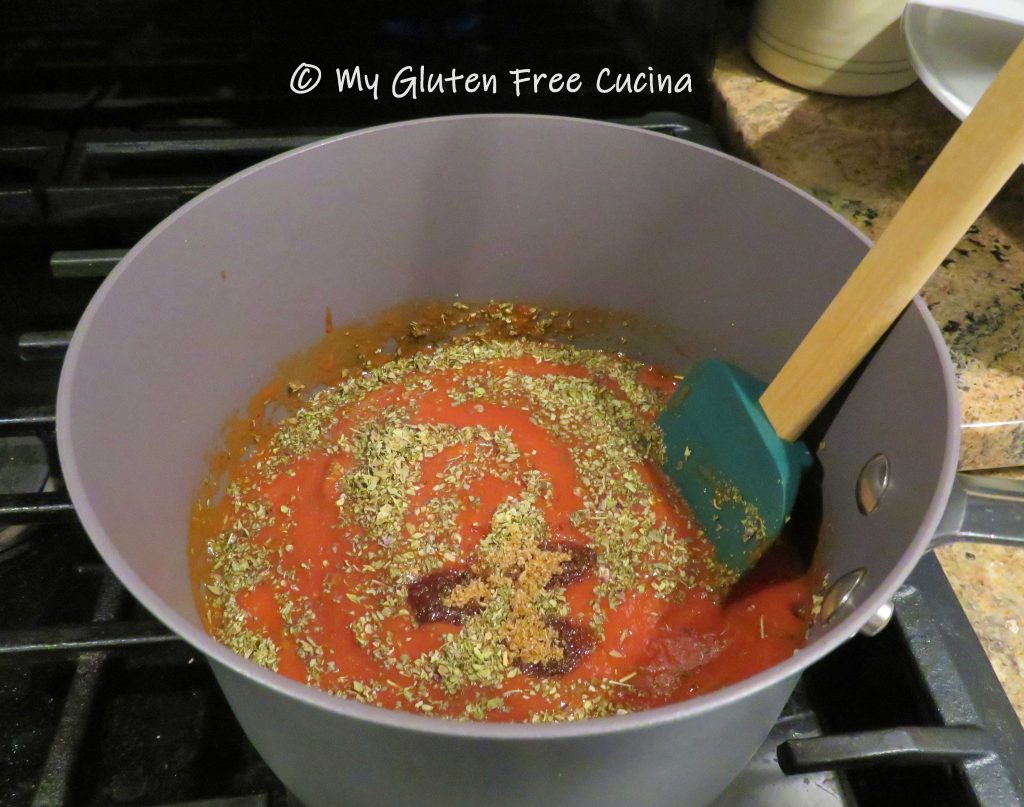
Finish with the remaining bread cubes. Whisk together the eggs, milk, vanilla extract, maple syrup, nutmeg and cardamom. Pour the egg mixture over the casserole and press down with a spatula to be sure all of the bread cubes are moistened.

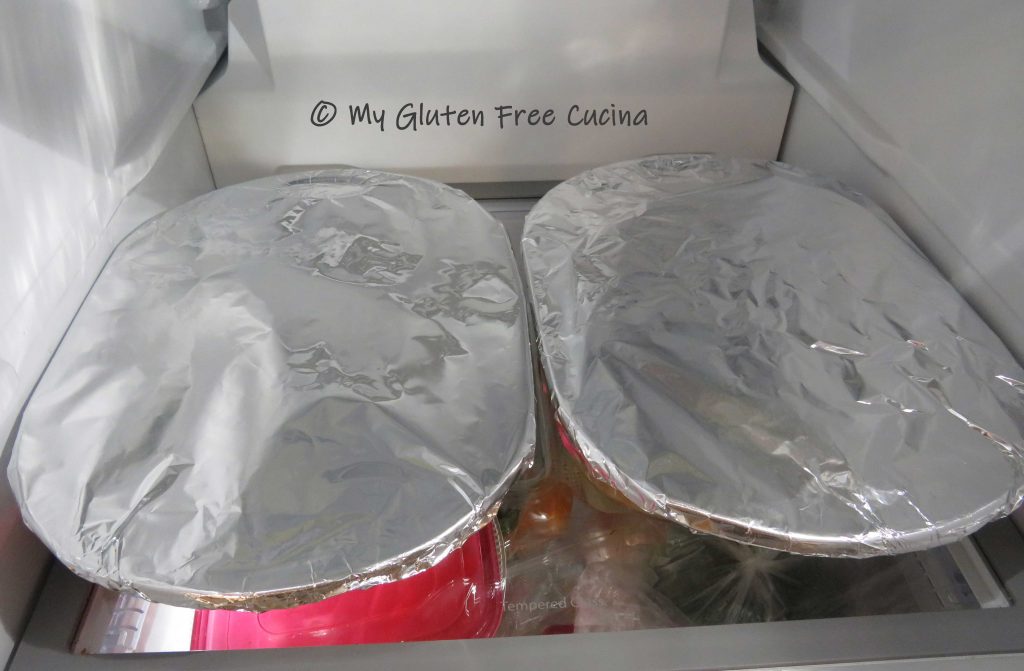
Cover tightly with foil, be sure to mist the foil with cooking spray so it doesn’t stick. Refrigerate overnight.
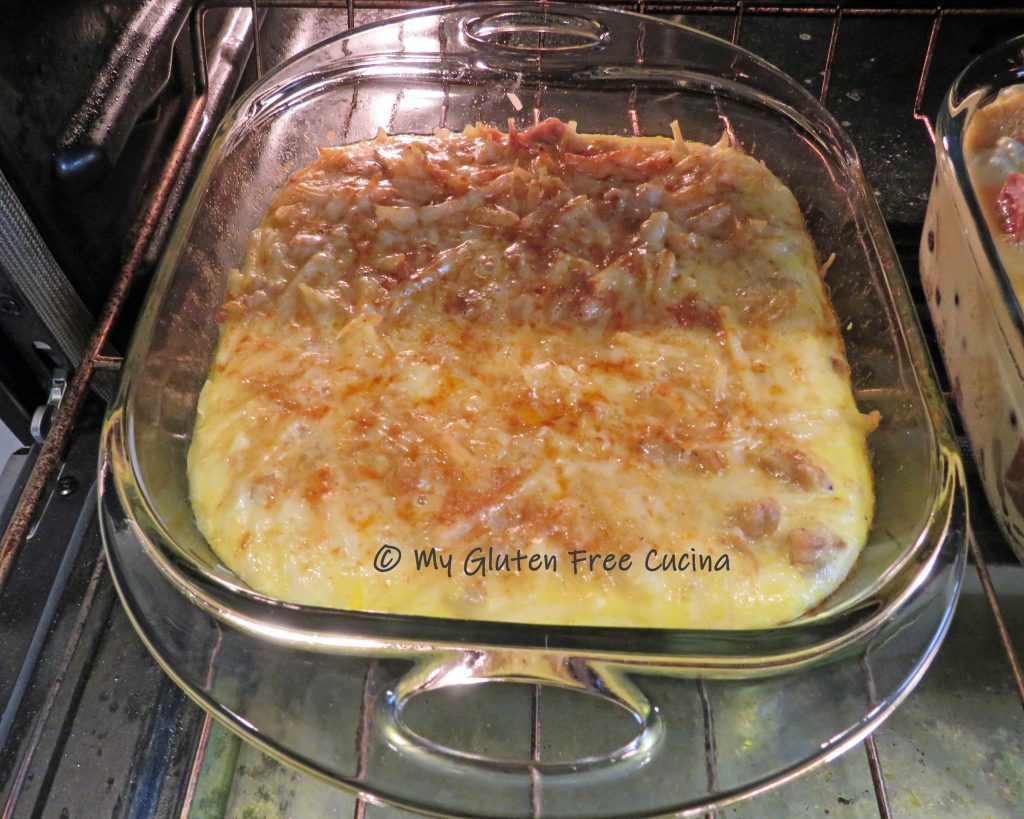
In the morning, take the casserole out of the refrigerator at least 1/2 hour before baking (so the dish doesn’t shatter in the oven). Preheat the oven to 350º.
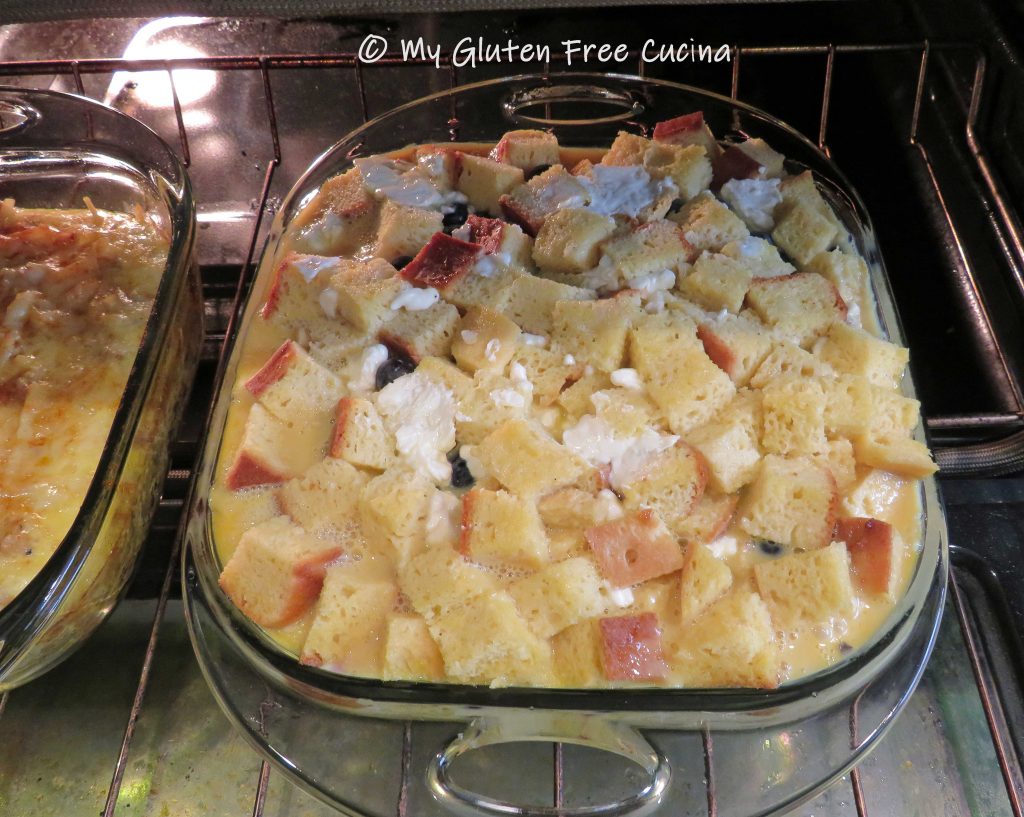
Bake for 30 minutes covered, then carefully use tongs to remove the foil and continue baking for an additional 30-45 minutes, or until a toothpick inserted in the center comes out clean.

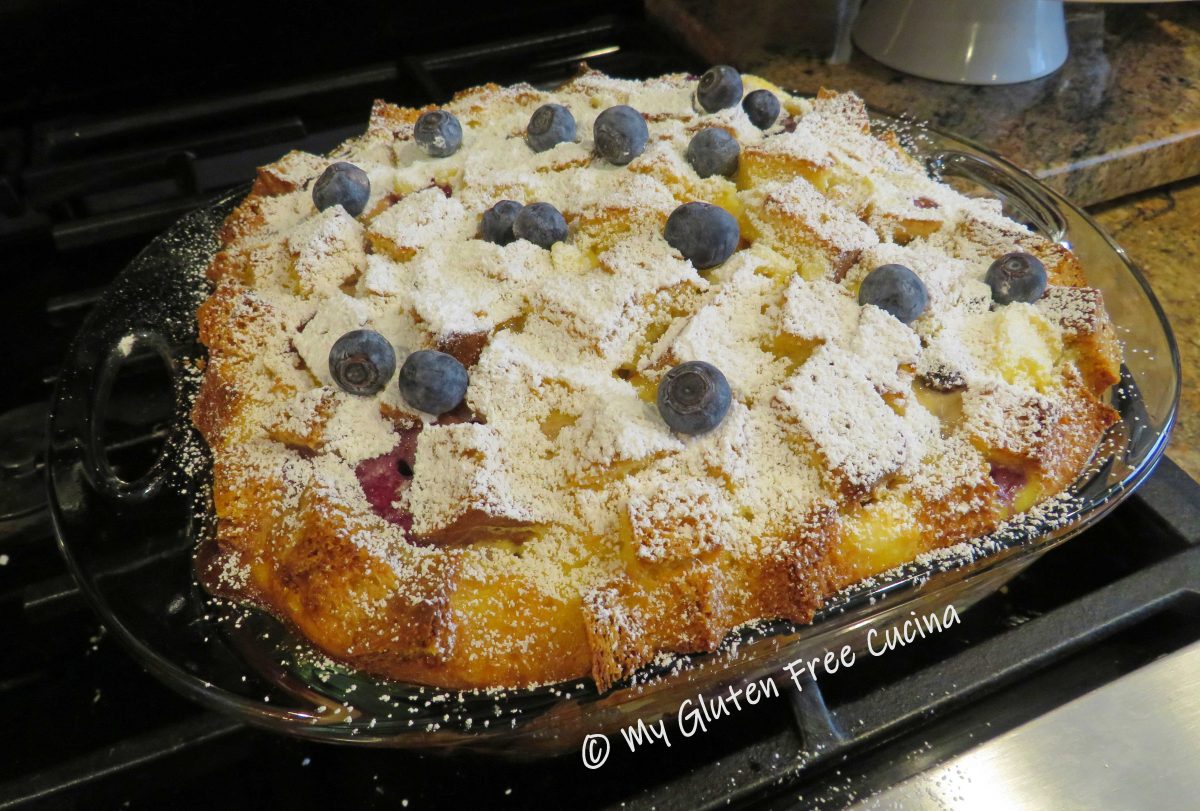
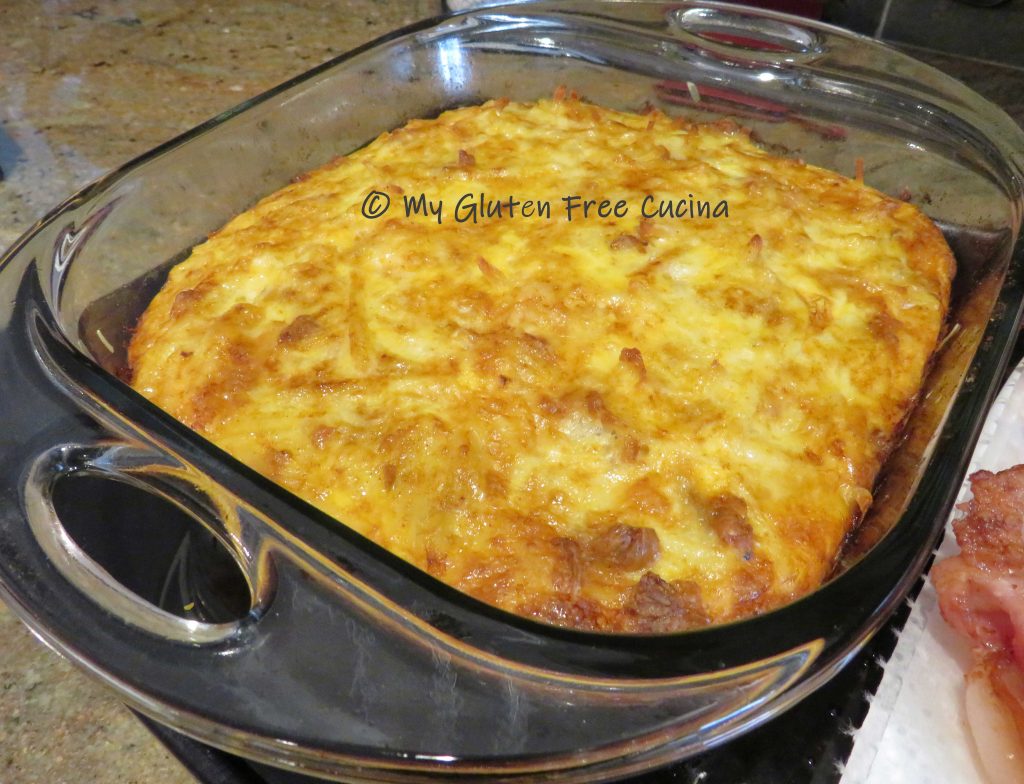
Remove from the oven and keep warm until ready to serve. Top with 1/4 cup fresh blueberries and dust liberally with powdered sugar.
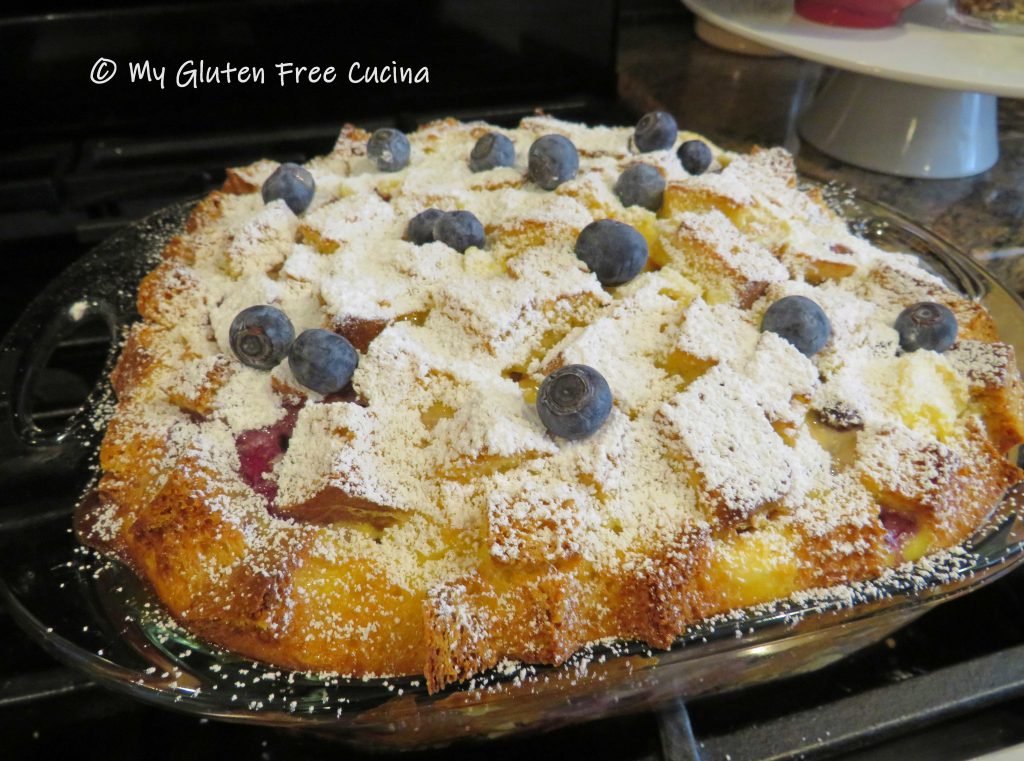
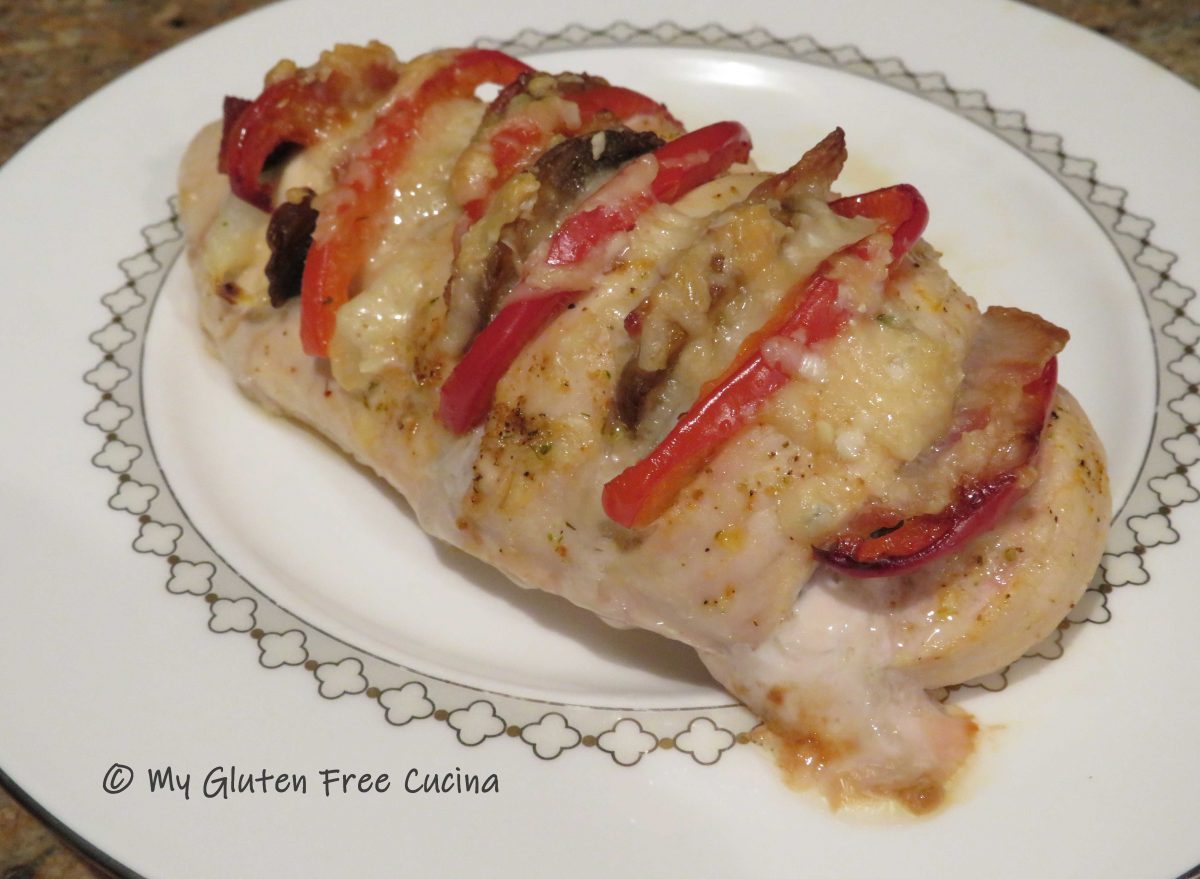
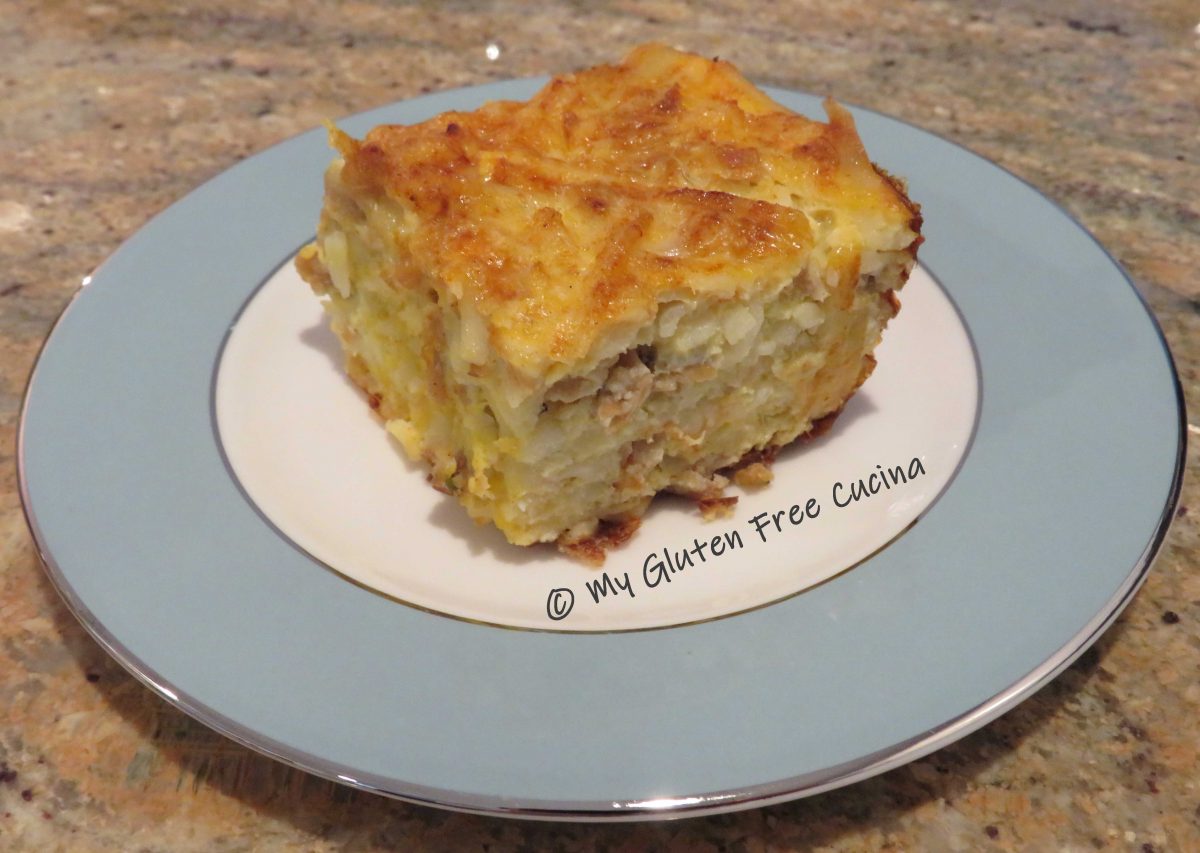
This beautiful casserole is dense and filling. And with that sweet blueberry cream cheese filling, it’s almost like eating dessert!

I served it with maple syrup, but honestly it doesn’t need anything additional. We had a little left over, and it was just as good the next day!
Notes ♪♫ Would you be surprised to know that the inspiration for this dish came from Allrecipes? And the original casserole was not gluten free? In many cases, changing one or two ingredients is all you need to convert a recipe to gluten free. So don’t hesitate to check out traditional recipes and make substitutions. Always check labels for gluten containing ingredients. In this recipe, pay particular attention to the cream cheese, yogurt and powdered sugar as some may contain gluten while others do not.


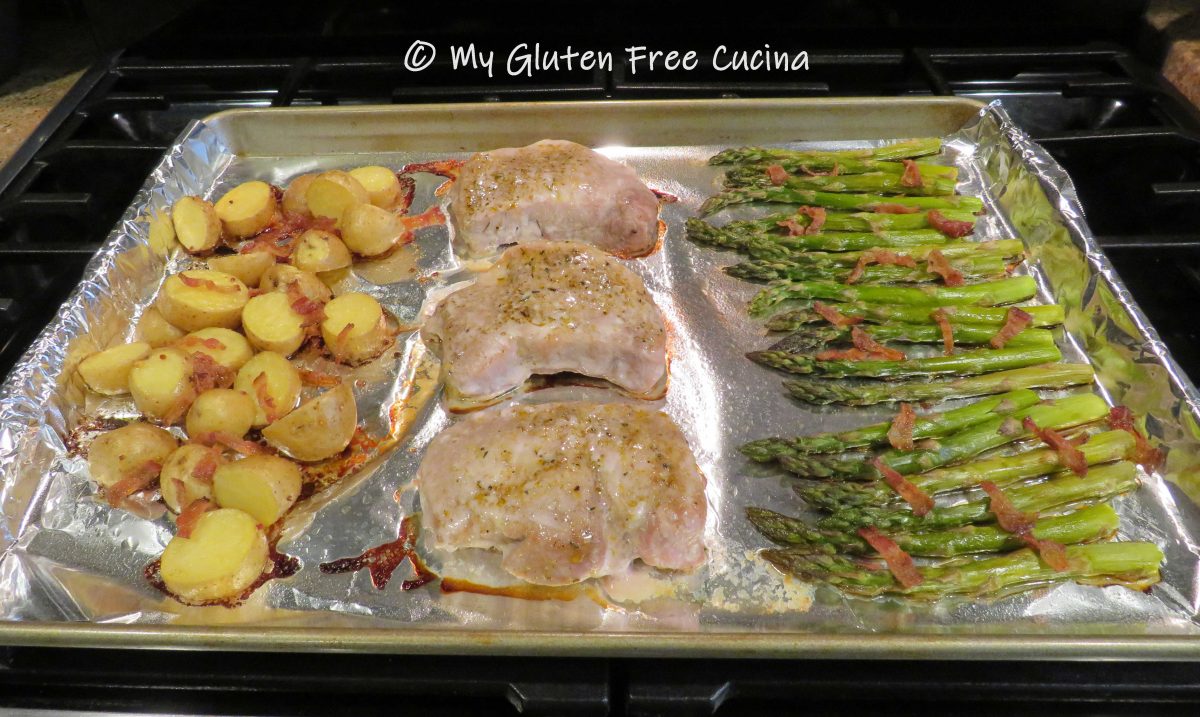

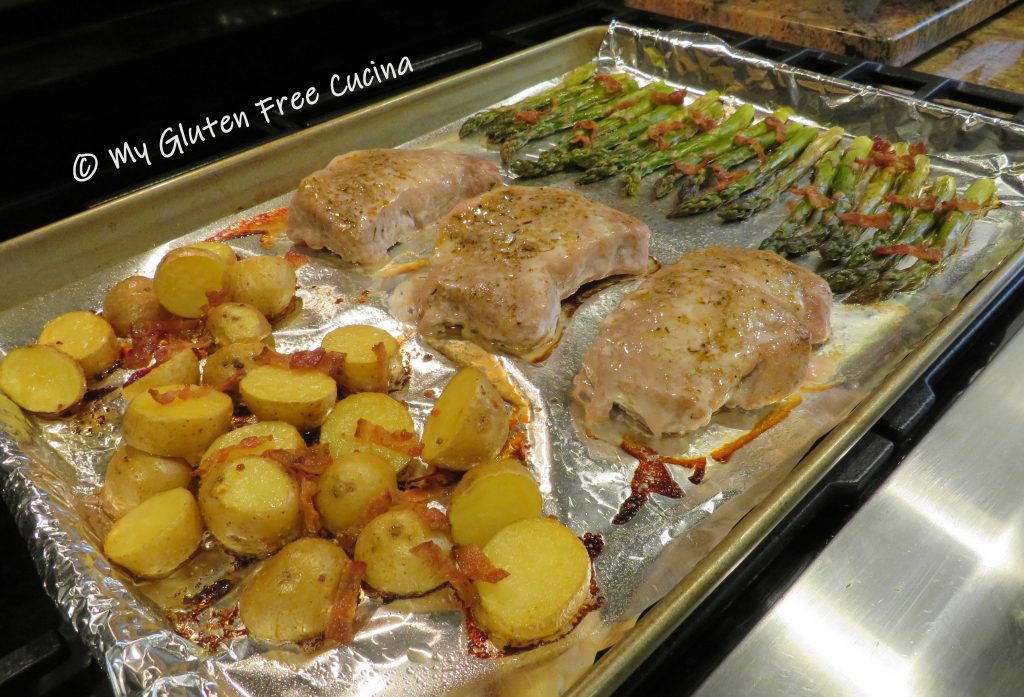


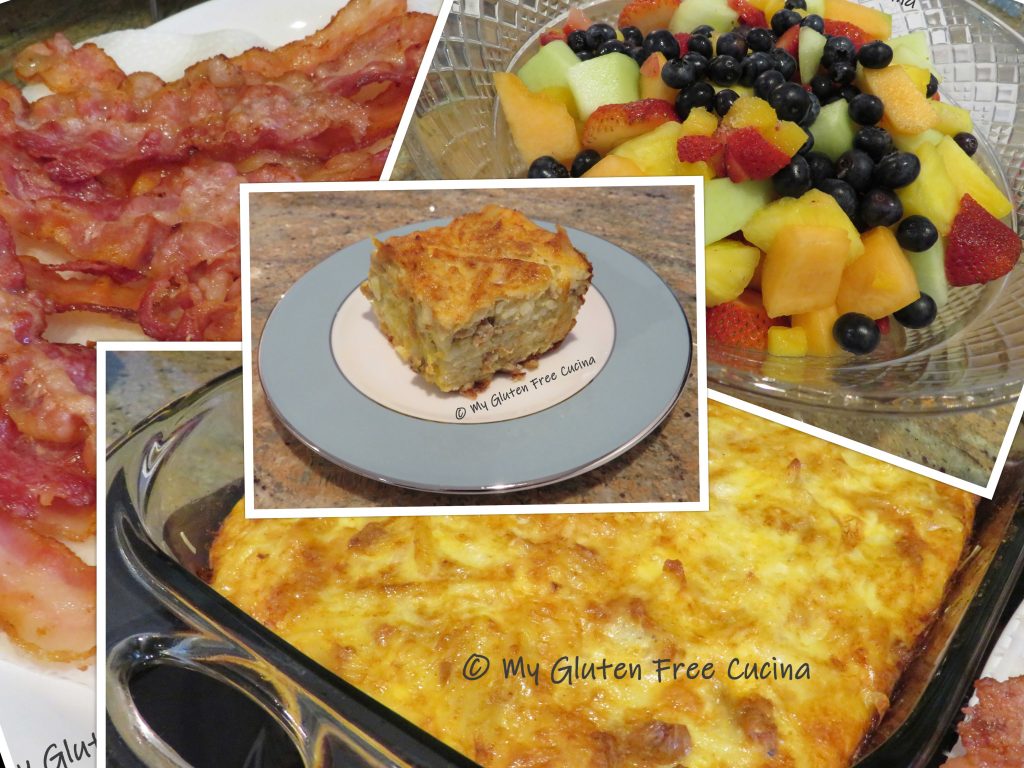
 This casserole is a complete meal, but you can serve it with a nice fruit salad, bacon or ham. Don’t fight over the corners!


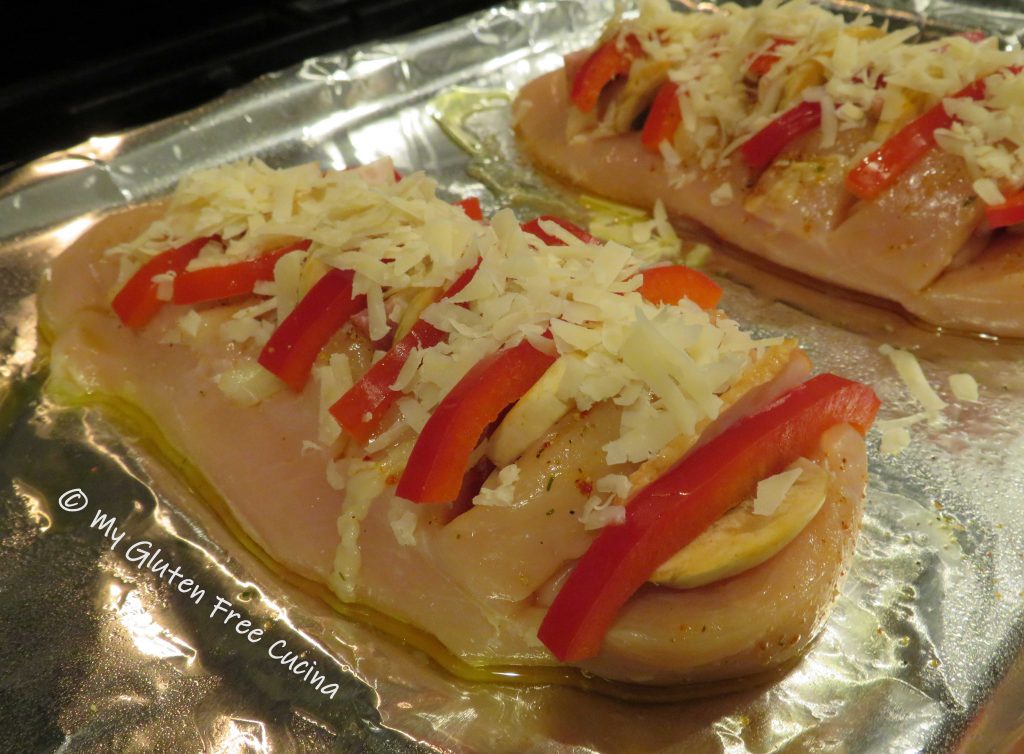
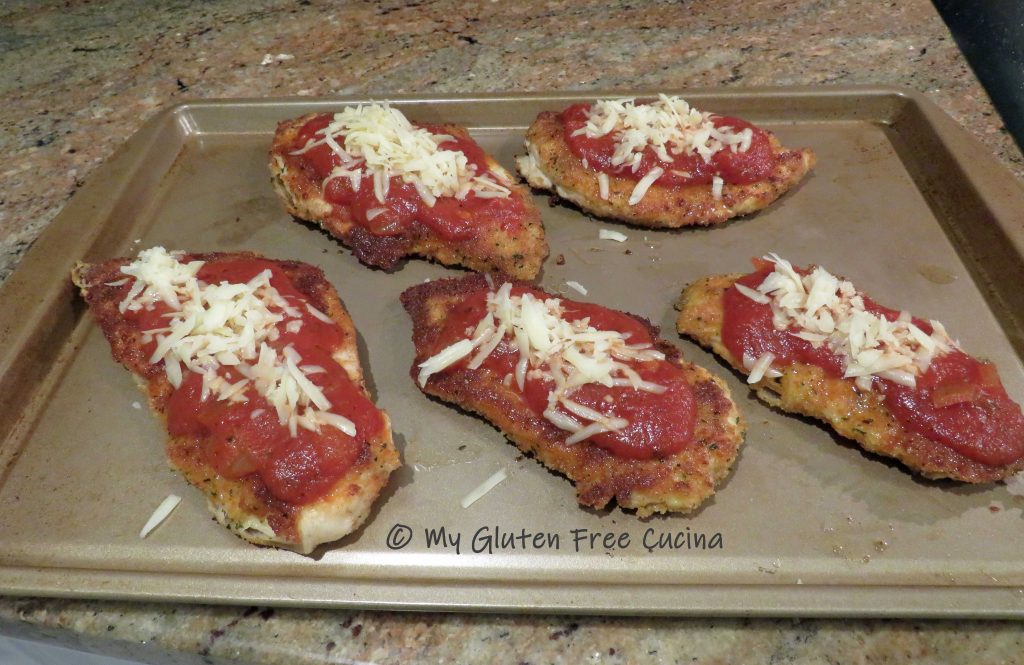 Finish in the oven for 15-20 minutes or until the cheese is melted.
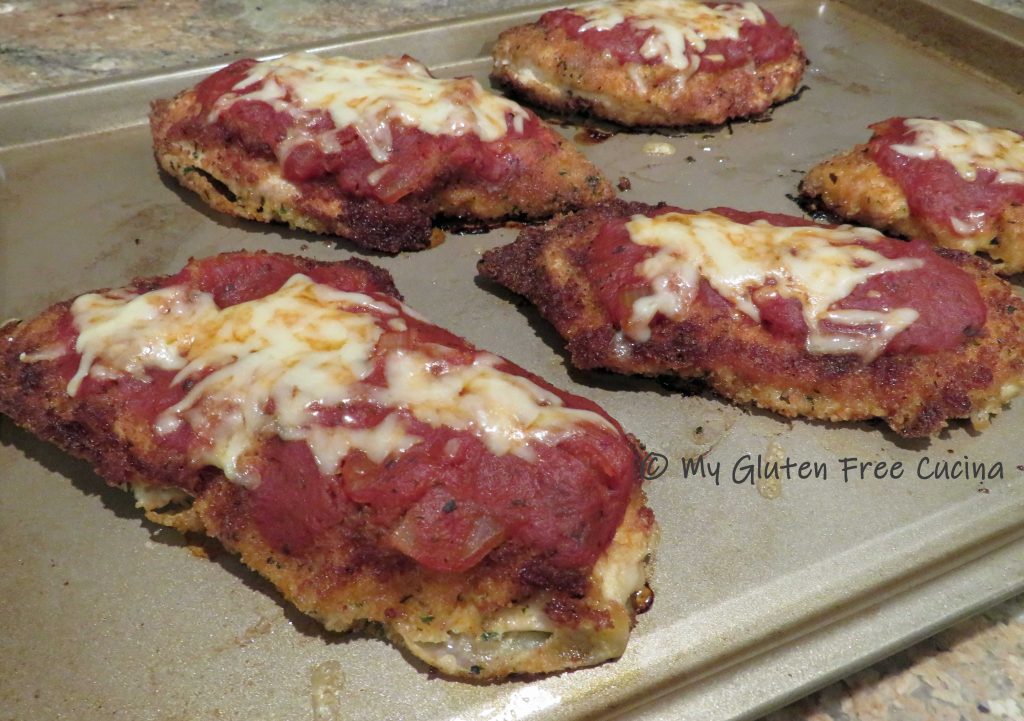
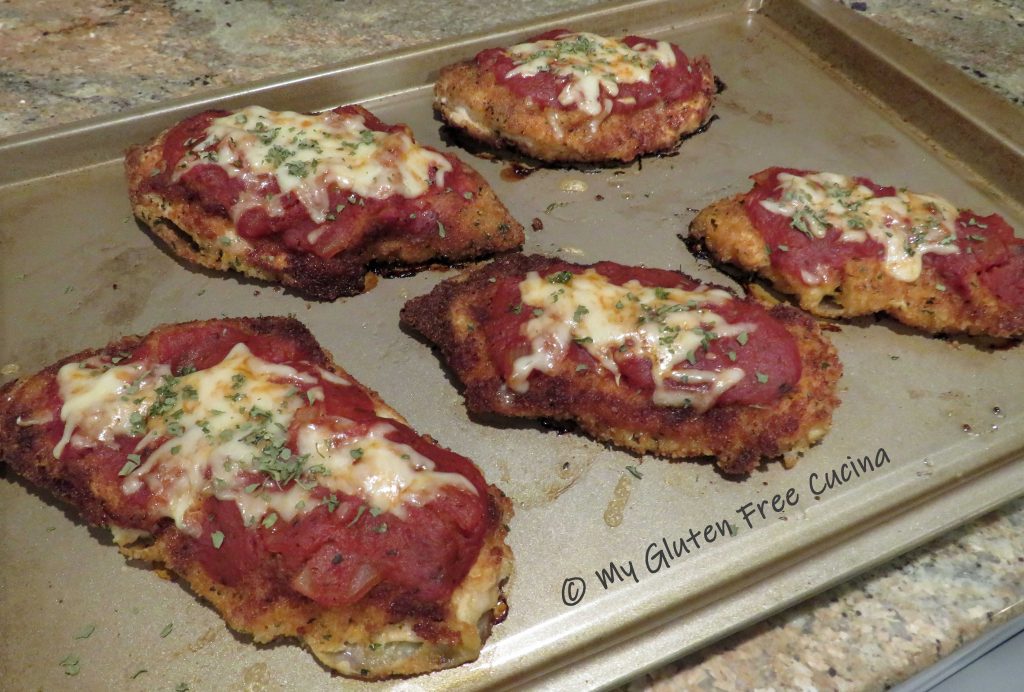
 When I made this for company, no one knew it was gluten free. Mum’s the word!


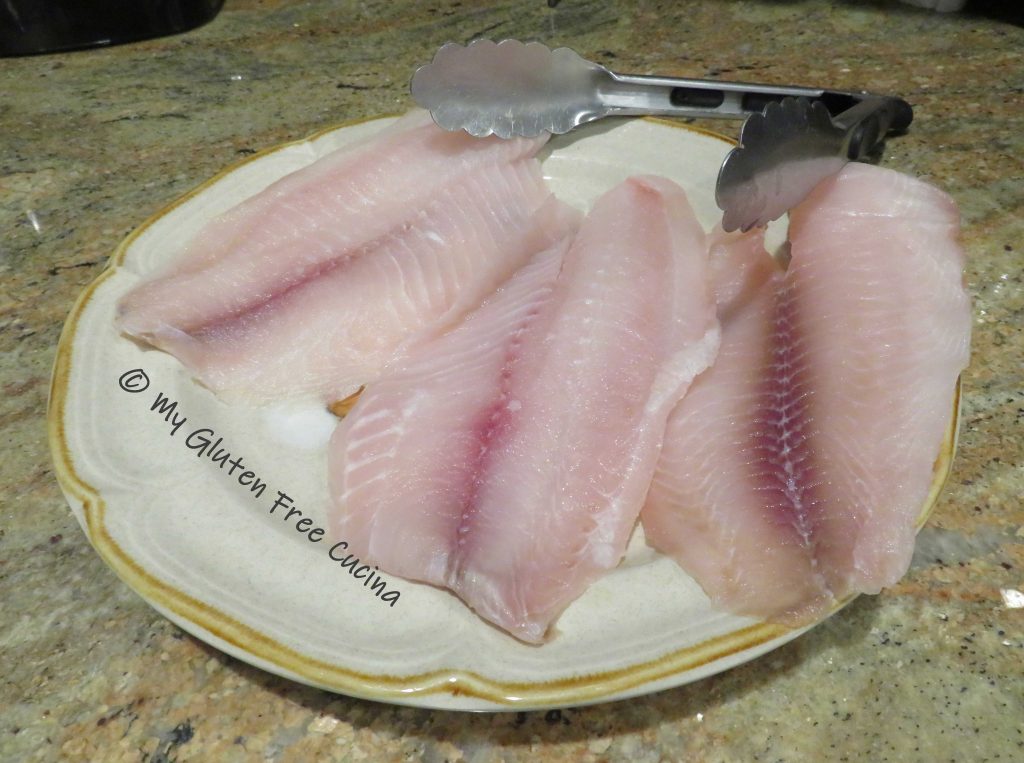
 While the chips are getting started prepare the fish. You want a thick, firm white fish for this recipe. Cod or haddock are the usual choices but today I got this beautiful Sablefish on sale.


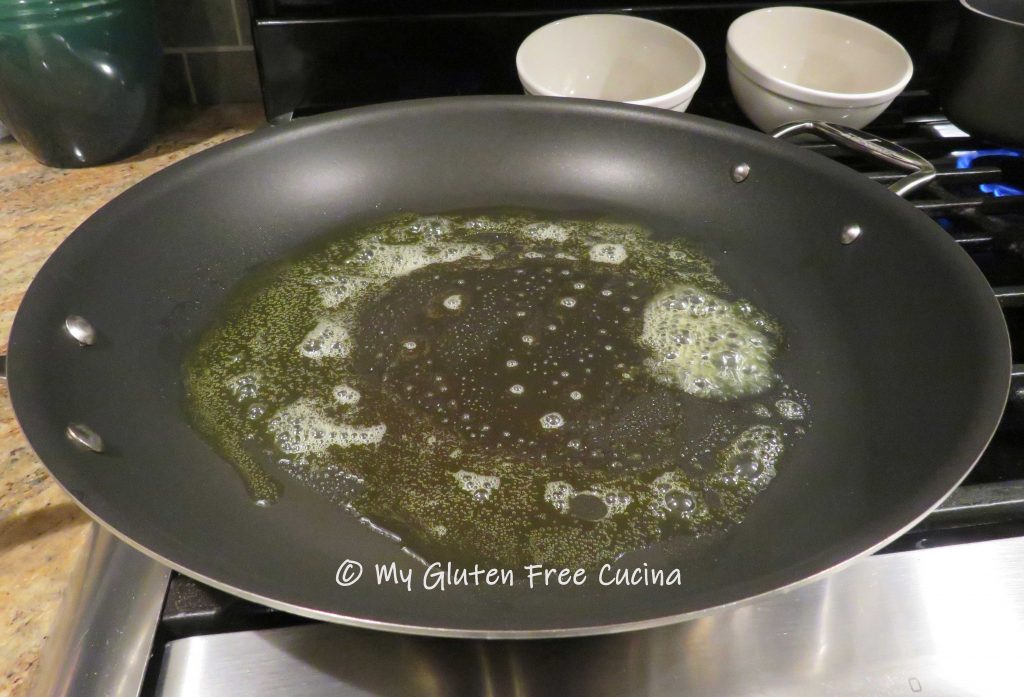
 Cook the spaghetti to 1 minute less than package directions. While the pasta cooks, add 1 tbsp. each of butter and olive oil to a
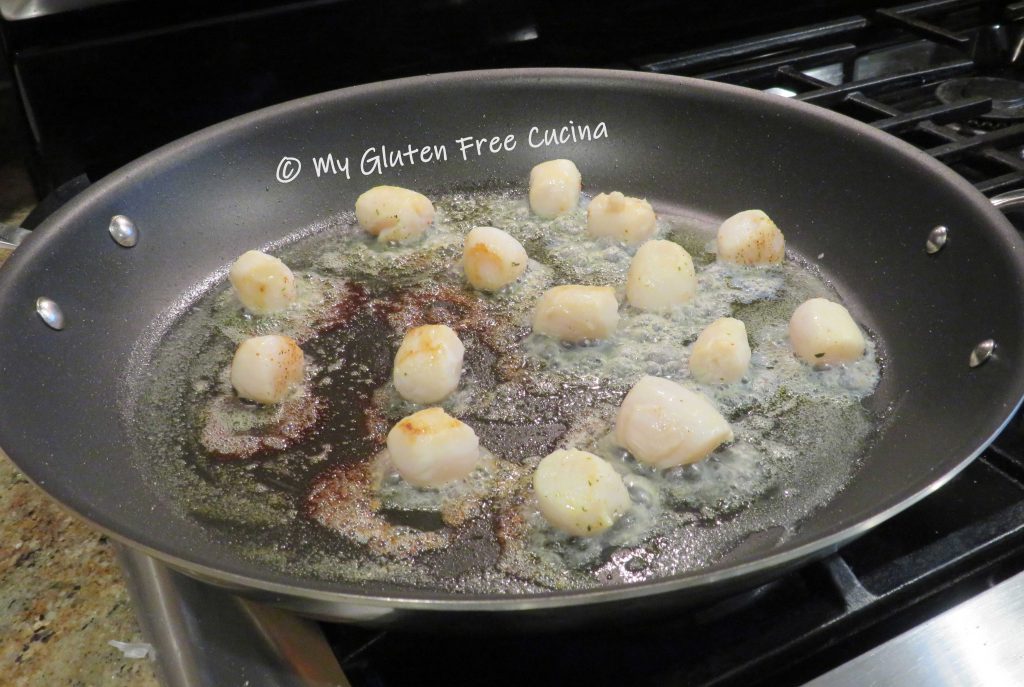
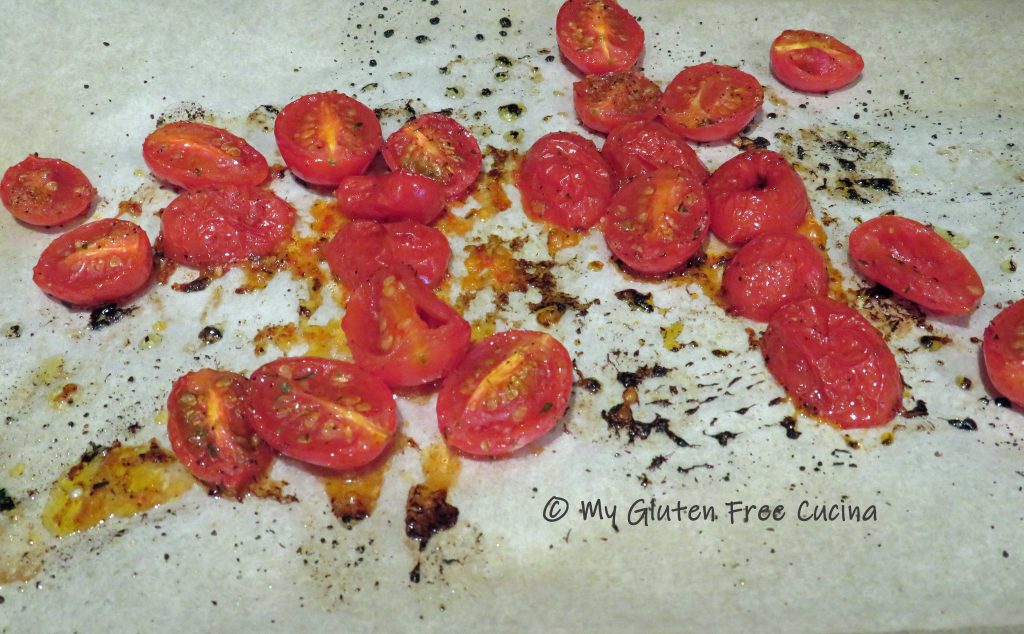
 Stir and cook 1 minute, then add back the roasted tomatoes.
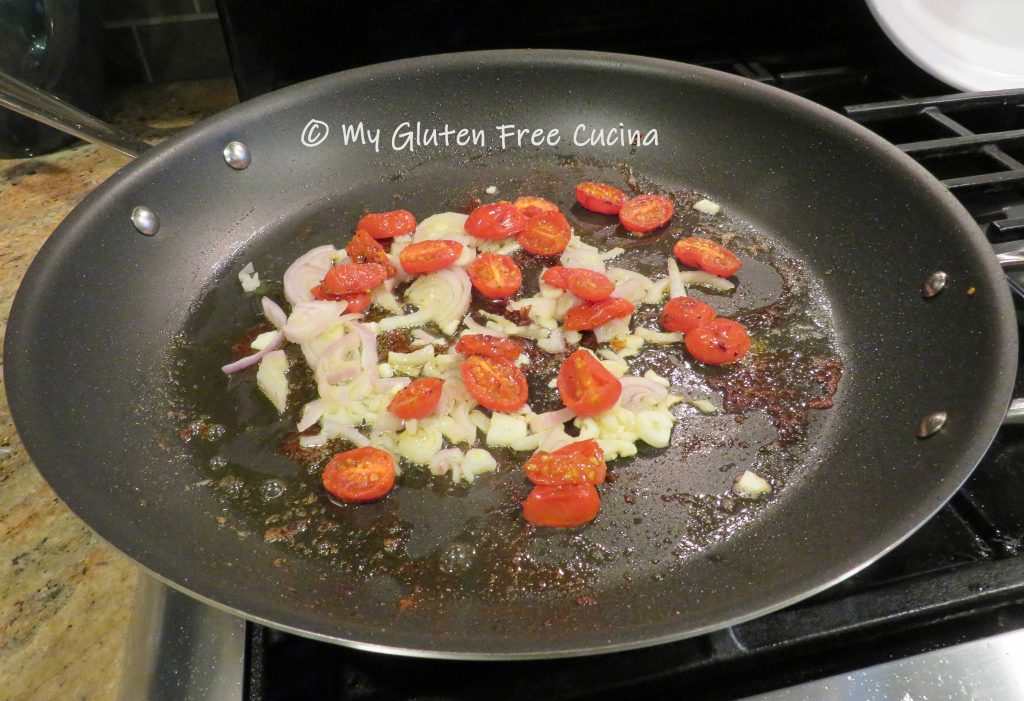 Cook for 1 minute more, then add all of the baby spinach with 1/2 cup of white wine. Don’t worry, it will cook down! Cover the pan and cook for several minutes, until the spinach wilts.
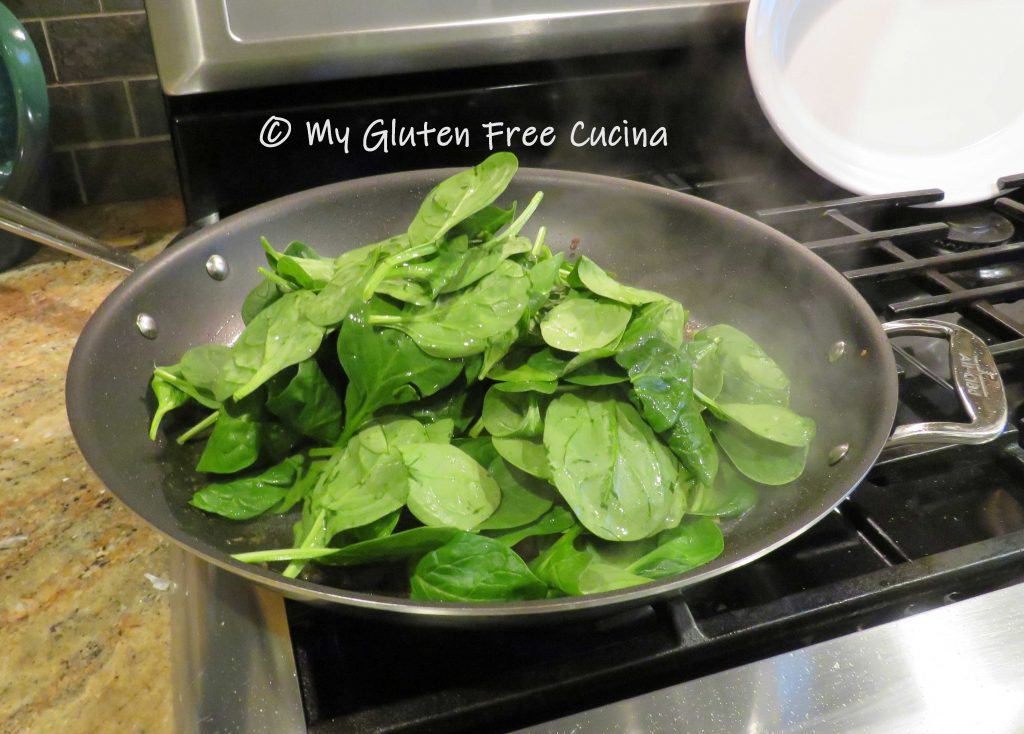 What did I tell you?
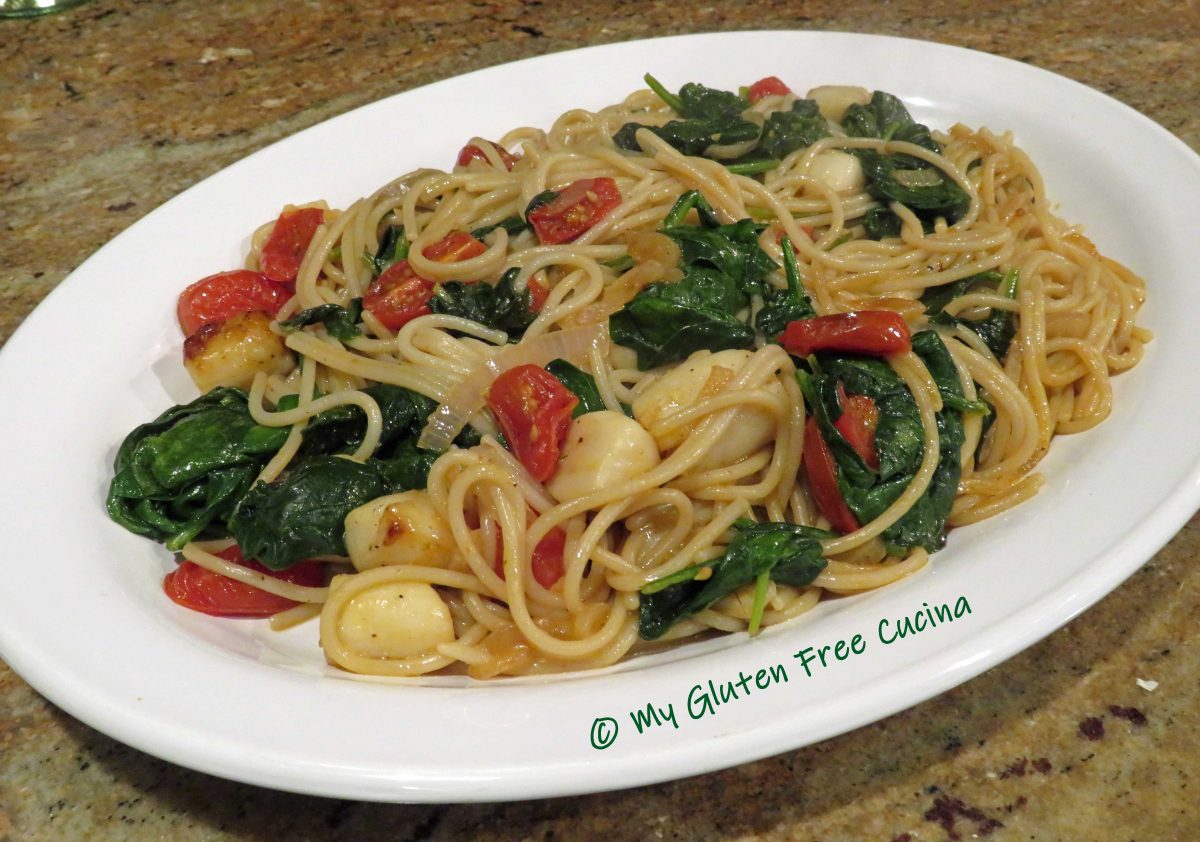
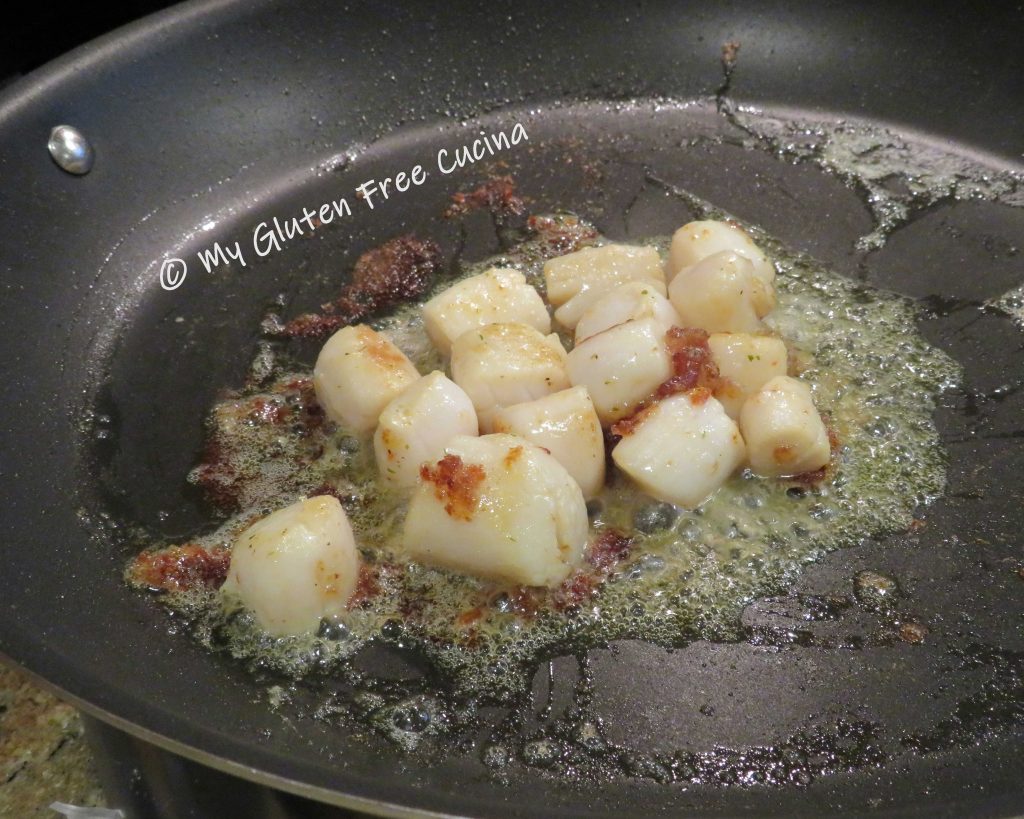
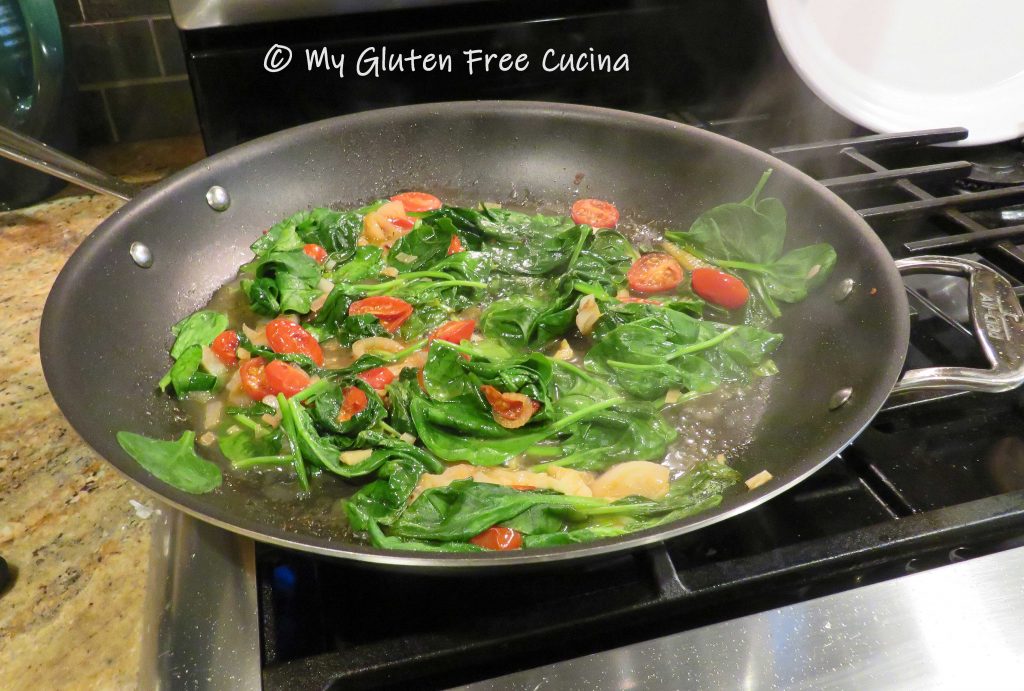 Use tongs to add the cooked spaghetti to the spinach mixture, along with the scallops. Season to taste, and finish with another 1 tbsp. each of butter and olive oil.
 Toss gently to combine and heat the scallops through, then transfer to a serving platter.