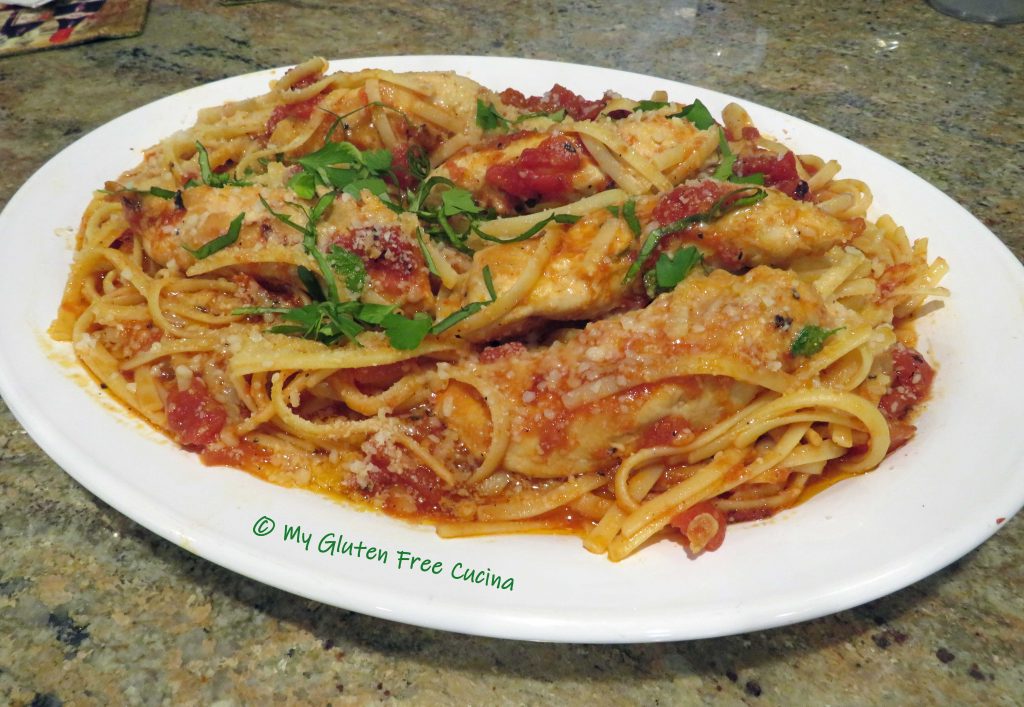
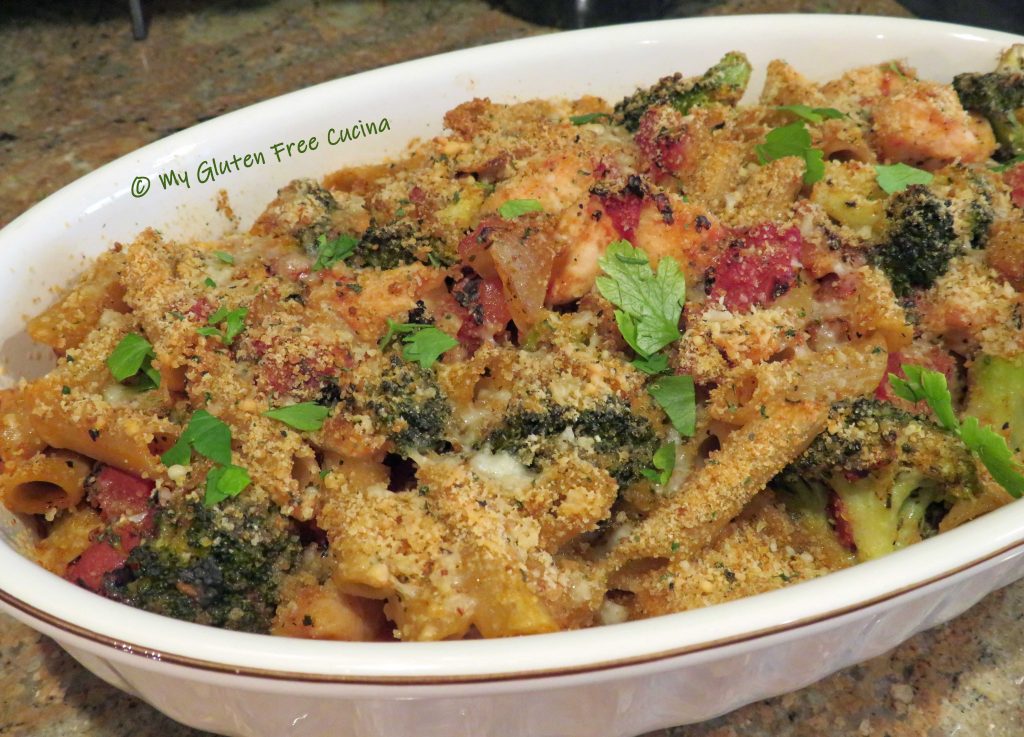
This skillet dinner has all the requirements of an easy weeknight meal. With just a little prep, a few pantry ingredients and only 2 pans to clean, what’s not to love?
Have you tried fennel? It’s a common ingredient in many Italian dishes, both in raw and cooked form. Raw fennel has a pronounced flavor that becomes milder when cooked.

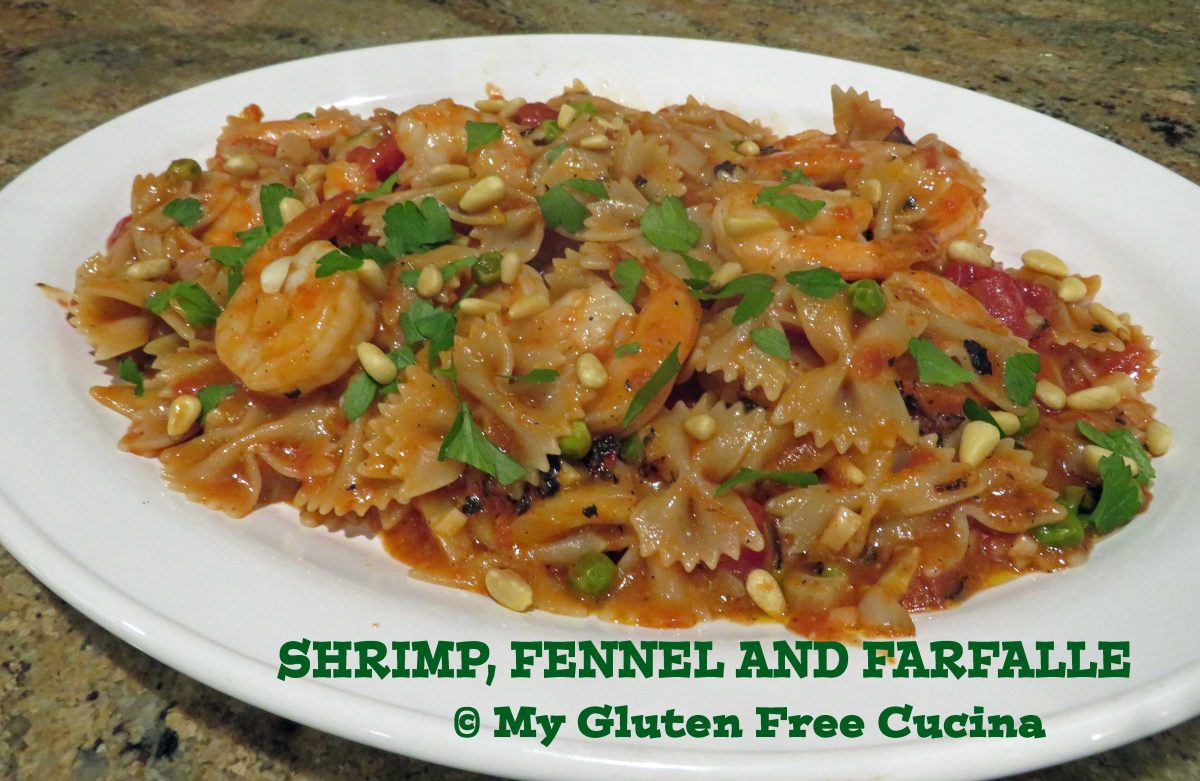
I used a small amount of fennel as an accent flavor in this dish, but you can adjust to your taste. It is the perfect complement to the shrimp, garlic and tomatoes!
This post contains affiliate links.
Ingredients:
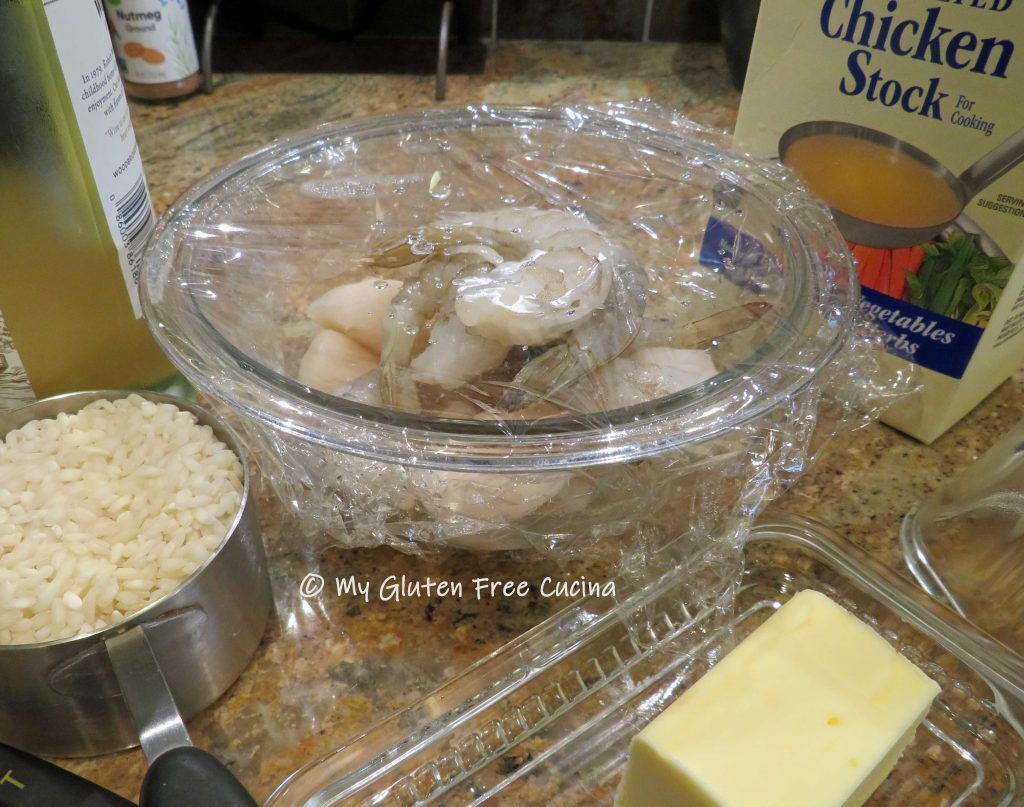
- 8 oz. raw shrimp, peeled and deveined
- 1 tbsp. white rice flour
- 14.5 oz. can fire roasted tomatoes
- 2 garlic cloves, minced
- 1/2 cup fennel, cut into small dice
- ground black pepper, to taste
- 1/2 tsp. Tuscan seasoning
- olive oil, divided use
- 1/2 cup frozen peas
- 1/2 cup white wine
- 4 oz. gluten free farfalle pasta
- 1 tbsp. pignoli (pine nuts)
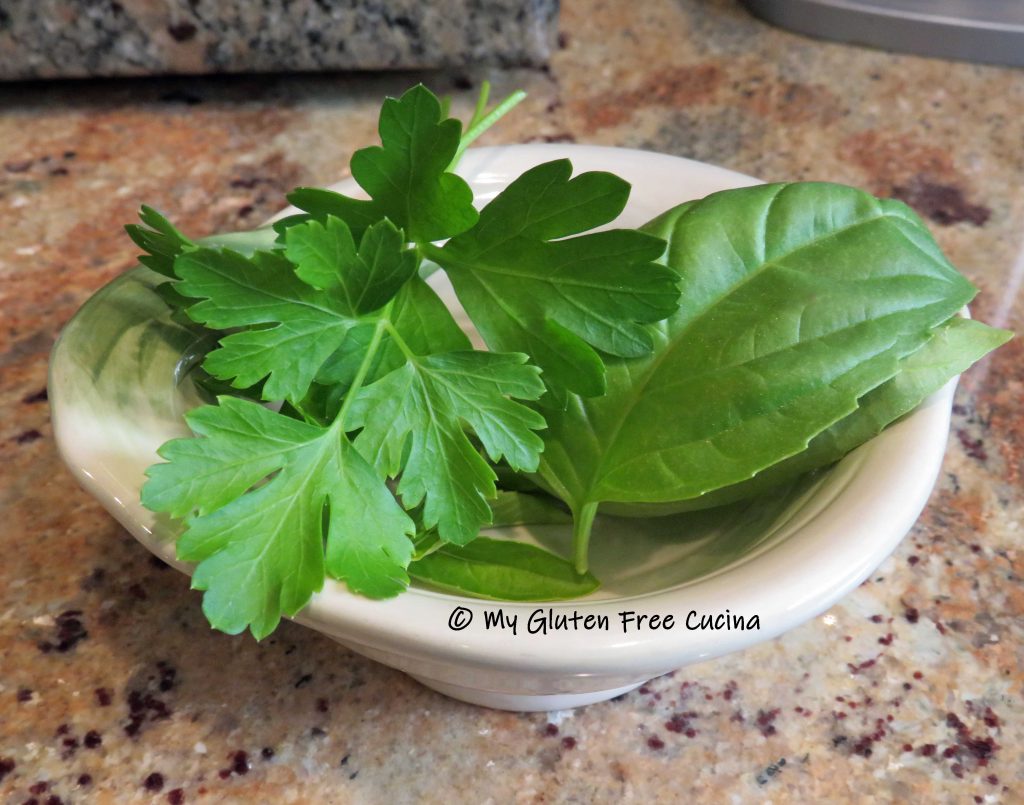
- Italian parsley for garnish
Preparation:
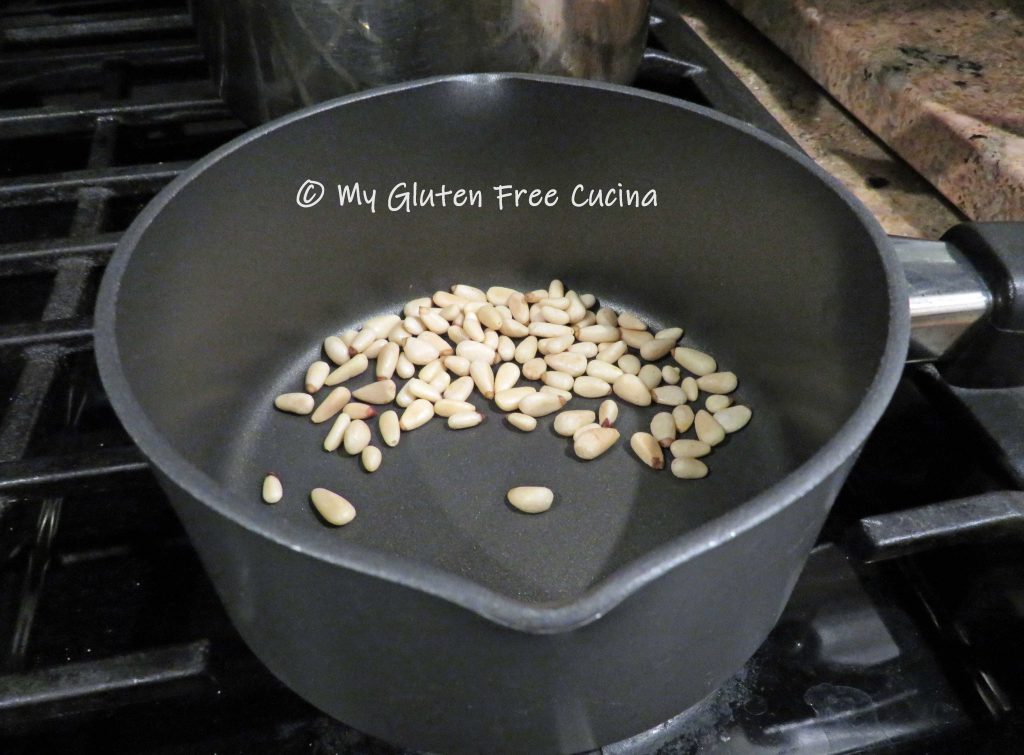
Before you get started, toast the pignoli in a dry skillet until lightly browned and fragrant. Set aside for garnish. Heat a pot of salted water for the pasta.
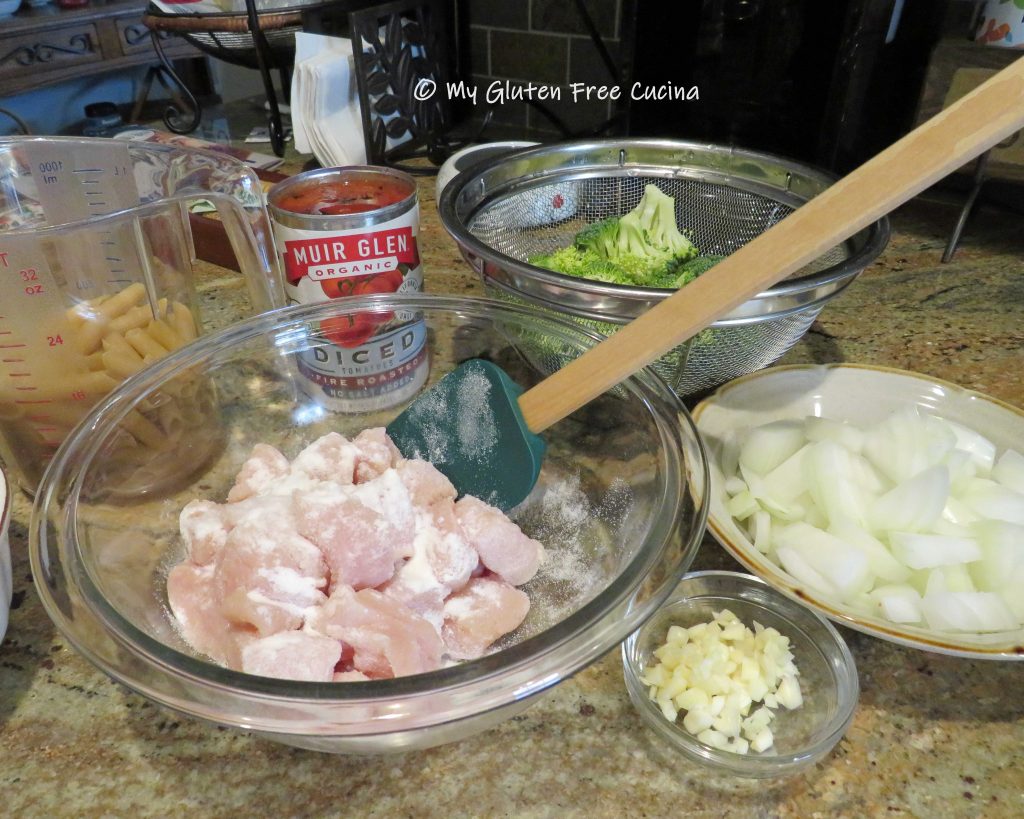
If your shrimp are frozen, rinse them under cool water to thaw. Peel and devein the shrimp, pat dry and toss with 1 tbsp. white rice flour.

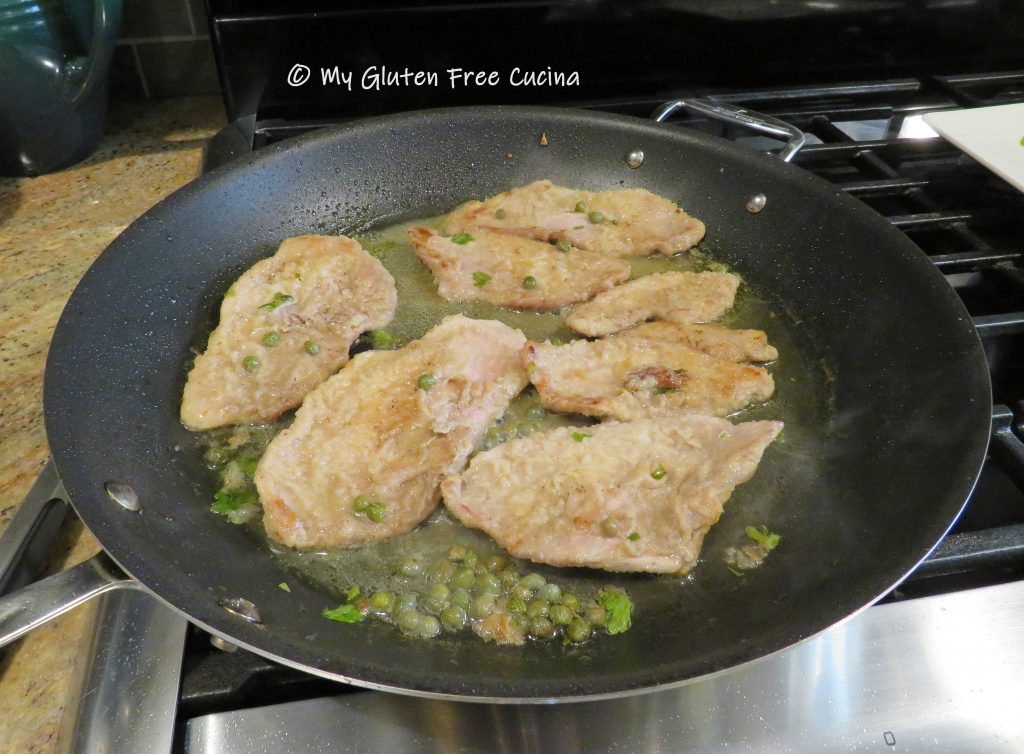
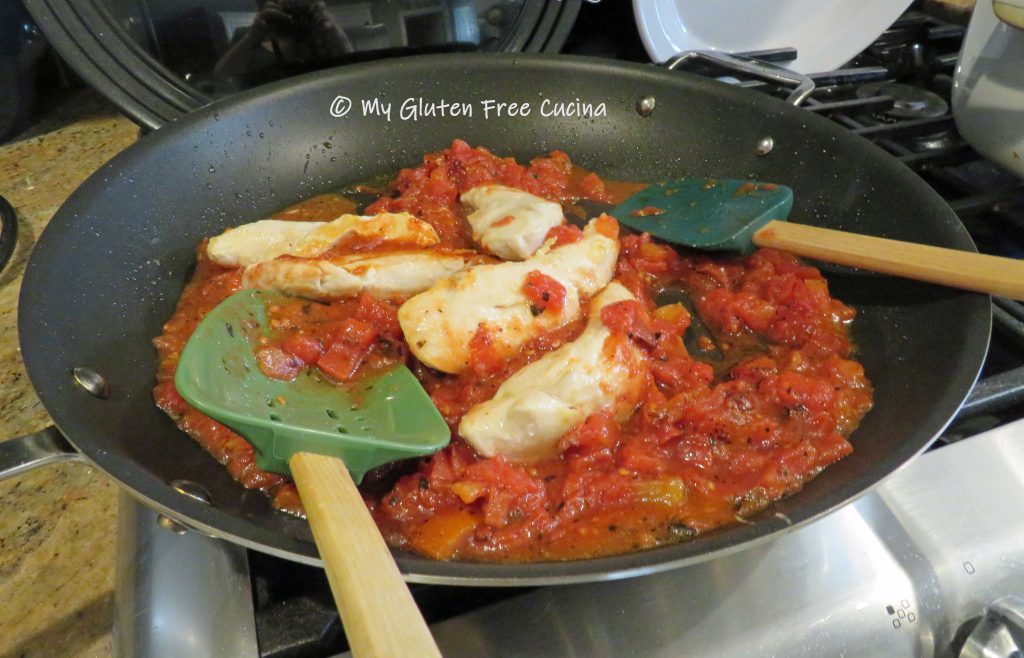
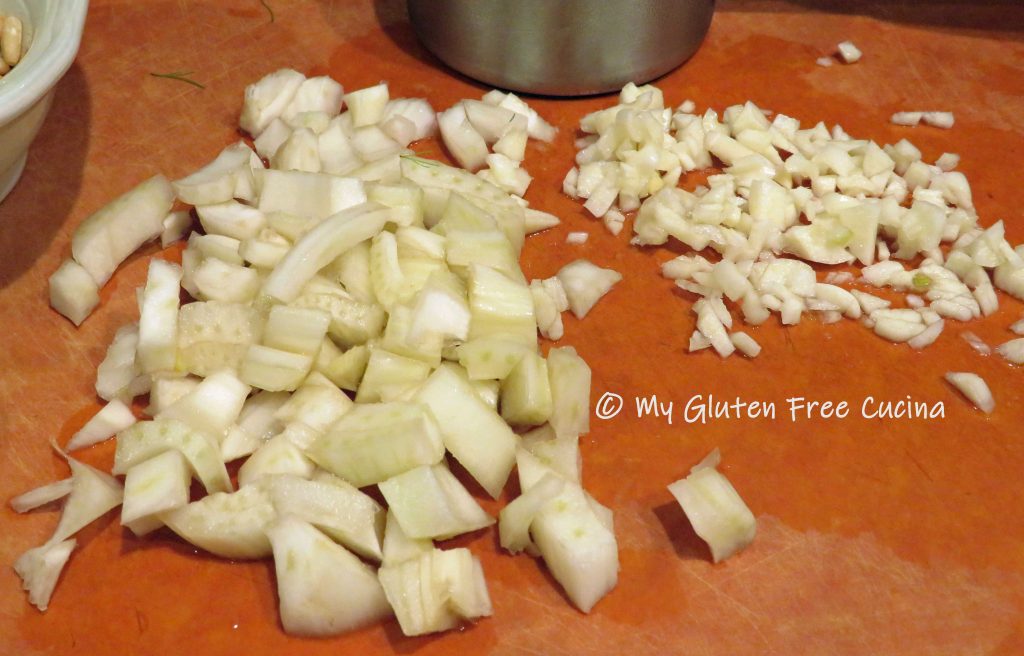
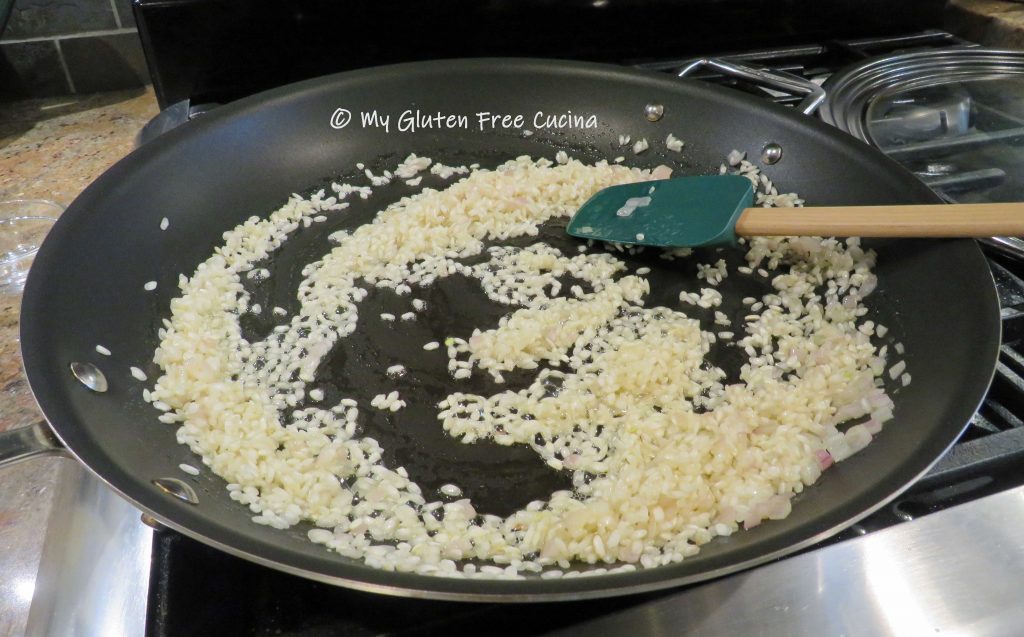
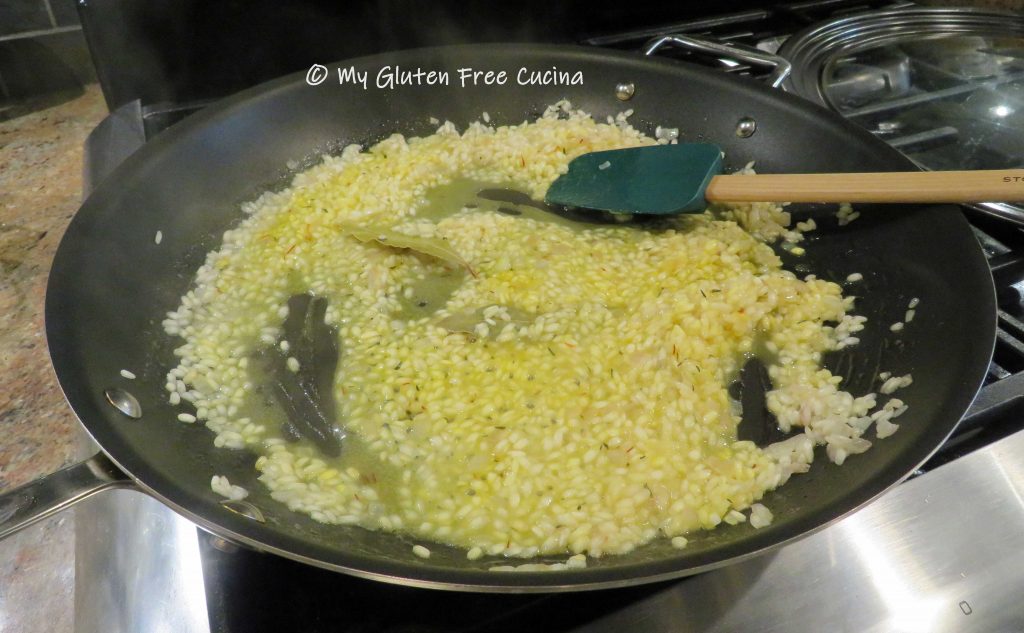
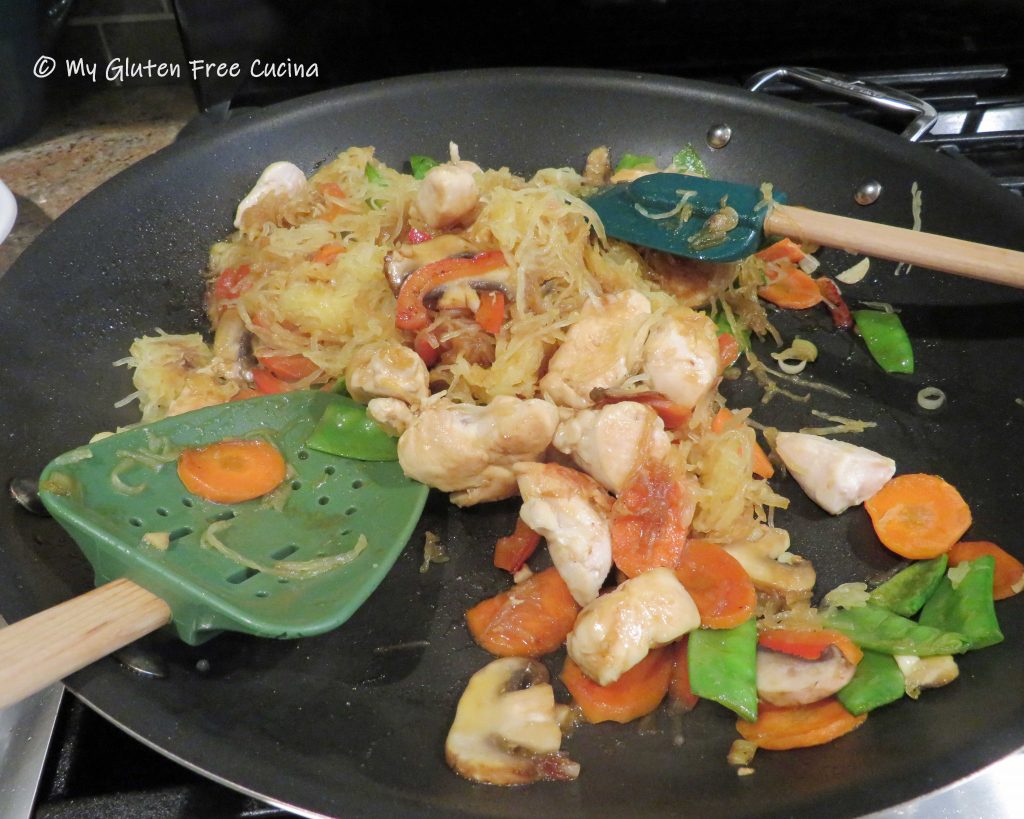
Mince the garlic and chop the fennel into 1/2″ dice. Heat 2 tbsp. olive oil in a large nonstick skillet.
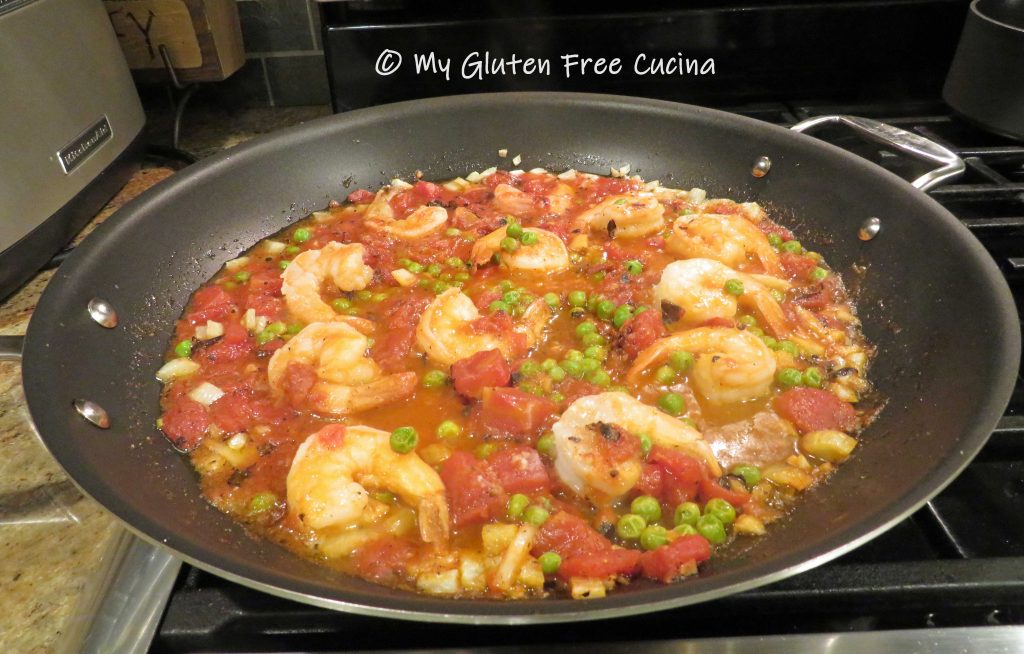
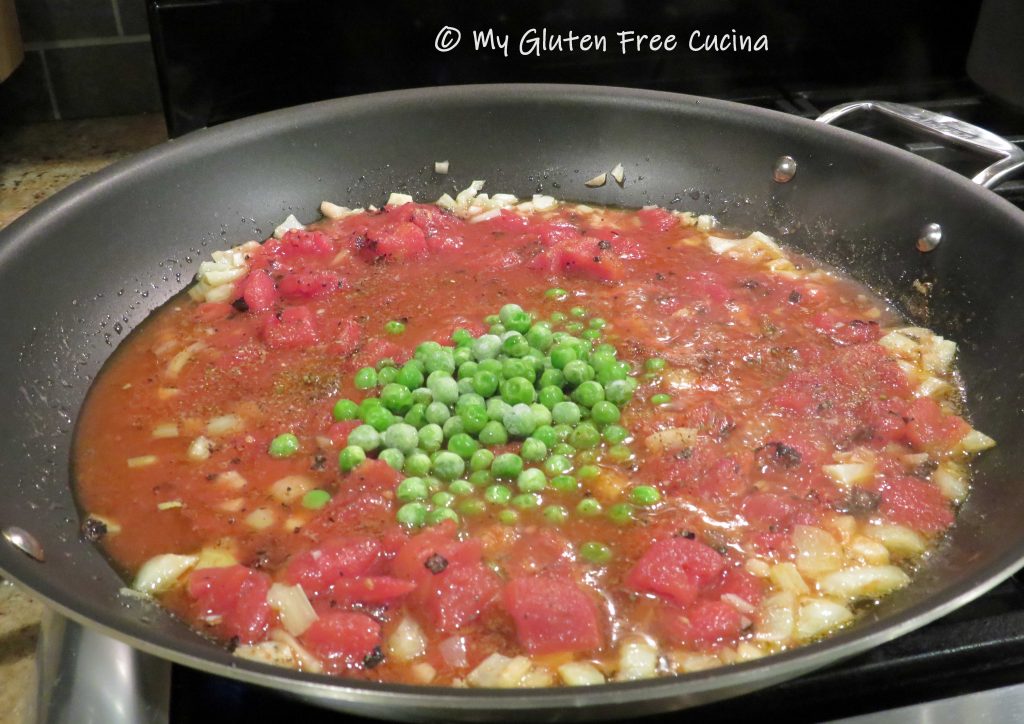
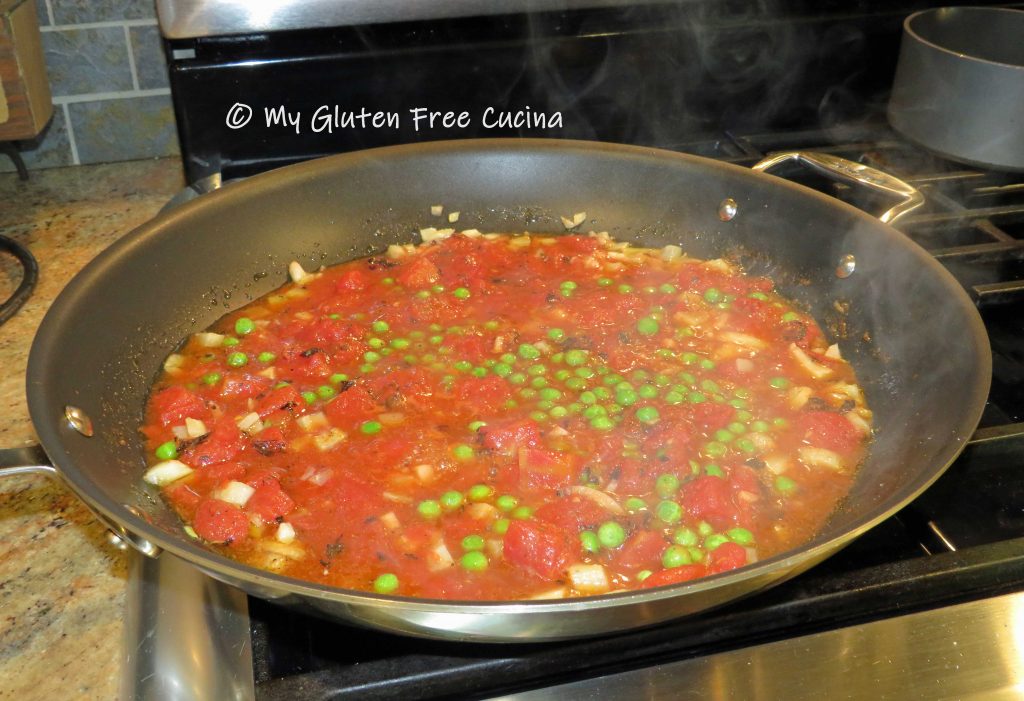
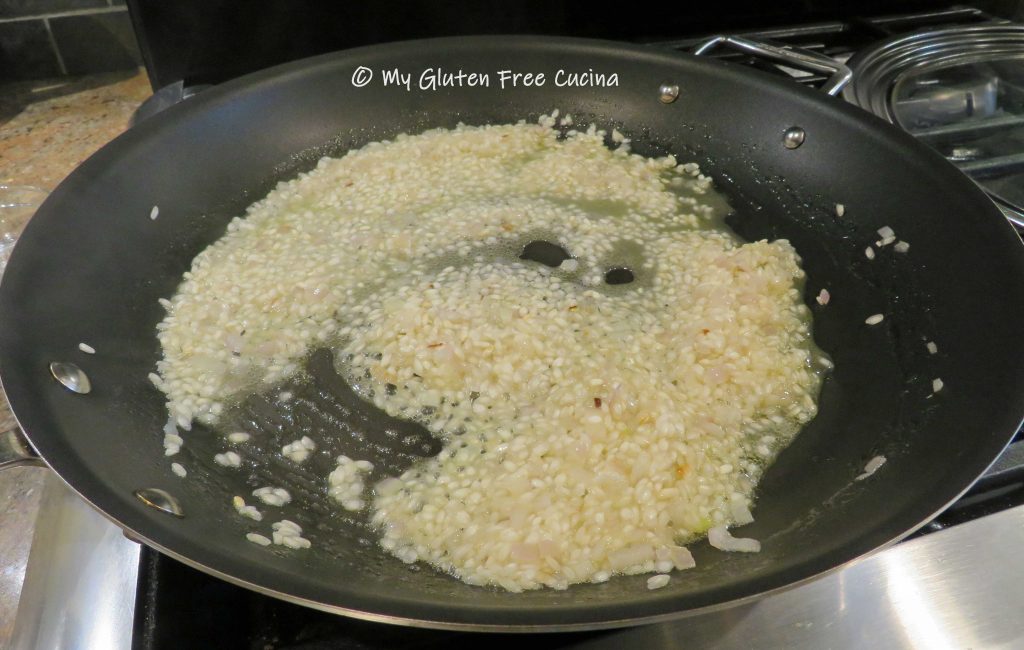
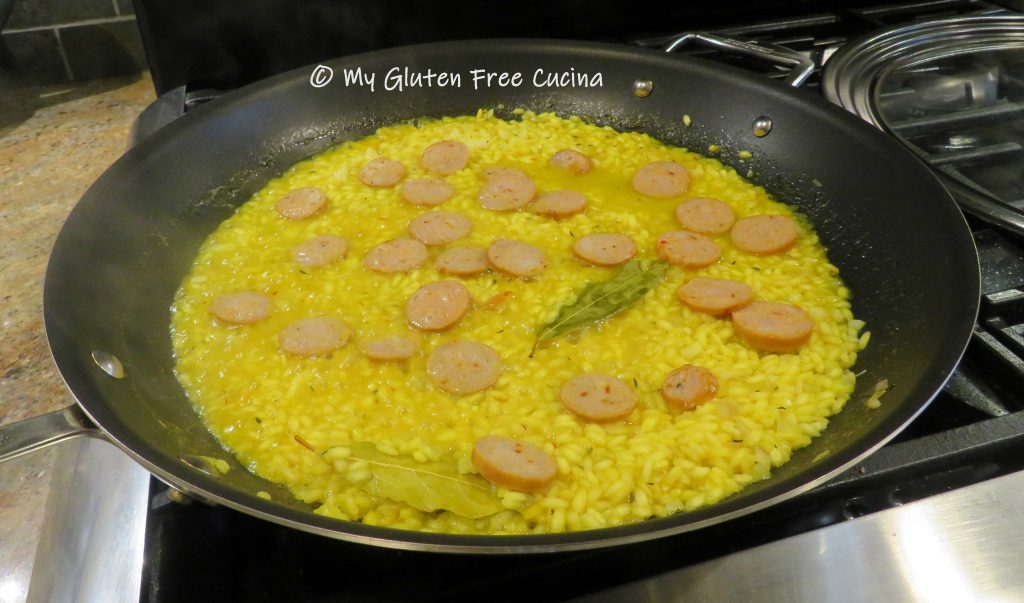
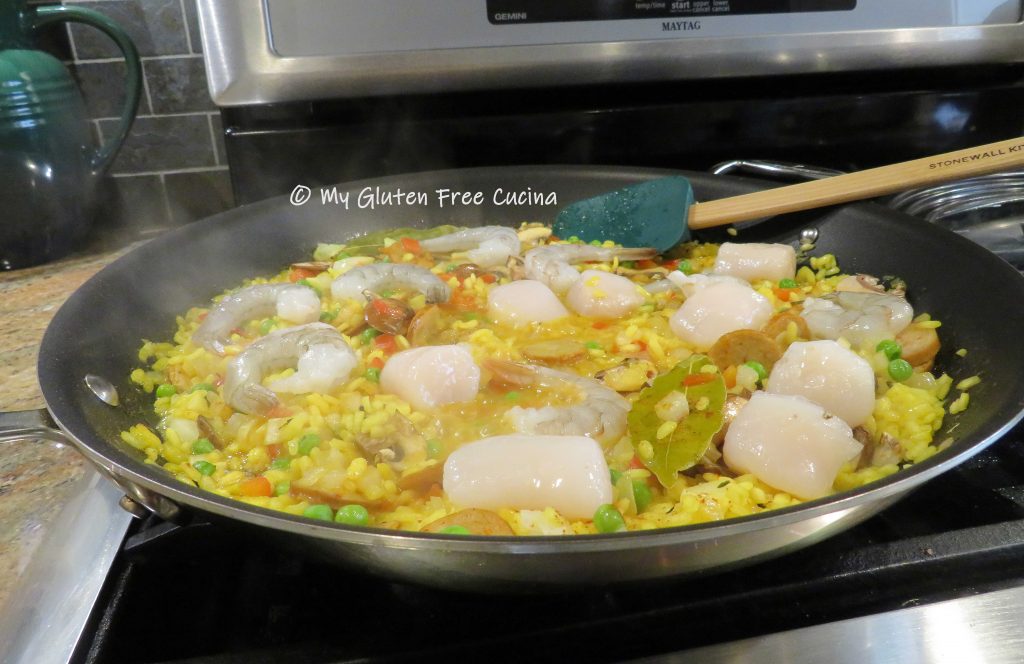
 Add the diced fennel and cook for one minute, then add the garlic and cook for 30 seconds. Stir in the diced tomatoes, peas, wine and seasoning. Simmer for 10 minutes to reduce the liquid.

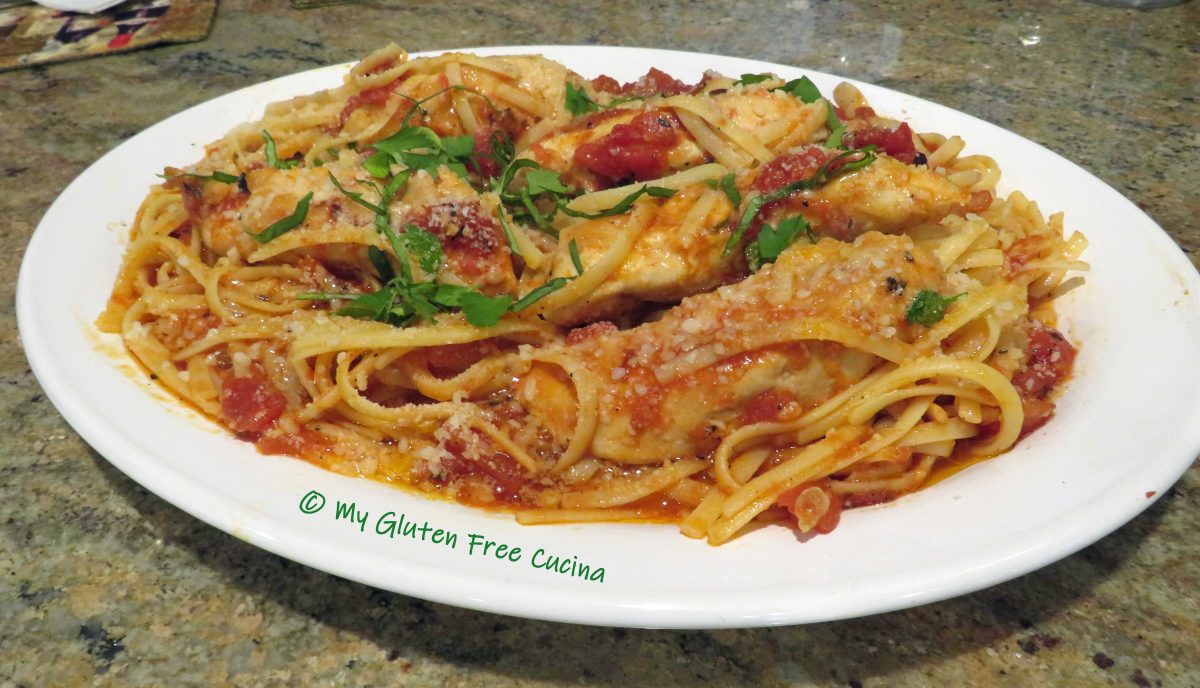
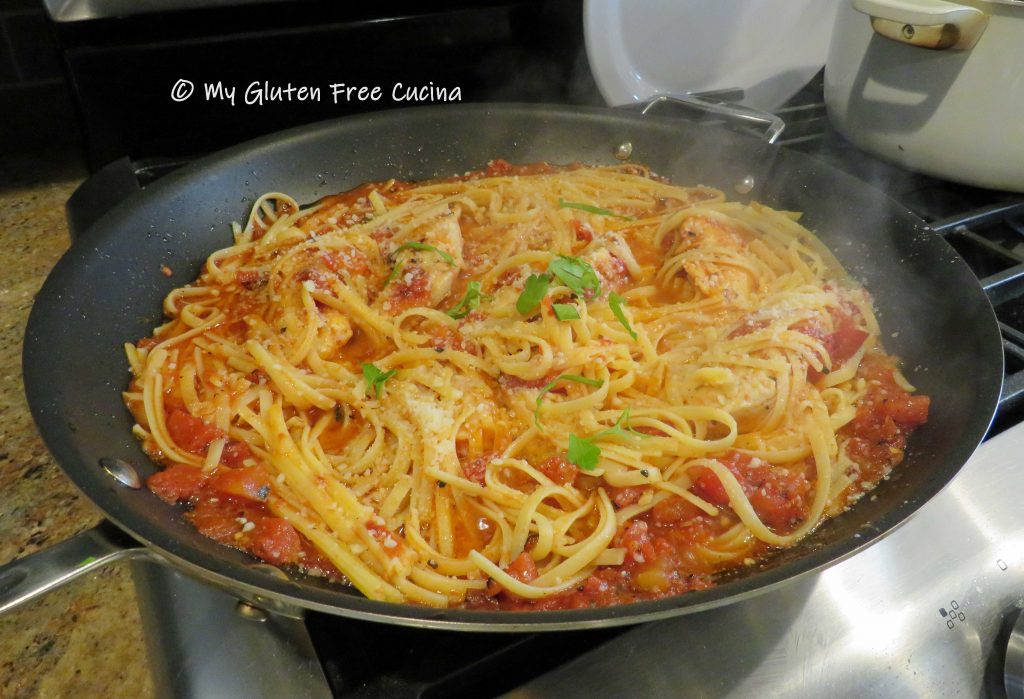
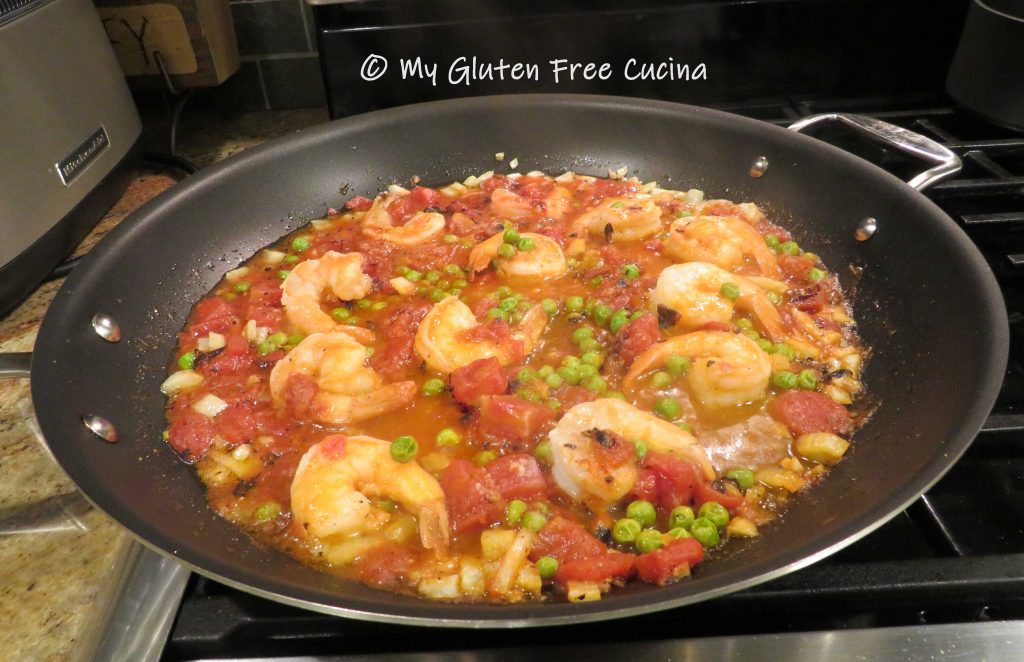
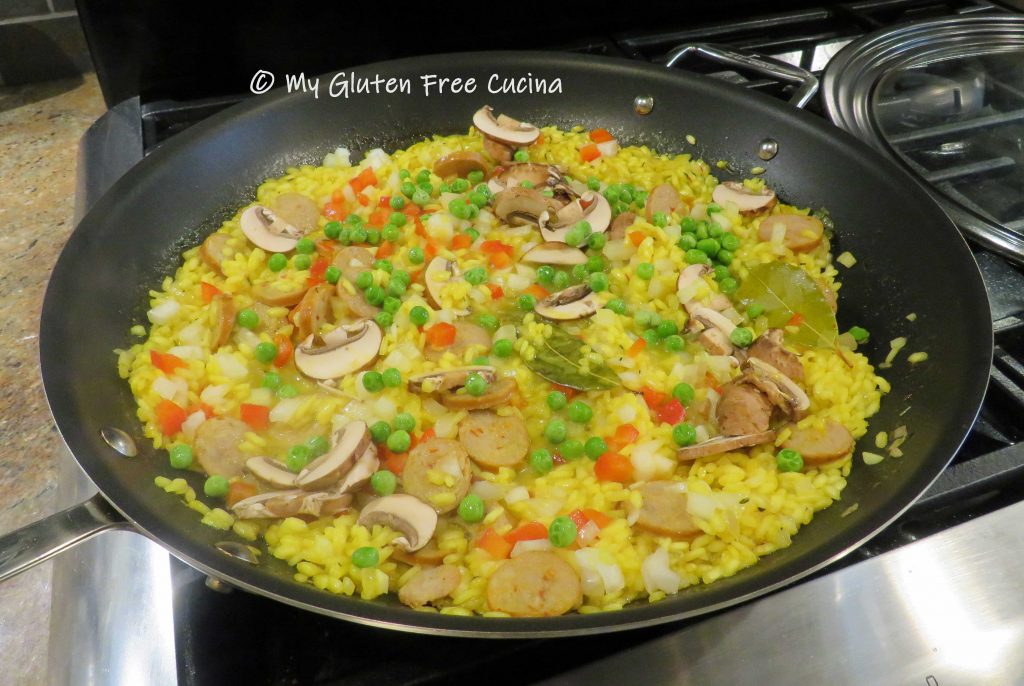
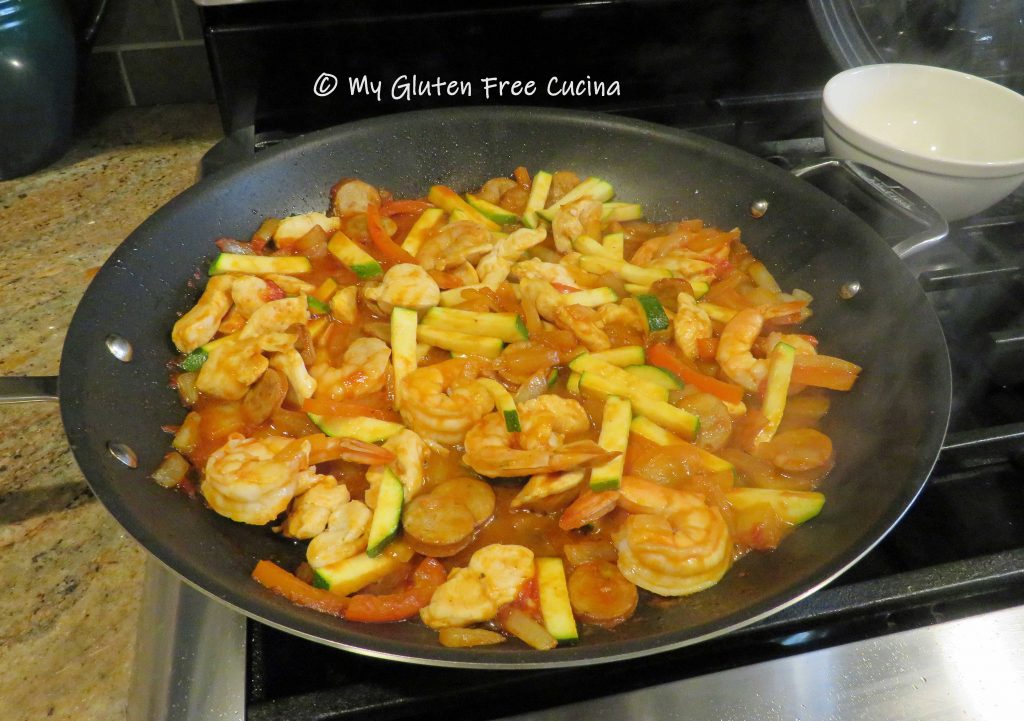
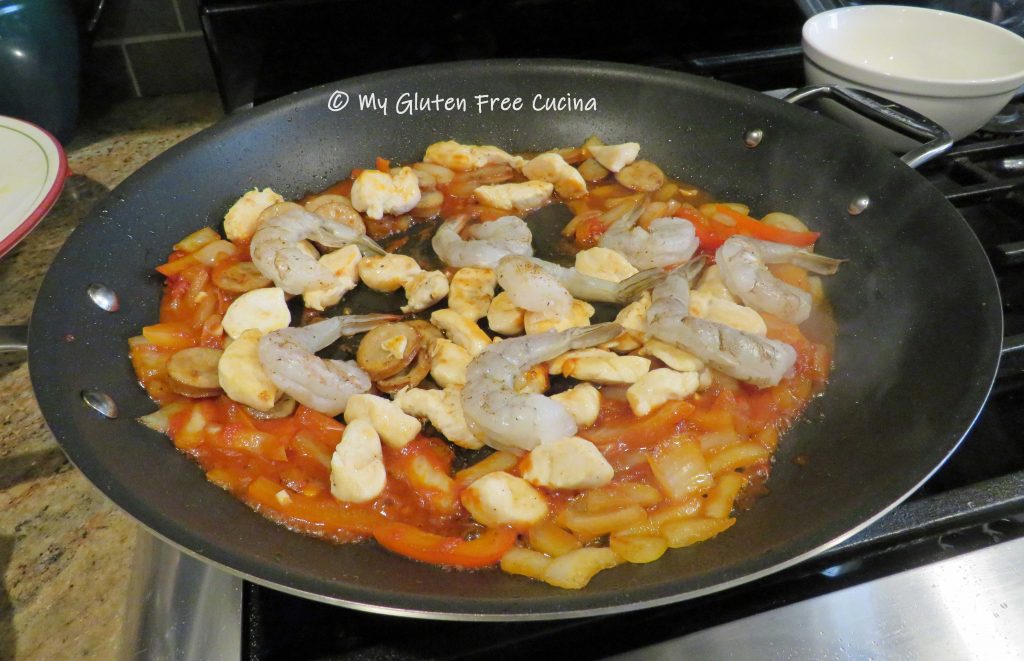
Cook the pasta for 2 minutes less than the package directions. Add the shrimp to the skillet and cook for a few minutes more, just until the shrimp turn pink. You can add a small amount of the pasta water if needed.
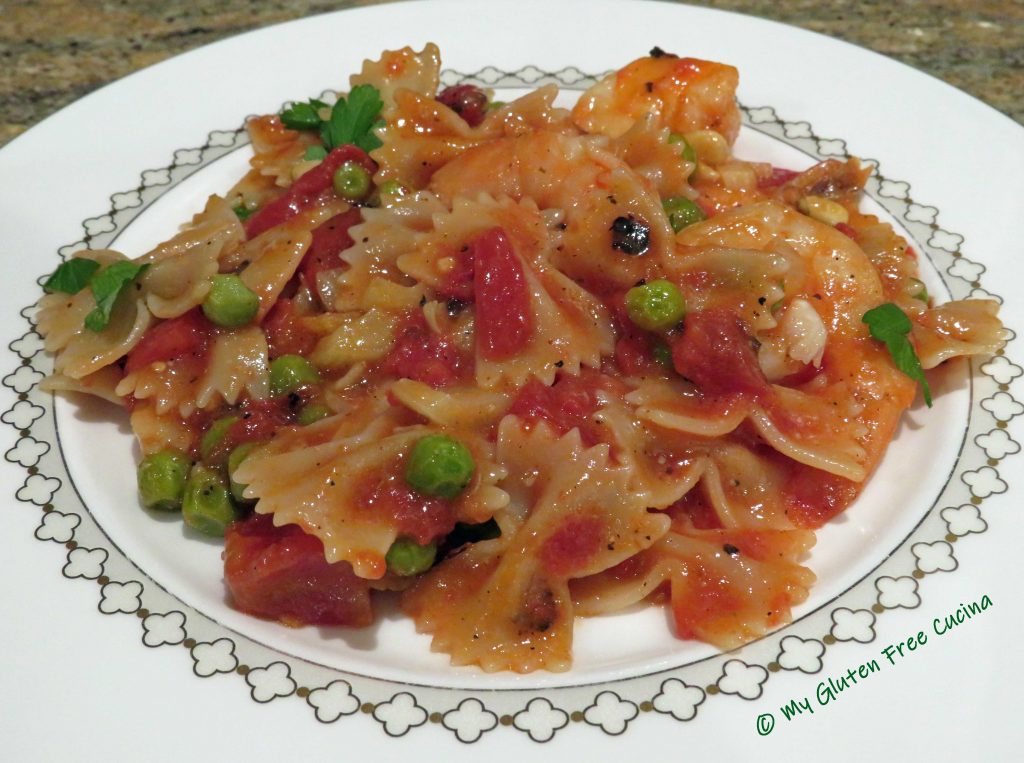
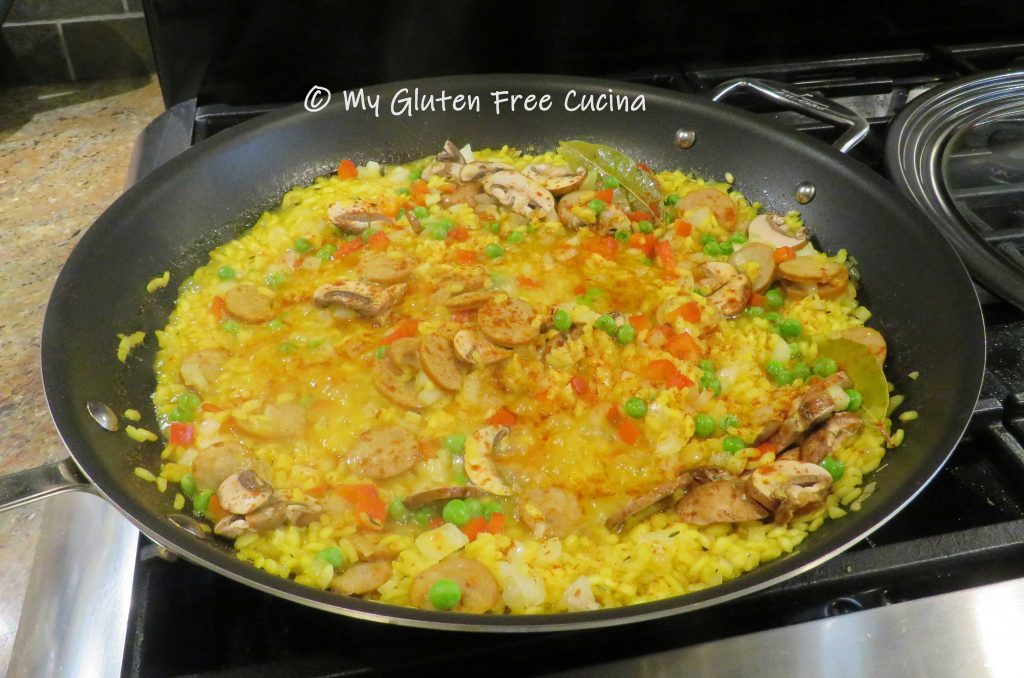
Drain the pasta, add to the skillet and toss well.
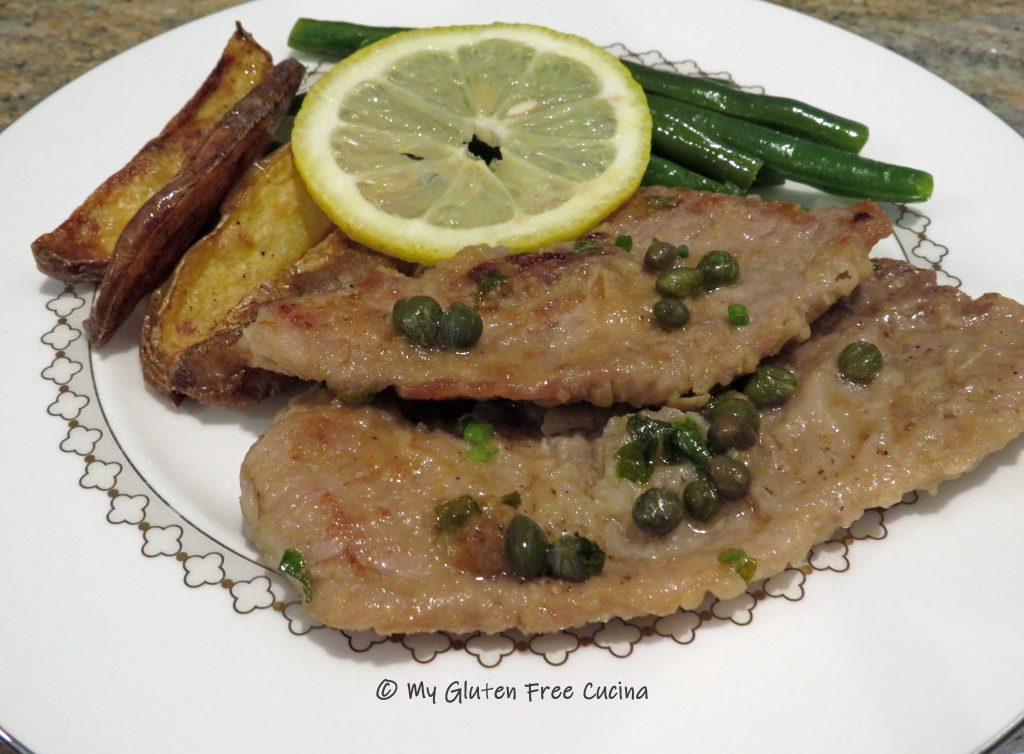
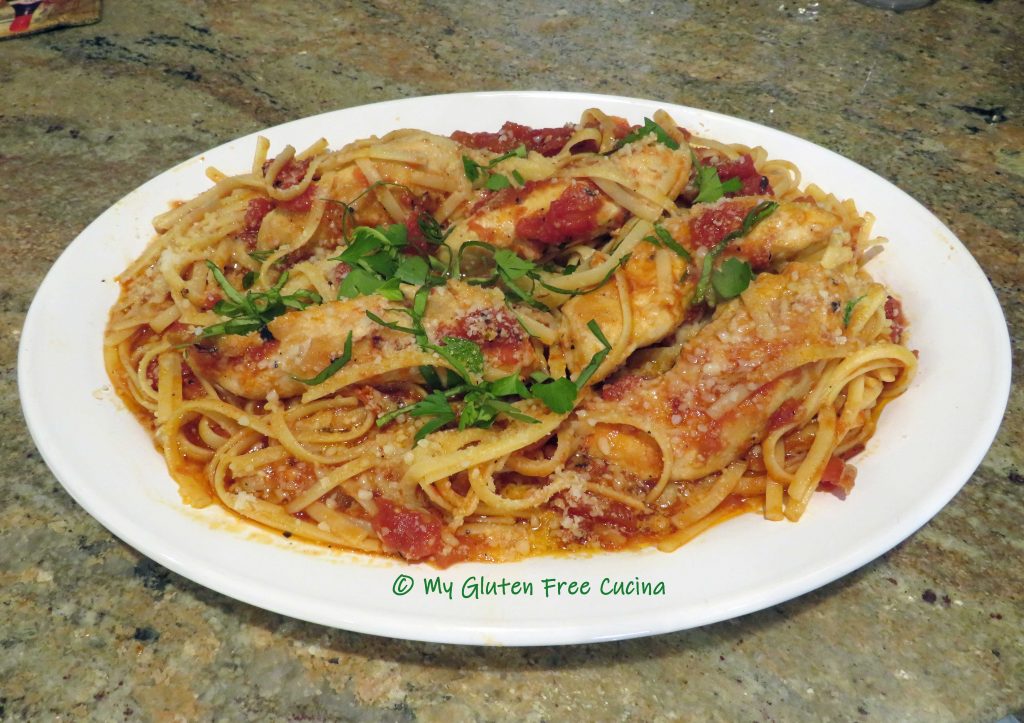
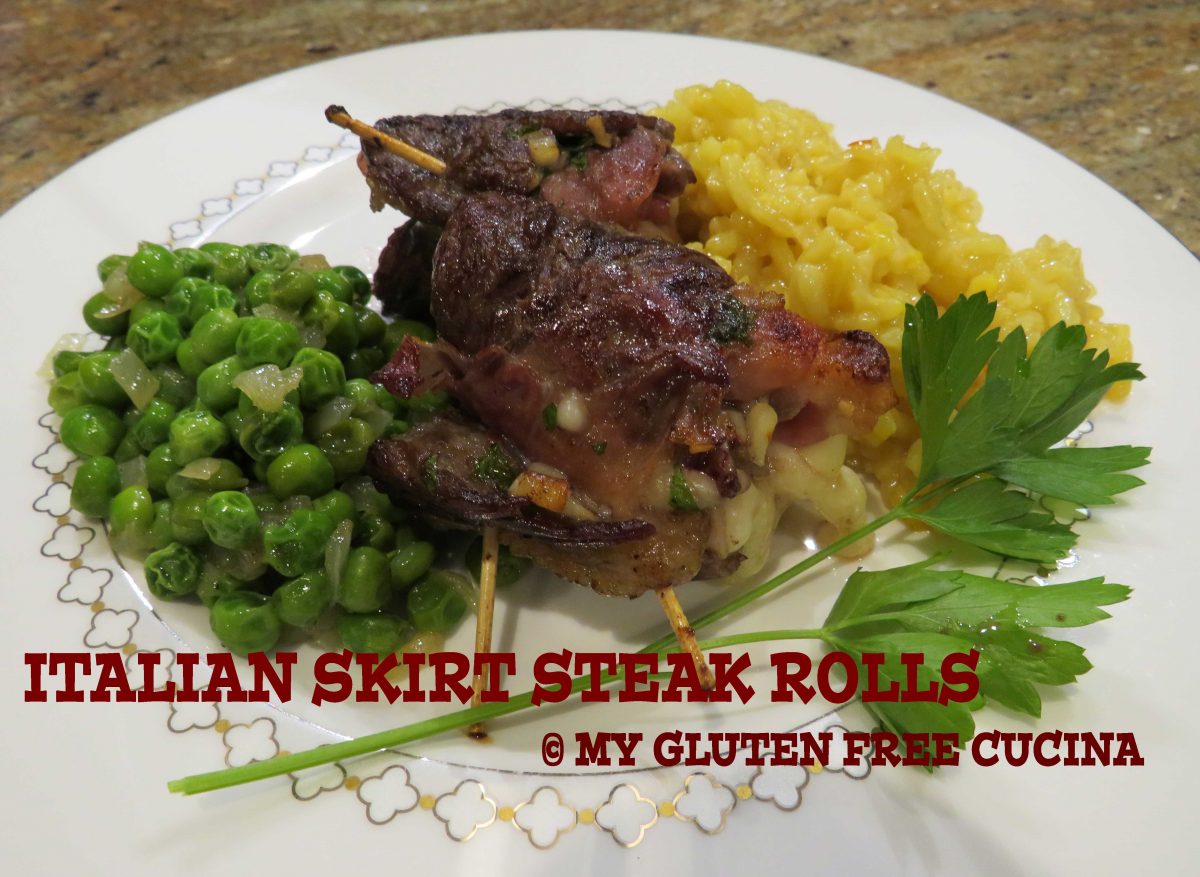
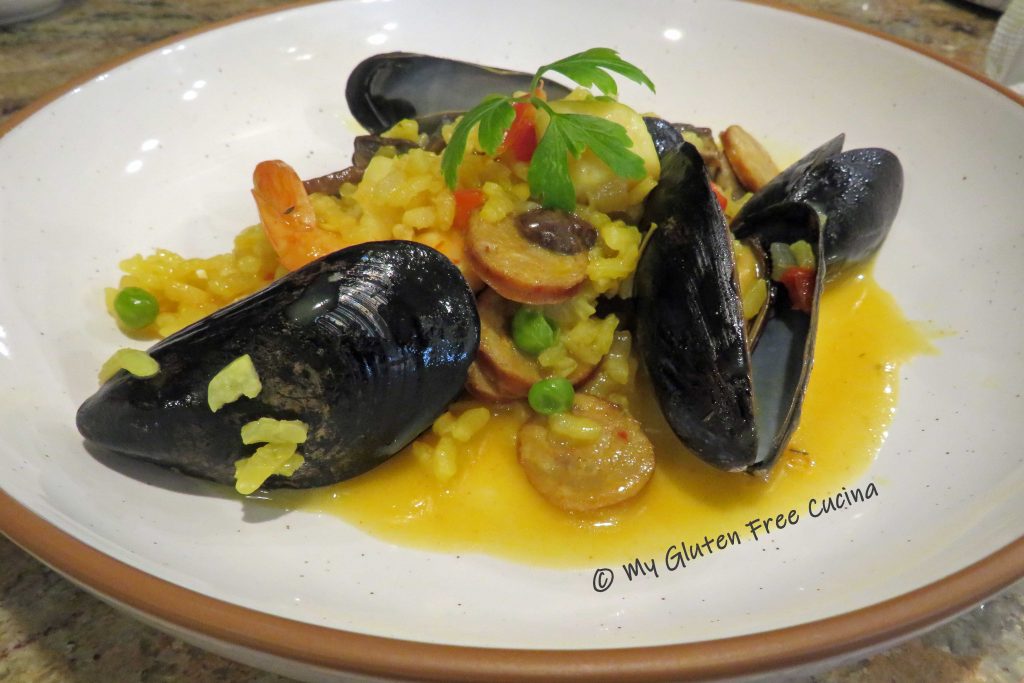
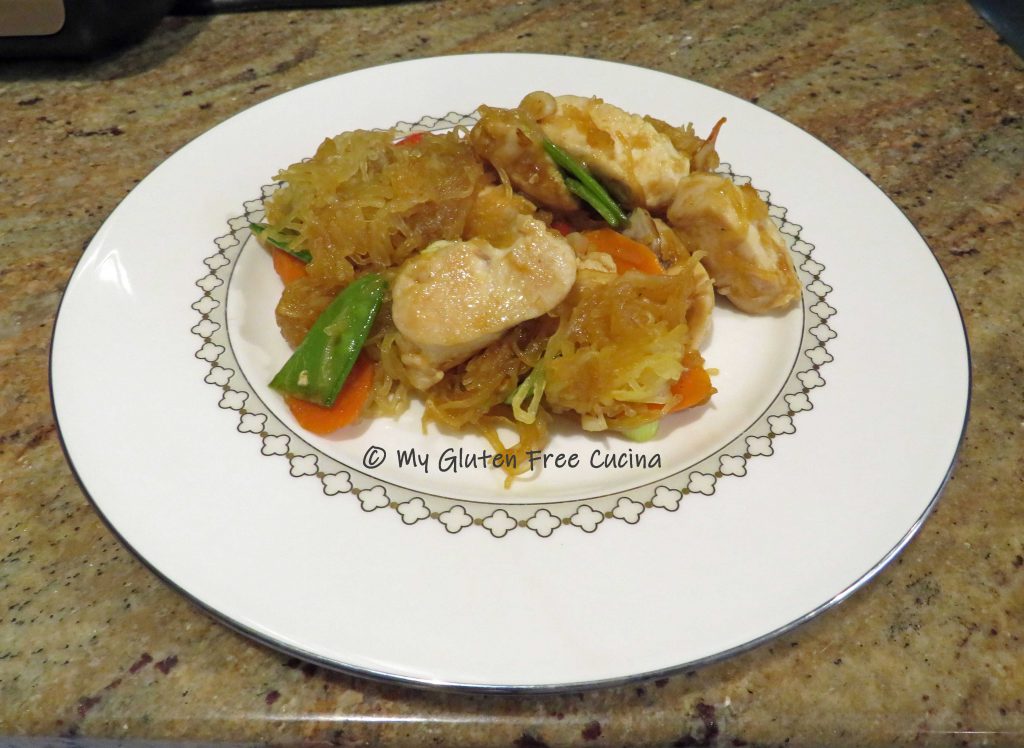
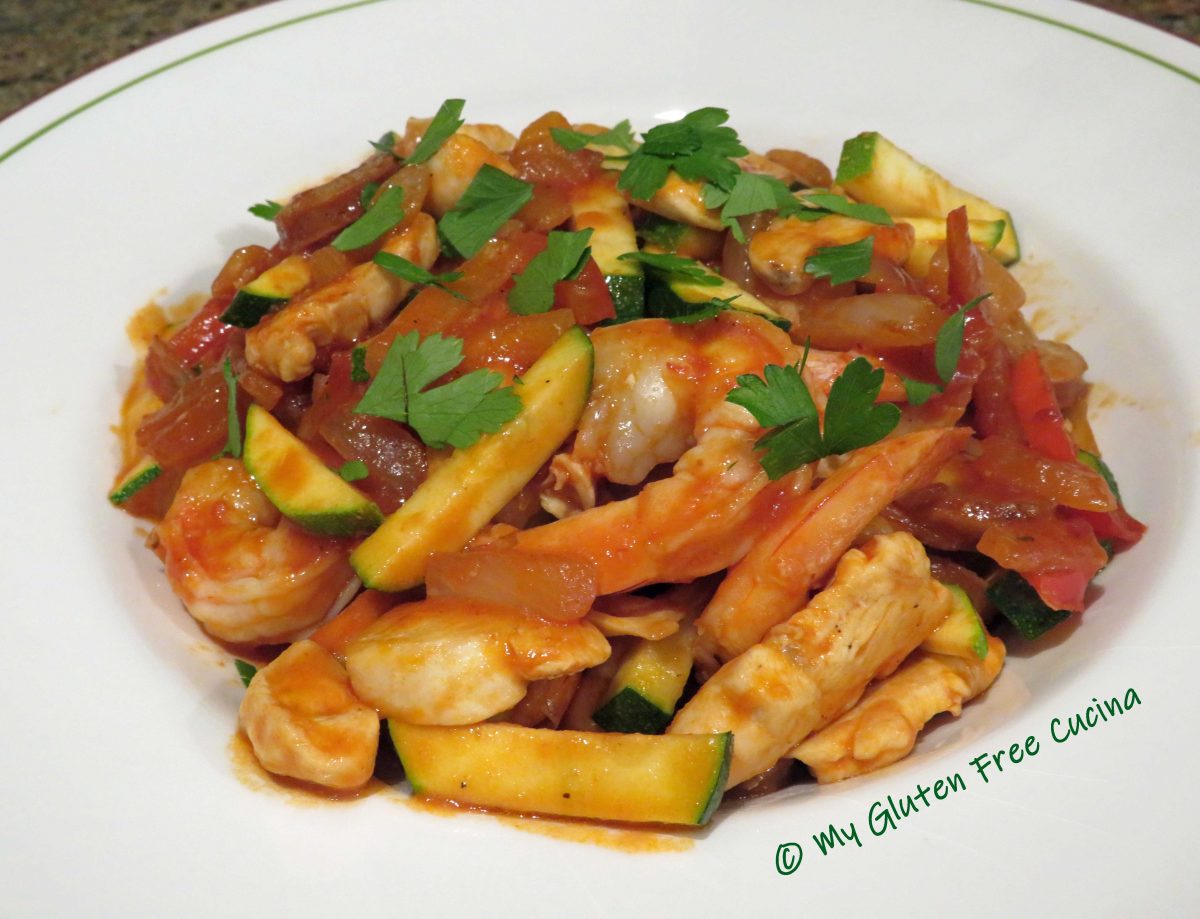
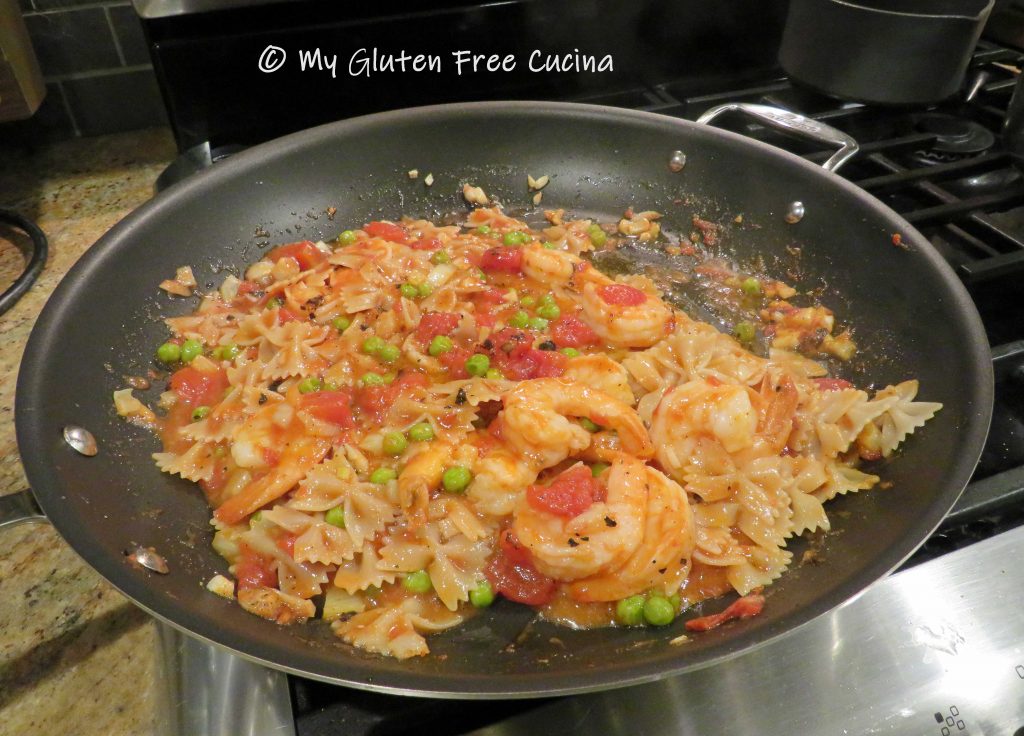 Transfer to a serving platter and finish with a drizzle of olive oil. Garnish with fresh parsley and toasted pignoli.

Notes ♪♫ When you have a well stocked pantry you can always pull a meal together in a hurry. I always have frozen shrimp, bags of frozen peas and canned tomatoes on hand. I am Italian, so you know I have a six month supply of gluten free pasta! Parsley and garlic are also pantry staples, so I really just had to buy the fennel to make this dish. I hope you will try the recipe!


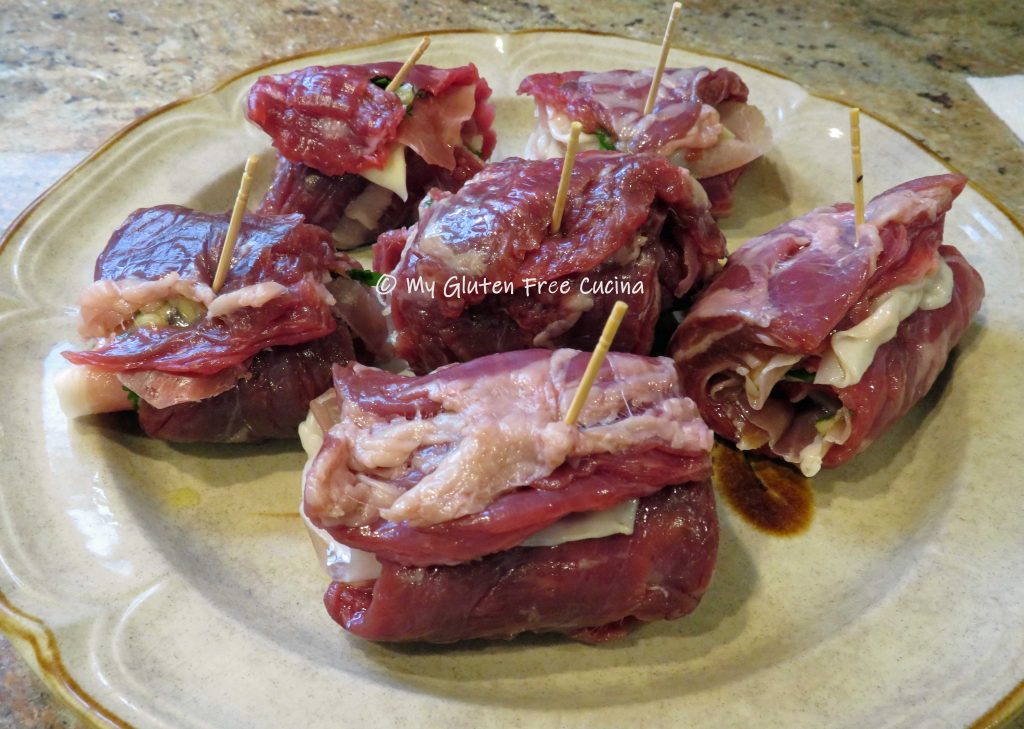
 Lay the steak out on a
 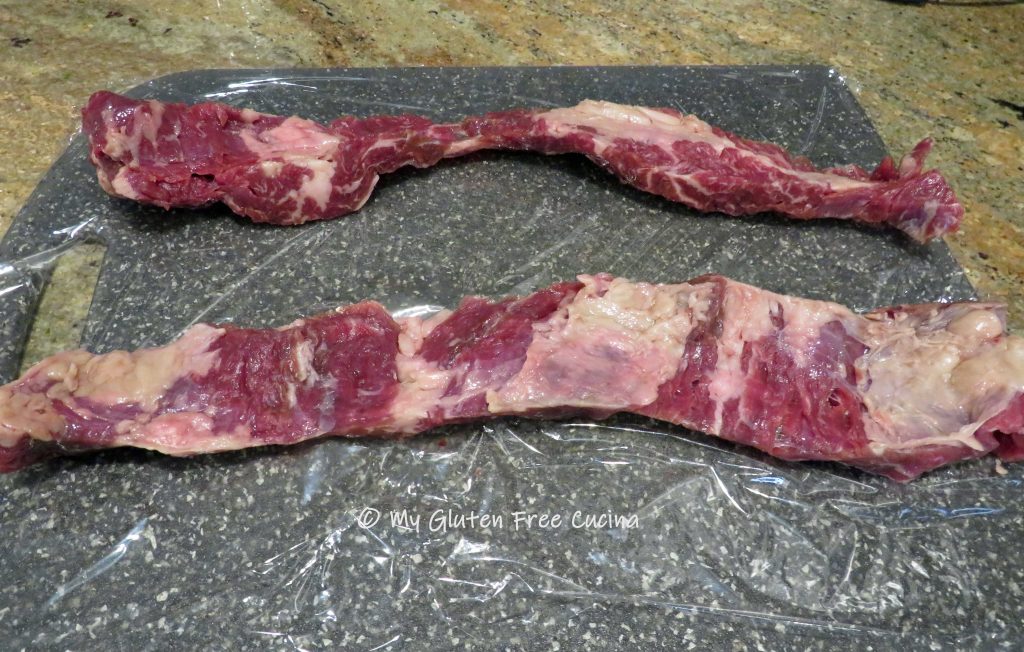 Cover the meat with another sheet of plastic wrap and
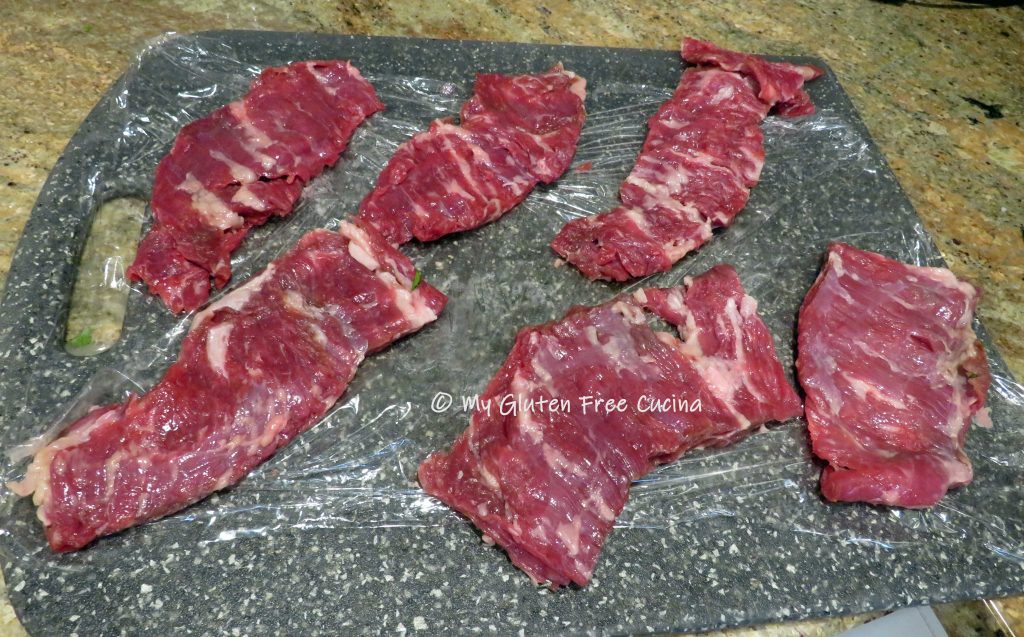 Spread the garlic mixture evenly over the steak.


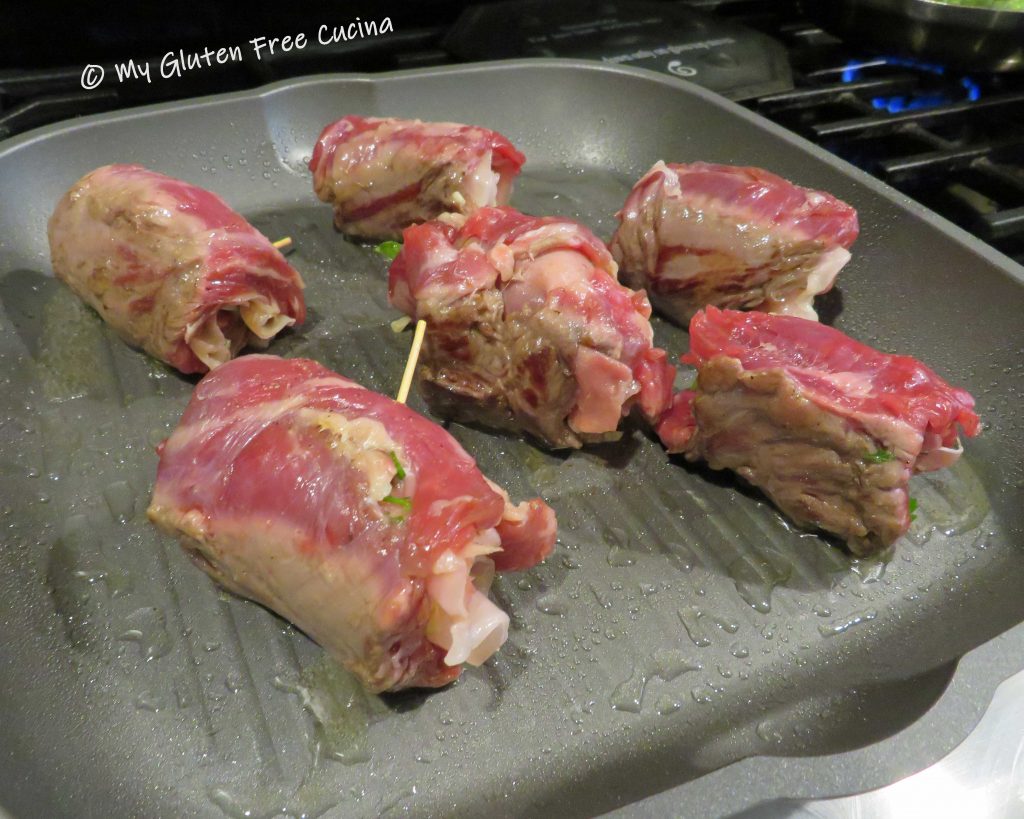
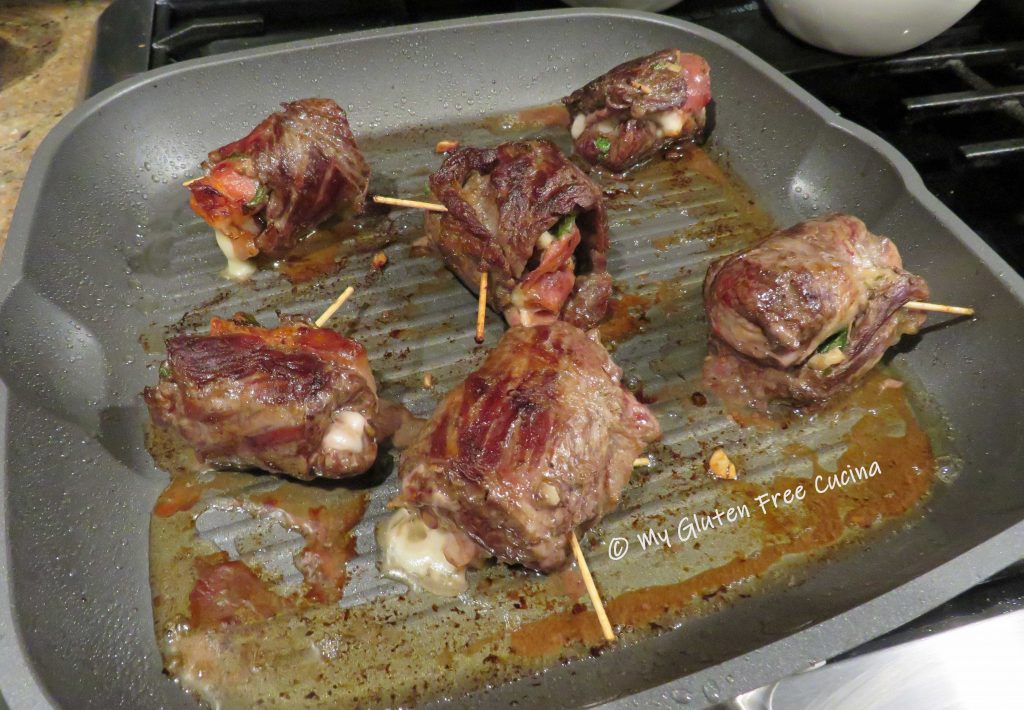
 Remove them when the internal temperature reaches 135º for medium (

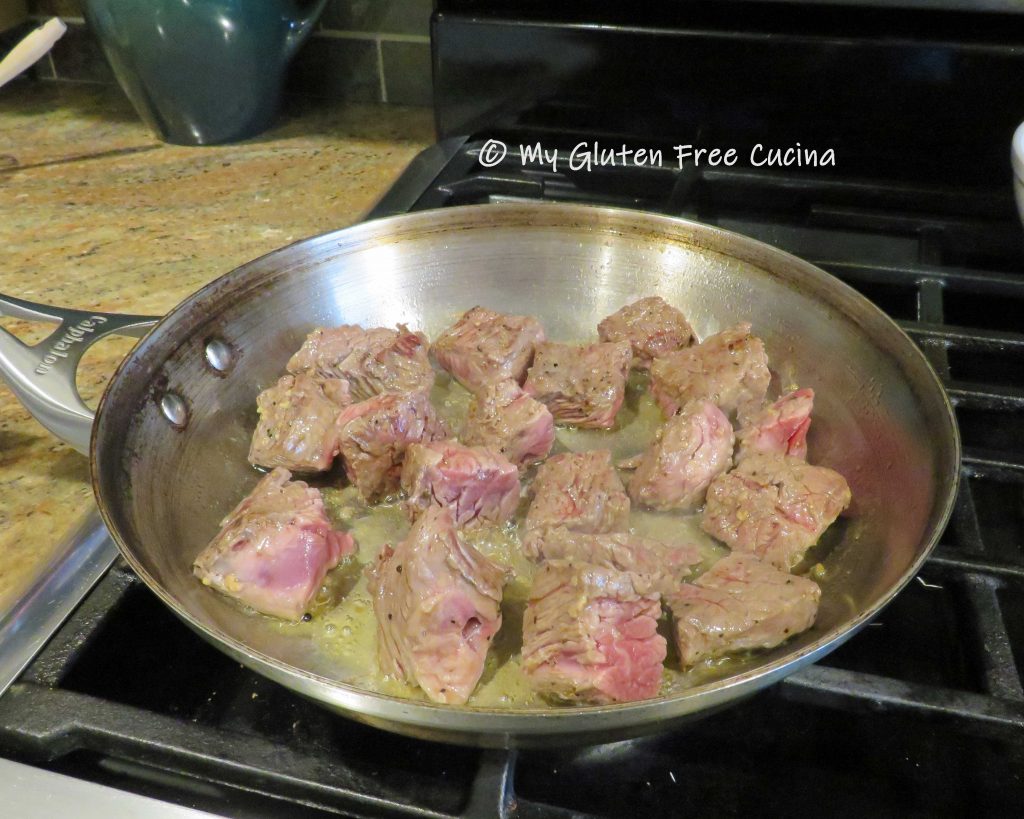
 Heat the butter and olive oil in a

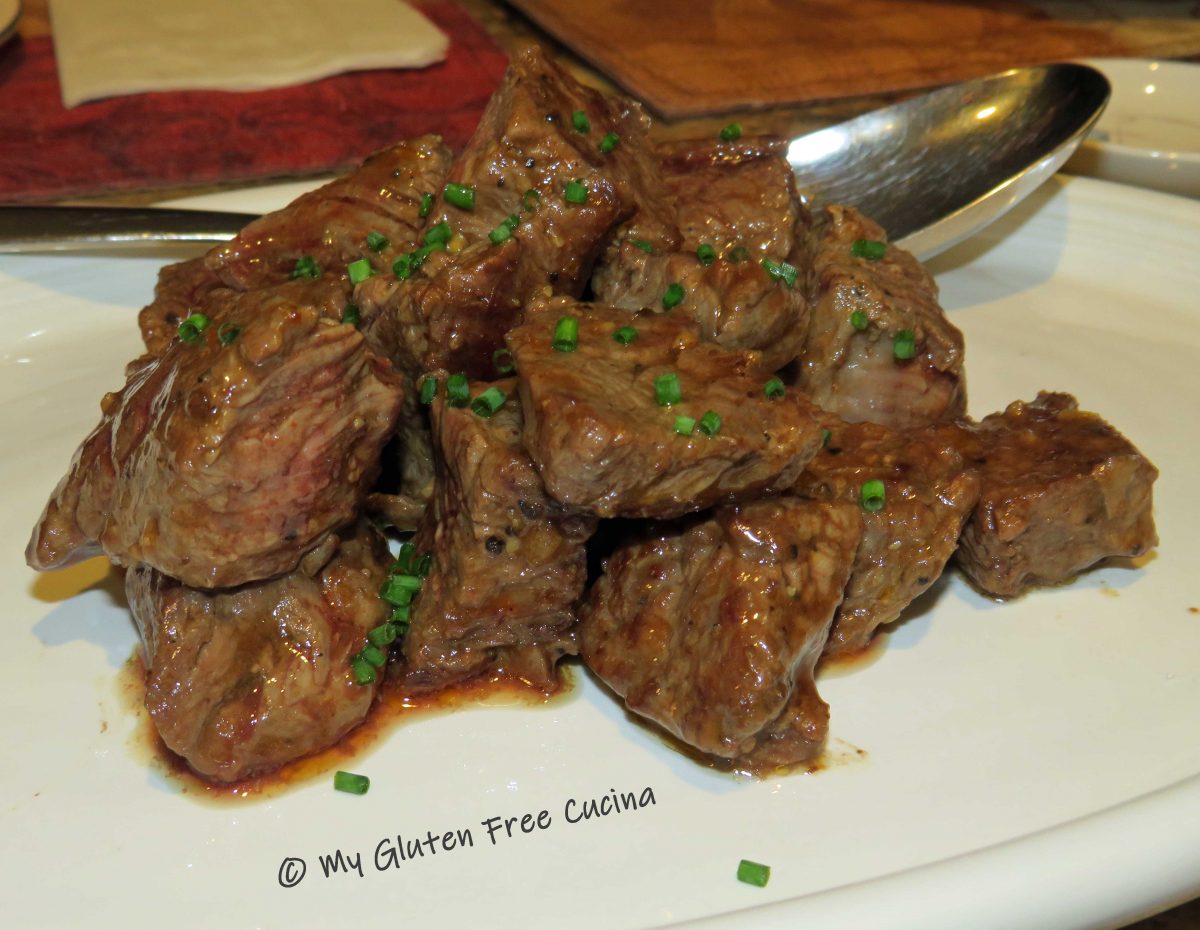


 To finish, add 2 tbsp. gluten free BBQ sauce and toss to coat.


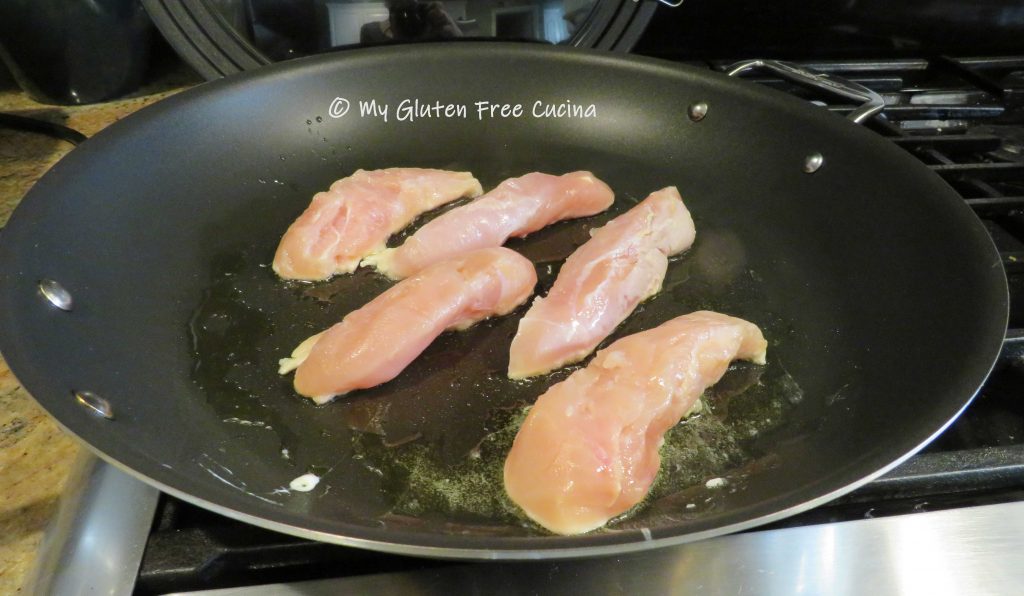
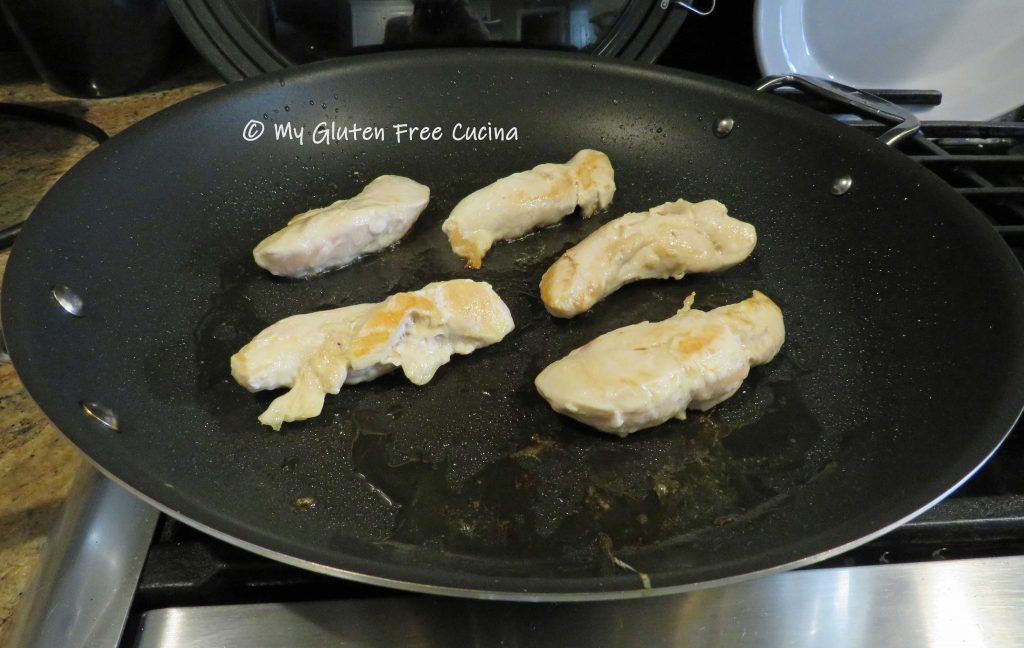
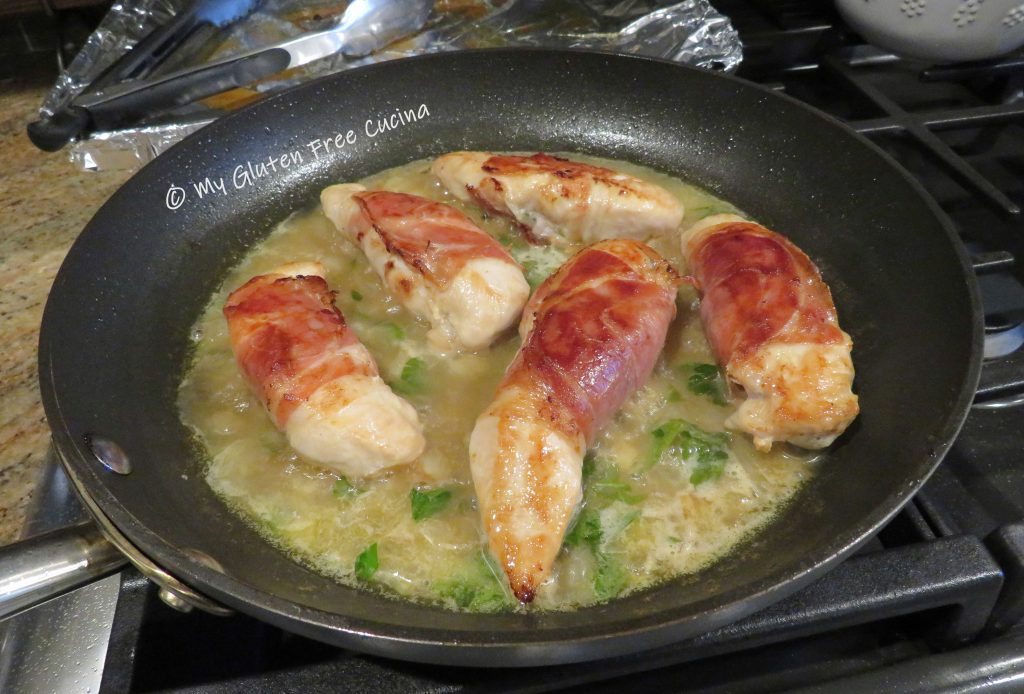
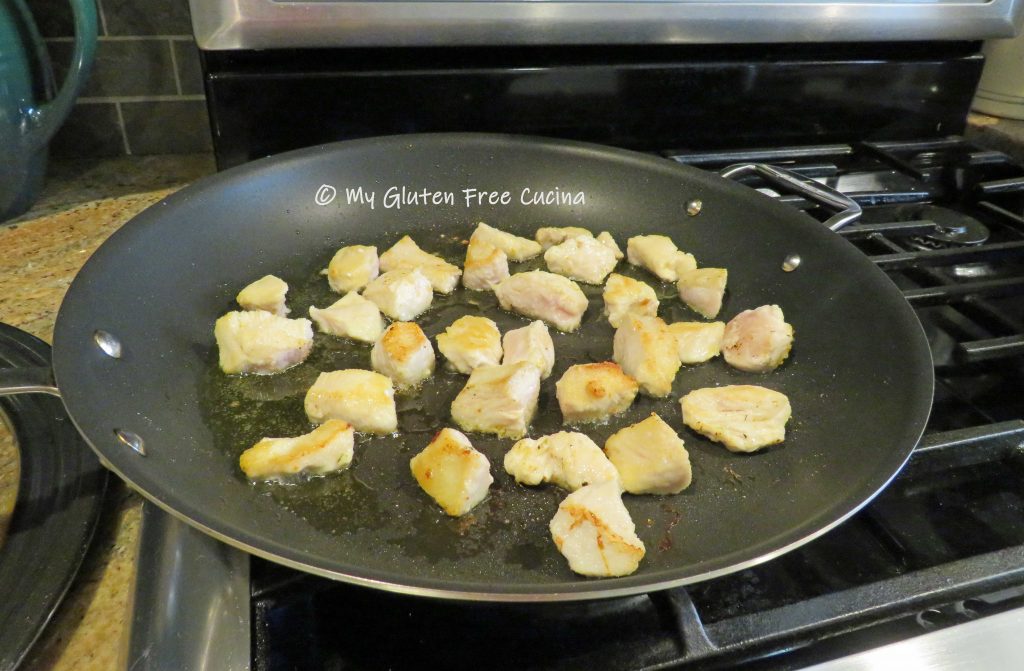 When the chicken has browned on all sides, add a splash (1/4 cup) of white wine to the pan and toss until the liquid evaporates. Remove from the pan and set aside.
 When they have a little color, add the broccoli, garlic and diced tomatoes. Add another splash of white wine, then season with salt and pepper, basil and Italian seasoning. Cover and cook 10 minutes, until the broccoli is crisp tender.
 While the vegetables are cooking, add the pasta to the boiling water. Use your favorite (
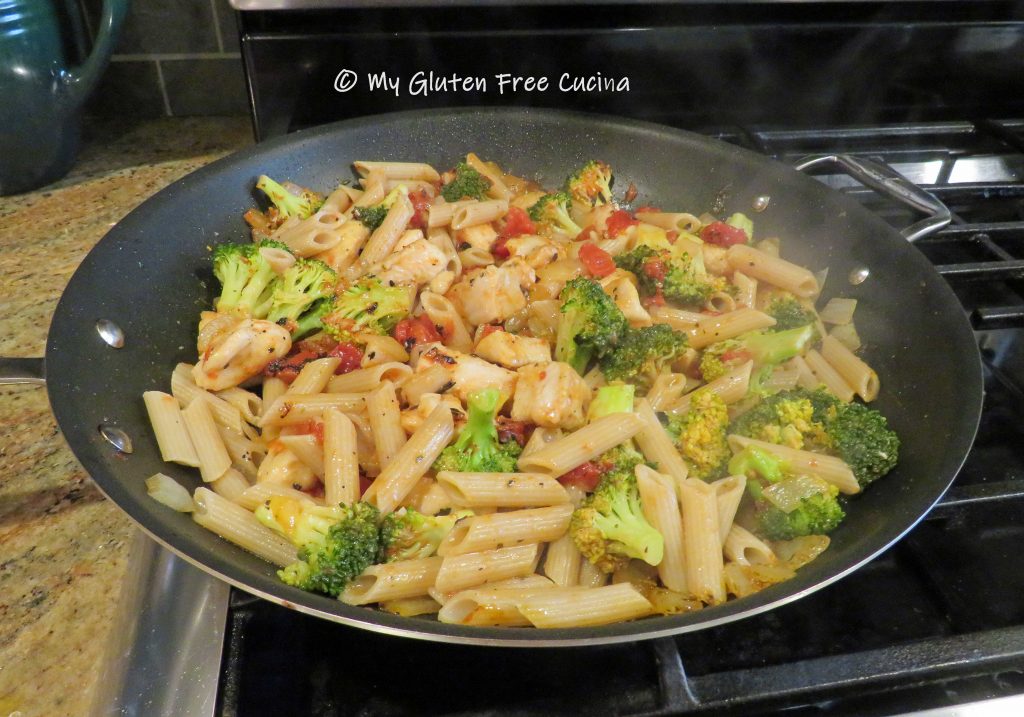


 Coat a
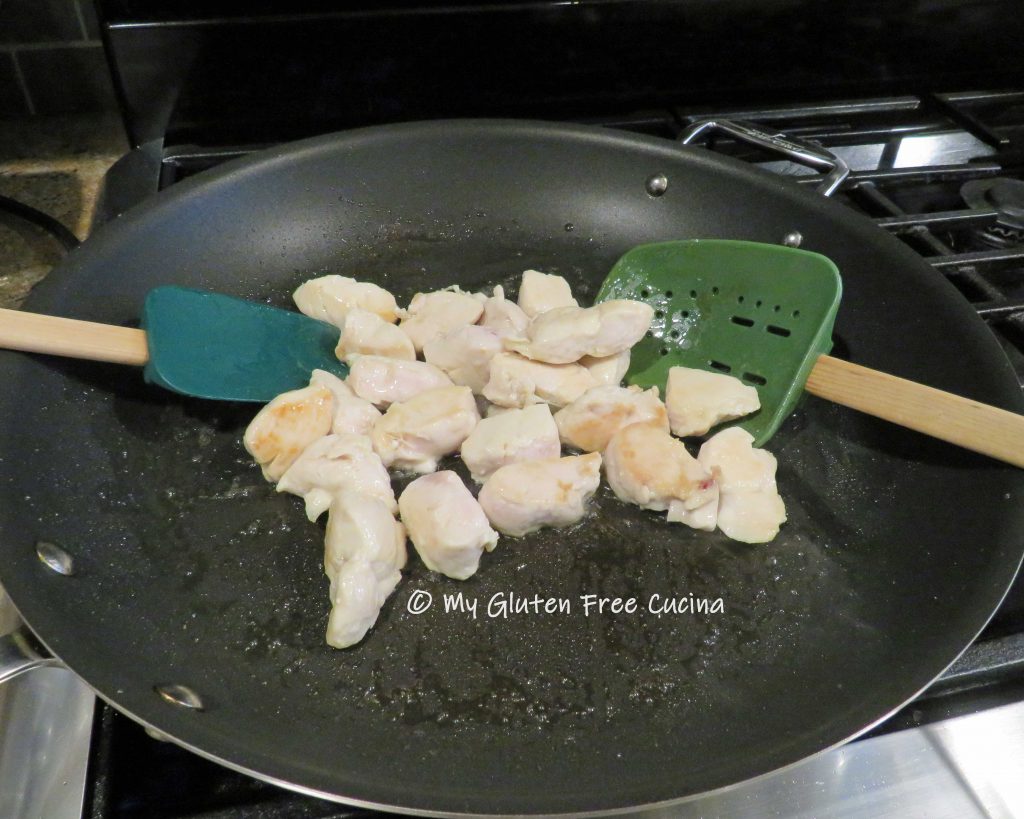


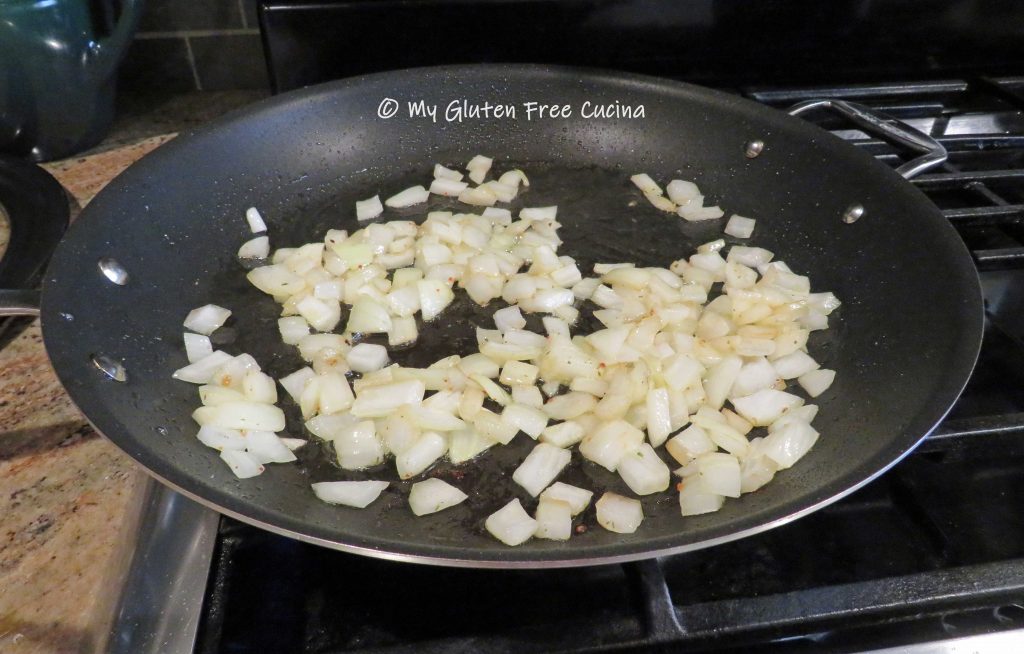
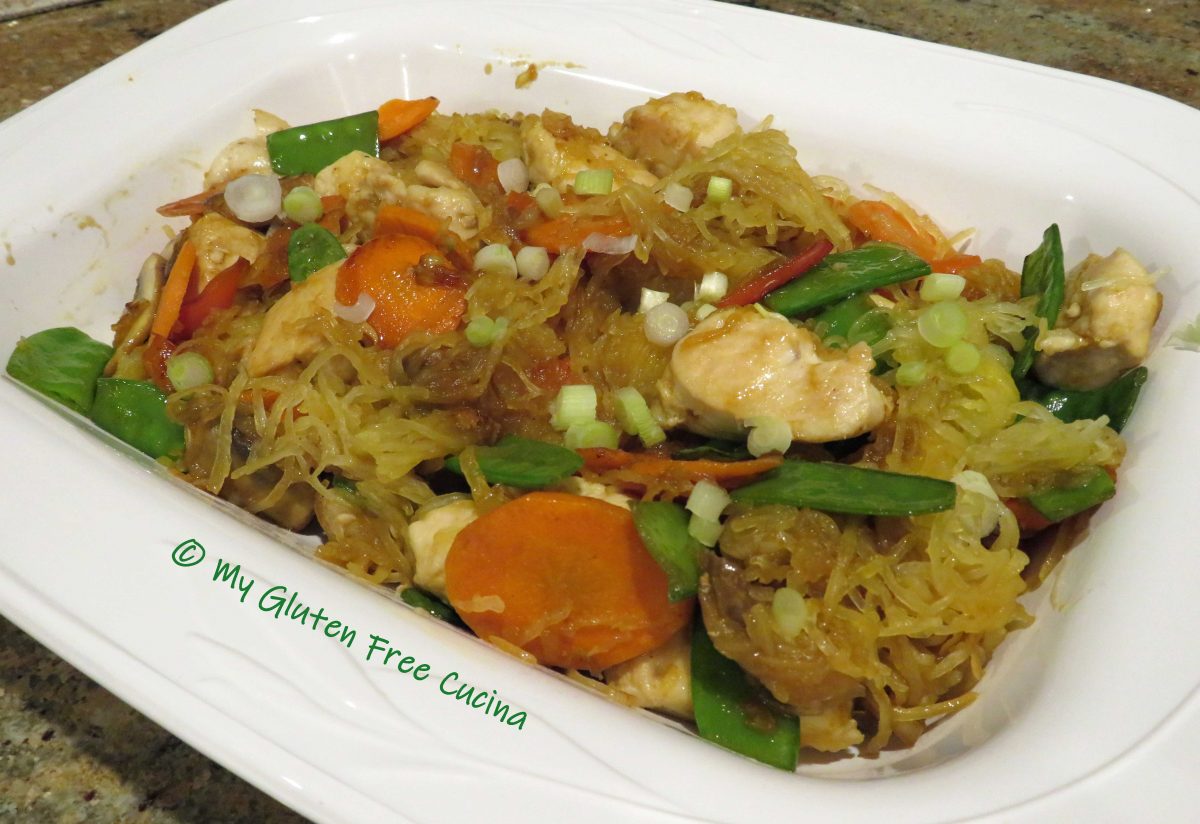
 Remove the chicken when almost cooked through and add the onions and peppers to the skillet. Sprinkle with seasoning.
 Cook 2-3 minutes, then push the veggies aside to make a clean spot in the center of the pan. Add the tomato paste and let it toast for a minute before stirring it into the veggies with 1/2 cup of the chicken broth.

 Stir everything together, then add the remaining 1-1/2 cups chicken broth along with the zucchini.

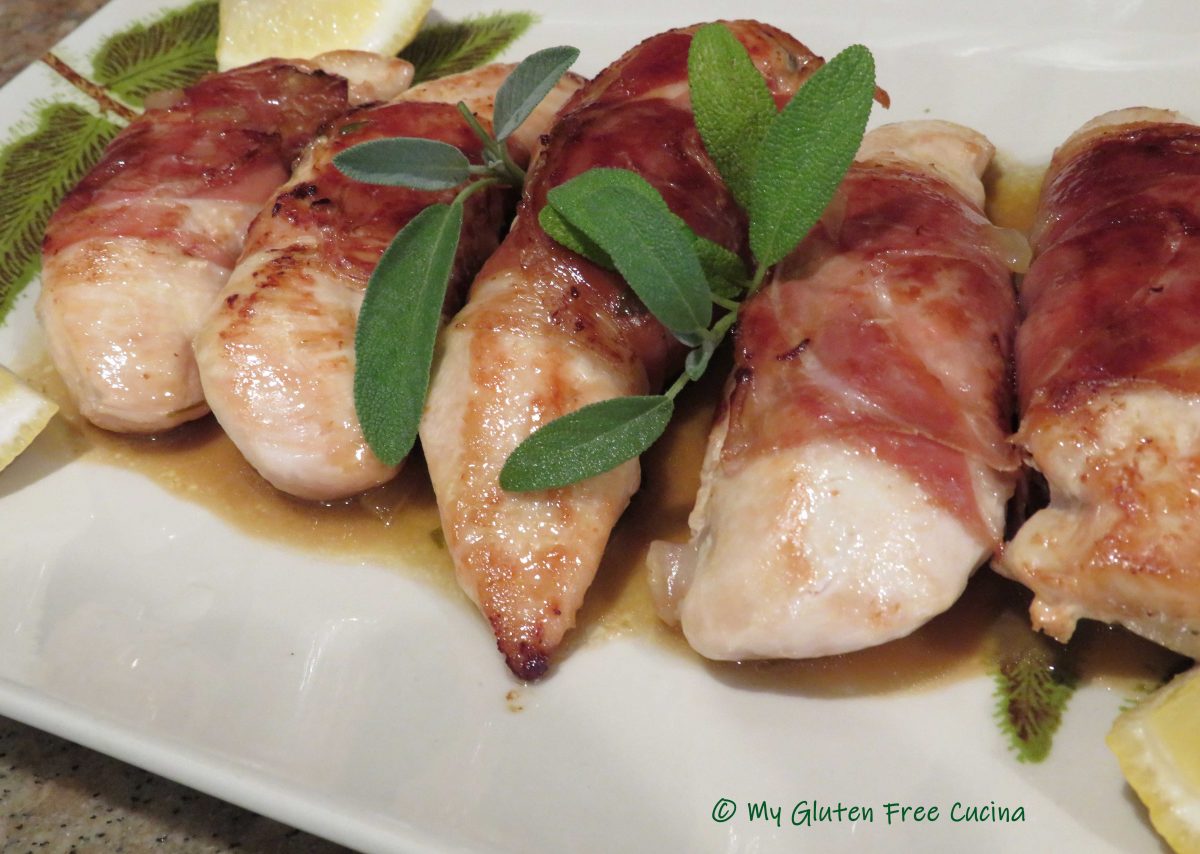
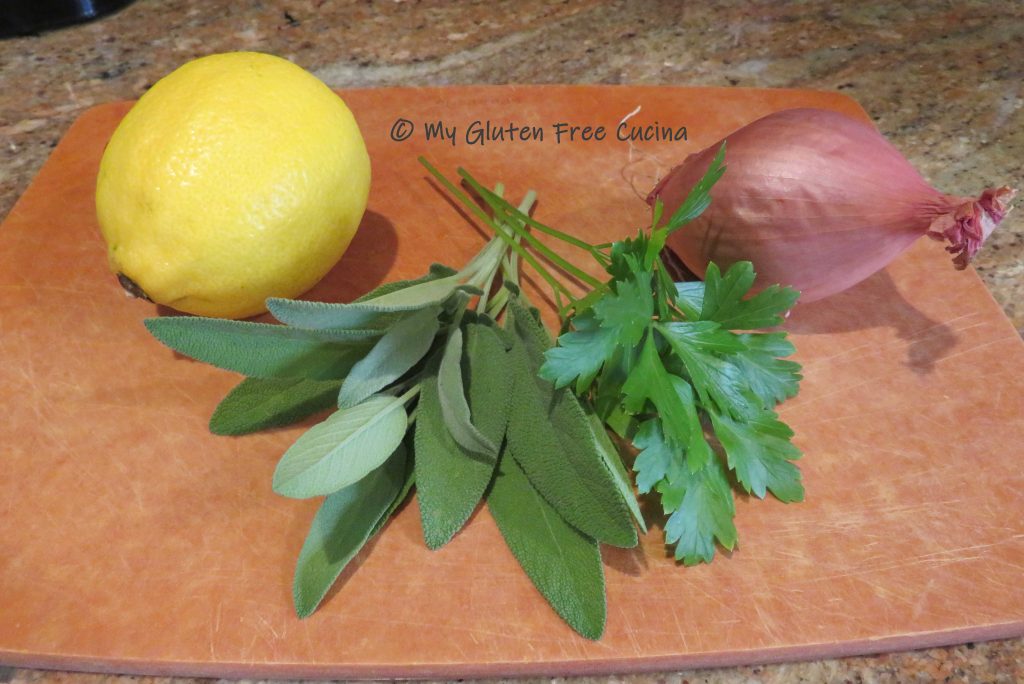
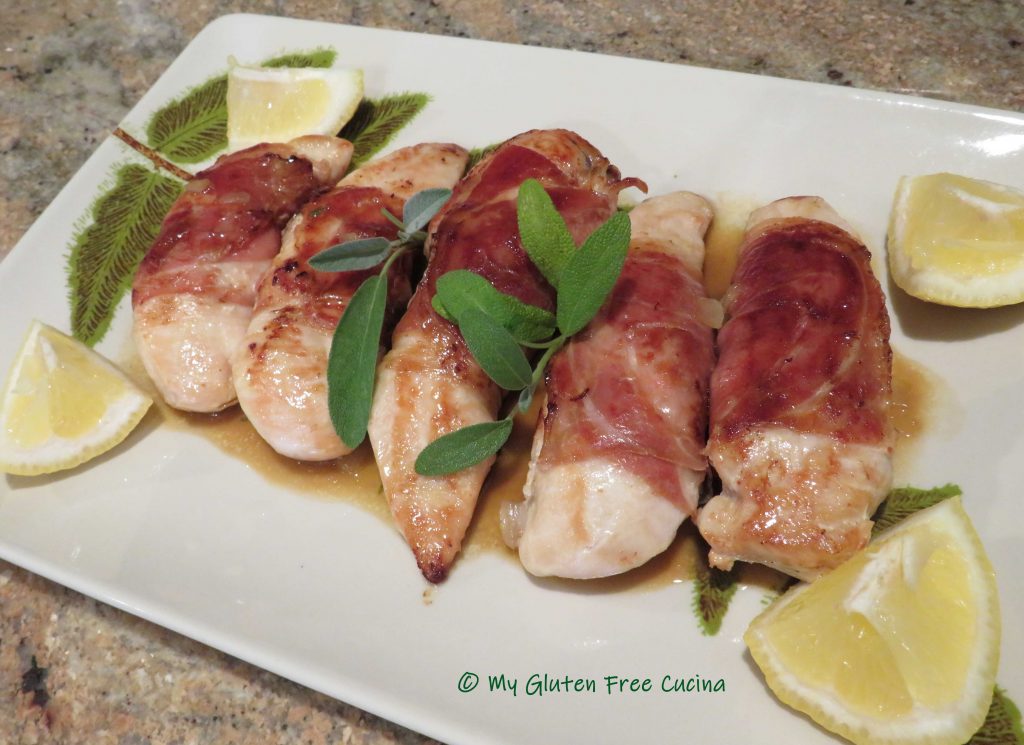
 The inspiration for this post was a beautiful pot of sage from my herb garden. I’m really proud that I grew it from seed!