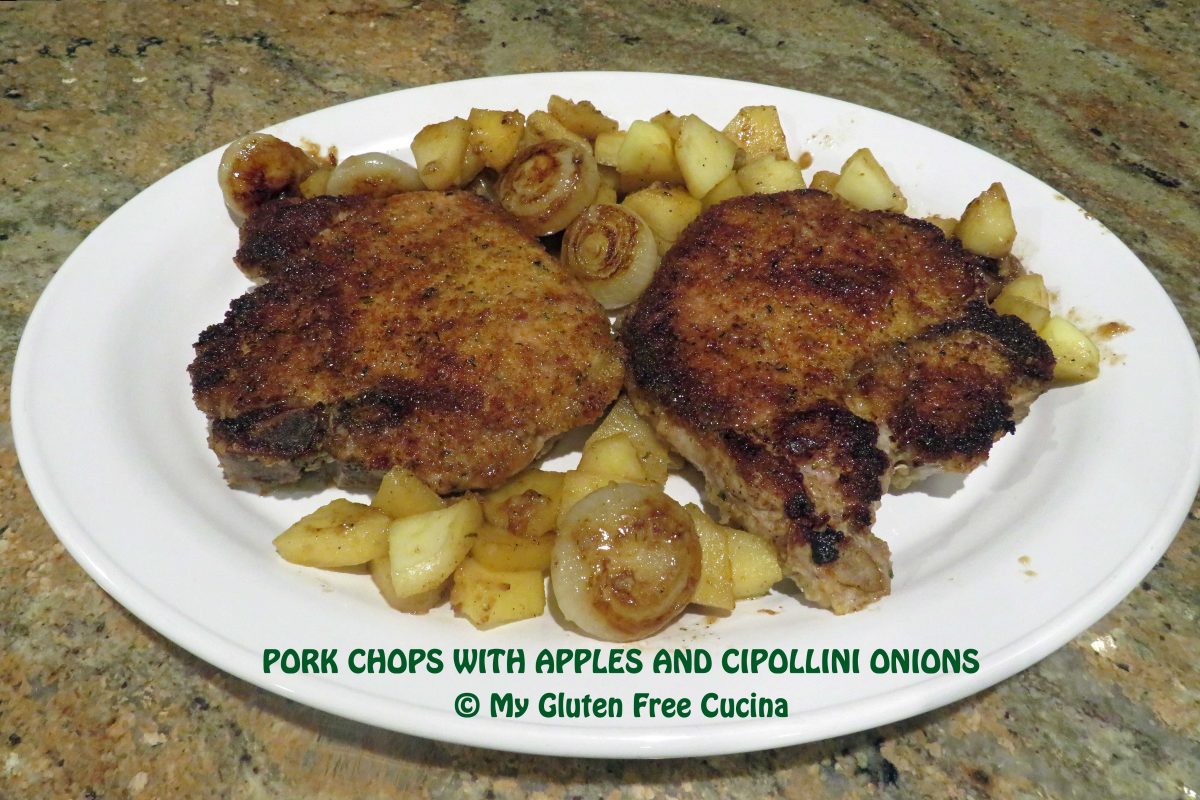
Pork Chops with Apples and Cipollini Onions

Have you tried Cipollini onions?  Cipolla means onion in Italian, and cipollini are “little onions”.  Milder and sweeter than regular onions, Cipollini can be a flavorful addition to pork and beef dishes.

You may think these little onions are difficult to peel, but here’s a trick!  Simply soak them in water for 30 minutes before you begin prepping the meal.  Those skins will pop right off!  This is an easy dinner for two, and with only one pan required, cleanup is a breeze!

Dinner for two

This post contains affiliate links.

Ingredients:

  • 2 pork chops, 1″ thick, bone in
  • 8 oz. cipollini onions, peeled and trimmed
  • 1 apple, peeled and sliced
  • 1/2 cup of 1% milk
  • 1/2 cup of white wine (NOT cooking wine!)
  • 1/2 cup gluten free seasoned breadcrumbs
  • salt and pepper
  • 2 tbsp. olive oil
  • 1 tbsp. butter

 Preparation:

Soak the Cipollini onions in water for 30 minutes.  Be sure they are submerged.  At the same time, tenderize the pork chops by placing them in a non-reactive dish with 1/2 cup milk for 30 minutes, turning once.  Season with salt and pepper.

After soaking for 30 minutes, peel and trim the onions.

Heat a large nonstick skillet with the olive oil and butter.  Season the Cipollini with salt and pepper and cook on medium low heat for 8-10 minutes, turning every few minutes.

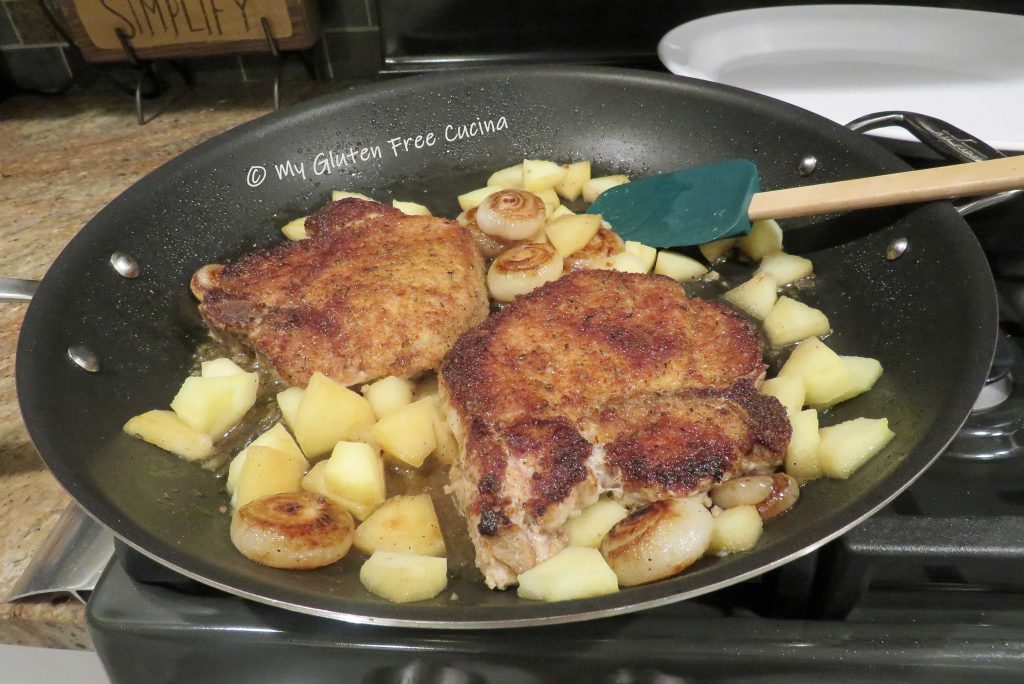
Here you can see the onions are partially cooked and starting to get some color.  At this point push them to the side, to make room for the pork chops.

Take each pork chop, shake off the excess milk and dredge in the breadcrumbs.  Add the pork chops to the center of the pan, cover and cook 4 minutes.

Turn the pork chops, add the apples to the pan along with the wine, then cover and cook for an additional 4 minutes.  Remove the cover and allow any remaining liquid to evaporate, then transfer to a serving platter.

I served them with a side of white rice.

Notes ♪♫ I used Aleia’s gluten free Italian breadcrumbs in this recipe.  They are so delicious, the closest I have found in taste and texture to regular Italian breadcrumbs.  Everyone in your family will love them, gluten free or not!

Originally published 02/10/2020           Updated 01/02/2023

[print_link]

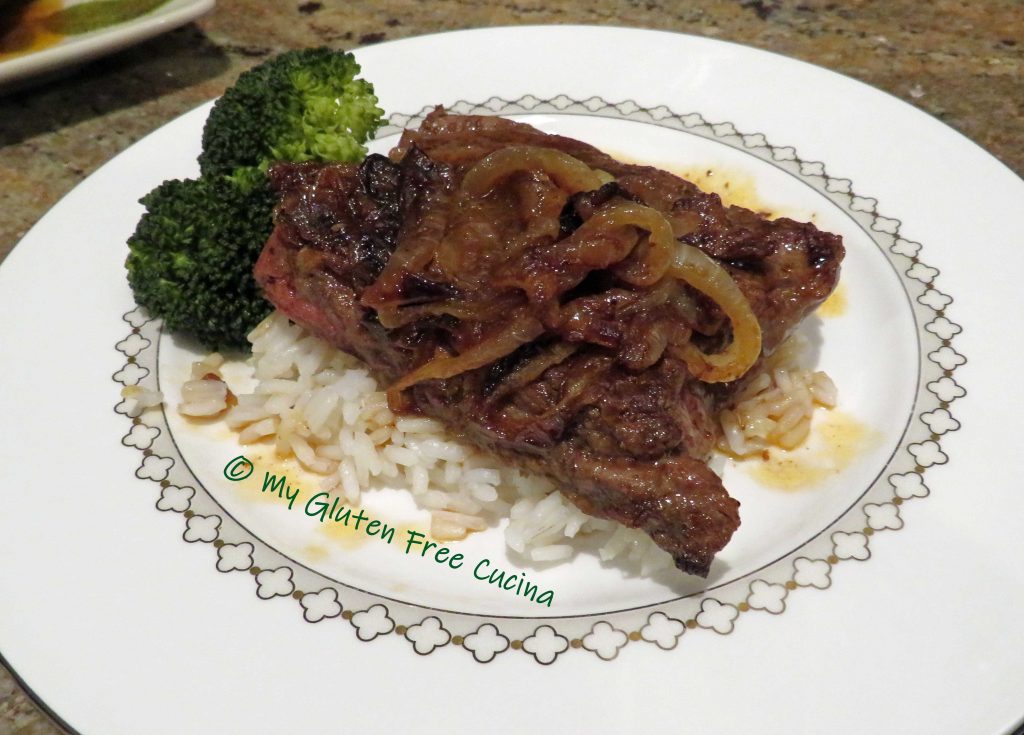
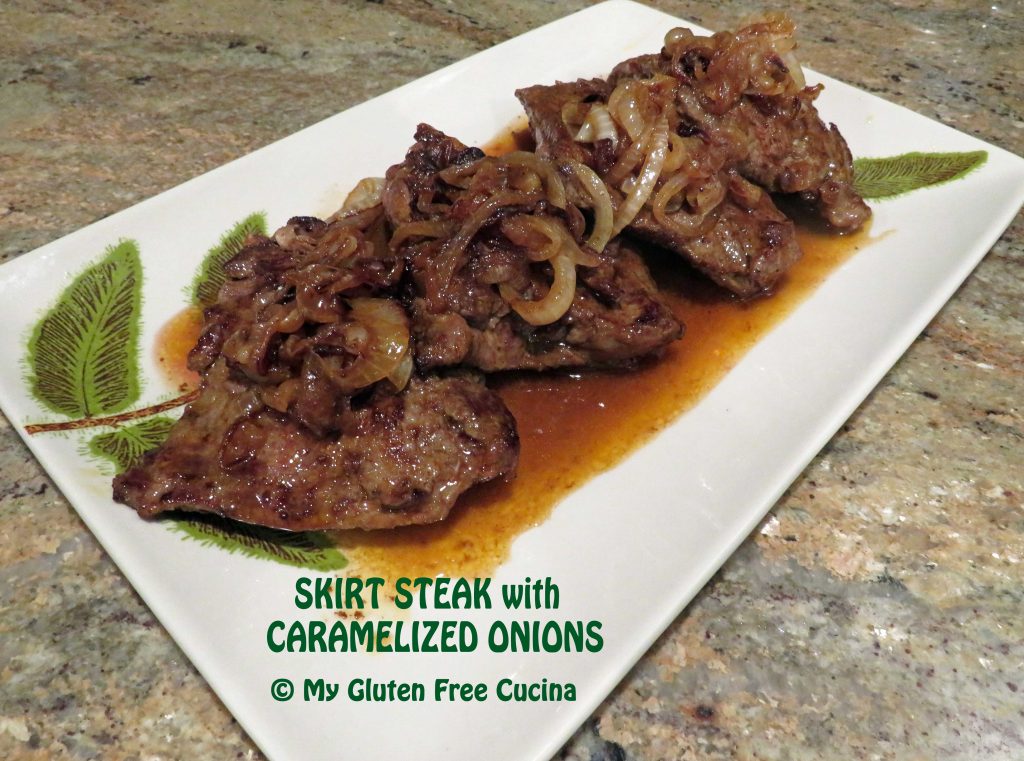
Skirt Steak with Caramelized Onions

Are you a steak lover?  I’ll never say no to a Ribeye or New York Strip.  But have you seen the price of beef lately?

When I started looking at more economical cuts one day, I found skirt steak on sale.  I remembered making these Italian Skirt Steak Rolls a while back, and they were very good!

This time though, I decided to pair it with caramelized onions.  The beef and onion flavors are amazing together, and it couldn’t have been easier to make.  The trick to a tender skirt steak is not to overcook it.  Just a quick sear in a hot grill pan is all it needs!

4 Servings

This post contains affiliate links.

Ingredients:

Preparation:

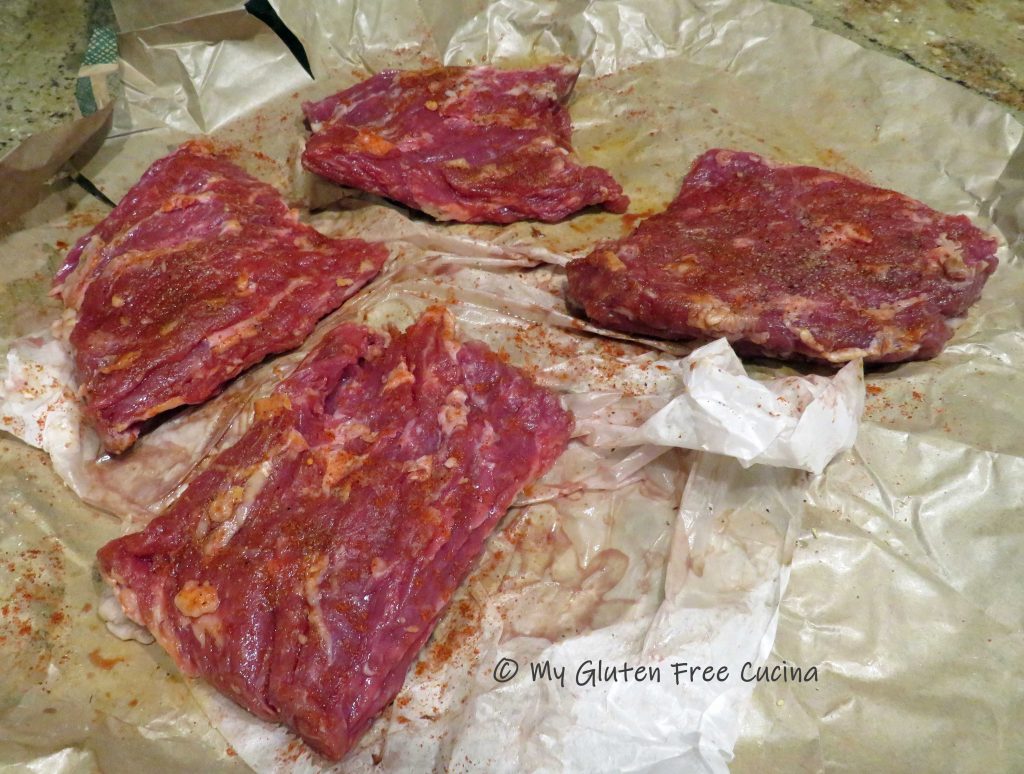
Trim visible fat from the skirt steak and cut into 4 pieces.  Sprinkle both sides with salt, pepper, garlic granules, onion granules and paprika.  Let it sit at room temperature for 30 minutes.

Slice the onion into thin rings.  Heat 1 tbsp. butter and 1 tbsp. olive oil in a nonstick skillet.  Add the onions and cook over medium low heat, turning occasionally until brown and caramelized.  Remove from heat and set aside.

Whisk together the white wine, red wine vinegar and beef broth.

Heat remaining 1 tbsp. butter and 1 tbsp. olive oil in a grill pan.  Add the steak and cook 4 minutes per side over medium heat.  Check for doneness with a meat thermometer, the internal temperature should be 140º for medium.

Remove the steak to a serving dish and keep warm.  Transfer the cooked onions to the grill pan and deglaze with the wine/broth mixture.  Stir gently, until about half of the liquid has evaporated.

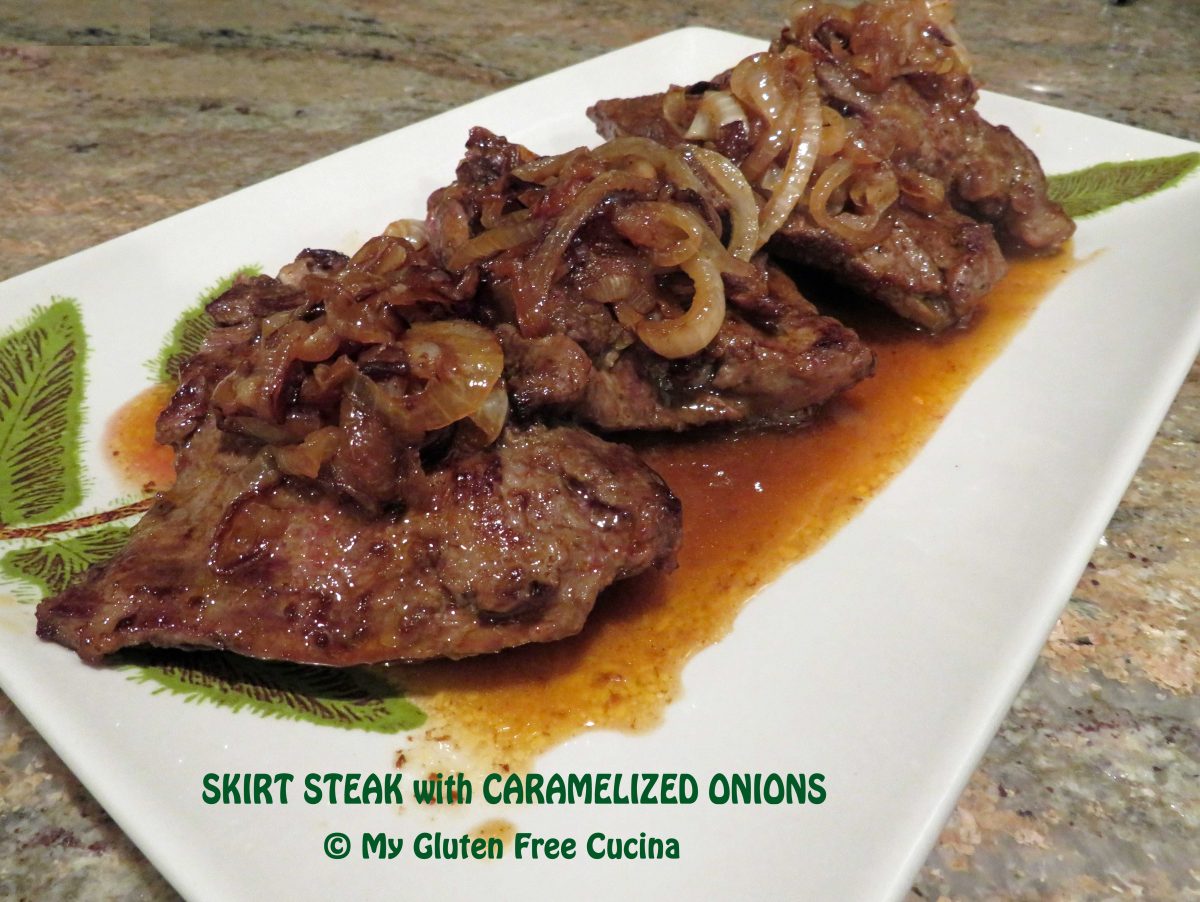
Top the steak with onions and drizzle with any remaining pan juices.

Notes ♪♫ This simple recipe comes together with just a handful of ingredients, proof that gluten free does not have to be complicated.  The skirt steak was SO good, I’ll definitely be making it again!

Print
clock clock iconcutlery cutlery iconflag flag iconfolder folder iconinstagram instagram iconpinterest pinterest iconfacebook facebook iconprint print iconsquares squares iconheart heart iconheart solid heart solid icon

Skirt Steak with Caramelized Onions

5 Stars 4 Stars 3 Stars 2 Stars 1 Star No reviews
  • Author: © My Gluten Free Cucina
  • Category: Dinner
  • Method: Skillet
  • Diet: Gluten-Free

Description

The trick to a tender skirt steak is not to overcook it.  Just a quick sear in a hot grill pan is all it needs!


Ingredients

Scale

Instructions

Trim visible fat from the skirt steak and cut into 4 pieces.  Sprinkle both sides with salt, pepper, garlic granules, onion granules and paprika.  Let it sit at room temperature for 30 minutes.

Slice the onion into thin rings.  Heat 1 tbsp. butter and 1 tbsp. olive oil in a nonstick skillet.  Add the onions and cook over medium low heat, turning occasionally until brown and caramelized.  Remove from heat and set aside.

Whisk together the white wine, red wine vinegar and beef broth.

Heat remaining 1 tbsp. butter and 1 tbsp. olive oil in a grill pan.  Add the steak and cook 4 minutes per side over medium heat.  Check for doneness with a meat thermometer, the internal temperature should be 140º for medium.

Remove the steak to a serving dish and keep warm.  Transfer the cooked onions to the grill pan and deglaze with the wine/broth mixture.  Stir gently, until about half of the liquid has evaporated.

Top the steak with onions and drizzle with any remaining pan juices.


Notes

This simple recipe comes together with just a handful of ingredients, proof that gluten free does not have to be complicated.

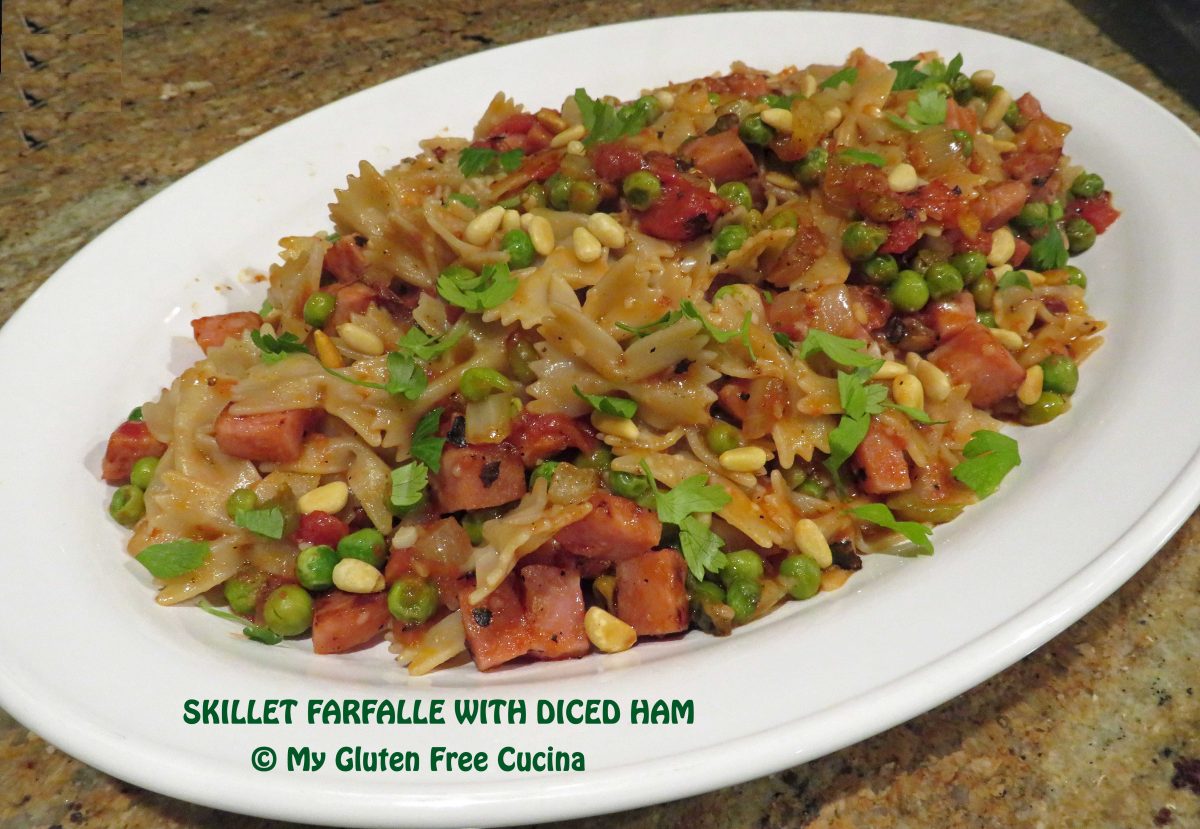
Skillet Farfalle with Diced Ham

I love easy skillet dinners like this one for busy weeknights!  You can make the whole meal beginning to end in about 30 minutes.  Honestly, if you prep the veggies the night before it can be ready in less time than that.  It’s a great way to use leftover ham, or you can purchase a ham steak which is what I did here.  Don’t forget those little finishing touches that can make a meal special, in this case it’s a sprinkle of toasted Pignoli (pine nuts), a favorite of mine!

3-4 Servings

This post contains affiliate links.

Ingredients:

  • 8 oz. boneless ham steak, cut into small cubes
  • 4 oz. gluten free pasta
  • 1 cup sweet onion, diced
  • 1 tbsp. garlic, minced
  • 1 cup frozen peas, thawed
  • 1 can (14.5 oz.) diced tomatoes
  • 1/2 tsp. gluten free Italian seasoning
  • salt and pepper to taste
  • Olive oil
  • 1 tbsp. pignoli (pine nuts), toasted
  • 1/2 tsp. Italian seasoning
  • fresh Italian parsley, for garnish
  • grated Parmesan, for serving

Preparation:

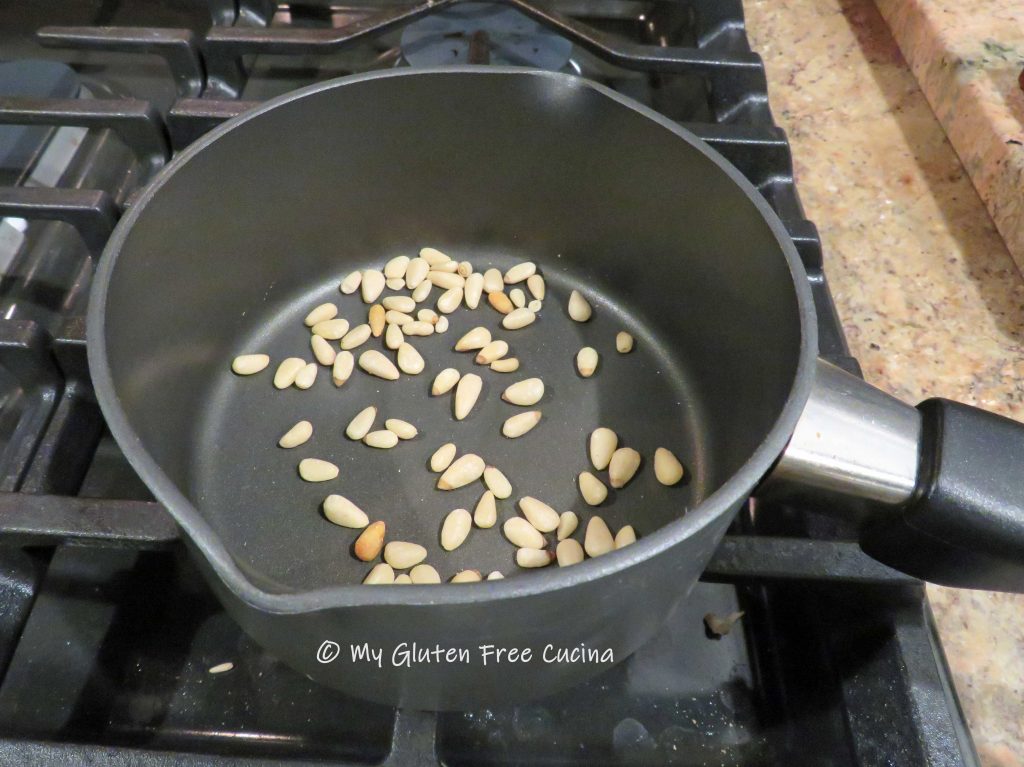
Toast the pignoli until lightly browned and fragrant.  I like to use a small saucepan, so they don’t jump all over the place.  Set aside for garnish.

Cook the pasta to 1 minute less than package directions, drain and set aside.  While the pasta cooks, heat a large, nonstick skillet with 1 tbsp. olive oil and cook the ham 3 minutes.  Remove and set aside.

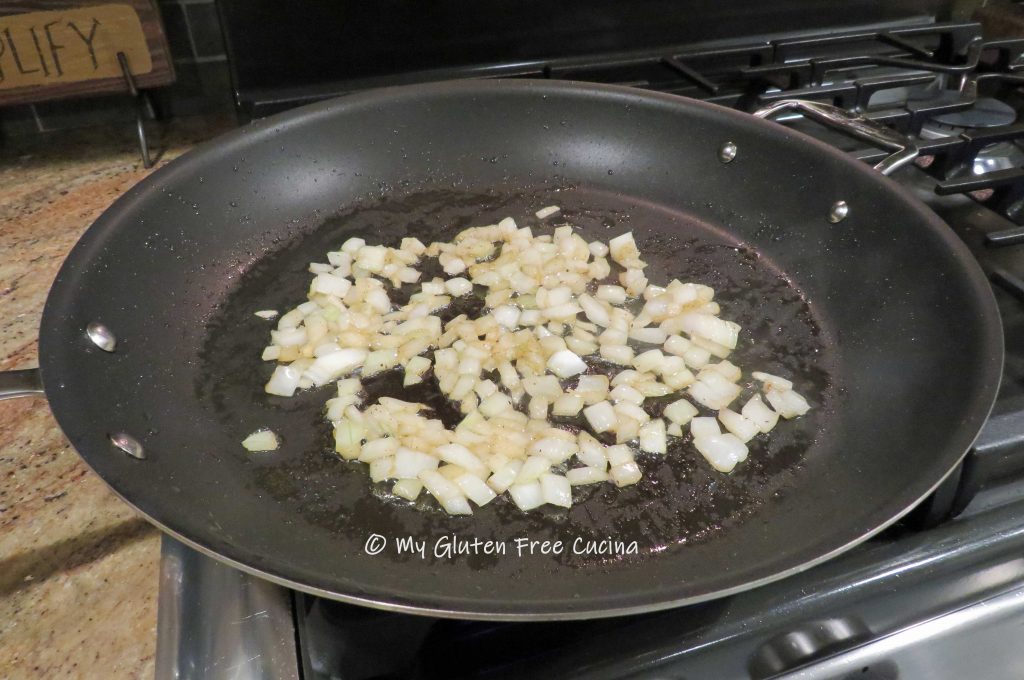
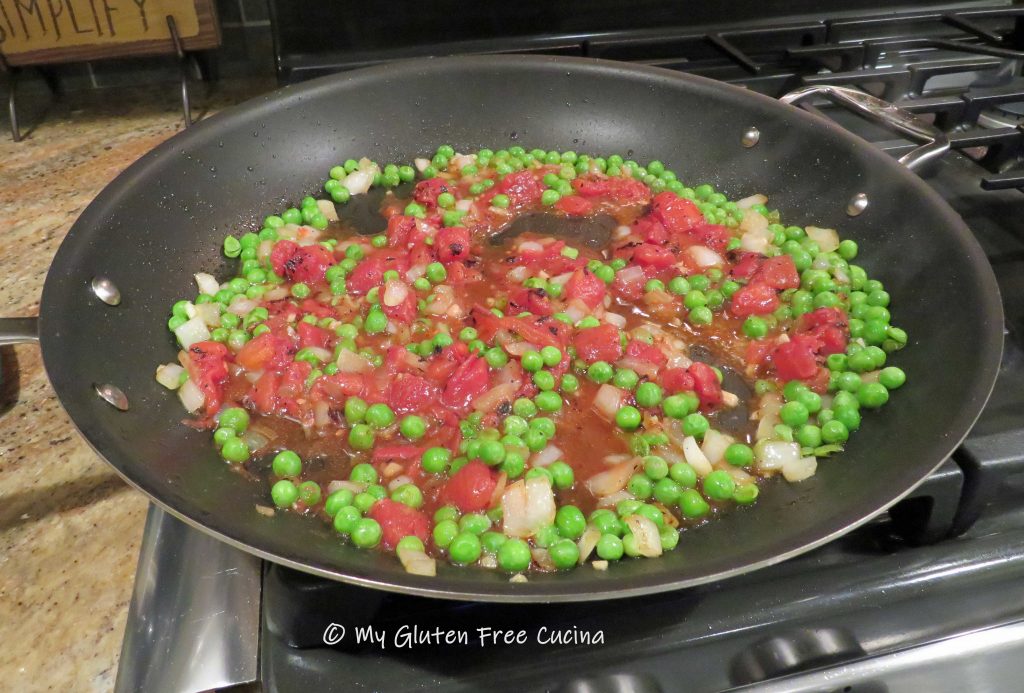
Add a little more olive oil and cook the onions until just beginning to brown, about 3 minutes.  Add the garlic and peas, cook 2 minutes more stirring frequently.  Season with salt and pepper.

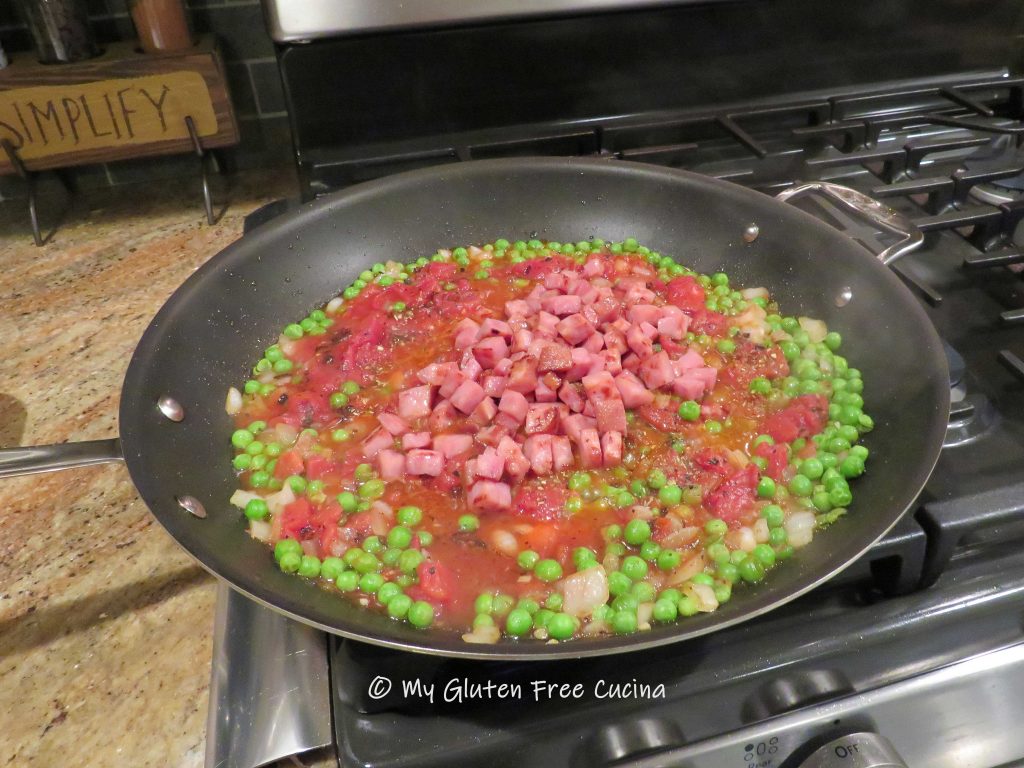
Add the tomatoes with their liquid, toss well to combine and cook until liquid almost evaporates.  If the pan is too dry add a ladle of pasta water.  Sprinkle with Italian seasoning.

Add back the ham.

Next add back the drained pasta and toss well.  Drizzle with olive oil, stir and toss to finish cooking the pasta, 1 minute more.  Sprinkle grated cheese.

Transfer to a serving dish, garnish with parsley and toasted pignoli, and serve with grated cheese.

Notes ♪♫ I used Jovial gluten free farfalle (bowtie pasta) in this recipe.  One of my favorites, it has great taste and chew.  The Smithfield ham steak was labeled gluten free.  Always check ingredient labels for hidden gluten, especially in processed foods and seasoning blends.

Originally published 5/16/2020        Updated 12/10/2022

[print_link]

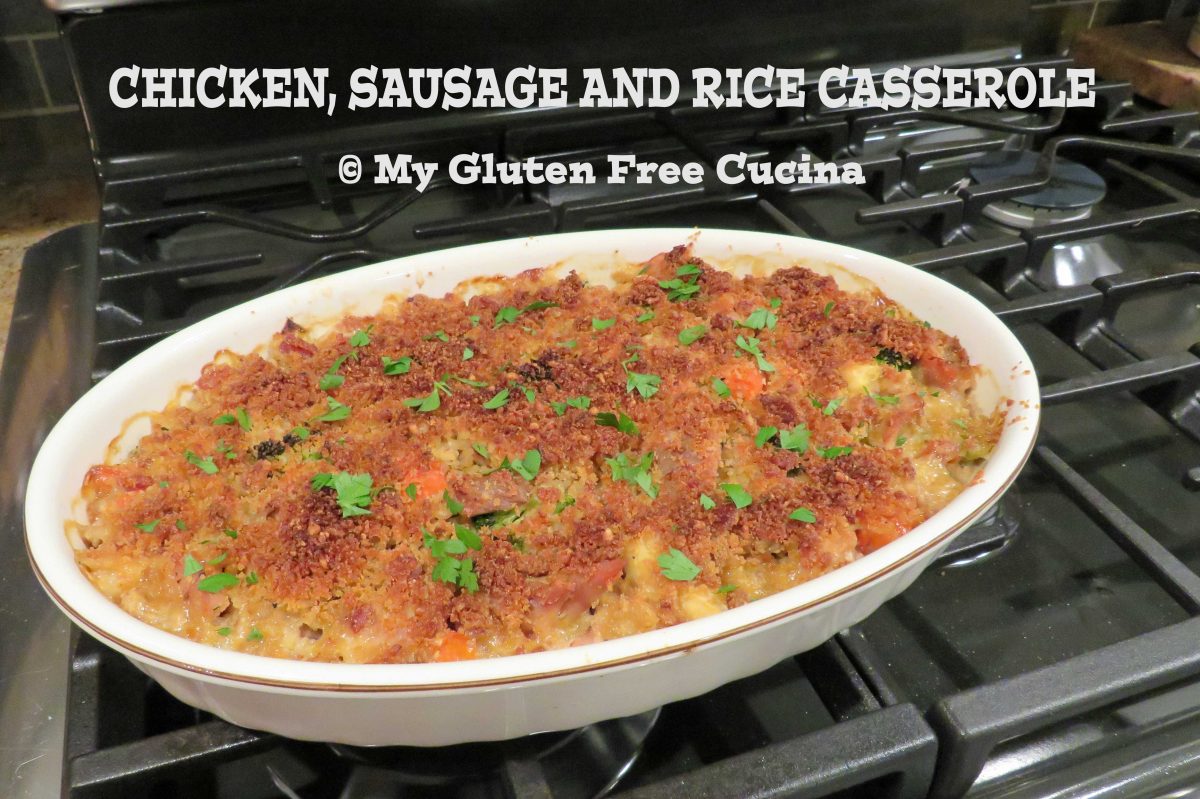
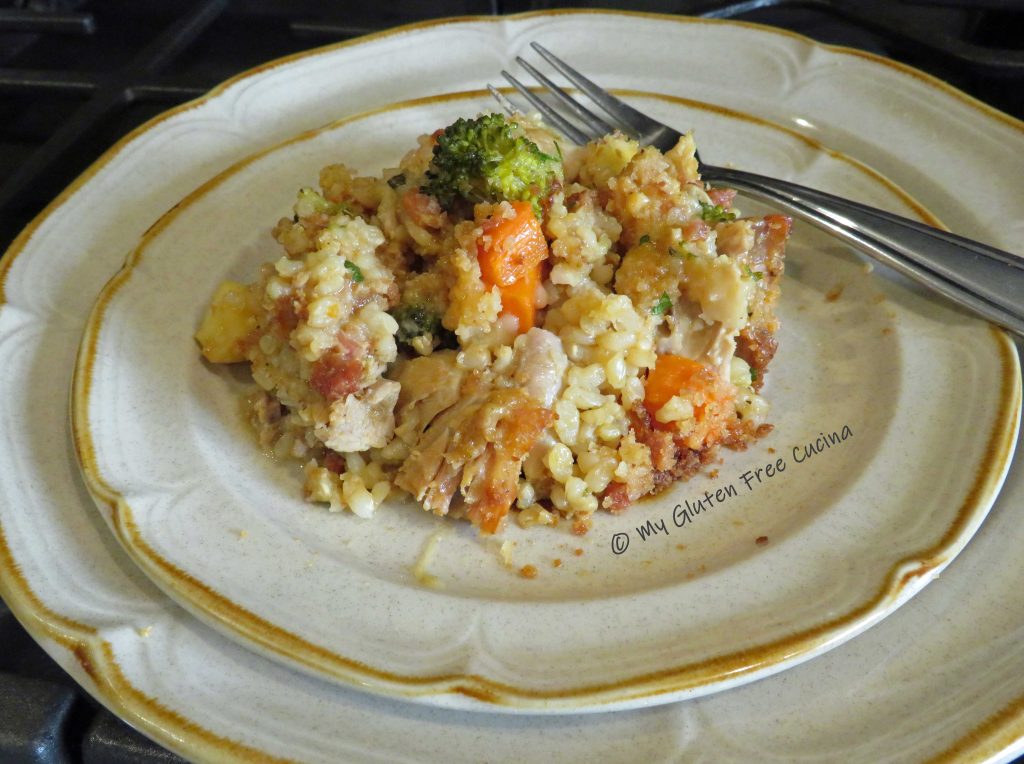
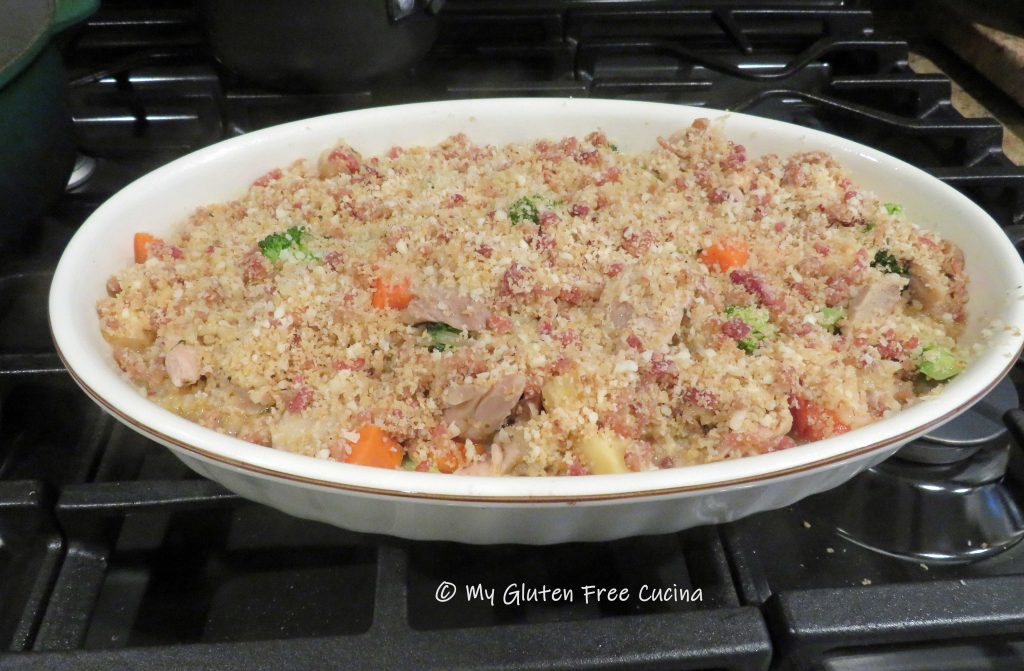
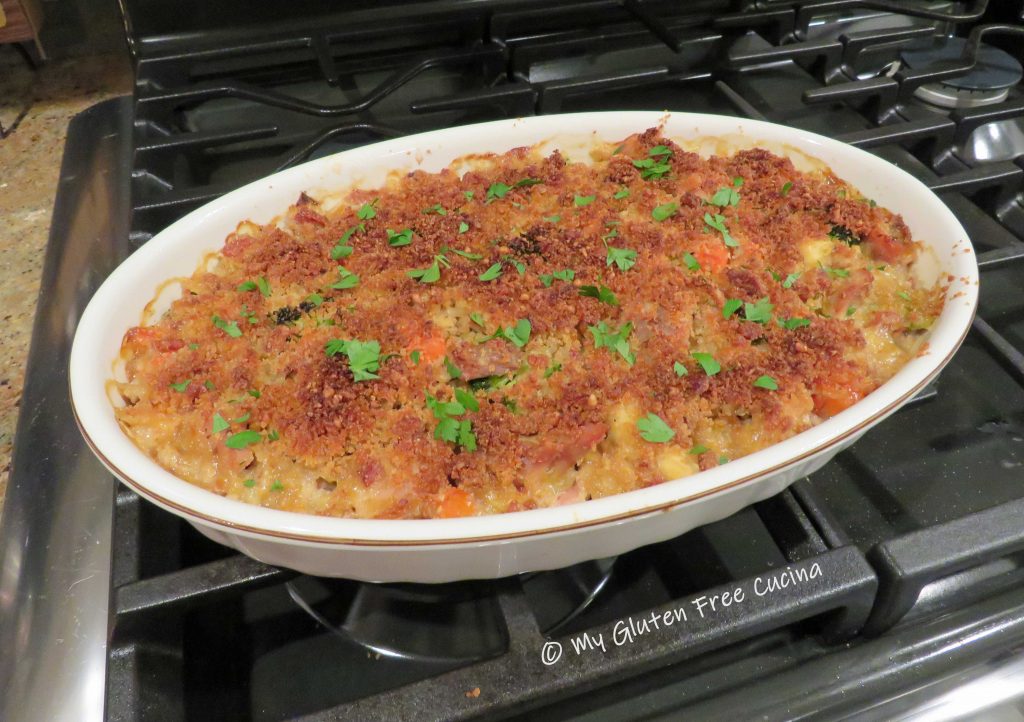
Chicken, Sausage and Rice Casserole

Whenever I make this flavorful casserole for a family dinner it gets rave reviews!  Chicken drumsticks and Italian sausage come together with ingredients straight from the pantry, and you can use any veggies you have on hand!  It’s easy and economical too.  You can do most of the prep a day ahead and bake the next day.  And that bacon breadcrumb topping- wow!  It really gives this dish an extra punch of flavor, texture and crunch!

4-6 Servings

This post contains affiliate links.

Ingredients:

Preparation:

Brown rice takes about 50 minutes to cook, so start that first.  Simmer 3/4 cup rice in 1-3/4 cups chicken broth and 1/4 tsp. seasoning of choice.

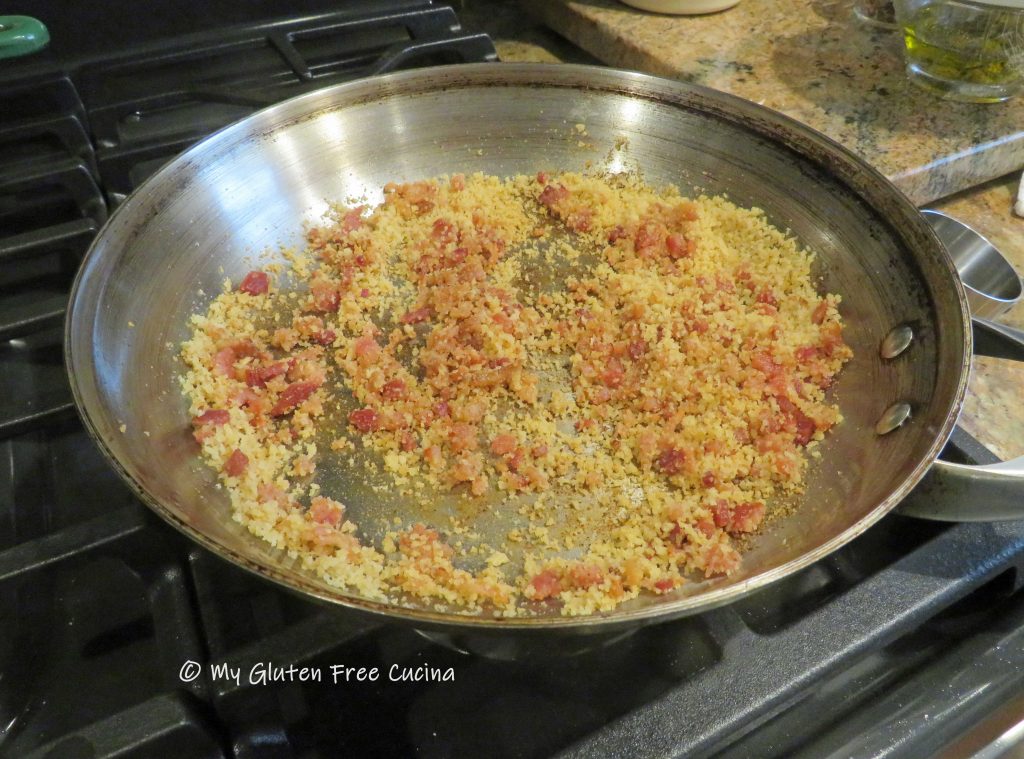
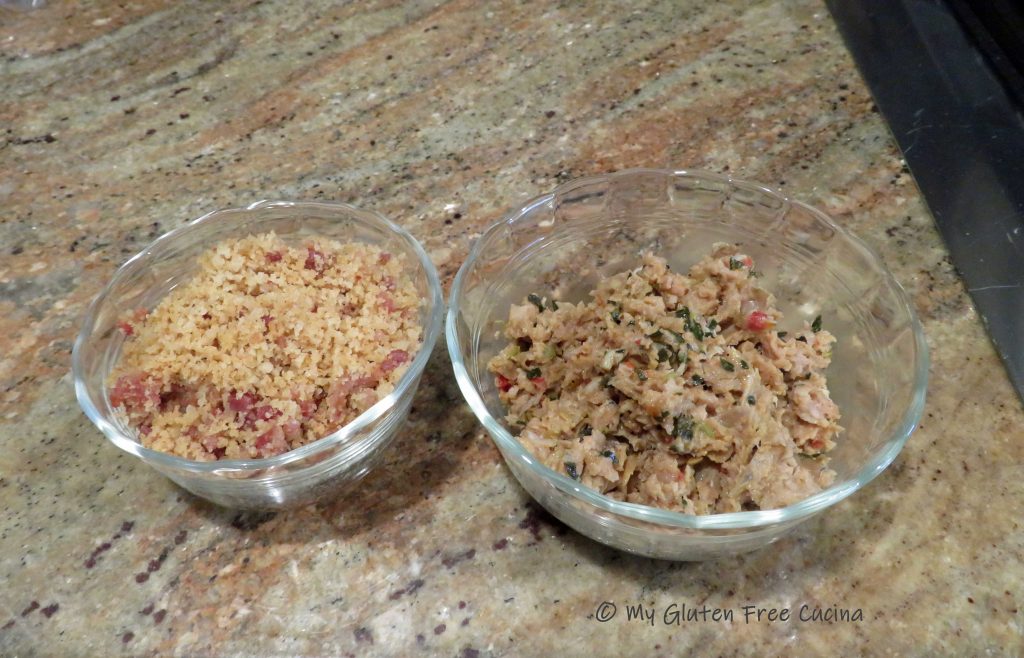
For the topping, coarsely chop the bacon, cook and drain on paper towels, reserving the fat in the pan.

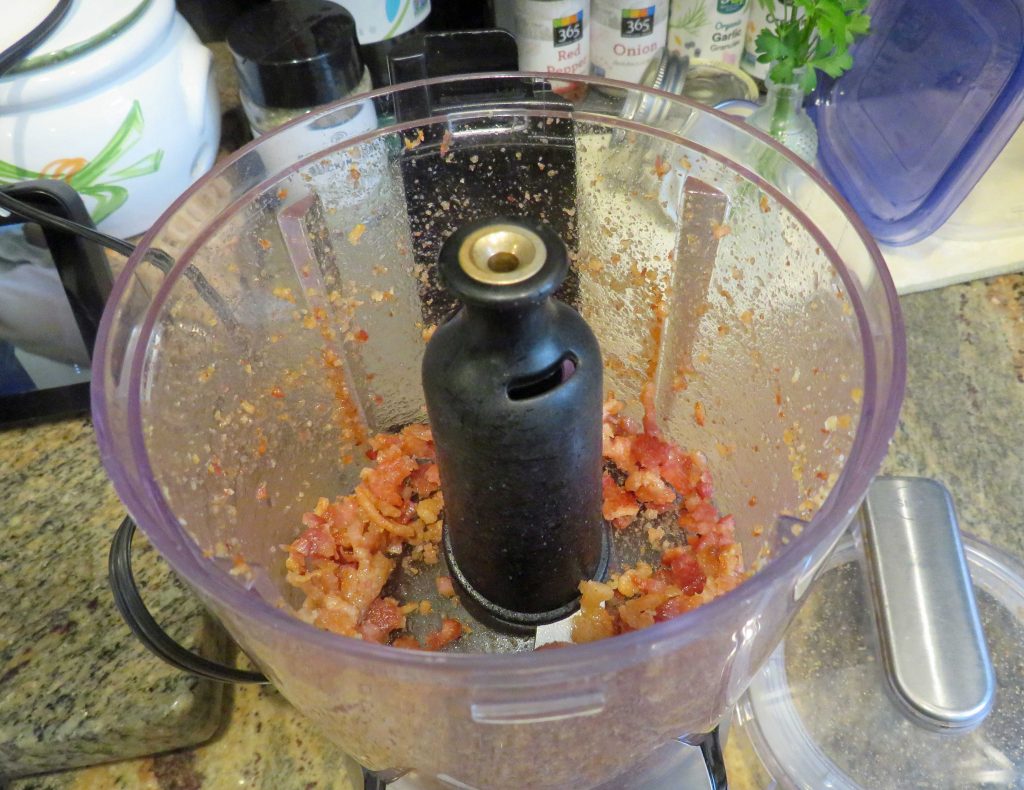
Crumble the bacon, or place in an electric chopper and pulse a few times to make bacon bits.

Add 1/3 cup of gluten free breadcrumbs to the skillet with the bacon fat and stir over low heat.  Add back the crumbled bacon and stir well to combine.  Set aside to cool, then mix with 1/4 cup grated parmesan cheese for topping.

I love Aleia’s Gluten Free Breadcrumbs, and I use this brand almost exclusively in my recipes.  I promise, your family won’t even know they are gluten free!

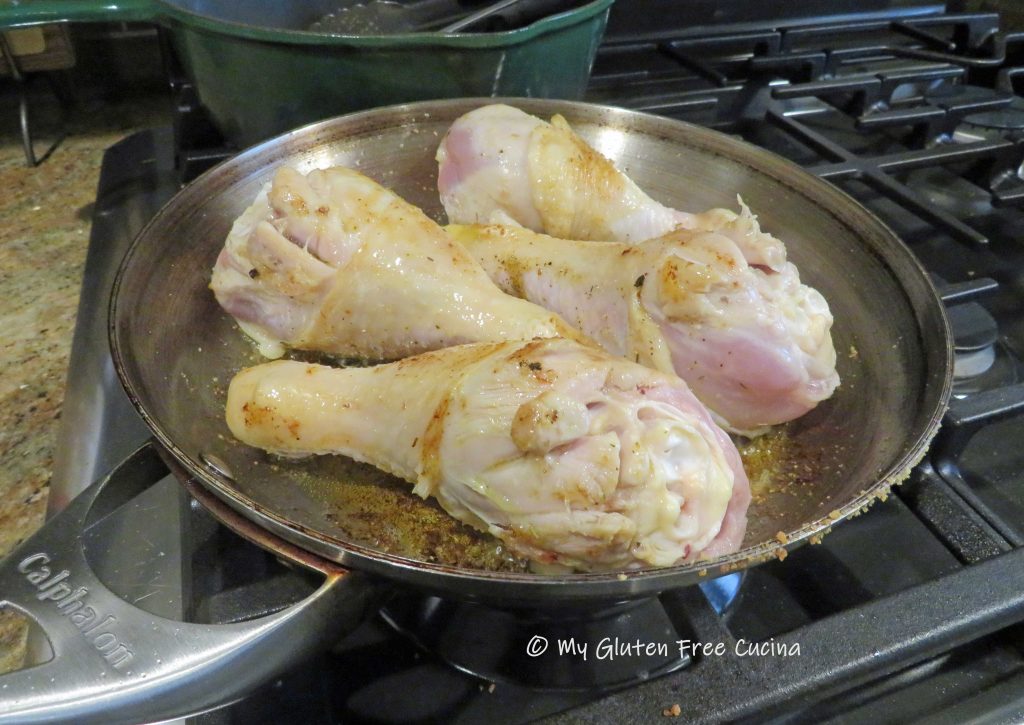
In the same skillet, brown the chicken on all sides in a little olive oil.  Season both sides with salt and pepper.

Place browned chicken in a braising pan or Dutch oven, add ¼ cup white wine and 1/4 cup chicken broth.  Cover and simmer 30 minutes.

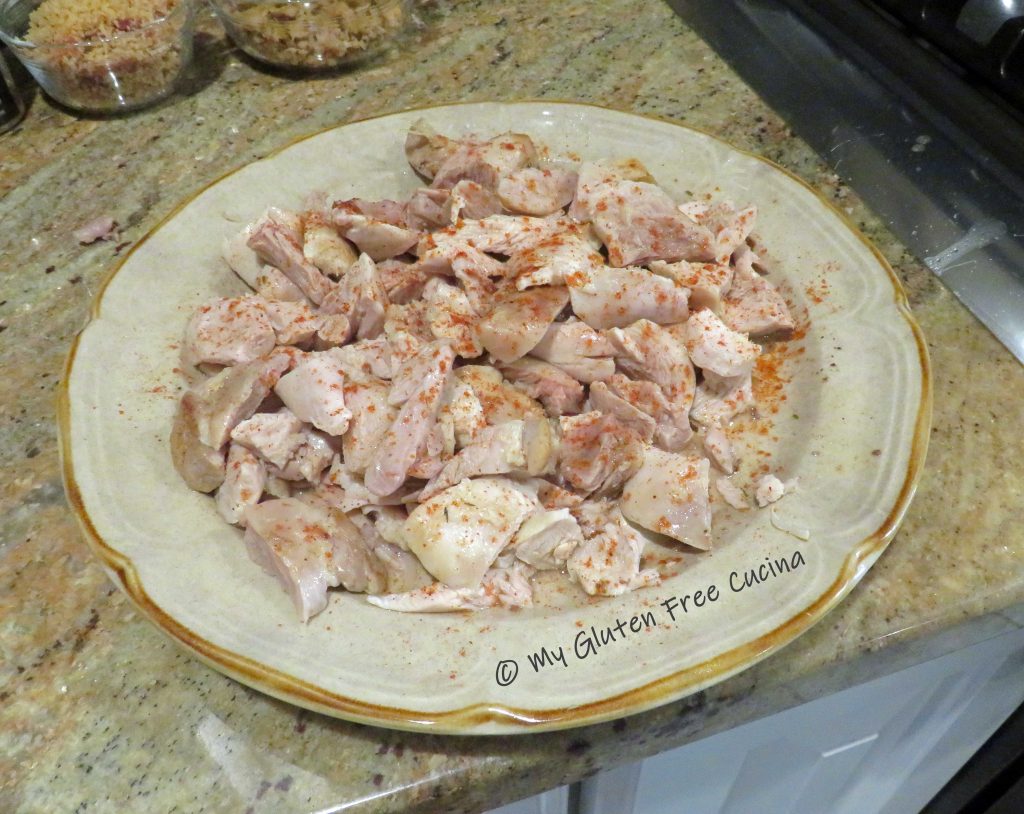
Transfer the cooked chicken to a plate, remove meat from the bones and sprinkle with paprika.  Strain the liquid from the pan and reserve for later.

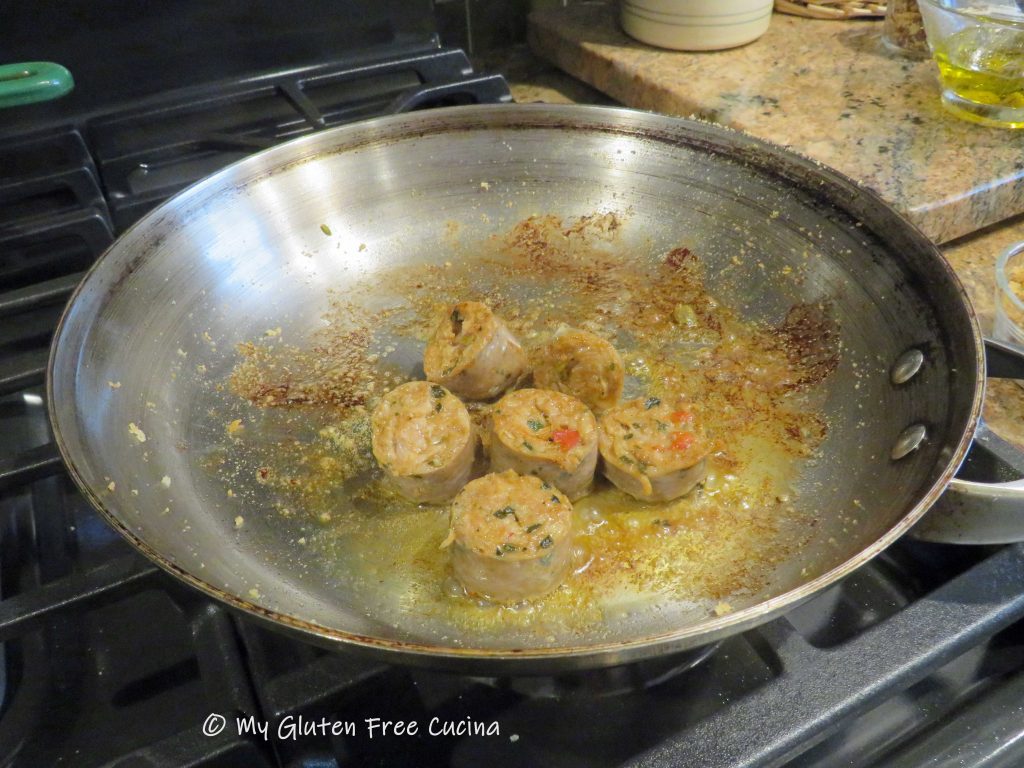
Slice the sausage and brown in olive oil.  You can use store bought sausage or check out my recipe for homemade sausage patties!  If using purchased sausage, always check labels for gluten containing ingredients.

Pulse the cooked sausage a few times in the chopper and set aside.

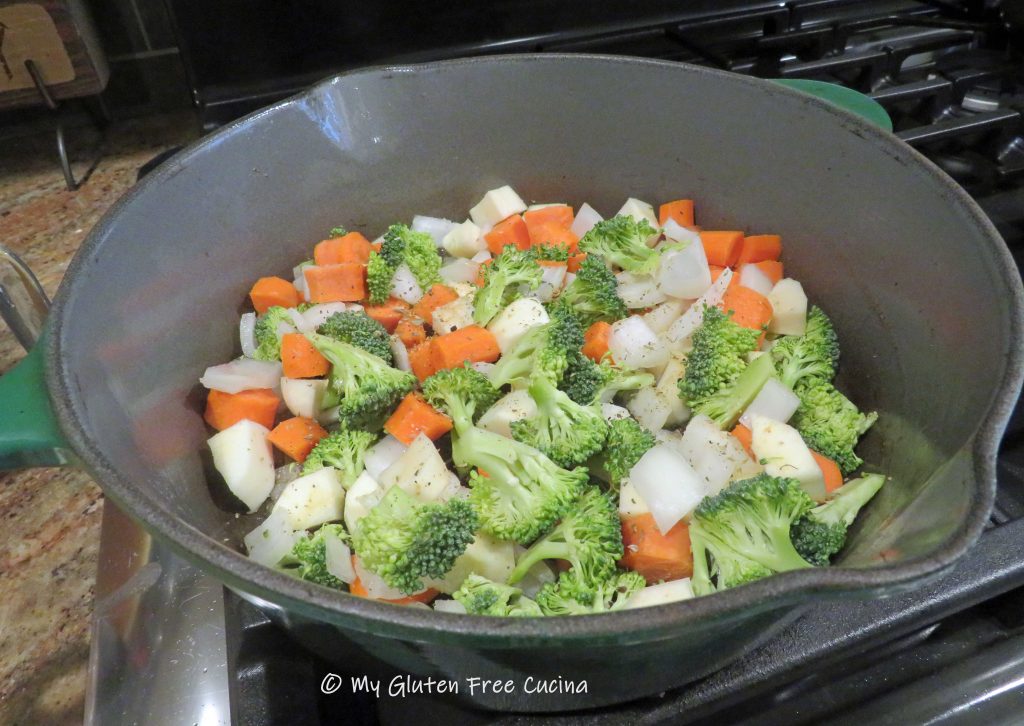
Wipe the braising pan or Dutch oven clean.  Heat 1 tbsp. olive oil and add the veggies.  Season and cook 10 minutes, stirring occasionally.

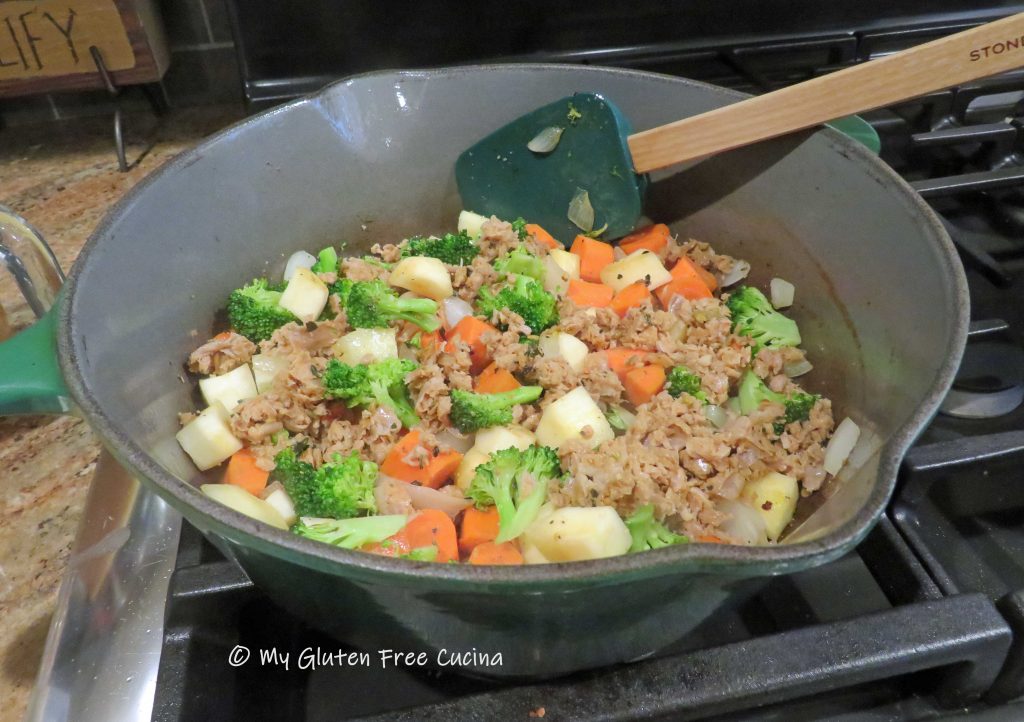
Add back the sausage and stir well.

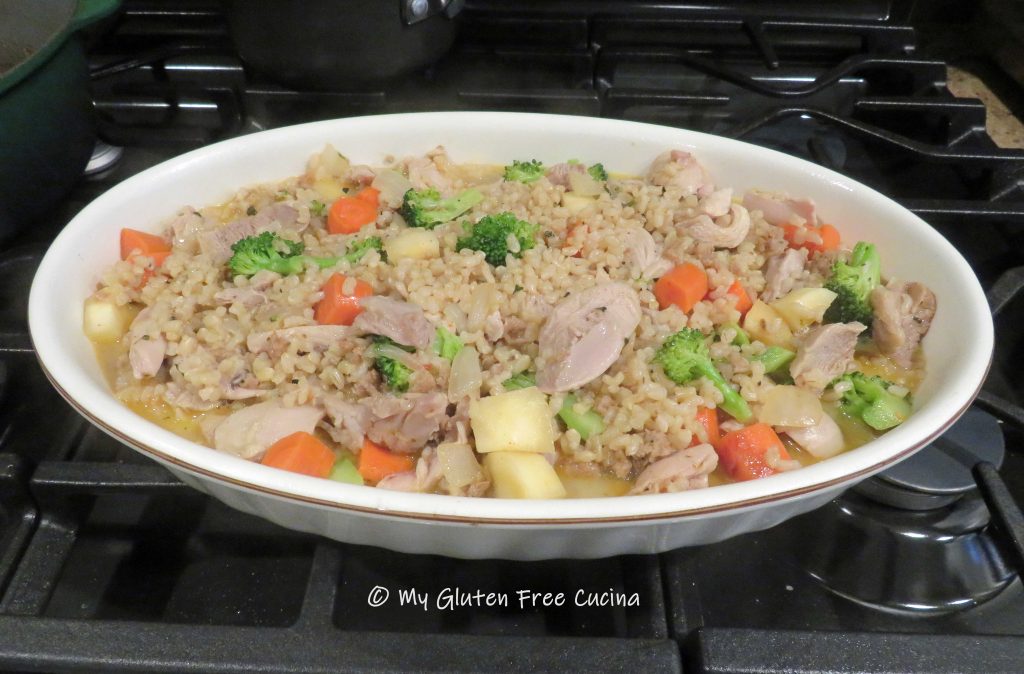
Now add the chicken and cooked rice.  Measure the reserved liquid and add enough chicken broth to equal 1-1/4 cups.  Combine with 1/4 cup milk and pour over the chicken and rice mixture.

Tip: Prepare the meal up to this point a day ahead.  Cover and refrigerate.  

Preheat the oven to 350º.  You can bake the casserole in the same pan, or transfer to a pretty casserole dish for a nicer presentation.  Note, if you made the casserole in the advance, take it out of the refrigerator and leave on the counter for at least 30 minutes (don’t place a refrigerated glass baking dish directly into a hot oven, it may shatter).

Spread the breadcrumb mixture over the casserole and bake uncovered for 45 minutes.

The liquid will bubble and thicken to create a nice sauce.  I like to finish it off under the broiler, 3 minutes on low.  Watch that it doesn’t burn!

Let it rest a few minutes to set up, then garnish with fresh herbs (or dried herbs) and bring it right to the table.

Notes ♪♫ Remember, you can substitute any veggies you like in this recipe.  Once I went out on a limb and used eggplant.  Surprise, the reaction ranged from “I loved it” to “I didn’t even know it was in there”! Try broccoli, cauliflower, asparagus or zucchini.  Use what you have on hand, use what you like!


Print
clock clock iconcutlery cutlery iconflag flag iconfolder folder iconinstagram instagram iconpinterest pinterest iconfacebook facebook iconprint print iconsquares squares iconheart heart iconheart solid heart solid icon

Chicken, Sausage and Rice Casserole

5 Stars 4 Stars 3 Stars 2 Stars 1 Star No reviews
  • Author: © My Gluten Free Cucina

Description

Chicken and Italian sausage come together with ingredients straight from the pantry to make this flavorful casserole, and you can use any veggies you have on hand!


Ingredients

Units Scale

Instructions

Brown rice takes about 50 minutes to cook, so start that first.  Simmer 3/4 cup rice in 1-3/4 cups chicken broth and 1/4 tsp. seasoning of choice.

For the topping, coarsely chop the bacon, cook and drain on paper towels, reserving the fat in the pan.

Crumble the bacon, or place in an electric chopper and pulse a few times to make bacon bits.

Add 1/3 cup of gluten free breadcrumbs to the skillet with the bacon fat and stir over low heat.  Add back the crumbled bacon and stir well to combine.  Set aside to cool, then mix with 1/4 cup grated parmesan cheese for topping.

In the same skillet, brown the chicken on all sides in a little olive oil.  Season both sides with salt and pepper.

Place browned chicken in a braising pan or Dutch oven, add ¼ cup white wine and 1/4 cup chicken broth.  Cover and simmer 30 minutes.

Transfer the cooked chicken to a plate, remove meat from the bones and sprinkle with paprika.  Strain the liquid from the pan and reserve for later.

Slice the sausage and brown in olive oil.

Pulse the cooked sausage a few times in the chopper and set aside.

Wipe the braising pan or Dutch oven clean.  Heat 1 tbsp. olive oil and add the veggies.  Season and cook 10 minutes, stirring occasionally.

Add back the sausage.

Now add the chicken and cooked rice.  Measure the reserved liquid and add enough chicken broth to equal 1-1/4 cups.  Combine with 1/4 cup milk and pour over the chicken and rice mixture.

Tip: Prepare the meal up to this point a day ahead.  Cover and refrigerate.  

Preheat the oven to 350º.  You can bake it in the same pan, or transfer to a pretty casserole dish for a nicer presentation.  Note, if you made the casserole in the advance, take it out of the refrigerator and leave on the counter for at least 30 minutes (don’t place a refrigerated glass baking dish directly into a hot oven, it may shatter).

Spread the breadcrumb mixture over the casserole and bake uncovered for 45 minutes.

The liquid will bubble and thicken to create a nice sauce.  I like to finish it off under the broiler, 3 minutes on low.  Watch that it doesn’t burn!

Let it rest a few minutes to set up, then garnish with fresh herbs (or dried herbs) and bring it right to the table.


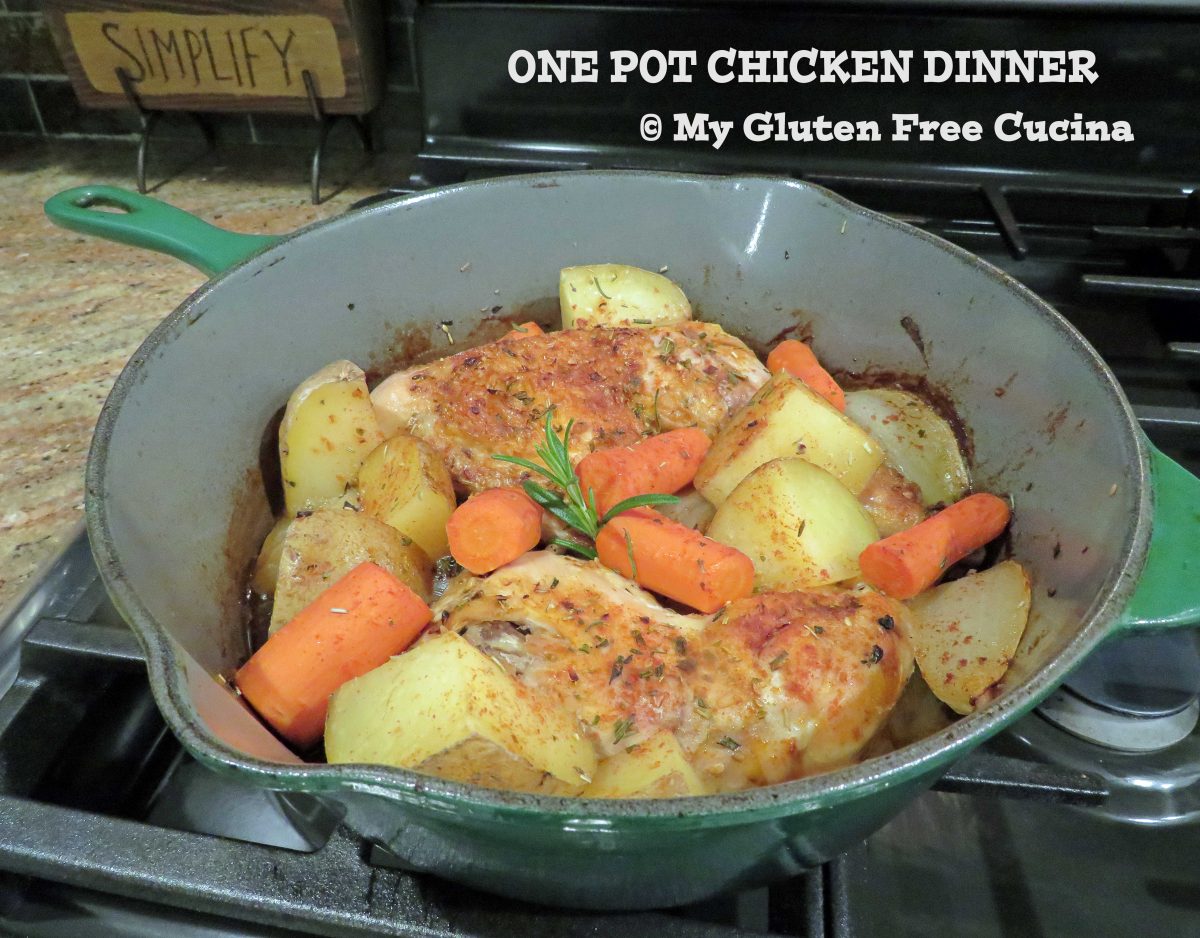
One Pot Chicken Dinner

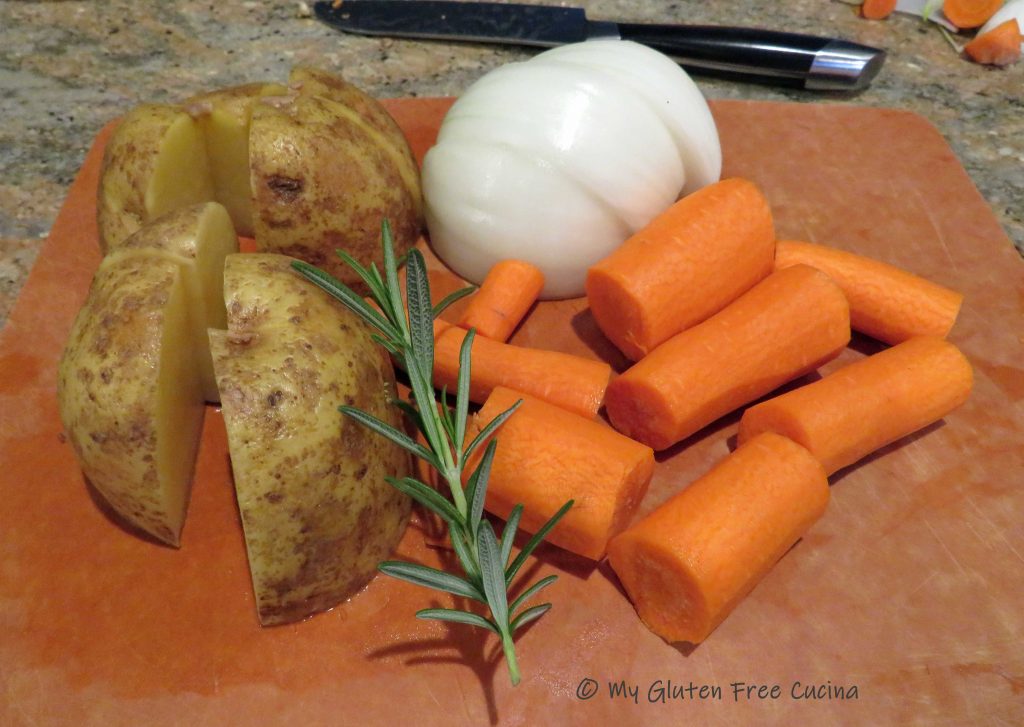
When casual comfort food is on your mind, keep the prep simple with this easy braised dinner.  I used fresh, naturally gluten free ingredients like chicken, potato, carrots and onion.  Slow braising ensures the chicken leg quarters are falling off the bone tender.  As a bonus, this dish goes from oven to table in the same pan for easy cleanup.

This post contains affiliate links.

Dinner for two

Ingredients:

  • 2 chicken leg quarters
  • 2 tbsp. olive oil
  • Italian Seasoning
  • 1/2 medium sweet onion, cut into chunks
  • 1 medium potato, cut into chunks
  • 2 large carrots, peeled and cut into chunks
  • paprika
  • fresh rosemary
  • 1/4 cup white wine

Preparation:

Use a heavy, oven safe skillet with cover or a Dutch oven.  With the heat on medium low, add 2 tbsp. olive oil and brown the chicken, skin side down for 10 minutes.

Turn the chicken skin side up.  Add the onion, potato and carrot.  Sprinkle with Italian Seasoning, paprika, and fresh rosemary.

Add a splash of white wine, cover and place in the oven for an hour and 45 minutes (1-3/4 hours) at 300º.  Uncover, and cook for an additional 15 minutes to allow some liquid to evaporate.  Broil on low for 3 minutes to finish.  Garnish with a rosemary sprig and serve it right in the pan.

Notes ♪♫ Gluten free meals do not have to be fancy or difficult!  This recipe, made with naturally gluten free ingredients is delicious and satisfying.

[print_link]

Gluten Free Catfish with Cornmeal Breading

I love Catfish!  We don’t often see it at the market, just a short time each year when in season.  When it does become available, this is how I like to prepare it.

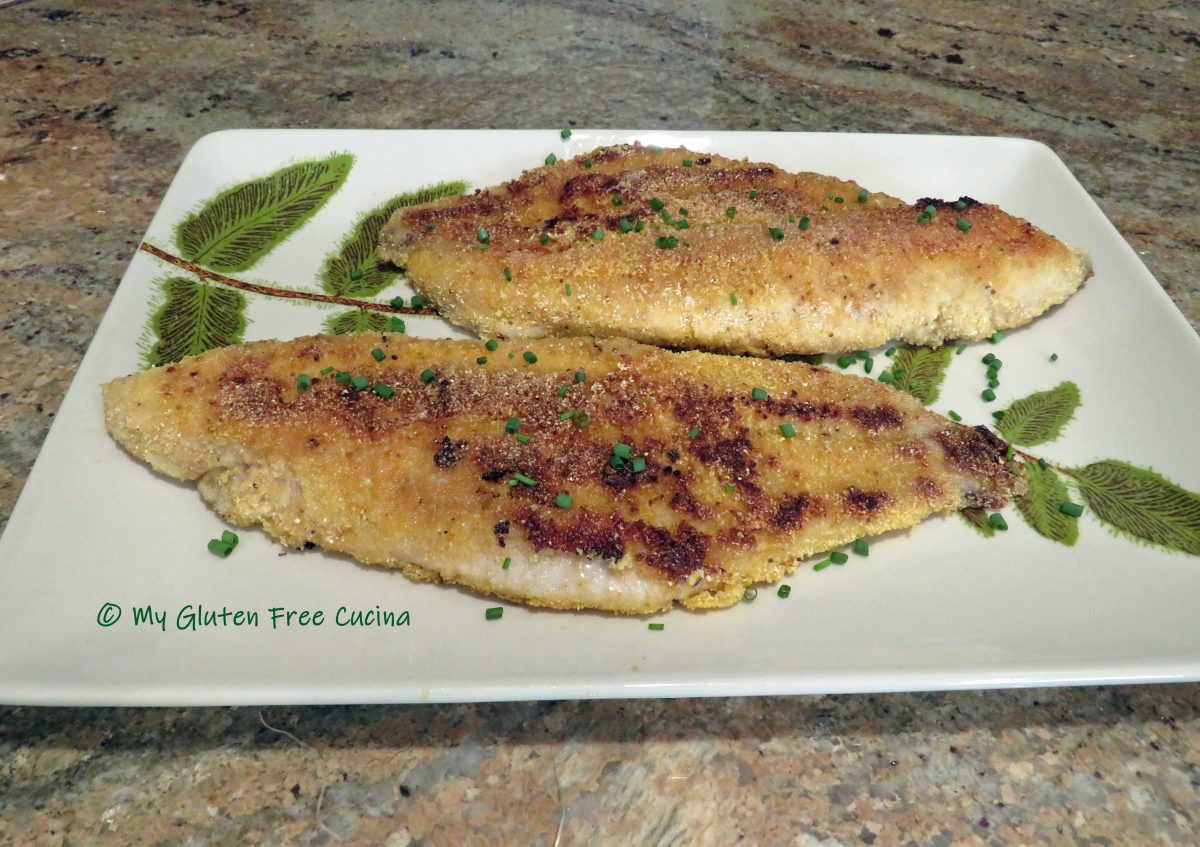
First, I soak the Catfish in milk for 30 minutes.  Milk tenderizes the fish and gives it a milder flavor.  Then, after dredging in a seasoned cornmeal breading, I pop it into the fridge for 15 minutes.  Finally, the fish is cooked quickly on a buttered griddle.  It is nice and crispy on the outside, moist and flaky on the inside.

Is Breaded Catfish gluten free?

To make this recipe gluten free, the only change needed was to substitute a gluten free flour for regular in the cornmeal breading.

This post contains affiliate links.

Ingredients:

Preparation:

Add 1/2 cup of milk to a 9 x 13″ glass baking dish and season with Old Bay.  Soak the catfish in milk for 30 minutes, turning once.

In a large plate, combine the rice flour and cornmeal.  Sprinkle with Old Bay.

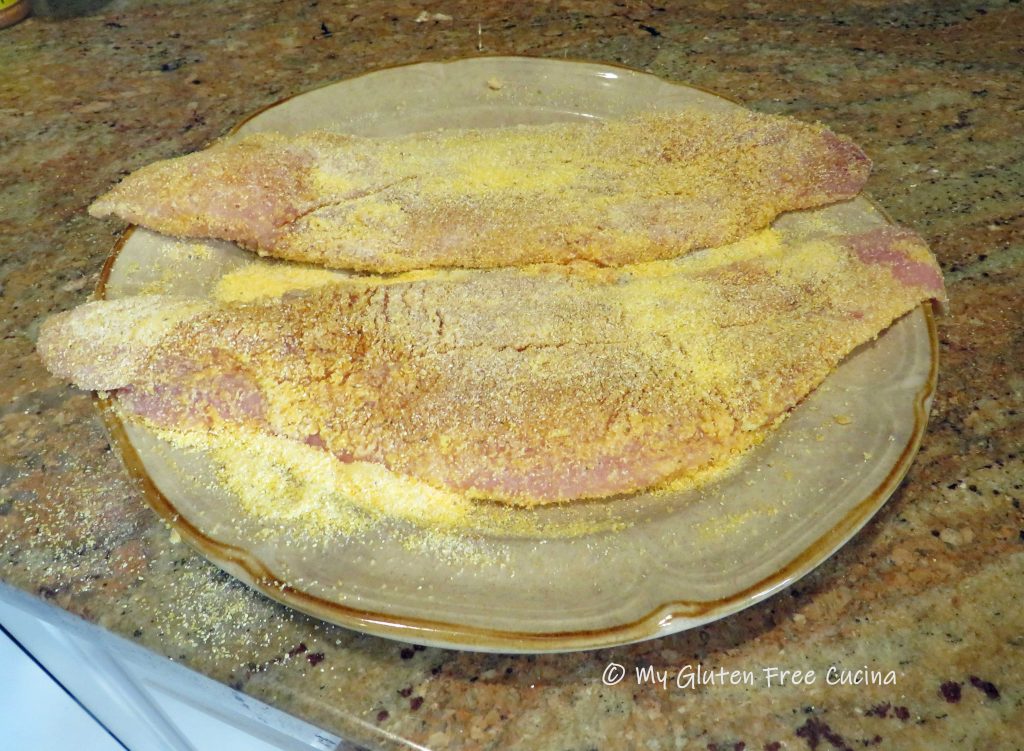
Dredge the catfish in the cornmeal mixture, pressing gently to coat both sides.  Transfer to a clean plate and refrigerate for at least 15 minutes (this helps the breading to adhere).

Melt 1 tbsp. of butter on a nonstick griddle pan, electric griddle or skillet.  Cook the catfish 5 minutes per side, adding another tbsp. of butter when you turn the fillets.

Transfer to a serving dish and sprinkle with fresh chives.

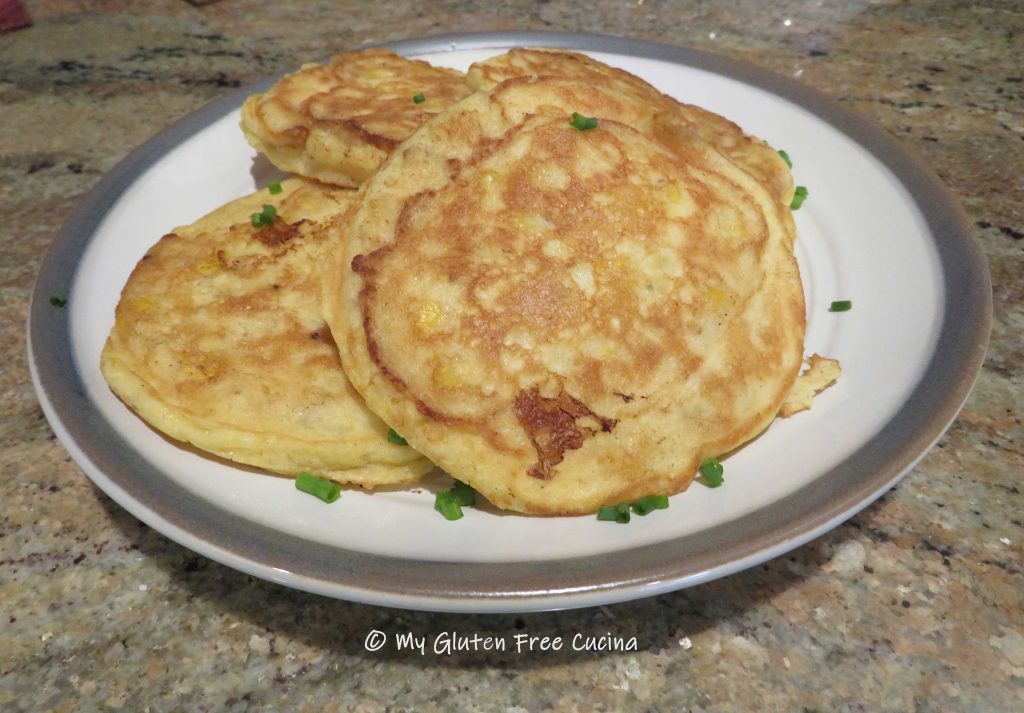
What goes well with Catfish?  In keeping with the Southern vibe of this meal, I made a side of Gluten Free Corn Cakes.  Check out the recipe here!

Notes: ♪♫ Be sure to choose cornmeal with the gluten free label (some are processed alongside wheat products and may not be safe for those with Celiac).  I like to use whole grain, medium grind cornmeal.  It’s great for breading and for baking.

[print_link]

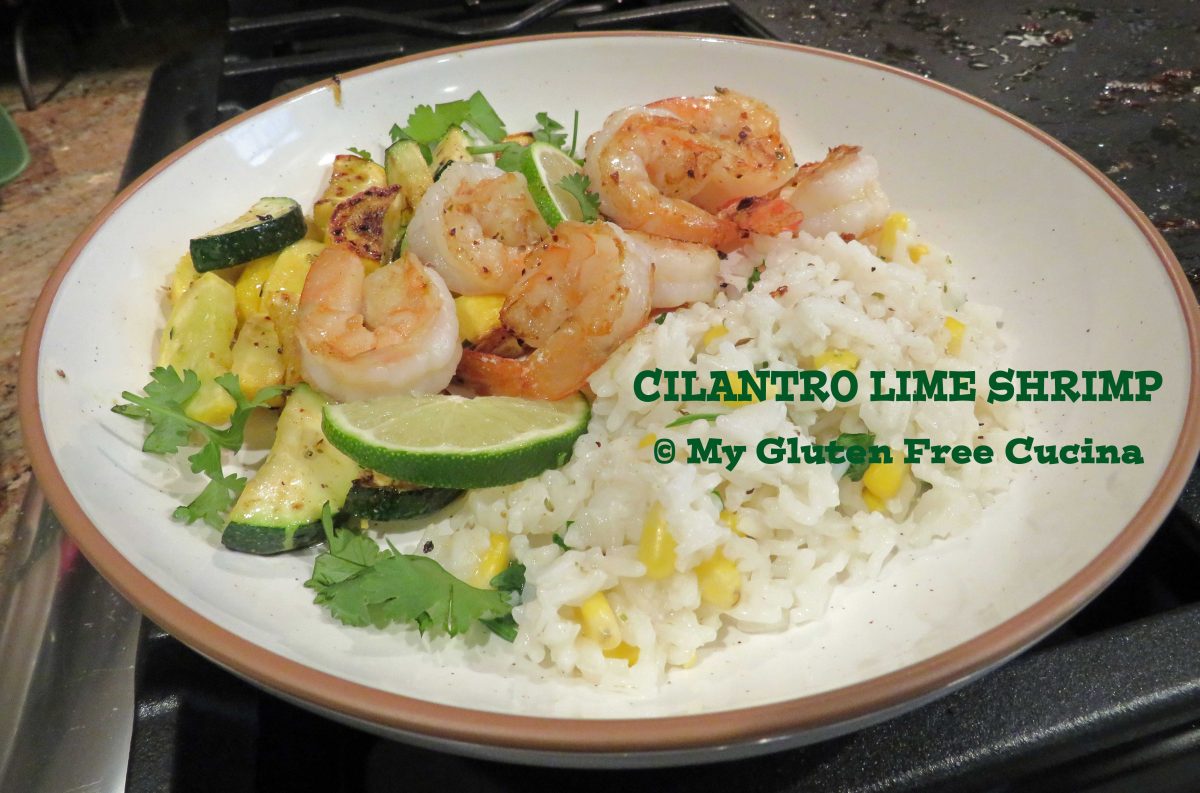
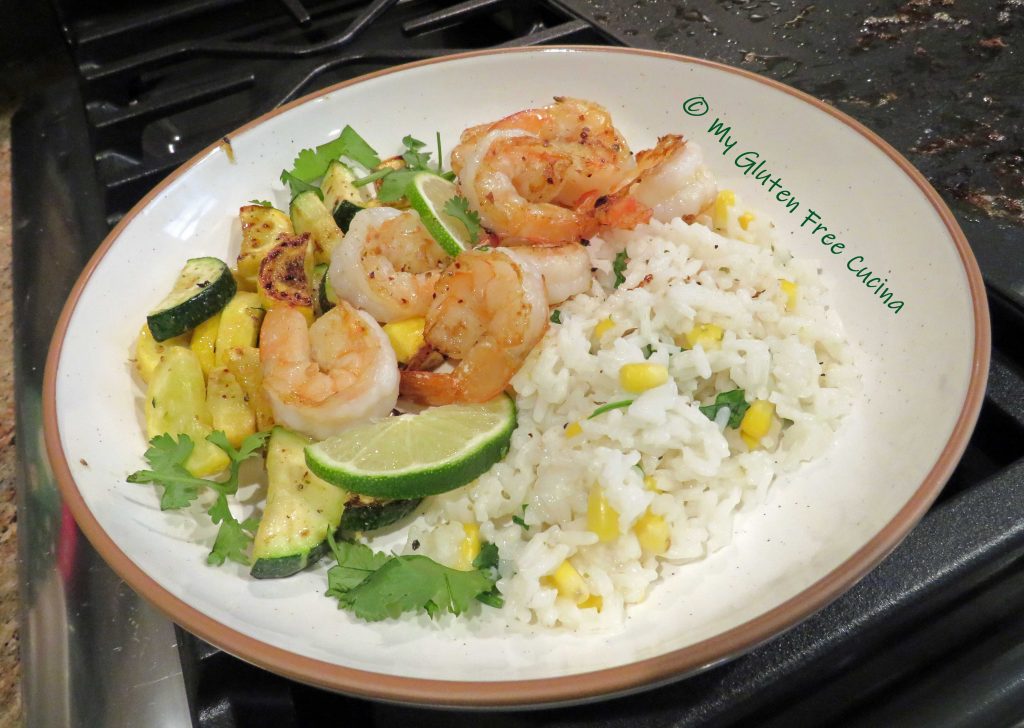
Cilantro Lime Shrimp Bowls

Cilantro Lime Shrimp Bowls are bursting with vibrant color and flavor!  The ingredients are simple but delicious.  A light and refreshing meal, perfect for summer evenings or when you don’t want to feel stuffed!

Rice bowls are turning up on restaurant menus everywhere, but not all are gluten free and cross contact is always a concern.  If you’ve been wanting to make something like this at home, check out the recipe!

This post contains affiliate links.

2 Servings

Ingredients:

  • 1/2 cup white rice
  • 1/3 cup corn, fresh or frozen
  • 1/4 tsp. seasoned salt
  • 1/4 tsp. oregano
  • 1 lb. shrimp (about 14 large), peeled and deveined
  • 1 lime
  • 8 slices zucchini, cut into half moons
  • 8 slices summer squash, cut into half moons
  • olive oil
  • 1/4 tsp. chipotle chili
  • 1/4 tsp. cumin
  • 1/4 tsp. onion granules
  • 1/4 tsp. oregano
  • 1/4 cup chopped fresh cilantro

Preparation:

  1. Whisk together 1/4 tsp. chipotle chili, 1/4 tsp. cumin, 1/4 tsp. onion granules, 1/4 tsp. oregano.  This mixture will be used to season the shrimp and veggies.
  2. Cut the lime in half.  Slice one half for serving and reserve the other half for juicing.
  3. Combine the white rice, corn, and 1 cup water in a small saucepan.  Season with 1/4 tsp. oregano, 1/8 tsp. salt.  Cover and simmer 15 minutes.
  4. Slice the zucchini and summer squash and cut slices into half-moons.  Toss with olive oil and 1/4 tsp. of the seasoning mixture.
  5. Defrost the shrimp (if frozen) by running under cool water.  Peel and devein, then toss with olive oil and 1/4 tsp. of the spice blend.

6. Preheat a griddle or large nonstick skillet over medium flame and brush with oil.  Cook the squash and shrimp for 8 minutes, turning once.  Finish with a squeeze of lime juice.

7. Stir 1 tbsp. chopped cilantro into the rice.  To plate, divide the rice mixture between 2 serving bowls.  Arrange half the shrimp and squash beside the rice.

8. Sprinkle with more spice, and garnish with fresh cilantro and lime slices.

Notes ♪♫ This Mexican Spice Blend is my “go-to” for dishes like this one.  No need to buy more expensive blends when you can easily stir this together from individual ingredients that can be used in other recipes.

[print_link]


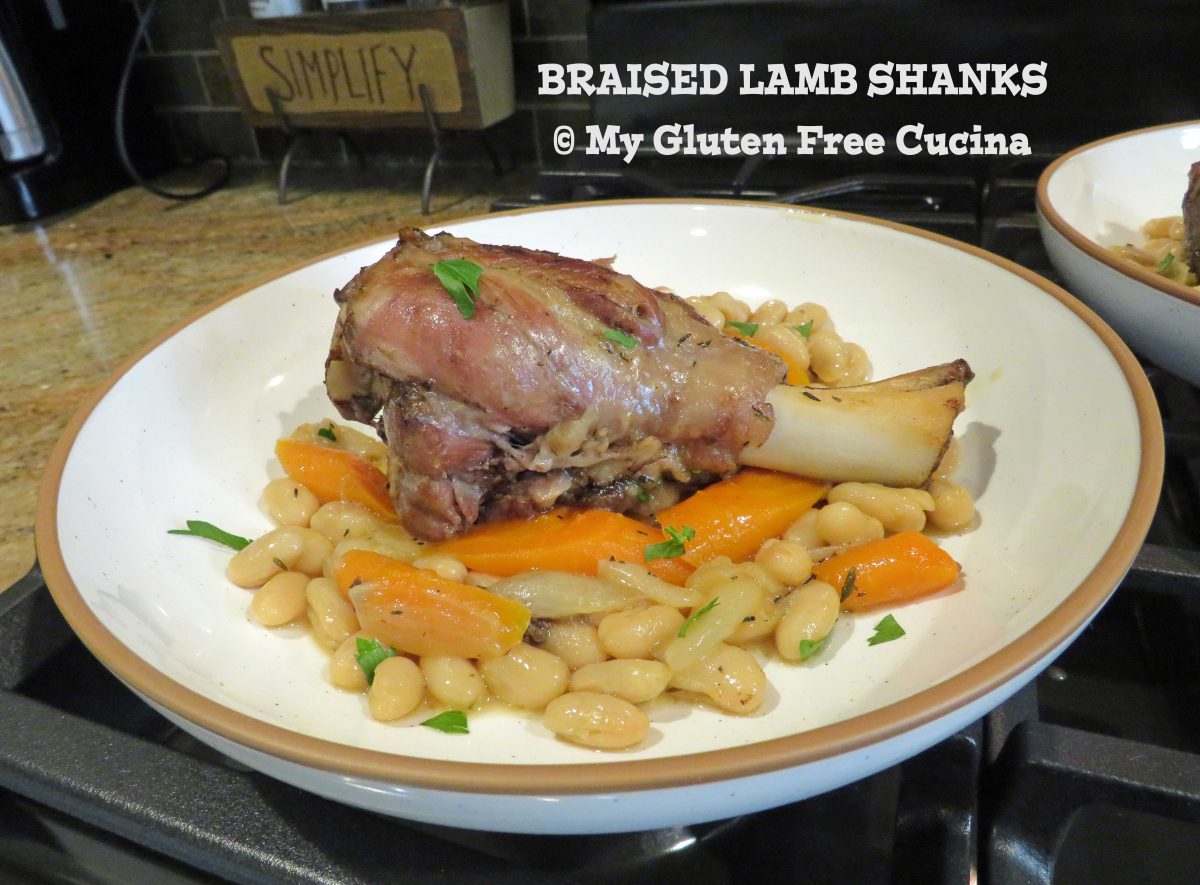
Braised Lamb Shanks

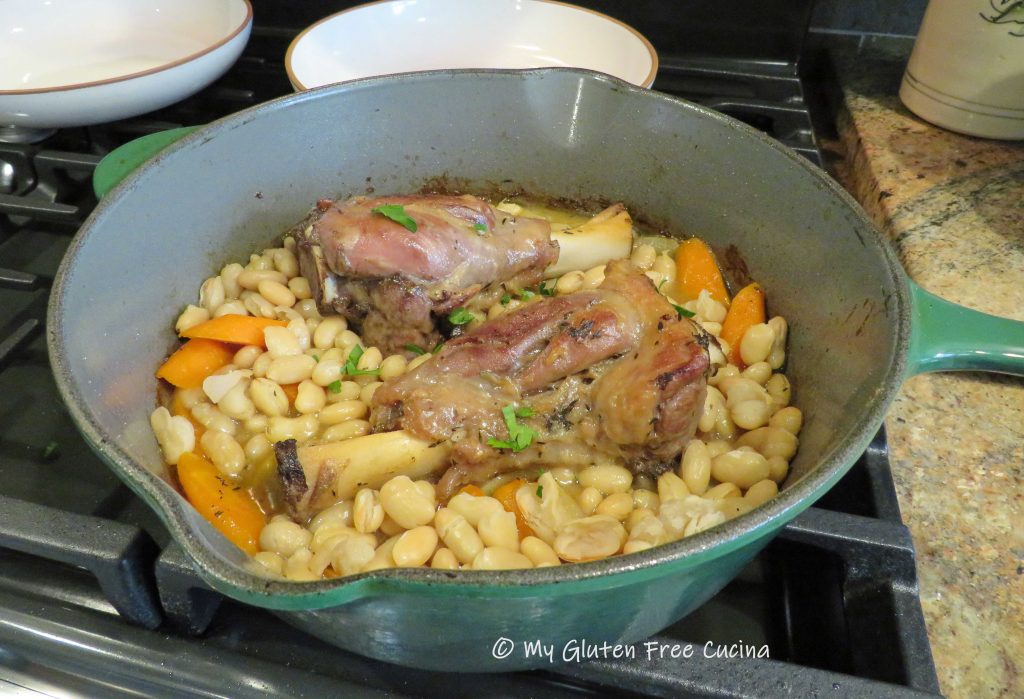
Lamb shanks are slowly braised with aromatic veggies in this perfect dinner for two that can be enjoyed in any season.  The recipe fits right into my busy day.  After some initial prep, the meal is mostly hands off until dinner time.  It’s easy, and the entire dish can be cooked in one pan, so cleanup is a snap!

This post contains affiliate links.

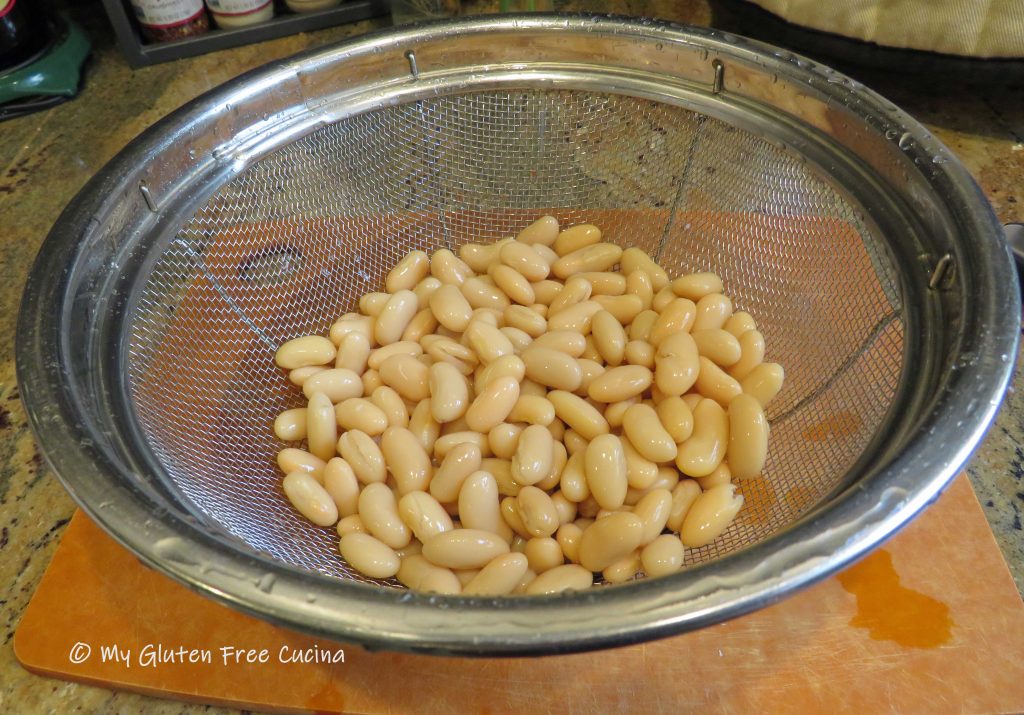
White beans are a traditional accompaniment to this dish.  I opted for canned beans to save time.

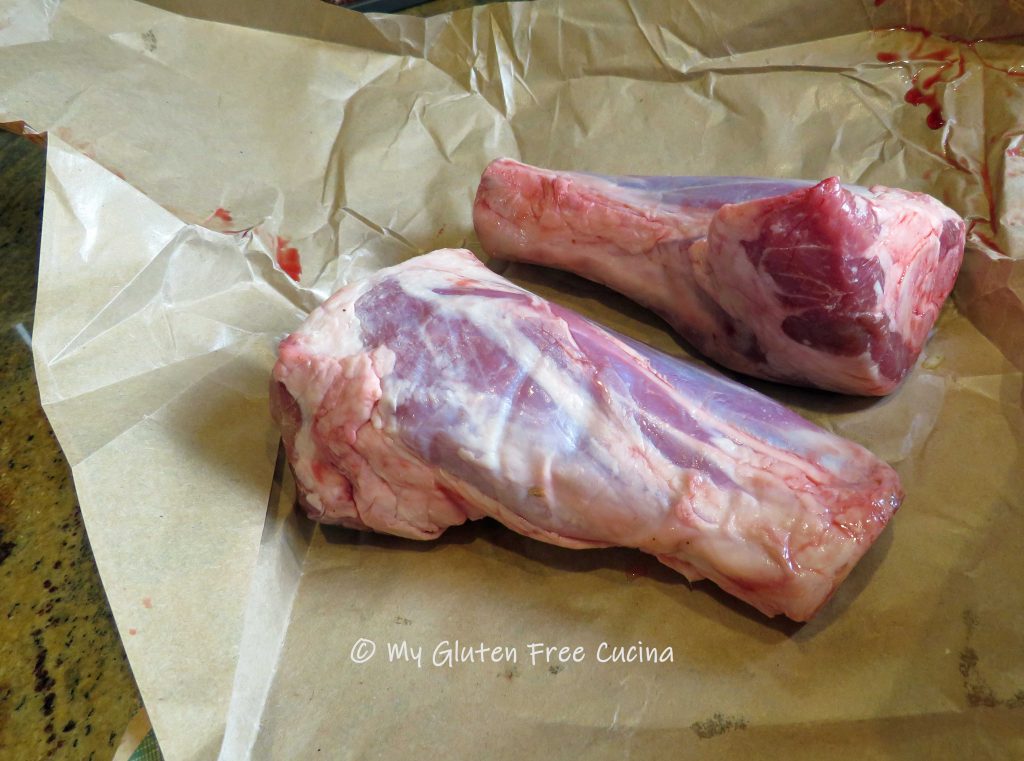
Choose lamb shanks weighing about 10-12 oz. each, they will shrink during cooking.  Use a deep, oven safe skillet or braising pan with a cover.  A Dutch oven would also work well.

2 Servings

Ingredients:

Preparation:

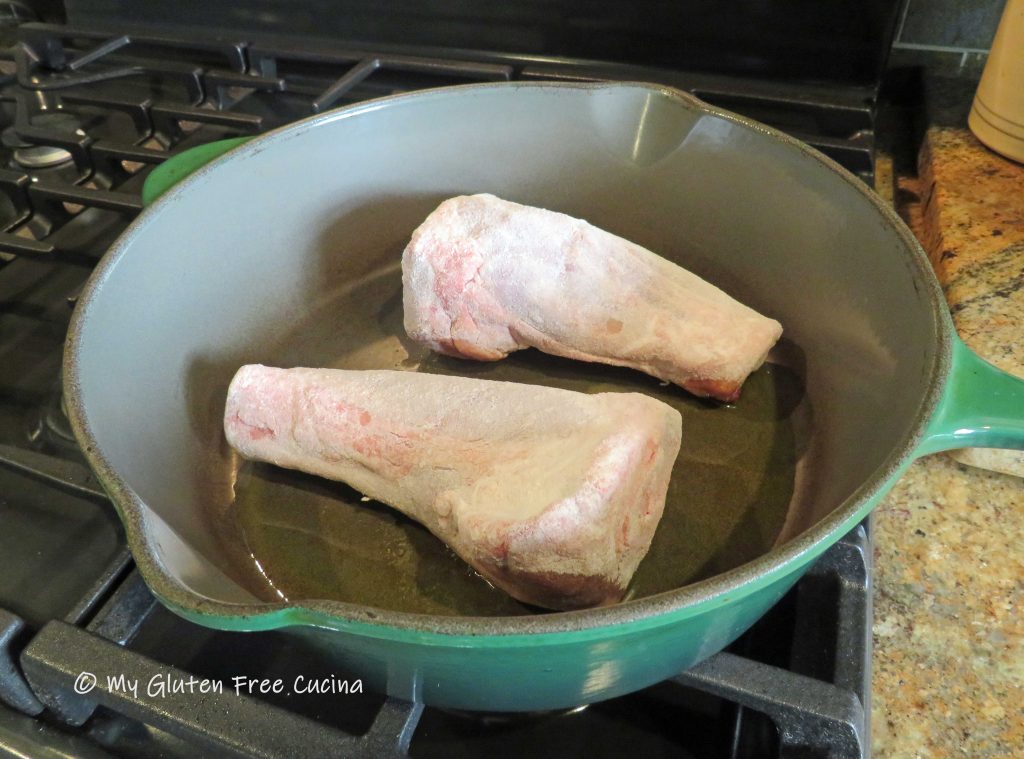
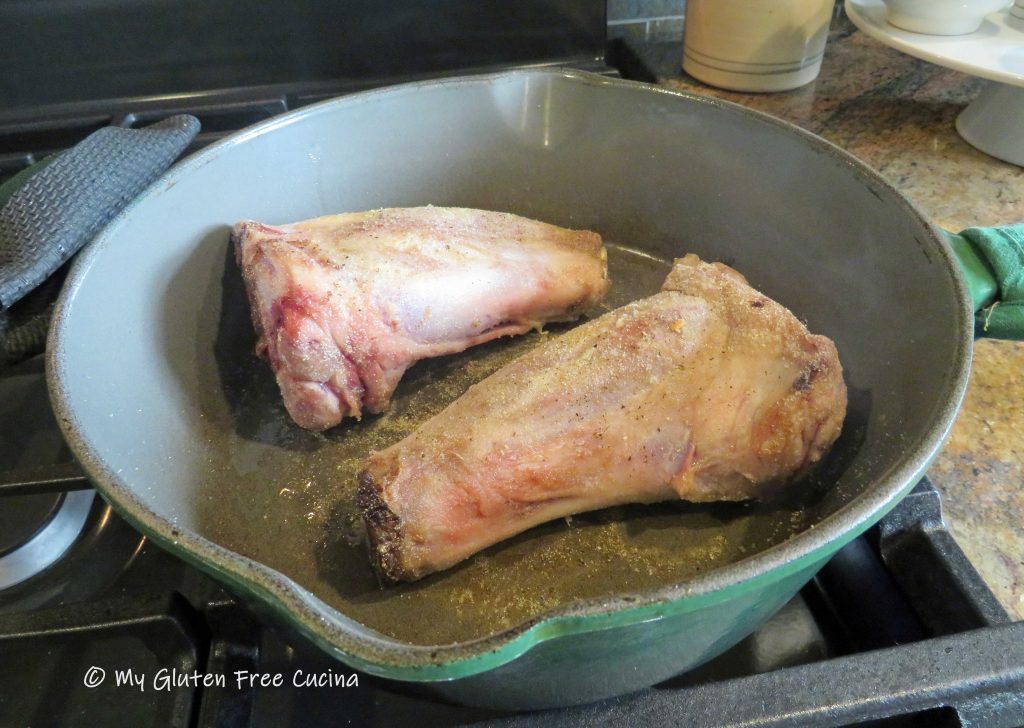
Place 1/4 cup rice flour in a food safe plastic bag, add the lamb shanks and shake to coat.  Discard any excess flour.

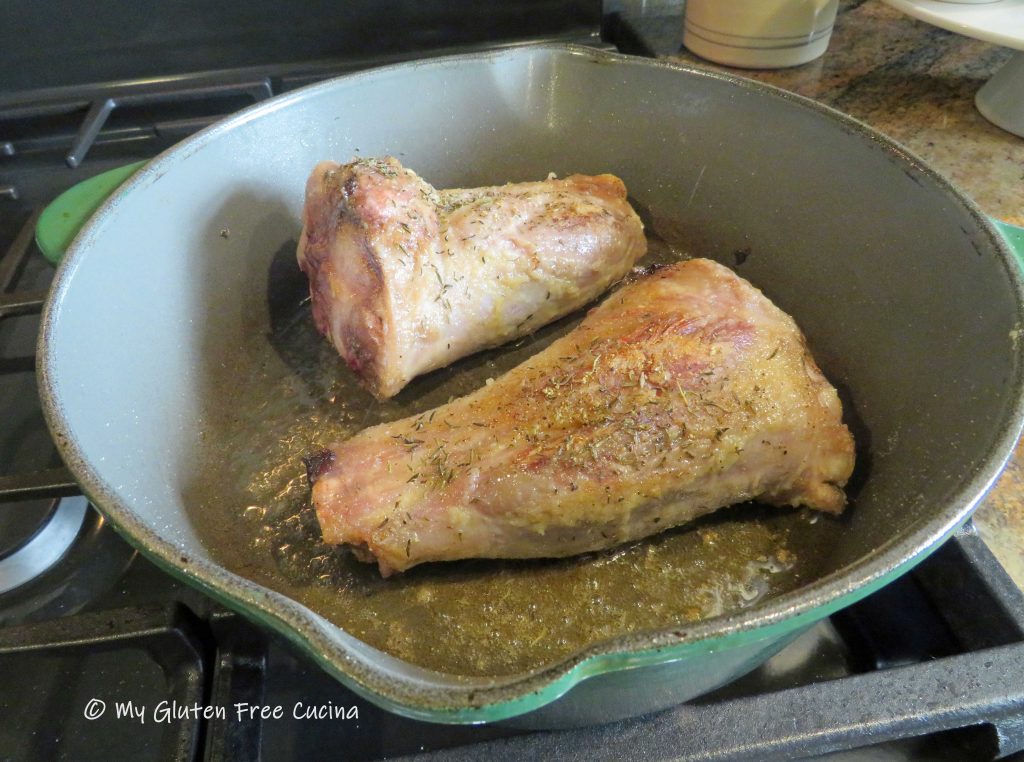
Heat a deep, oven safe skillet or braising pan with olive oil and brown the shanks on all sides.  Season with salt and pepper.

Add 1/4 cup white wine to the skillet.  Simmer on low heat until reduced by half.  Season again with salt, pepper and thyme.

Add 1/2 cup chicken broth, along with the onions and the carrots.

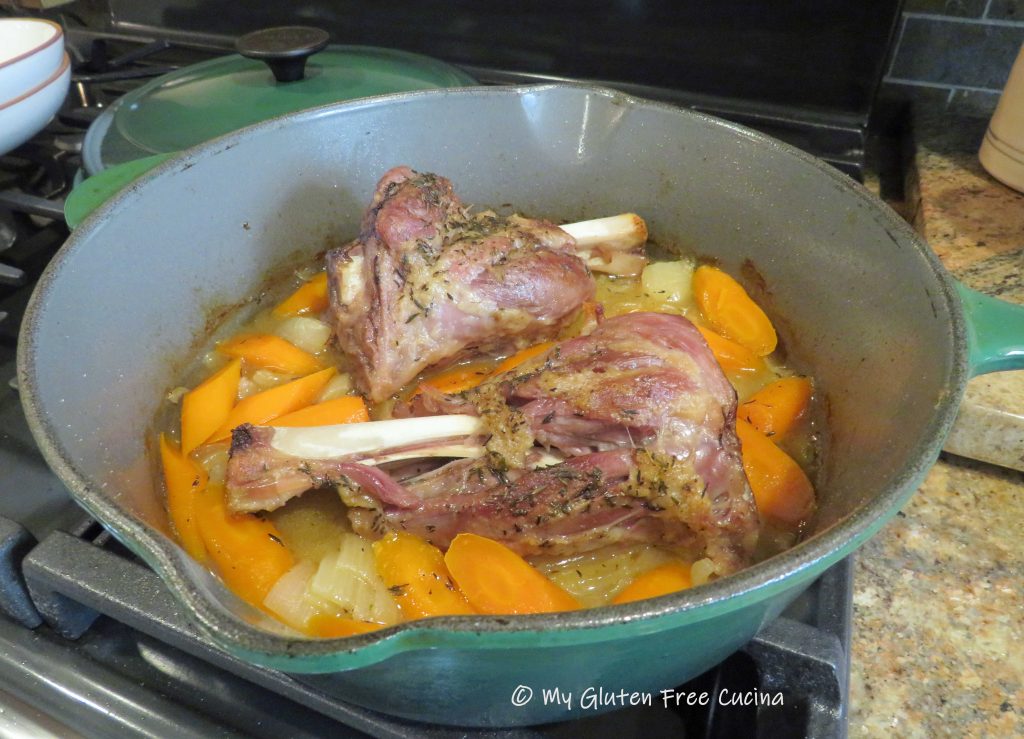
Cover and place in the oven for 2 hours at 300°, turning once.  See how the shanks have cooked down?

Drain and rinse the beans, and add them to the skillet with an additional 1/4 cup chicken broth.  Cover and return to the oven for an additional 30 minutes.

Doesn’t that look delicious?  The meat was so moist and tender, the beans full of flavor from the braising liquid.  This meal was SO good, I must make it more often!

Notes ♪♫ Use plain white rice flour to coat the lamb shanks, it works well for browning meat.  Save your expensive, gluten free all purpose blends for another recipe.

Originally posted 04/08/2019                                Updated 05/29/2022

[print_link]

Gluten Free Moo Shu Pork

Gluten Free Moo Shu Pork

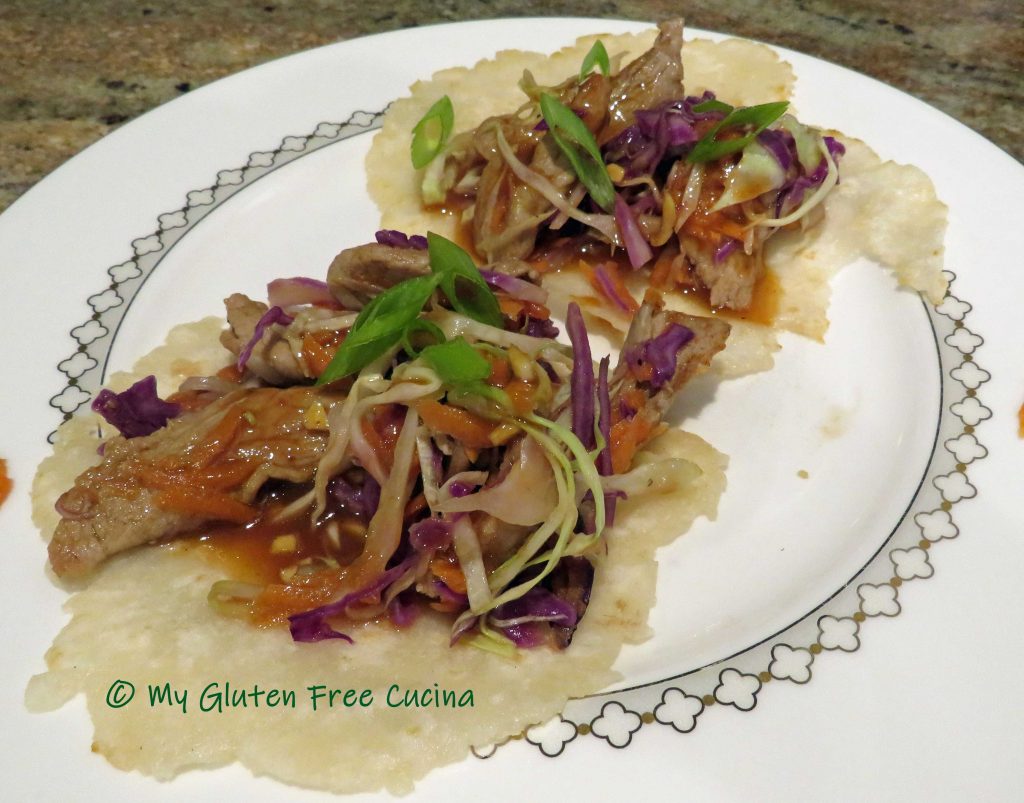
Moo Shu Pork!  This was my first attempt at making the popular Chinese American dish, and it’s a keeper!  The flavor and texture of the marinated pork and crisp veggies was just incredible.  And how about those little Mandarin pancakes?
What makes this dish gluten free?

There are a few ingredients you will need to be cautious about in this dish.  While the pork and veggies are naturally gluten free, you need to read the labels on those Asian condiments!  Hoisin Sauce, Plum Sauce, Soy Sauce, Oyster Sauce all may contain wheat.  You can absolutely find gluten free condiments, just read the labels carefully!

I thought I would be getting out of my comfort zone with the Mandarin pancakes, but they were really easy to make!  Surprisingly, they have just 3 ingredients and require no special equipment!  That’s right, no stand mixer, no food processor, just a rolling pin!

Mise en Place

As with all stir-fry recipes, you need to have your ingredients prepped and organized before you begin the cooking.  I was well into the process when I realized I did not have enough Hoisin sauce for the recipe.  Don’t be like me (spoiler alert, I was able to improvise, and it came out great)!!!
4 Servings

This post contains affiliate links.

Ingredients:

Marinade Ingredients:

Stir-Fry Ingredients:

  • 12 oz. pork tenderloin, cut into thin strips
  • 1 cup grated carrot (about 1 medium)
  • 1-1/2 cups sliced mushrooms
  • 2 cups red cabbage, shredded
  • 2 cups green cabbage, shredded
  • 2 scallions, bottoms and reserve greens sliced on diagonal for garnish
  • toasted sesame oil

Mandarin Pancake Ingredients:

  • 125 g. (about 3/4 cup) gluten free all-purpose flour (I used and recommend Better Batter Original Blend)
  • 1/4 tsp. salt
  • 1/2 cup boiling water
  • toasted sesame oil

Preparation:

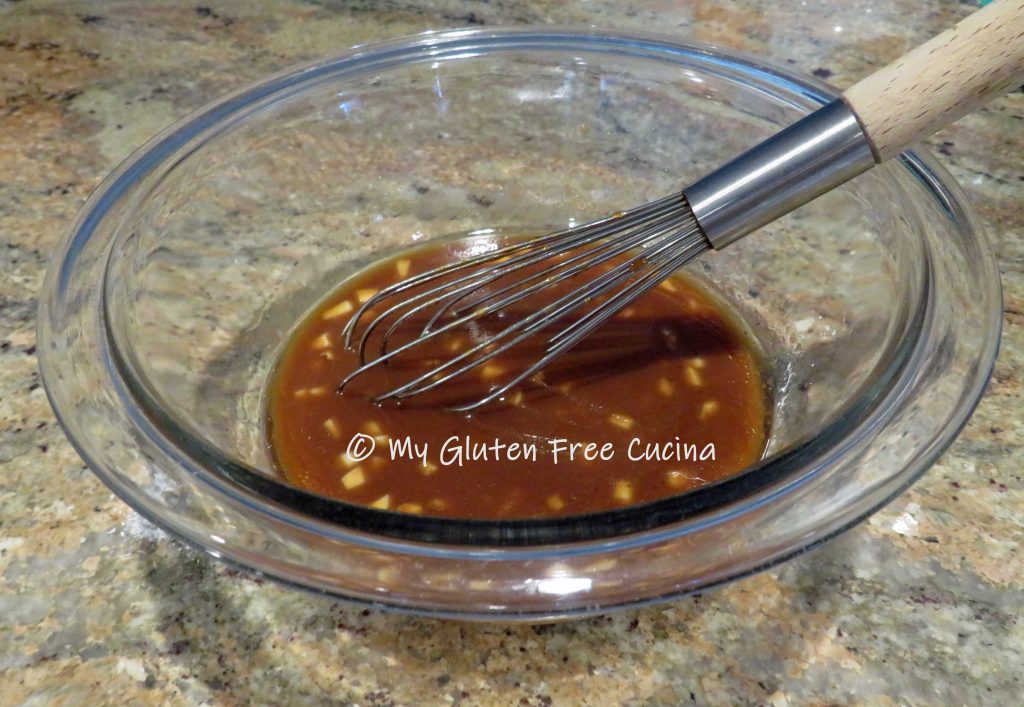
The first thing I did was whisk together the marinade ingredients.  This allows the flavors to meld a bit before you begin cooking.  Divide the marinade into 2 portions, use one for the meat and reserve one to drizzle on the finished dish.   Remember I said that I didn’t have enough Hoisin sauce for this recipe?  Well, I used what I had and topped it off with a little Plum sauce, so delicious!
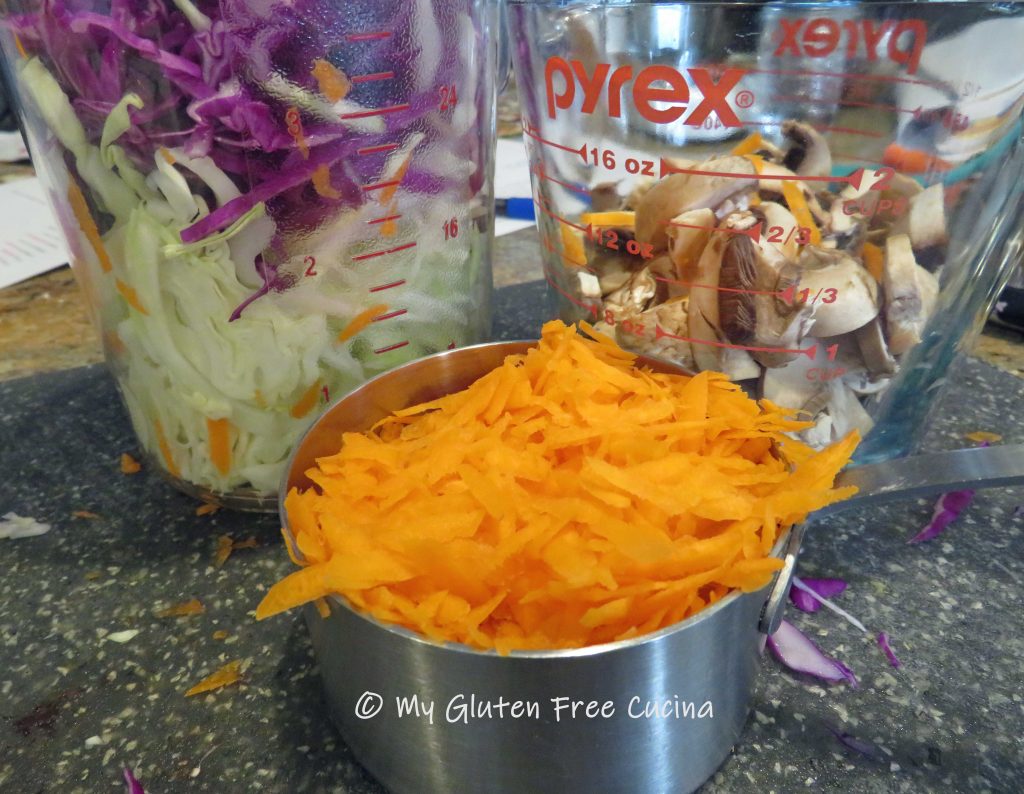
Next, I prepped the veggies.  I used a coarse grater for the carrots and a mandoline to shred the cabbage.
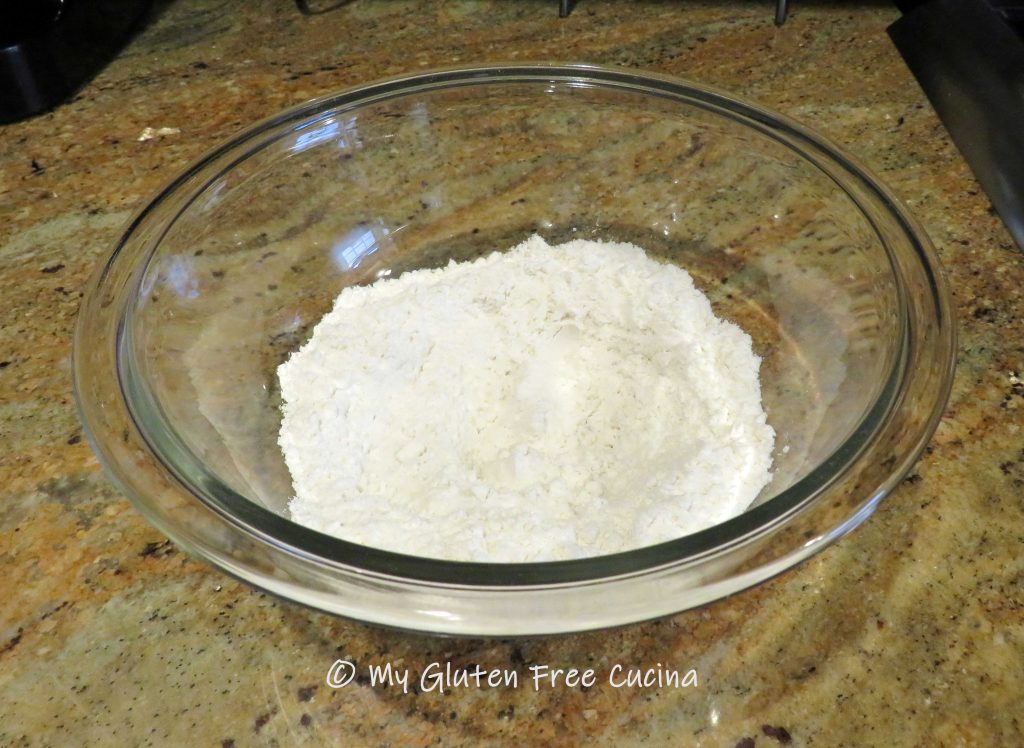
Now for the pancakes!  You are going to be surprised at how easy they come together.  First whisk together the flour and salt.
Add the water, stirring in a little at a time to form a dry, shaggy dough.  The dough should hold together when you give it a squeeze.  Shape the dough into a log.
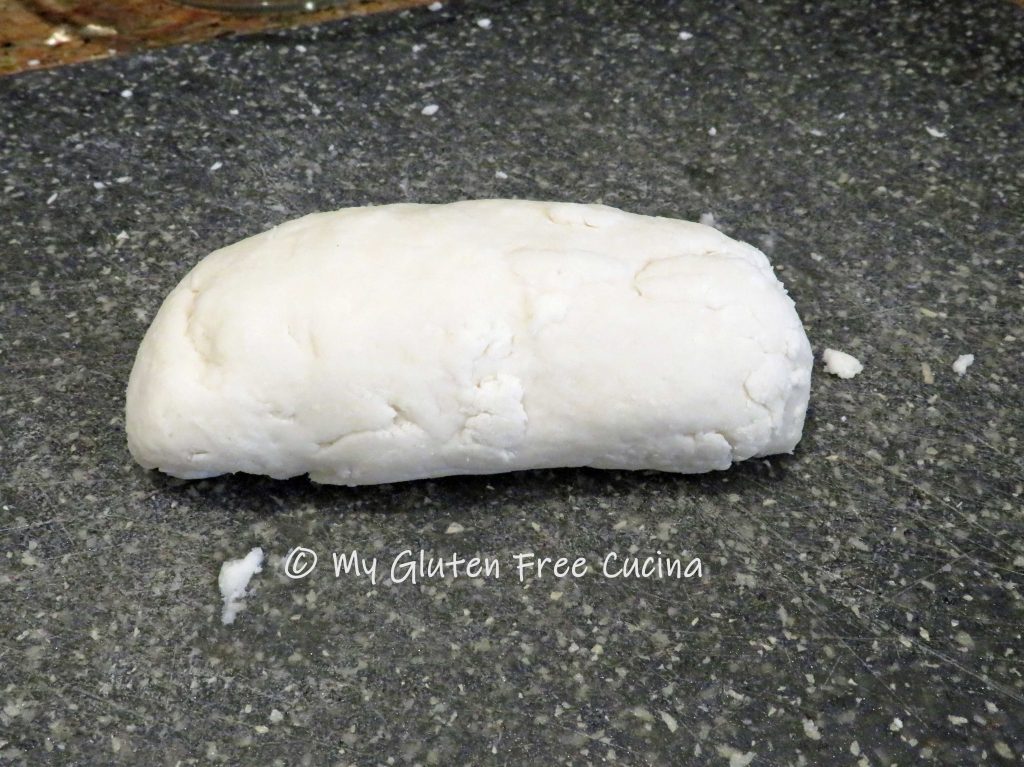
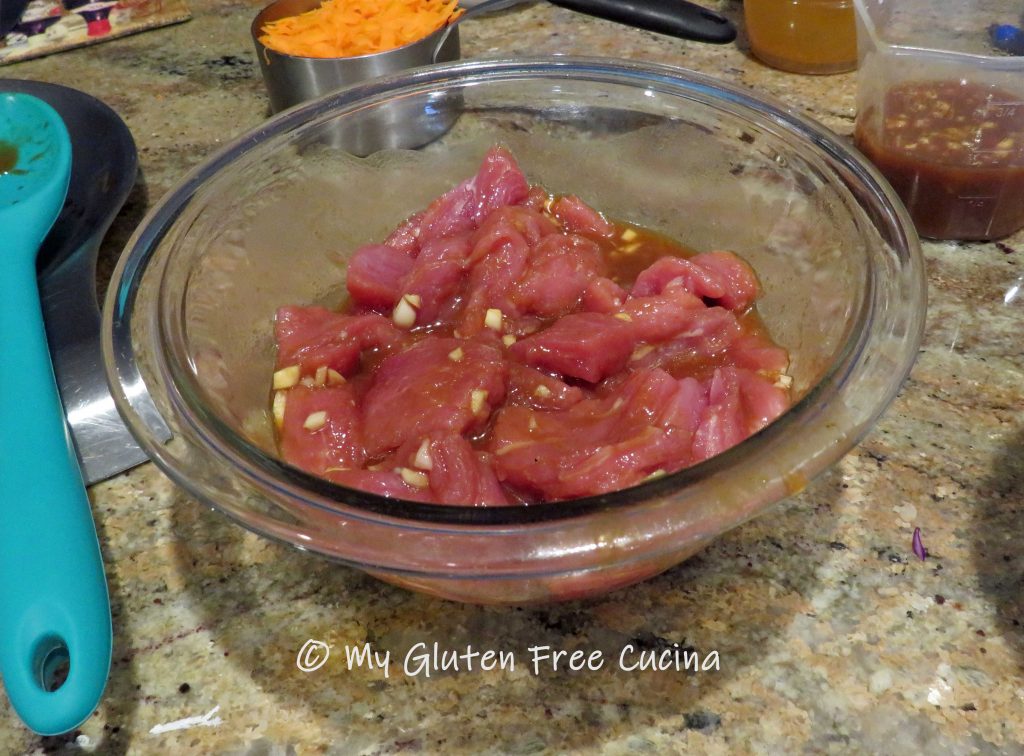
Cover with plastic wrap or a damp towel, and let it rest for 10 minutes to hydrate.  While the dough is resting, cut the pork tenderloin into thin strips (I used kitchen shears).  Place the strips into a bowl with half of the marinade and stir to coat.
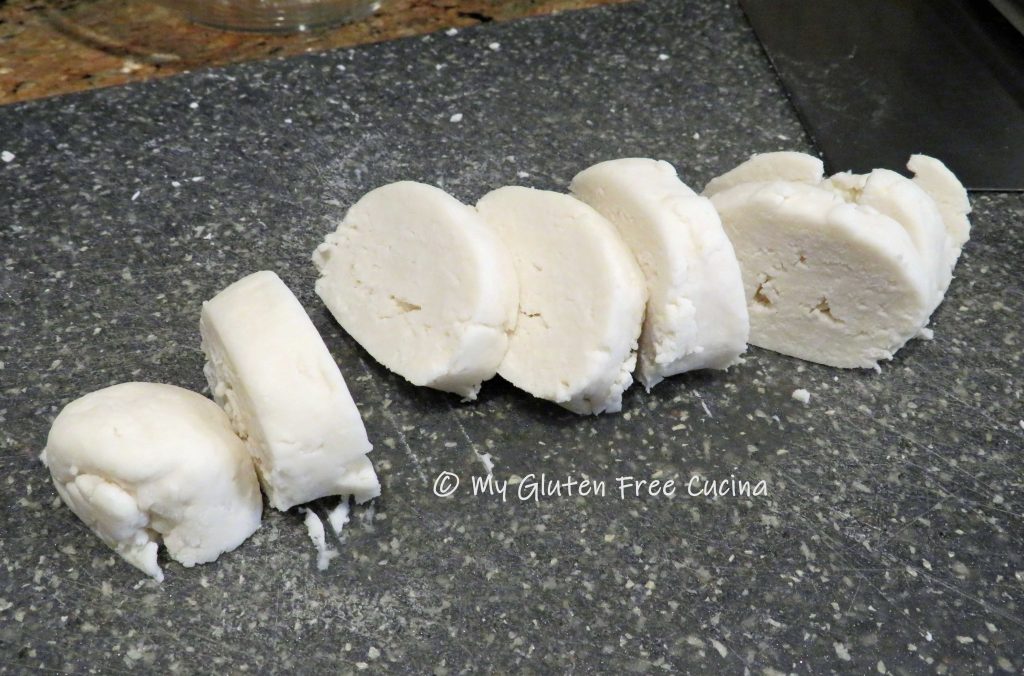
Use a bench knife to divide the dough log into 8 equal pieces.
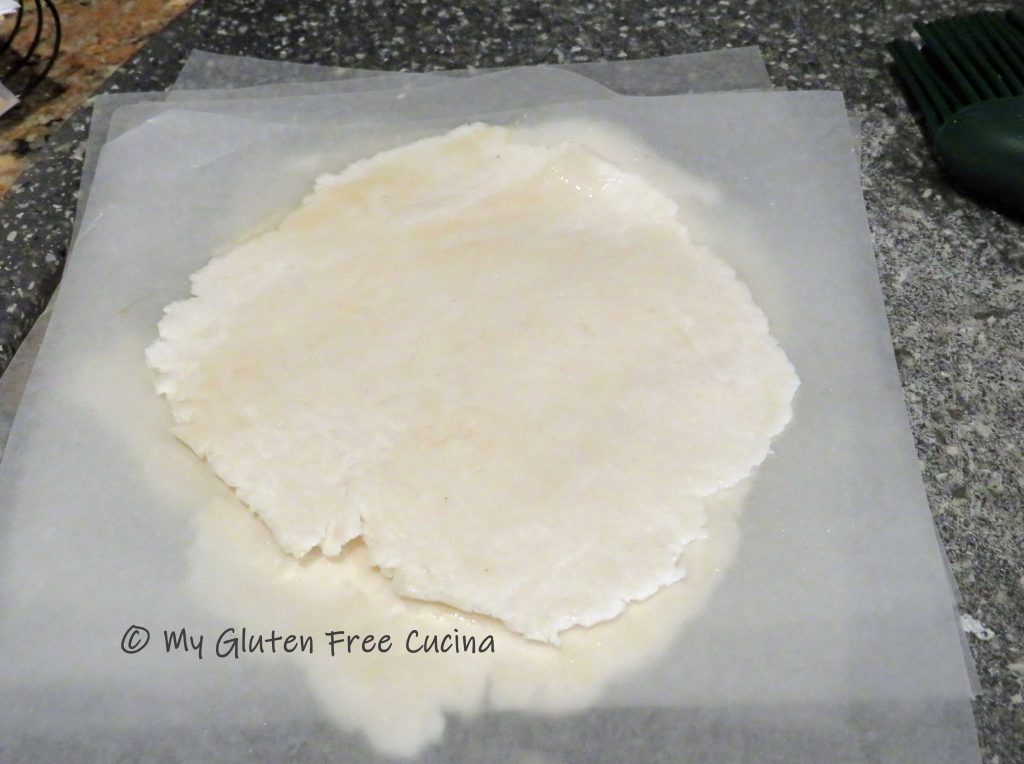
I used 6″ wax paper squares to help roll out the dough.  Brush the paper with toasted sesame oil (so it doesn’t stick), place one section of dough between two sheets and roll it out to about 5″ diameter and 1/8″ thickness.
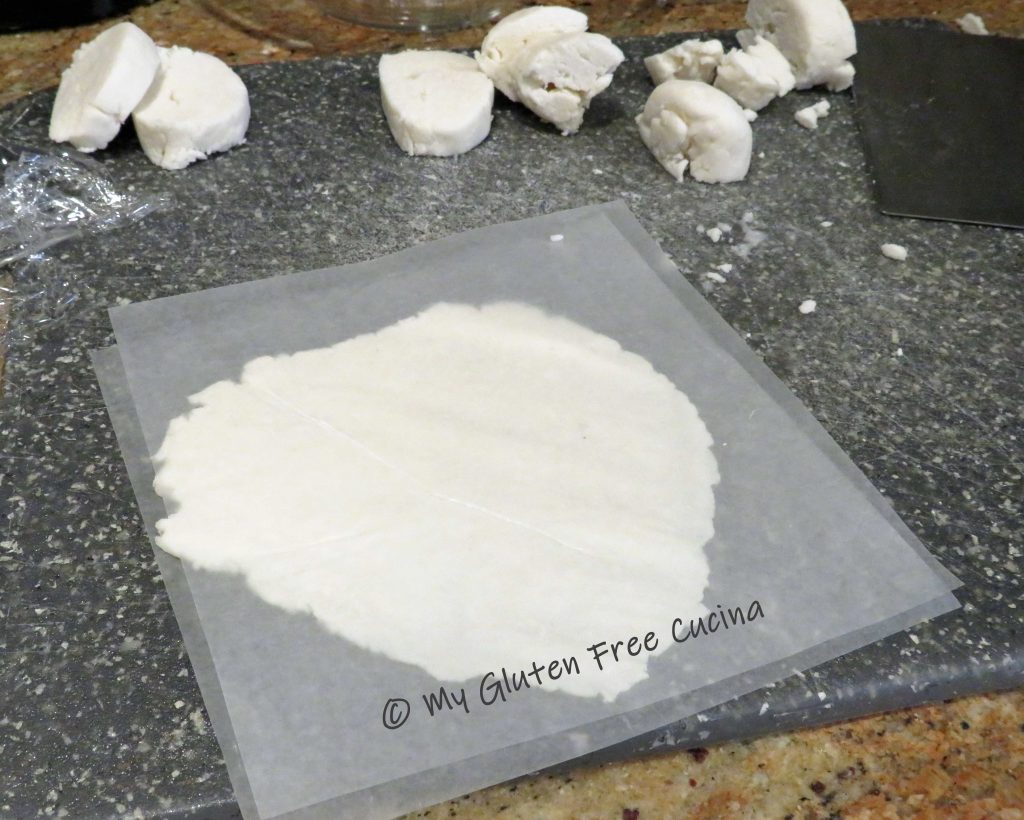
Continue with the remaining sections of dough and stack them between sheets of oiled wax paper.
Now we are ready to finish the dish.  Heat 2 nonstick skillets, a larger one for the stir fry and a smaller one for the pancakes.  In the large skillet, begin cooking the pork.  Discard any marinade remaining in the bowl.
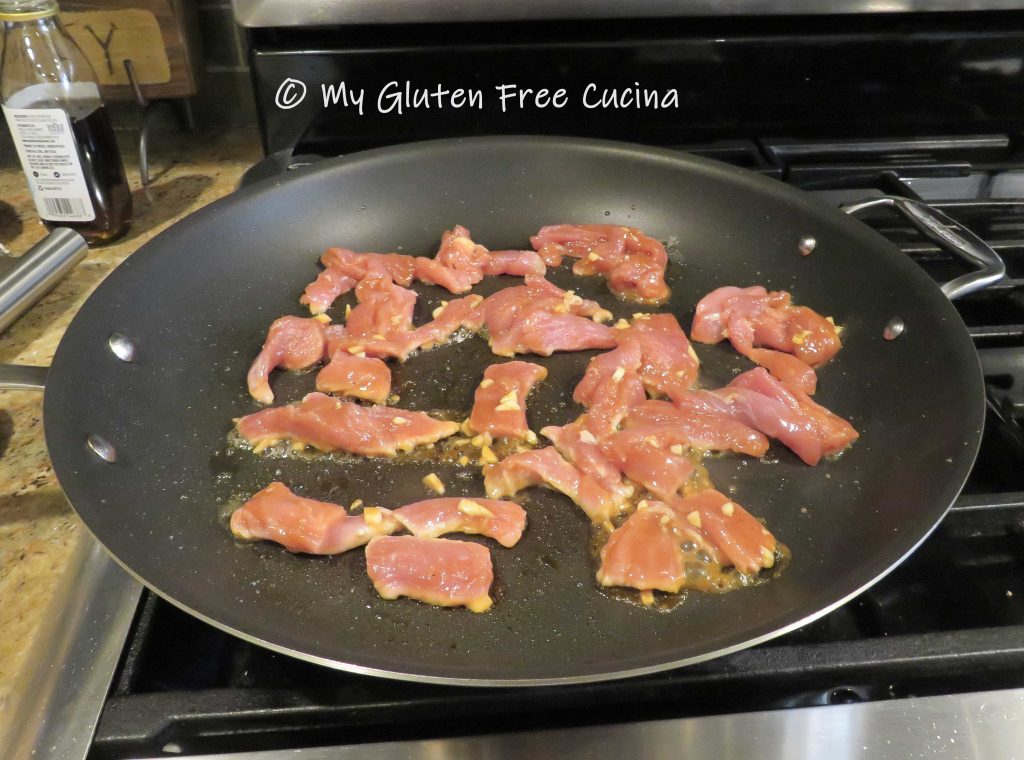
Use tongs to turn each piece to quickly brown both sides.  The pork does not have to be cooked through at this point; it will finish cooking with the veggies.

Add all of the vegetables to the skillet.
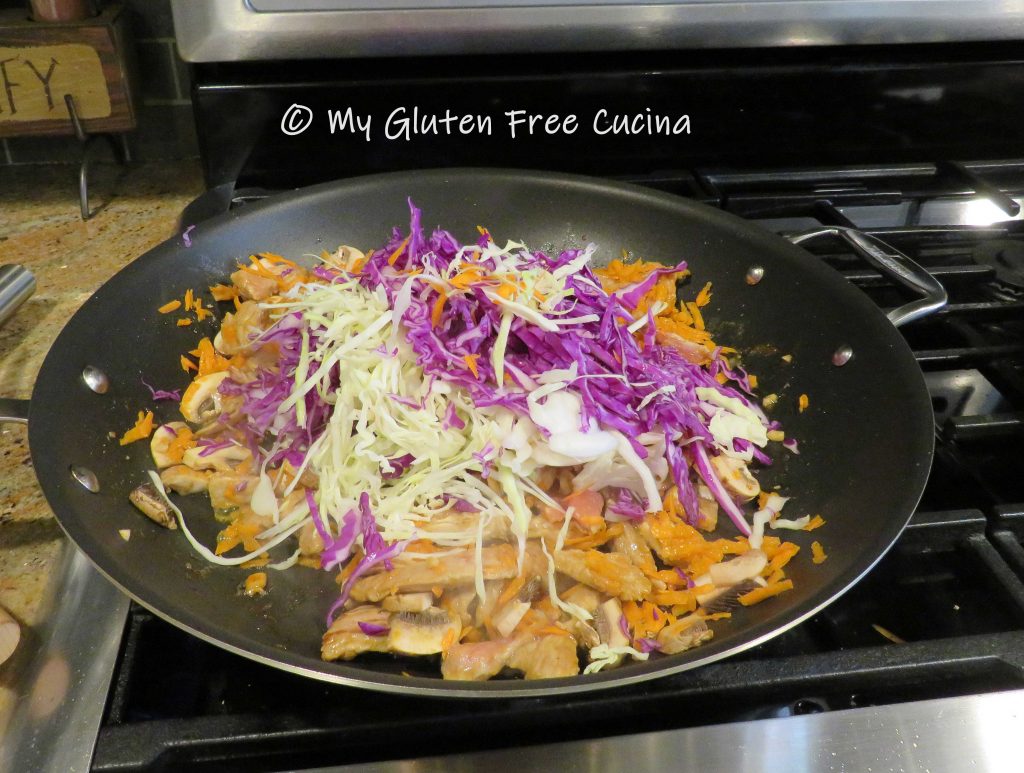
Stir fry the veggies for several minutes, turning frequently to wilt the cabbage.

When the veggies are crisp tender, turn down the heat.  Brush the smaller skillet with sesame oil.  Remove 2 of the Mandarin pancakes from the wax paper, stack one over the other and place in the skillet.  Cook for 30 seconds, flip and cook another 30 seconds.  Then, carefully separate the 2 layers and transfer to a plate.

Note ♪ Cooking the pancakes two at a time allows them to heat through on the outside and steam in the middle.  As long as they are well oiled, you should have no problem peeling the layers apart.

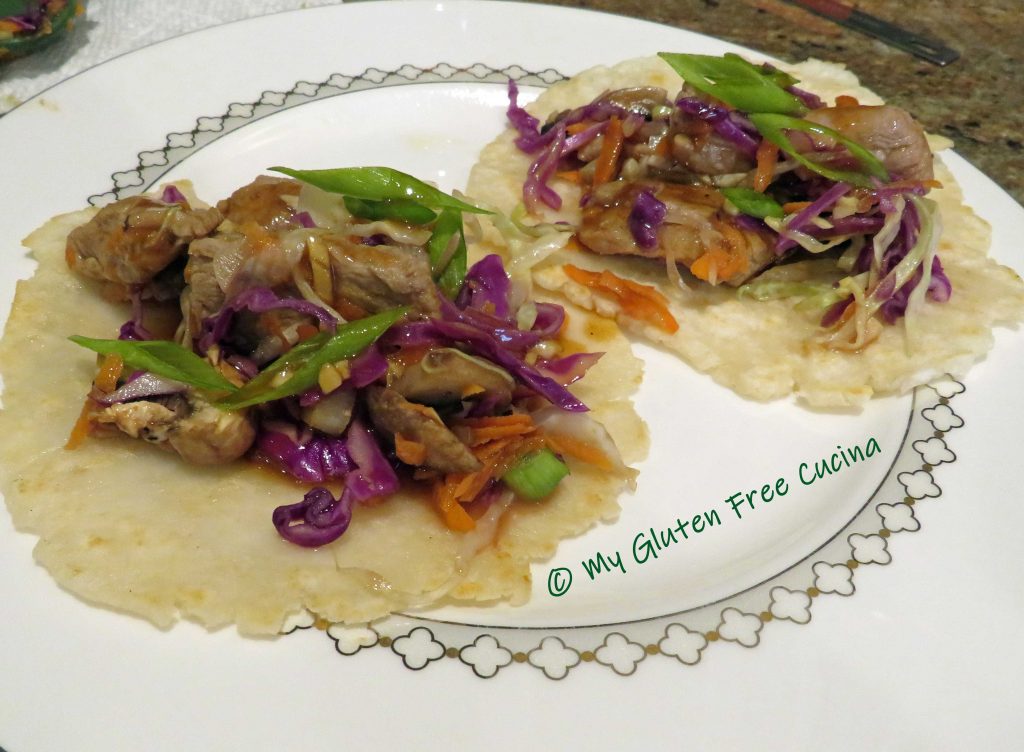
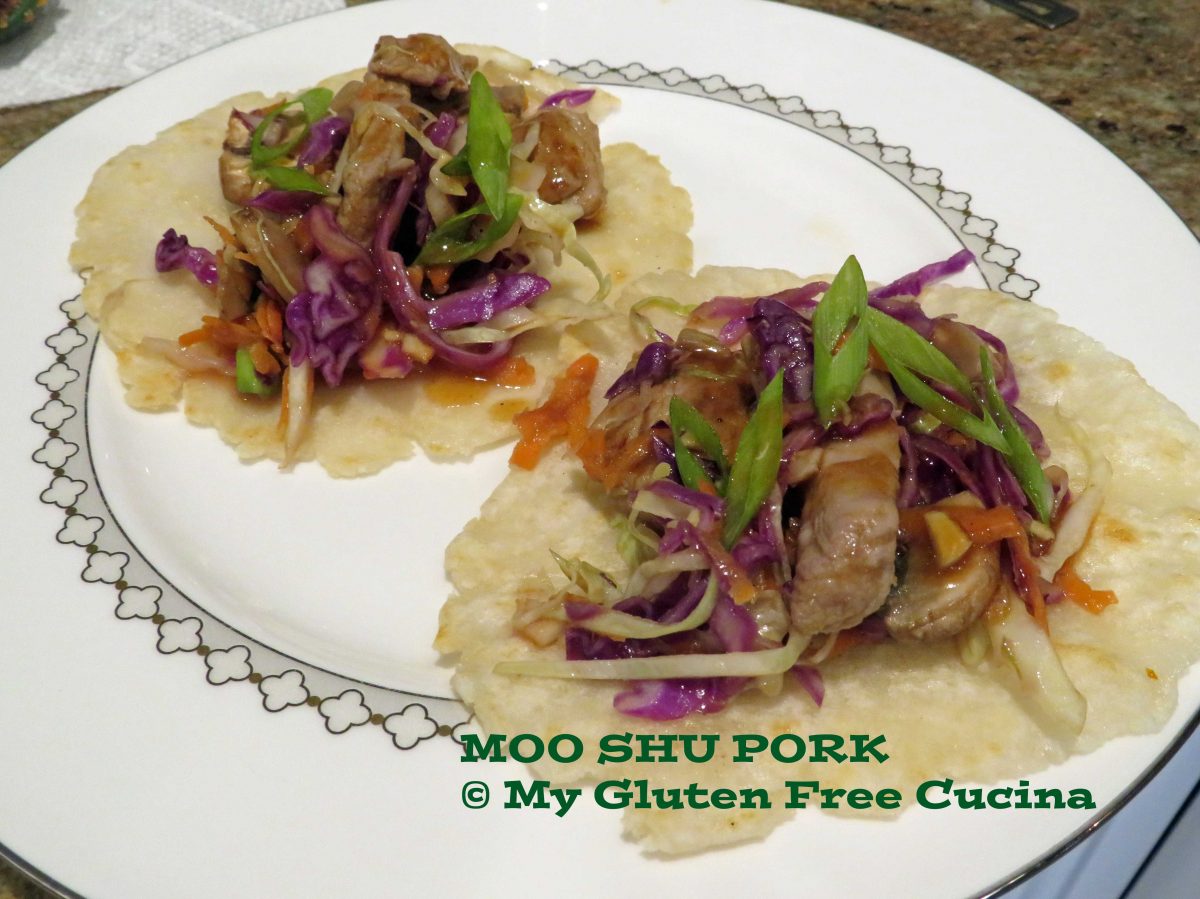
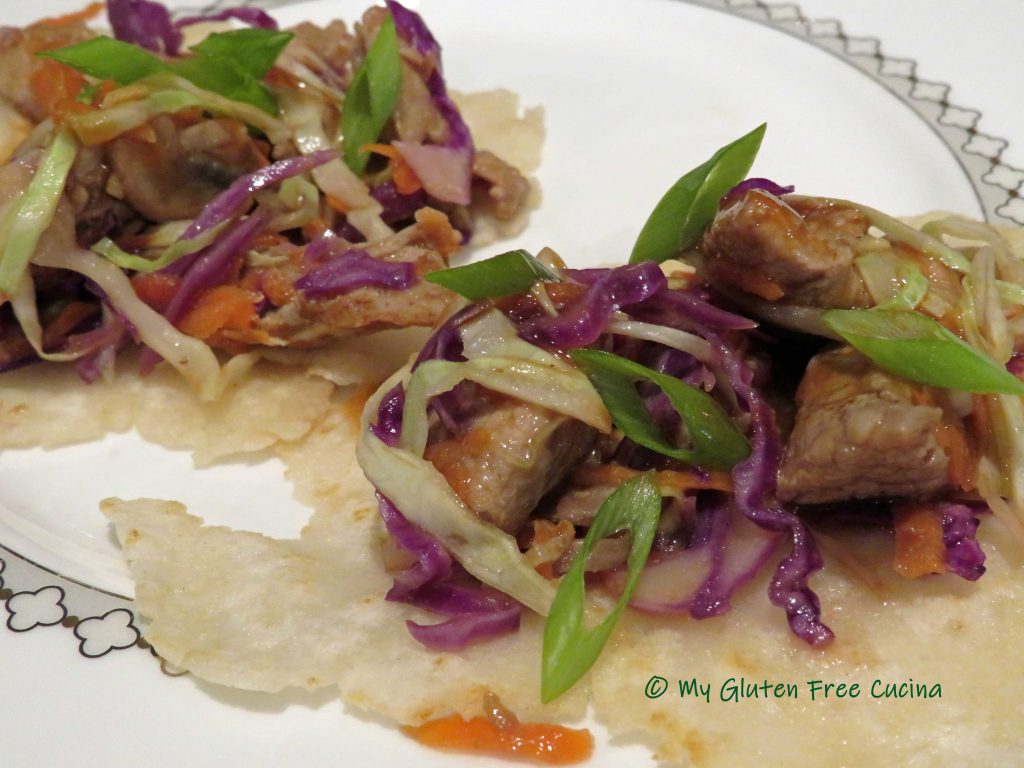
Continue with the remaining pancakes and arrange on a serving platter or individual plates.  Spoon the Moo Shu Pork onto each pancake.  Drizzle the reserved marinade over each and garnish with scallion greens.

If you have leftovers, they will keep well for a few days in the fridge.  I stored the Mandarin pancakes in a zip lock bag, with a sheet of wax paper between each and they remained soft and pliable.  Reheat the Moo Shu Pork in the microwave and spoon over a pancake, no need to heat the pancakes as they will warm through from the heat of the pork.

Notes ♪♫ Mandarin pancakes are a thin, unleavened flatbread, similar to a tortilla.  They came out great and reminded me of the wheat wraps I used to buy.  I used (and recommend) Better Batter Original gluten free flour for this recipe.  Remember to use my Promo Code MGFC30 for 30% off your non-sale purchase at Better Batter!

[print_link]




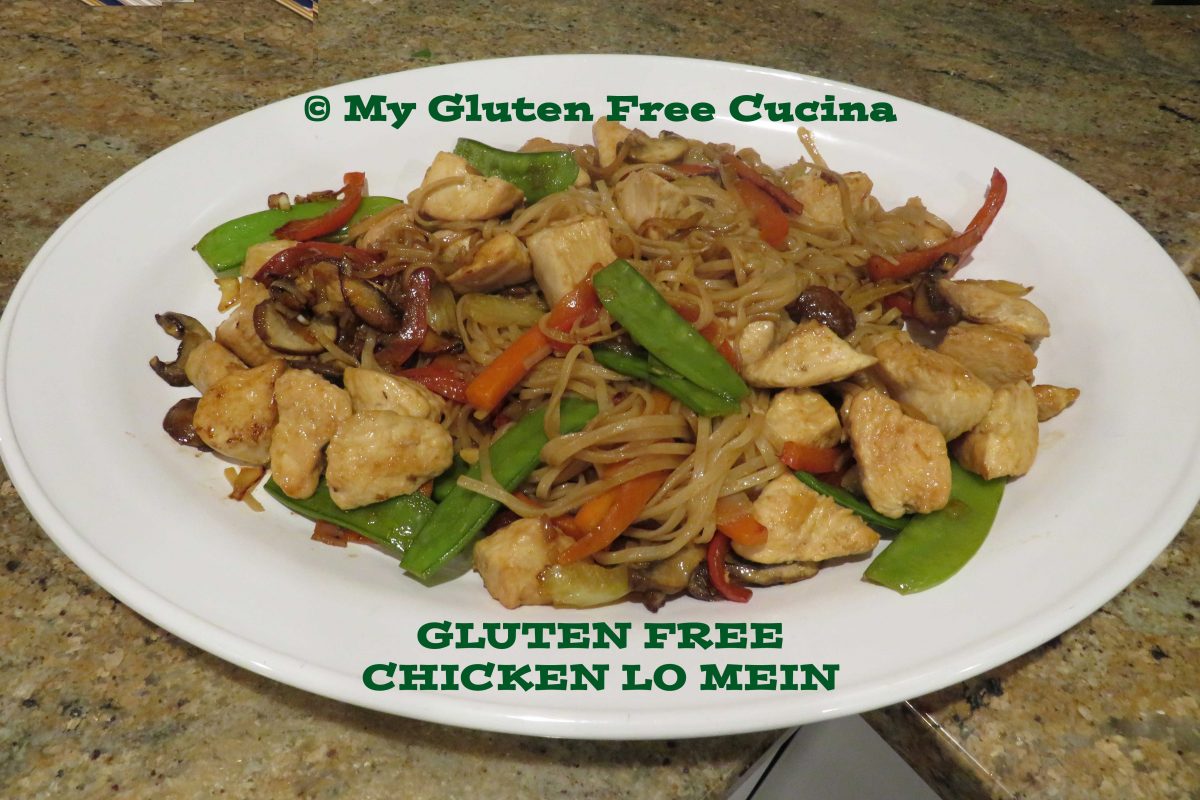
Gluten Free Chicken Lo Mein

Back in the day ordering Chinese takeout was such a treat.  I really miss being able to do that since being gluten free.  There are few places in our area that offer gluten free Chinese food, but cross contact is always a concern.

That’s why I learned to make gluten free alternatives at home, like this Lo Mein.  The recipe is gluten free and lower in sodium than takeout, so I would call that a success!

This post contains affiliate links.

Although a true Lo Mein would be made with egg noodles, I used rice noodles in this recipe, and they were a great stand in.  I always have them on hand for Asian stir fry meals.

Ingredients:

For the Sauce:

For the Lo Mein:

  • 1 lb. boneless chicken breast, cut into 1″ cubes
  • 1/2 cup celery
  • 3/4 cup carrots
  • 3/4 cup onion
  • 3/4 cup mushrooms
  • 1/2 cup bell pepper
  • 3/4 cup snow peas
  • sesame oil
  • olive oil
  • coconut aminos
  • 1/2 tsp. garlic powder
  • 1/2 tsp. ginger powder
  • 4 oz. gluten free rice noodles

Preparation:

This is one of those recipes where you need to get organized before you begin cooking.  Prep the veggies, cut the chicken into cubes and have all other ingredients lined up and ready.

Begin by whisking the sauce ingredients together and set aside.

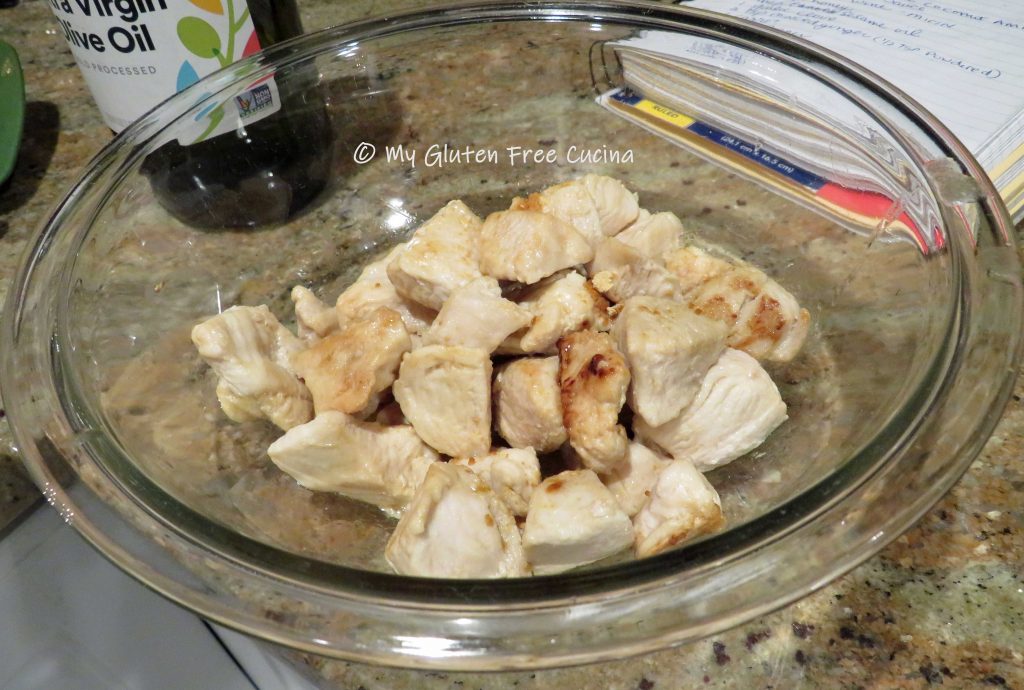
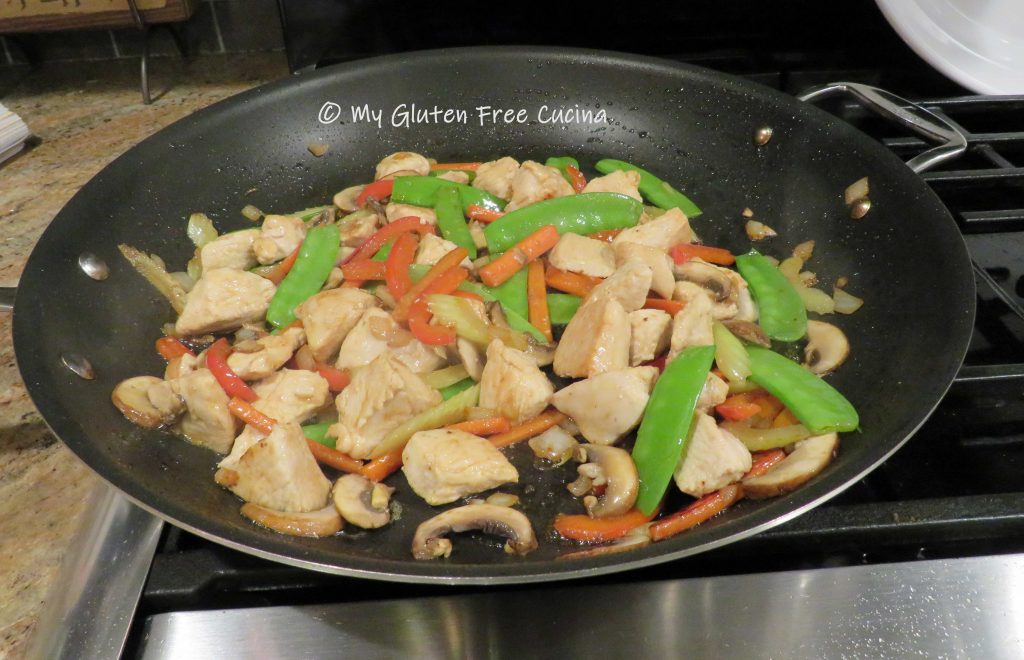
Set up a pot of salted water for the rice noodles and bring to a boil.  Heat a large nonstick skillet with 1 tbsp. olive oil and 1 tsp. sesame oil.  Cook the chicken, turning to brown on all sides.  When the chicken is almost cooked through, remove it from the pan and set aside.

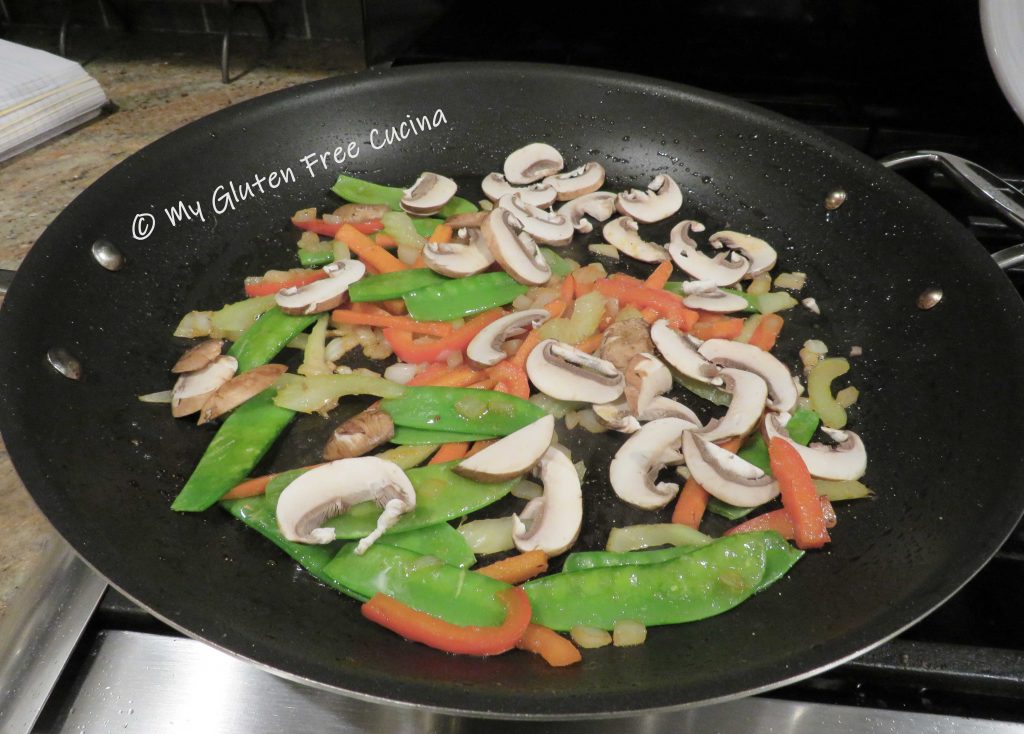
Wipe the pan clean and add 1 tsp. sesame oil.  Begin cooking the carrots, peppers and snow peas for several minutes until crisp tender.  Next add the mushrooms and garlic with an additional tsp. of sesame oil.  Cook for 1 minute.

Add the rice noodles to the boiling water, and at the same time return the chicken to the skillet.  Pour half the sauce over the chicken and vegetables.

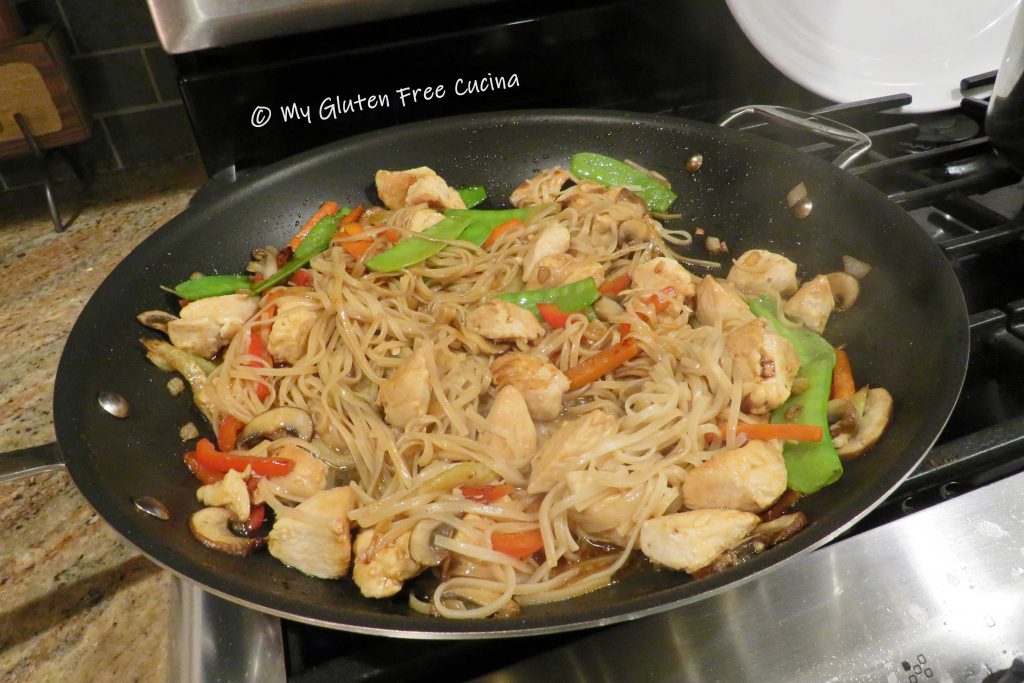
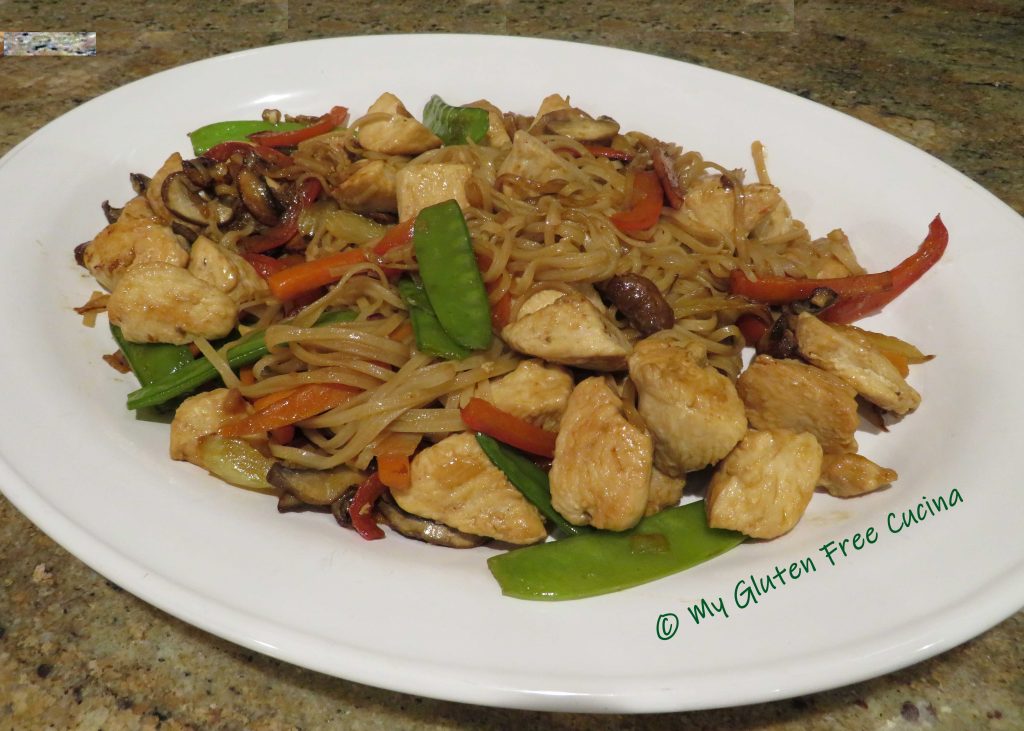
Drain the pasta after 3 minutes, add it to the skillet and top with the remaining sauce.  Toss well and stir to combine it all, cook for another minute.

Transfer to a platter and serve.

Notes ♪♫ Have you ever purchased a large piece of gingerroot for a recipe, only to use a small amount and have the rest go bad in the refrigerator?  Here’s a trick I learned this past winter, you can cut fresh ginger into smaller pieces and freeze them for later use.  It is so easy to grate gingerroot right out of the freezer.  Perfect for recipes like this one, where fresh ginger is a key flavor in the sauce.

[print_link]