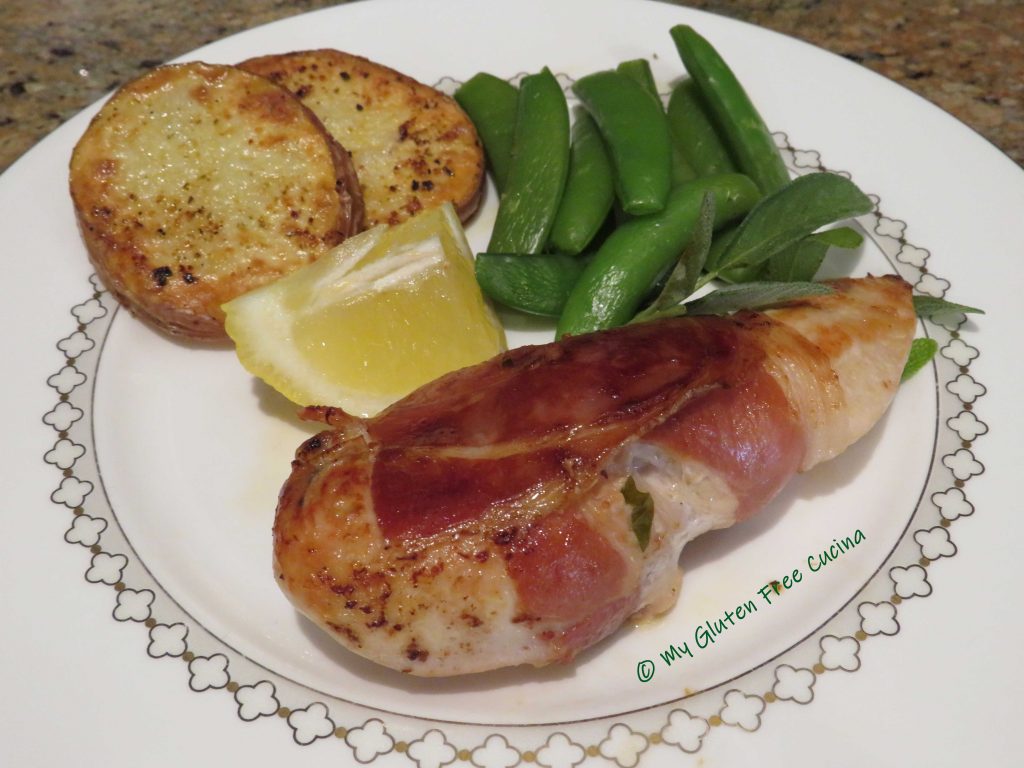
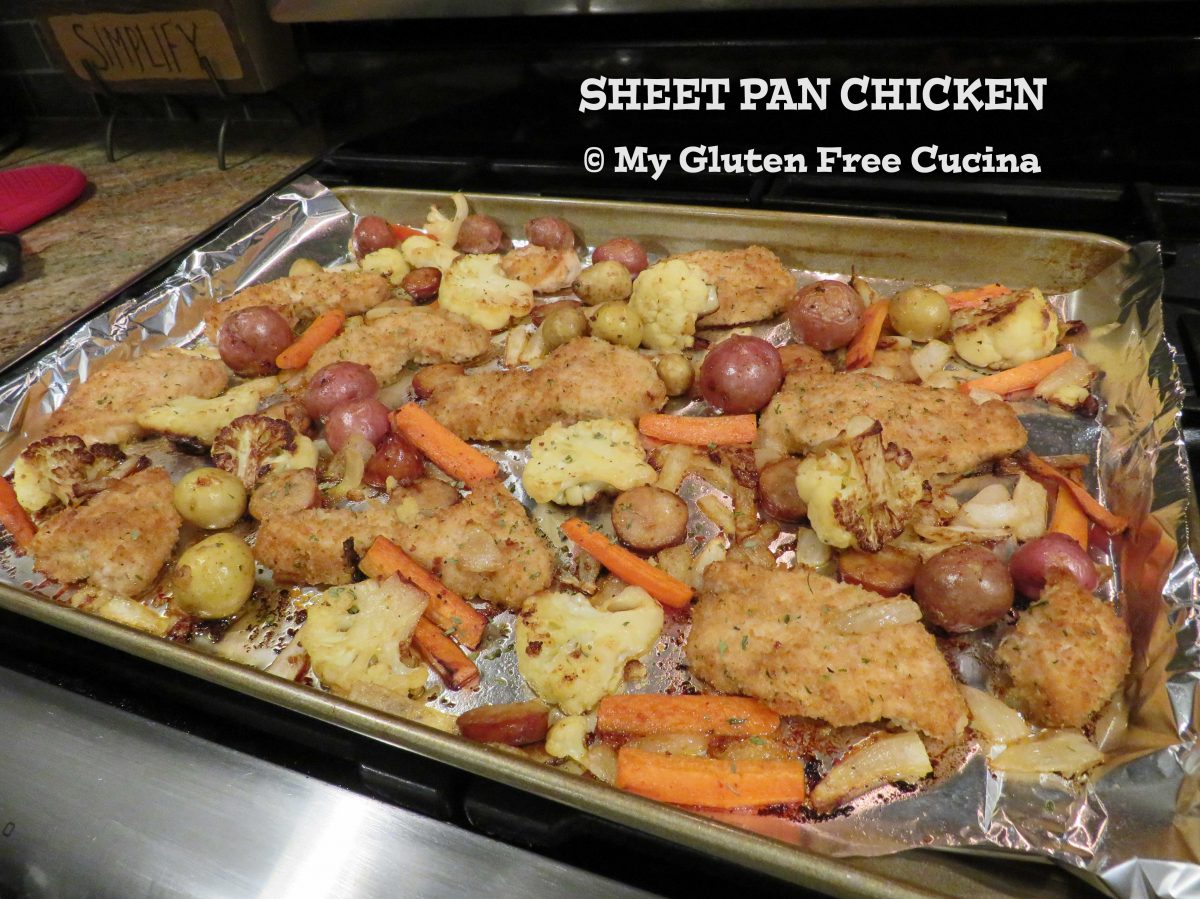
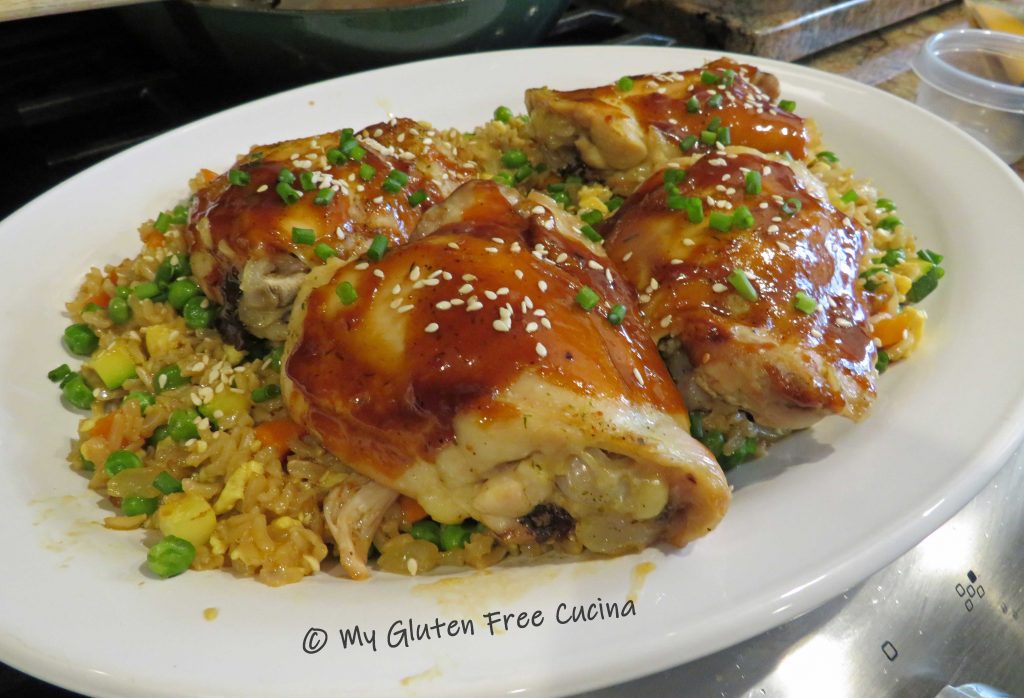
Split Chicken Breasts come out moist and delicious baked over a bed of colorful rice stuffing. This deconstructed recipe is the easy way to serve Split Chicken Breast without the hassle of stuffing each piece! Apple and bacon give the stuffing a sweet and savory flavor profile.

This post contains affiliate links.
Here are some tips for making this dinner a success. Use a baking dish large enough to hold the chicken breasts in a single layer. Partially cook the chicken before adding the stuffing to the dish. Drain the baking dish halfway through to remove some of the fat before adding the stuffing. Choose a firm, short grain rice that will stand up to a longer cook time.
Some of my favorite seasoning blends for chicken are McCormick Montreal Chicken Seasoning, Shallot and Herb Seasoning and Tuscan Seasoning. Use one or a combination as I have. These blends are versatile and can be used in so many other dishes like pasta, potatoes and eggs.
This is a great family meal, perfect for casual entertaining!
3 Servings
Ingredients:
For the rice:
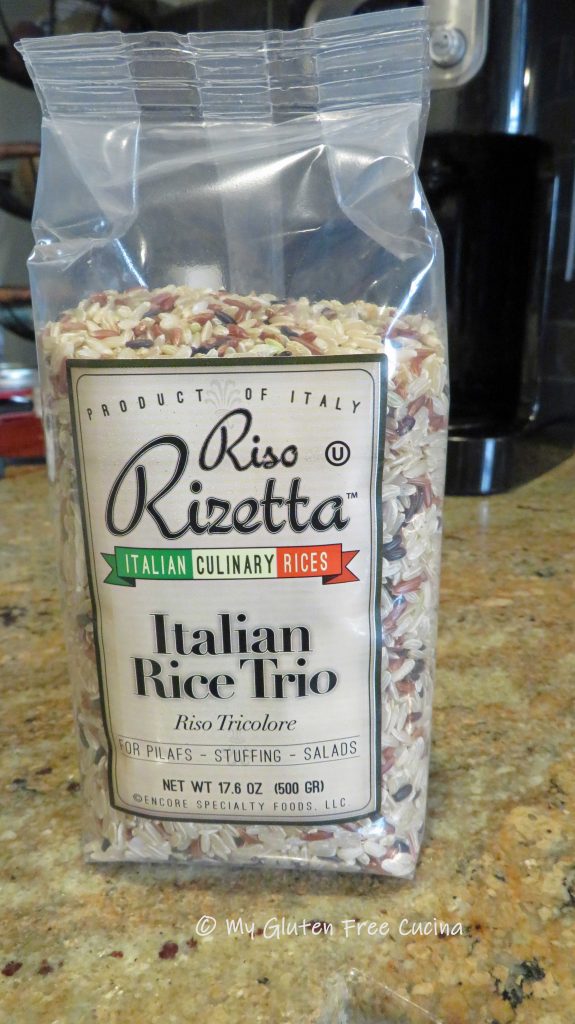
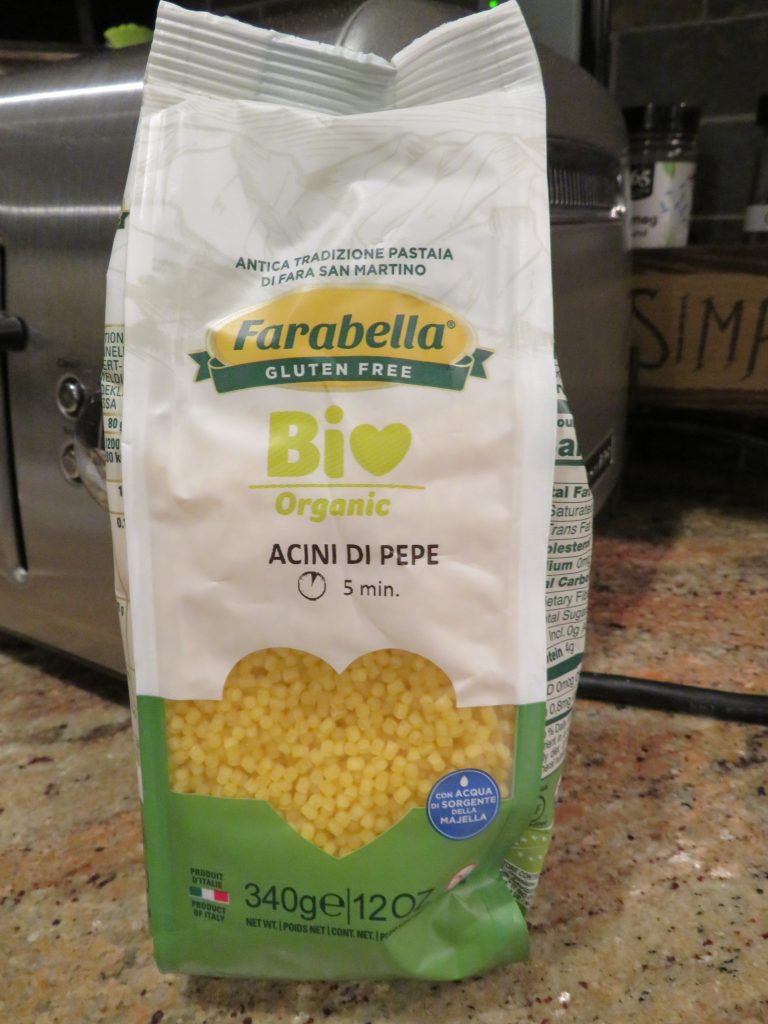
- 1 cup tri-color rice
- 2 cups water
- 1/4 tsp. Montreal Chicken Seasoning
- 1/4 tsp. Shallot and Herb Seasoning
- 1/4 tsp. Tuscan Seasoning
For the stuffing:
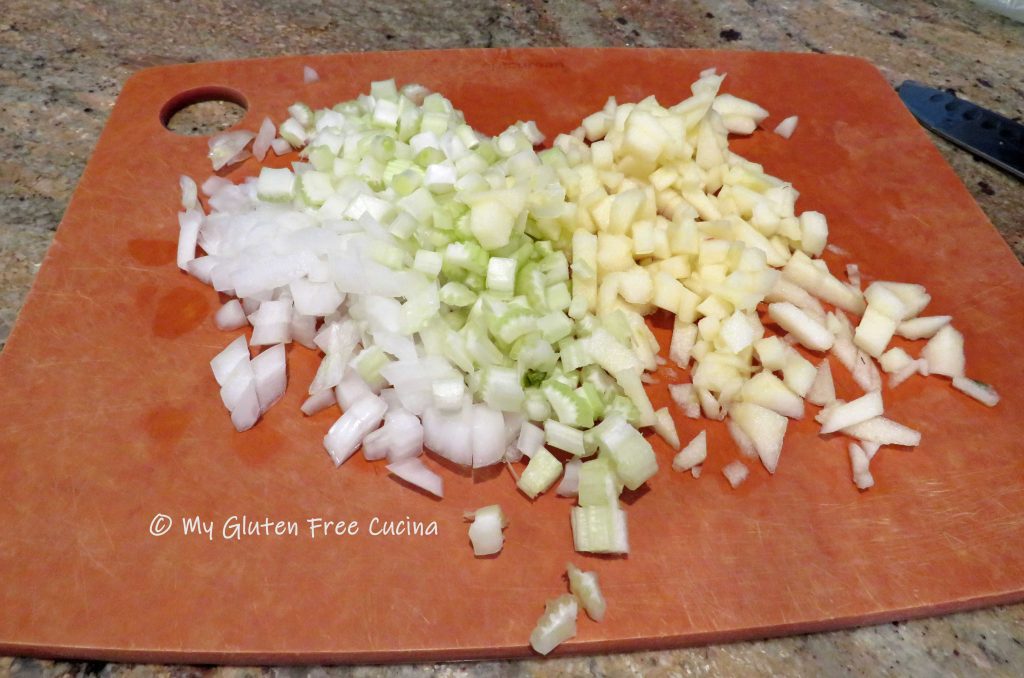
- 1/2 cup onion, small dice
- 1/2 cup apple, small dice
- 1/2 cup celery, small dice
- 2 strips bacon, cut into 1/2″ pieces
- olive oil
- sage
- thyme
- salt and pepper to taste
For the chicken:
- 3 split chicken breasts
- olive oil
- salt and pepper to taste
- 1/2 cup gluten free chicken broth
Preparation:
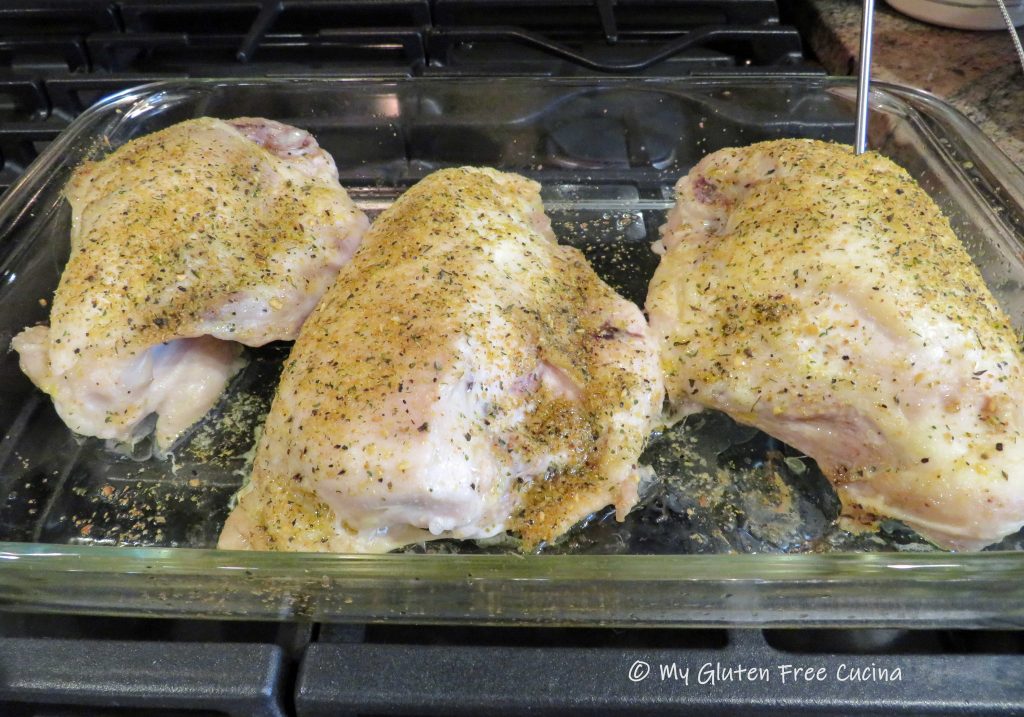
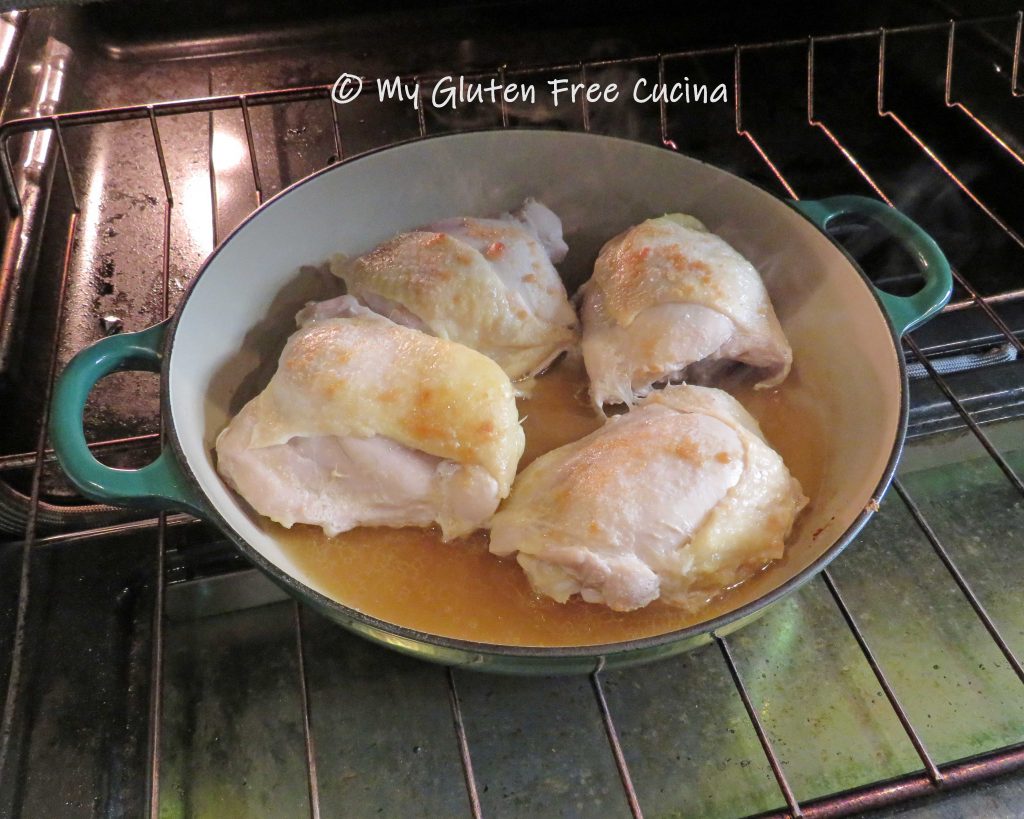
Rinse the chicken and pat dry. Brush with olive oil and season. Coat a 9×13″ baking dish with cooking spray and arrange the chicken in a single layer. Bake at 350º for 45 minutes.
While the chicken bakes cook the rice. I cooked 1 cup rice in 2 cups water and 3/4 tsp. seasoned salt.
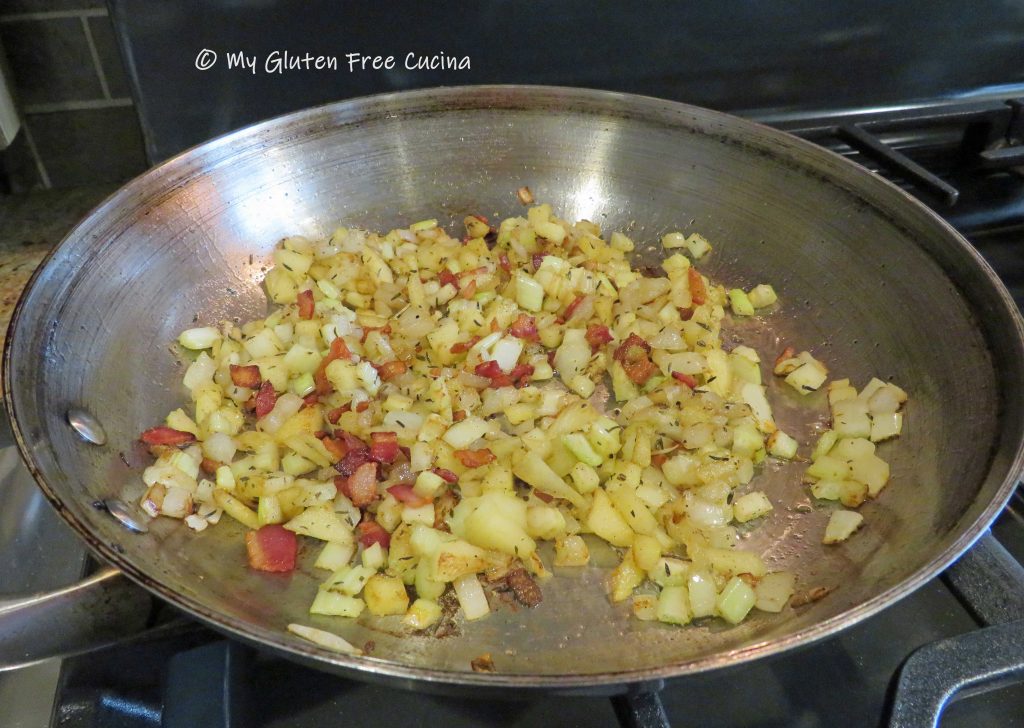
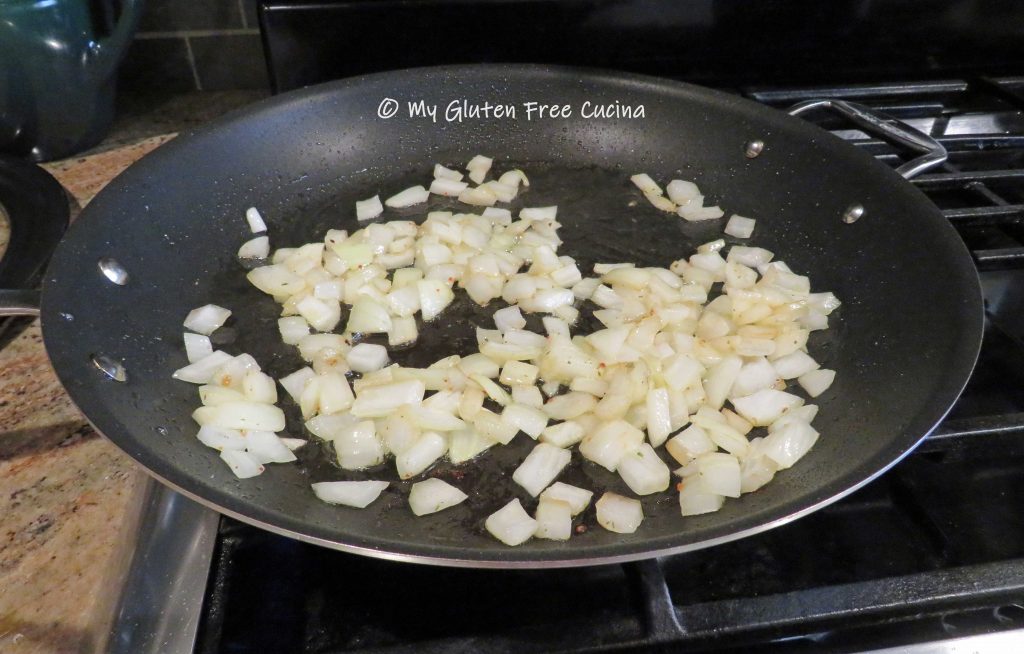
To make the stuffing, begin cooking the diced bacon in a stainless-steel skillet until crisp. Use a slotted spoon to remove the bacon bits and drain on paper towel, leaving any remaining bacon fat in the skillet. Add a small amount of olive oil and sauté the onion, celery and apple until crisp tender. Season with sage and thyme then add back the bacon bits.
 Add the cooked rice to the skillet with the stuffing and stir well to combine.

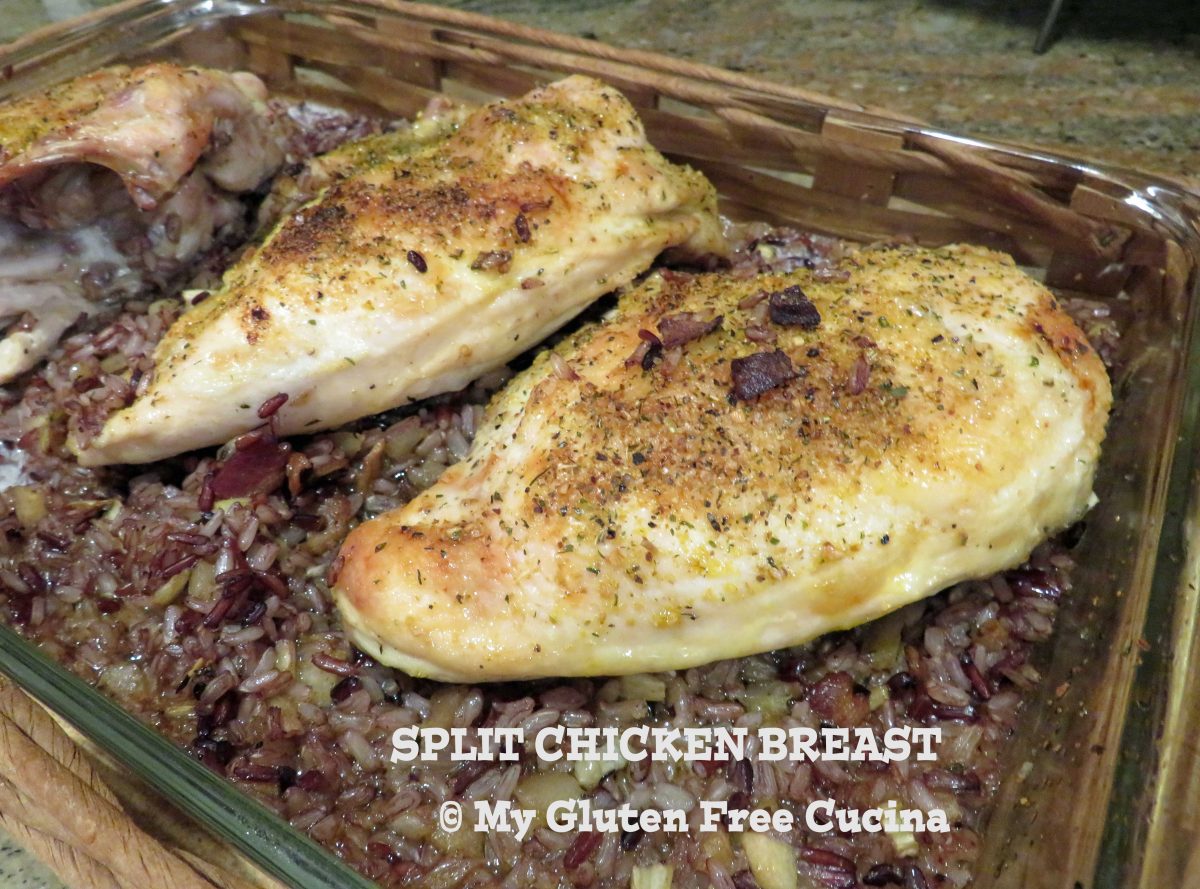
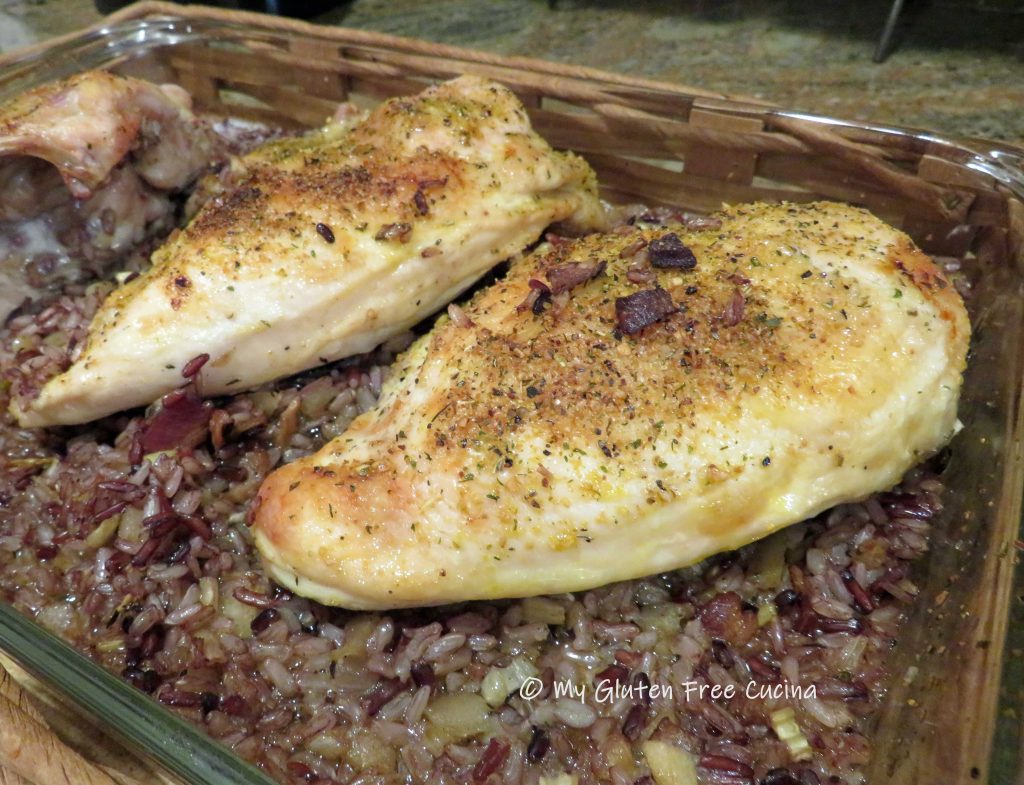
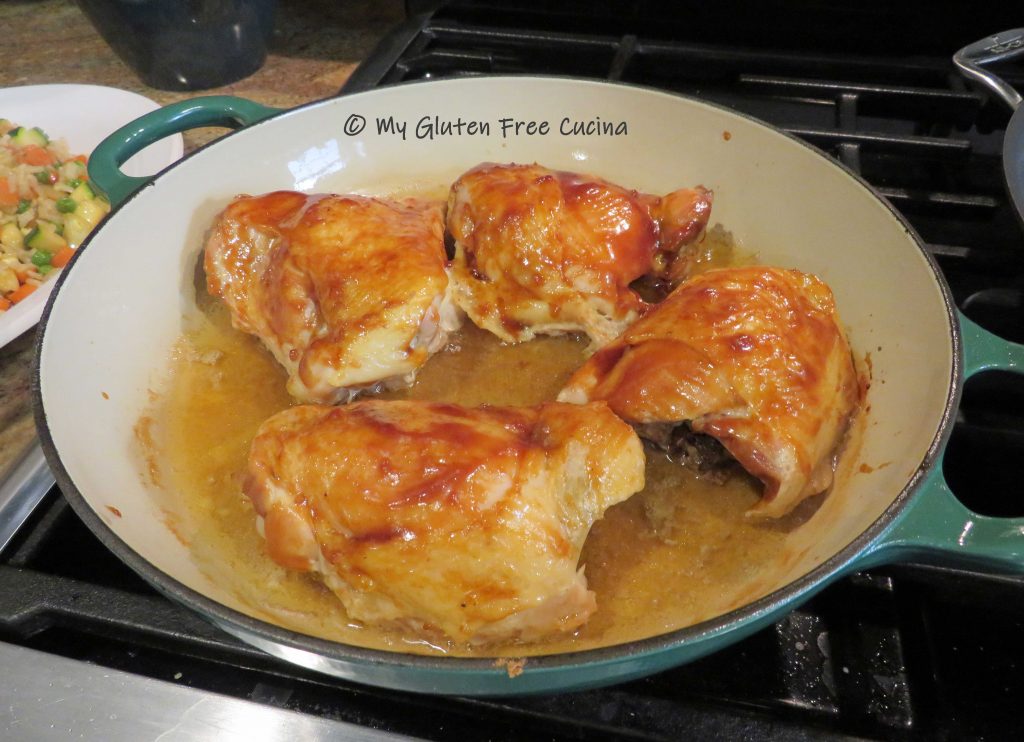
When the chicken has baked for 45 minutes, remove from the baking dish and drain any liquid. Spread the rice and stuffing mixture evenly in the bottom of the baking dish and add 1/2 cup chicken broth. Return the chicken to the baking dish and finish baking 45 minutes longer.
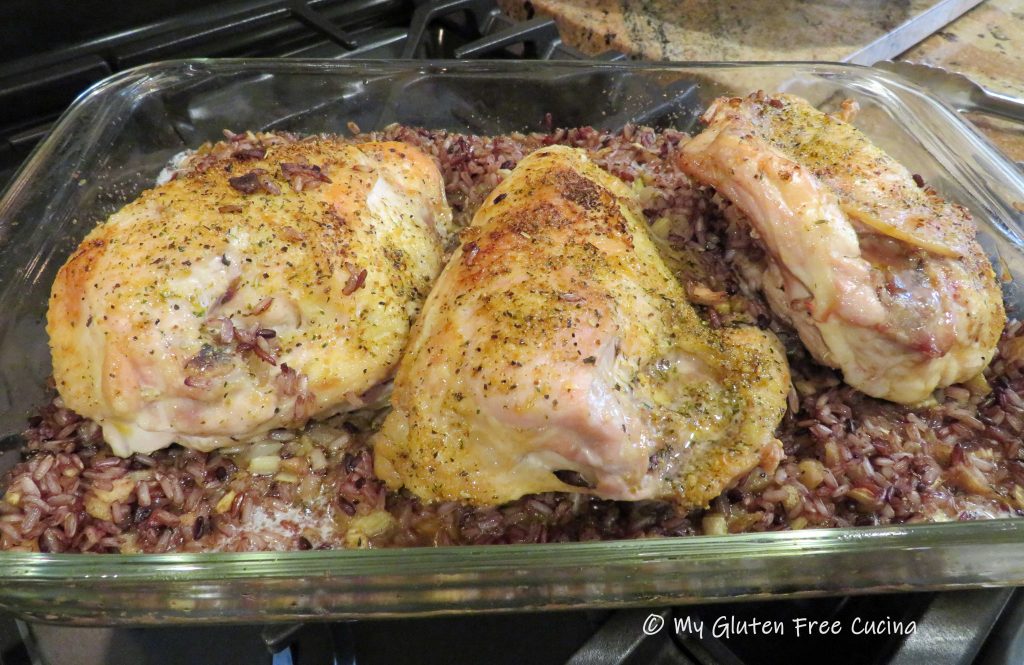
If you like a crispy skin, you can broil the chicken for a few minutes at the end of the cook time.

Notes ♪♫ I got this wonderful Italian tri-color rice at a local shop and have also purchased it on Amazon. If Amazon is out of stock, try Rice Select Royal Blend for something similar.


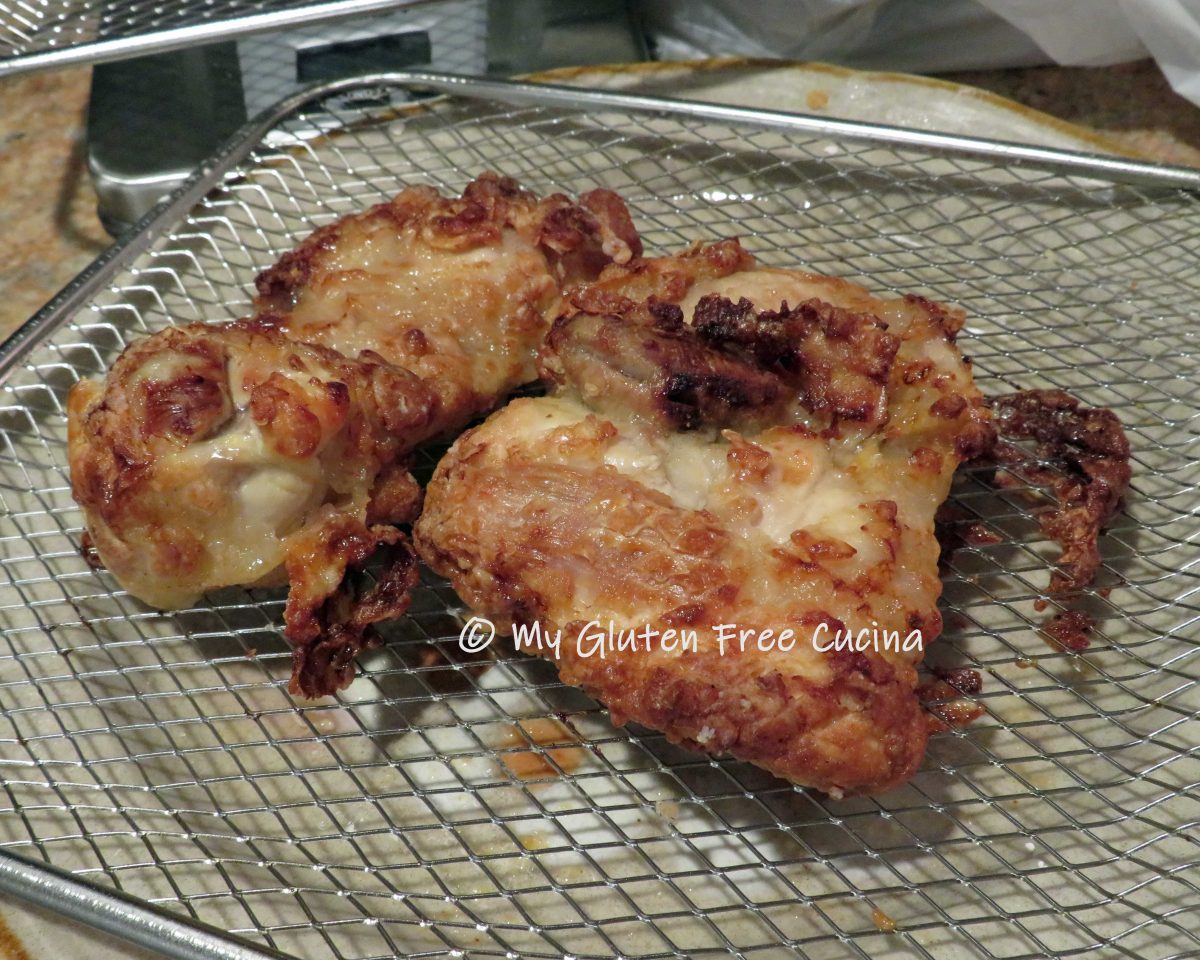
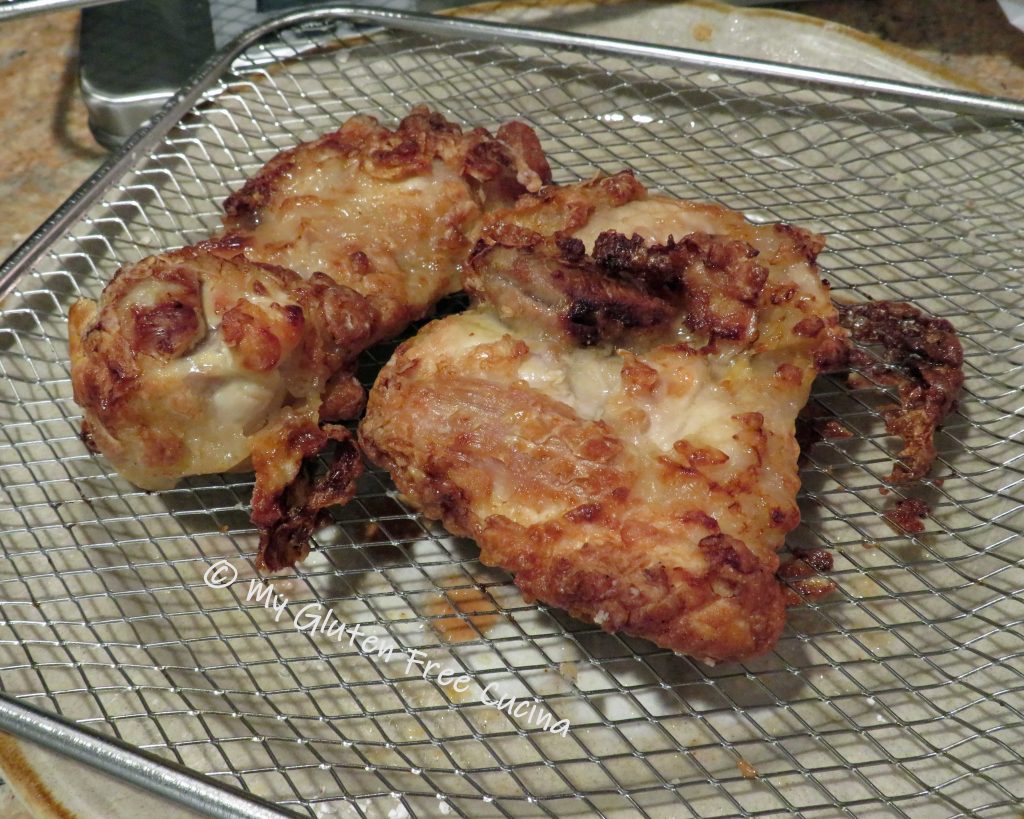


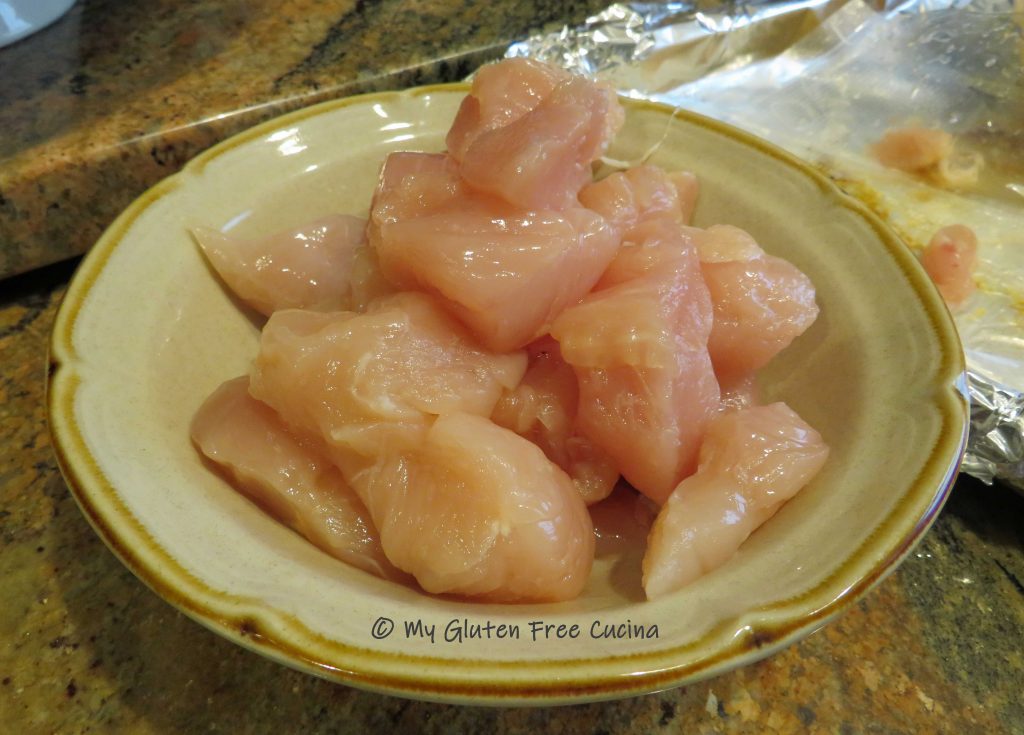
 Add the chicken pieces to the bag, and pour in the marinade.
 Tie the bag to ensure all pieces are covered in the milk mixture, and let it sit at room temperature 1 hour.


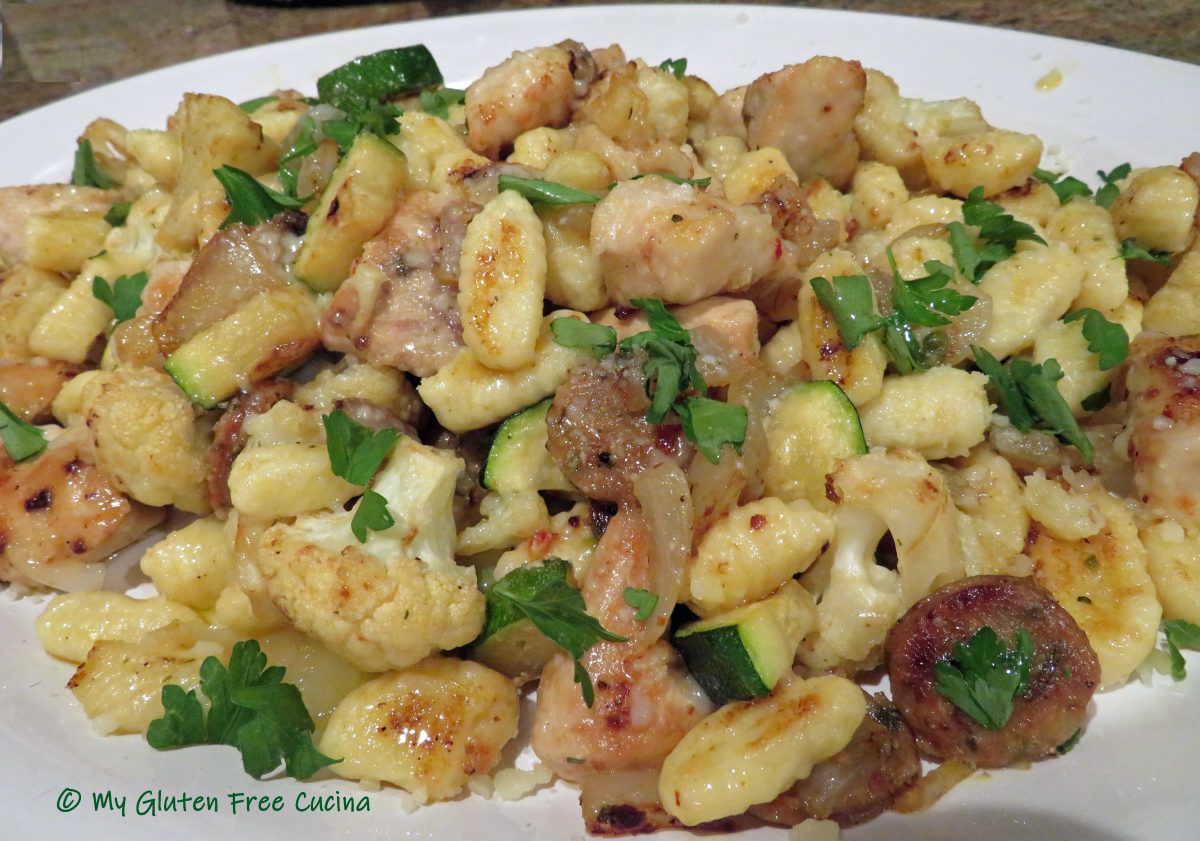


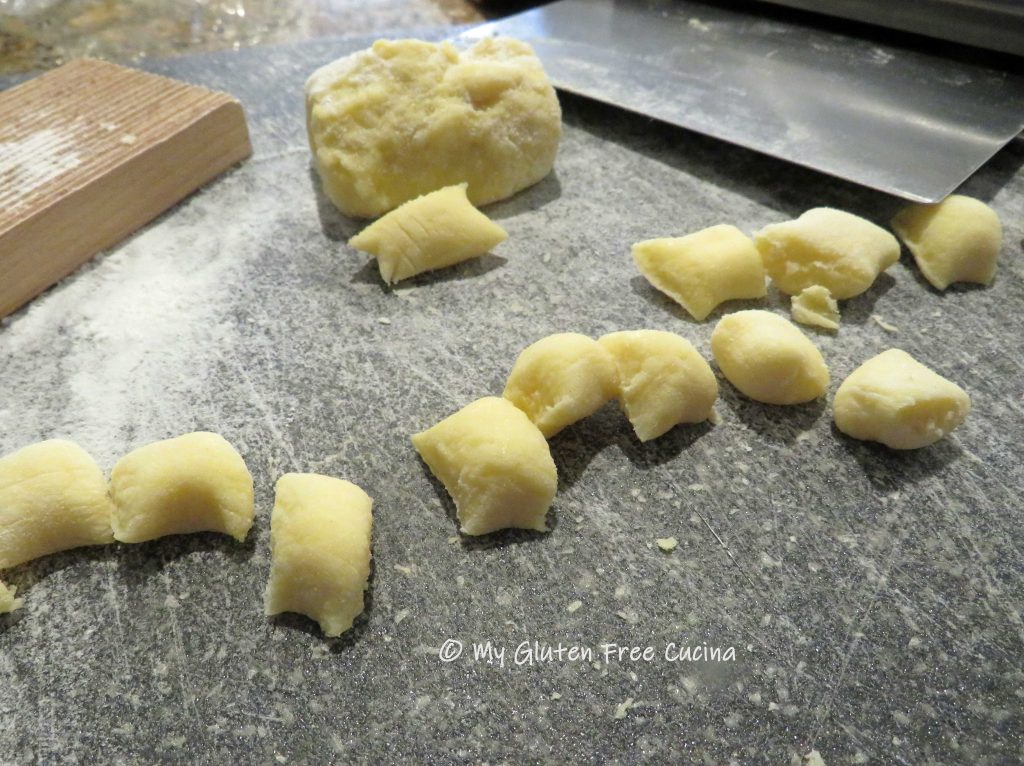
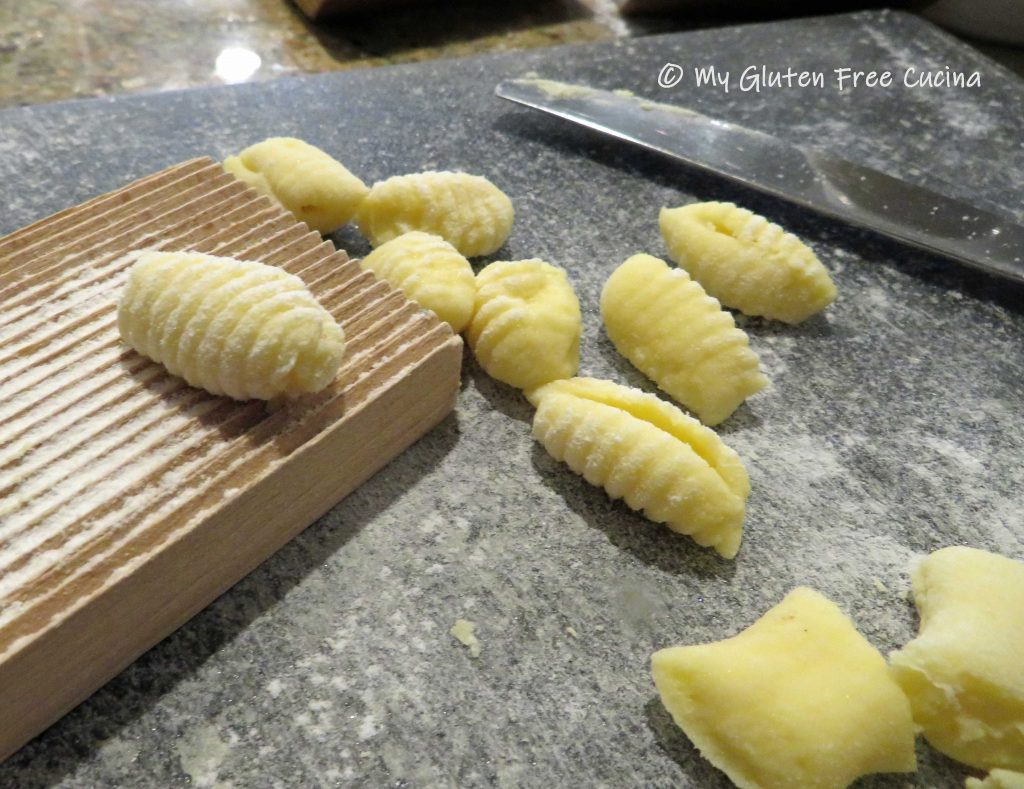 Line a baking sheet with parchment or waxed paper and flour lightly. Place the finished gnocchi on the baking sheet. If not using right away, cover with plastic wrap and refrigerate.

 Use a
Use a 


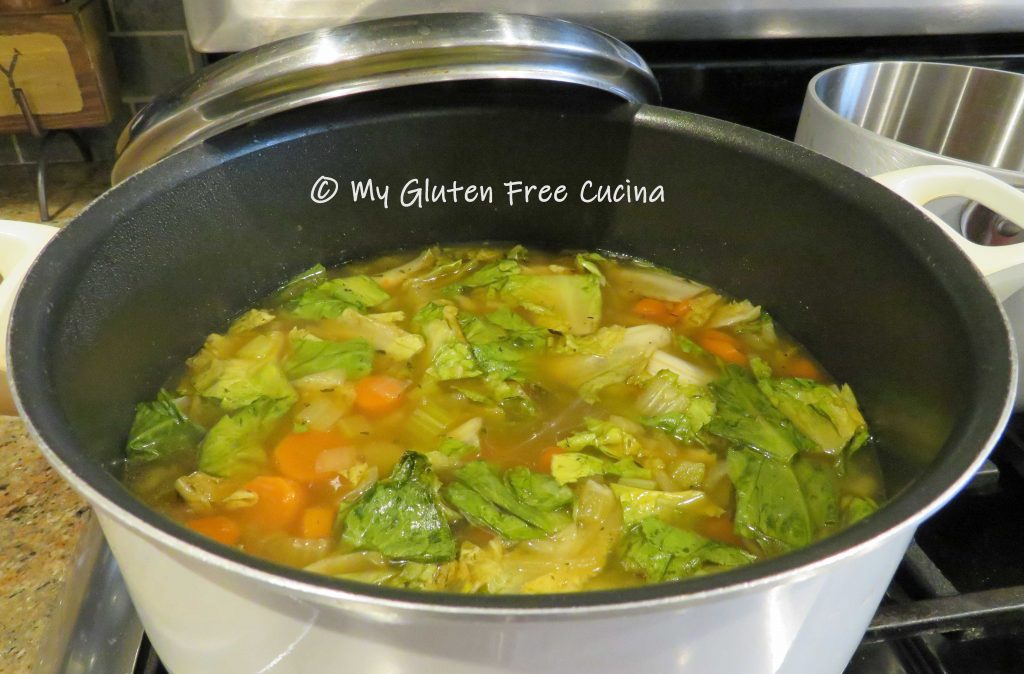
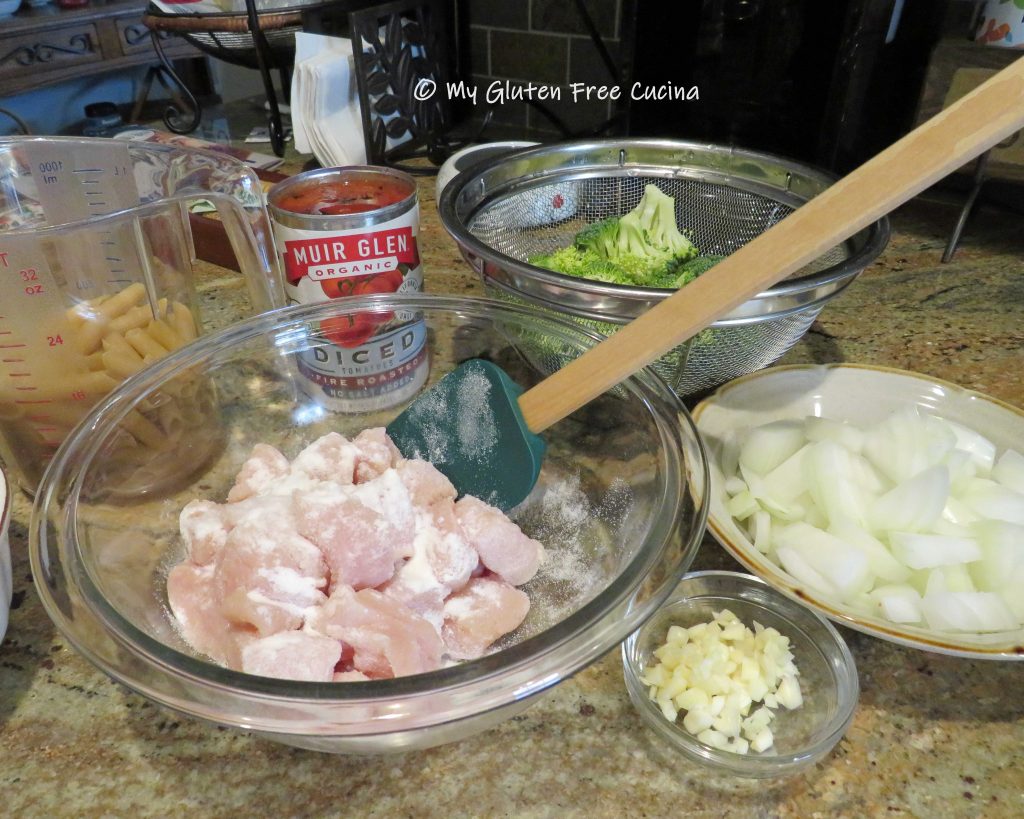
 Dice 6-8 carrots, 6-8 celery stalks, and one large onion. Try to cut the pieces to approximately the same size.
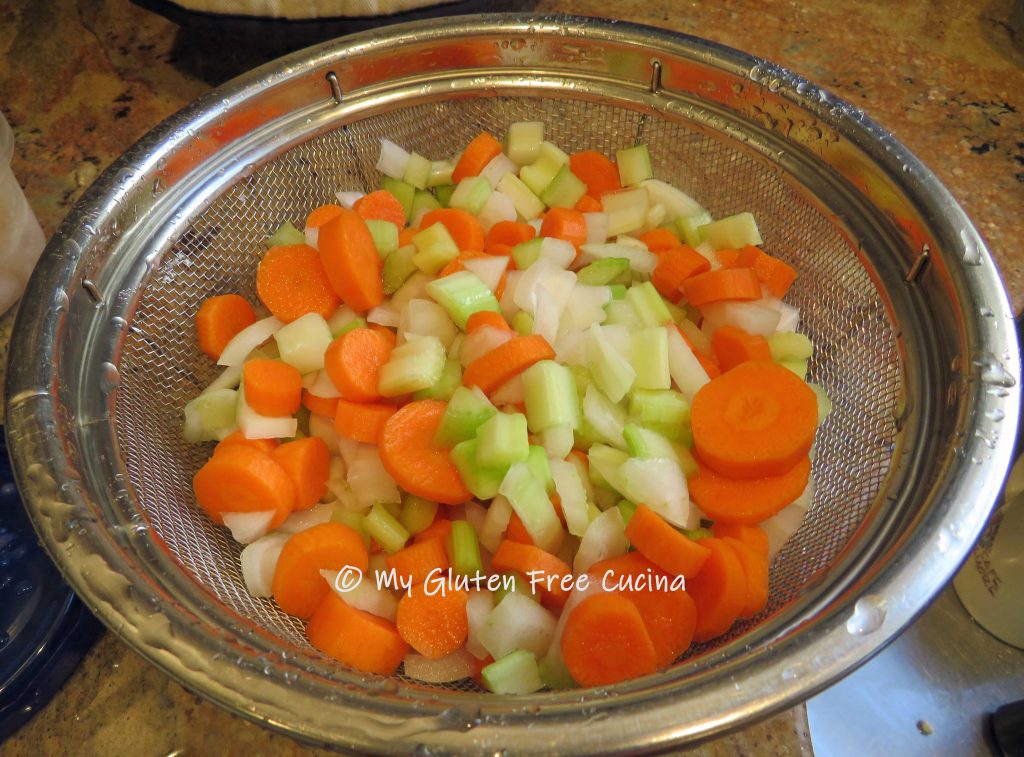 In a clean stockpot, sauté the vegetables in 1 tbsp. olive oil. Season with salt and pepper.
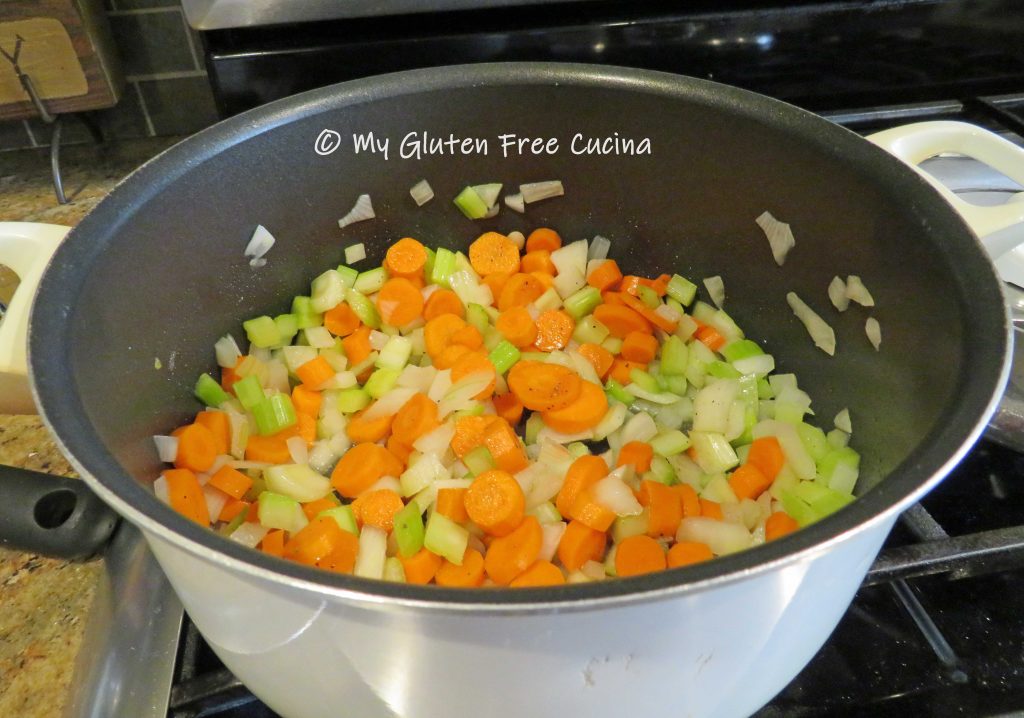

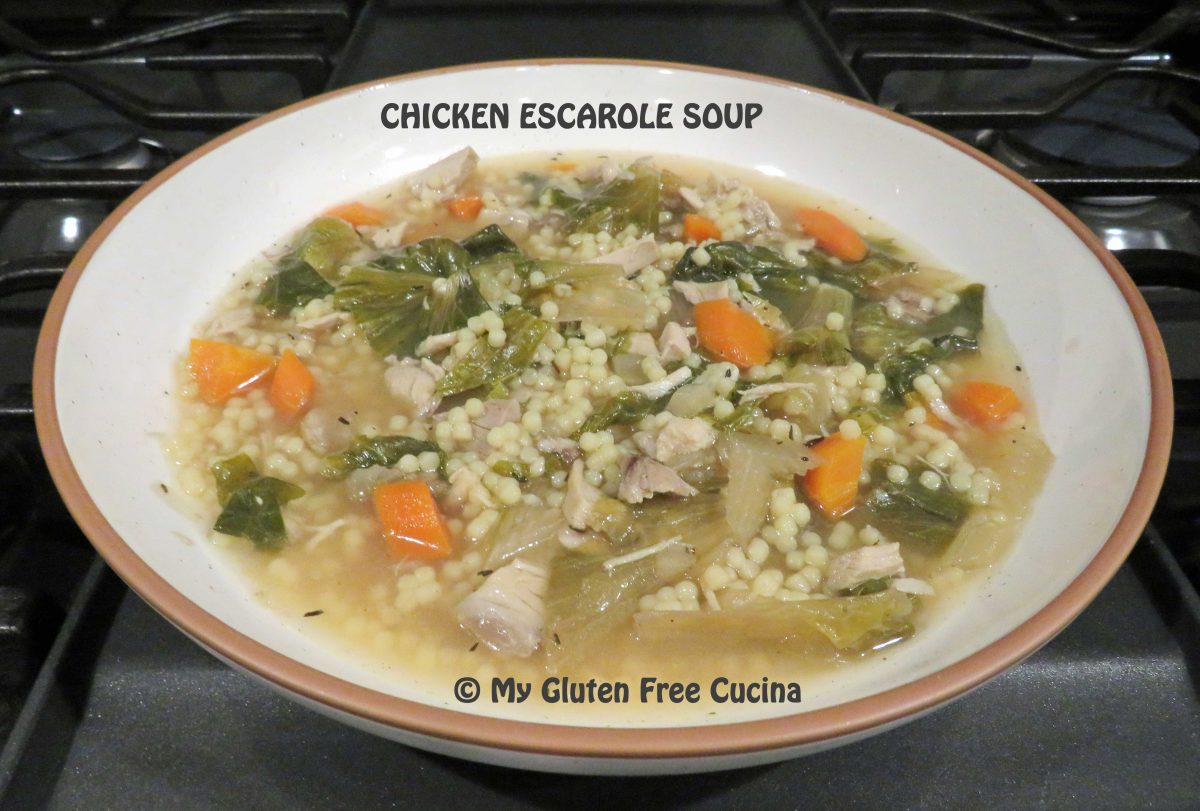
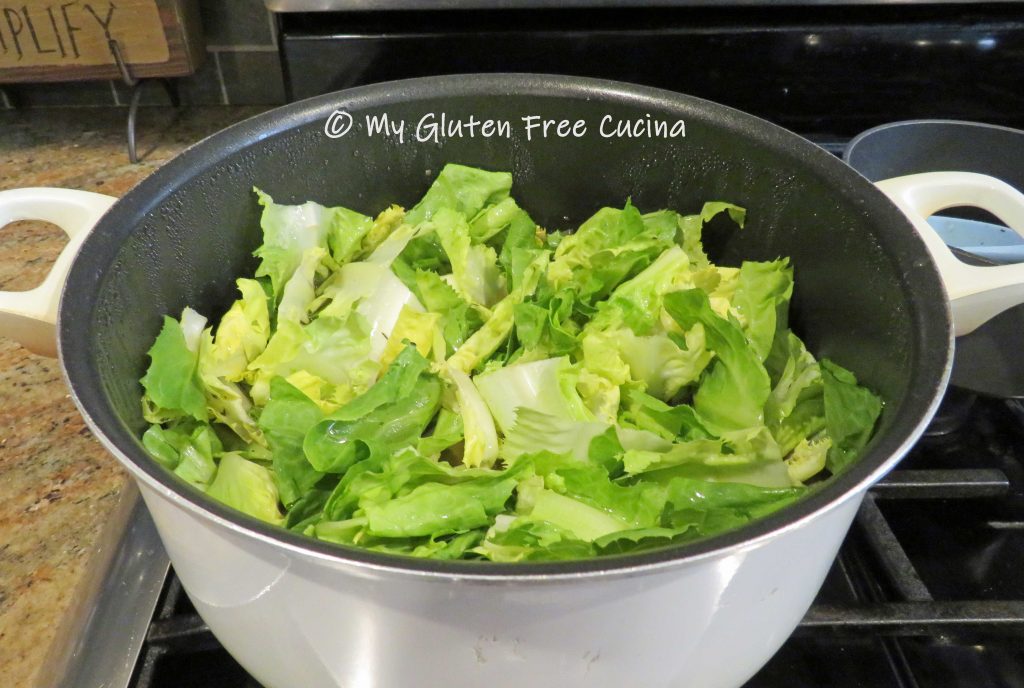
 Remove and discard the outer leaves of the escarole, then tear the leaves into large pieces and rinse thoroughly. To this day I can still hear my mother telling me to wash the escarole “leaf by leaf”.
 Escarole cooks quickly, and the residual heat is enough to wilt the leaves. Stir well, cover the pot and let it cool to room temperature. Refrigerate overnight.
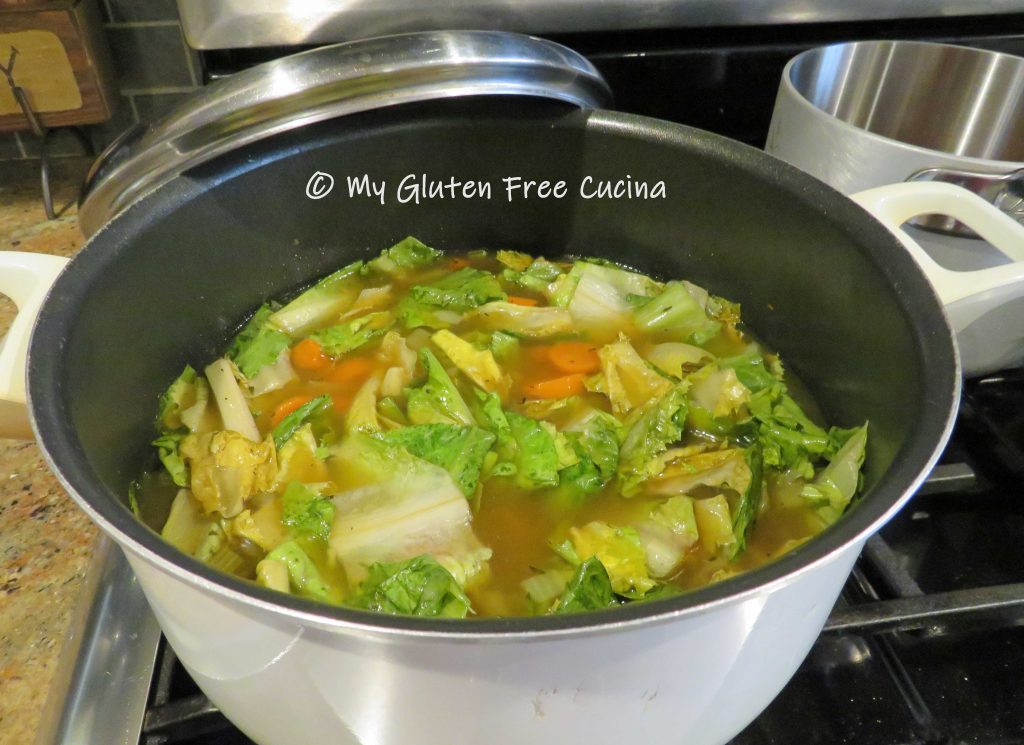


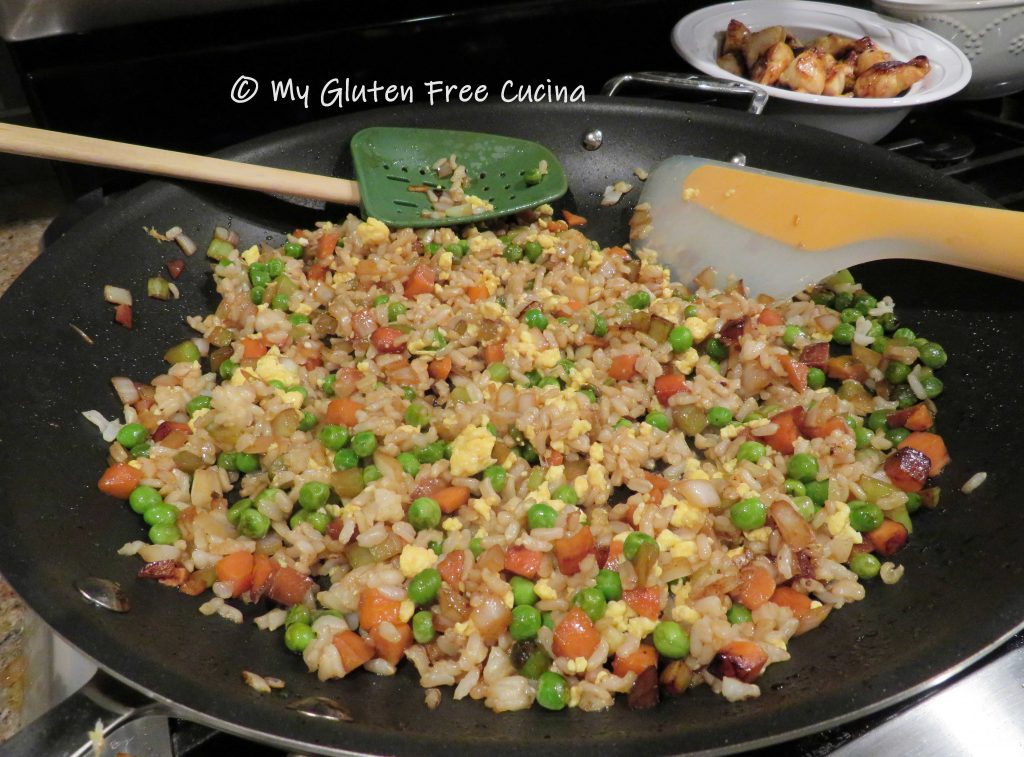
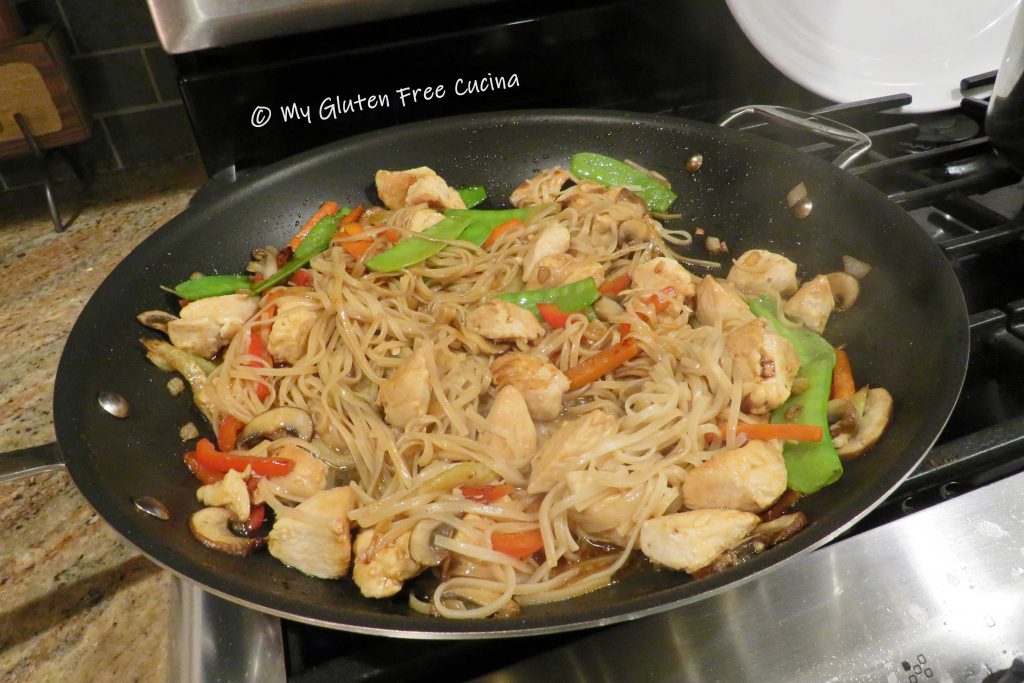
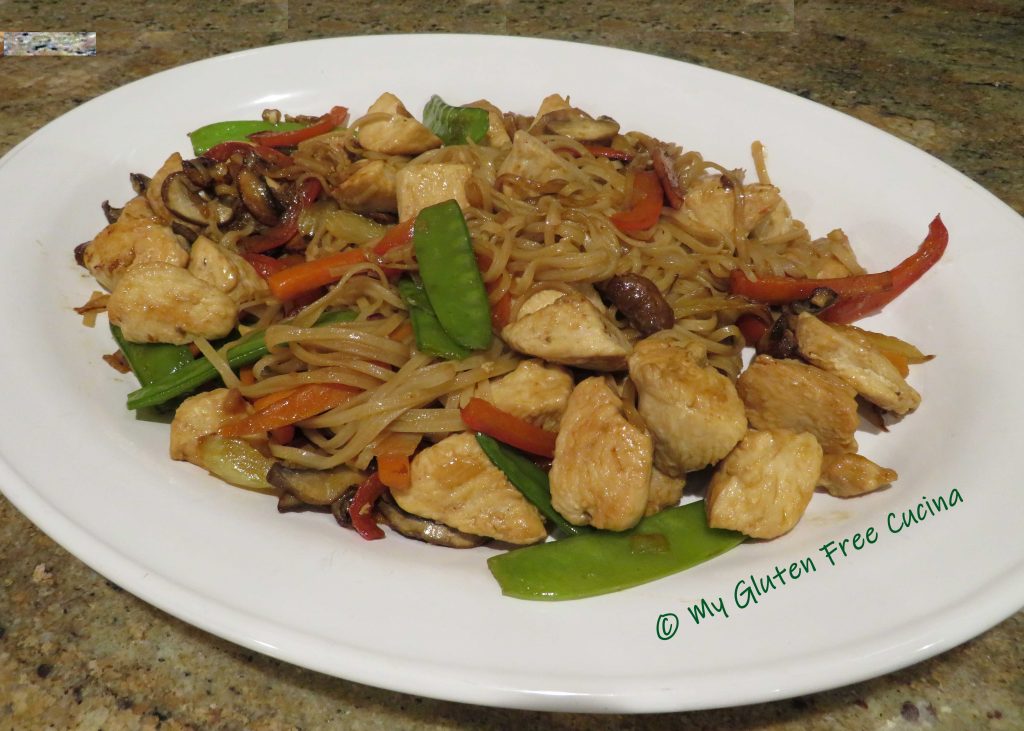
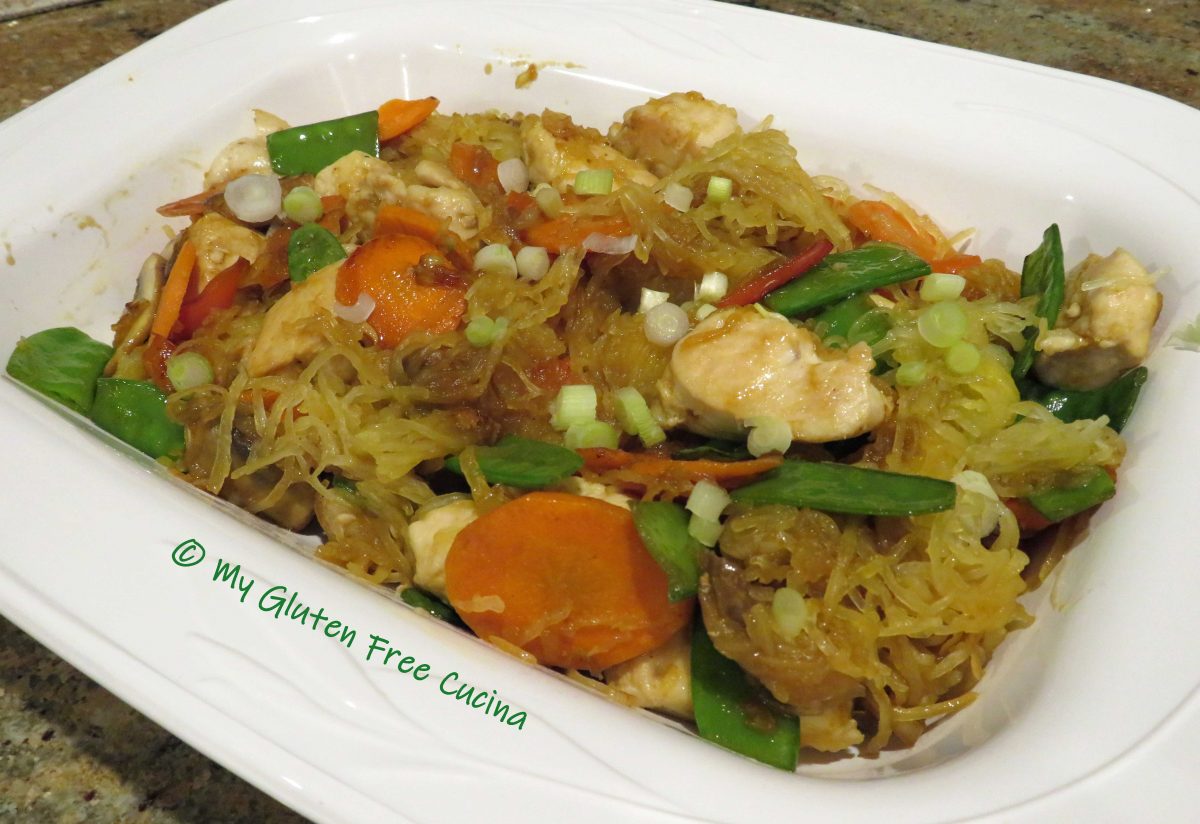
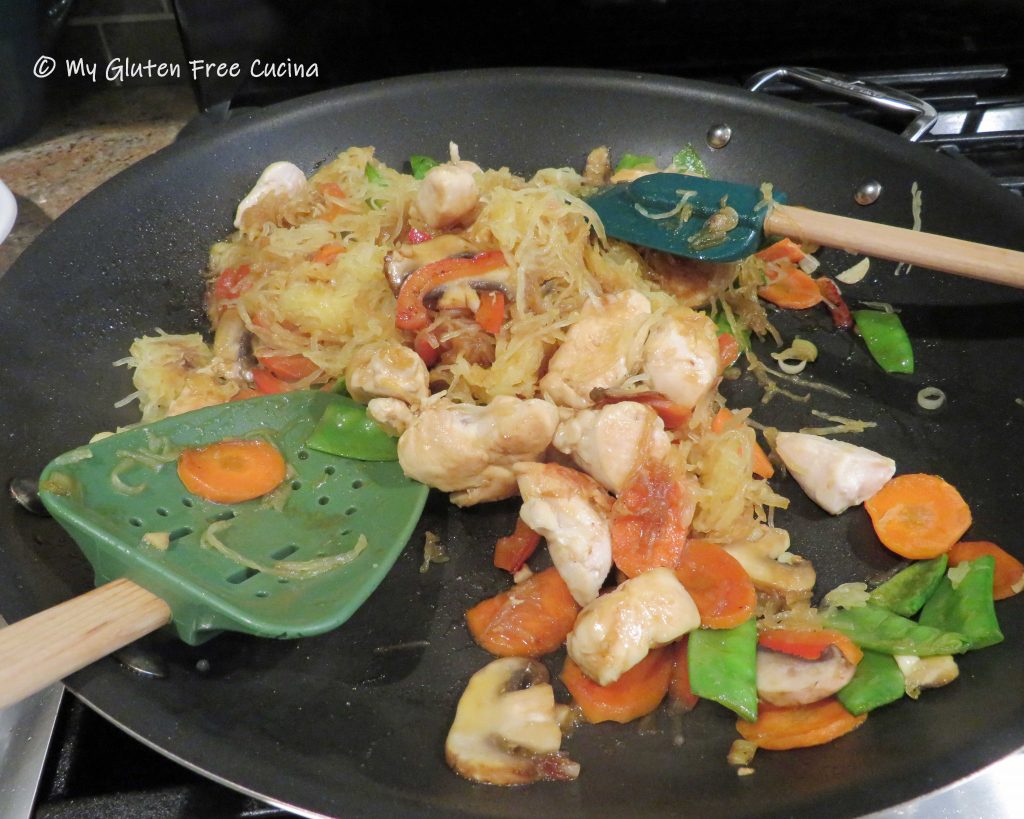
 While the chicken was cooking, I made my fried rice.
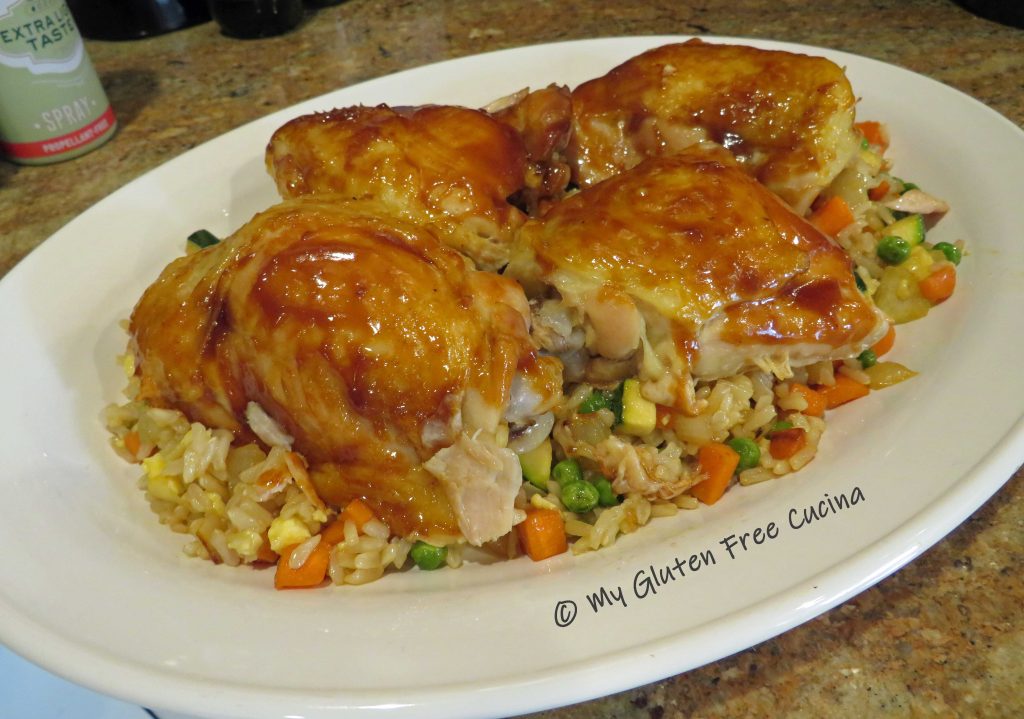

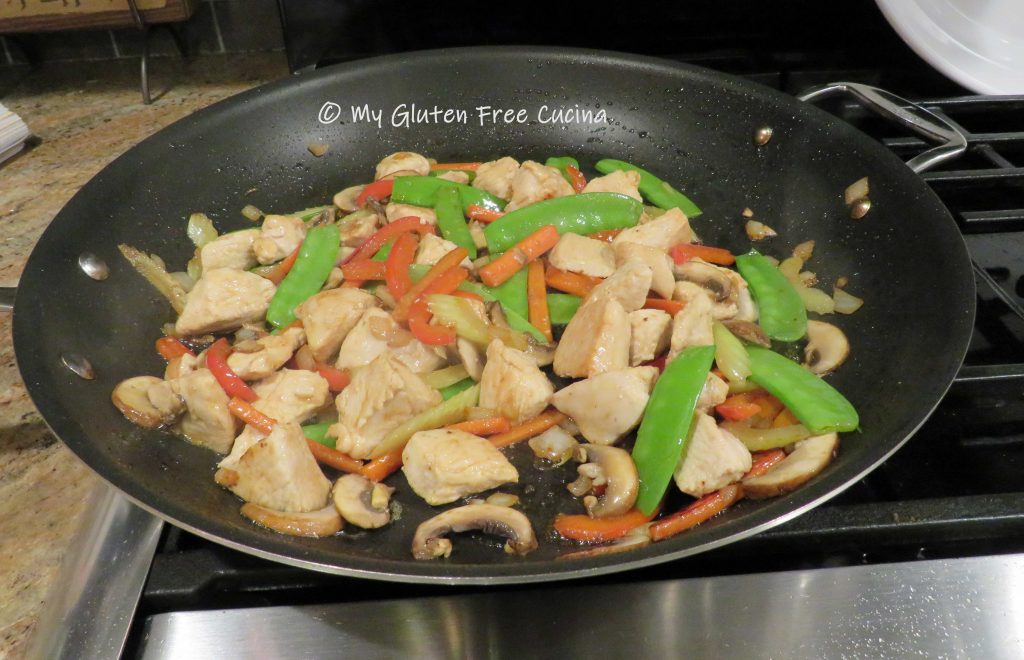
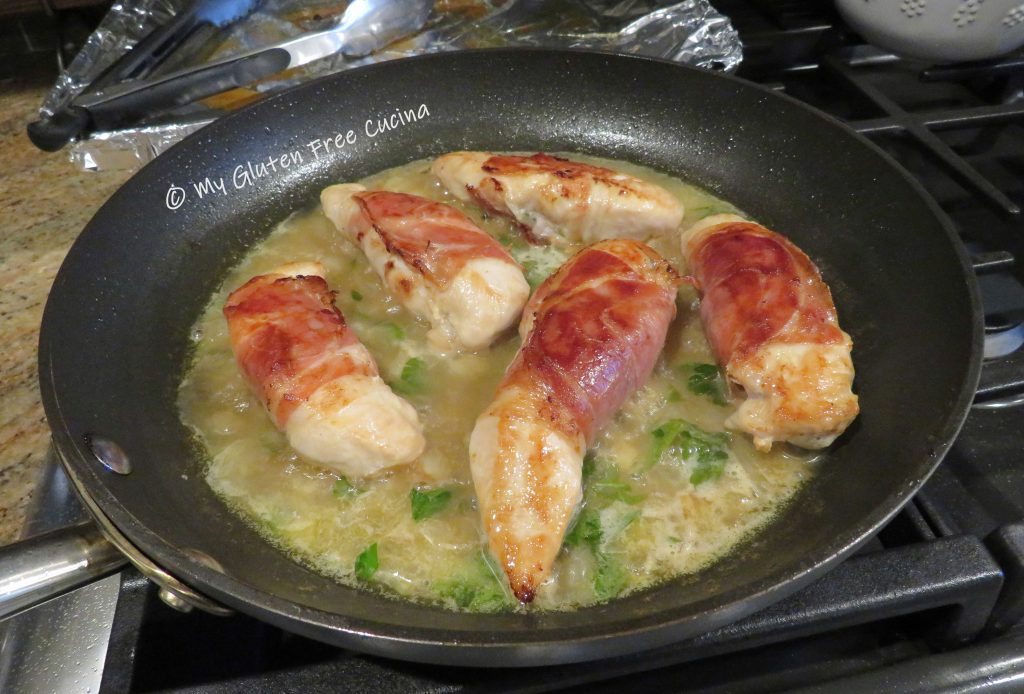
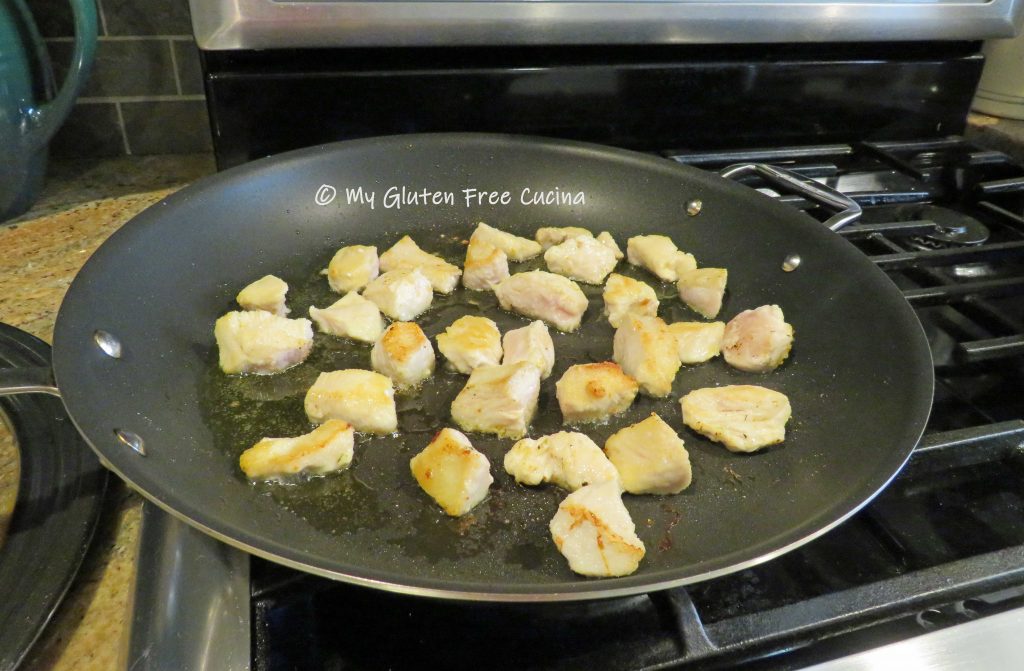 When the chicken has browned on all sides, add a splash (1/4 cup) of white wine to the pan and toss until the liquid evaporates. Remove from the pan and set aside.
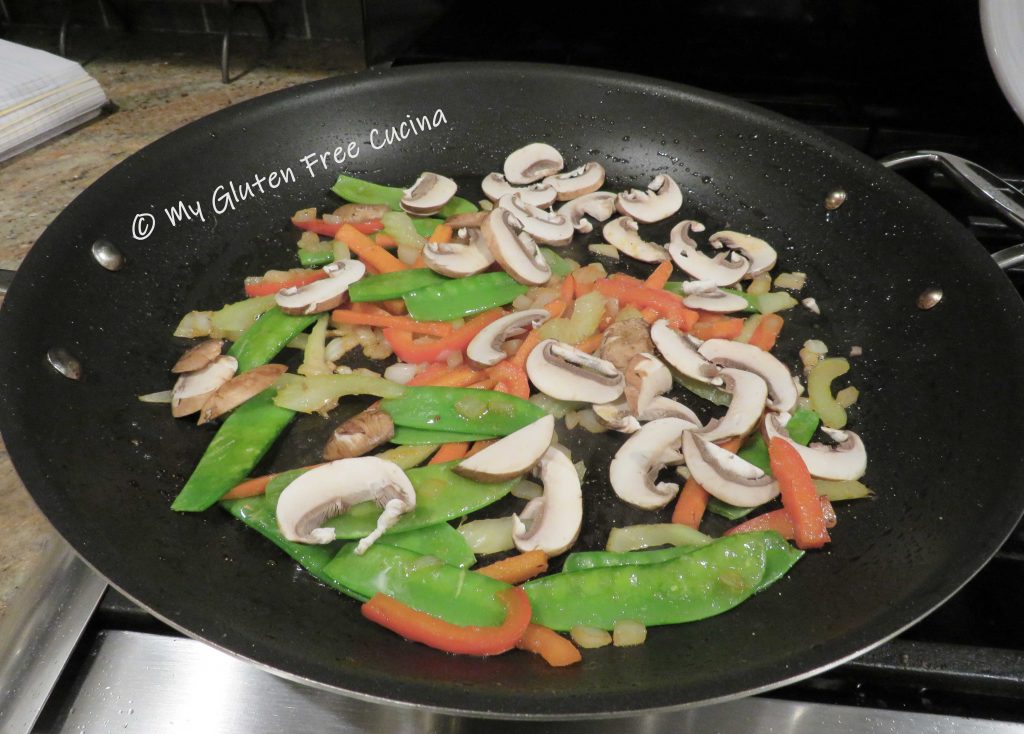
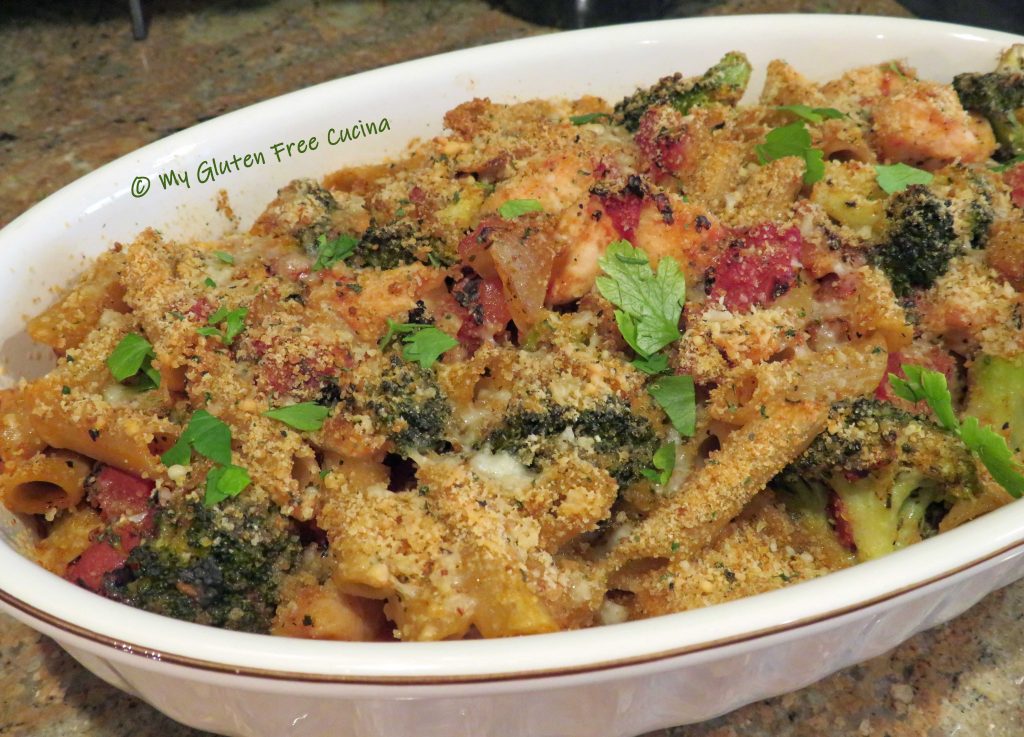
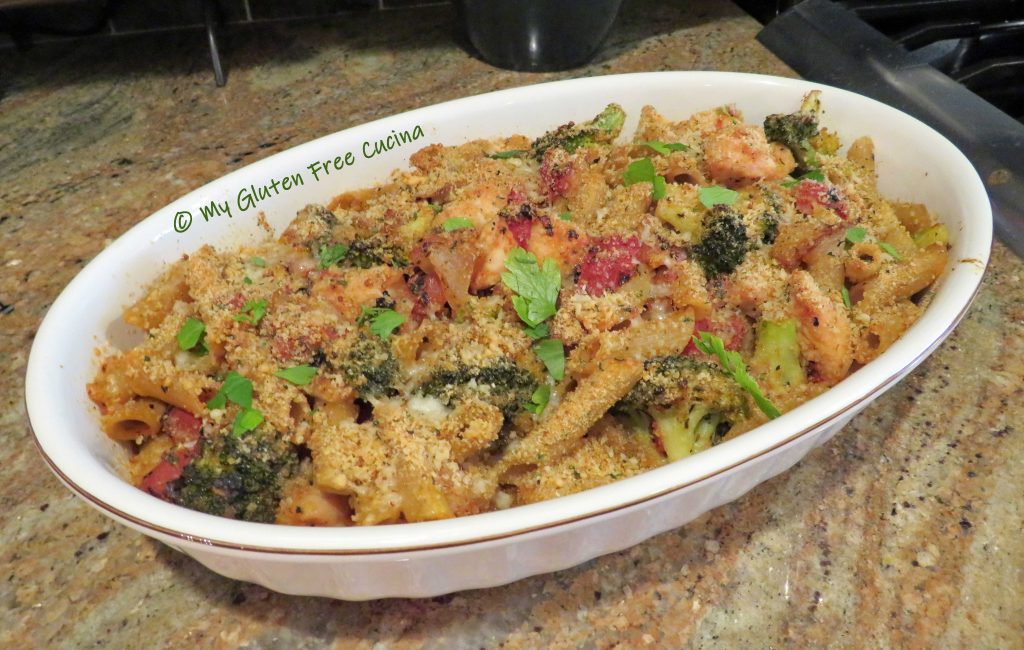
 When they have a little color, add the broccoli, garlic and diced tomatoes. Add another splash of white wine, then season with salt and pepper, basil and Italian seasoning. Cover and cook 10 minutes, until the broccoli is crisp tender.
 While the vegetables are cooking, add the pasta to the boiling water. Use your favorite (
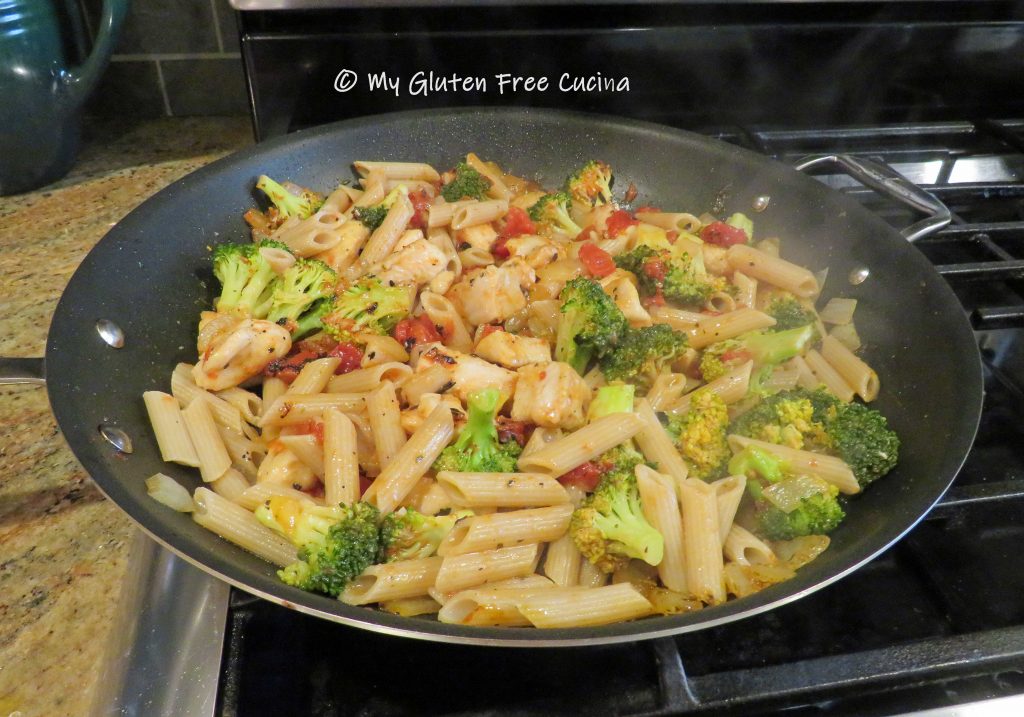


 Coat a


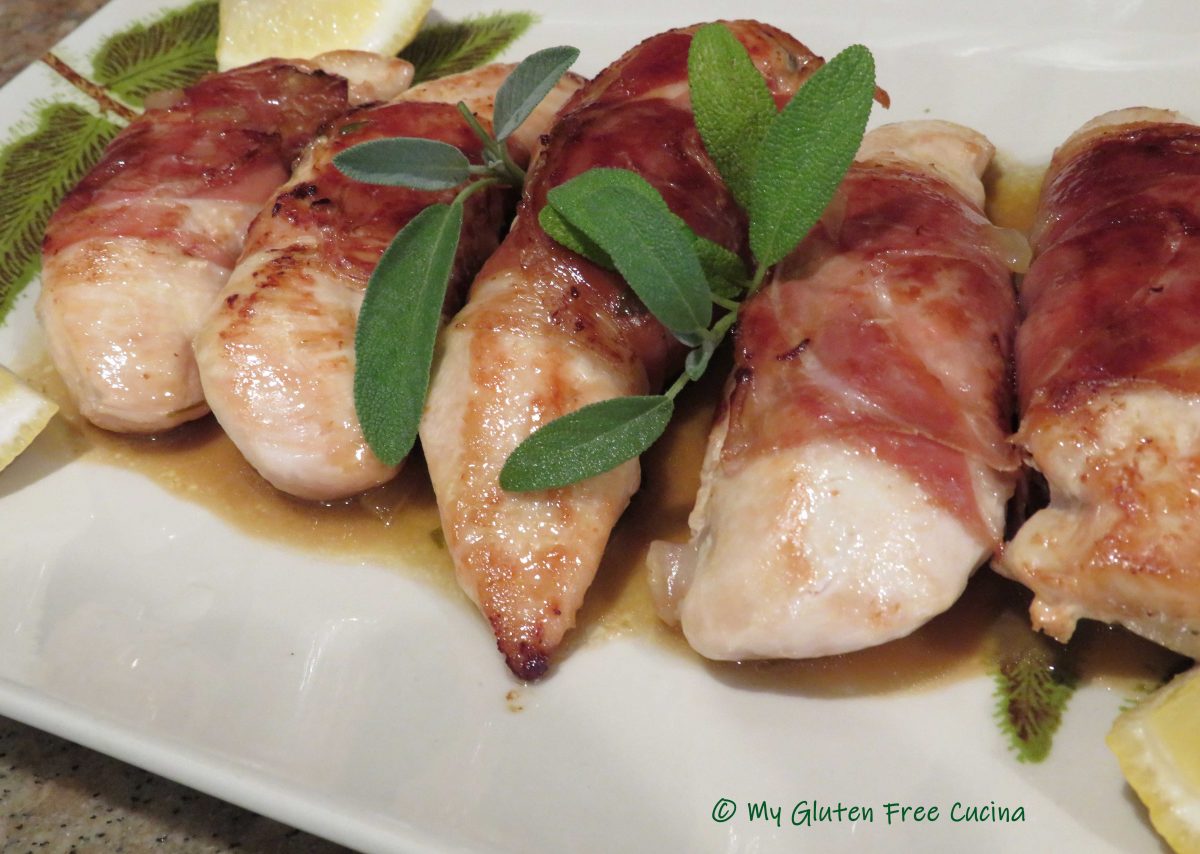
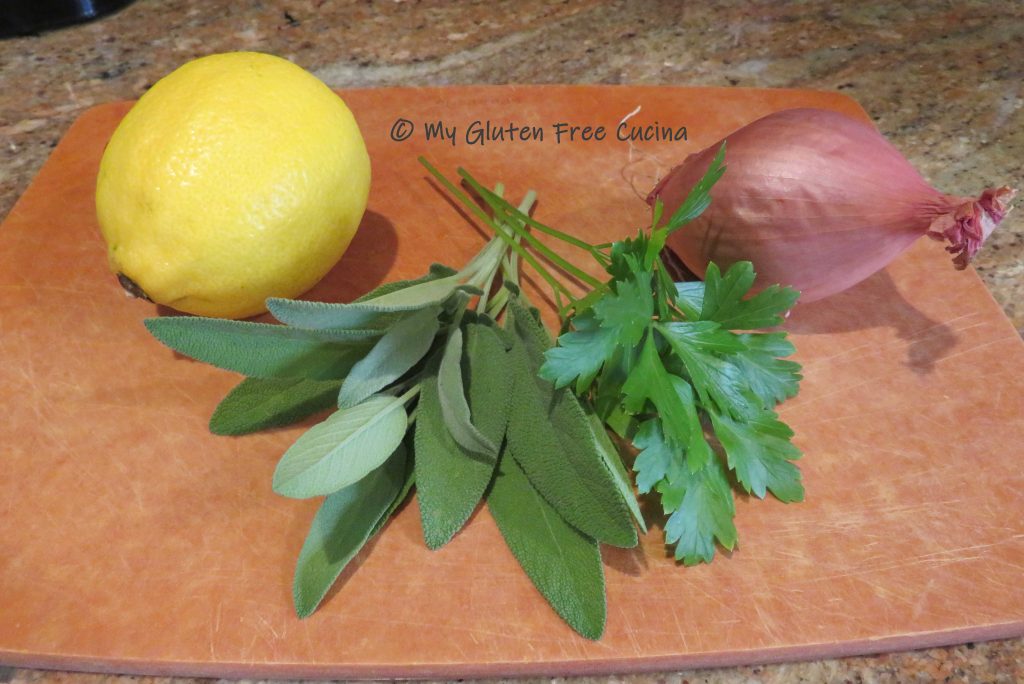
 The inspiration for this post was a beautiful pot of sage from my herb garden. I’m really proud that I grew it from seed!