
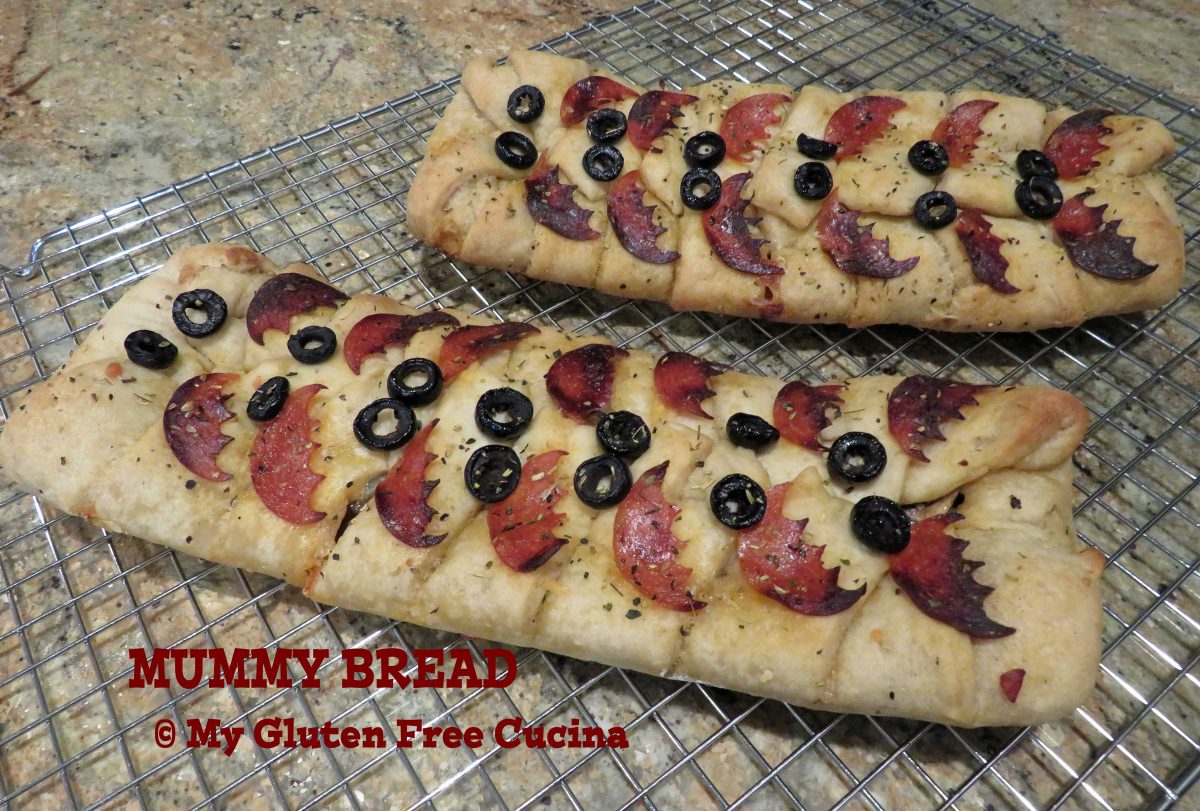
Return of the Mummy
Mummy Bread has been a Halloween tradition in our family for years. It’s sure to be a hit at a Halloween party! This Stromboli style bread is fun to make with kids, and grownups will love it too.
This post contains affiliate links.
Recipe makes 2 mummies, 6-8 servings each.
Ingredients:
For the Dough:
- 350 g. Better Batter Artisan Baker’s Blend Gluten Free Flour
- 1 tbsp. instant yeast
- 1-3/4 cups warm water
- 1 tbsp. sugar
- 1/2 tsp. salt
- 2 tbsp. olive oil
For the Mummies:
- 1 large, sweet onion, diced
- 2 tbsp. butter
- 2 tbsp. olive oil
- 12 white button mushrooms, sliced thin
- 1 tbsp. butter
- 1 tbsp. olive oil
- Italian seasoning
- Gluten free Pizza Sauce
- Provolone cheese slices
- 4 slices cold cuts (I used prosciutto)
- grated parmesan cheese
- Gluten free pepperoni slices
- sliced black olives
Preparation:
Mix together all of the dough ingredients in the bowl of a stand mixer. Cover the dough and refrigerate for 1 hour.
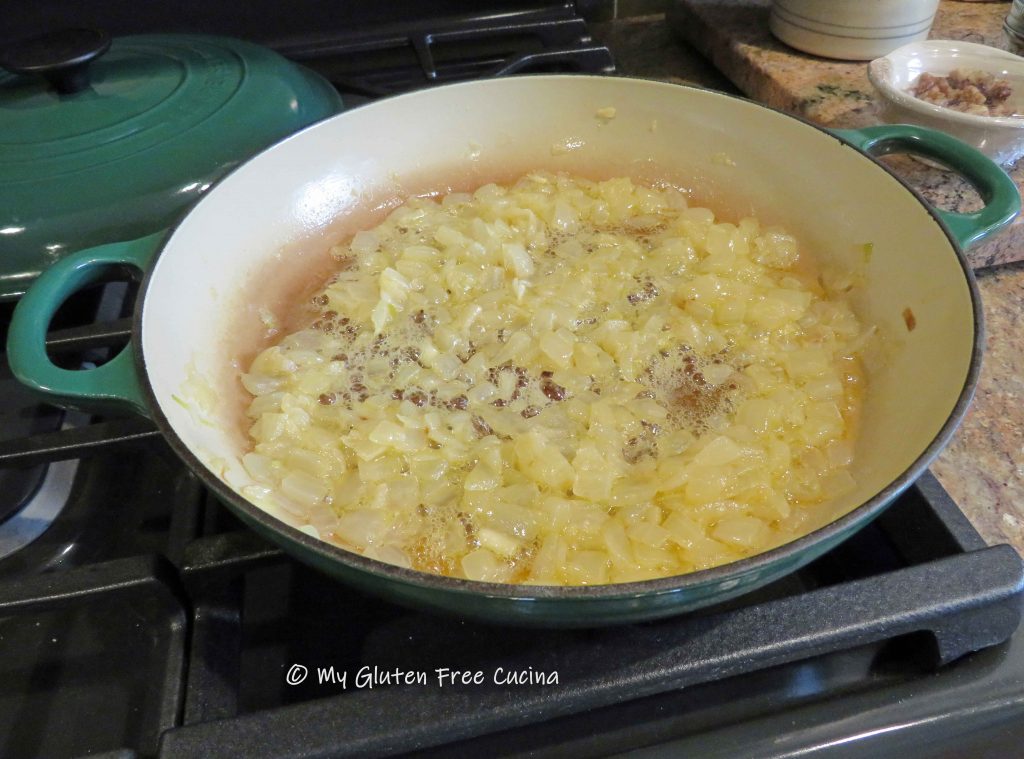
Add the onions to a heavy skillet with 2 tbsp. butter and 2 tbsp. oil. Cook covered, 20 minutes then uncover and cook for an additional 20 minutes, stirring frequently.
 Cook the mushroom slices in 1 tbsp. butter and 1 tbsp. olive oil.
 Drain the mushrooms and onions to remove as much liquid as possible.
While the dough is rising, plan your decorative toppings. I made these pepperoni and olive bats!
 After 1 hour in the fridge, turn the dough out onto floured parchment and use a bench knife to divide it in 2.

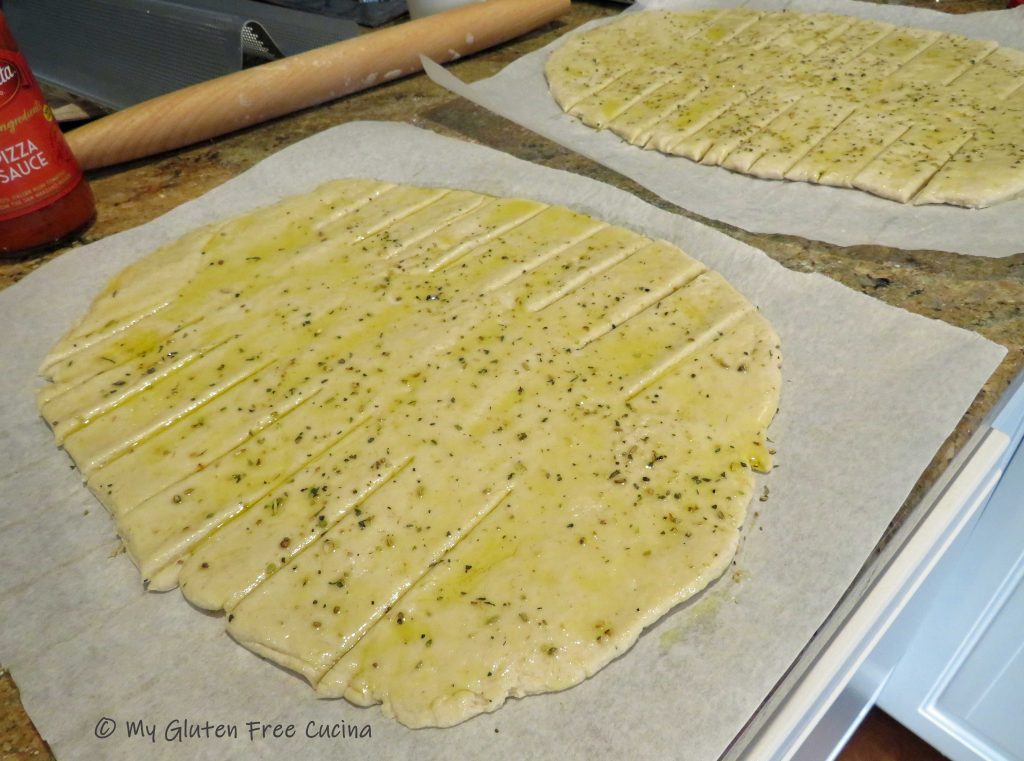
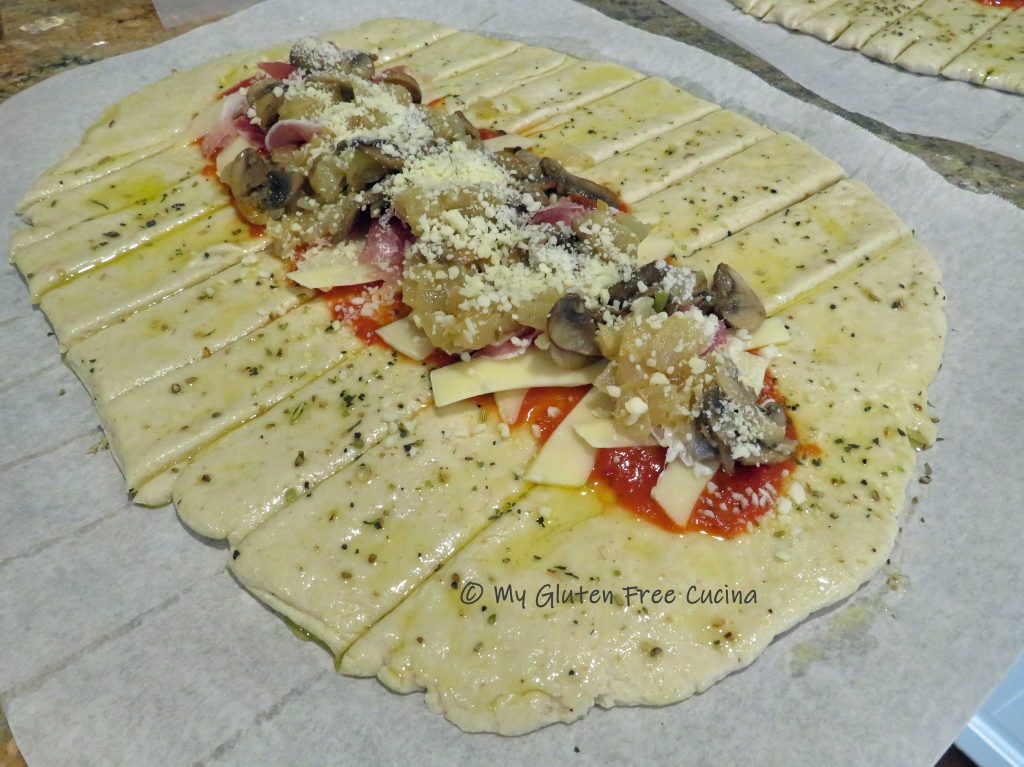
Roll out each piece into a thin rectangle, about 11 x 16″. Brush lightly with olive oil and sprinkle with seasoning. Use a bench knife to cut 1″ strips on either side of the dough.
Brush the center of each mummy with 3-4 tbsp. of pizza sauce, then layer with strips of provolone cheese.
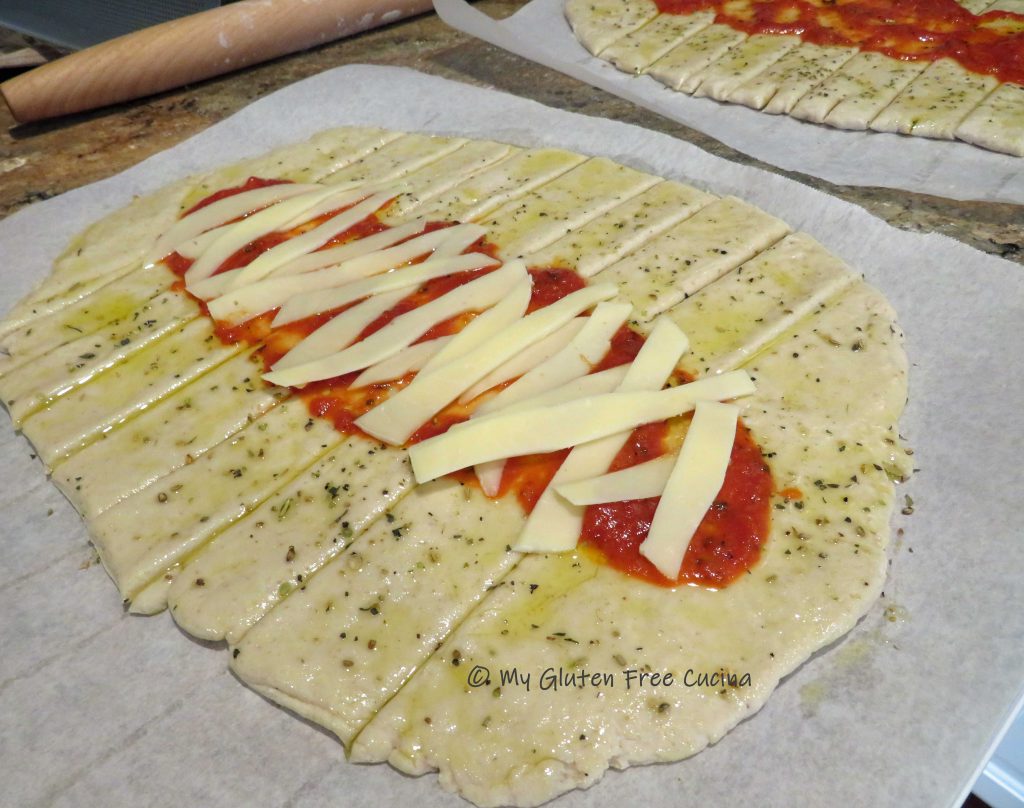
Top with torn pieces of cold cuts and divide the mushrooms and onions between the 2 mummies. Sprinkle with grated parmesan.
Hint: Don’t over fill the dough and make sure veggies are well drained so it won’t be soggy!
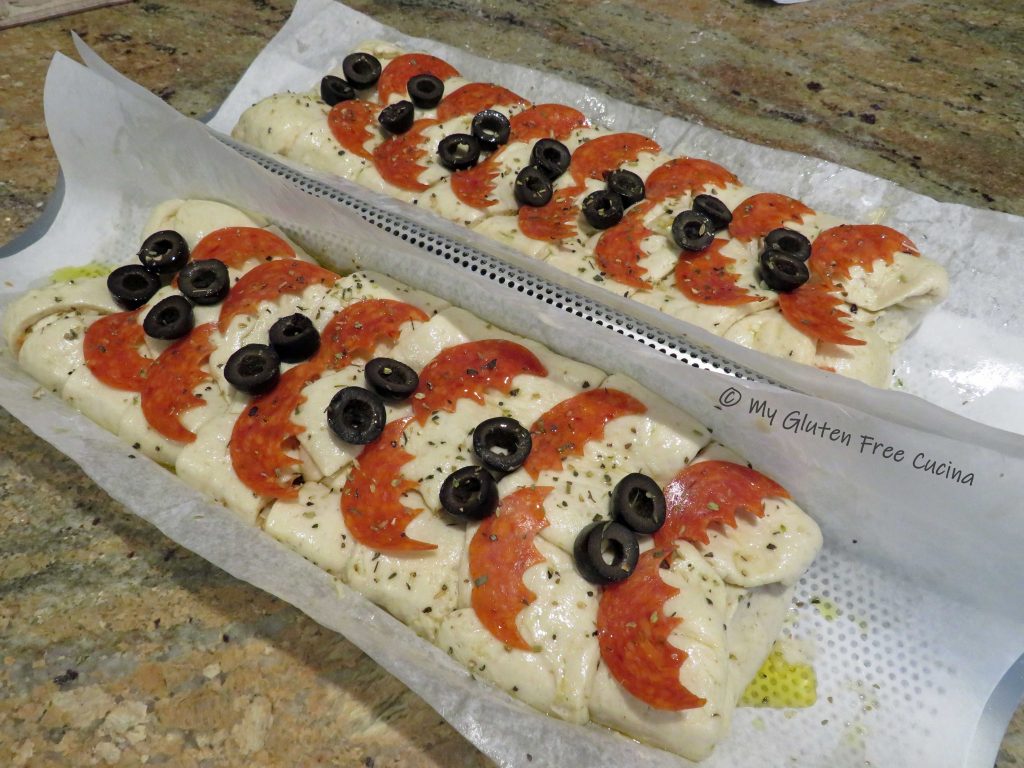
Starting at the bottom, fold the dough over the filling, then begin overlapping the strips from side to side. Continue folding to create the mummy. I transferred my mummies to a perforated loaf pan and trimmed the parchment to fit.

Preheat the oven to 500º. Decorate the mummies with olive and pepperoni slices. Be creative, you can use all sorts of veggies and herbs to dress up your mummy. Brush everything with olive oil and sprinkle with more Italian seasoning.
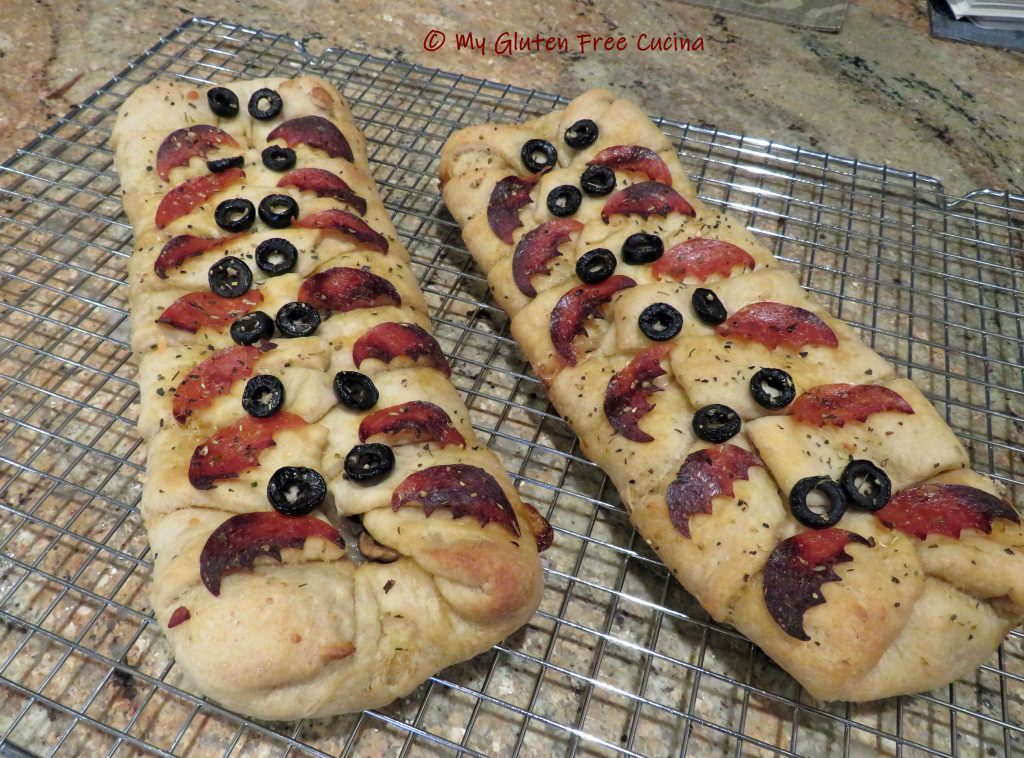
Place the loaf pan on a baking sheet for more stability and to prevent the bottom from burning. Bake for 20 minutes, and tent with foil if the mummies seem to be browning too quickly. Cool in the pan for 10 minutes before moving to a rack.

Mummy bread can be eaten warm or at room temperature. They will stay warm for several hours.
Leftovers (if you have any) can be reheated on a pizza stone.
Notes ♪♫ If you follow me, you know that I am a huge fan of Better Batter. I made my mummies with their Gluten Free Artisan Flour Blend. This flour is a game changer for making bread and pizza and I cannot recommend it enough! Be sure to use my Promo Code MGFC30 for 30% off.
Happy Halloween from My Gluten Free Cucina!


