Here is a hearty breakfast muffin that will satisfy your morning hunger. Mildly sweet and loaded with fiber (because who doesn’t need more of that?), they are reminiscent of bran muffins, with flax standing in for the wheat bran. The prunes are pureed with the applesauce and have a similar texture to raisins. (If the idea of prunes doesn’t excite you, then raisins can be substituted, but I encourage you to give this a try.)

This post contains affiliate links.
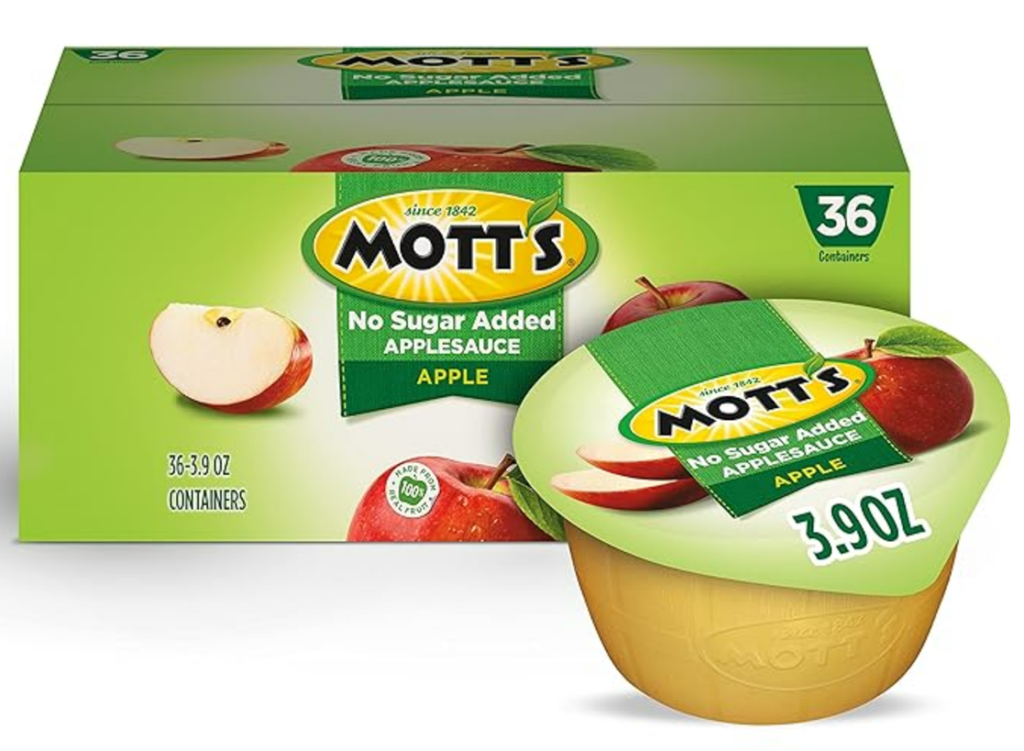
I like to buy unsweetened applesauce cups for recipes like this one, because you don’t have to open an entire jar only to have it go to waste. This recipe uses 2 of the 3.9 oz cups.
I prefer golden flaxseeds to brown. I process them in a coffee grinder when needed for a recipe. You can buy ground flaxseed meal, but if you don’t use it quickly it can go rancid. By grinding the seeds when you need them, they will always be fresh.

Ingredients:
Dry Ingredients:
- 210 g. gluten free all-purpose flour (I used Better Batter Original)
- 60 g. flaxseed meal or flax seeds processed in a coffee grinder
- 1/2 tsp. salt
- 1 tsp. baking powder
- 1 tsp. baking soda
 Wet Ingredients:
- 175 g. pitted prunes (about 1 cup)
- 222 g. unsweetened applesauce (7.8 oz. or 2- 3.9 oz cups)
- 1/4 cup honey
- 1/2 cup brown sugar
- 1 egg
- 1 stick butter
- 1/2 cup milk (I used 2%)
 Preparation:
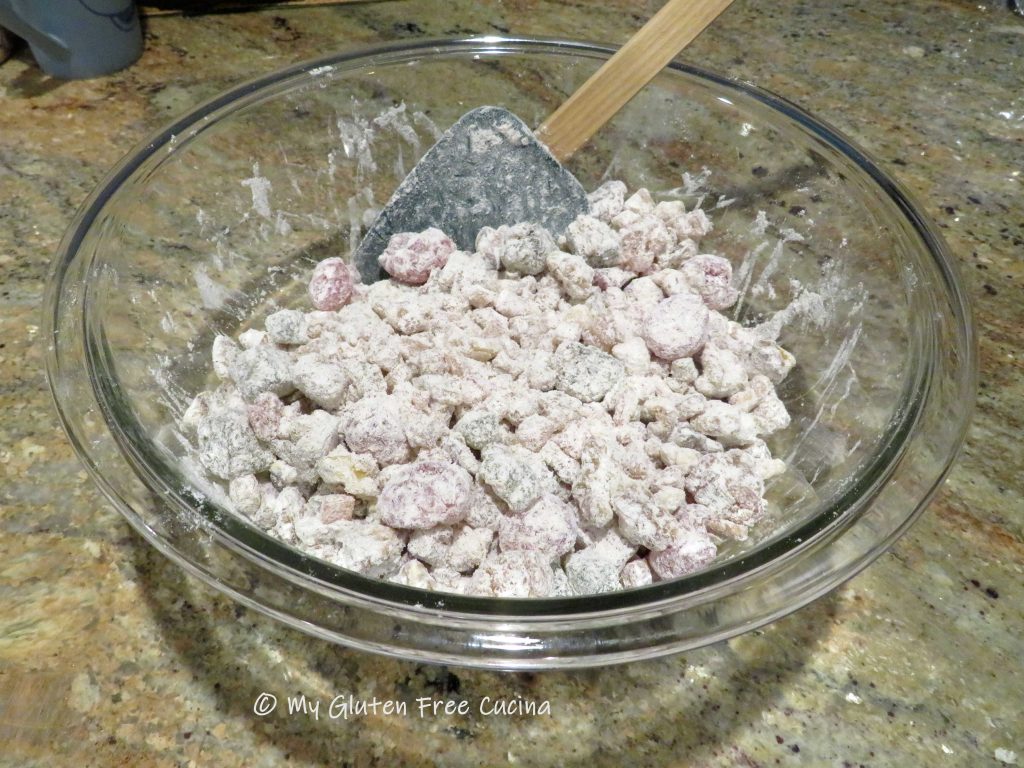
Combine the dry ingredients in a bowl and whisk well.
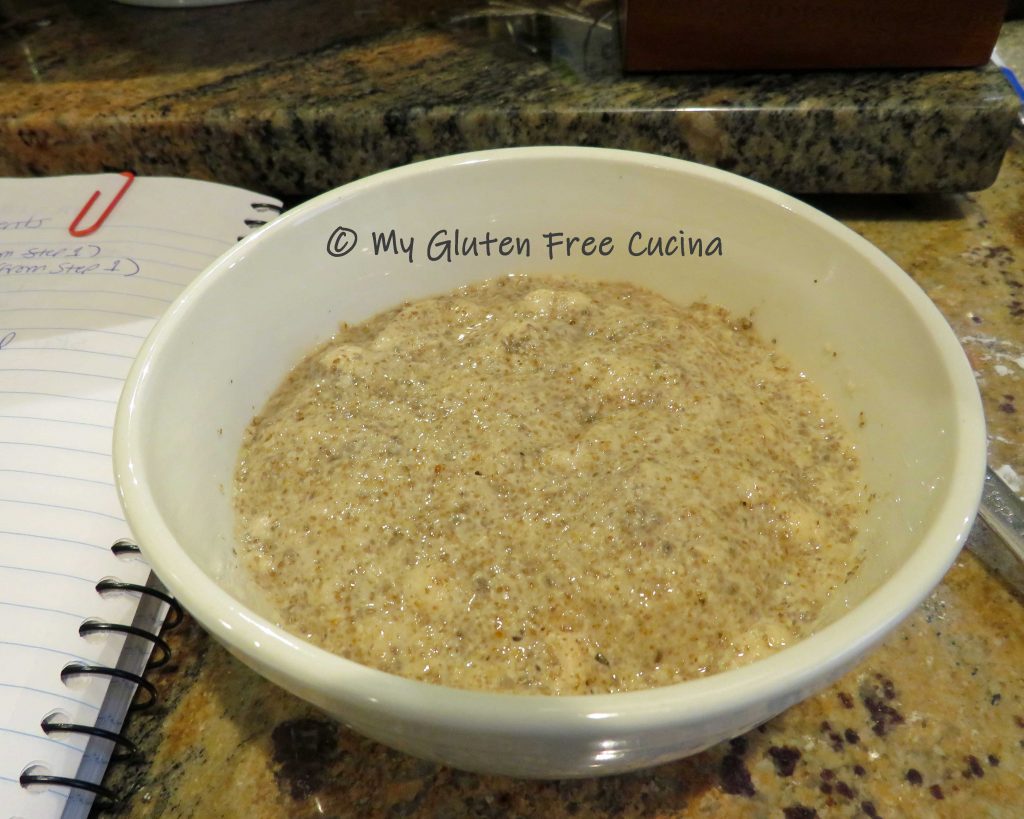
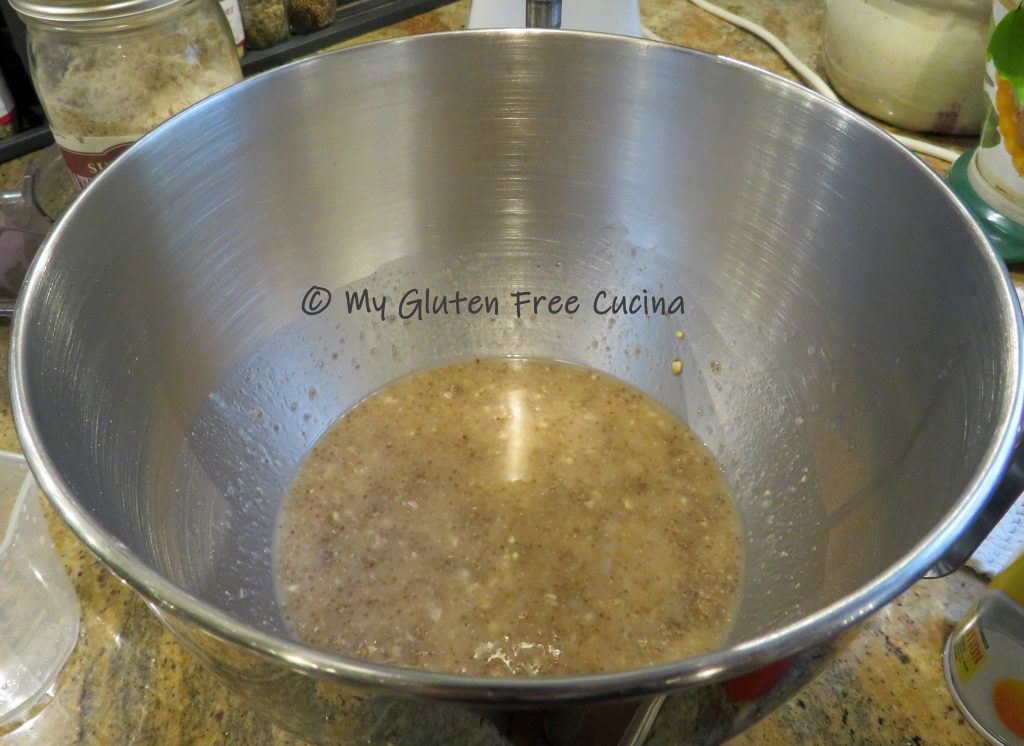
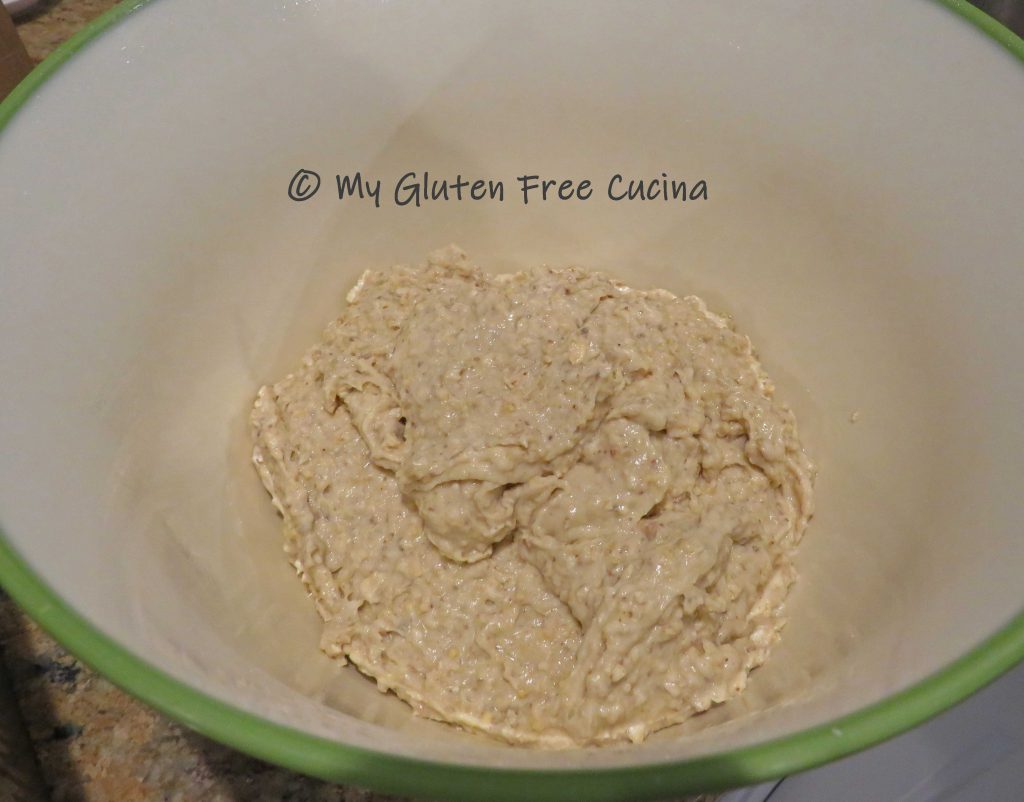
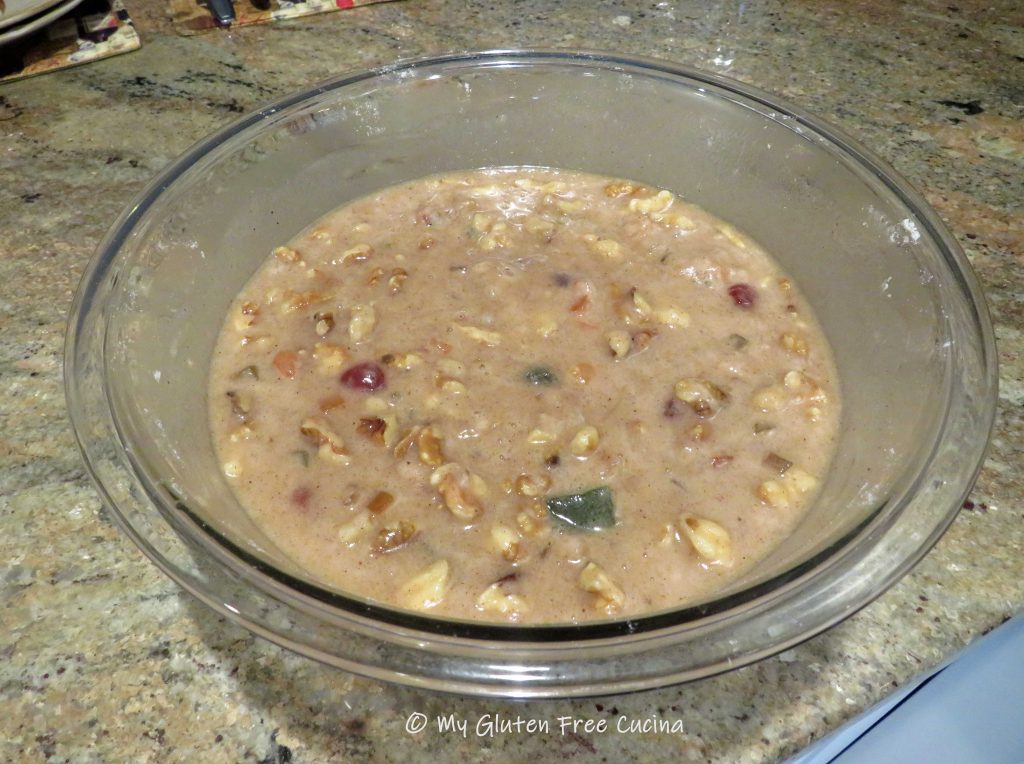
Puree the applesauce and prunes in an electric chopper or food processor. Add to a separate bowl with the remaining wet ingredients and whisk to blend.
 Preheat the oven to 400º. Add the dry ingredients to the wet and use a batter whisk to combine. Scrape the sides of the bowl with a spatula to be sure all of the dry ingredients have all been incorporated.
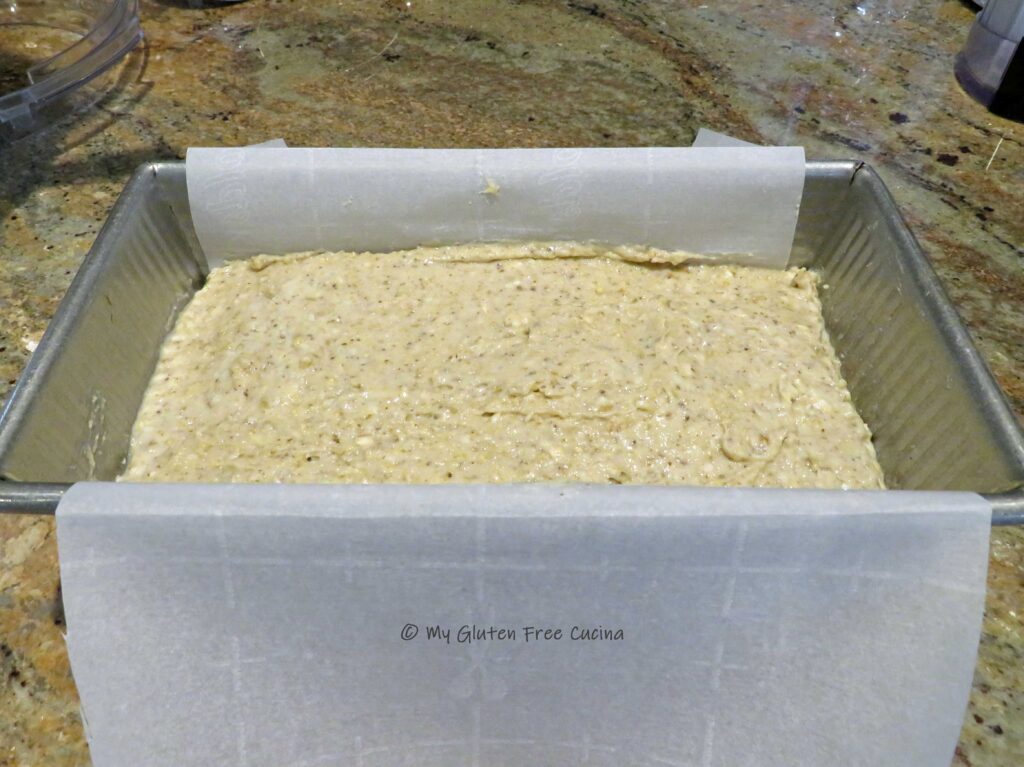
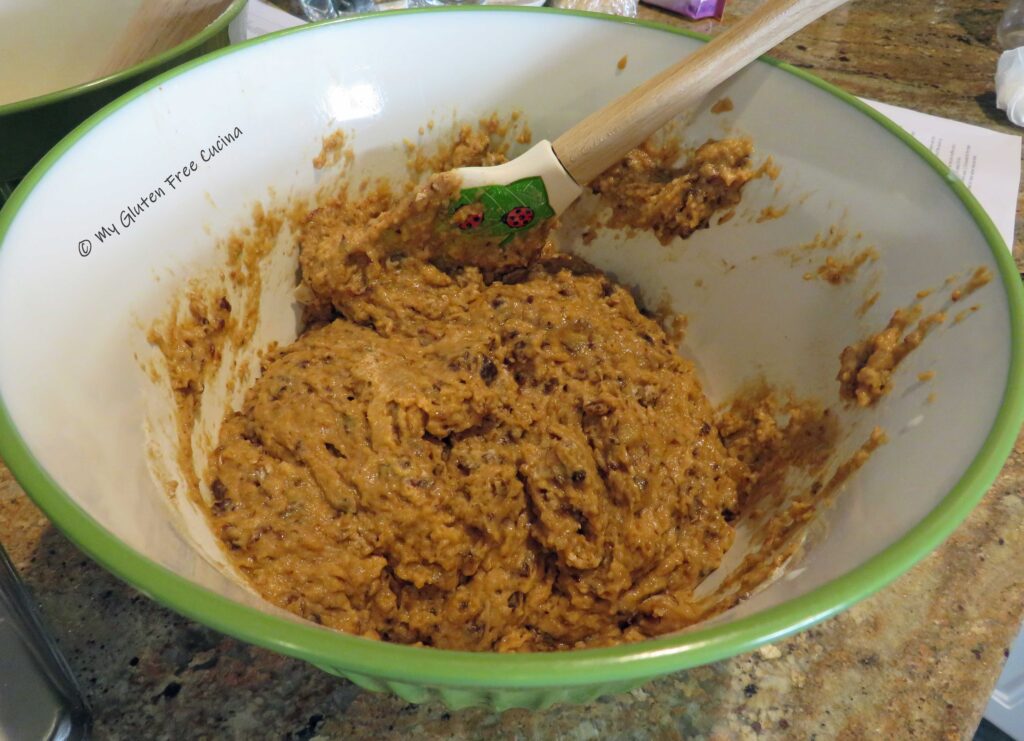 Let the batter rest while the oven preheats, then spoon into a 12-cup muffin tin. Dip a small spatula in water and smooth the tops in a circular motion.
 Bake for 20 minutes and check that they are done with a toothpick.
 Cool in the pan for 15 minutes, then transfer to a rack.

 If not serving immediately, you can cool to room temperature then wrap individually in plastic wrap and store in a freezer safe bag. I usually freeze muffins to have for breakfast during the week.
Notes ♪♫ Better Batter Original Blend is my flour of choice for muffins, quick breads and cookies. Remember to use my Promo Code MGFC30 for 30% off!


 Preparation:
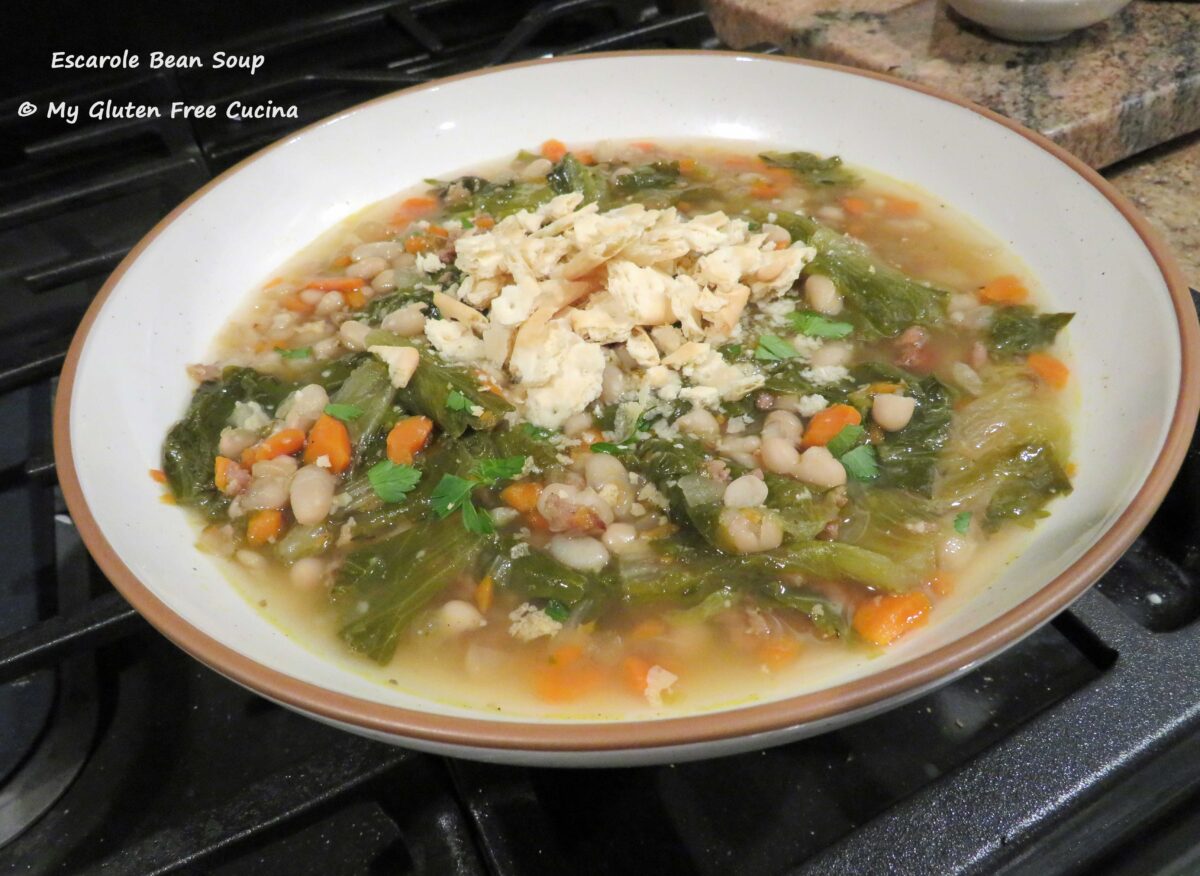
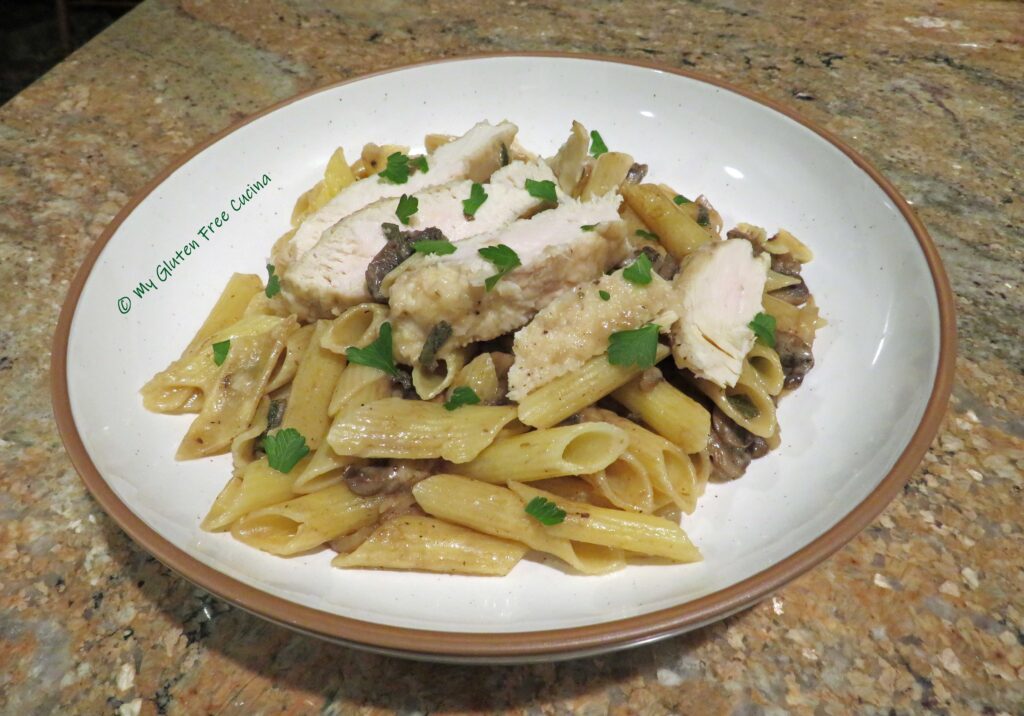
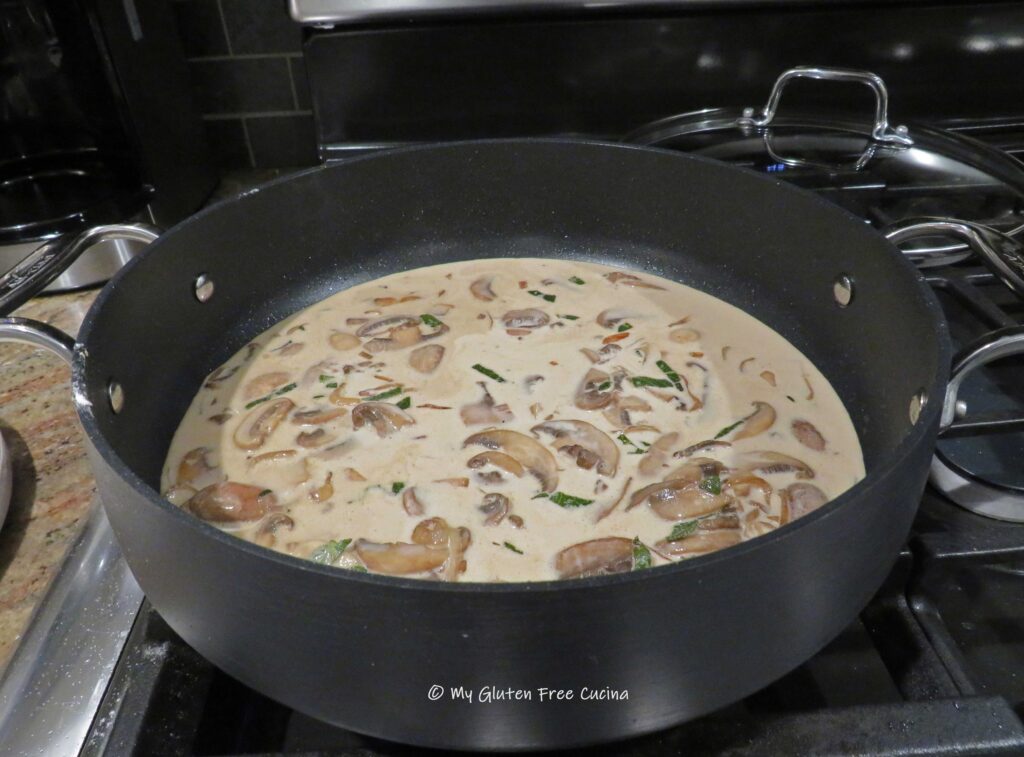
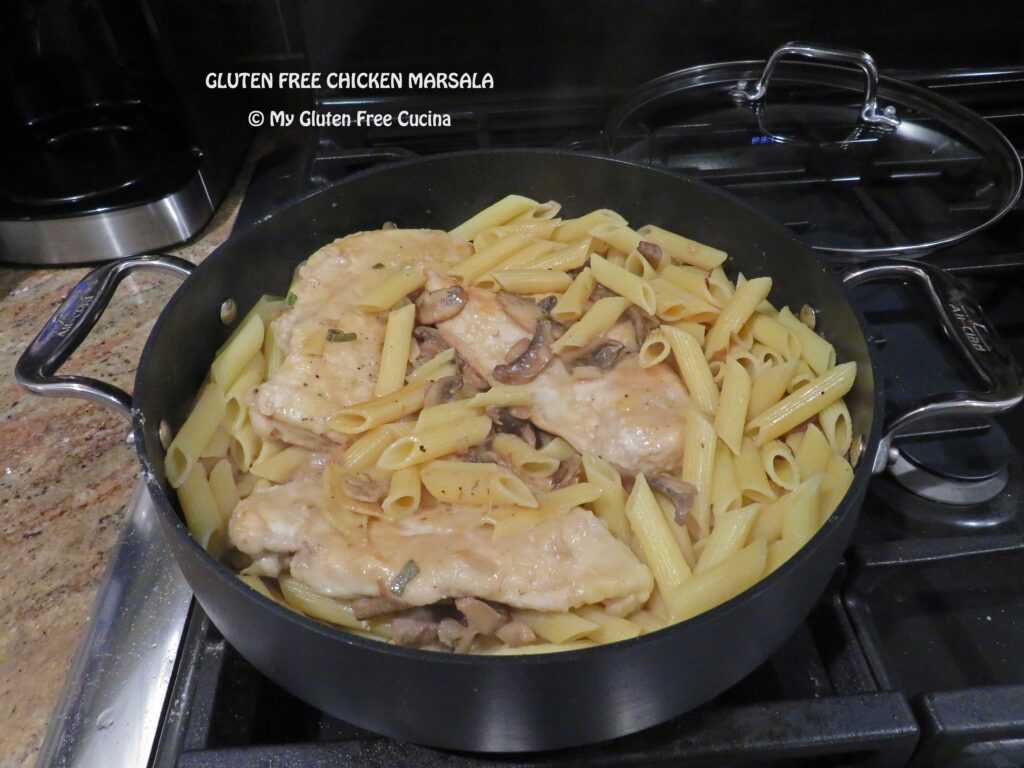
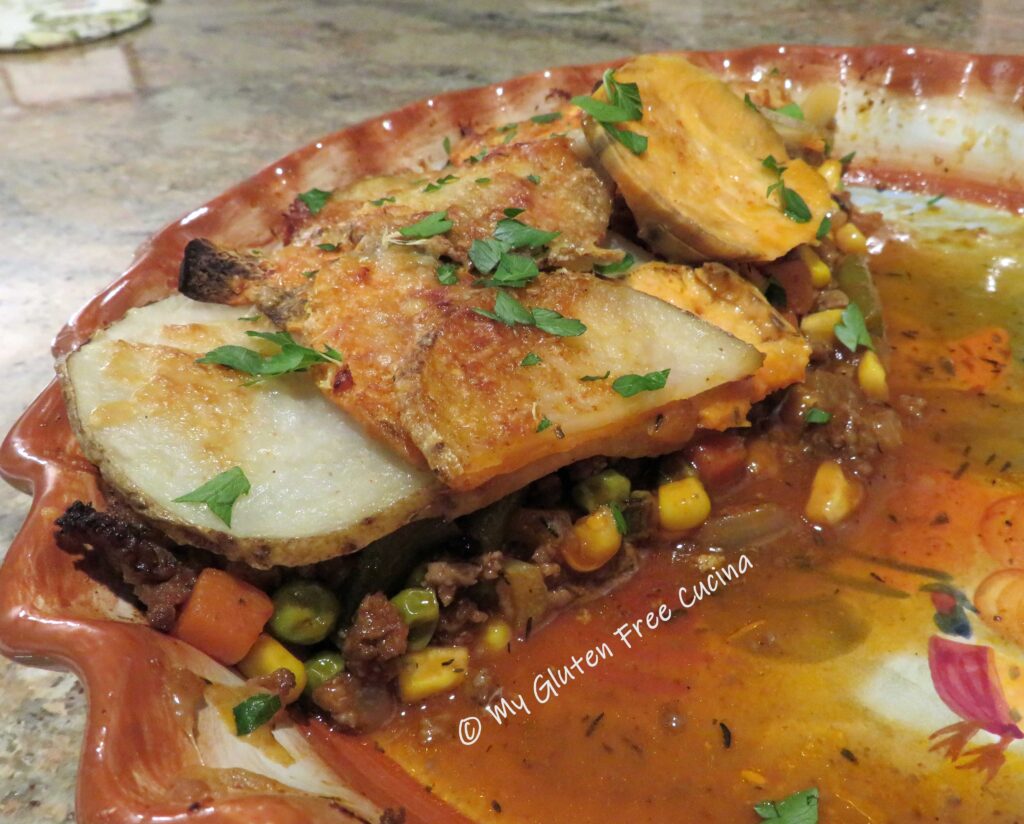
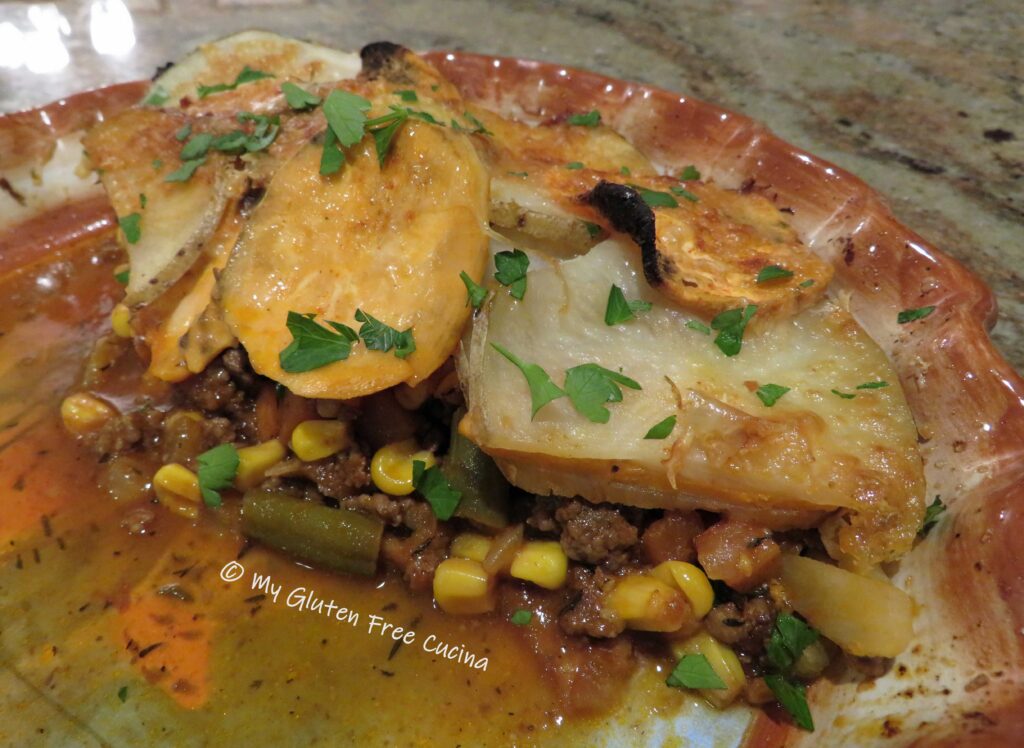
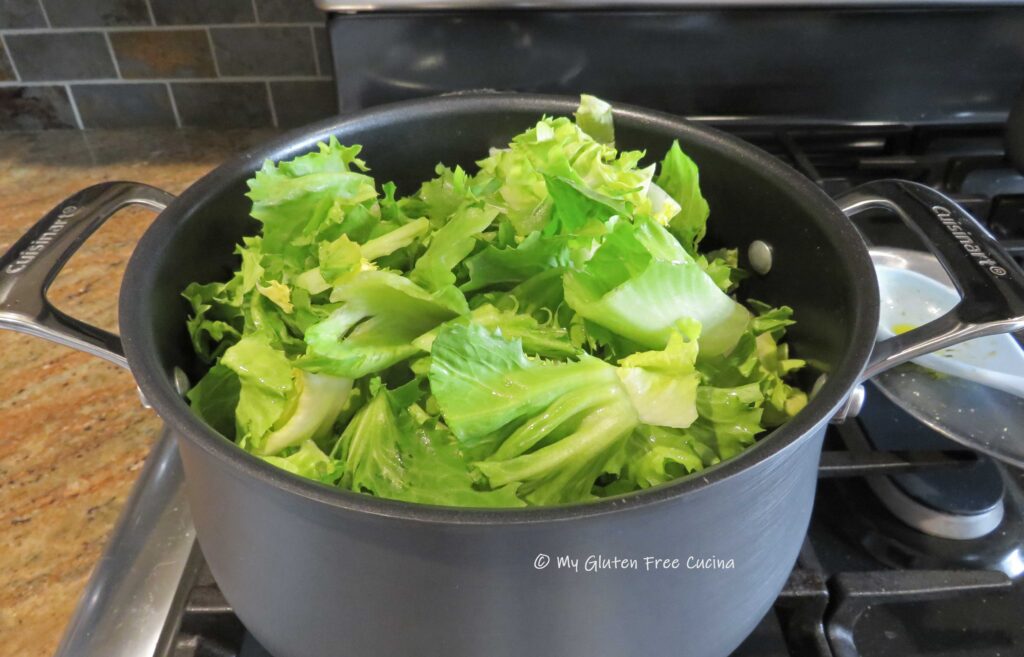 Cover and simmer on low for another 20 minutes. Taste for seasoning and add salt if needed. Garnish with fresh parsley and serve with
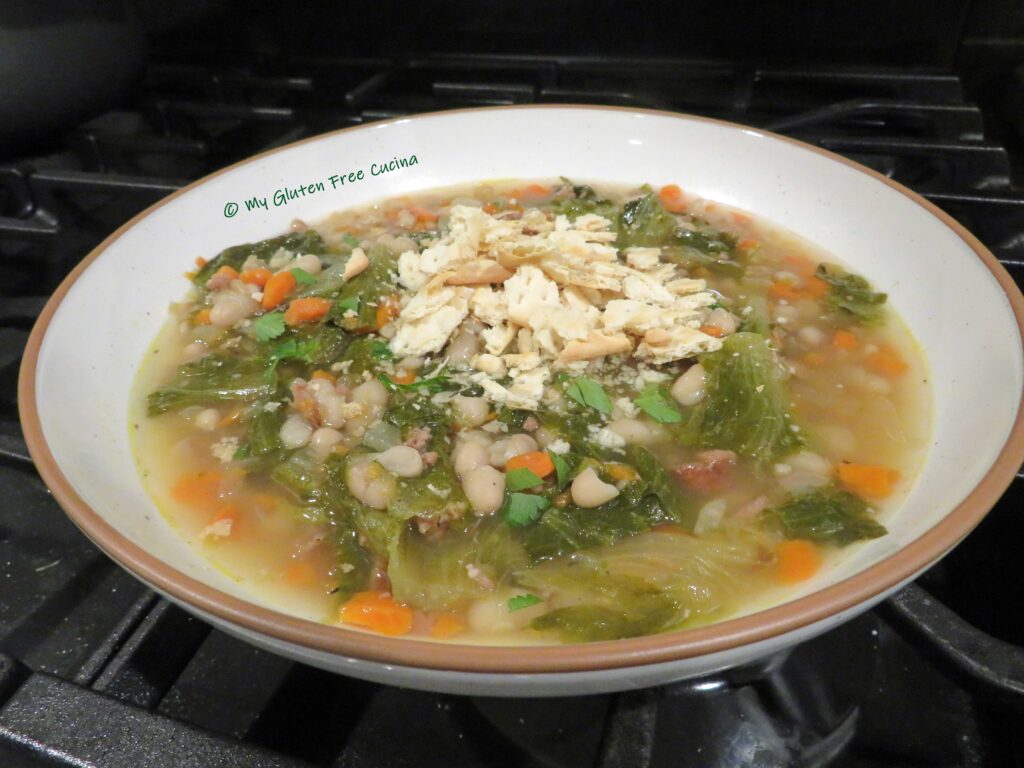


 Preparation:
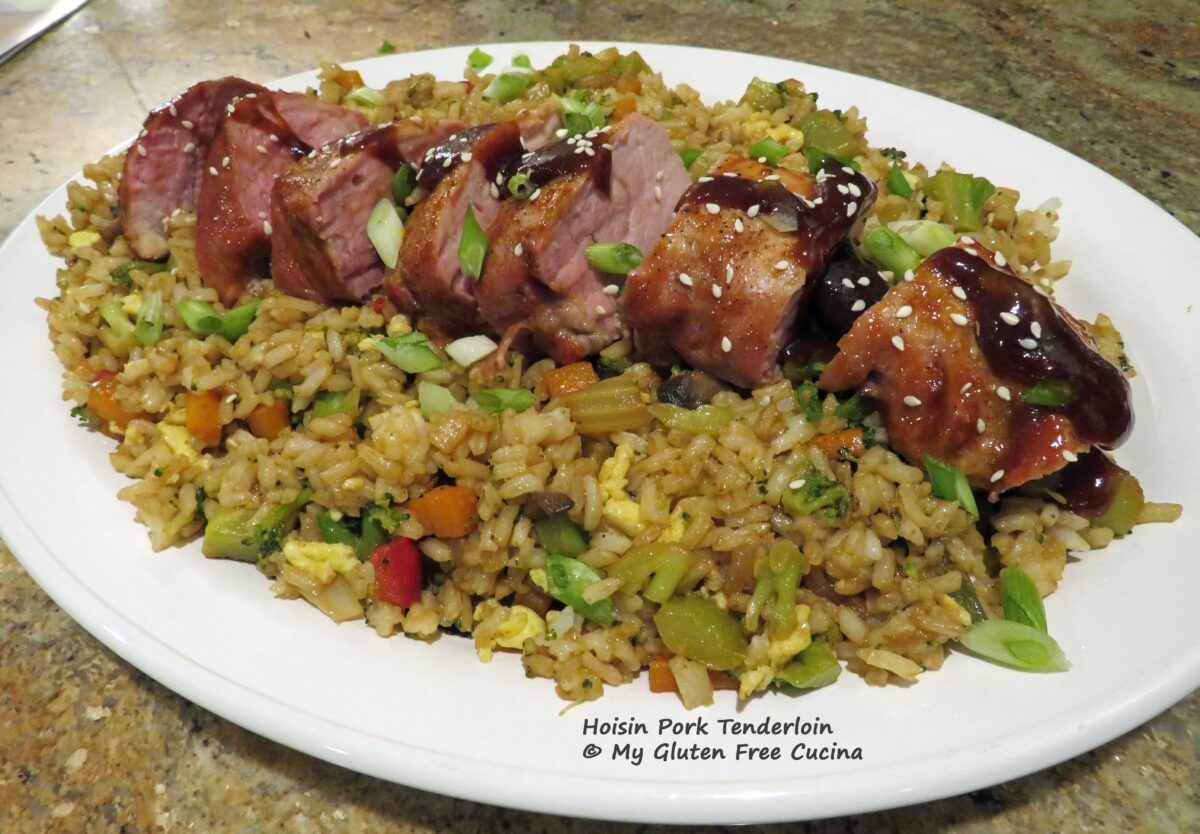
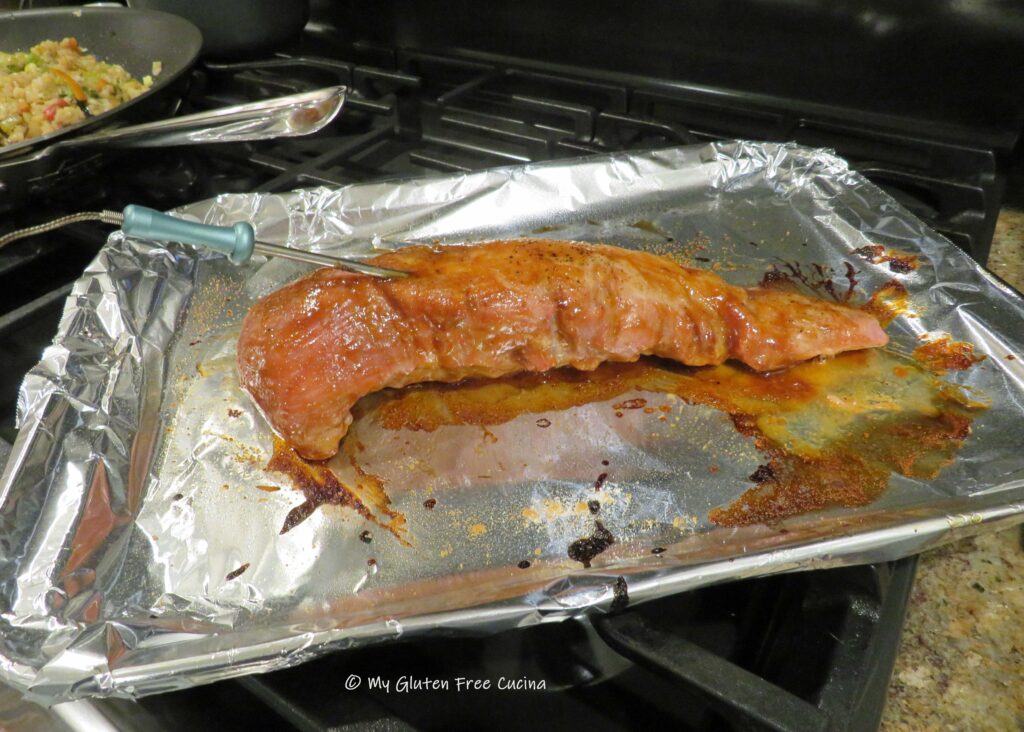
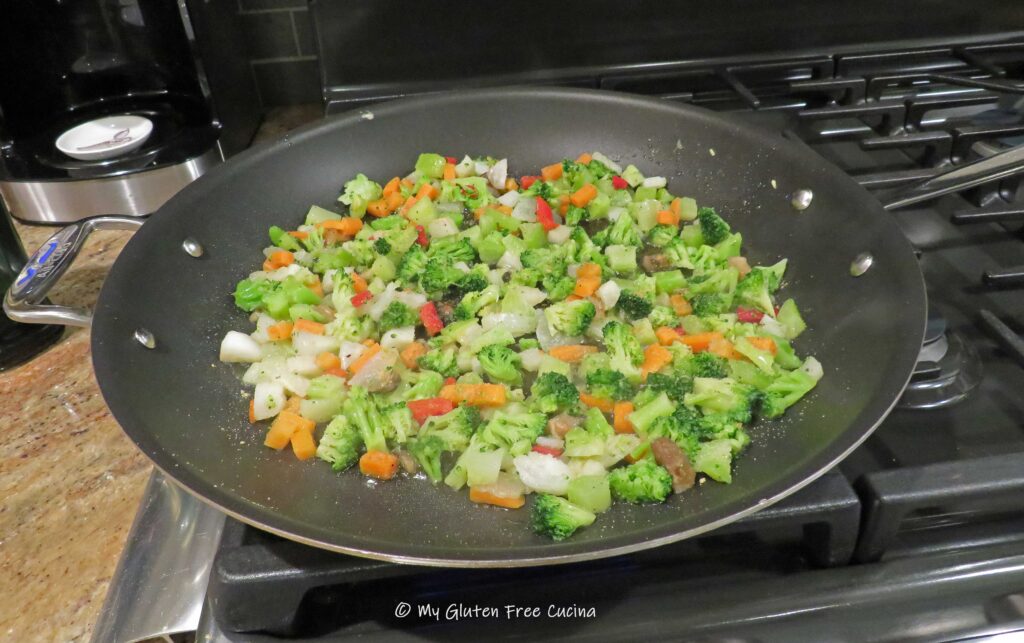
 I did think the veggies were a bit large for fried rice, so I cut them into smaller pieces. Season the veggies with salt and pepper to taste. Sprinkle with garlic and ginger powder and leave them out to defrost.


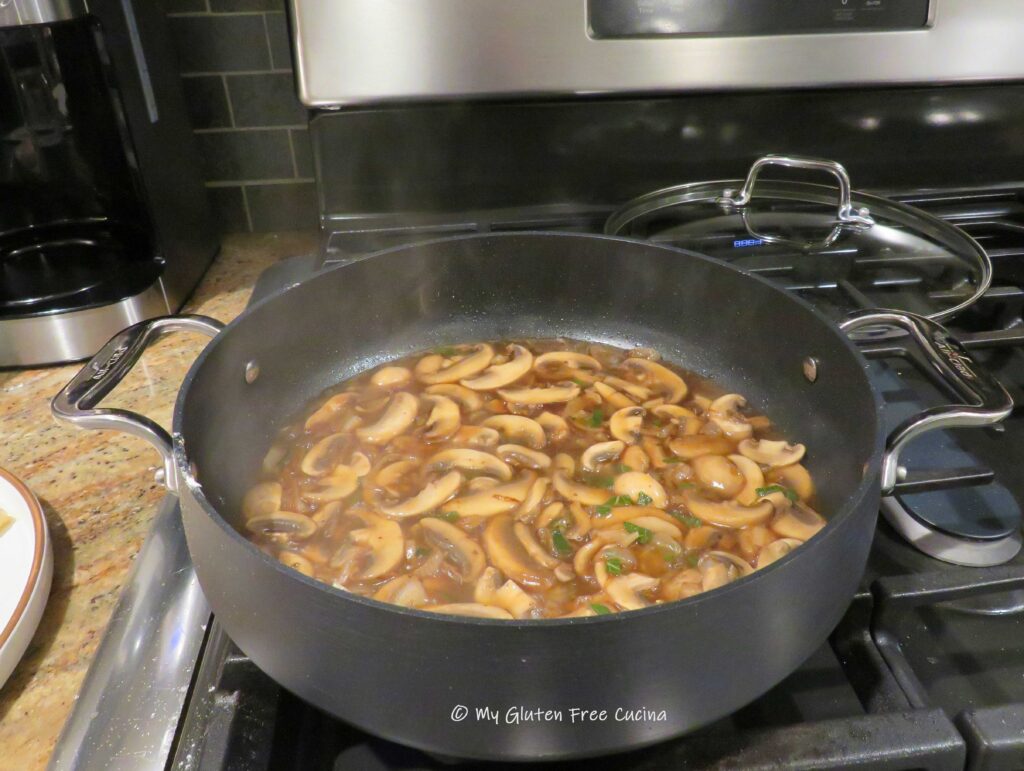


 Bring to a simmer, then reduce the heat to low and simmer 30 minutes uncovered until most of the liquid has evaporated.
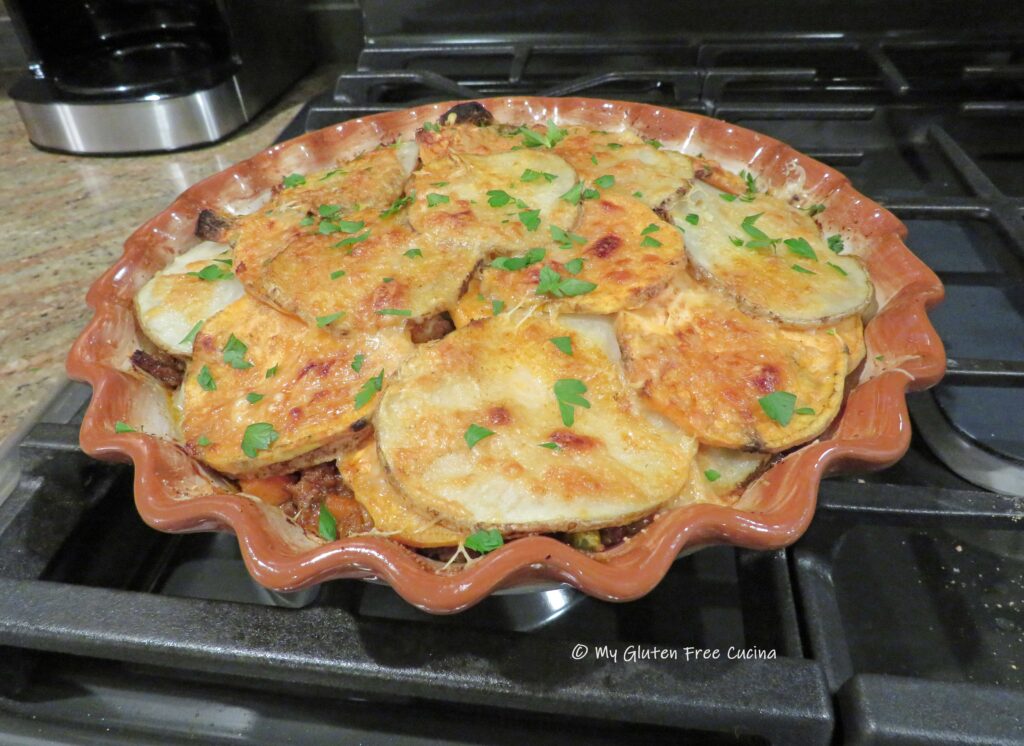
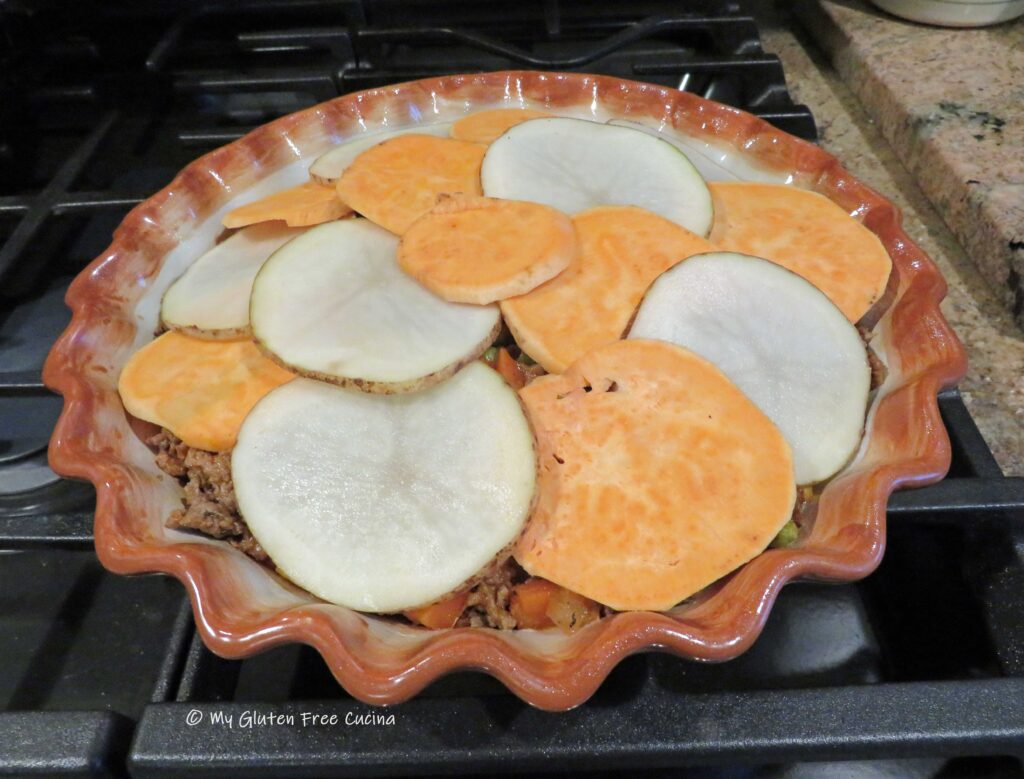 Sprinkle with paprika, top with half the gruyere cheese and half of the parmesan.
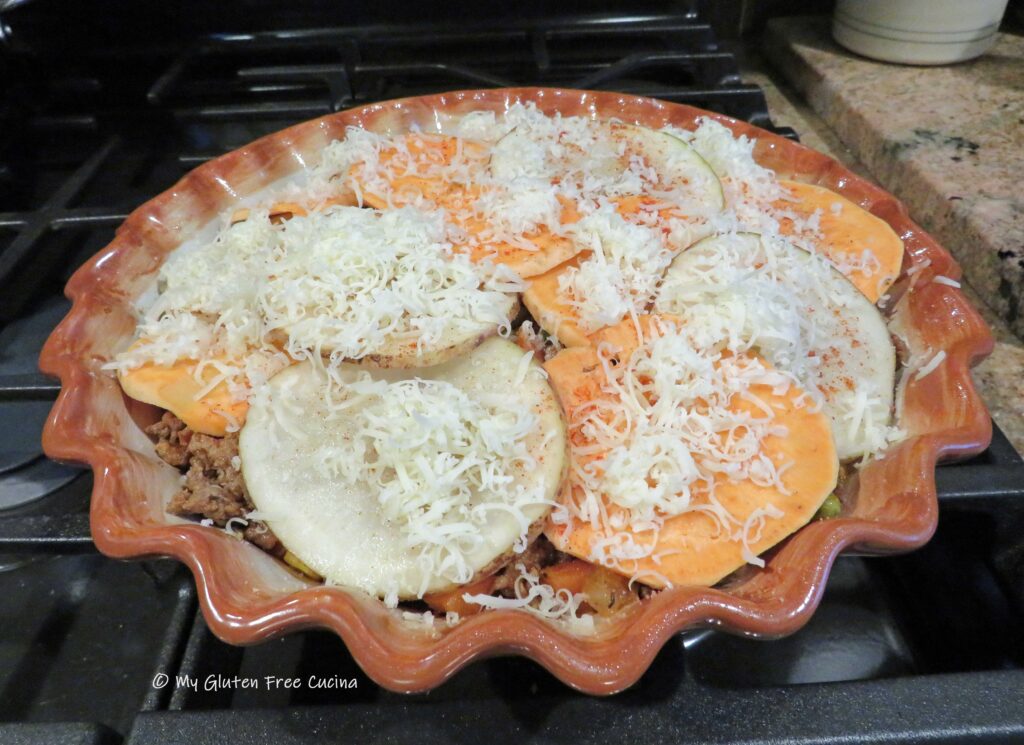 Continue layering with the remaining potato slices, the rest of the cheese and pat with butter.


 Preparation:
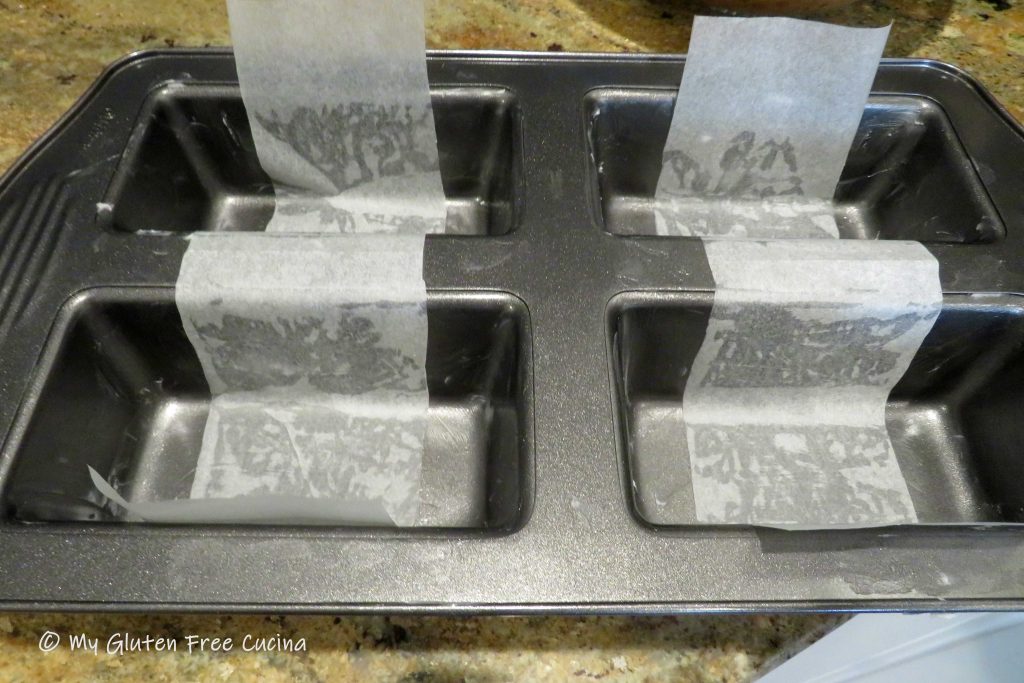
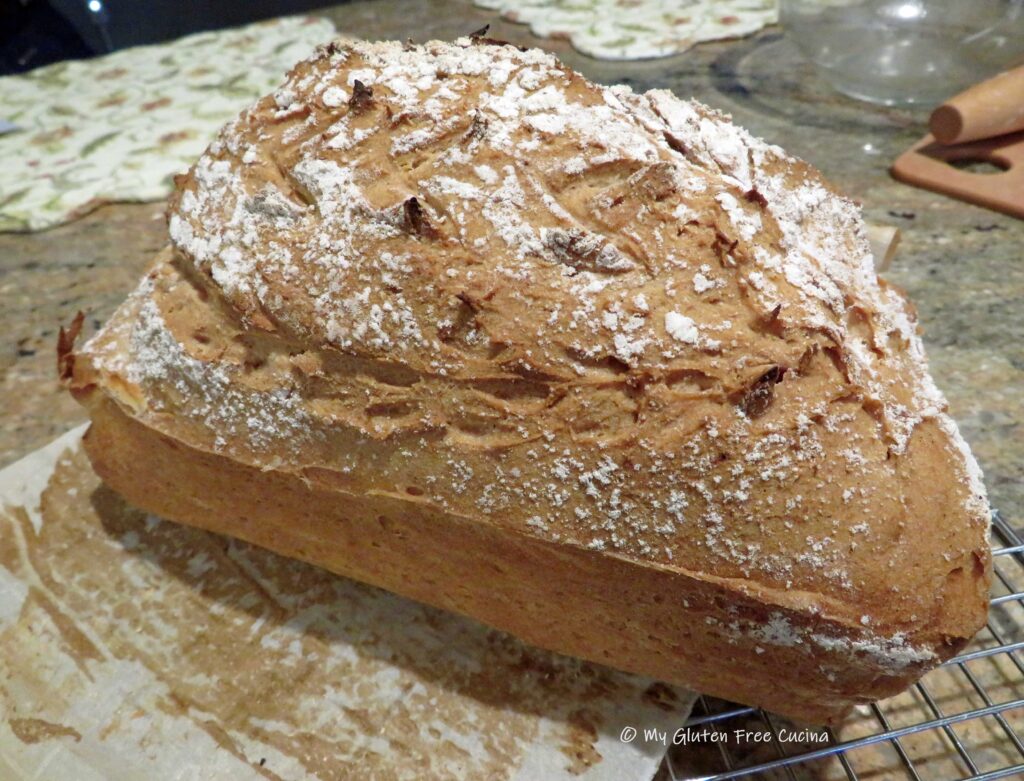
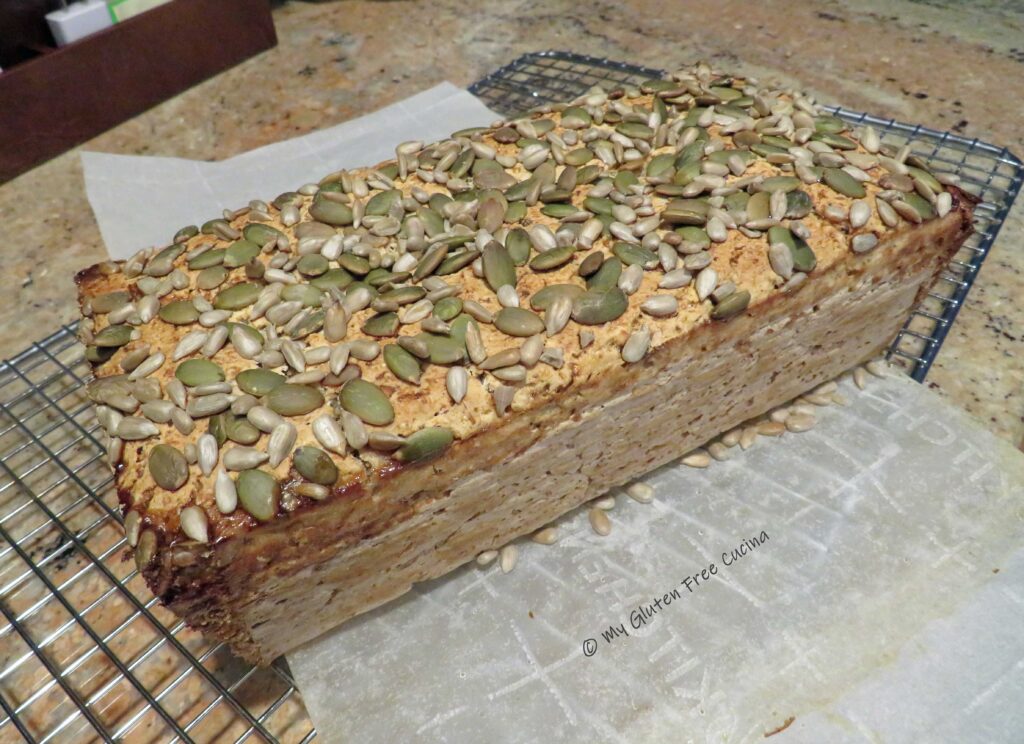
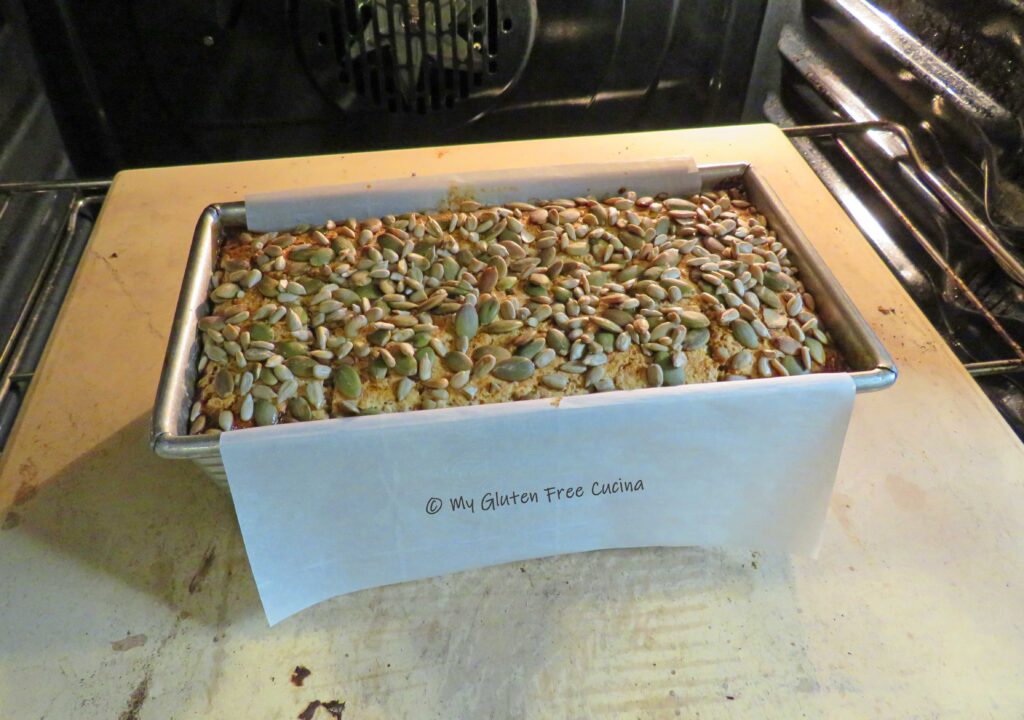
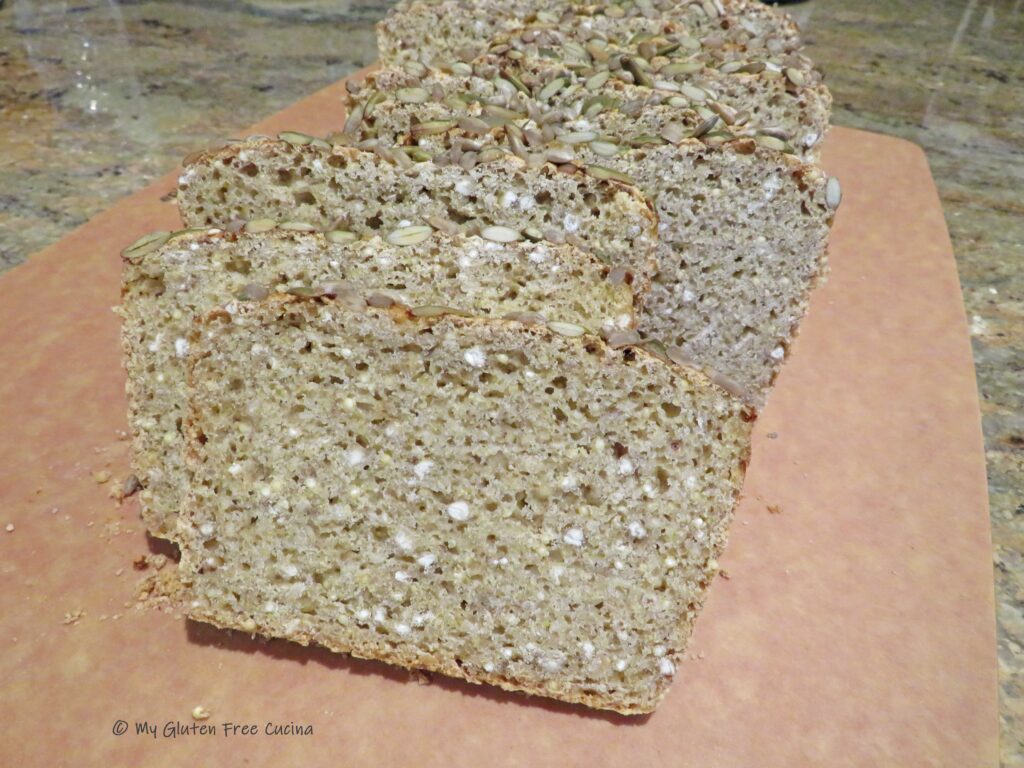
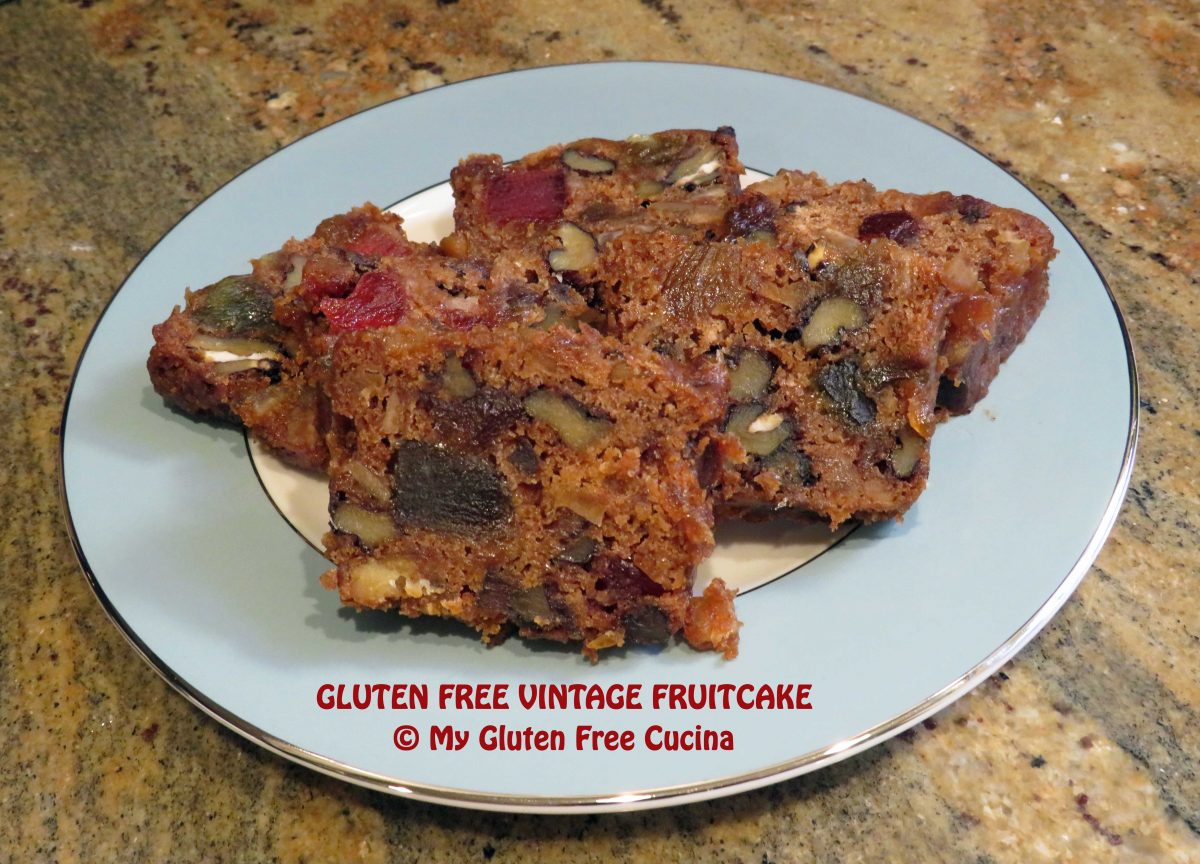
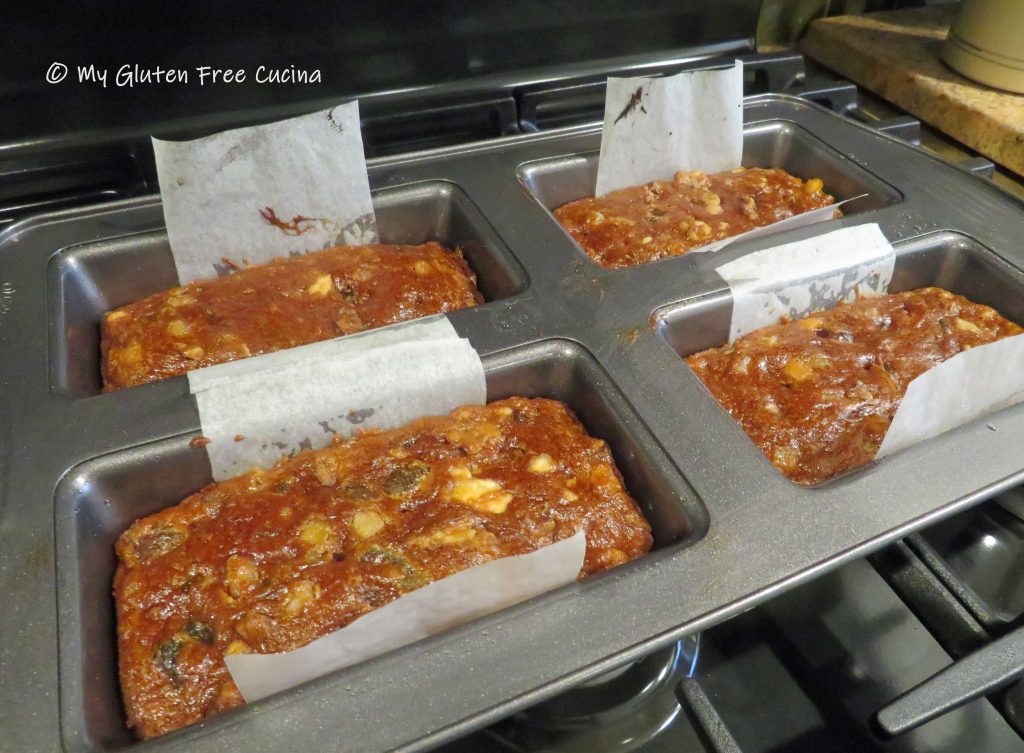
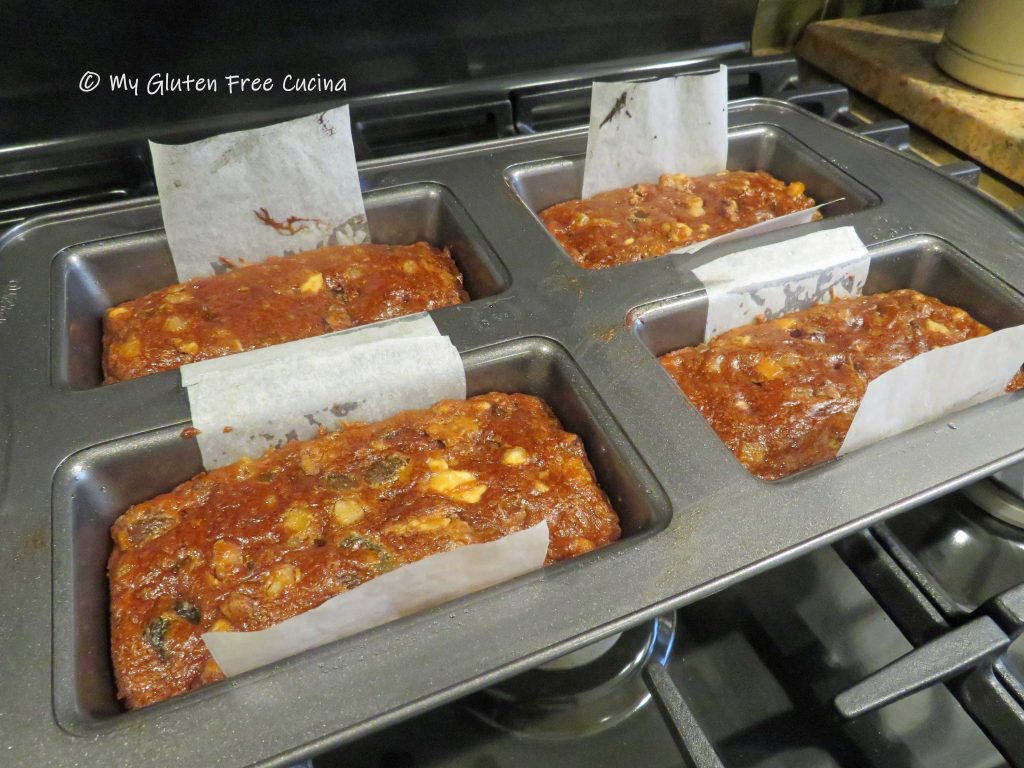
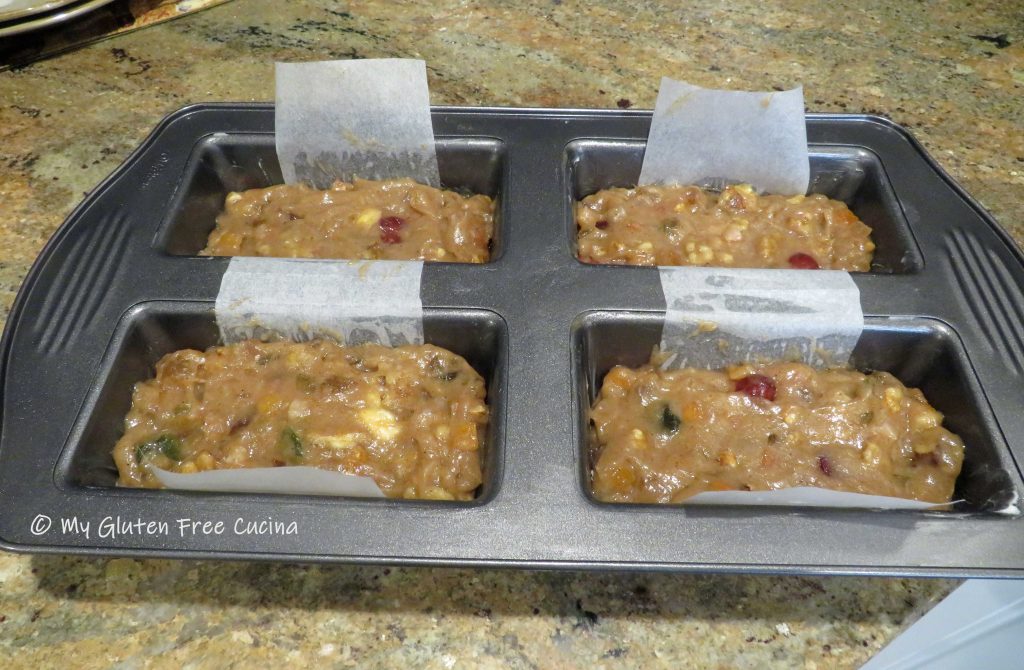 If using a 9″ loaf pan, bake for 1 to 1.5 hours, testing for doneness after 1 hour. The original recipe instructions said 1.5 hours and it will depend largely on your oven and the amount of moisture in the fruit blend.
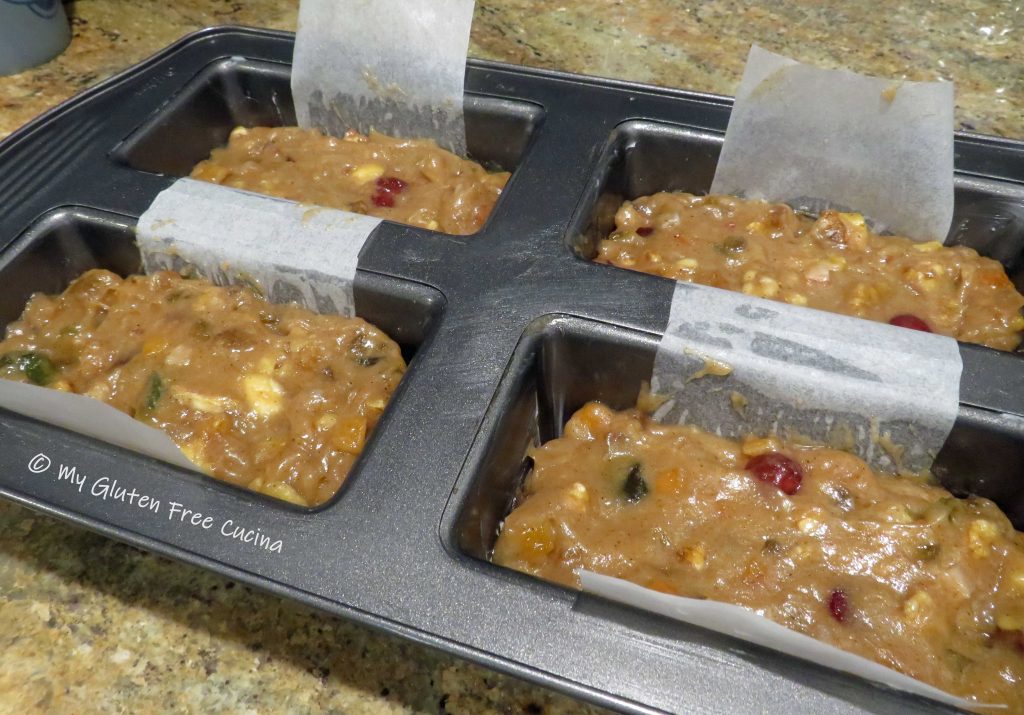


 Have you ordered the new Bread Flour from Better Batter yet?
 Preparation:
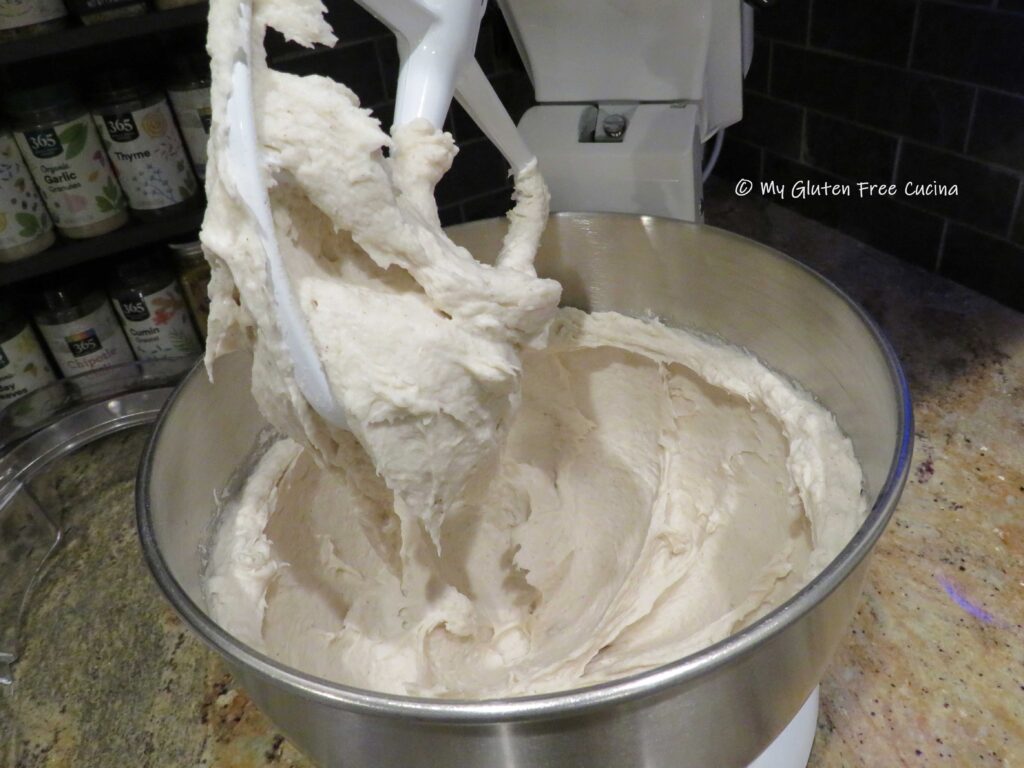


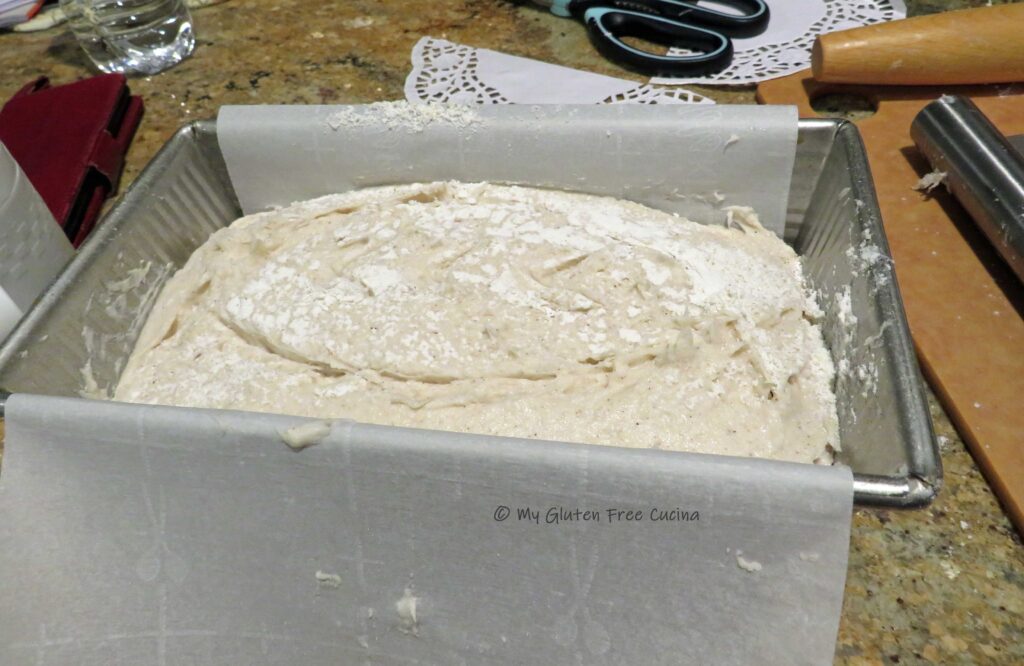
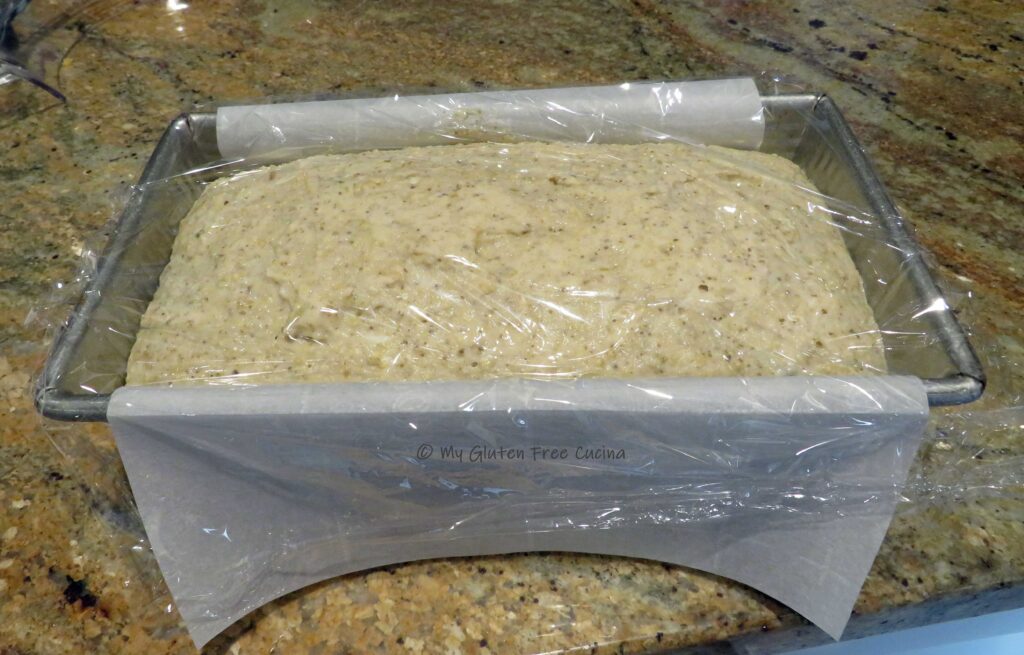
 Place the dough ball in an oiled bowl, cover with plastic wrap and refrigerate overnight for 12 hours.
 In the morning, preheat the oven to 475º with
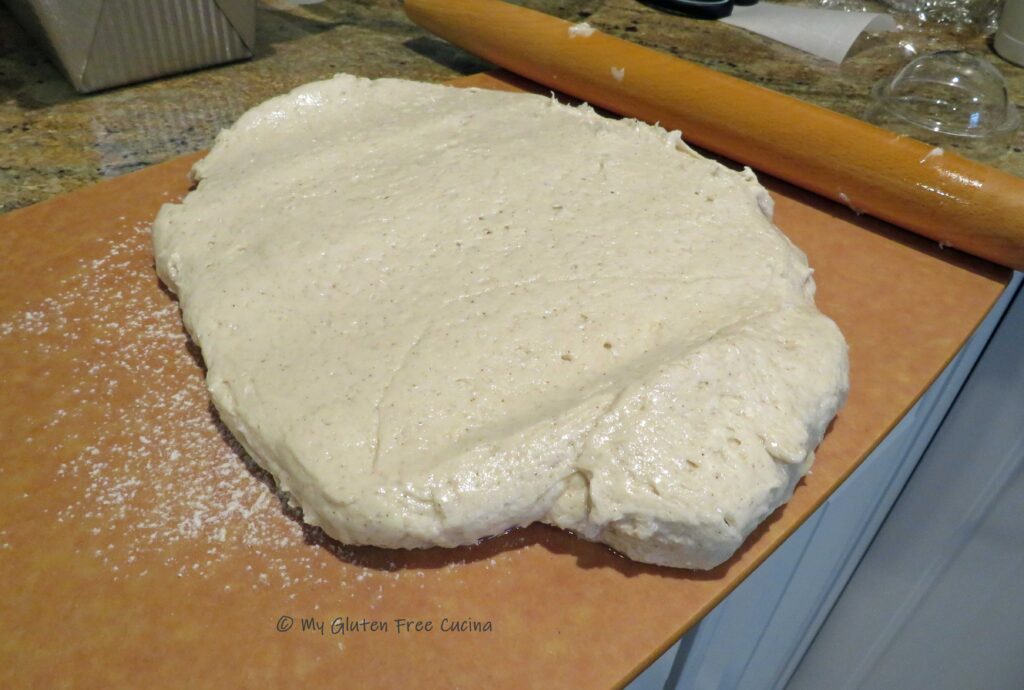
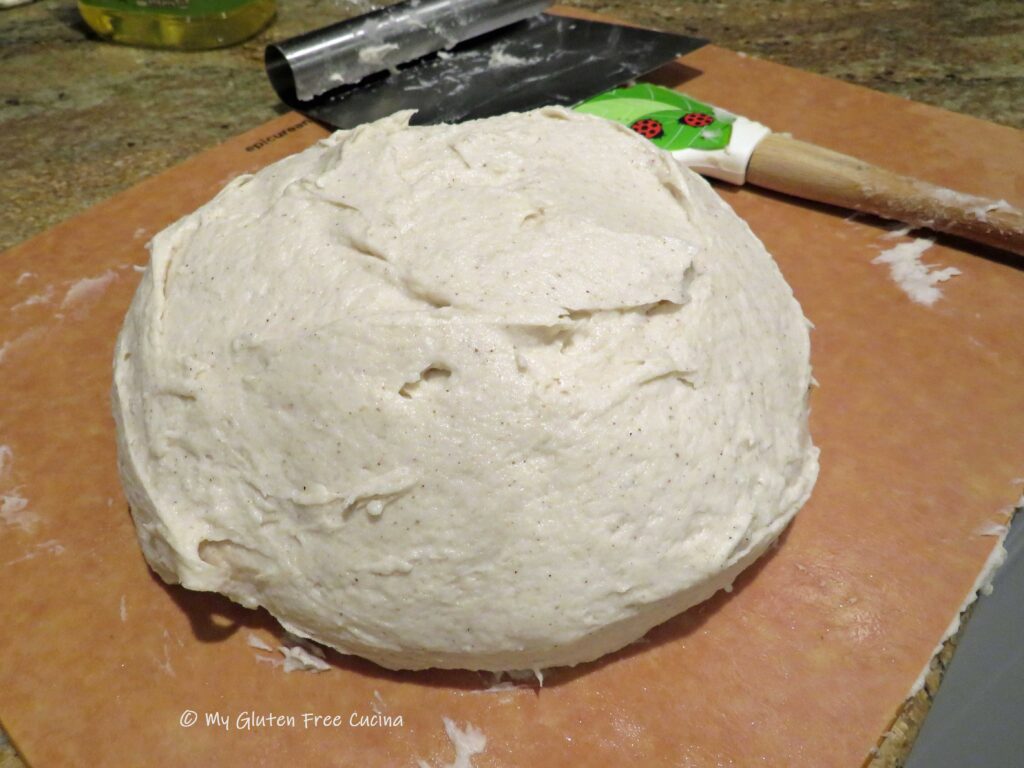
  Use a spatula to smooth it into a round shape.
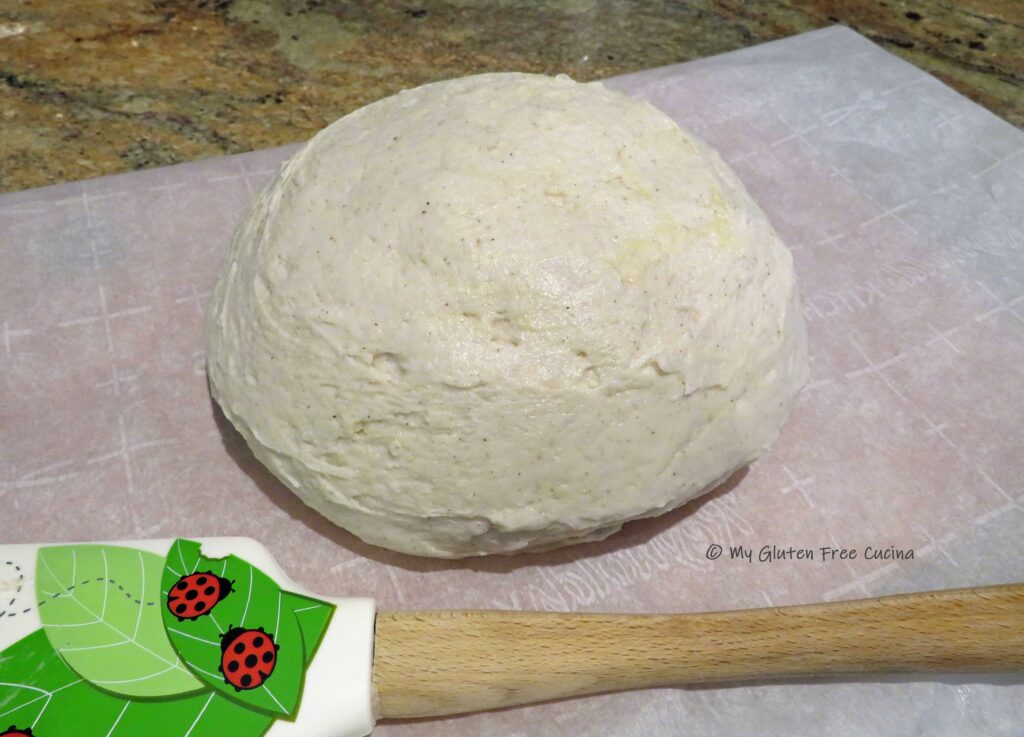 Use a
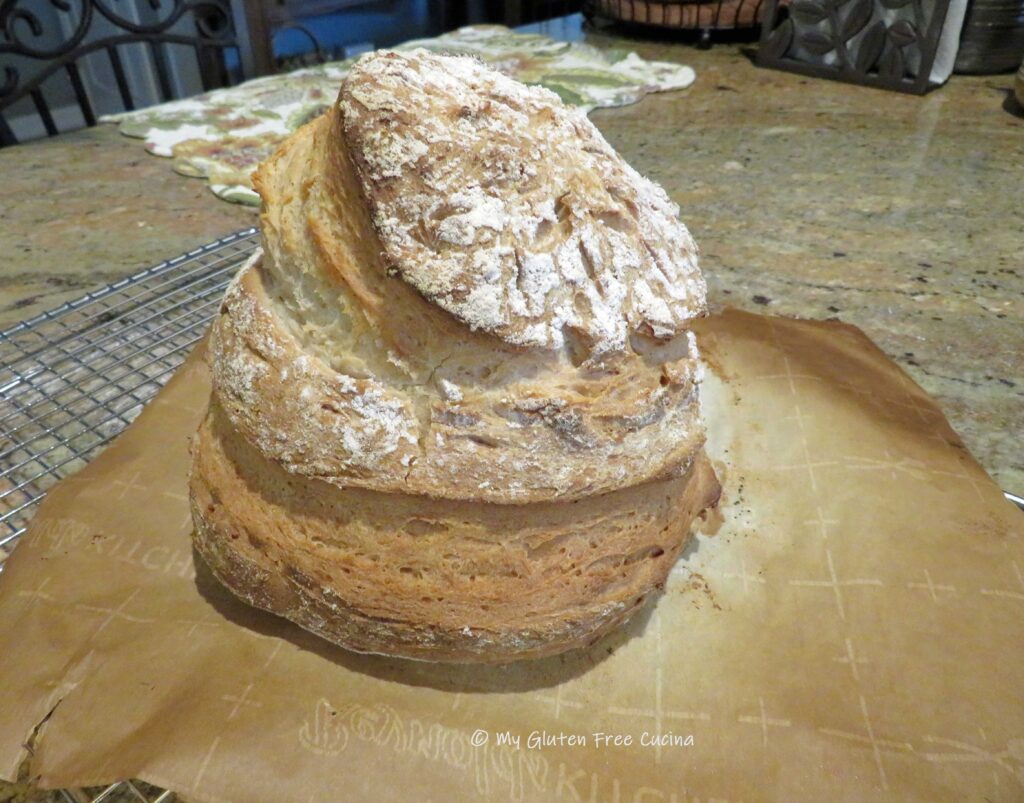
Use a 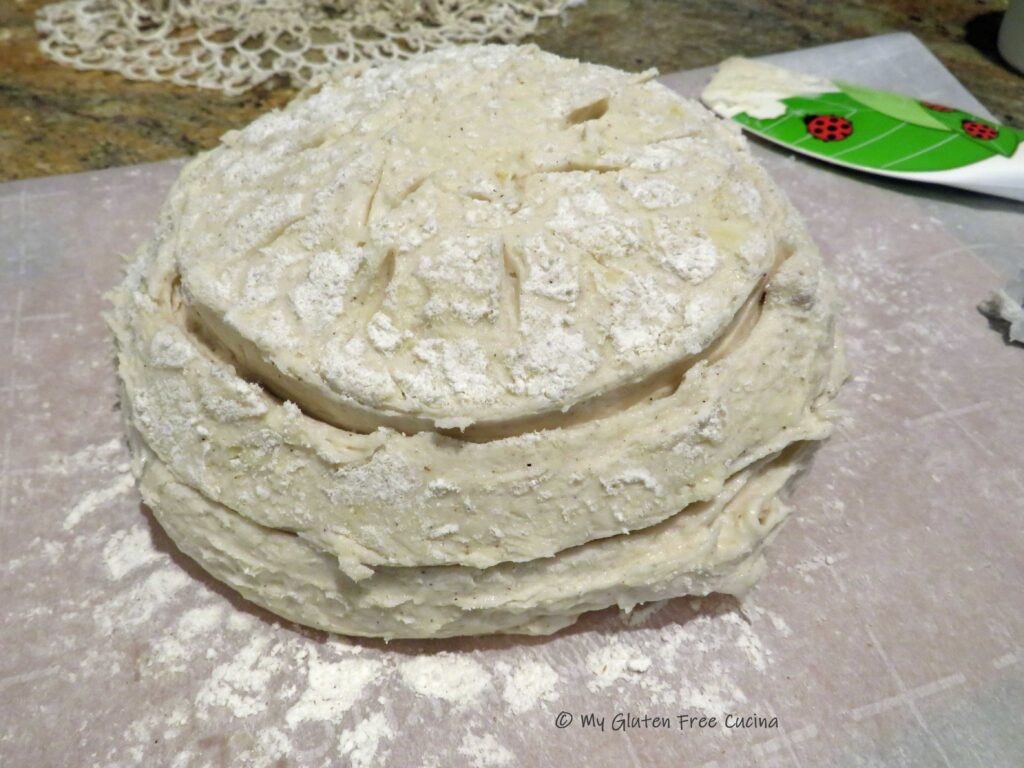 Transfer the dough, with parchment to the oven. Throw a few ice cubes onto the bottom of the oven and quickly shut the door. After the first 5 minutes throw in a few more ice cubes.
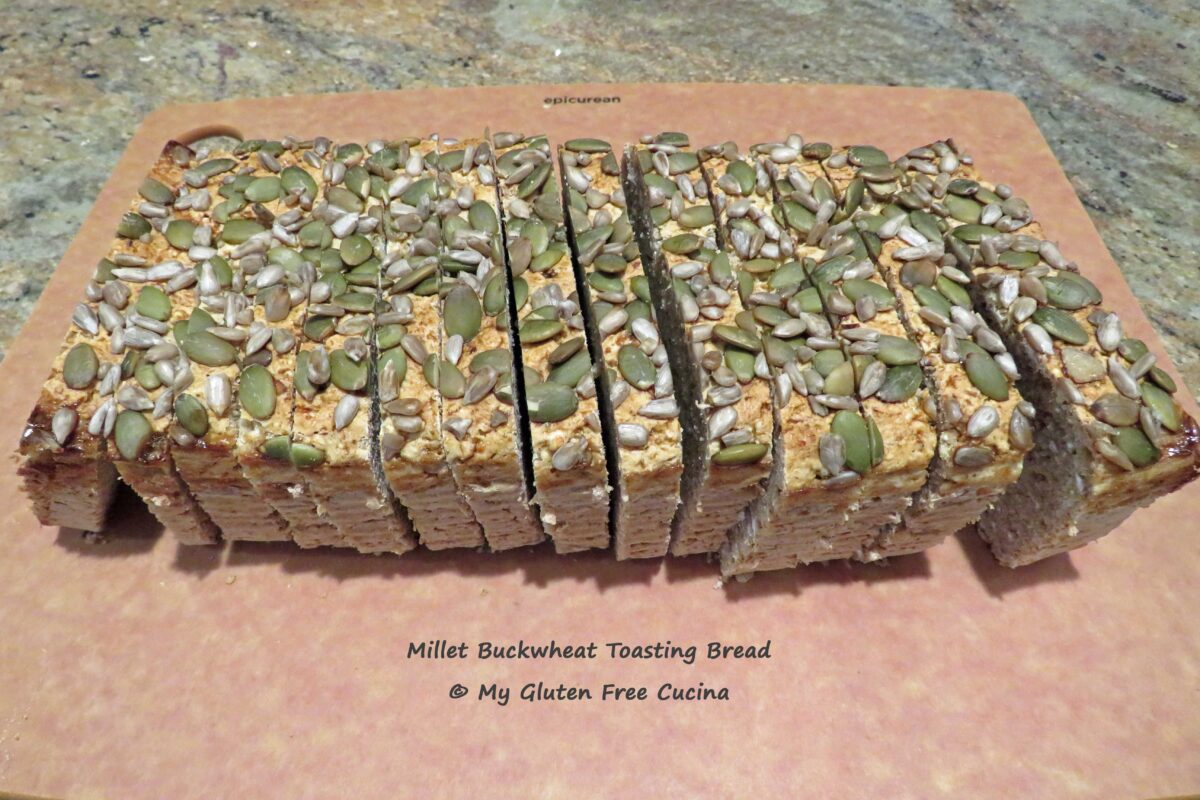
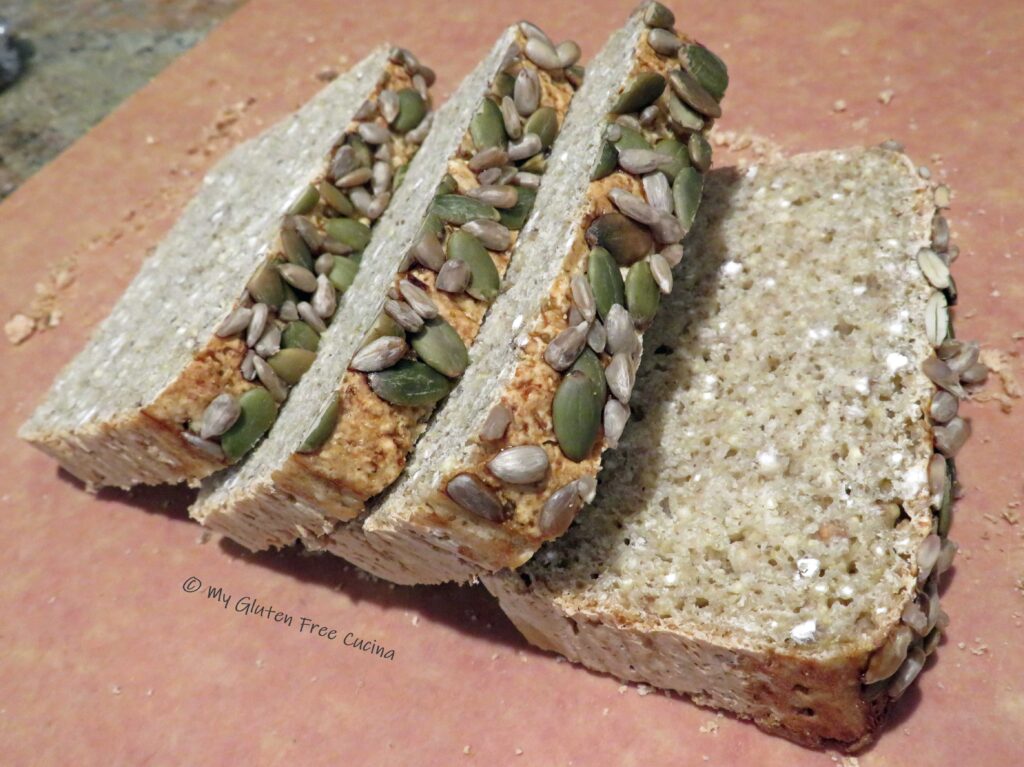
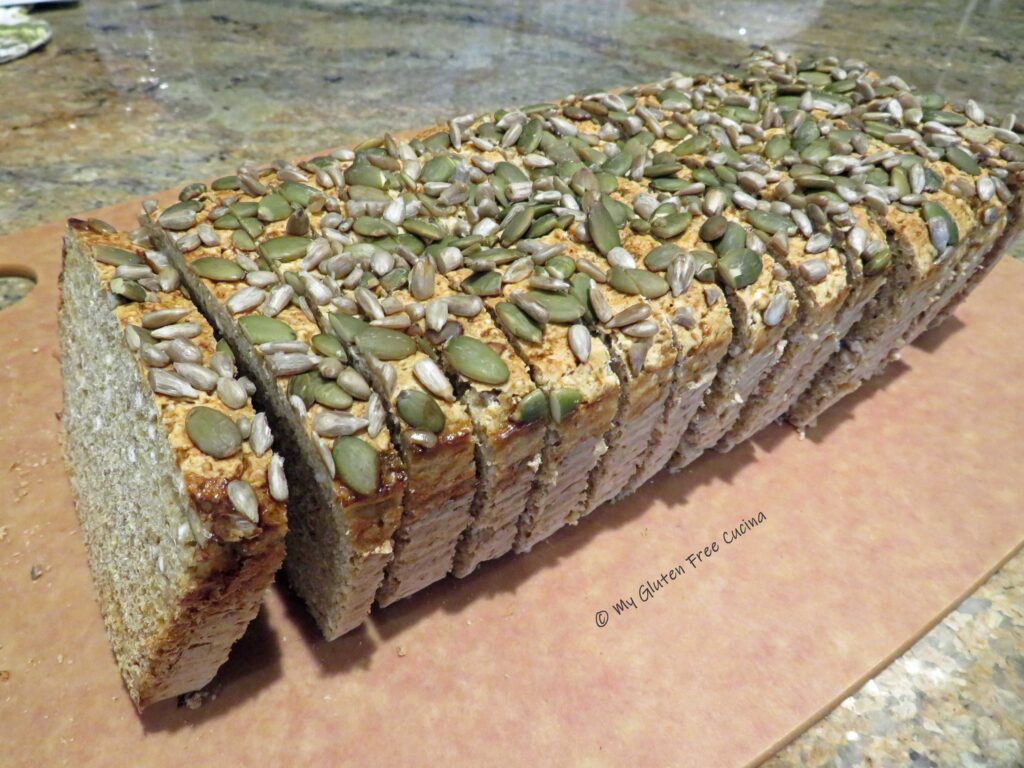
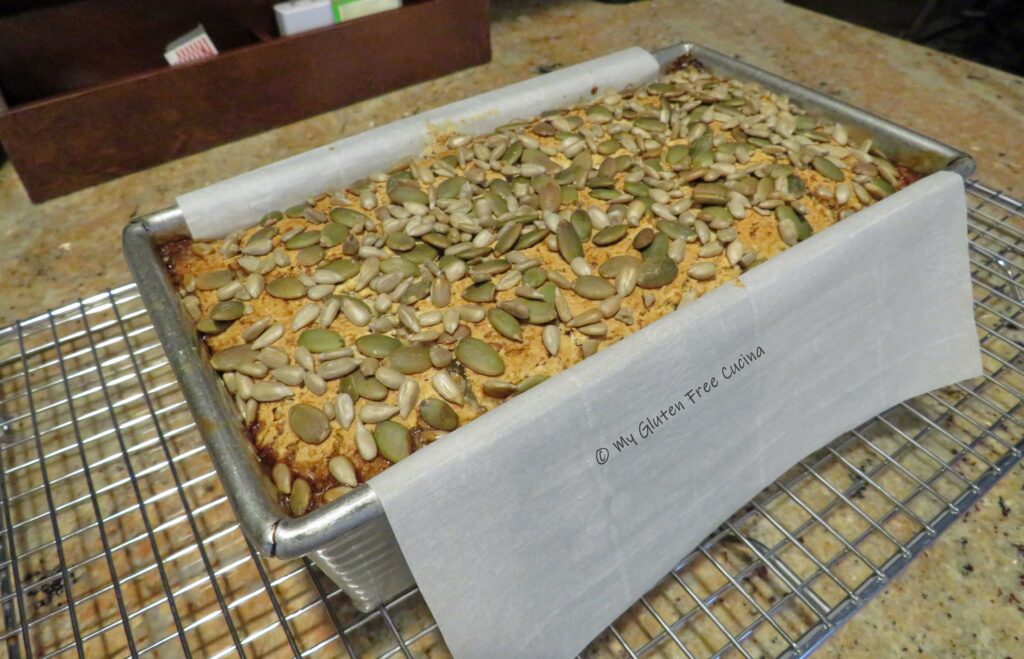
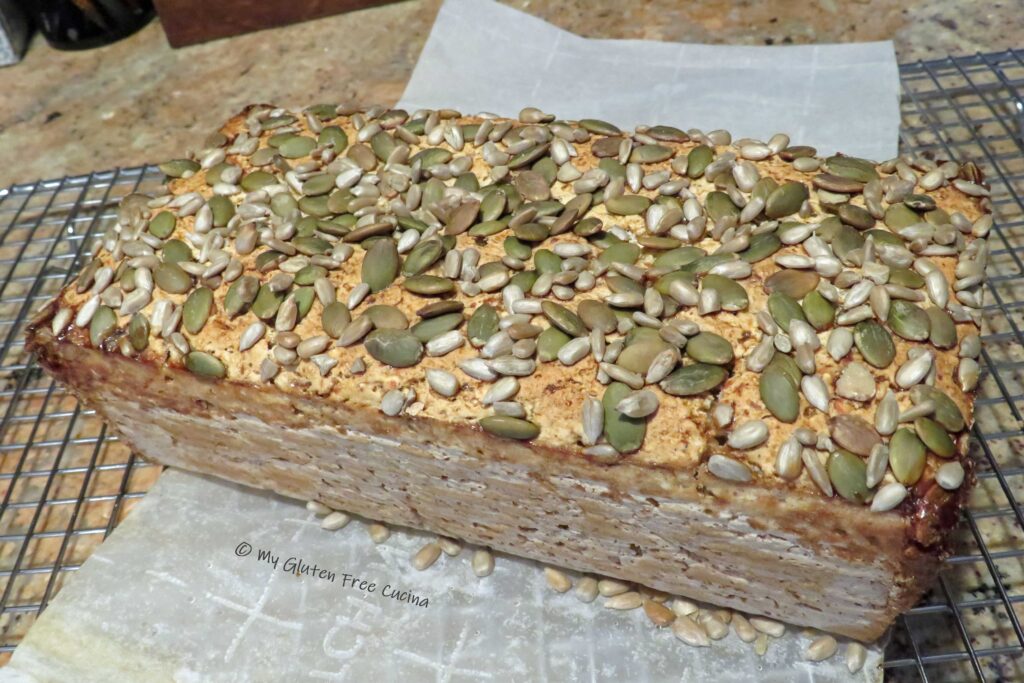
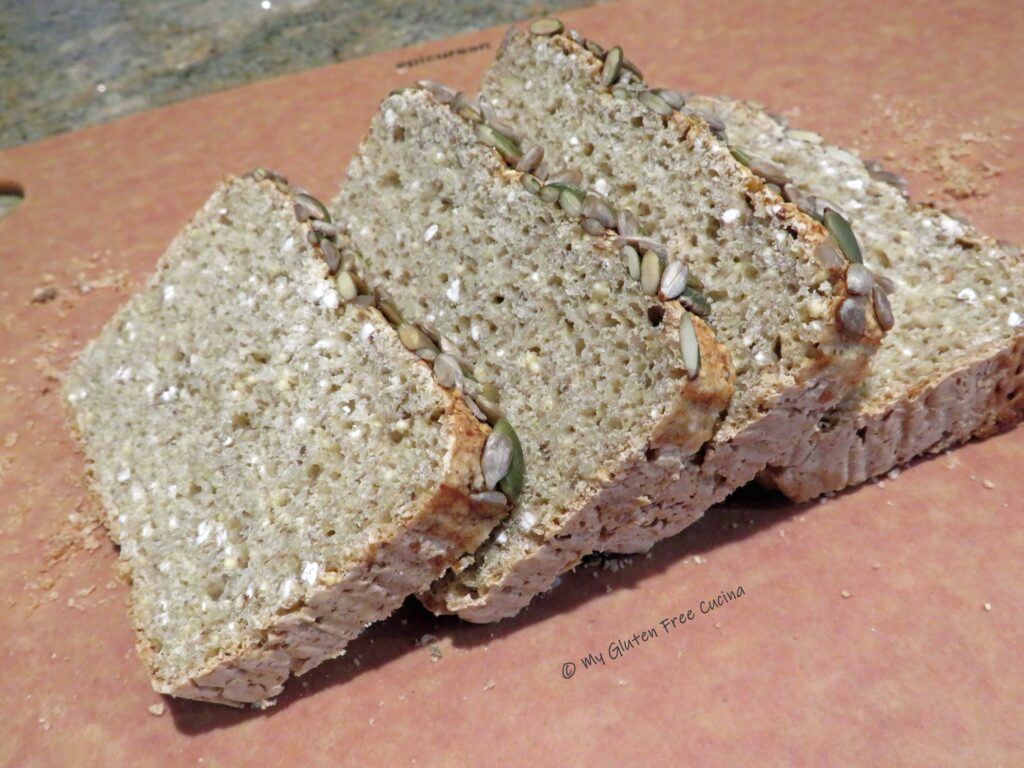
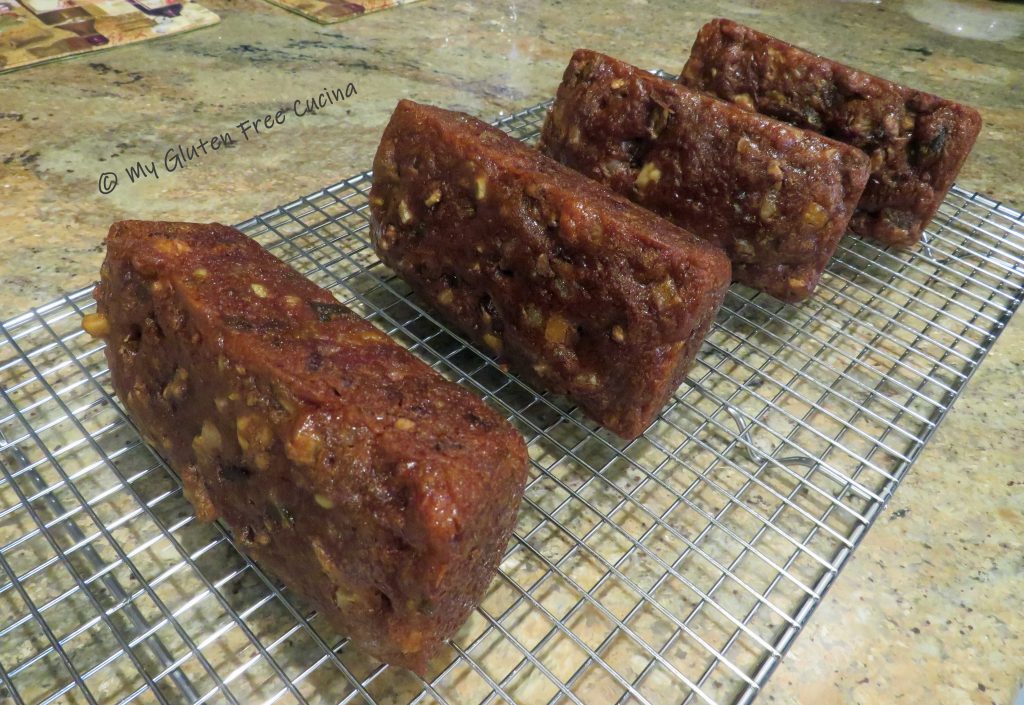
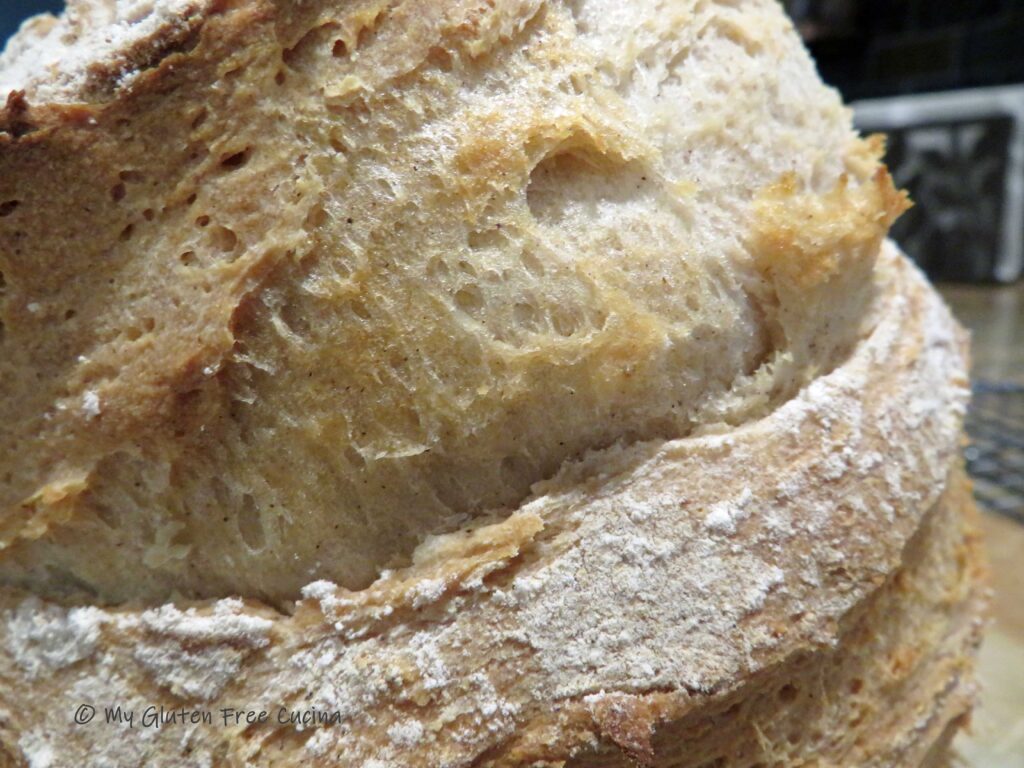
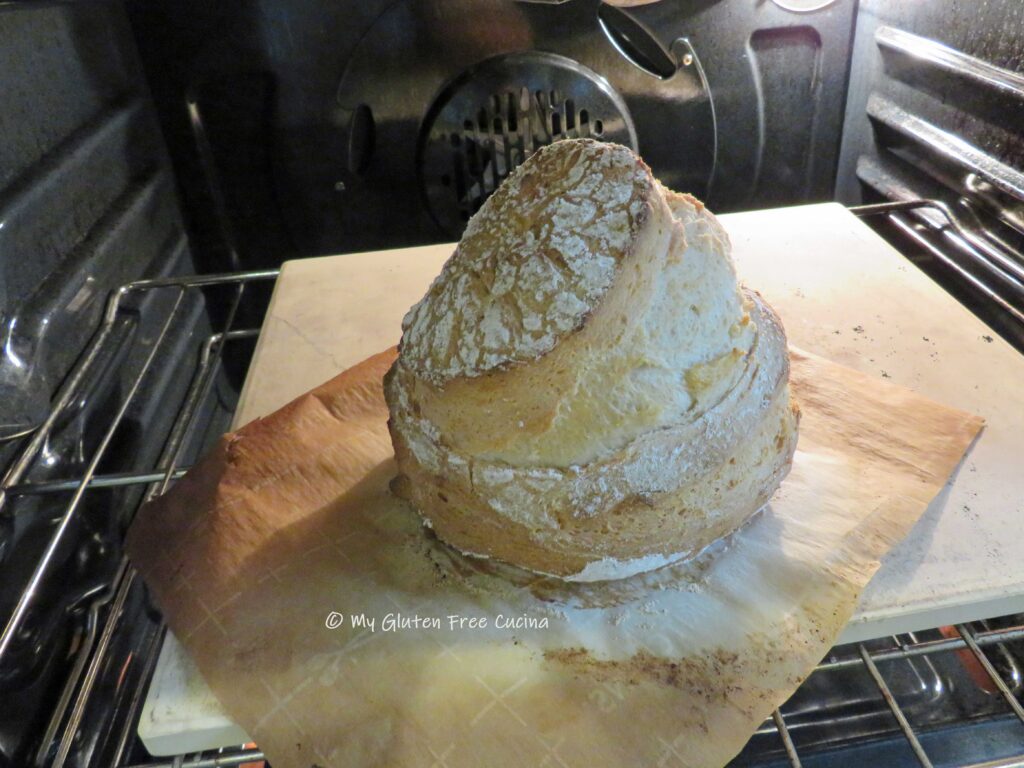 Cool completely on a rack then store in a plastic bag at room temperature. Wait 24 hours to slice.