This recipe comes from a beloved family tradition that had gone by the wayside since my Celiac Diagnosis.
An heirloom recipe passed down for generations in my late husband’s family, he treasured the memory of his mother making this Fruitcake at Christmas, and I have been proud to carry on the tradition.
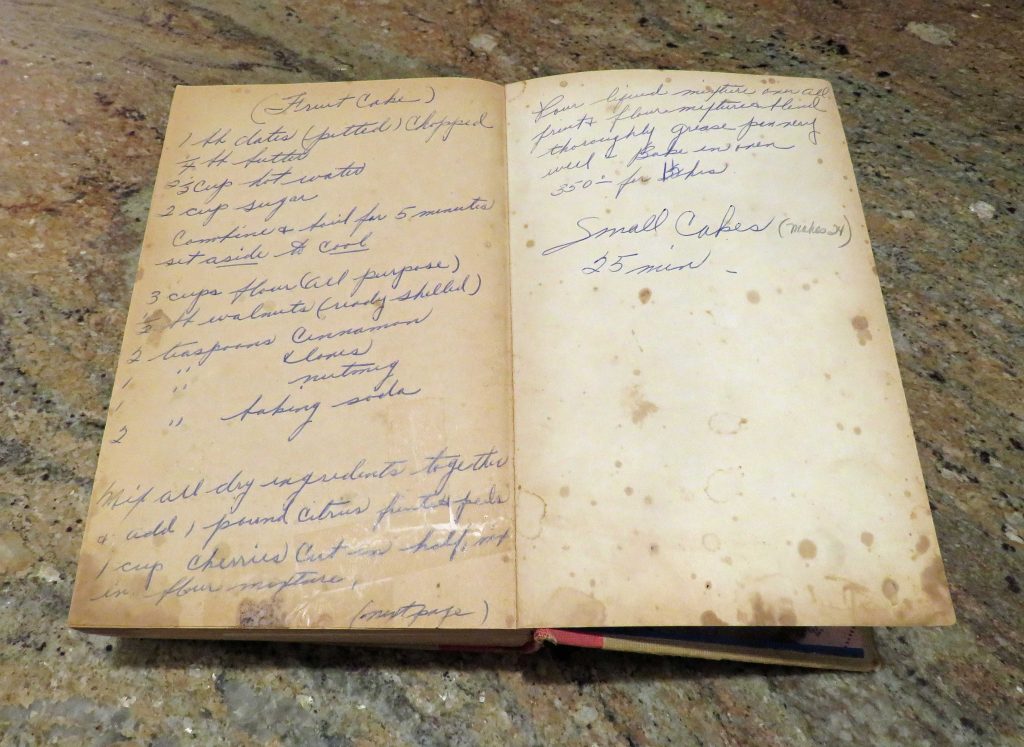
The original recipe was lovingly handwritten into the back cover of a favorite cookbook. As with other heirloom recipe adaptations, my intent is to always stay as true to the original as possible, changing only those ingredients that had to be gluten free.
This post contains affiliate links.
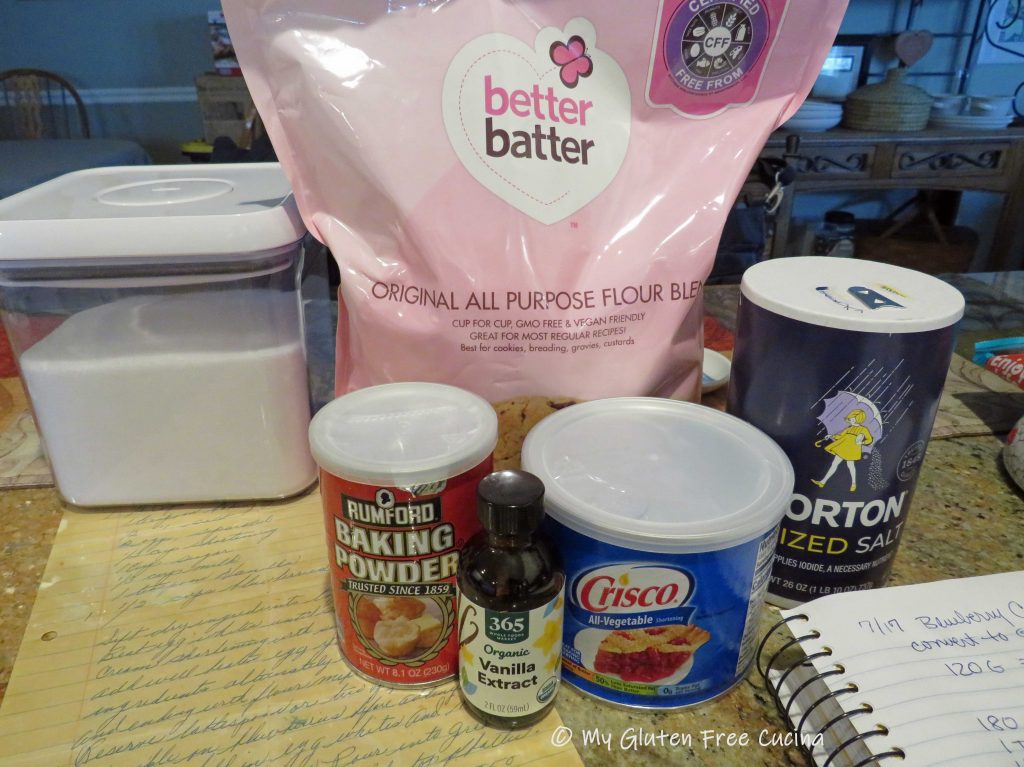
First up, the all-purpose flour. If you follow me, you know that I am a huge fan of Better Batter Gluten Free Flour. I used their Original Blend, which I have used with great success in other cakes and desserts.
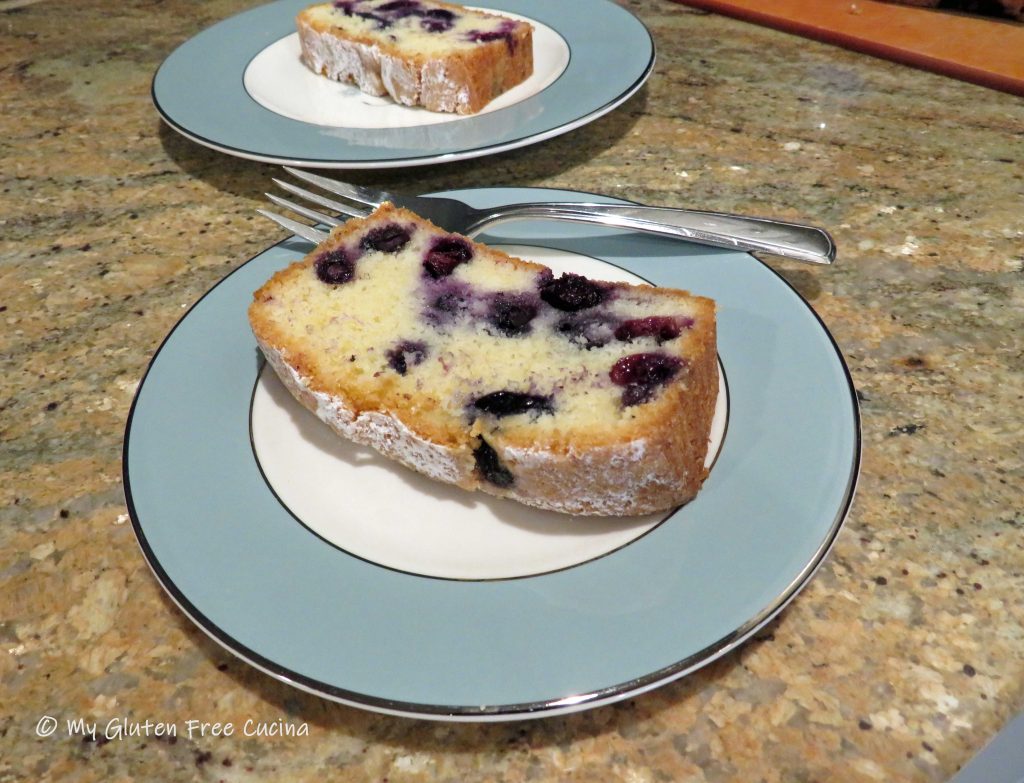
Next, the fruit. I decided to try Olive Nation Candied Fruit Mix. This product is non-GMO, gluten free, and vegan. Here is the link to the fruit mix I used.

If you prefer a dried fruit mix (not candied), this Sun-Dried Baker’s Fruit Medley from Traina is gluten free and comes in a generous 2-lb. bag, great if you wanted to double this recipe.
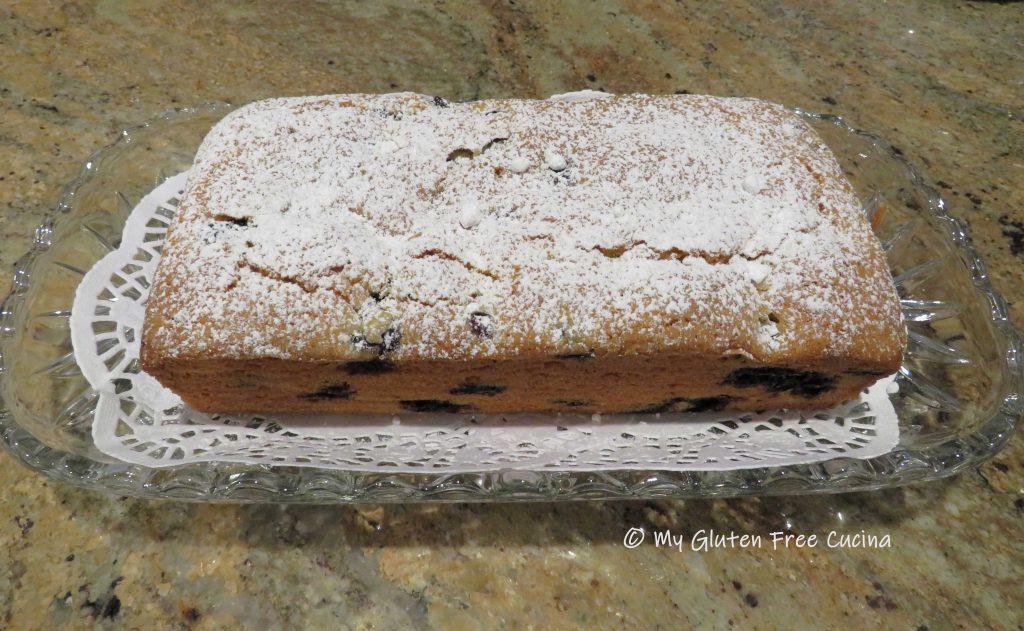
The rest of the ingredient list consists of common pantry items and the preparation is straightforward. There is no special equipment needed, other than a loaf pan. This recipe makes 1 loaf (9″ loaf pan) or 4 mini loaves.

Ingredients:
Wet Ingredients
- 4 tbsp. butter (1/2 stick)
- 1-1/4 cups hot water
- 1 cup sugar
Dry Ingredients:
- 180g. Better Batter Original Gluten Free Flour
- 1 tsp. cinnamon
- 1/2 tsp. cloves
- 1/2 tsp. nutmeg
- 1 tsp. baking soda
- 1/4 lb. shelled walnuts (4 oz.)
- 16 oz. candied fruit or dried fruit mix
Other:
- Crisco, or butter for greasing pans
- brandy, for brushing
 Preparation:
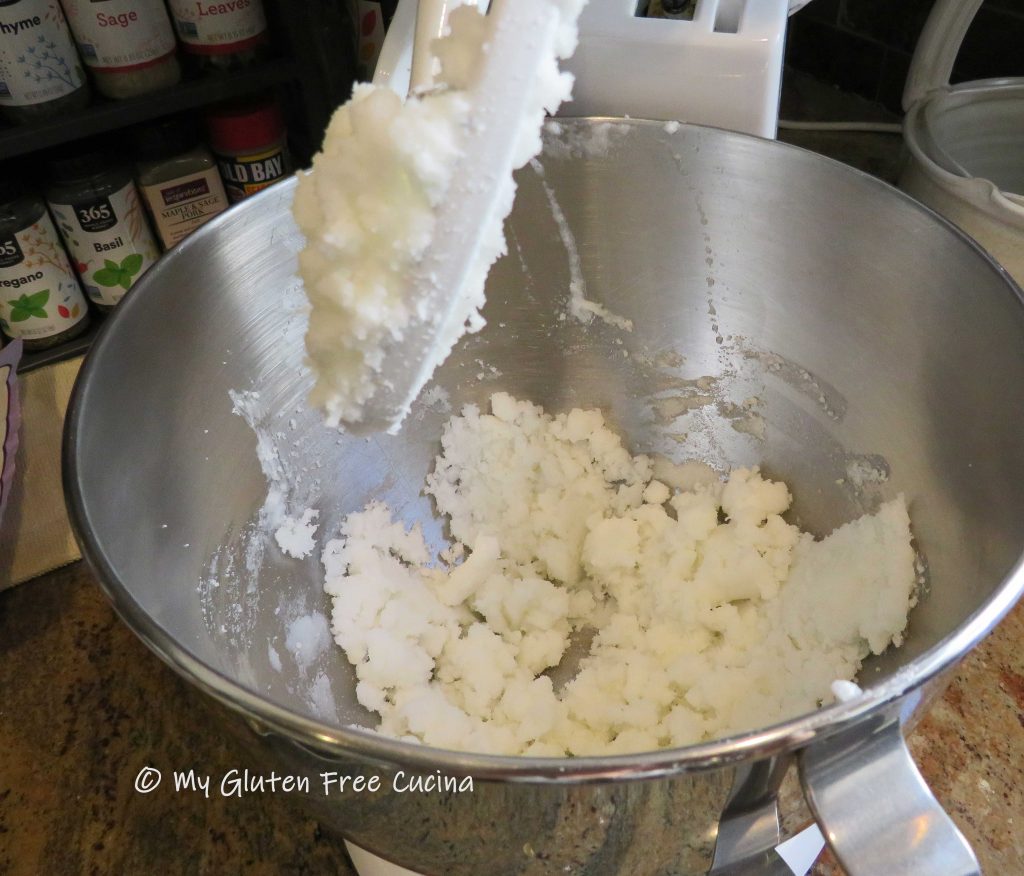
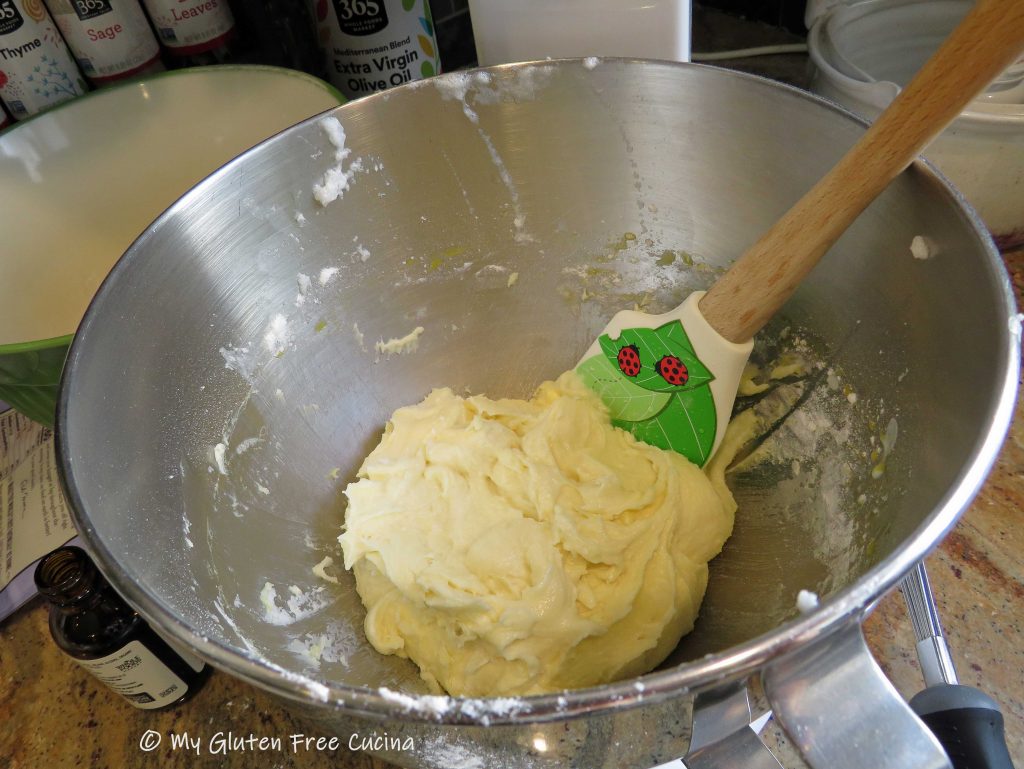
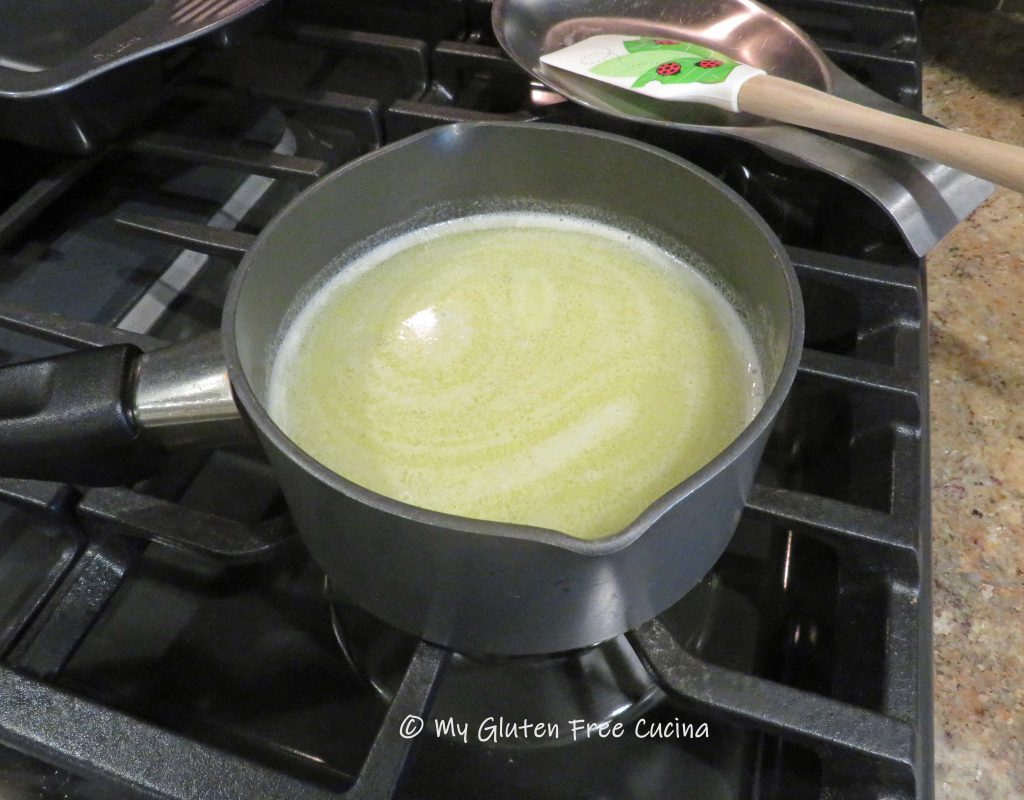
Combine the butter, water and sugar in a small saucepan and boil for 5 minutes. Set aside to cool.
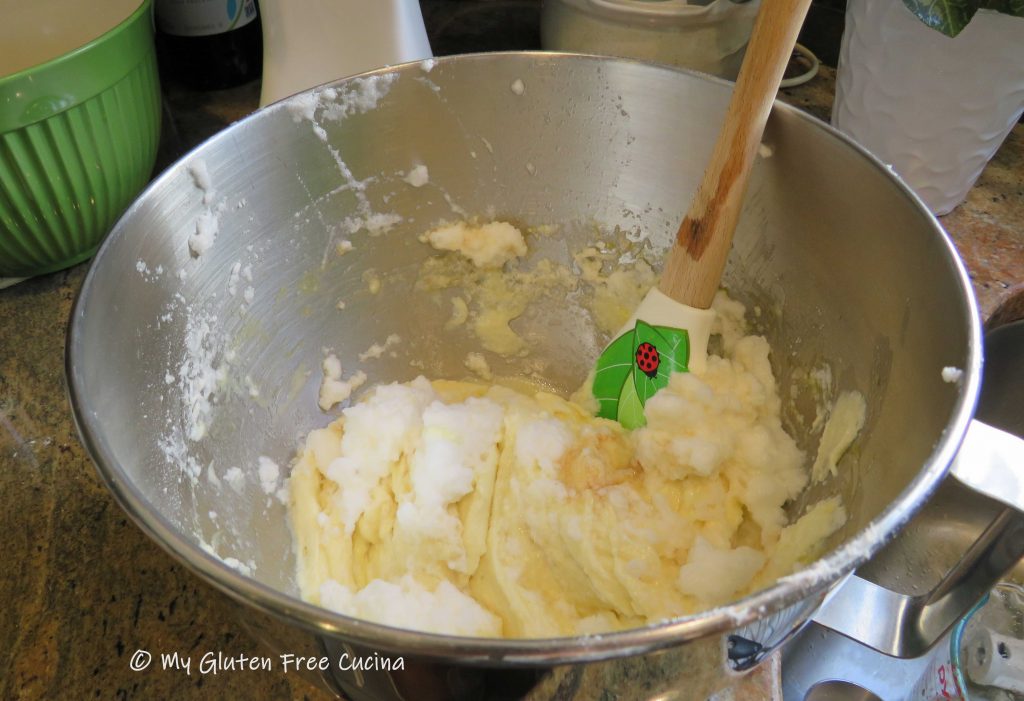
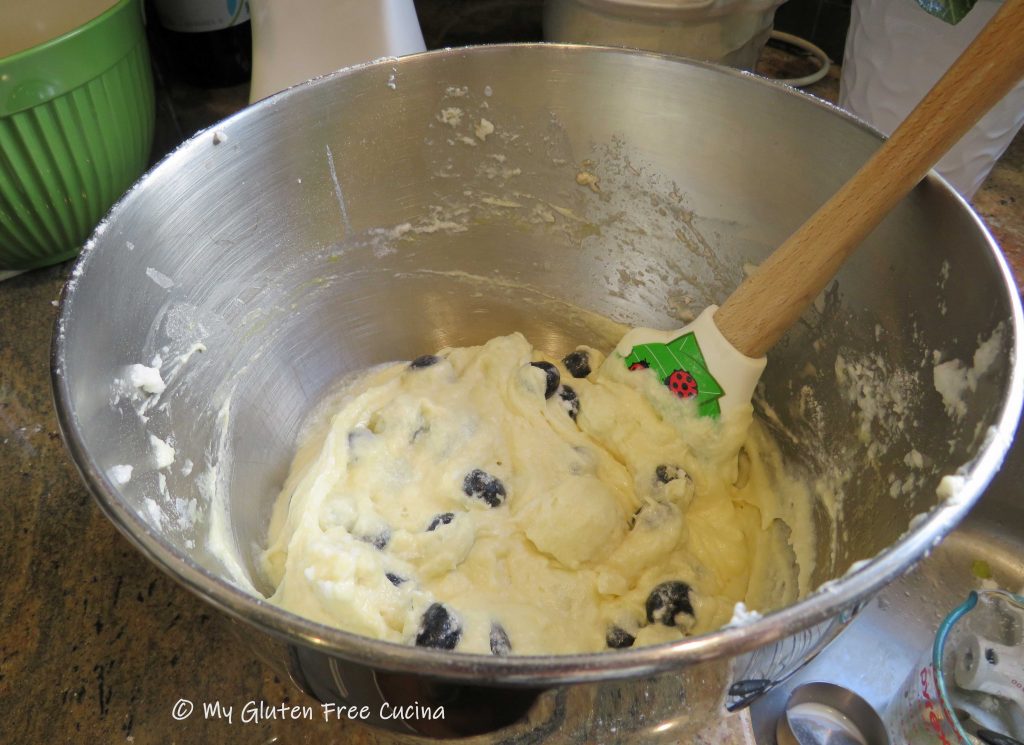
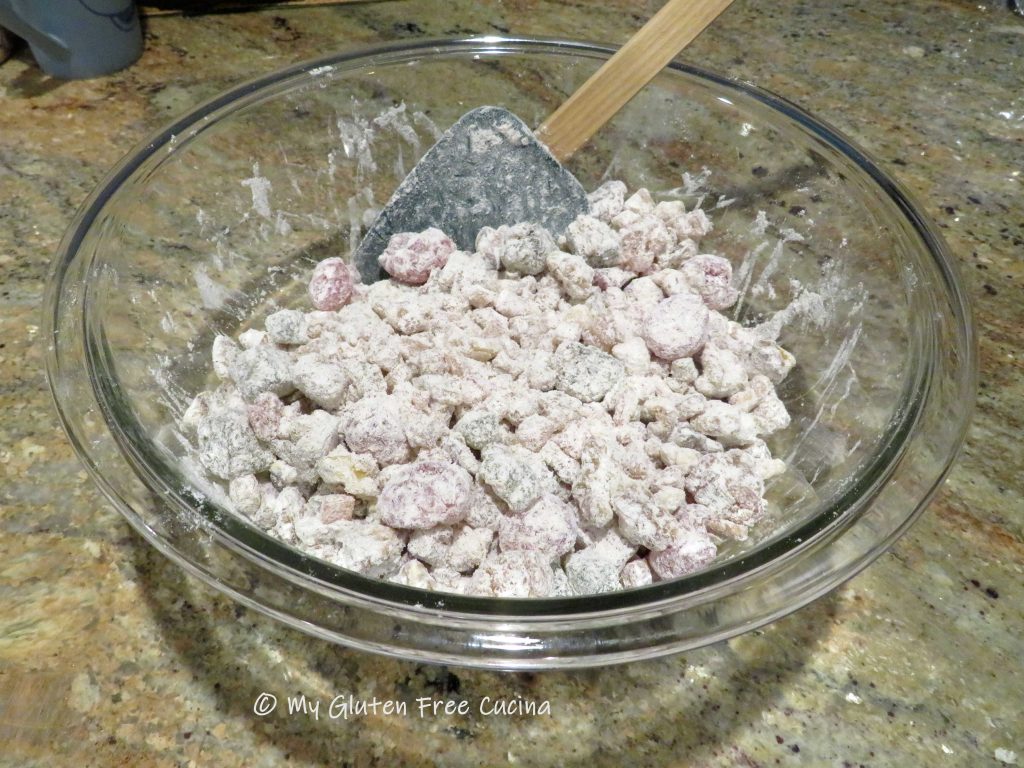
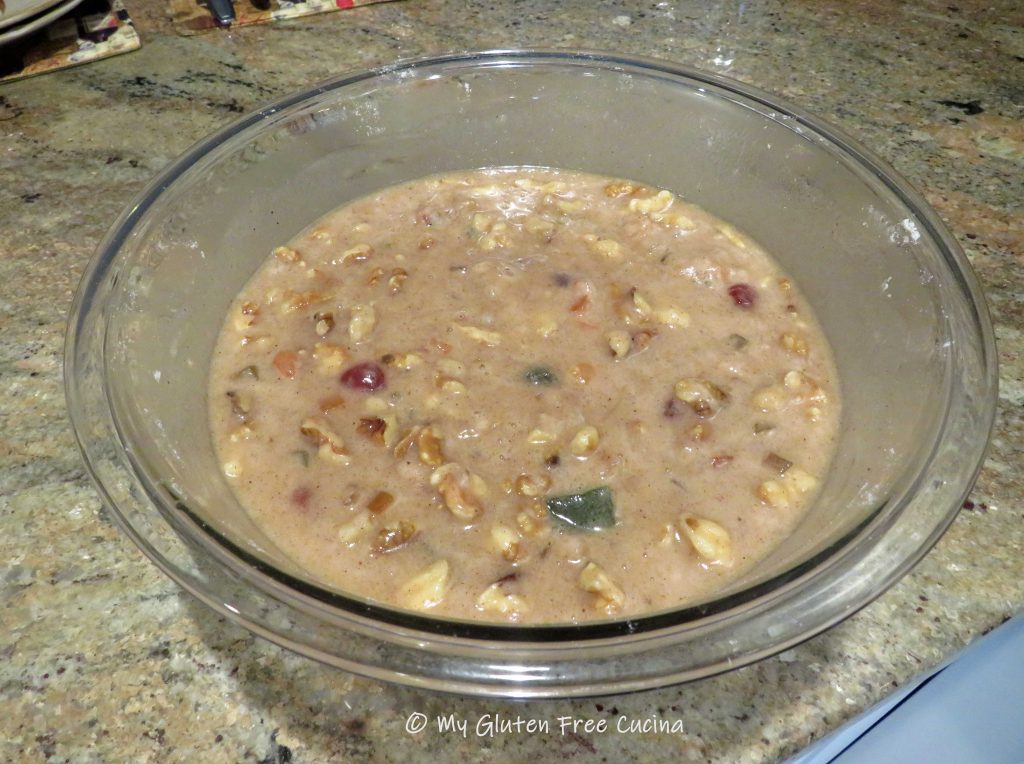
Whisk together the flour, spices and baking soda in a large bowl. Add the walnuts and dried fruit. Toss well with the flour mixture.
Pour the liquid mixture over the fruit and flour mixture and blend thoroughly with a spatula. Give the batter a few minutes to rest and thicken.
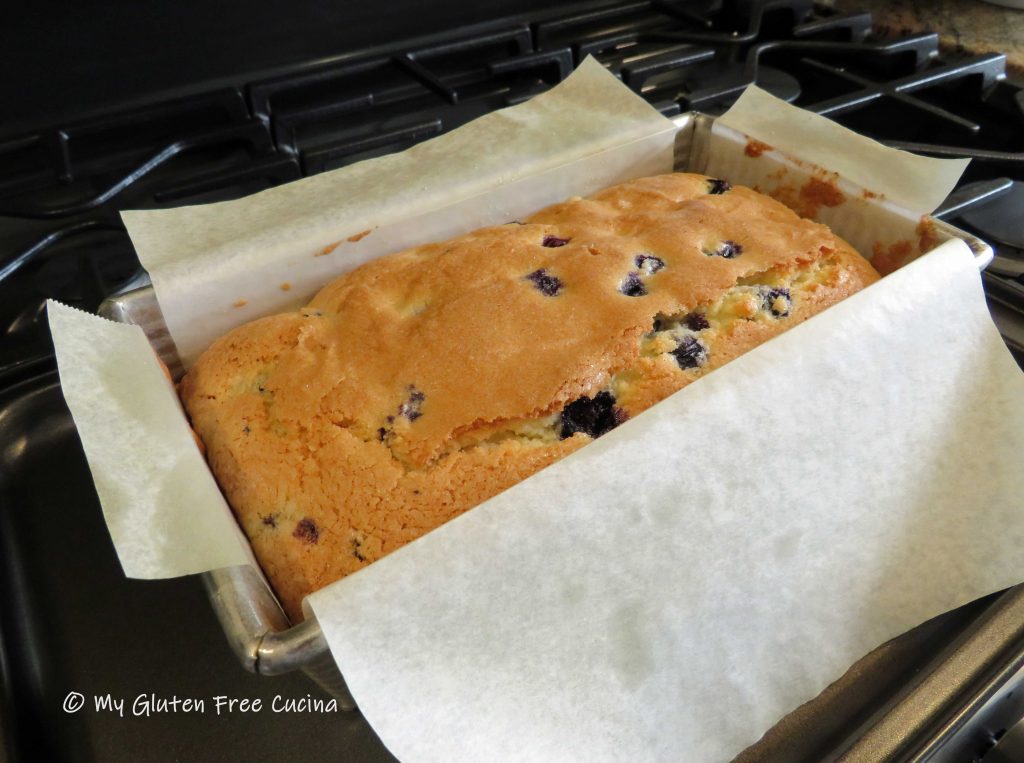
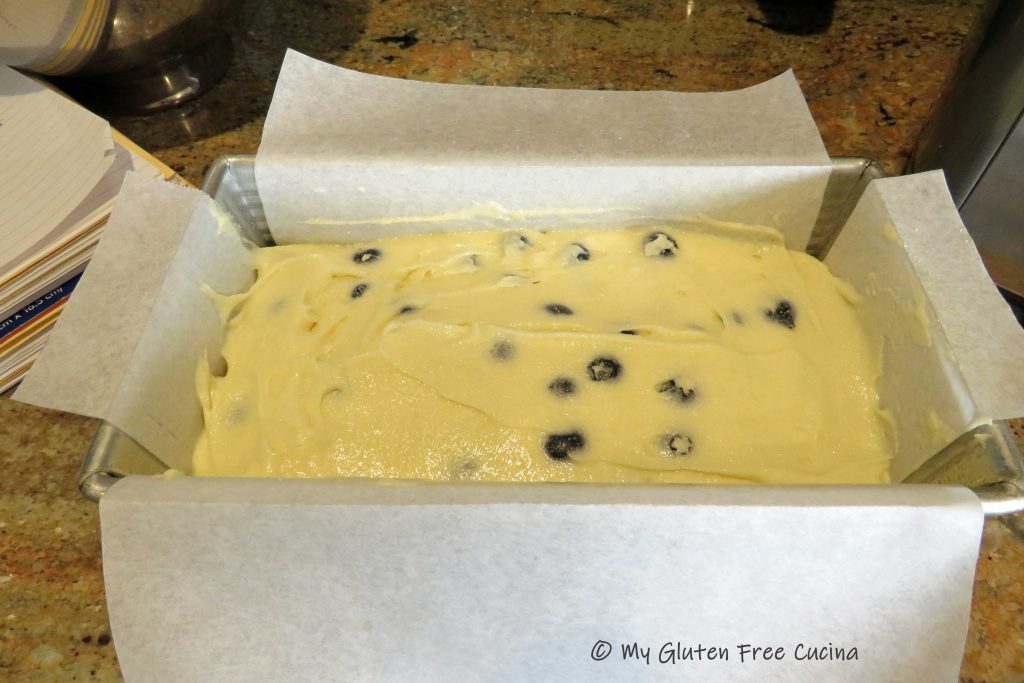
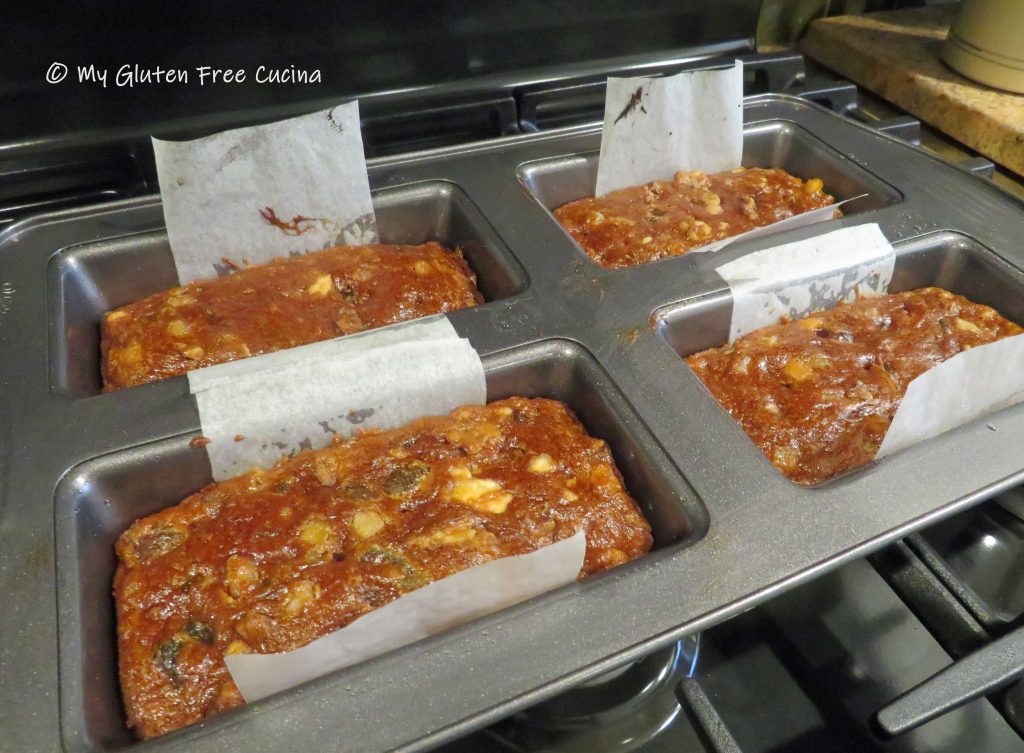
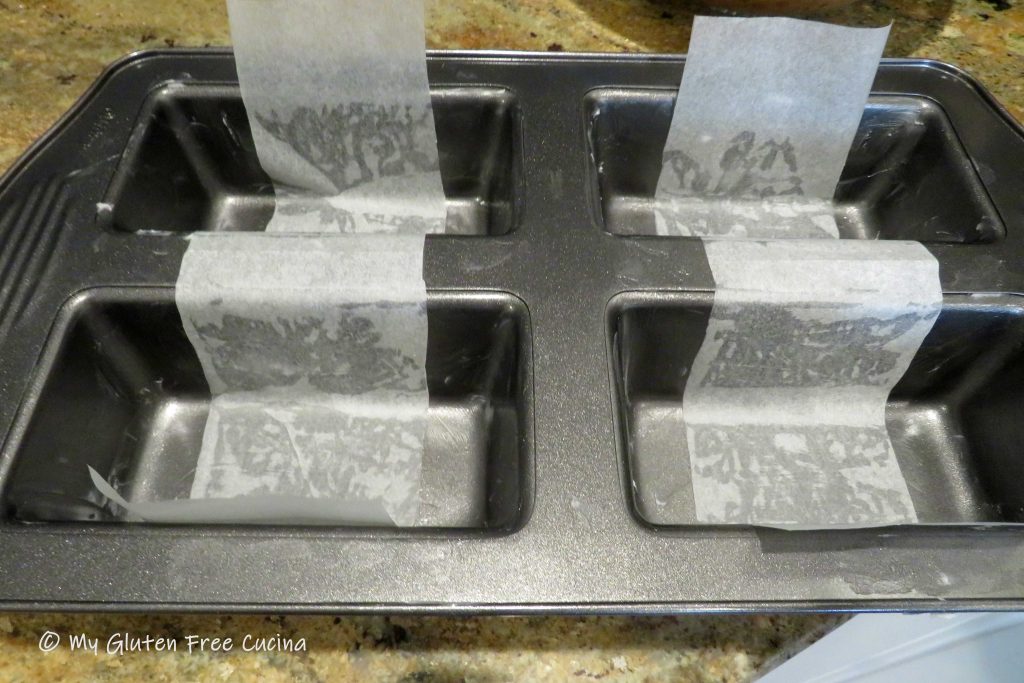
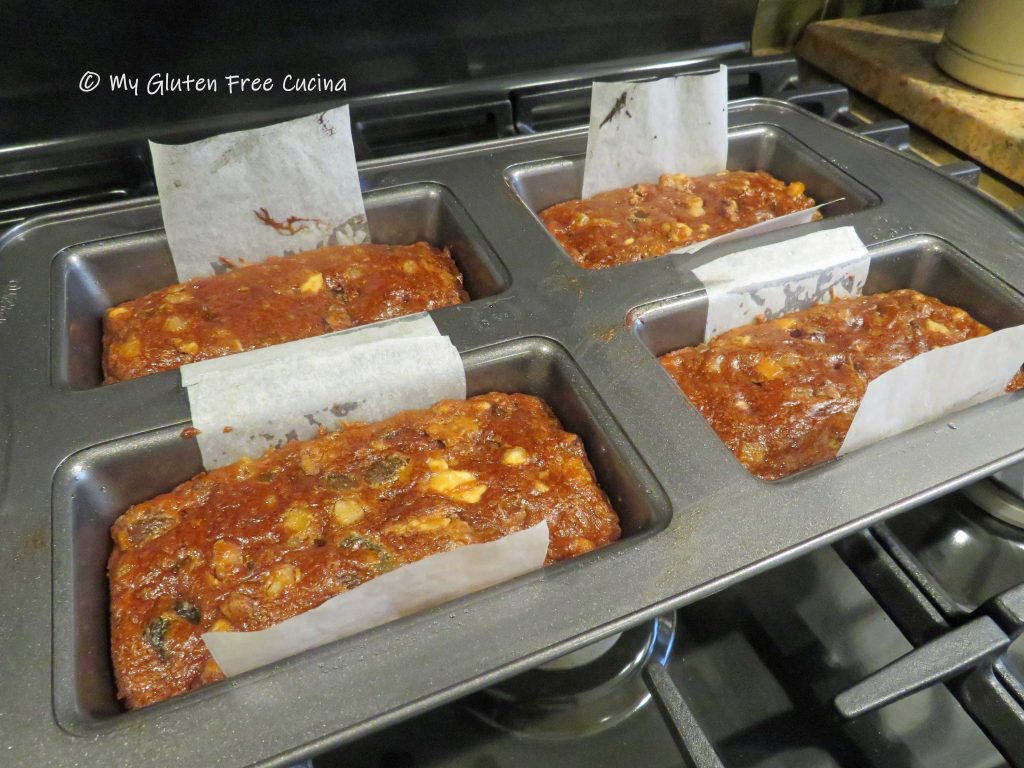
Preheat the oven to 350º. Grease the loaf pan liberally with Crisco (or butter). Even though my loaf pan is nonstick, I lined it with strips of parchment for a little added insurance.
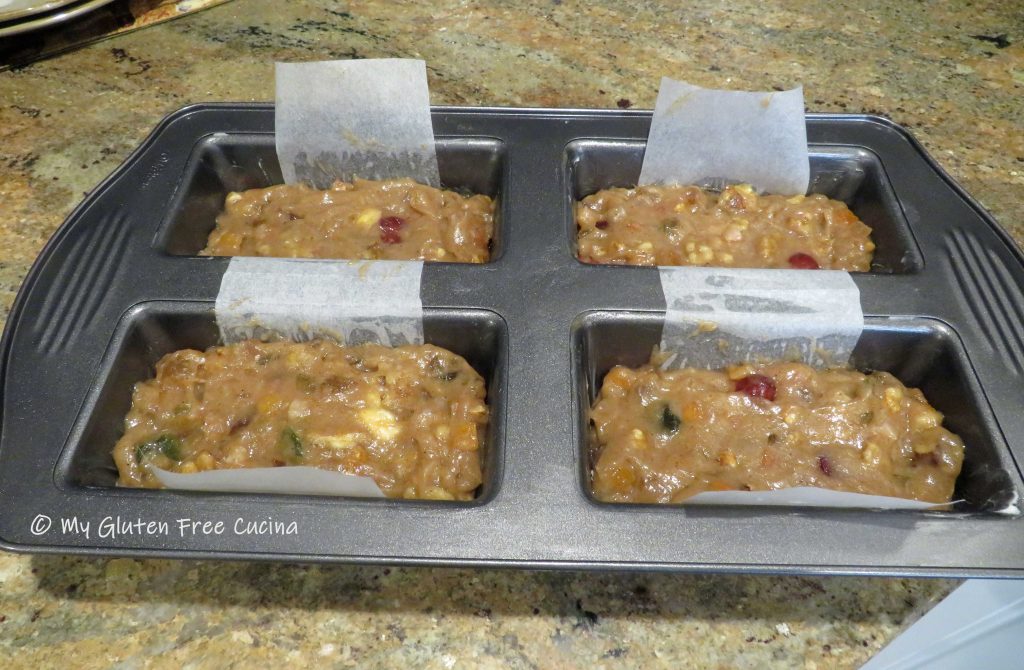
Spoon the batter into the prepared pan. Smooth the top with a spatula, making sure it gets into all the corners.
 If using a 9″ loaf pan, bake for 1 to 1.5 hours, testing for doneness after 1 hour. The original recipe instructions said 1.5 hours and it will depend largely on your oven and the amount of moisture in the fruit blend.
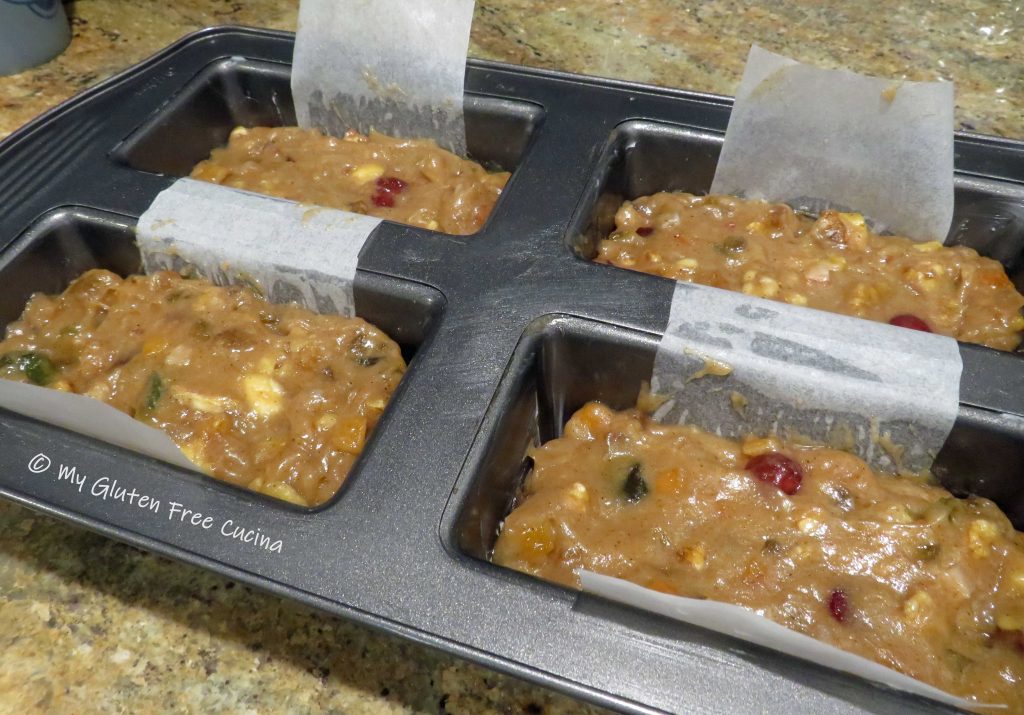
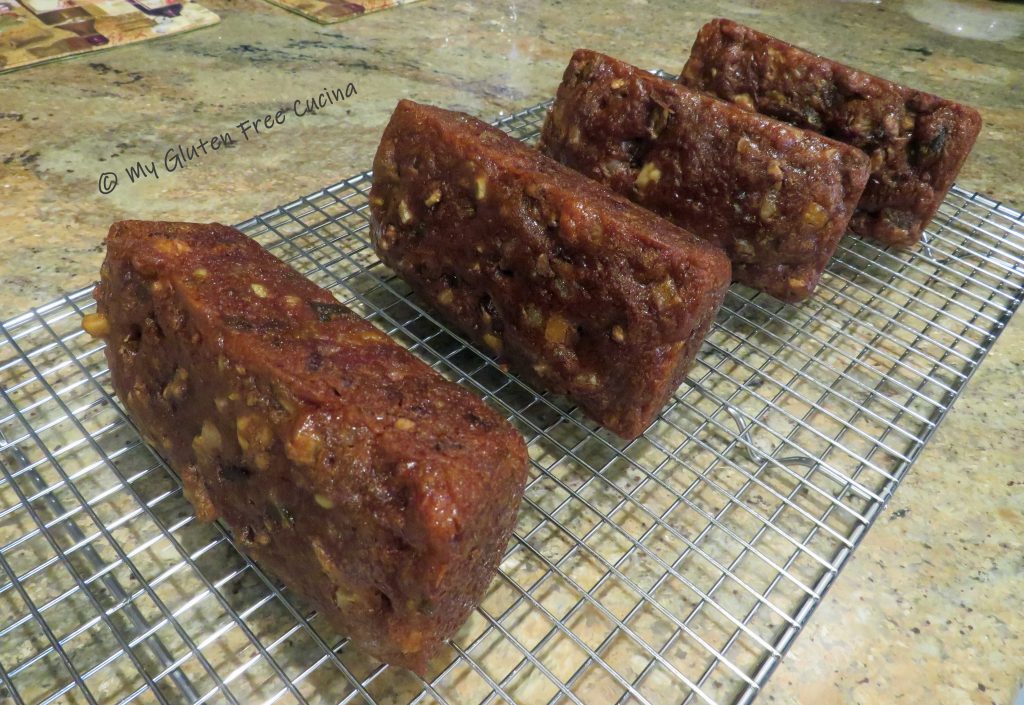
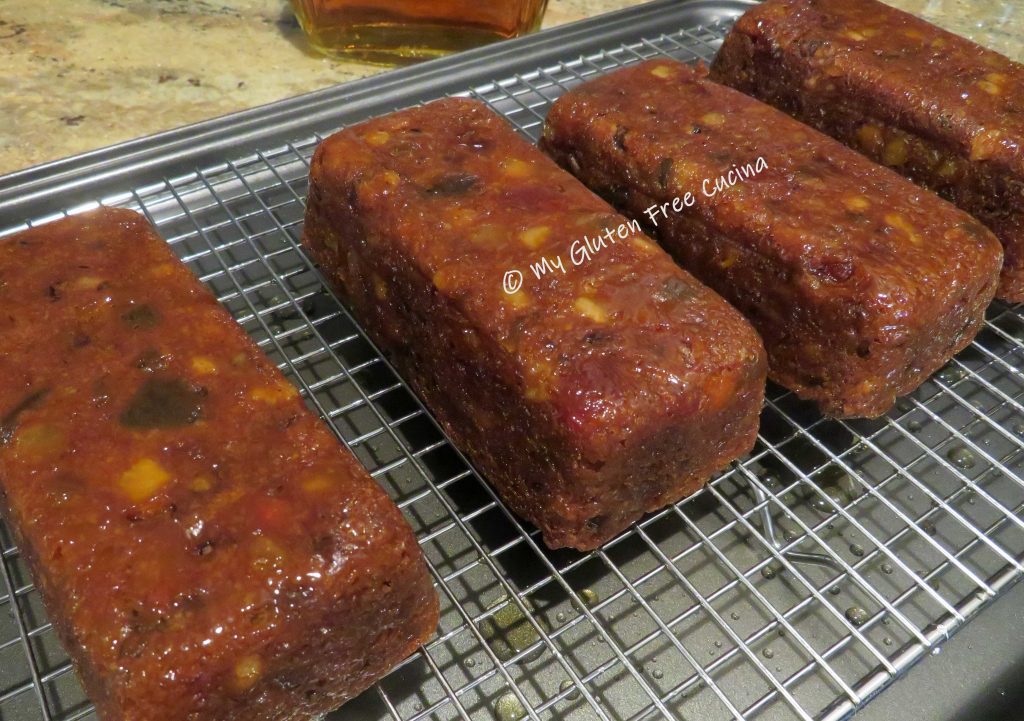
For mini loaves, the baking time will be 45-50 minutes. After baking I turned the oven off and opened the door slightly, leaving the loaves in for another 30 minutes to cool. I used a toothpick to check for doneness, and you can see that the loaves are starting to pull away from the sides of the pan.

Remove pan from the oven and cool on a rack for 15-20 minutes, then run a knife or thin spatula around the edges. Grasp the sides of the parchment to lift the cakes out of the pan.
I was so glad I used parchment, look how the cakes released perfectly from the pan with no cracks or sticking.
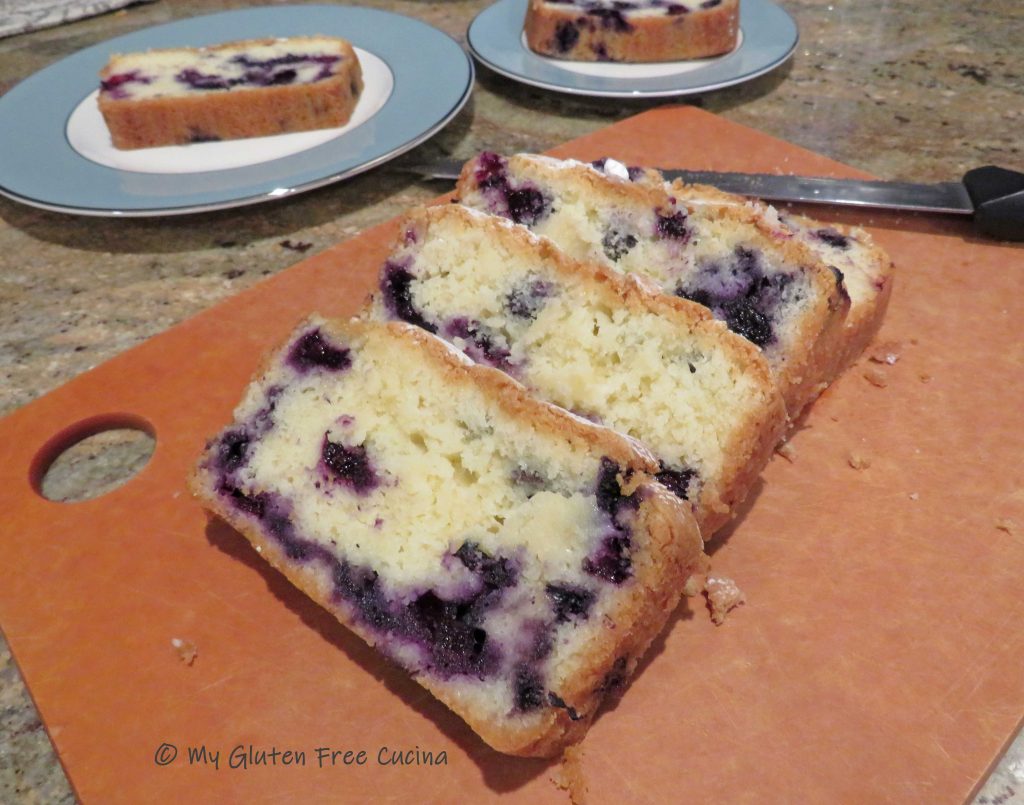
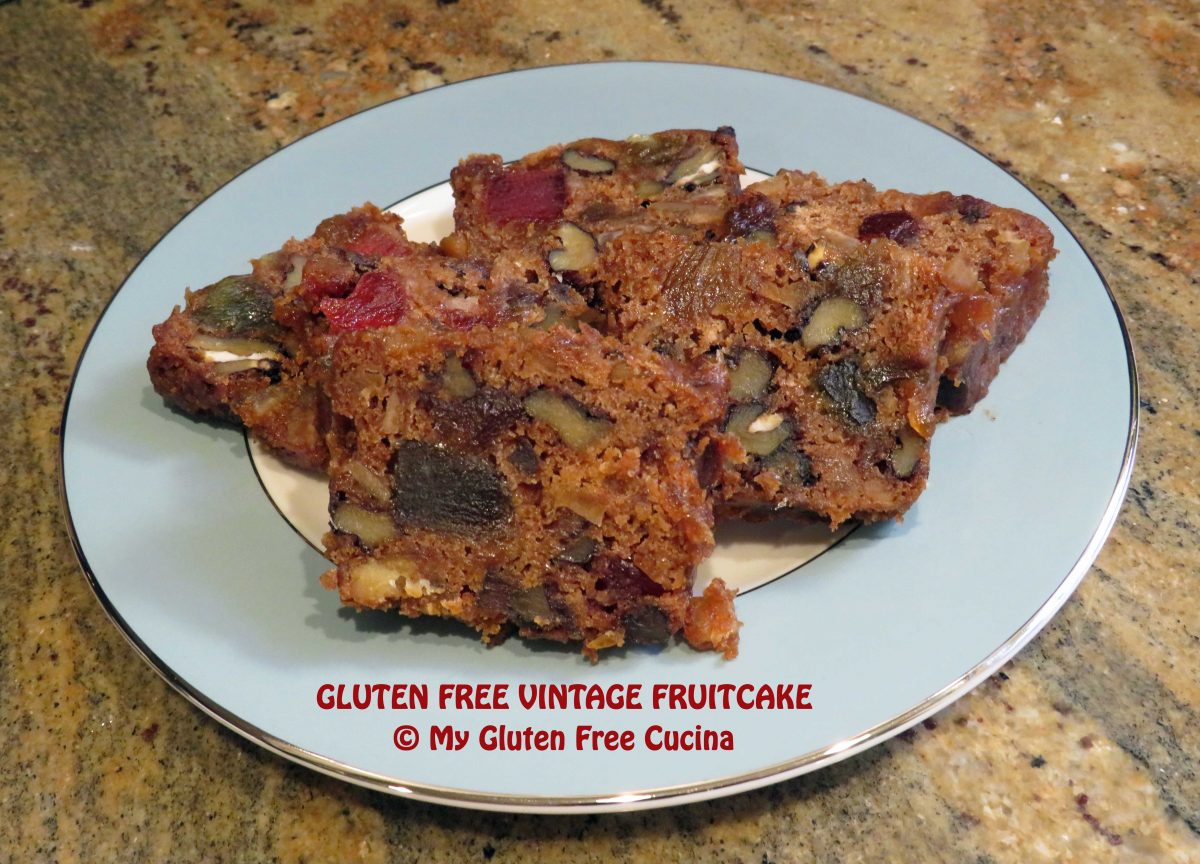
When the cakes have completely cooled, brush them liberally on all sides with brandy. I used just under 1/2 cup for all 4 cakes.

Tightly wrap each cake in wax paper, pressing the paper into the moistened cake to seal. Tape the edges.
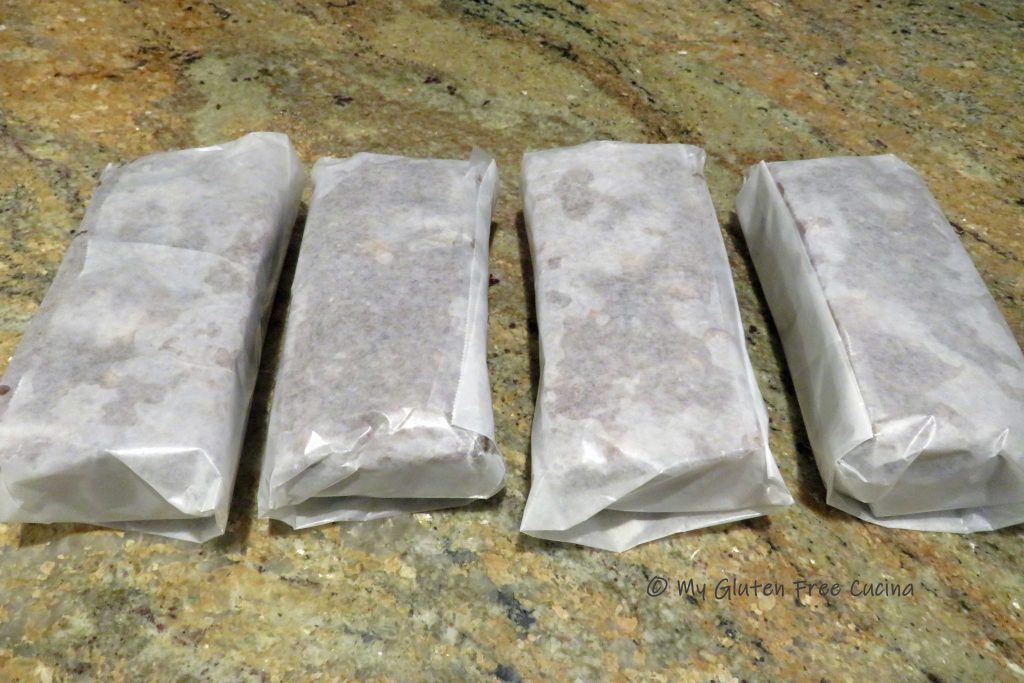
Wrap again in foil, place in zip lock bags and store in a cool, dark place for about 8 weeks. I keep mine in a pantry closet that is on an outside wall.

I usually make the fruitcakes in early October, and they are ready to enjoy from Thanksgiving Day through the New Year. It is well worth the wait! After many years of being gluten free, it is such a treat for me to make this old recipe again and my heart is full remembering how much my husband loved when I made this for him.

Notes ♪♫ Always reach out to a manufacturer when you are not sure if a product contains gluten. In past years, I have used King Arthur’s dried fruit blend for my Fruitcakes. Unfortunately, they confirmed to me via email that they do not test for gluten in their Bakers Fruit Blend and cannot guarantee no cross contact with gluten in this specific product.
Originally posted on 10/15/2022 Updated 10/24/2024

[print_link]
 I hadn’t made this cake since my Celiac diagnosis in 2017, and always wondered what would happen if I converted it to gluten free. Would it taste as good? The verdict, YES and the results were amazing!