Bell peppers- are you a fan? They come in so many beautiful colors and are available in stores year-round! Maybe you have even grown them yourself- or like me, you do your harvesting at the supermarket! 🤣 Either way, you will definitely want to try these Italian style stuffed peppers.
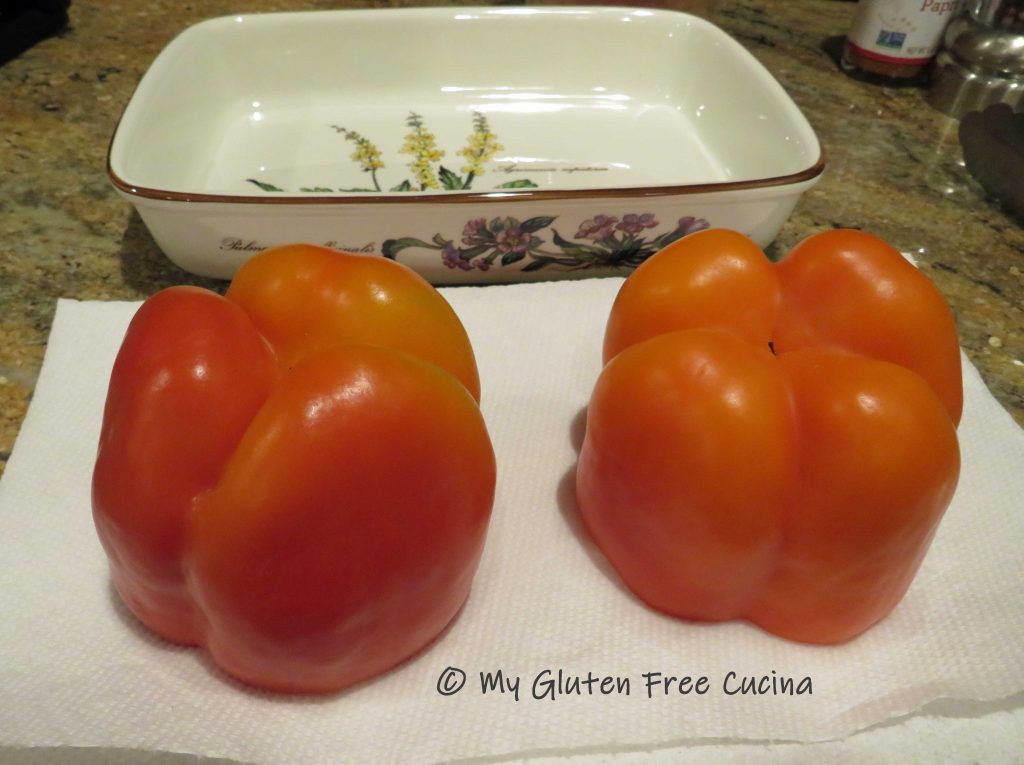
 Hint! Choose peppers that are uniform in size, and check that they can stand upright.
 The sausage and rice stuffing is so delicious and can stand on its own as a casserole! For a really special touch, try using my homemade Mushroom Soup and homemade Italian Sausage in this recipe, both are fabulous! Of course, you can use store bought if you like, just make sure the ingredients are gluten free (see notes for suggestions).
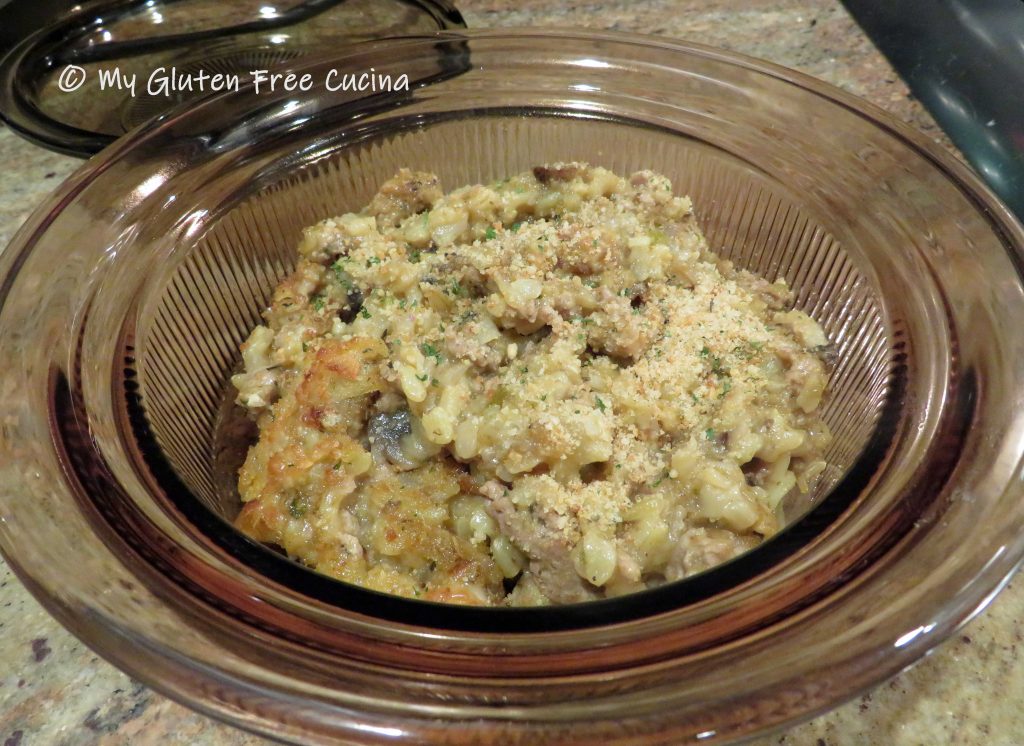
This recipe will yield enough stuffing for 4 medium peppers. In this post I am stuffing 2 peppers and serving the rest as a casserole.
This post contains affiliate links.
Ingredients:
- 1/2 cup long grain brown rice (uncooked)
- 1-1/2 cups gluten free Lower Sodium or Unsalted Chicken broth
- olive oil
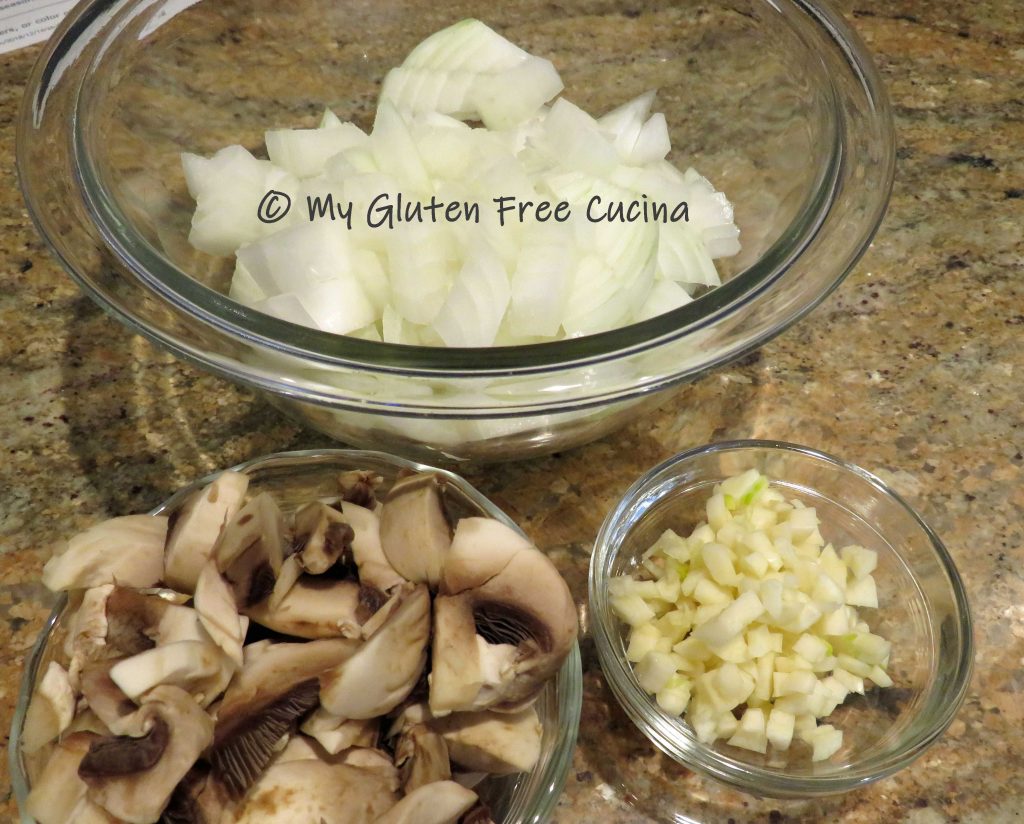
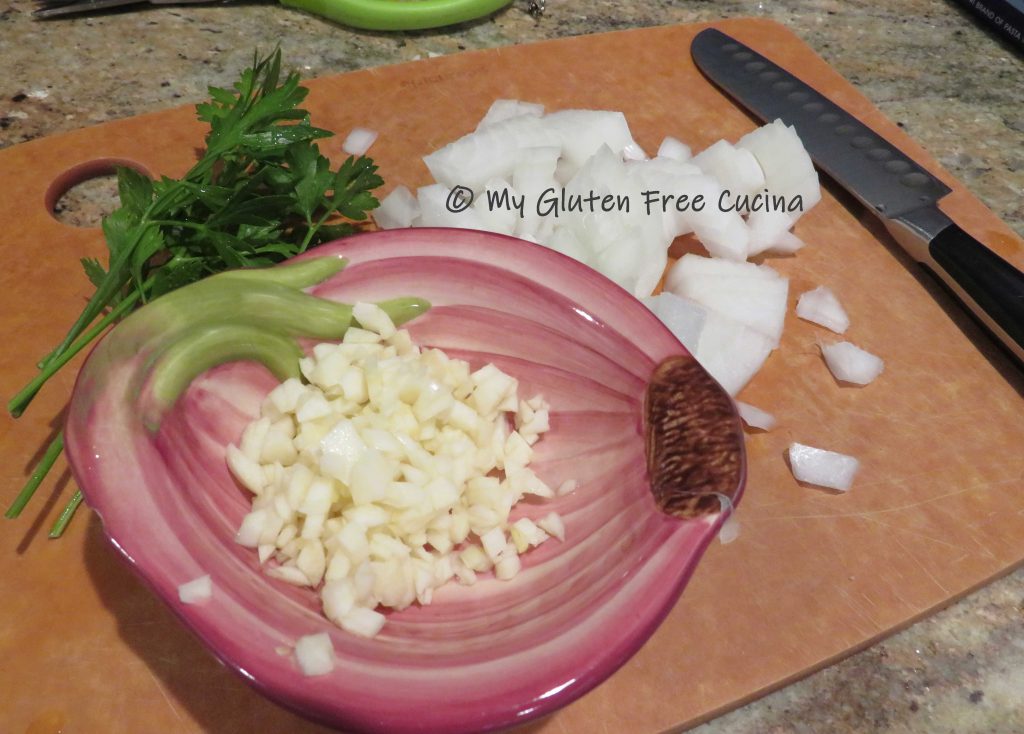
- 1/2 sweet onion diced
- 3 garlic cloves, minced
- 1 cup sliced mushrooms
- salt and pepper to taste
- 8 oz. gluten free Italian Sausage, casings removed
- 1-1/2 cups gluten free Mushroom Soup
- 1/4 cup 1% milk, plus more as needed
- paprika
- 1/3 cup shredded gruyere cheese
- 1/3 cup gluten free Italian breadcrumbs
_____________________________________
- 4 bell peppers, color of your choice
- 1/4 cup grated gruyere or Parmesan cheese
- 1/4 cup gluten free Italian breadcrumbs
- 2 cups purchased marinara sauce for serving or make your own
Preparation:
Cook the rice in the chicken broth. I used long grain brown rice, which takes about 50 minutes to cook, so I gave it a 35-minute head start before adding to the casserole.

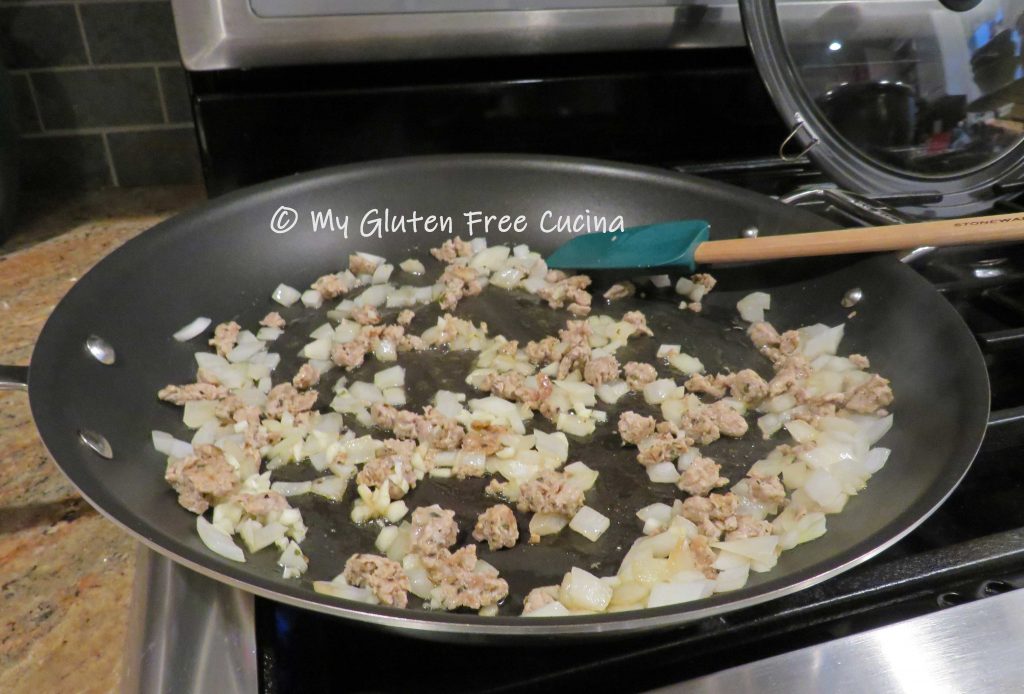
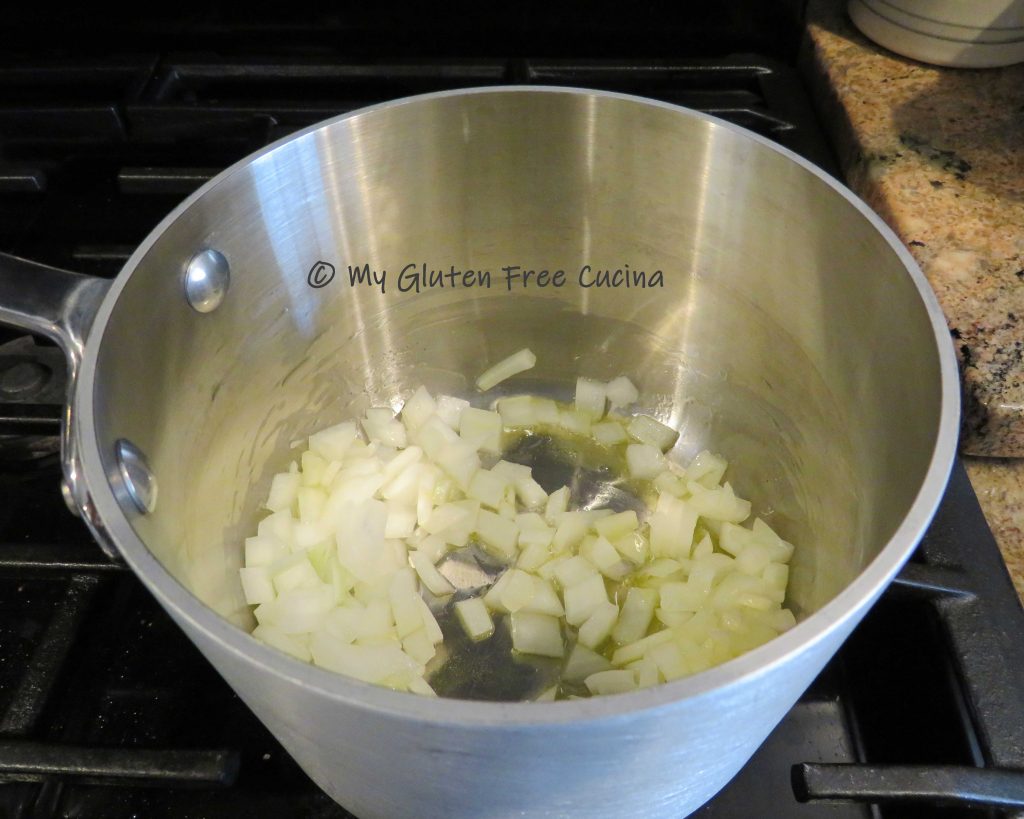
Next heat a deep, oven proof skillet to medium low and add the onions, mushrooms and garlic with a little olive oil. Season with salt and pepper.
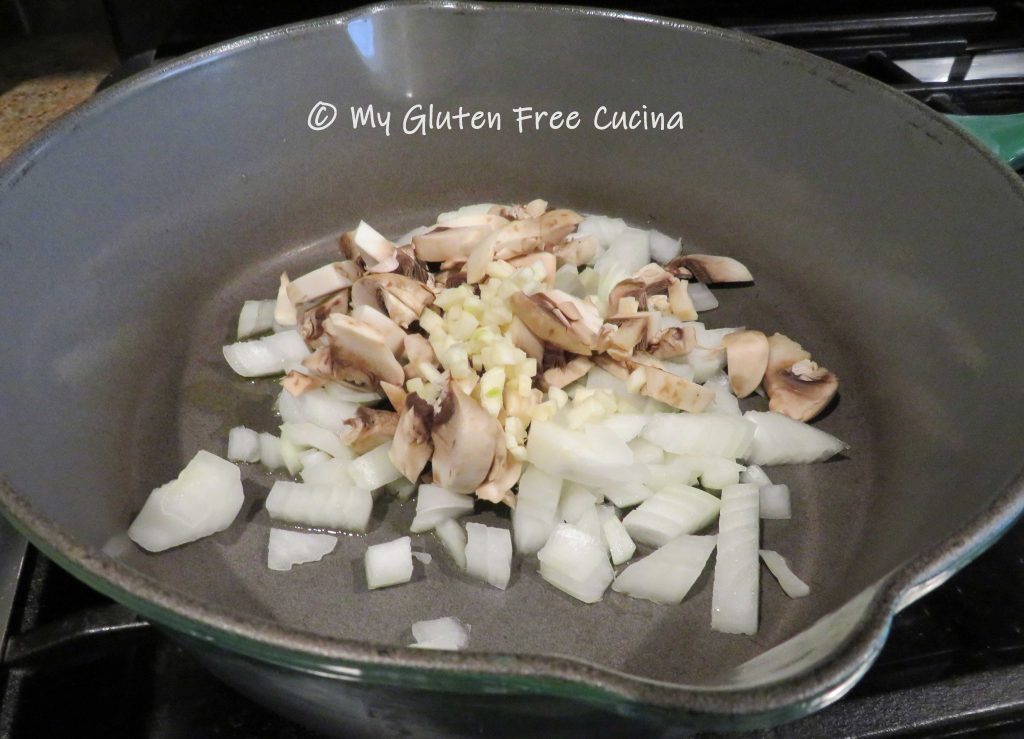
Cook for 2 minutes, stirring frequently.

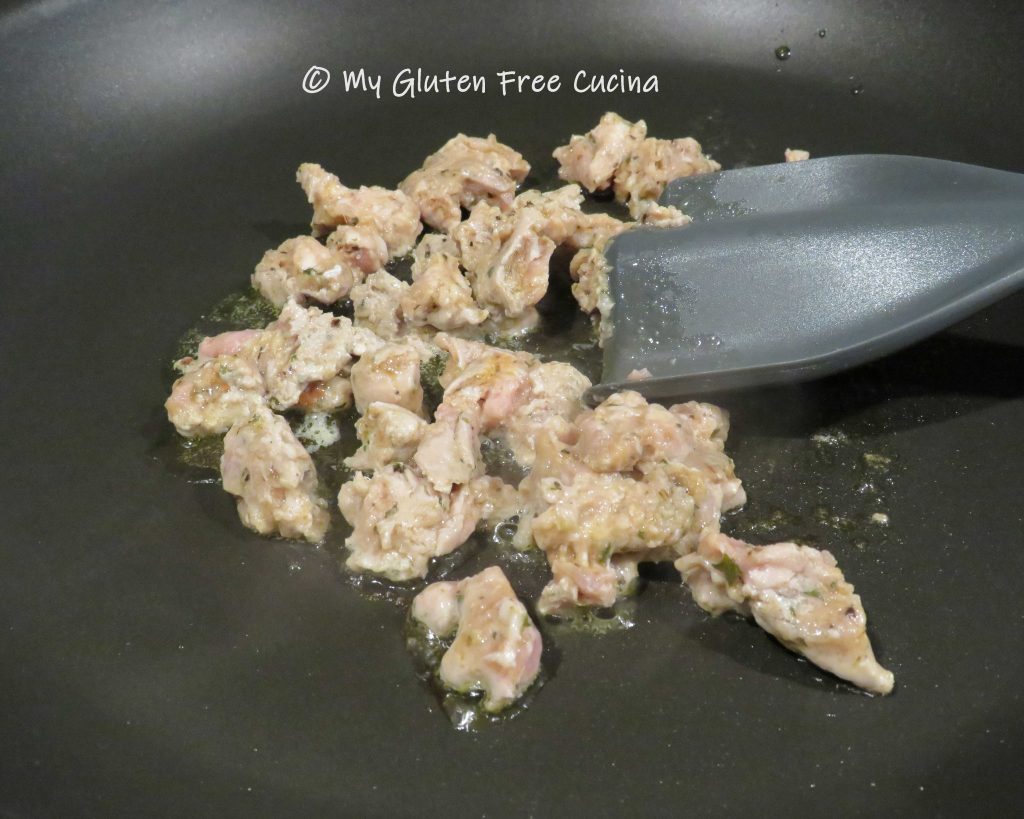
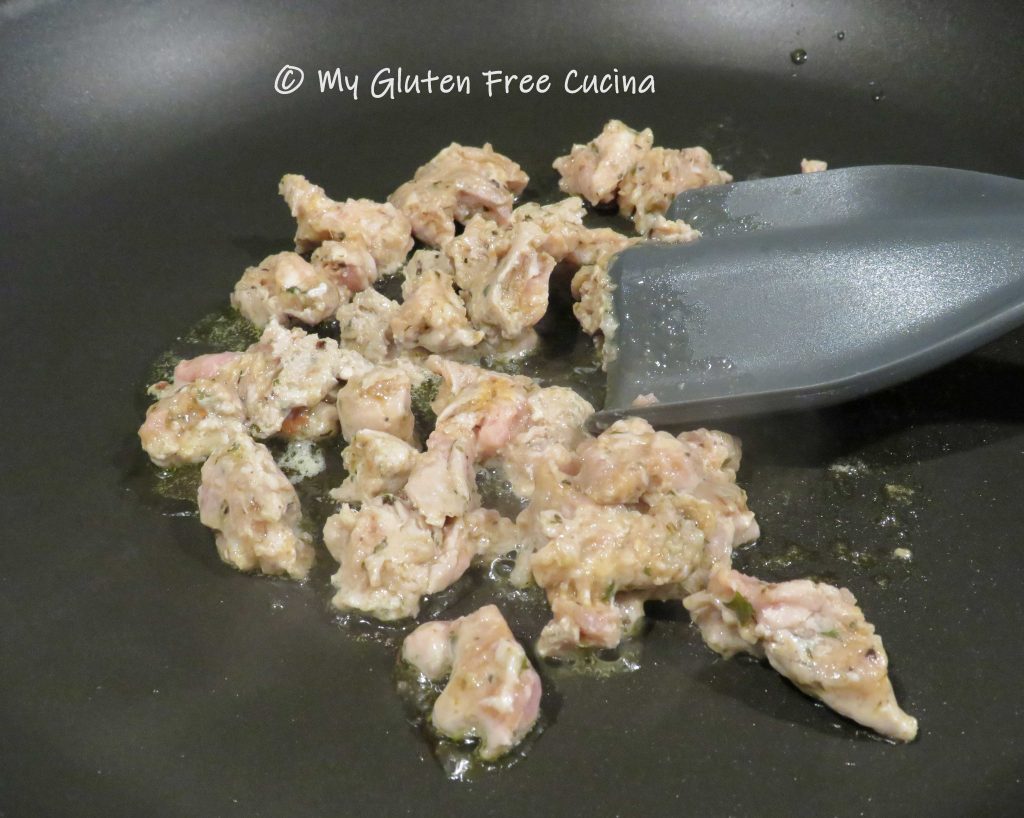
Push the veggies to the side, leaving a space in the center of the pan and add the sausage.

Break up the meat with a spatula to brown it all over, then stir into the veggies.

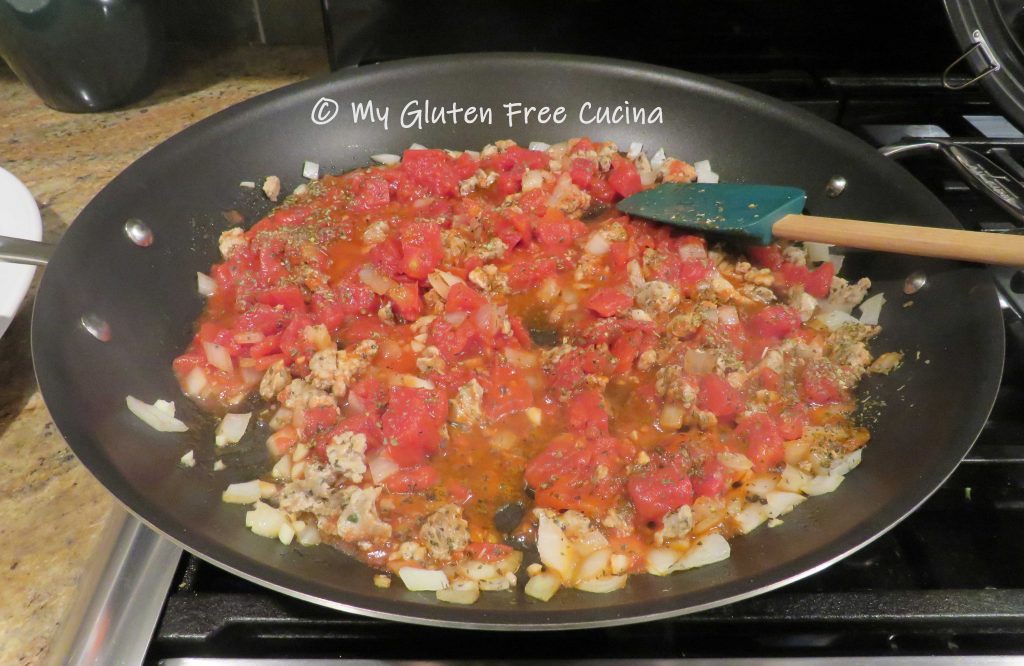
When the rice has simmered for 35 minutes, add it to the skillet along with any broth that has not been absorbed. Add the Mushroom Soup and 1/4 cup milk.
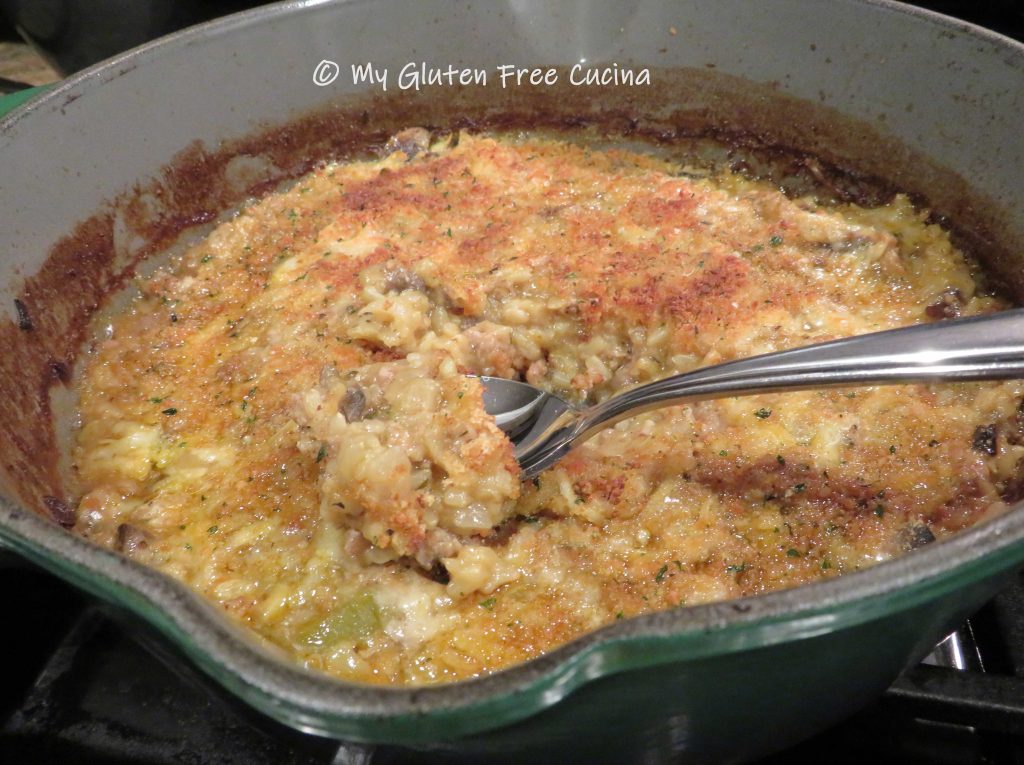
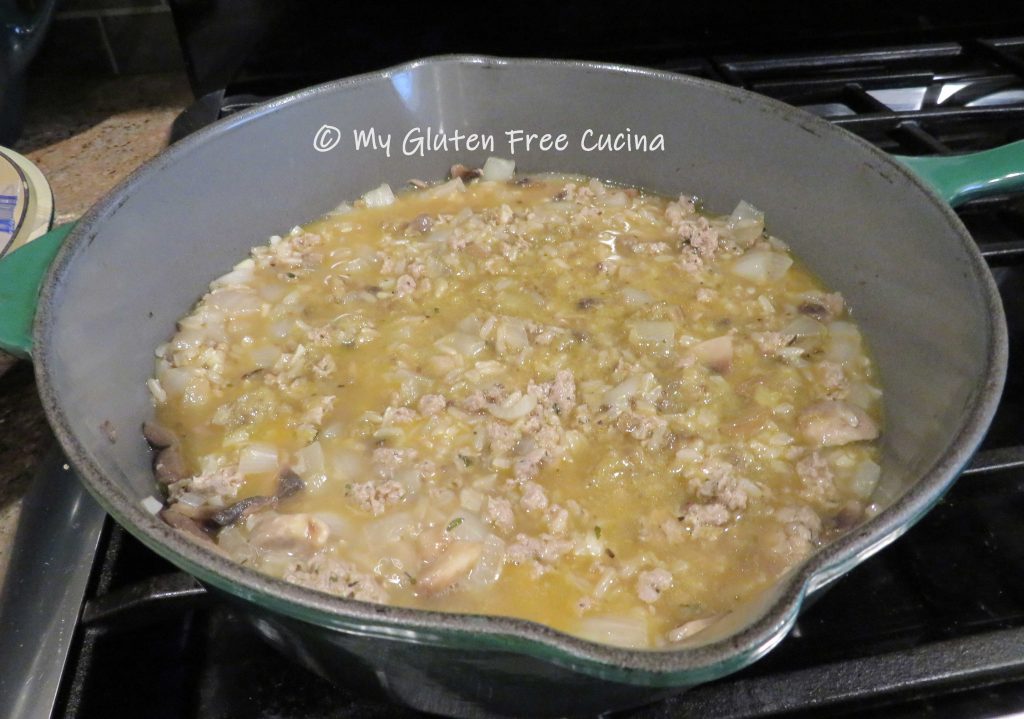 Sprinkle the top with paprika and place the skillet in a 350° oven. Bake for 30 minutes uncovered.

Stir the casserole after 30 minutes and add an additional 1/4 cup milk if it appears dry. Continue baking for another 30 minutes. The casserole should be set but moist.
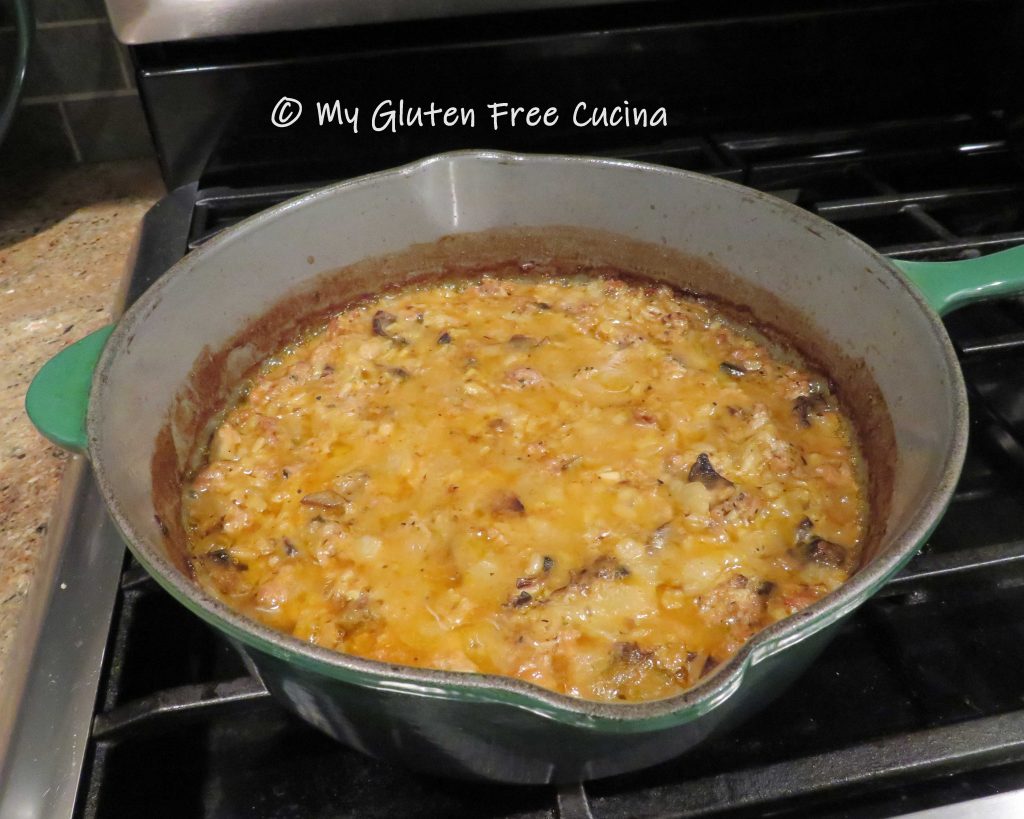
Sprinkle with the Gruyere cheese and breadcrumbs.

Broil on low for 5 minutes or just until the top is nicely browned. You can prepare up to this point a day ahead.
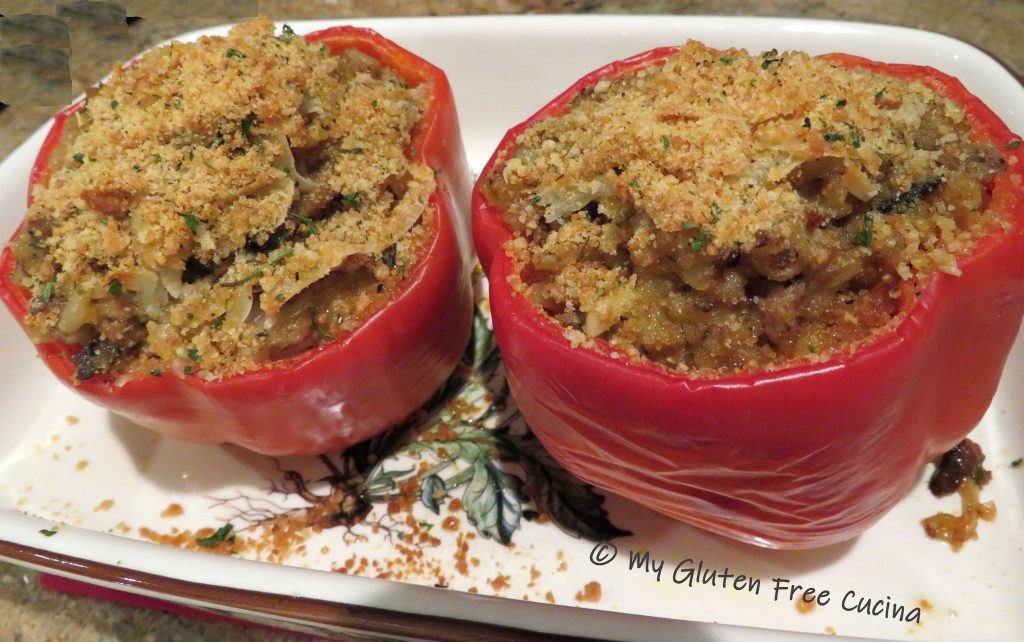
Cut the tops off the bell peppers and remove the ribs and seeds.

Blanch in boiling water for 3 minutes.

Use tongs to remove the peppers from the water and set them aside on paper towels to drain and cool.
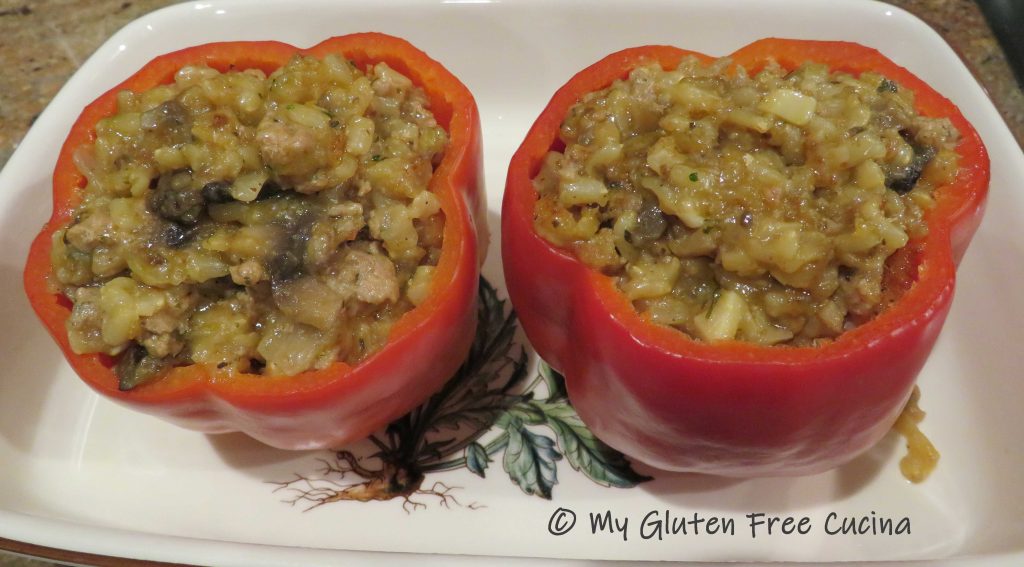
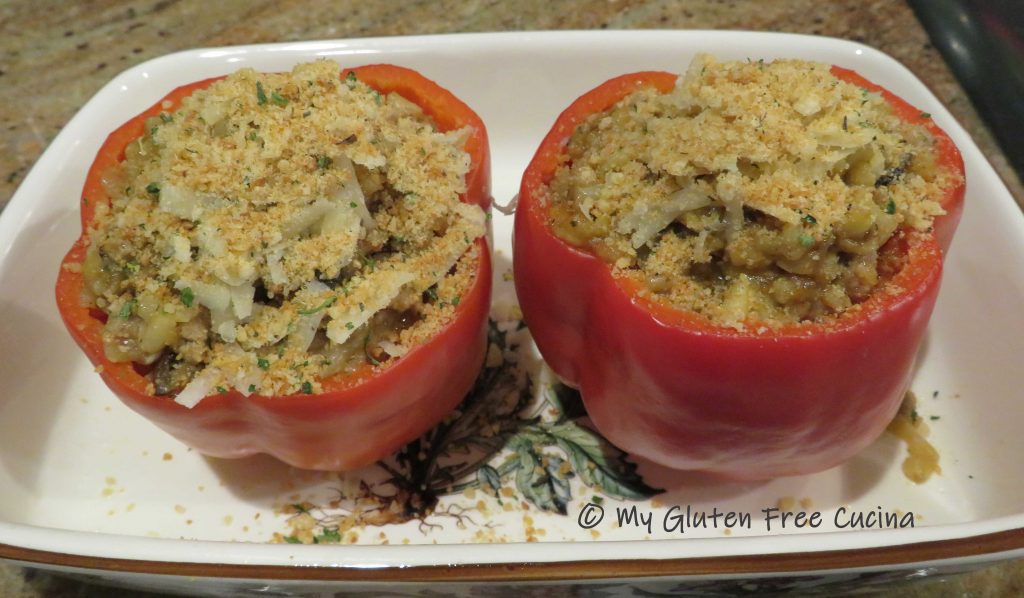
 Arrange the cooled peppers in a baking dish coated with cooking spray and spoon in the stuffing.
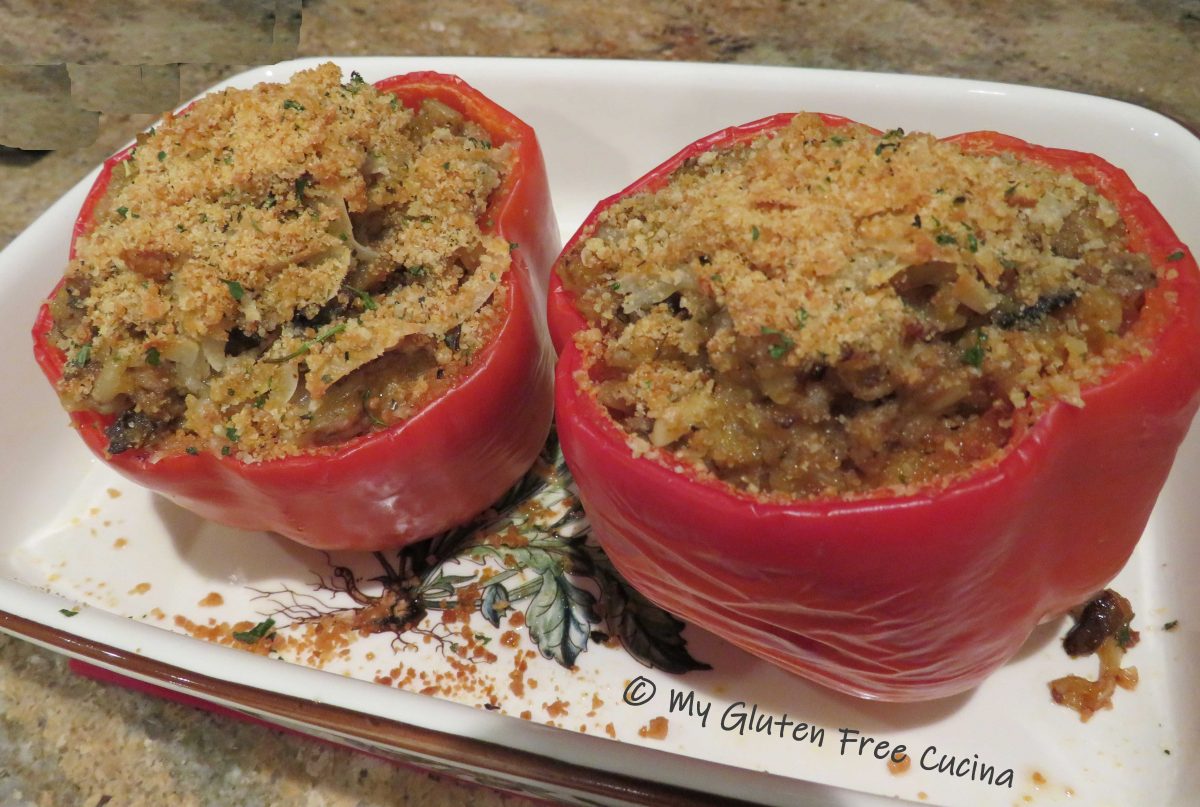
 Top with more cheese and breadcrumbs, then bake for 35 minutes at 350°.
Simmer 2 cups of marinara sauce on very low heat while the peppers are baking.
 Finish under the broiler for 1-2 minutes, just until the tops are browned.

Remember I said the stuffing can stand alone as a casserole? For those who don’t care for the peppers you can set aside some stuffing and simply top with cheese and breadcrumbs and finish under the broiler. It’s delicious!
Serve with marinara sauce as a main course or side. The peppers freeze well. Just cool to room temperature and wrap them in foil, then store in freezer safe bags.
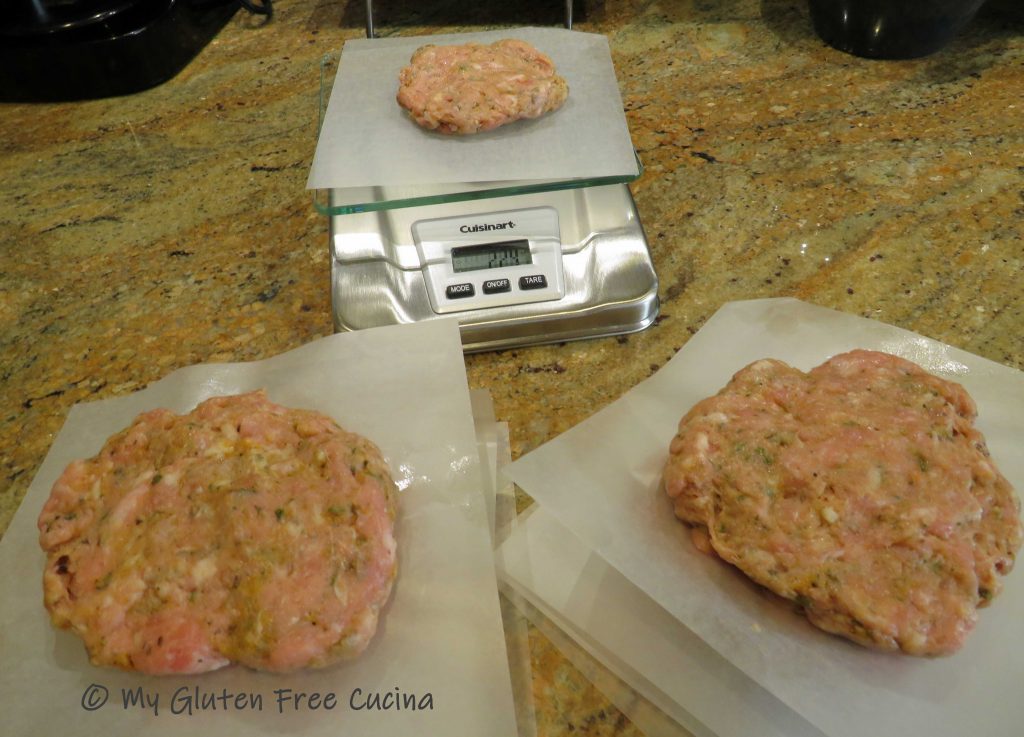
Notes ♪♫ If you don’t want to make your own cream of mushroom soup, try Pacific Foods brand Organic Cream of Mushroom Soup, it’s gluten free! And, when I’m not making my own Italian sausage patties, I like to use Premio, available at most supermarkets.


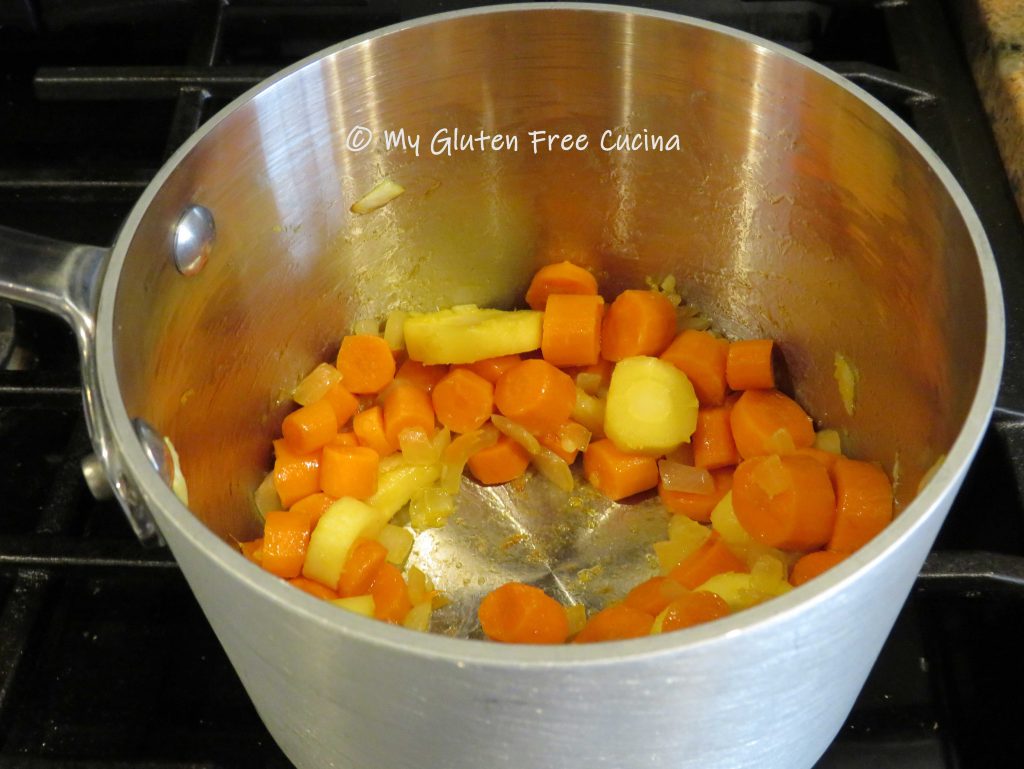
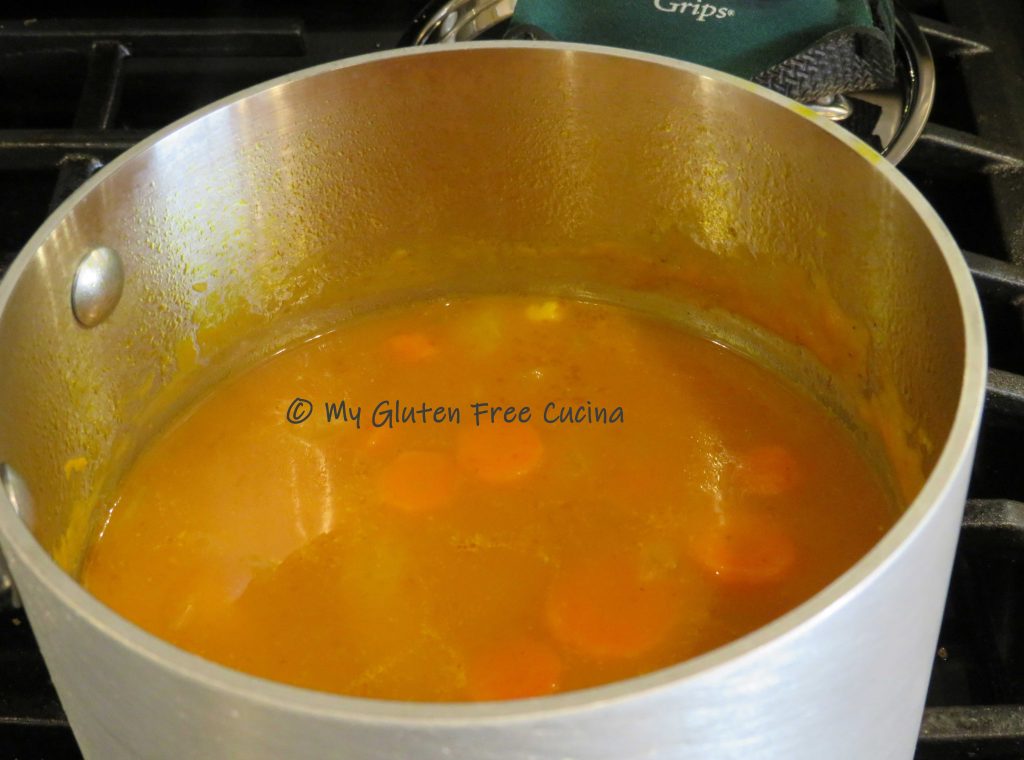
 Add the carrots and parsnips and continue cooking for 15 minutes, stirring frequently.
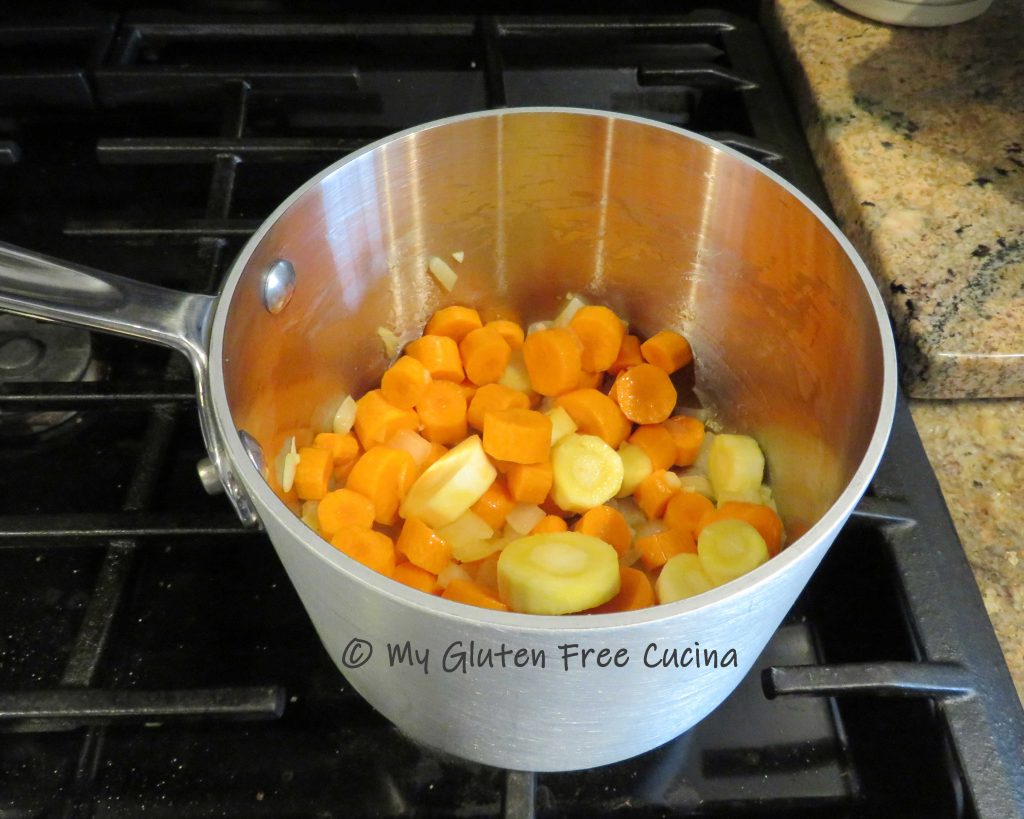


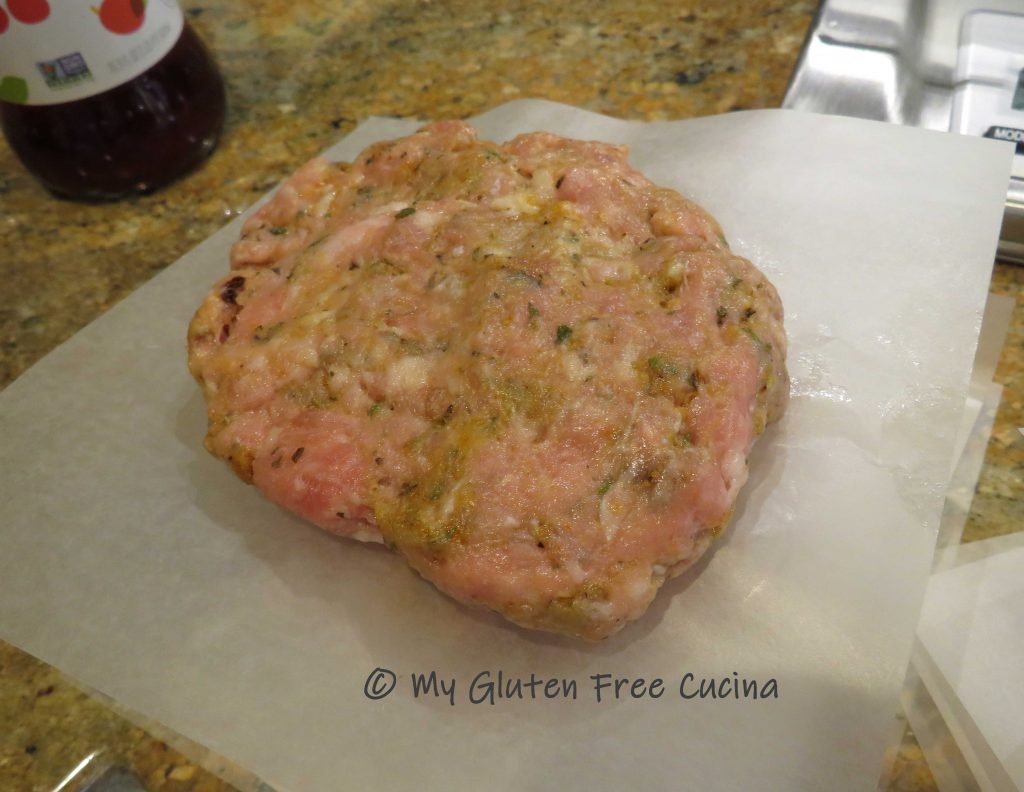

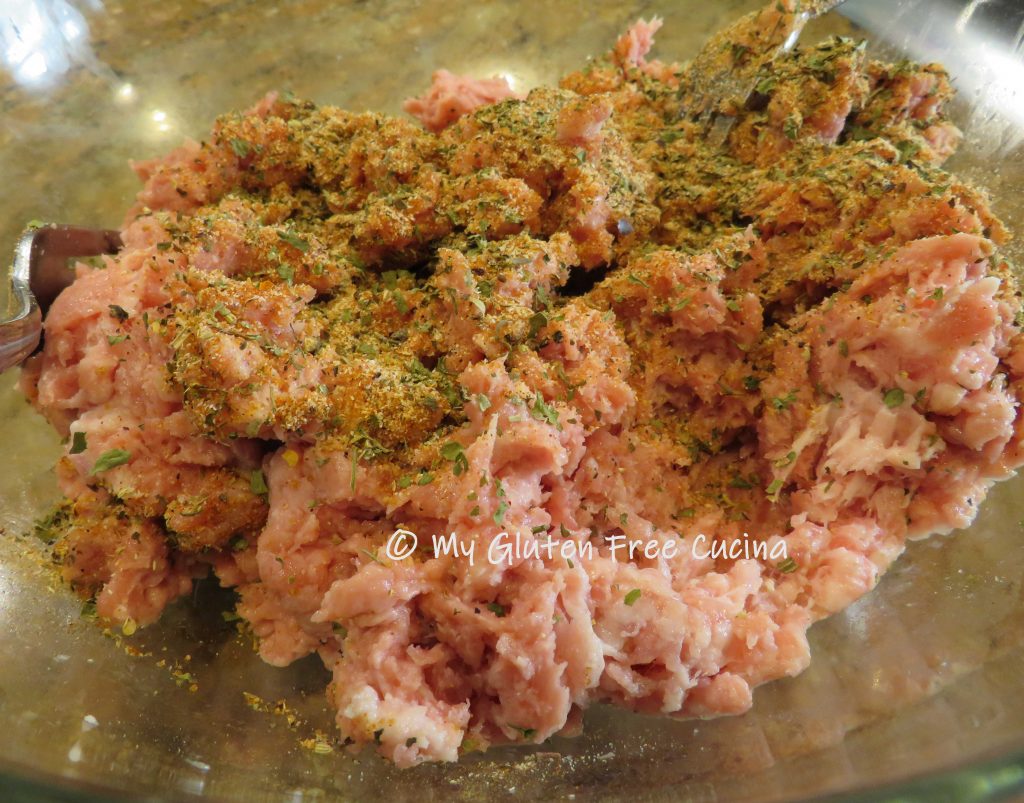
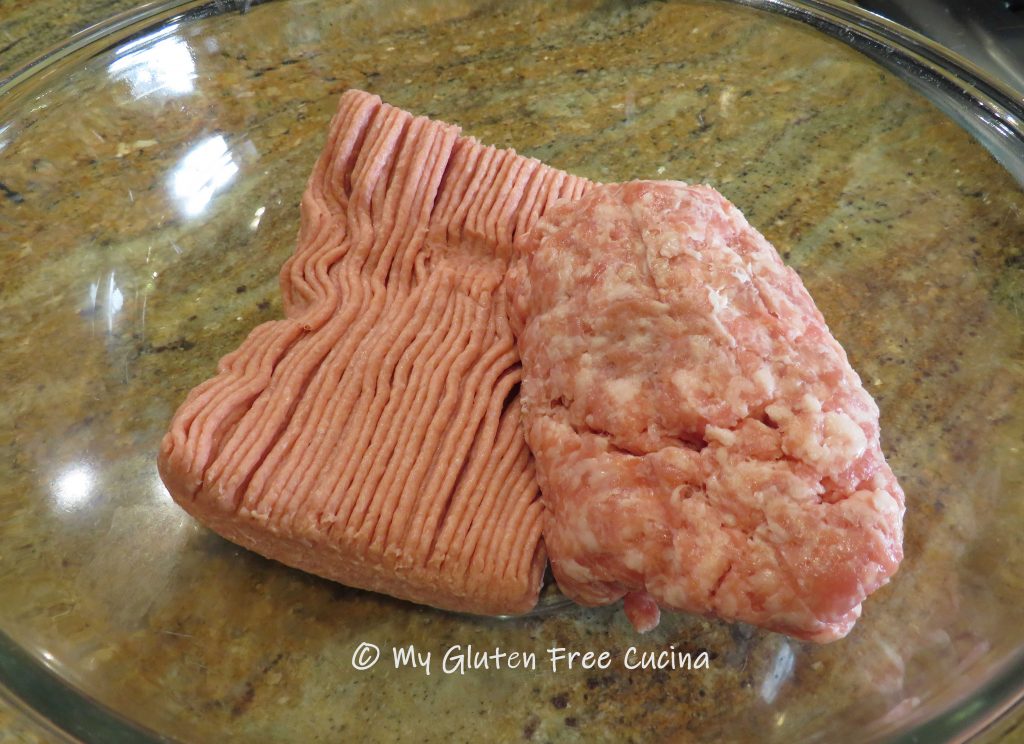 Use 2 forks to break apart the meat and mix it together. This will take some time and patience, as you want it well mixed but not compressed.
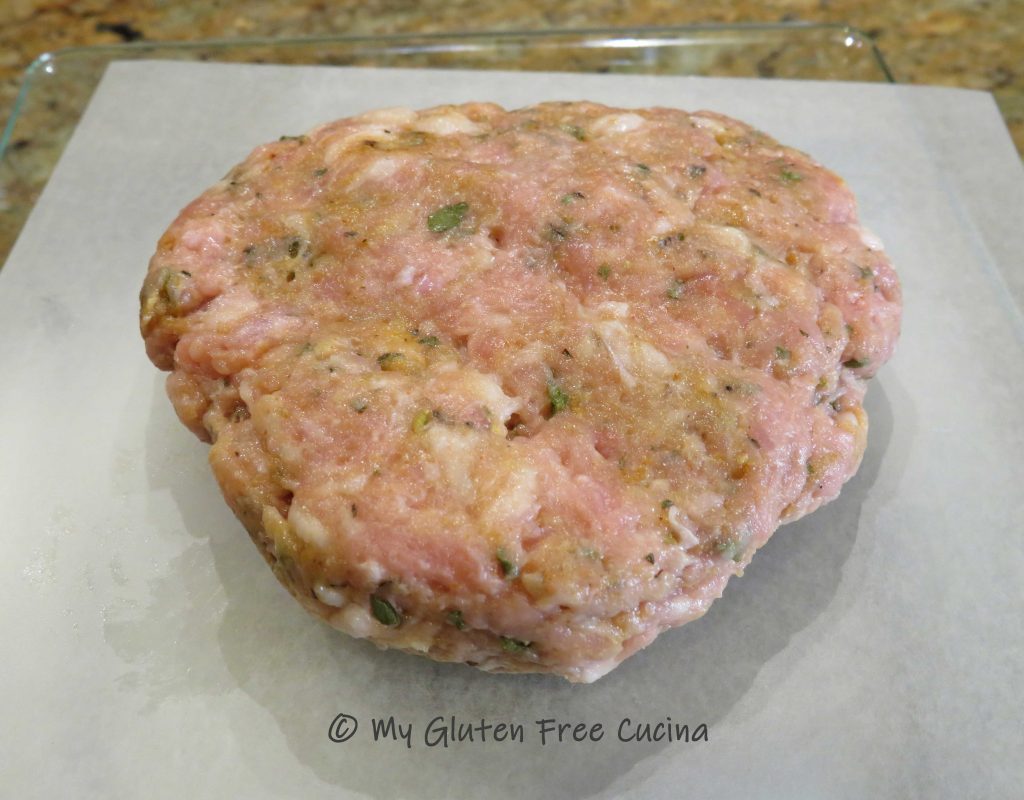

 Slide the parchment onto a