Over 20 years ago I clipped a recipe for French Meat Pie (Tourtière) from the local newspaper and have made it many times using a ready-made pie crust (remember those days?). Everyone loved it! Years went by, and like many of my old recipes, this one went by the wayside along with gluten.
Lately I’ve had a yearning for this old favorite, and so I added it to my culinary bucket list. Here’s what I love about this recipe…
This post contains affiliate links.
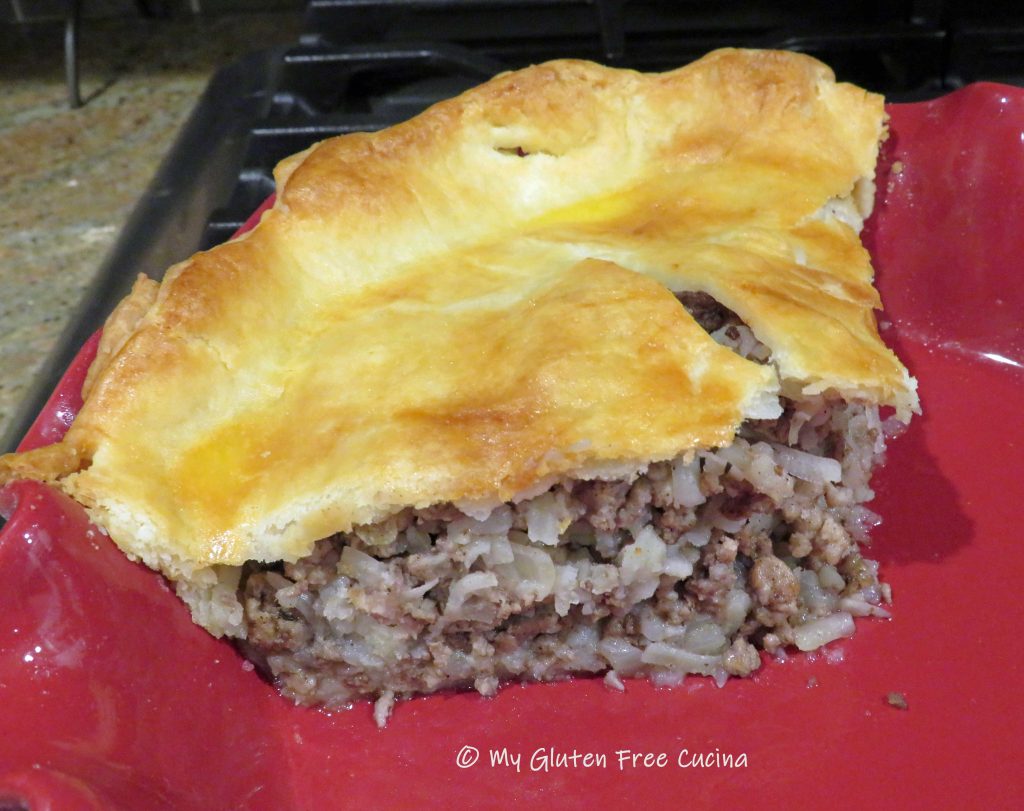
The filling.
The most time-consuming part of this recipe is peeling and shredding the potatoes then pressing out the excess liquid. I took a shortcut and used frozen shredded hash browns; I always have them on hand in my freezer pantry.
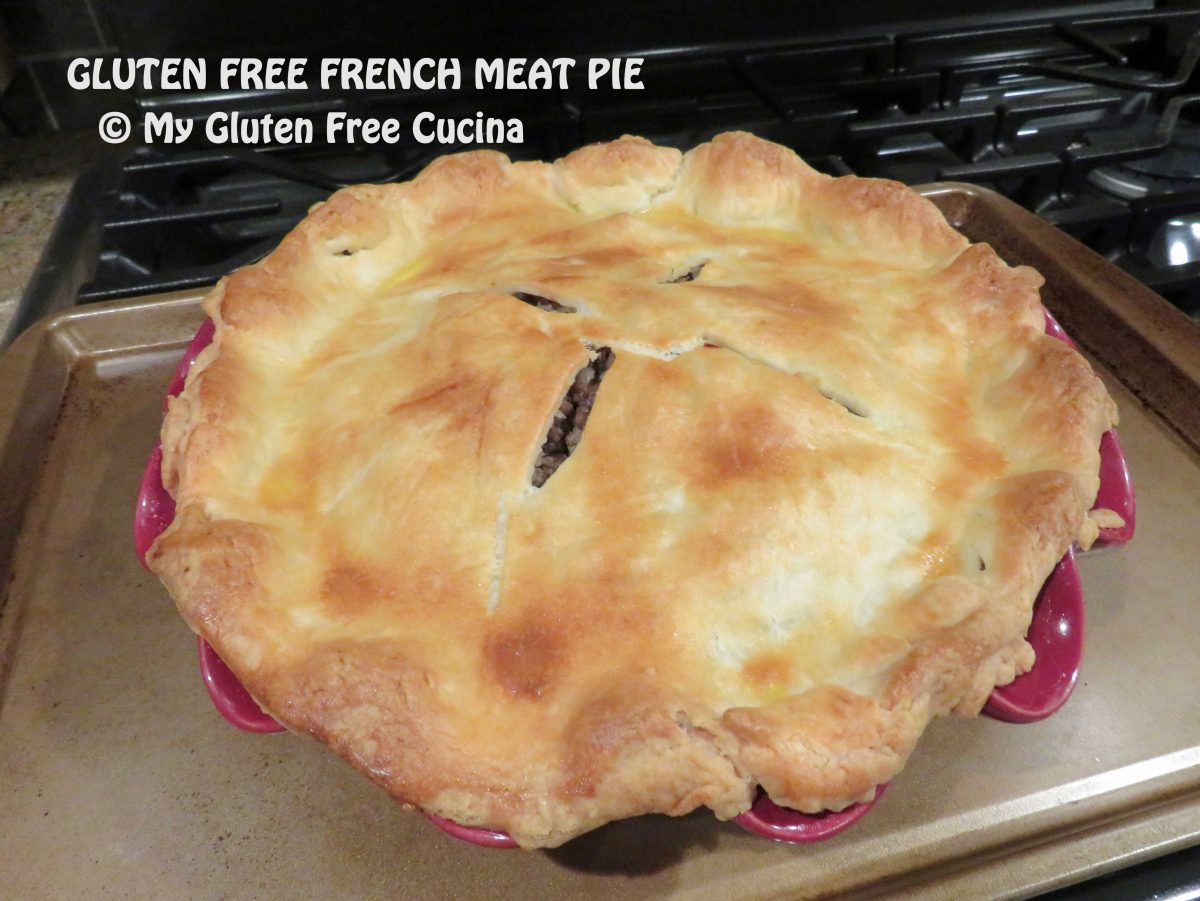
The pie crust.
This beauty of a pie crust was made with my favorite little miracle in a bag, Better Batter Original Gluten Free Flour. If you have not tried this flour, seriously go and get yourself a bag, and be sure to use my code MGFC30 at checkout for 30% off your non-sale item! Get the crust recipe here.
Ingredients:
- 2 Gluten Free Pie Crusts
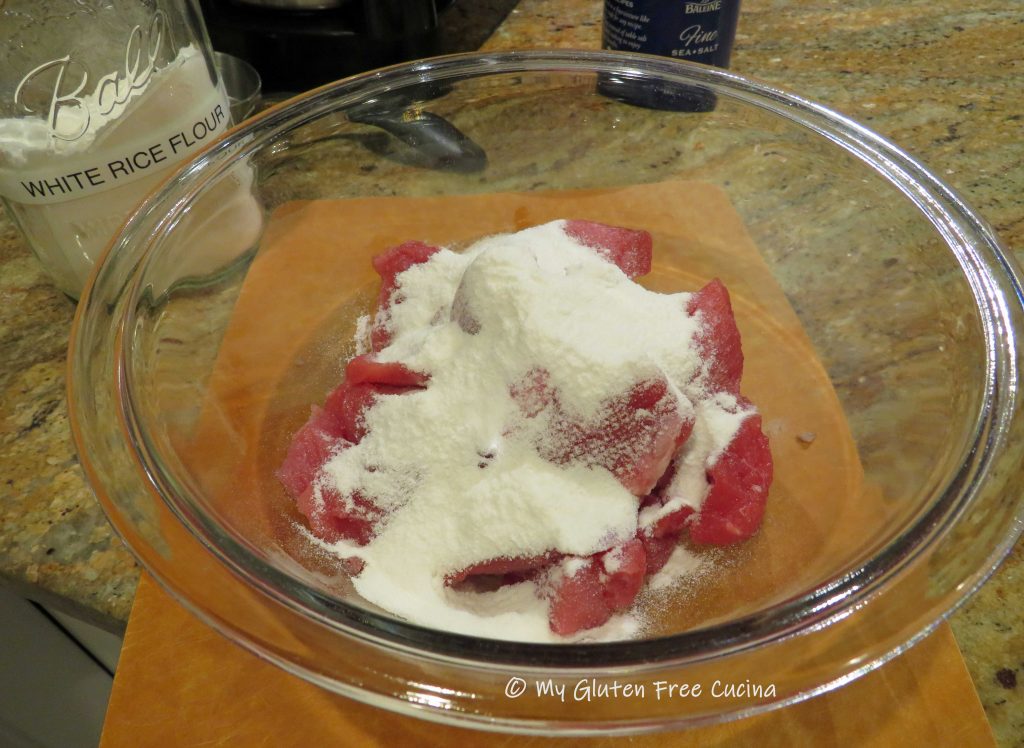
- 12 oz. lean ground beef
- 12 oz. ground pork
- 3 cups (9 oz.) frozen shredded hash browns, defrosted
- 1 cup onion, cut into 1/4″ dice
- 1 tbsp. minced garlic
- 1 tbsp. olive oil
- 1/2 tsp. mustard powder
- 1/4 tsp. thyme
- 1/4 tsp. sage
- 1/8 tsp. ground cloves
- 1/8 tsp. ground allspice
- 1/8 tsp. cinnamon
- 1/2 tsp. salt
- 1/4 tsp. ground pepper (about 6 grinds)
- 2 tbsp. water
- 1 egg, beaten
- 1 tsp. milk
Preparation:
Roll out the pie crusts between 2 sheets of waxed paper.
 Place one crust in the pie dish. Trim away the excess and use it to patch any holes or tears in the dough (it happens!). Cover with plastic wrap and refrigerate. Place the other crust, with waxed paper on a baking sheet and refrigerate while you make the filling.

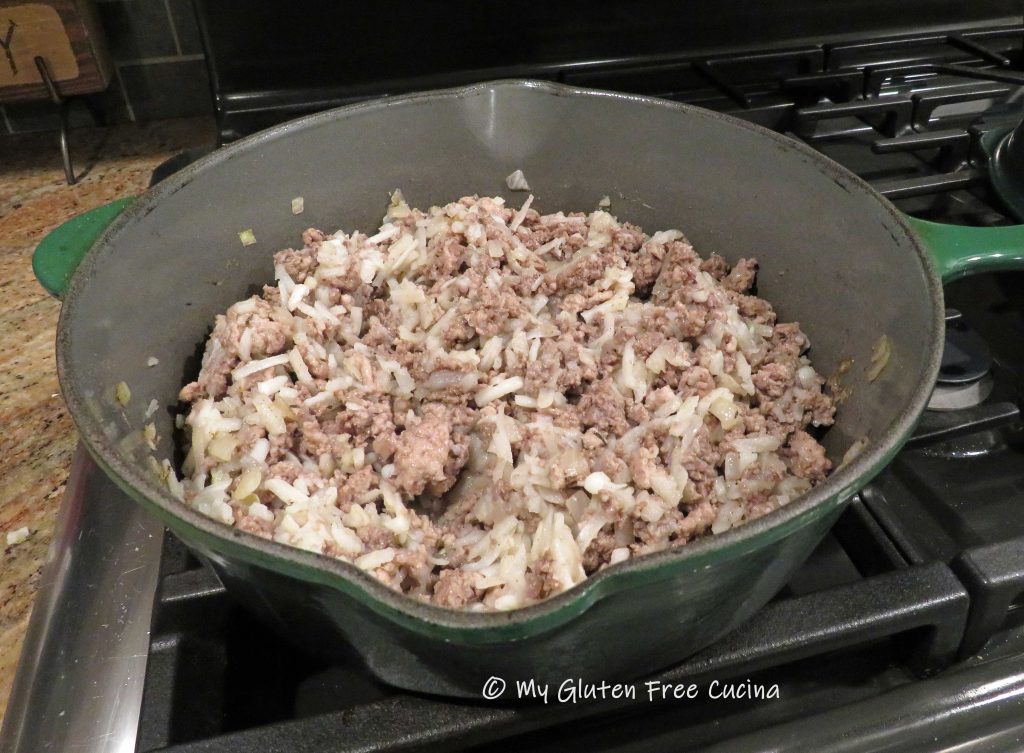
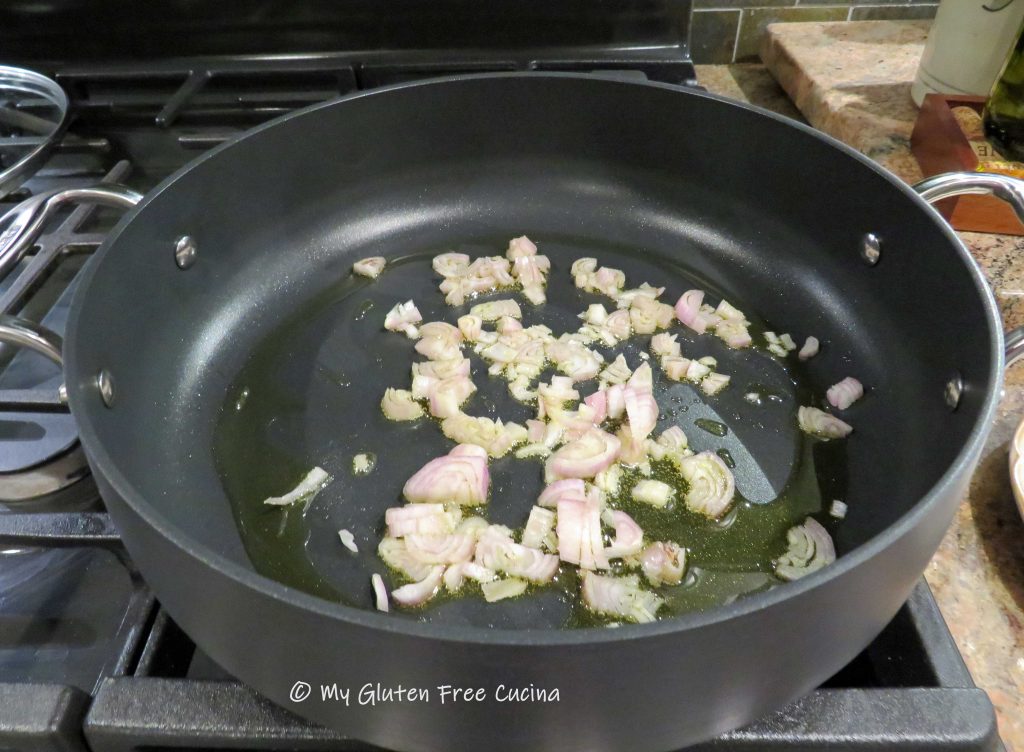
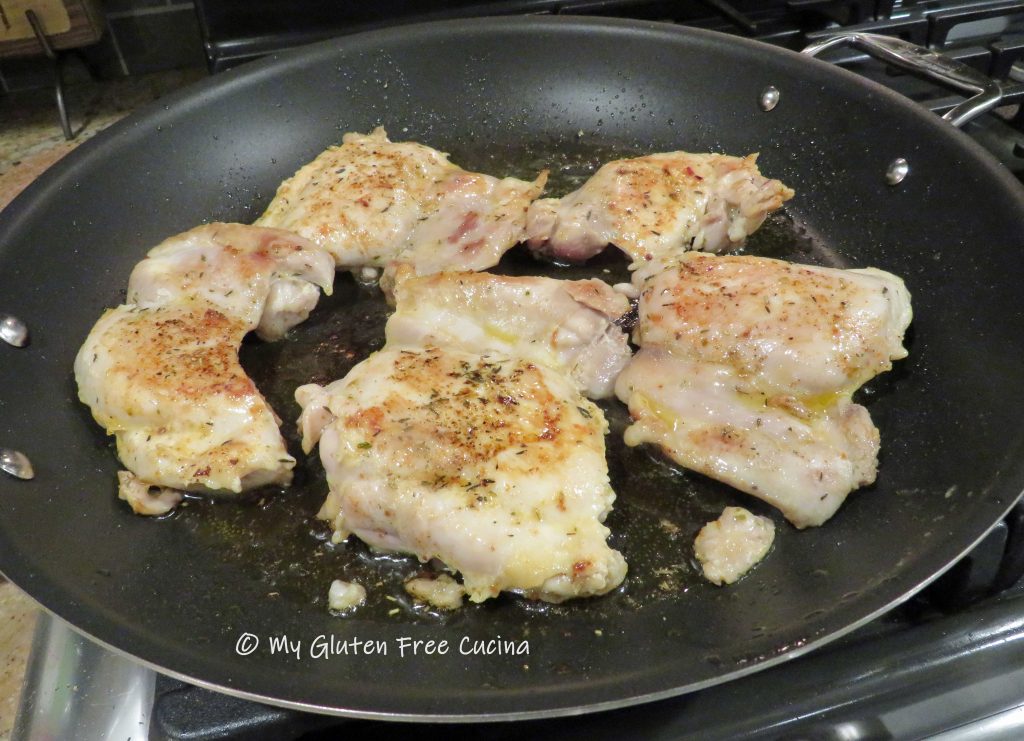
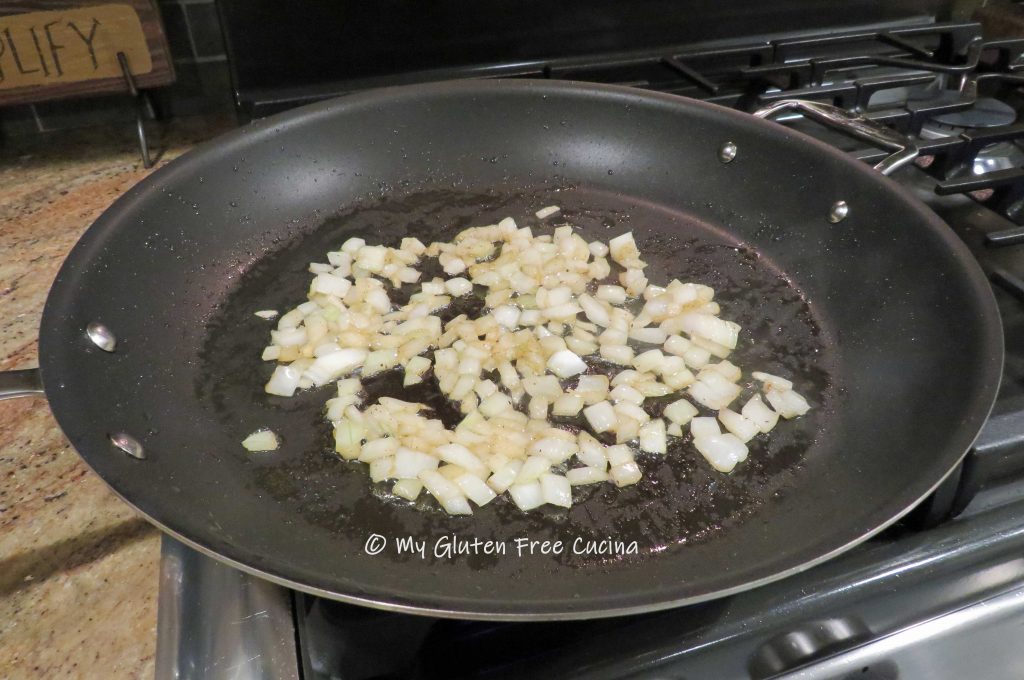
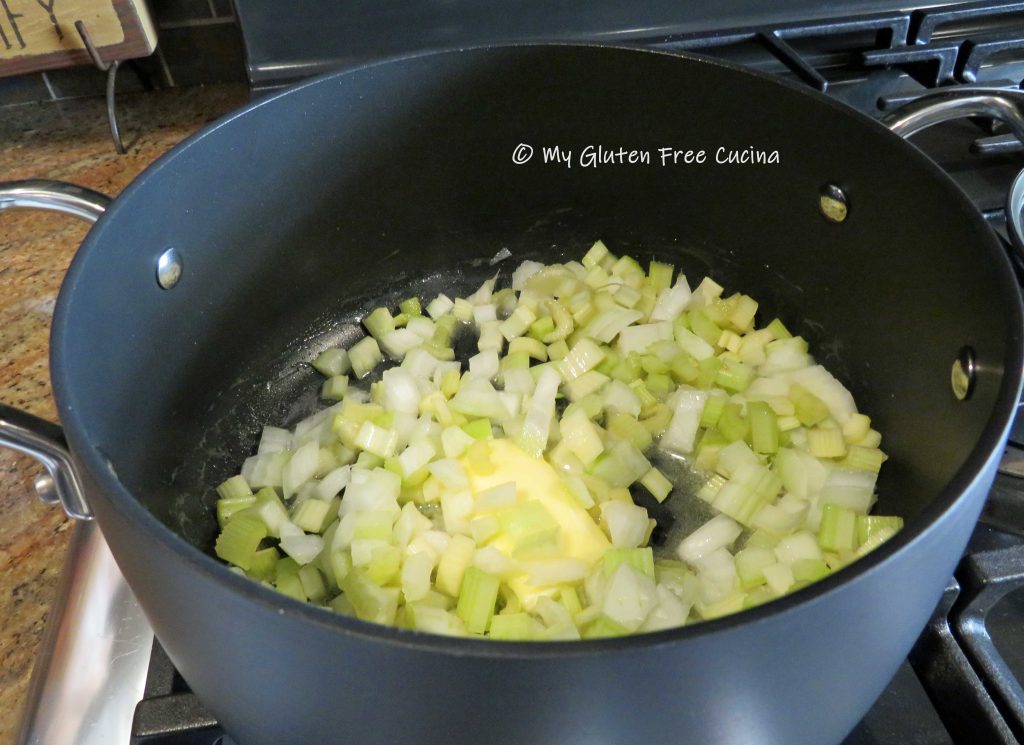
Heat olive oil in a deep heavy skillet over medium low. Add the onion and cook several minutes until translucent. Stir in the garlic and cook 30 seconds more.

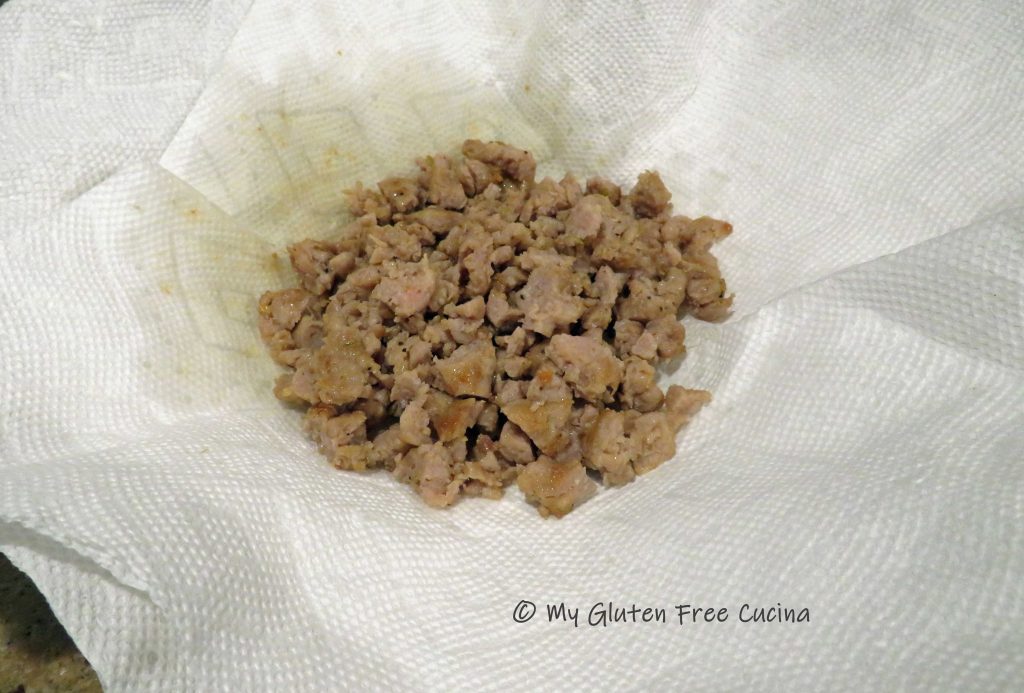
Next add the ground beef and pork to the skillet and sprinkle with seasonings. Break up the meat with a spatula and stir frequently until all of the meat is browned.


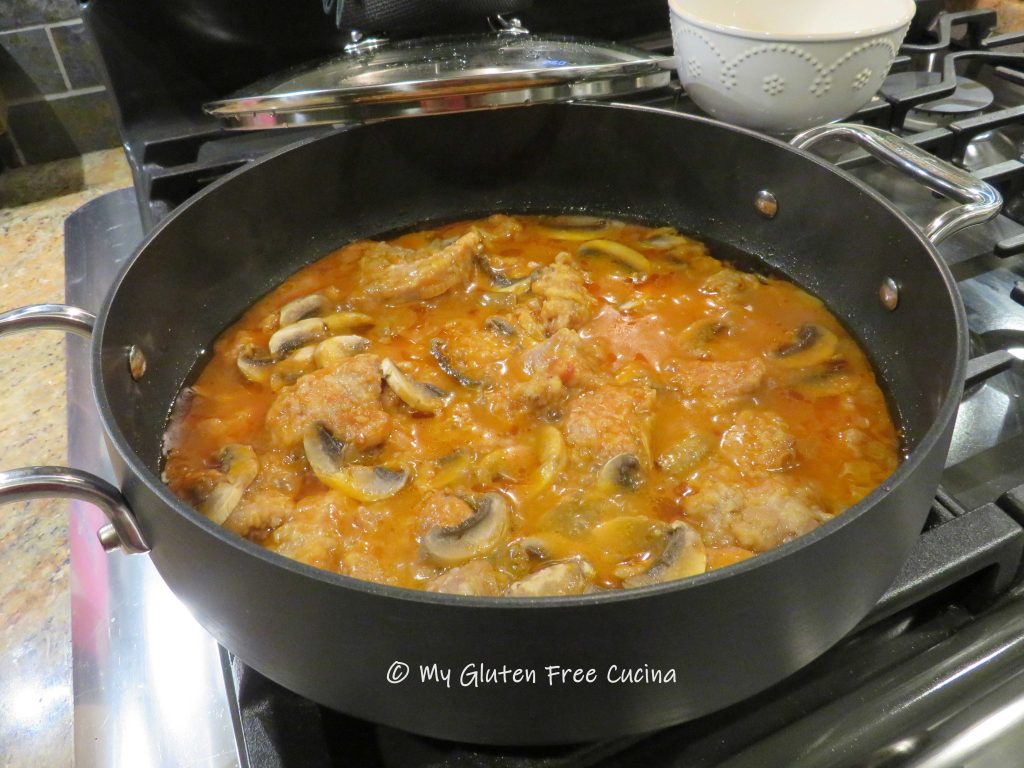
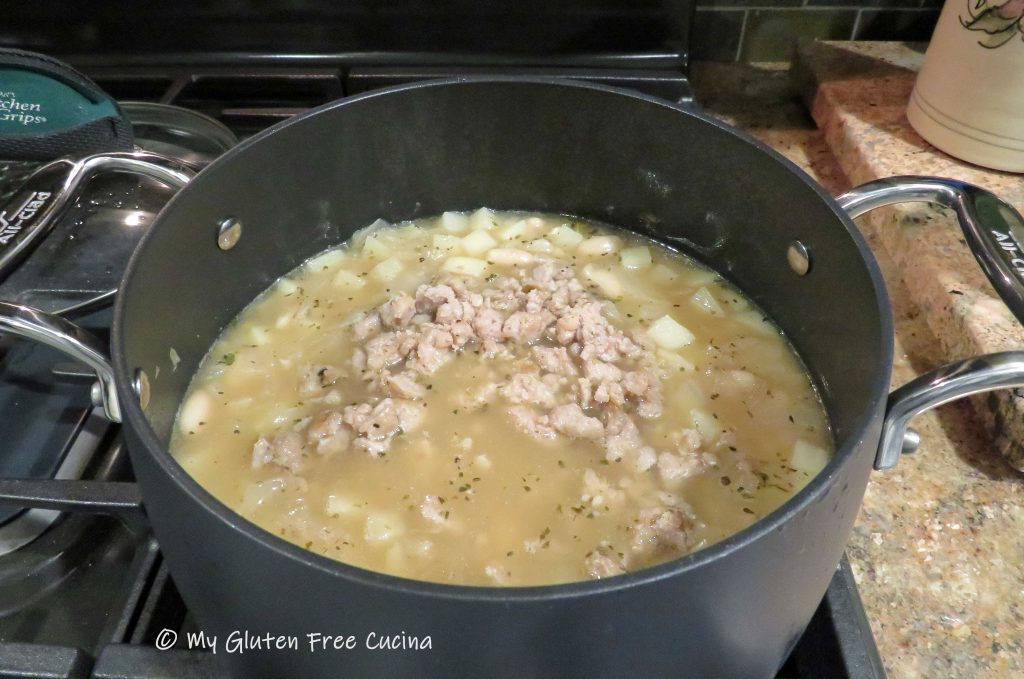
Stir in the hash browns with 2 tbsp. water and continue cooking on low 2-3 minutes longer. Turn off the heat and let it cool 20-30 minutes.
Preheat the oven to 375º. Remove pie crusts from the refrigerator. Fill the bottom crust with the meat mixture, distributing it evenly.

Top with the remaining pie crust, trim the edges and crimp. It doesn’t have to be fancy (I’m definitely going to work on my crimping skills though)!

Use a sharp knife to cut slits in the top crust to vent steam. Whisk the egg and milk, and brush over the top crust.
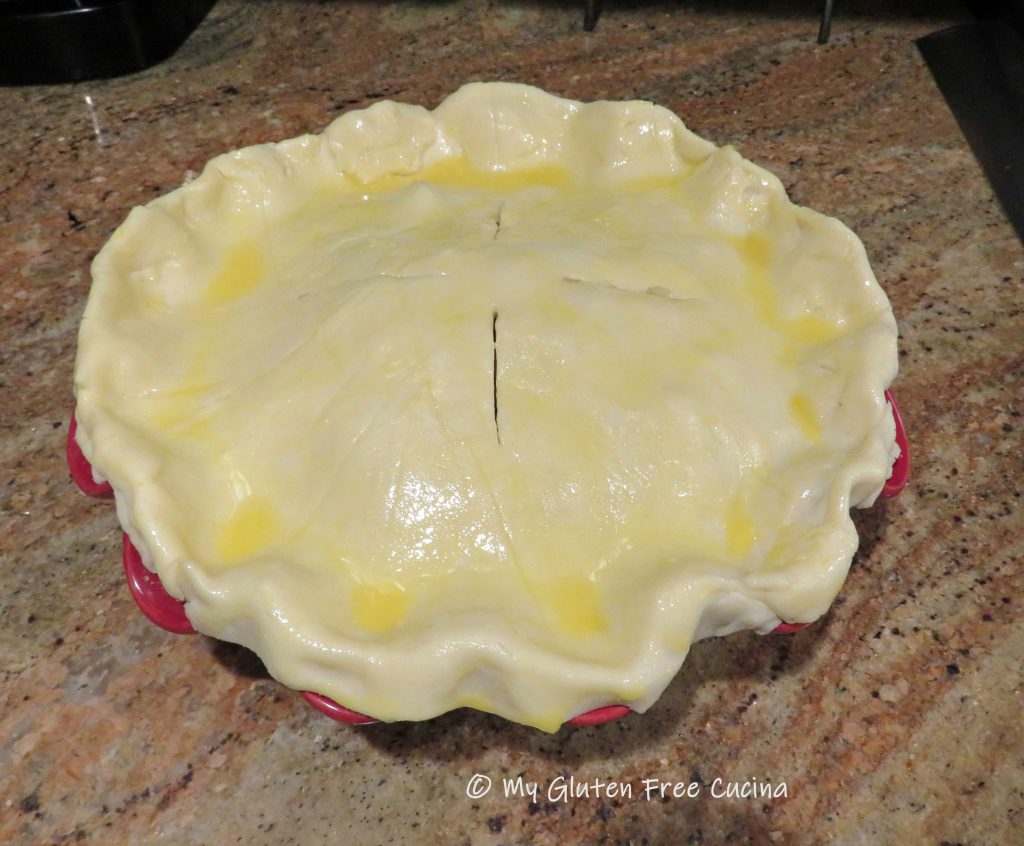
Place the pie dish on a baking sheet (in case anything spills) and bake 20 minutes on the lower rack of your oven. After 20 minutes, move it to the middle rack and continue cooking 15 minutes longer.

Remove from the oven and let it rest 5 minutes, that is if you can wait!

This was SO good, just like the one I remember from years ago! I promise your whole family will love it, and no one will know it’s gluten free!
Notes ♪♫ Convenience foods are great as long as you check the ingredients. I used Ore-Ida frozen hash browns in this recipe, and they are labeled gluten free.


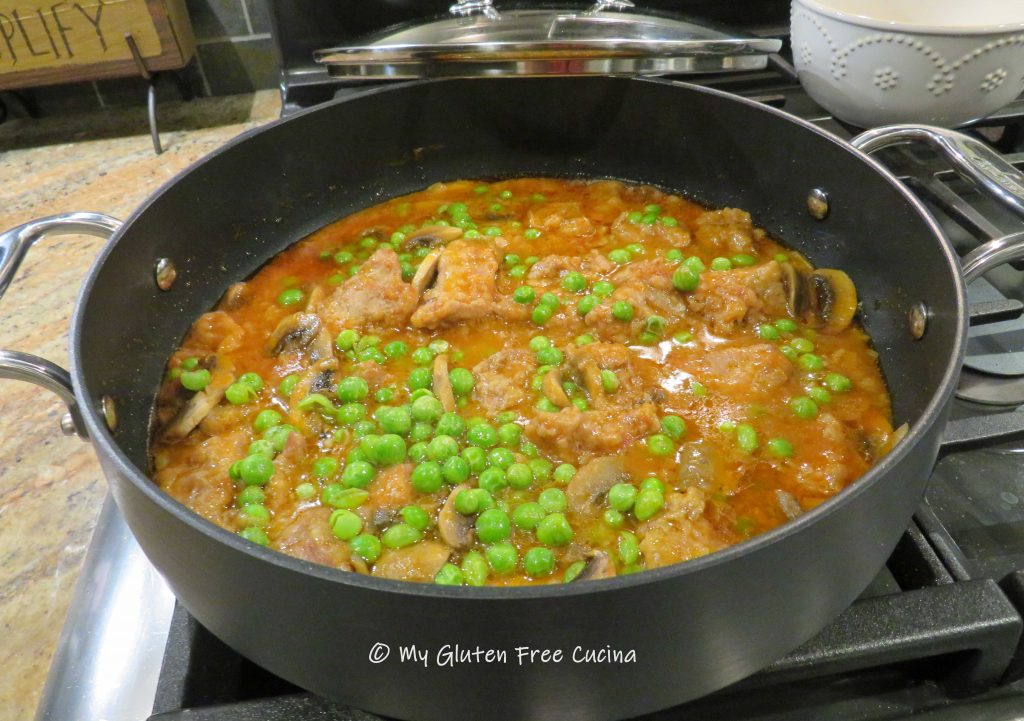
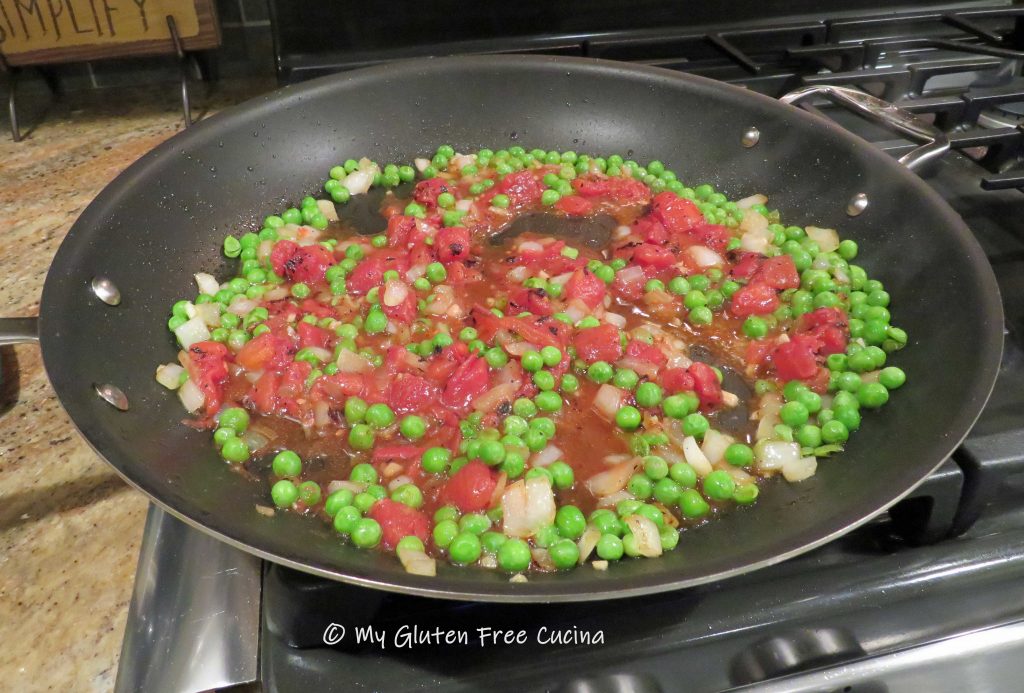
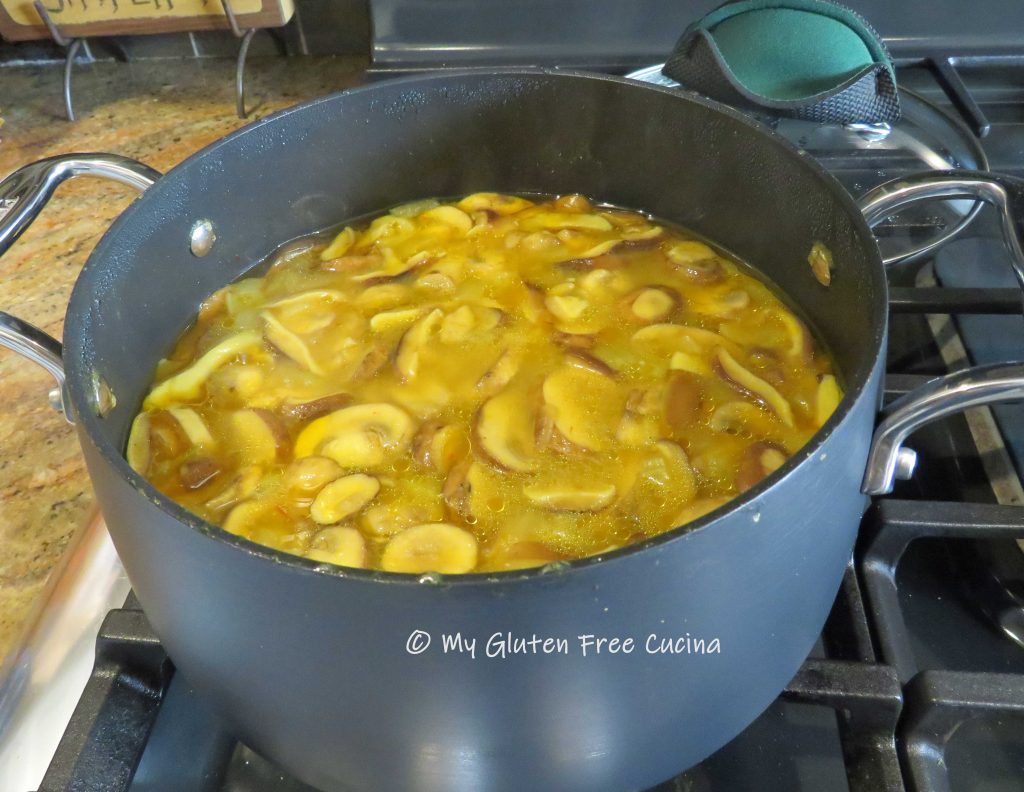
 During the last 10 minutes of cooking add the peas, and finish cooking uncovered to thicken.
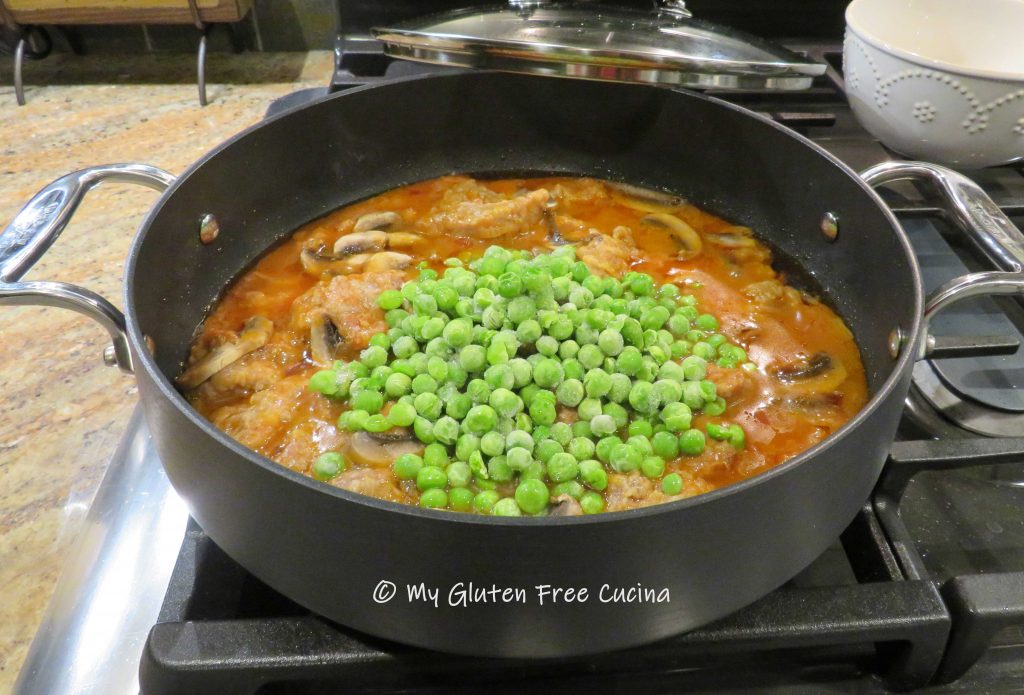


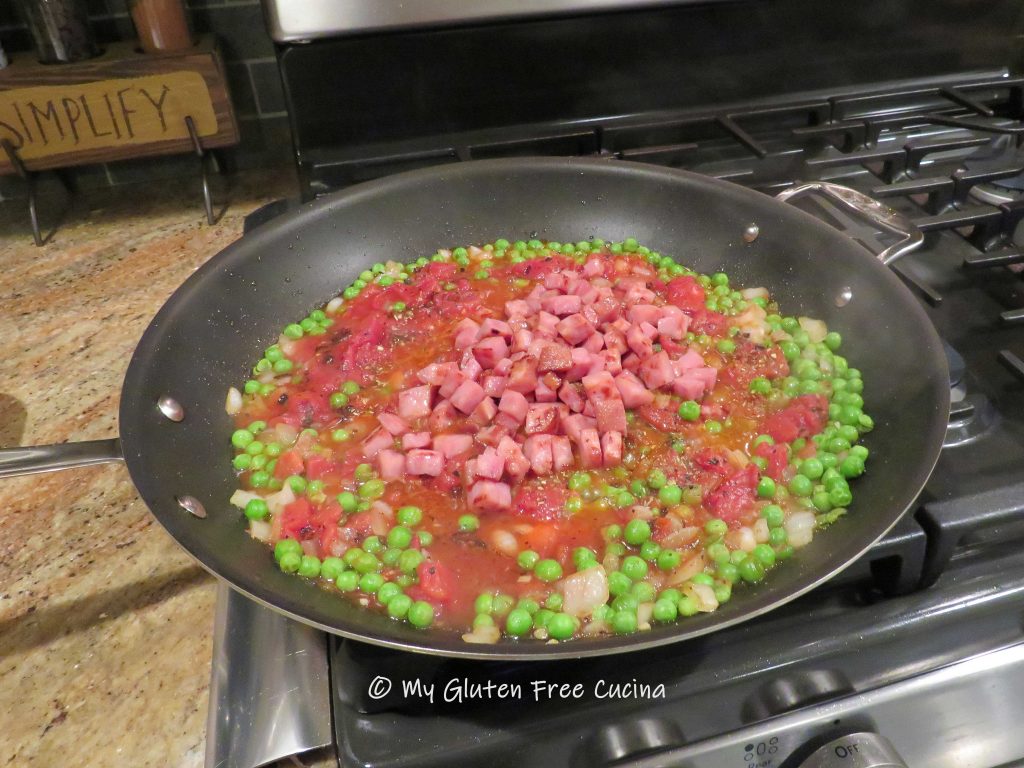
 Stir in 1 cup
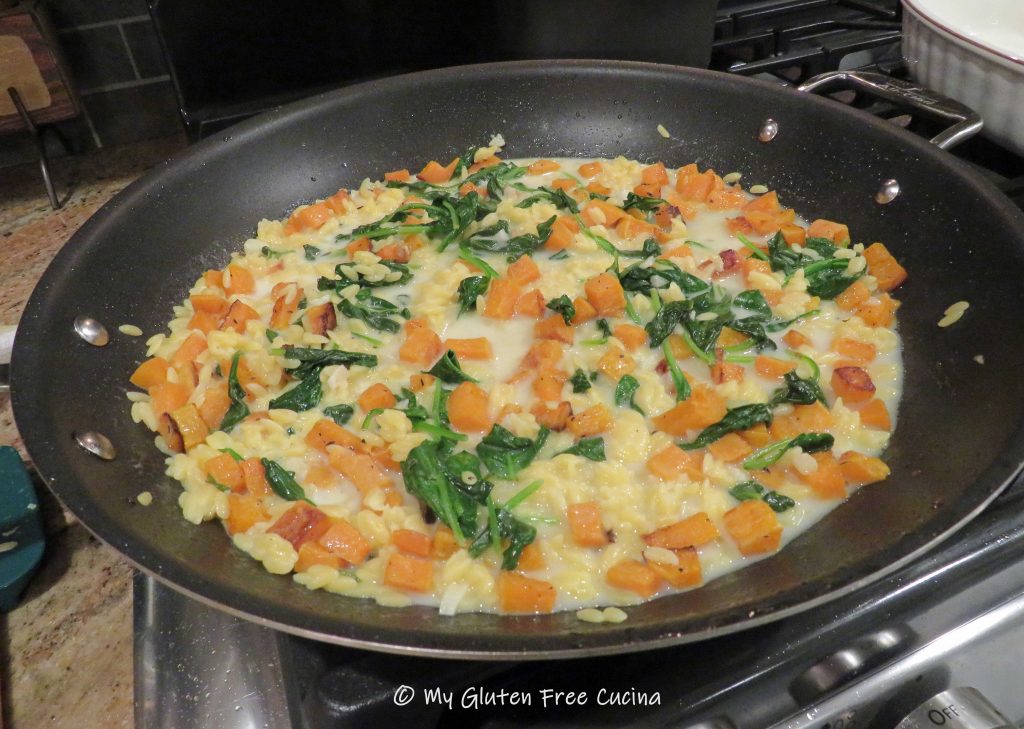


 Preparation:


 Preparation:
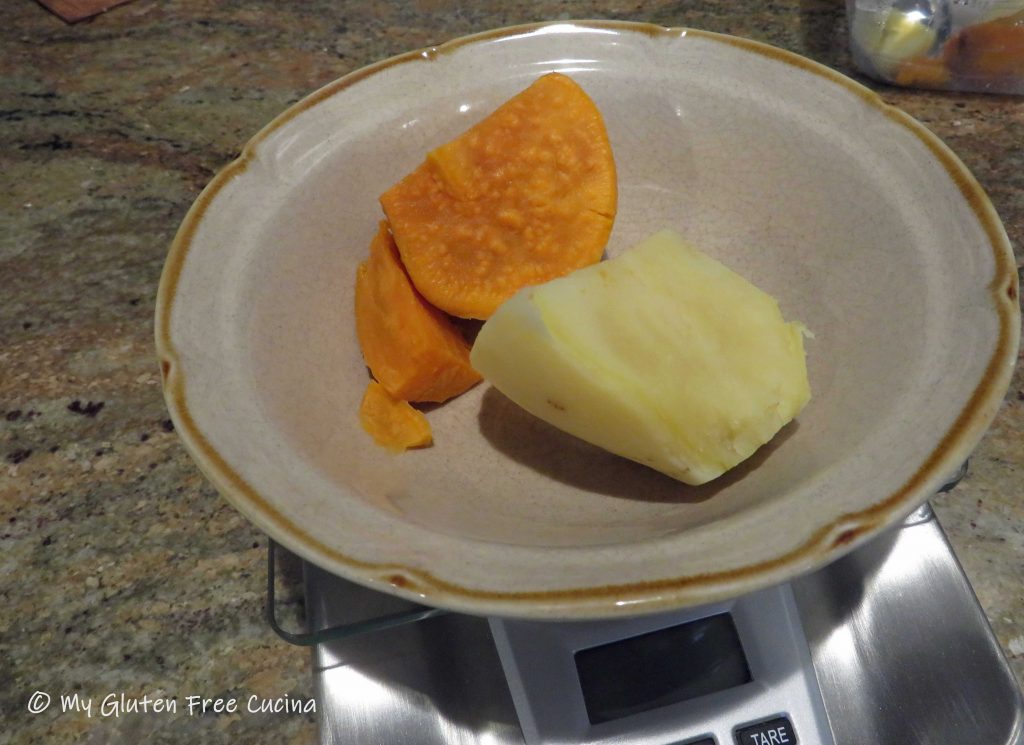


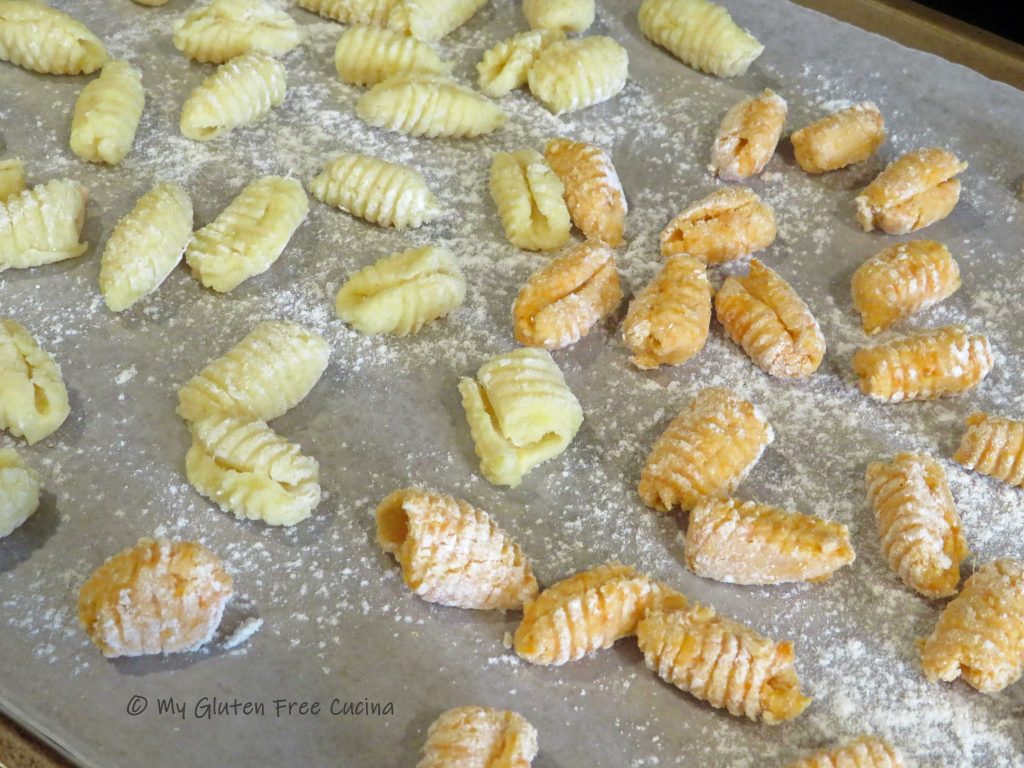
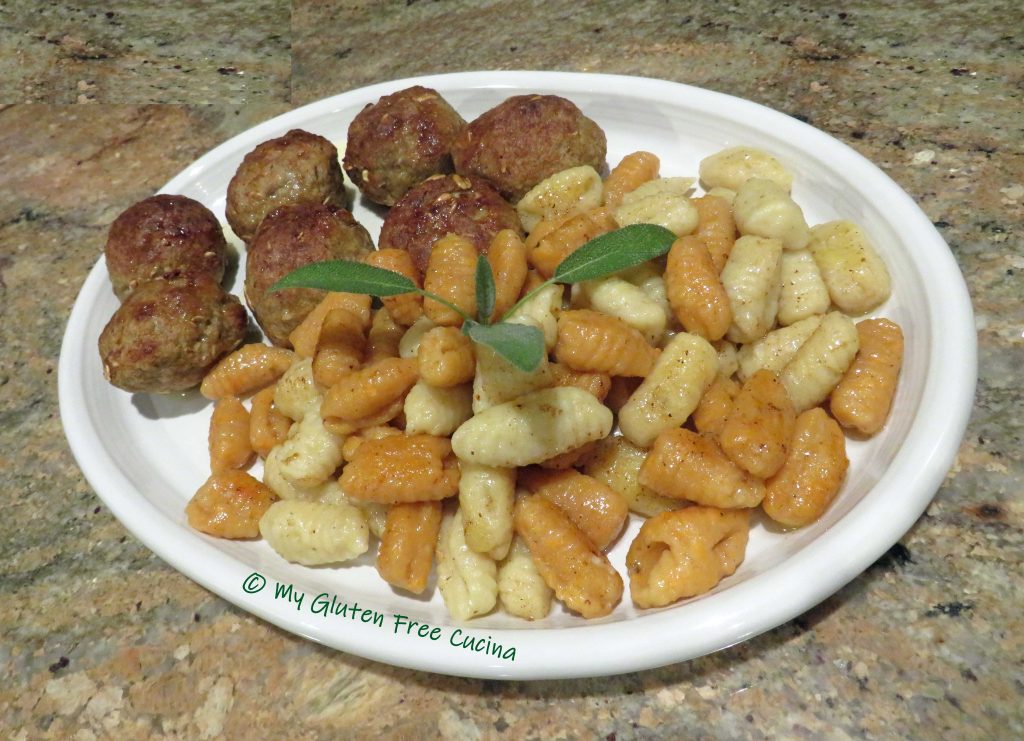
 I repeated the same process with the orange sweet potato, and here is where I lost track of the flour measurements. The orange sweet potato dough had absorbed all of the flour and was still very wet. It required quite a bit more flour to achieve the right consistency. All in all, I would say I used 3-4 times more flour for the orange potato dough as was needed for the white potato.
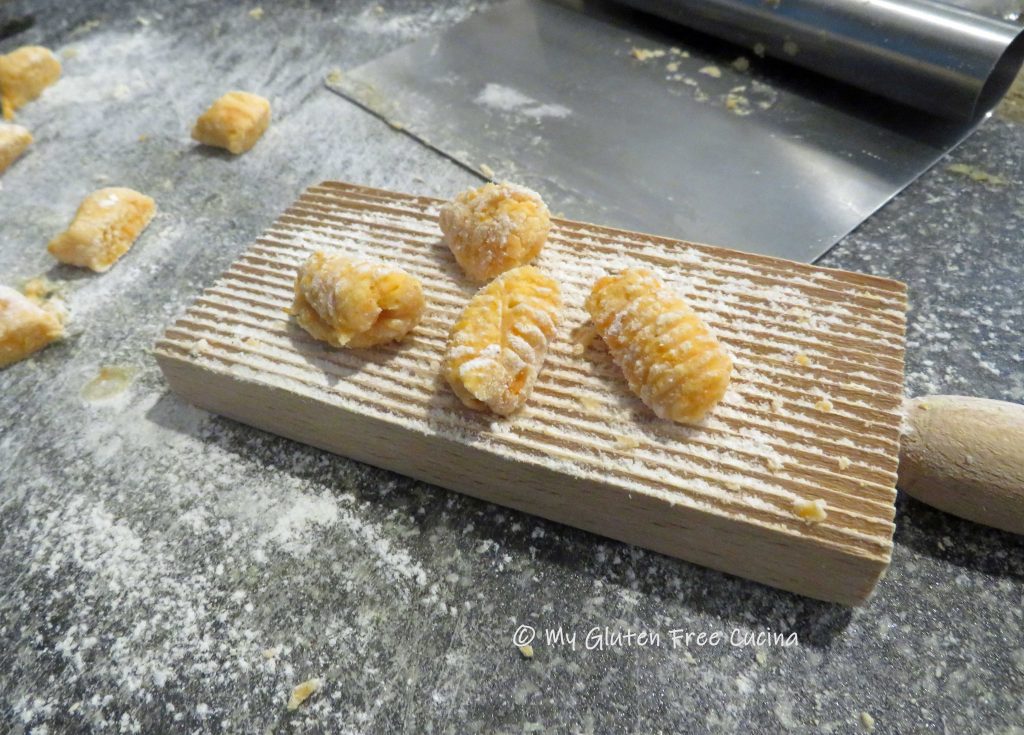
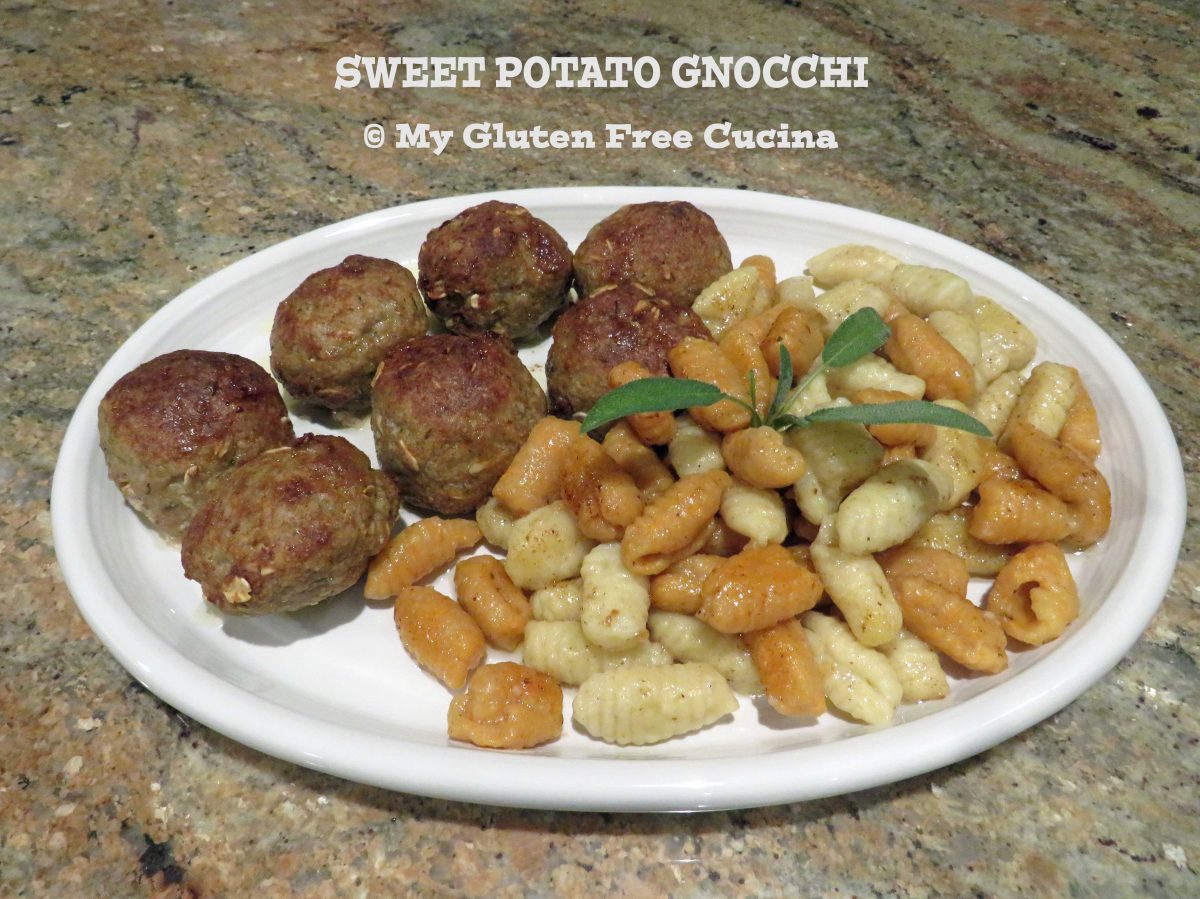
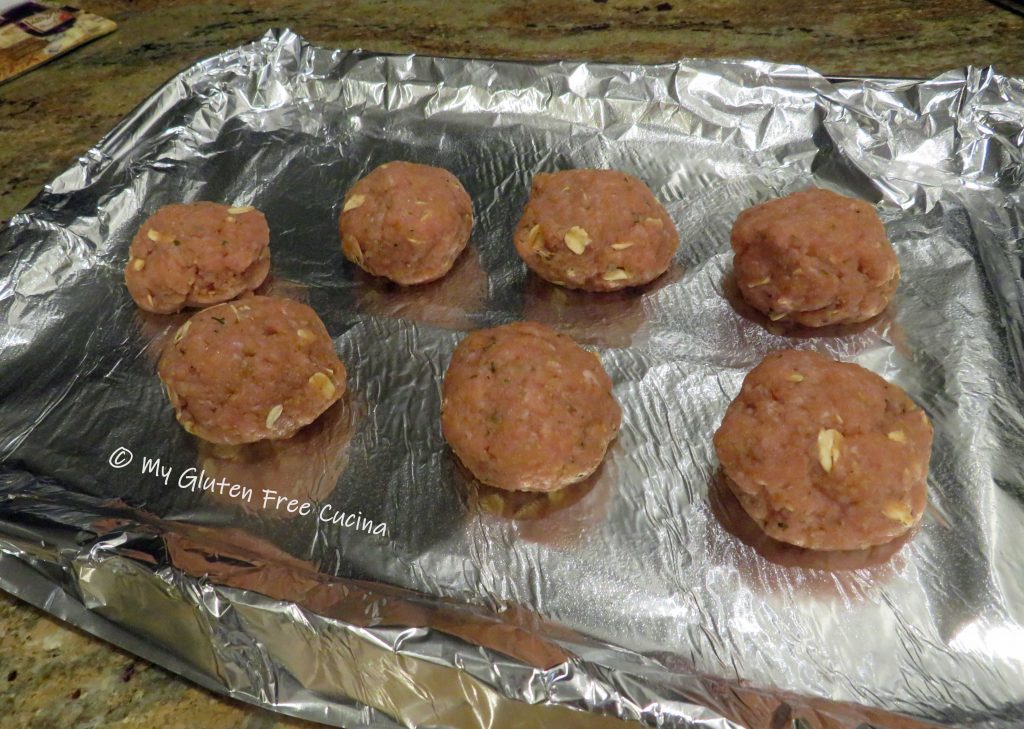 Place the meatballs on the baking sheet, and broil 5 minutes per side on high. Keep warm.
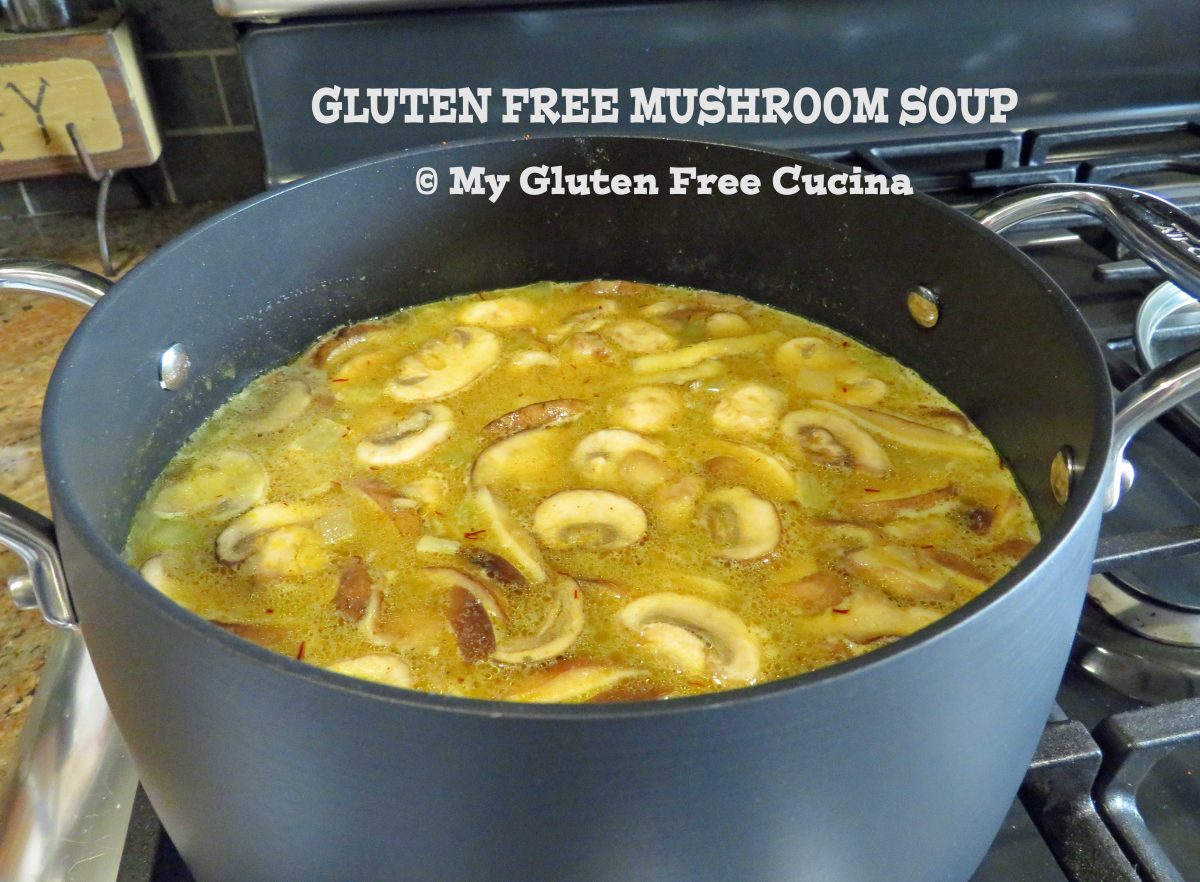

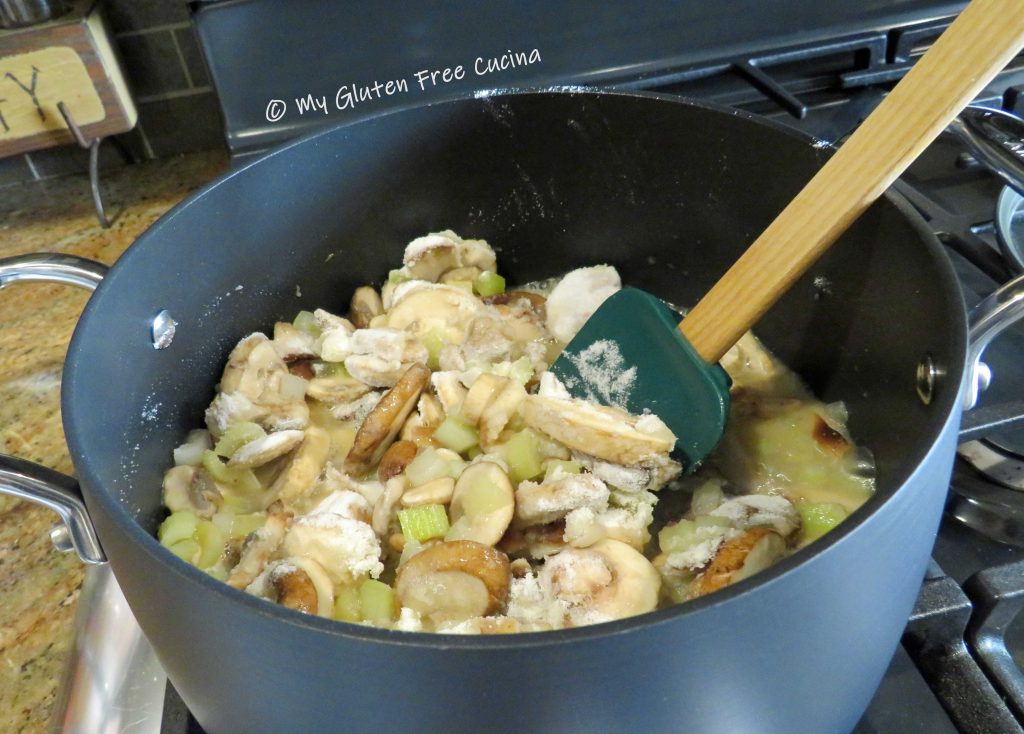
 Have the chicken broth ready and stir in the flour. It will immediately begin to thicken.
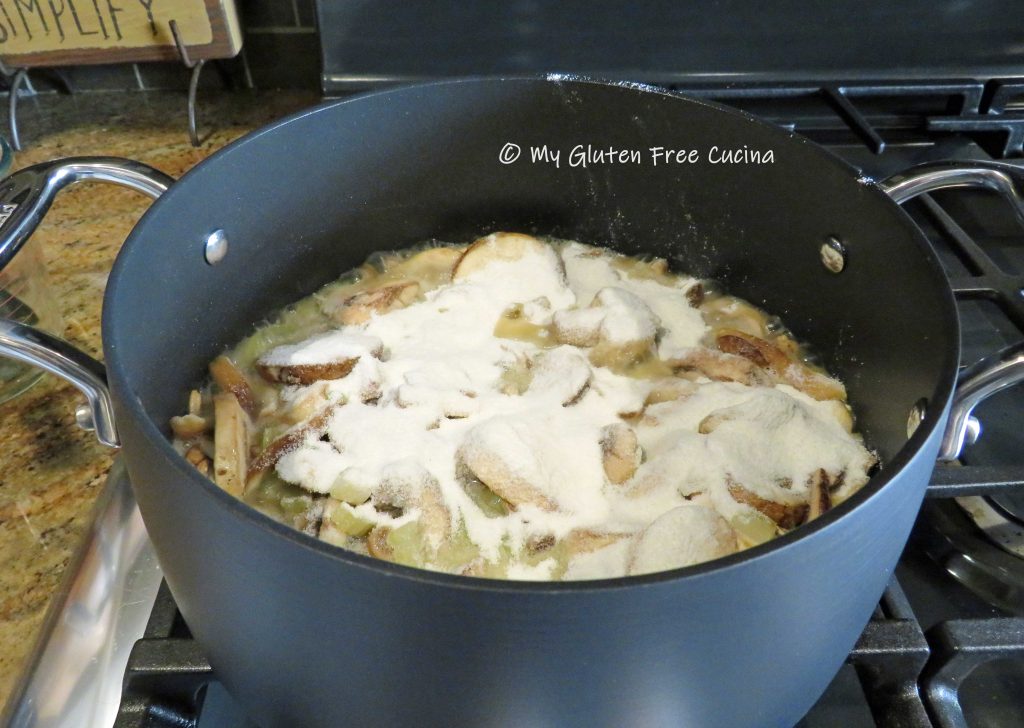
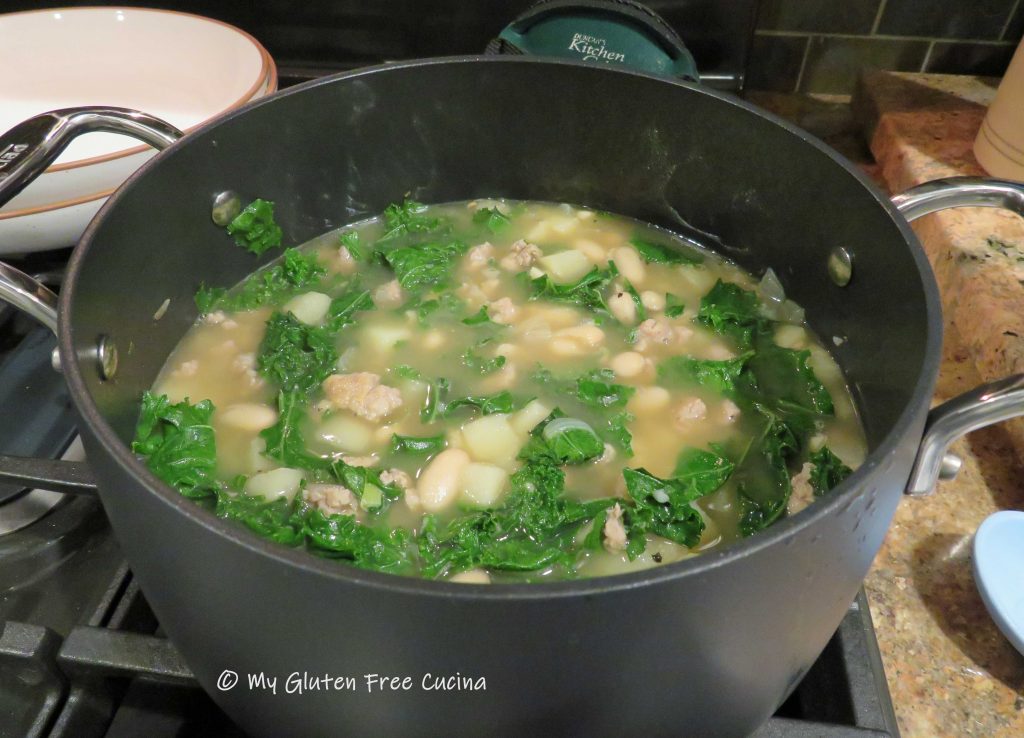
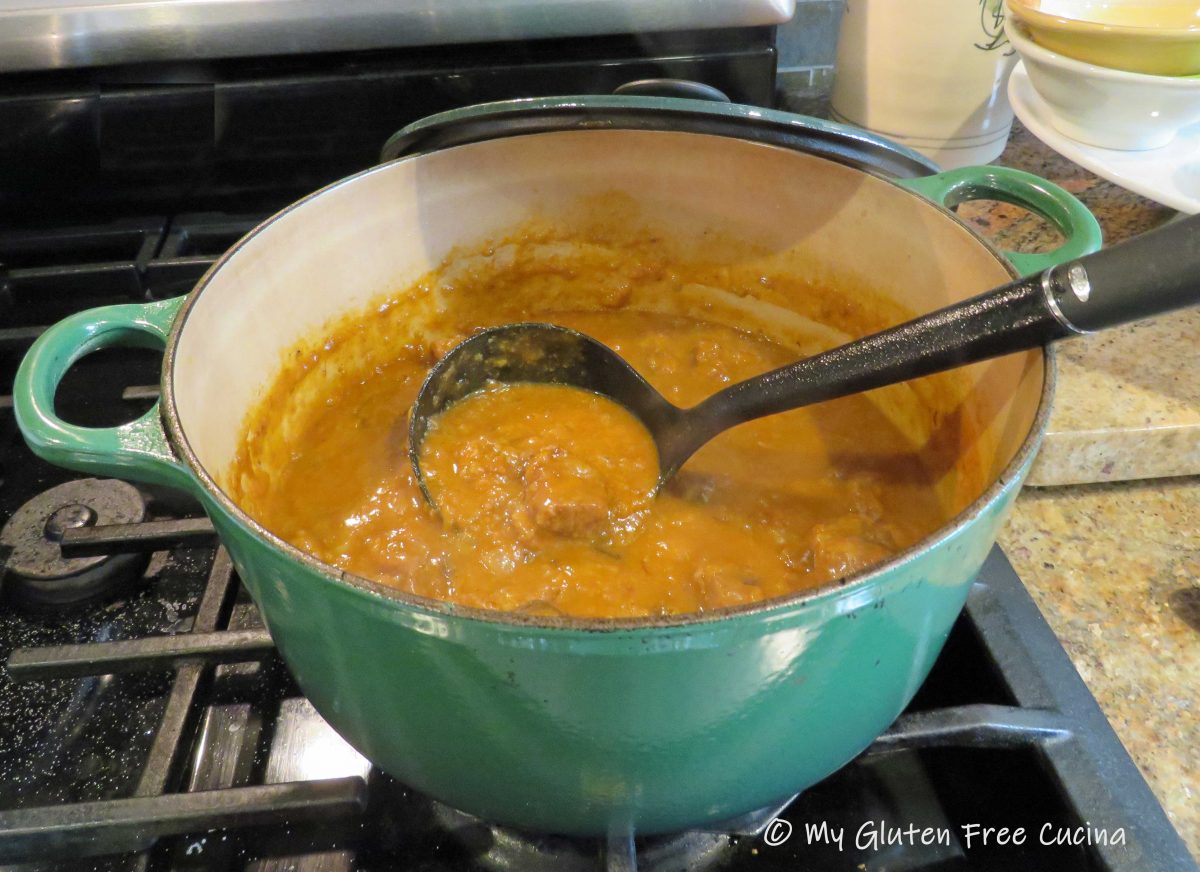
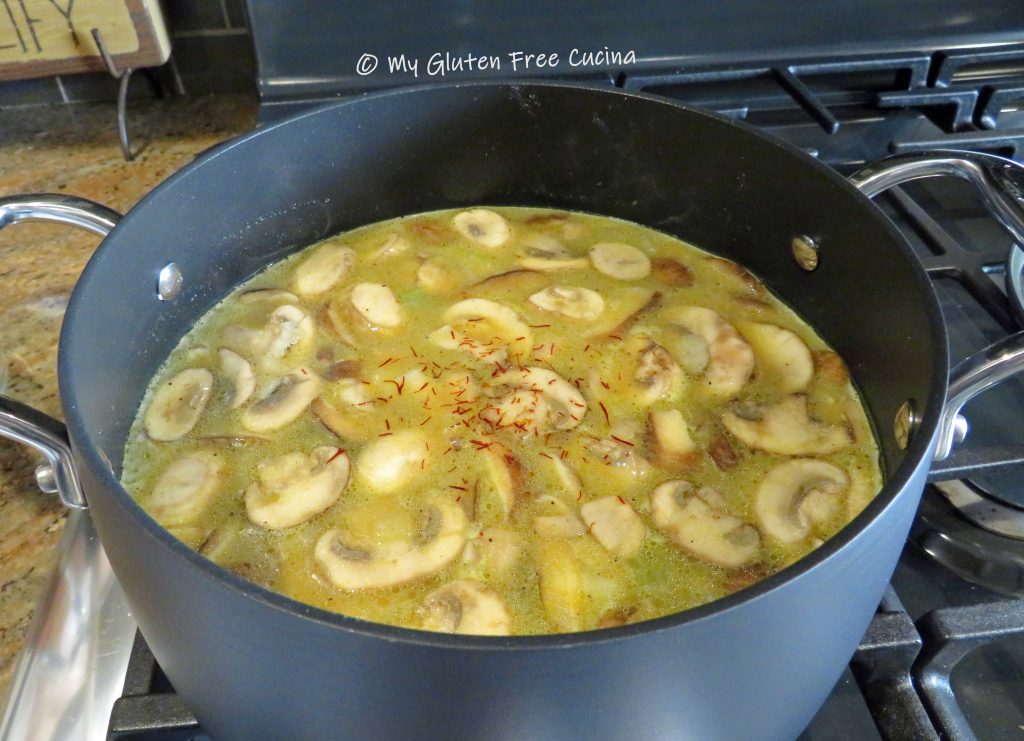 Simmer 15 minutes then remove from heat. Soup can be prepared ahead and frozen up to this point.
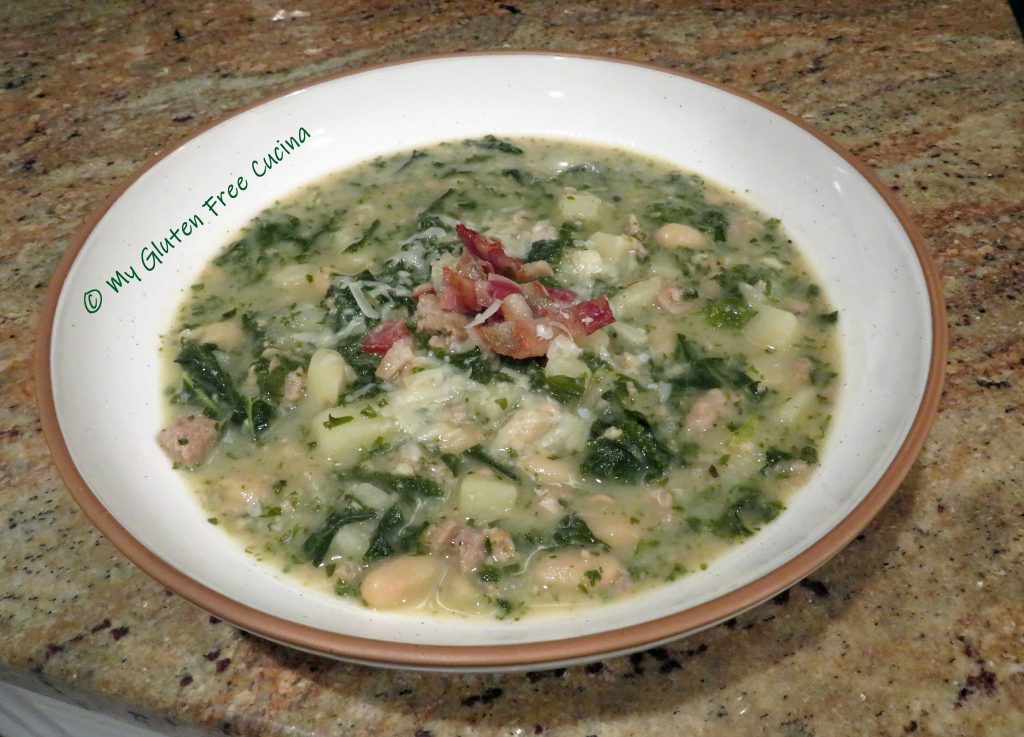
 I ladle the soup into freezer containers, about 1-1/2 cups each.
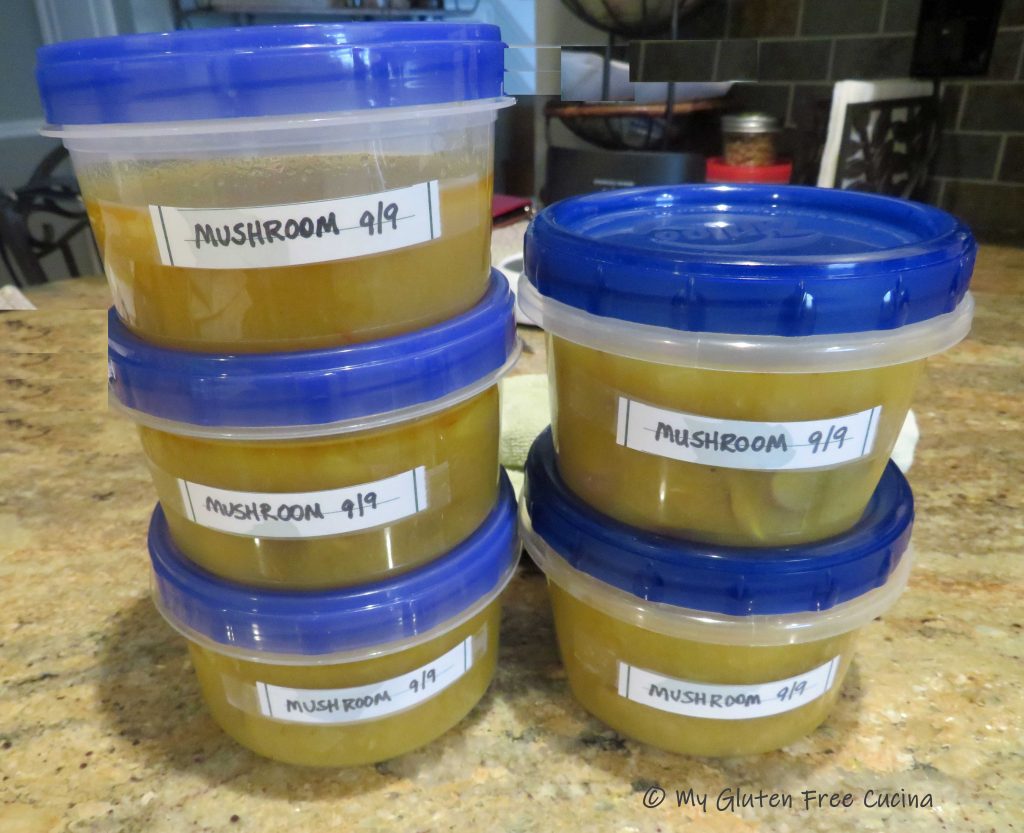
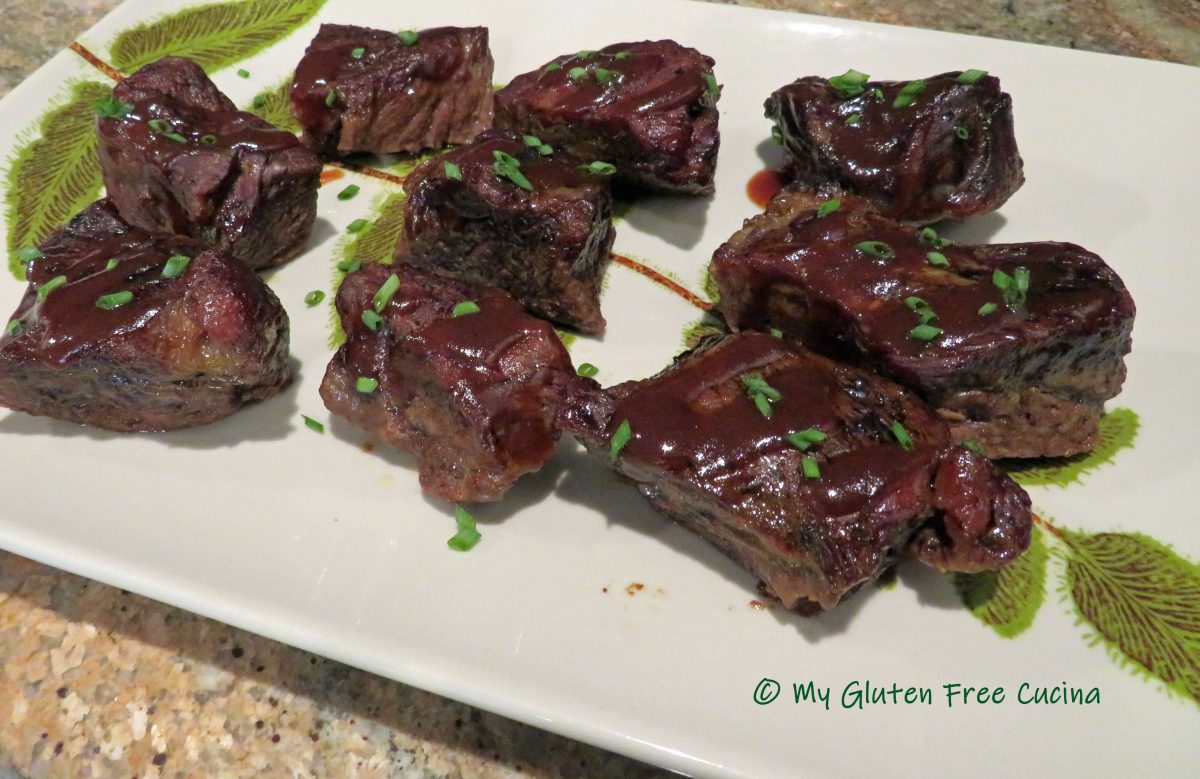
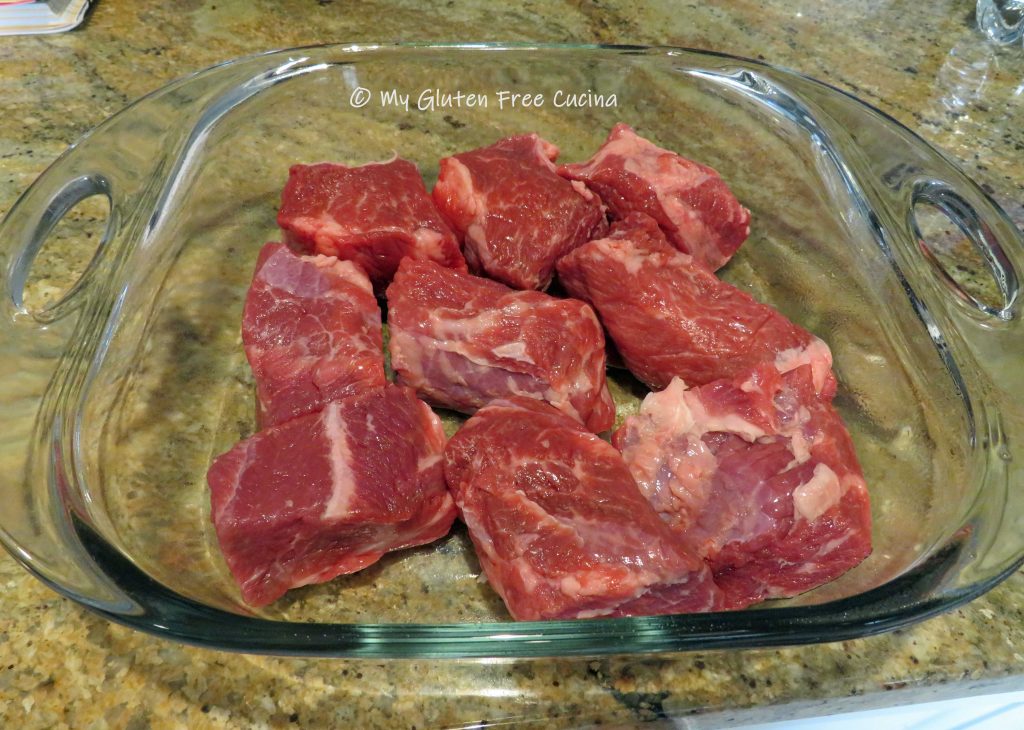
 The beef will shrink considerably during cooking, so start with twice as much as you think you need. For two people I suggest 1.5 lbs. of boneless beef short ribs. It may look like a lot to begin with, but there will be no leftovers 😉
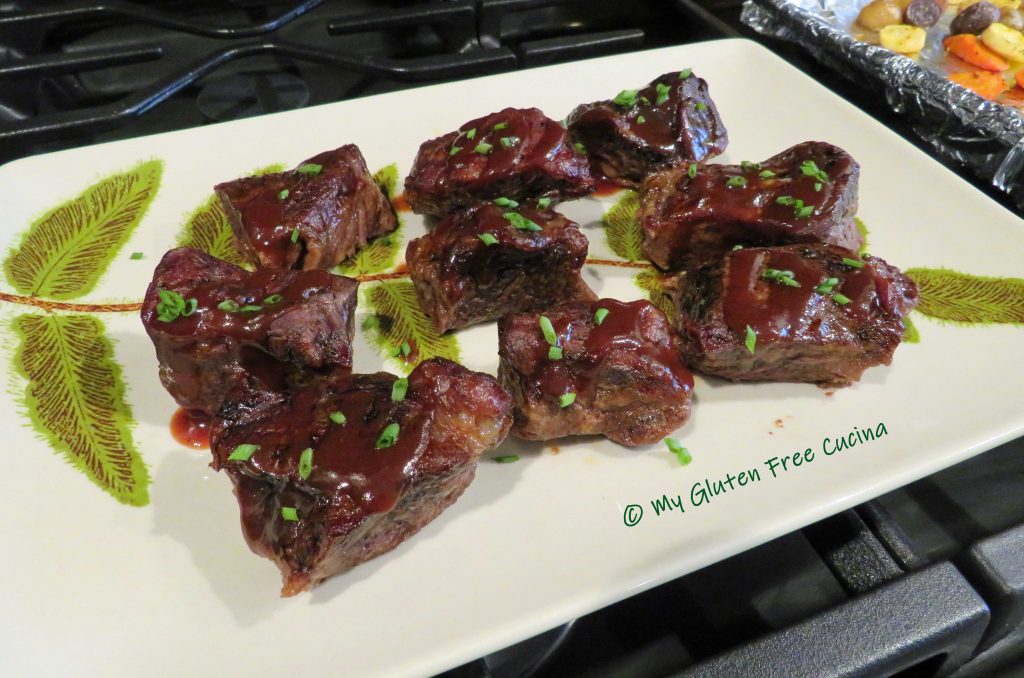 Ingredients:
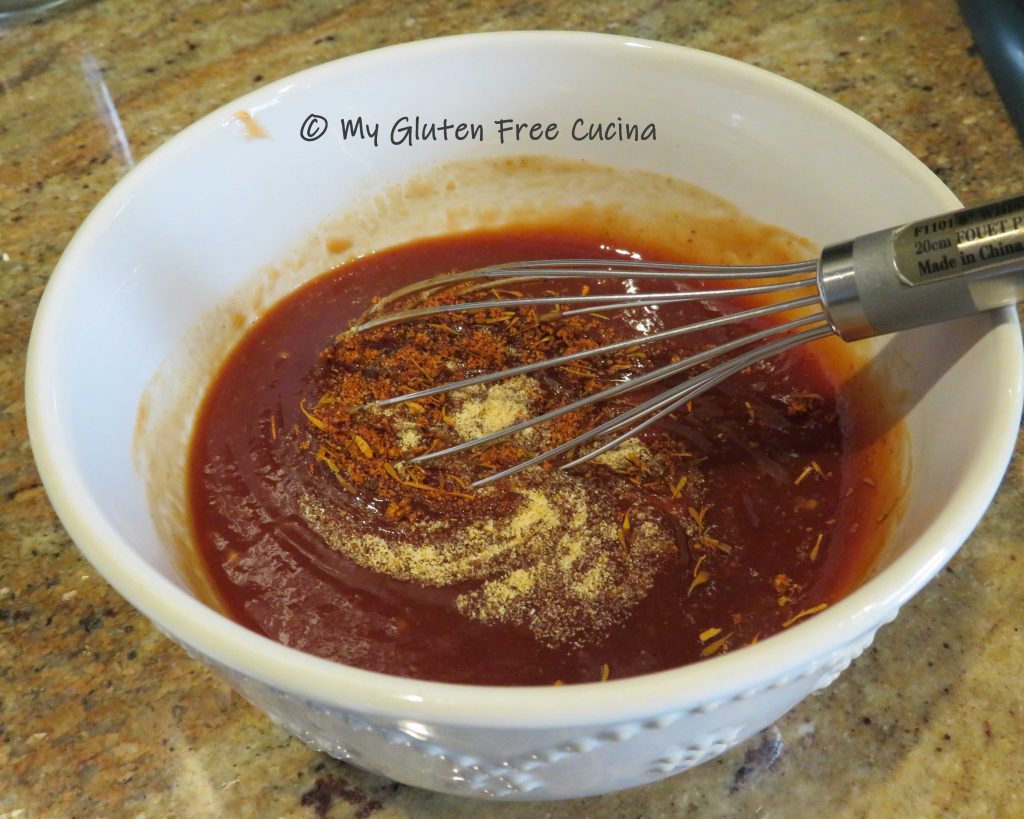


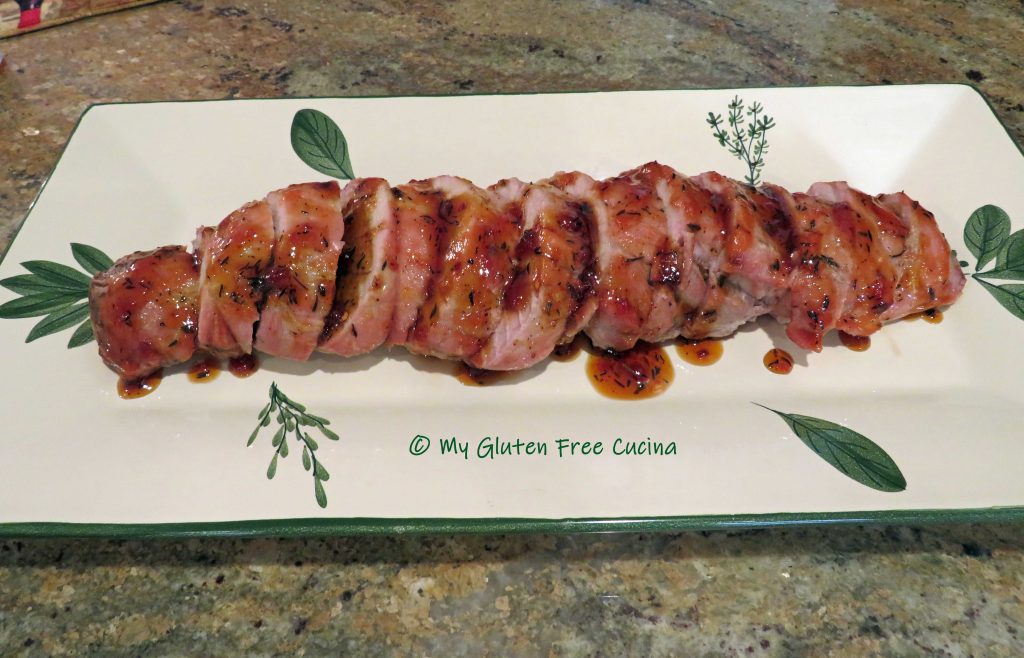
 Line a baking sheet with foil and mist with cooking spray. Remove the tenderloin from the packaging and pat it dry. Use a sharp knife or
 Insert a


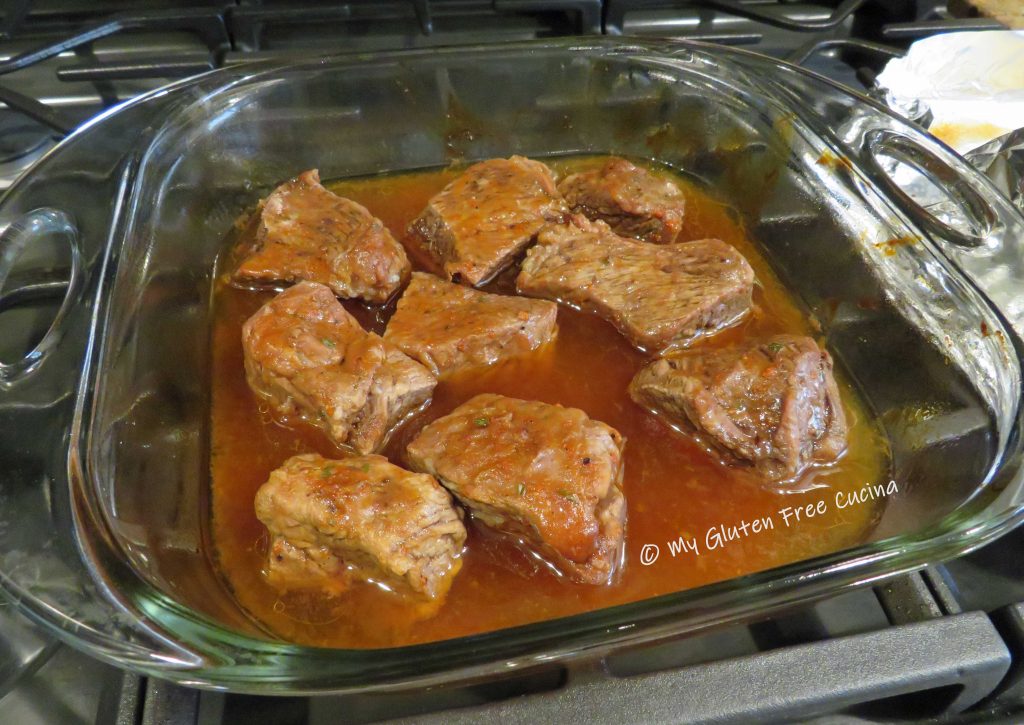
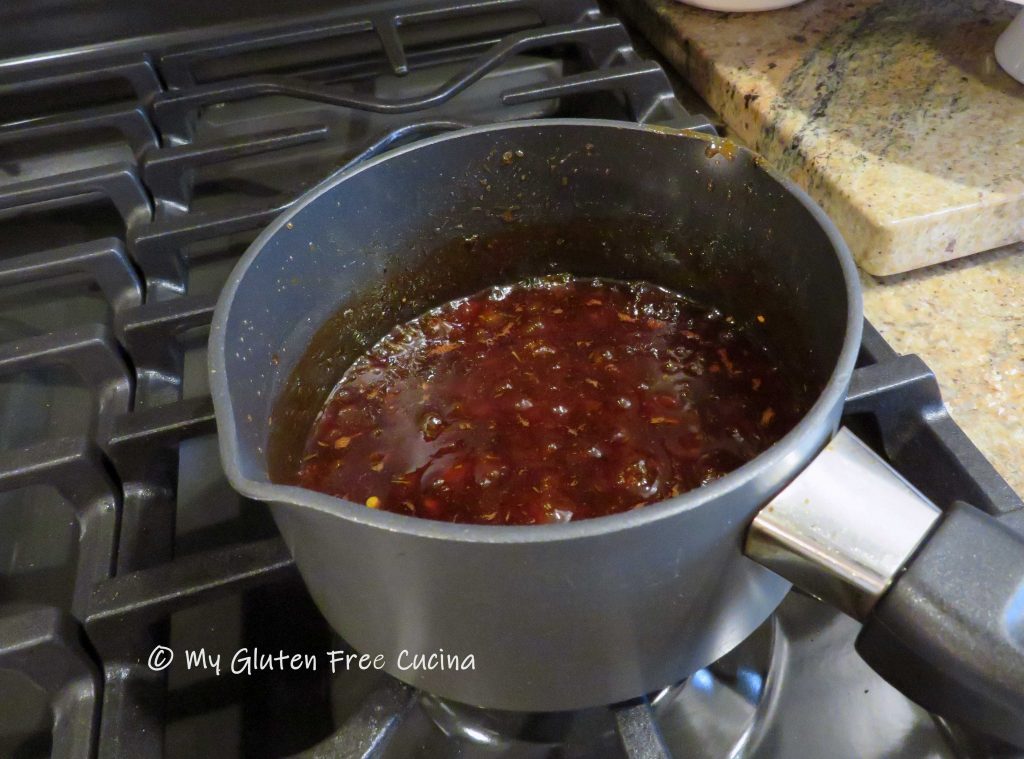
 Add more olive oil to the pan with the onion, carrot, and celery. Cook for several minutes, stirring frequently, then clear a space in the center for the tomato paste.
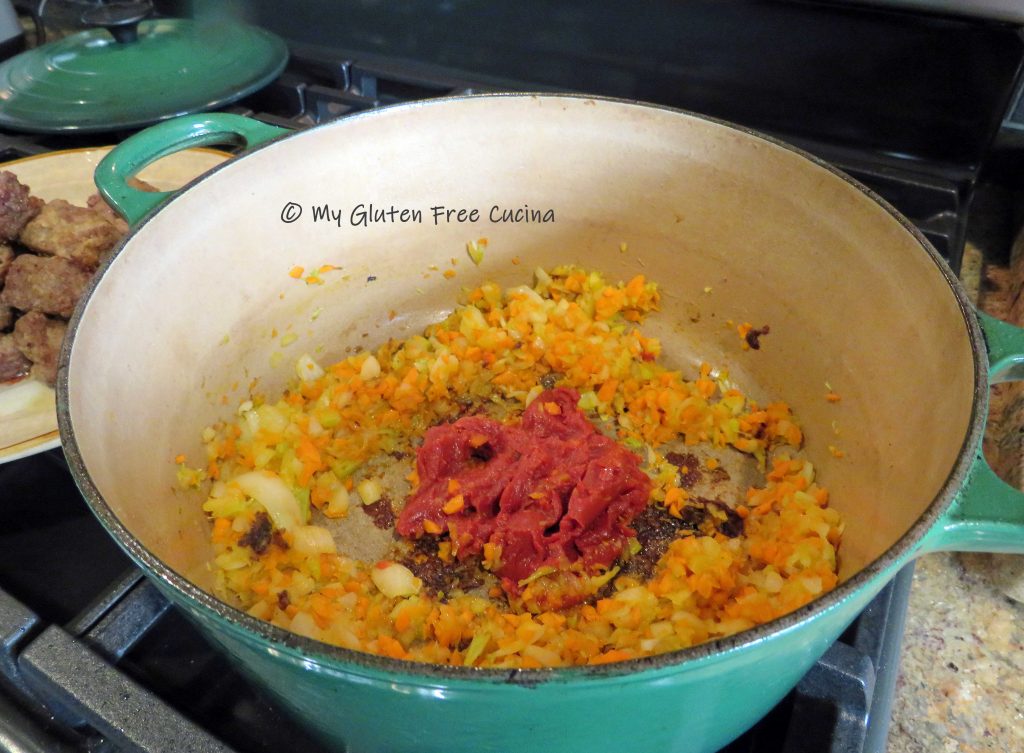 Toast the tomato paste for a minute, then stir it into the vegetables. Add the wine, using a spatula to scrape up those browned bits at the bottom of the pan. Reduce heat to a simmer and continue cooking until the wine is reduced by half.