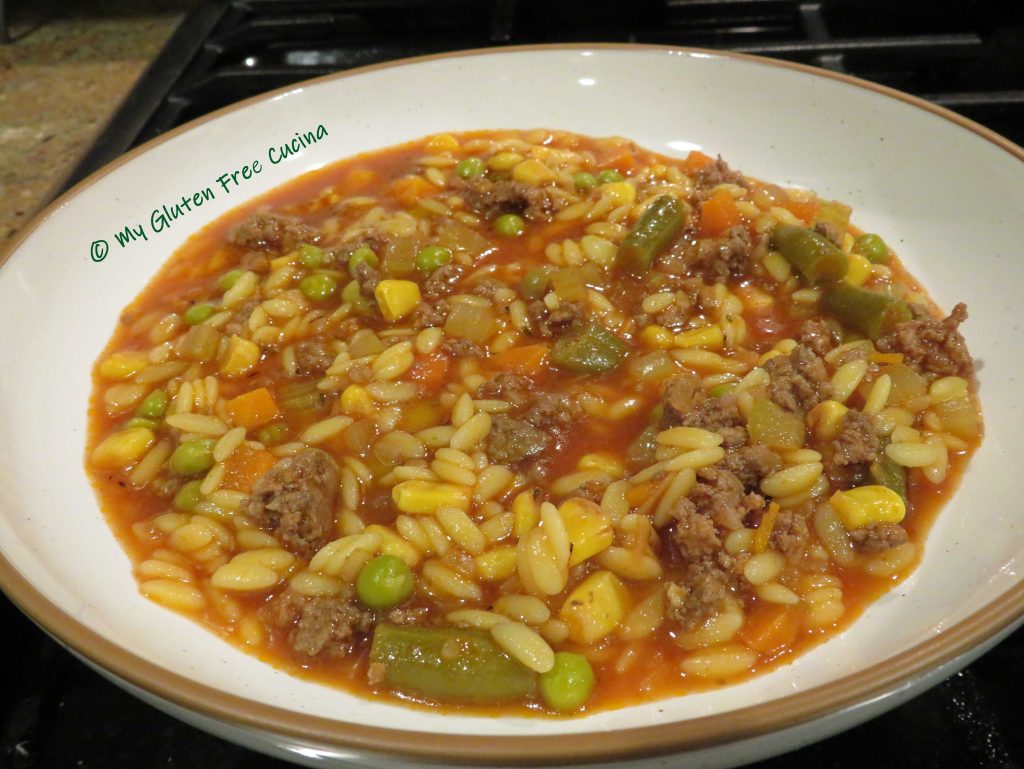
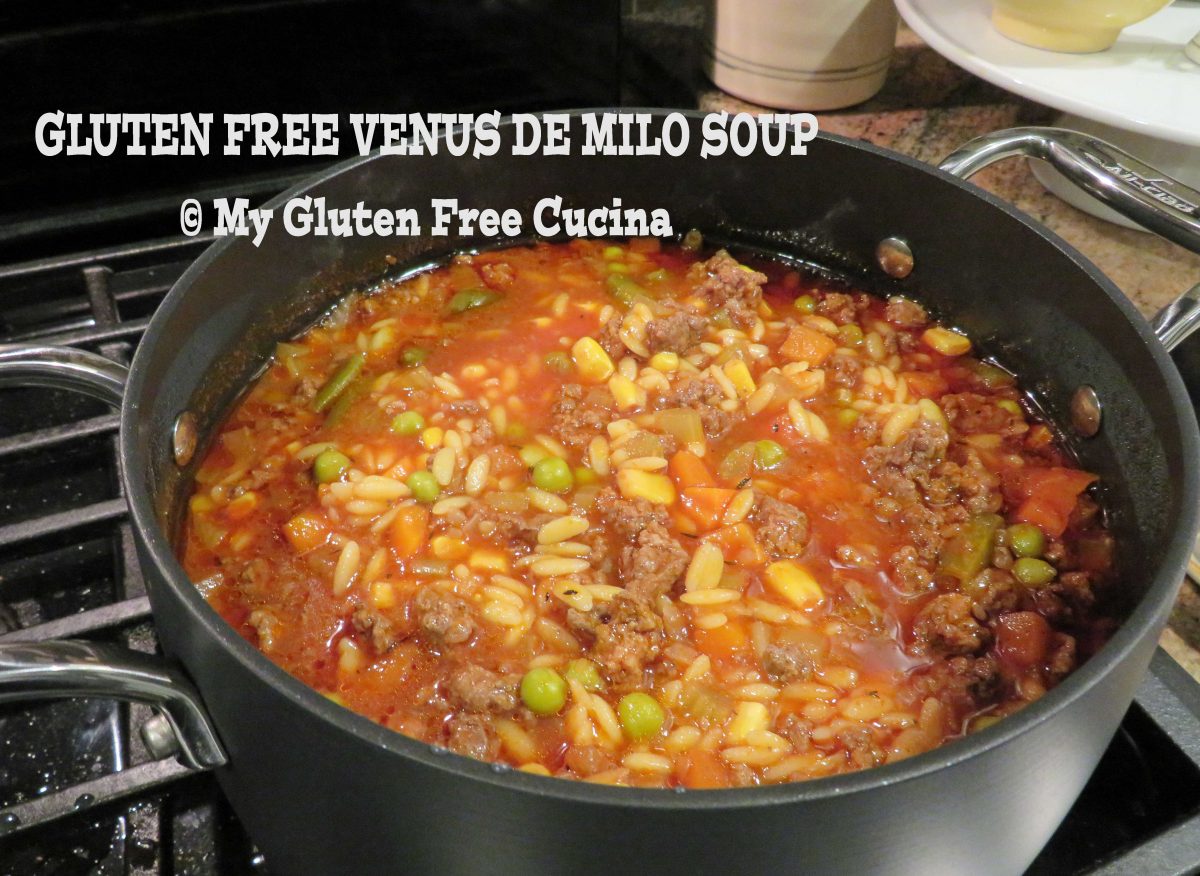
Founded in 1959, the Venus de Milo is an iconic restaurant and banquet facility located in Swansea, Massachusetts. For decades, it has been a venue for countless weddings, Christmas parties and other celebrations. My high school prom was held there, over 50 years ago! 😲
Venus de Milo Soup is a beloved New England tradition, and its popularity has endured over the decades. Copycat recipes abound for this easy to prepare soup. My mother had one in her recipe box, and today it is all over the internet.

This post contains affiliate links.
Although it is made with common pantry ingredients, a couple of challenges came up as I started with the original recipe. Two of the ingredients contained gluten, and I needed to find substitutions.

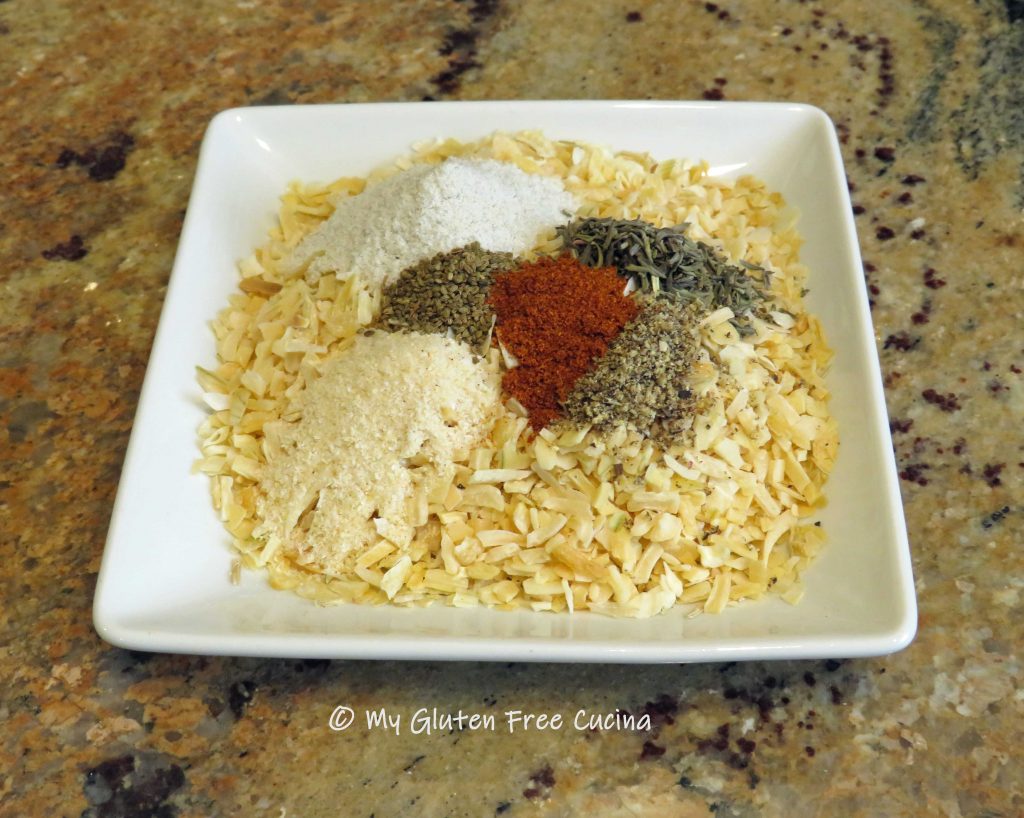
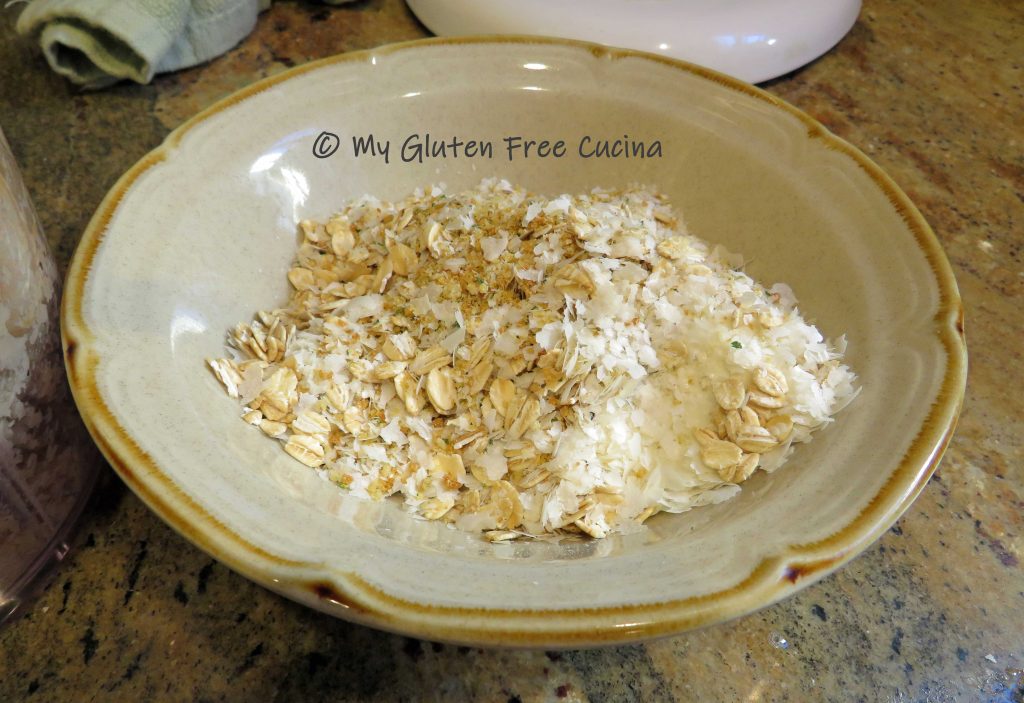
First, a packet of Lipton Onion Soup Mix. Back in the day, this was a go-to ingredient for so many recipes! When I was first diagnosed with Celiac Disease, I could not find a gluten free replacement, so I made my own mix. Now, just a few years later how things have changed! A quick web search turns up more than a few alternatives. Go ahead and add one to your shopping list or do what I did. Stir together this easy blend that contains no flour or added salt!
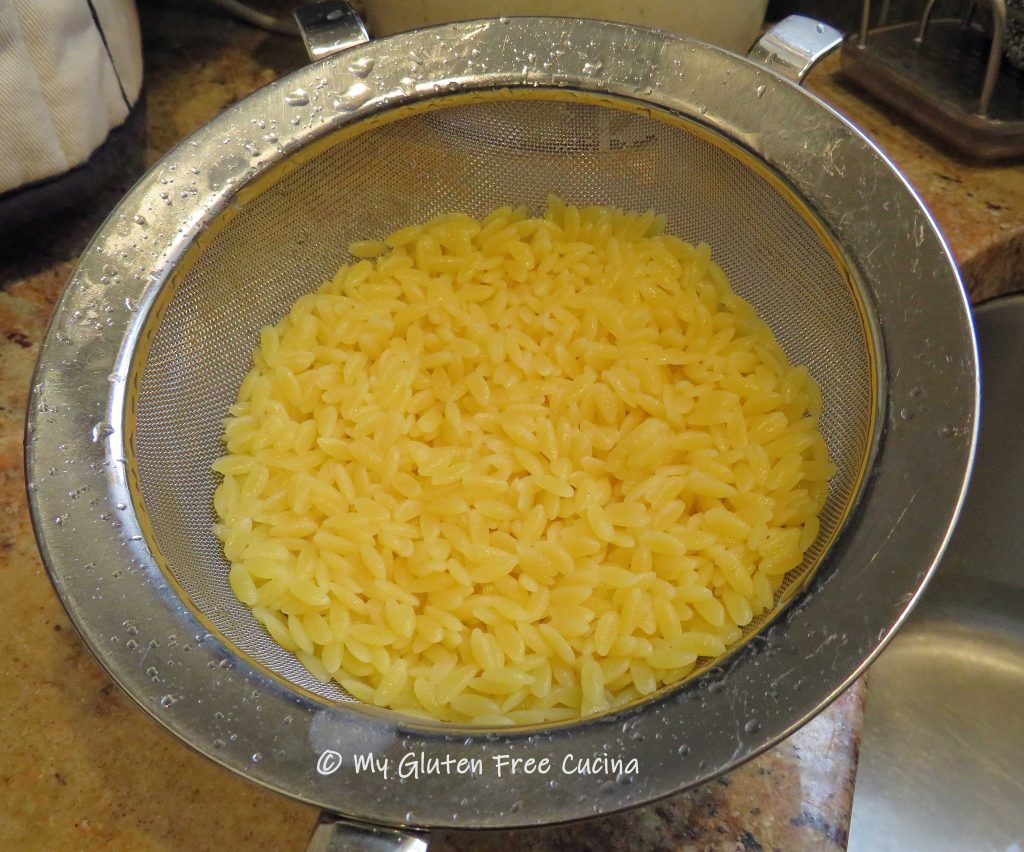
Next, the original soup was made with Orzo pasta. I wanted a gluten free soup pasta that looked like orzo, but again, when I first posted this recipe, I could not find a gluten free substitute. Now, just a few years later I was able to order this gluten free orzo from Delallo made from corn and rice flour. I also spotted this gluten free orzo from Jovial, made with cassava flour.
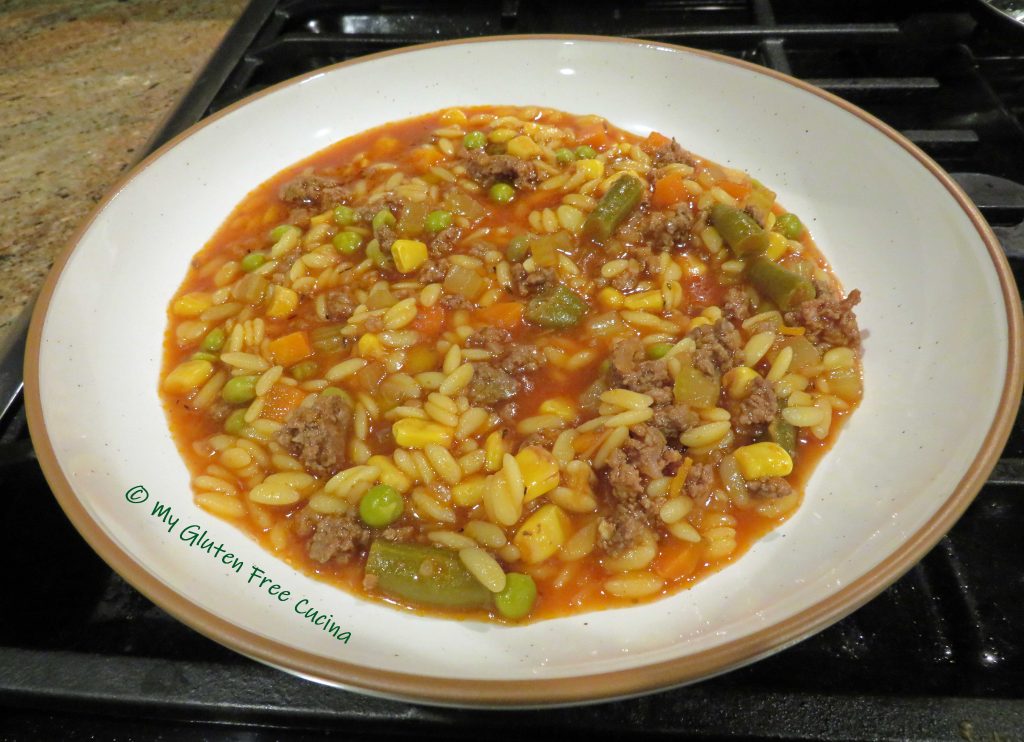
Once I had gathered my ingredients, this soup came together in about 45 minutes. Like any soup, it is better and thicker the next day. You will enjoy several meals from this pot of soup, and a few great memories if you have had the pleasure of dining at the Venus de Milo!
Ingredients:
———————————————-
- 1 tbsp. olive oil
- 1 lb. lean ground beef
- 2 celery stalks, diced
- salt and pepper to taste
- 14.5 oz. canned tomatoes (whole, diced, crushed, sauce… use what you have)
- 1 tsp. sugar
- 16 oz. bag frozen mixed vegetables (peas, carrots, corn and green beans)
- 12 oz. beef stock
- 2 cups beef or chicken broth (or use water)
- 1 cup (uncooked) gluten free orzo pasta
- 1 ladle of reserved pasta water
Preparation:
Stir together the first 7 ingredients for the onion soup mix replacement (or use a purchased mix).

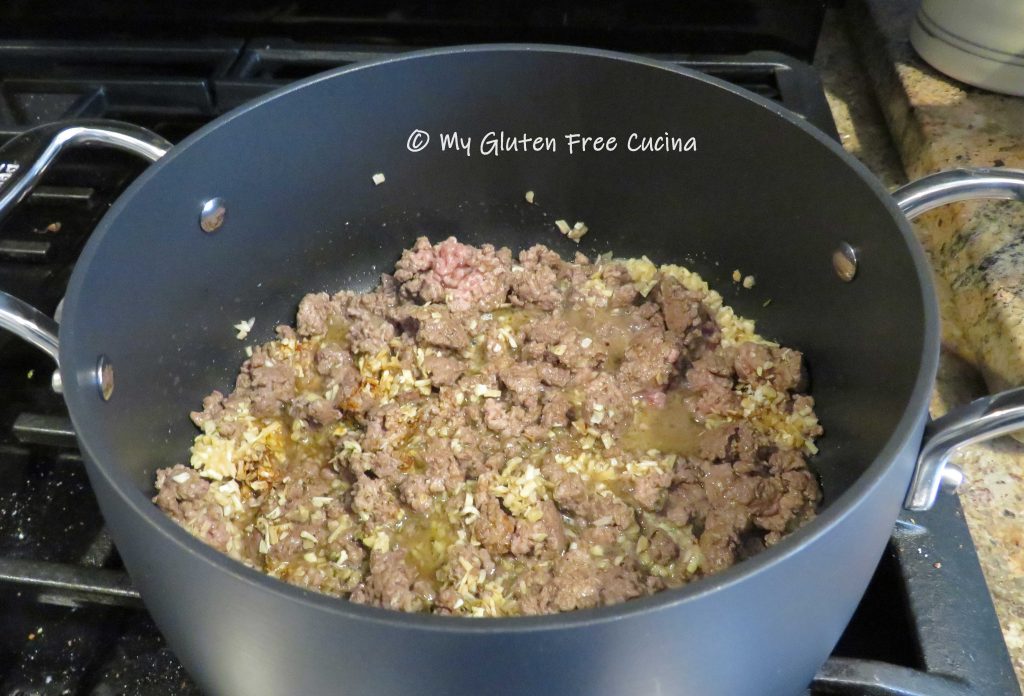
In a 4 qt. soup pot or Dutch oven, brown the meat in 1 tbsp. olive oil, breaking it up with a spatula. Season with salt and pepper. Continue until the meat is completely browned, then stir in the onion soup mixture.
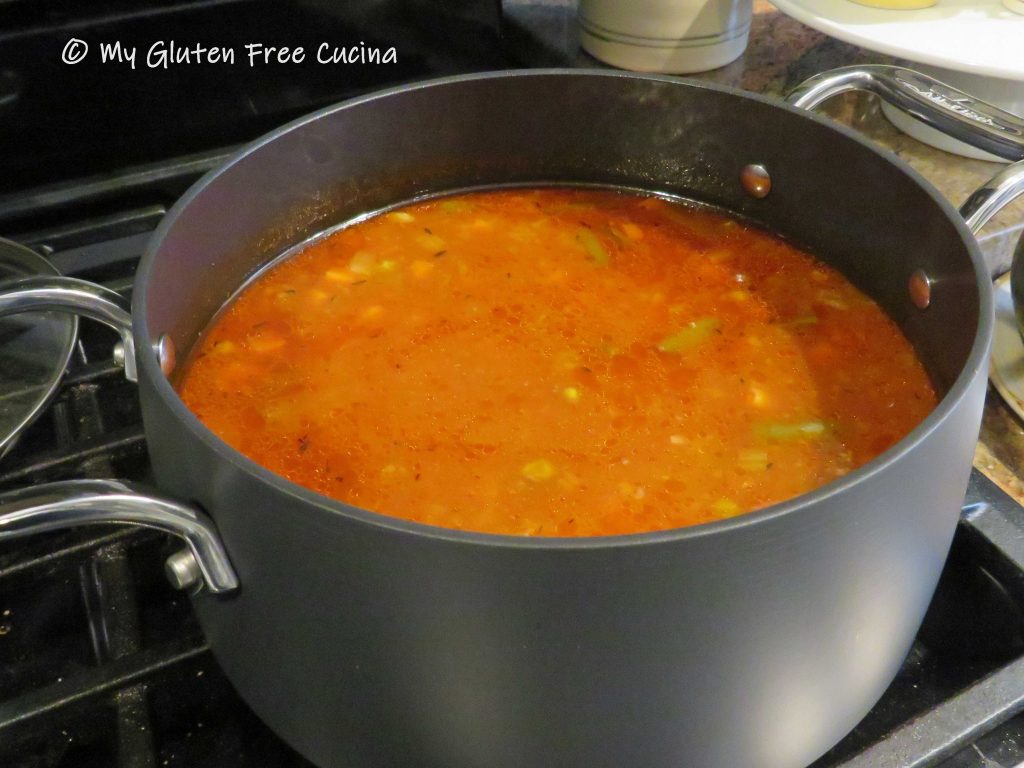
Add the celery, tomatoes and the mixed vegetables (it’s ok to throw them in frozen).

Next add the stock and all of the broth. This recipe is very forgiving. You can use all broth, or all water if you wish for a total of 3-1/2 cups liquid. Bring to a boil then reduce heat to a low simmer. Cover and cook for 30 minutes.
Next cook the pasta in lightly salted water. I do not recommend adding the dry pasta directly into the soup. Here’s why.
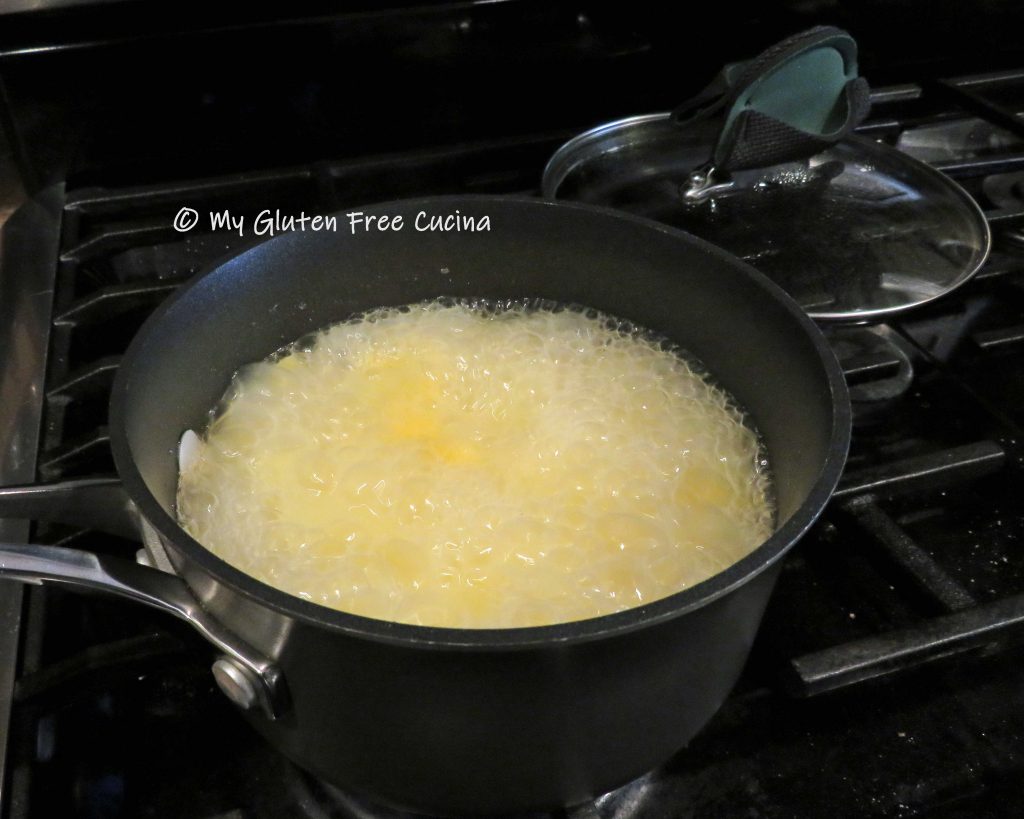
Some gluten free pastas, especially those made with corn flour will release a huge amount of starch into the water when cooked, and it can be a gummy mess. Don’t worry though, it’s delicious! Just cook the pasta separately and rinse it under warm water before adding to the soup.
If the soup needs thickening, you can reserve a bit of that starchy water and add it to the pot. Stir it up and do a final taste, adding more salt or pepper as needed.

Let it sit for 2 hours before mealtime (soup will thicken), then just warm it up before serving.
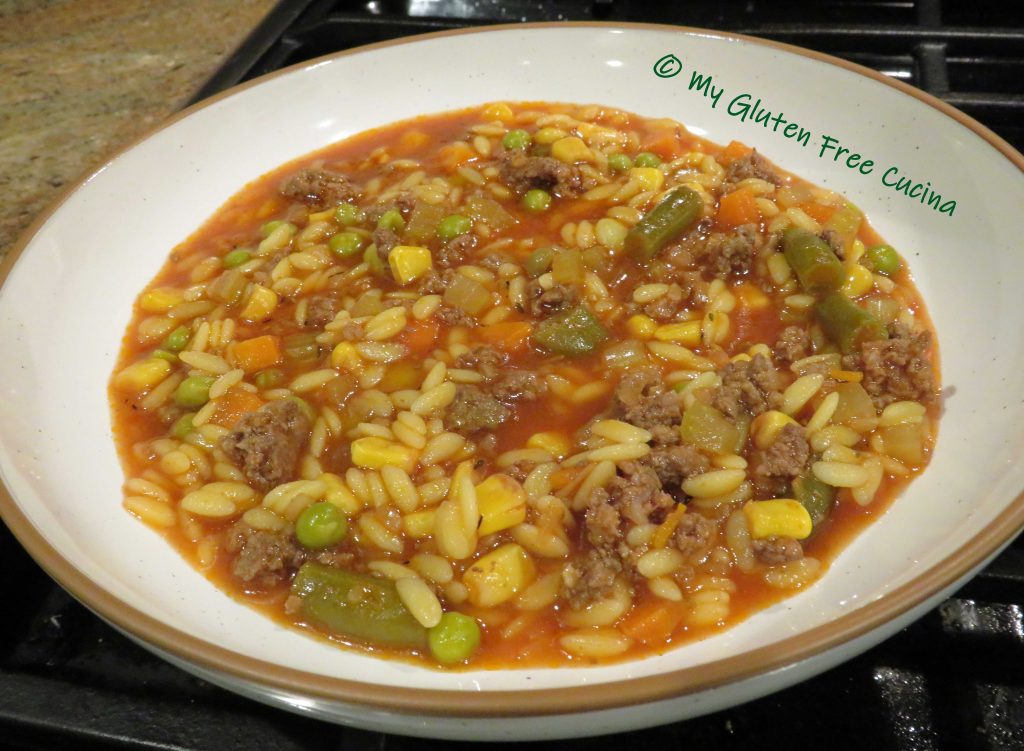
This hearty soup is a meal in itself. Perfect for cold winter nights, serve with grated cheese and a few slices of crusty gluten free bread.
Notes: ♪♫ Soups are notorious for containing high levels of salt. If you are a low sodium household, always start your recipes with ingredients that have no added salt. For example, choose unsalted broth, tomatoes, and bouillon. It’s easy to add a little sea salt in at the end to bring out the flavor.

Original post 3/04/2019 Updated 2/16/2022

[print_link]

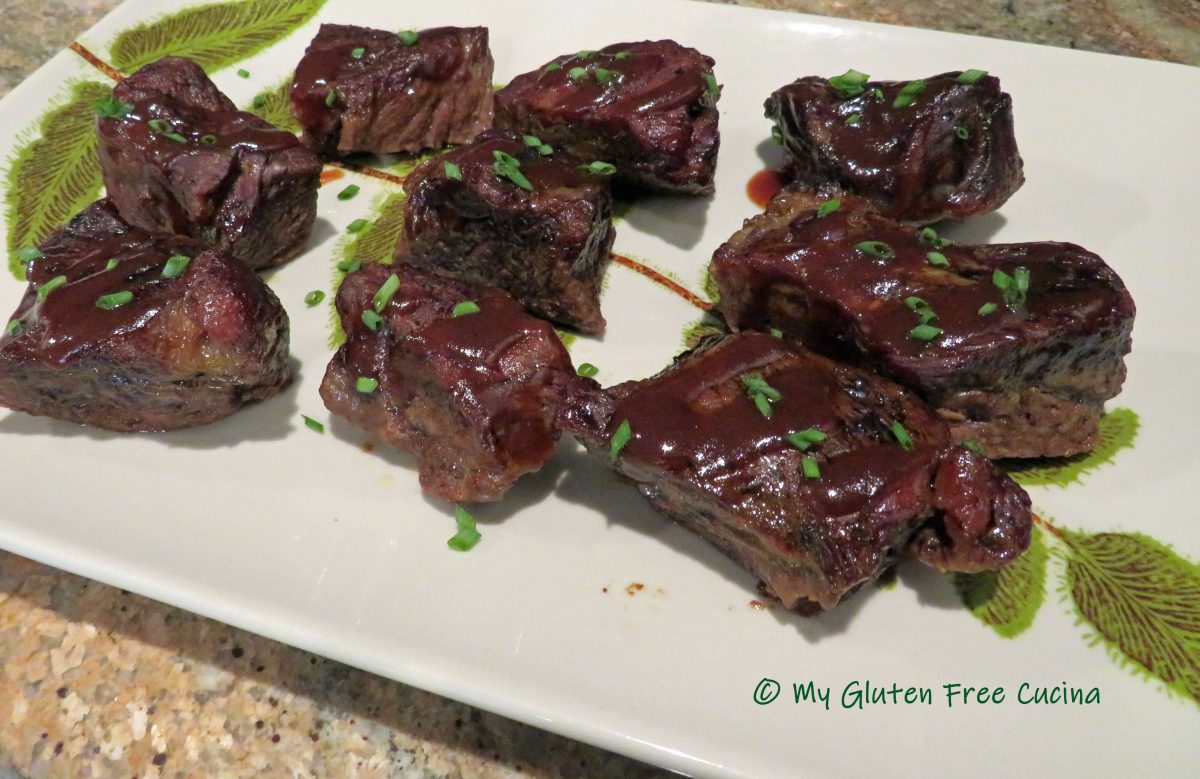
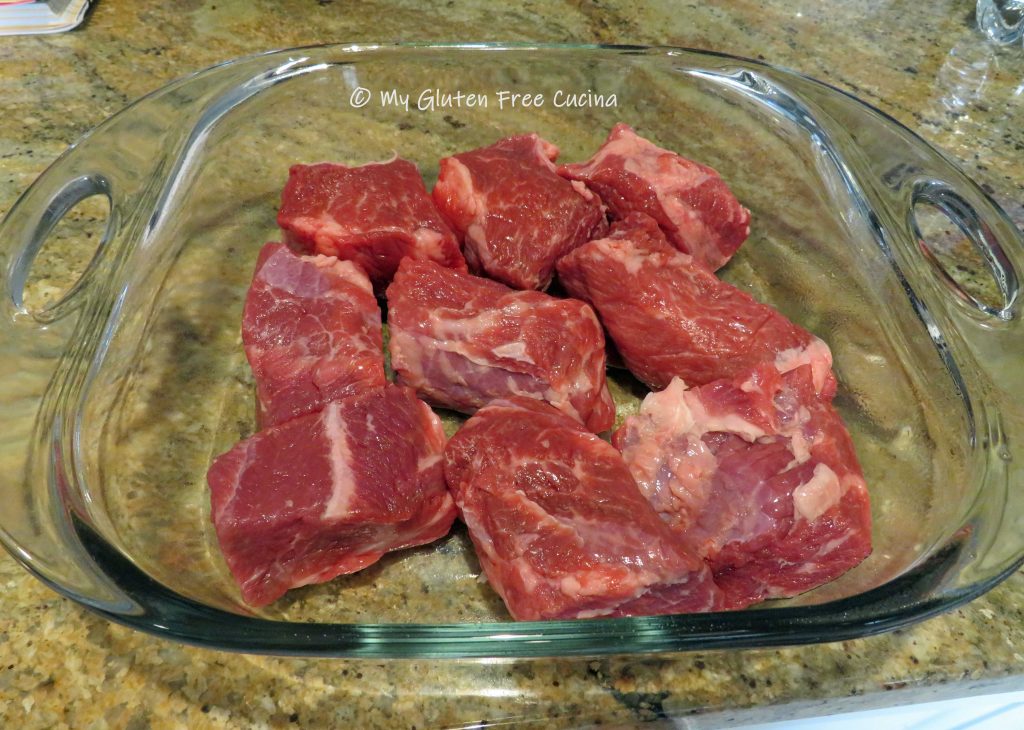
 The beef will shrink considerably during cooking, so start with twice as much as you think you need. For two people I suggest 1.5 lbs. of boneless beef short ribs. It may look like a lot to begin with, but there will be no leftovers 😉
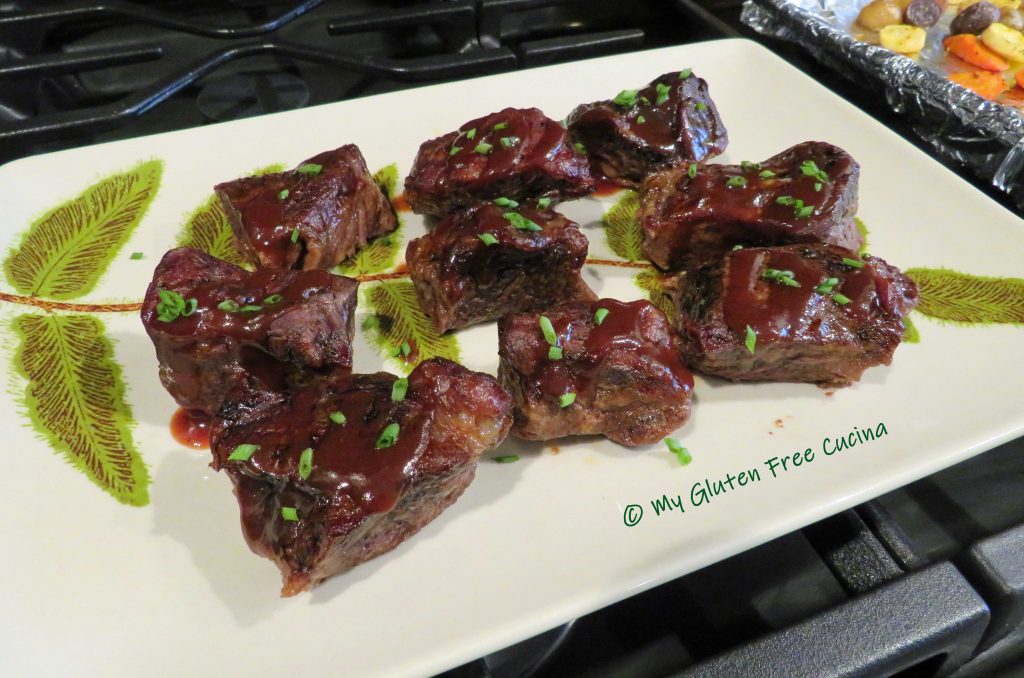 Ingredients:
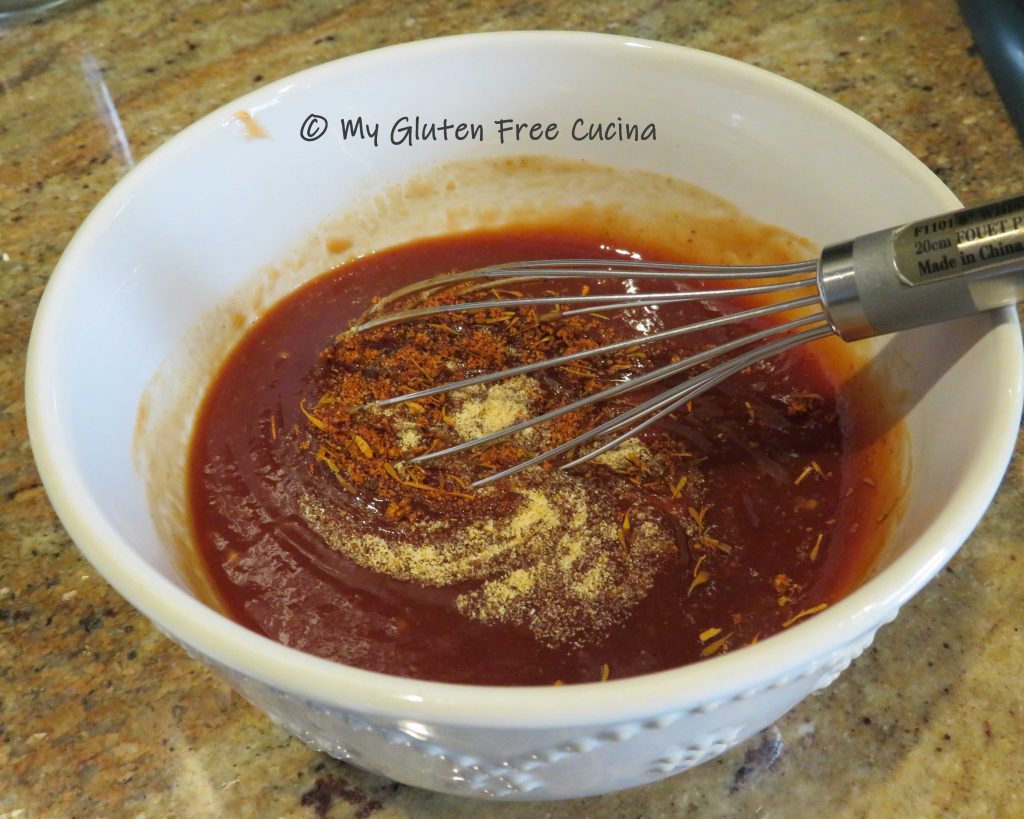


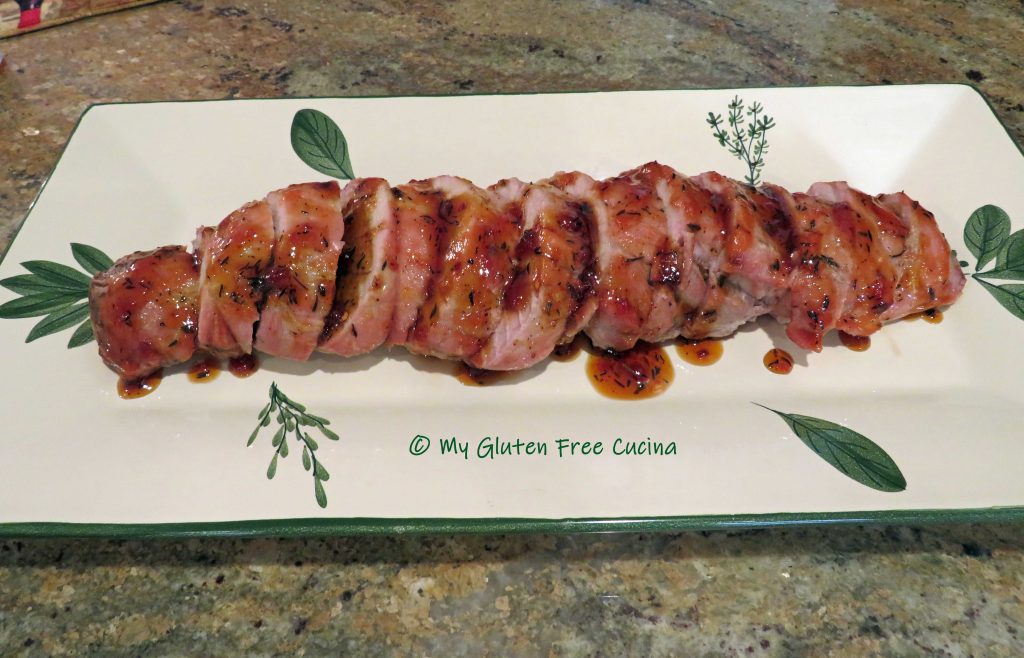
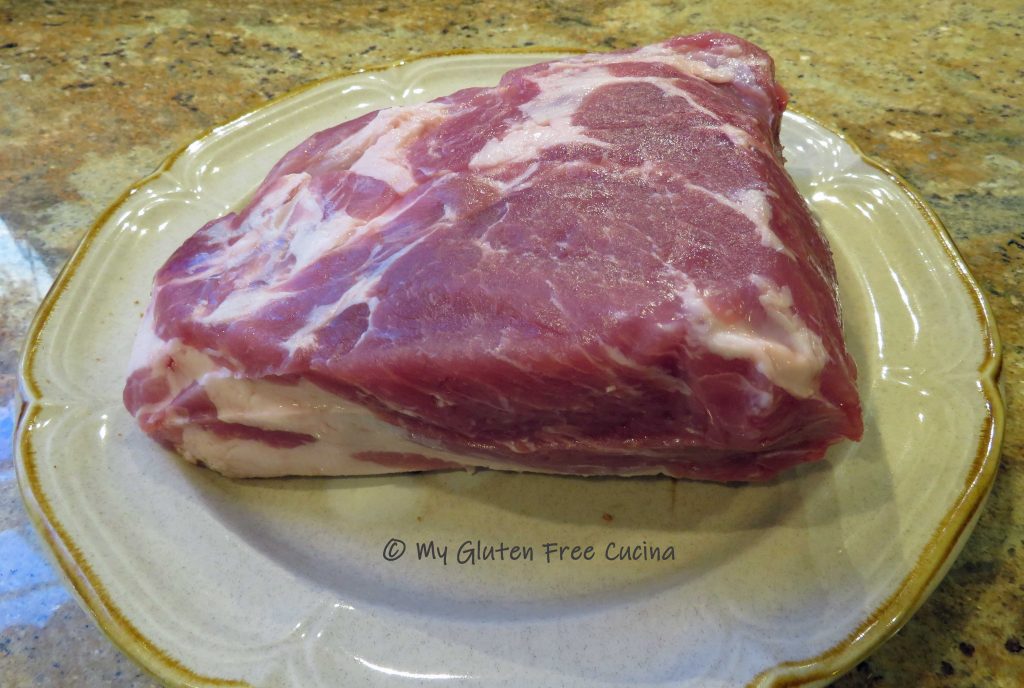
 Line a baking sheet with foil and mist with cooking spray. Remove the tenderloin from the packaging and pat it dry. Use a sharp knife or
 Insert a


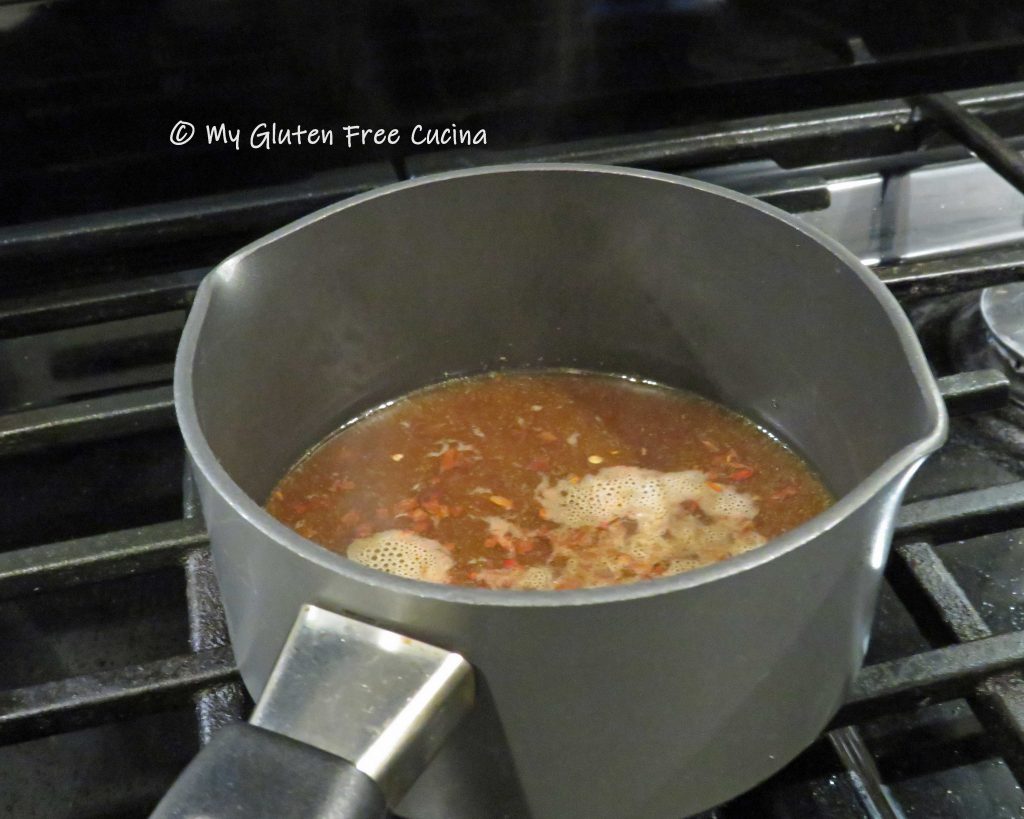
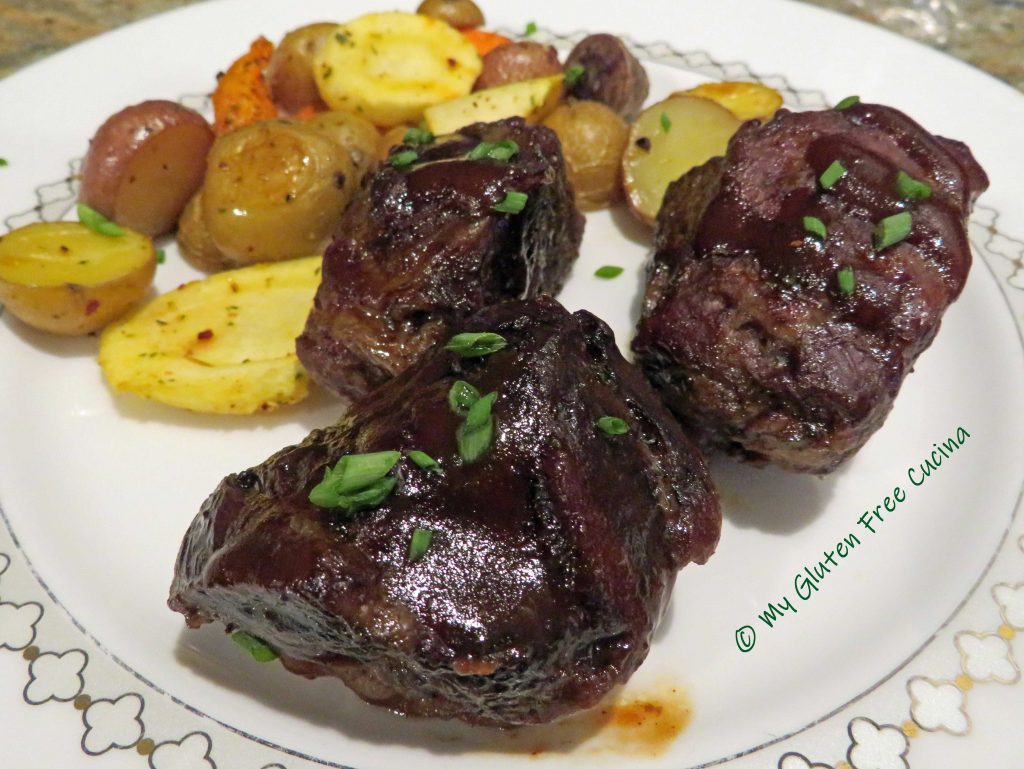
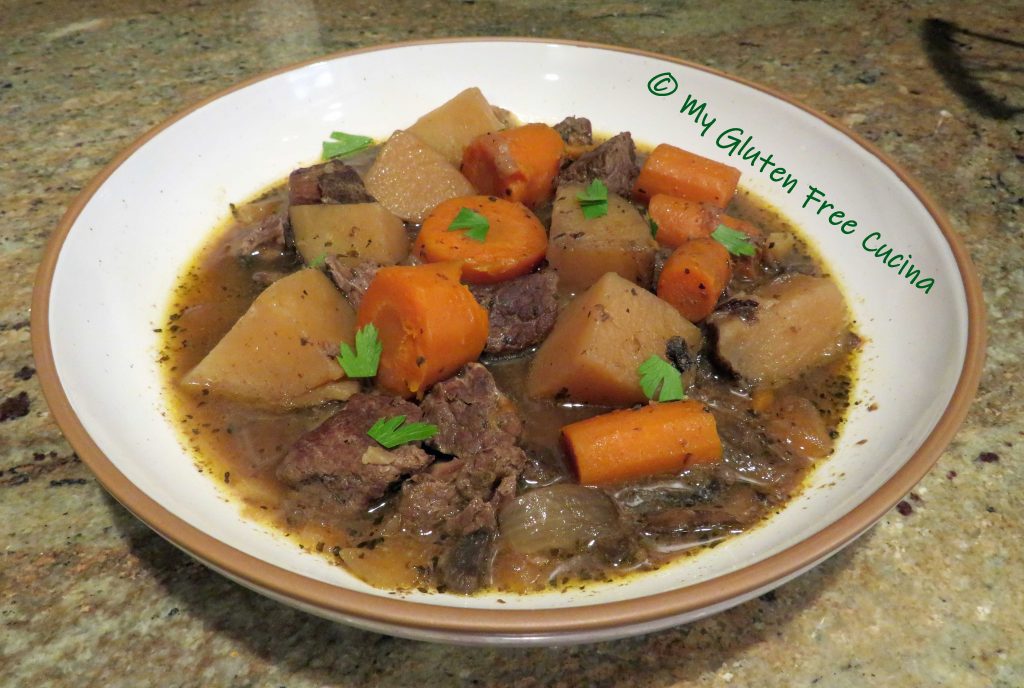
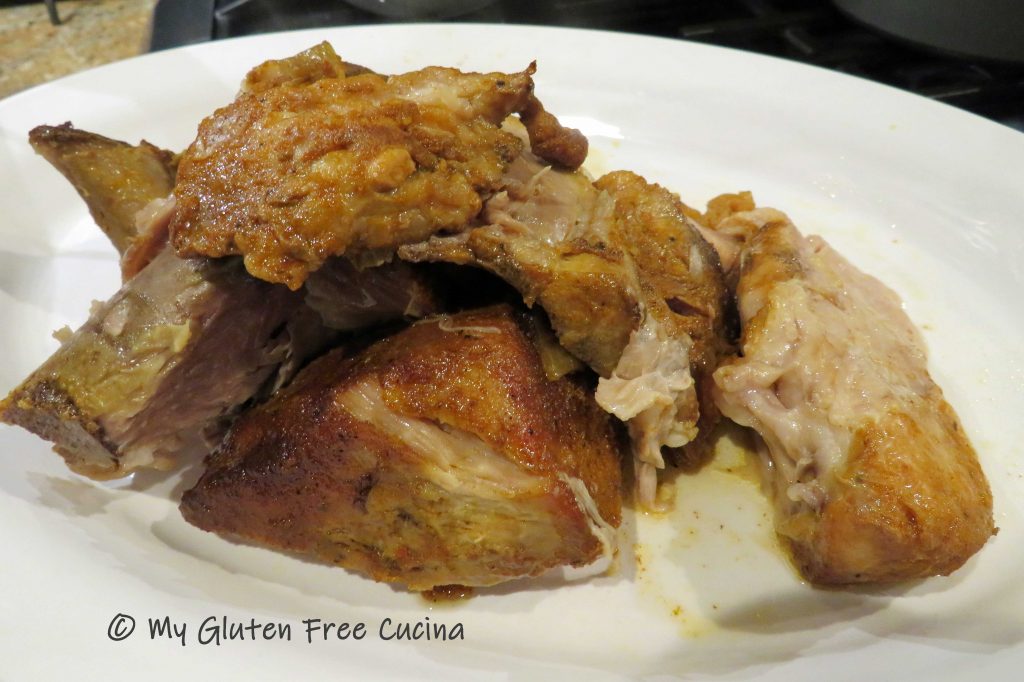 It should be falling apart tender. Spoon a little of the reserved sauce over the top. You can strain out the pepper flakes if you like.


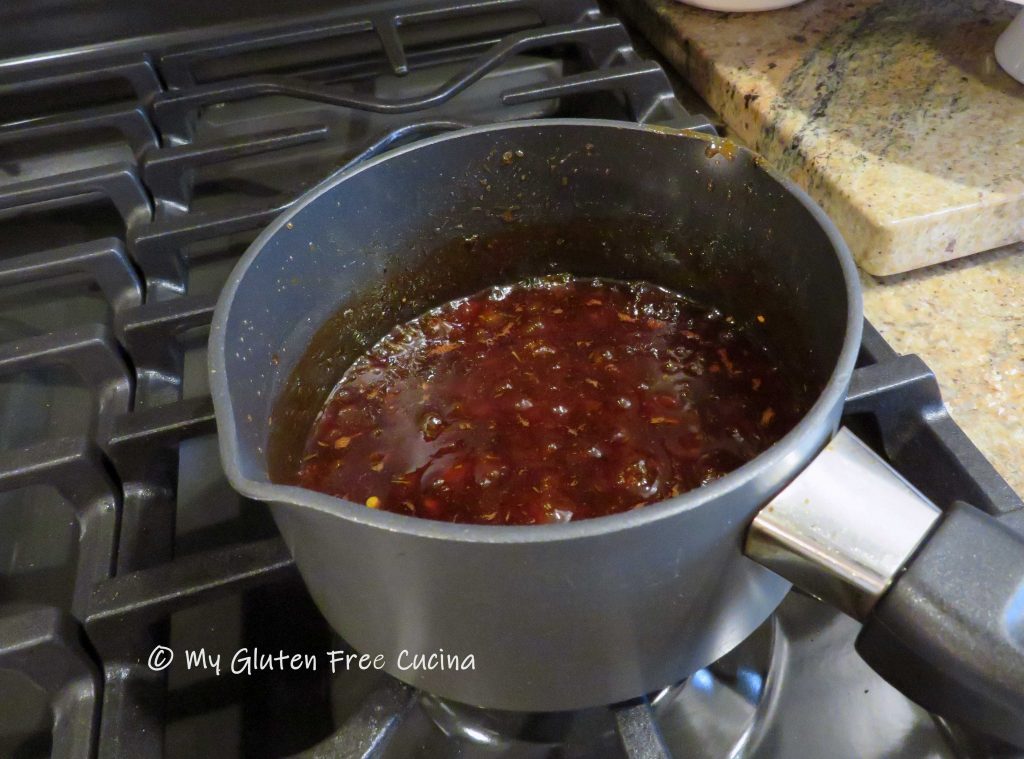
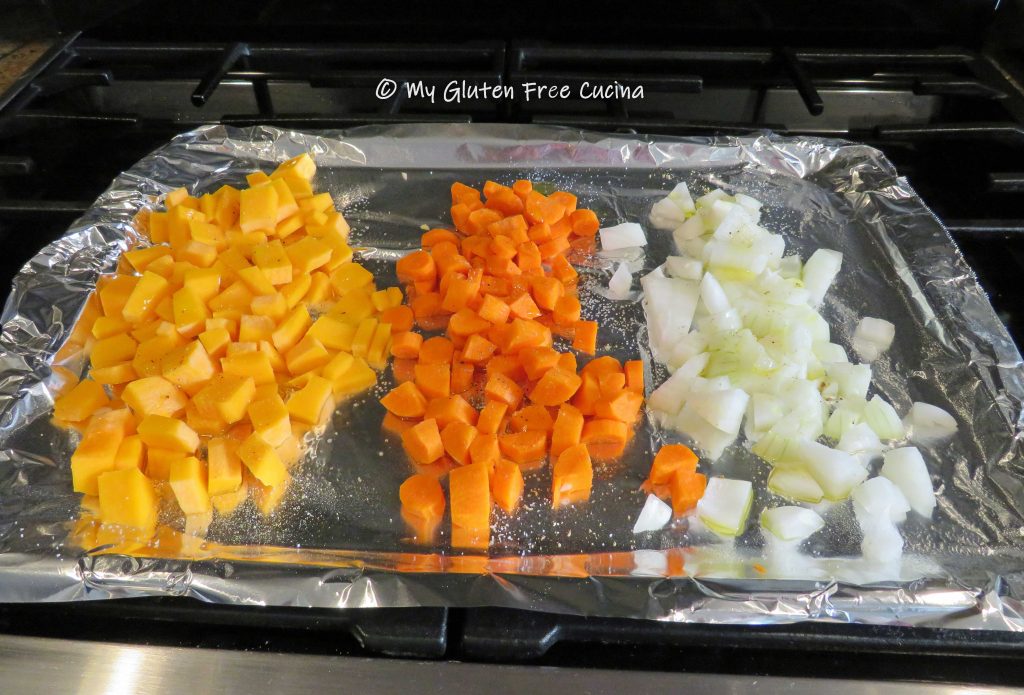 While the veggies are roasting, heat 2 tbsp. olive oil in a
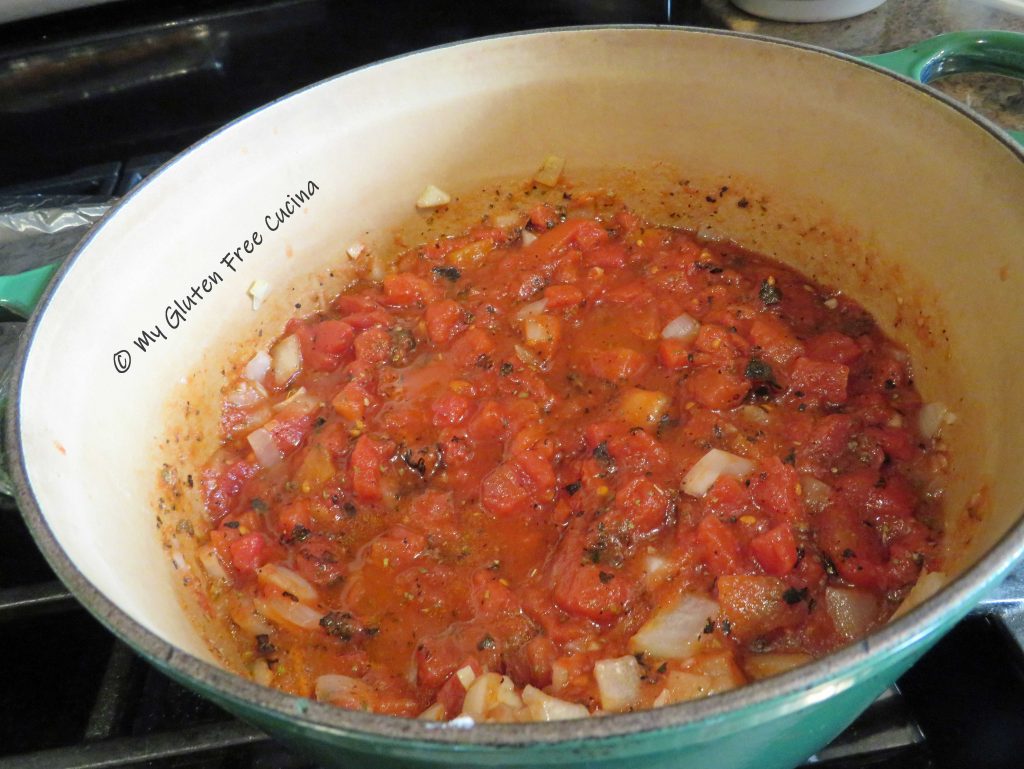
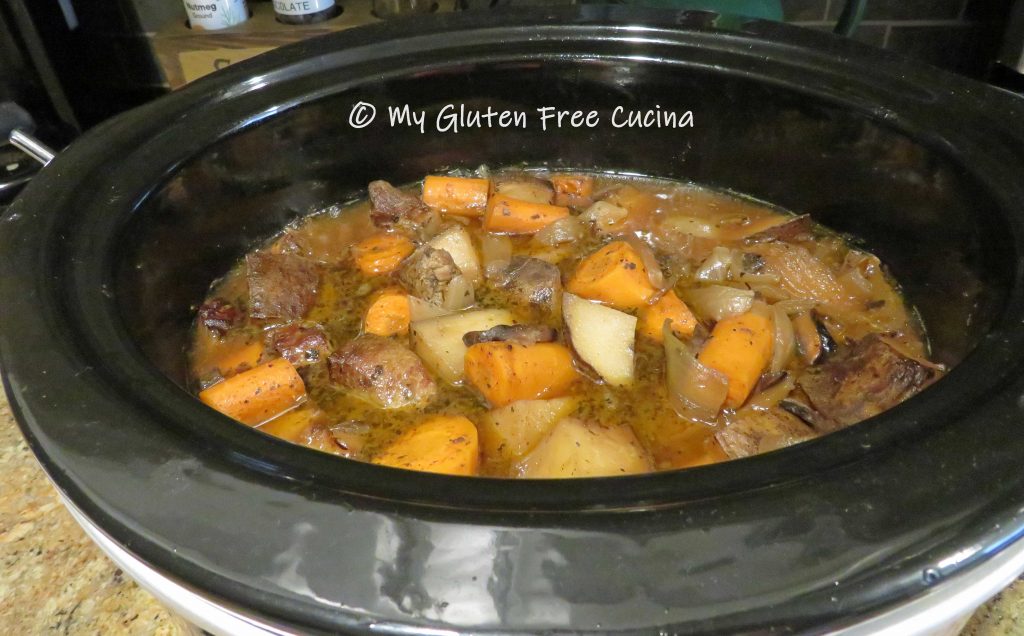
 Cover and simmer 2 hours. I used a


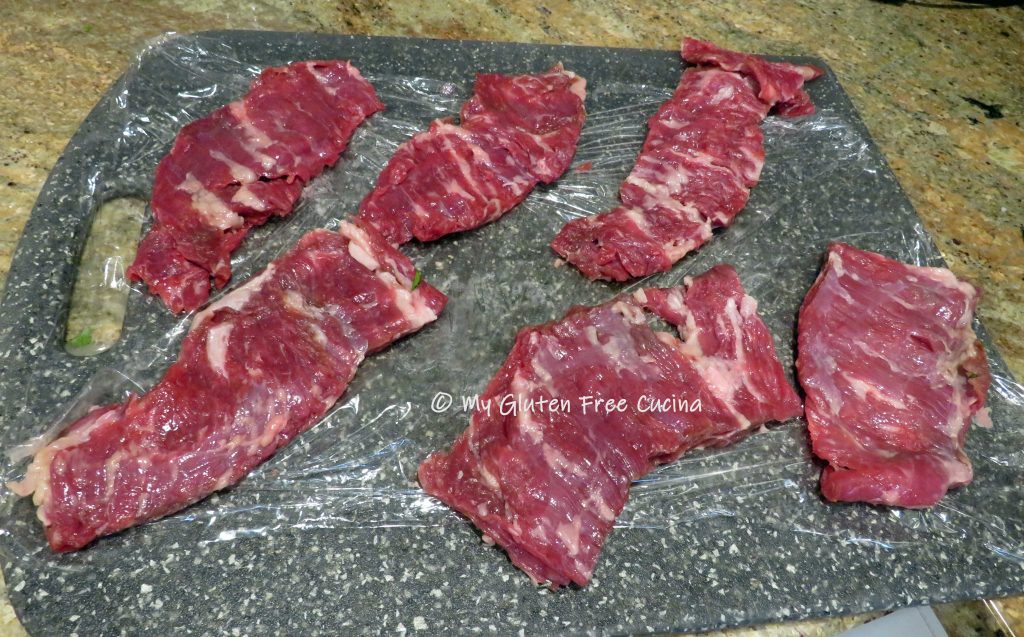
 Lay the steak out on a
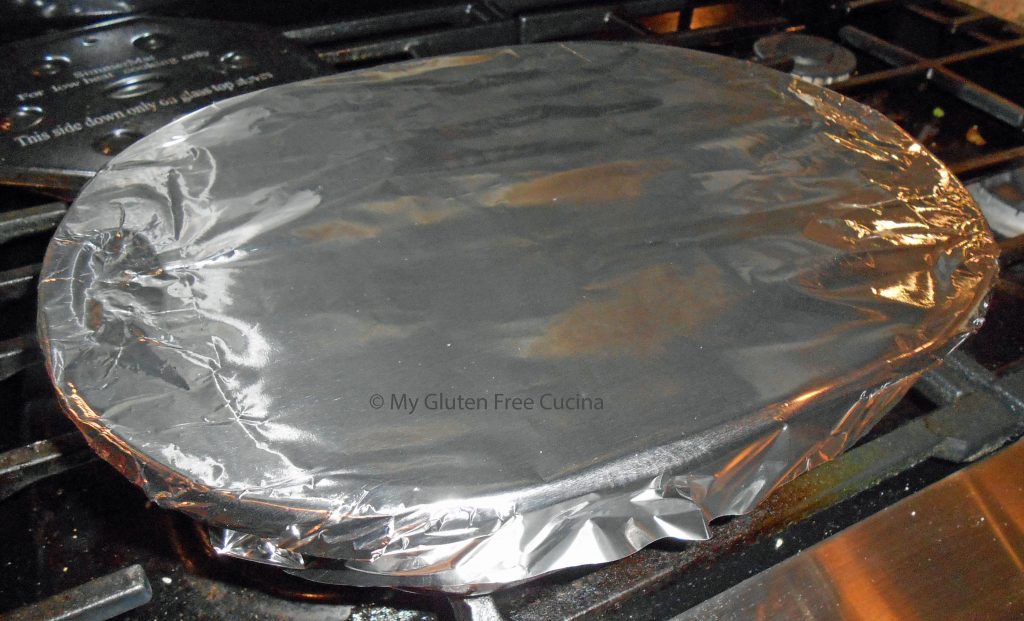
 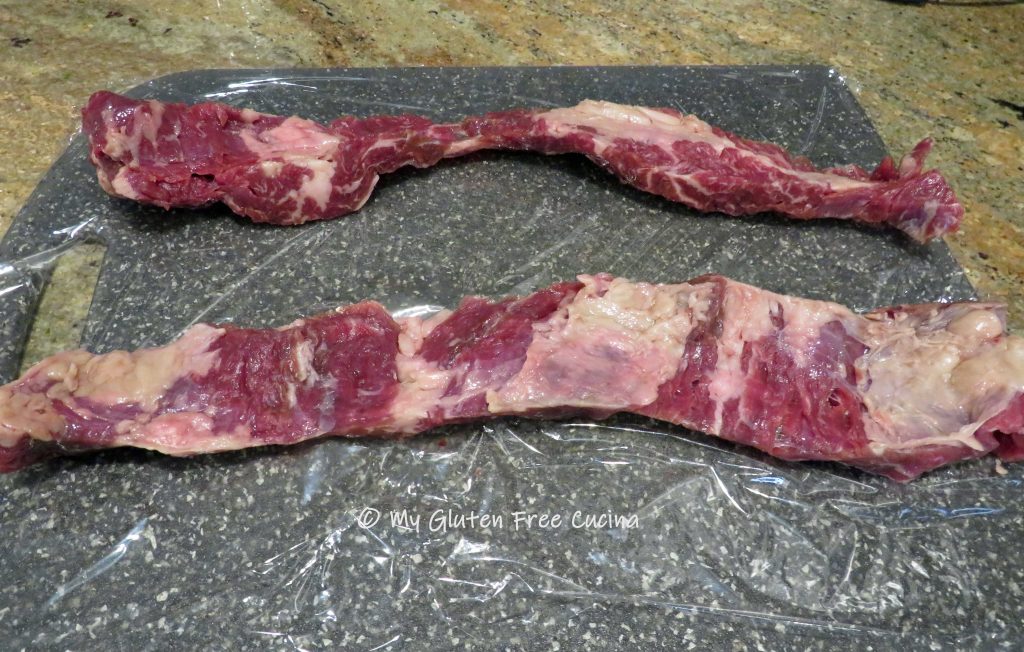 Cover the meat with another sheet of plastic wrap and
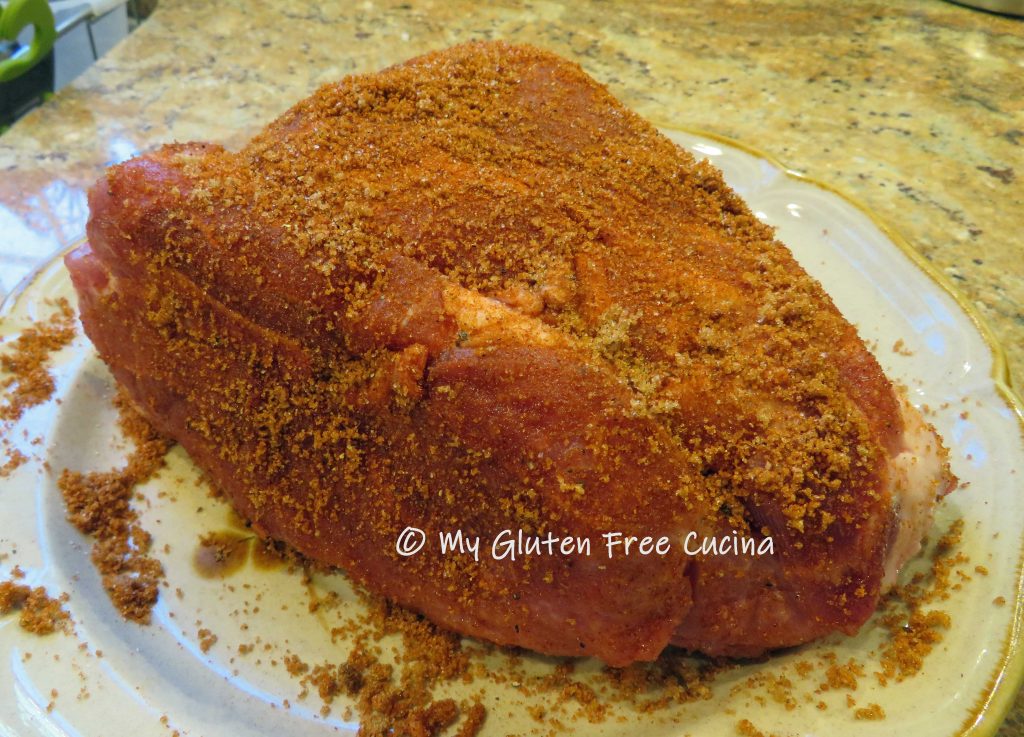
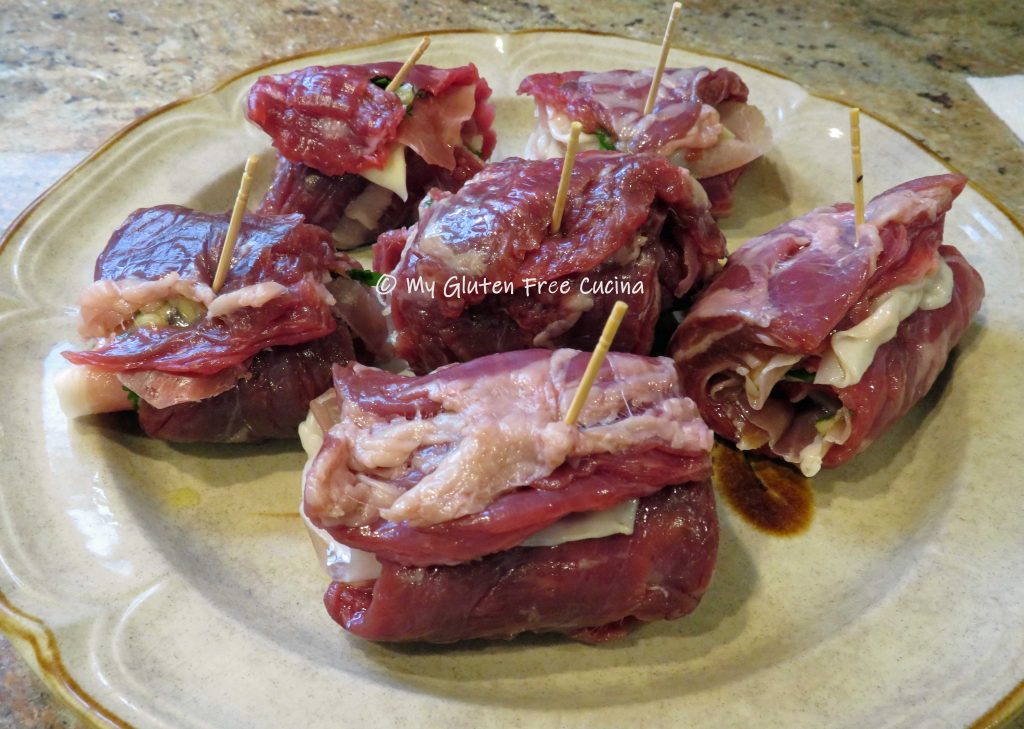
 Spread the garlic mixture evenly over the steak.


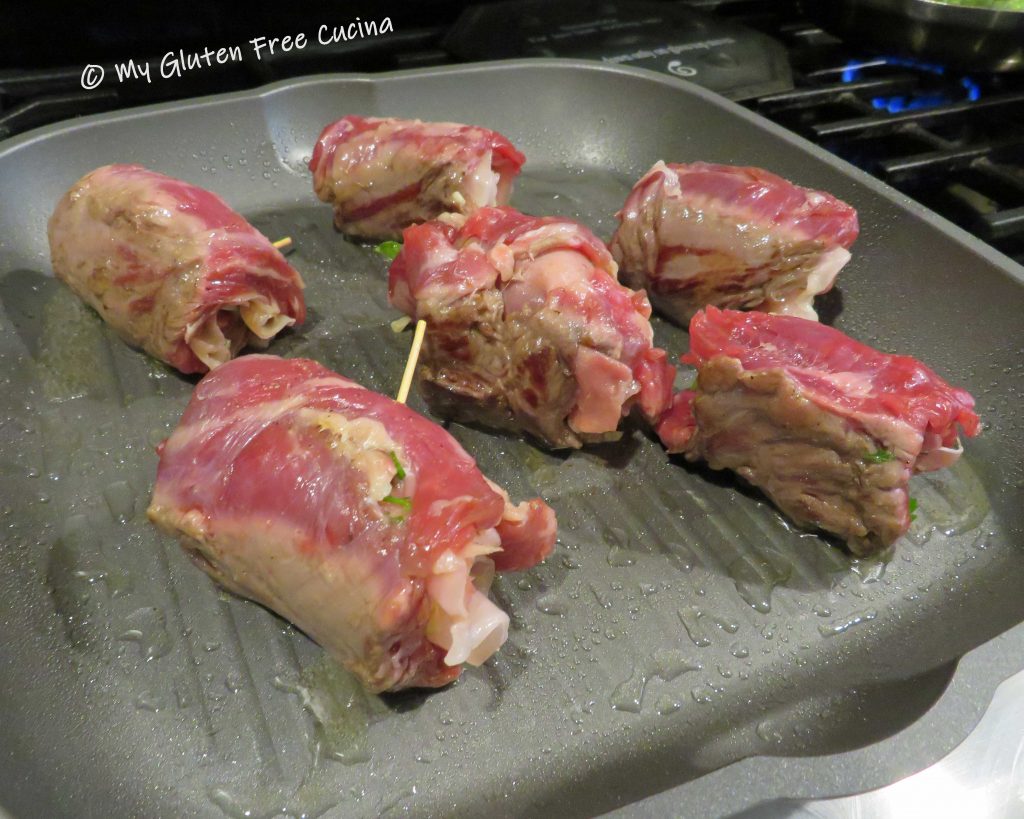
 Remove them when the internal temperature reaches 135º for medium (
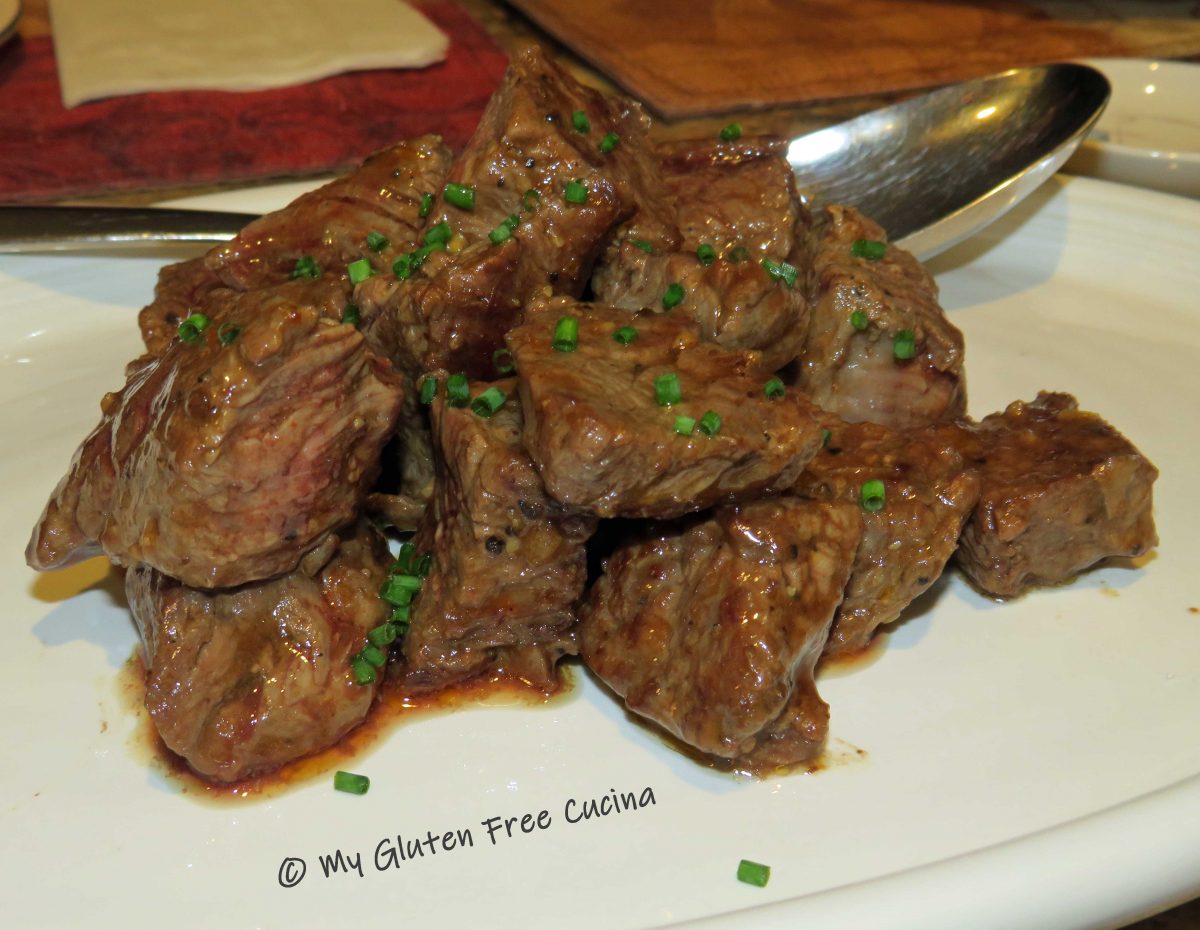


 To finish, add 2 tbsp. gluten free BBQ sauce and toss to coat.


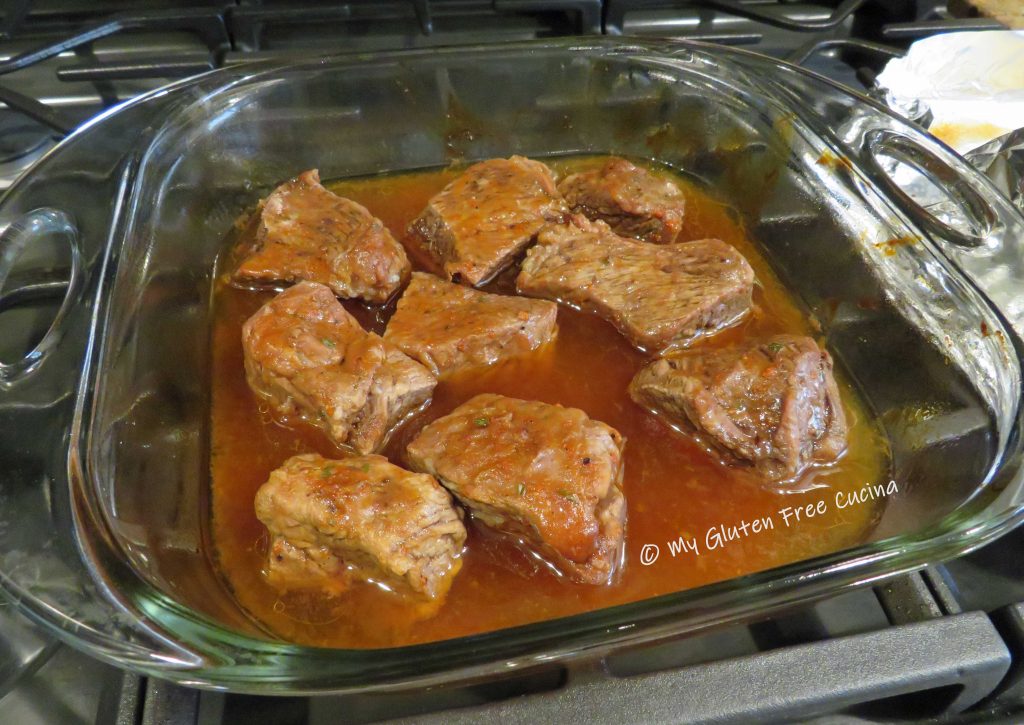
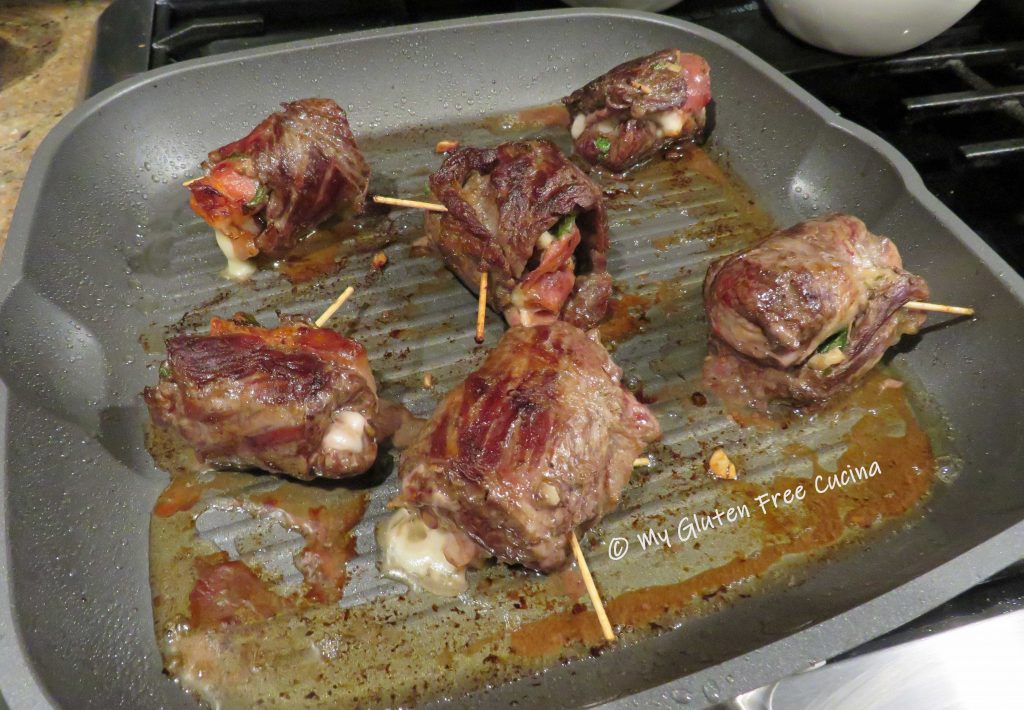
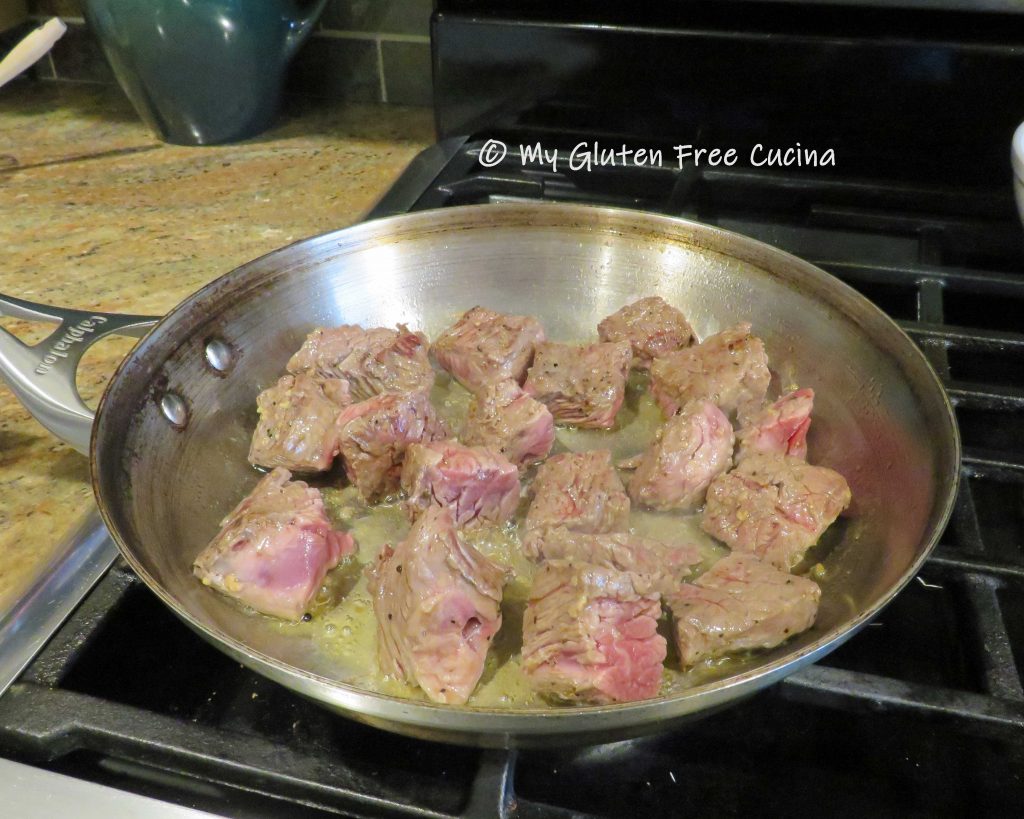
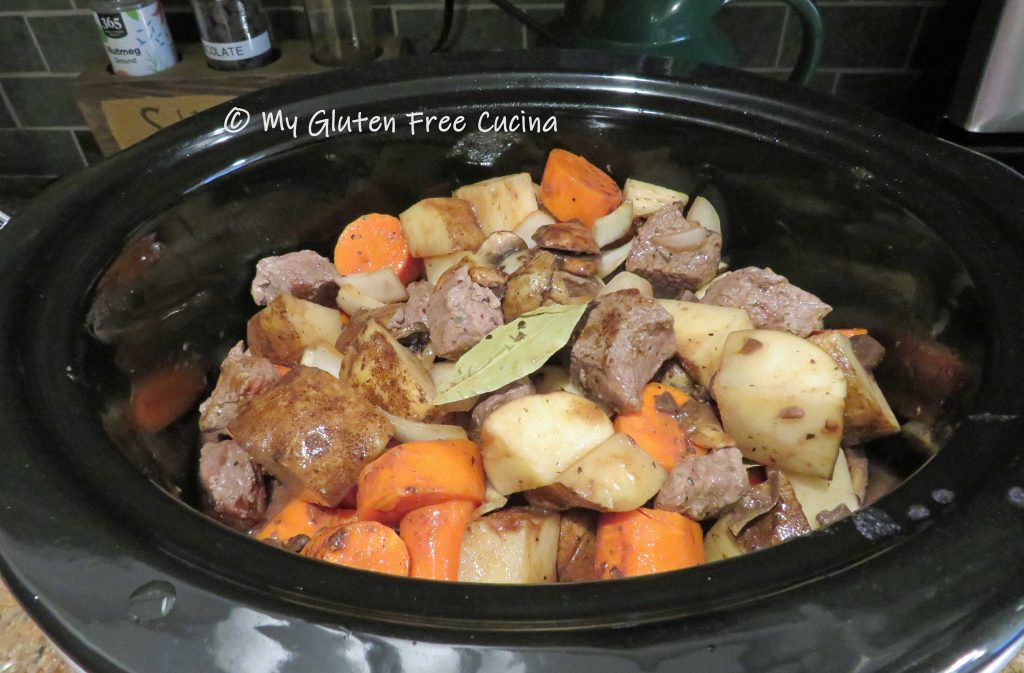
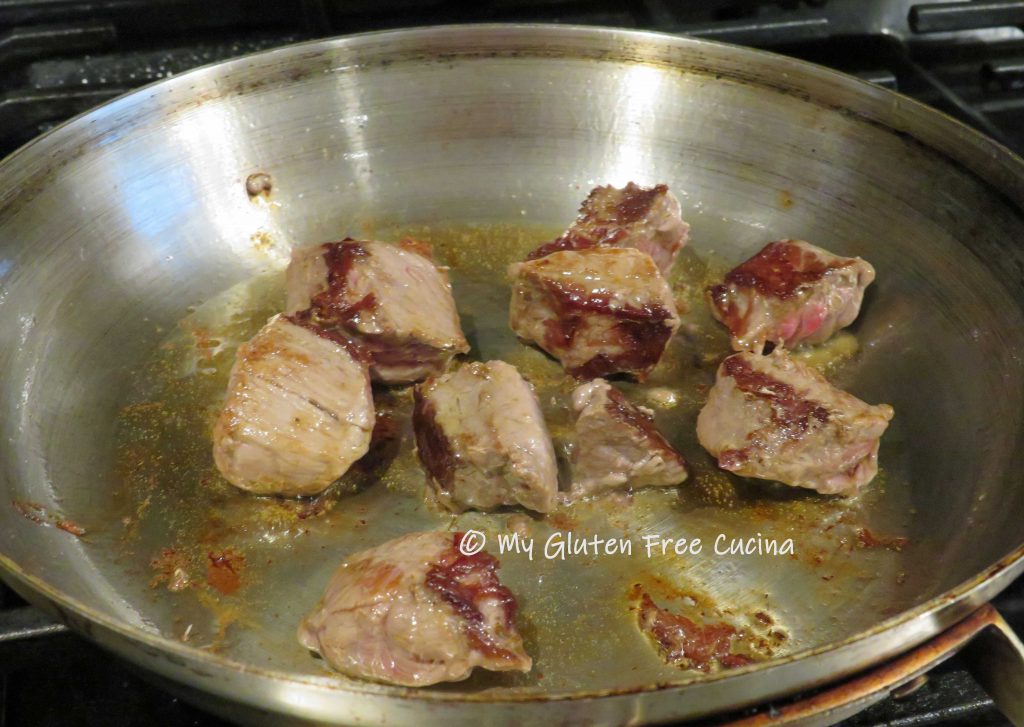 Don’t crowd the pan, you want to get some good color on the outside (if the pieces are too close together the meat will steam in its own liquid). I did my beef in 2 batches.
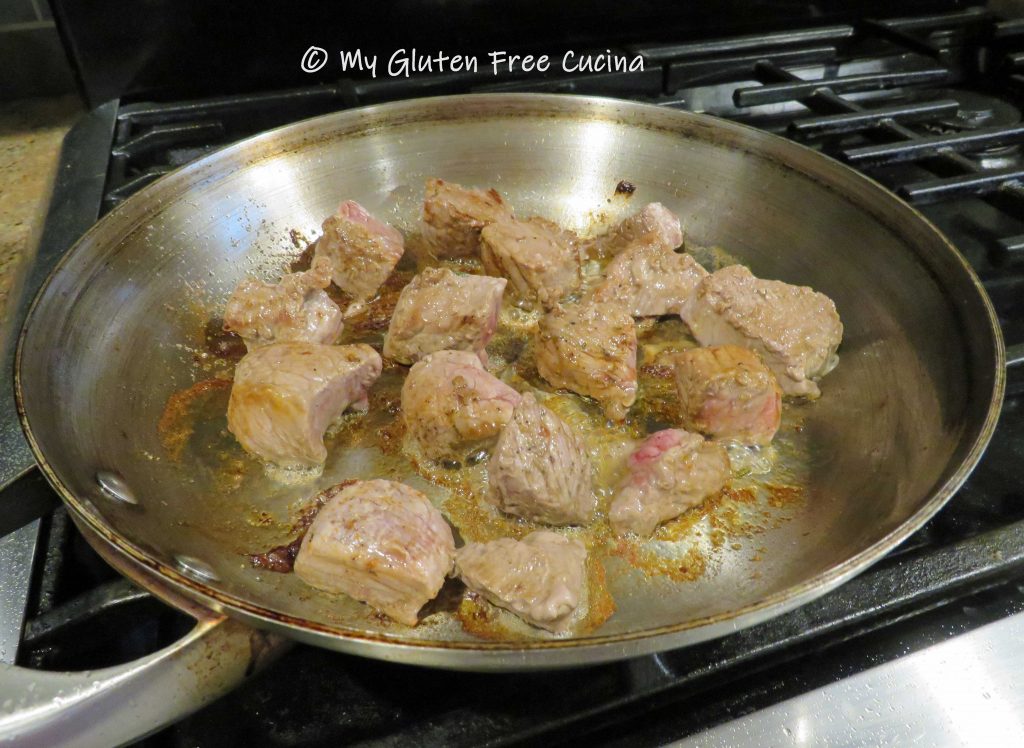 Once the beef goes into the crock-pot, you will see some nice browned bits on the bottom of your skillet.
 Pour 1/3 cup of the wine mixture into the hot pan to deglaze, using a spatula to scrape up all of the browned bits, they are full of flavor!
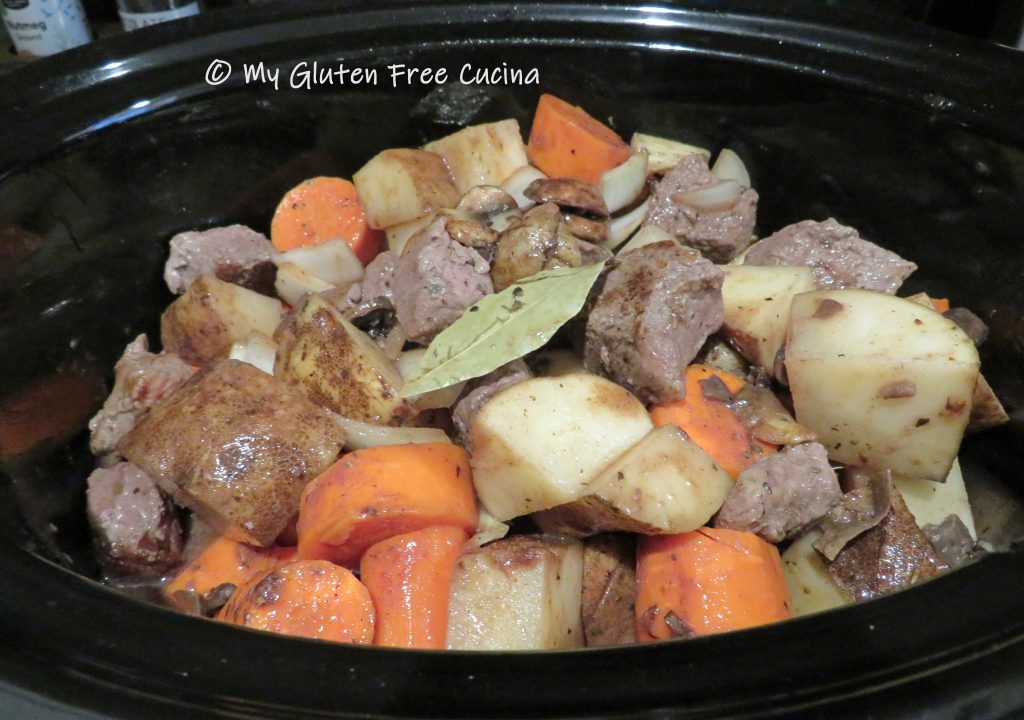
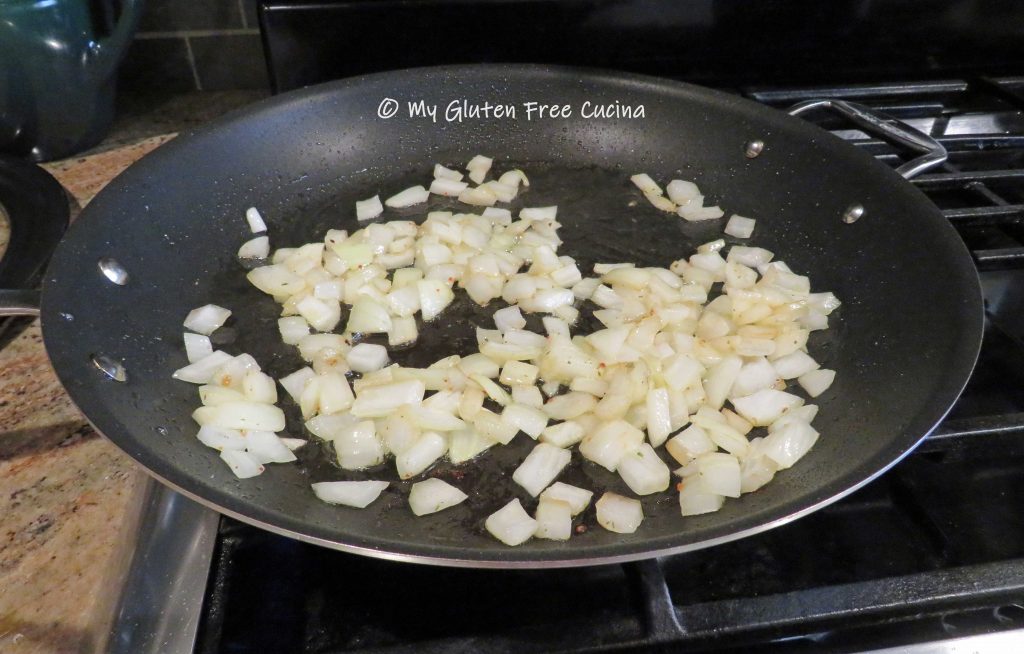
 Pour the liquid into the crock-pot and add more olive oil to the skillet. Begin browning the veggies, a few minutes each starting with the onions.
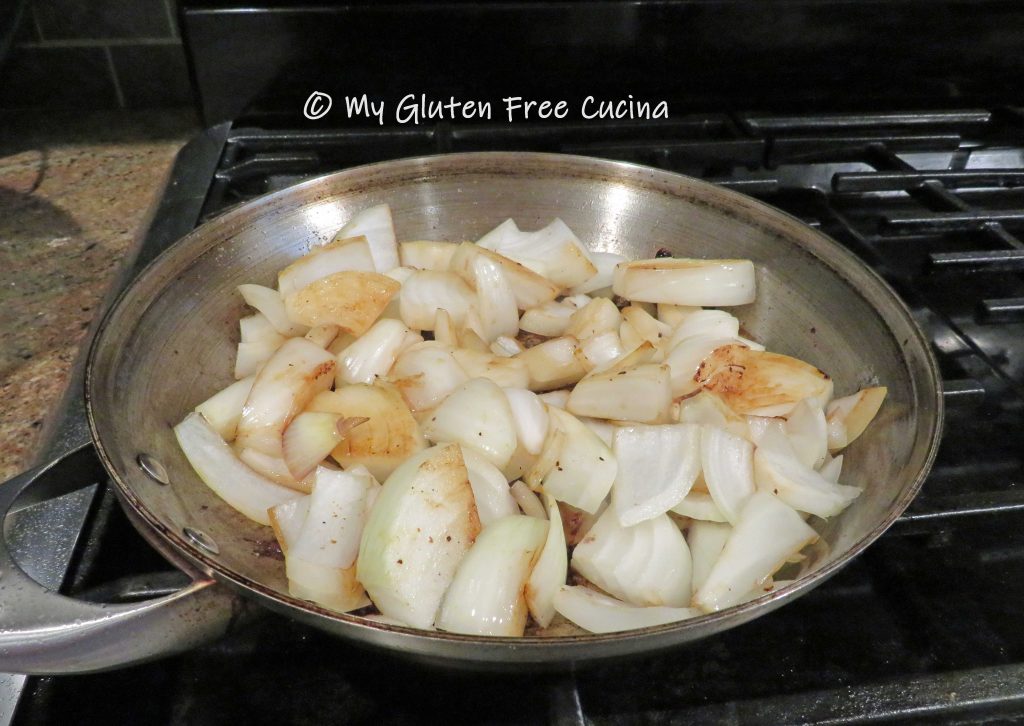


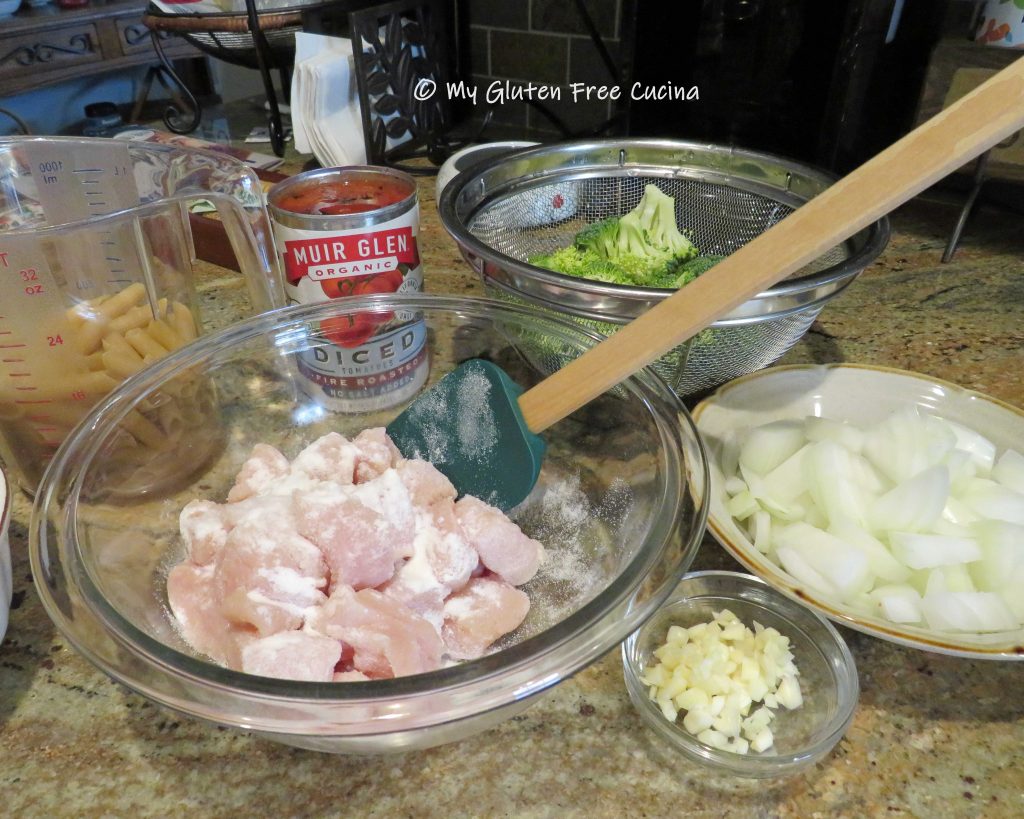
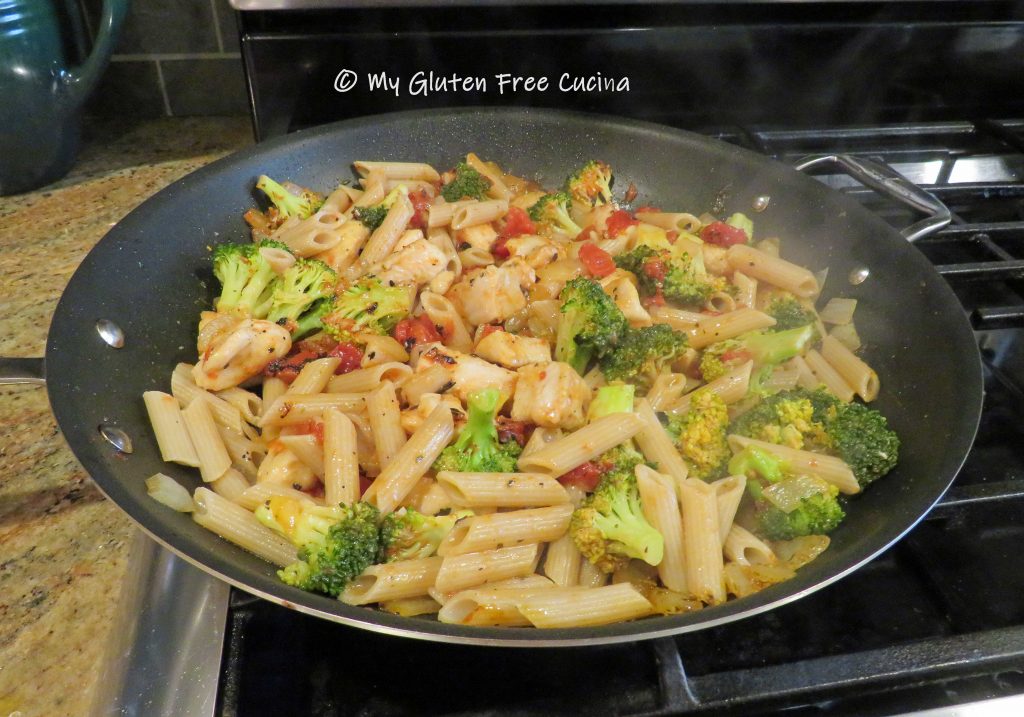
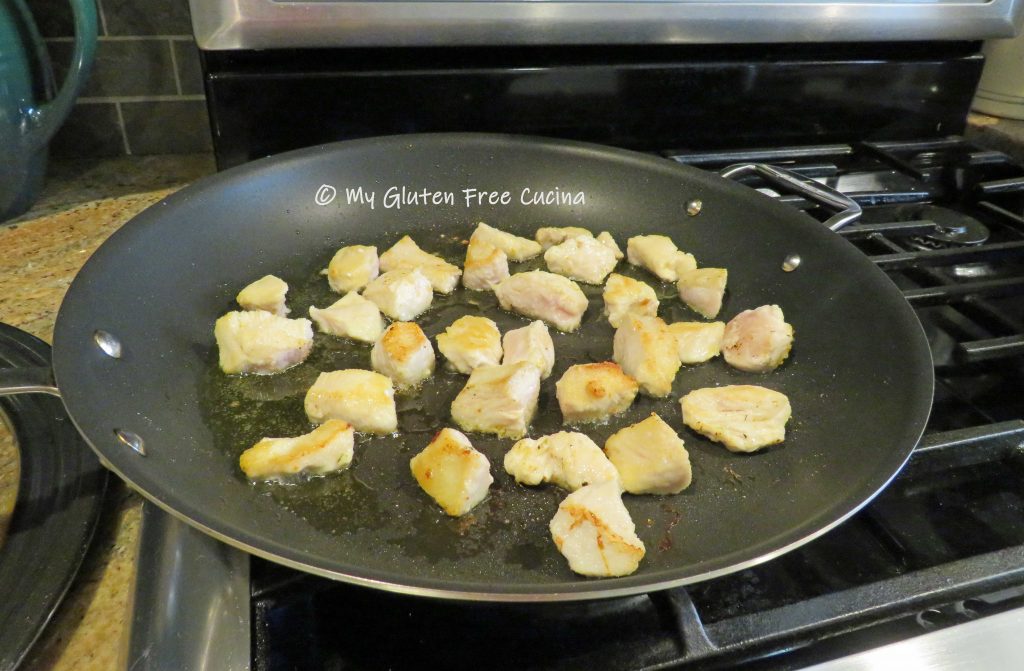 When the chicken has browned on all sides, add a splash (1/4 cup) of white wine to the pan and toss until the liquid evaporates. Remove from the pan and set aside.
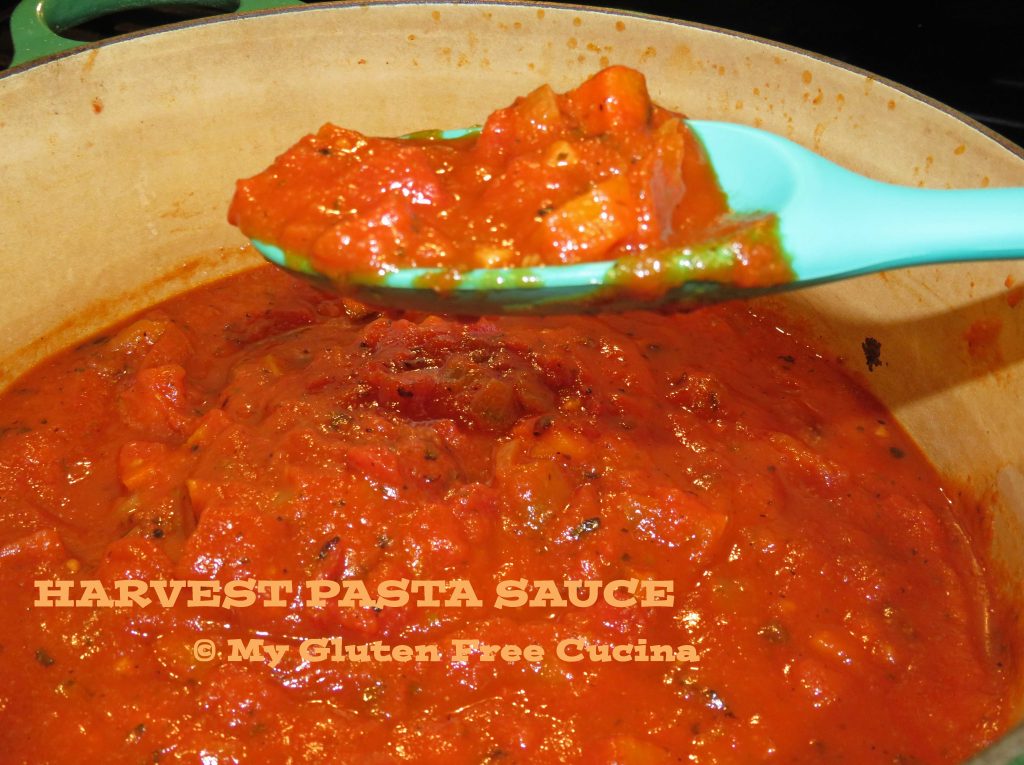
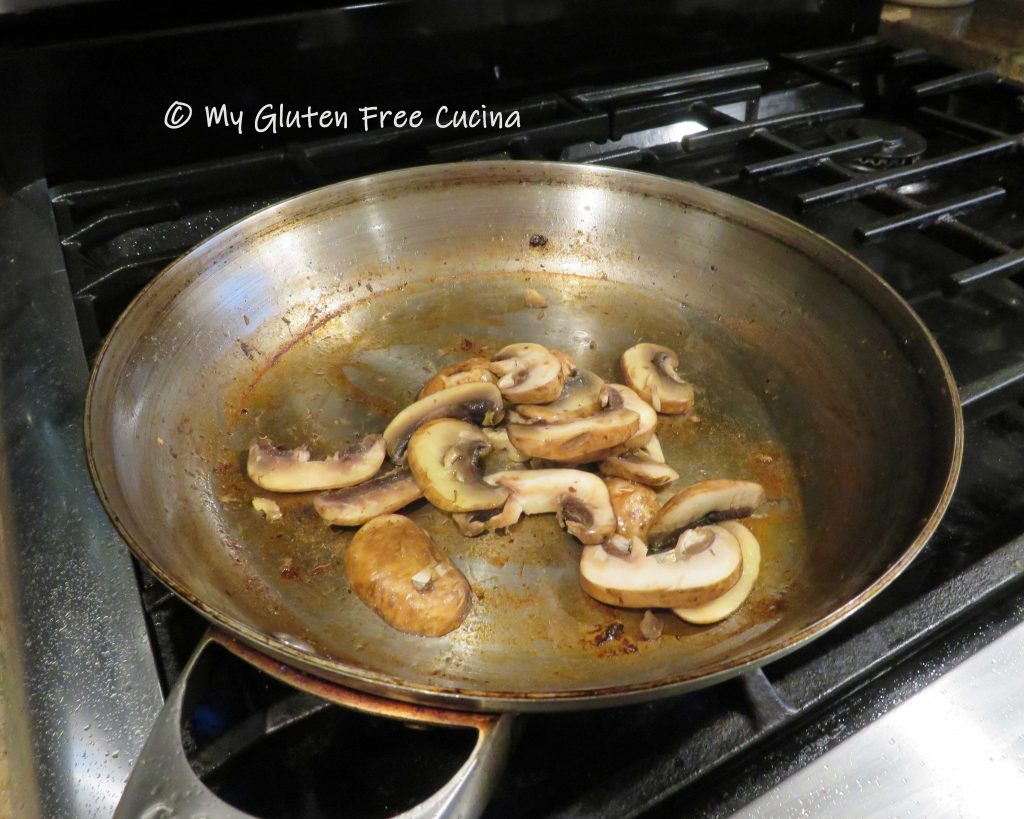
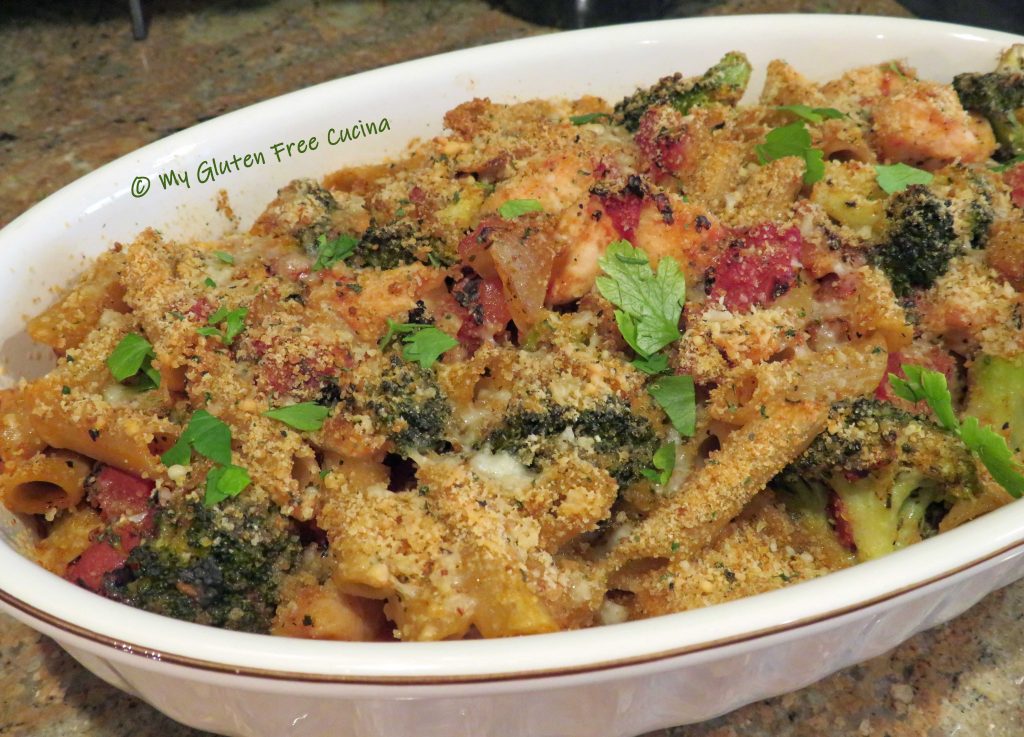
 When they have a little color, add the broccoli, garlic and diced tomatoes. Add another splash of white wine, then season with salt and pepper, basil and Italian seasoning. Cover and cook 10 minutes, until the broccoli is crisp tender.
 While the vegetables are cooking, add the pasta to the boiling water. Use your favorite (