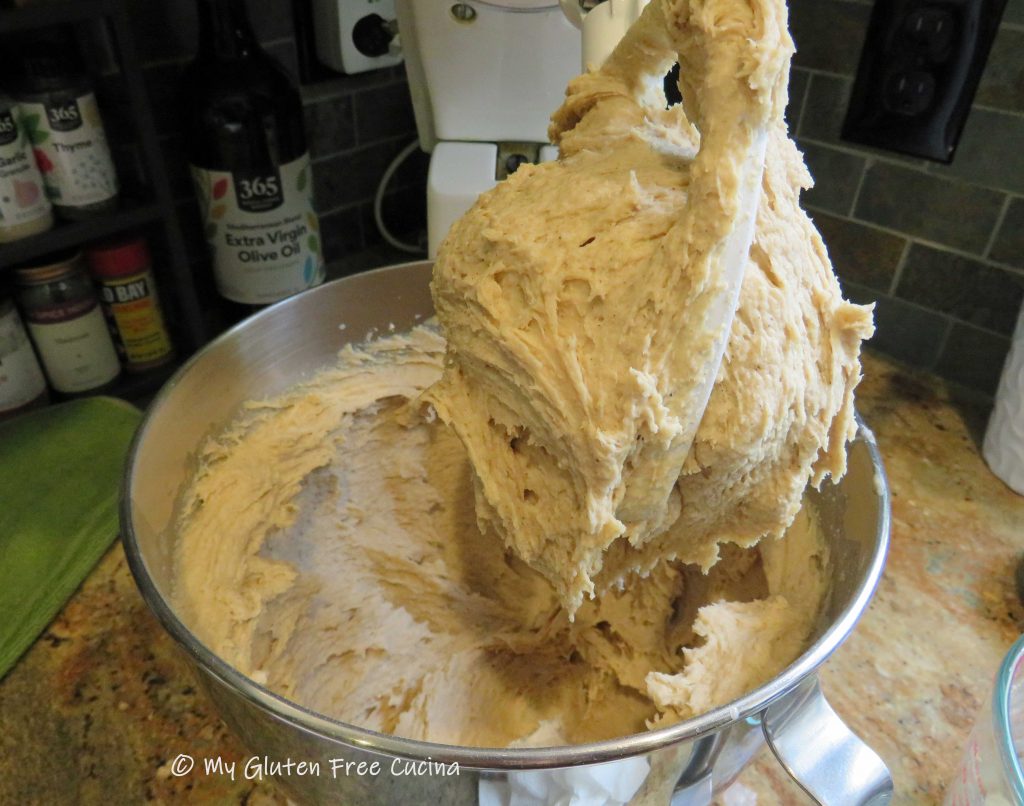
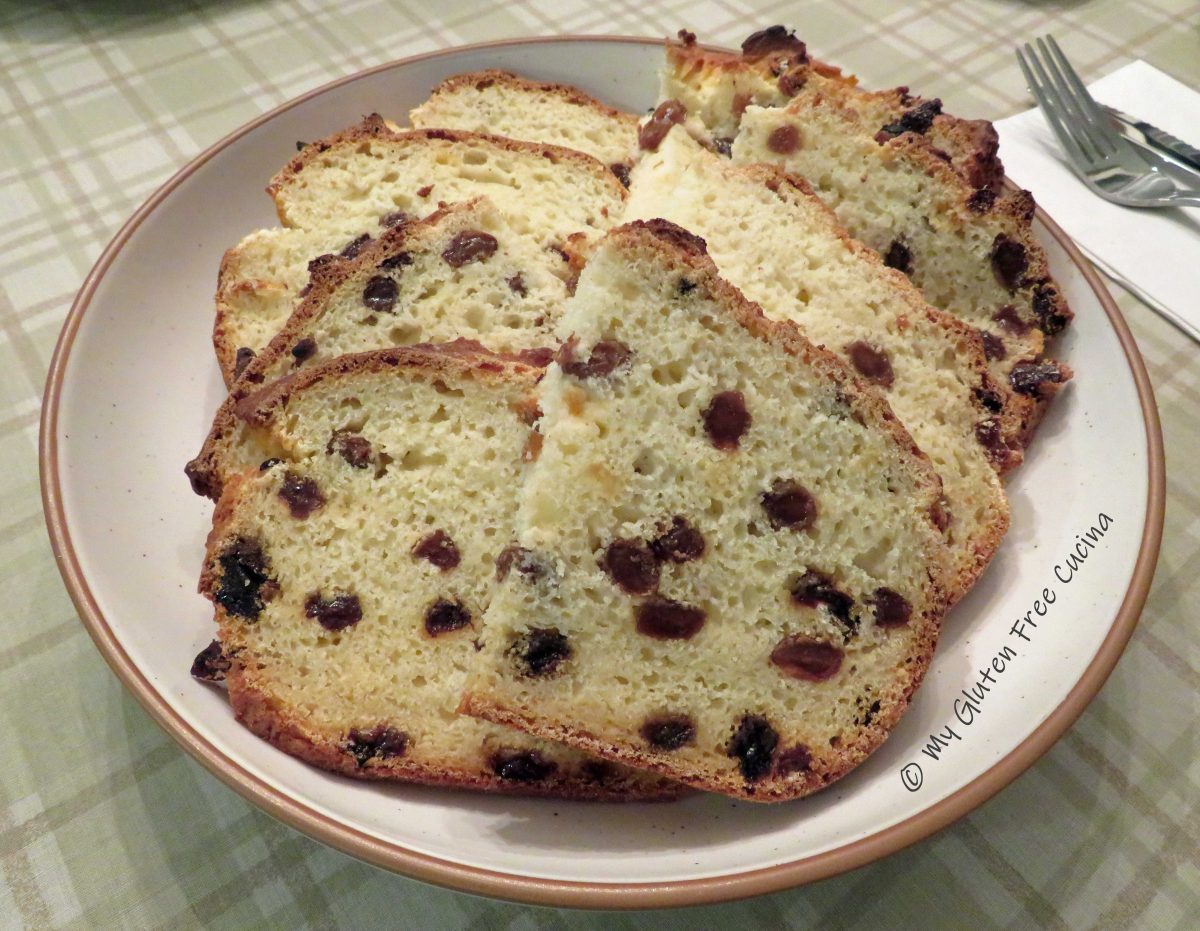
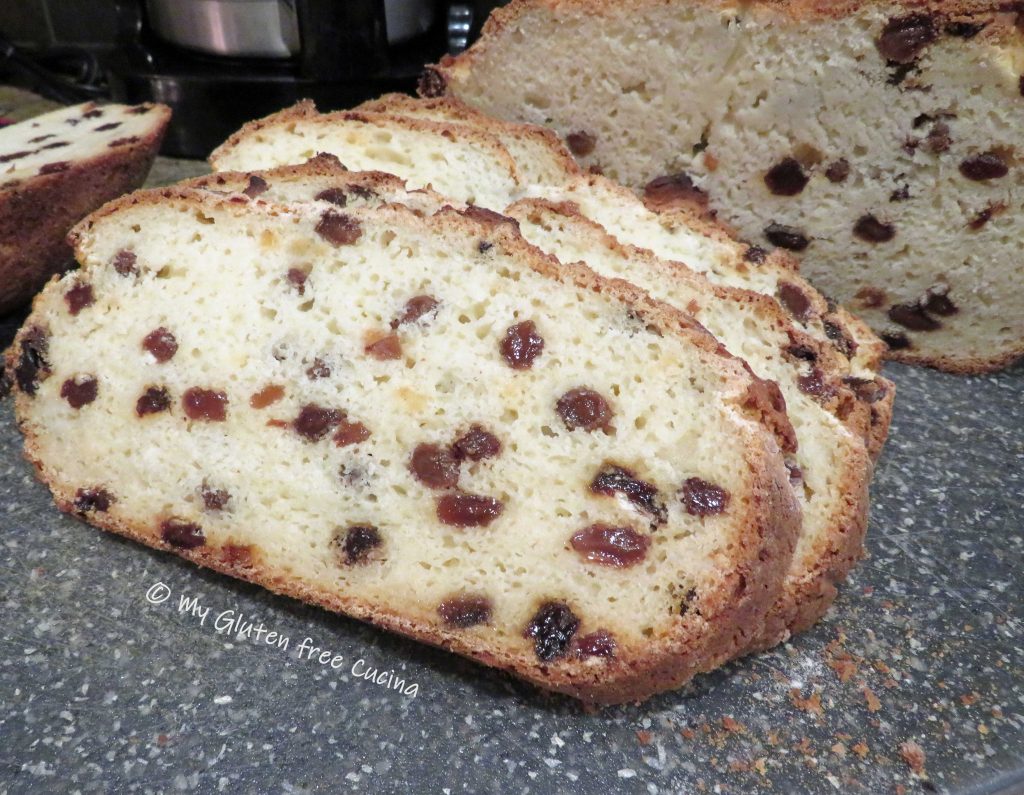
Megan’s Gluten Free Irish Soda Bread

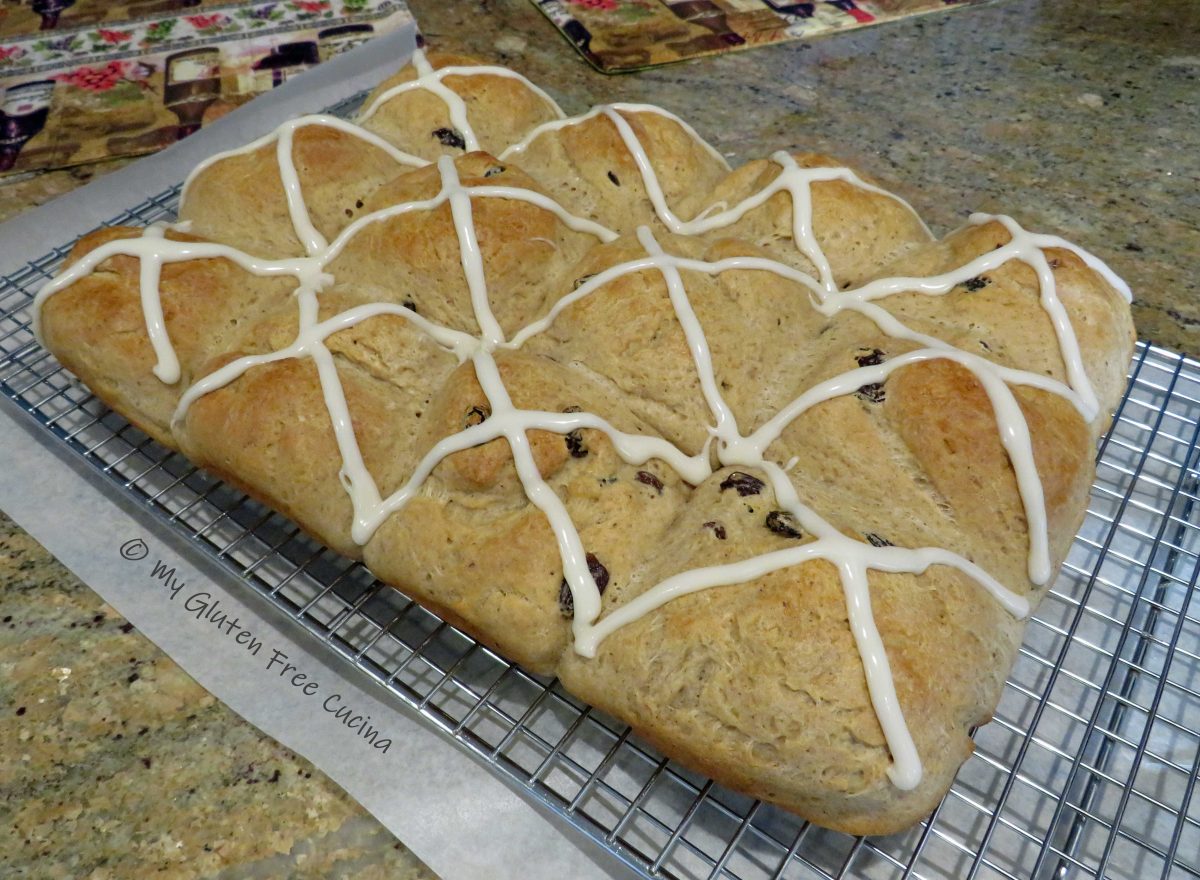
St. Patrick’s Day is right around the corner, and I can’t wait to make this delicious Gluten Free Irish Soda Bread.  The recipe comes to us courtesy of Megan at “Megan P Gluten Free”, who shared the recipe with me last year.  One look at this bread and I knew that I had to make it, especially when I learned that she used my favorite flour, Better Batter!

Thank you, Megan, for the recipe!  You can follow Megan on Instagram, where she shares great content on how to travel, cook and eat gluten free!  Be sure to visit and tell her I sent you!

This post contains affiliate links.

Megan’s Lucky Gluten-Free Irish Soda Bread 

Ingredients:

Note:  When you shop Better Batter and use my code MGFC30 at checkout, you will receive 30% off any non-sale item! CLICK HERE

Preparation:

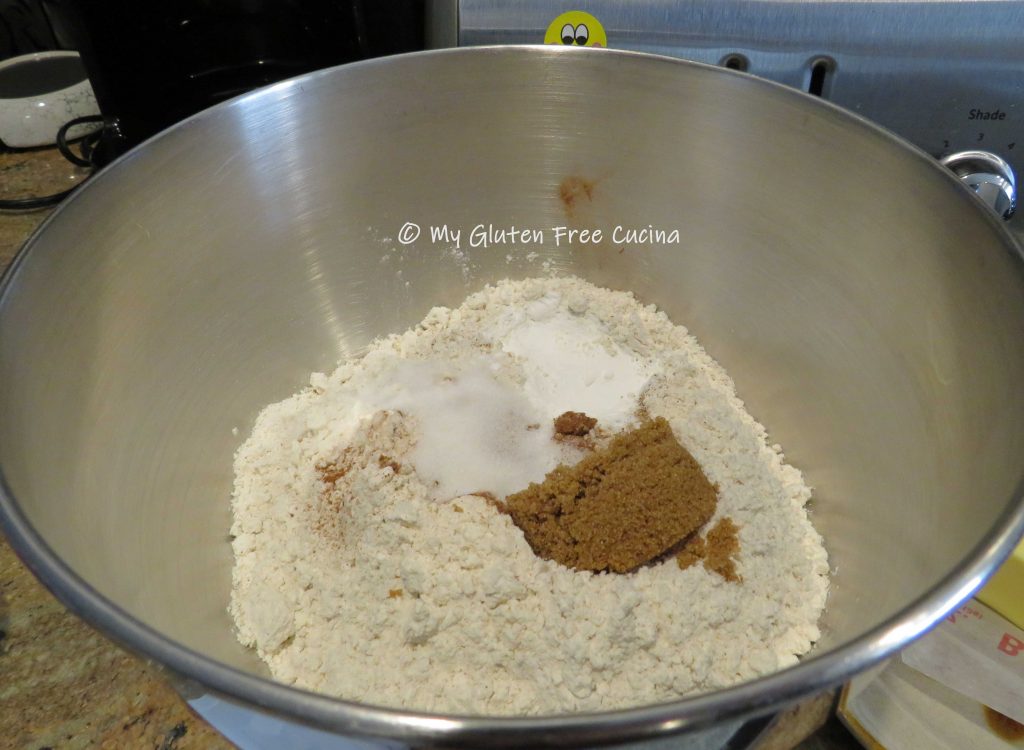
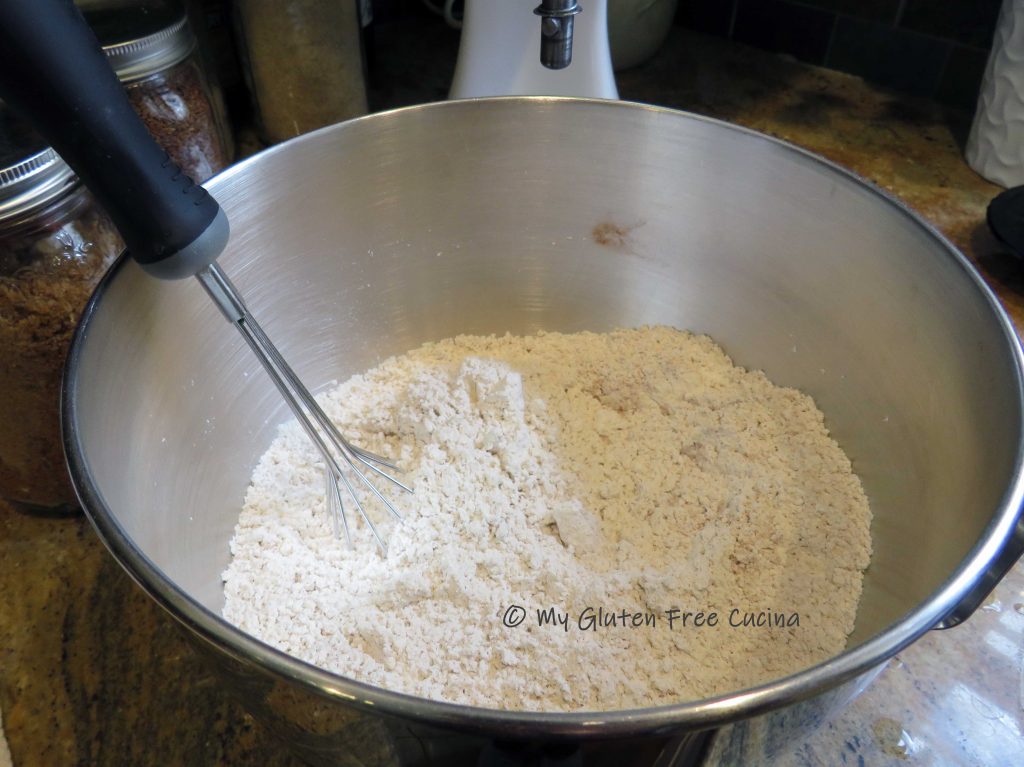
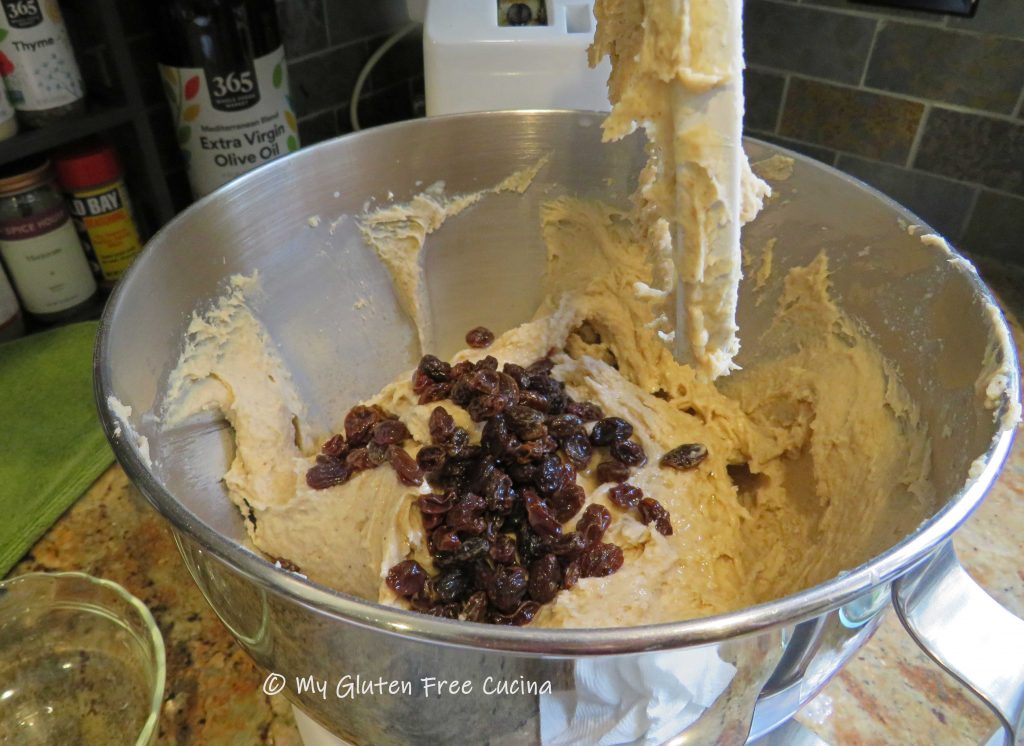
Preheat the oven to 375°F.  In a large mixing bowl, combine the sugar, flour, baking powder, baking soda, salt, raisins, and caraway (if using).  Stir until the mixture is thoroughly combined and the raisins are fully coated with the flour mixture.

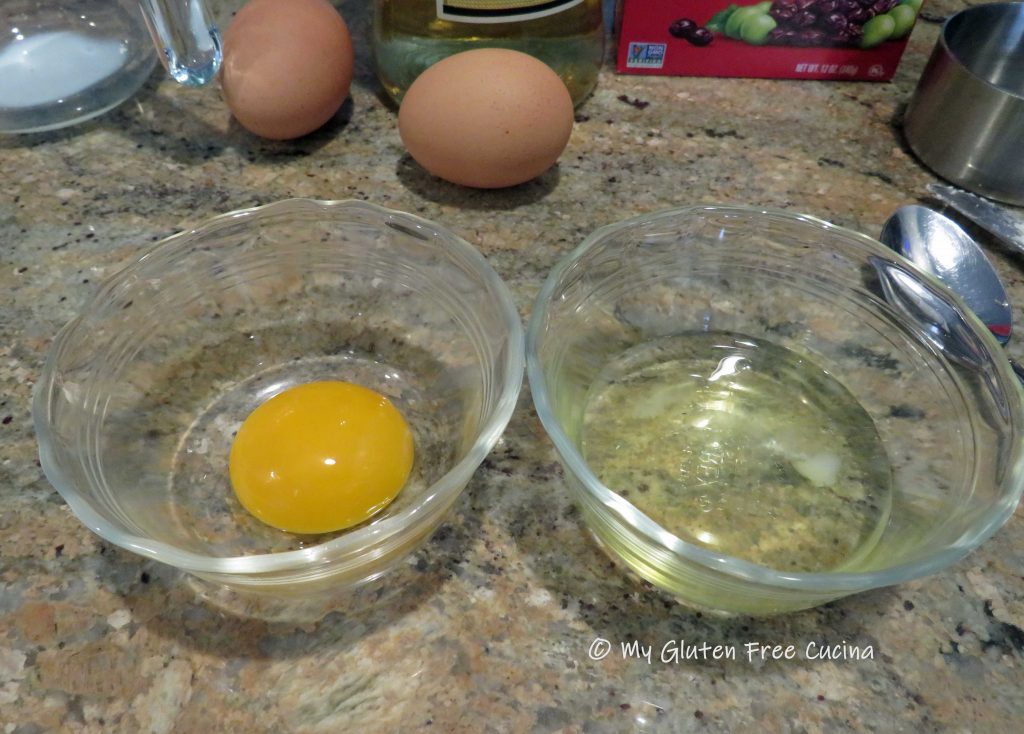
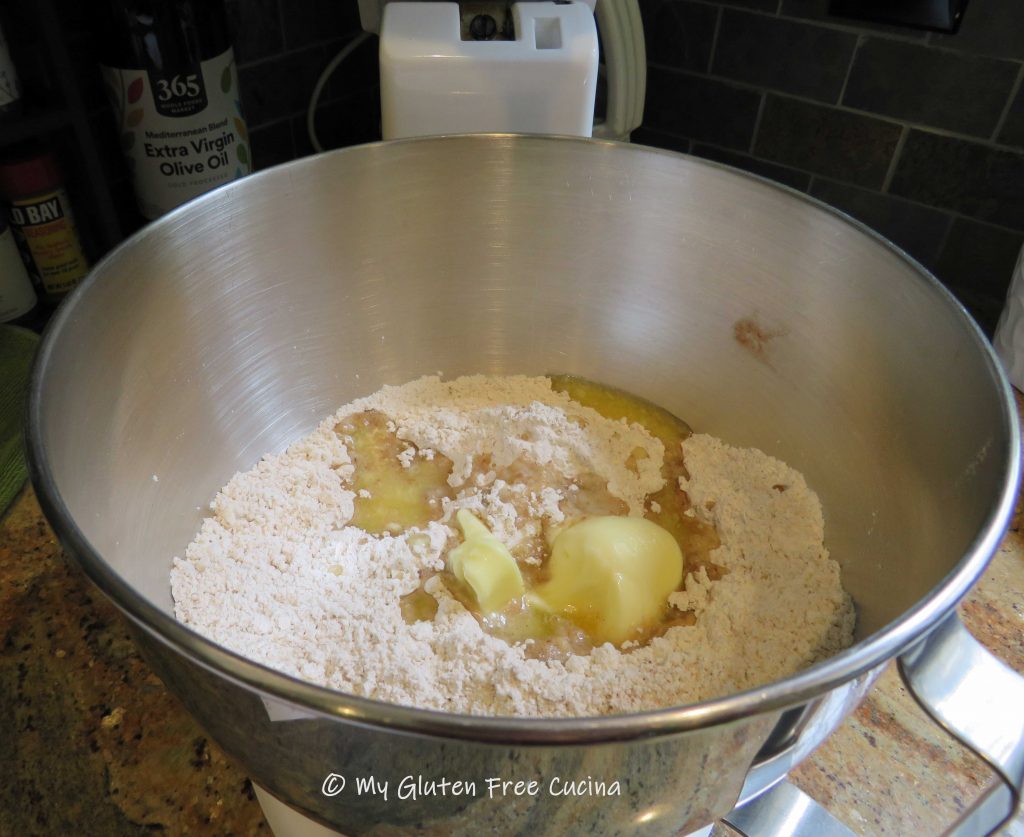
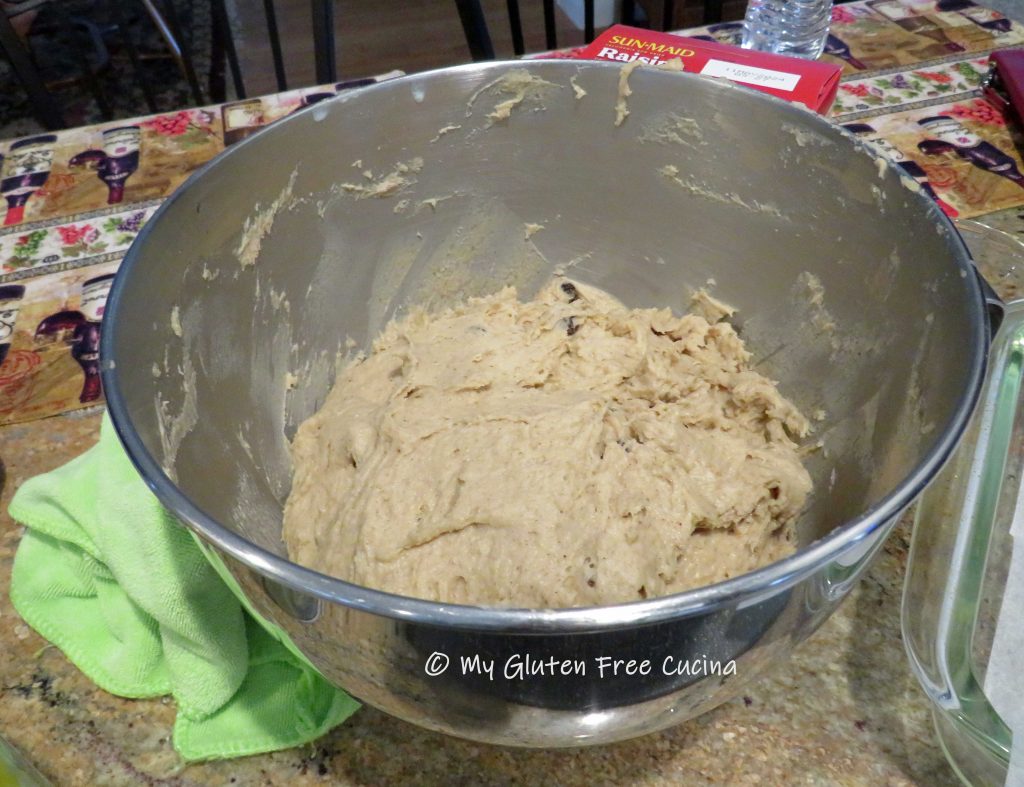
In a separate bowl, mix together the yogurt, buttermilk, and eggs until combined.  Make a well in the middle of the dry mixture.  Pour the wet ingredients into the dry.  Mix the dry and wet ingredients together until well combined with a spatula – no mixer or beater required.

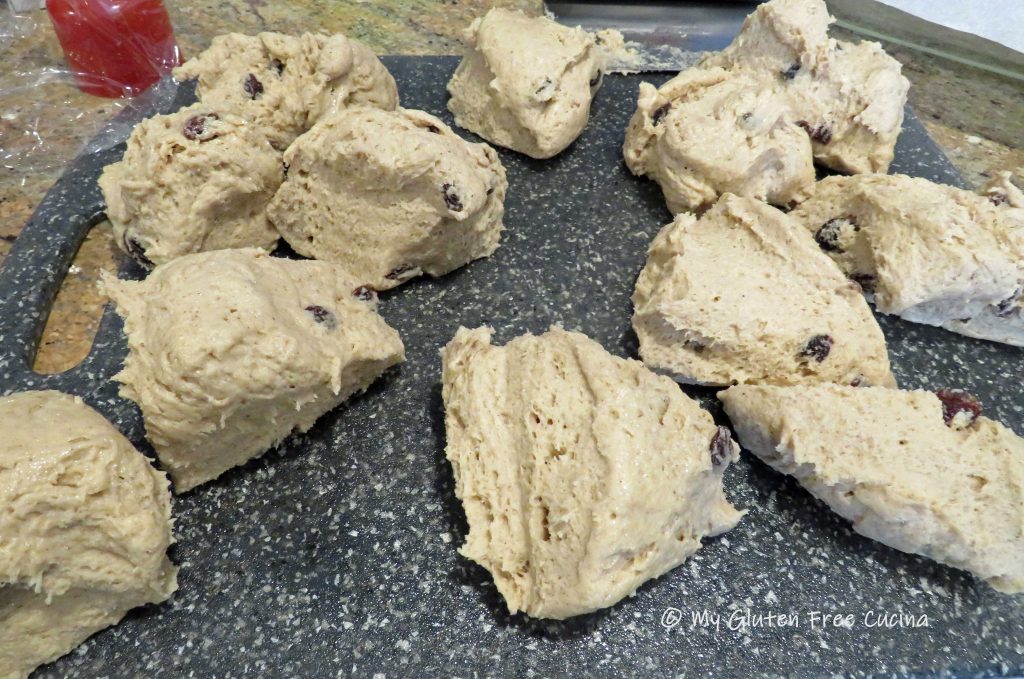
The batter will be slightly sticky.  Grease an 8” round pan (see notes***) and sprinkle with a very small amount of flour.  (I added a few strips of parchment for extra insurance.)  Spoon the batter into the pan.  Gently press the dough with your fingers, leaving the rough surface for an authentic look, but you can smooth it down if you prefer.  Sprinkle a very small amount of flour on top.  Take a paring knife and cut a cross on the top of the loaf.  Place into the hot oven on the middle rack and bake for 60 minutes.  Then cover loosely with aluminum foil if already golden brown and bake for another 20-25 minutes or until the outside is firm and crusty.

The loaf should sound hollow when tapped when it is cooked through.  Remove from the oven and let cool for 10 minutes before turning out onto a wire rack.  Allow the loaf to fully cool before slicing. Slather with good quality Irish butter and enjoy!

Notes ♪♫

**Megan’s recipe called for 4 cups of flour, which she measured by spoon and level method.  I always bake by weight and used 600g. of Better Batter Original Blend (converted at 150g. per cup).

***Megan used an 8″ cake pan.  I used my 8” KAF bread baking bowl and it was just perfect to create a nice round loaf.  You can find the bowl here on the King Arthur website.

Print This Post Print This Post

Gluten Free Chicken Adobo

Chicken Adobo is a traditional Philippine dish made with pantry staples.  Vinegar, soy sauce, garlic, peppercorns, and bay leaves are used to create a marinade.  The chicken is marinated, then simmered in the same marinade on the stove top until the meat is cooked through.

Is Chicken Adobo gluten free?

The only gluten containing ingredient in a traditional Adobo marinade is the soy sauce.  By replacing it with either Tamari or Coconut Aminos, the dish is completely gluten free.

4 Servings (can be doubled)

Ingredients:

  • 3 tbsp. red wine vinegar
  • 2 tbsp. coconut aminos
  • 3 garlic cloves, crushed and skins removed
  • 1/2 tsp. whole black peppercorns
  • 2 bay leaves
  • 1 tbsp. olive oil
  • 4 pcs. chicken legs or thighs (about 1 lb.)
  • 1/2 cup water
  • 1 tsp. brown sugar

This post contains affiliate links.

Preparation:

Whisk together the first 6 ingredients, vinegar through bay leaves.  Add the chicken, cover and marinate 1 hour at room temperature, turning every 15 minutes.

Add olive oil to a deep skillet or Sauteuse pan over medium heat.  Brown the chicken on all sides.

Stir in the water and reserved marinade.  Cover and simmer on lowest heat, 60-90 minutes depending on size, turning every 20 minutes.  When done, the chicken should easily pull away from the bone.

Take the lid off during the last 10 minutes of cooking to thicken the sauce.  Serve with rice.

Notes ♪♫ There are so many variations of this classic dish.  I used red wine vinegar, but many recipes say to use white vinegar.  It’s just a matter of taste.  I used Coconut Aminos, because it is much lower in sodium than Tamari.  If you are not limiting salt, then gluten free Tamari is a great substitute for soy sauce in gluten free recipes.

Print This Post Print This Post


Gluten Free Sausage Cheese Ball Appetizers

These little one bite appetizers are the bomb!  Proof that gluten free does not have to be complicated, this easy recipe is perfect for all your party and game day get togethers.  You may want to make a double batch, they’re that good!

This post contains affiliate links.

I used Premio Mild Italian Sausage in this recipe, but you can change it up and use a sweet or hot sausage, just check ingredients for gluten.

For the pancake/biscuit mix I used and recommend Better Batter.  It works well in this recipe, and no one will know it’s gluten free!  Plus, this mix has so many other uses, you know the extra won’t go to waste.

Ingredients:

  • 2 tbsp. onion, small dice
  • 2 tbsp. celery, small dice
  • 1 tsp. olive oil
  • 1/2 cup mild cheddar cheese
  • 3 tbsp. gluten free pancake/biscuit mix
  • 1/4 tsp. garlic powder
  • 1/8 tsp. crushed red pepper
  • 6 oz. mild Italian sausage (about 2 links), casing removed
  • 1/4 cup egg whites
  • cooking spray
  • 1/2 cup gluten free BBQ sauce, for serving

Preparation:

Chop the onion and celery into 1/4″ pcs.  Add to a small nonstick skillet with 1 tsp. olive oil and cook over medium heat until translucent.  Set aside to cool.

In the same skillet, partially cook the sausage.

Transfer the sausage, onion and celery to an electric chopper and pulse a few times to break it up.

Mix the cheese, pancake/biscuit mix, garlic powder and crushed red pepper together in a small bowl.

Add the sausage, onion and celery mixture with 1/4 cup egg whites.

Using your hands, gently toss and mix everything together without squeezing.

Preheat the oven to 375º.  Line a sheet pan with foil and mist with cooking spray.  Form 1-inch meatballs and arrange them on the sheet pan with space in between.

Bake for 15 minutes, turning once.

Drain on paper towels.

Transfer to a serving tray with your favorite gluten free BBQ sauce for dipping.  You can prepare ahead and reheat in the microwave before serving.

Notes ♪♫ This post was inspired by a recipe on Taste of Home.  That’s right, you don’t always need a gluten free recipe or special cookbook.  In fact, only one ingredient substitute was needed to make this recipe gluten free, and you can whip up a batch in under an hour!

Print This Post Print This Post


Gluten Free Tuscan Kale Soup

Tuscan Kale Soup, also called Zuppa Toscana is a restaurant favorite.  Made with potatoes, sausage, cannellini beans and (of course) kale, it is a hearty soup that can be a meal in itself.  Most of the ingredients are naturally gluten free, just watch labels on sausage, broth and seasonings.

The recipe makes 6-8 cup size servings or 4 dinner bowl size servings.

This post contains affiliate links.

Ingredients:

  • 2 strips of bacon
  • 1/2 medium sweet onion, diced
  • 2 cloves garlic, minced
  • 6 oz. gluten free Italian sausage (I used Premio)
  • 3.5 cups gluten free chicken broth
  • 1 tsp. Tuscan seasoning
  • salt and pepper, to taste
  • 1 medium russet potato, peeled and diced
  • 1 bunch of Tuscan kale, ribs and stems removed
  • 15.5 oz. can cannellini beans
  • 2 tbsp. heavy cream
  • grated cheese, for serving

Preparation:

Heat a 4 qt. soup pot on medium low.  Cook the bacon and drain on paper towels.  Crumble and set aside for serving.

Next, remove sausage from casings and cook, breaking up the meat with a spatula.  Drain on paper towels.

Remove all but 1 tbsp. of fat from the pot.  Add the onions and cook for 5 minutes.  Add the garlic, diced potatoes, chicken broth and seasoning.  Simmer 15 minutes.

Drain and rinse the beans.  Add the beans and sausage back to the pot and simmer 5 minutes.

Rinse the kale thoroughly, remove ribs and stems, and tear into small pieces.  Add kale to the pot and simmer 15 minutes more (don’t worry, it will cook down).

Stir the cream in just before serving.  You can leave the soup just like this, or partially puree it with a stick blender.

Ladle into bowls, garnish with crumbled bacon and grated cheese.

Notes ♪♫ Gluten free sausage is widely available today, but it is usually smoked or fully cooked.  When I spotted this fresh Italian sausage from Premio at the market, I knew exactly what I was going to make with it.  Here is a link to the sausage I used in this recipe.  Premio Sweet Italian Sausage 

Print This Post Print This Post

Skillet Farfalle with Diced Ham

I love easy skillet dinners like this one for busy weeknights!  You can make the whole meal beginning to end in about 30 minutes.  Honestly, if you prep the veggies the night before it can be ready in less time than that.  It’s a great way to use leftover ham, or you can purchase a ham steak which is what I did here.  Don’t forget those little finishing touches that can make a meal special, in this case it’s a sprinkle of toasted Pignoli (pine nuts), a favorite of mine!

3-4 Servings

This post contains affiliate links.

Ingredients:

  • 8 oz. boneless ham steak, cut into small cubes
  • 4 oz. gluten free pasta
  • 1 cup sweet onion, diced
  • 1 tbsp. garlic, minced
  • 1 cup frozen peas, thawed
  • 1 can (14.5 oz.) diced tomatoes
  • 1/2 tsp. gluten free Italian seasoning
  • salt and pepper to taste
  • Olive oil
  • 1 tbsp. pignoli (pine nuts), toasted
  • 1/2 tsp. Italian seasoning
  • fresh Italian parsley, for garnish
  • grated Parmesan, for serving

Preparation:

Toast the pignoli until lightly browned and fragrant.  I like to use a small saucepan, so they don’t jump all over the place.  Set aside for garnish.

Cook the pasta to 1 minute less than package directions, drain and set aside.  While the pasta cooks, heat a large, nonstick skillet with 1 tbsp. olive oil and cook the ham 3 minutes.  Remove and set aside.

Add a little more olive oil and cook the onions until just beginning to brown, about 3 minutes.  Add the garlic and peas, cook 2 minutes more stirring frequently.  Season with salt and pepper.

Add the tomatoes with their liquid, toss well to combine and cook until liquid almost evaporates.  If the pan is too dry add a ladle of pasta water.  Sprinkle with Italian seasoning.

Add back the ham.

Next add back the drained pasta and toss well.  Drizzle with olive oil, stir and toss to finish cooking the pasta, 1 minute more.  Sprinkle grated cheese.

Transfer to a serving dish, garnish with parsley and toasted pignoli, and serve with grated cheese.

Notes ♪♫ I used Jovial gluten free farfalle (bowtie pasta) in this recipe.  One of my favorites, it has great taste and chew.  The Smithfield ham steak was labeled gluten free.  Always check ingredient labels for hidden gluten, especially in processed foods and seasoning blends.

Originally published 5/16/2020        Updated 12/10/2022

Print This Post Print This Post

Chicken, Sausage and Rice Casserole

Whenever I make this flavorful casserole for a family dinner it gets rave reviews!  Chicken drumsticks and Italian sausage come together with ingredients straight from the pantry, and you can use any veggies you have on hand!  It’s easy and economical too.  You can do most of the prep a day ahead and bake the next day.  And that bacon breadcrumb topping- wow!  It really gives this dish an extra punch of flavor, texture and crunch!

4-6 Servings

This post contains affiliate links.

Ingredients:

Preparation:

Brown rice takes about 50 minutes to cook, so start that first.  Simmer 3/4 cup rice in 1-3/4 cups chicken broth and 1/4 tsp. seasoning of choice.

For the topping, coarsely chop the bacon, cook and drain on paper towels, reserving the fat in the pan.

Crumble the bacon, or place in an electric chopper and pulse a few times to make bacon bits.

Add 1/3 cup of gluten free breadcrumbs to the skillet with the bacon fat and stir over low heat.  Add back the crumbled bacon and stir well to combine.  Set aside to cool, then mix with 1/4 cup grated parmesan cheese for topping.

I love Aleia’s Gluten Free Breadcrumbs and I use this brand almost exclusively in my recipes.  I promise, your family won’t even know they are gluten free!

In the same skillet, brown the chicken on all sides in a little olive oil.  Season both sides with salt and pepper.

Place browned chicken in a braising pan or Dutch oven, add ¼ cup white wine and 1/4 cup chicken broth.  Cover and simmer 30 minutes.

Transfer the cooked chicken to a plate, remove meat from the bones and sprinkle with paprika.  Strain the liquid from the pan and reserve for later.

Slice the sausage and brown in olive oil.  You can use store bought sausage or check out my recipe for homemade sausage patties!  If using purchased sausage, always check labels for gluten containing ingredients.

Pulse the cooked sausage a few times in the chopper and set aside.

Wipe the braising pan or Dutch oven clean.  Heat 1 tbsp. olive oil and add the veggies.  Season and cook 10 minutes, stirring occasionally.

Add back the sausage and stir well.

Now add the chicken and cooked rice.  Measure the reserved liquid and add enough chicken broth to equal 1-1/2 cups.  Combine with 1/4 cup milk and pour over the chicken and rice mixture.

Tip: Prepare the meal up to this point a day ahead.  Cover and refrigerate.  

Preheat the oven to 350º.  You can bake the casserole in the same pan, or transfer to a pretty casserole dish for a nicer presentation.  Note, if you made the casserole in the advance, take it out of the refrigerator and leave on the counter for at least 30 minutes (don’t place a refrigerated glass baking dish directly into a hot oven, it may shatter).

Spread the breadcrumb mixture over the casserole and bake uncovered for 45 minutes.

The liquid will bubble and thicken to create a nice sauce.  I like to finish it off under the broiler, 3 minutes on low.  Watch that it doesn’t burn!

Let it rest a few minutes to set up, then garnish with fresh herbs (or dried herbs) and bring it right to the table.

Notes ♪♫ Remember, you can substitute any veggies you like in this recipe.  Once I went out on a limb and used eggplant.  Surprise, the reaction ranged from “I loved it” to “I didn’t even know it was in there”! Try broccoli, cauliflower, asparagus or zucchini.  Use what you have on hand, use what you like!

Print This Post Print This Post

Gluten Free Herb Focaccia

Focaccia Bread Art is something I have always wanted to try.  Encouraged by my recent success making a Caramelized Onion Focaccia, I decided to give it a go while I still had fresh herbs from my garden.  Here is my little masterpiece, a very simple first effort that I will definitely do more of!

I used chives for the stems, rosemary and oregano for the leaves, parsley and shallots for the flowers.  There is a bit of fresh thyme sprinkled throughout.  I wondered how the fresh herbs would taste in the finished product, and they were delicious!

This post contains affiliate links.

INGREDIENTS:

PREPARATION:

Combine water and yeast in the bowl of your stand mixer and give it about 10 minutes to activate.  Whisk together the flour and salt and add to the yeast mixture along with 2 tbsp. olive oil.  Mix with the paddle attachment for 8 minutes.  Transfer the dough to a greased bowl and refrigerate for one hour.

Cut parchment paper to fit a quarter sheet pan and mist with cooking spray.  Place chilled dough in the center of the parchment.

Roll the dough into a rectangle, slide it onto the sheet pan and cover with oiled plastic wrap.  Let it rest at room temperature for 30 minutes.

Place a pizza stone in the oven and preheat to 425º.

Create dimples in the dough by pushing down with your fingertips.  Brush the top with olive oil and sprinkle with Italian Seasoning.

Arrange the fresh herbs on your dough and brush them lightly with olive oil so they don’t burn.

Place the sheet pan in the oven on top of the baking stone.  Bake for 25 minutes total.  During the last 10 minutes carefully slide the pizza out of the pan, remove the parchment and finish baking directly on the pizza stone.

So pretty, I hated to cut it (at least not until I took pictures ????).  Use a pizza wheel to cut into squares.

Here’s the crumb shot!

Notes ♪♫ If you follow me, you know that I am a HUGE fan of Better Batter gluten free flour.  I used their Artisan Flour Blend in this recipe, it is a little miracle in a bag that I recommend for pizza and yeasted bread recipes.  Try it, you will not be disappointed (be sure to use my code MGFC30 at checkout for 30% off your non-sale purchase)!

Print This Post Print This Post

Sweet Potato Gnocchi with Turkey Meatballs

A word of Caution- This recipe contains oats.

A recent statement from Gluten Free Watchdog states that they cannot currently recommend ANY brand of gluten free oats.

Whether or not you continue to consume oats is a personal choice.  As we await more information, I will preface any recipes that include oats with a link to this important statement from Gluten Free Watchdog, an independent, subscriber-driven gluten-testing organization.  About | Gluten Free Watchdog

***

This rustic pasta dinner was perfect for an autumn afternoon.  Making the two-color gnocchi was a fun experiment as well as a learning experience.  I found the whole process relaxing and enjoyable.  The end result was a delicious dinner for two!

I have made potato gnocchi before, using Hannah (white) Sweet Potatoes, and they were fabulous.  My idea was to make a half batch with white sweet potato and replicate another half batch with traditional orange sweet potato.

The biggest takeaway from this was that not all potatoes are created equal in terms of moisture content.  The orange potato held many times more moisture than the white sweet potato.  So, the amount of flour needed for each batch was quite different.  In the end, I lost track of the measurements and just gradually incorporated more flour until the right consistency was achieved.

Note that this was a very small batch.  Enough for the two of us with just a bit leftover.  Next time I will make more!  The flour is a 2.5/1 blend of cassava flour/arrowroot flour.  You can mix up a batch ahead of time, so you have enough for rolling and dusting.  I finished the gnocchi in a simple browned butter sage sauce and served with turkey meatballs.

Dinner for two (recipe can be doubled)

This post contains affiliate links.

Ingredients:

For the Gnocchi

For the Meatballs

For the Sauce

  • 1/2 stick (1/4 lb.) butter
  • 8 fresh sage leaves

Preparation:

I peeled and steamed the potatoes the day before.  I weighed 2.5 oz. of each potato and set aside the rest for another meal.

The next day I began by mixing up a batch of 1-1/4 cups cassava flour + 1/2 cup arrowroot starch.  I warmed the potato for 30 seconds in the microwave and placed in 2 separate bowls, mashing with a fork.

I whisked the egg, salt, xanthan gum, then added 2.5 tbsp. of the flour mixture.  I divided this mixture between the two bowls of potato.

I then gradually added more flour to each bowl and worked it in until I could roll the dough into a ball.  I covered each in plastic wrap and rested 15 minutes.

I liberally floured a cutting board and started with the white sweet potato, gradually incorporating more flour until I could roll the dough into a long smooth rope, like this.

I used a bench knife to cut the rope into 1/2″ pieces.

I repeated the same process with the orange sweet potato, and here is where I lost track of the flour measurements.  The orange sweet potato dough had absorbed all of the flour and was still very wet.  It required quite a bit more flour to achieve the right consistency.  All in all, I would say I used 3-4 times more flour for the orange potato dough as was needed for the white potato.

For the final step I rolled each piece of dough over a floured gnocchi board.

I placed the formed gnocchi on a baking sheet lined with waxed paper and dusted with flour.  I recommend refrigerating for at least 1 hour before cooking for firmer texture.

Here’s how to finish the meal.

Combine all of the meatball ingredients and form 6-7 meatballs.  Line a baking sheet with foil and mist with cooking spray.

Place the meatballs on the baking sheet, and broil 5 minutes per side on high.  Keep warm.

Boil salted water for the pasta.  In a nonstick skillet melt the butter, and as soon as the butter begins to foam, add the sage leaves.  When the white solids begin to separate, use a slotted spoon or spatula to push them to one side of the pan, skimming off as much as possible.  Remove from the heat when the butter is just beginning to turn brown.

With water at a rolling boil, add the gnocchi and cook 3-4 minutes.

Remove the cooked gnocchi with a slotted spoon and add to the browned butter.  Cook for 1-2 minutes longer.

Transfer to a serving platter along with the meatballs and drizzle with any remaining browned butter sauce.  Garnish with fresh sage.

Notes ♪♫ I love making pasta from scratch!  Check out this earlier recipe, for Gluten Free Potato Gnocchi with Cassava Flour that was the springboard for this meal.  You may also like this Trofie Pasta, or this one for Gluten Free Garganelli, one of my first posts.  Thanks for stopping by today and I welcome all your comments!

Print This Post Print This Post
Gluten Free Mushroom Soup

Homemade Mushroom Soup is always my first soup of the season.  An annual tradition signaling the end of summer, I make a pot right after Labor Day as our thoughts turn to cooler weather and comfort food.

This soup is the foundation for so many of my favorite winter stews and casseroles.  I keep some on hand in my freezer pantry, for those recipes that call for “a can of”.

Turmeric and saffron give this soup its beautiful golden color!  The recipe is so fast and easy, you can make a batch in under an hour.  I use a combination of mushrooms, such as white button, cremini and shitake. 

You can finish with cream for a Cream of Mushroom soup that is better than any canned.  Puree the soup or leave it chunky, your choice.  It freezes beautifully so make some now to have ready for the holidays!

This post contains affiliate links.

Ingredients: 

 Preparation: 

Whether you slice the mushrooms yourself or buy them pre-sliced, you will need to give them a good rinse.

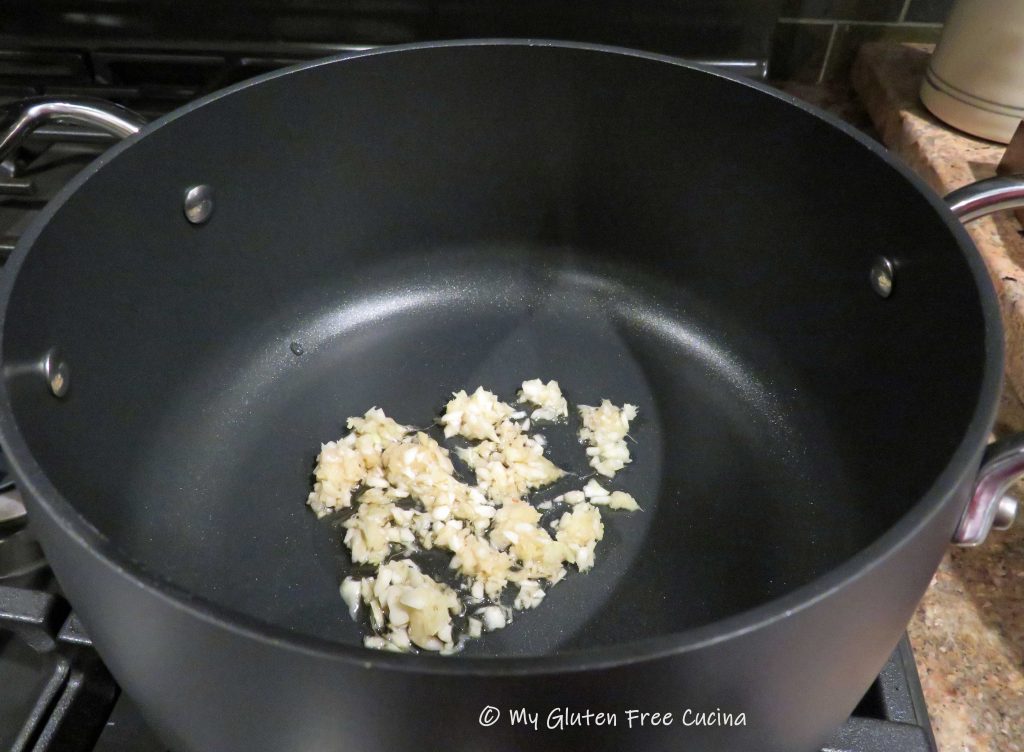
Melt butter in a Dutch oven or 4-Quart soup pot.  Sauté the onions and celery in the butter until translucent.

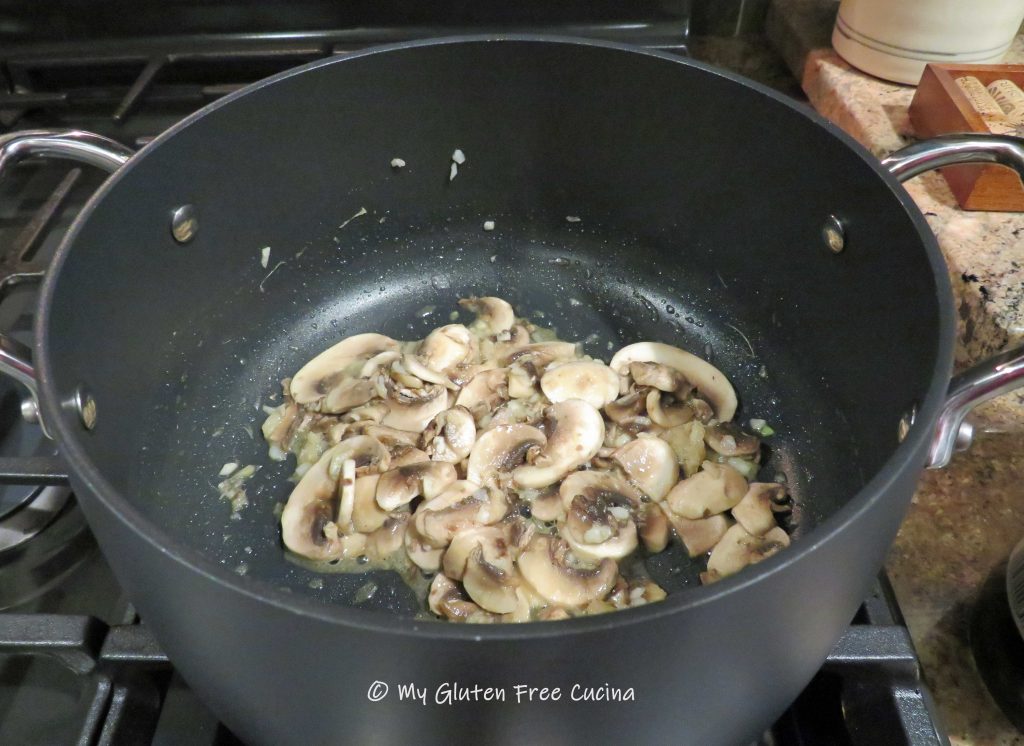
Add all the mushrooms to the pot. 

Continue cooking over medium heat until the mushrooms release their liquid.

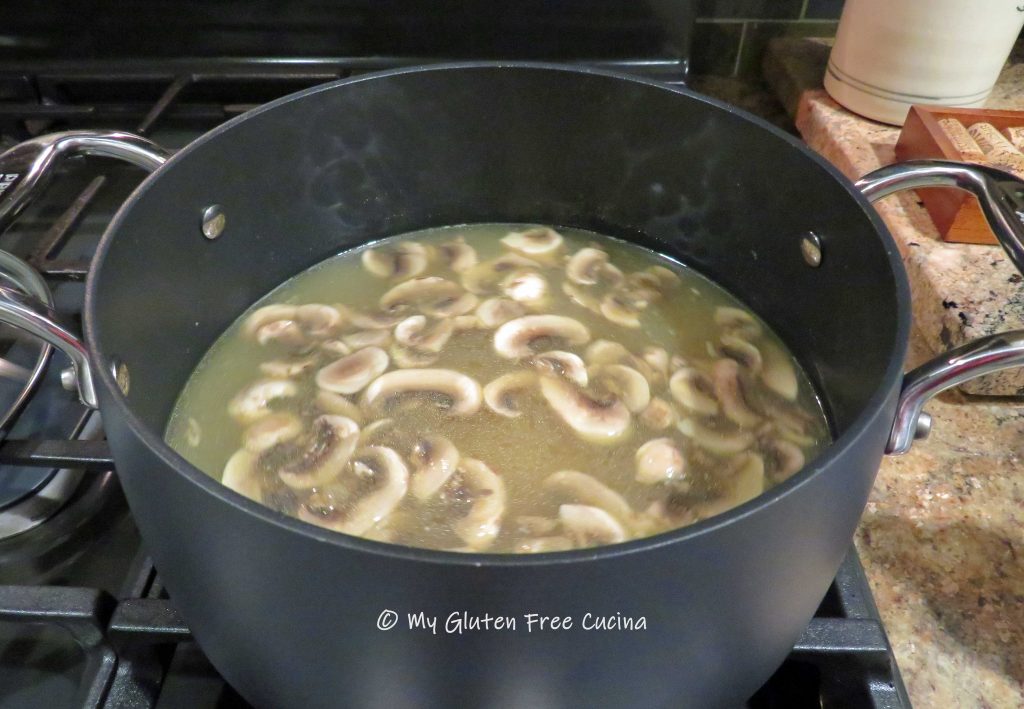
Have the chicken broth ready and stir in the flour.  It will immediately begin to thicken. 

Slowly stream in the chicken broth, stirring constantly so the flour doesn’t clump.  Add the salt, pepper, turmeric and saffron. 

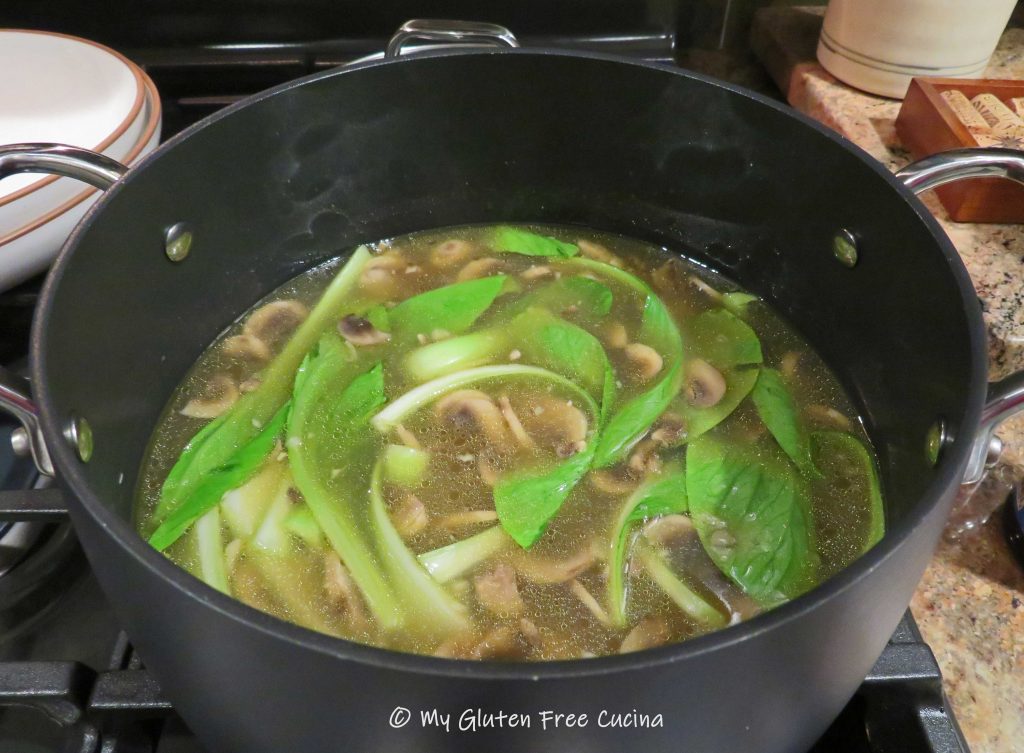
Simmer 15 minutes then remove from heat.  Soup can be prepared ahead and frozen up to this point.

Here it is after cooling down for an hour or so.

I ladle the soup into freezer containers, about 1-1/2 cups each.

Notes ♪♫ If you plan to freeze the soup, I recommend not adding cream at this point.  For Cream of Mushroom Soup, drizzle in cream or half and half just before serving.

Print This Post Print This Post

Gluten Free Salmon Burgers

Since I began my gluten free journey, one of the things I miss most is being able to just go out for a sandwich.  A few restaurants do offer gluten free buns, but even then, gluten is lurking everywhere!  Toppings, breadcrumbs, binders, fillers, sauces and even seasonings may contain hidden gluten.  One of my favorite local chains has the best salmon burgers, but of course they are now off limits for me.  I’m feeling deprived!  So, this week I decided to create a copycat version of this awesome sandwich at home.  Here’s how!

4 Servings

This post contains affiliate links.

Ingredients:

Preparation:

I used fresh salmon, so that I could freeze 2 burgers for another meal.  If you are not going to freeze them, you can use frozen salmon.  Line a baking sheet with parchment paper and preheat the oven to 350º.   Bake the salmon for 15 minutes.  Cool slightly then remove the skin.  It should peel off easily.  Use a fork to flake the fish and let it cool to room temperature.

Heat 1 tsp. olive oil in a small stainless-steel skillet over medium low.  Add the minced onions and cook until they begin to brown and caramelize.  They will cook down to about 1/4 cup.  Remove, set aside and cool to room temperature.

Whisk together the egg, mayo, onion, chives, Worcestershire, lemon juice and seasoning.

Add the flaked salmon.  Be sure it has cooled to room temperature, so the egg doesn’t cook.

Next add the potato flakes and gluten free Panko.  Stir and use a fork to blend everything together thoroughly.  Don’t overwork it.

You should have enough to form 4 generous sized patties.

I used a hamburger press to make them nice and even.  Mist the press with cooking spray first to help the patties release.

I placed the patties on a baking sheet lined with parchment to make them easier to handle.  Keep them refrigerated until ready to cook.  You can also freeze them at this point.  Let them freeze on the sheet so they keep their shape, then wrap them individually and store in a freezer bag.

To cook, brush a grill pan with a little olive oil and cook the patties 5 minutes per side over medium heat.  The patties are delicate, so handle them gently with a wide spatula.

Add your favorite gluten free bun and there you are.  This is one of my favorite restaurant meals that was just waiting for a gluten free makeover.  Now I can enjoy a salmon burger at home any time.

I hope that you enjoyed this recipe.  My gluten eating husband also thought these Salmon Burgers were great, just like the restaurant version!  So don’t feel deprived!  Try the recipe at your house and let me know what you think!

Notes ♪♫ I see you ogling that gluten free bun!  My own flour blend, it’s a nice big bun that you will love for all your burgers and sandwiches!  Get the recipe here!

This post was originally published on 07/06/2018.  While the photos have been updated over the years (as I become a better photographer!), the recipe itself has not changed.  

Print This Post Print This Post