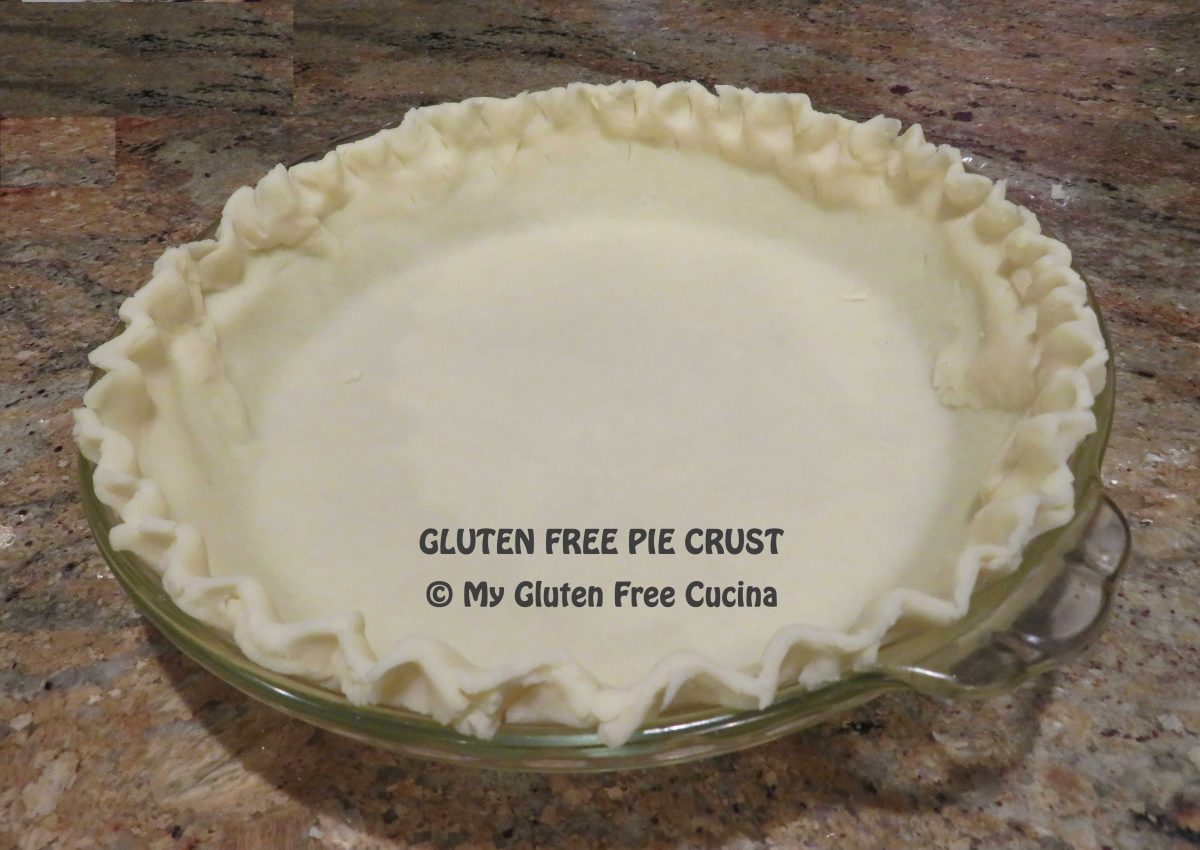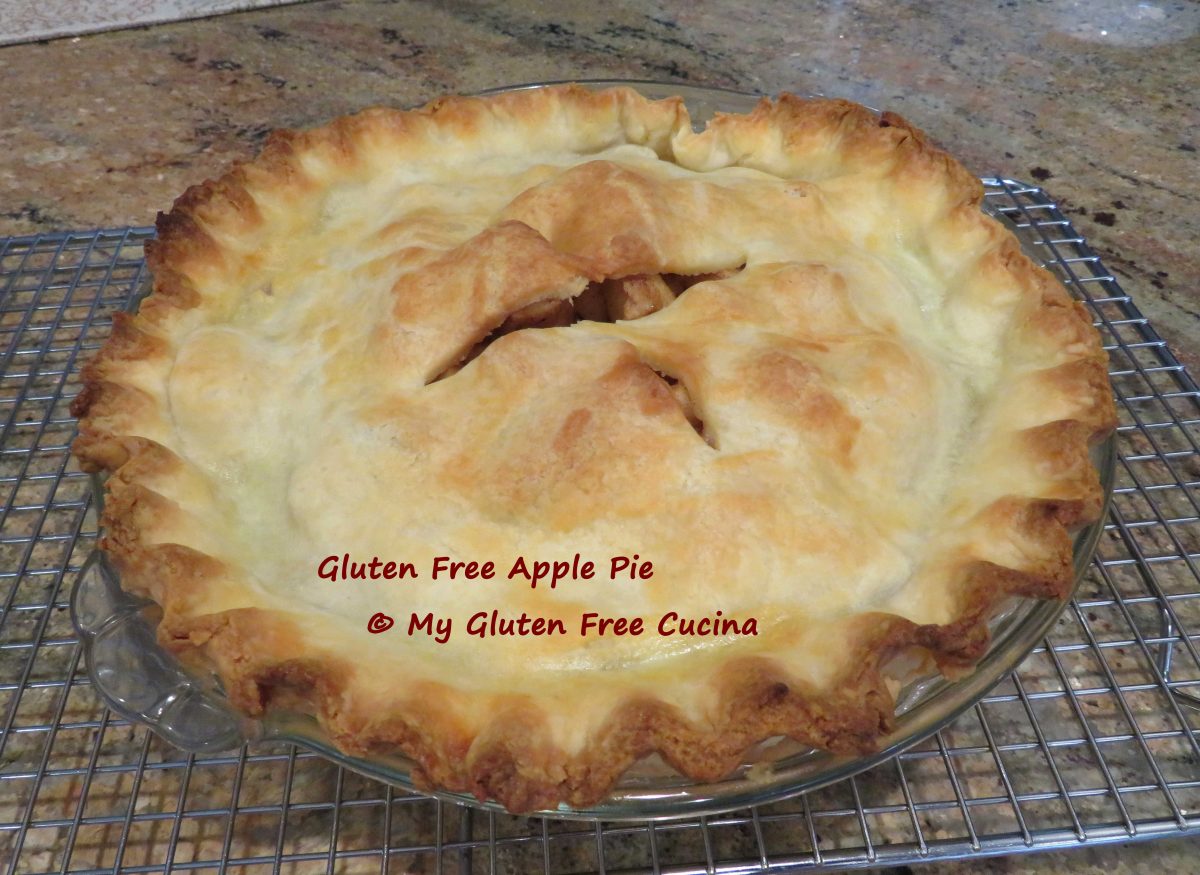
There is nothing like a homemade pie for a special occasion. Just look at that crust! Apple pie was the first pie that I learned to make, and it is still my favorite!

Before my Celiac diagnosis, I used to buy the refrigerated pastry dough in the red box (remember those days?) for my pies. Today I use this easy make ahead Gluten Free Pie Crust, and always keep it on hand in my freezer so I’m ready to make a dessert pie, meat pie or quiche.

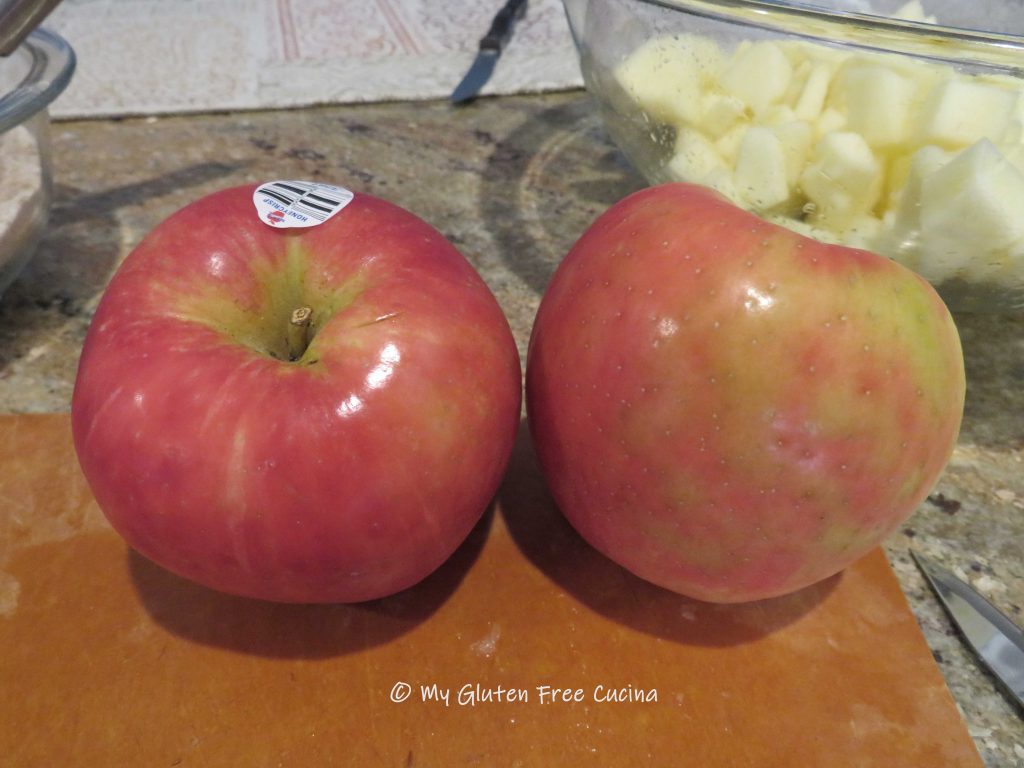
The filling was adapted from Taste of Home, an old classic from back in the day. I always use Honeycrisp apples for pie, they are excellent for cooking and baking. You can use other firm apples like Braeburn, Cortland or Granny Smith. My apples were quite large, so I only used 4 for this recipe. For medium sized apples you will need 5-6.
This post contains affiliate links.

Ingredients:
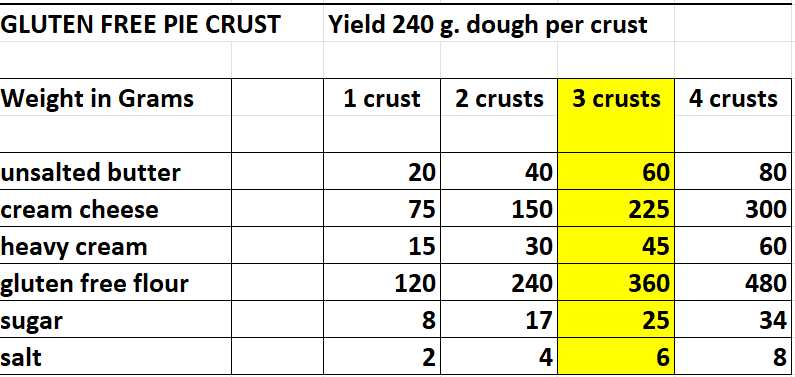
- gluten free pastry dough for double pie crust (recipe here)
- 5-6 medium apples, peeled and diced
- 1 tbsp. lemon juice
- 1/2 cup sugar
- 1/2 cup brown sugar
- 3 tbsp. gluten free flour (I used Better Batter Original)
- 1 tsp. cinnamon
- 1/4 tsp. ginger
- 1/4 tsp. nutmeg
- 1 tbsp. butter
- 1 tbsp. egg whites
This post contains affiliate links.
Preparation:
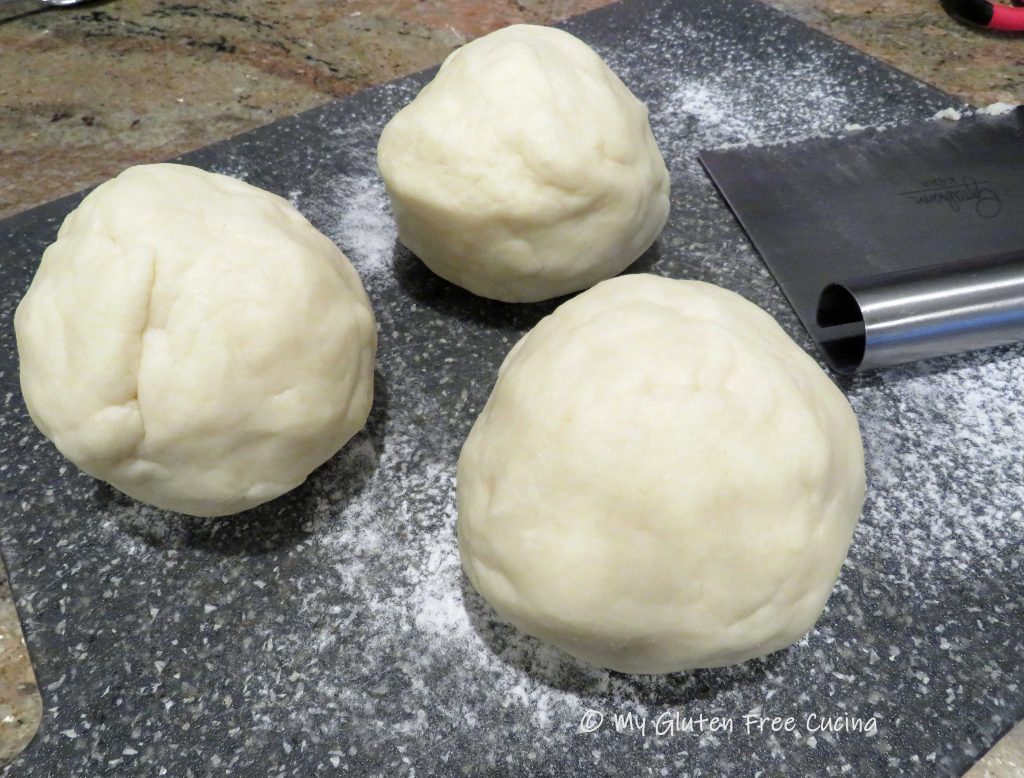
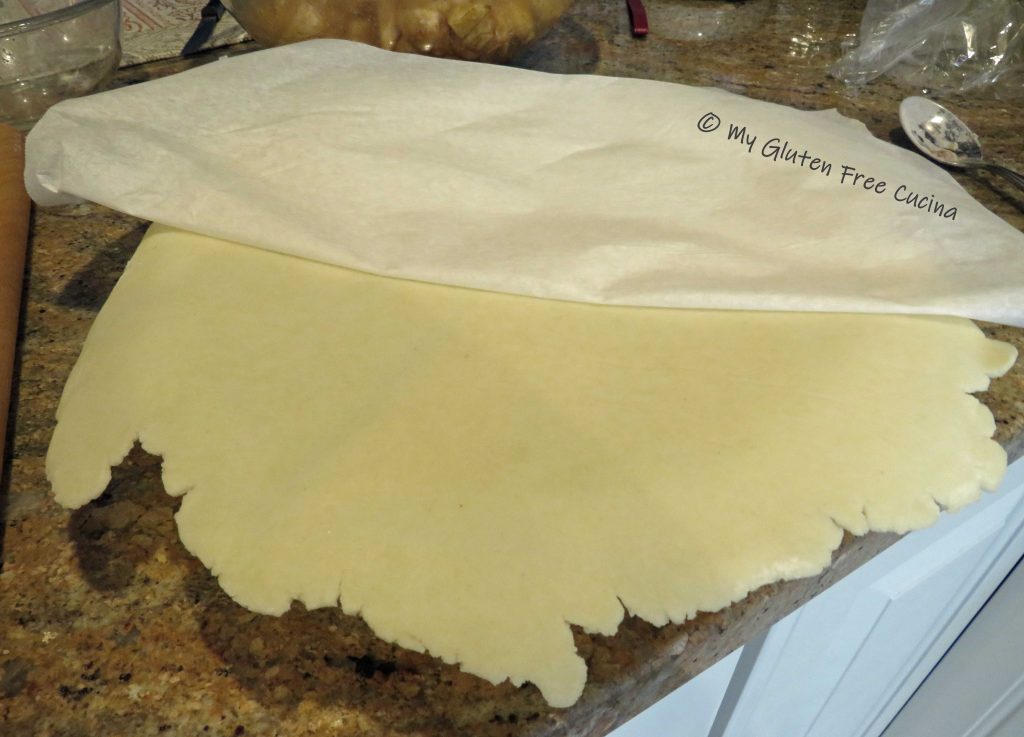
The first thing you’ll want to do is roll out that pie dough. If you had it in the freezer, let it defrost in the refrigerator the day before then leave at room temperature for 20 minutes before rolling.
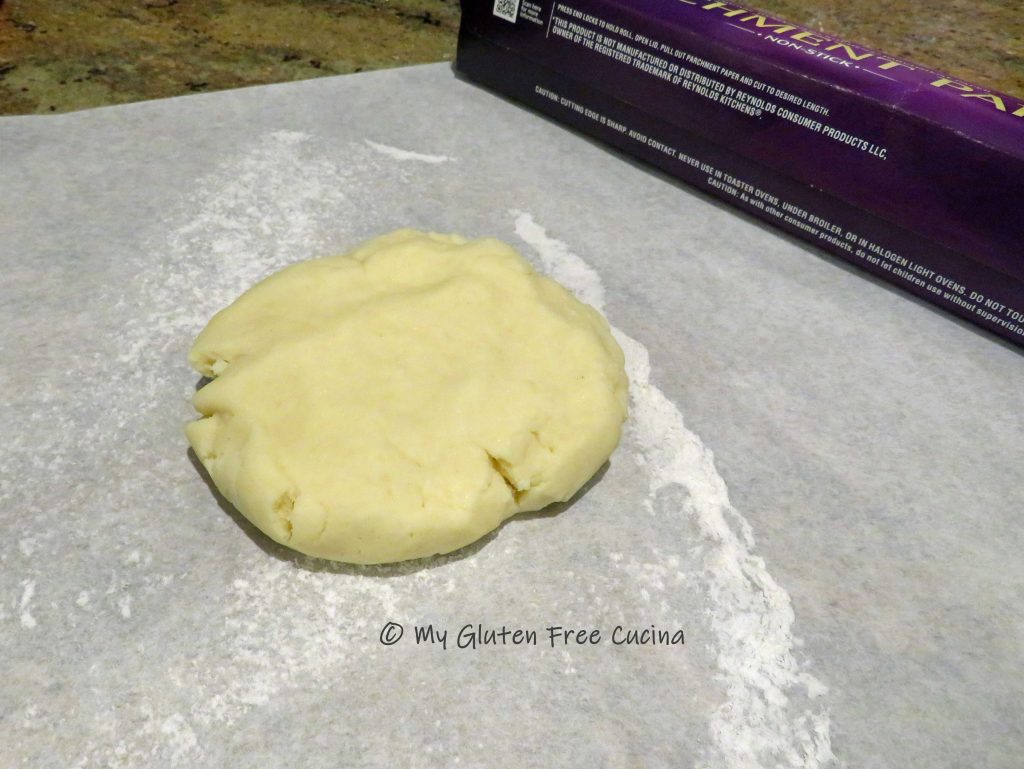
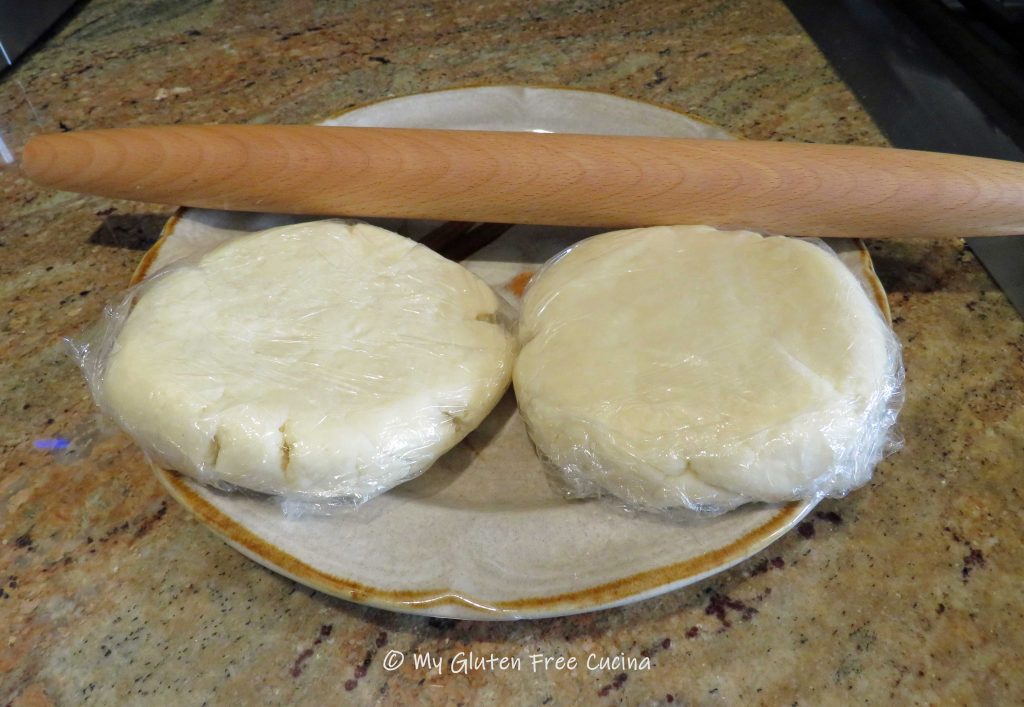 The easiest way to roll the dough is to lay it on a sheet of lightly floured parchment and cover with a sheet of plastic wrap. Take your time rolling the dough, until it is large enough to fit your pie dish. Place the rolled-out dough in the refrigerator while you make the filling.

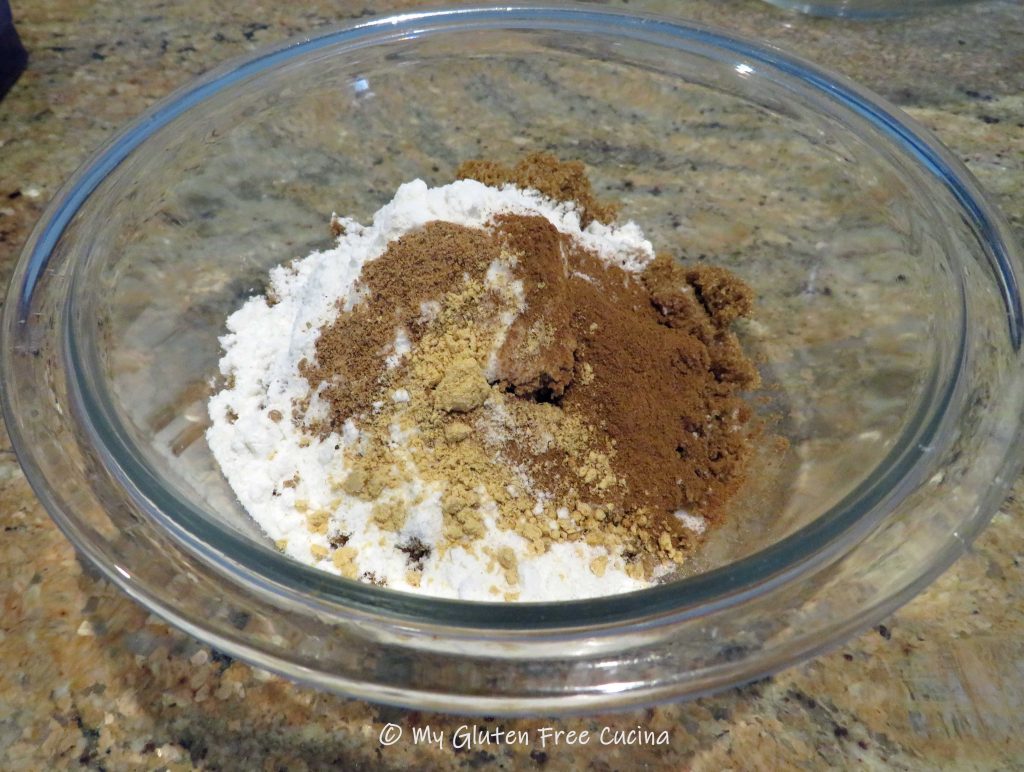
Next, whisk together the sugars, flour, cinnamon, ginger and nutmeg in a small bowl.
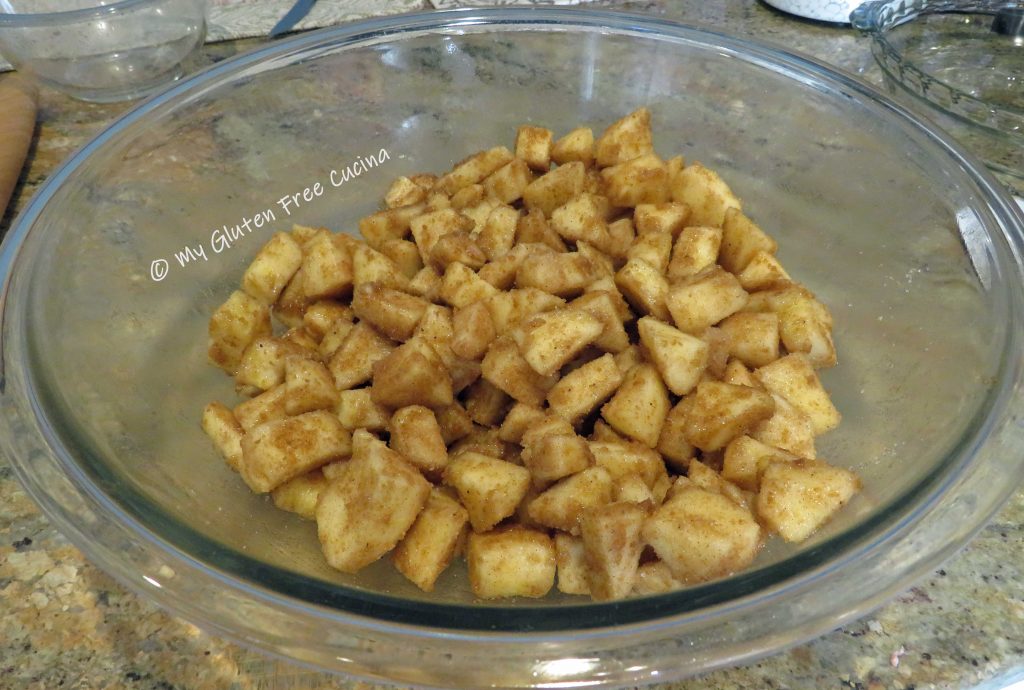
Squeeze the lemon juice into a large bowl. Peel and dice the apples and add to the bowl, tossing with the lemon juice after each addition.

Combine the sugar mixture with the apples and toss well to coat.
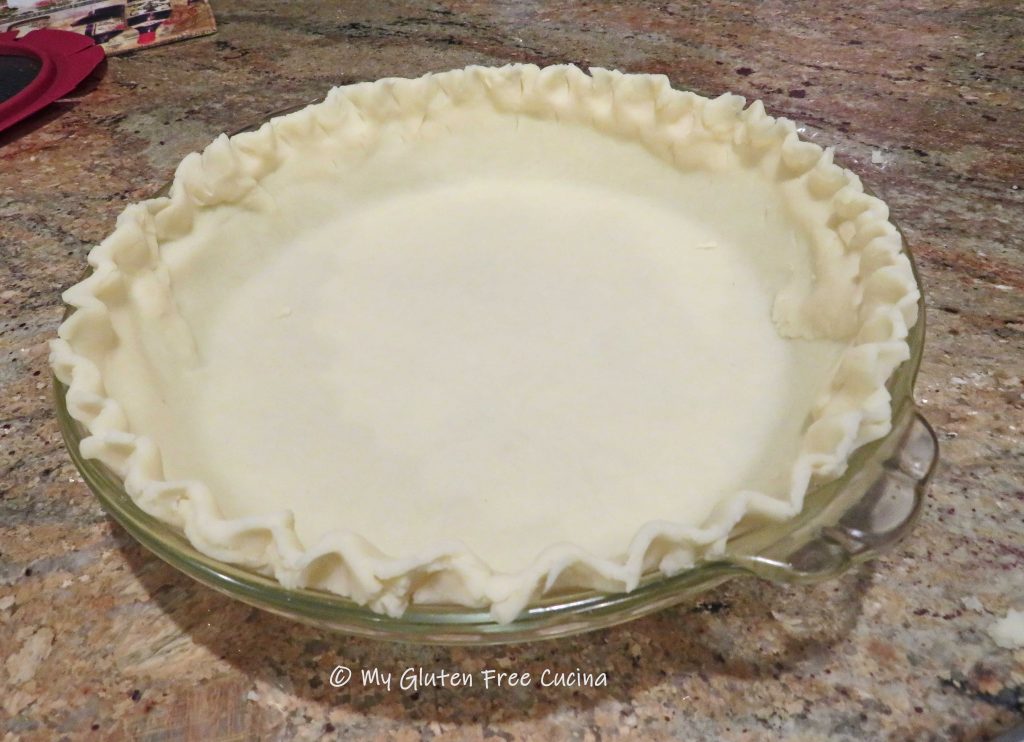
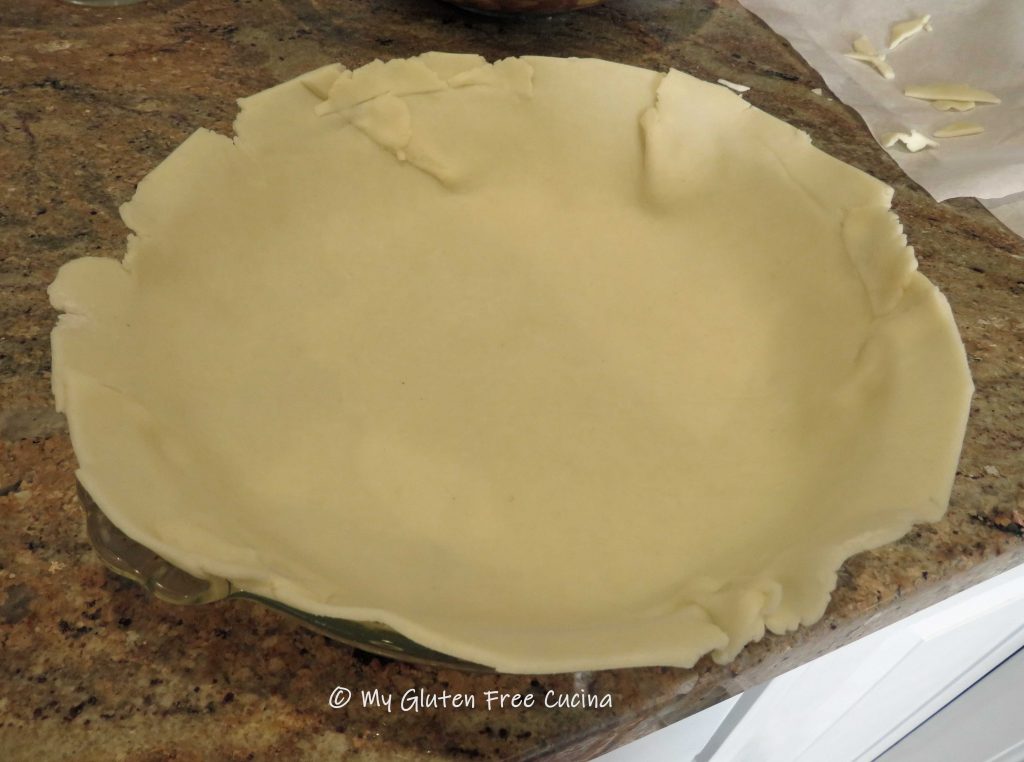
Now for the moment of truth. Place one sheet of pastry dough in the pie dish. The easiest way to do this is to remove the plastic wrap and flip the dough onto the pie dish.
 Carefully peel away the parchment and ease the dough into the dish like this.

Whew, look at that it worked! Now trim the edges and use the extra pieces to patch any cracks or holes.
Fill with the apple mixture and dot with the butter.

Use the same technique to place the top sheet of pastry dough. Fold the edges over and crimp, it doesn’t have to be fancy.

Cut slits to allow steam to escape. Whisk the egg white, and brush all over the top.

Place the pie on a sheet pan (in case it drips) and arrange strips of foil loosely around the edges. Don’t press the foil into the dough (it may stick).

Bake for 25 minutes at 375º. Use tongs to remove the foil then bake an additional 25 minutes.
Cool at least 2 hours before slicing. It smells so good you will have a hard time waiting!

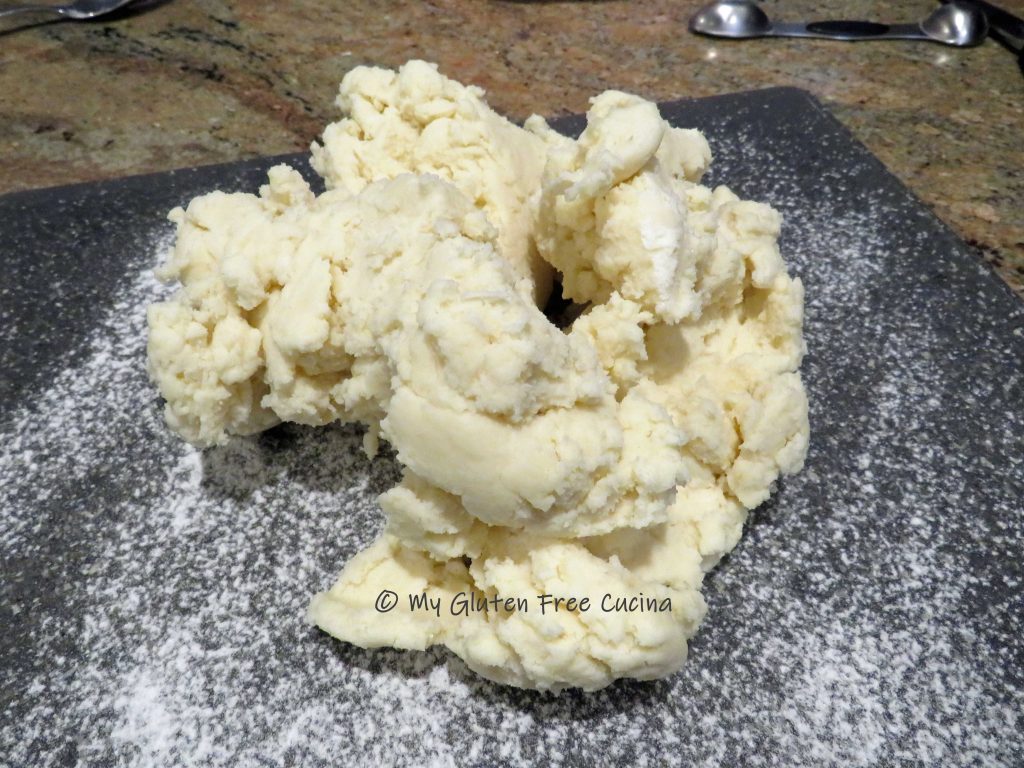
Notes ♪♫ Pie crust has always been my nemesis. That is, until I learned to make this incredible Gluten Free Cream Cheese Pie Crust, then a whole new world of gluten free baking opened up. Try it, I promise it is easy to prepare and rolls like a dream!
Apple Pie filling adapted from Taste of Home

[print_link]