This vintage recipe is from a collection of cakes, pies and desserts passed down by my late husband’s mother. Today I am the proud owner of this culinary legacy from a woman who was by all accounts a superb baker.
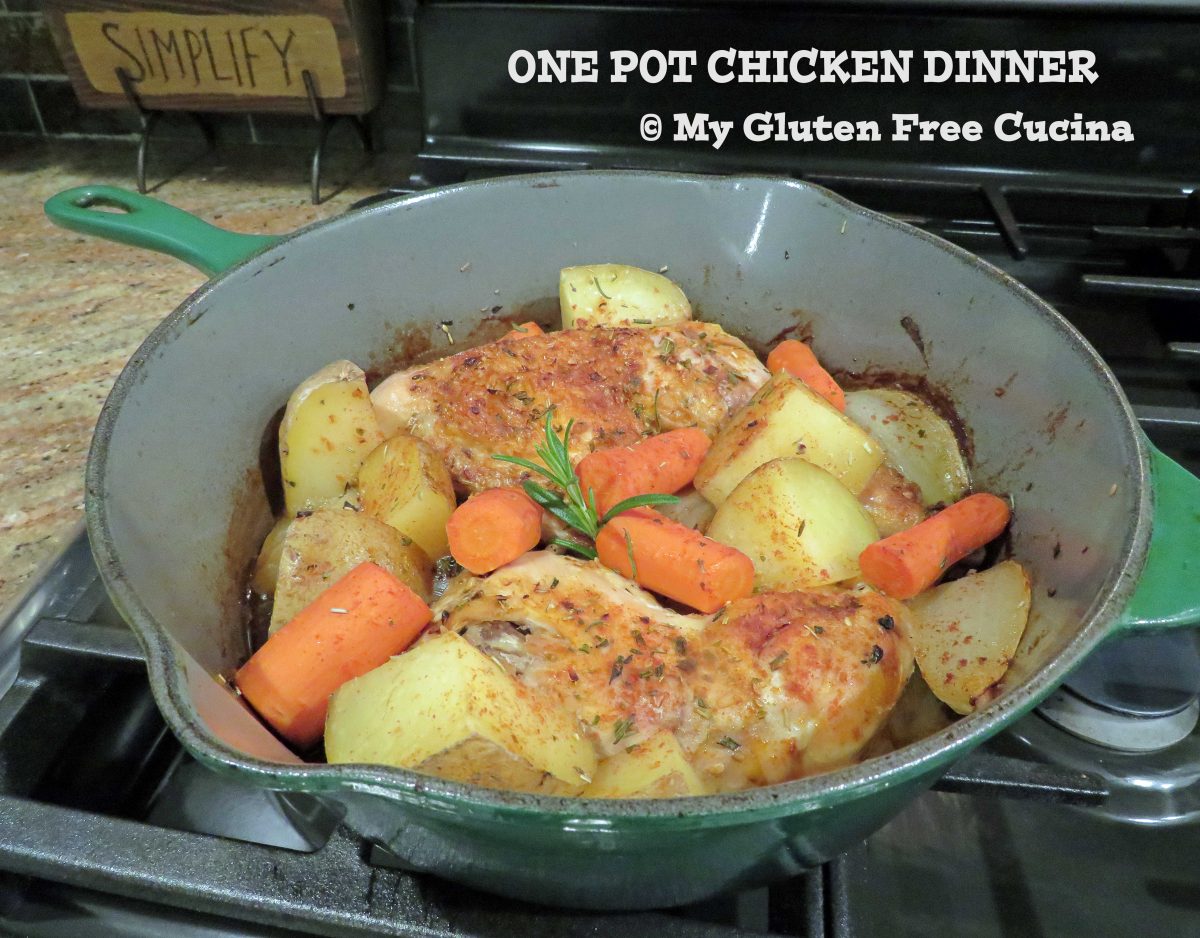
Whether you are making cookies for Santa, a birthday or just a treat for the family, this is an easy recipe that you can throw together in a hurry.
This post contains affiliate links.
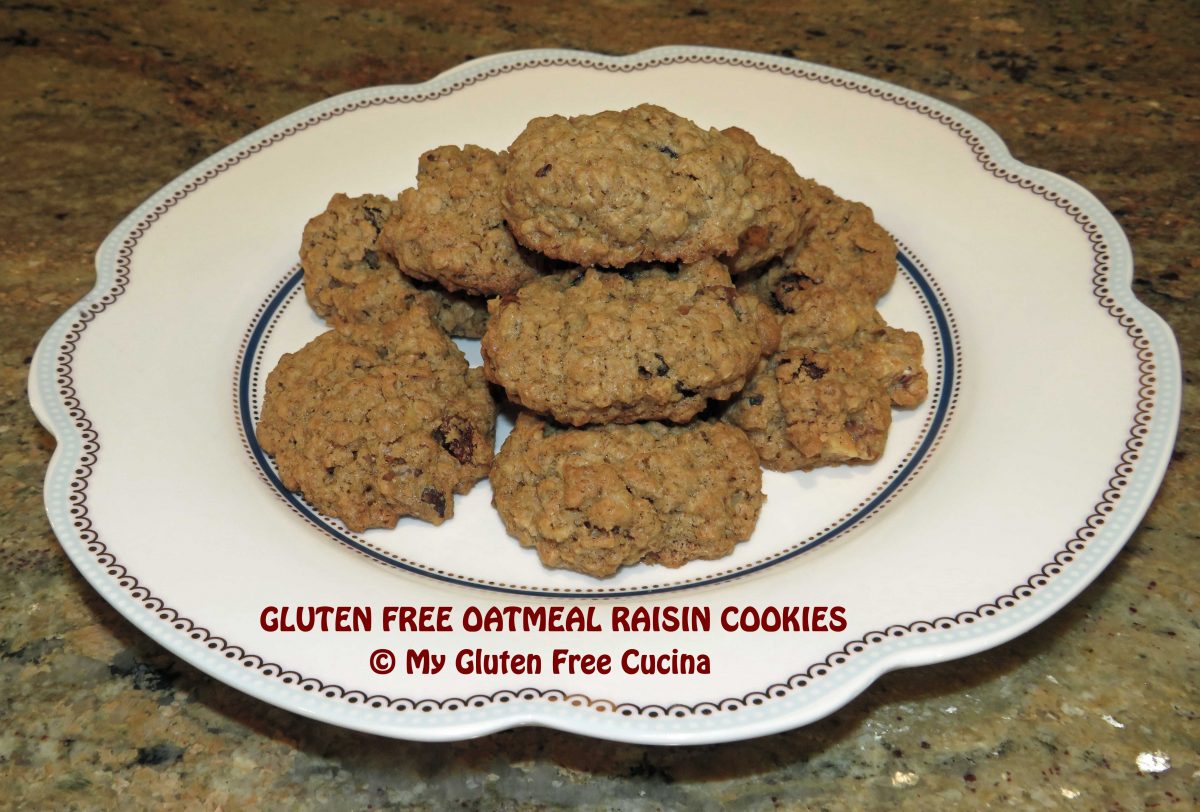
To get started on my gluten free adaptation of her Oatmeal Raisin Cookies, I scanned the ingredient list to see where gluten free substitutes were needed. Suprise, there was really only one ingredient that I had to change!

The original recipe called for 1 cup of Gold Medal Flour, and I substituted 120g. of Better Batter Original Blend. That’s it!
Of course, oats are tricky on the gluten free diet. If you have Celiac Disease, ALWAYS choose purity protocol gluten free oats for peace of mind and your health.
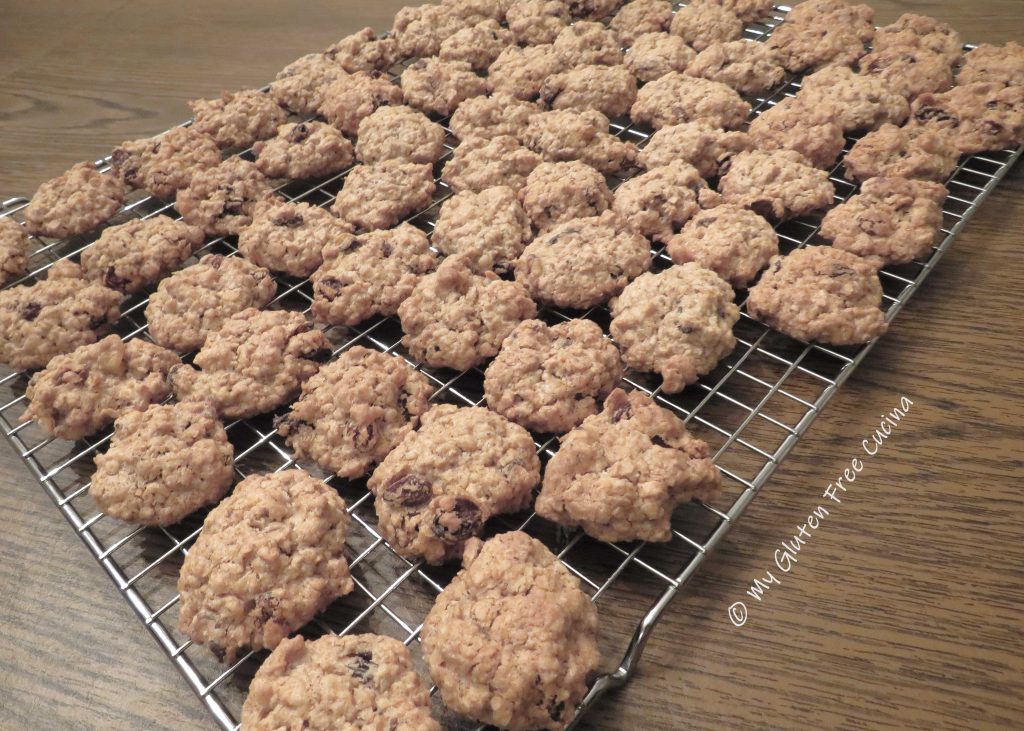
About 6 dozen cookies.
Ingredients:
- 120g. gluten free all-purpose flour (I used Better Batter Original)
- 1 tsp. salt
- 1 tsp. cinnamon
- 1/2 tsp. baking soda
- 1/2 tsp. cloves
- 1 cup raisins (I used Sunmaid)
- 1 cup chopped walnuts
- 3 cups quick-cooking gluten free oats (I used Uncle Crumbles)
- 3/4 cup shortening (Crisco is gluten free)
- 1 cup brown sugar (packed)
- 1/2 cup granulated sugar
- 1 egg
- 1 tsp. vanilla extract
Use my Promo Code MGFC30 for 30% off your purchase from Better Batter!
Preparation:
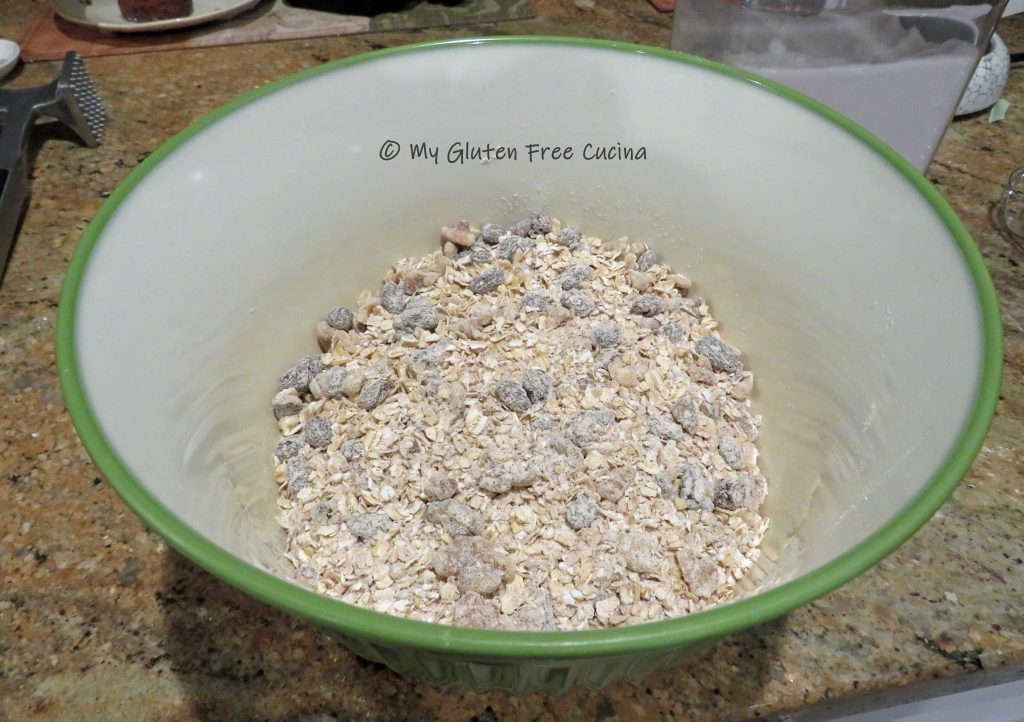
Preheat the oven to 350º. Combine the dry ingredients, flour through oats in a large bowl and mix well.
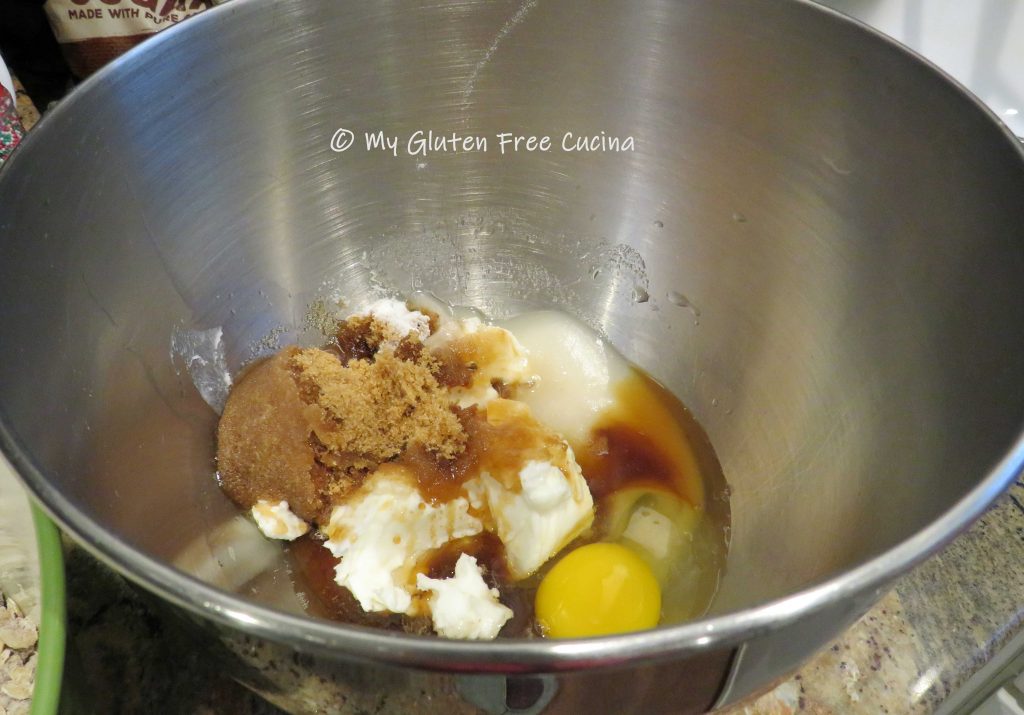
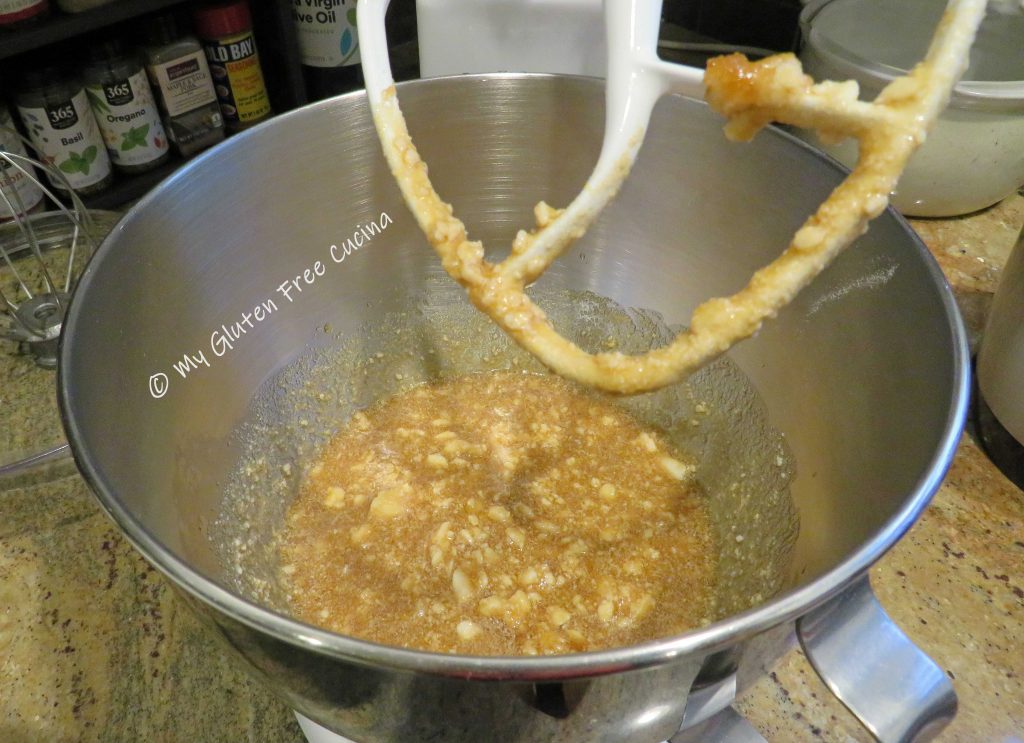
In the bowl of a stand mixer, add the shortening, sugars, egg and vanilla. Beat on low speed with the paddle attachment until well combined.
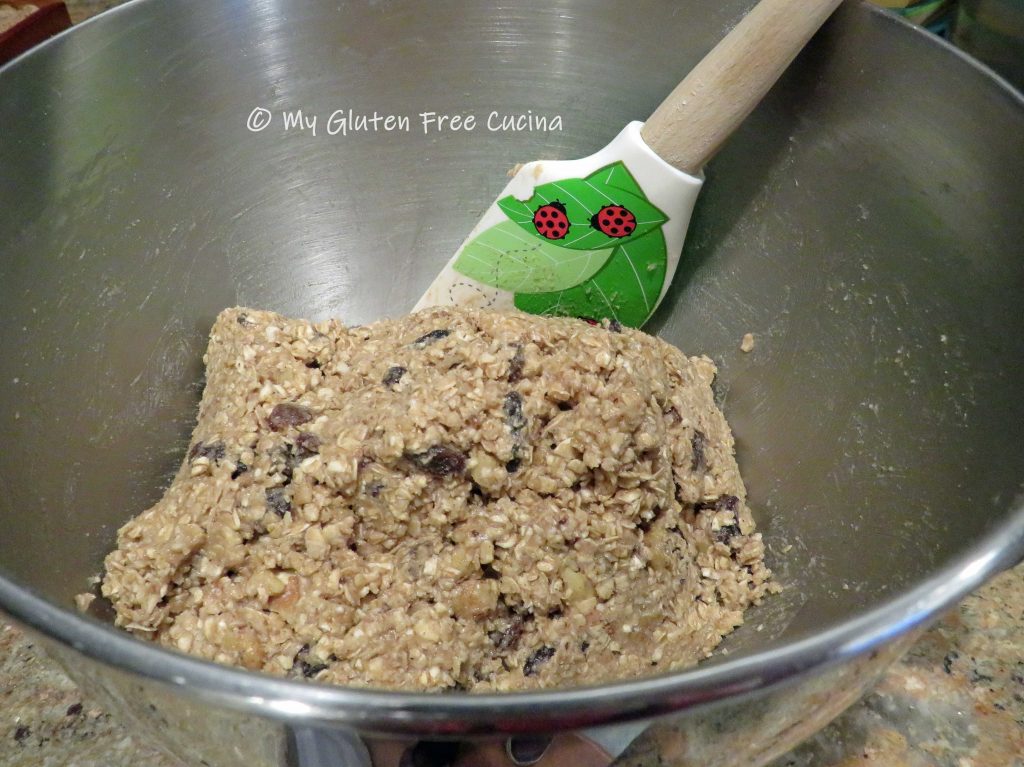
Add the dry ingredients and beat on low speed, just until combined. Gather the mixture together and rest 15 minutes.

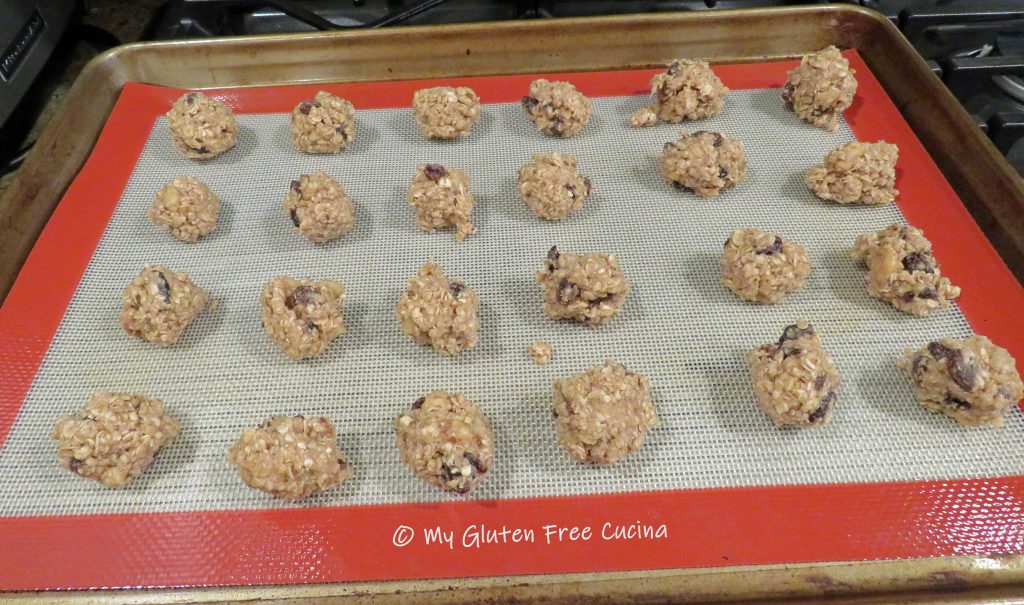
Scoop the dough by rounded teaspoons and place at least one inch apart on a prepared baking sheet. I used a silicone mat to prevent sticking.
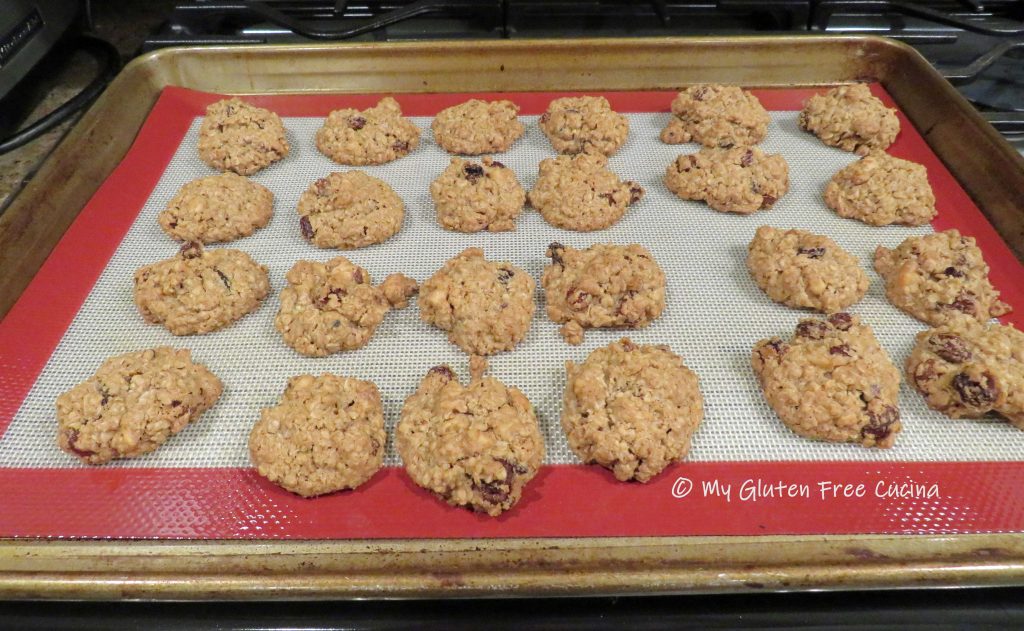
Bake 17-20 minutes on the middle shelf. Cookies are done when almost no imprint remains when touched with your finger. Immediately remove from the baking sheet.
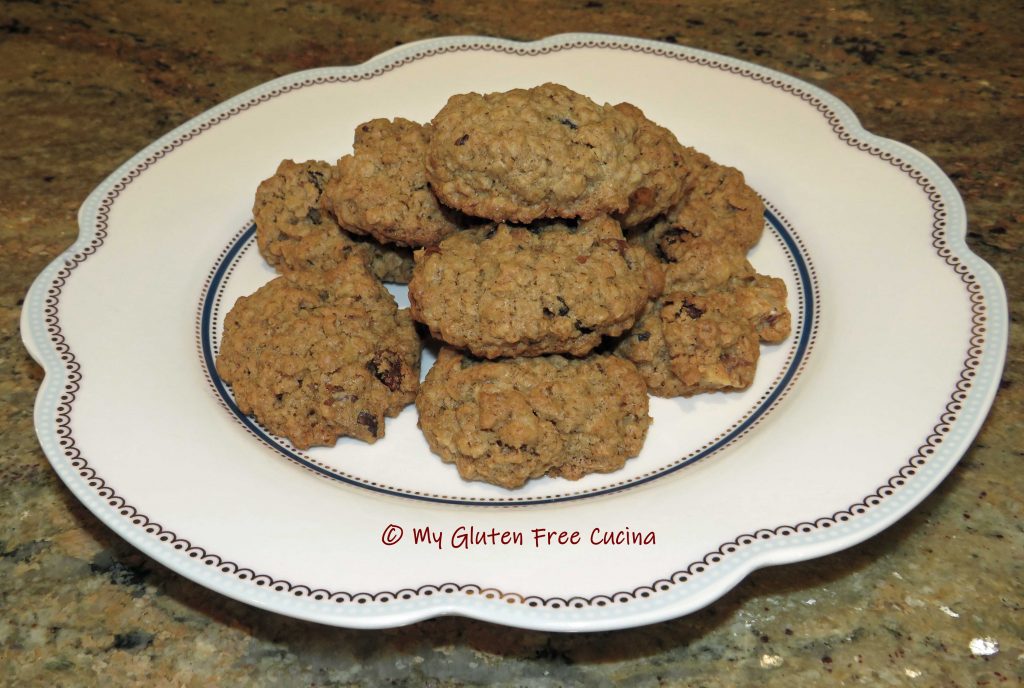
Apologies if these cookies didn’t make it to anyone’s house. Most were eaten right out of the oven!

For those with more restraint, cookies can be stored in an airtight container for several days or frozen, great to make ahead for your Christmas cookie trays!
Notes ♪♫ For best results, be sure to use quick cooking oats in this recipe (not thick cut or old fashioned). I always keep them on hand for baking!


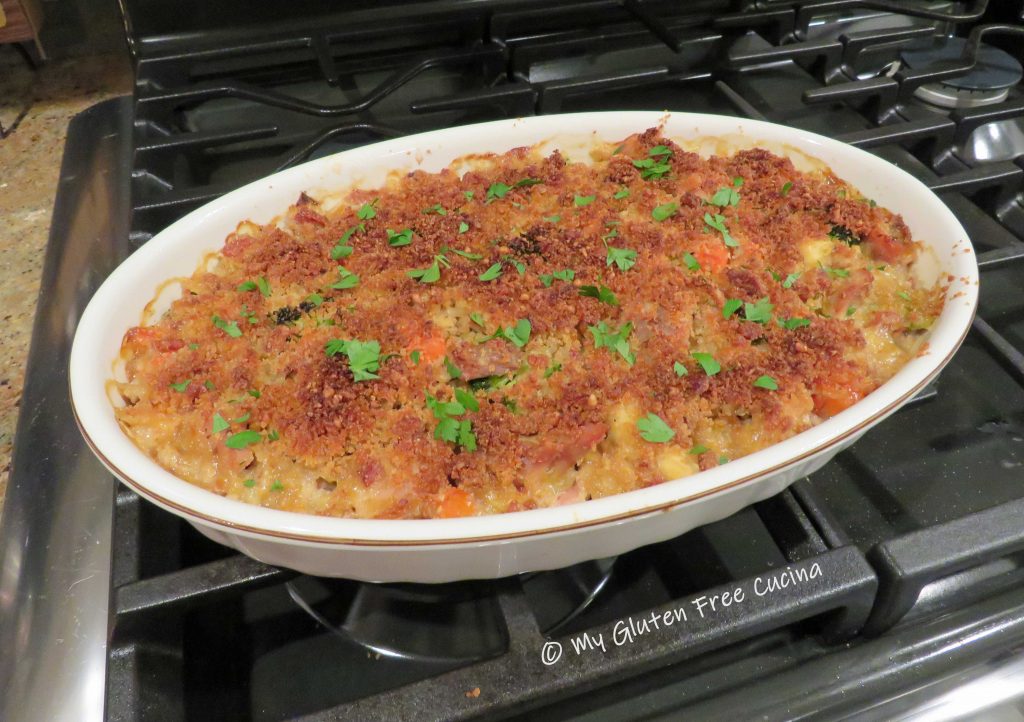
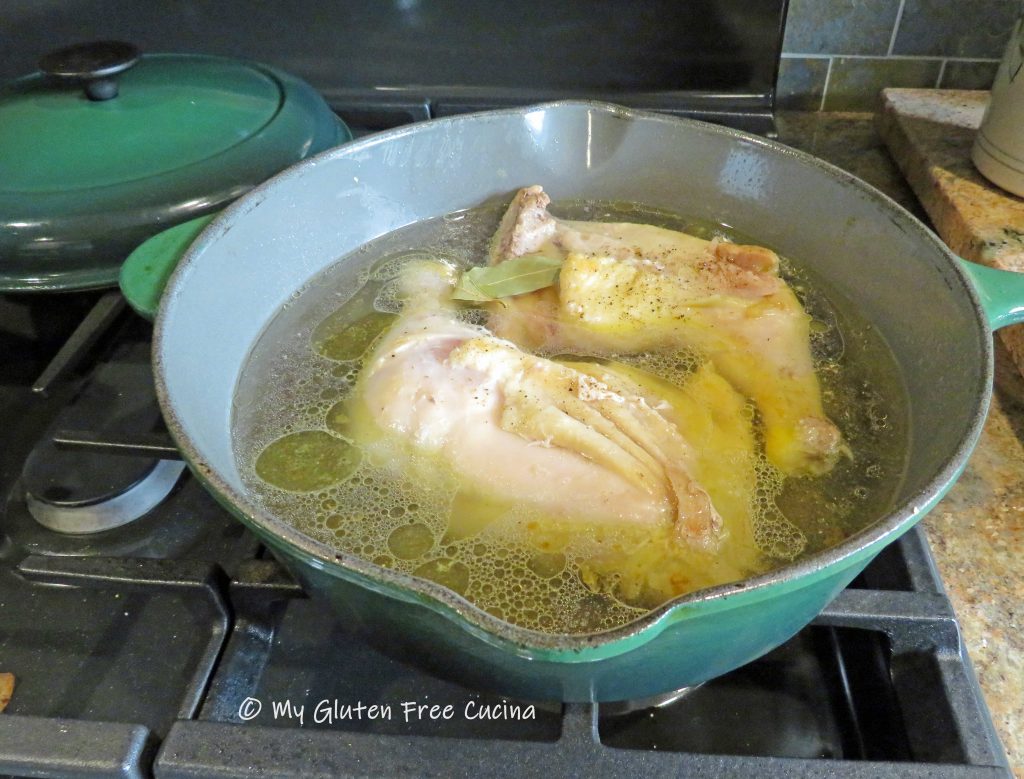
 If you don’t have a probe (oven safe) thermometer, then roast for 20 minutes per pound and check with an


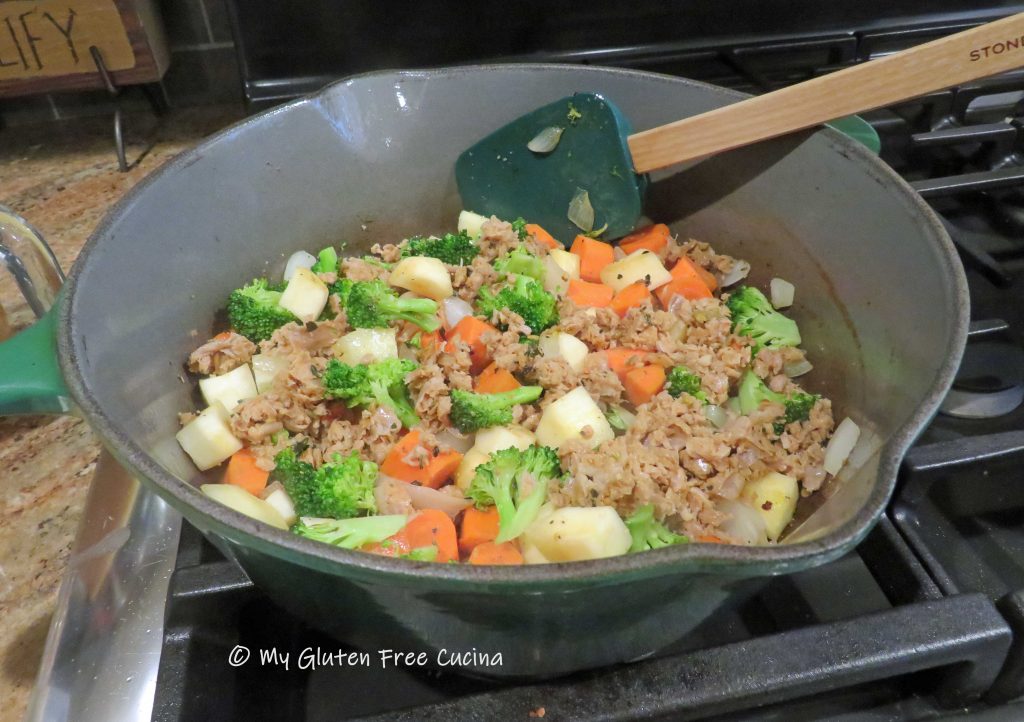
 Add back the sausage and bacon to the skillet and toss well to combine.


 Crumble the bacon, or place in an
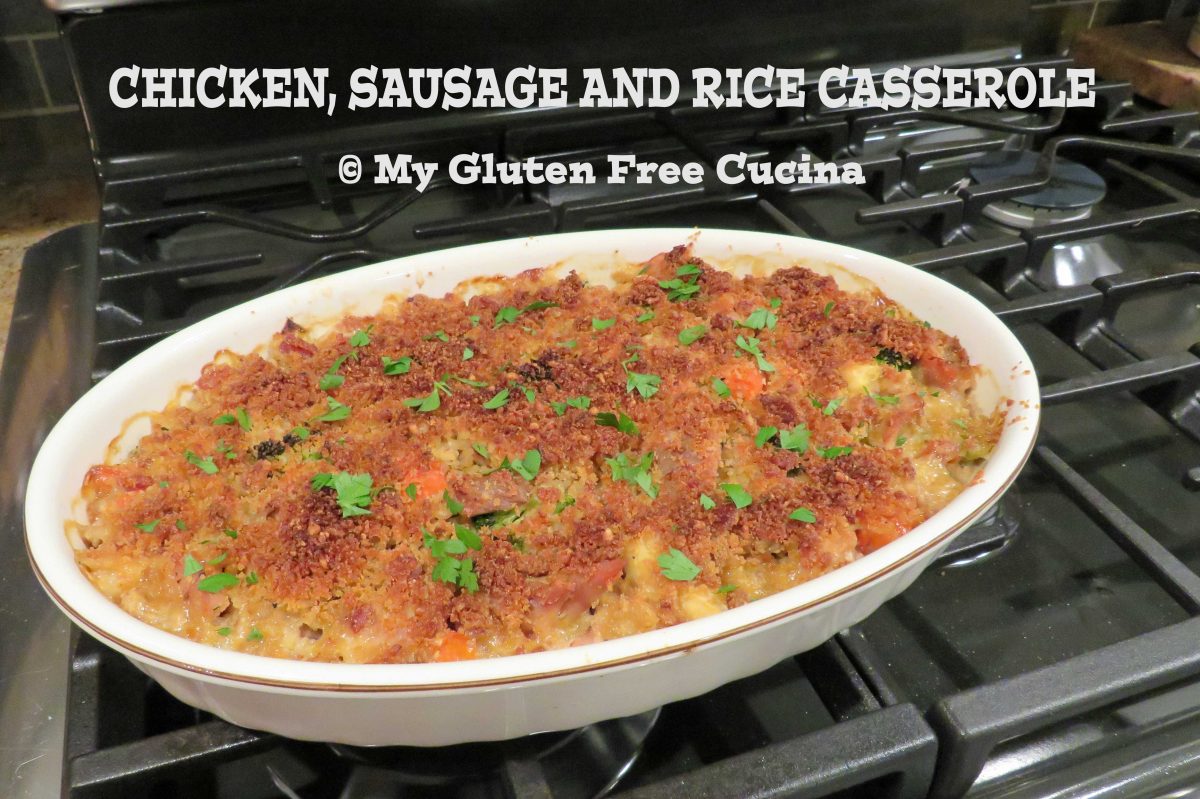
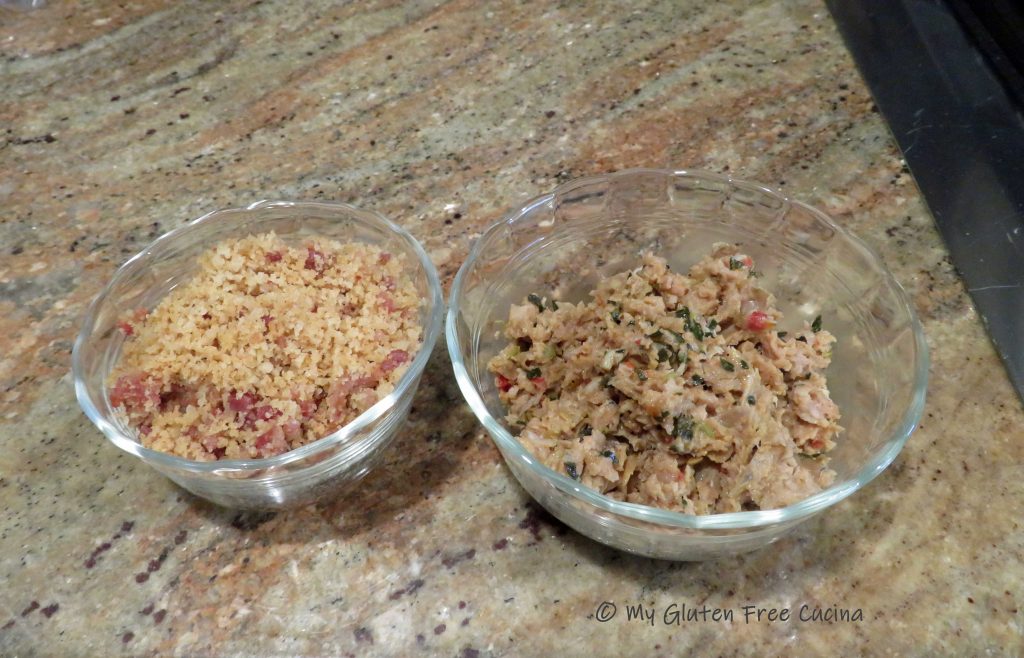
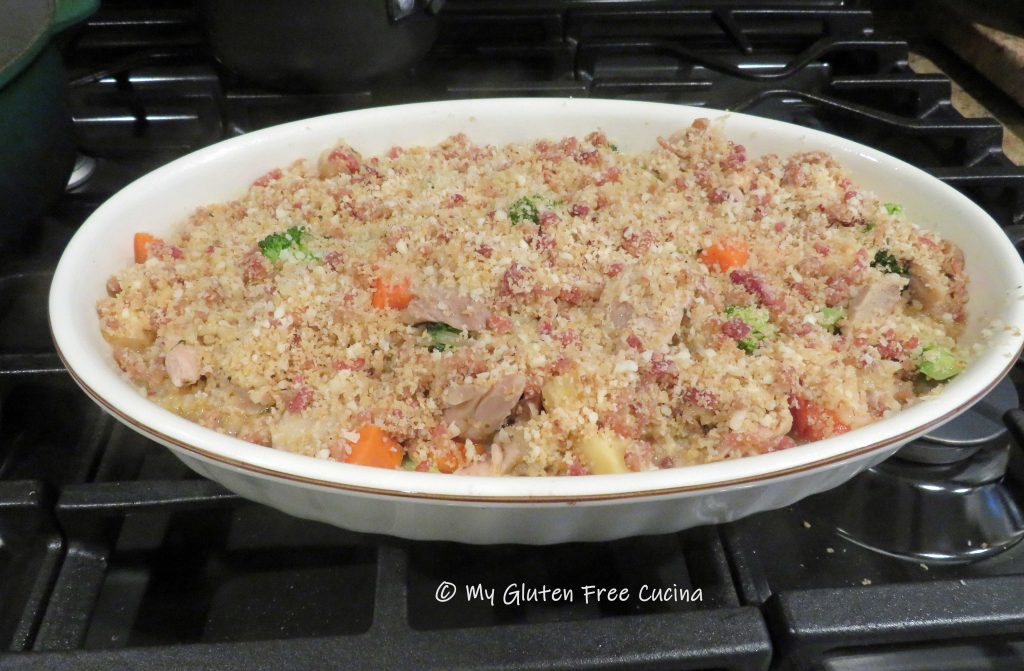
 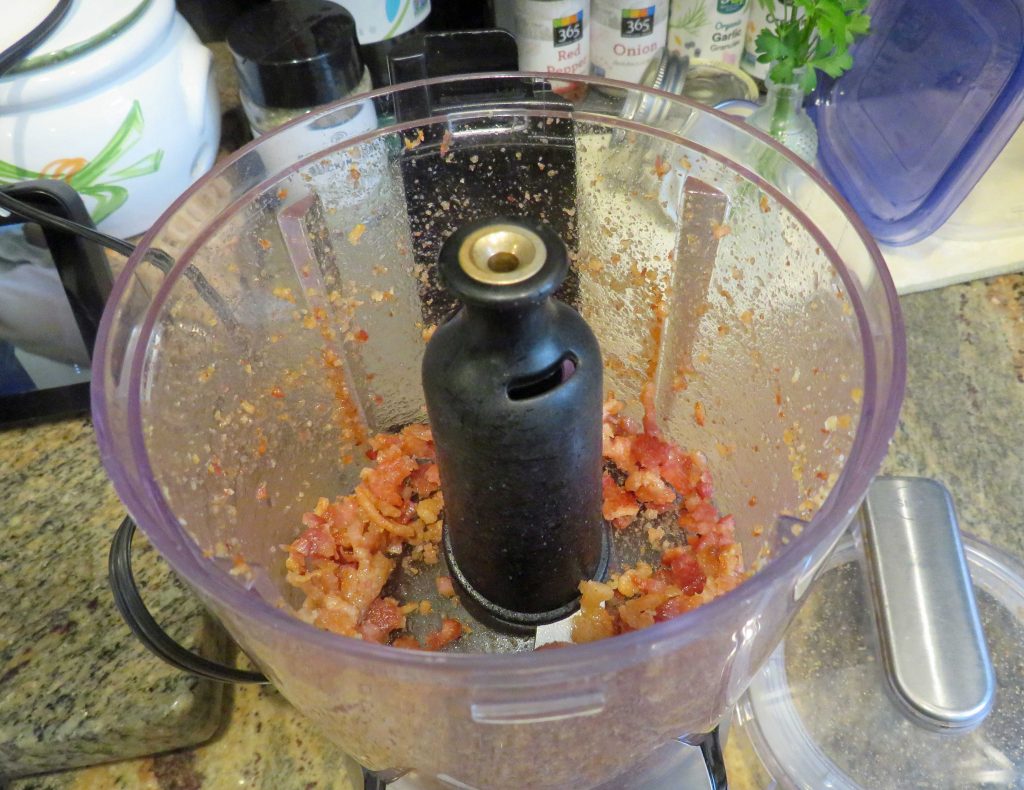 Add 1/3 cup of gluten free breadcrumbs to the skillet with the bacon fat and stir over low heat. Add back the crumbled bacon and stir well to combine. Set aside to cool, then mix with 1/4 cup grated parmesan cheese for topping.
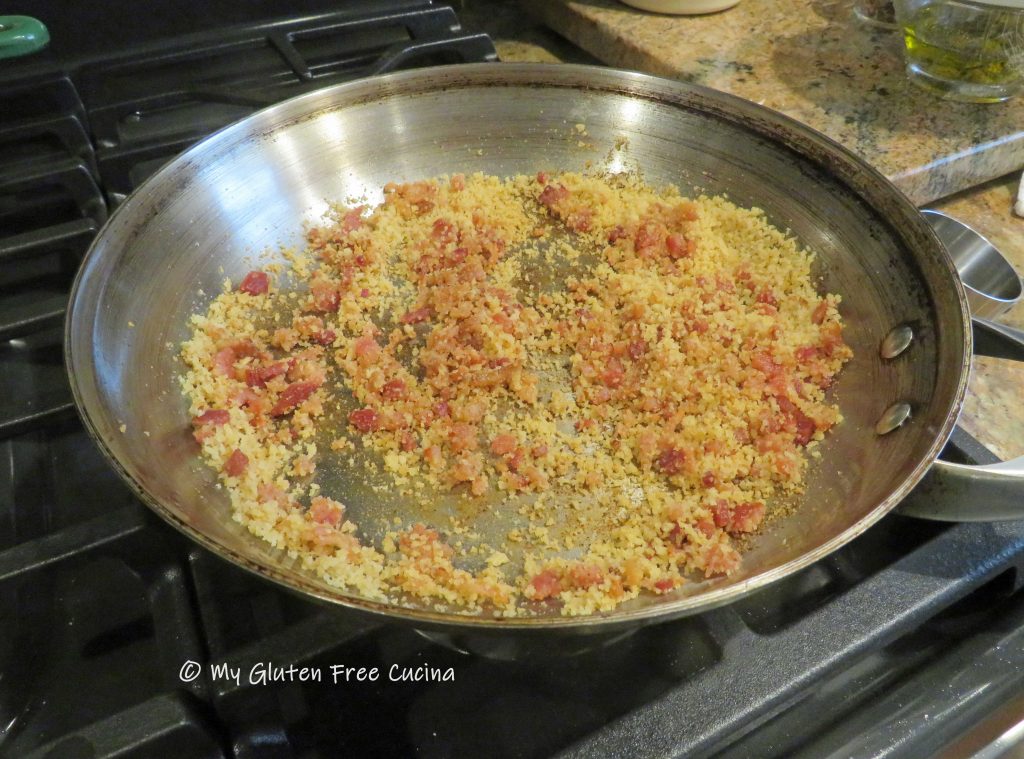

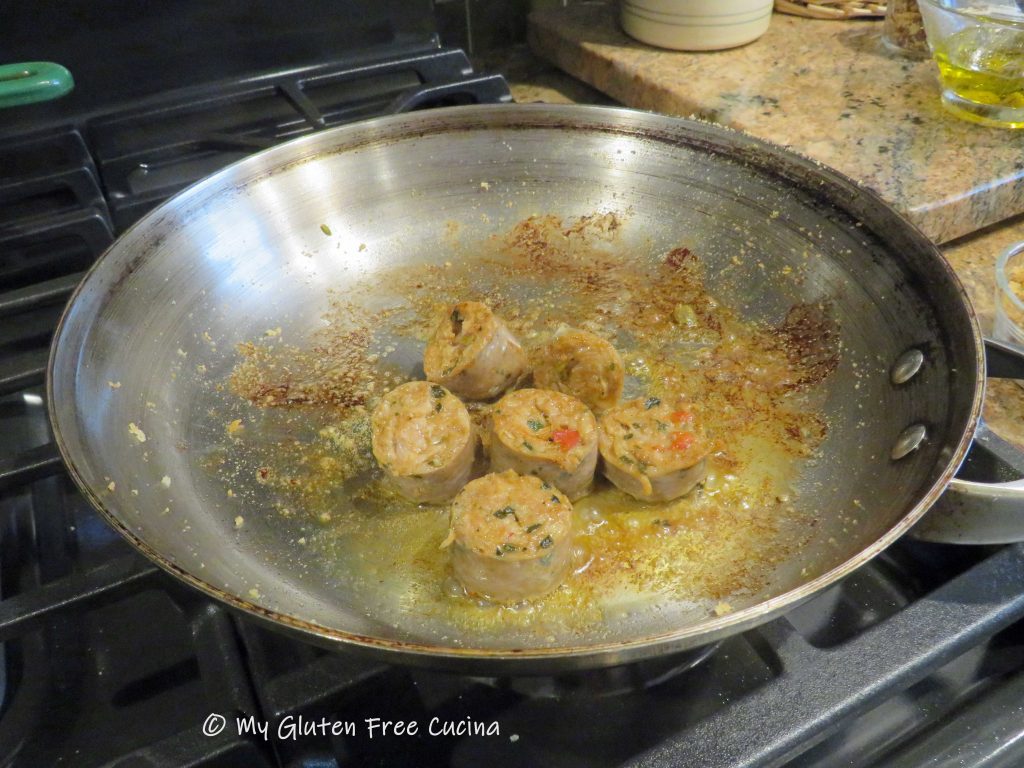
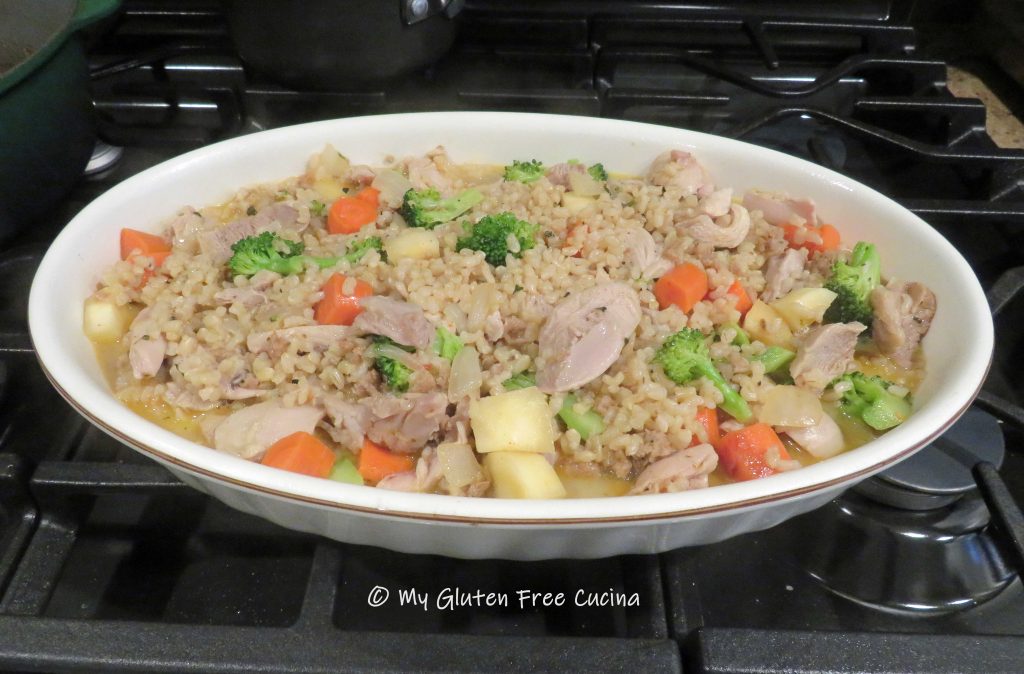
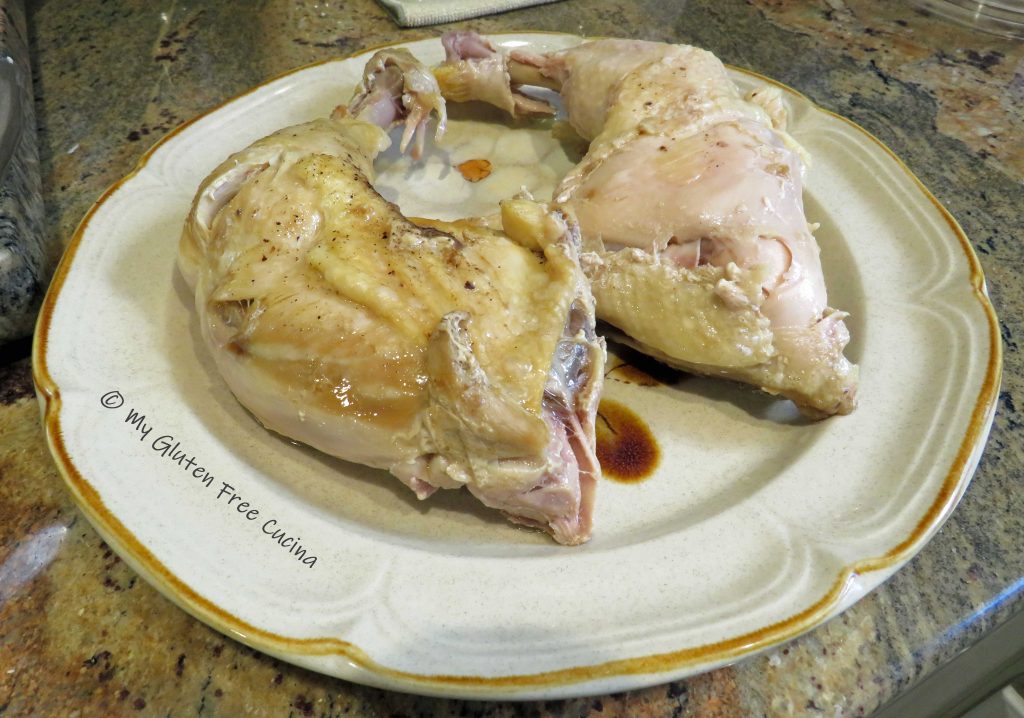
 Place browned chicken in a
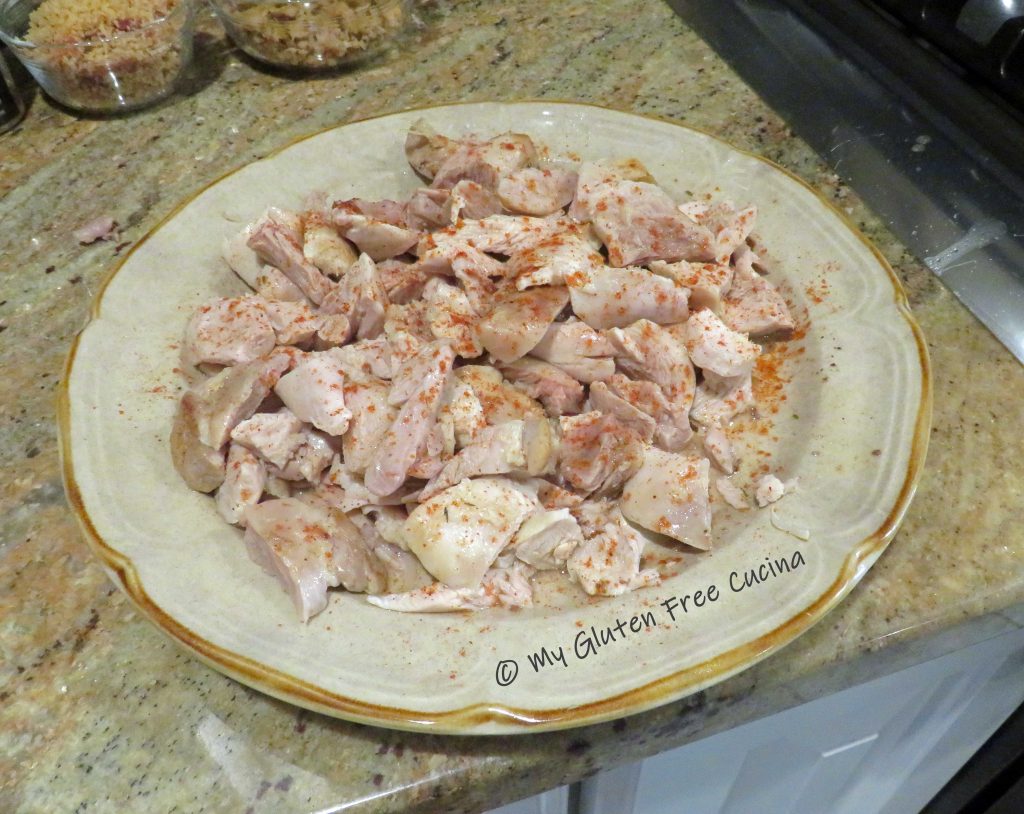


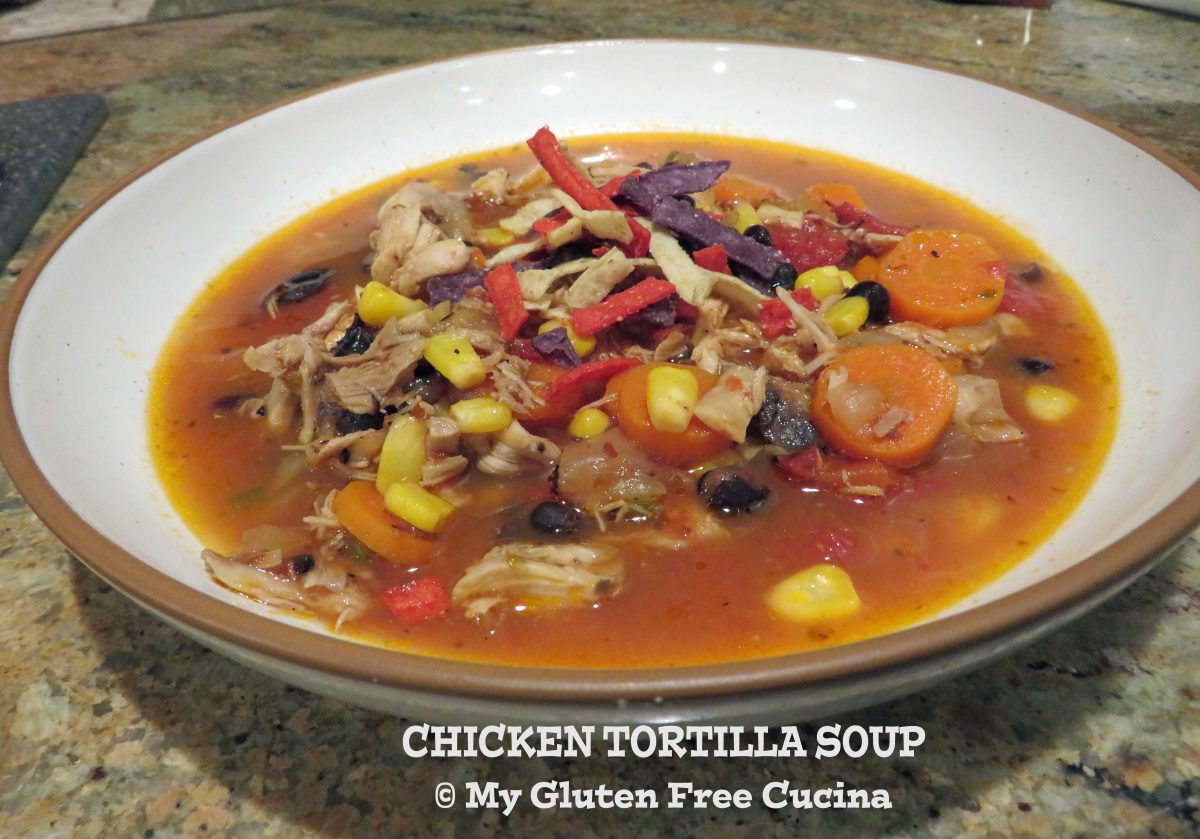


 Garnish each bowl with tortilla strips.
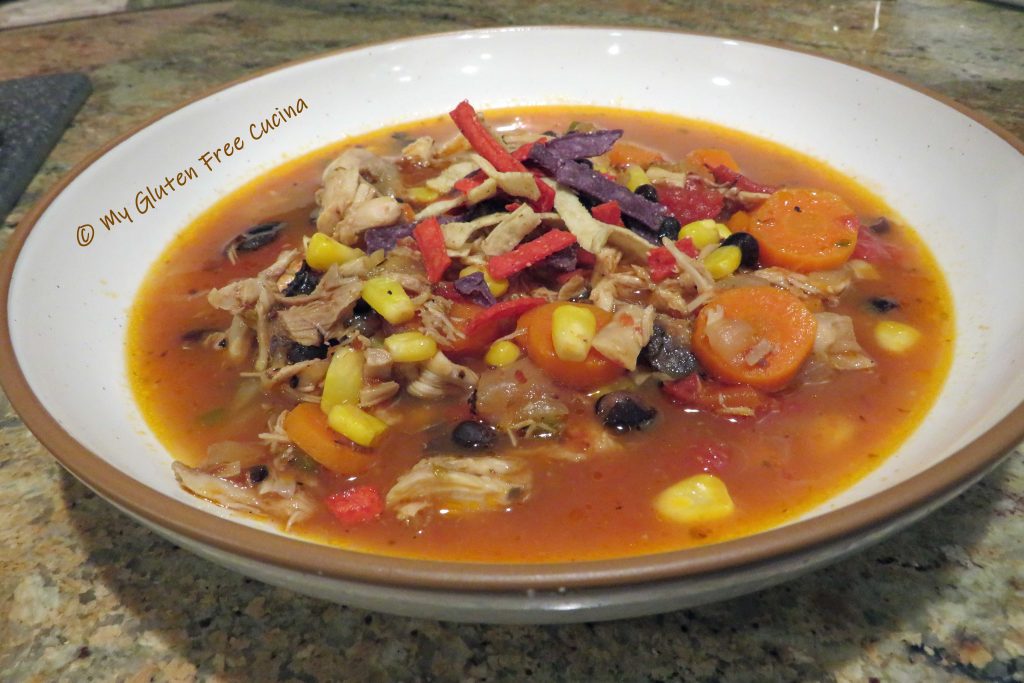
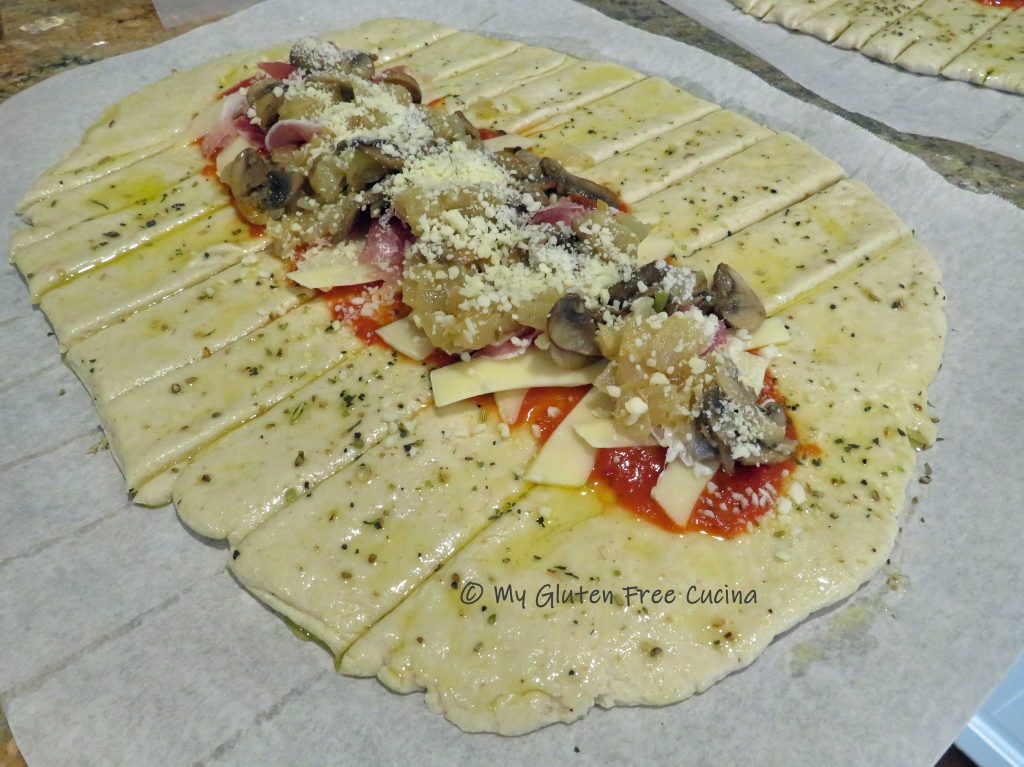
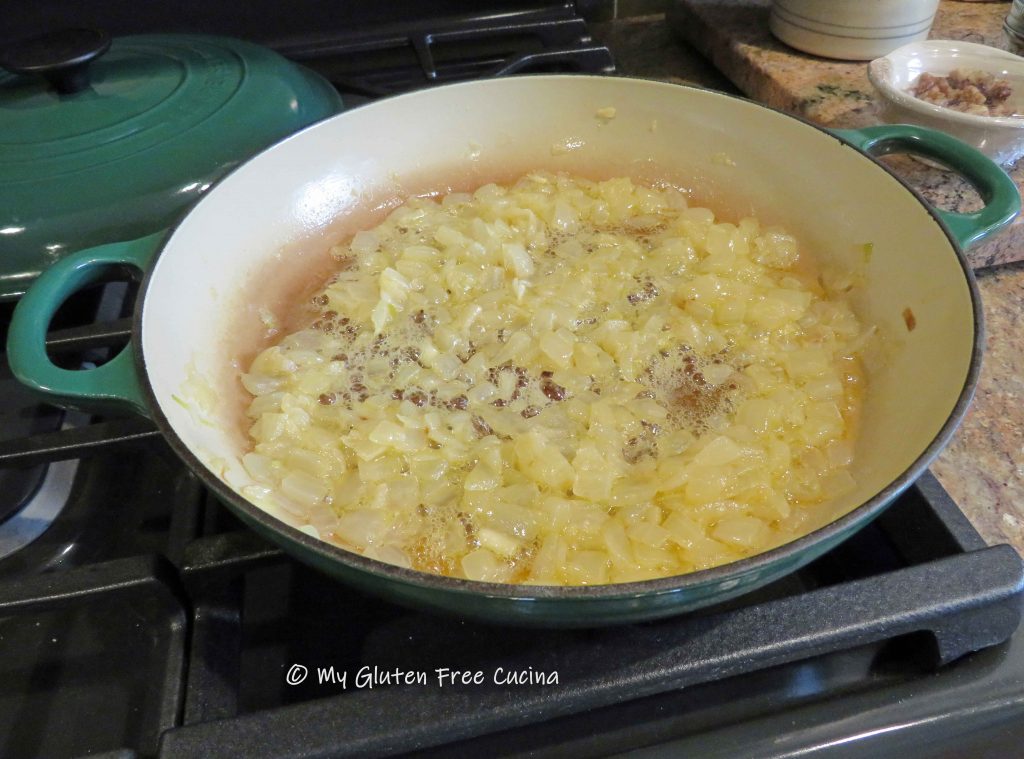 Cook the mushroom slices in 1 tbsp. butter and 1 tbsp. olive oil.
 Drain the mushrooms and onions to remove as much liquid as possible.
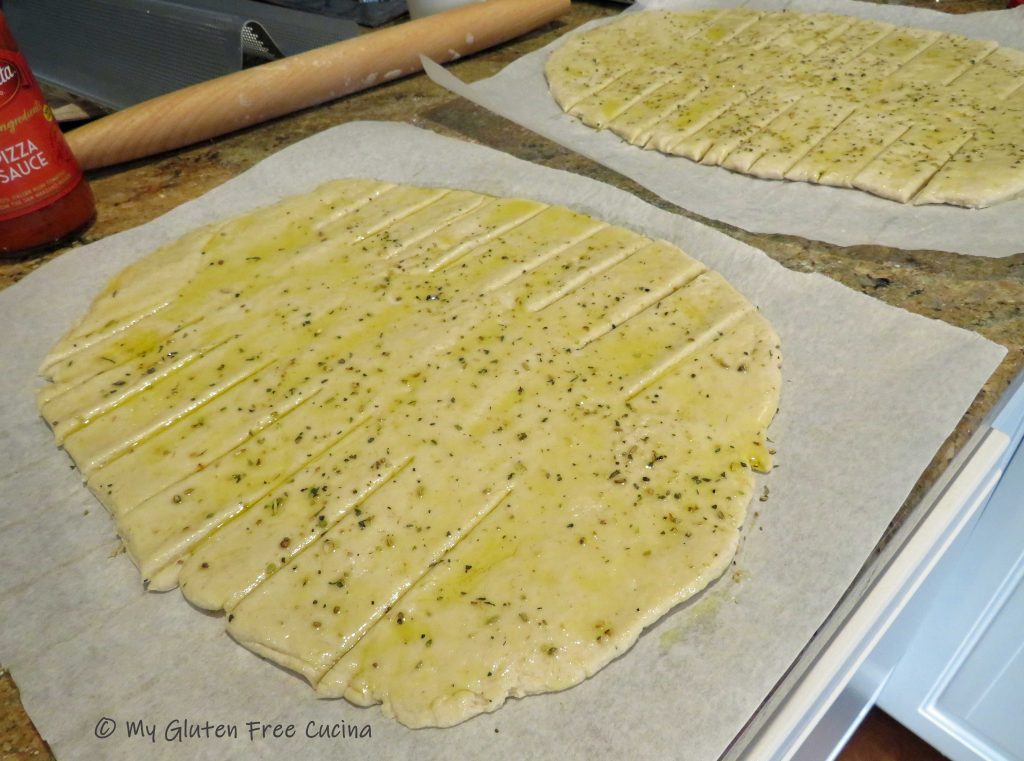
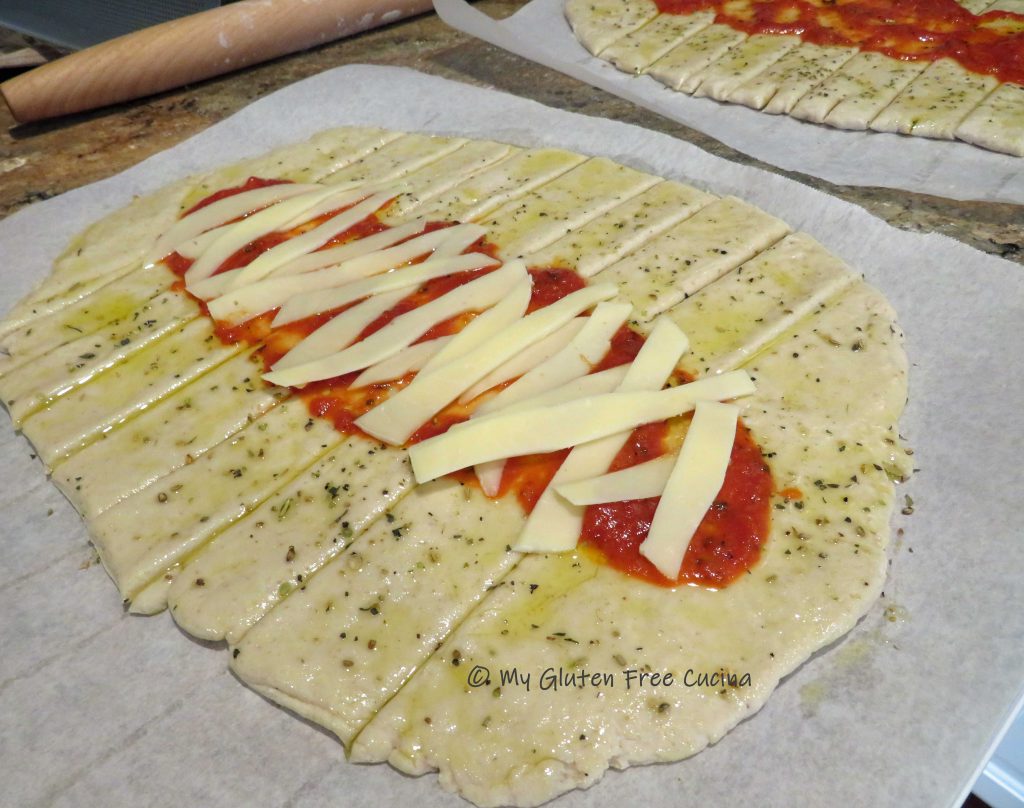
 After 1 hour in the fridge, turn the dough out onto floured parchment and use a


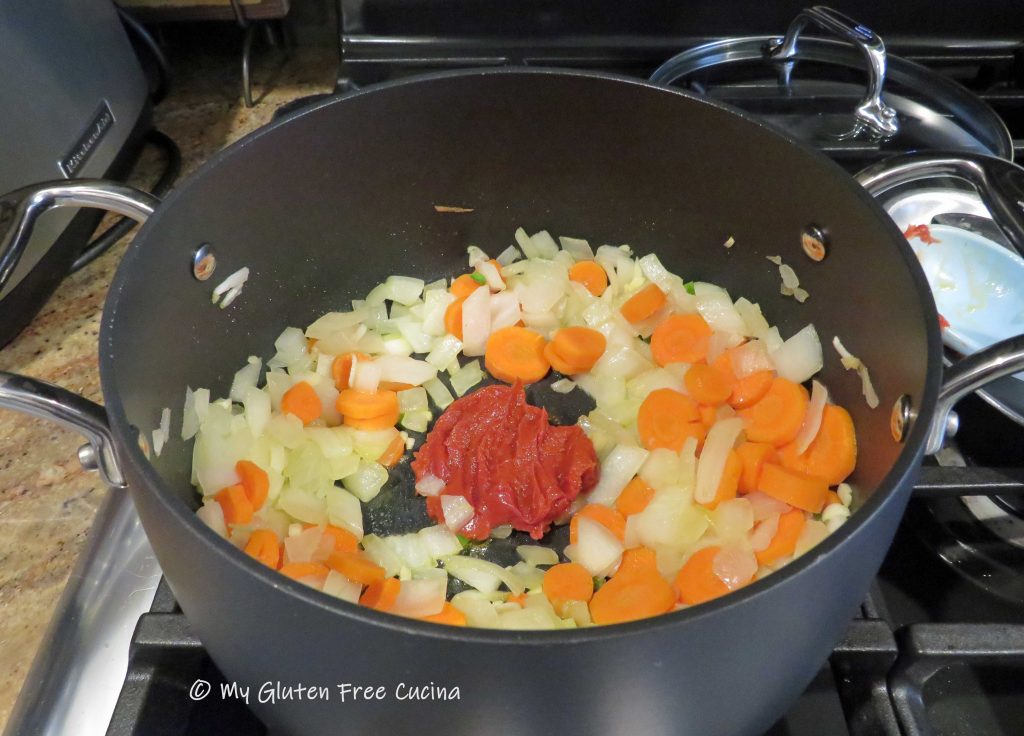
 Peel and dice the apples. In a
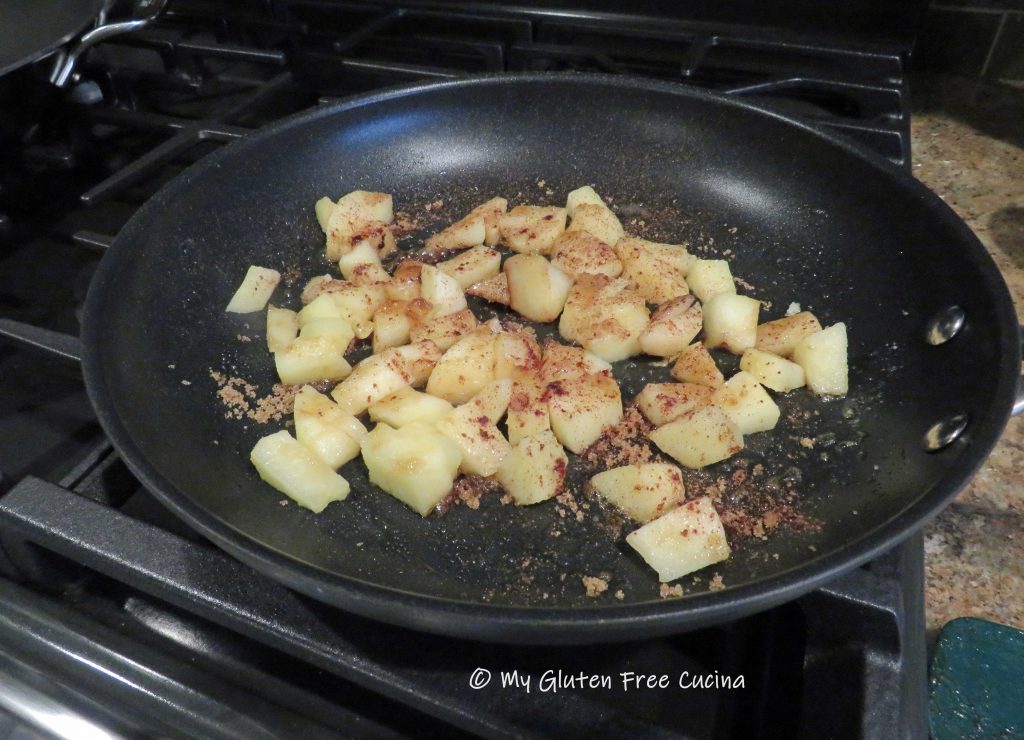

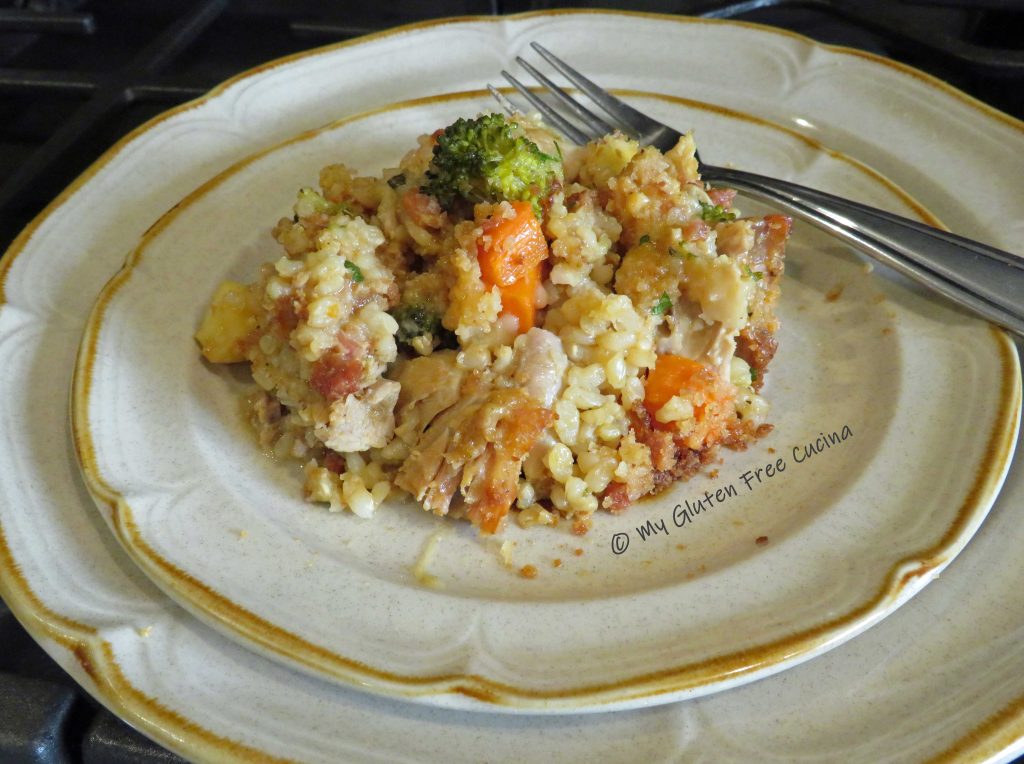
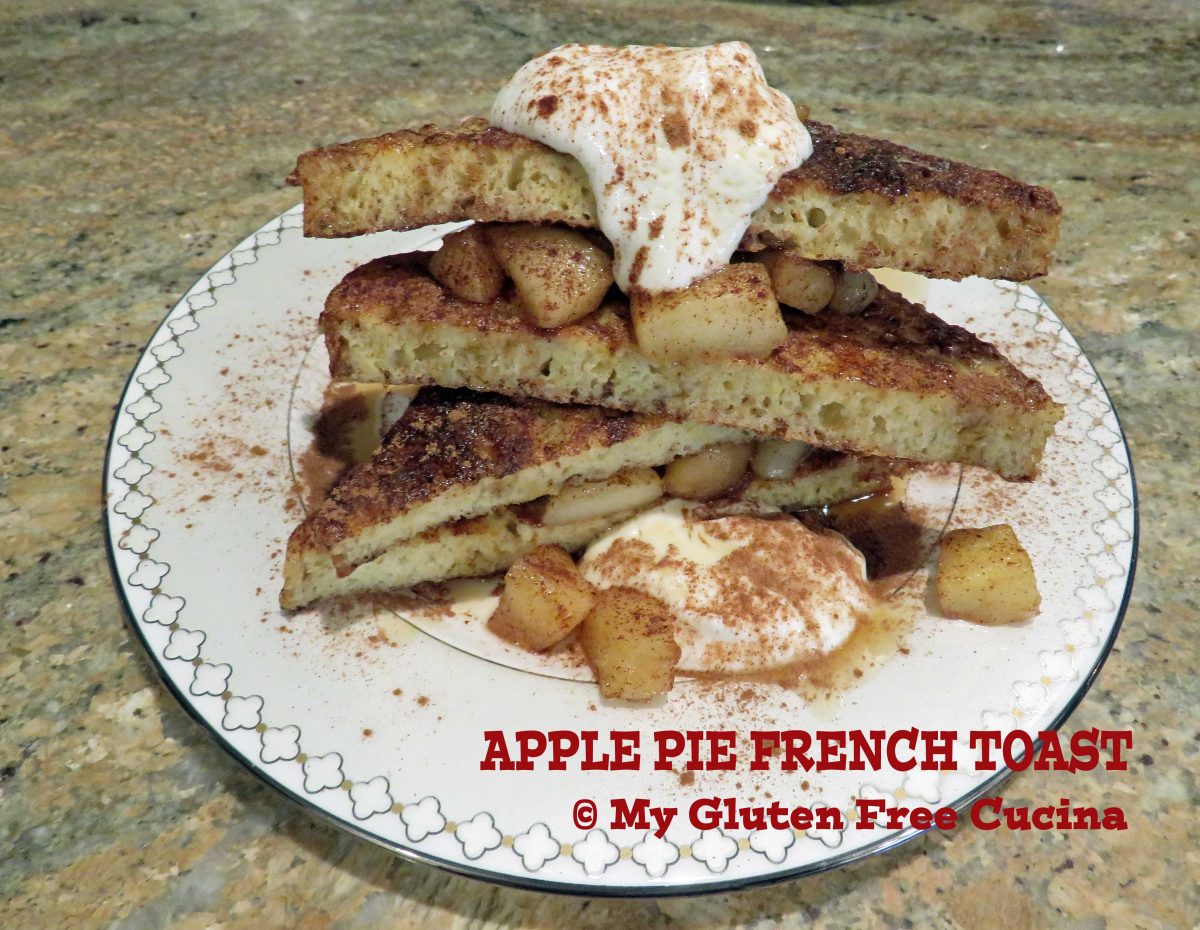
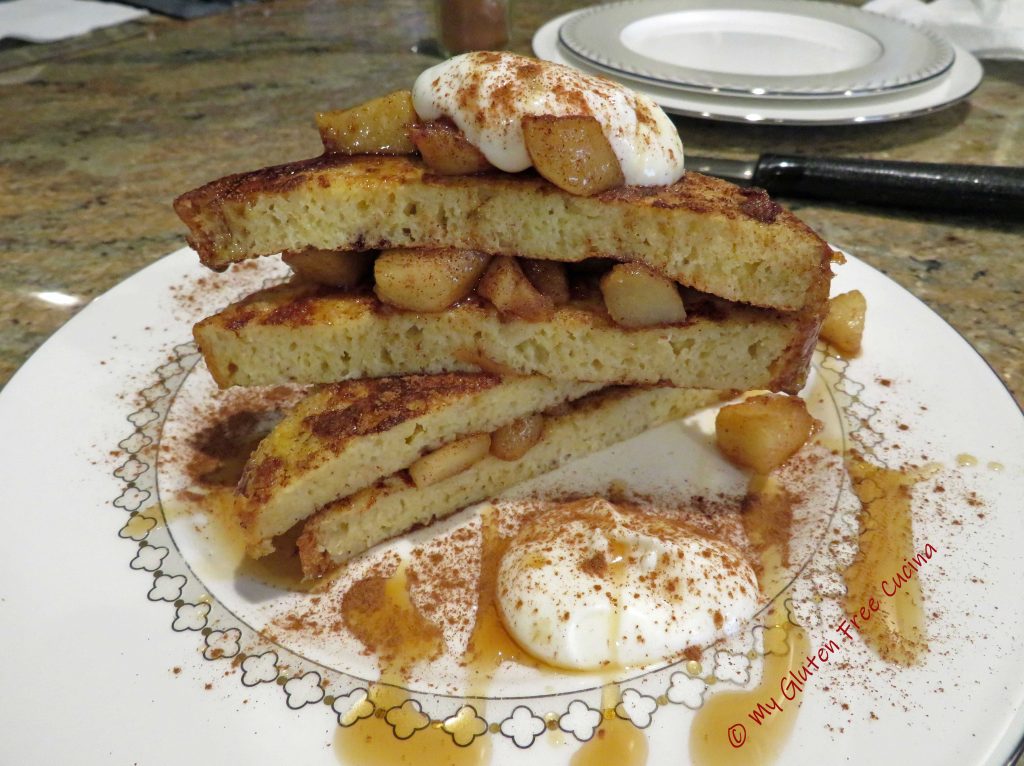
 Look at that plate, breakfast fit for a king and queen! Definitely a wonderful way to start your day!