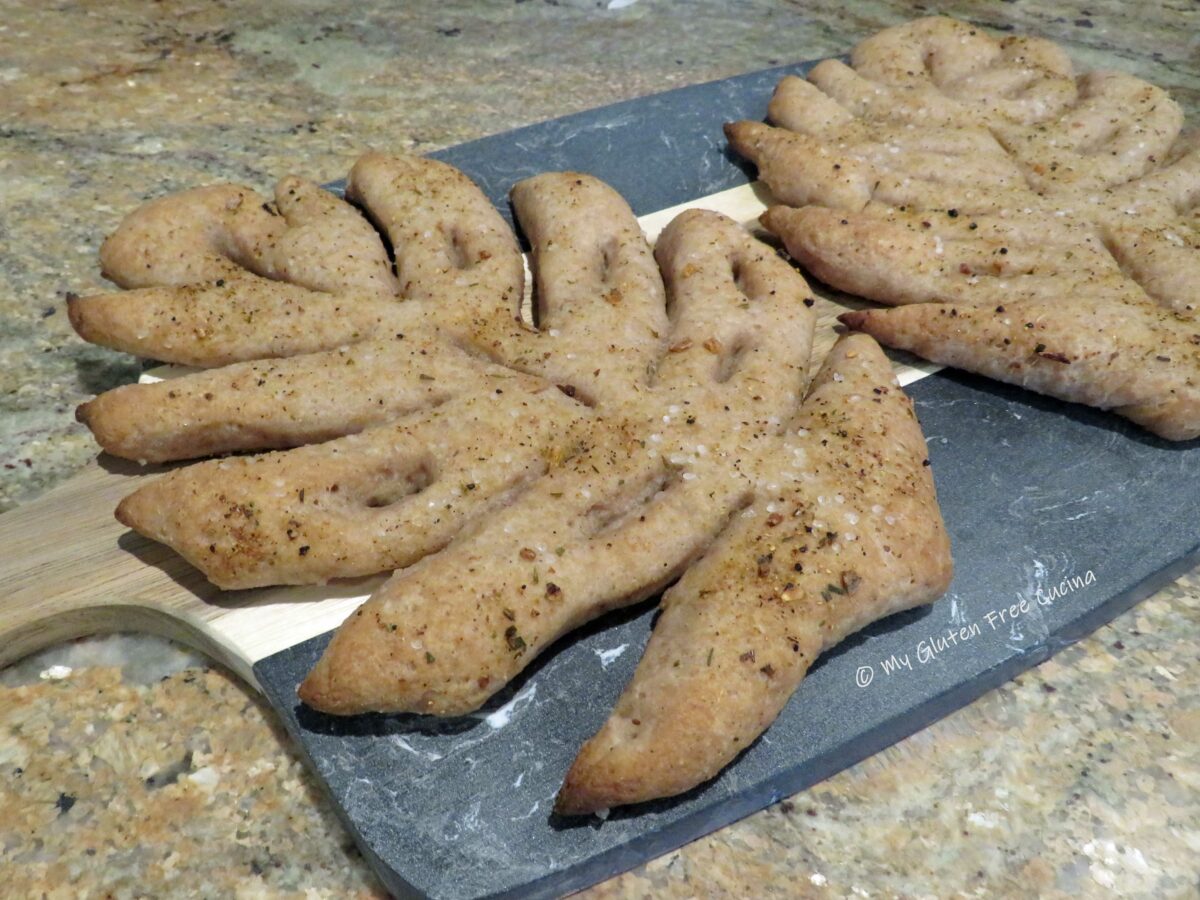
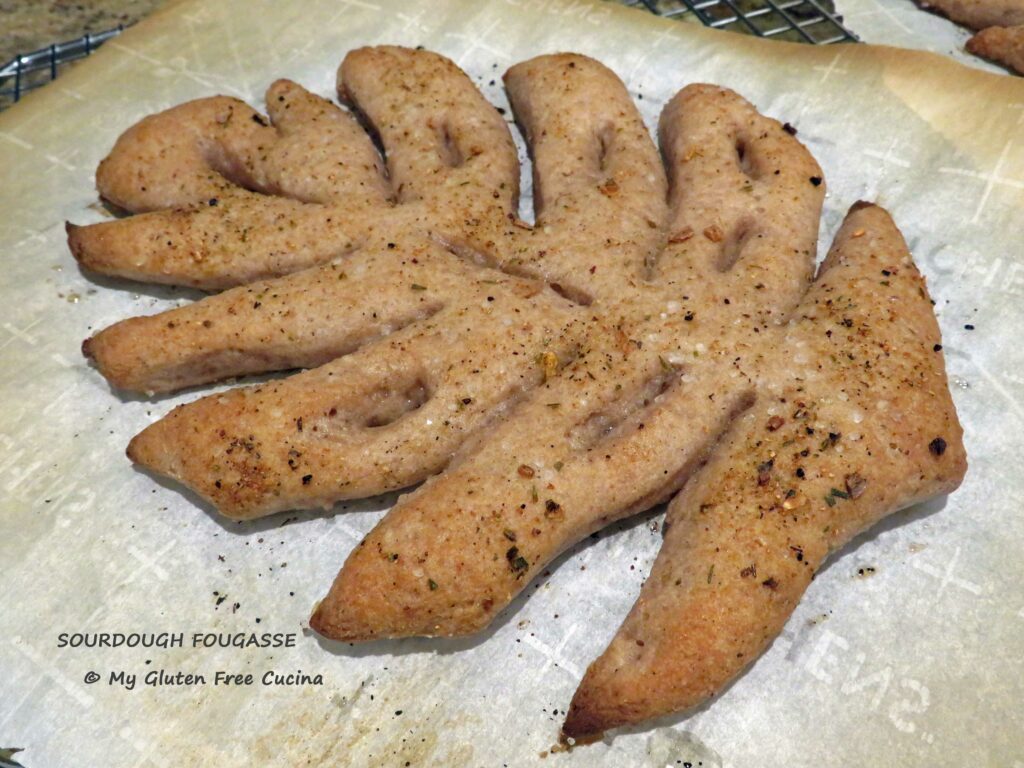
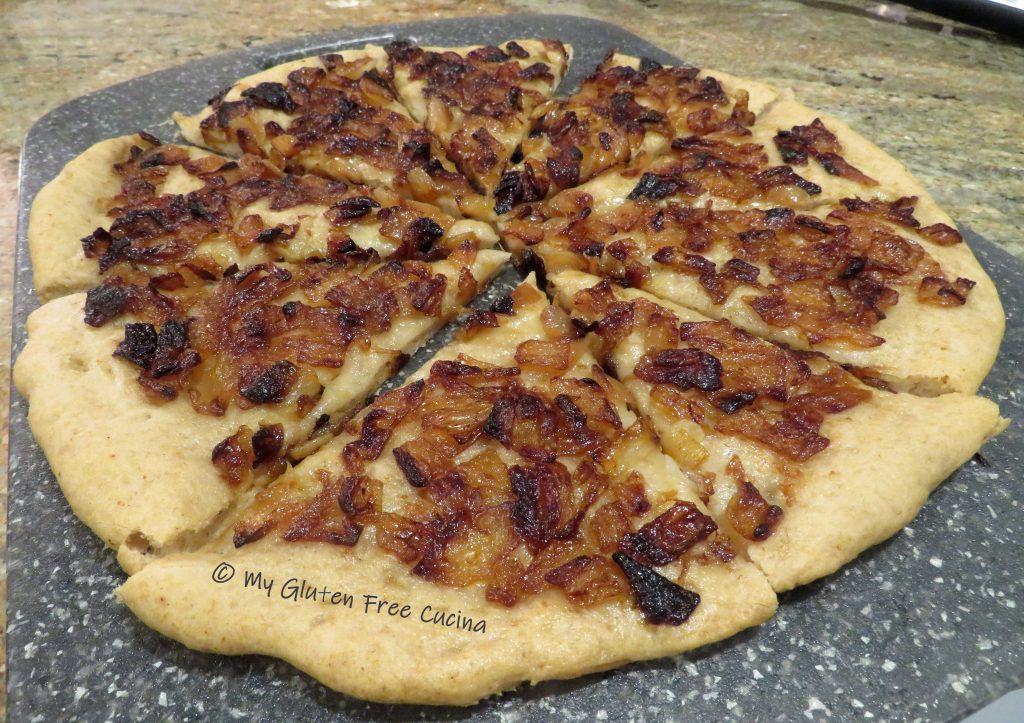
Another bucket list recipe on the books, look at this beauty! It’s called Fougasse (pronounced foo-gaas), a French inspired flatbread that is similar to focaccia. The characteristic slashes in the bread create a crisp exterior with a soft chewy center, like a pretzel. Unlike most gluten free breads, this one can be eaten warm or even hot out of the oven!
I used Better Batter Artisan Flour Blend to make the dough, along with my sourdough starter. For this recipe, the dough requires just the right amount of hydration to hold the shape of the bread without closing up. A tall order for gluten free!
Use my Promo Code MGFC30 for 30% off at Better Batter!
I have been practicing the leaf shape, and although you do not have to get this fancy, I think the presentation is gorgeous. It reminds me of a monstera plant- gardening peeps, what do you think? 😄🪴
 This post contains affiliate links.
Before we begin, let’s talk about measuring. I strongly recommend that you weigh all the ingredients (yes, even the water). A digital kitchen scale can be a most helpful tool for baking, and especially in gluten free baking where precision really matters.

INGREDIENTS:
- 200g Better Batter Artisan Flour Blend, about 1-1/2 cups
- 4g salt, about 3/4 tsp.
- 200g warm water, about 1 cup
- 70g fully active GF sourdough starter, about 1/4 cup* see notes
- 8g olive oil, about 1 tbsp.
- 10g honey, about 1 tbsp.
- 1/8 tsp. instant yeast (optional, if your starter needs a little help)
- more olive oil for brushing
- seasoning, for topping (use your favorite blend)
- coarse salt, for topping
Preparation:
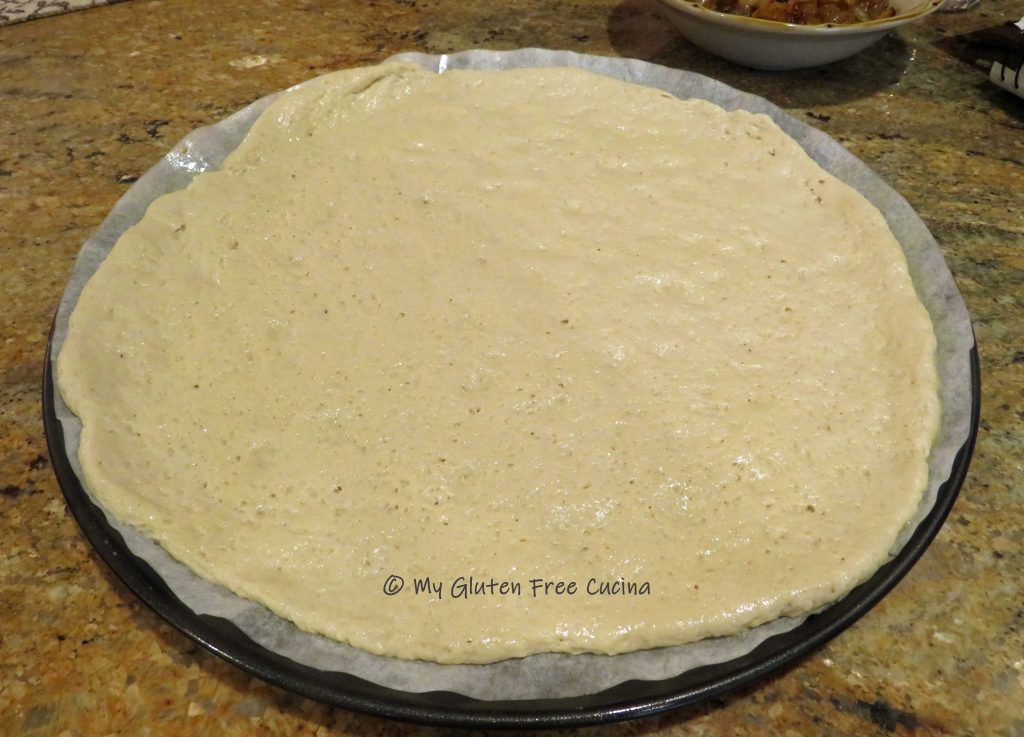
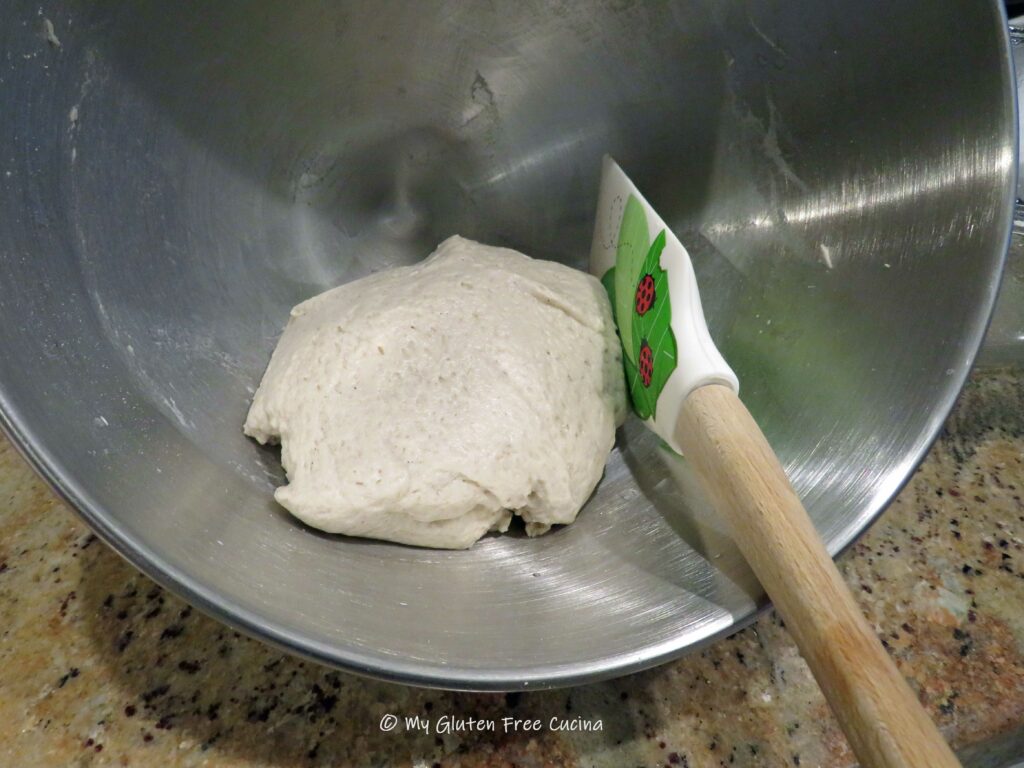
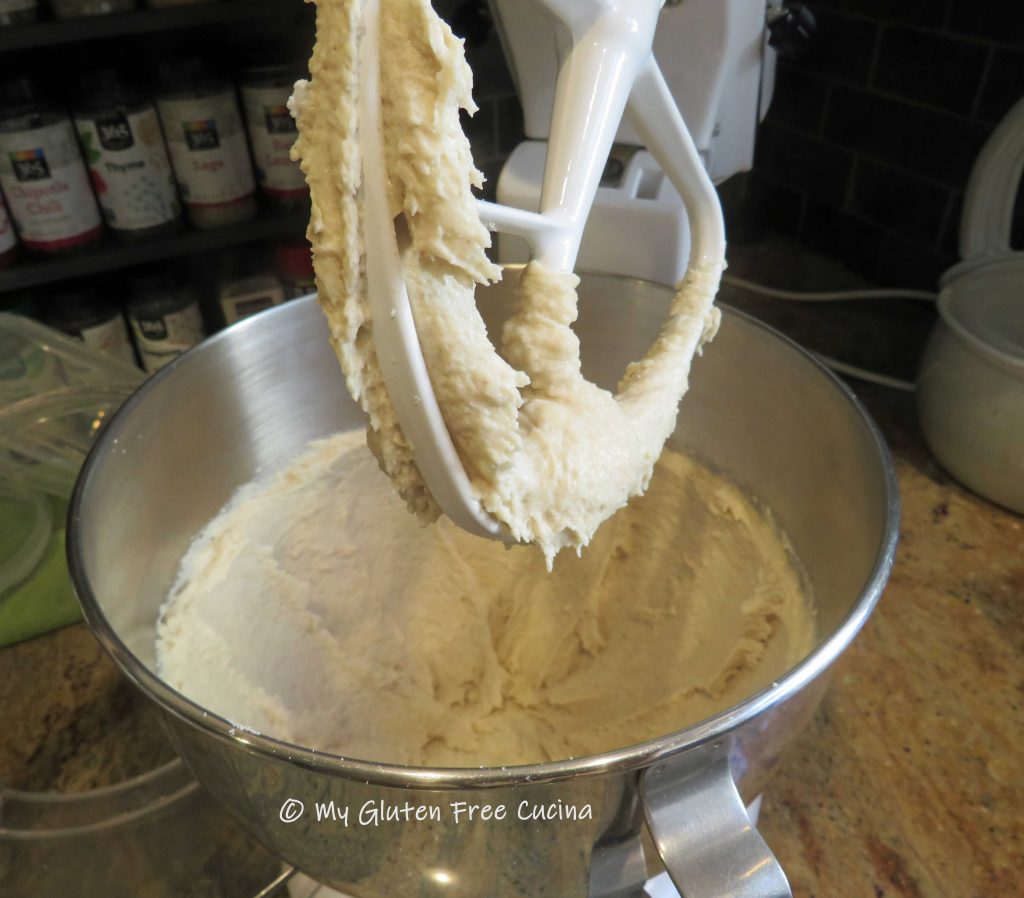
Combine the first seven ingredients together in the bowl of a stand mixer with the paddle attachment. Gradually increase speed and beat for 5 minutes to form a smooth dough. The dough should easily come away from the sides of the bowl, like this.

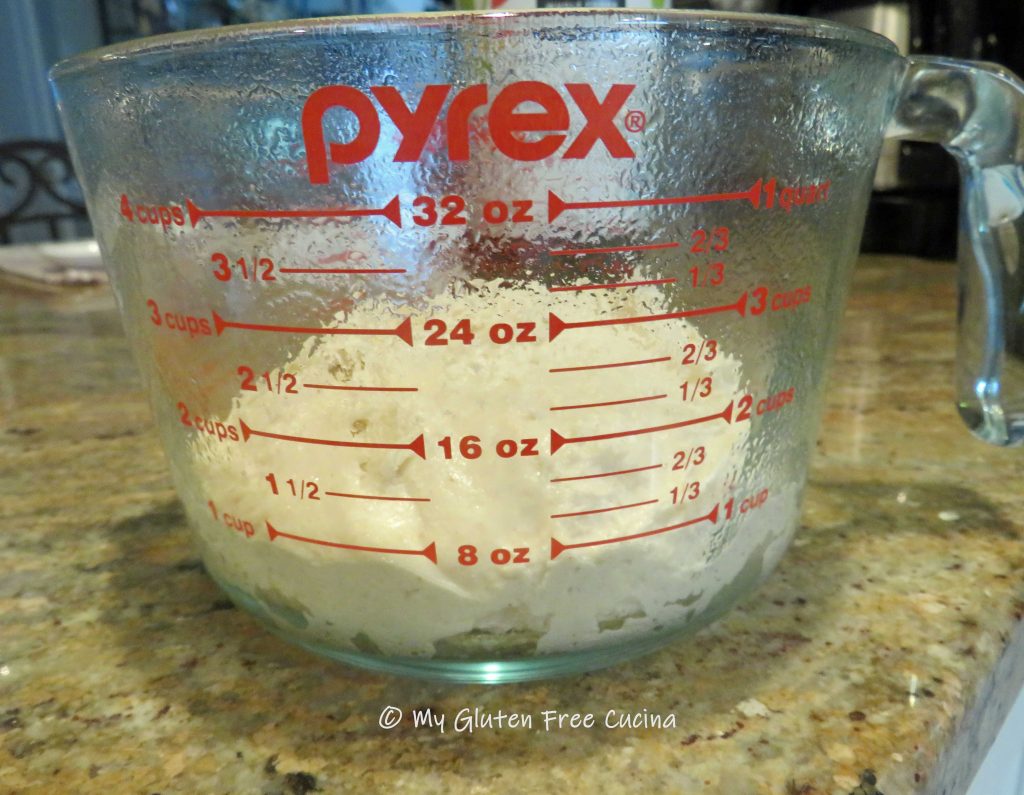
Transfer the dough to an oiled bowl and smooth it with a spatula. Cover and let it sit at room temperature (or proofing box) for 4 hours. I usually time this for late afternoon, so it’s ready to go into the refrigerator overnight (12-18 hours). The overnight proof really develops the sourdough flavor.
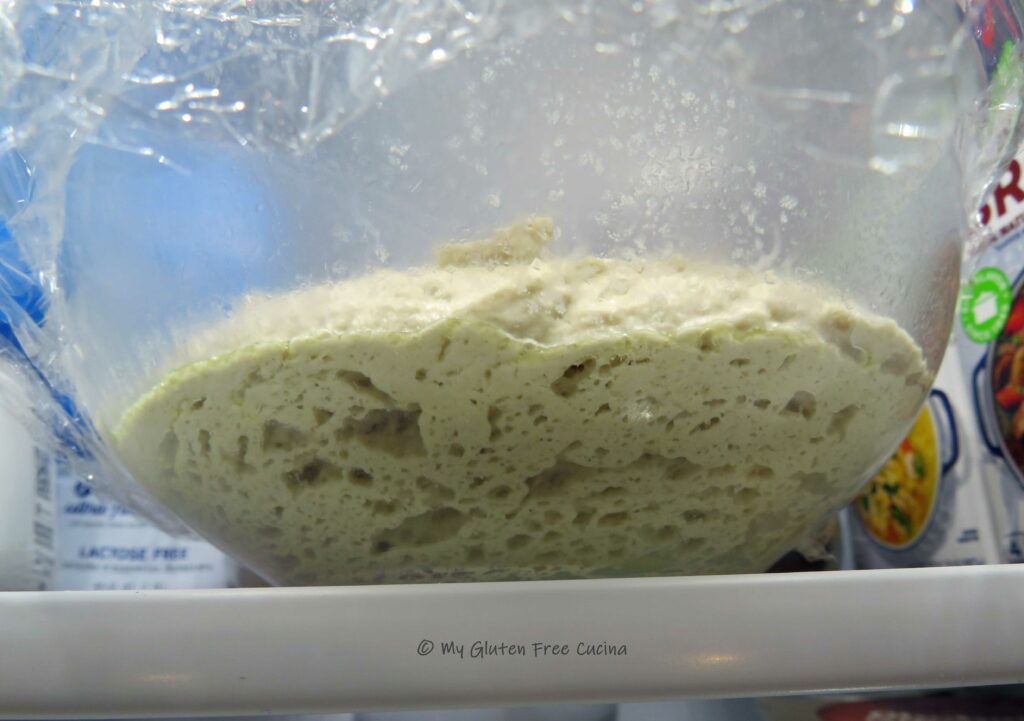
In the morning, the dough should be full of air bubbles (I like using glass bowls, so you can really see what’s going on). Try not to deflate them as you transfer the dough to a floured sheet of parchment.
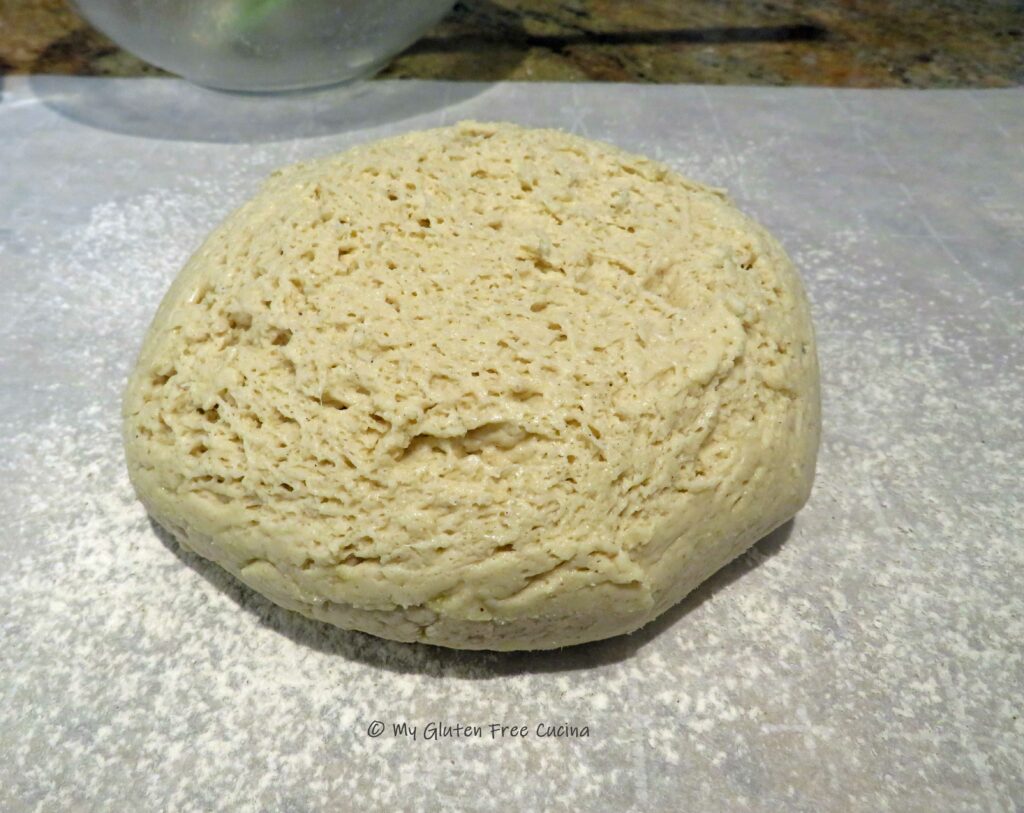
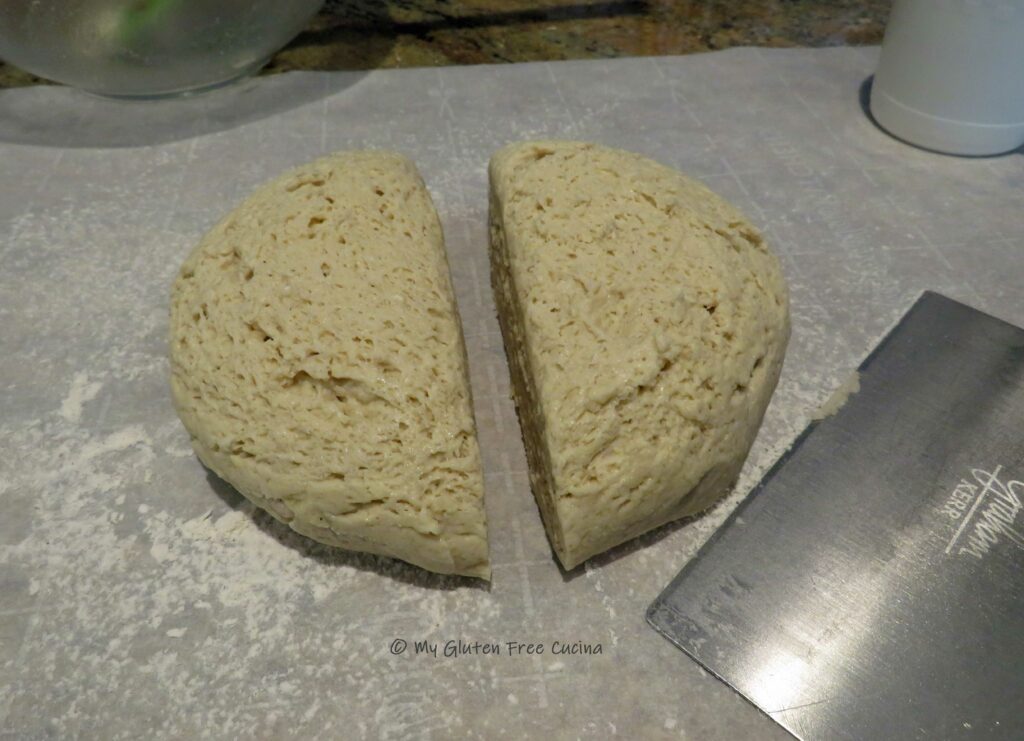
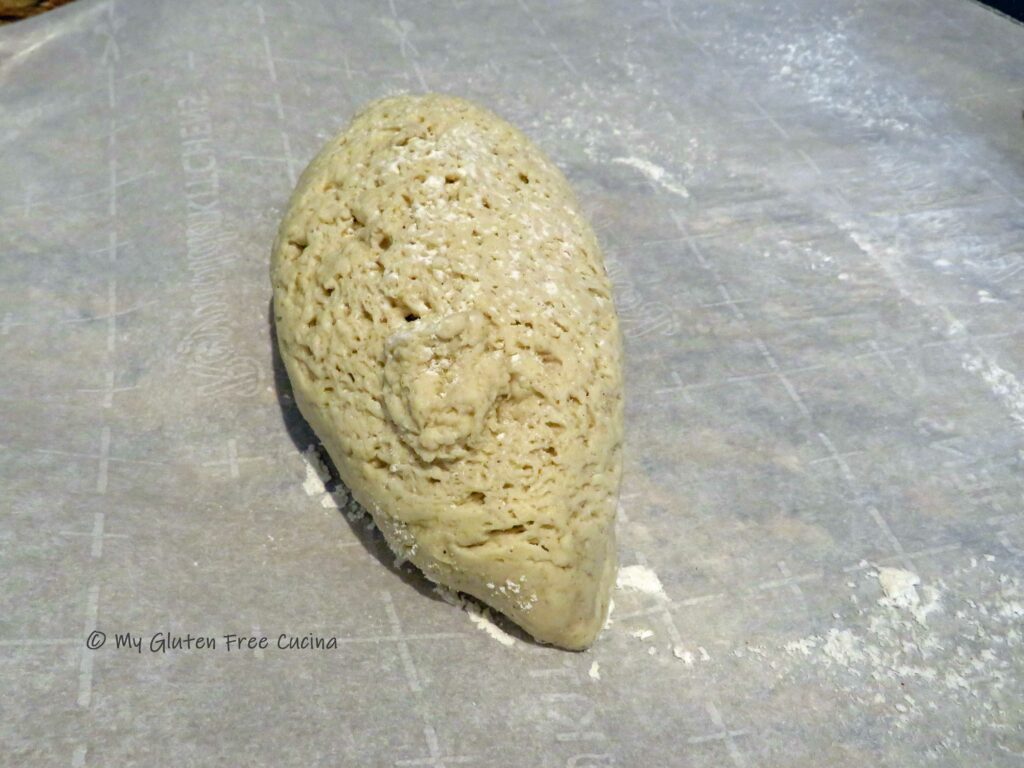
Use a bench knife to divide the dough in half. Gently shape each half into an oval, try to maintain the shape of the pointed ends.
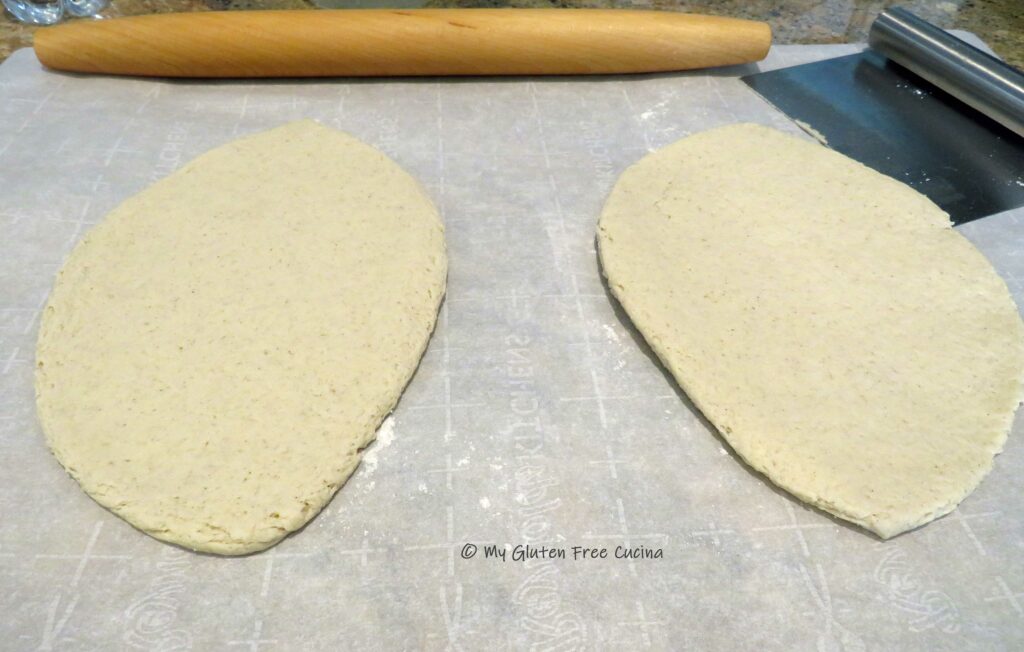
Next, gently roll each section into an oblong shape, about 3/4″ thick.
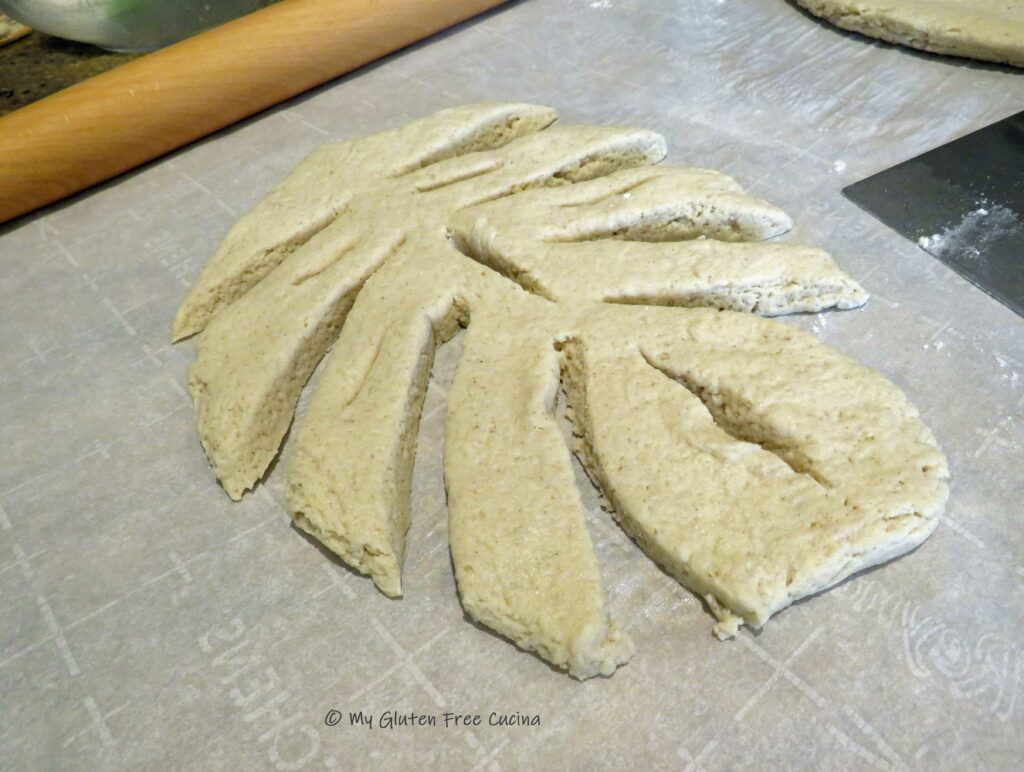
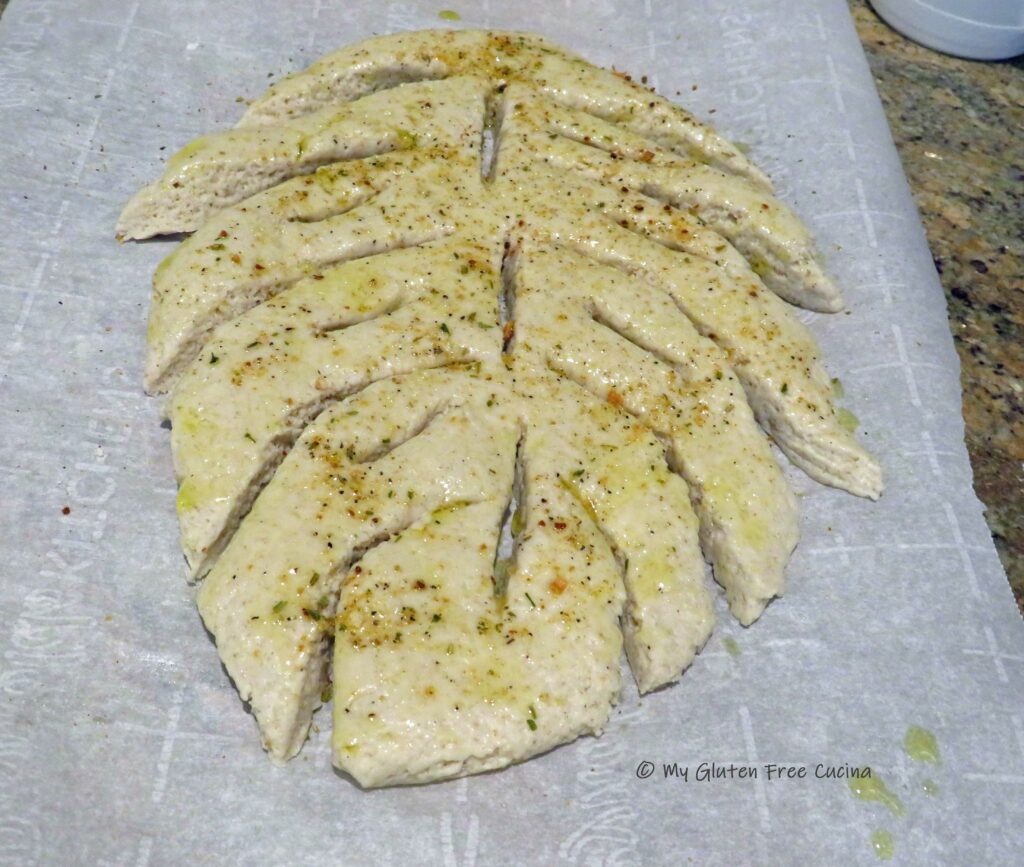
To score, make curved slits along each side, and several interior slits. After practicing this a few times, I found that my bench knife was the best tool for scoring. As I made each cut, I used the edge of the bench knife to spread the dough apart, so it doesn’t seal back up.
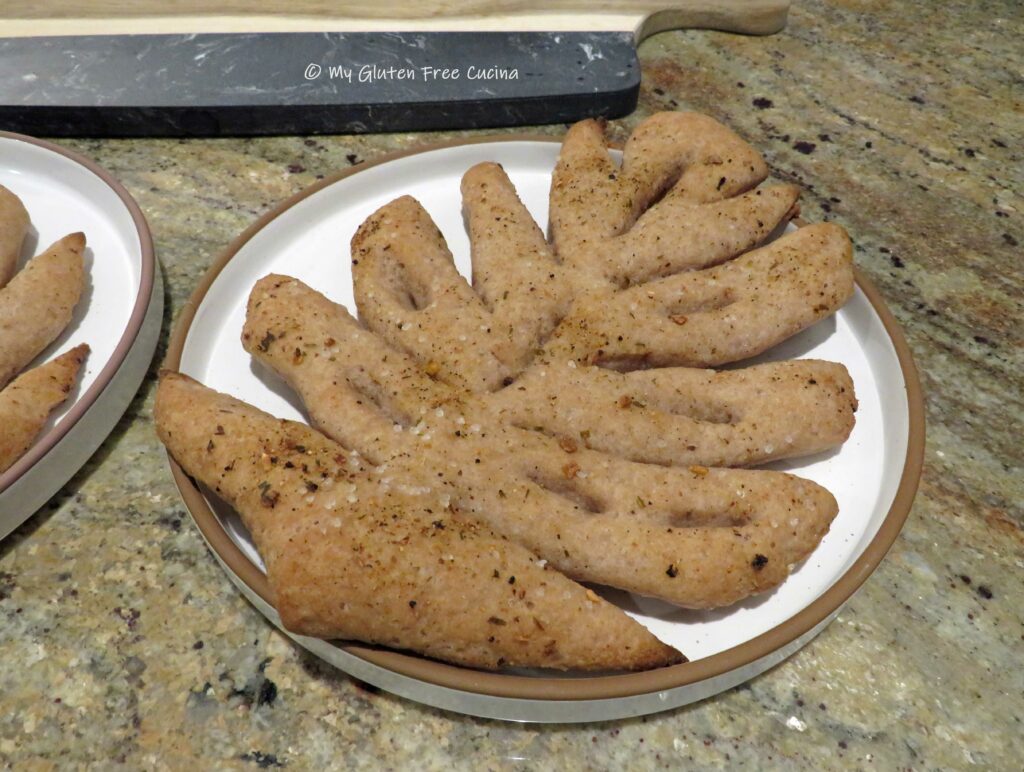
Brush the shaped dough with olive oil and sprinkle with seasoning and coarse sea salt. Herbes De Provence would be most traditional, but you can use any seasoning you prefer. I used a Tuscan blend.
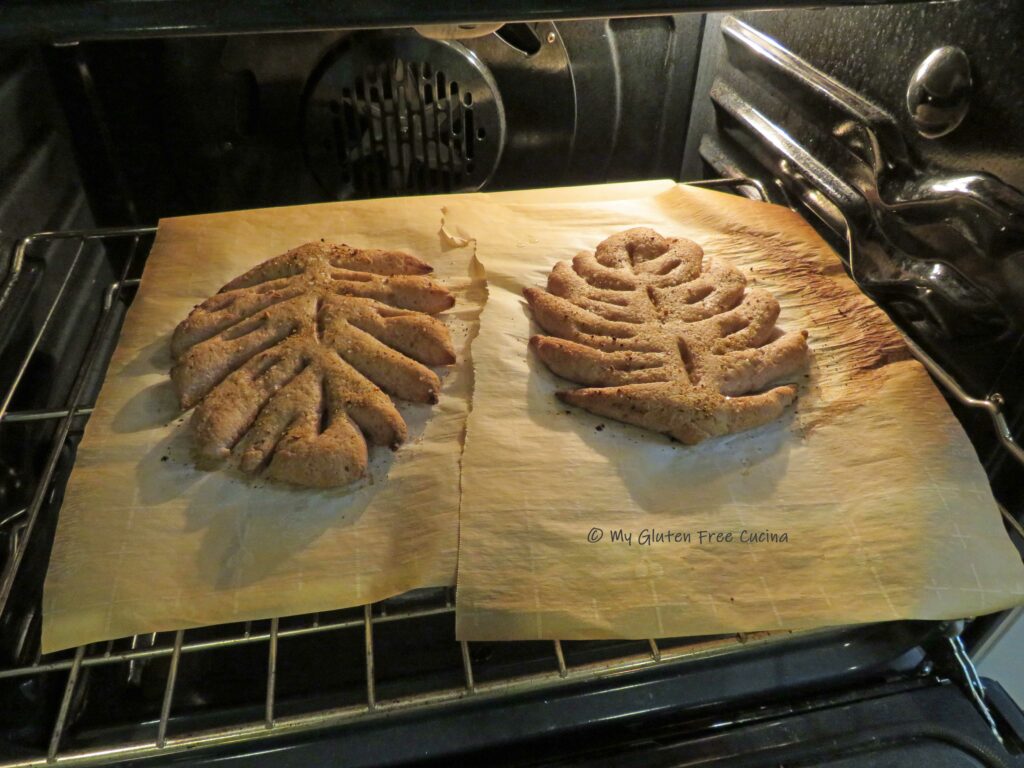
Let the dough rest for 20-30 minutes while you preheat the oven to 450º. If you have a pizza stone, place it in the oven (if you do not have a pizza stone use a light-colored sheet pan).
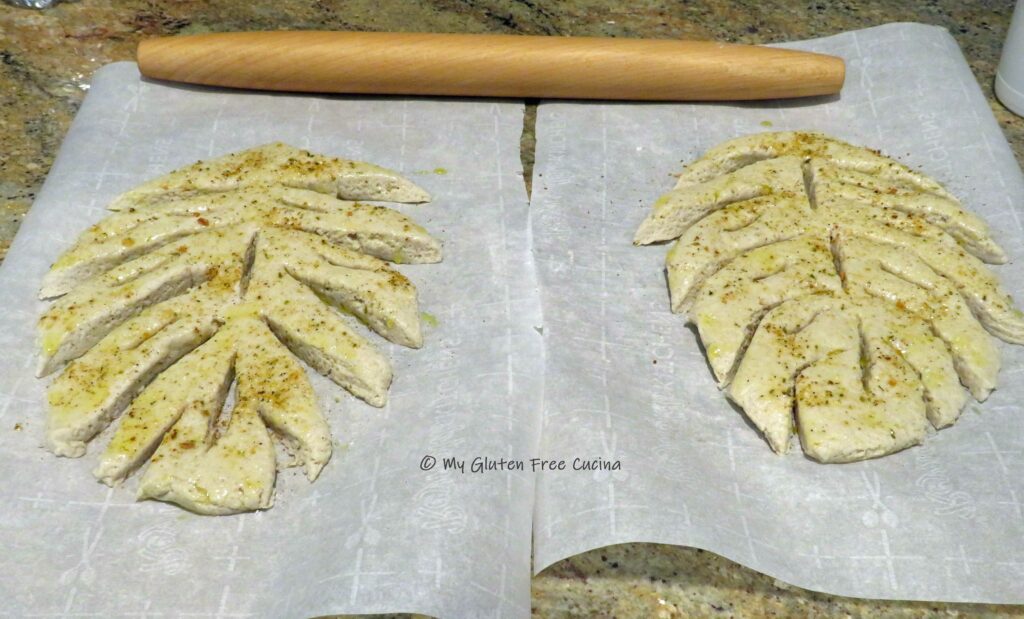
Cut the parchment down the middle so each section is on a separate sheet. I used a pizza peel to transfer the shaped bread with parchment to my pizza stone. Bake for 20 minutes, watching that the edges don’t burn.
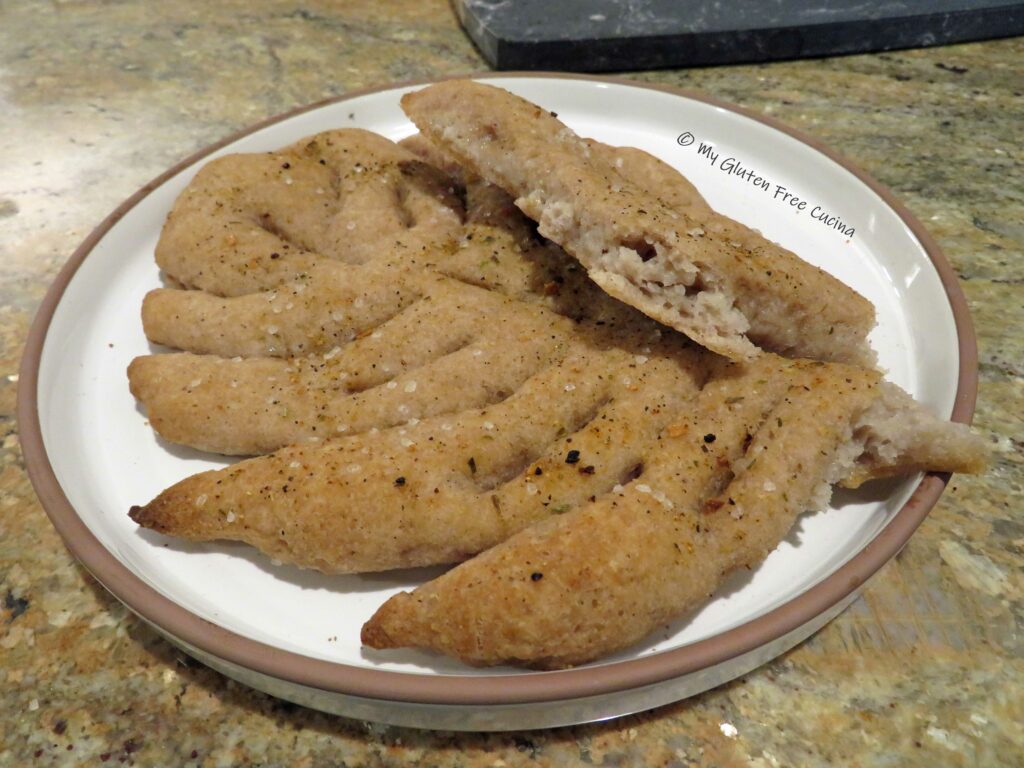
Wow! Too pretty to eat? Not a chance, this bread is going to disappear!
Fougasse is best eaten right away. The combination crunchy crust and chewy crumb is amazing. Tear it apart with your hands and serve as is or with olive oil for dipping. Leftovers can be stored at room temperature for one day, then refrigerate or freeze. To reheat, use a toaster or air fryer. You can microwave it but be sure to cover or wrap in a napkin, microwaving will soften the texture in the crust.
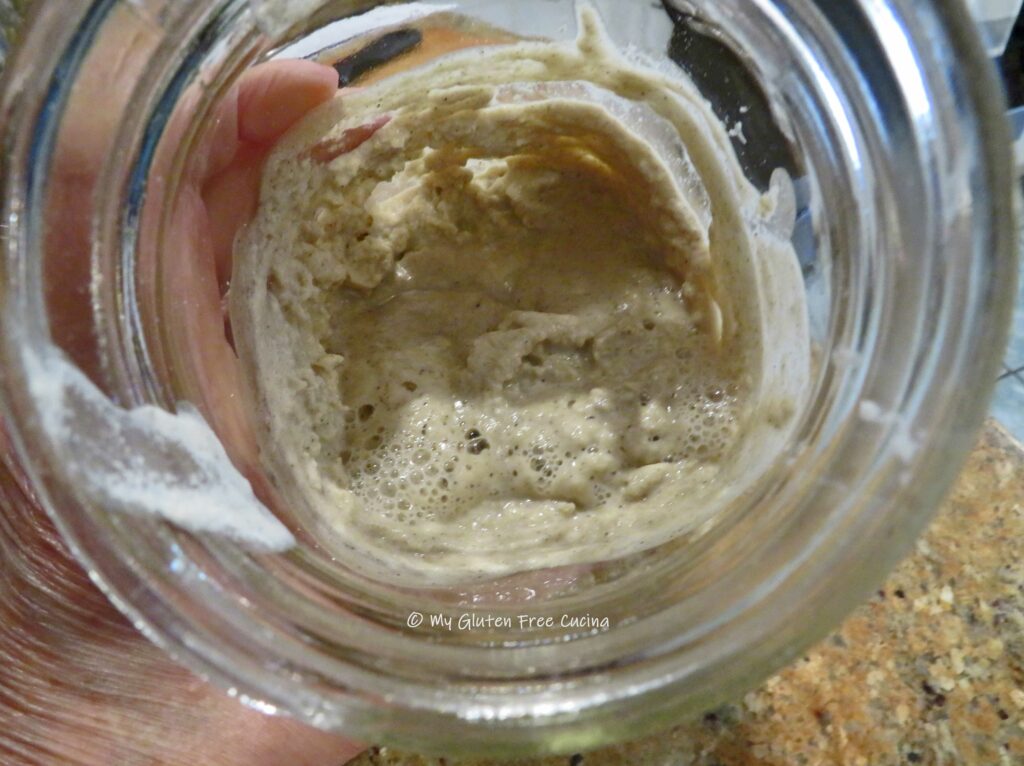
Notes ♪♫ How robust is your sourdough starter? My starter, Sophie is about 6 months old at this writing and will need about 12 hours to be fully active. For this recipe, I took her out of the fridge for a feeding early in the morning and placed her in my proofing box for most of the day. Your starter may need more time to fully activate, so it is important to plan ahead when you want to bake. Read more about Sophie the Sourdough in this post.


 Mist the parchment with cooking spray and roll the dough into a round. Slide it onto the pizza pan, cover with oiled plastic wrap and let it rest at room temperature for 30 minutes.