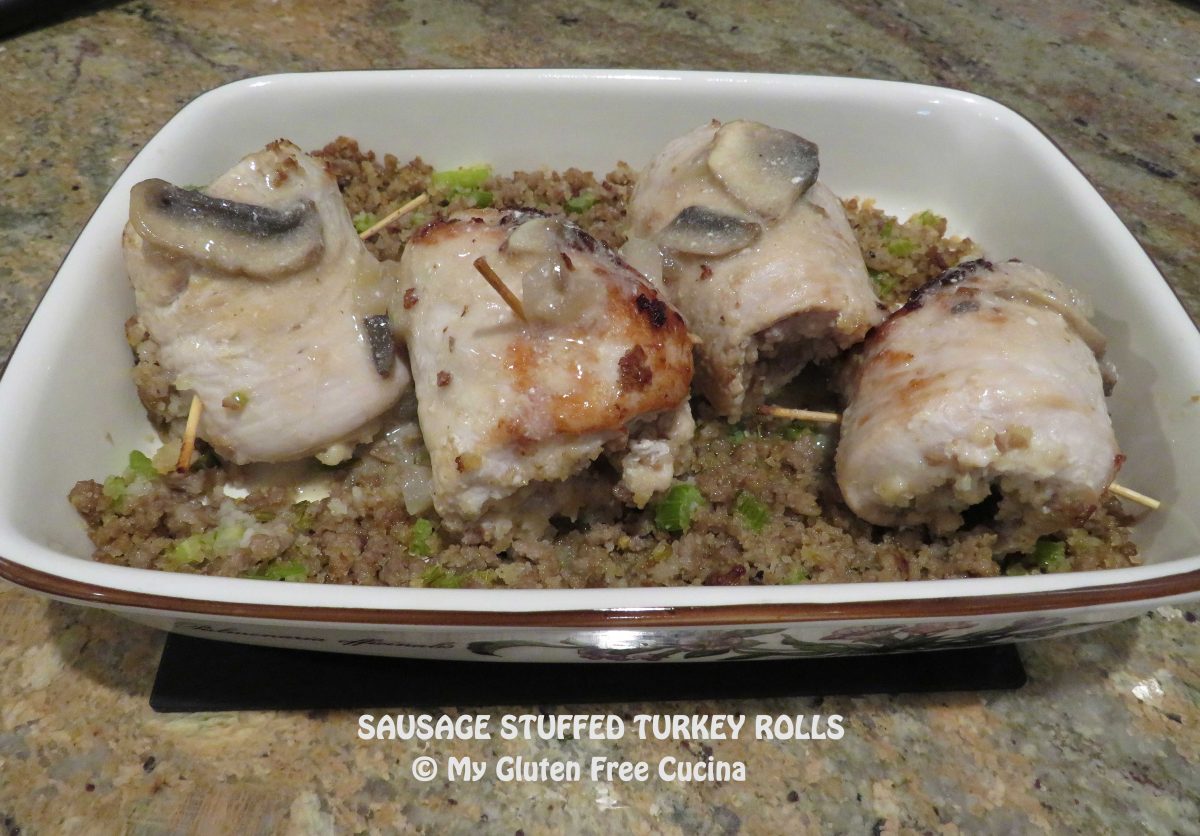
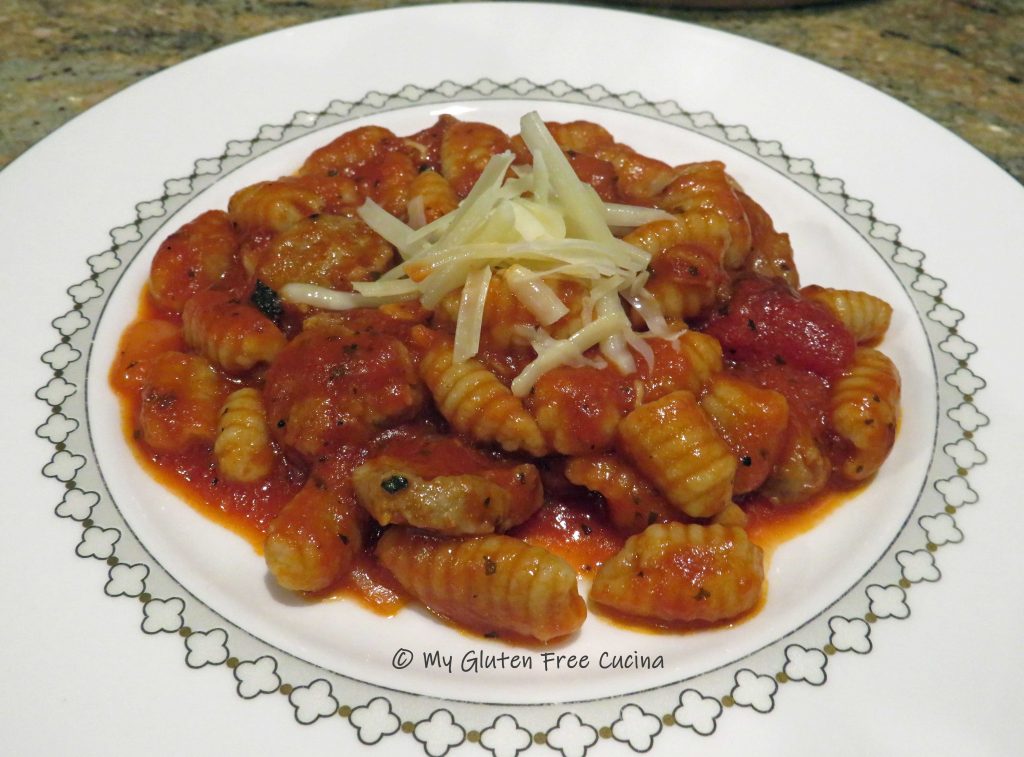
Italian sausage, crumbled with celery and panko, all rolled up in thin sliced turkey cutlets. This was one of my favorite meals of late. A bit reminiscent of Thanksgiving dinner, minus the 20 side dishes but still nice enough to serve to guests!
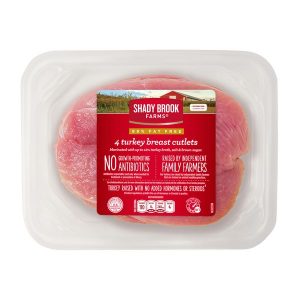
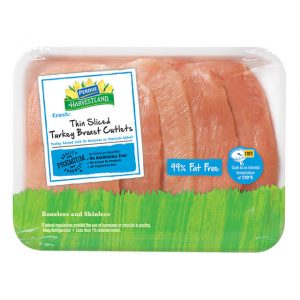
For this recipe, you only need a handful of ingredients, and buying thin sliced turkey cutlets makes the prep easy. I like the 4-pack from Shady Brook Farms, available at local grocers like Stop & Shop, and Perdue also has a similar product available at Walmart.
This post contains affiliate links.
Ingredients
- 1 lb. thin sliced turkey breast cutlets (4 cutlets)
- 6 oz. Italian Sausage (2 links)
- 1 small celery stalk, minced
- 1/4 cup gluten free panko breadcrumbs
- 1 tbsp. olive oil
- salt and pepper, to taste
Preparation:
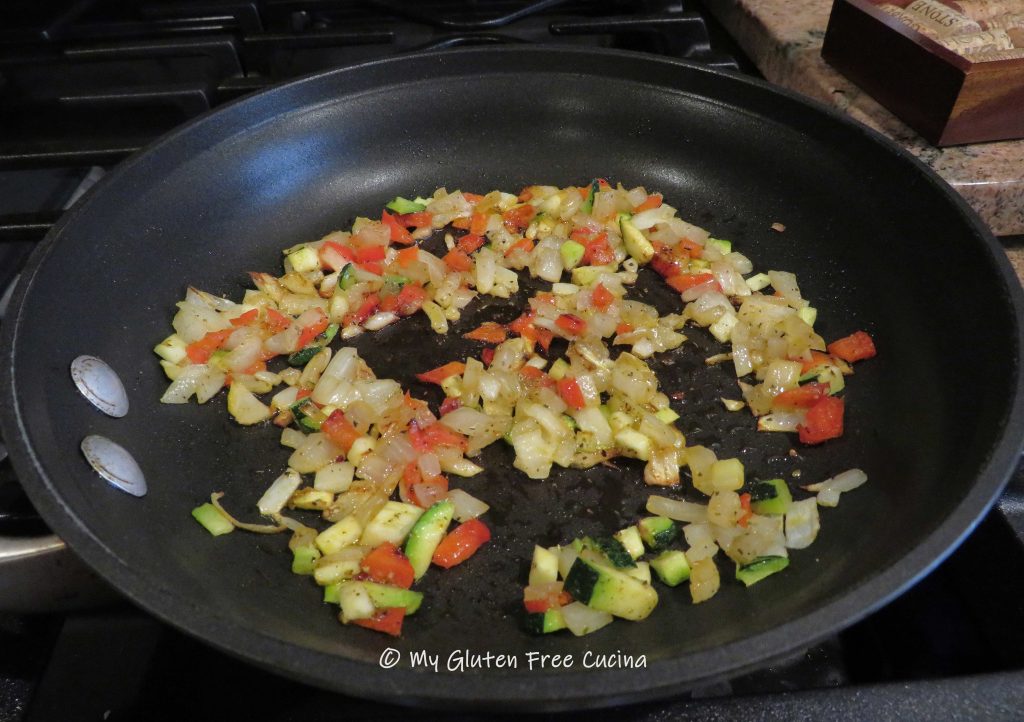
Heat olive in a stainless-steel skillet and begin cooking the sausage and celery, breaking up the meat with a spatula.
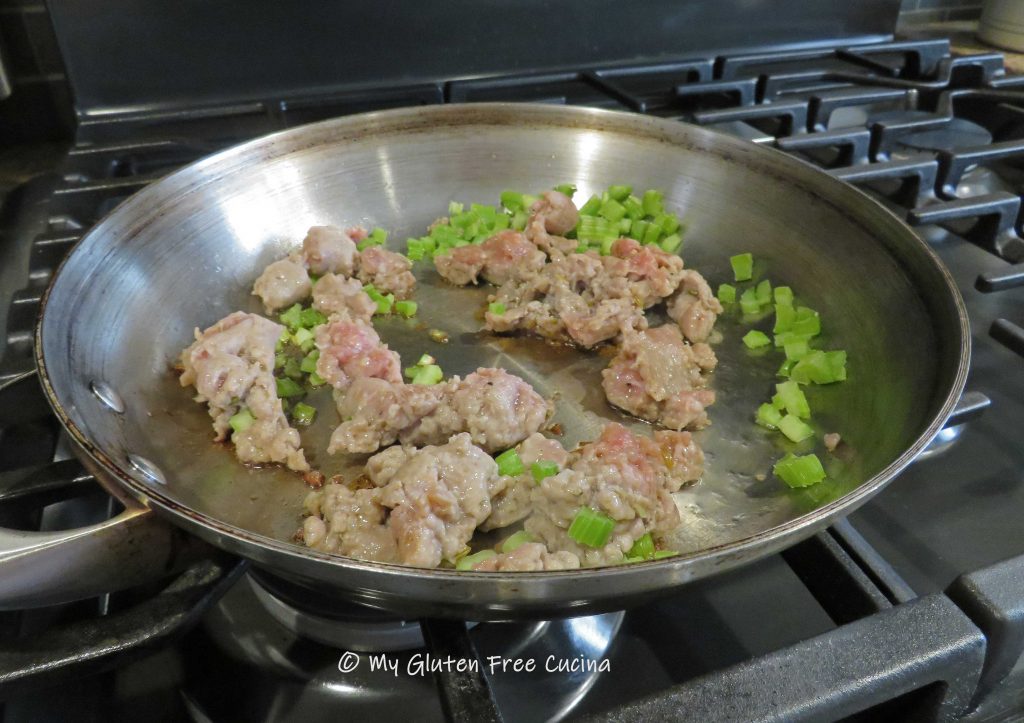
Brown the meat (it does not have to be cooked through), then transfer to an electric chopper and pulse a few times to further break down the meat into small crumbles.
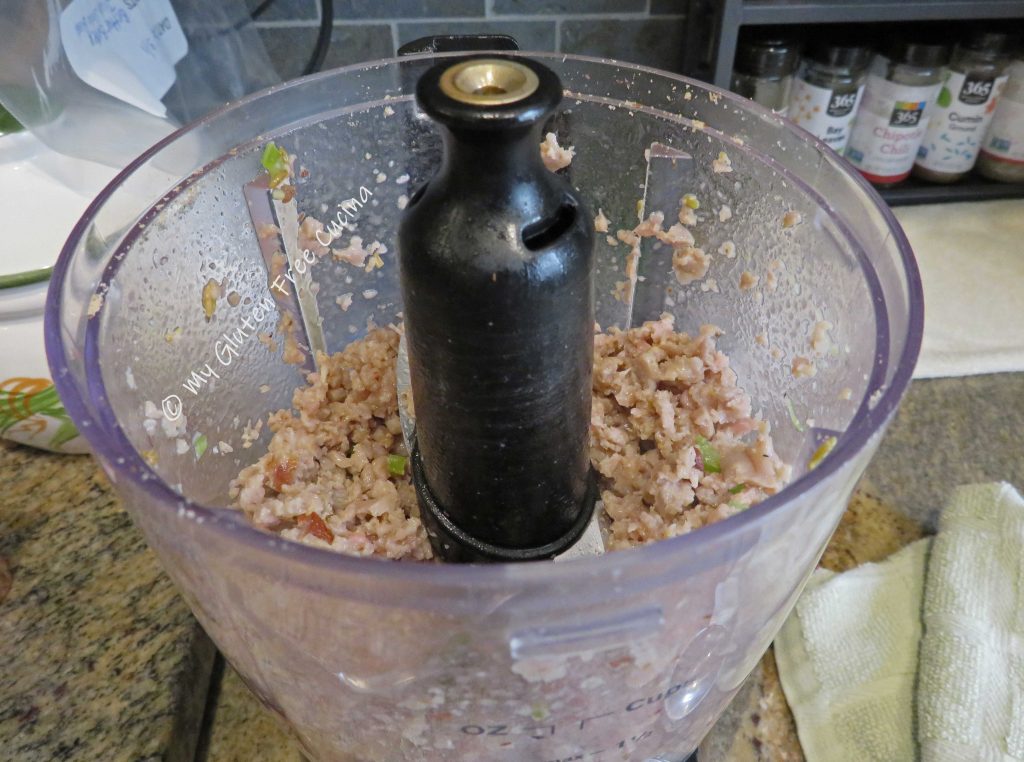
Return to the skillet to finish cooking. Stir in the panko breadcrumbs and set aside to cool.

Lay the turkey cutlets on a baking sheet or flat work surface.

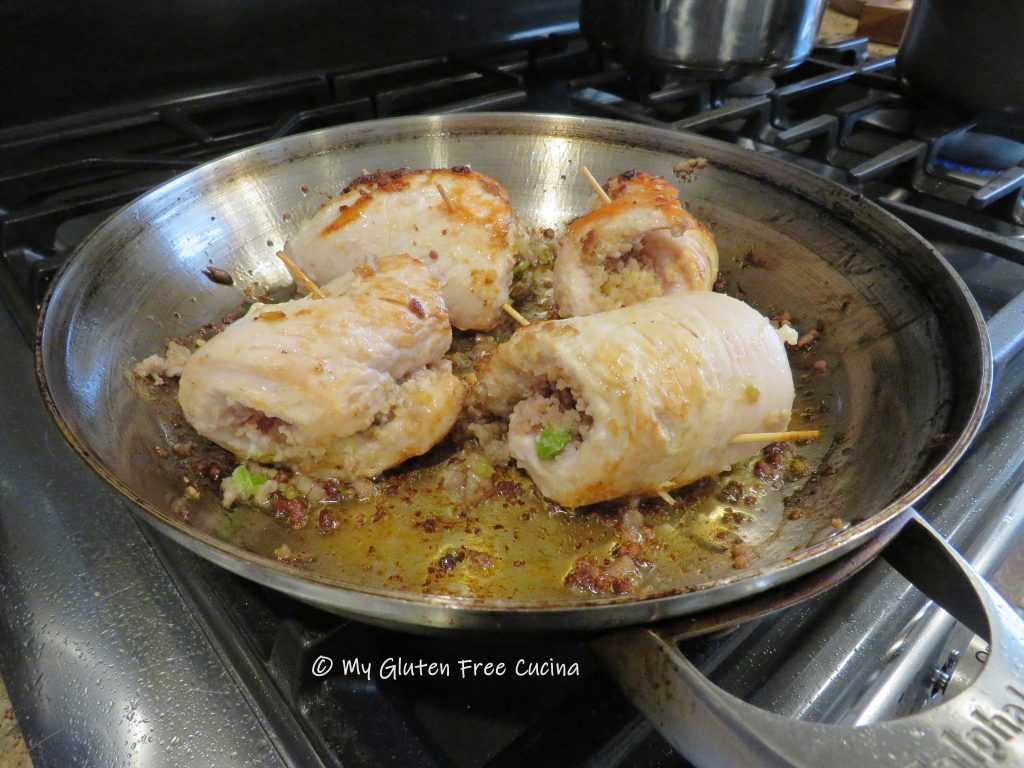
Spread the sausage mixture over the turkey cutlets and roll them up, securing with toothpicks. Wipe the skillet clean. Add a little more olive oil and begin browning the cutlets starting with the seam side down.

Continue turning to quickly brown on all sides. Do not cook through, they will finish in the oven.
Mist a baking dish with cooking spray and preheat the oven to 375º. If you had any extra sausage stuffing, spread it in the bottom of the dish. Add the turkey rolls.

Cover with foil and bake 25 minutes or until the internal temperature reaches 160º (check with a thermometer).

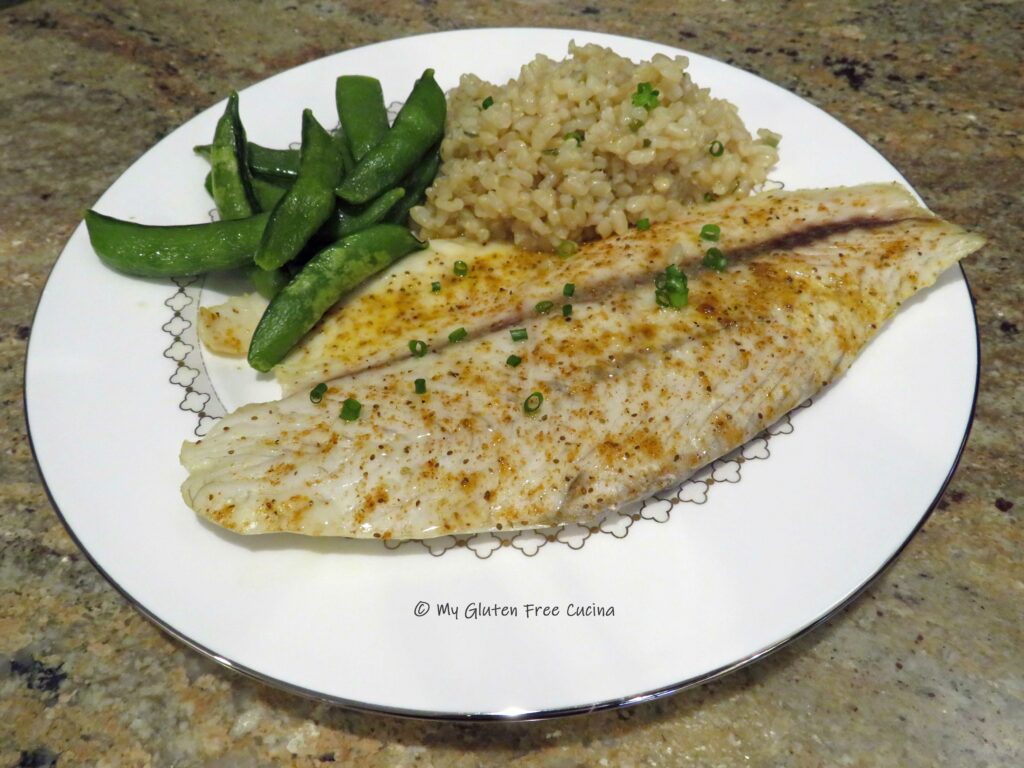
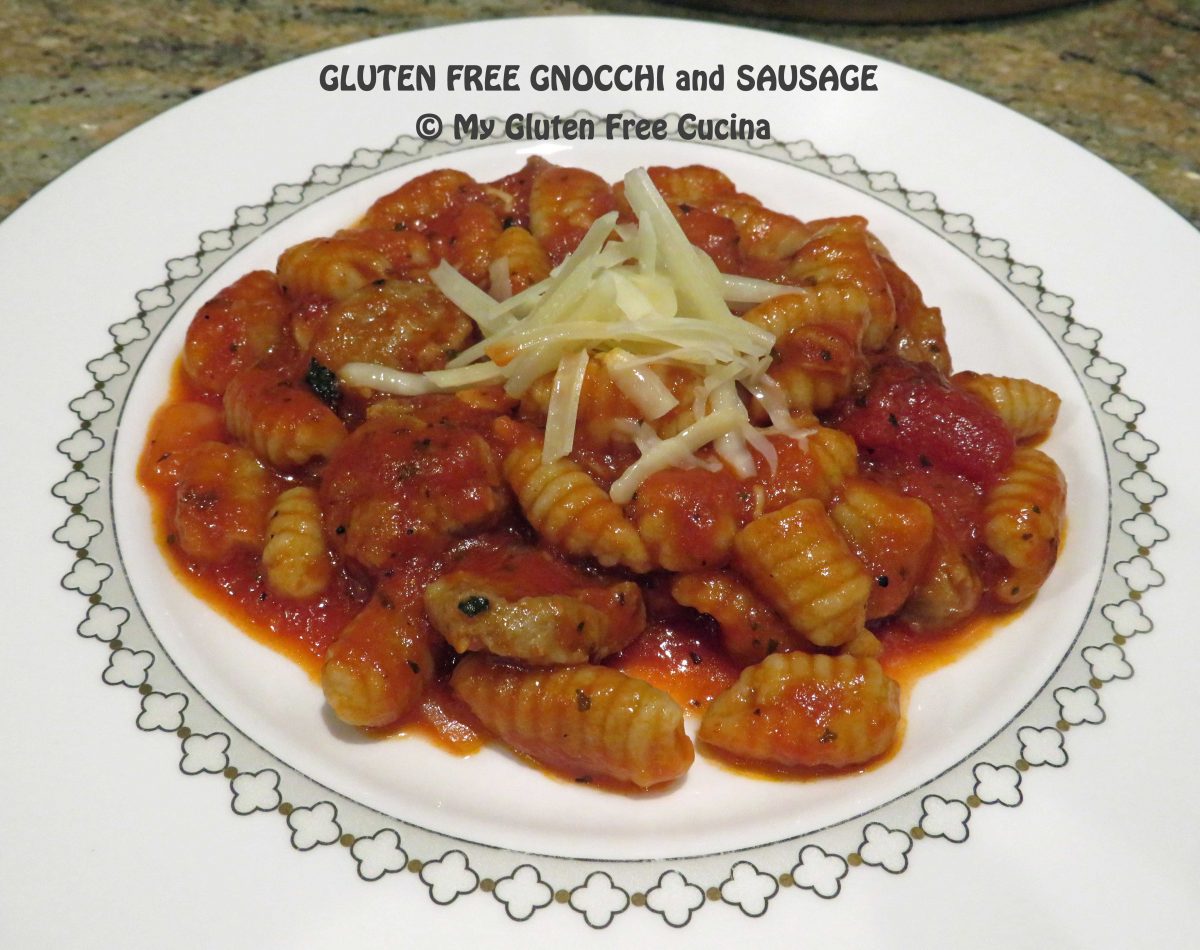
Serve with a side of wild rice and Mushroom Sauce or Turkey Gravy.

Notes ♪♫ The mushroom sauce that I spooned over the turkey rolls came out so good that I thought it deserved its own post. Who knew? Get the recipe here!


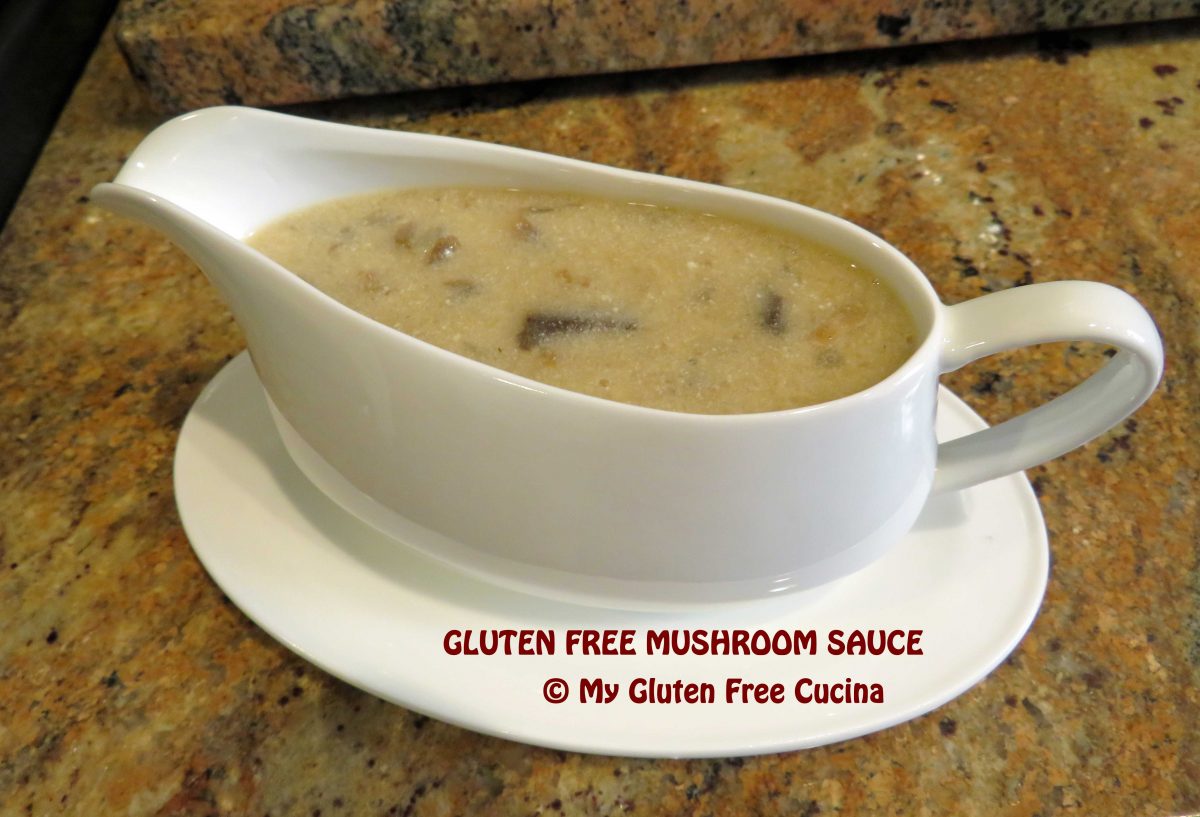


 This sauce goes well with so many things. Beef, poultry, pork… I am especially proud of this next recipe for Sausage Stuffed Turkey Rolls. Paired with the Mushroom Sauce and a side of wild rice, this was a great meal.
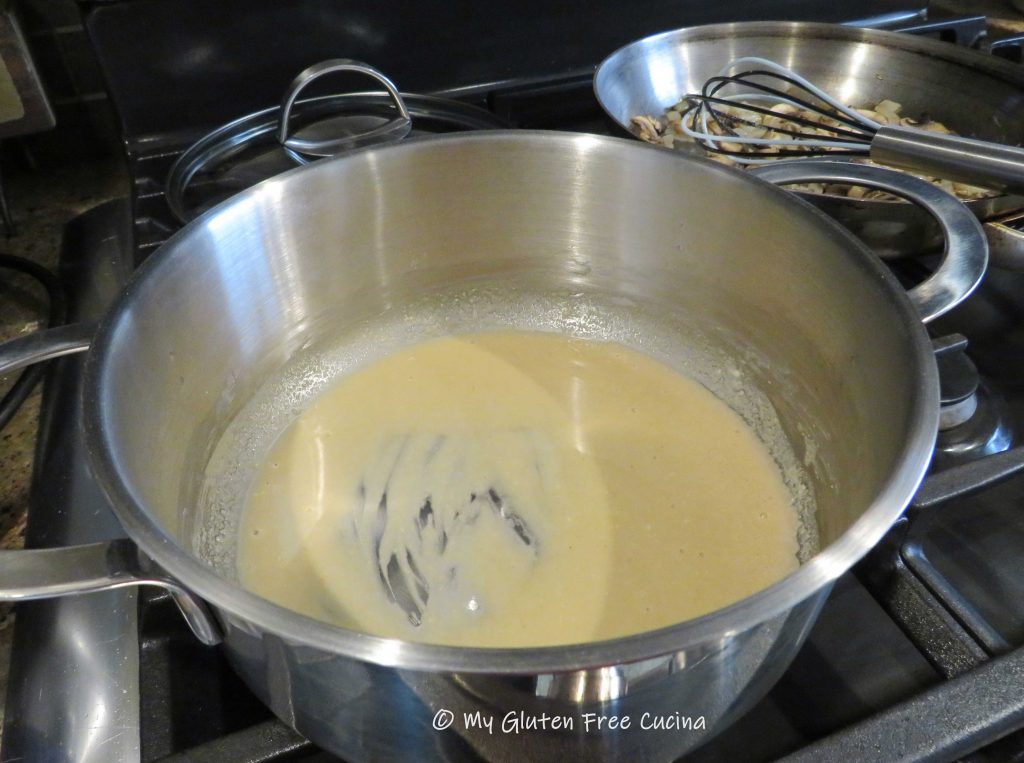
 Transfer to a
  When cooled, whisk in the ketchup followed by the egg and more seasoning.
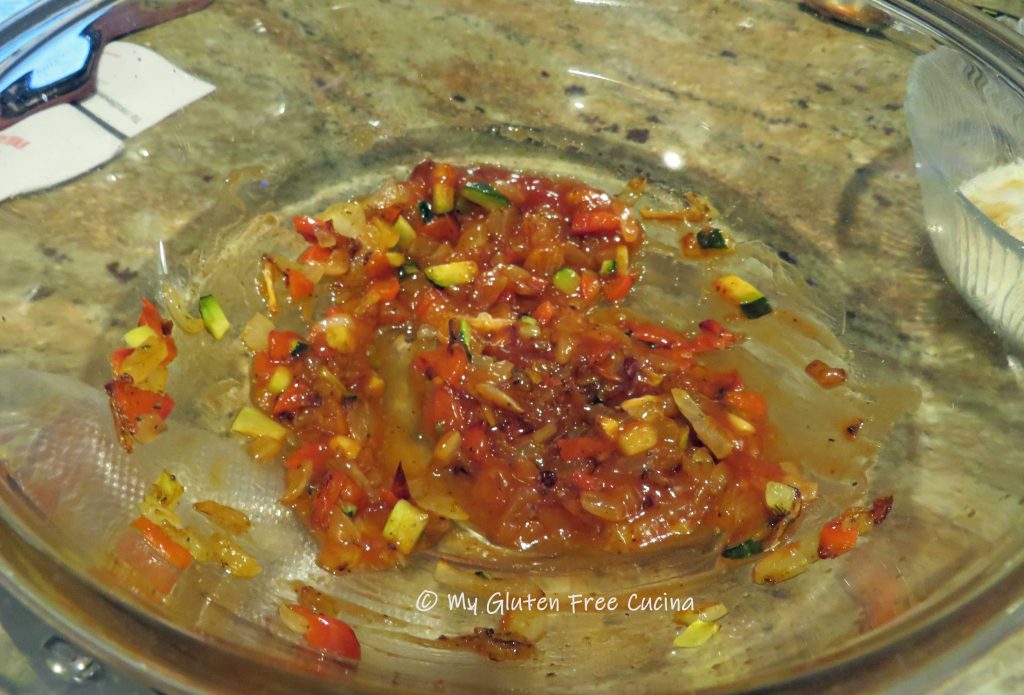
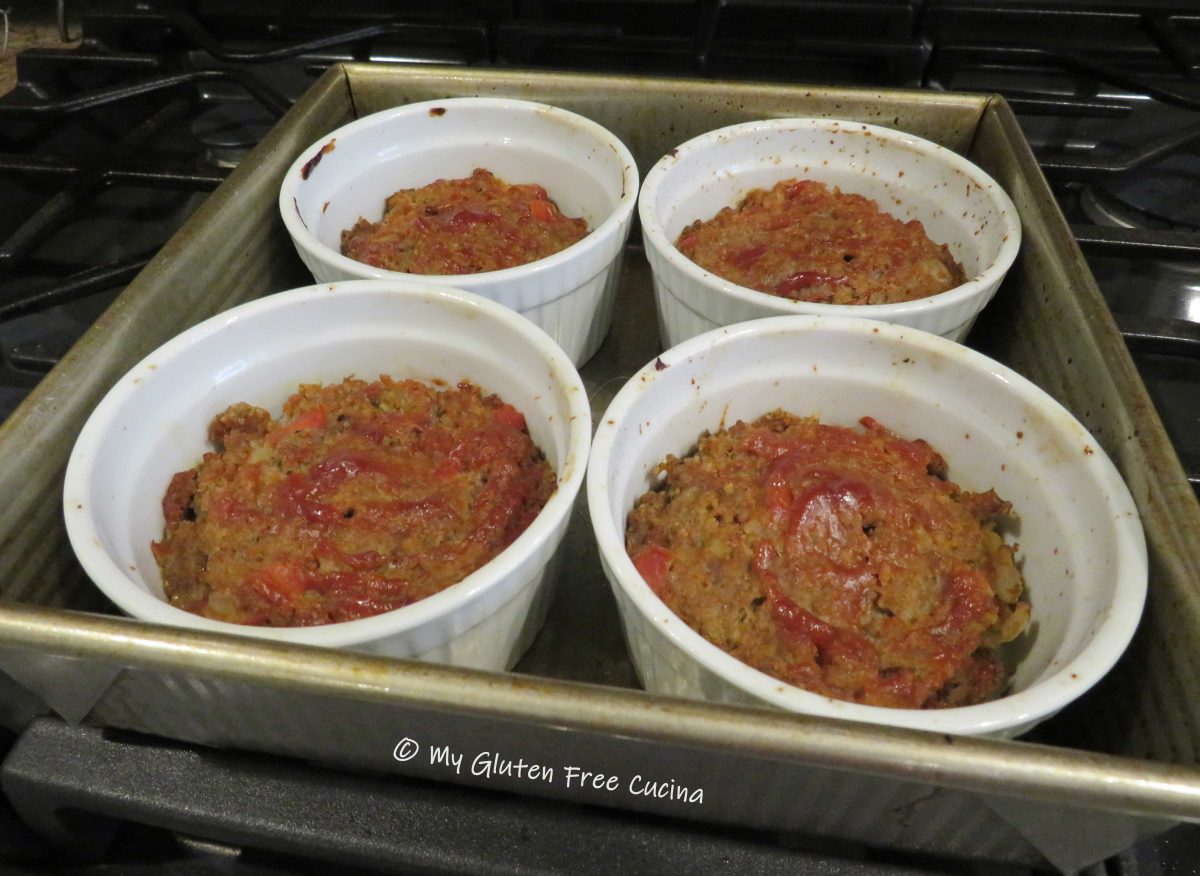
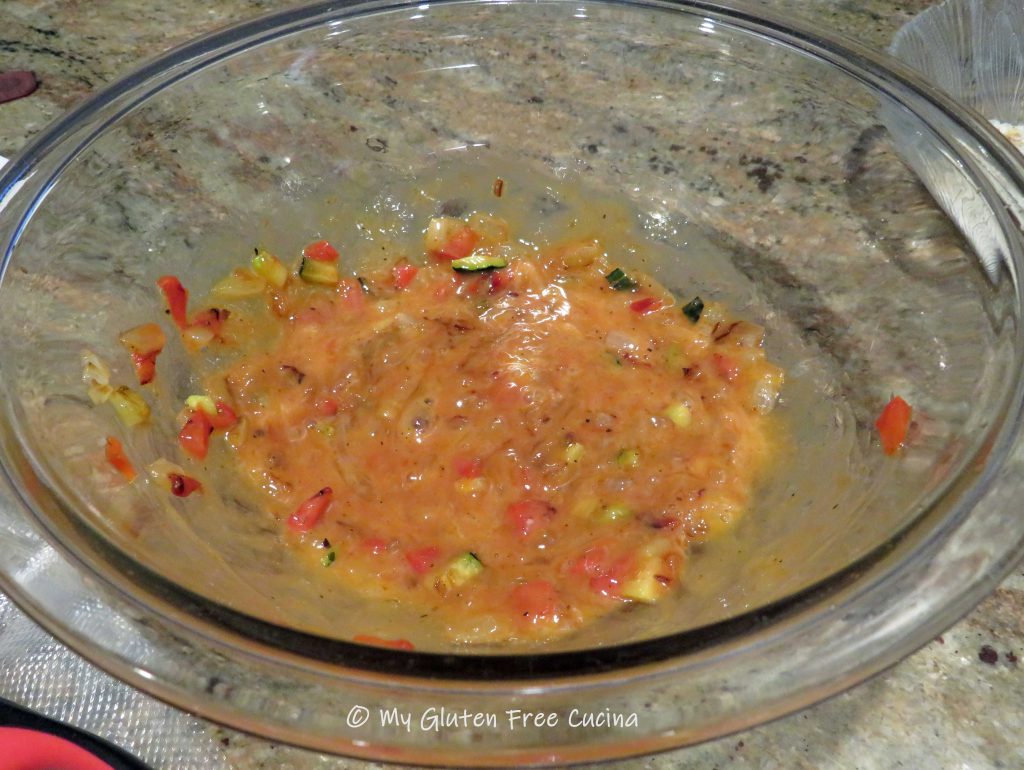 Next add the beef, working it in with your hands. Gradually add the potato flakes and breadcrumbs and combine well.
 Divide the meatloaf mixture between the 4 ramekins. Top with ketchup and smooth the tops with a fork.
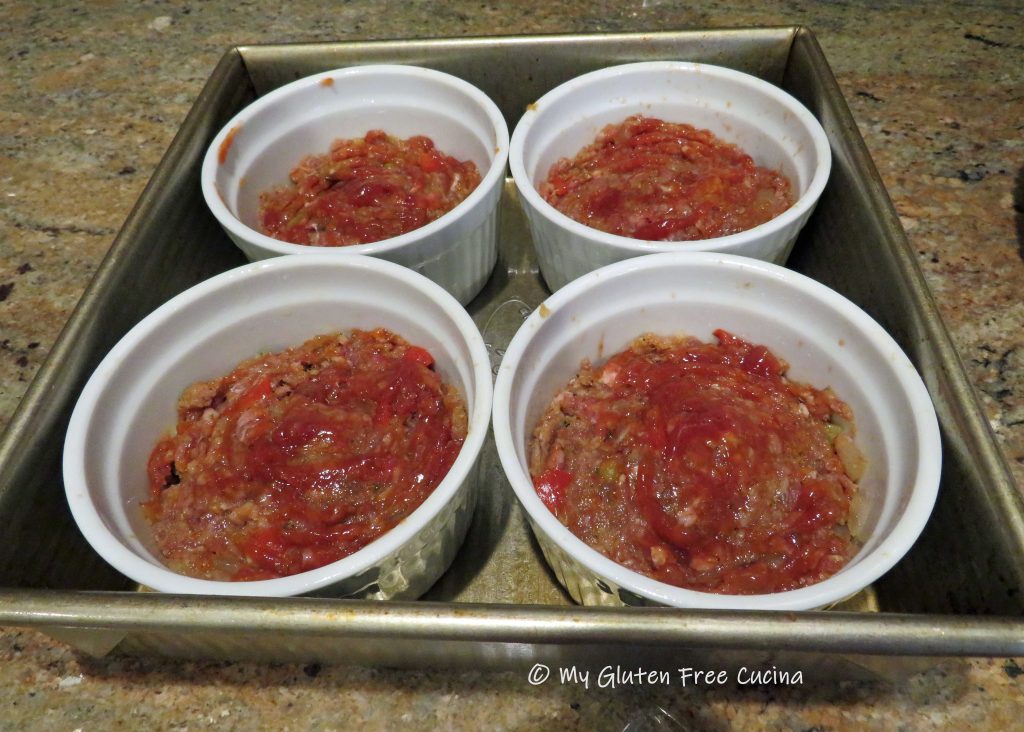 Bake at 375º for 20 minutes or until the internal temperature reaches 150º (
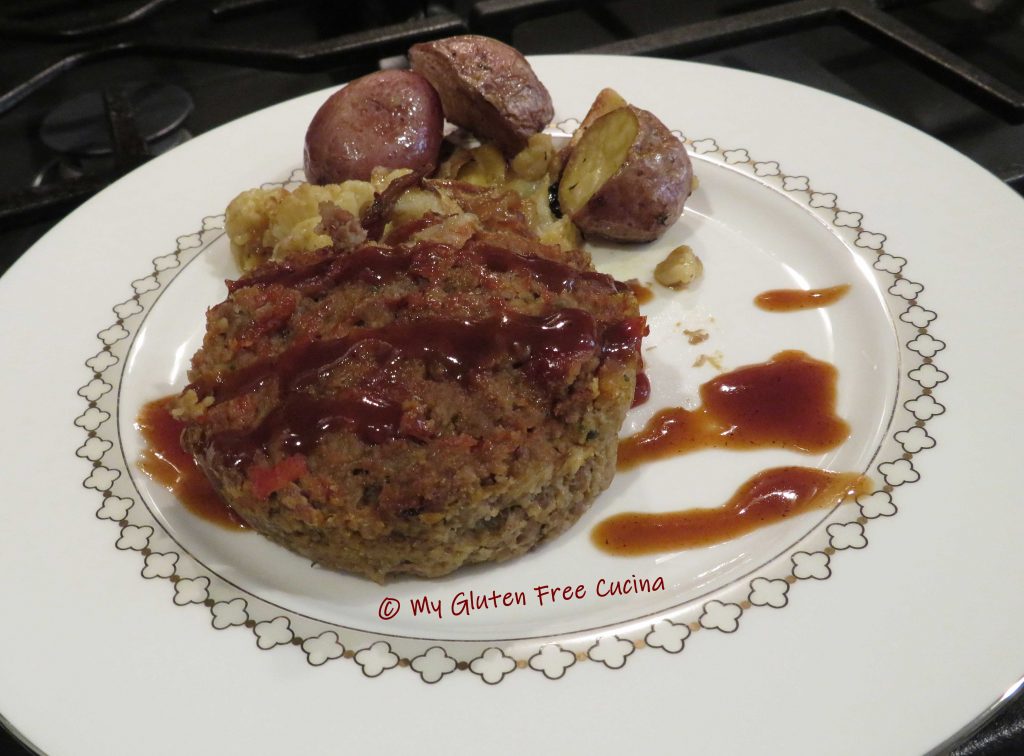
 Serve with ketchup or your favorite BBQ sauce (my favorite is
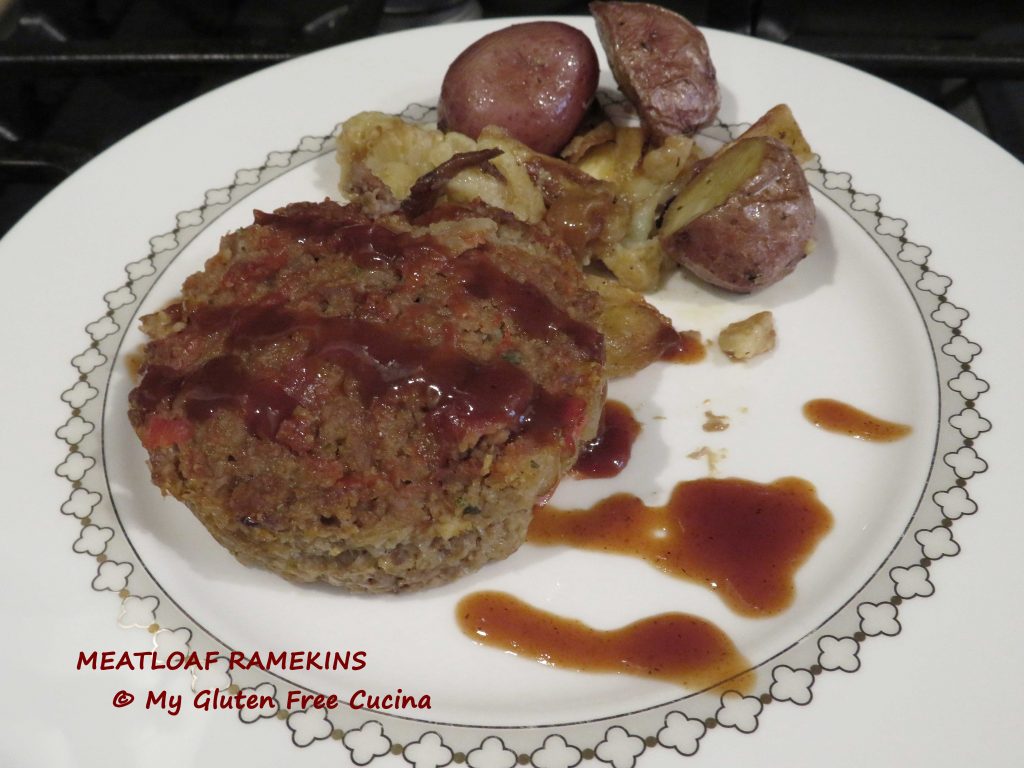


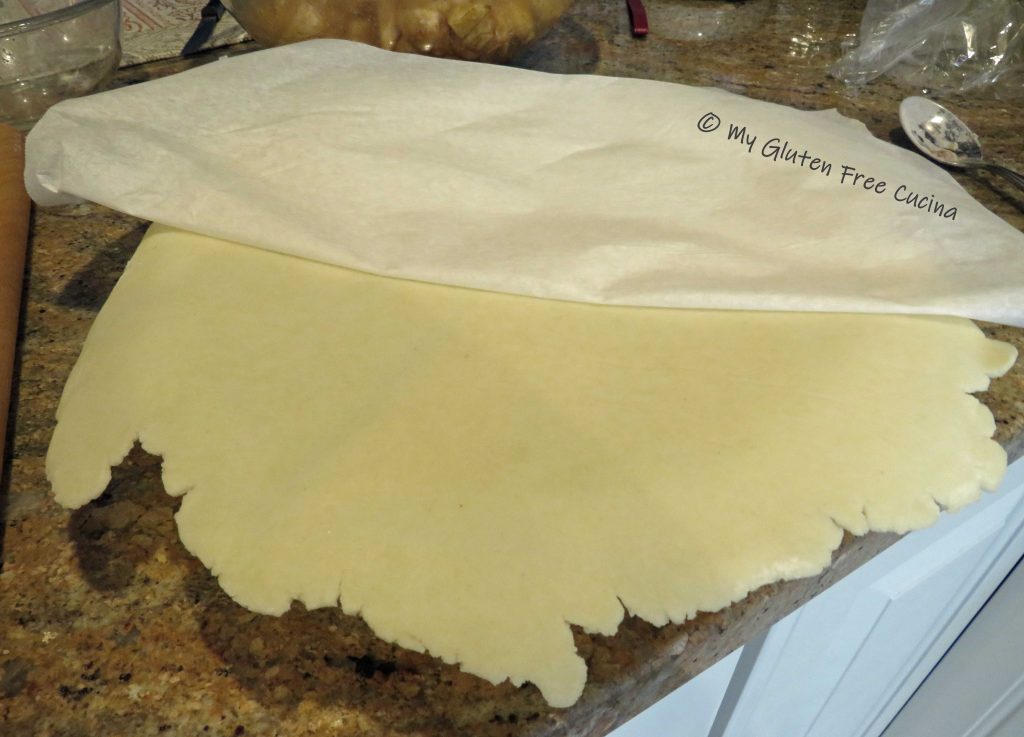
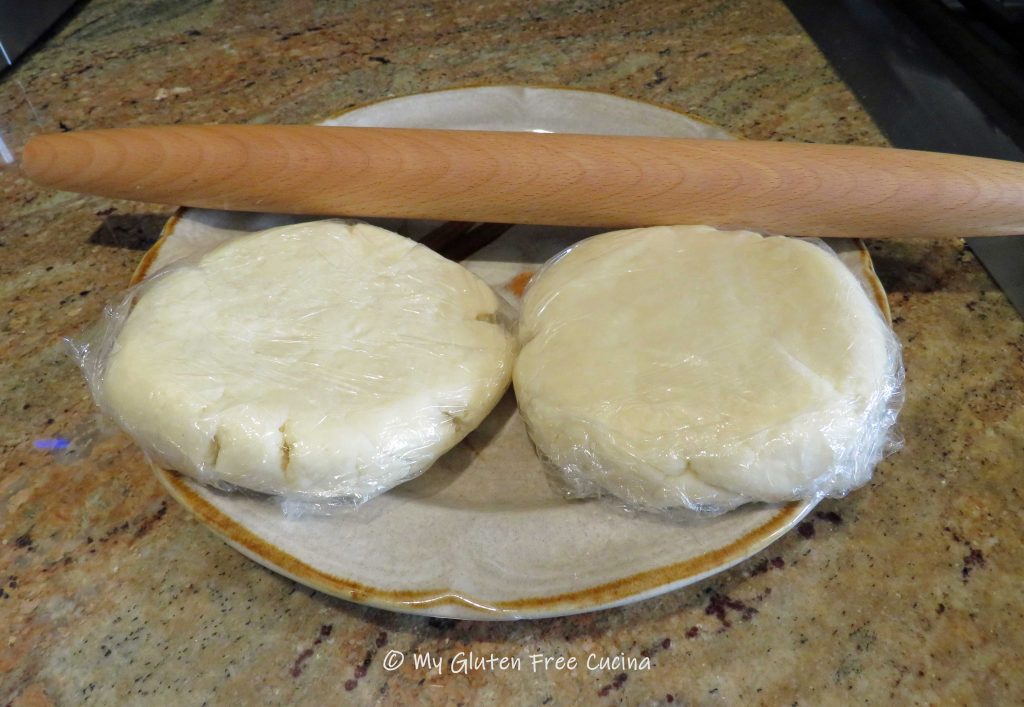 The easiest way to roll the dough is to lay it on a sheet of lightly floured

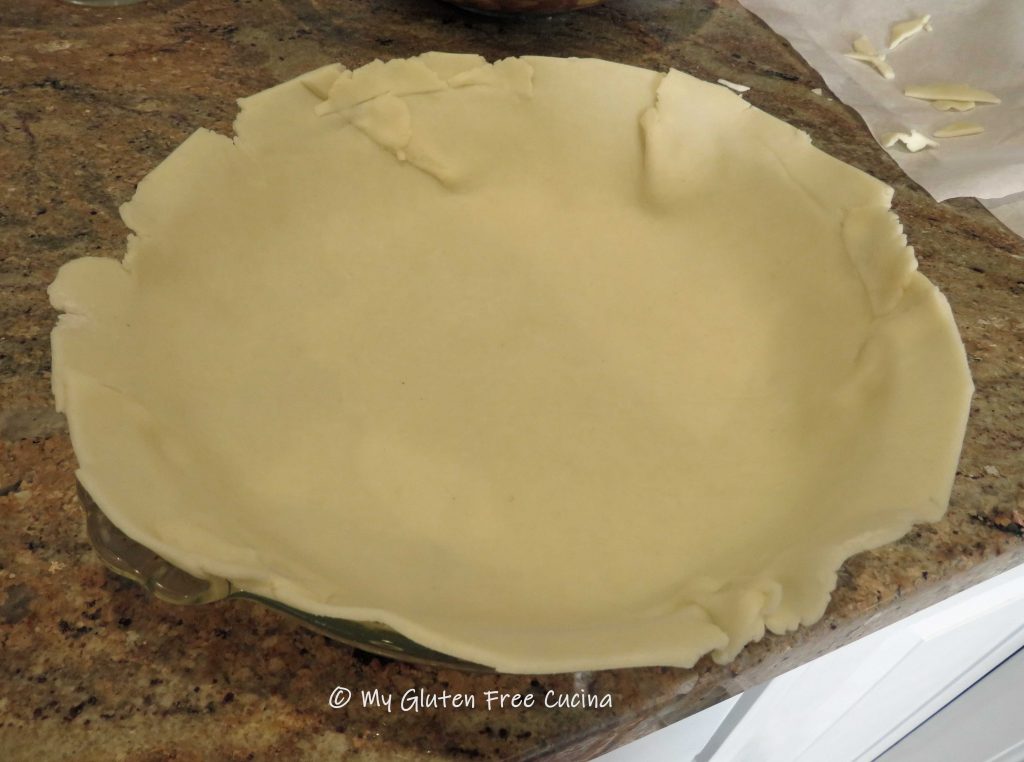
 Carefully peel away the parchment and ease the dough into the dish like this.


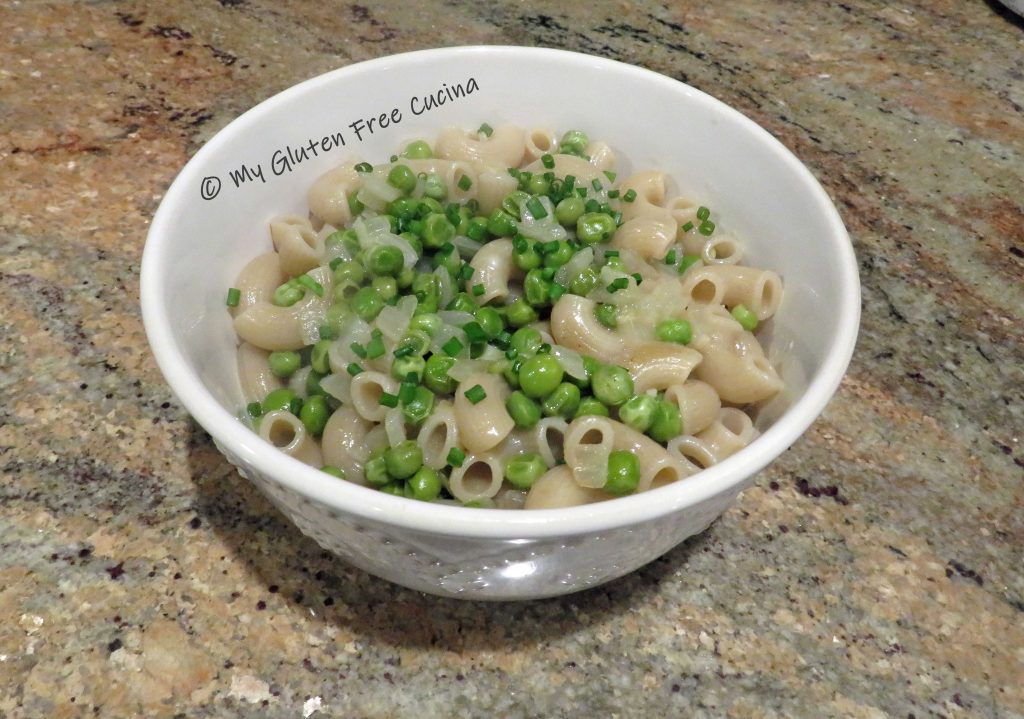
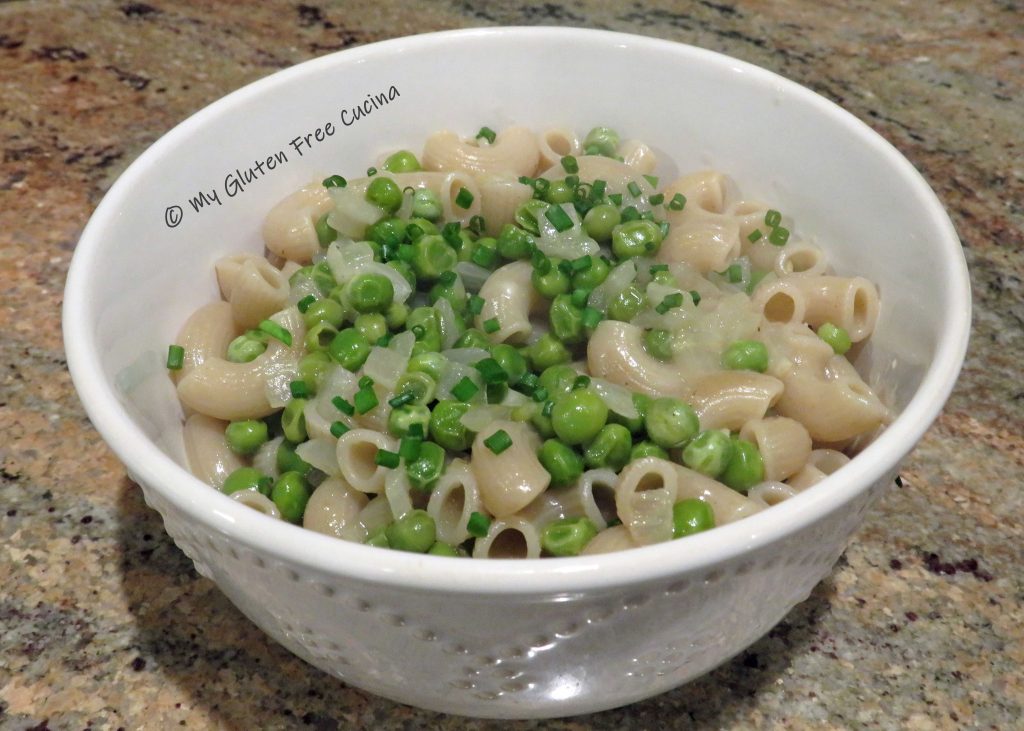
 Stir in 1 tbsp. butter, a heaping tbsp. of cheese (or more if you like) and transfer to a serving bowl.
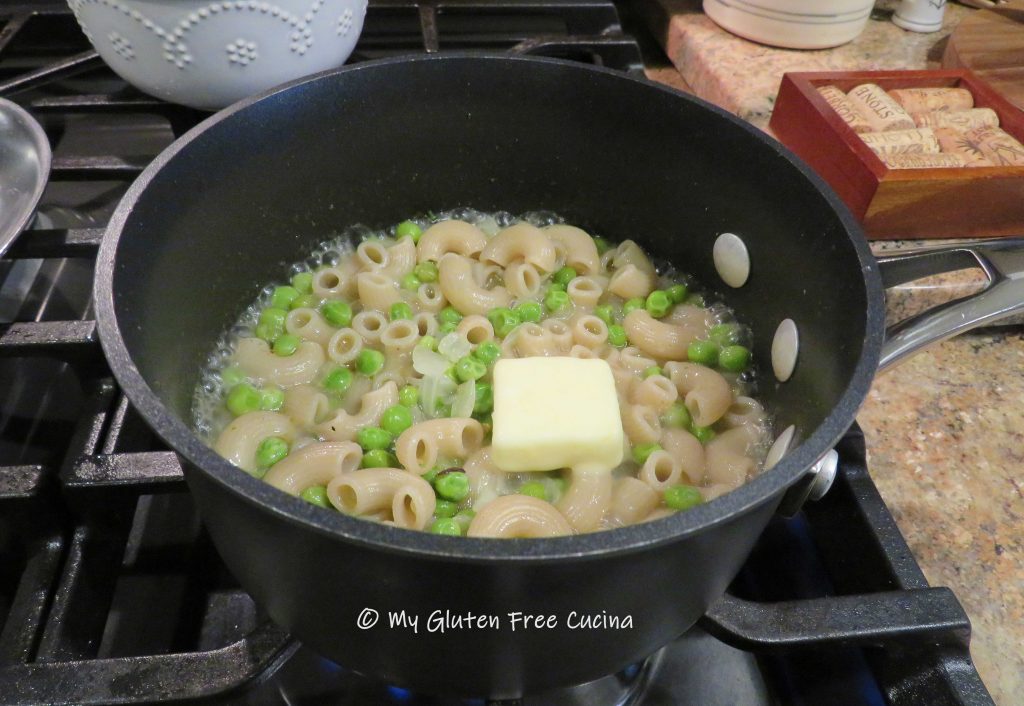
 This post contains affiliate links.
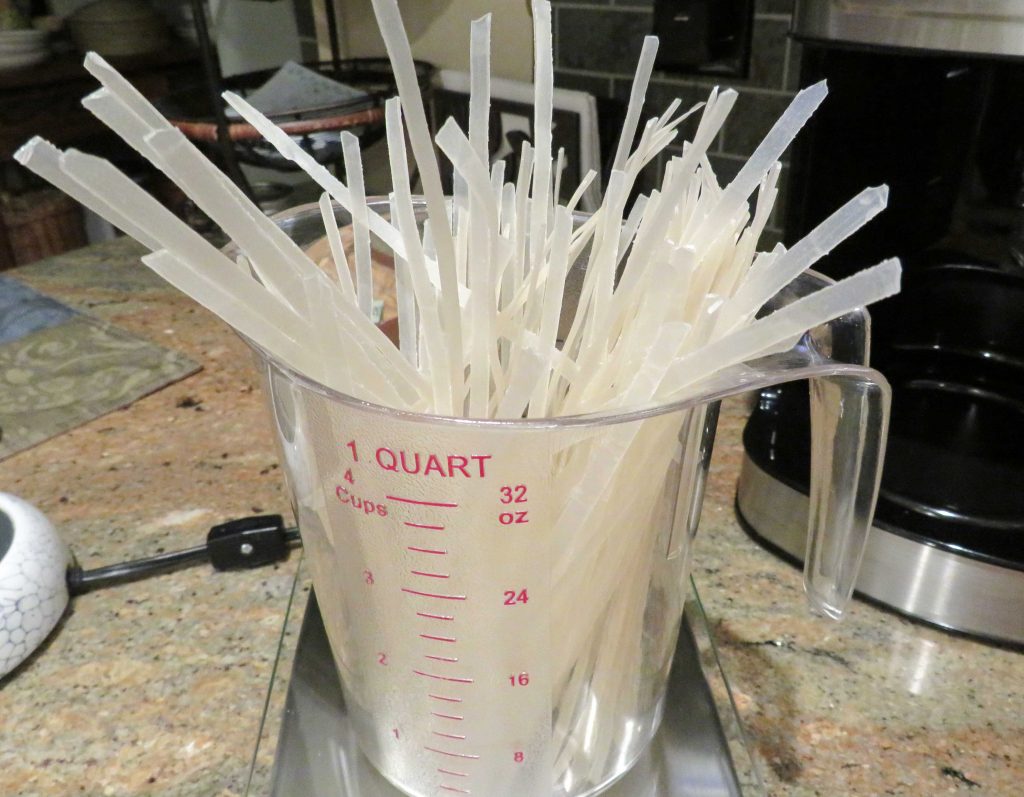 Preparation:
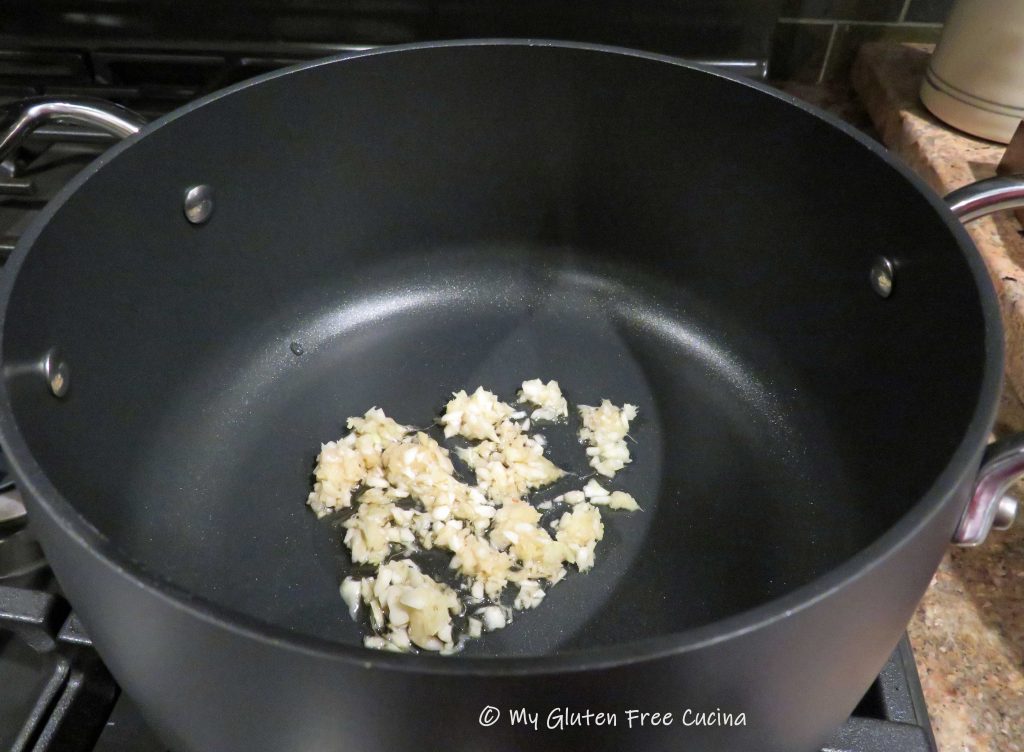
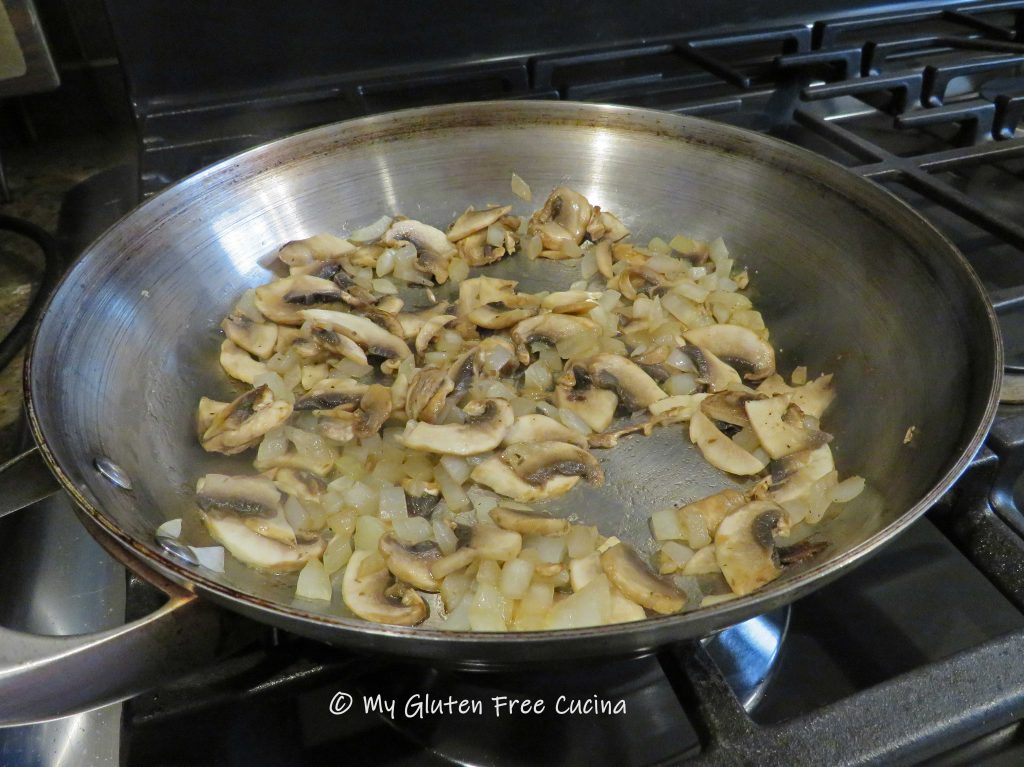
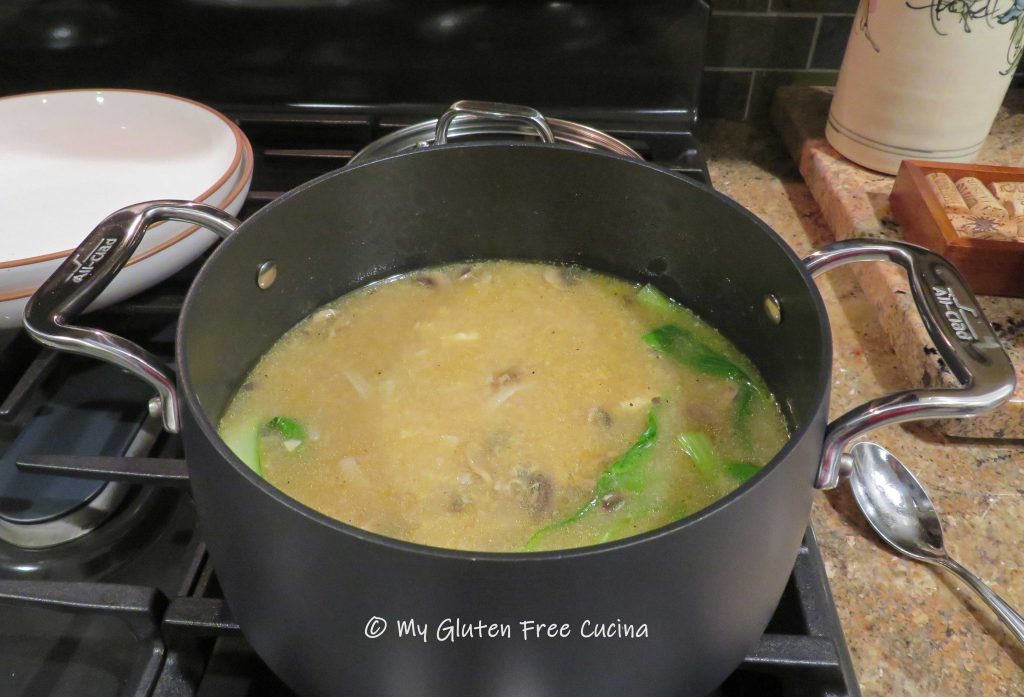
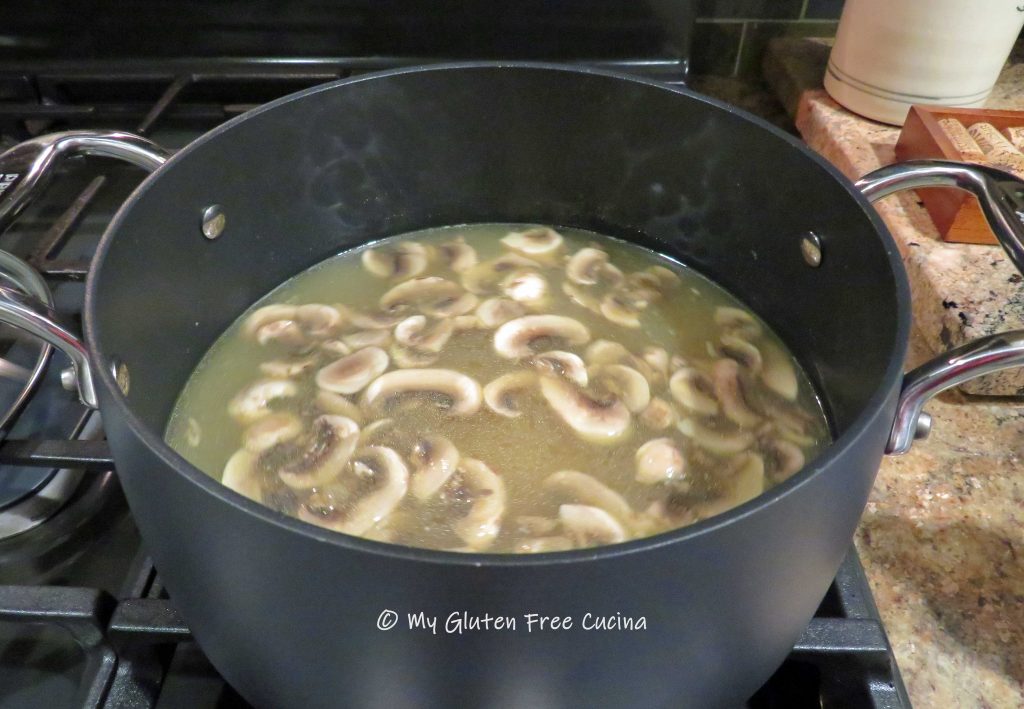
 Stir until the mushrooms release their liquid, then add the bone broth, 2 tsp. of tamari and 1 tsp. sesame oil (or more, to taste). Season with salt and pepper and bring to a simmer for 15 minutes.
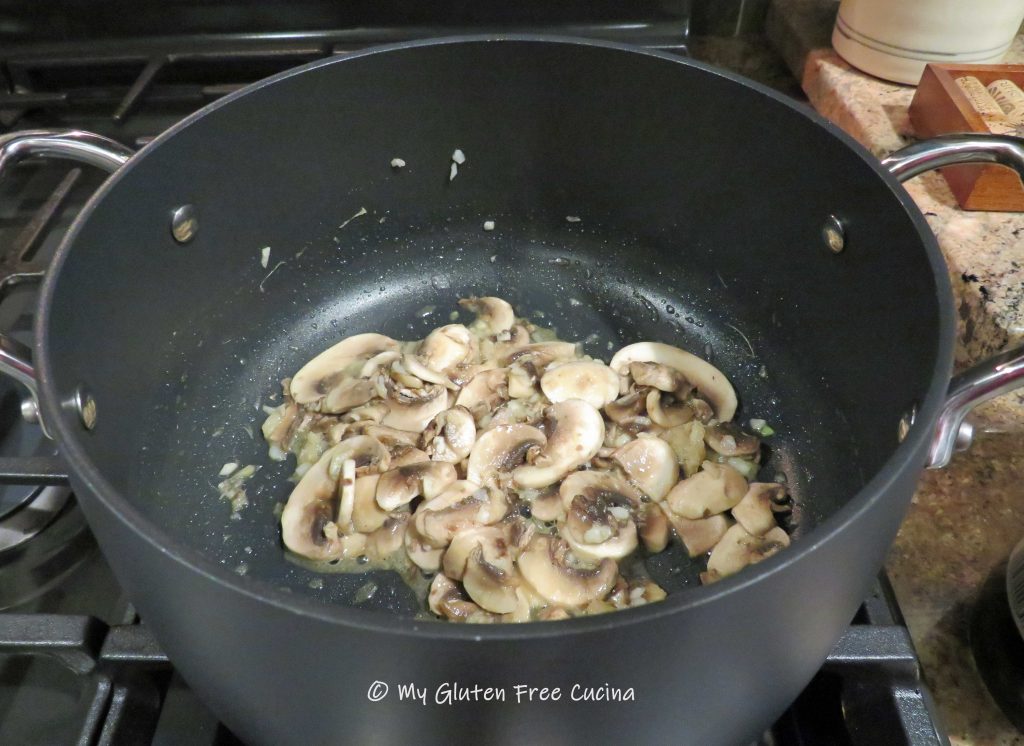
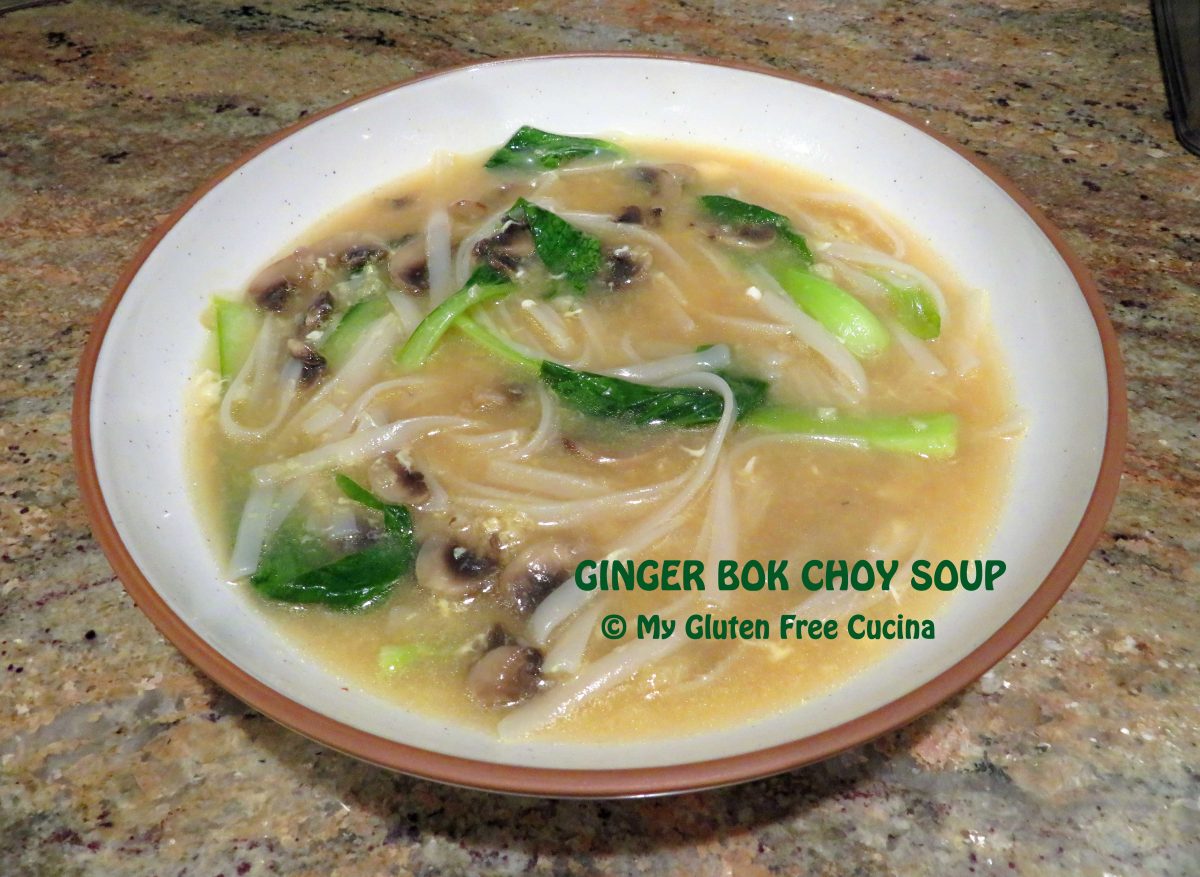
 Trim away the tough, lower part of the Bok choy, then rinse and halve the leaves. Stir them into the soup to wilt and lower the heat to keep warm.
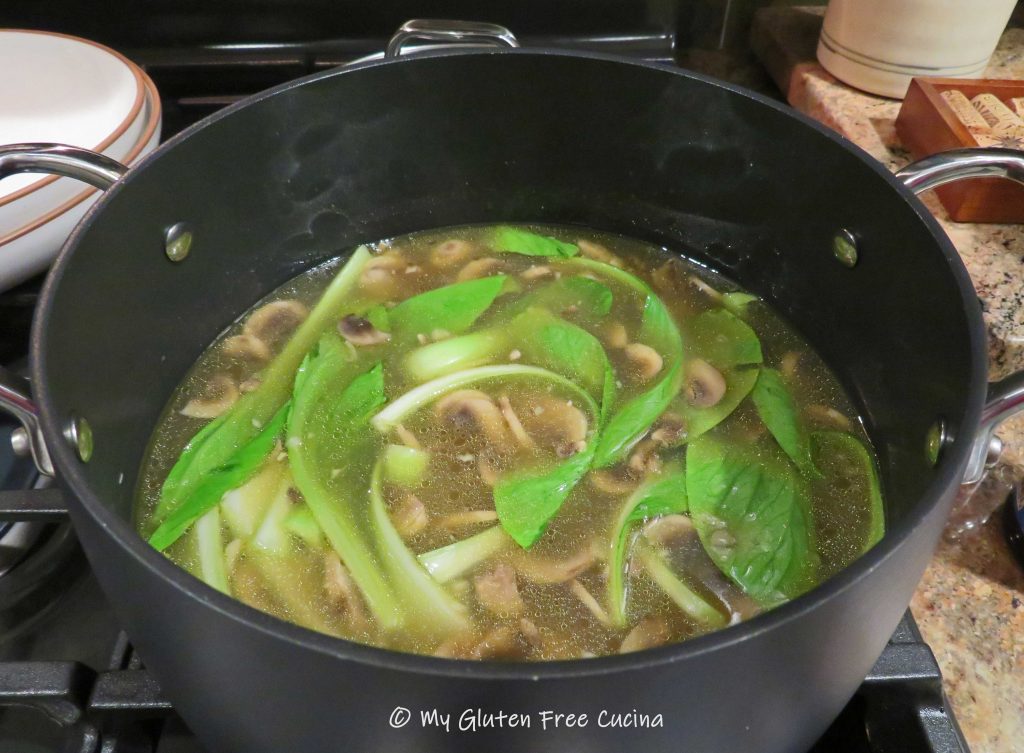 Cook the rice noodles in a separate pan according to package directions. Just prior to serving, drizzle the beaten egg into the soup and swirl it around with a whisk. Add the cooked rice noodles.
 Ladle into
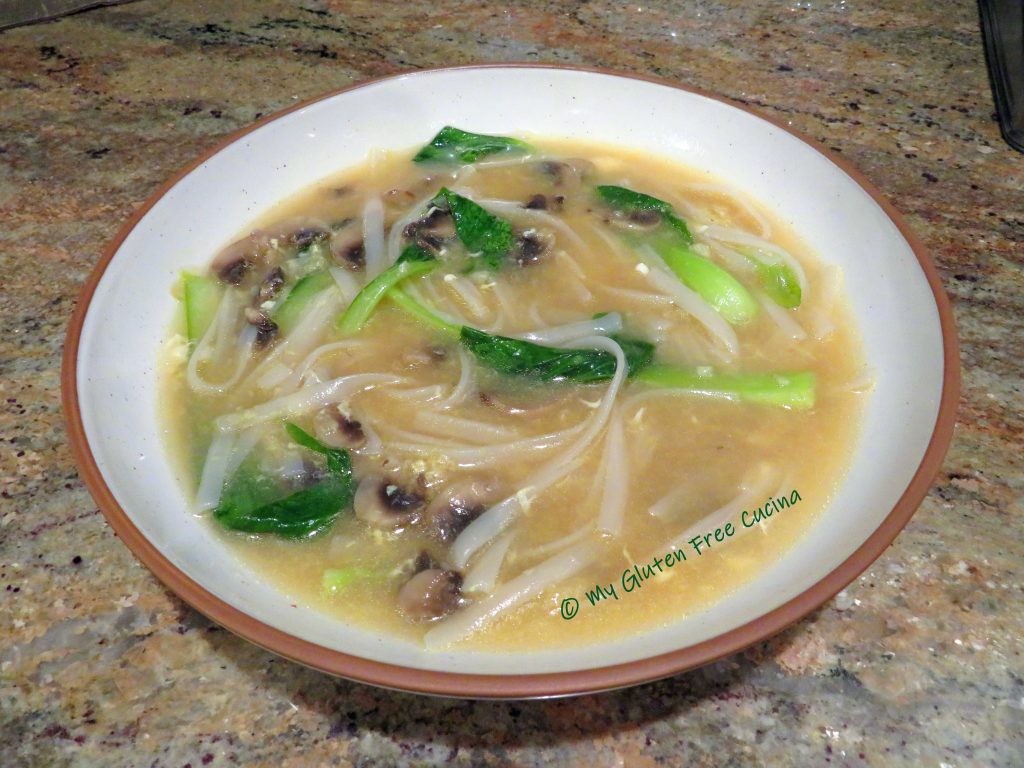
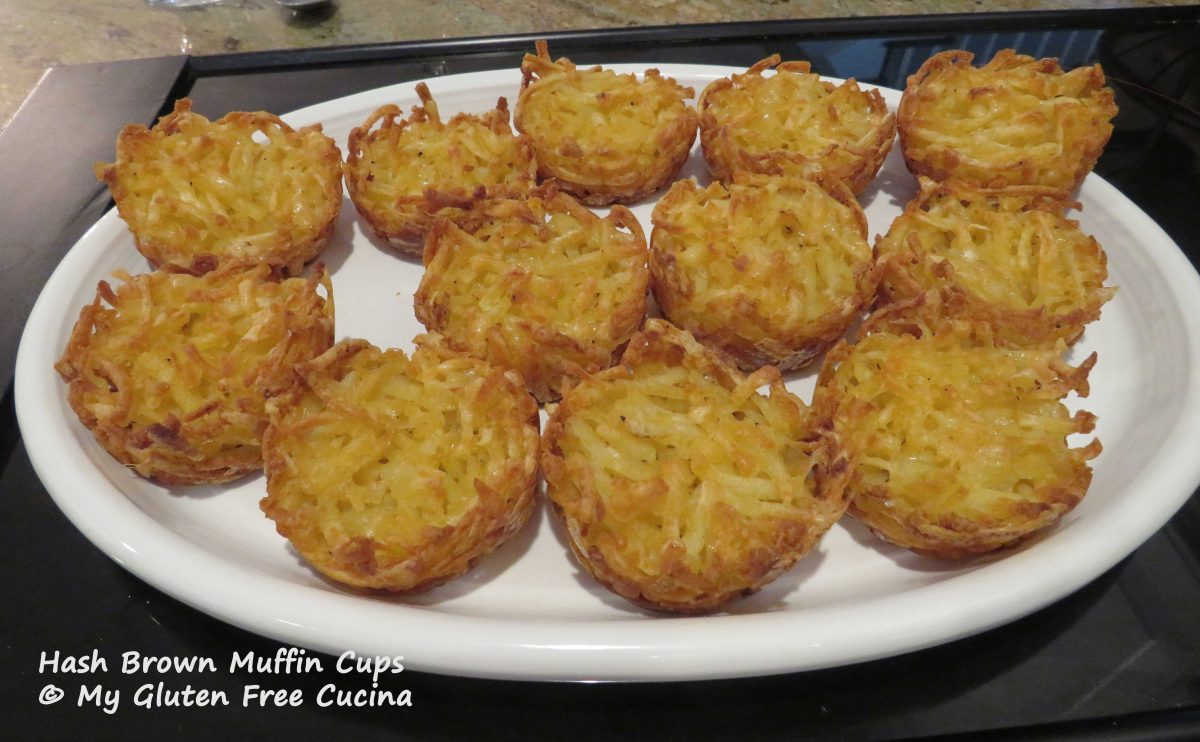
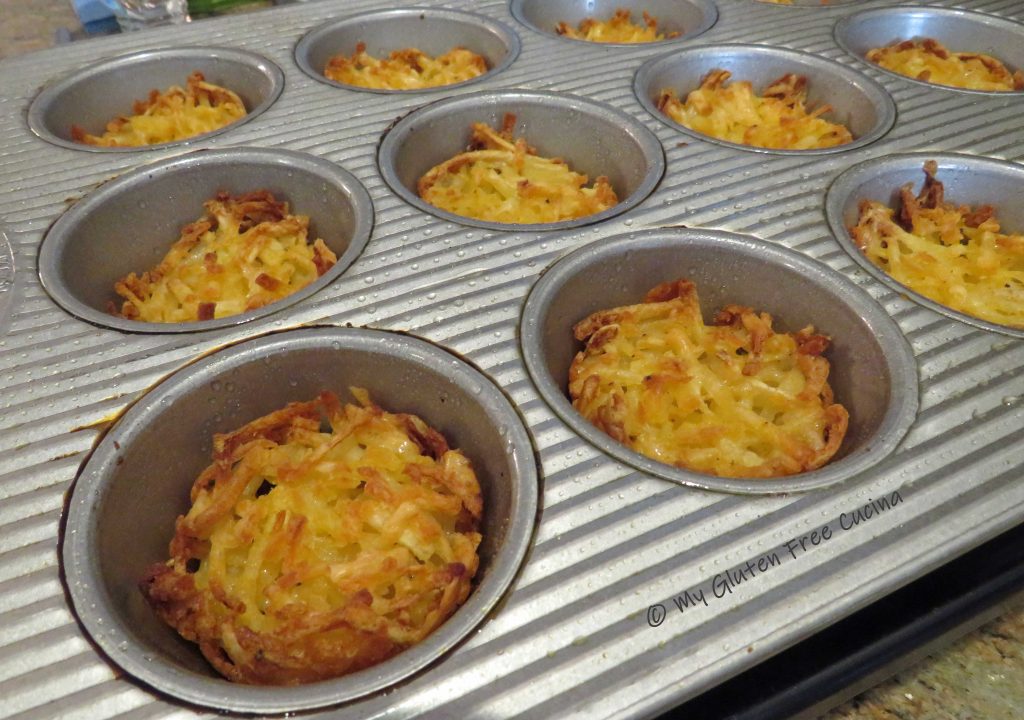
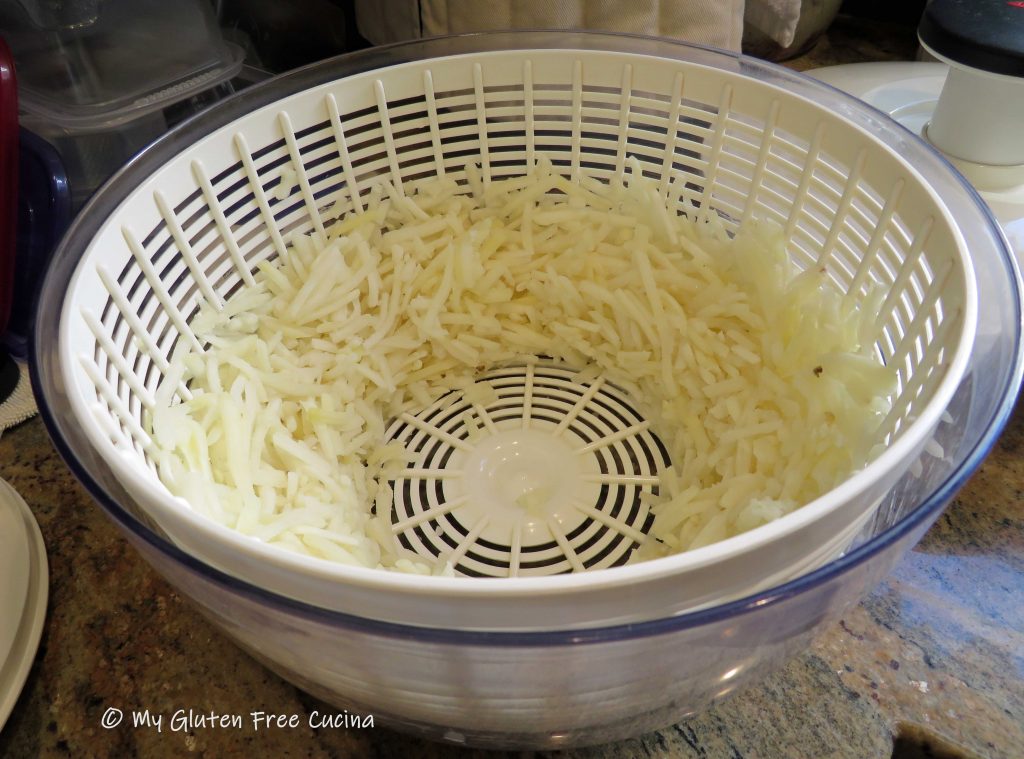

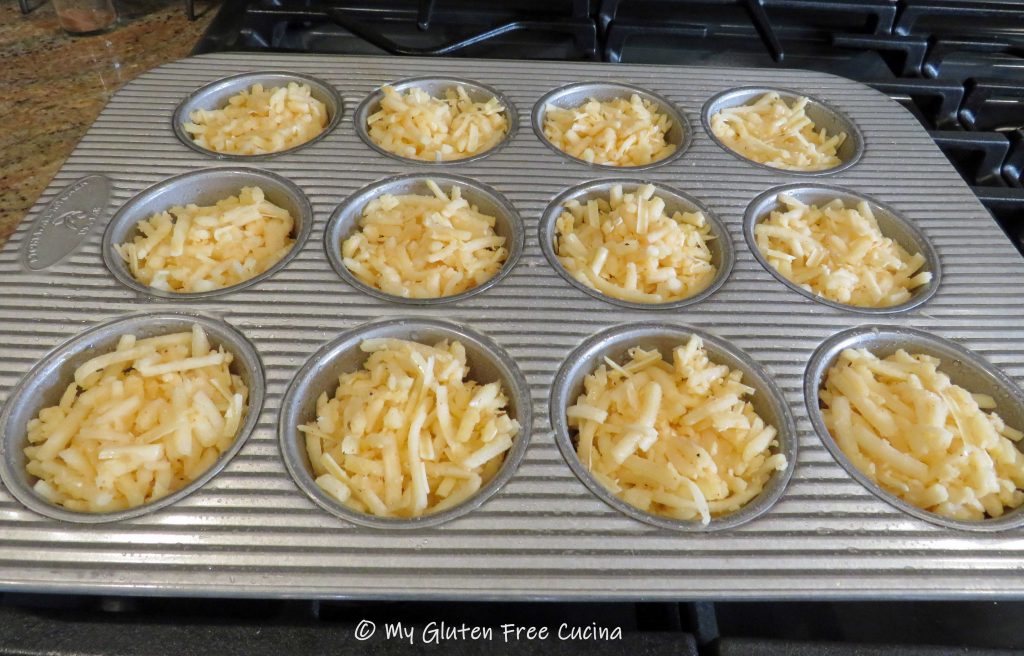
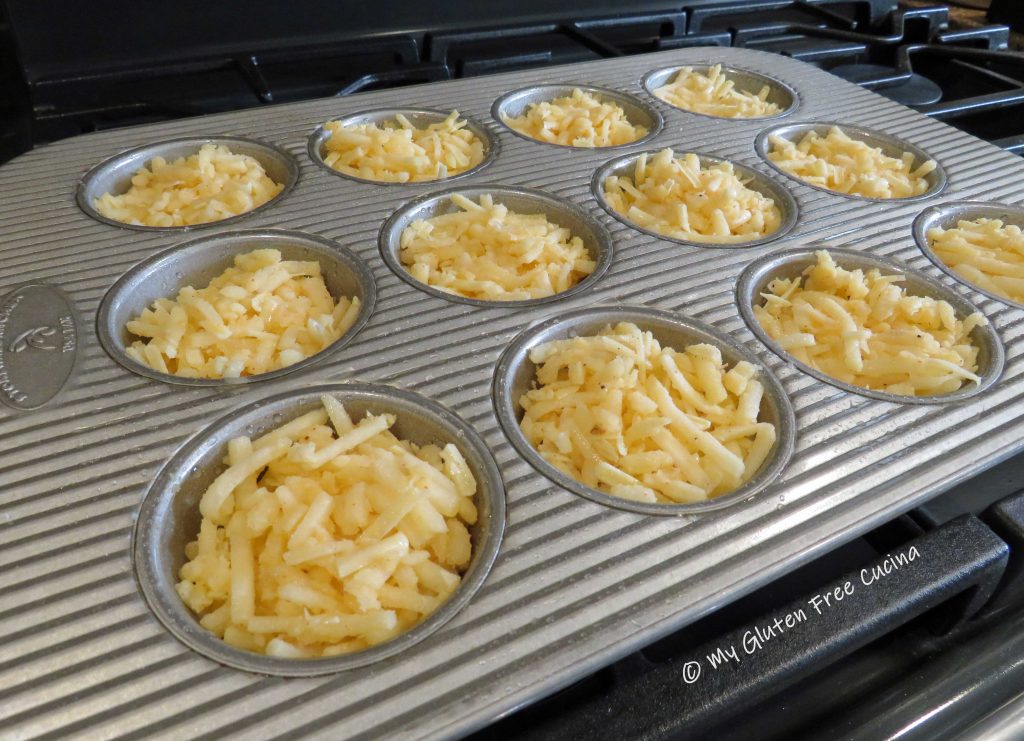

 Hash Brown Muffin Cups will be a great addition to your brunch menu, or a fun dinner side. They reheat well, and ours stayed crispy even after microwaving. You will want to keep a bag of hash browns in your freezer pantry, so you can make a batch any time you like!
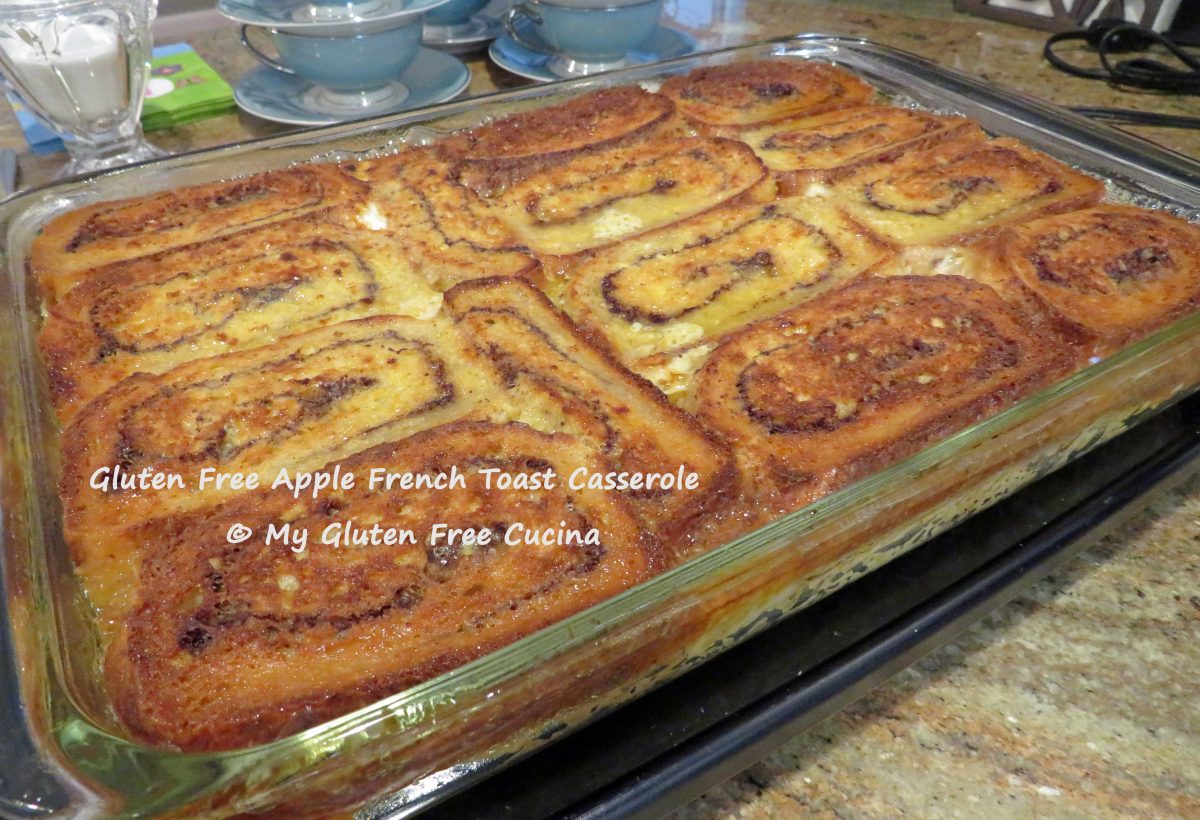

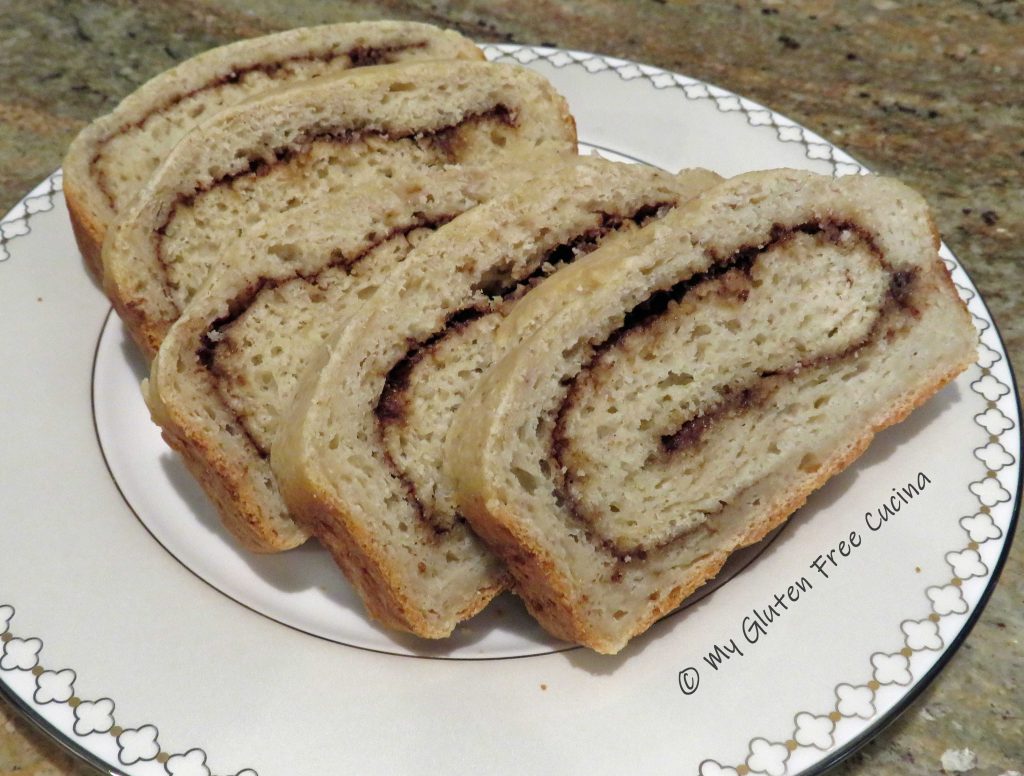


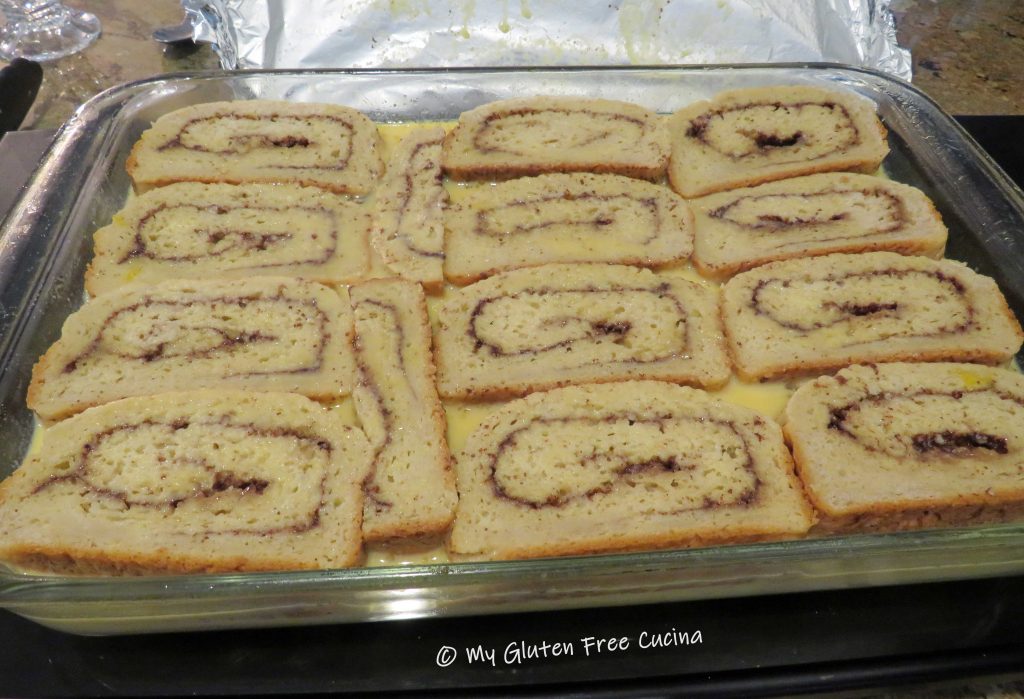
 Pour the egg mixture over the bread slices and press down with a spatula.