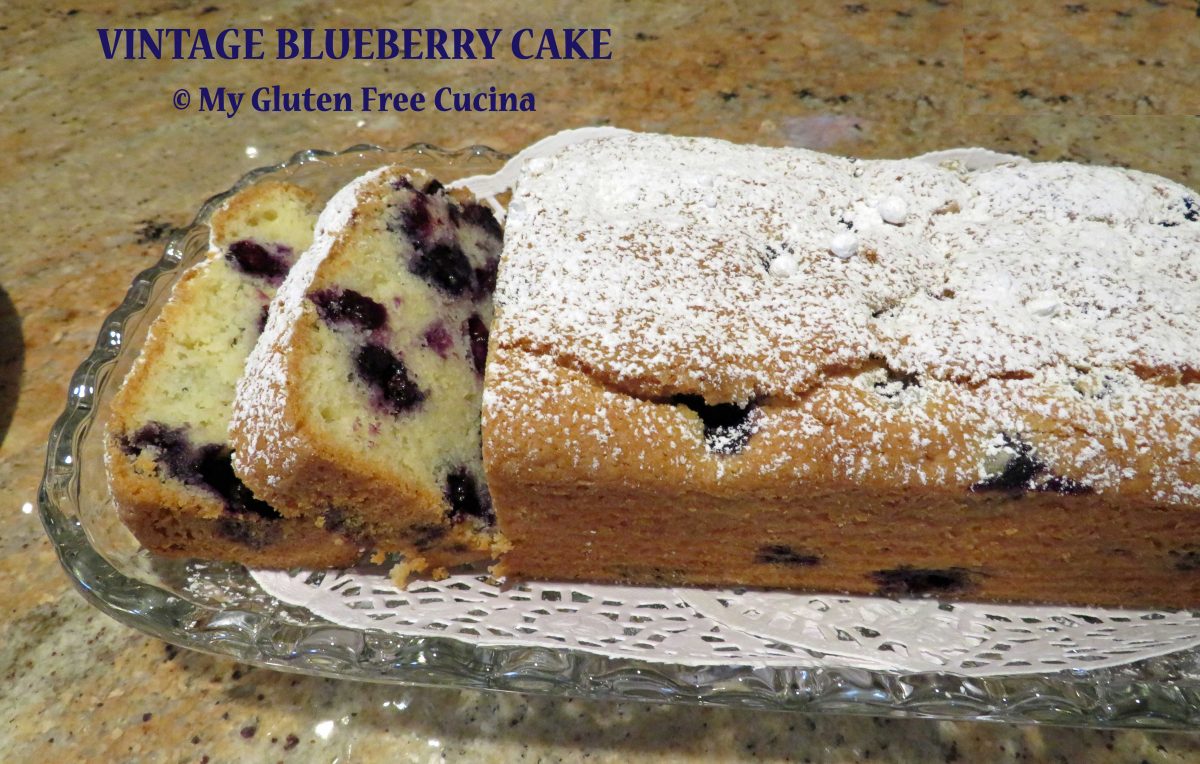
Vintage Blueberry Cake
An Heirloom Recipe Converted to Gluten Free
Some things in life should never be changed, and this heirloom cake is one of them. An old family recipe passed down from one generation to the next, just a handwritten note tucked away in a recipe box.
My late husband had such fond memories of his mother making this cake and I was fortunate enough to inherit the recipe. Here it is, written in her own hand.
 I hadn’t made this cake since my Celiac diagnosis in 2017, and always wondered what would happen if I converted it to gluten free. Would it taste as good? The verdict, YES and the results were amazing!
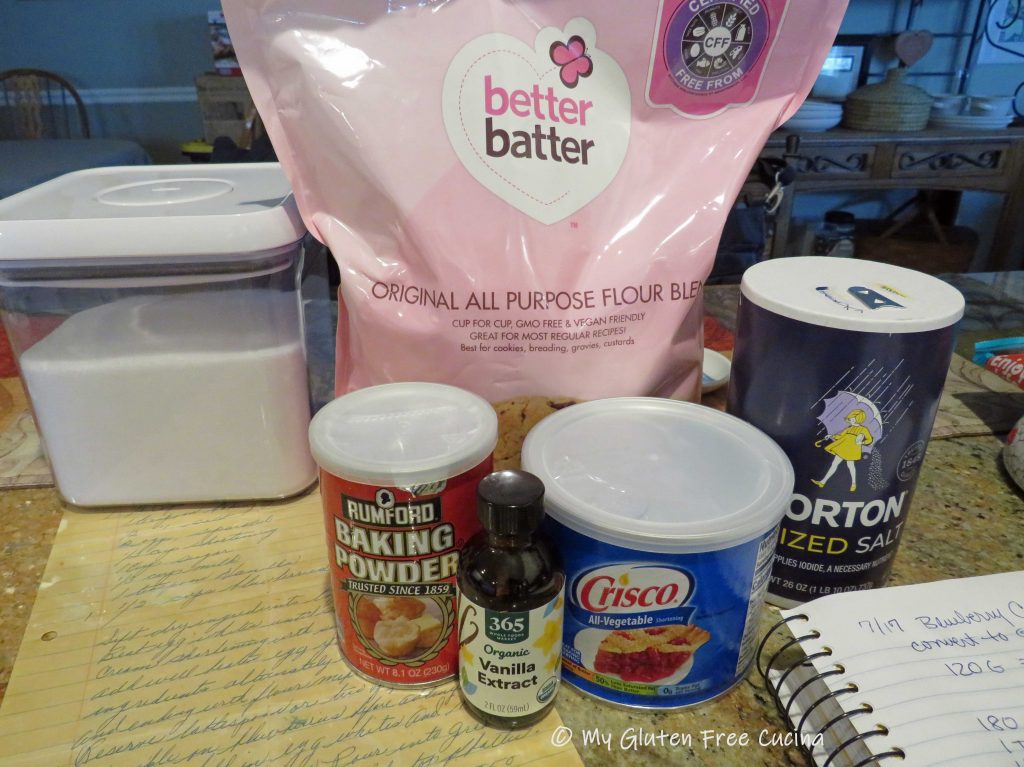
My husband’s mother was born in 1925 and was by all accounts a phenomenal baker. To honor her recipe, I did not want to make any unnecessary changes to the ingredient list. The only gluten containing ingredient was the flour. I substituted Better Batter Original Blend for the all-purpose flour.
Shortening was a common ingredient in vintage cookbooks (and still recommended today for things like pie crust). So, I checked it out and in case you were wondering- yes, Crisco is gluten free!

When converting old family recipes, one of the dilemmas is that flour was often measured in cups. How did the author measure 1 cup? Scoop and level? Spoon and level? Pour and shake? 
For this I put my trust in the experts at Better Batter, who recommend a 120g. per cup conversion for their original gluten free flour blend. My recipe called for 1-1/2 cups flour, and I converted to 180g. of Better Batter. I’m happy to say, it worked perfectly!
This post contains affiliate links.
***When you shop Better Batter and use my Promo Code MGFC30 at checkout, you will receive 30% off any non-sale item! ***
CLICK HERE to take advantage of this incredible opportunity to try the flour that I call my little miracle in a bag!
Ingredients:
Preparation:
Preheat the oven to 350º. Wash and dry the blueberries on a clean dishtowel.
Size matters! Using the wrong pan will affect the baking time and overall appearance of the final product. For this recipe you will need a standard 1 lb. loaf pan. Line the pan with parchment and mist with cooking spray.
Sift the dry ingredients (flour, baking powder and salt) together and set aside. Separate the eggs (yolks from whites).
In the bowl of a stand mixer with the whisk attachment, beat the egg whites until stiff and set aside. In a separate bowl, beat the egg yolks with a fork.

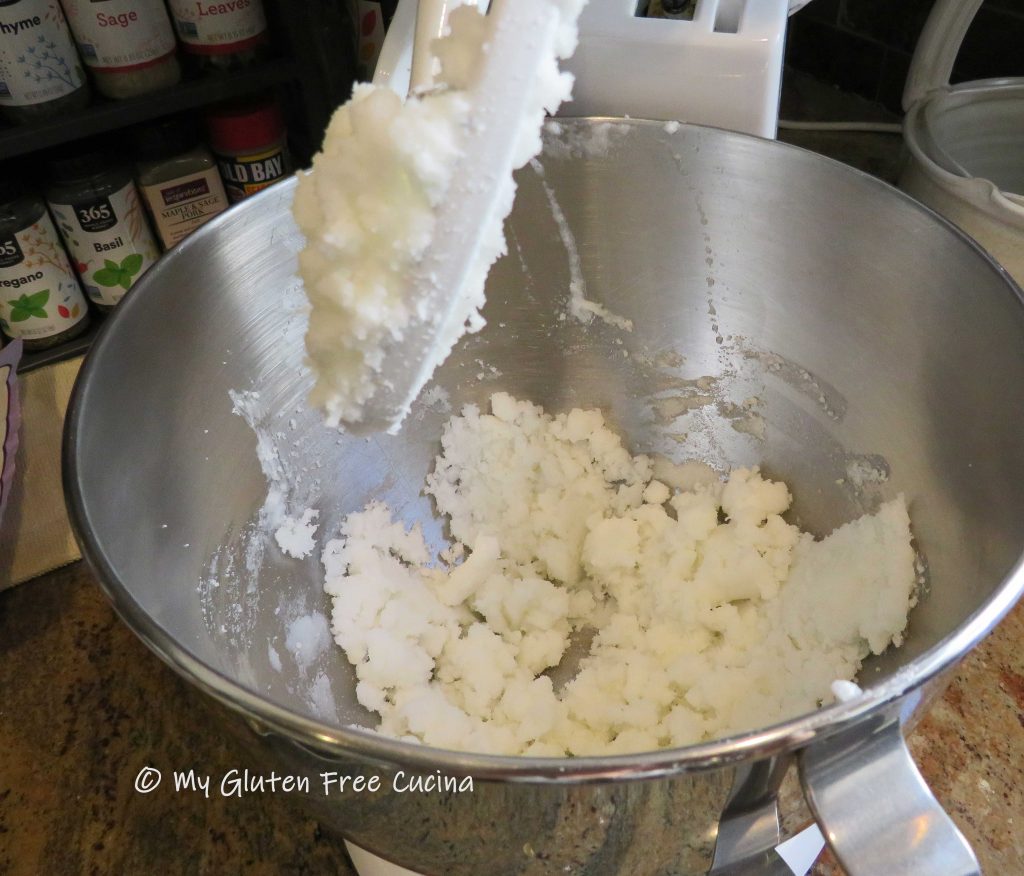
Switch to the paddle attachment. Cream the shortening with the sugar thoroughly, then add well beaten egg yolks.

With the mixer running, gradually add the dry ingredients alternately with the milk, beginning and ending with flour mixture.
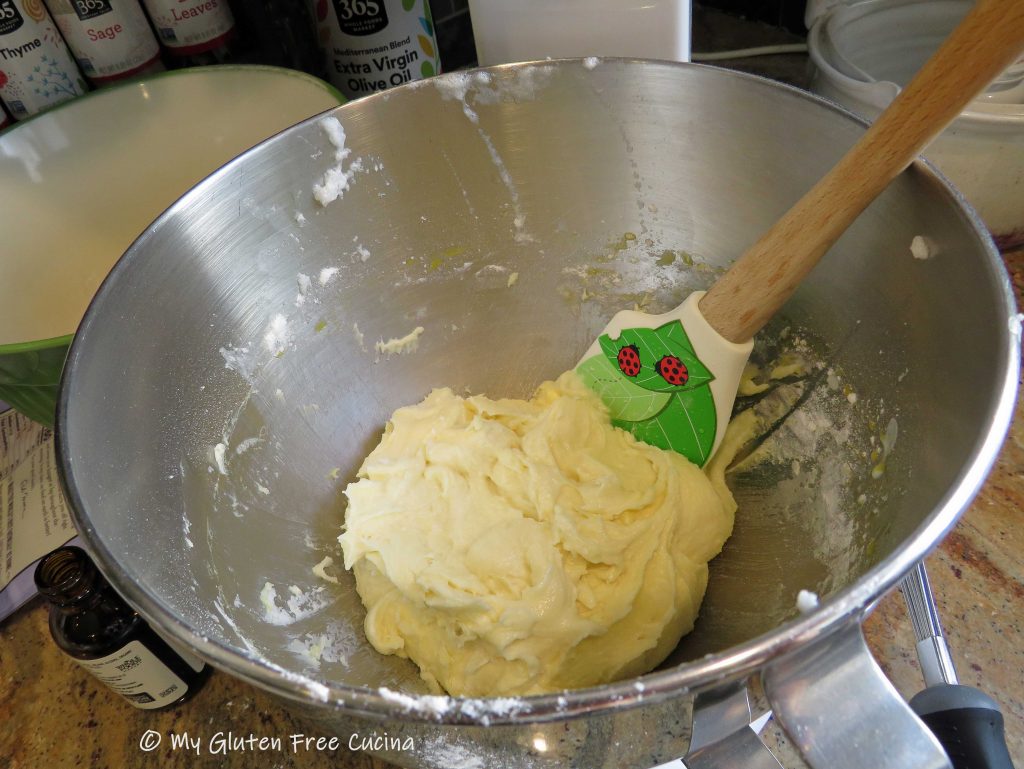
Sprinkle the additional tbsp. of flour on the blueberries before adding to the batter. This will keep them from sinking to the bottom of the cake as it bakes.
Fold the egg whites and vanilla into the batter, then fold in the floured blueberries.
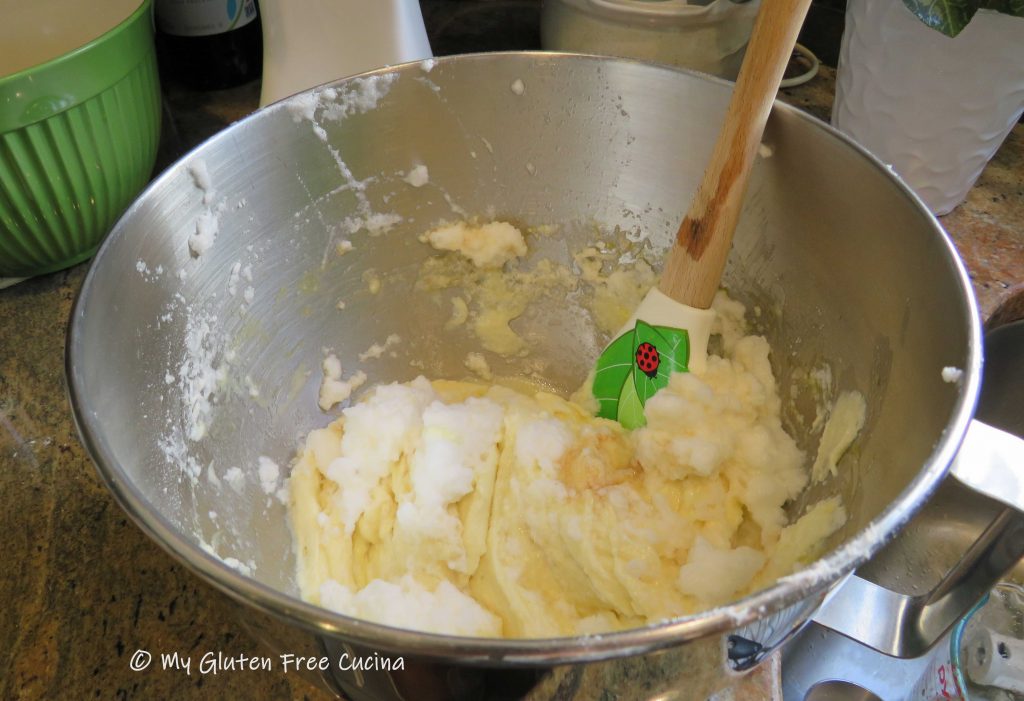
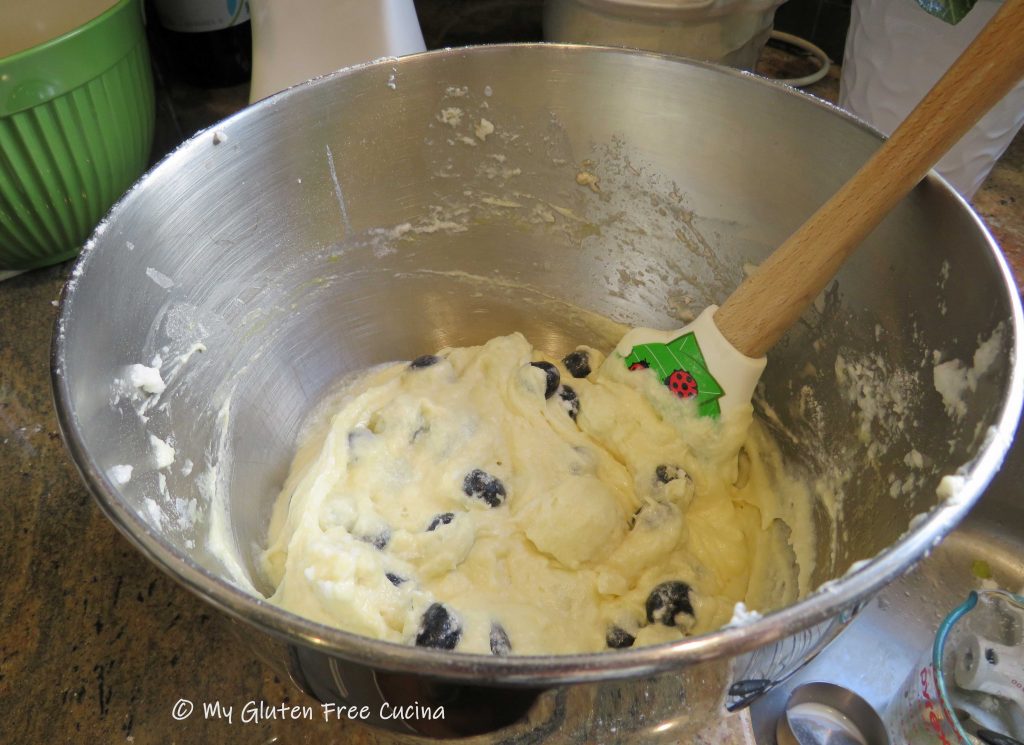
Spread the batter evenly in the prepared baking pan. Sprinkle the top of the batter with sugar.
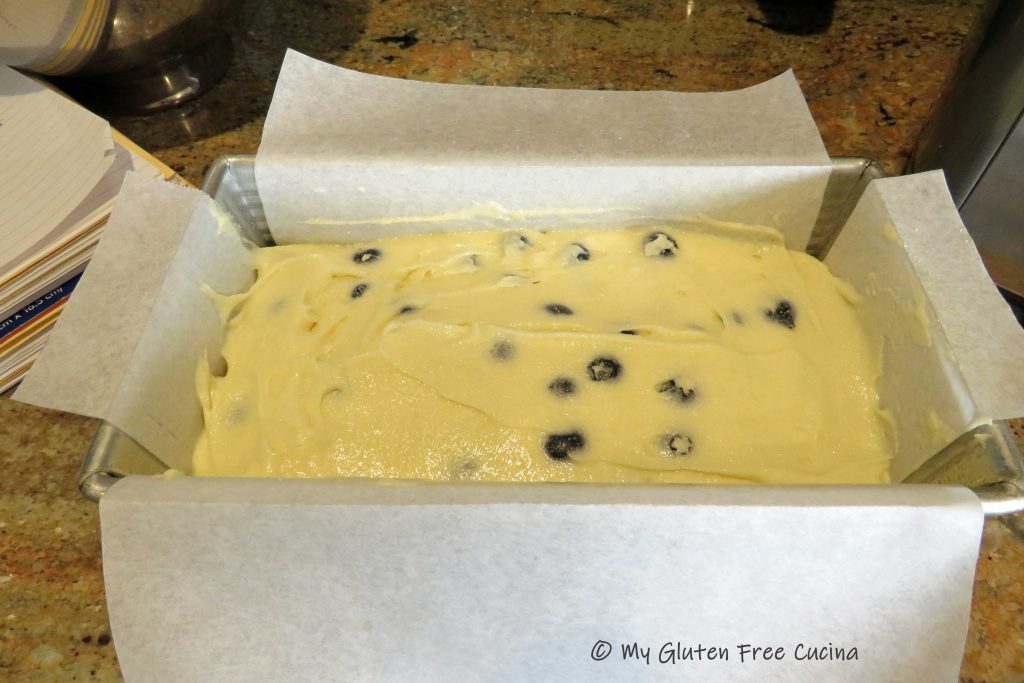
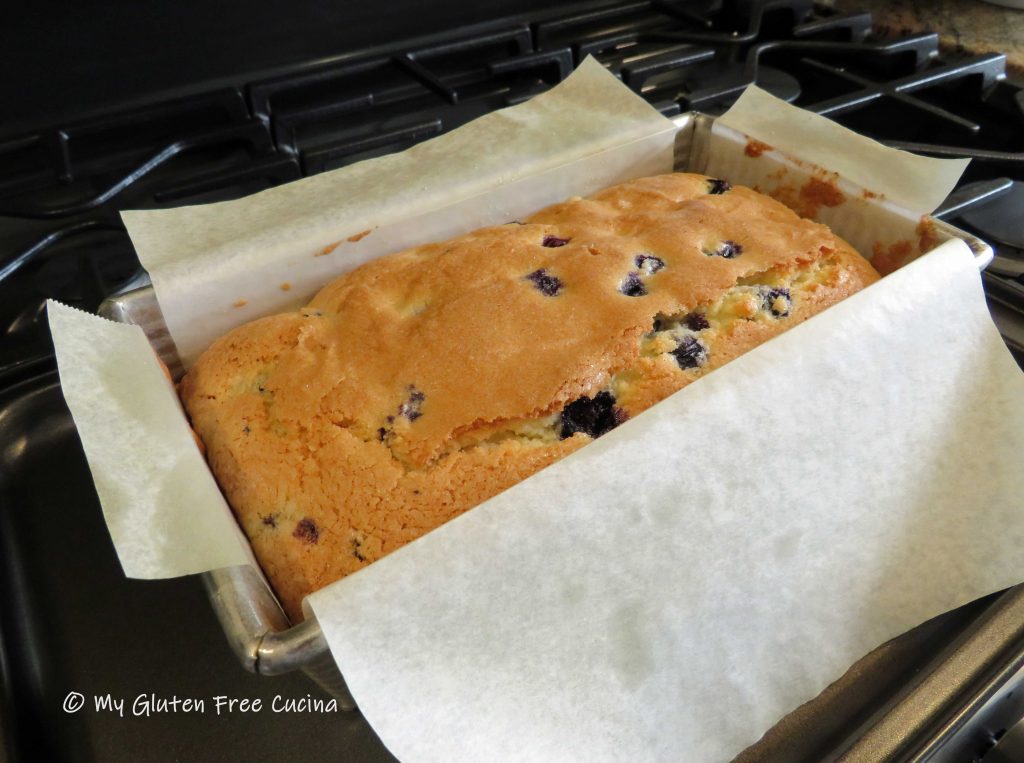
Bake at 350° for 55 minutes, then turn the oven off and leave the cake in for 5 minutes longer. Cool 10 minutes in the pan.

Grasp the parchment on either side and gently lift the cake onto a cooling rack. Wait a few minutes then carefully peel away the parchment.

Let the cake cool to room temperature before serving. Although this cake needs no further adornment, I like to dust the top with powdered sugar.
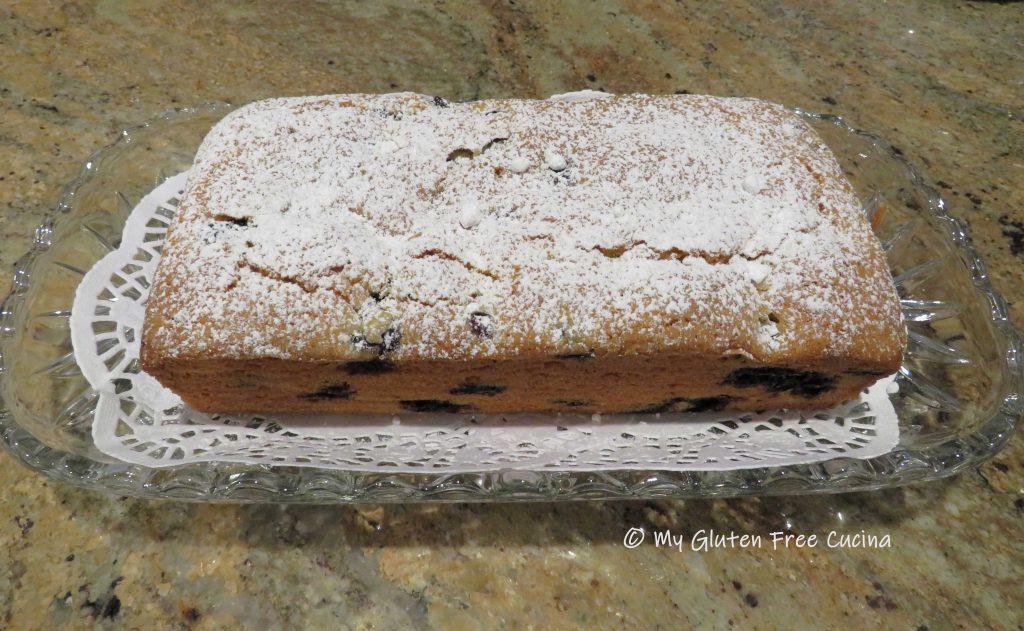
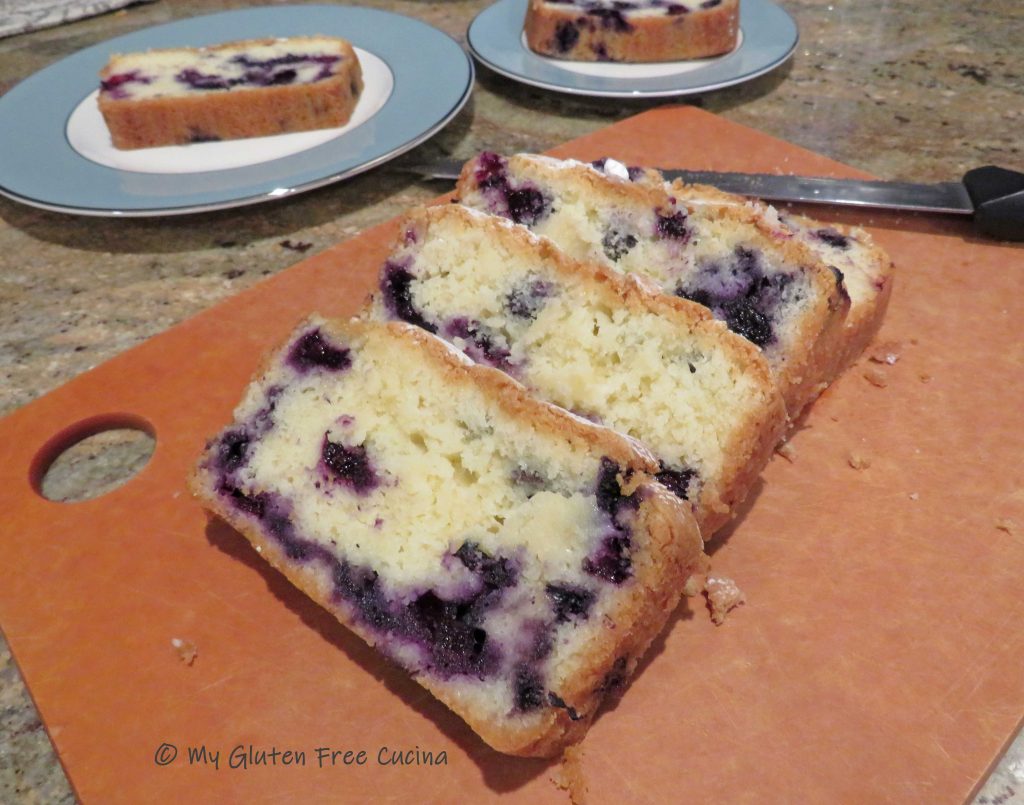
This cake is so simple, but the flavor and texture are rich and indulgent. I think I did justice to the original recipe! My husband always loved this cake and said he could not tell it was gluten free.
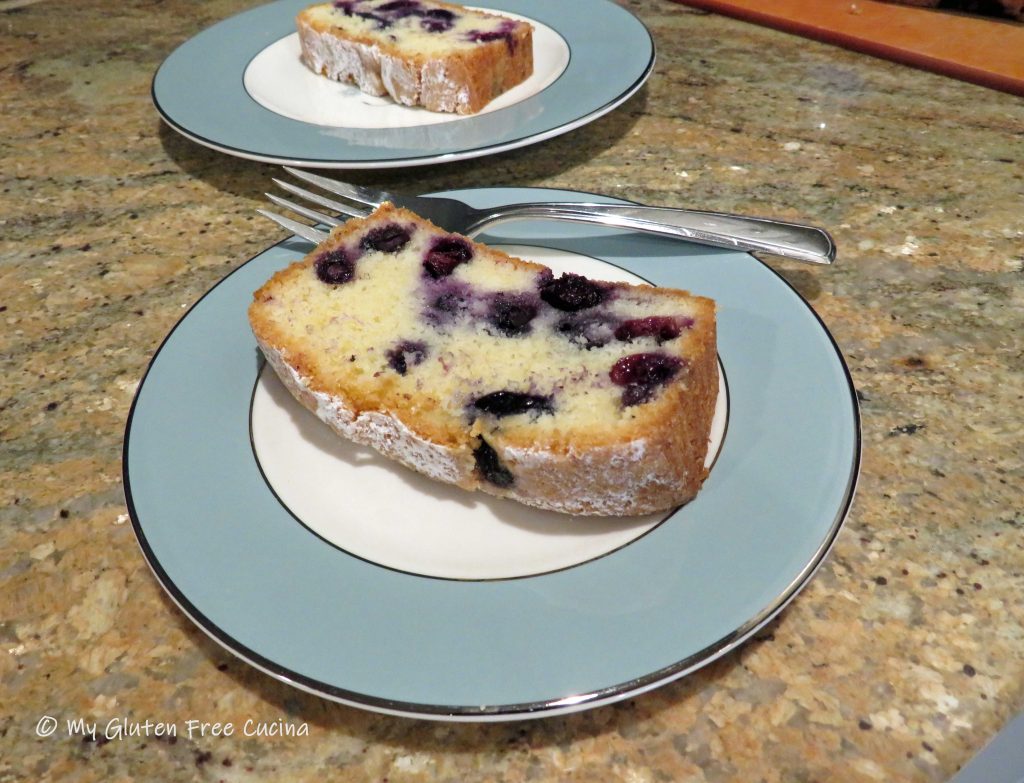
Notes: ♪♫ For best results, use fresh blueberries. The baking time in the original recipe is 40 minutes, but I have found that it requires closer to an hour. Check with a toothpick, and if the cake is still a tiny bit moist in the middle you can turn off the oven and leave it in 5 minutes longer. The cake will continue to set as it cools in the pan.

 Print This Post



 I hadn’t made this cake since my Celiac diagnosis in 2017, and always wondered what would happen if I converted it to gluten free. Would it taste as good? The verdict, YES and the results were amazing!


