
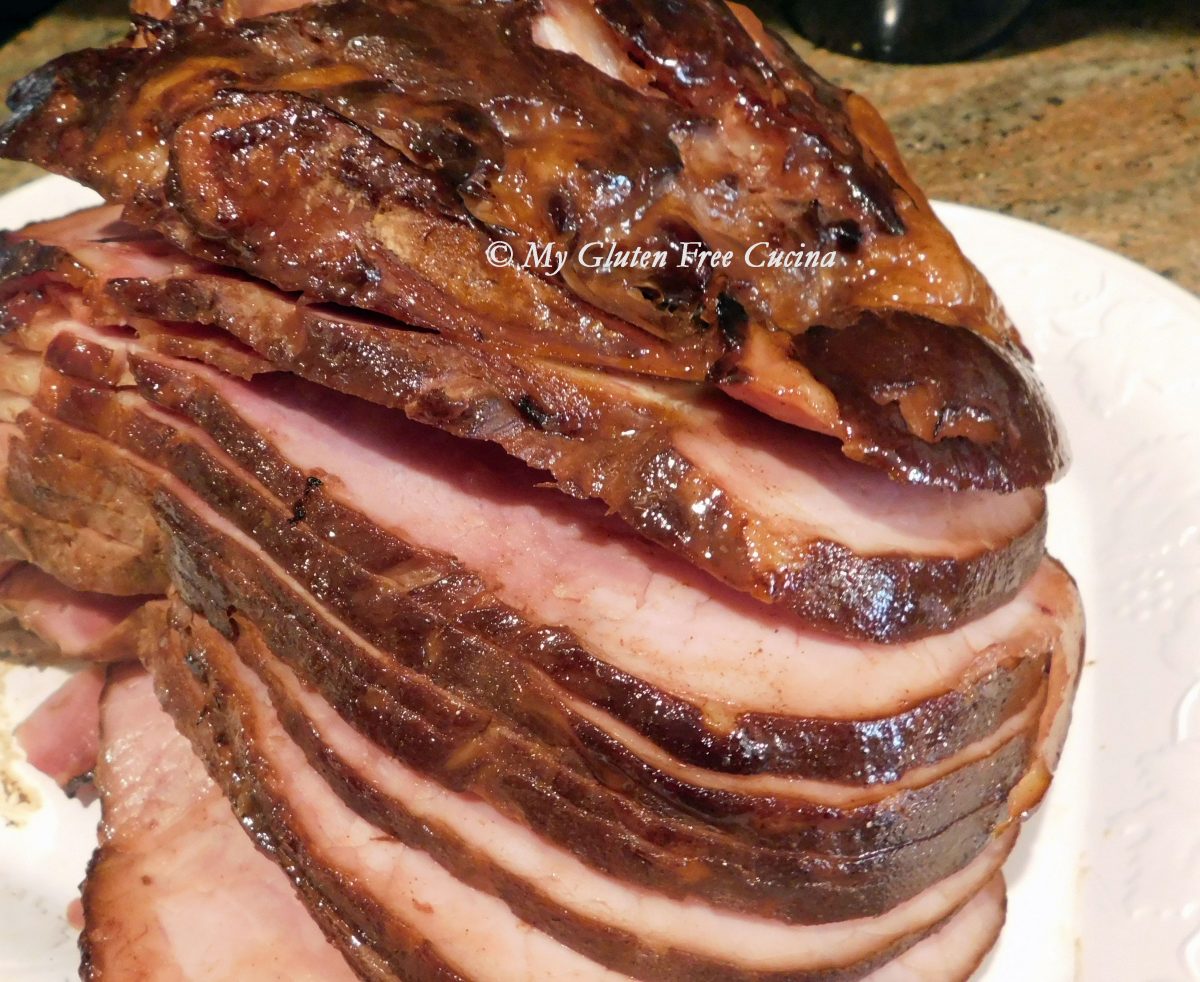
A spiral ham can be the centerpiece of your holiday meal. An easy main course means you will have more time to devote to your tasty appetizers and side dishes! Taking a few extra minutes to prepare a simple homemade glaze for the ham will make it extra special. Impress your guests, when you tell them you didn’t use “that foil packet” to make a glaze.
How much ham should you buy? The usual estimate is 3/4 pound per person for a bone-in ham. For small gatherings, you will likely find that even the smallest ham is much more than what you need. Don’t worry, you can send your guests home with leftovers, and you will enjoy ham sandwiches all week! And don’t forget to make a stock with the ham bone for Lentil Soup or Split Pea Soup.
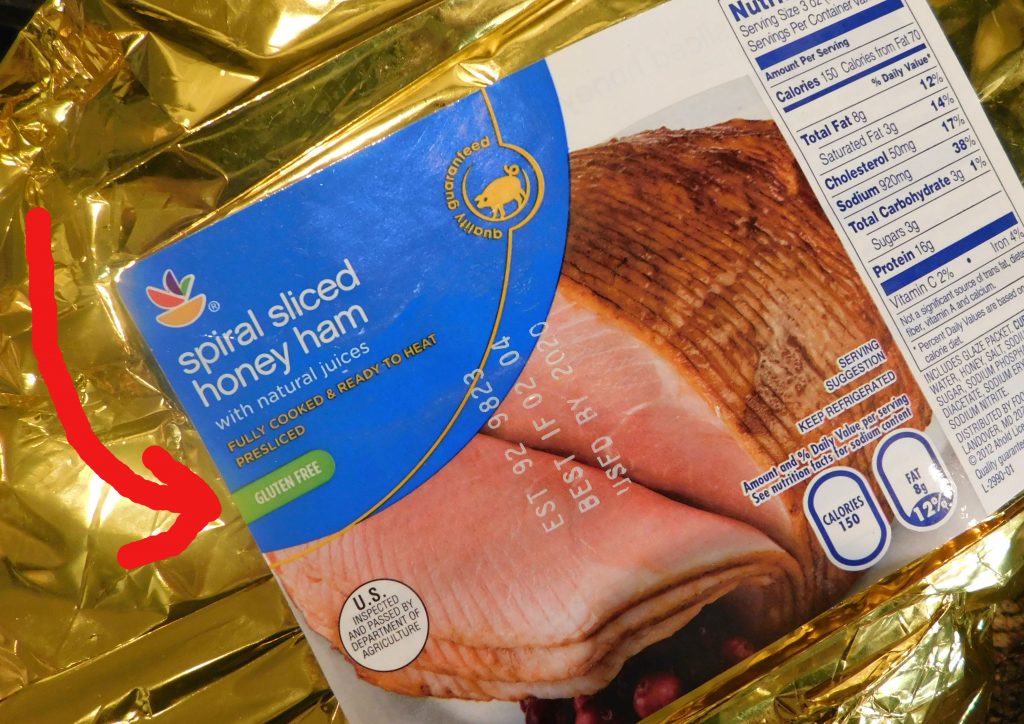
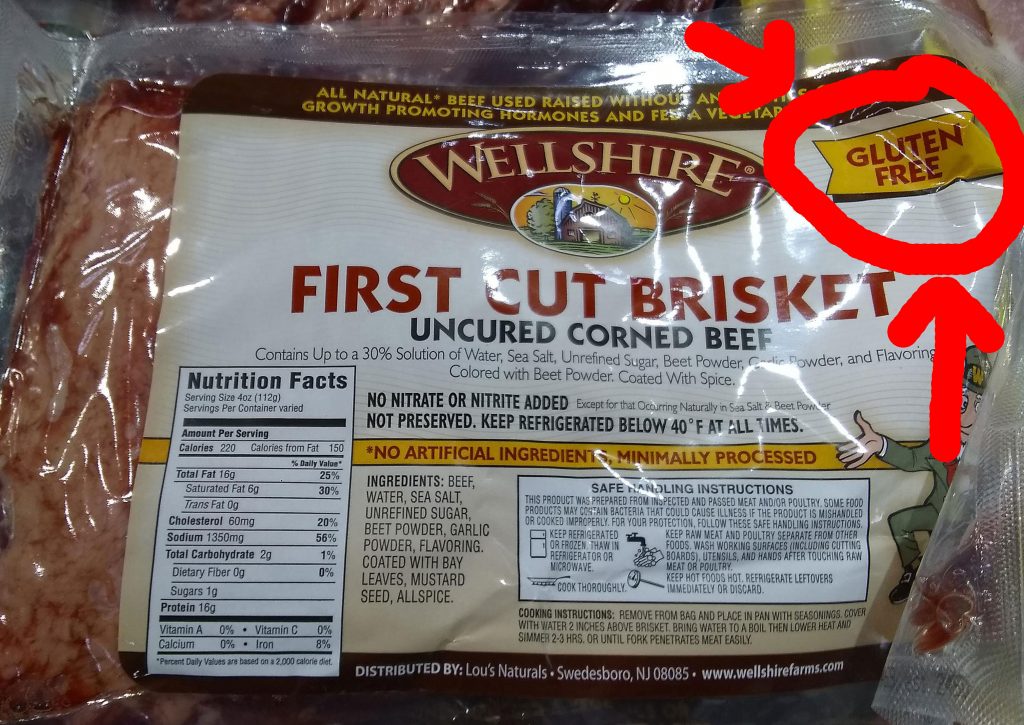
When shopping for a spiral ham, I go out of my way to look for the gluten free label. This year I went to more than one store (if they seem puzzled when you ask if the ham is gluten free go to another store!)
This post contains affiliate links.
Ingredients:
- 1 fully cooked spiral ham
- 1/2 cup orange juice
- 1/2 cup honey
- 1/2 cup brown sugar
- 1/4 cup whole cloves
Preparation:
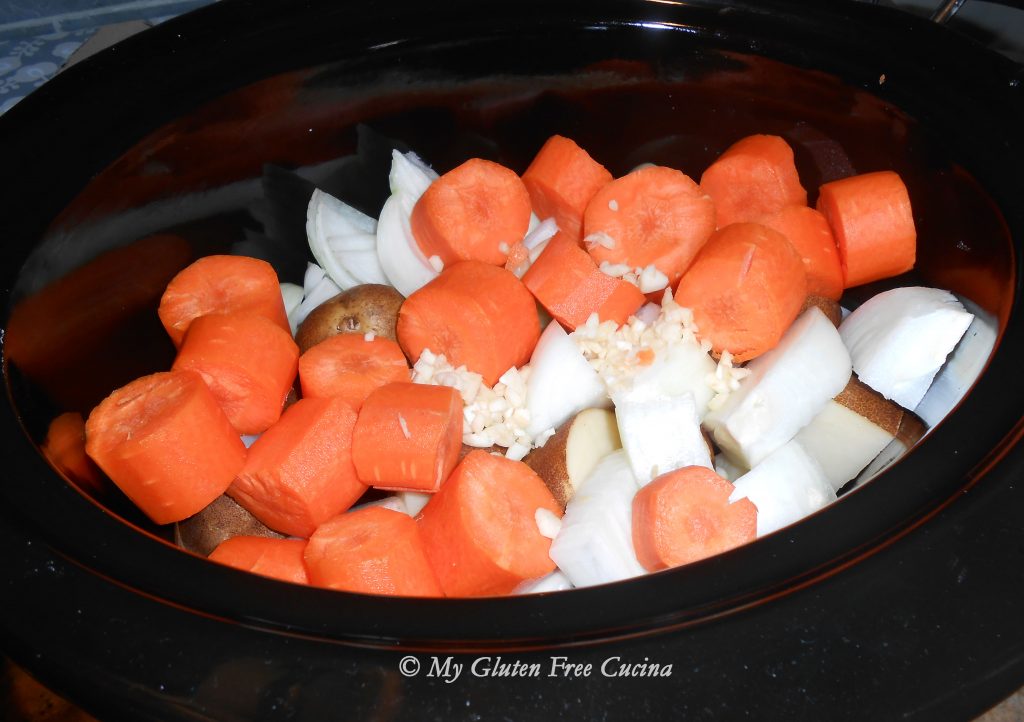
Set the ham cut side down in a roasting pan (use a rack if you have one).
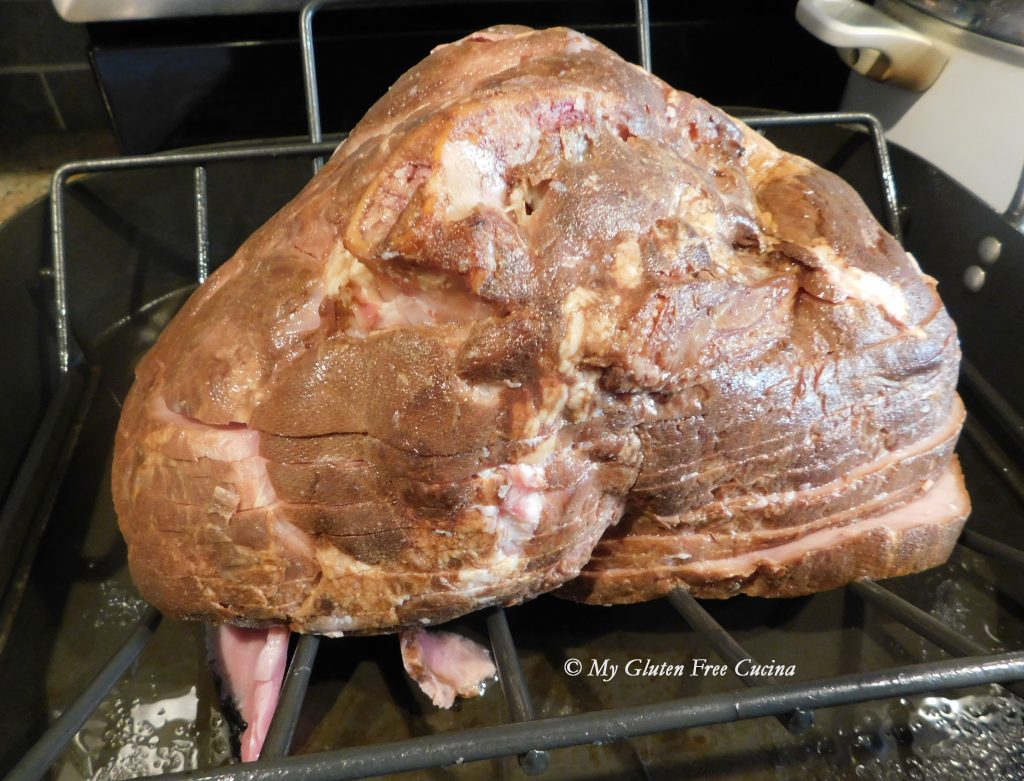
Cover the ham tightly with foil and add 1 cup of water to the bottom of the pan. Roast 15 minutes per pound at 325º.

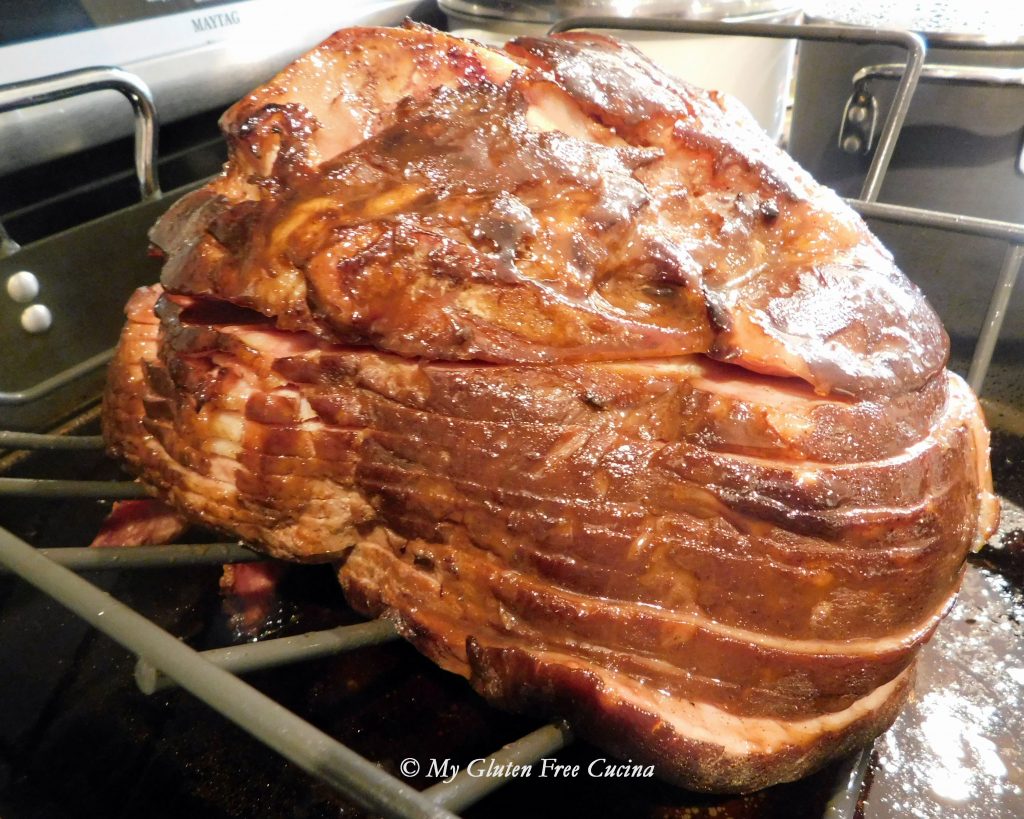
Whisk together the orange juice, honey, brown sugar and cloves in a small saucepan. Keep warm while the ham is baking. During the last 45 minutes, remove the foil and brush the ham generously with the glaze every 15 minutes.
After the holiday, leftover ham is great in sandwiches, omelets and pasta salads. Save the bone and small scraps of meat to make a delicious Split Pea Soup!

Notes ♪♫ When choosing a ham, look for the gluten free label. While pork is a gluten free food, be sure to read labels to check the spices and glazes used in processing. Ditto for the “foil packet”, if you aren’t sure what’s in it, toss it and make your own glaze.

[print_link]
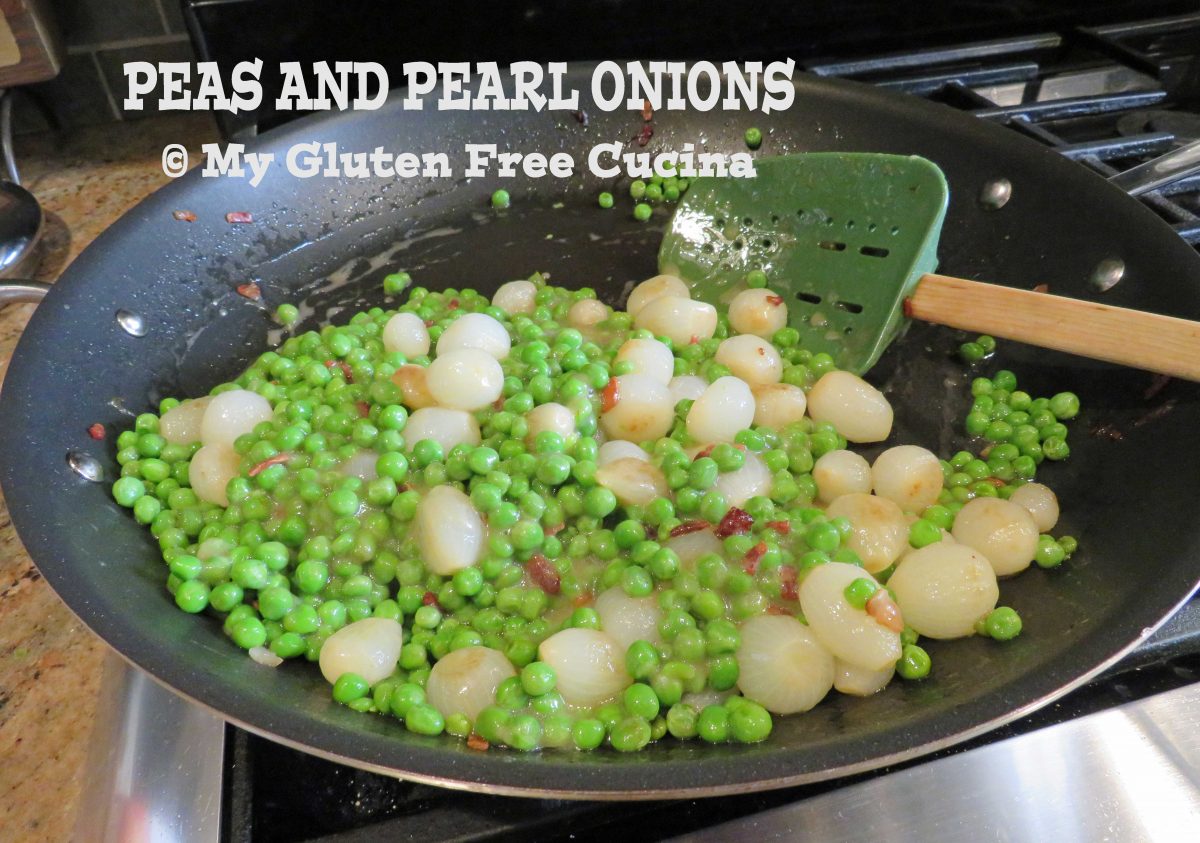
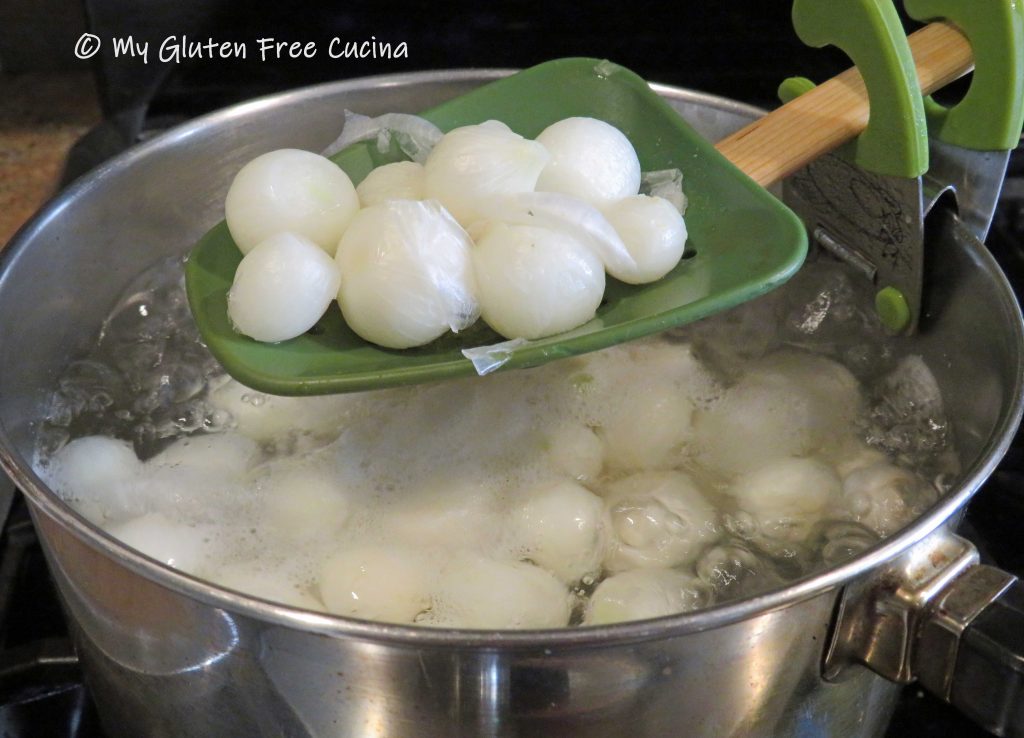

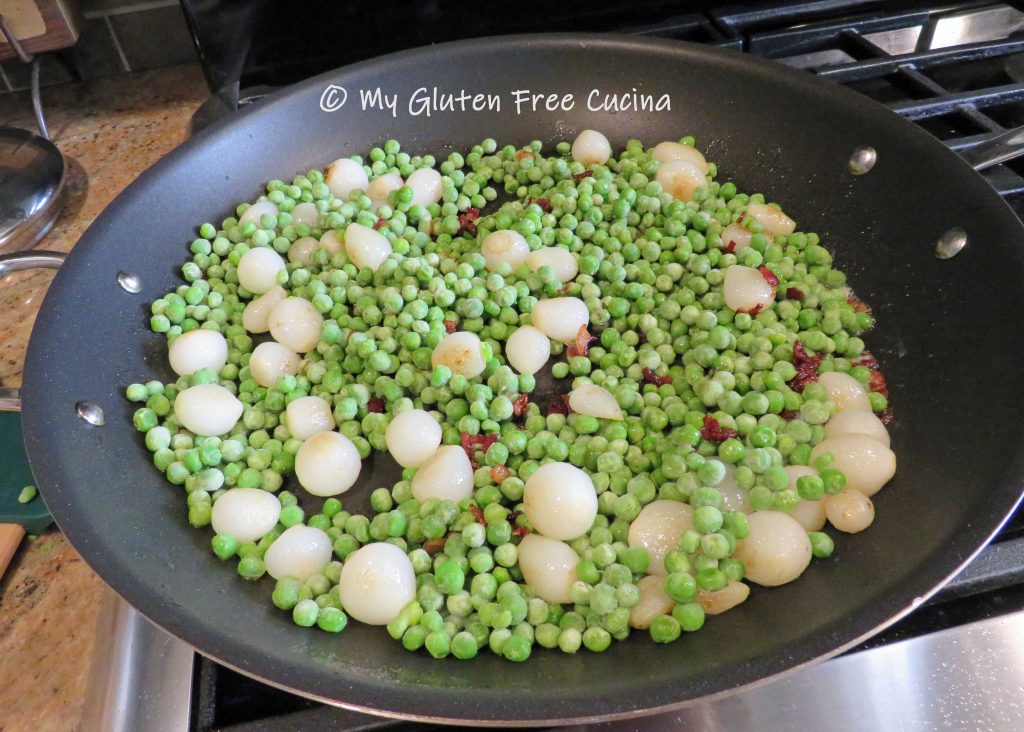
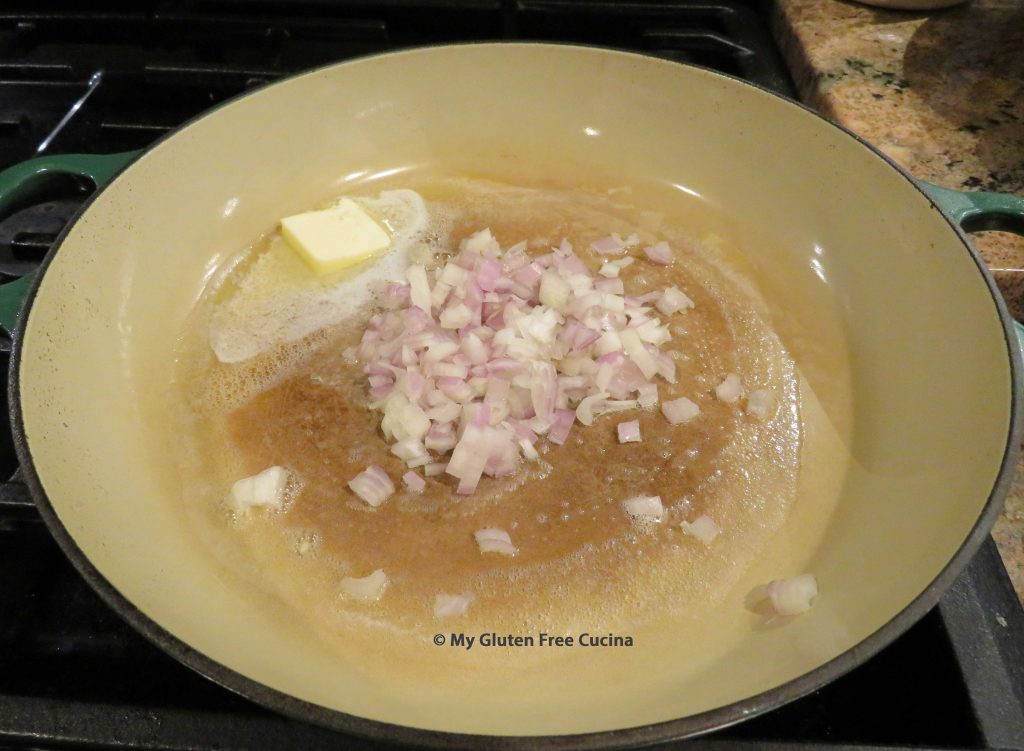
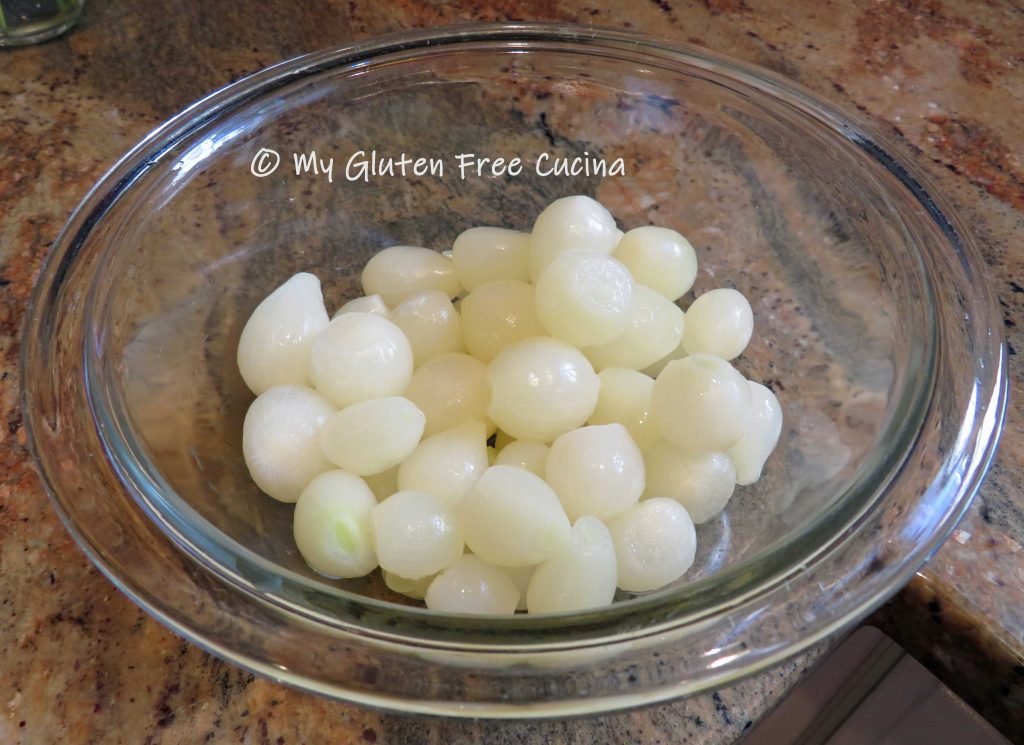 If you were lucky enough to find frozen pearl onions, thaw them on the counter for at least 30 minutes, along with the peas. Frozen pearl onions have already been peeled and blanched, a real time saver!
 When the bacon starts to brown, add the onions and cook for 5 minutes over medium low heat.
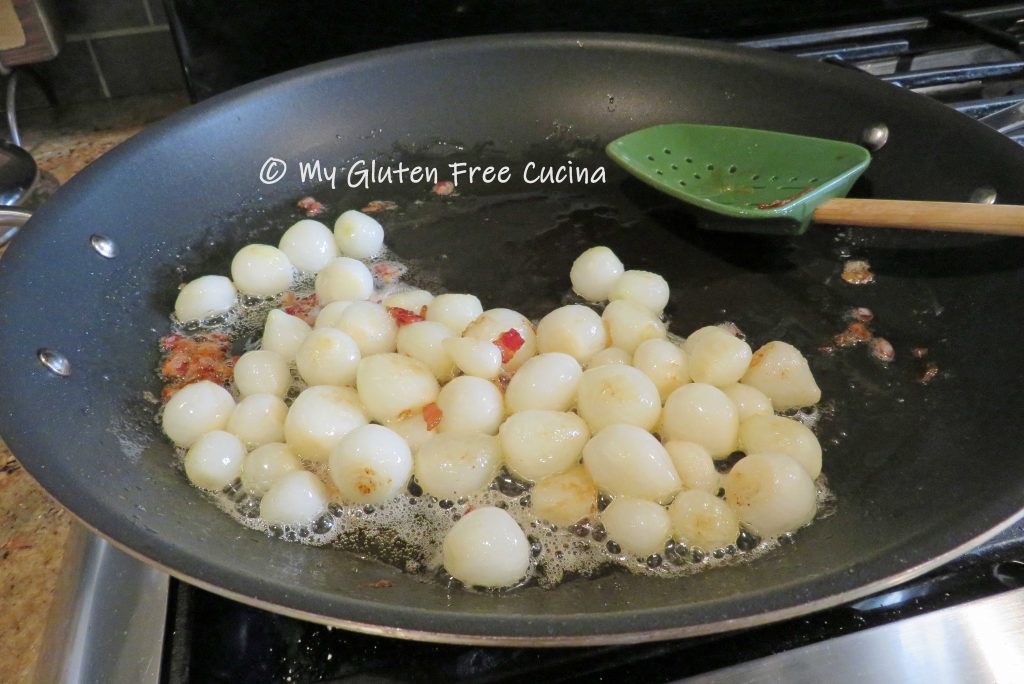
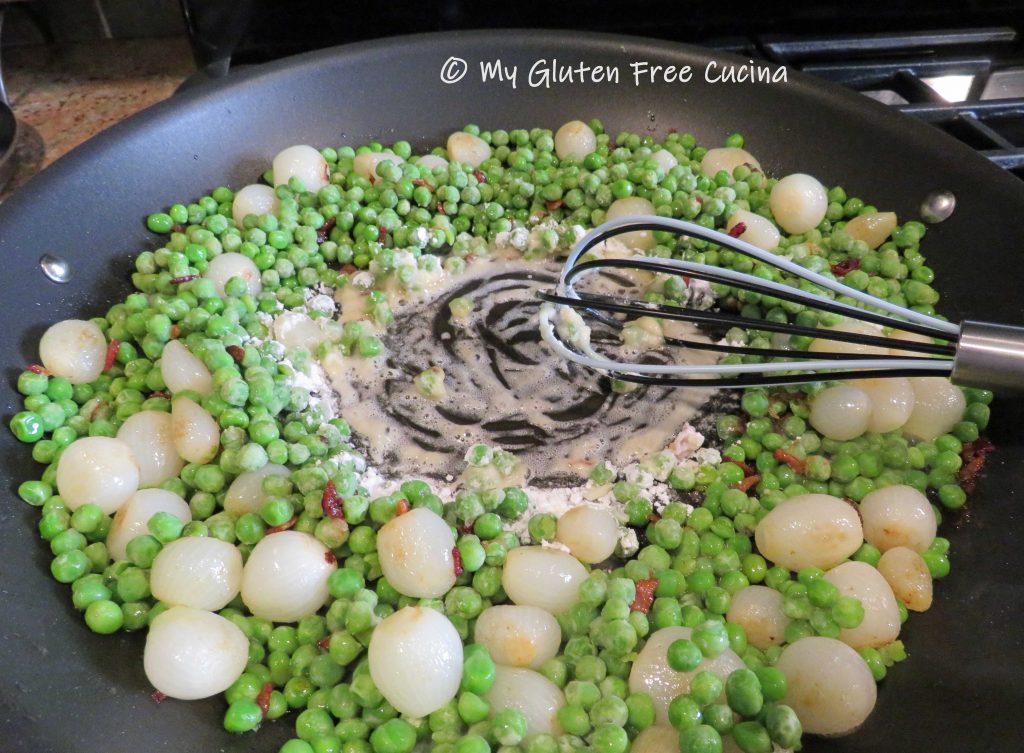 Stream in the chicken broth as you continue whisking. Start with 1/2 cup and add more if needed.
 Remove from the heat and stir in the cream or half and half if desired.


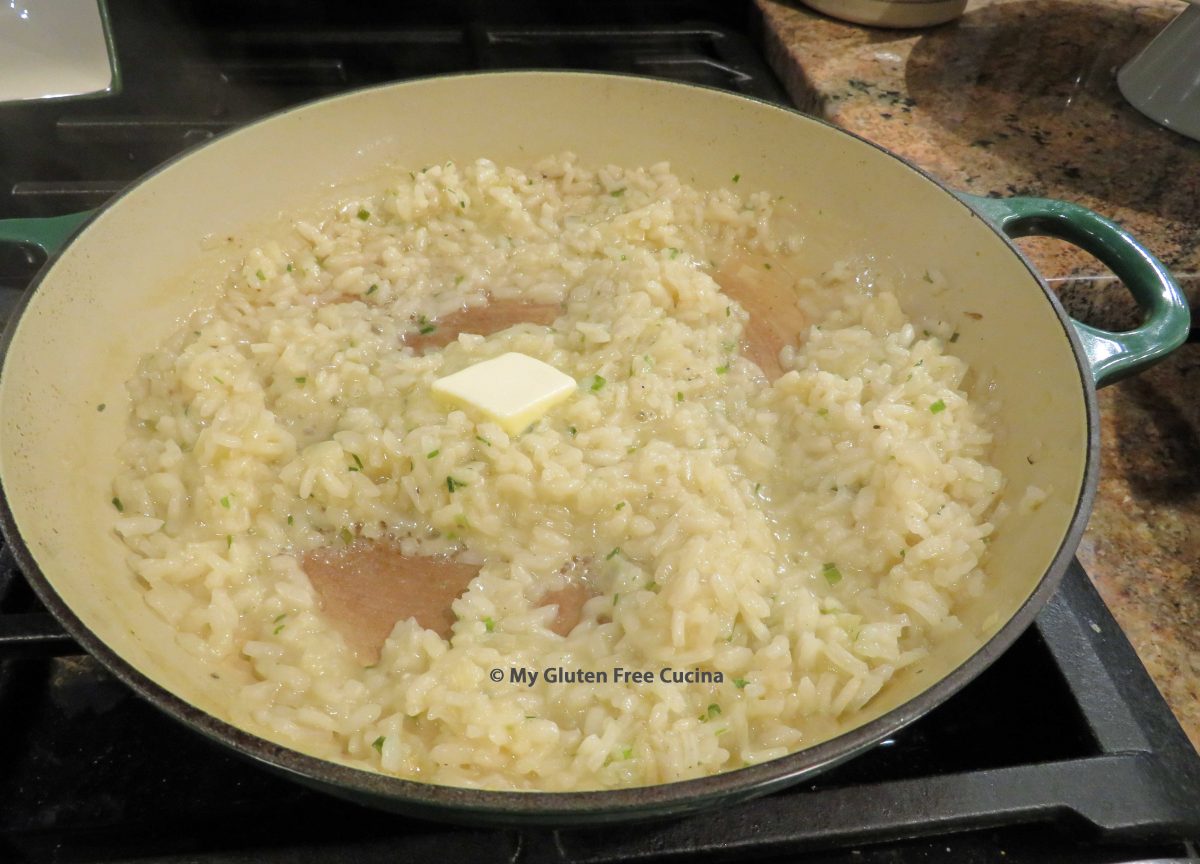


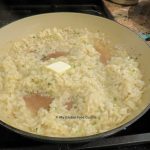
 This basic recipe is a great jumping off place for some amazing risotto dishes. You can stir in grated cheese, sauteed mushrooms, even butternut squash puree!
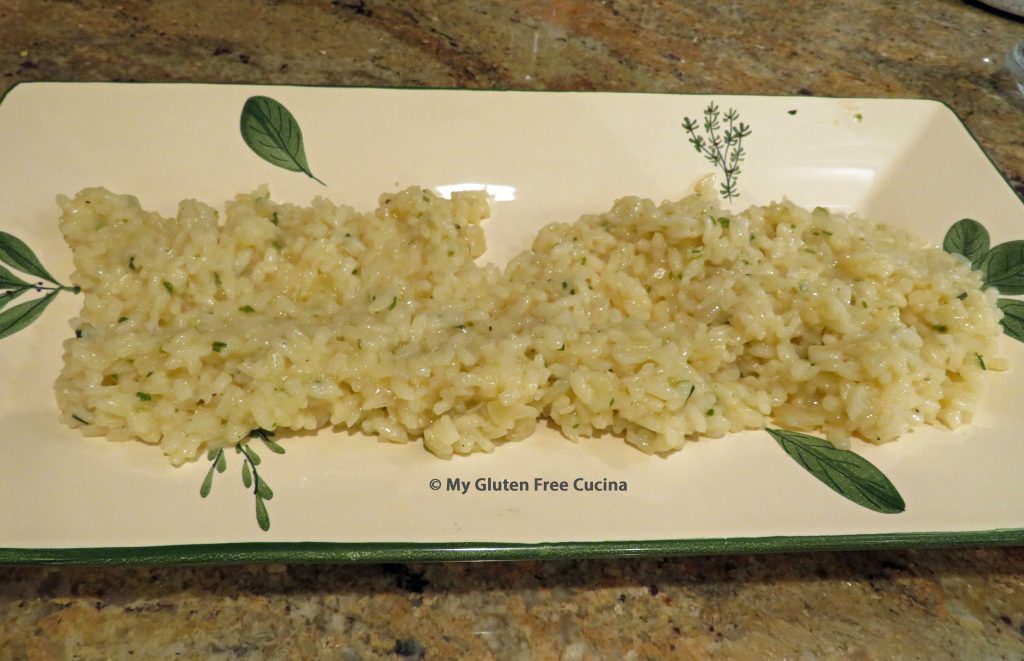


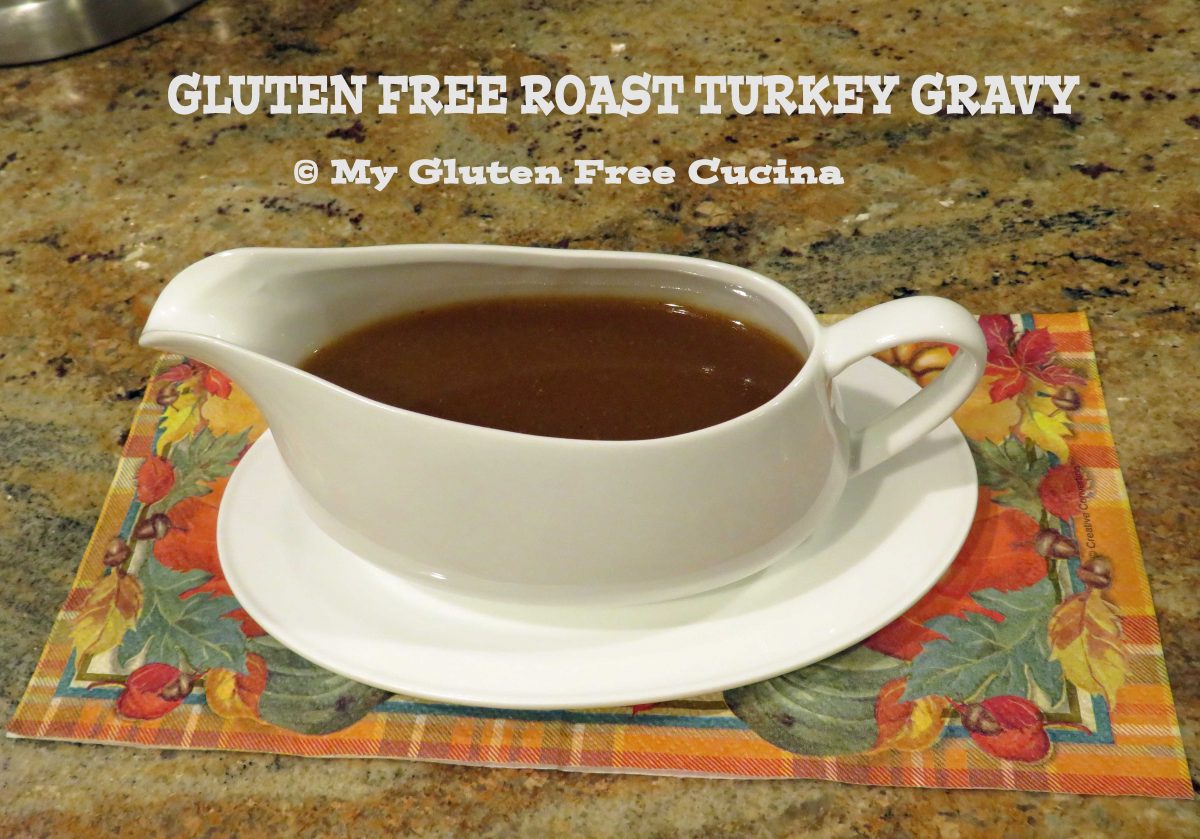


 Strain through a
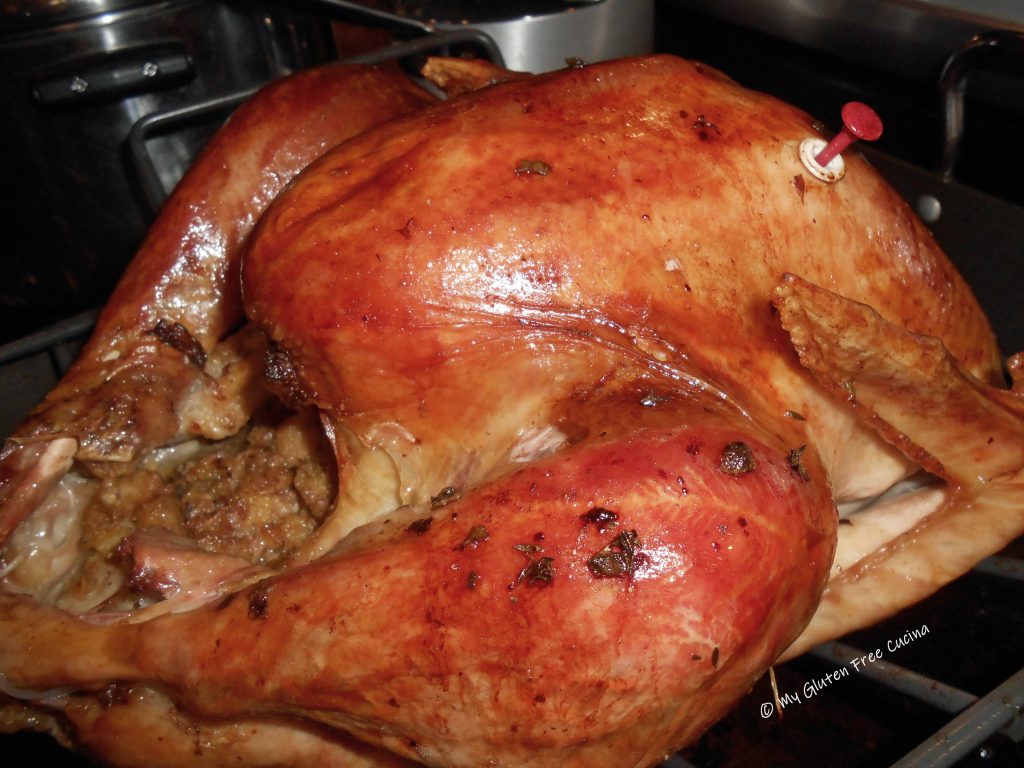
  After years of fumbling around with pan drippings I now prefer this make ahead recipe. It is quite possibly the best turkey gravy I have ever made. Mine is tucked away in the freezer now, and I will defrost it the night before Thanksgiving. Just reheat to a low simmer before