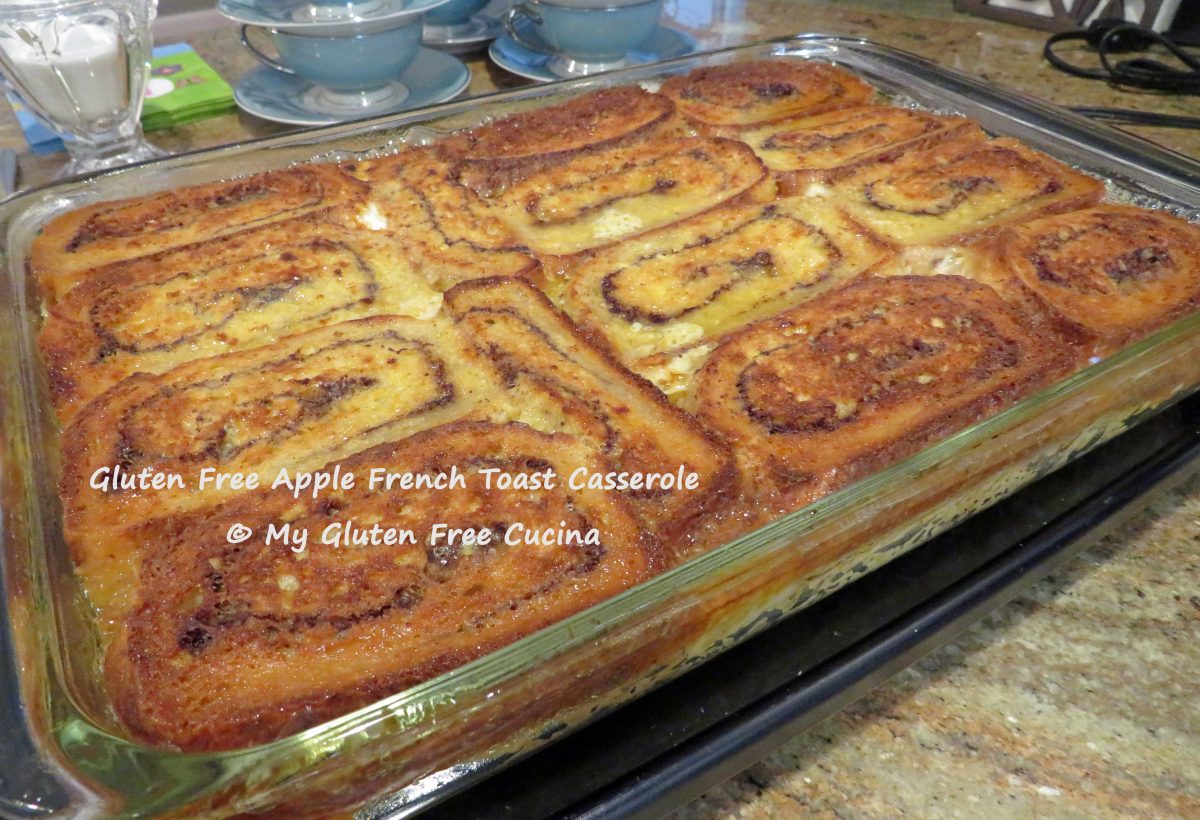
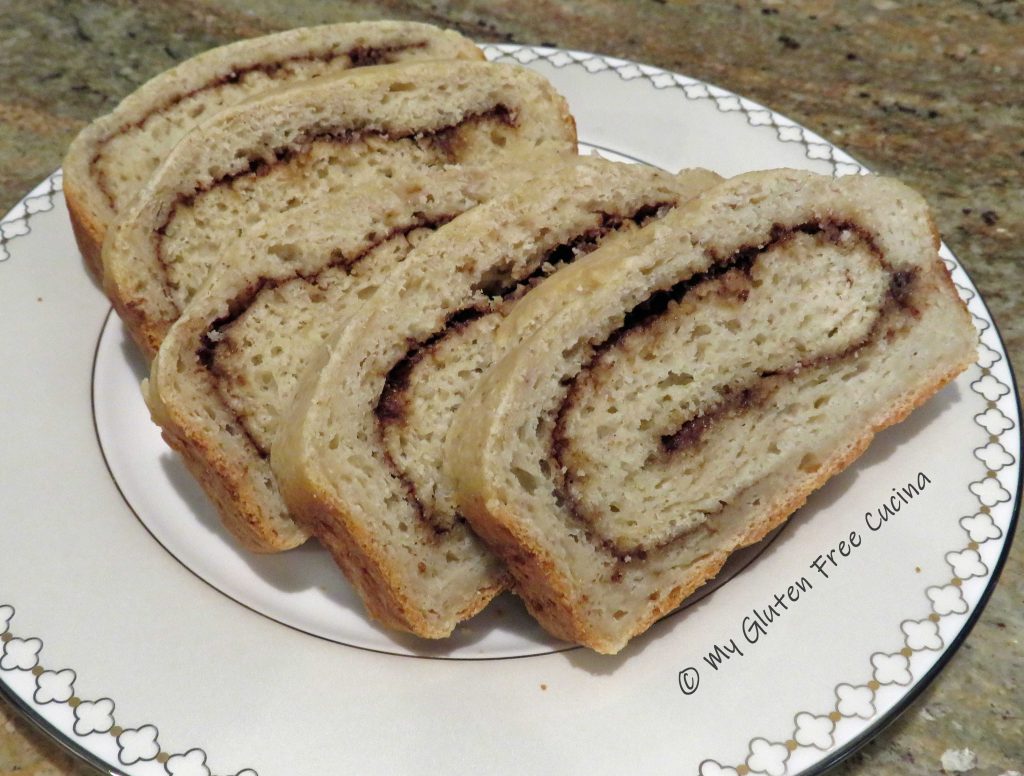
Did you see the Gluten Free Cinnamon Swirl Bread I posted a while back? If not, check it out here! I used that same recipe to make this overnight Apple French Toast for Easter. The cinnamon swirl bread goes so well with apples! This is a wonderful make ahead recipe for a brunch, get it ready the night before and bake in the morning!

Ingredients:
- 1 loaf Gluten Free Cinnamon Swirl Bread
- 1/2 cup dark brown sugar
- 1/2 cup butter (1 stick)
- 2 tbsp. maple syrup
- 3 apples (I used Honey crisp)
- 7 eggs
- 1-3/4 cups milk (I used 2%)
- 1 tsp. vanilla extract
- 1/2 tsp. cinnamon
- cooking spray
This post contains affiliate links.
Preparation:
Make the Cinnamon Swirl Bread 2 days before and store at room temperature.
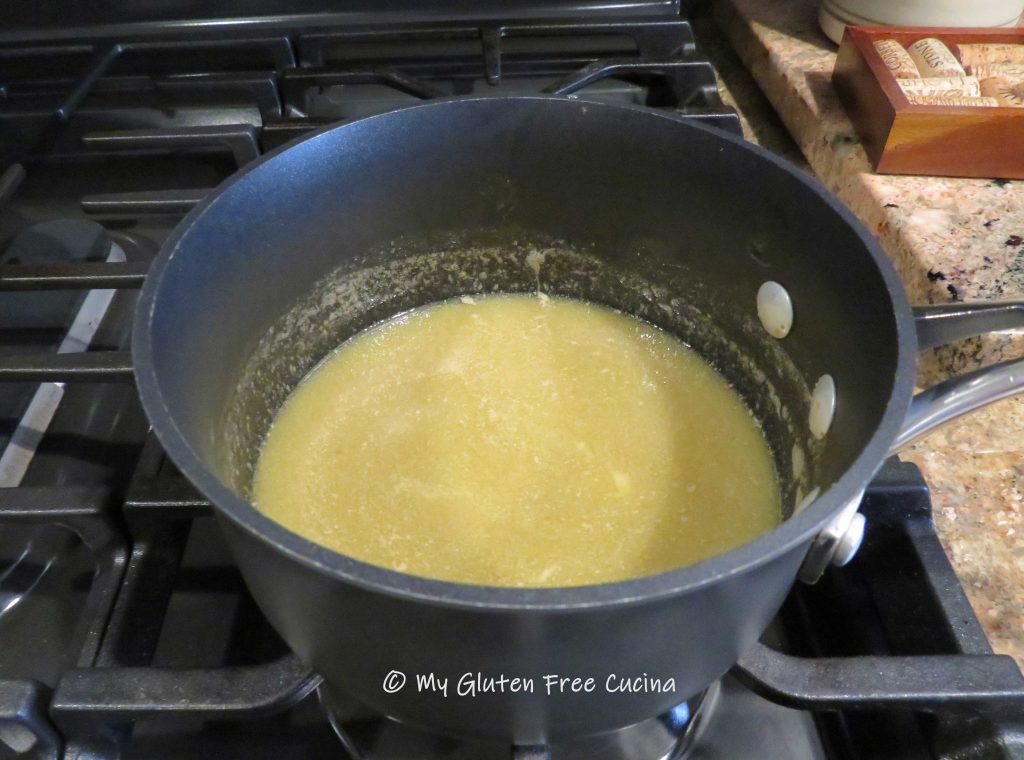
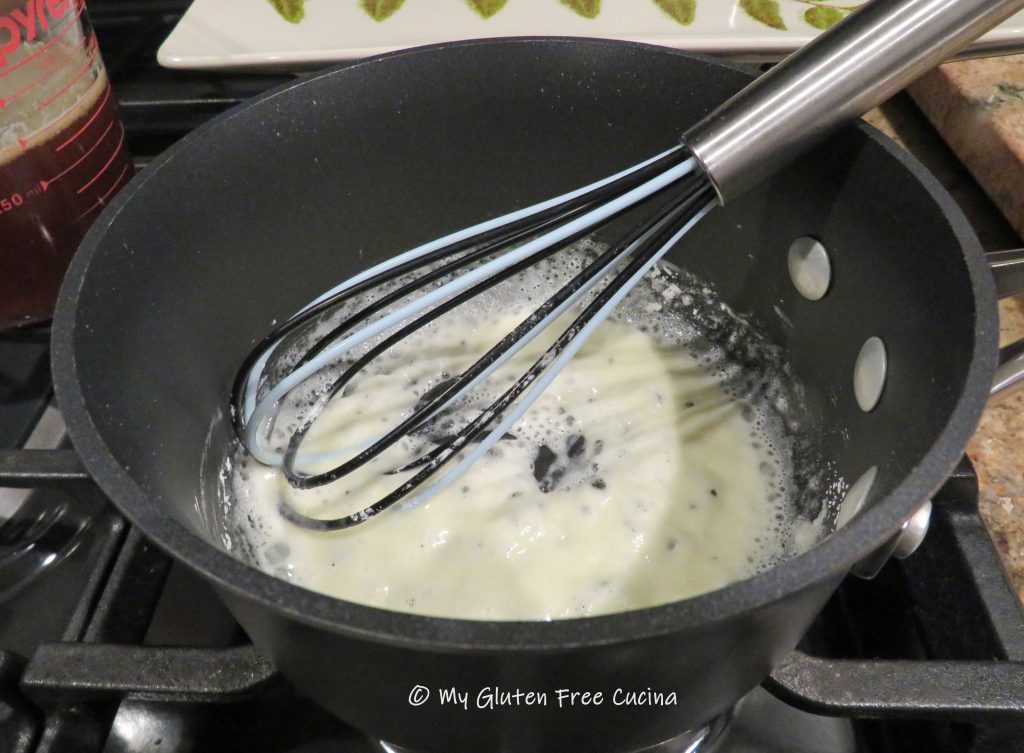
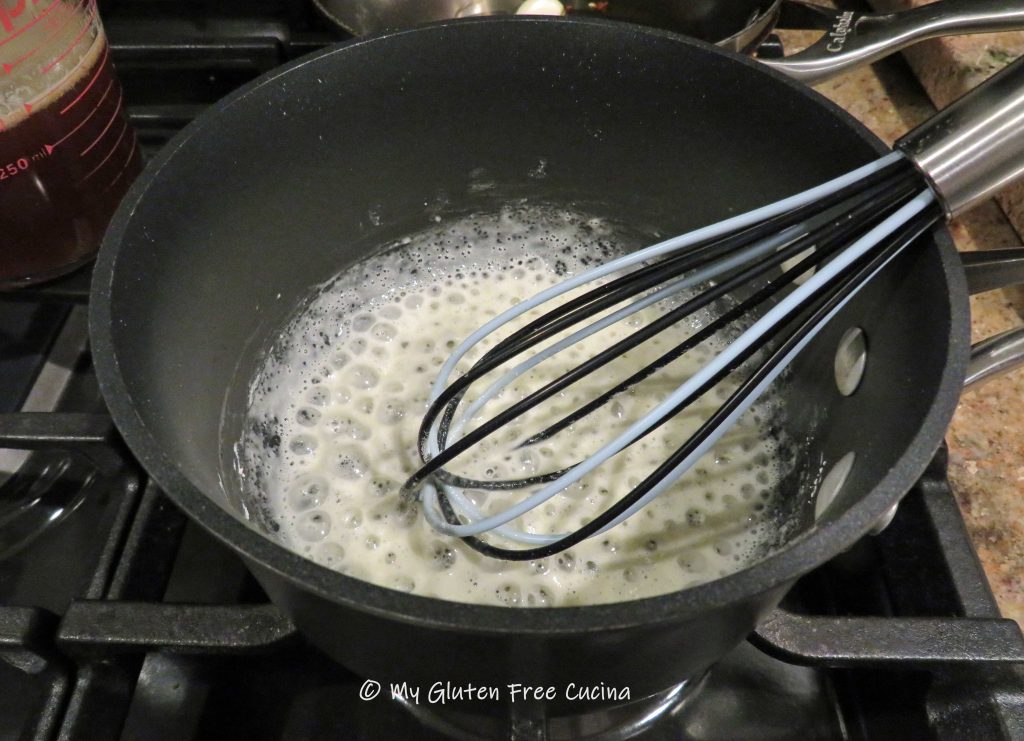
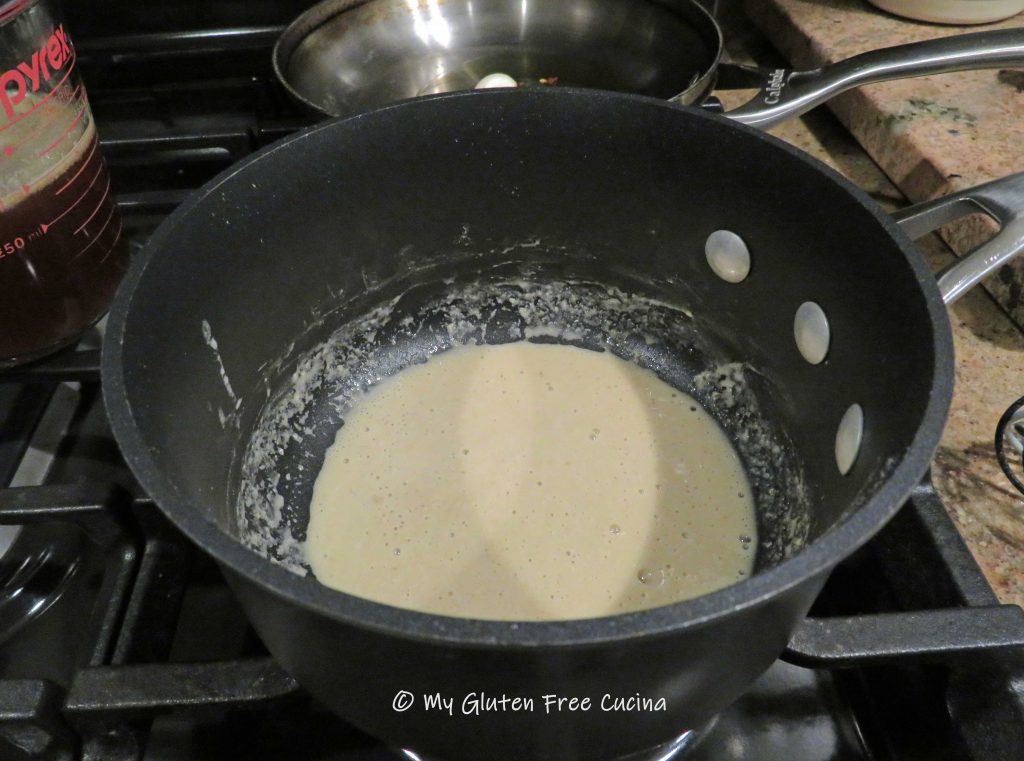
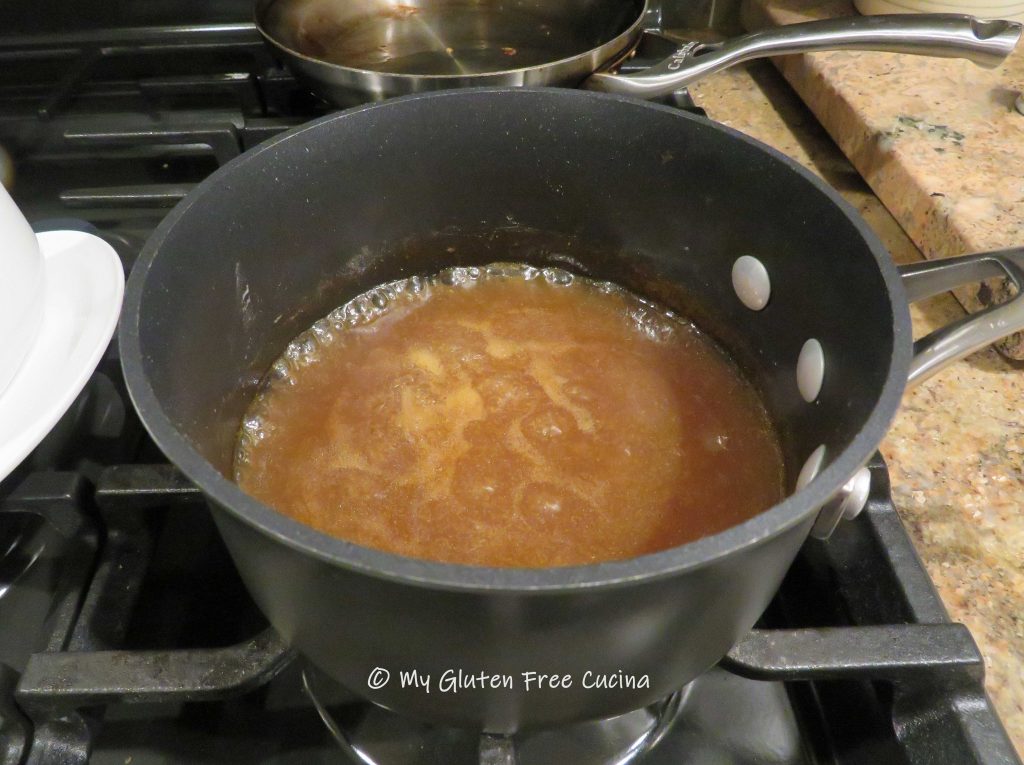
The night before your brunch, melt the butter, brown sugar and maple sugar in a small saucepan. Stir occasionally to dissolve the sugar.

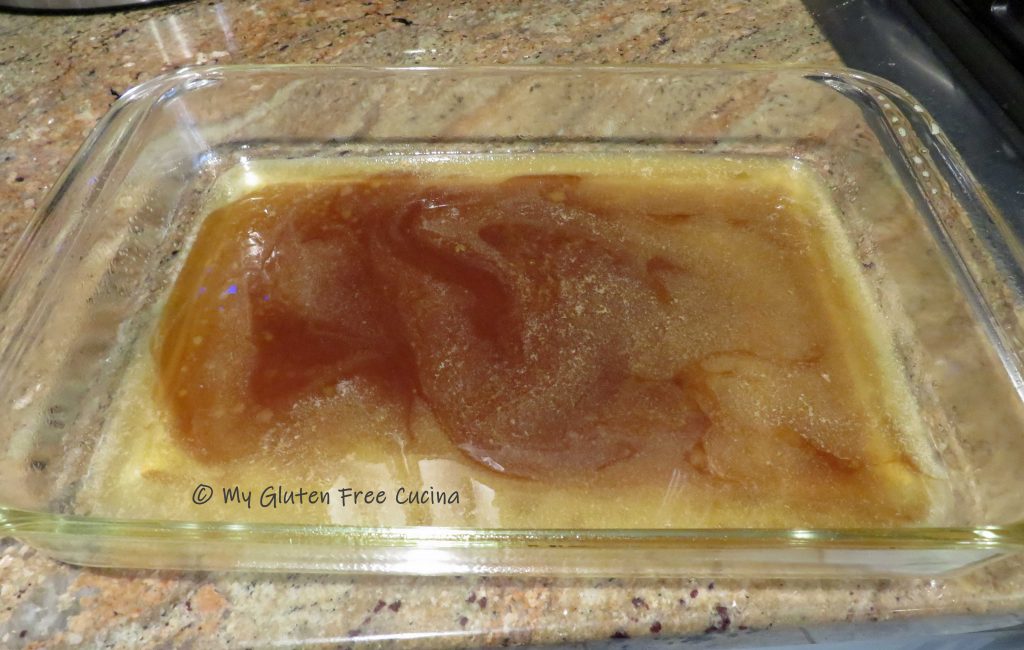
Mist a 9 x 13″ glass baking dish with cooking spray and pour the butter mixture into the dish.
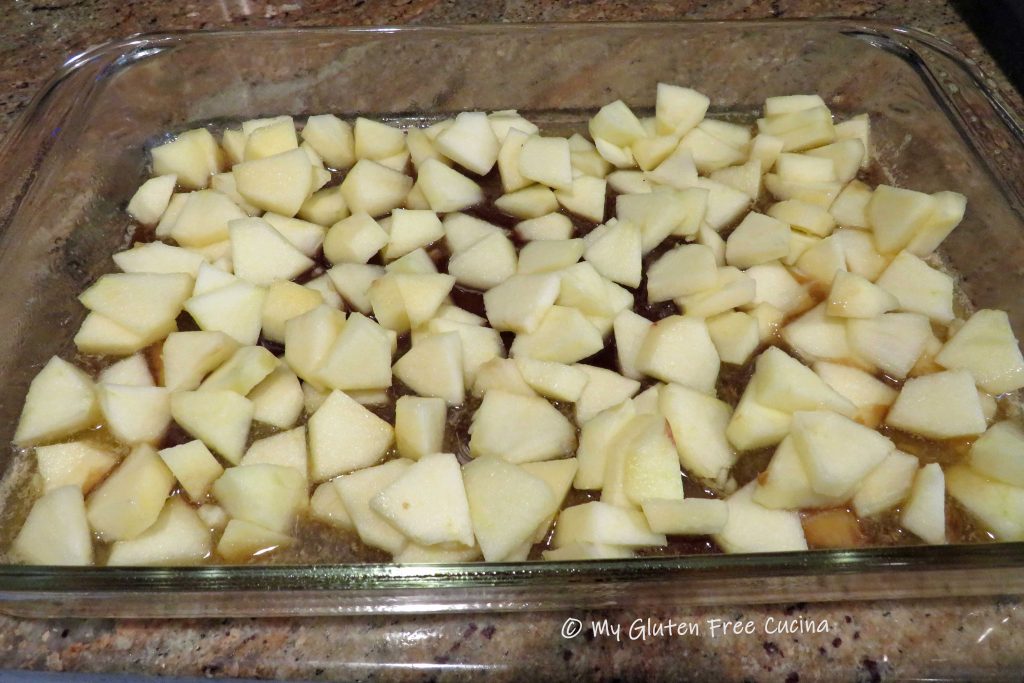
Peel and slice the apples and spread them over the butter mixture in a single layer.
Cut the bread into 3/4″ slices and arrange over the apples.

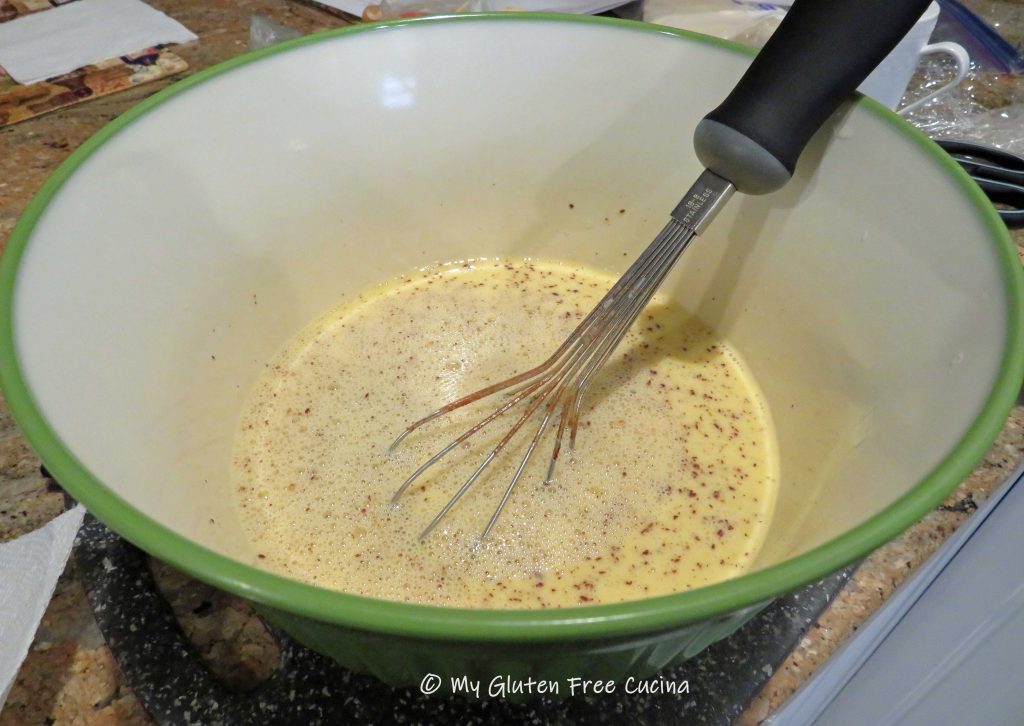
Whisk together the eggs, milk, vanilla and cinnamon.
 Pour the egg mixture over the bread slices and press down with a spatula.
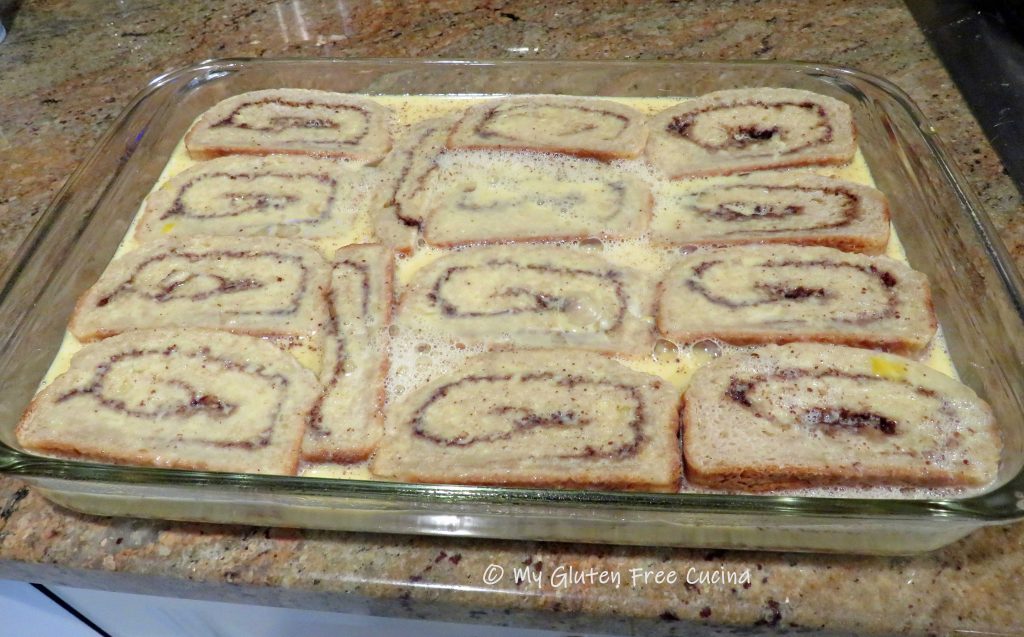
Mist a sheet of foil with cooking spray, cover the casserole and press down with your hands to be sure the bread slices are submerged in the egg mixture. Refrigerate overnight. Here’s what it should look like in the morning.
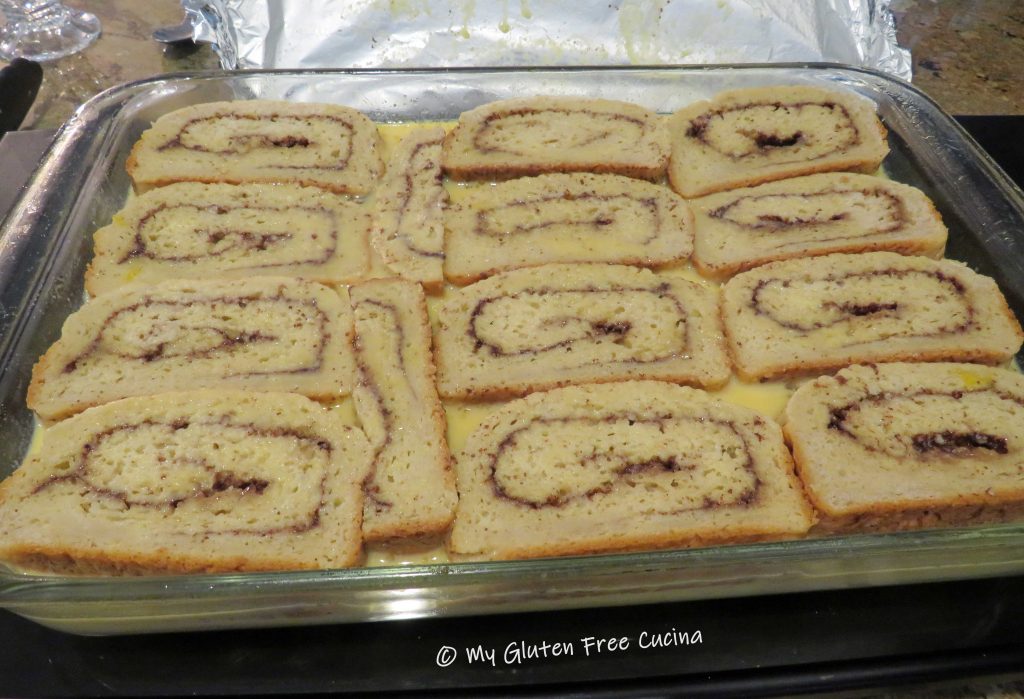
In the morning, take the baking dish out of the refrigerator and let it sit on the counter to warm up for at least 30 minutes before baking (going directly from refrigerator to oven may shatter a glass baking dish). Bake uncovered for 40-50 minutes at 350º then broil for 2-3 minutes to finish.

You can dust with powdered sugar (optional) and serve with real maple syrup!
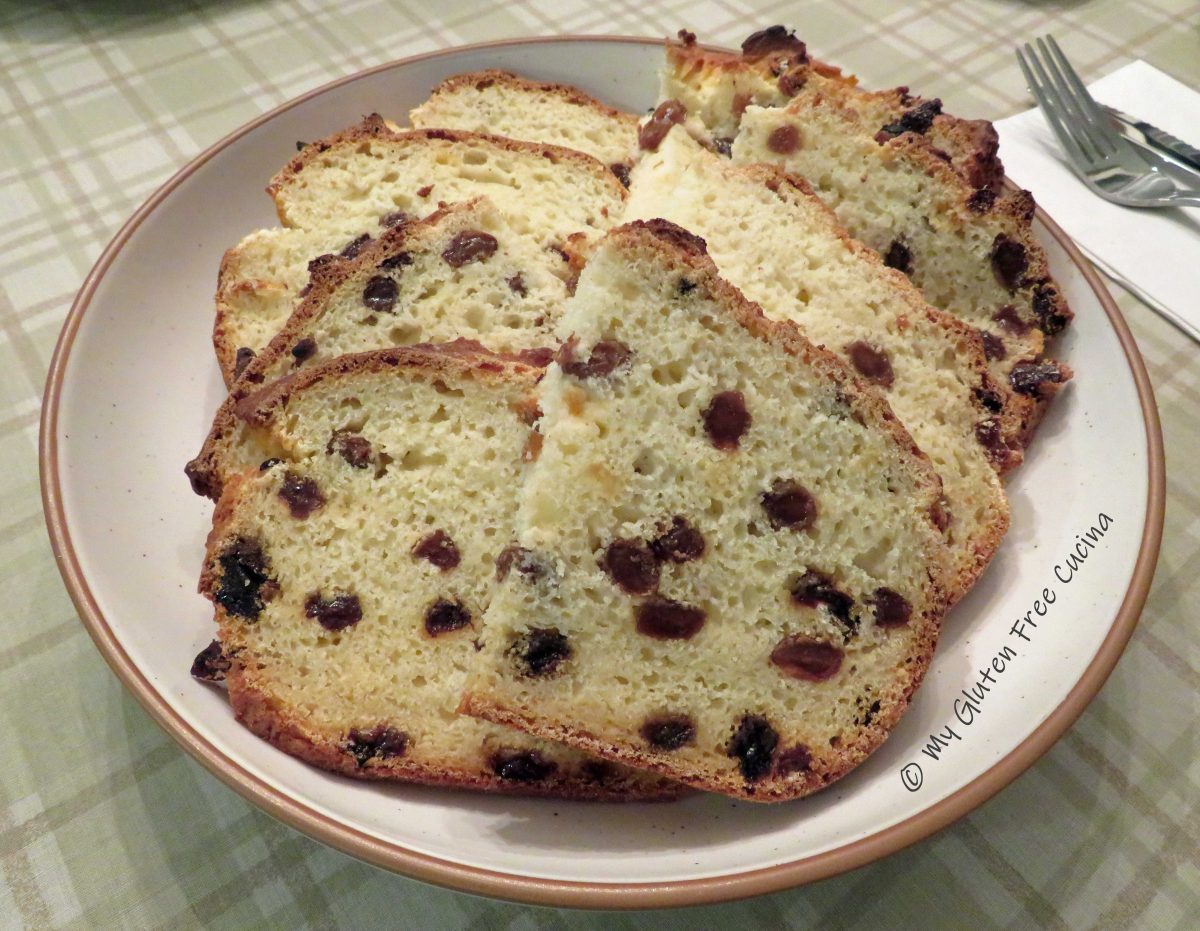
Notes ♪♫ There are many breads that will work well in this recipe. Check out my Gluten Free Millet Bread that I often use for French Toast recipes. Be sure to make the bread two days before assembling the casserole, a drier loaf will better absorb the eggs.


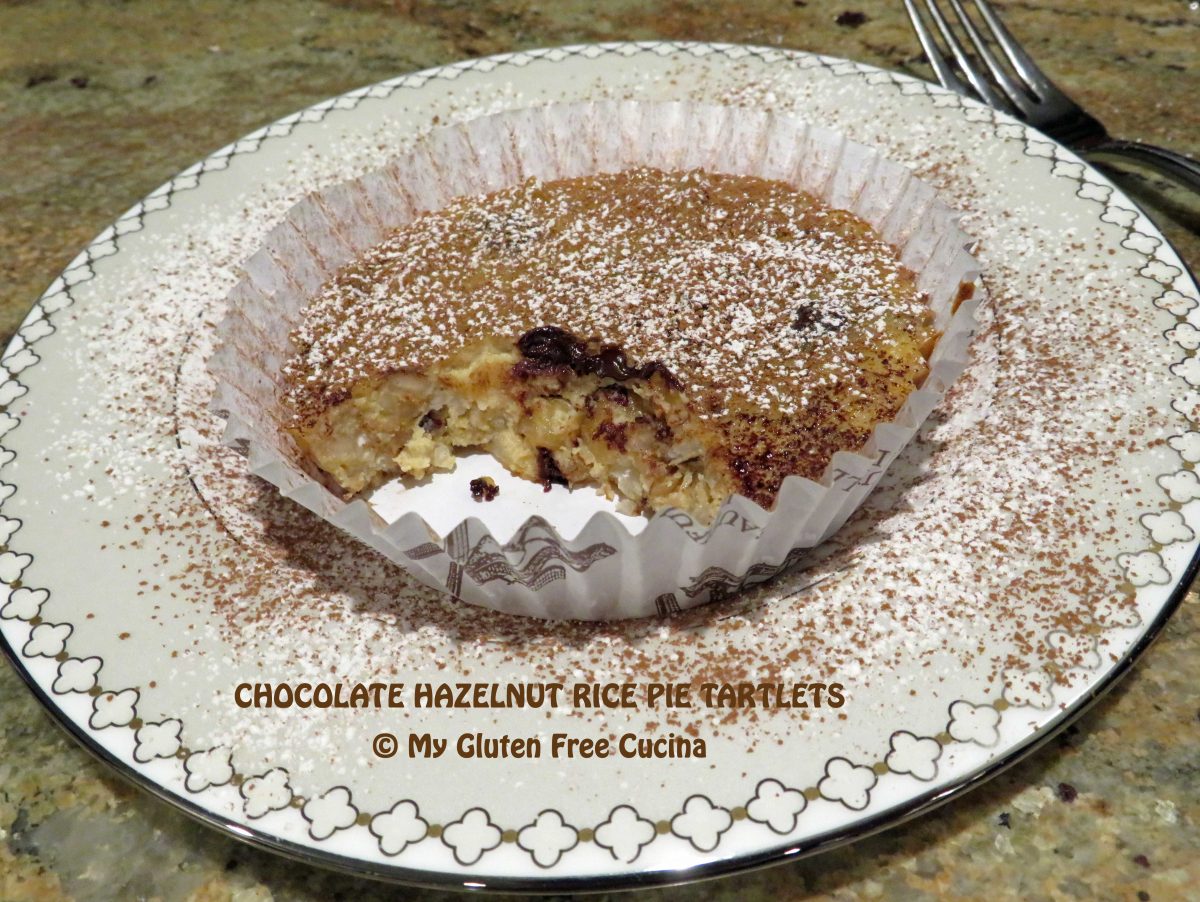


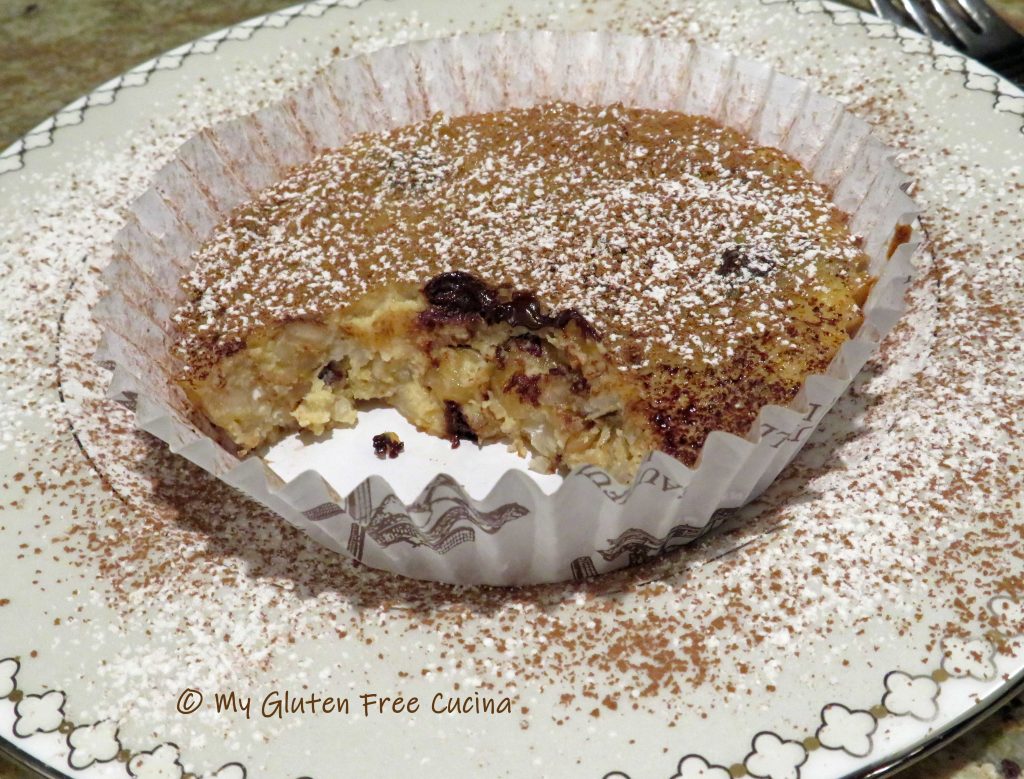
 Serve the tartlets at room temperature or chilled. Before serving, dust with cocoa powder and powdered sugar.
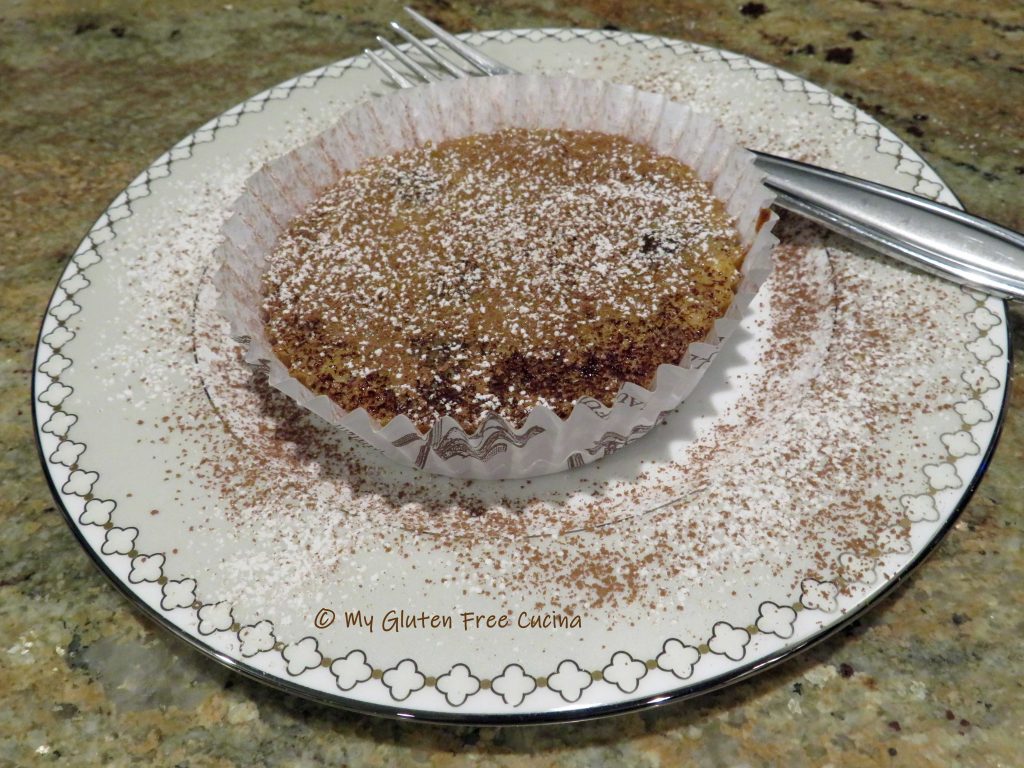


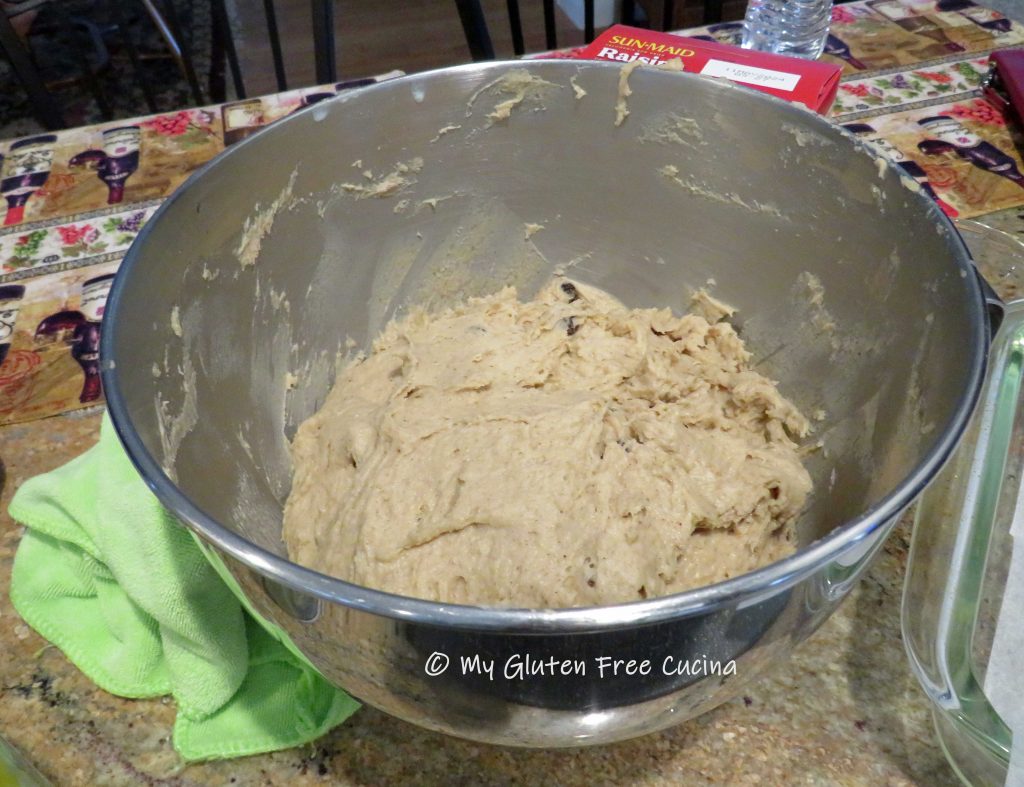
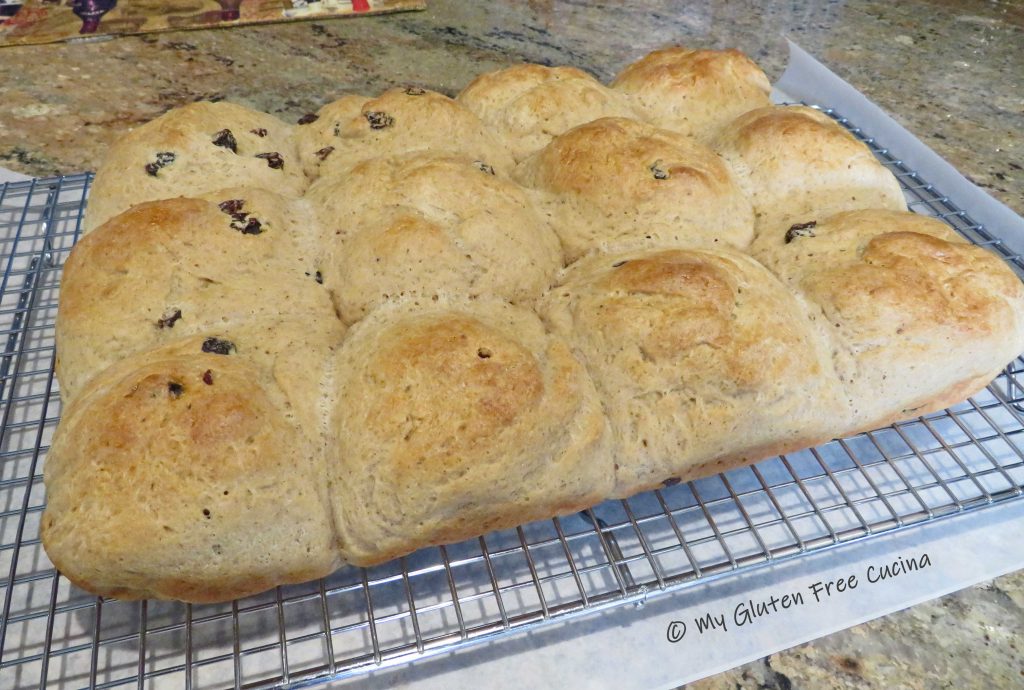
 Add the butter, eggs and milk/yeast mixture and mix together on low with the paddle attachment. It will look like wet pancake batter at this point. Increase the speed and beat for 5 minutes to form a sticky, soft dough.
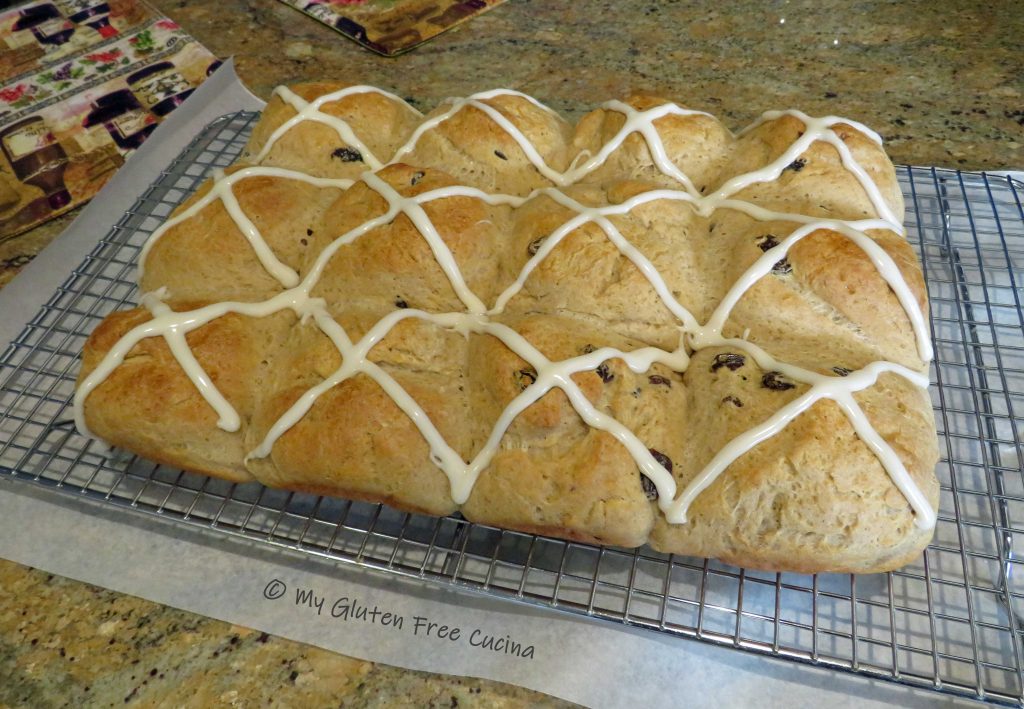
 Finally, add the rum-soaked raisins and their liquid, mixing for one more minute to incorporate.
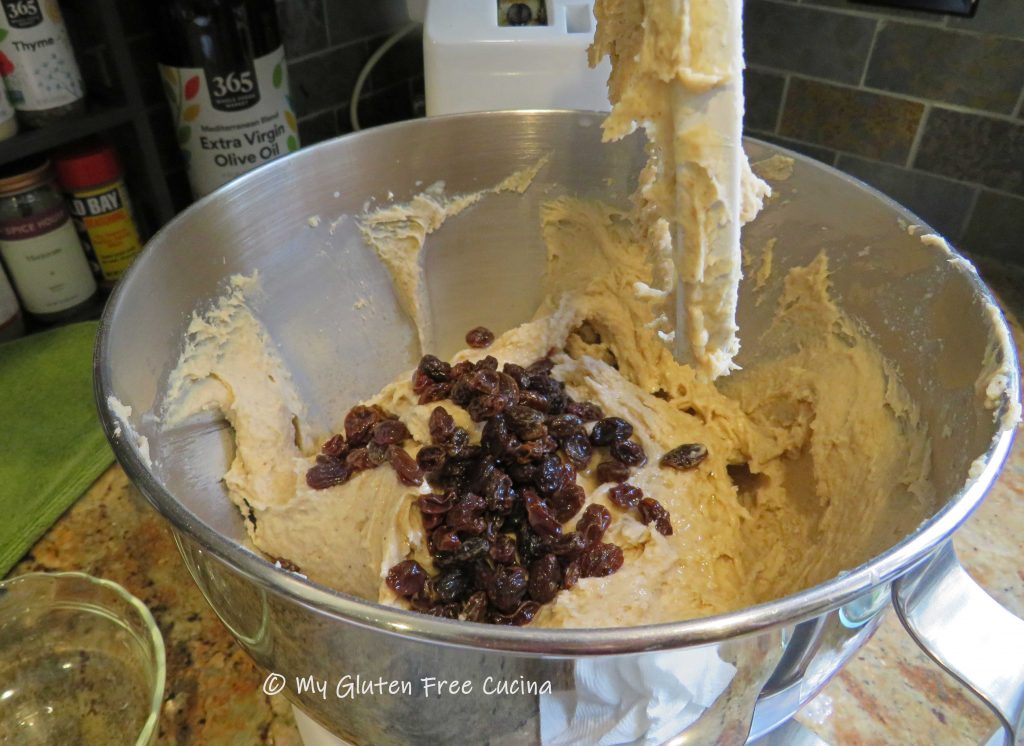


 If you don’t have a probe (oven safe) thermometer, then roast for 20 minutes per pound and check with an


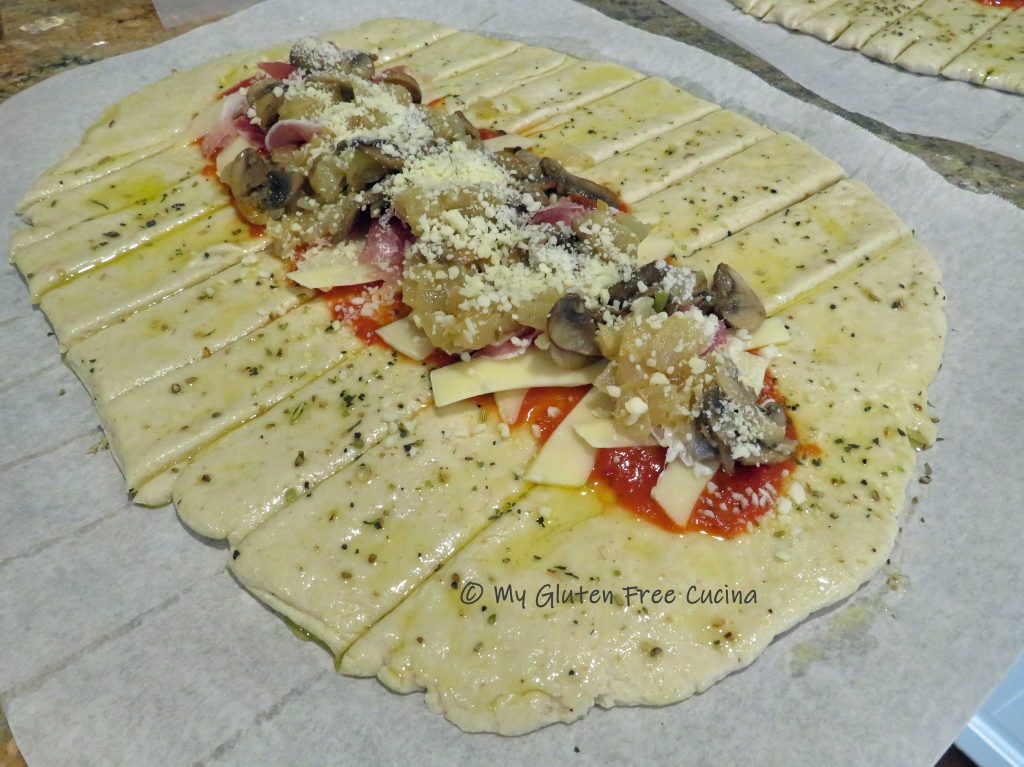
 Cook the mushroom slices in 1 tbsp. butter and 1 tbsp. olive oil.
 Drain the mushrooms and onions to remove as much liquid as possible.
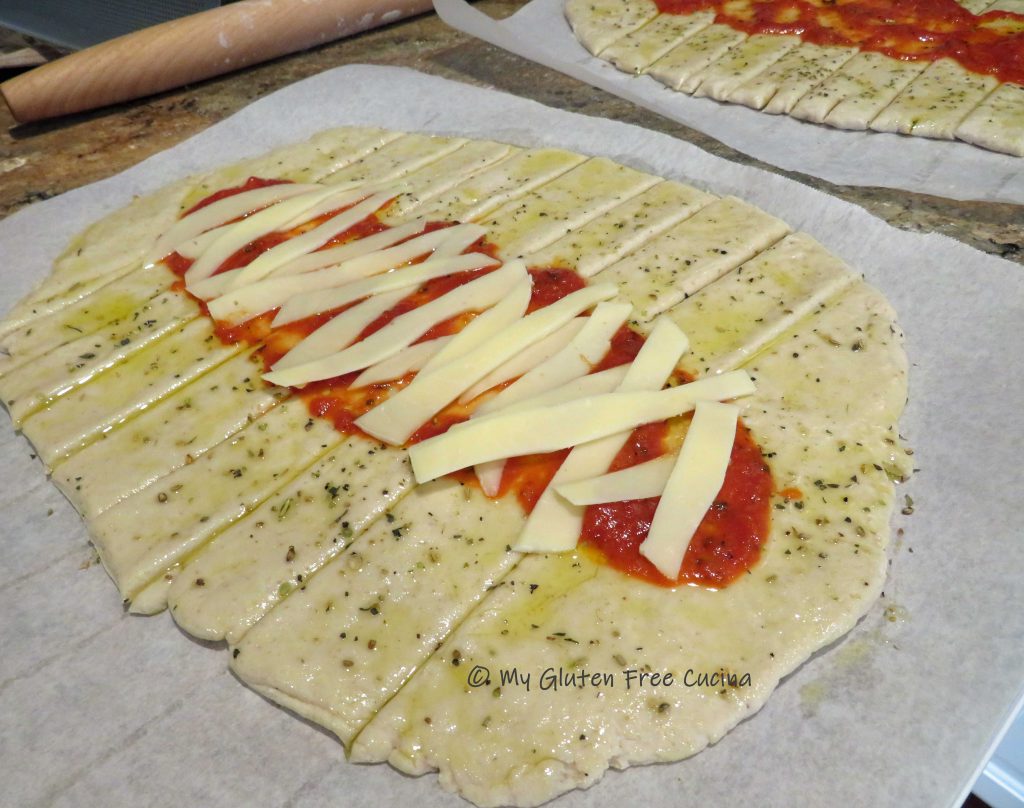
 After 1 hour in the fridge, turn the dough out onto floured parchment and use a
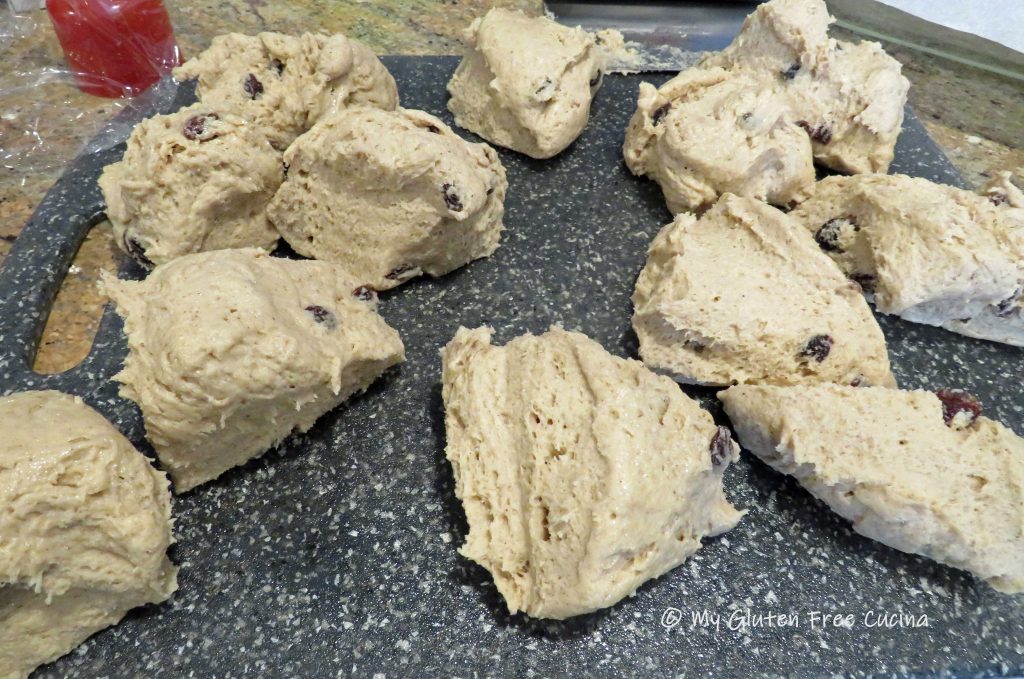


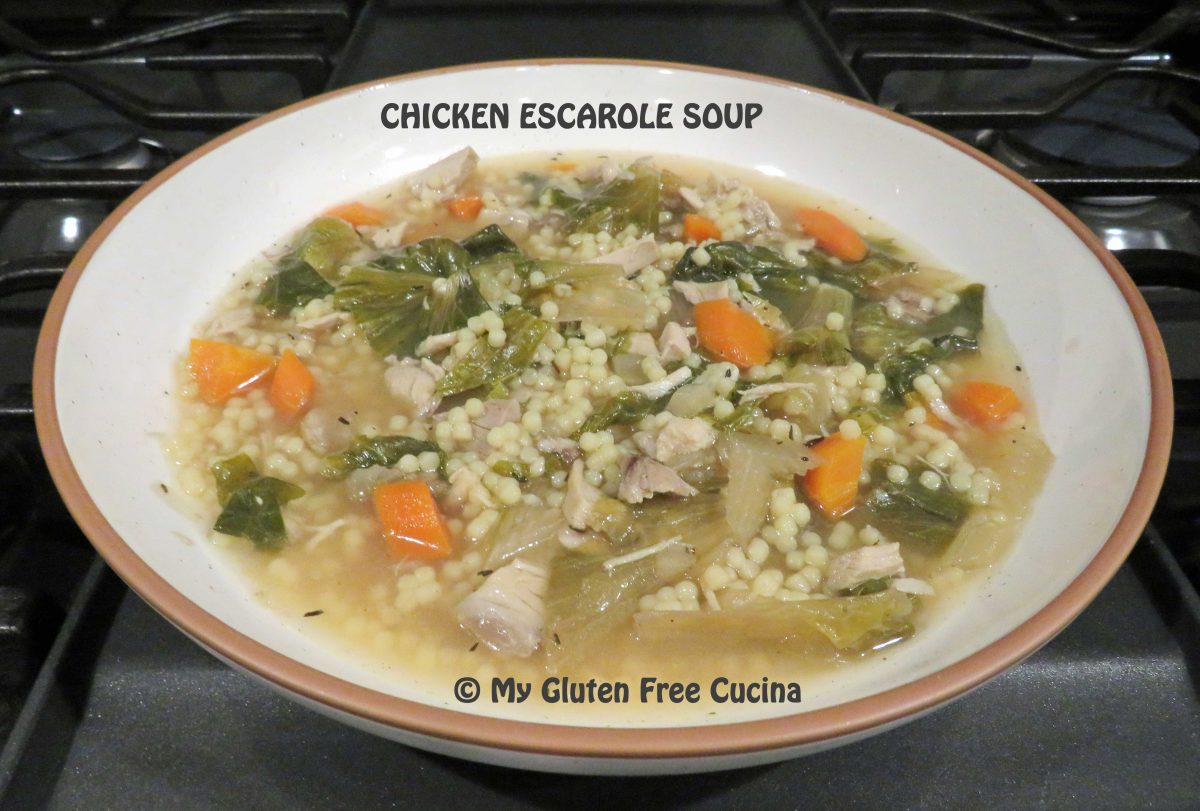


 Dice 6-8 carrots, 6-8 celery stalks, and one large onion. Try to cut the pieces to approximately the same size.
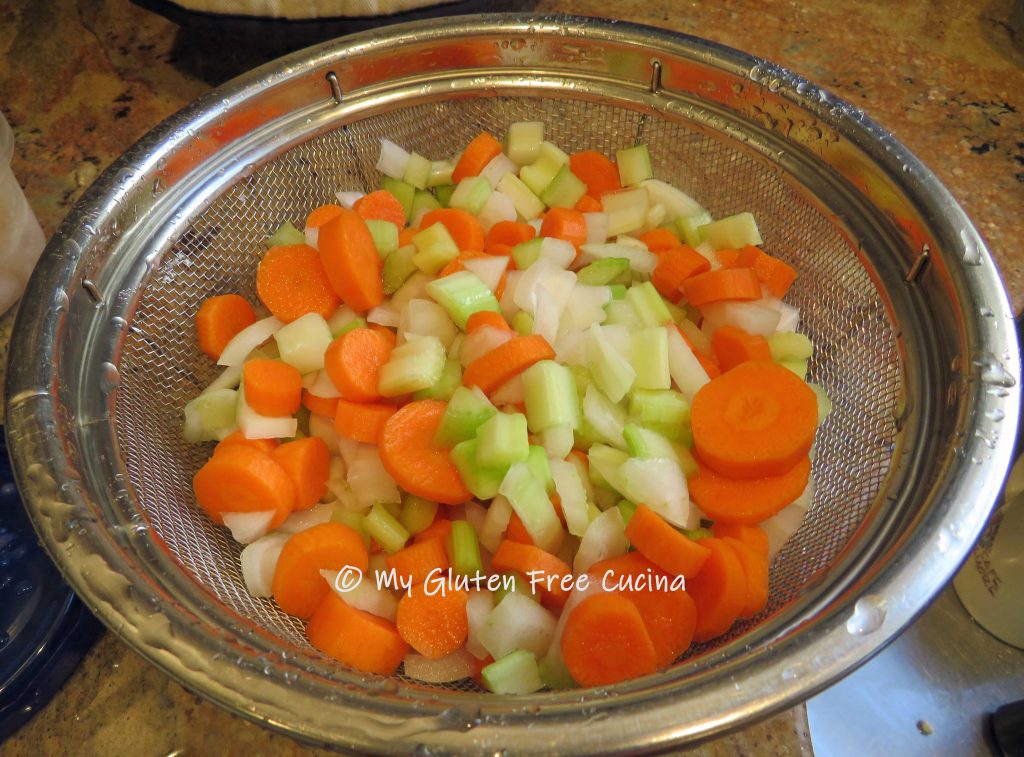 In a clean stockpot, sauté the vegetables in 1 tbsp. olive oil. Season with salt and pepper.
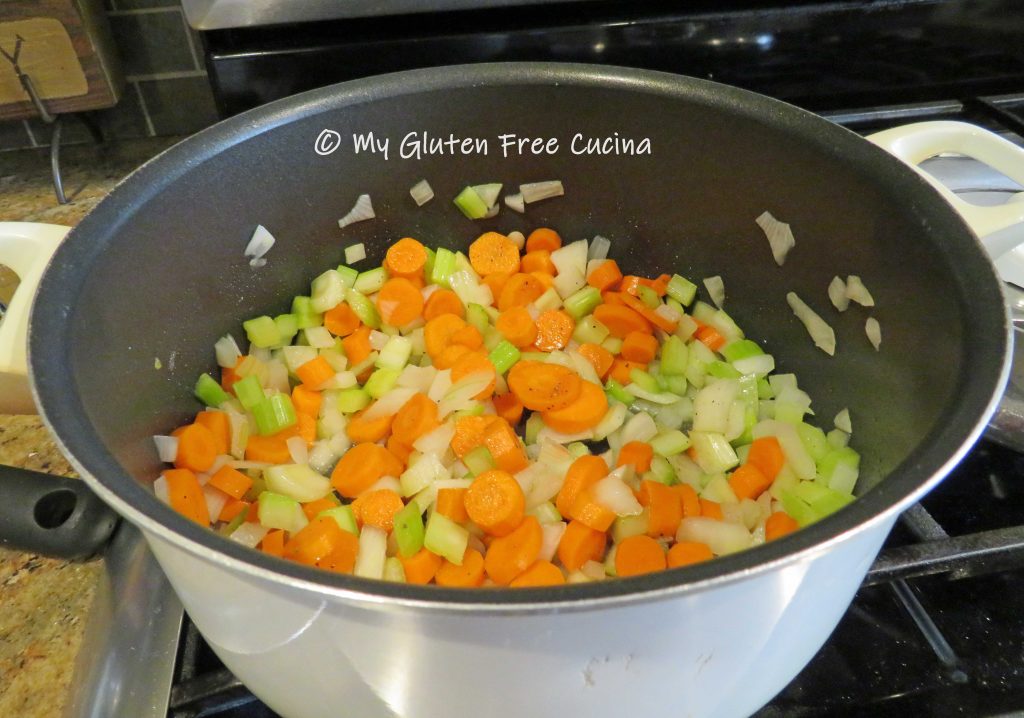

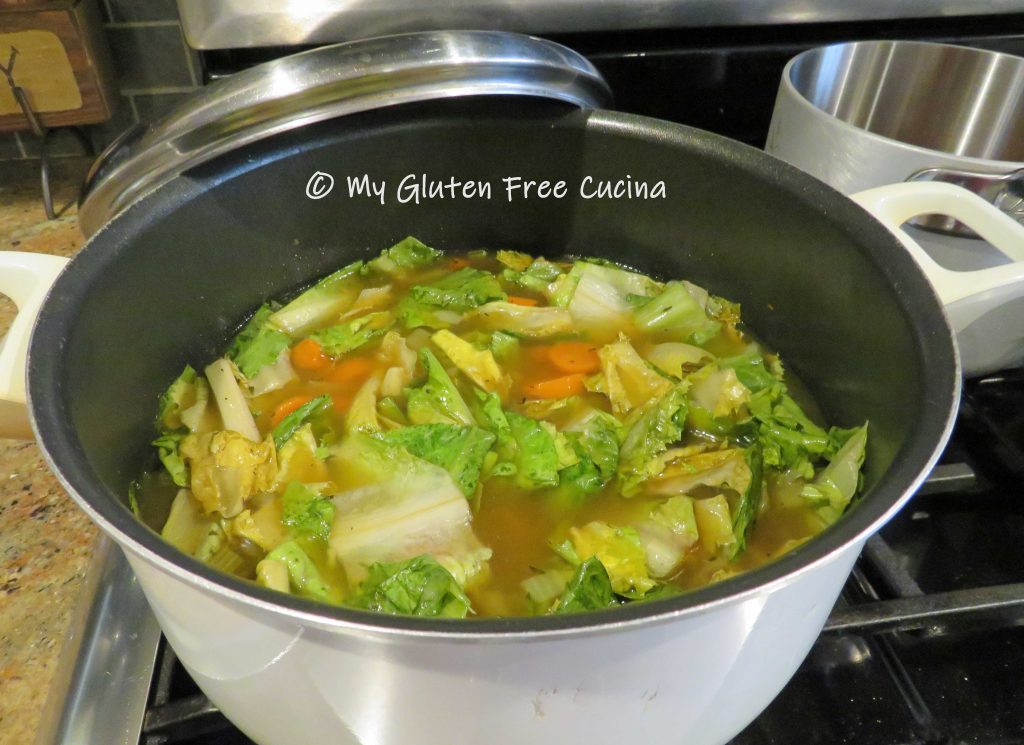
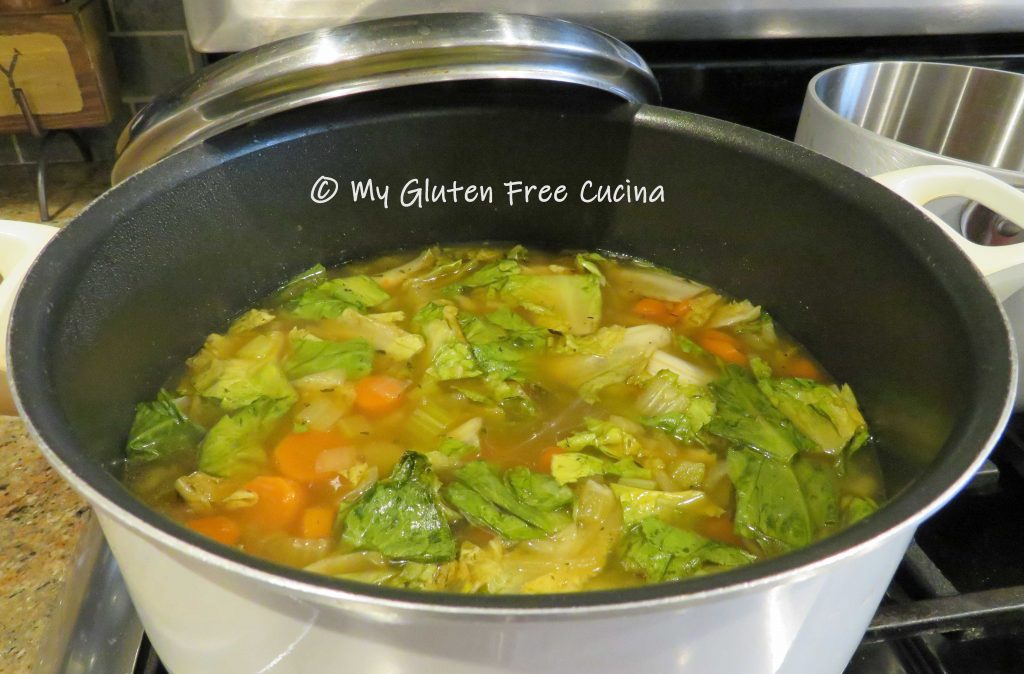
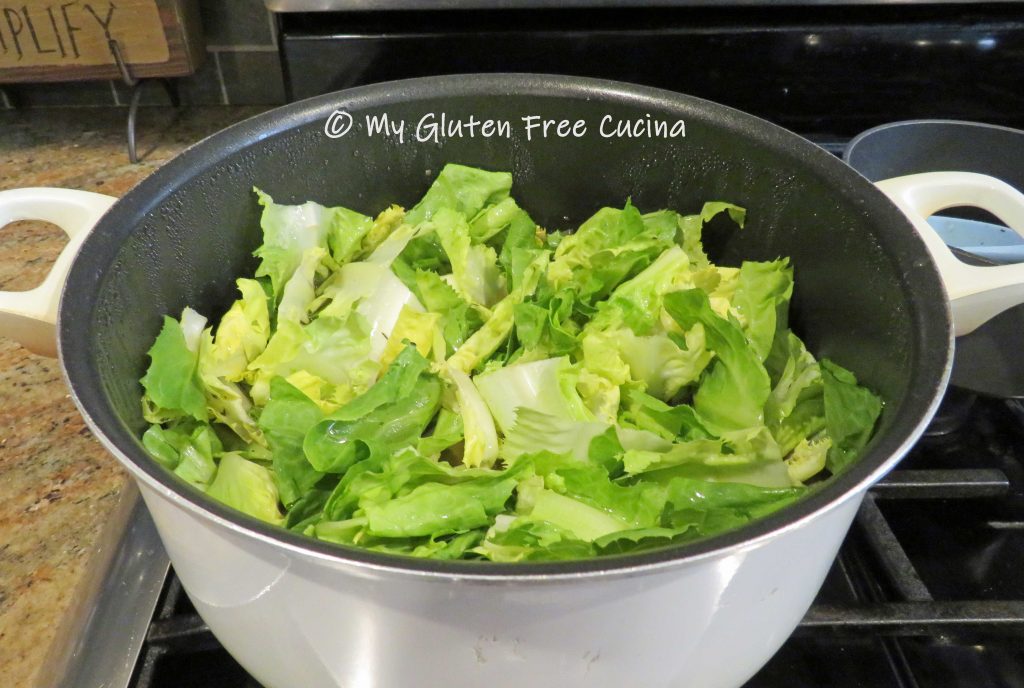
 Remove and discard the outer leaves of the escarole, then tear the leaves into large pieces and rinse thoroughly. To this day I can still hear my mother telling me to wash the escarole “leaf by leaf”.
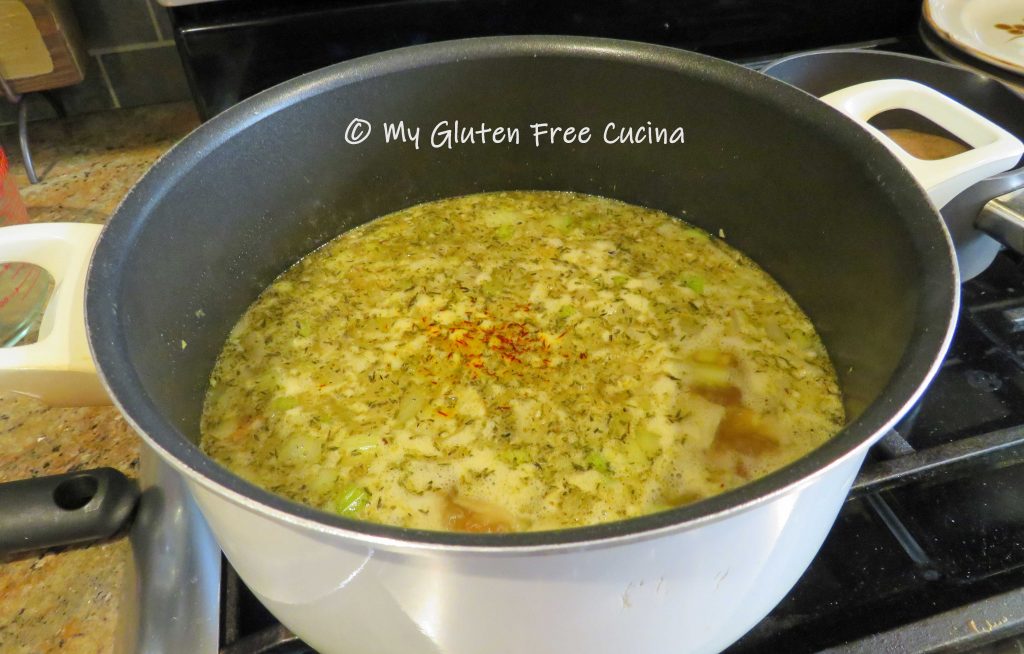
 Escarole cooks quickly, and the residual heat is enough to wilt the leaves. Stir well, cover the pot and let it cool to room temperature. Refrigerate overnight.