This rustic pasta dinner is perfect for a Sunday afternoon. Making the two-color gnocchi was a fun experiment as well as a learning experience. I found the whole process relaxing and enjoyable.
I have made potato gnocchi before, using Hannah (white) Sweet Potatoes, and they were fabulous. My idea was to make a half batch with white sweet potato and replicate another half batch with traditional orange sweet potato.
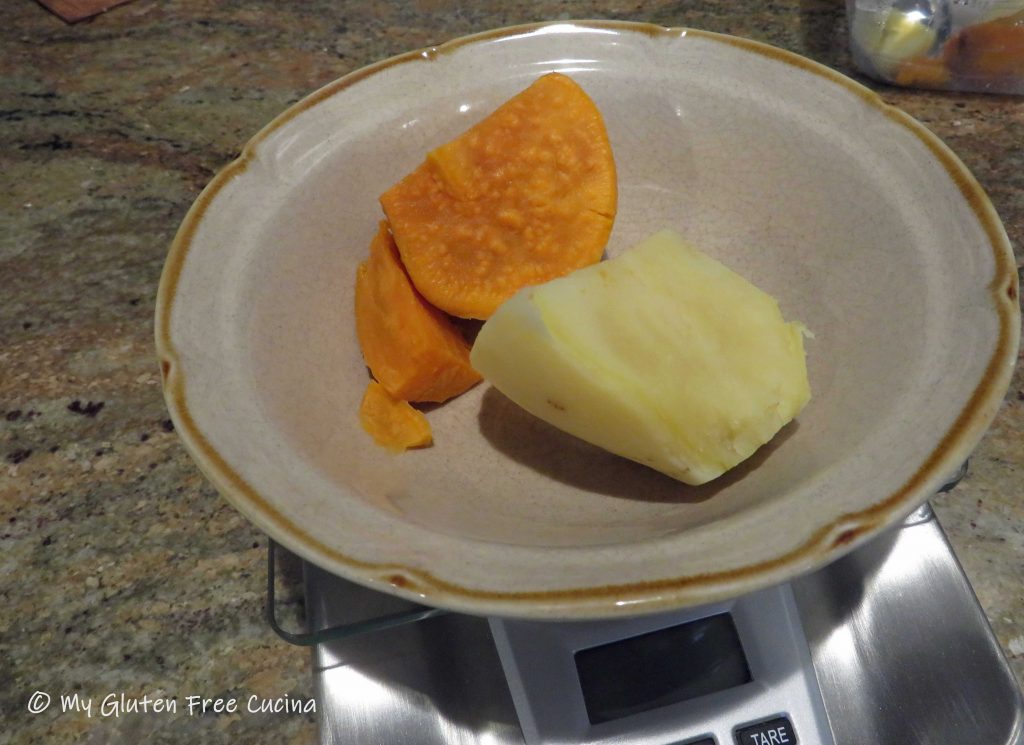
The biggest takeaway from this was that not all potatoes are created equal in terms of moisture content. The orange potato held many times more moisture than the white sweet potato. So, the amount of flour needed for each batch was quite different. In the end, I lost track of the measurements and just gradually incorporated more flour until the right consistency was achieved.

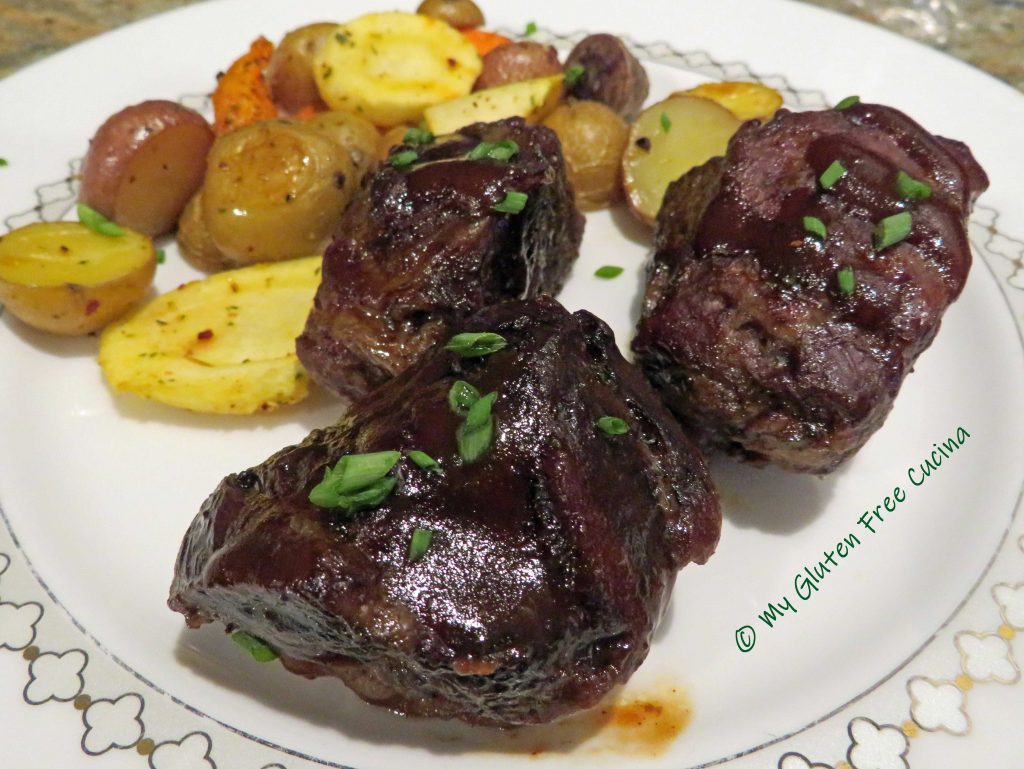
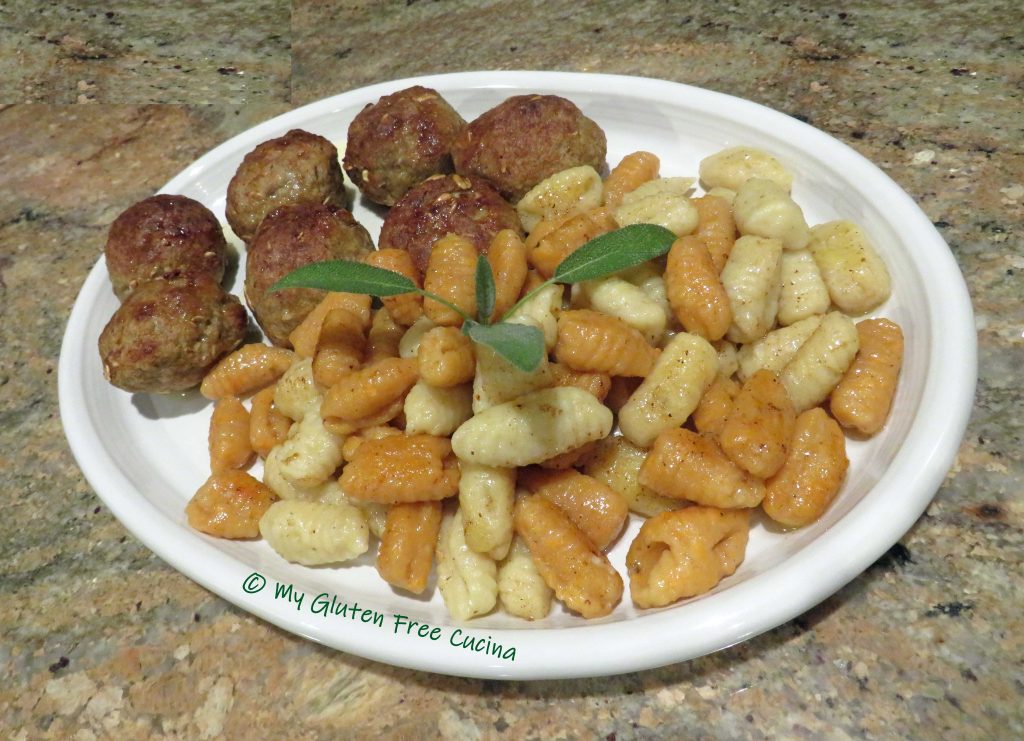
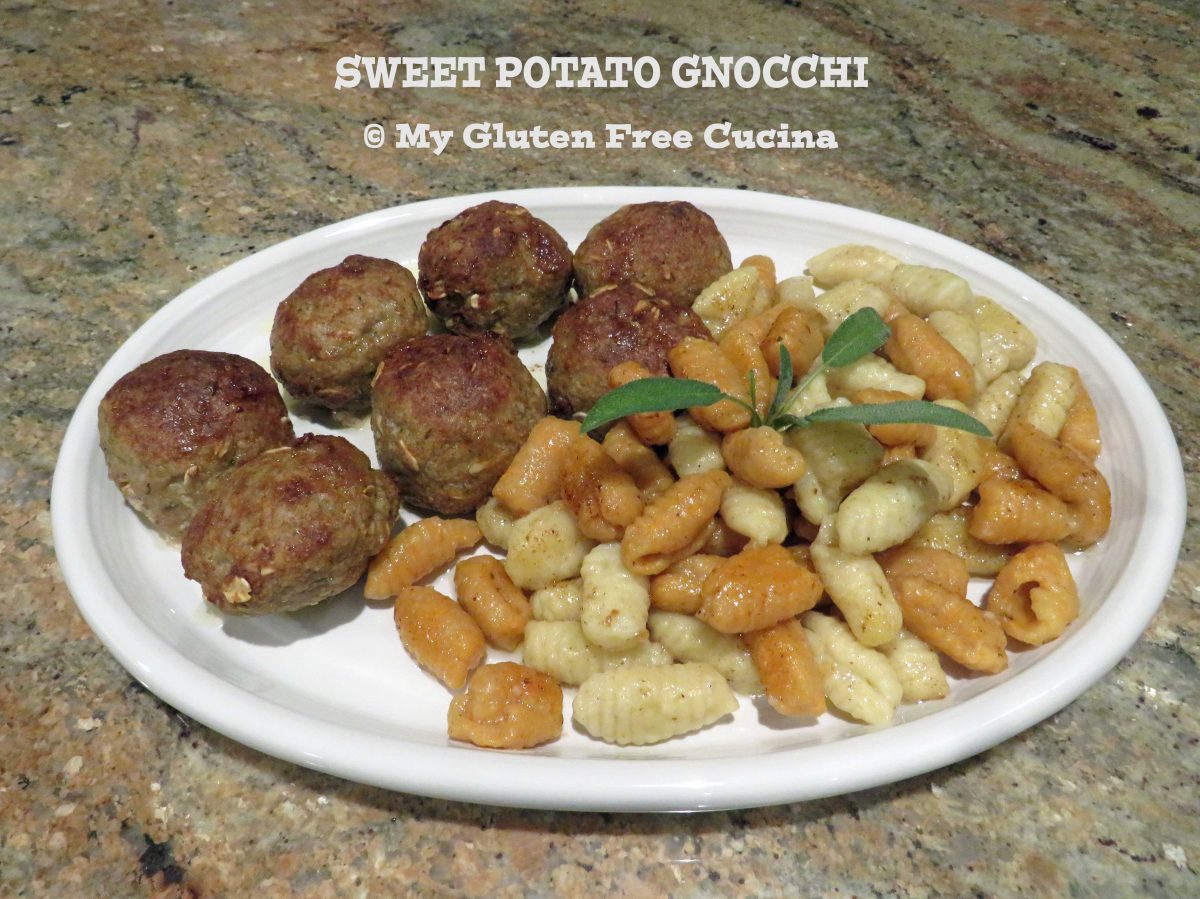
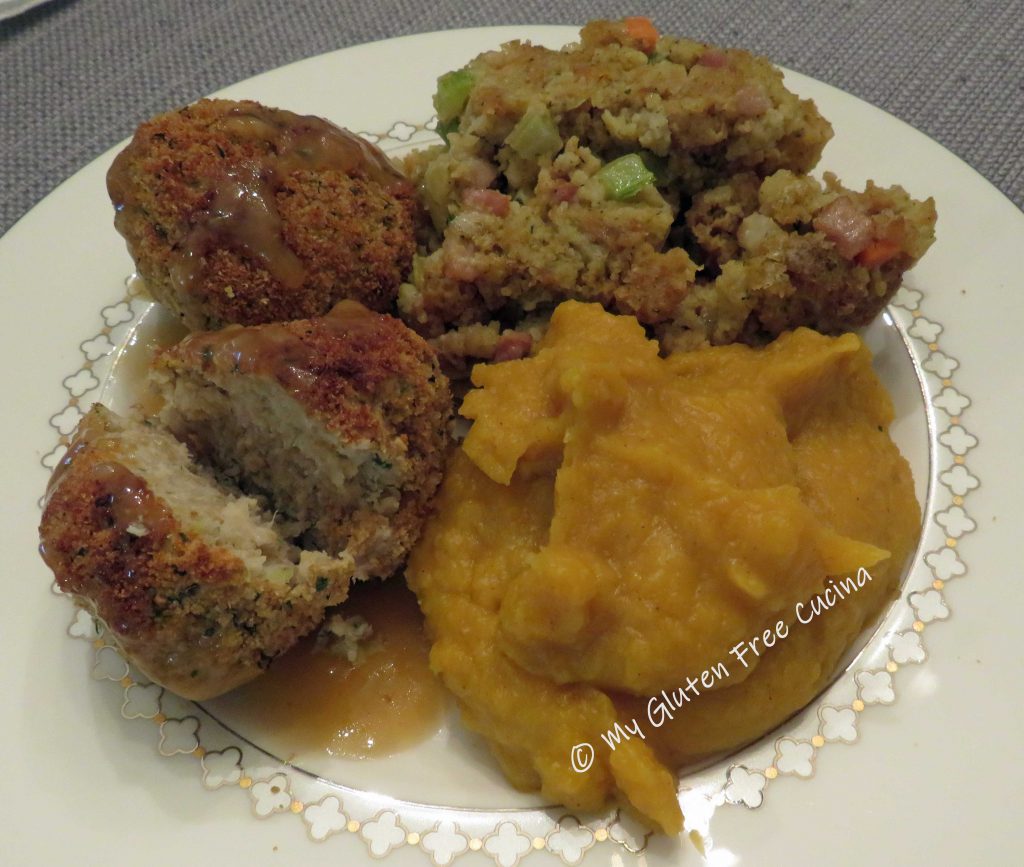
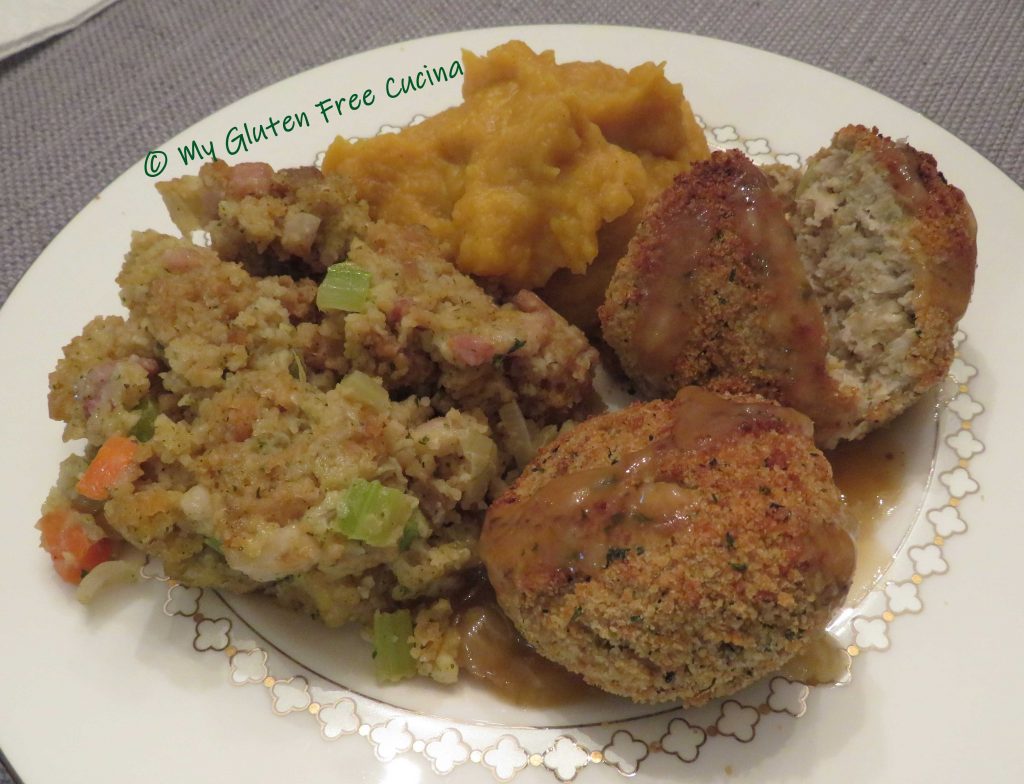
Note that this was a very small batch. Enough for 2 servings with just a bit leftover. You can definitely double or triple the recipe! The flour is a 2.5/1 blend of cassava flour/arrowroot flour. You can mix up the flour ahead of time, so you have enough for rolling and dusting. I finished the gnocchi in a simple browned butter sage sauce and served with turkey meatballs.

Dinner for 2+ (depending on your appetite!)
This post contains affiliate links.
Ingredients:
For the Gnocchi
For the Meatballs
For the Sauce
- 1/2 stick (1/4 lb.) butter
- 8 fresh sage leaves
 Preparation:
I peeled and steamed the potatoes the day before. I weighed 2.5 oz. of each potato and set aside the rest for another meal.
The next day I began by mixing up a batch of 1-1/4 cups cassava flour + 1/2 cup arrowroot starch. I warmed the potato for 30 seconds in the microwave and placed in 2 separate bowls, mashing with a fork.

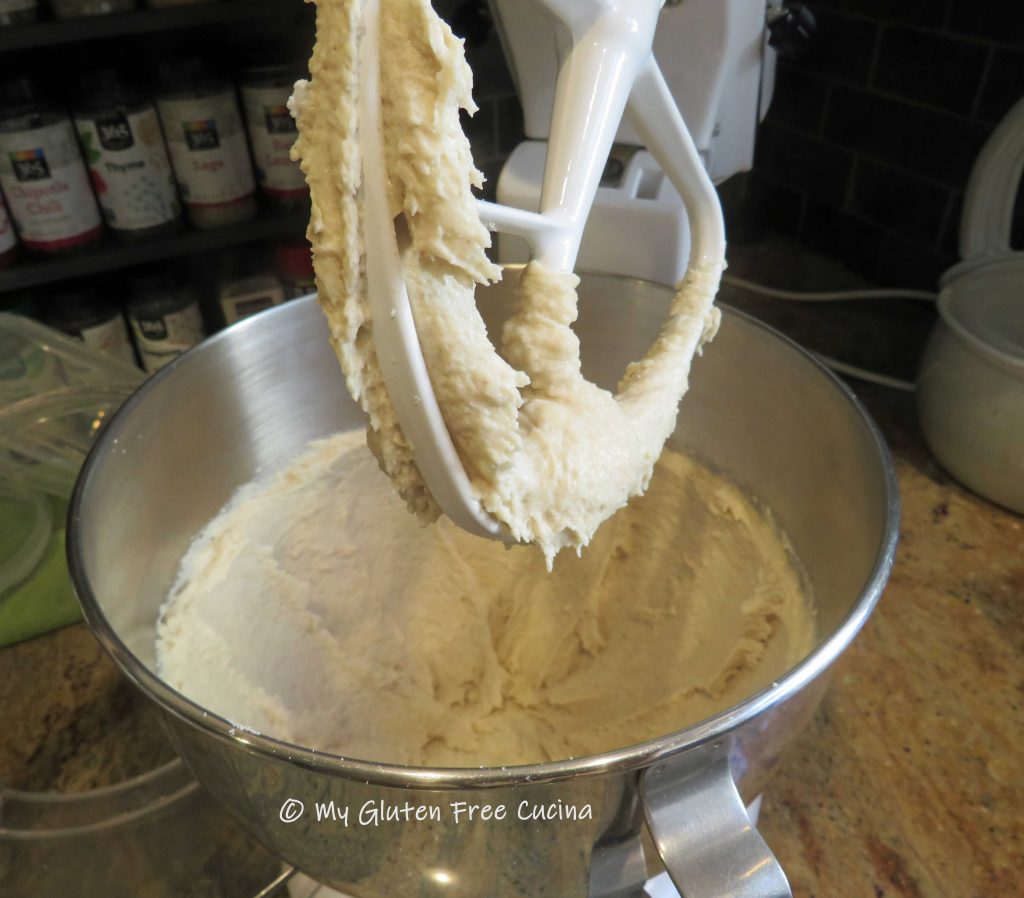
I whisked the egg, salt, xanthan gum, then added 2.5 tbsp. of the flour mixture. I then divided it between the two bowls of potato.


I gradually added more flour to each bowl and worked it in until I could roll the dough into a ball. I covered each in plastic wrap and rested 15 minutes.

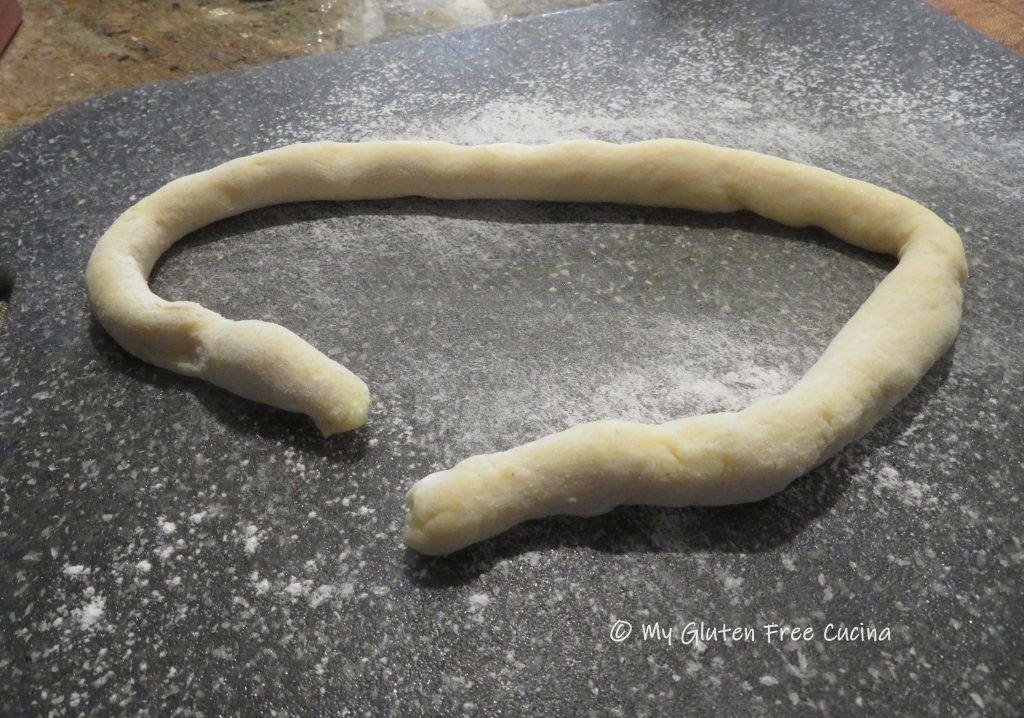
I floured a cutting board and started with the white sweet potato, gradually incorporating more flour until I could roll the dough into a long smooth rope, like this.
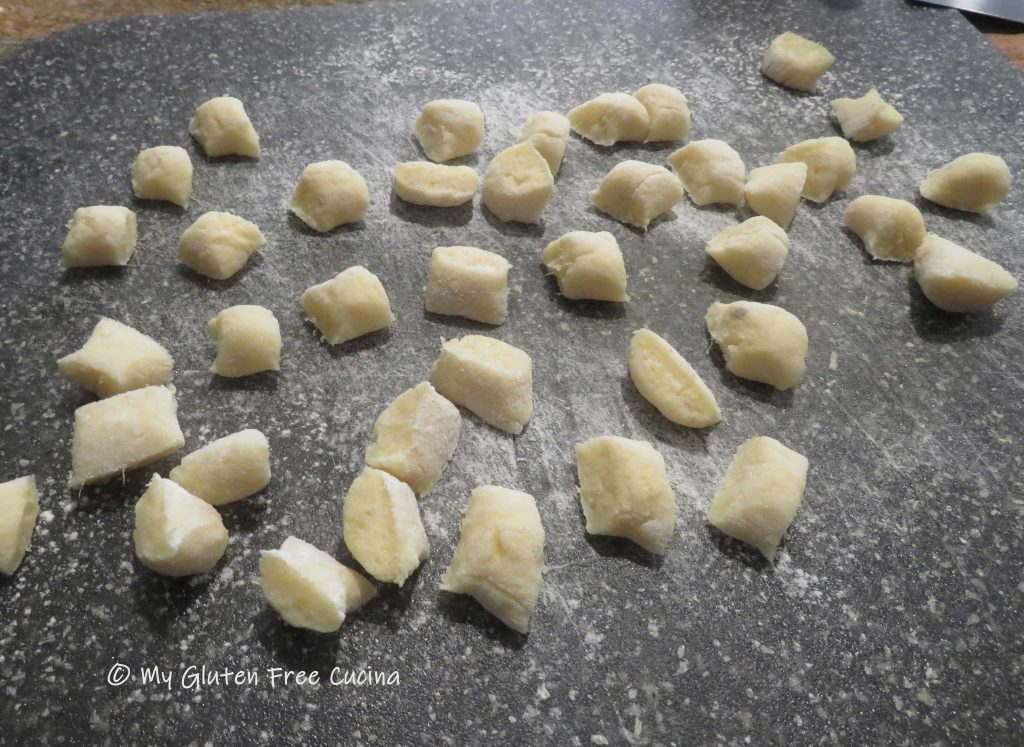
I used a bench knife to cut the rope into 1/2″ pieces.
 I repeated the same process with the orange sweet potato, and here is where I lost track of the flour measurements. The orange sweet potato dough had absorbed all of the flour and was still very wet. It required quite a bit more flour to achieve the right consistency. All in all, I would say I used 3-4 times more flour for the orange potato dough as was needed for the white potato.
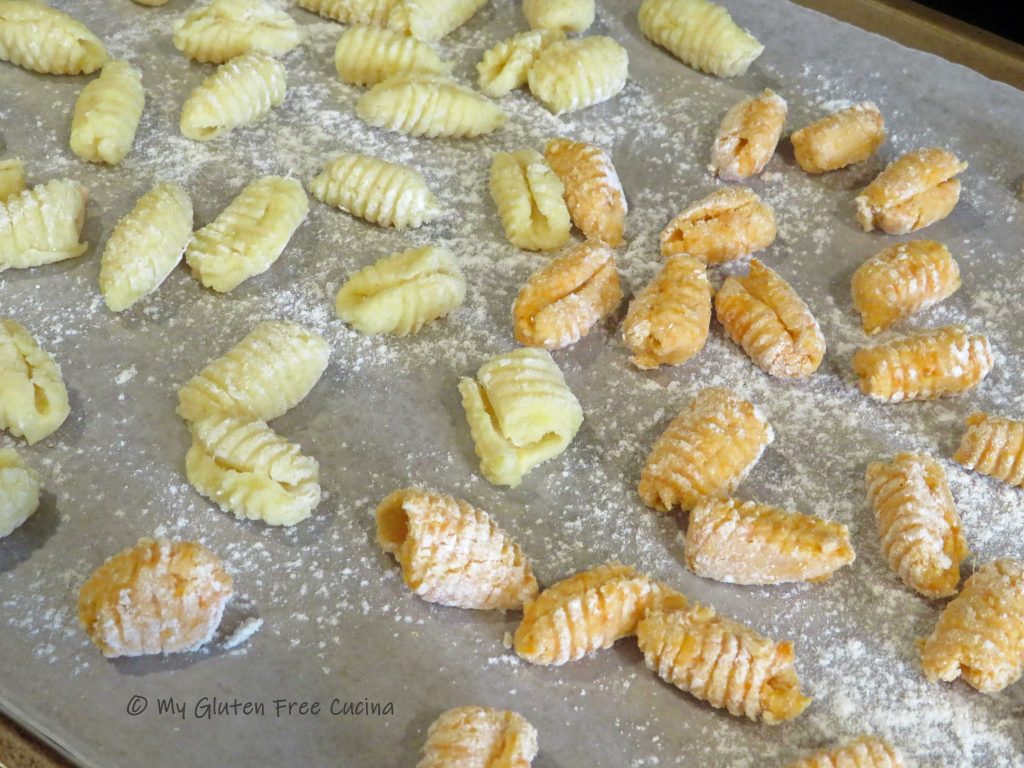
For the final step I rolled each piece of dough over a floured gnocchi board.
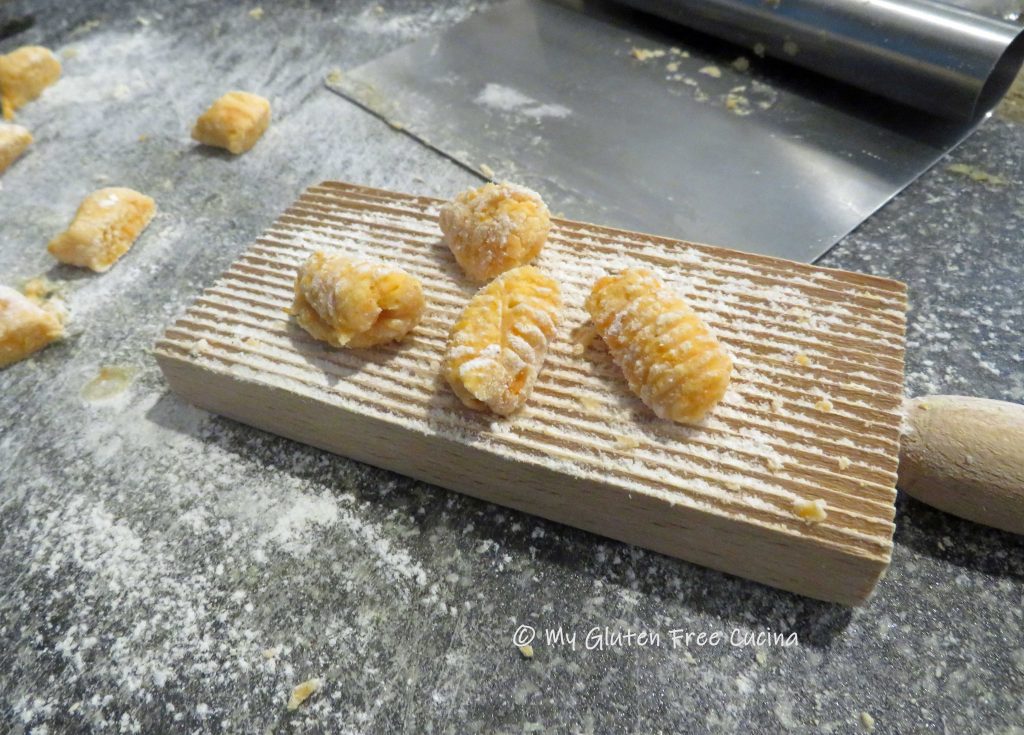
I placed the formed gnocchi on a baking sheet lined with waxed paper and dusted with flour.
***Note: I recommend refrigerating for at least 1 hour before cooking for firmer texture***
Here’s how to finish the meal.
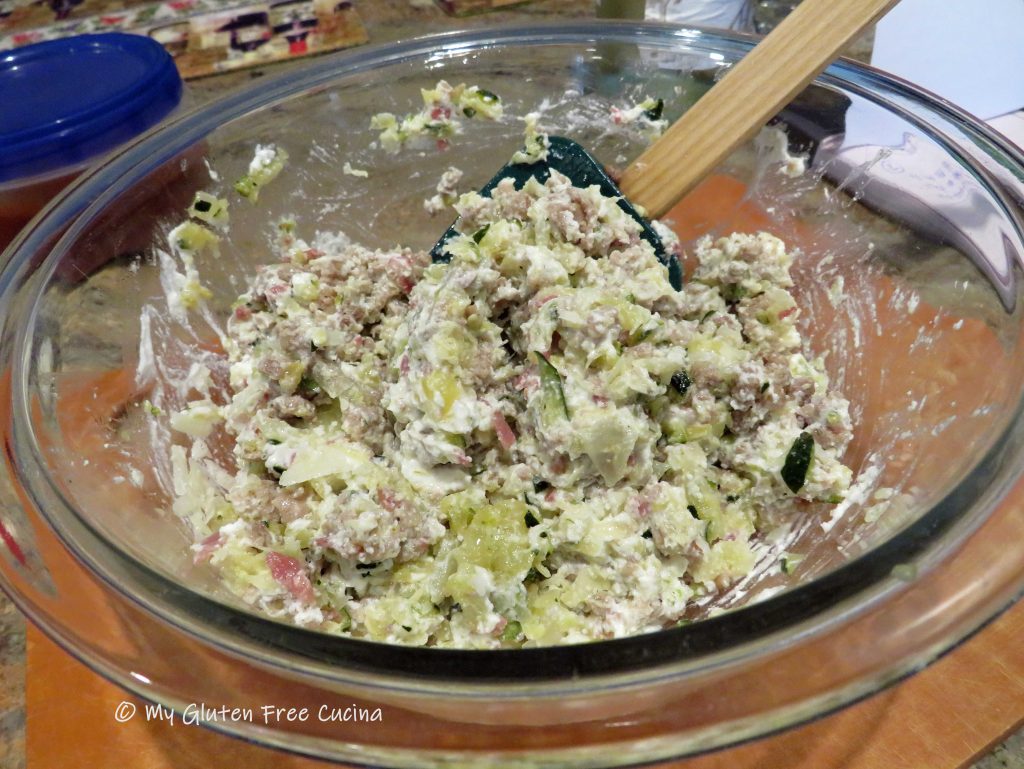
Combine all of the meatball ingredients and form 6-7 meatballs. Line a baking sheet with foil and mist with cooking spray.
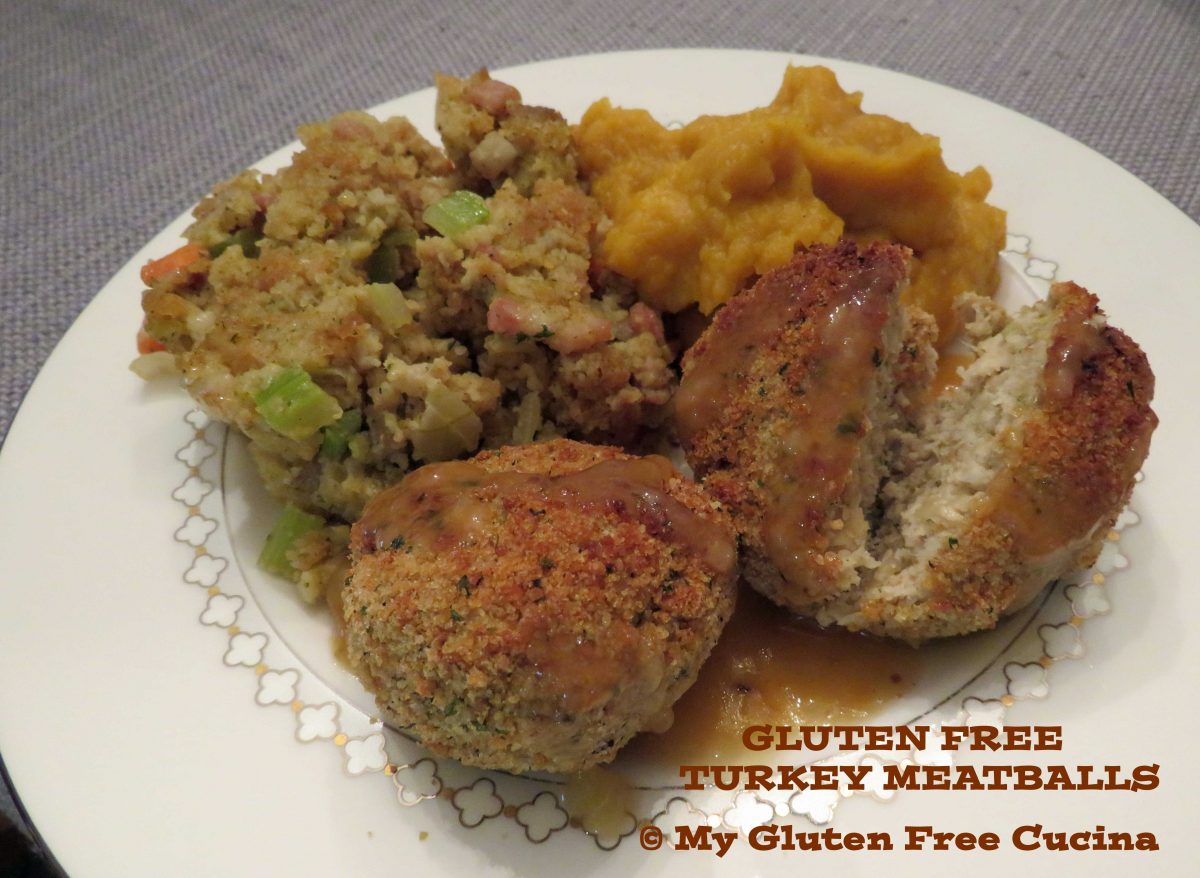
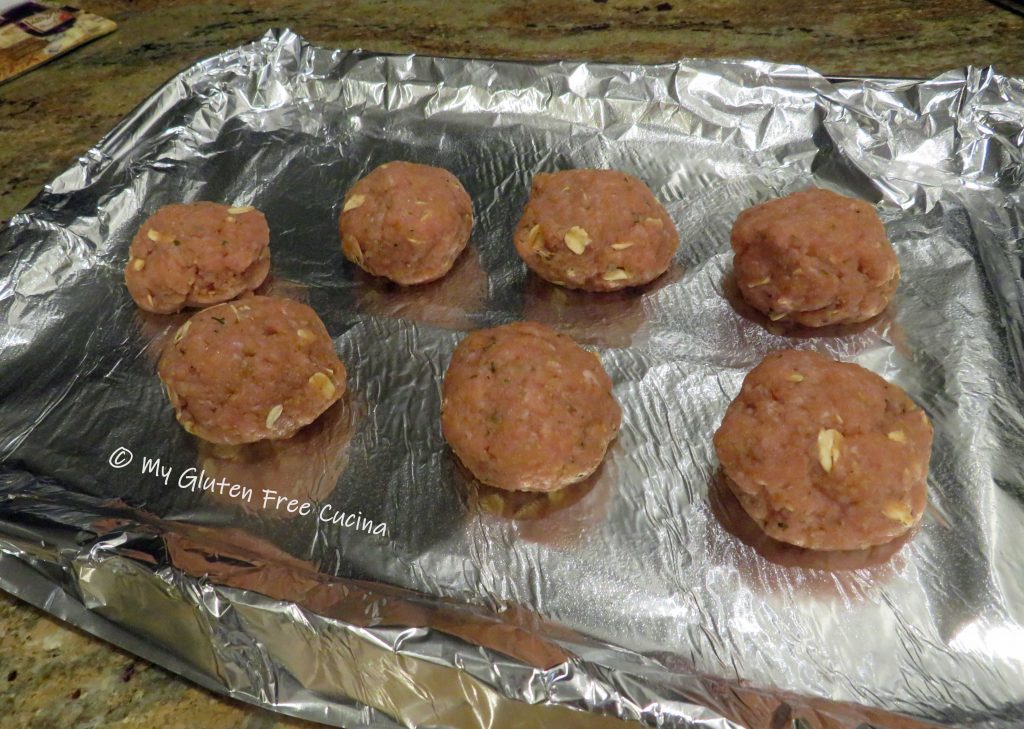 Place the meatballs on the baking sheet, and broil 5 minutes per side on high. Keep warm.
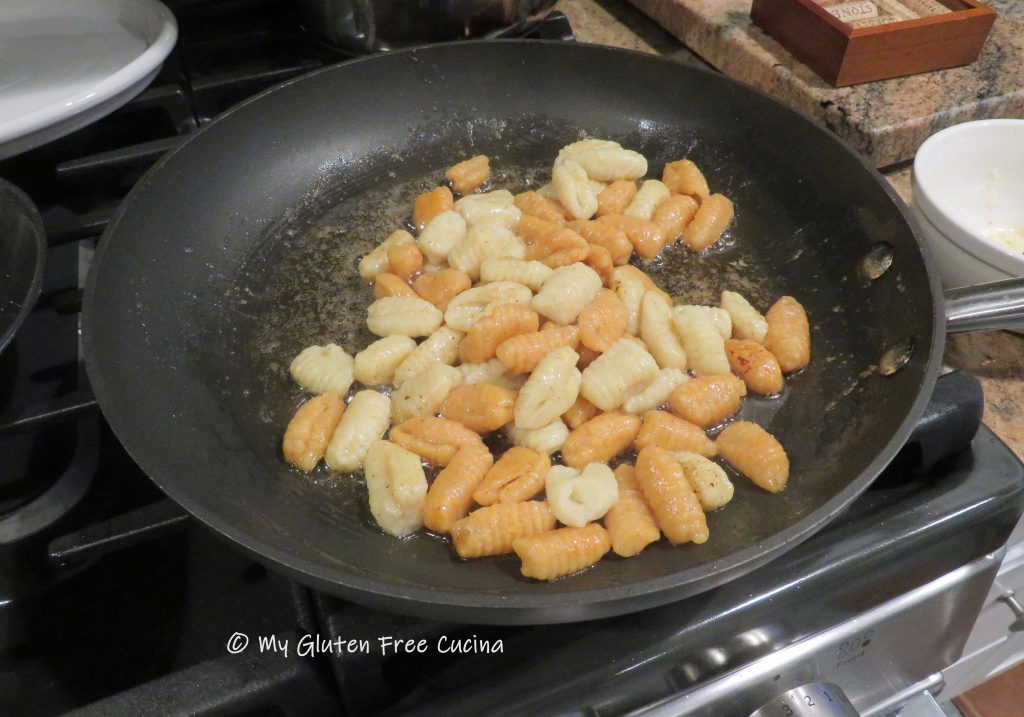
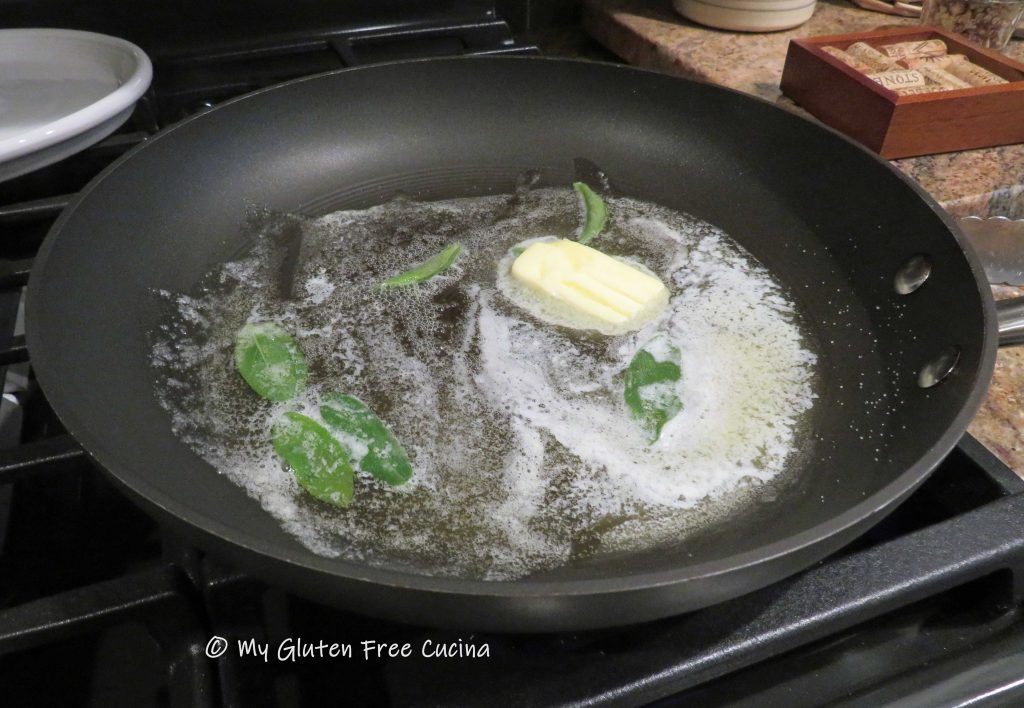
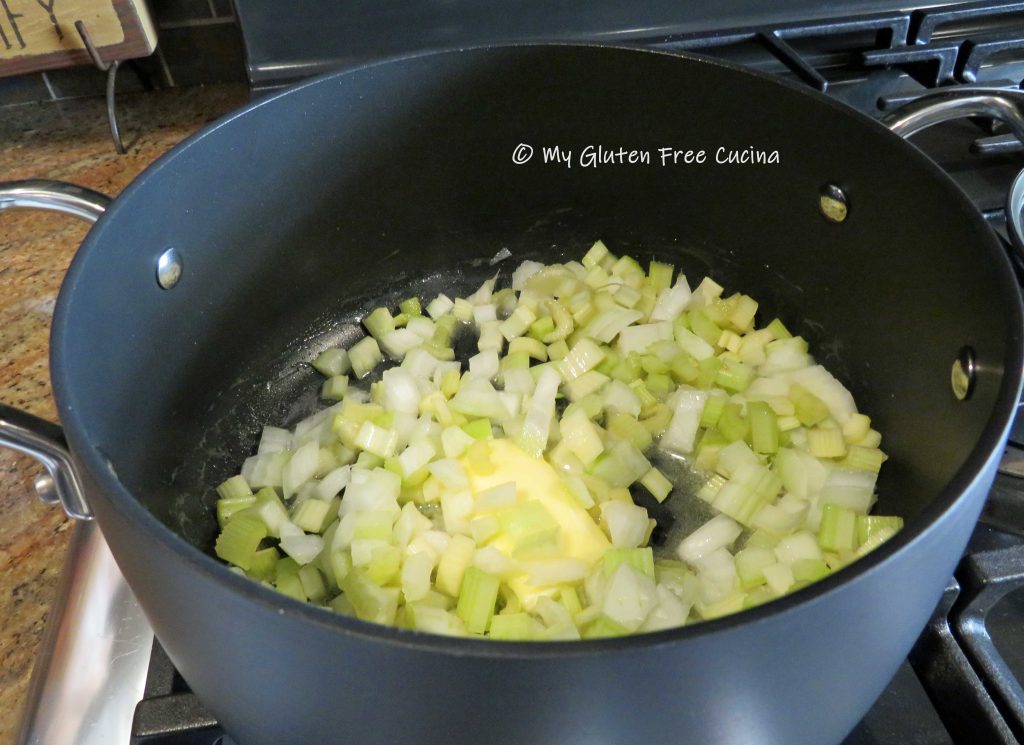
Boil salted water for the pasta. In a nonstick skillet melt the butter, and as soon as the butter begins to foam, add the sage leaves. When the white solids begin to separate, use a slotted spoon or spatula to push them to one side of the pan, skimming off as much as possible. Remove from the heat when the butter is just beginning to turn brown.
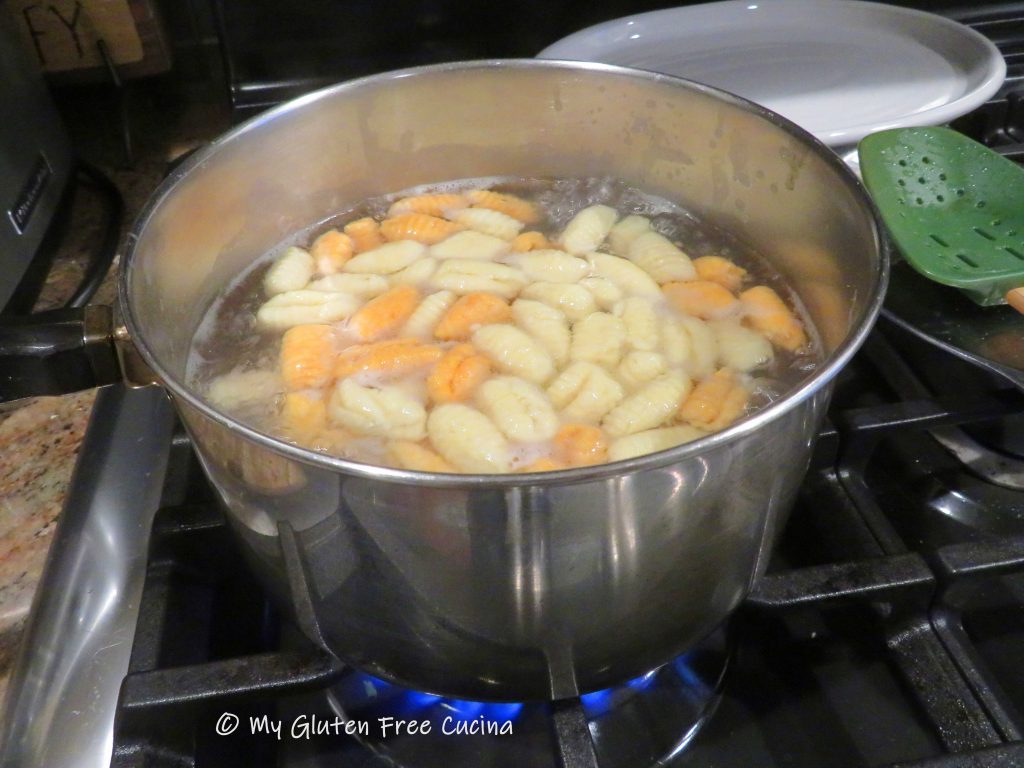
With water at a rolling boil, add the gnocchi and cook for 3 minutes. They will float to the top as they finish cooking.
Remove the cooked gnocchi with a slotted spoon and add to the browned butter. Cook for 1-2 minutes longer.
Transfer to a serving platter along with the meatballs and drizzle with any remaining browned butter sauce. Garnish with fresh sage.
Notes ♪♫ I love making pasta from scratch! Check out this earlier recipe, for Gluten Free Potato Gnocchi with Cassava Flour that was the springboard for this meal. You may also like this Trofie Pasta, or this one for Gluten Free Garganelli, one of my first posts. Thanks for stopping by today and I welcome all your comments!

 Print This Post

 Dinner for two
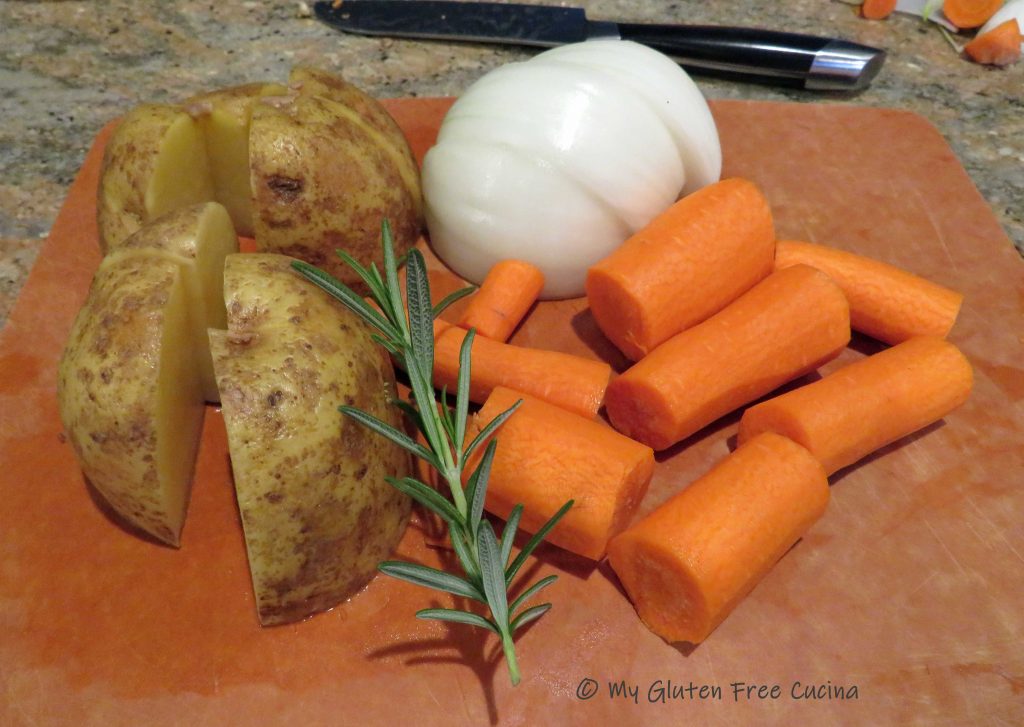


 PREPARATION:


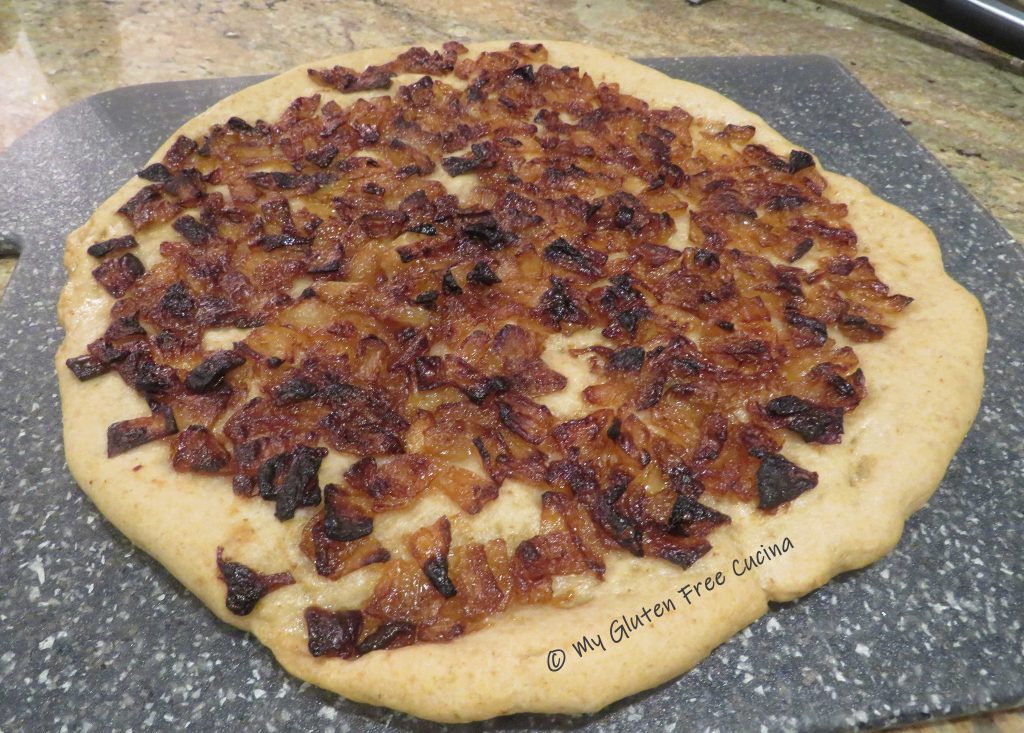
 Place the sheet pan in the oven on top of the baking stone. Bake for 25 minutes total. During the last 10 minutes carefully slide the pizza out of the pan, remove the parchment and finish baking directly on the pizza stone.
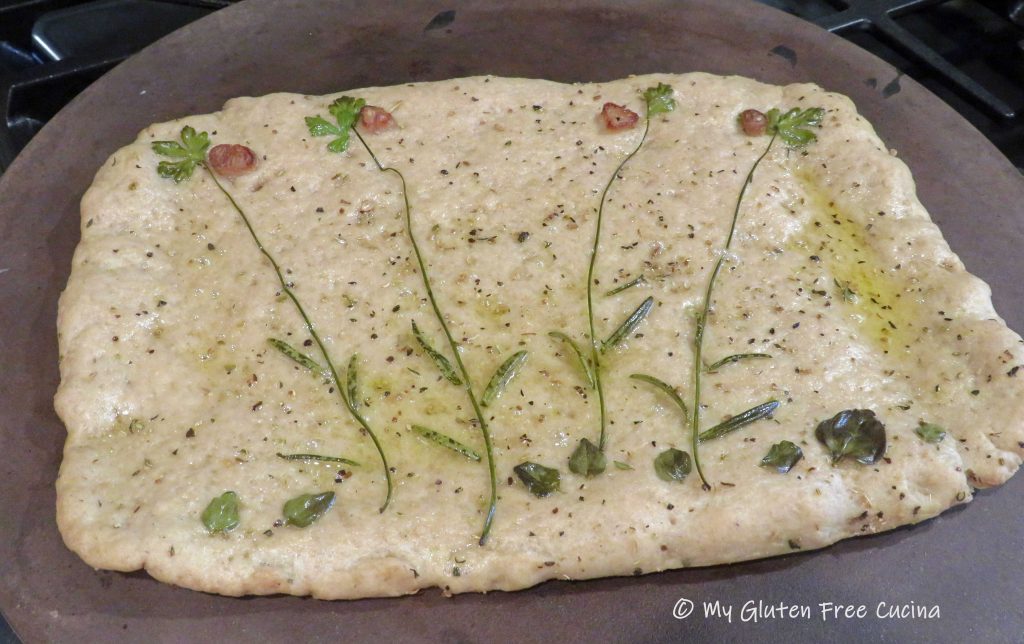


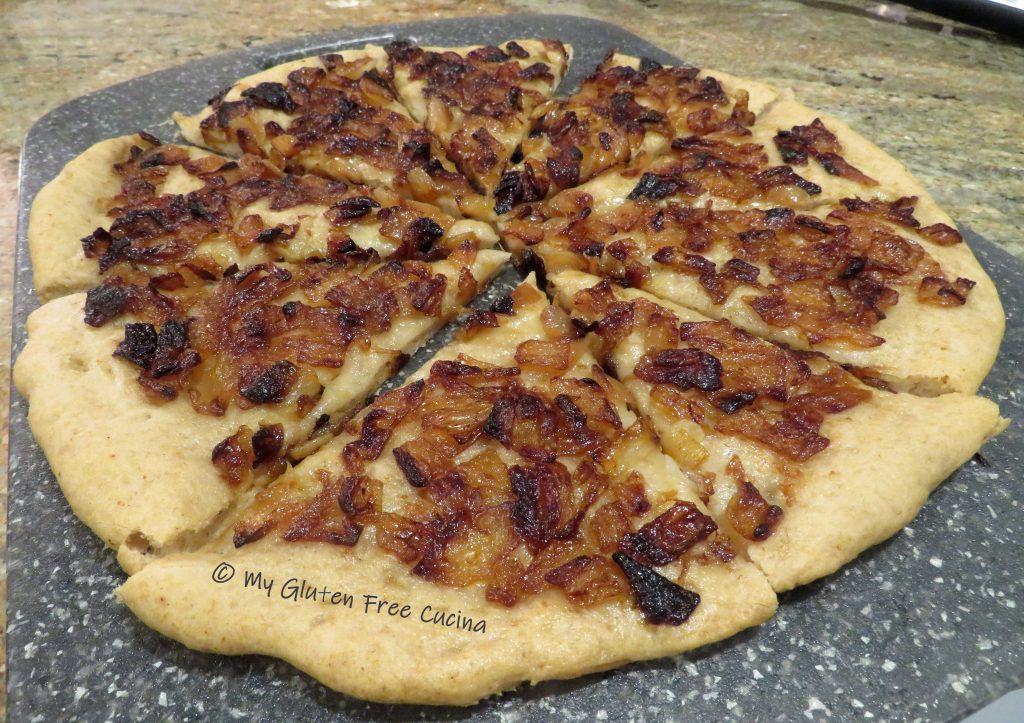

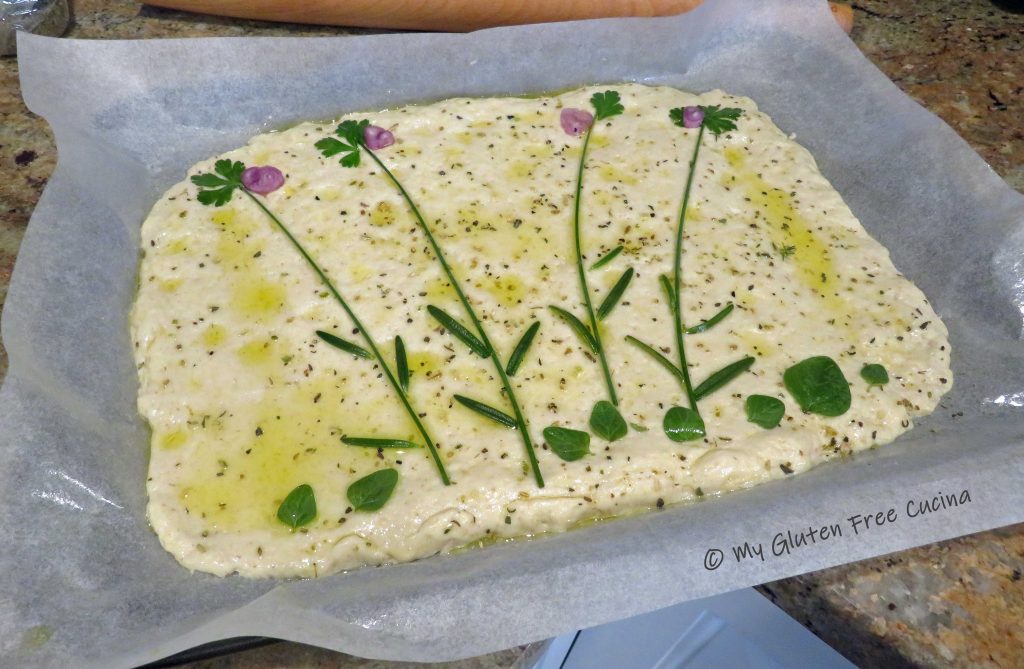
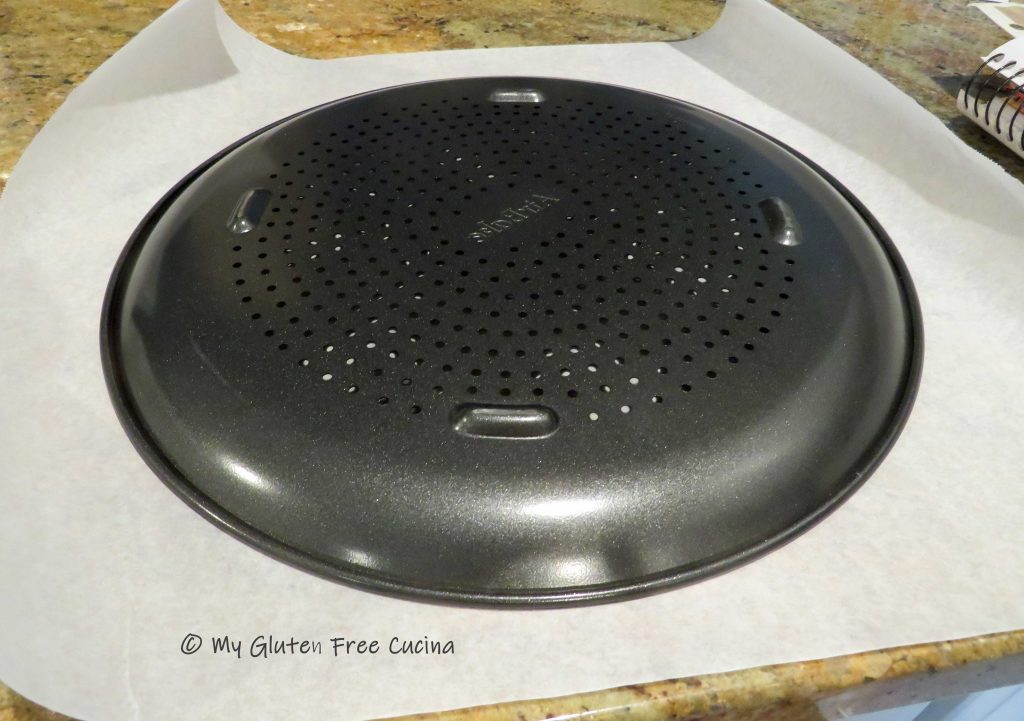 Mist the parchment with cooking spray and roll the dough into a round. Slide it onto the pizza pan, cover with oiled plastic wrap and let it rest at room temperature for 30 minutes.
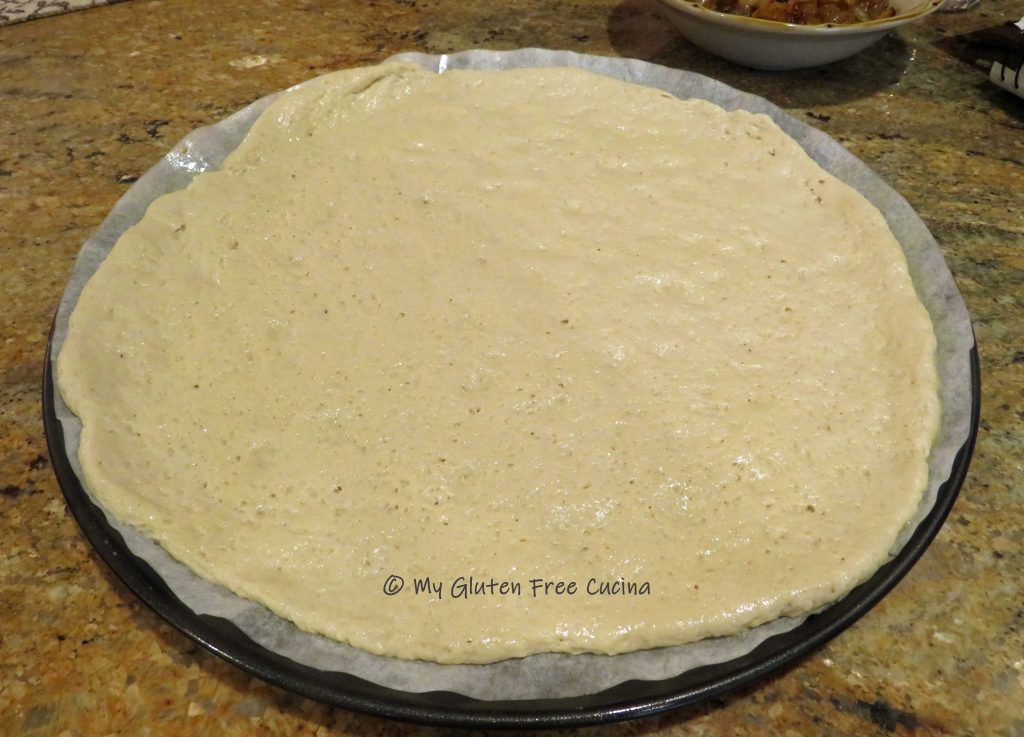


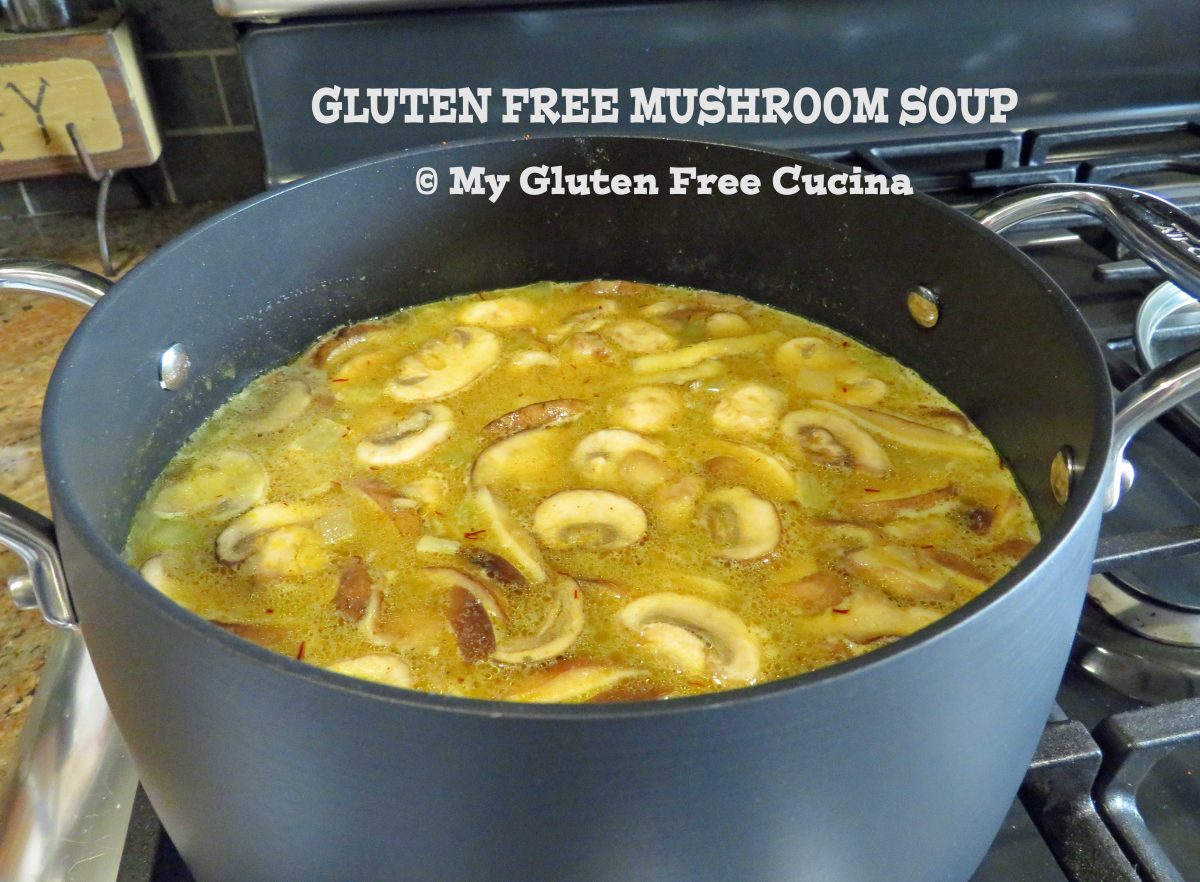

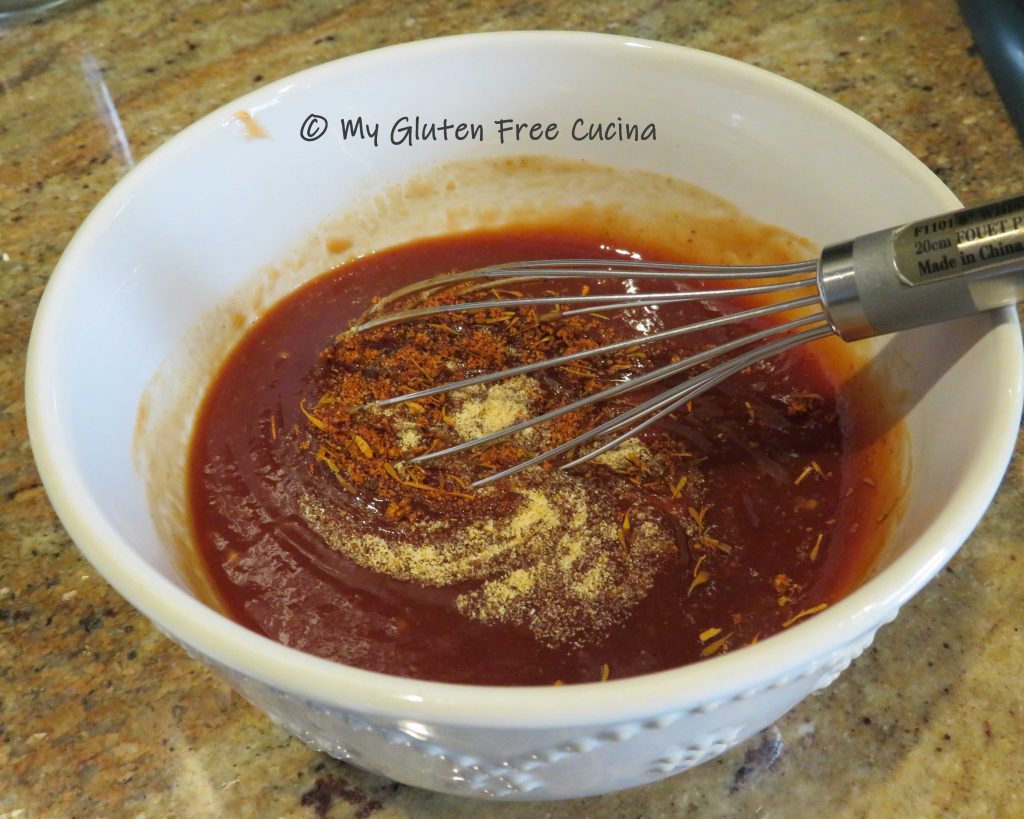
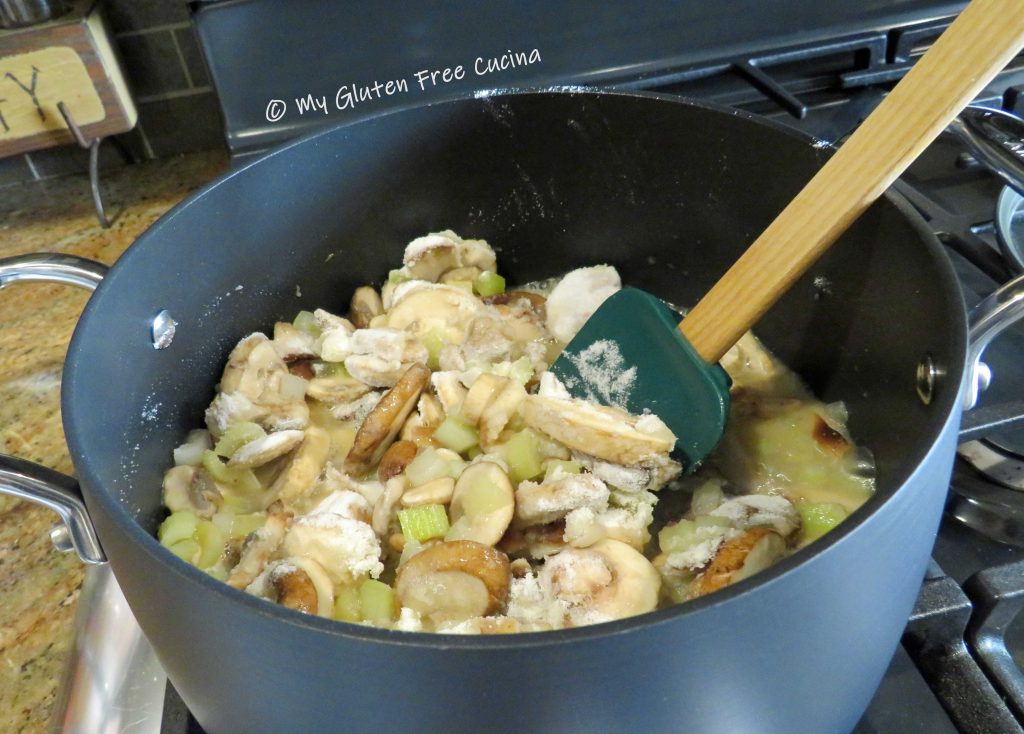
 Have the chicken broth ready and stir in the flour. It will immediately begin to thicken.
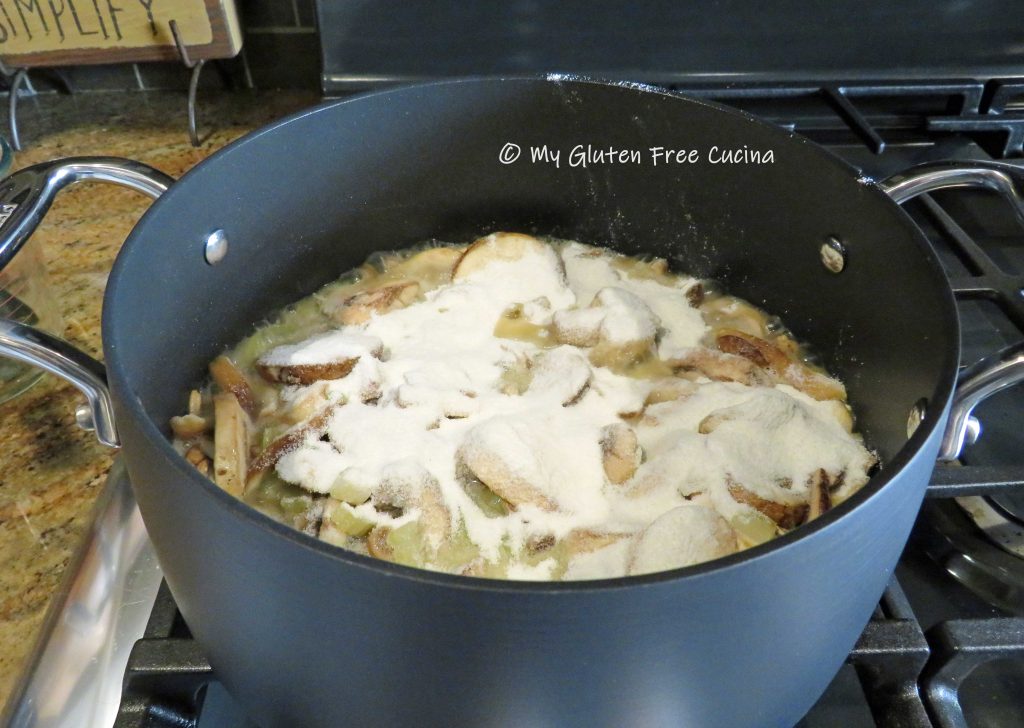
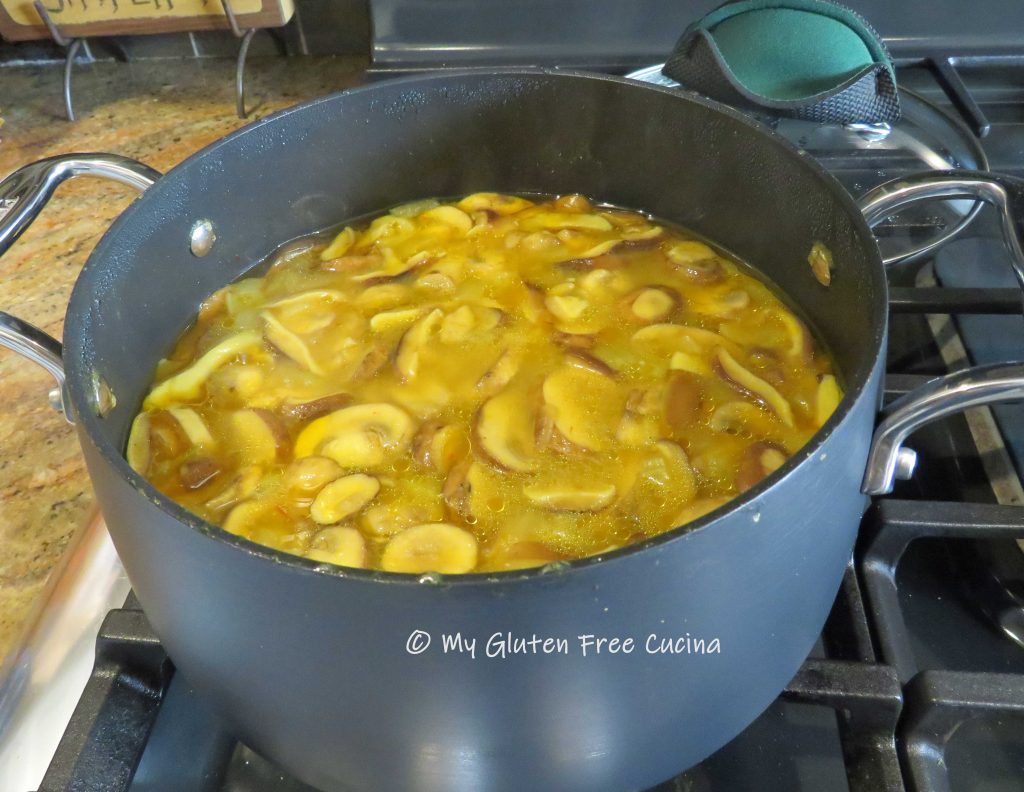
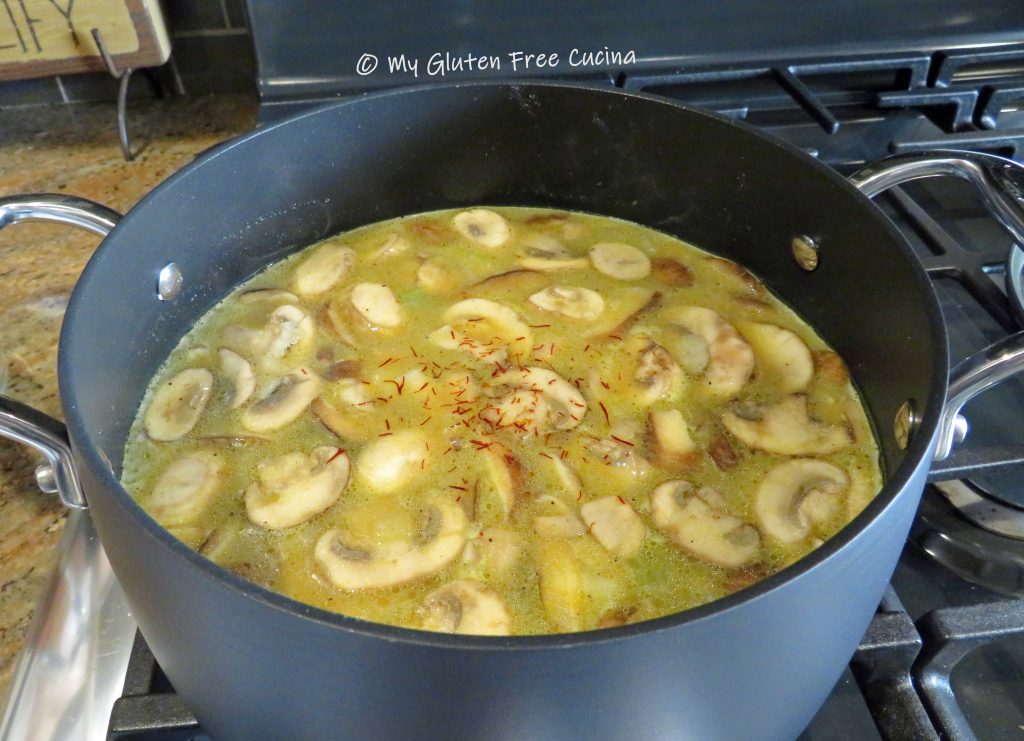 Simmer 15 minutes then remove from heat. Soup can be prepared ahead and frozen up to this point.
 I ladle the soup into freezer containers, about 1-1/2 cups each.
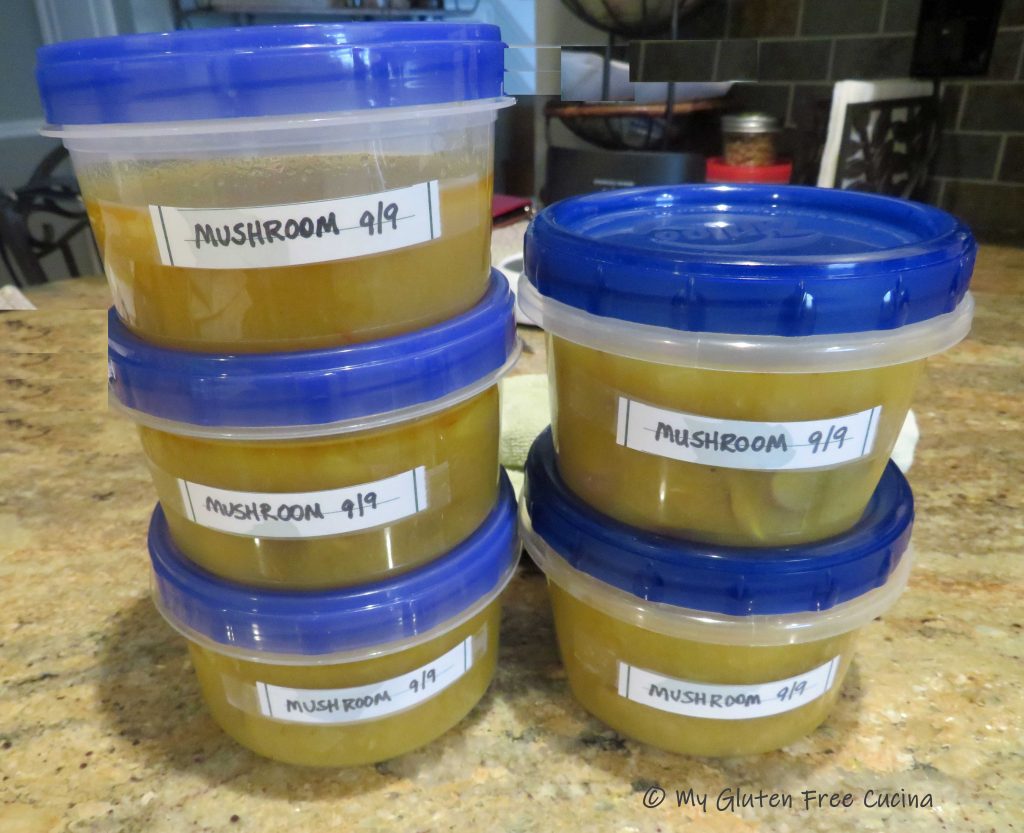


 Drain the pasta and add to the pan with 1/2 cup gruyere cheese. Toss to combine.


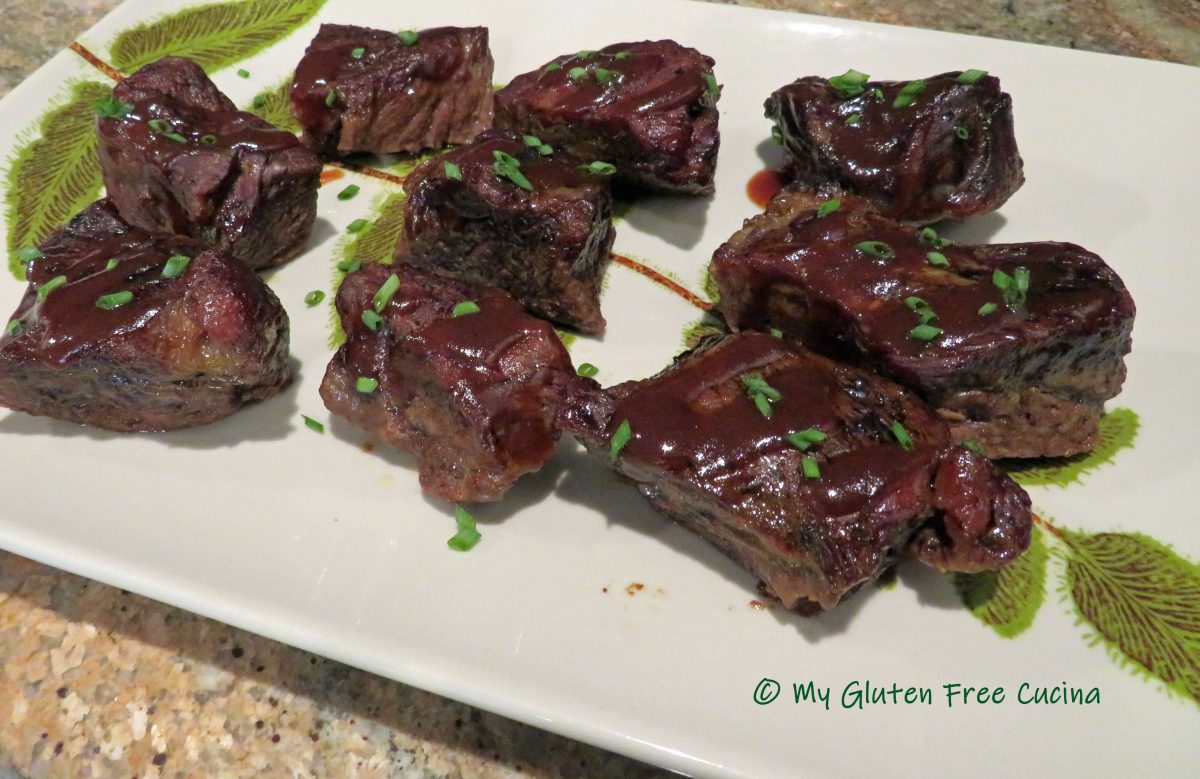
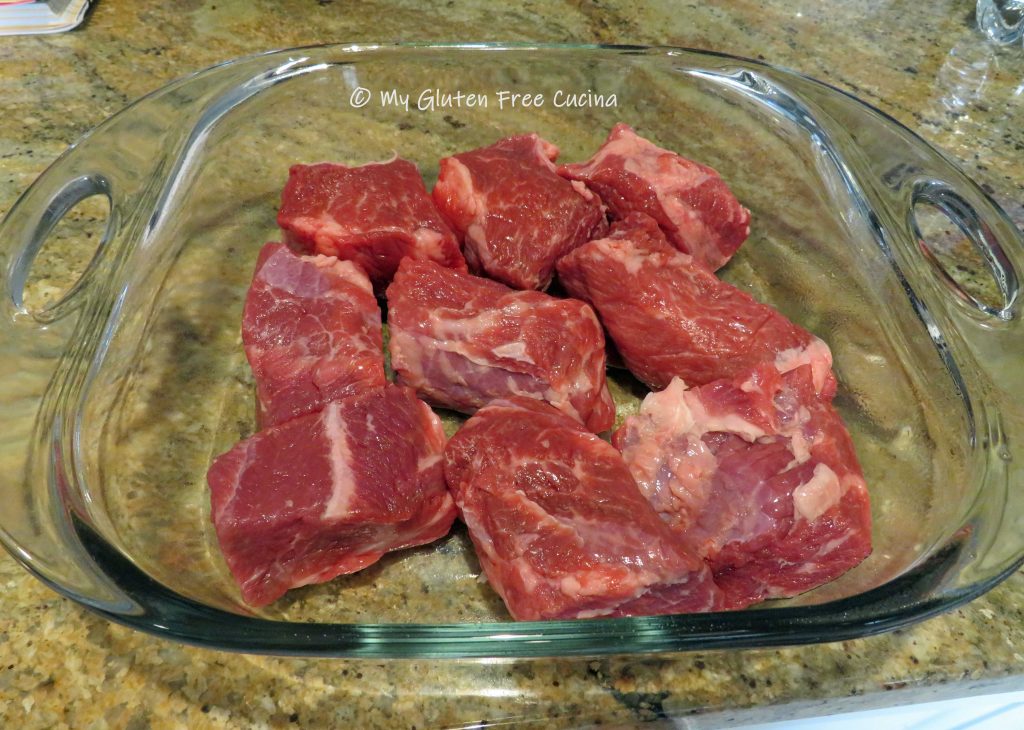
 The beef will shrink considerably during cooking, so start with twice as much as you think you need. For two people I suggest 1.5 lbs. of boneless beef short ribs. It may look like a lot to begin with, but there will be no leftovers 😉
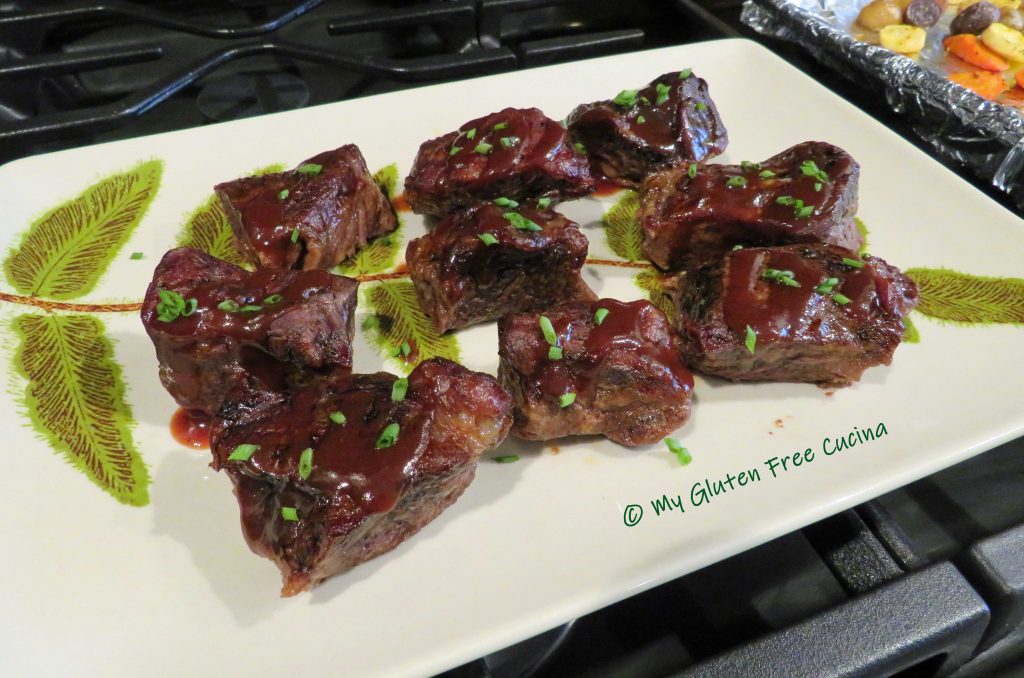 Ingredients: