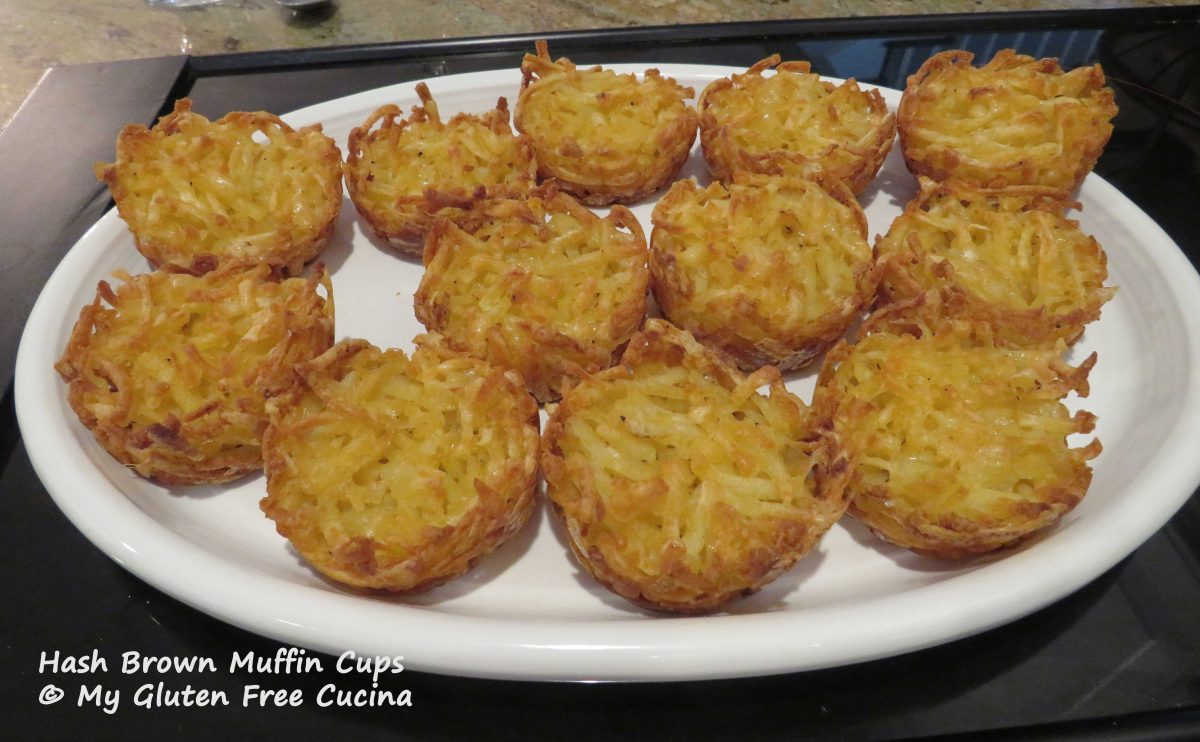
Aren’t these the cutest? Hash Brown Muffin Cups are fun to make and eat, kid friendly and adult approved! Using frozen hash browns really cuts down on the prep work. This is a great brunch recipe because you can prepare it the night before and bake in the morning.
Are hash browns gluten free?
As long as you are buying plain hash brown potatoes, they should be fine. I always look for the gluten free label as an extra measure of security, but as long as the only ingredient is “Potatoes” you are good to go. If the potatoes are seasoned or include other ingredients, then investigate further before buying. I used Ore-Ida frozen shredded Hash Browns in this recipe.
This post contains affiliate links.
Ingredients:
- 20 oz. frozen shredded hash browns (for a standard 12-cup muffin tin)
- 1/2 cup shredded parmesan cheese
- 1/2 tsp. salt
- fresh ground pepper, to taste
- 1/2 tsp. garlic granules
- 1/8 tsp. paprika
- 2 tbsp. olive oil
- cooking spray
Preparation:
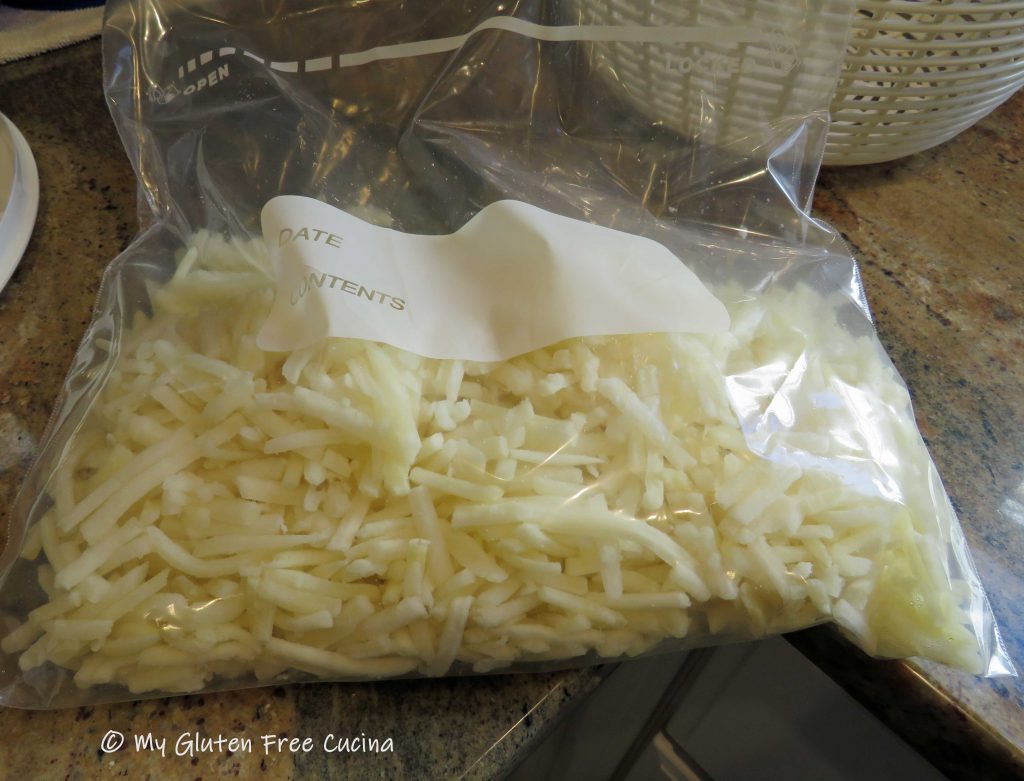
Weigh 20 oz. hash browns and place in a zip top bag. Defrost in the refrigerator.
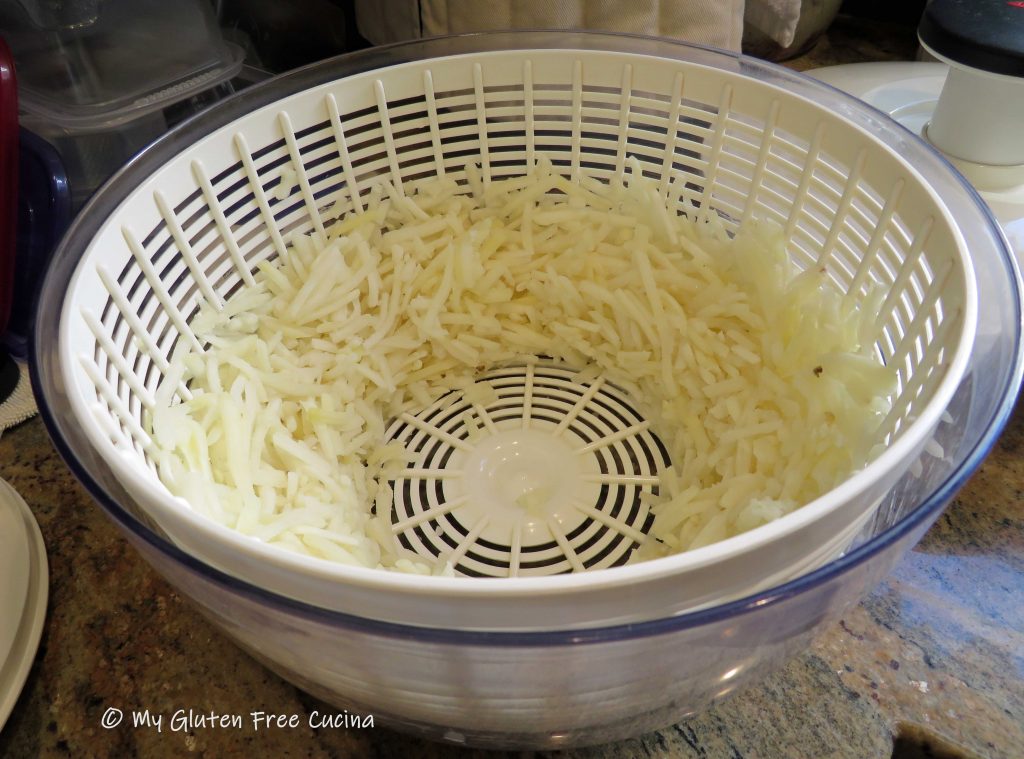
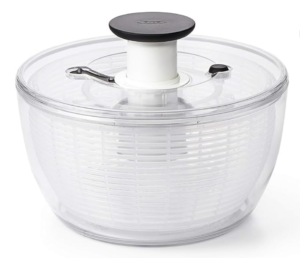
I used a salad spinner to be sure the potatoes were as dry as possible (see notes). After spinning the potatoes (or pressing them dry with paper towels) transfer to a clean bowl.
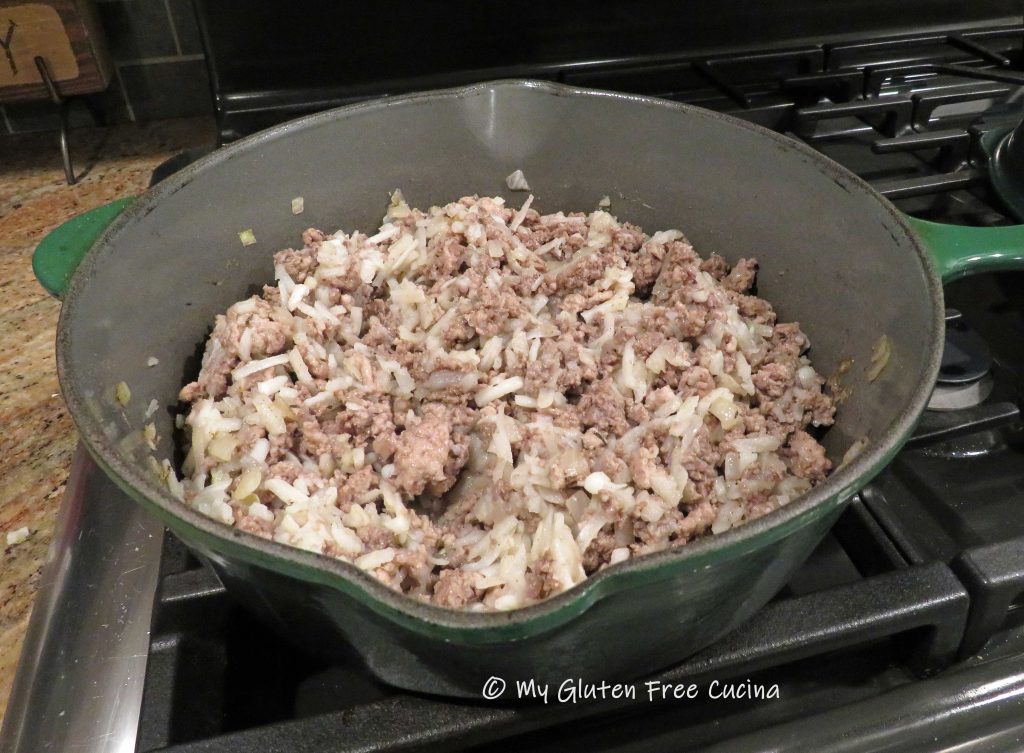
Toss the hash browns with the cheese and seasonings. Drizzle with 2 tbsp. olive oil and toss again to coat thoroughly.

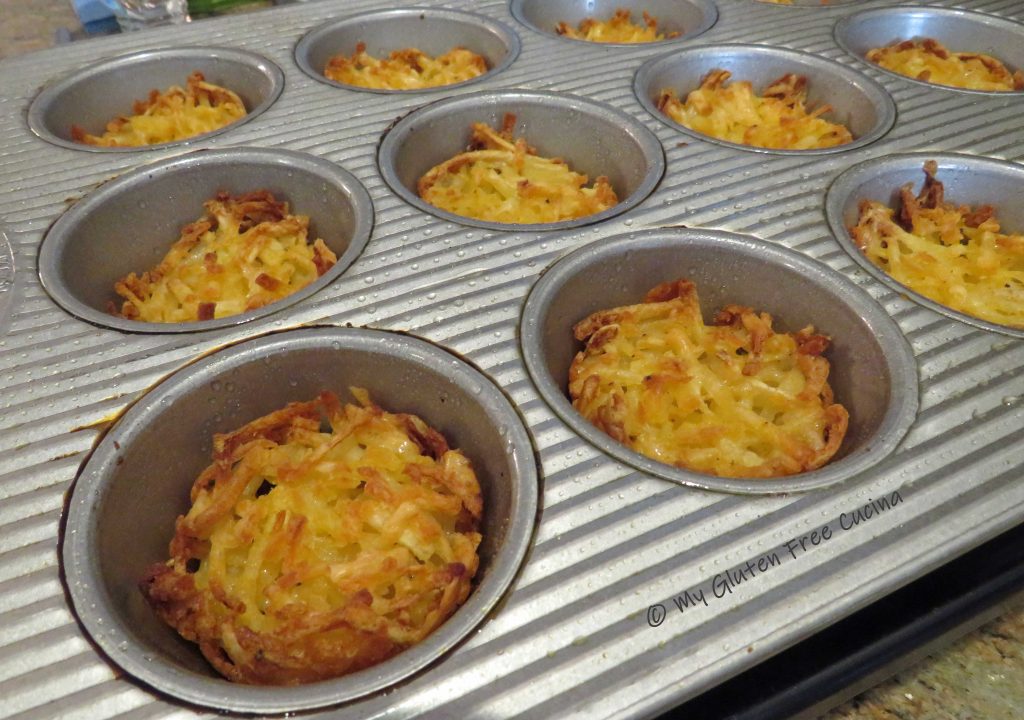
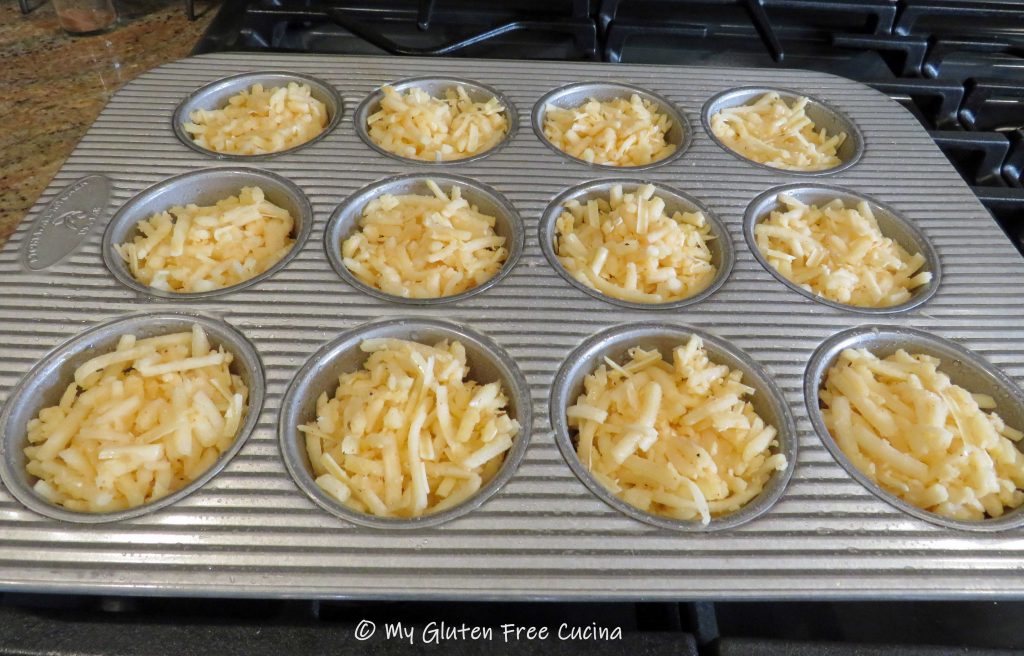
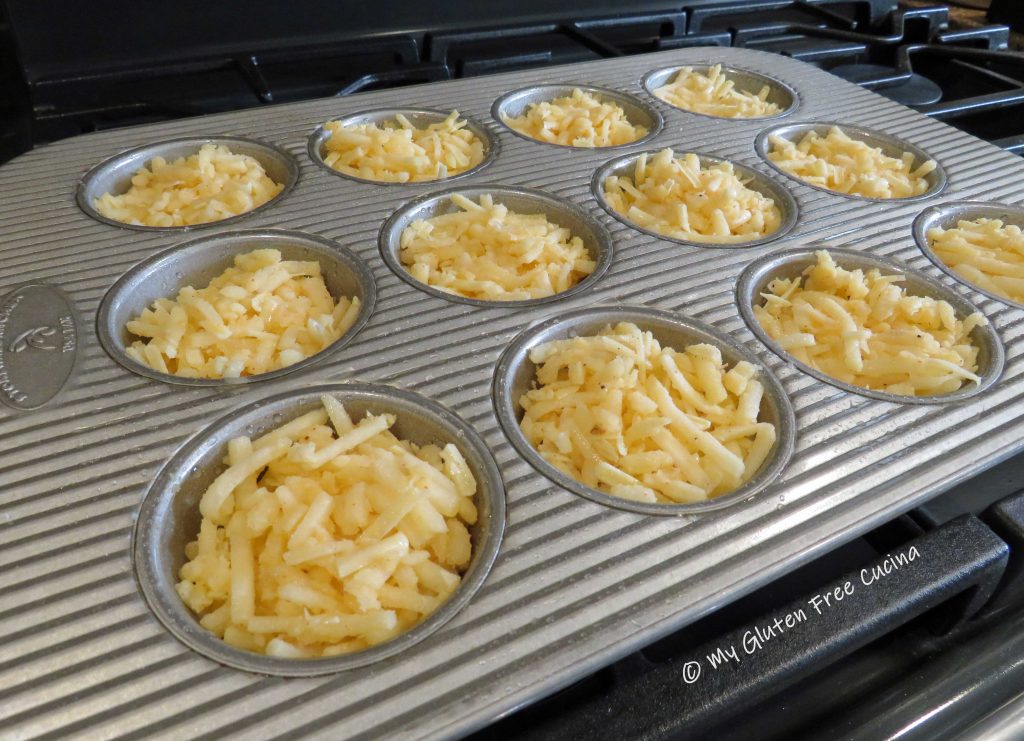
Mist the muffin tin with cooking spray and spoon the potatoes evenly into the 12 cups.
Cover with plastic wrap and refrigerate overnight.
The next morning, preheat the oven to 400º and spritz the tops of the muffin cups with olive oil spray. Bake for 45 minutes.

The edges should be browned and crispy. Use a spoon to slide them right out of the pan onto a serving dish!
 Hash Brown Muffin Cups will be a great addition to your brunch menu, or a fun dinner side. They reheat well, and ours stayed crispy even after microwaving. You will want to keep a bag of hash browns in your freezer pantry, so you can make a batch any time you like!
Notes ♪♫ My salad spinner is over 20 years old. We originally purchased ours when my husband used to plant a large garden and I needed an easy way to wash the veggies. Today I still eat lots of salads and this is just a handy thing to have in your kitchen! Here’s the current model.


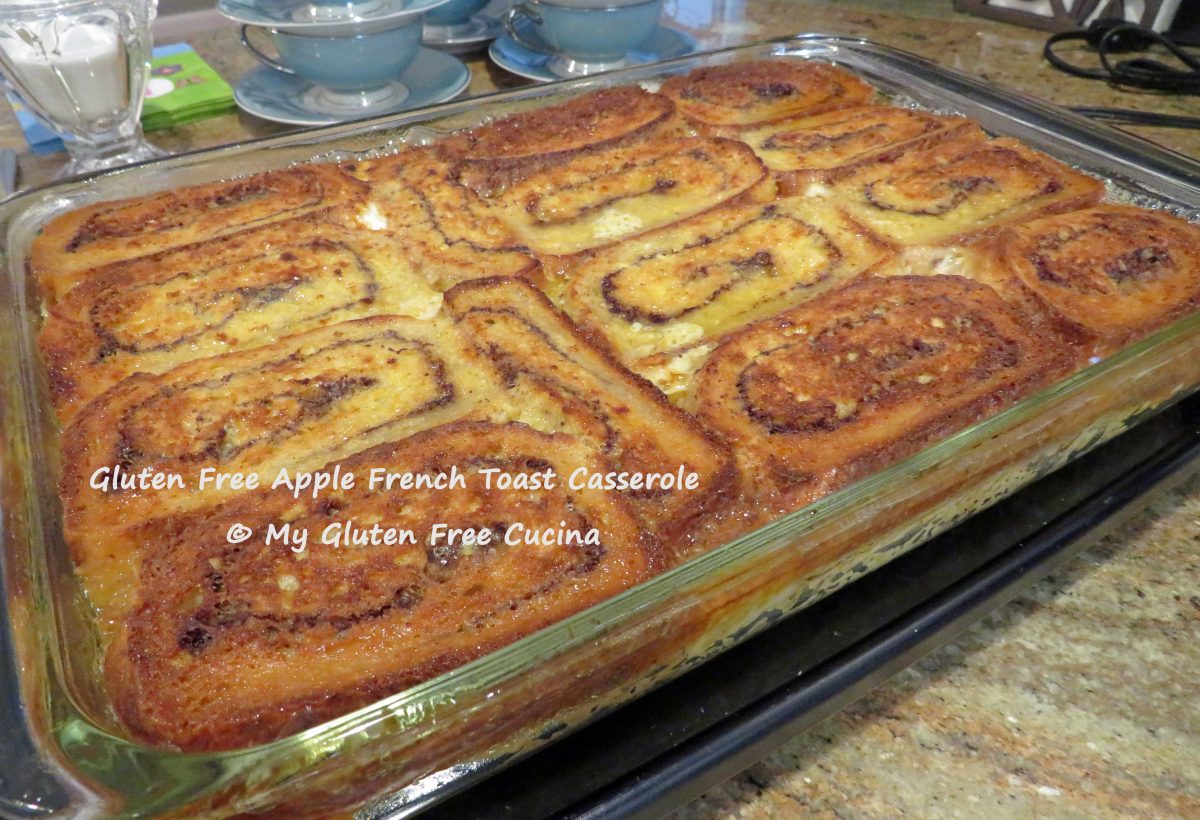


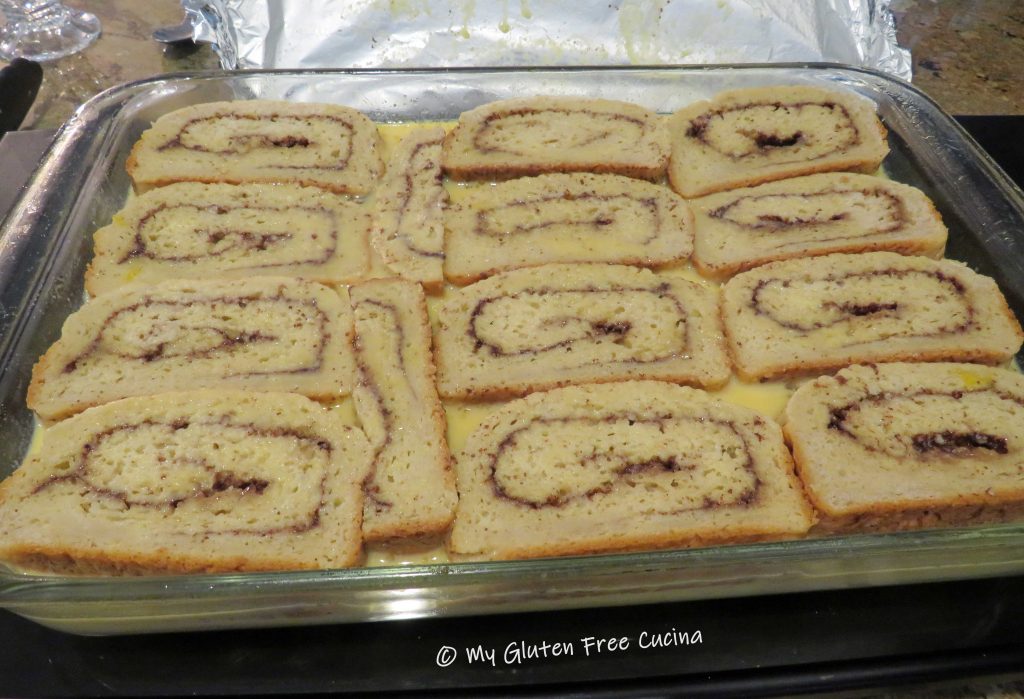
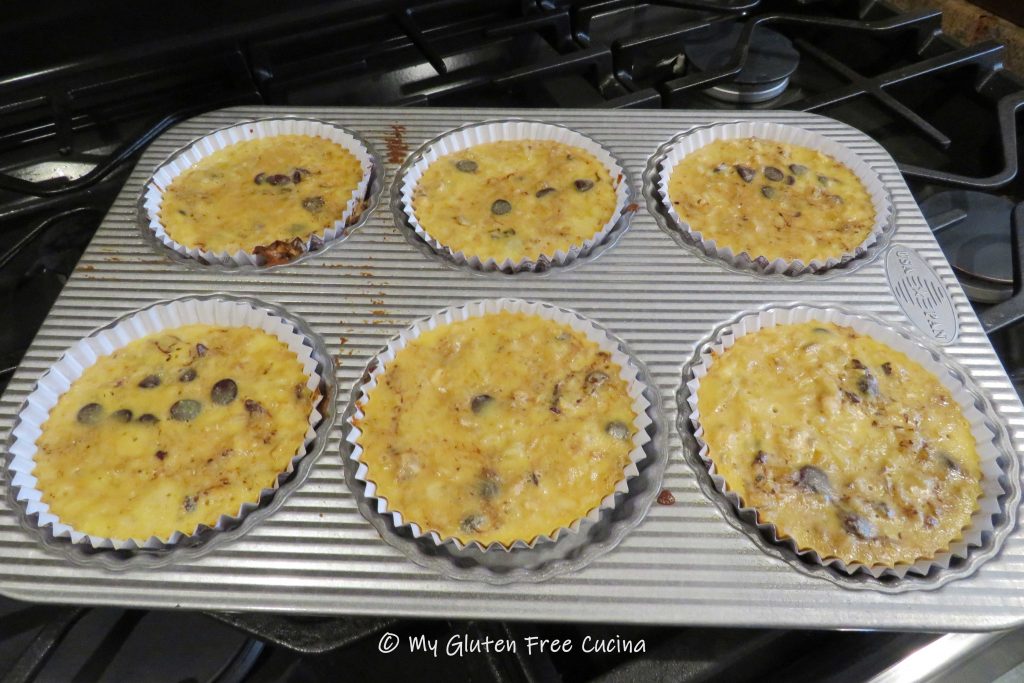
 Pour the egg mixture over the bread slices and press down with a spatula.
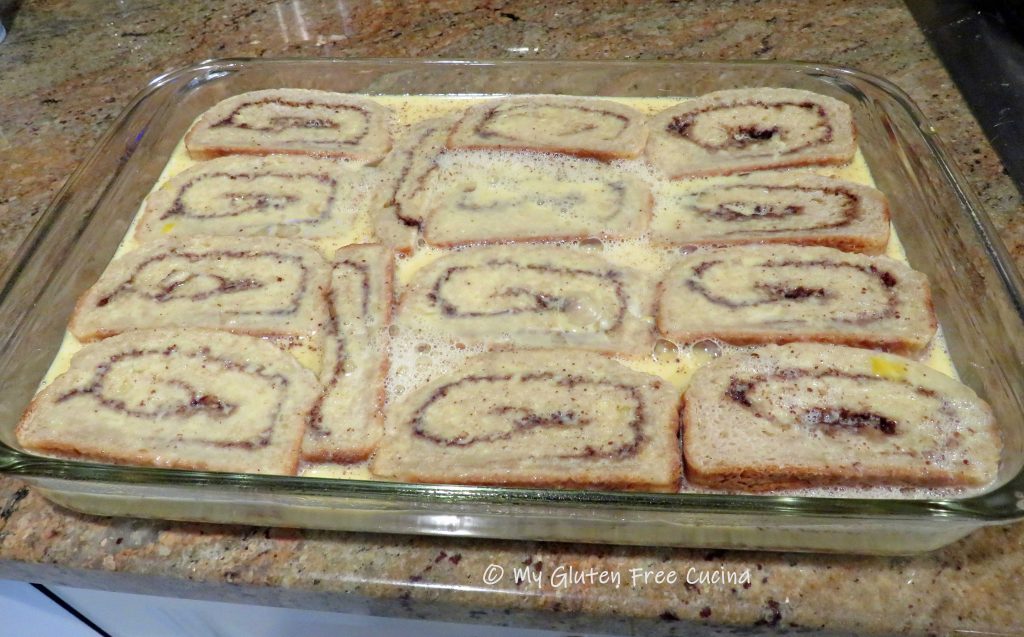

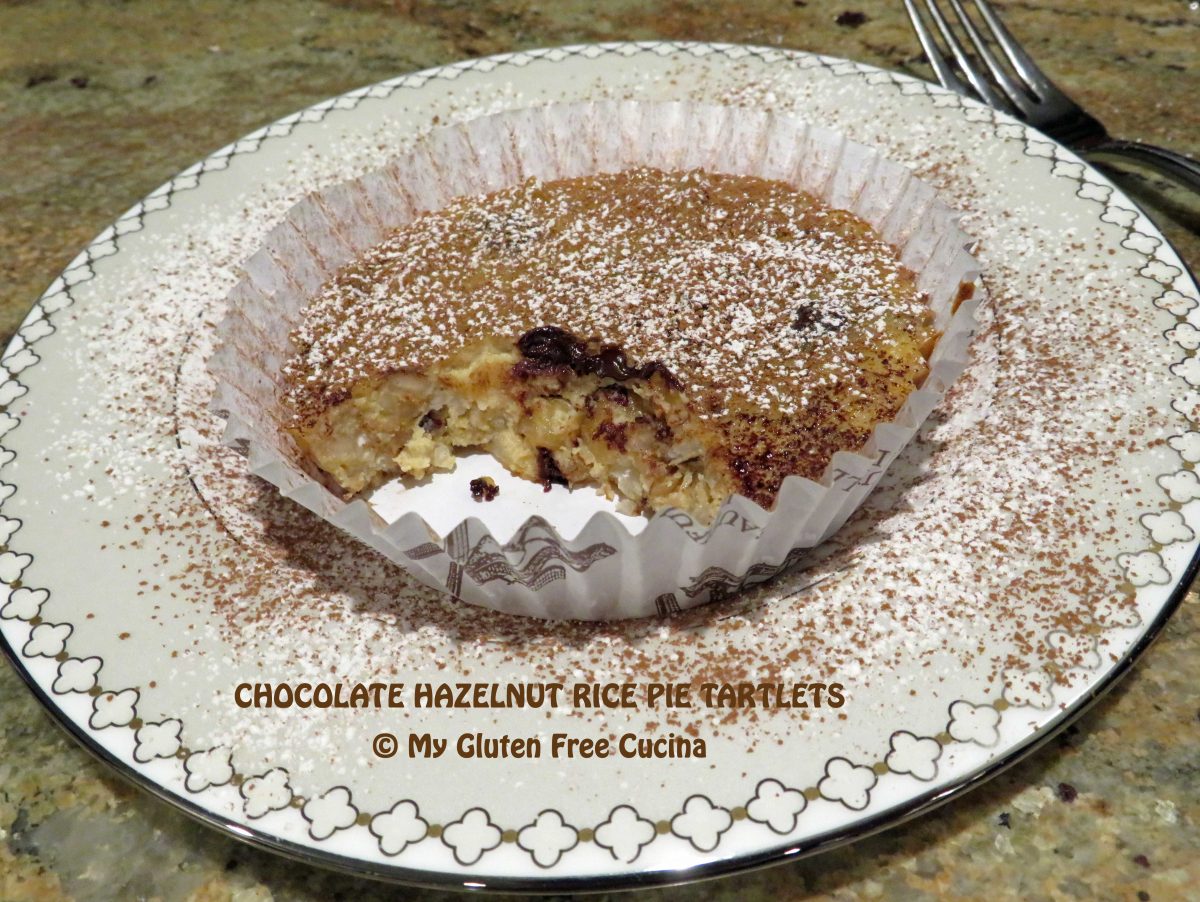


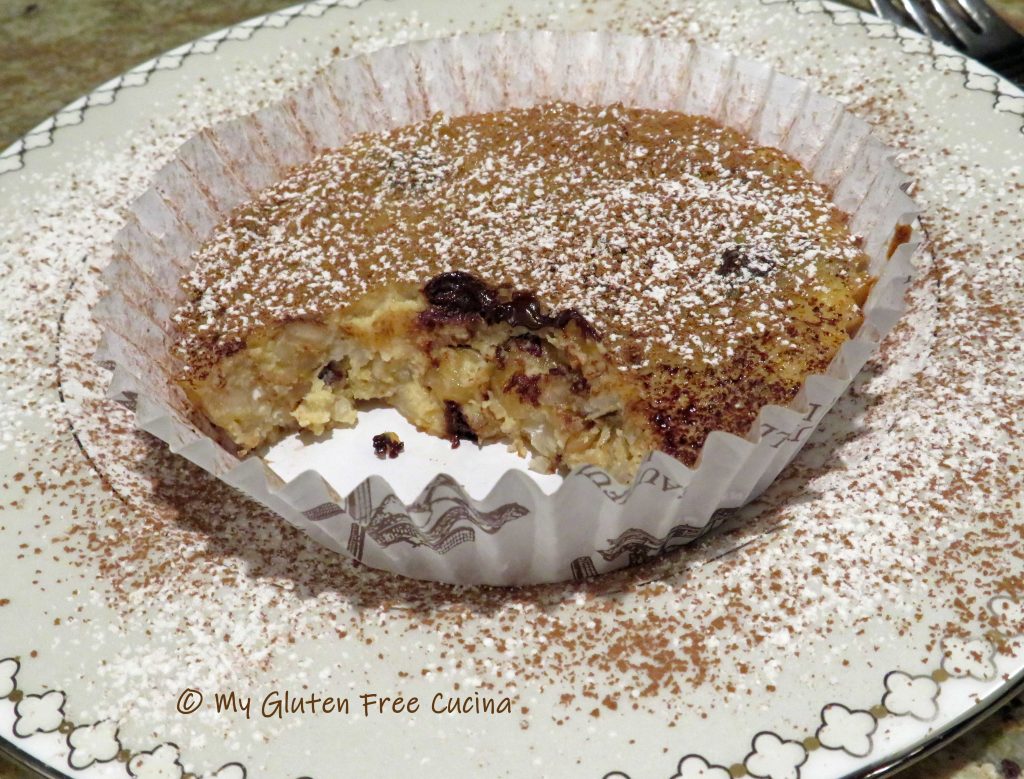
 Serve the tartlets at room temperature or chilled. Before serving, dust with cocoa powder and powdered sugar.
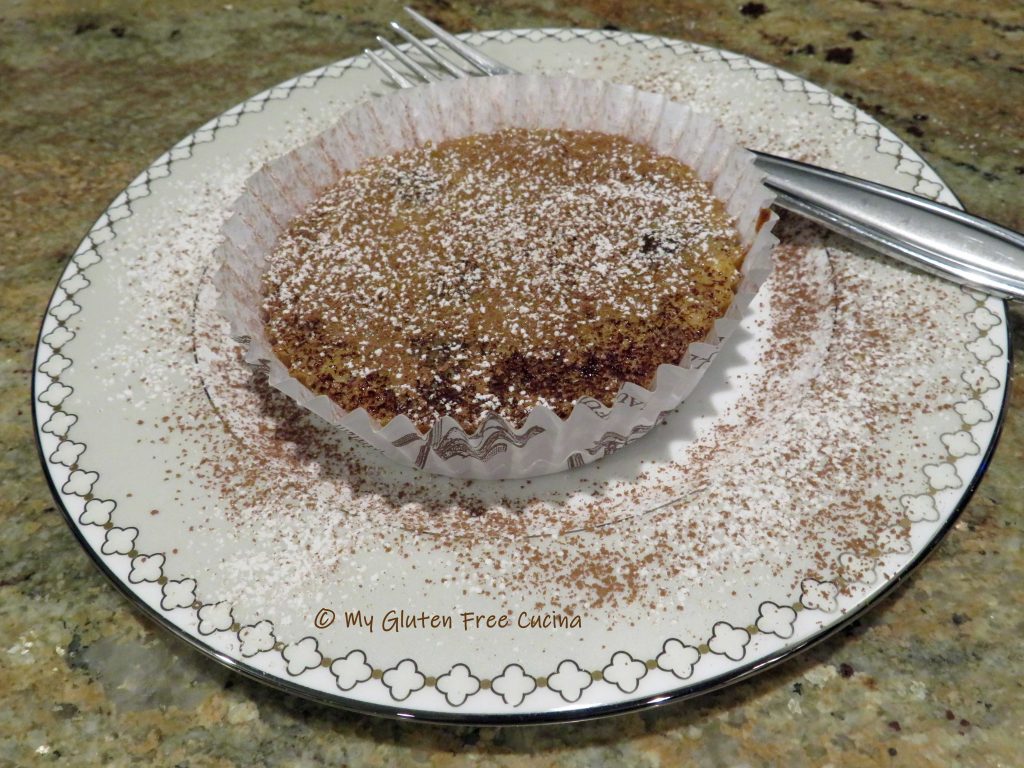


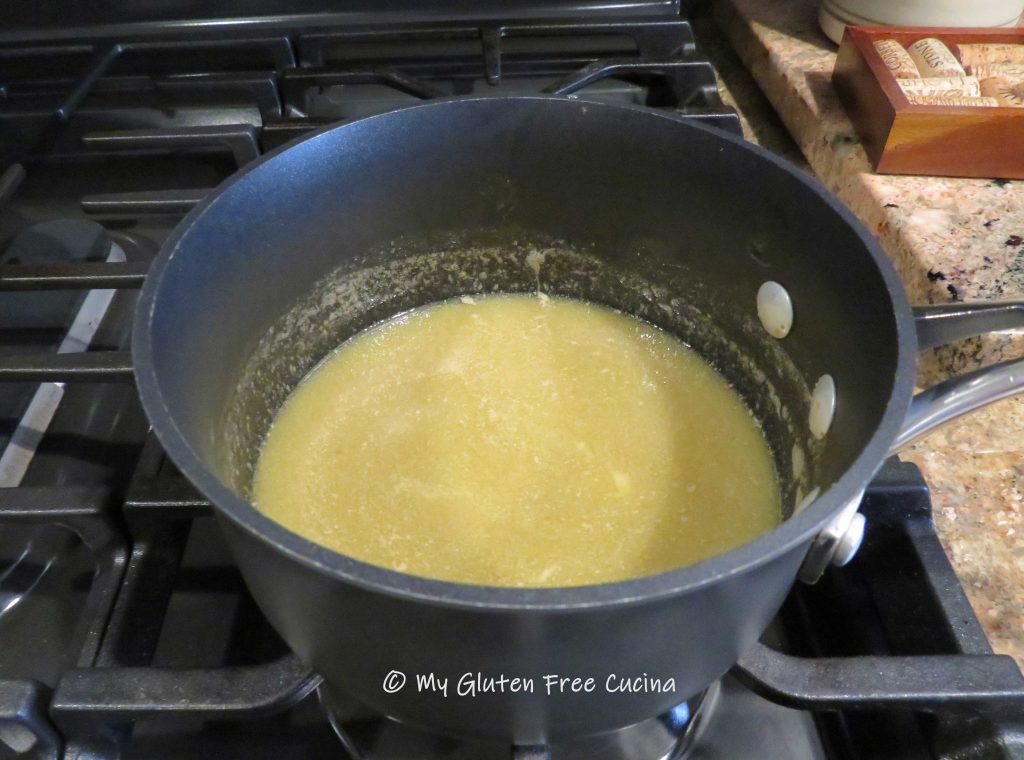
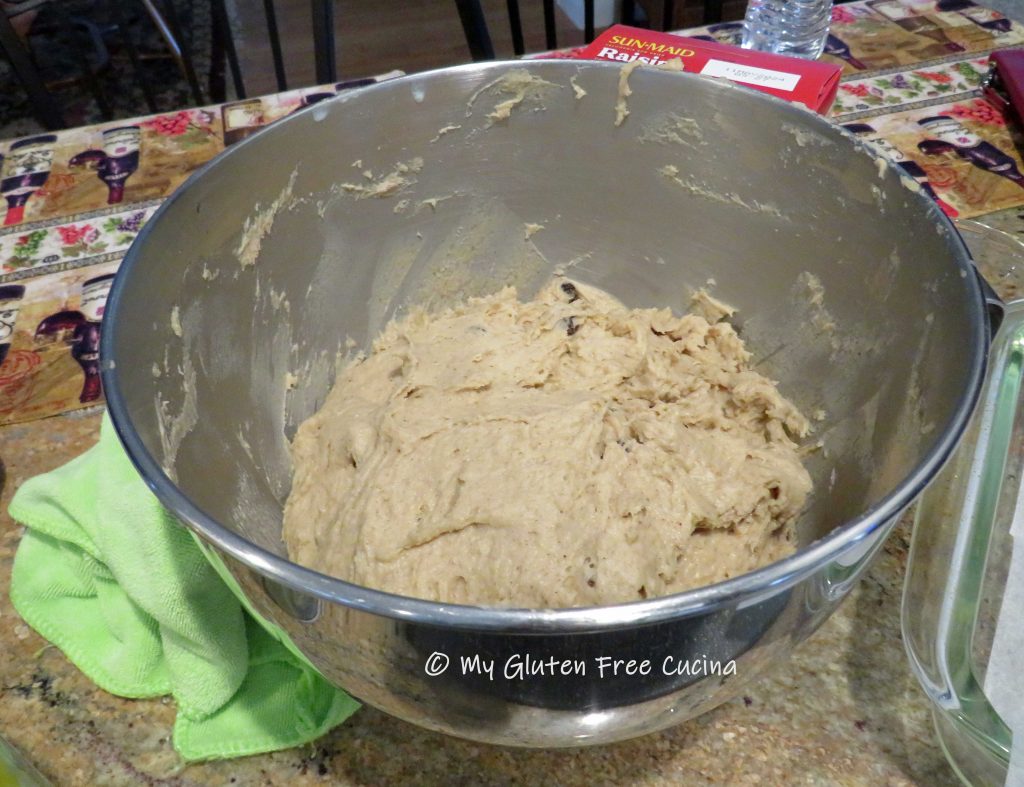
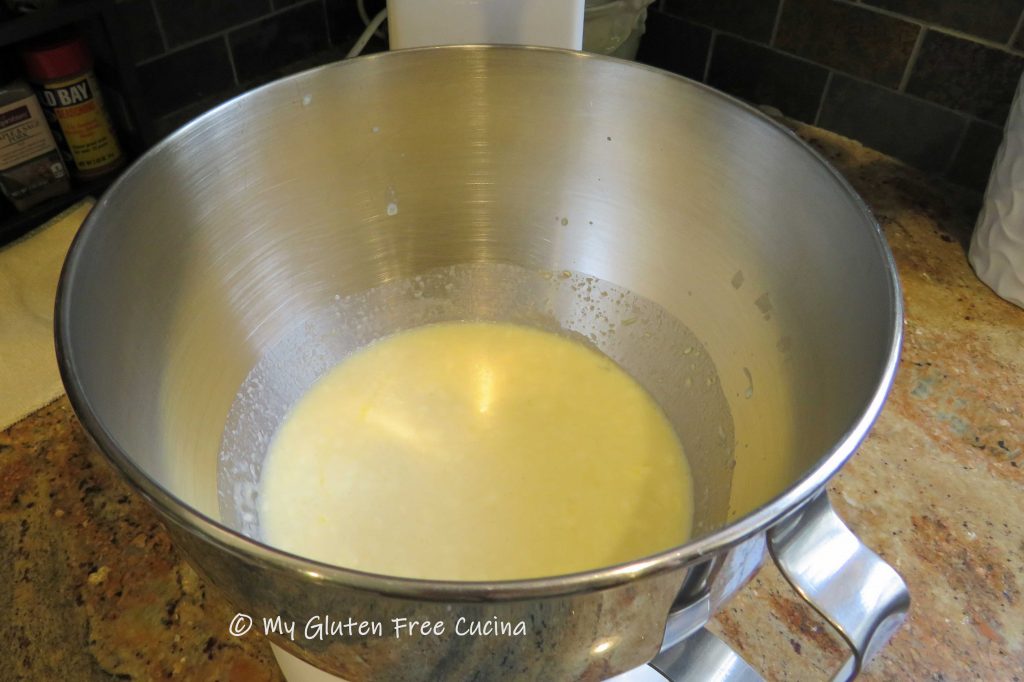
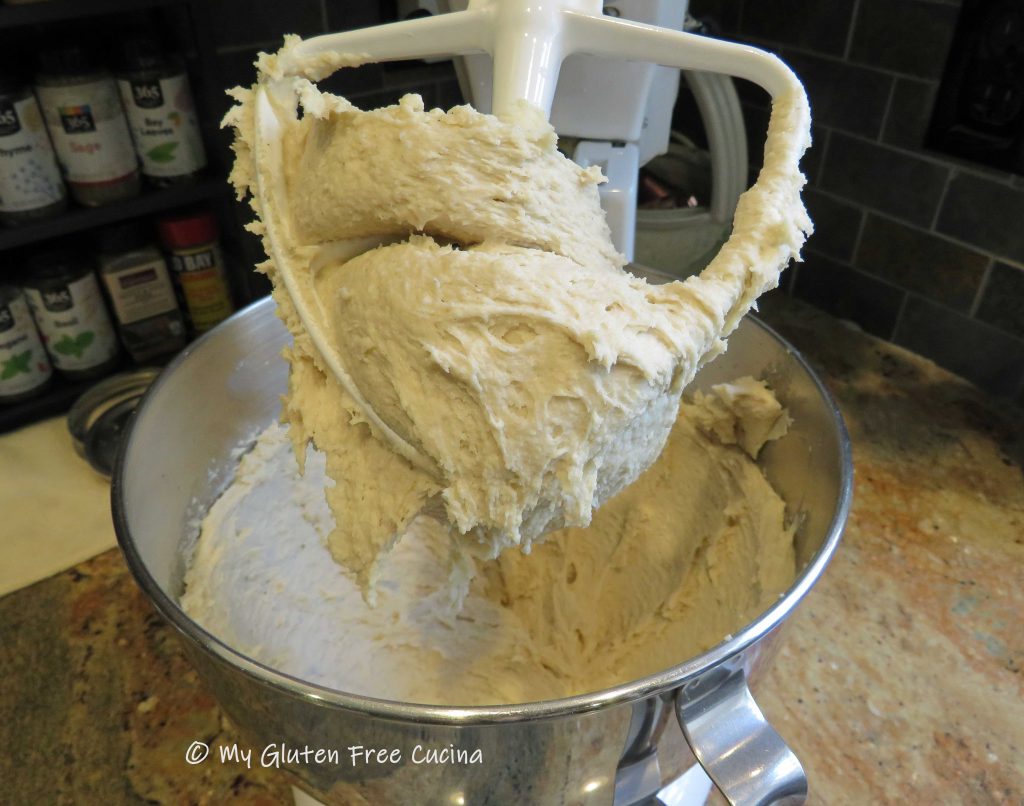
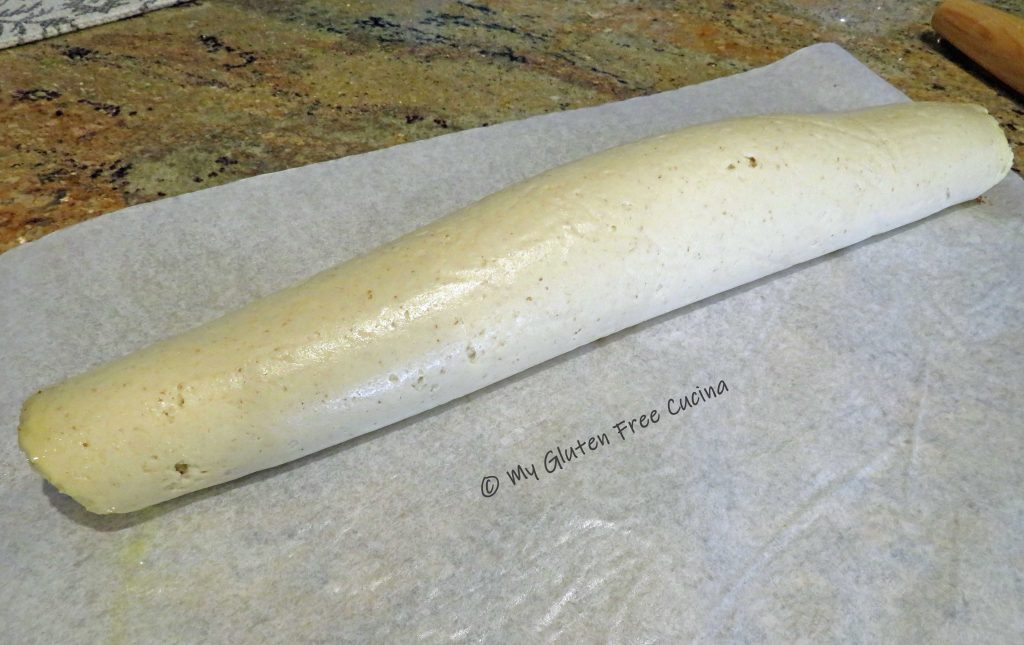
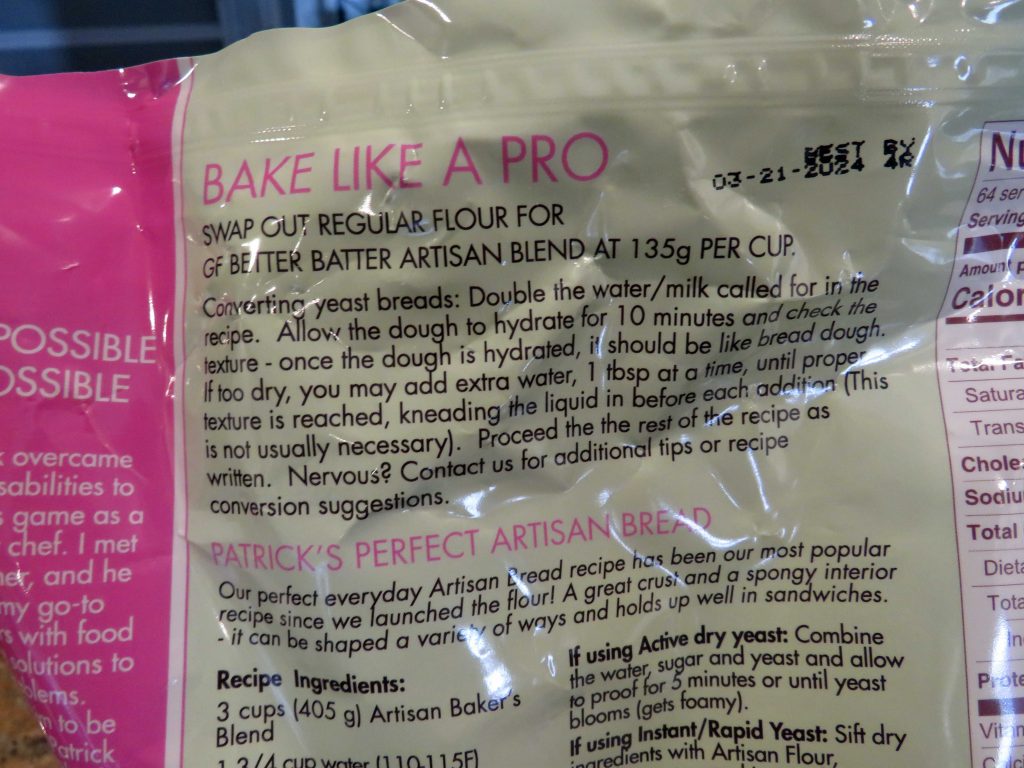
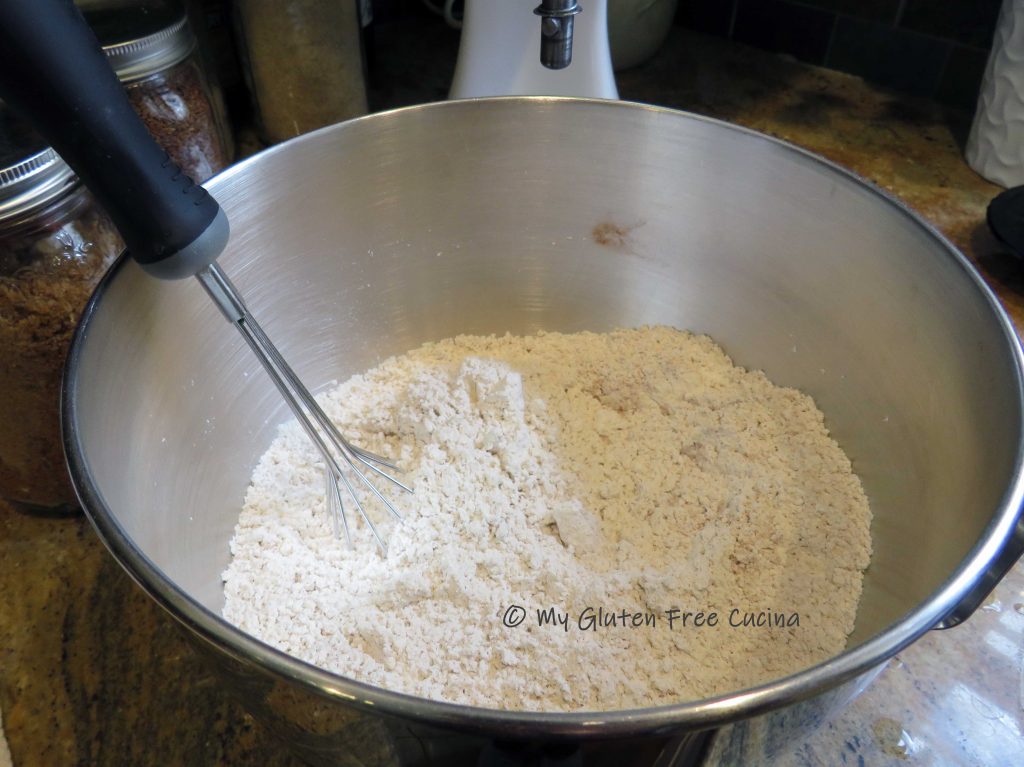 Add the butter, eggs and milk/yeast mixture and mix together on low with the paddle attachment. It will look like wet pancake batter at this point. Increase the speed and beat for 5 minutes to form a sticky, soft dough.
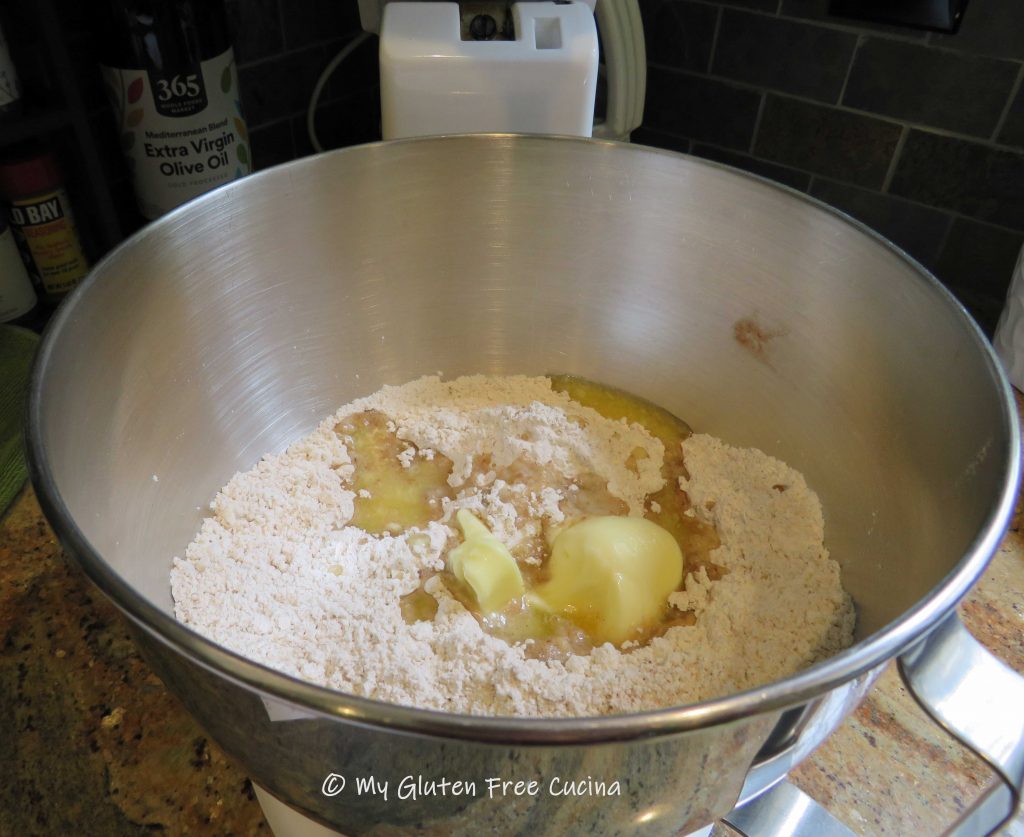
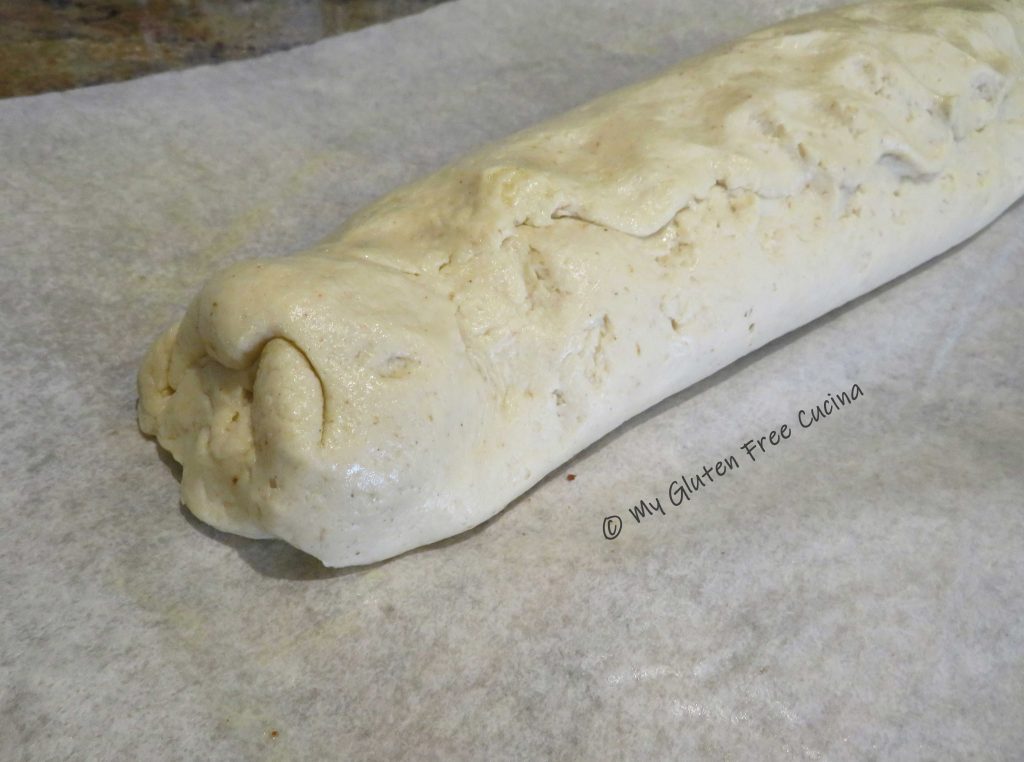
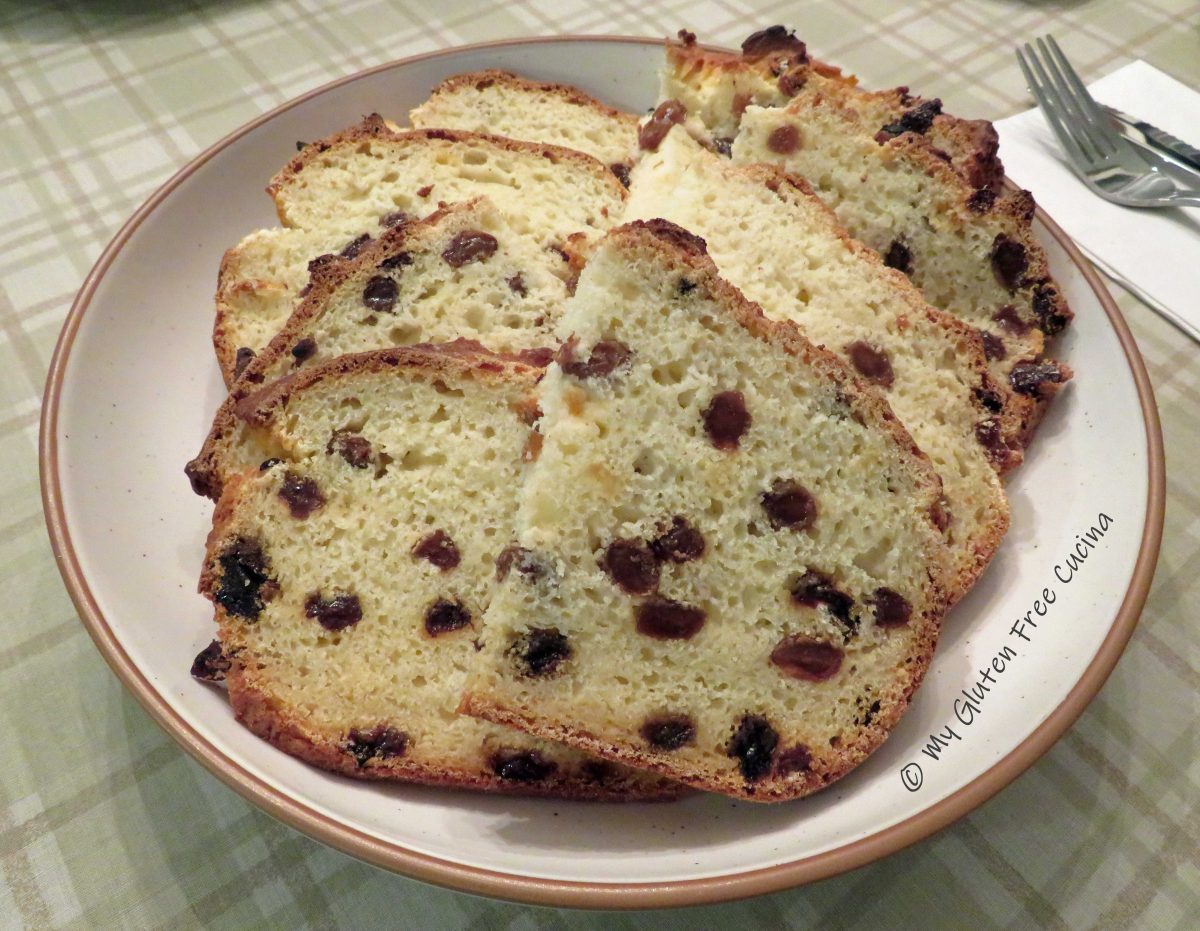
 Finally, add the rum-soaked raisins and their liquid, mixing for one more minute to incorporate.
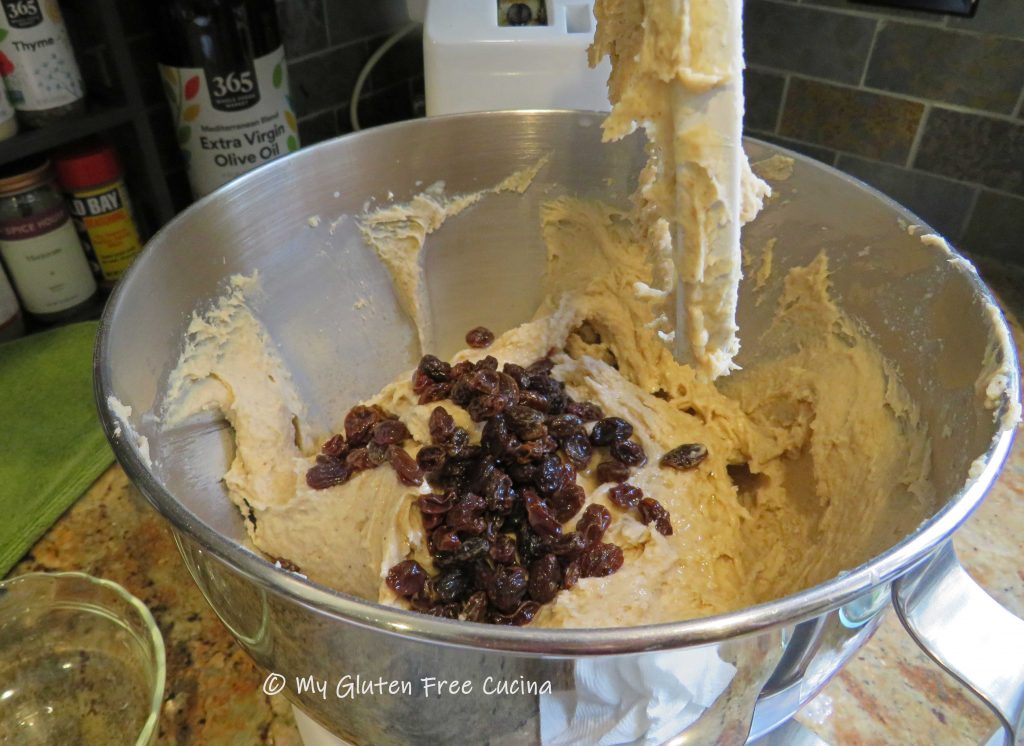


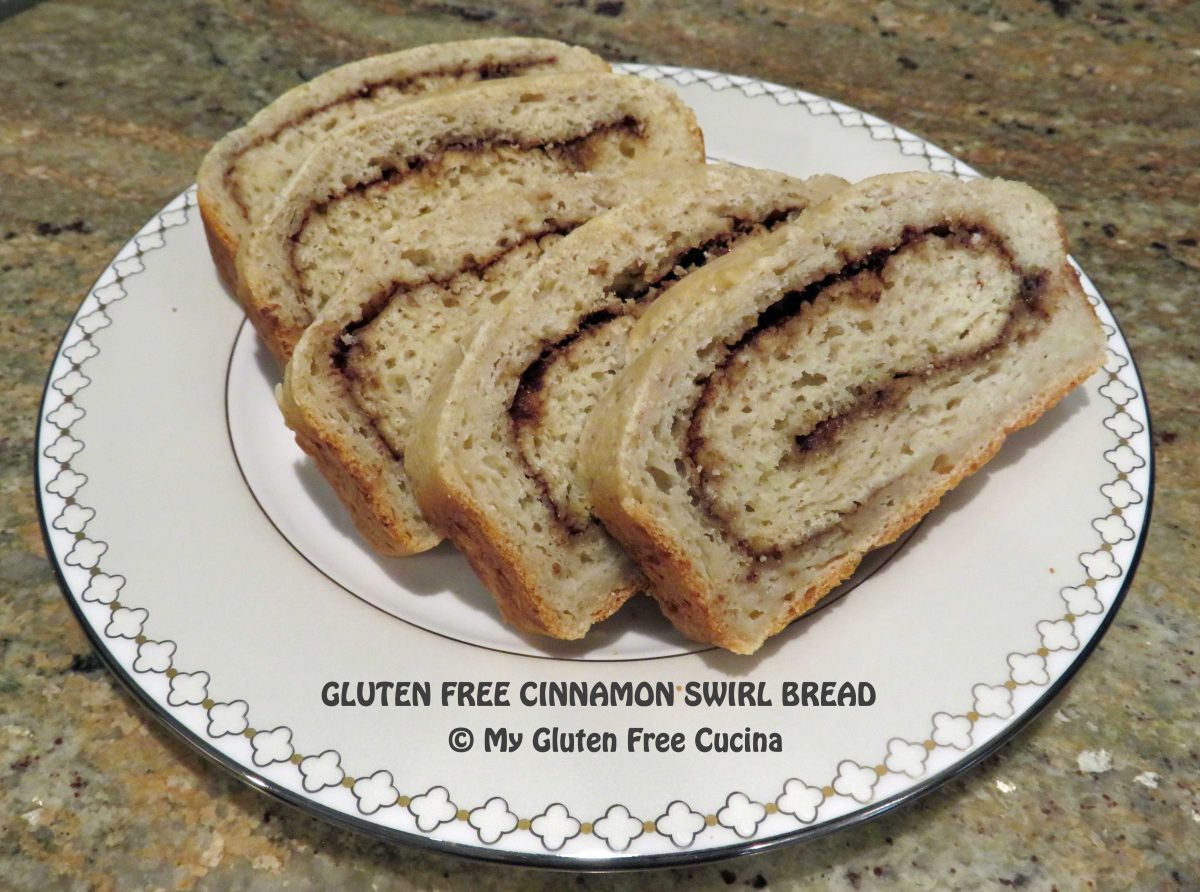

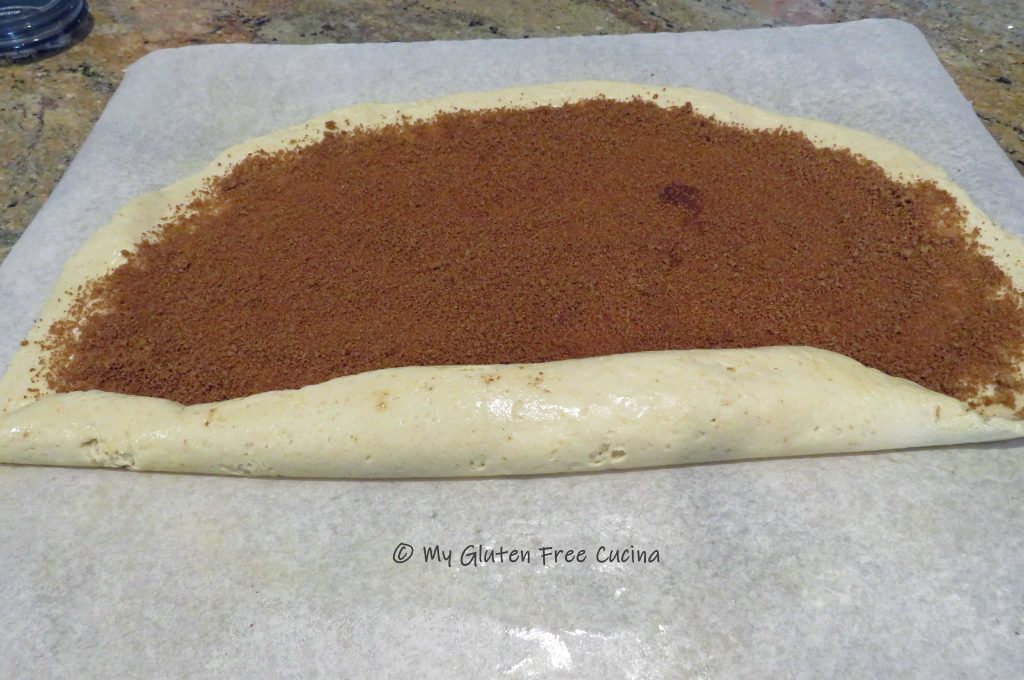
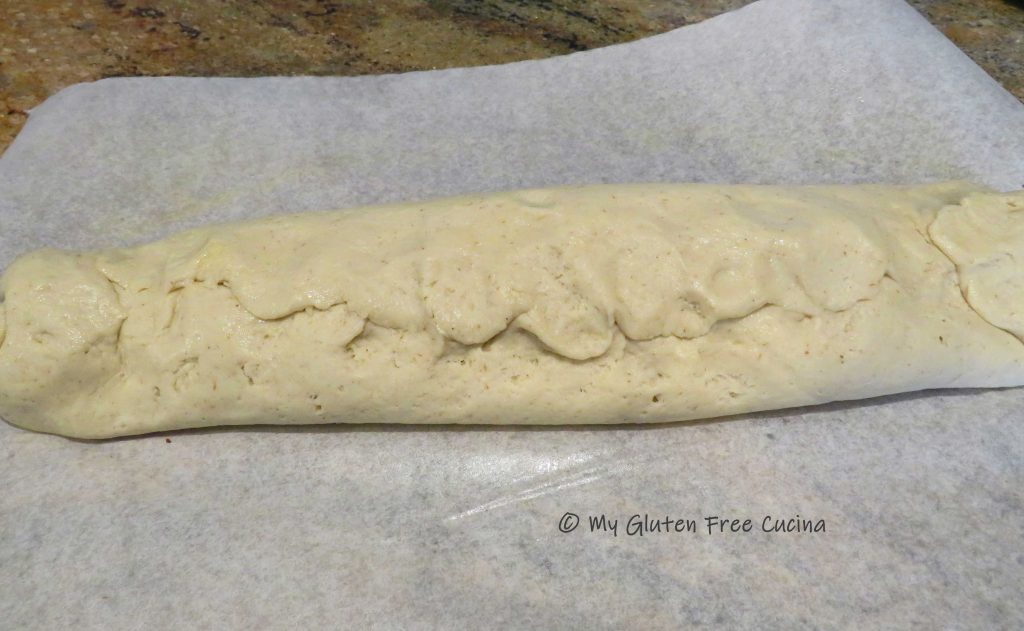
 Spread the brown sugar and cinnamon mixture evenly over the dough, leaving a 1″ border all around.
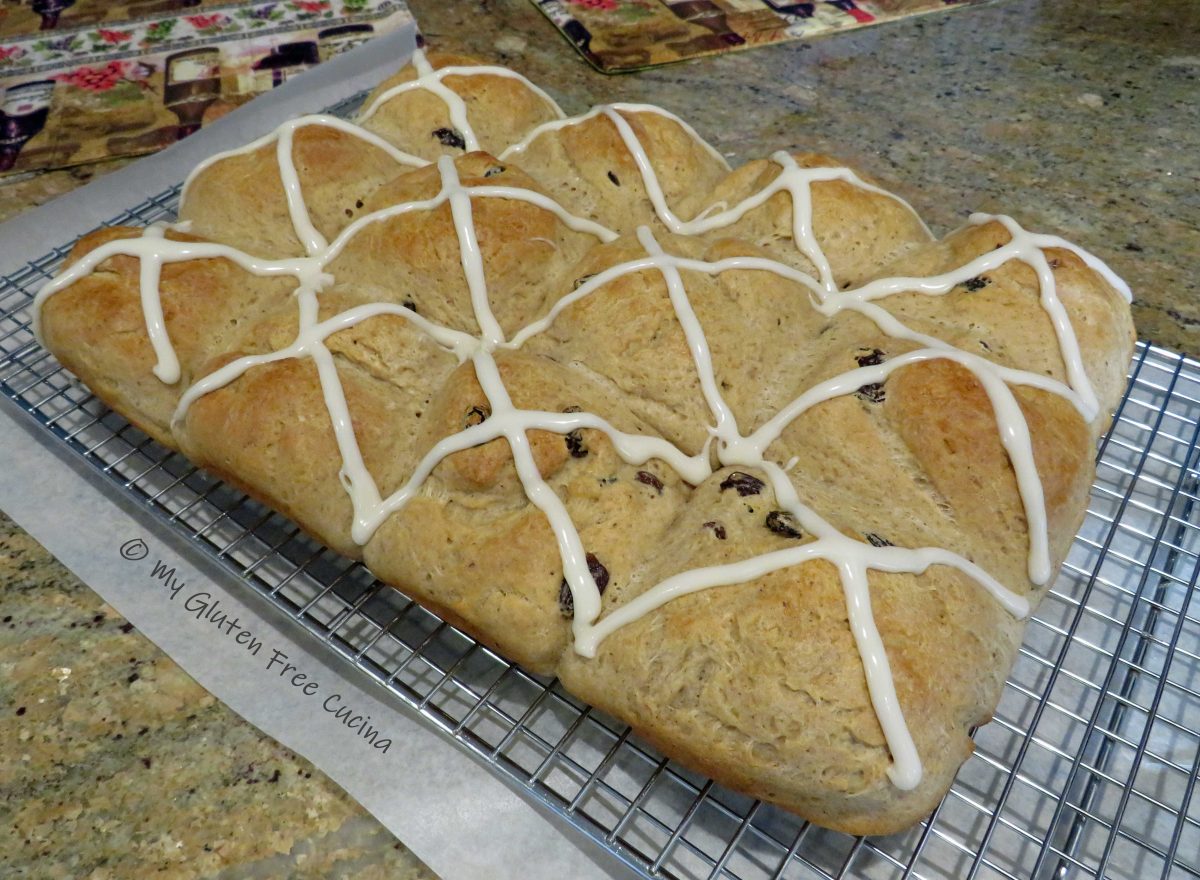
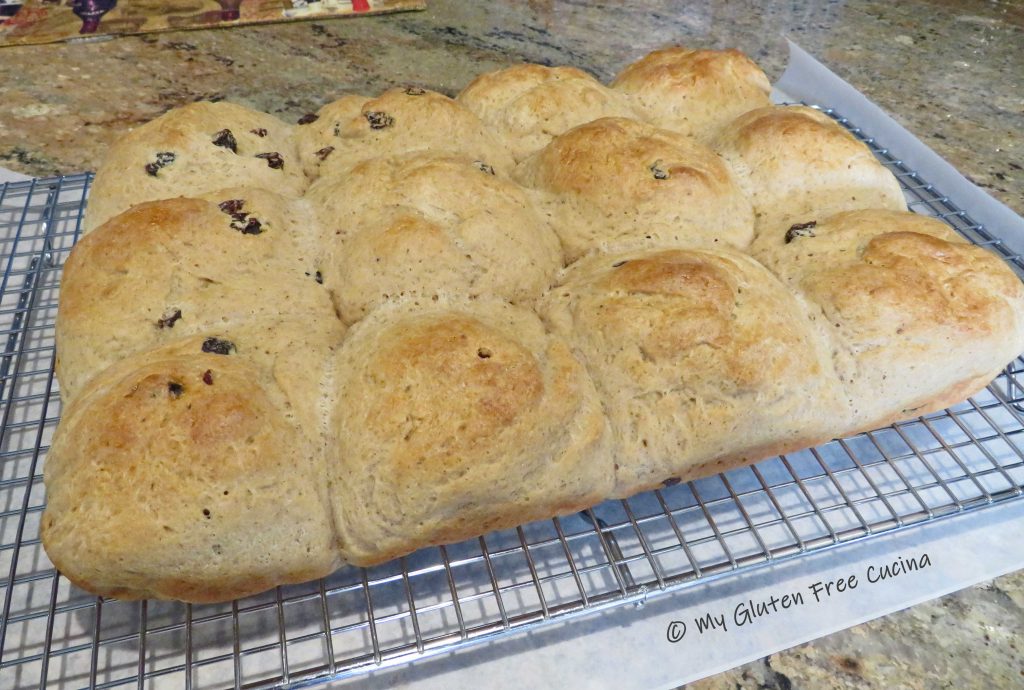
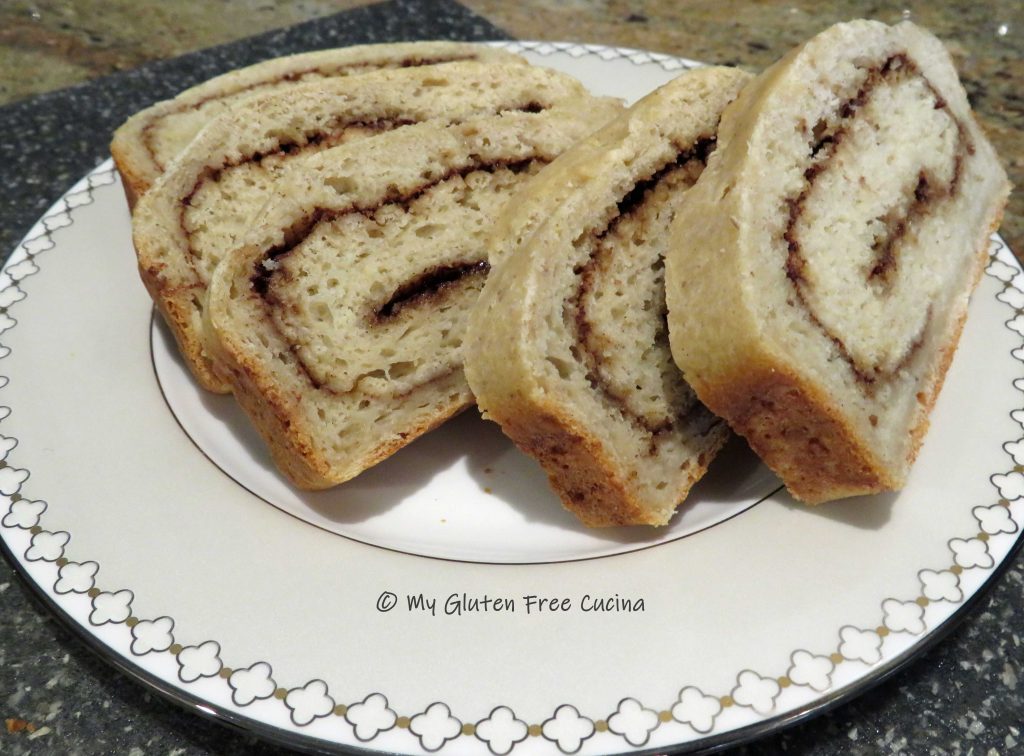
 Bake for 40 minutes or until the internal temperature reaches 200º. Remove from the oven and brush the top with 1 tbsp. melted butter.
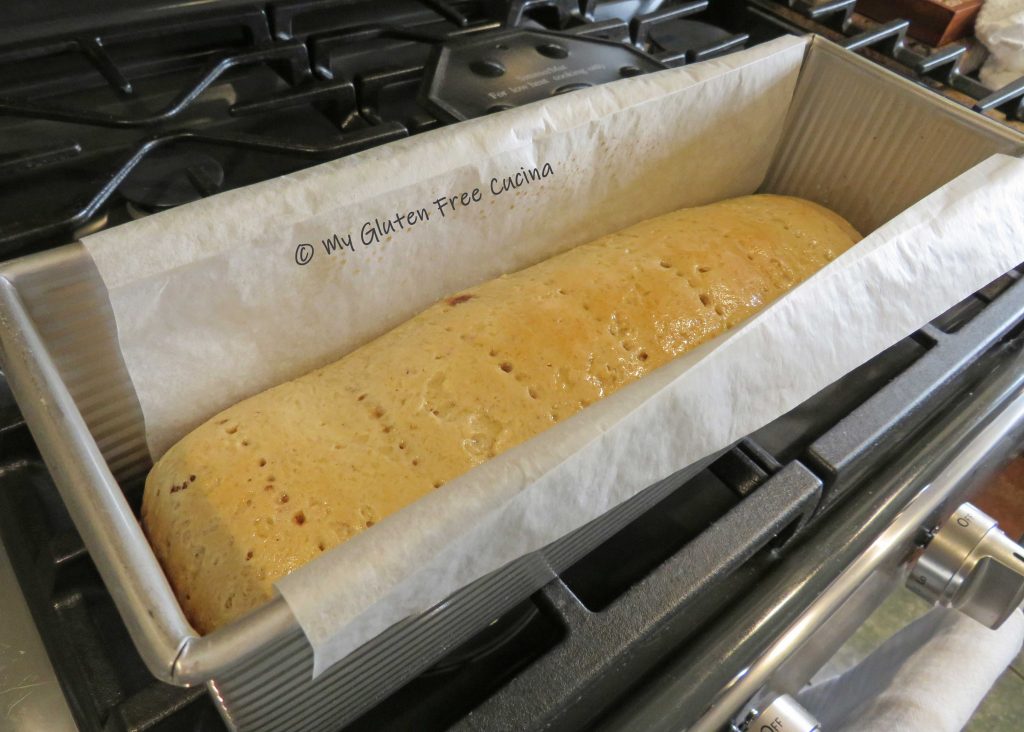 Grasp both sides of the parchment to lift the loaf out of the pan to a cooling rack.
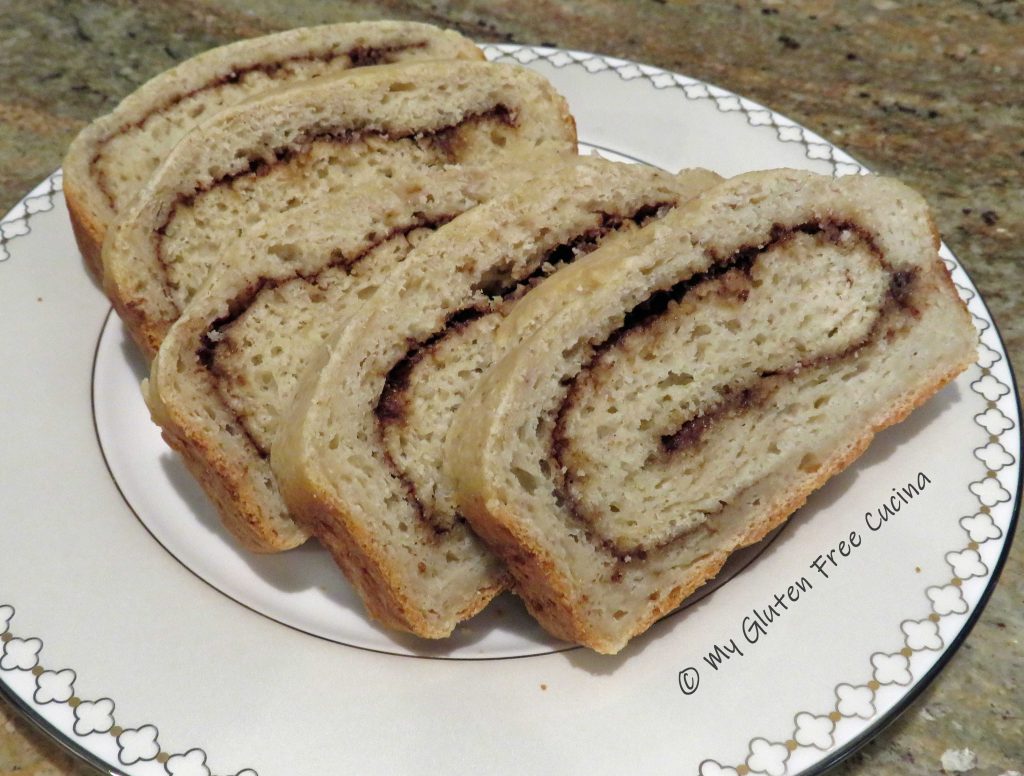
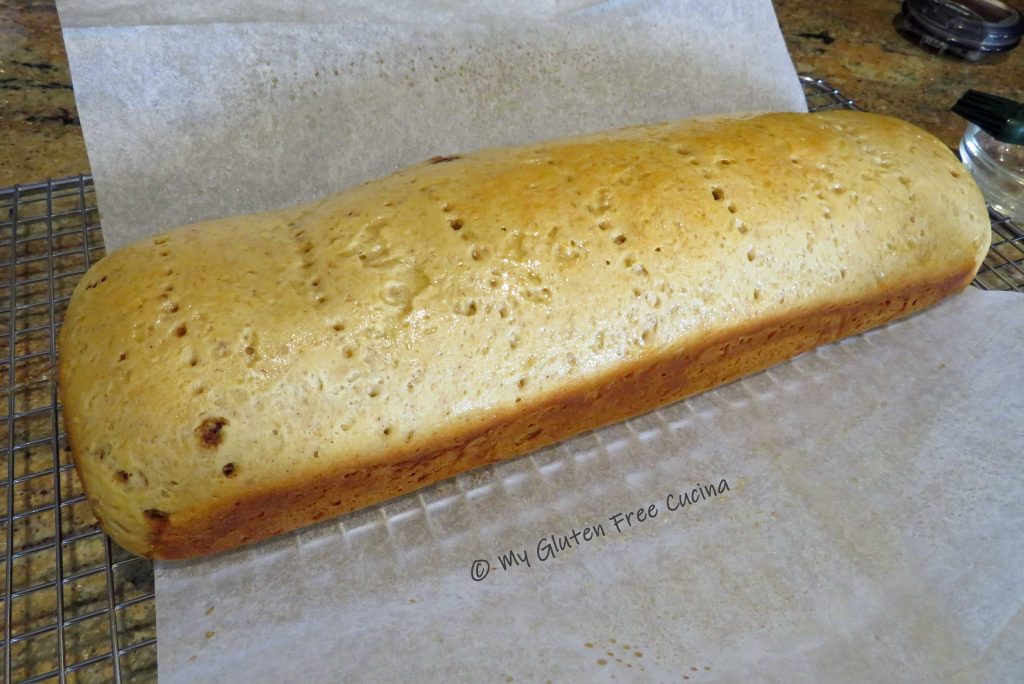 Slide the parchment out and let the loaf cool completely before slicing.
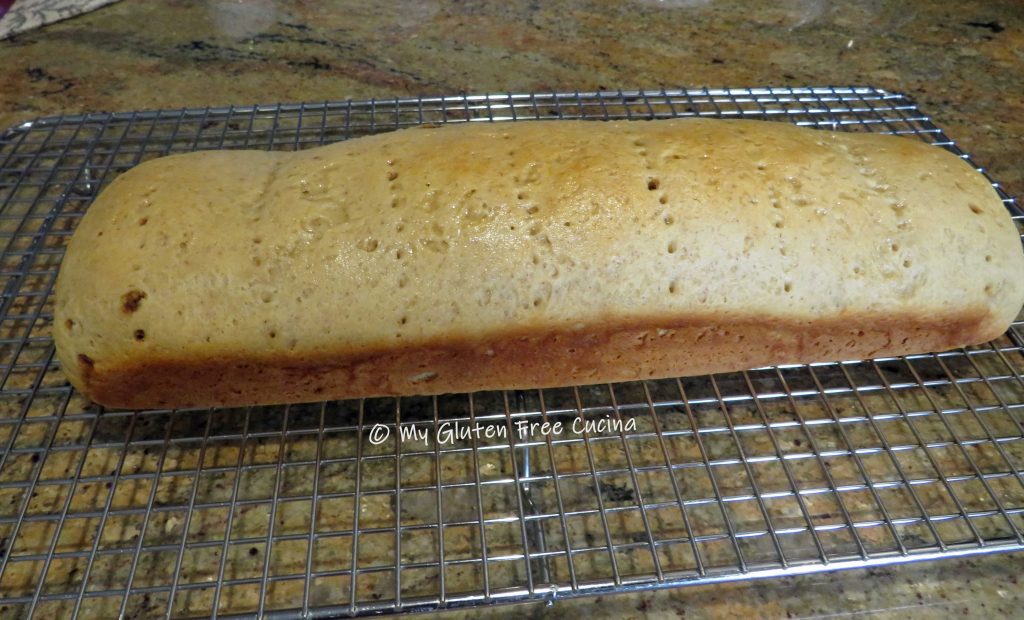


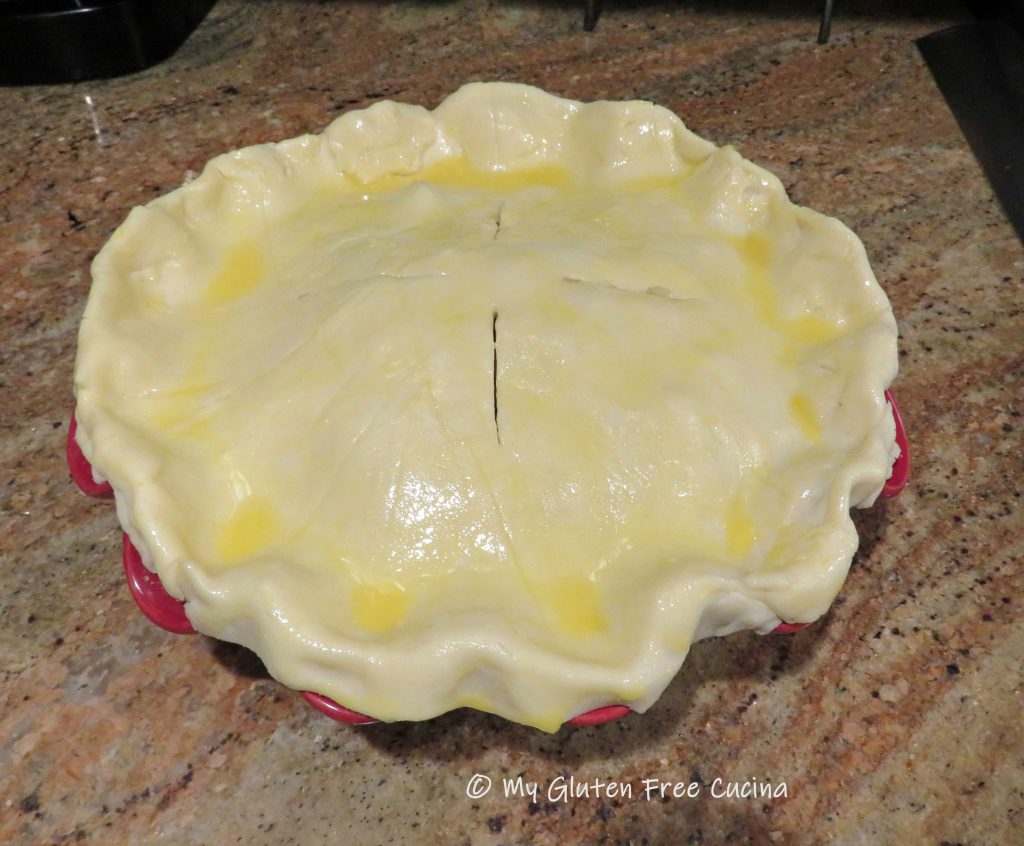
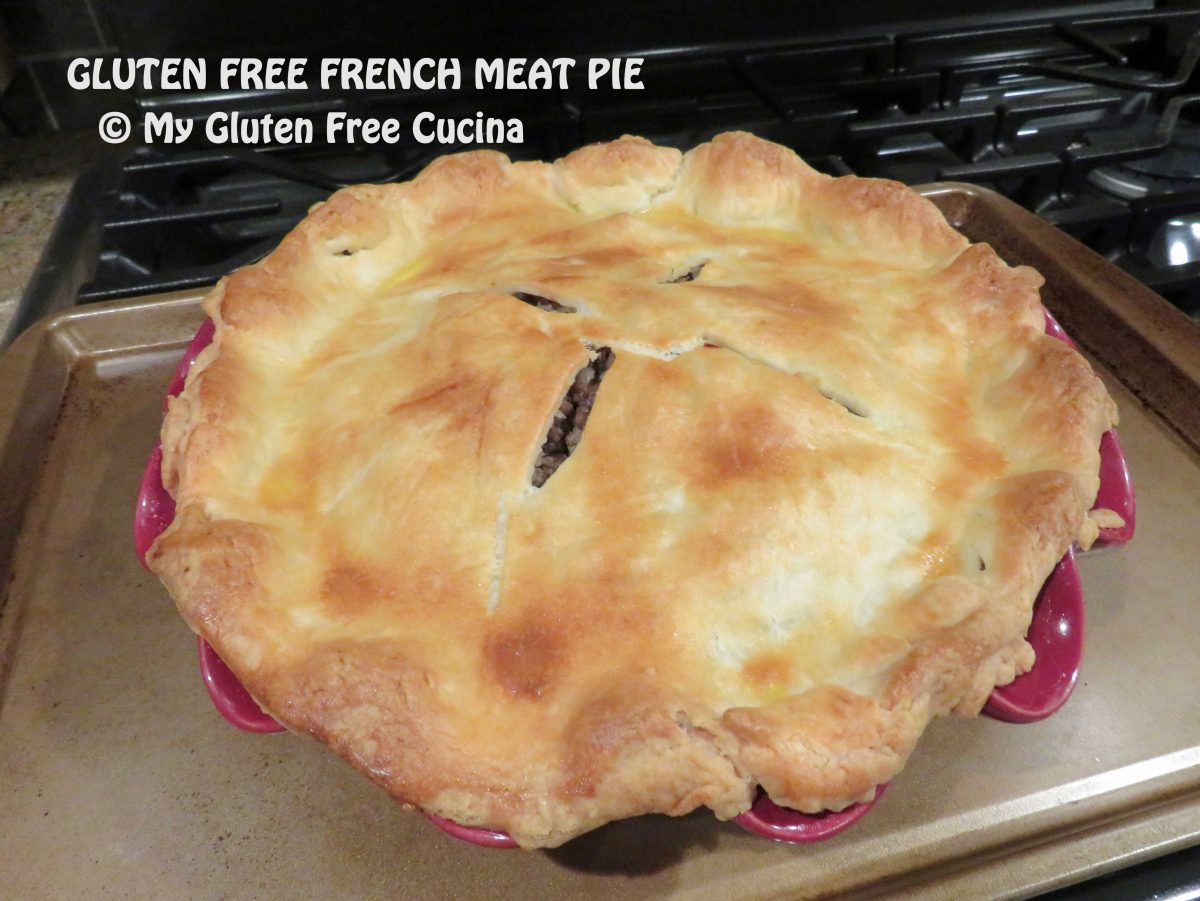
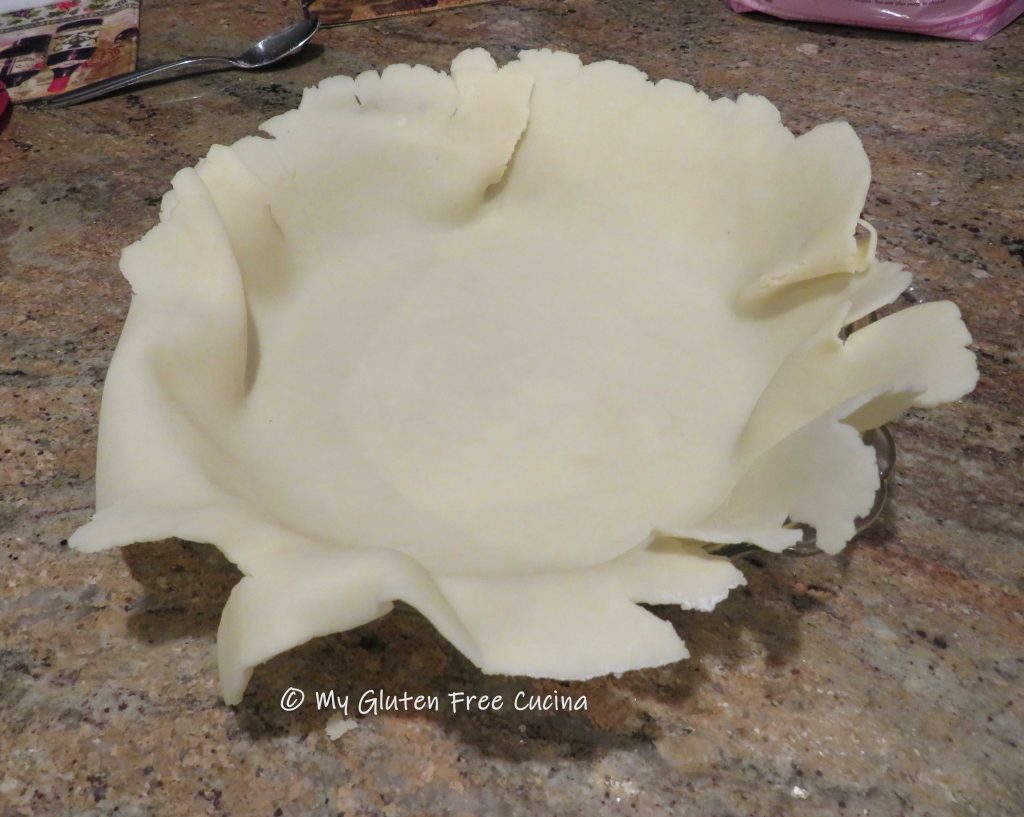 Trim the excess (can be used to patch any cracks or holes), fold the edges under and crimp.
 Because the filling is made with heavy, wet ingredients, you will need to blind bake (pre-bake) the crust for 10 minutes to keep it from getting soggy. Be sure to weigh down the crust down to keep the bottom from puffing up. You can cover the crust with parchment and use beans or


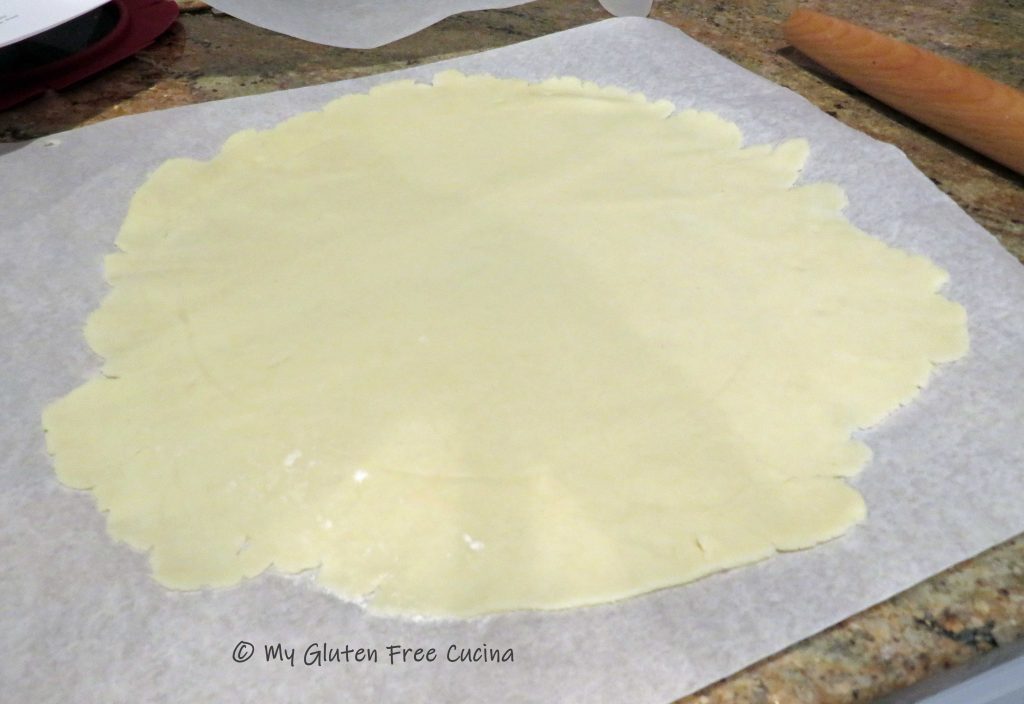
 Place one crust in the