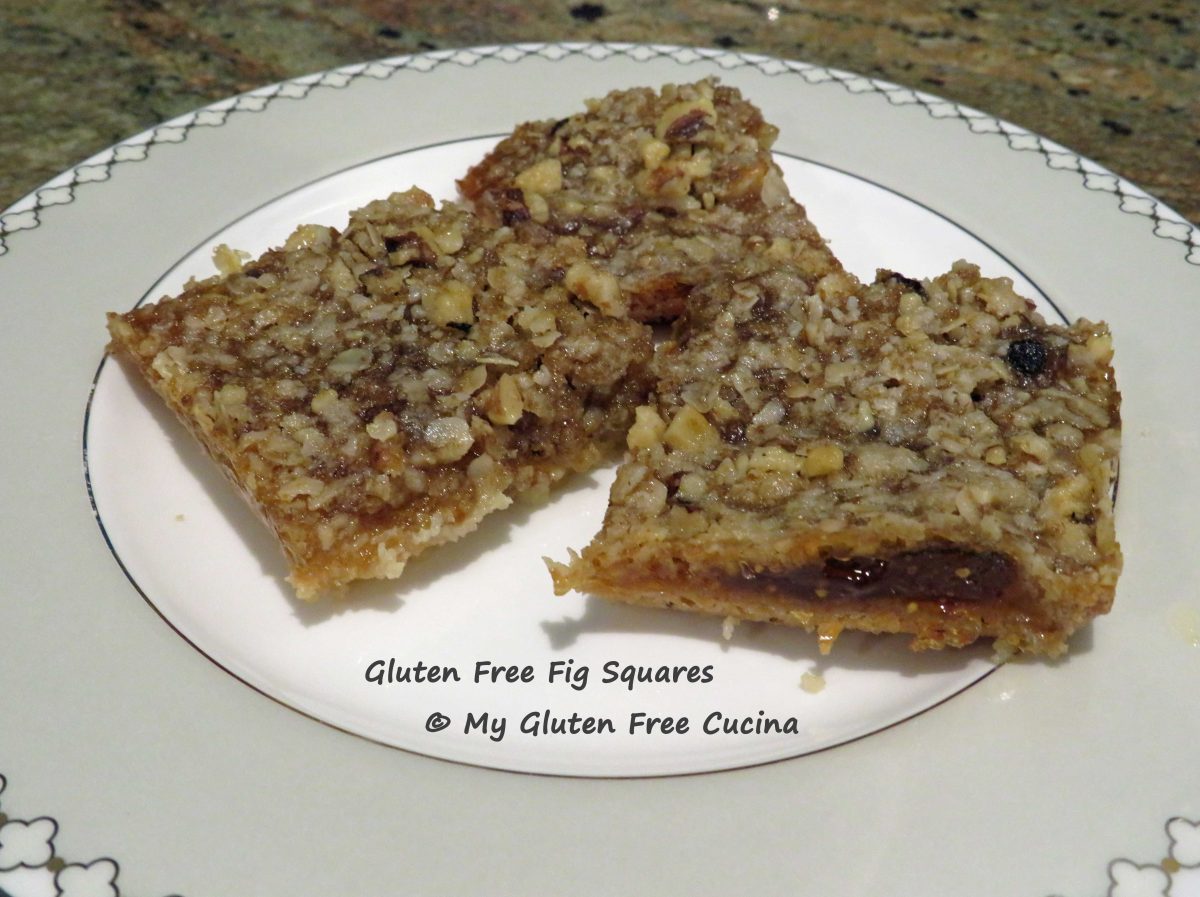
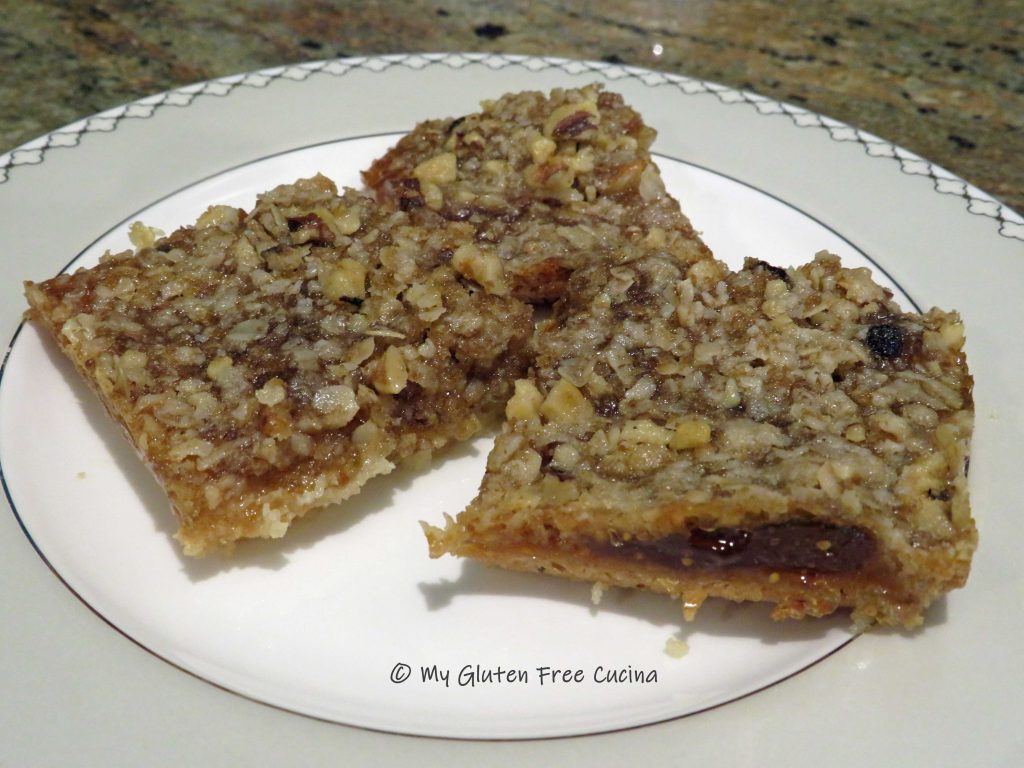
Gluten Free Fig Squares.
A layer of shortbread, spread with fig preserves and finished with a delicious crumble topping. My Gluten Free Fig Squares are delightfully sticky and sweet, everything a dessert should be. Adapted from an old family recipe, it’s bound to become a holiday favorite.
This post contains affiliate links.
The flour.
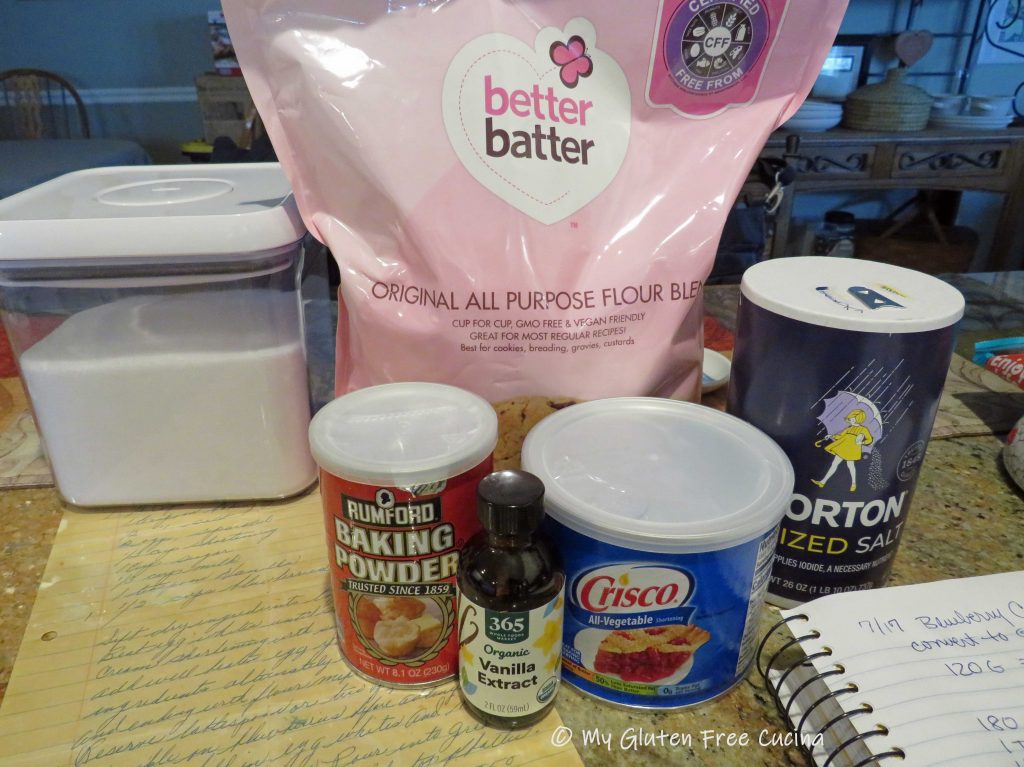
I used Better Batter Original Gluten Free Flour in this recipe. It is a high-quality gluten free flour that will never let you down! Shop Better Batter and use my Promo Code MGFC30 to receive 30% off your non-sale purchase!

Ingredients:
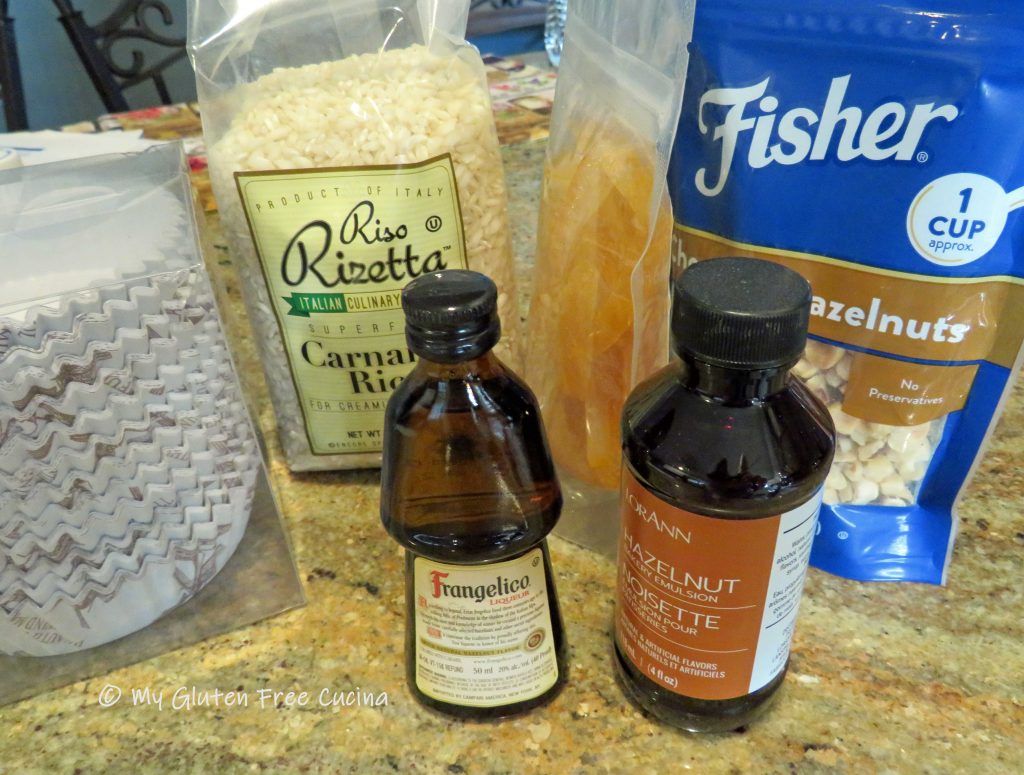
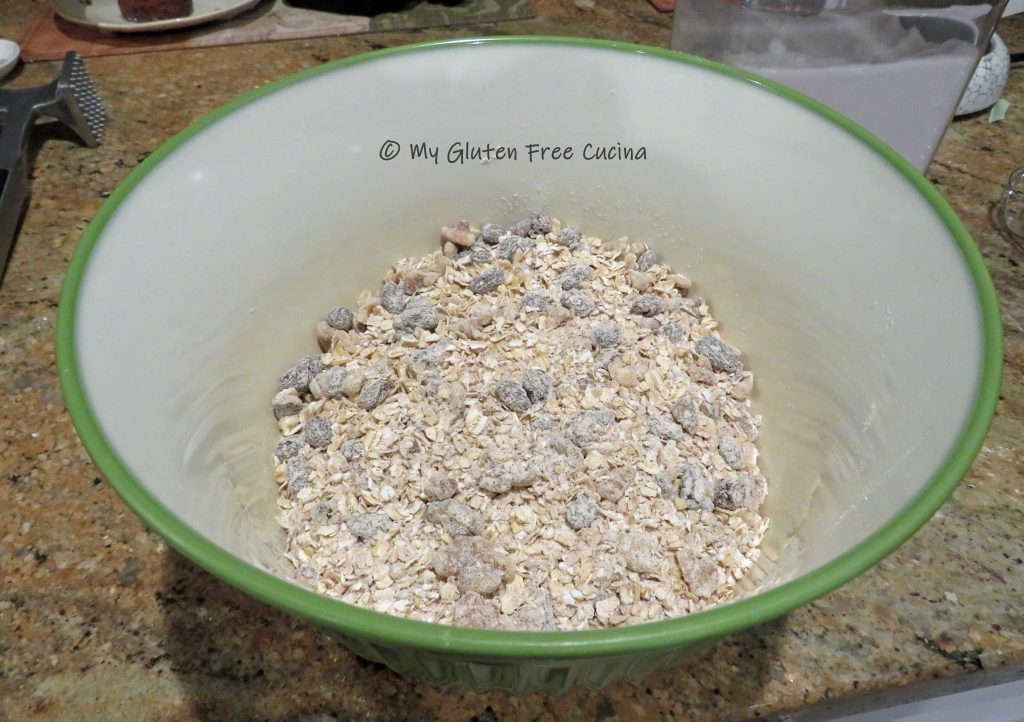
Other than the figs, the ingredients are pantry staples.
The Crust
- 1/2 cup (1 stick) unsalted butter, softened
- 55 g. (1/4 cup) granulated sugar
- 1/4 tsp. vanilla
- 120 g. (1 cup) Better Batter Original Gluten Free Flour
The Filling
- 13 oz. jar fig preserves (I used Bonne Maman) it has a gluten free label!

The Crumble Topping
- 30 g. (1/4 cup) Better Batter Original Gluten Free Flour
- 3 tbsp. cold butter (keep it refrigerated)
- 23 g. (1/4 cup) quick cooking certified gluten free oats (omit if avoiding oats)
- 30 g. (1/4 cup) walnuts, coarsely ground
- 42 g. (1/4 cup) packed brown sugar
Preparation:
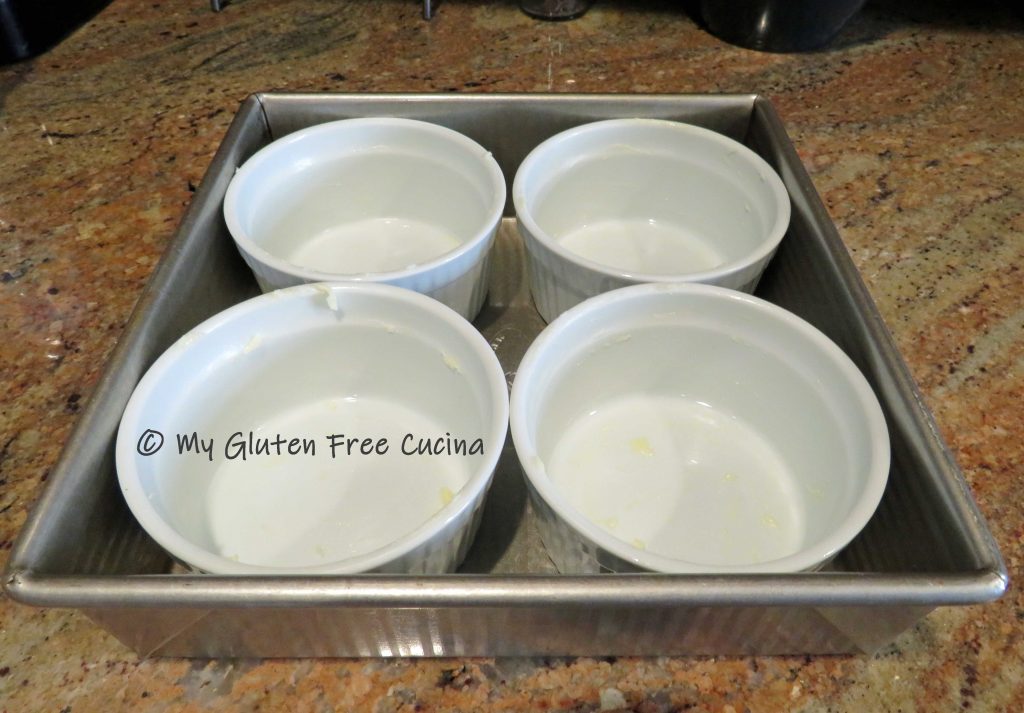
Preheat the oven to 350º. Line a 9 x 9″ square pan with parchment and mist with cooking spray.
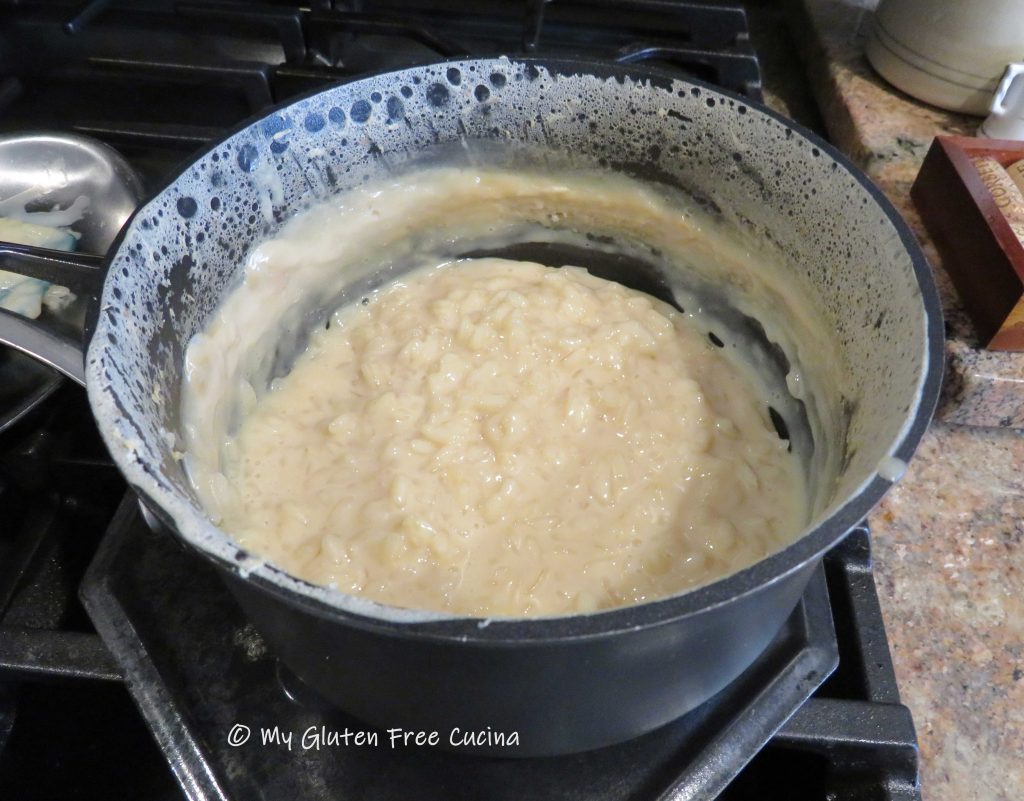
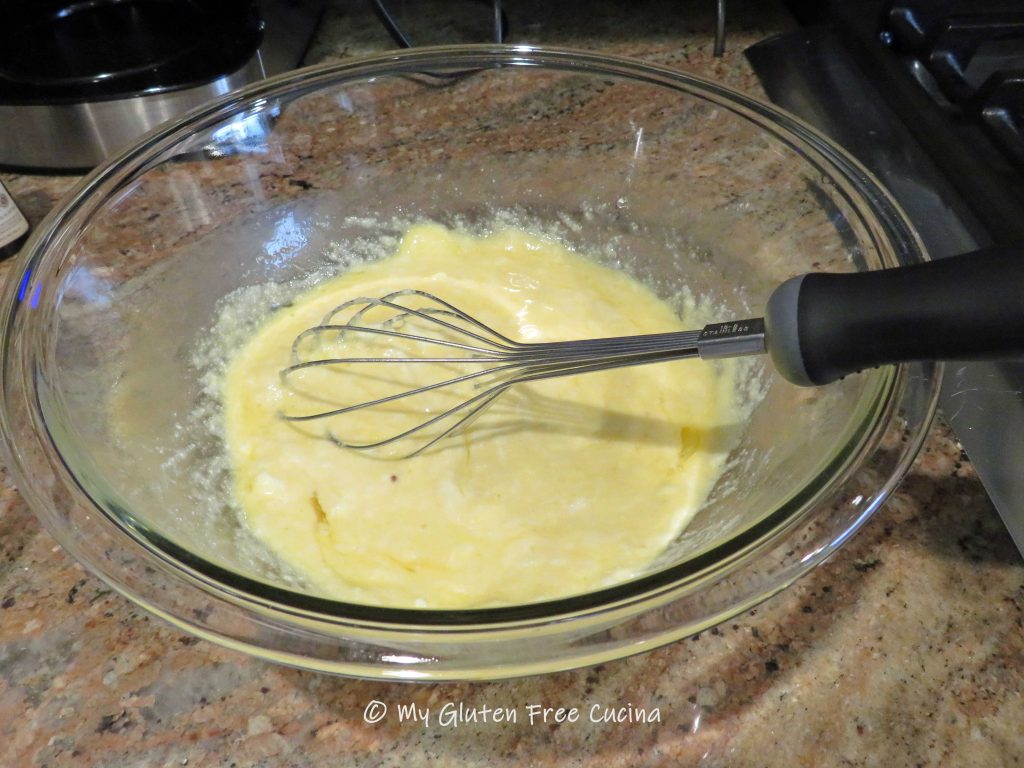
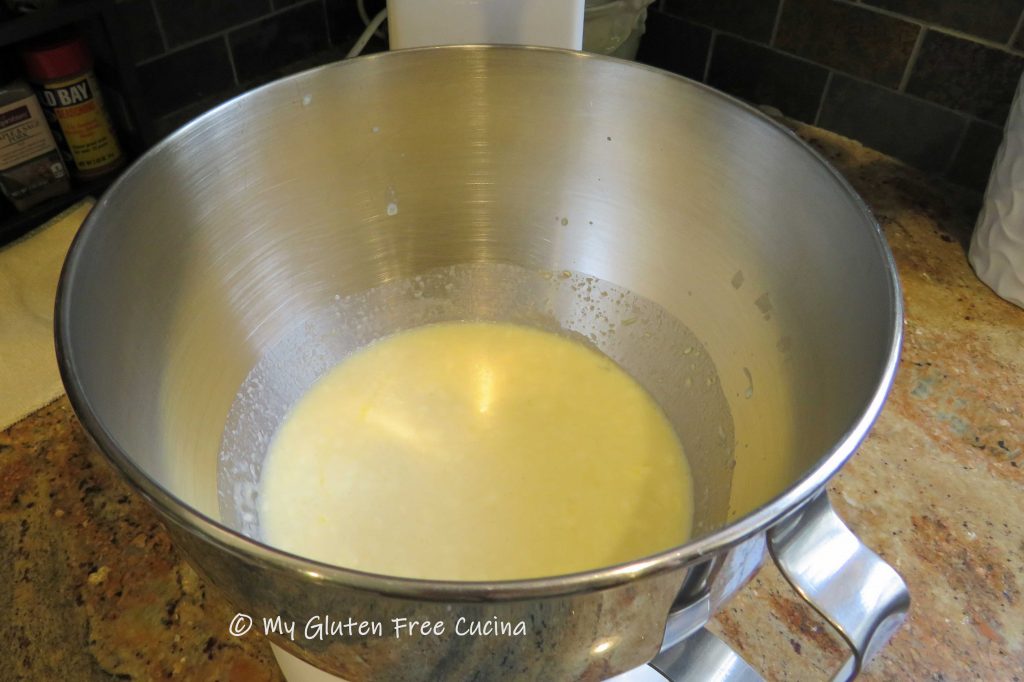
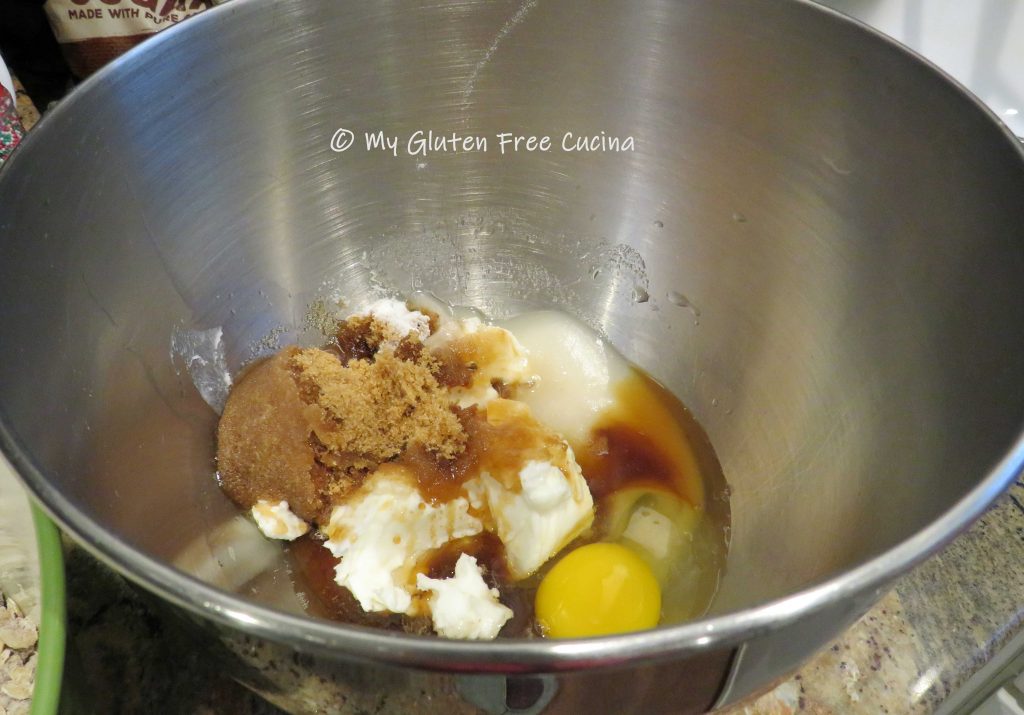
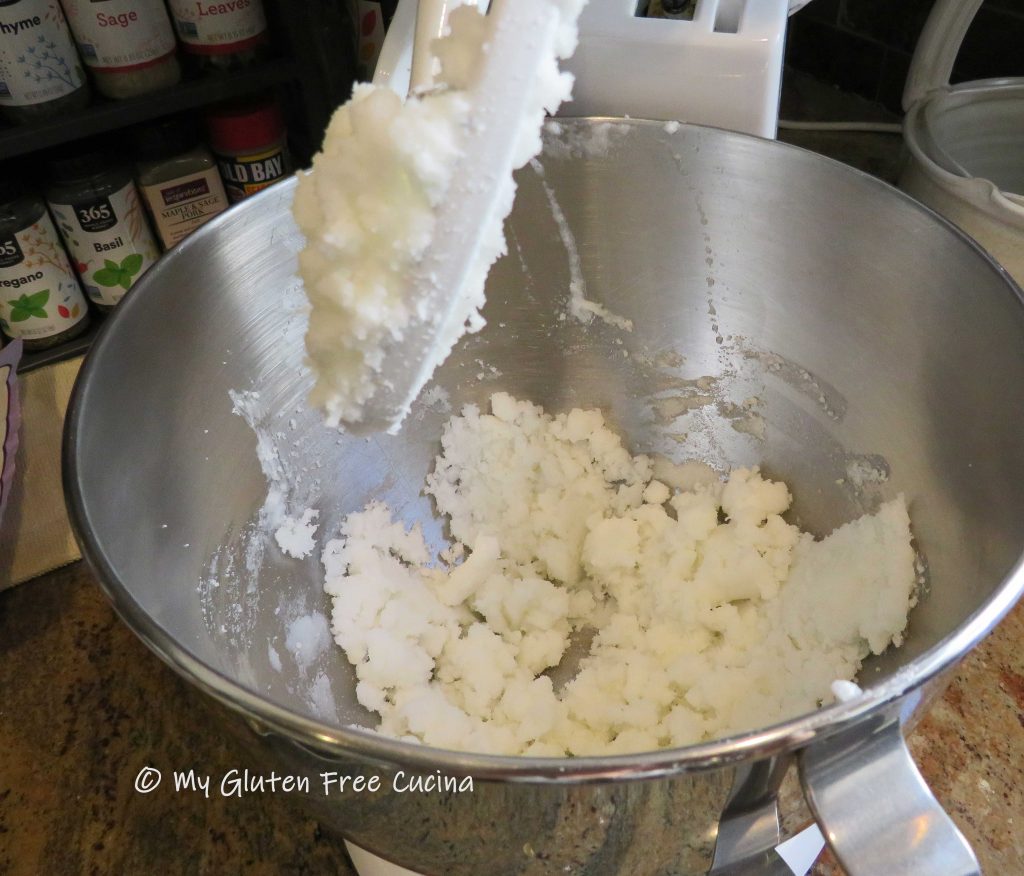
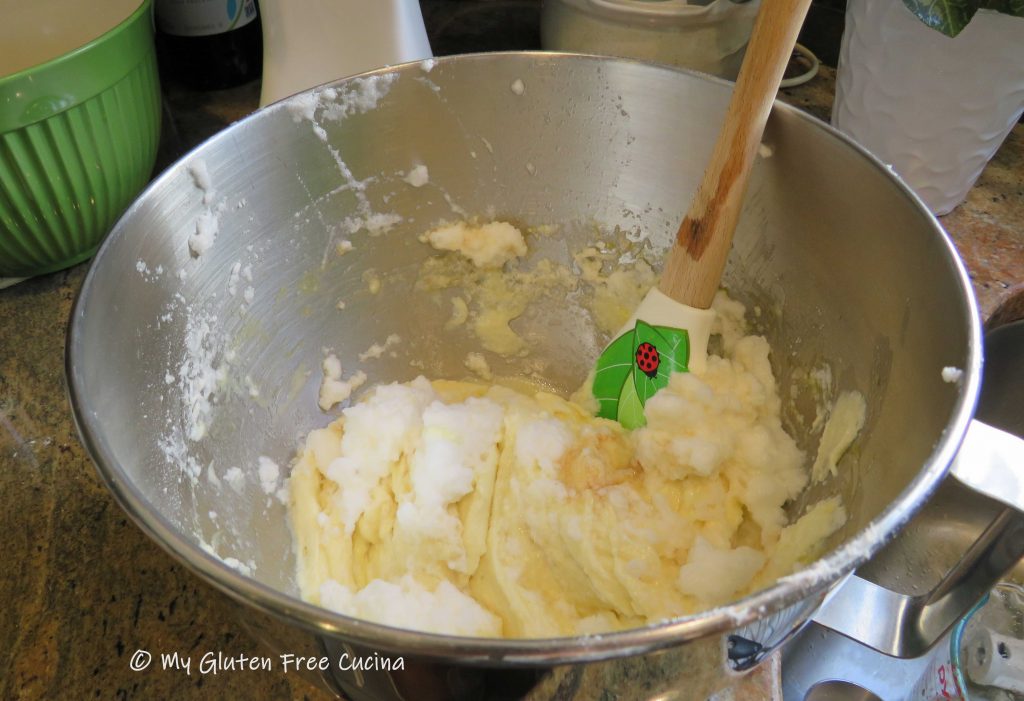
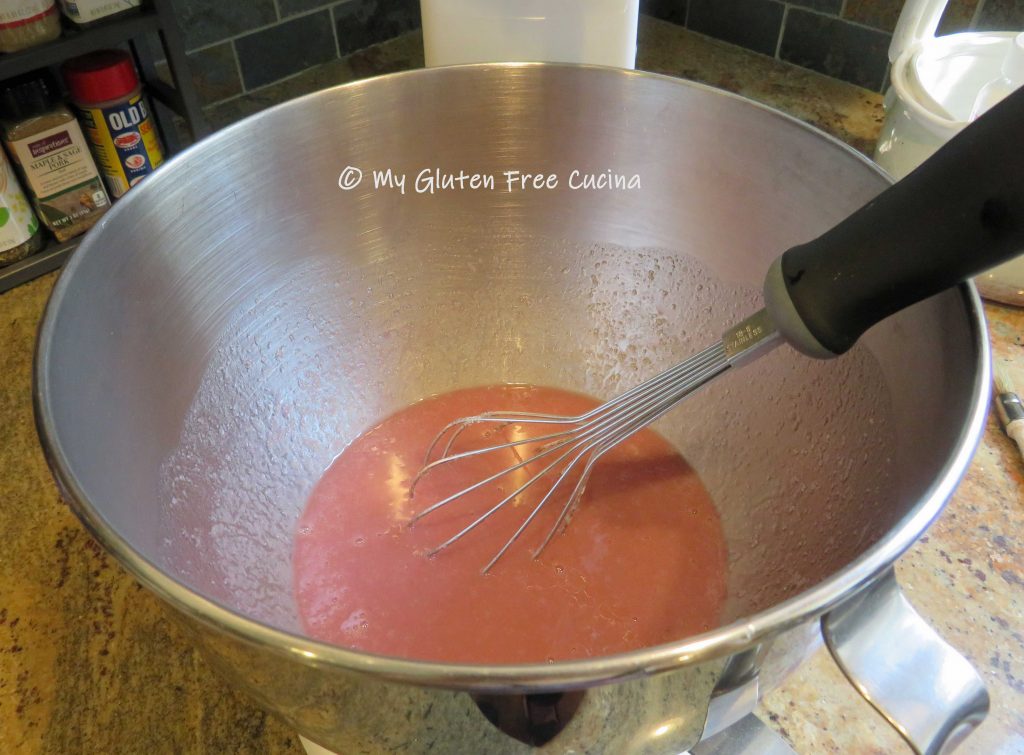
In the bowl of a stand mixer, beat together the softened butter, sugar and vanilla with the whisk attachment.

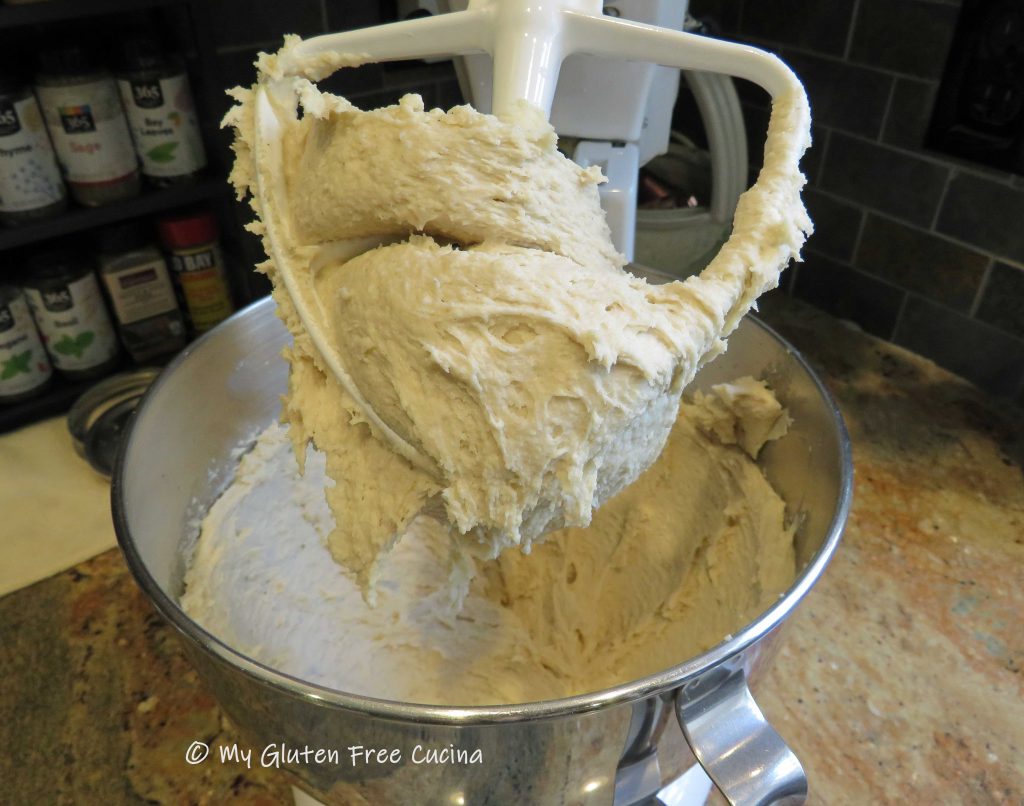
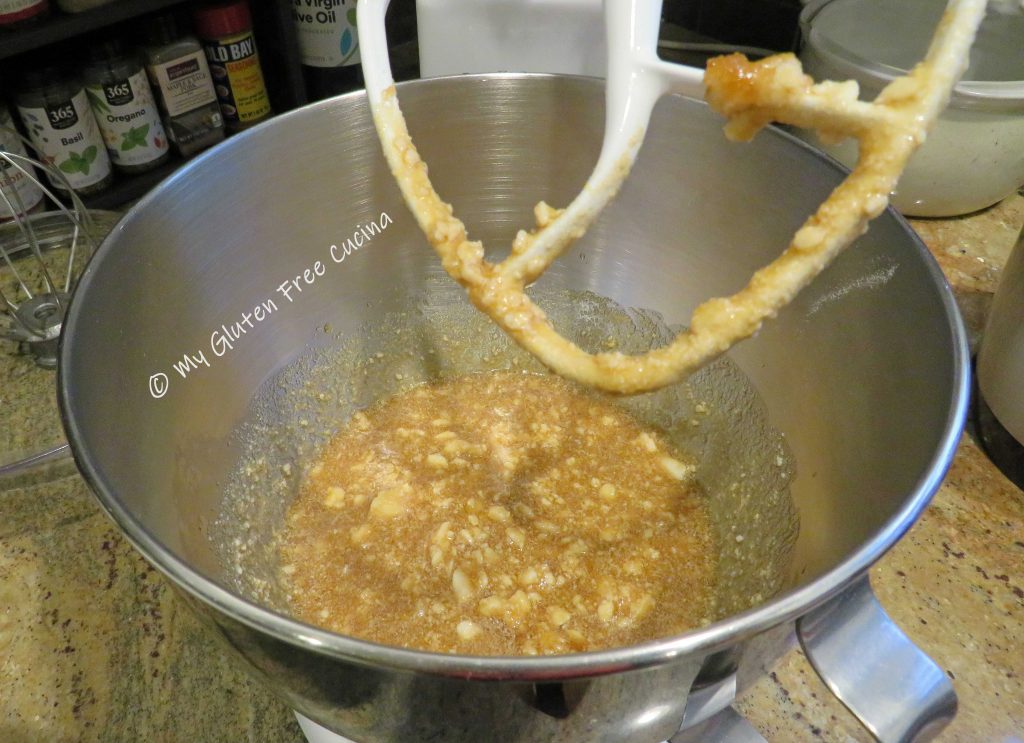
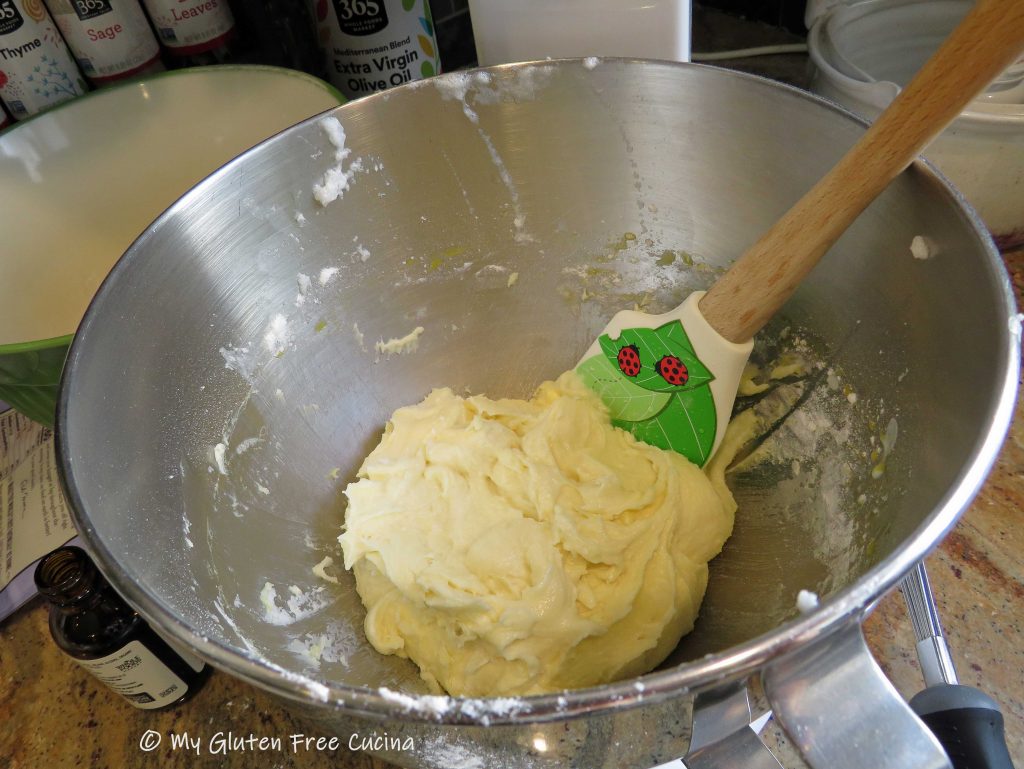
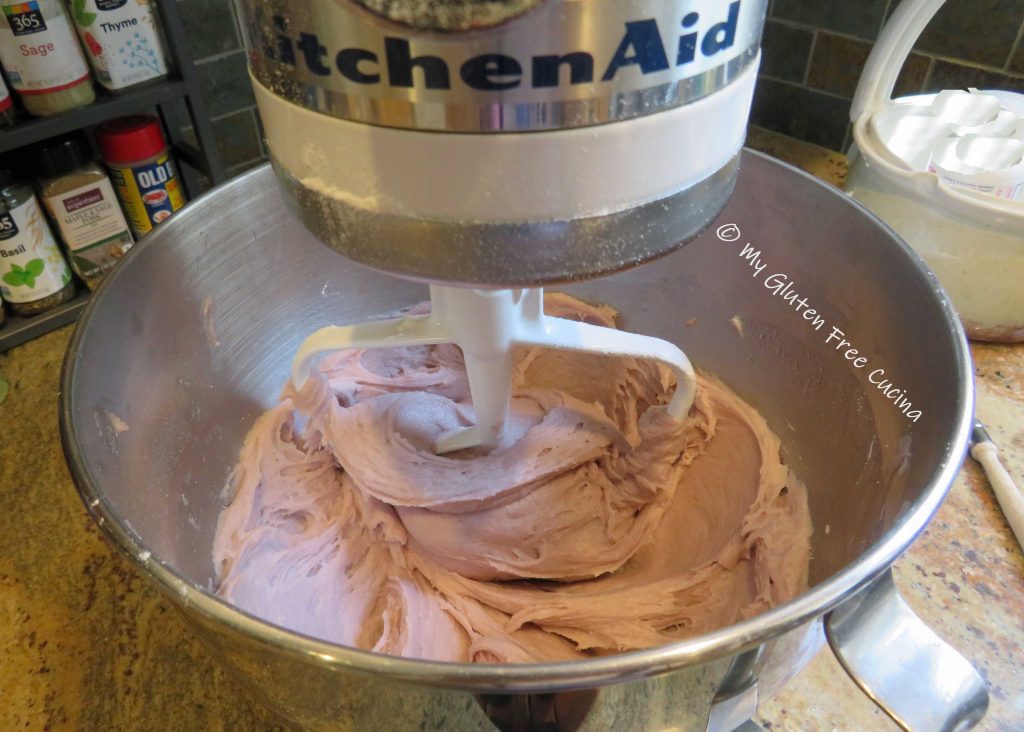
Switch to the paddle attachment and add the flour. Beat together to form a soft dough.

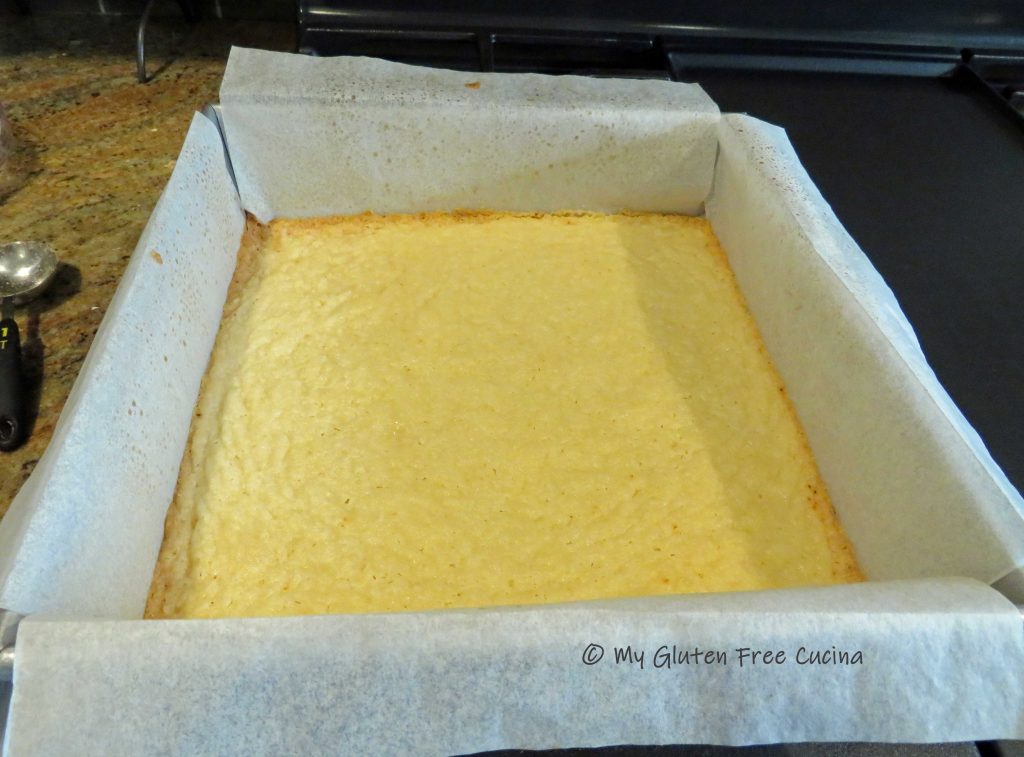
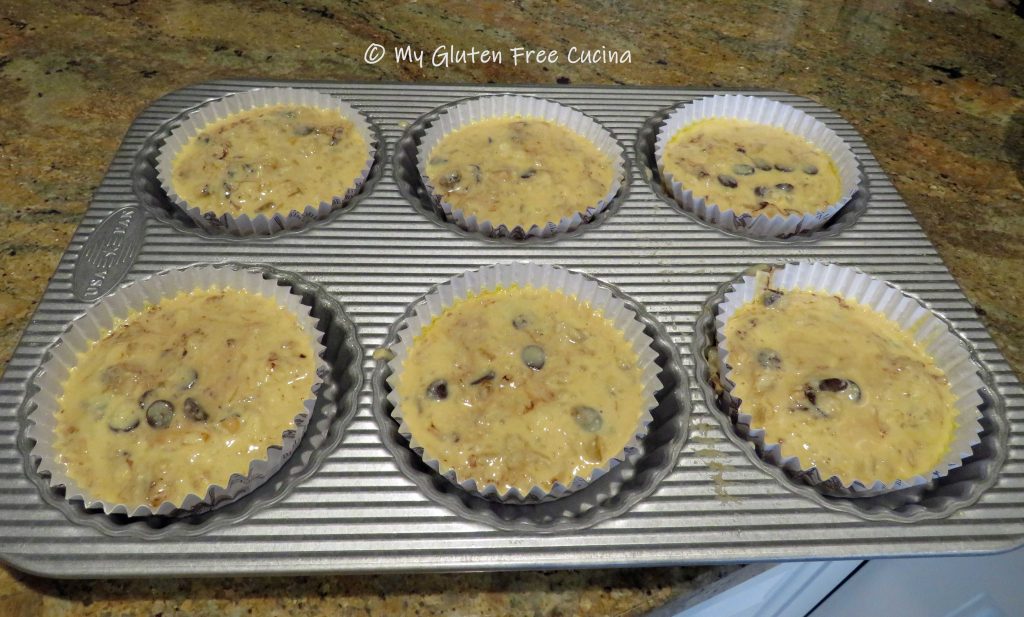
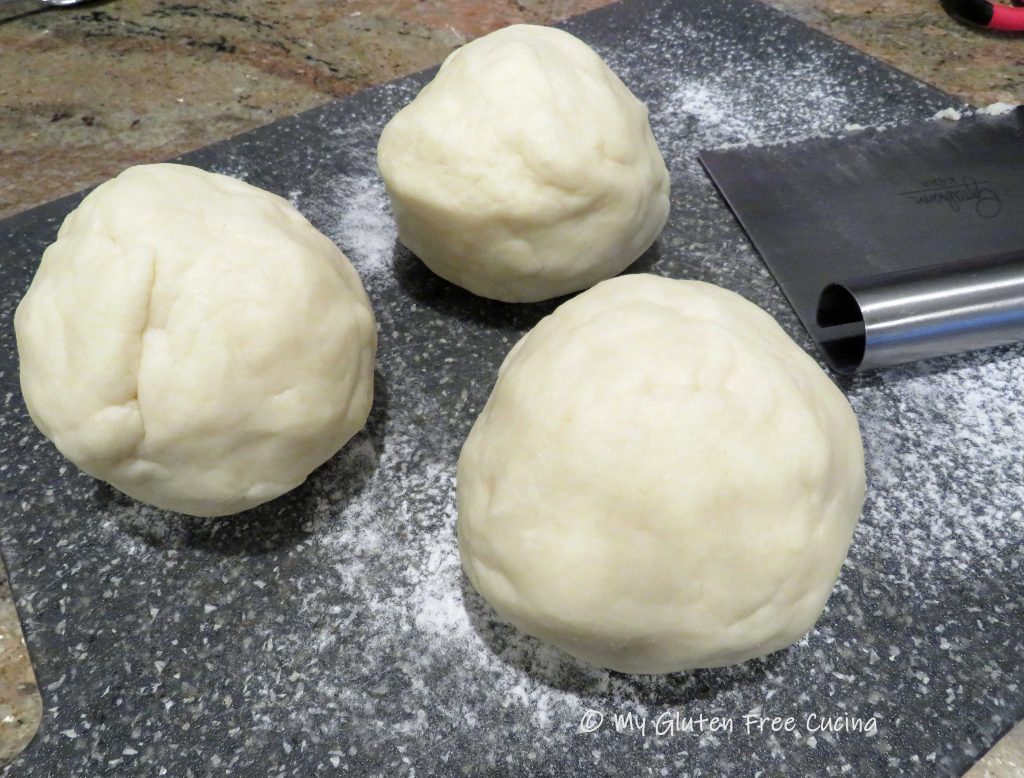
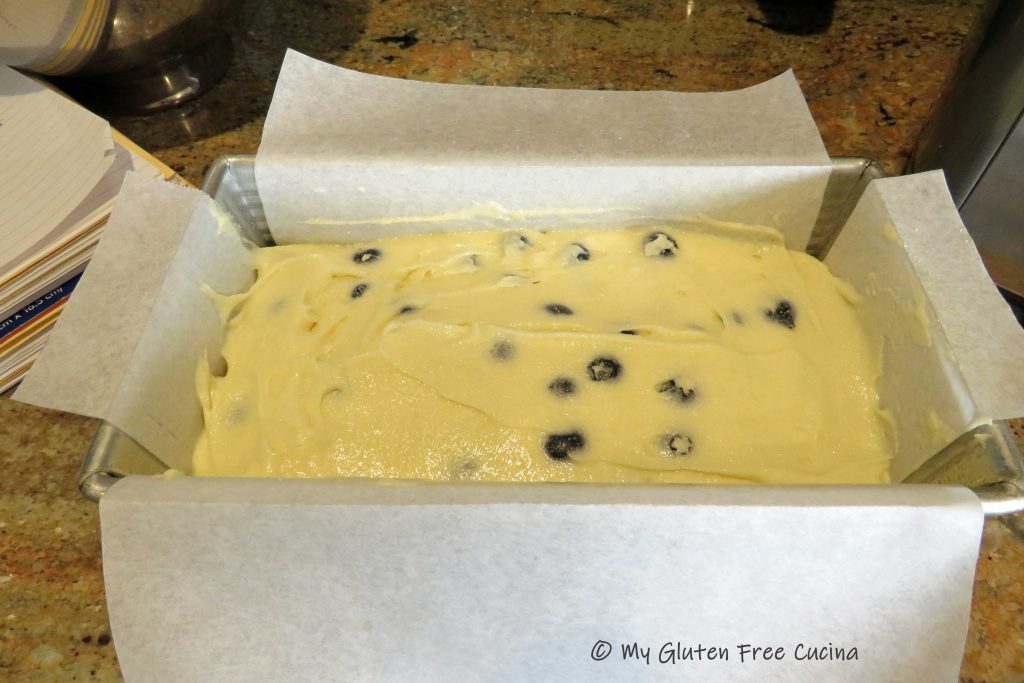
Press the dough into an even layer in the lined baking pan. It will be wet and sticky, for best results use your fingertips!


Bake for 15 minutes. The center should be set and the edges lightly browned. Remove from the oven and let it rest for 5 minutes.
Spread the fig preserves over the crust.

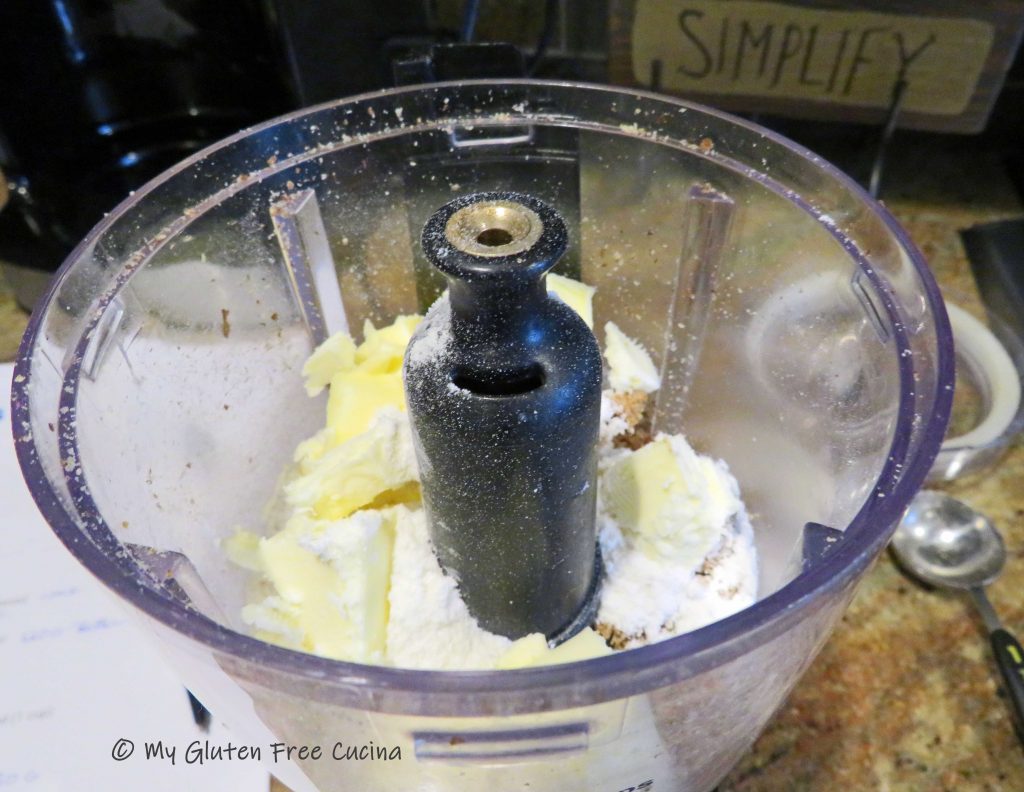
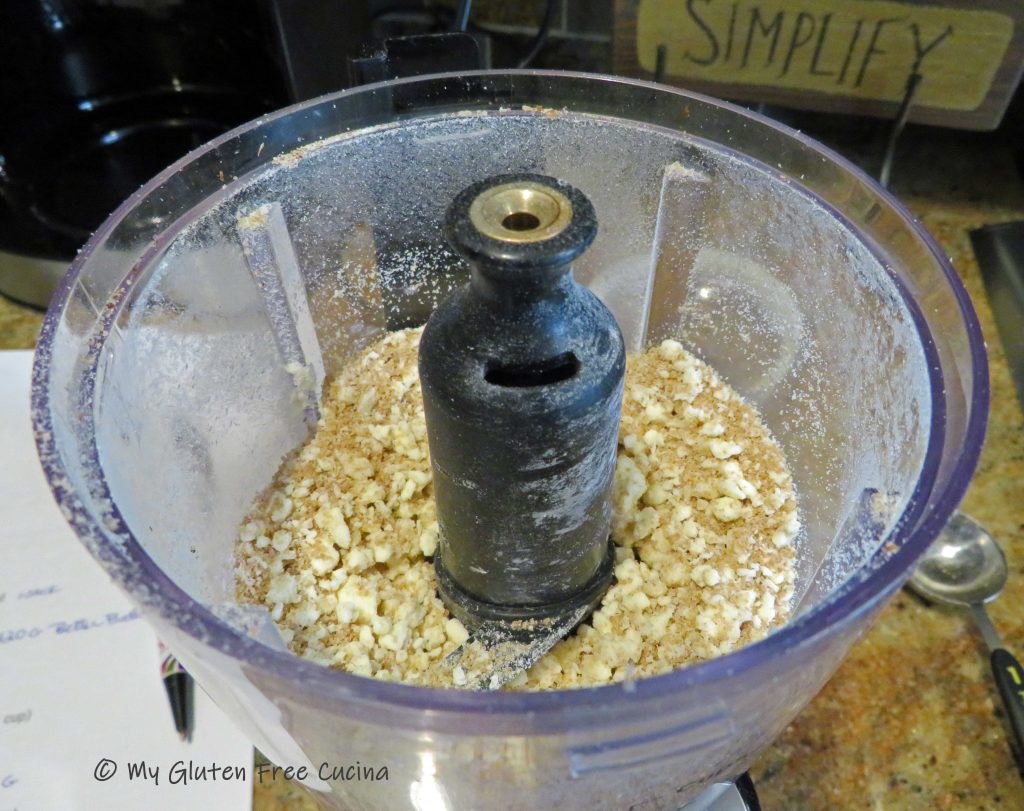
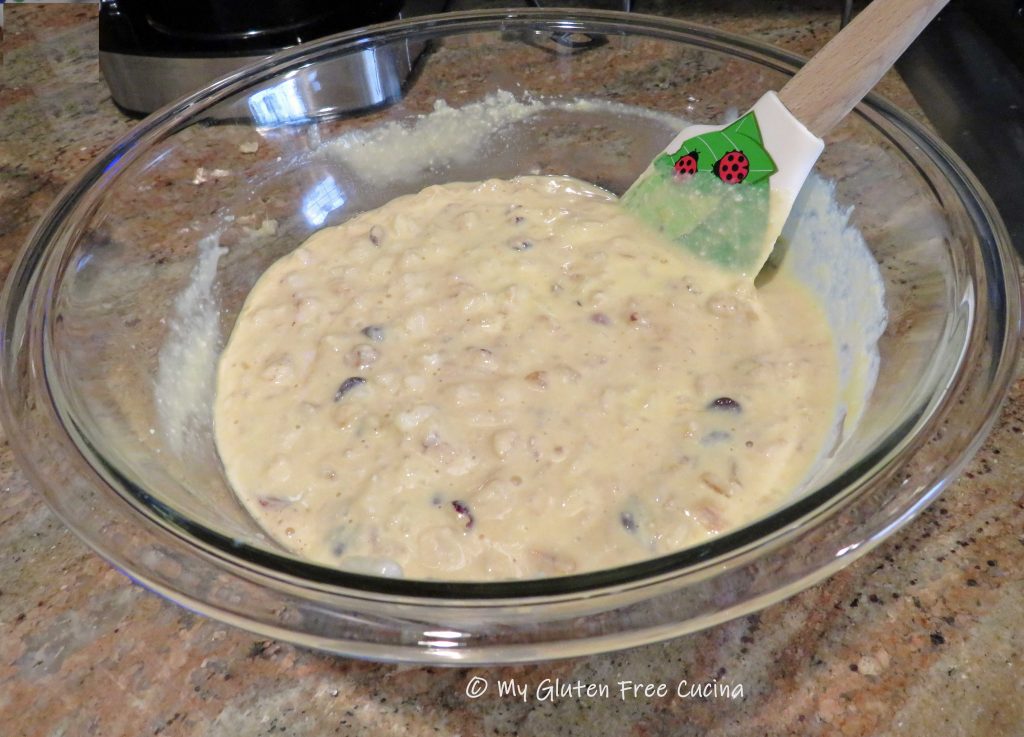
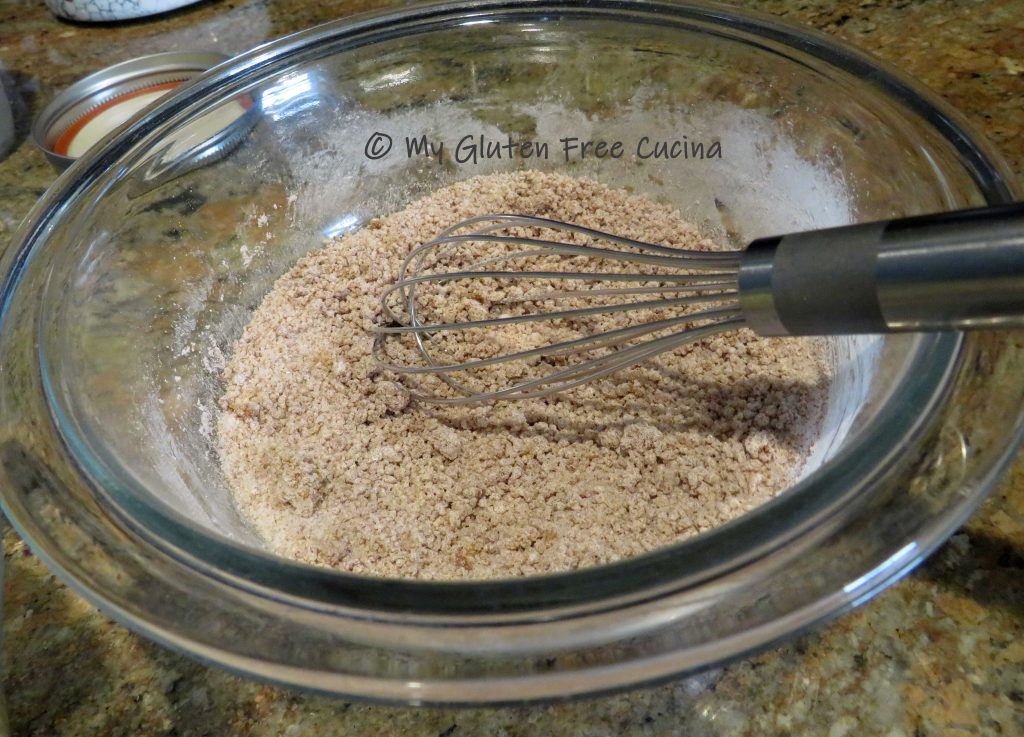
Add the cold butter, flour and brown sugar to a small food processor or electric chopper. Pulse a few times to incorporate the butter until crumbly.
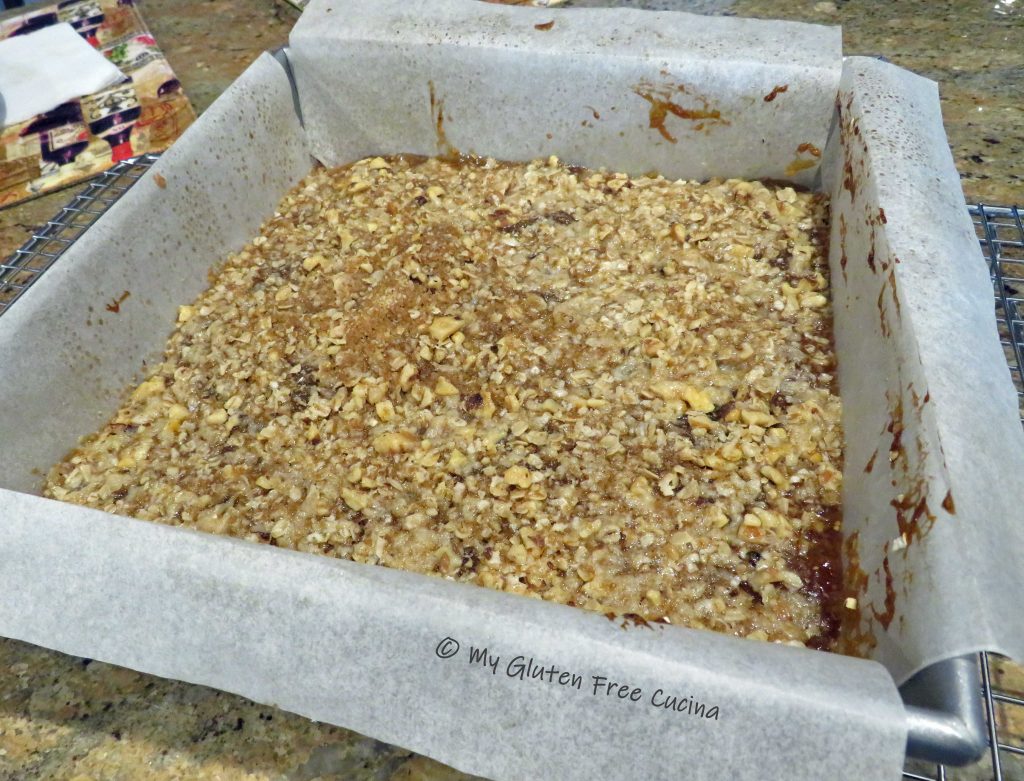
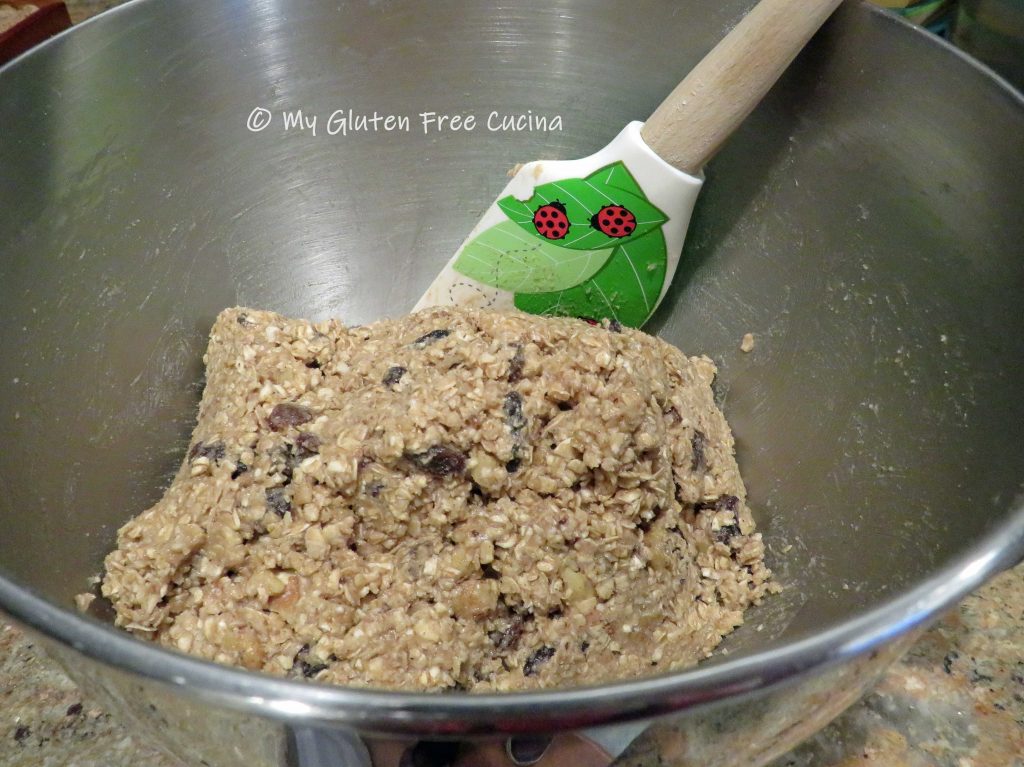
Transfer to a bowl and combine with the oats (if using) and ground walnuts. Spread the mixture evenly over the fig preserves.

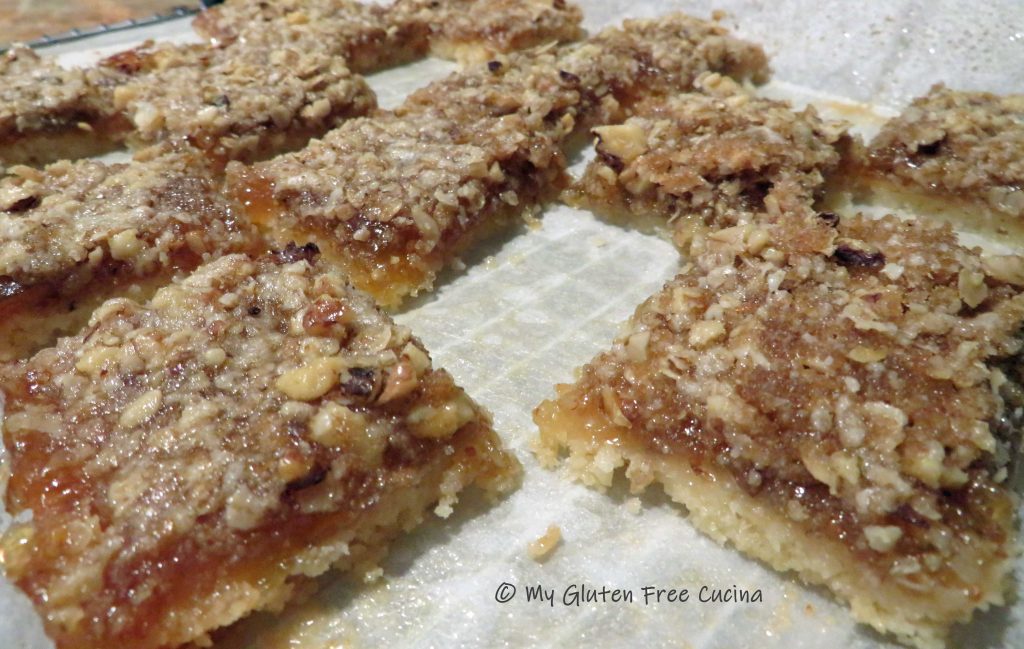
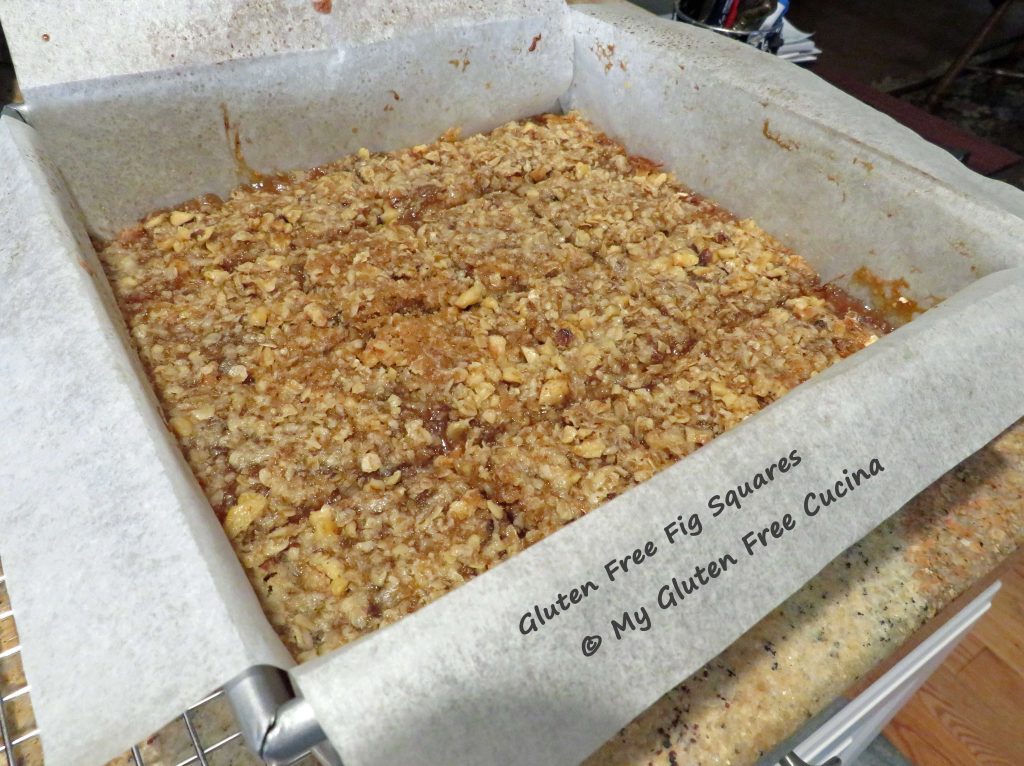
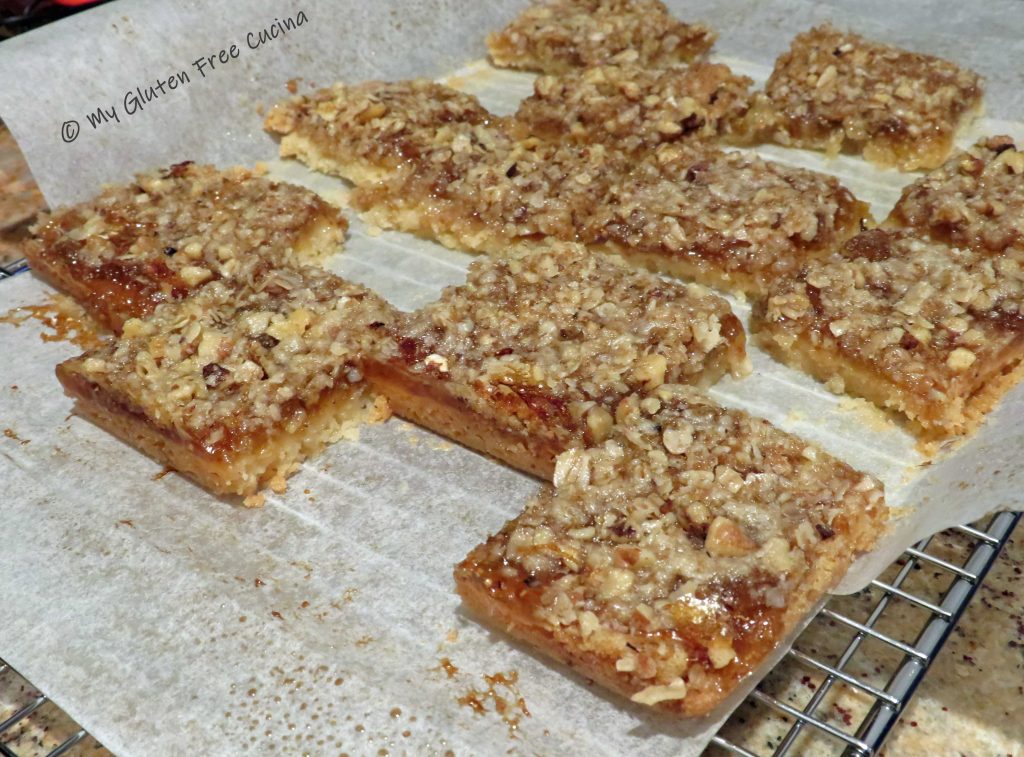
Place the pan on top of another baking sheet (so the bottom doesn’t burn) and bake for 17-20 minutes. The edges should be bubbling and the top lightly browned.
Cool in the pan for at least 2 hours before slicing.
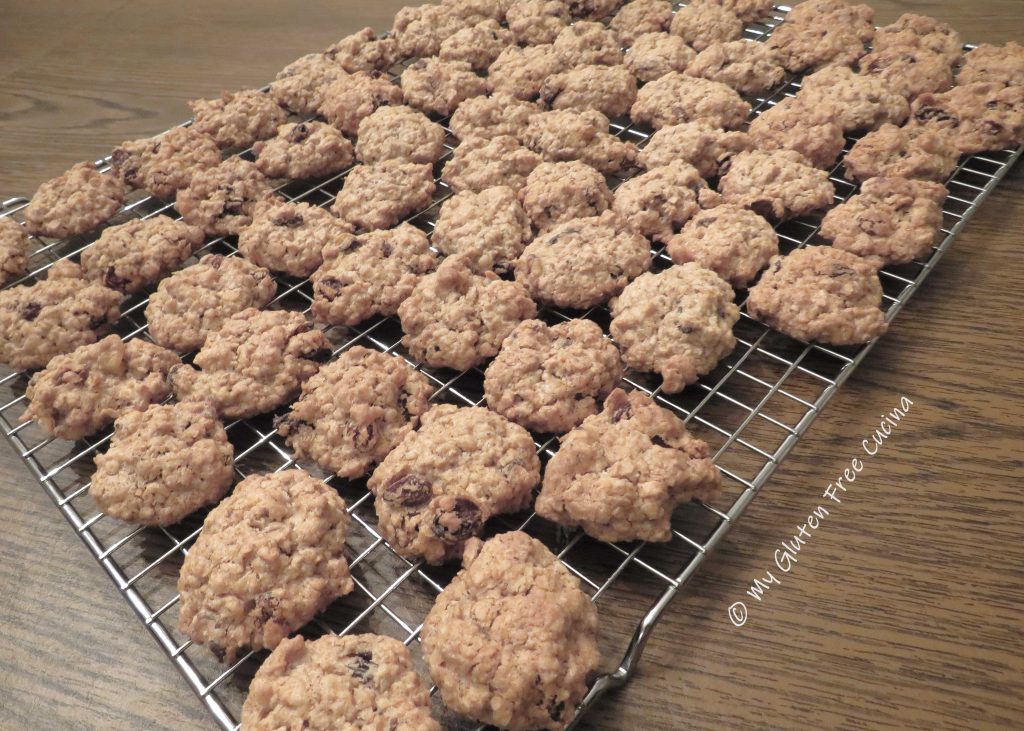
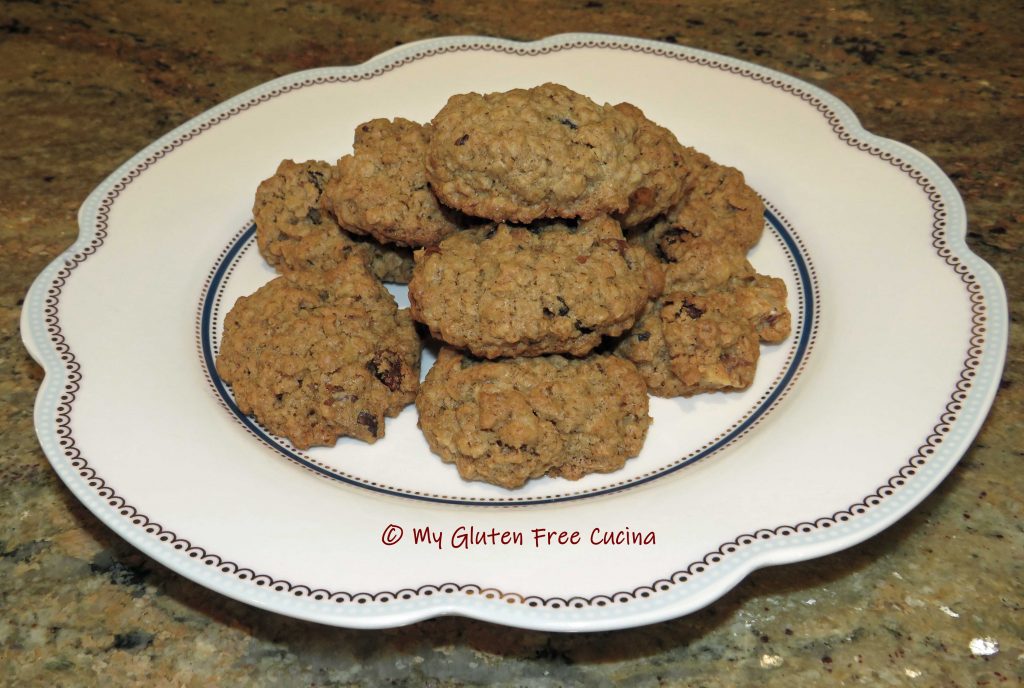
Slice into 16 squares and serve at room temperature or refrigerate if you like them chilled. They go great with a scoop of vanilla ice cream.

Store at room temperature in an airtight container for up to 2 days. They will keep a bit longer in the fridge. To freeze, place squares between sheets of waxed paper and place in a freezer safe bag or airtight container. Thaw them in the refrigerator and serve chilled.
I’m so pleased with how this came out!
Notes ♪♫ Whether or not you consume oats is a personal choice. I only use certified gluten free oats that are produced under a purity protocol in my recipes.


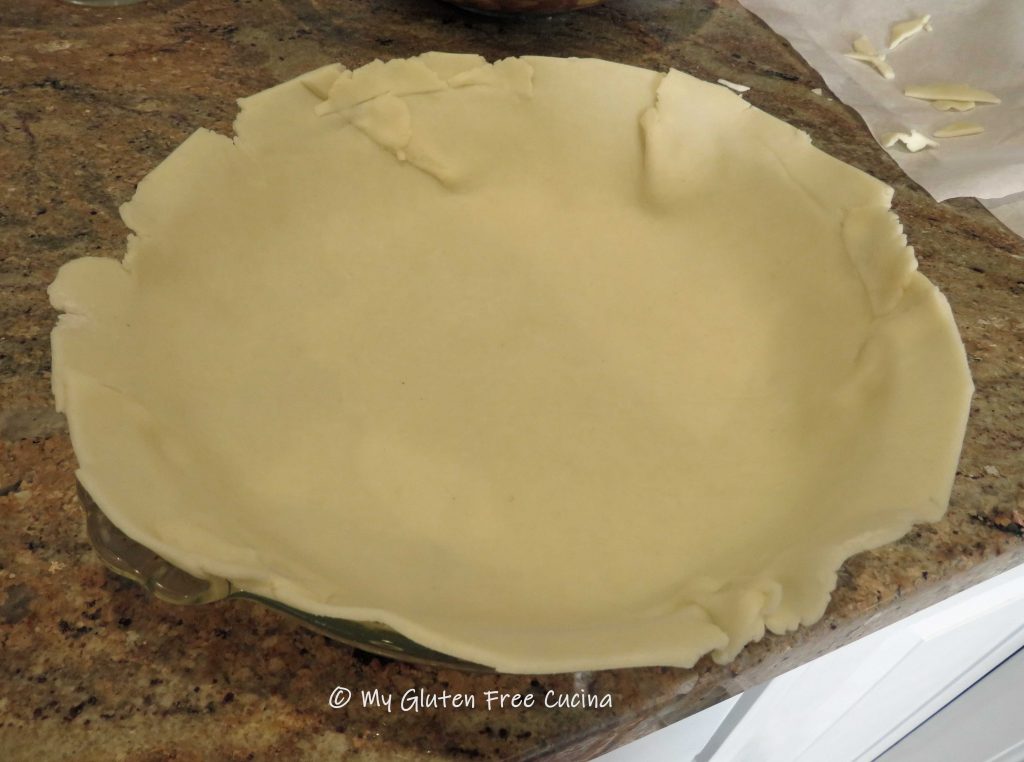
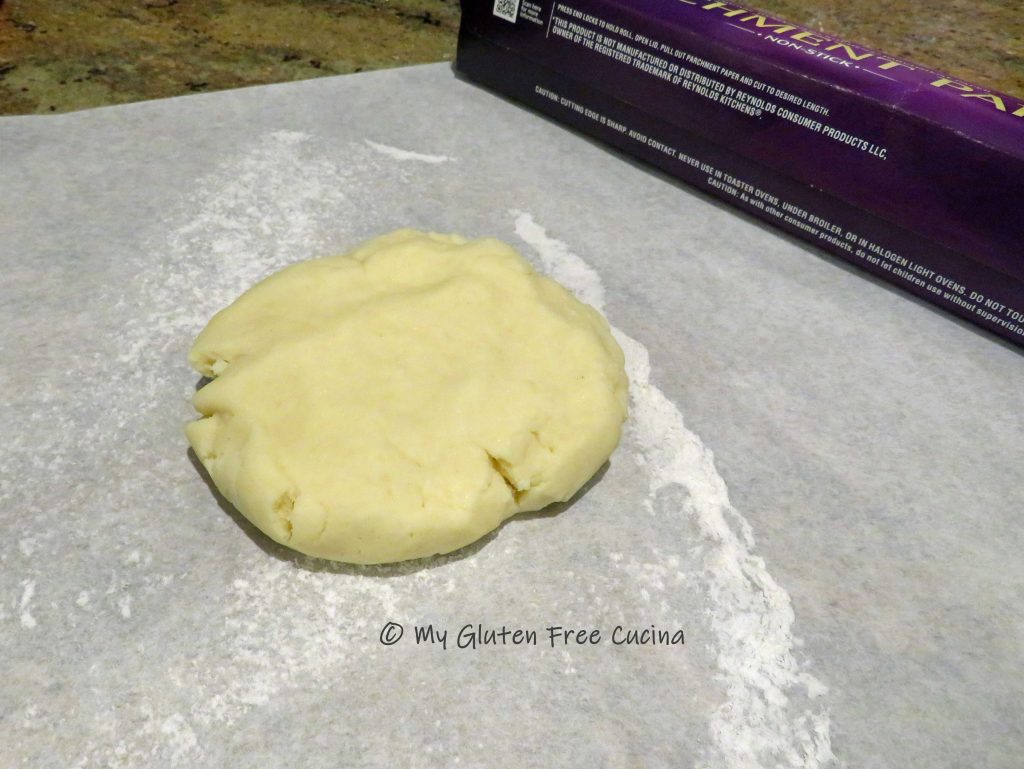
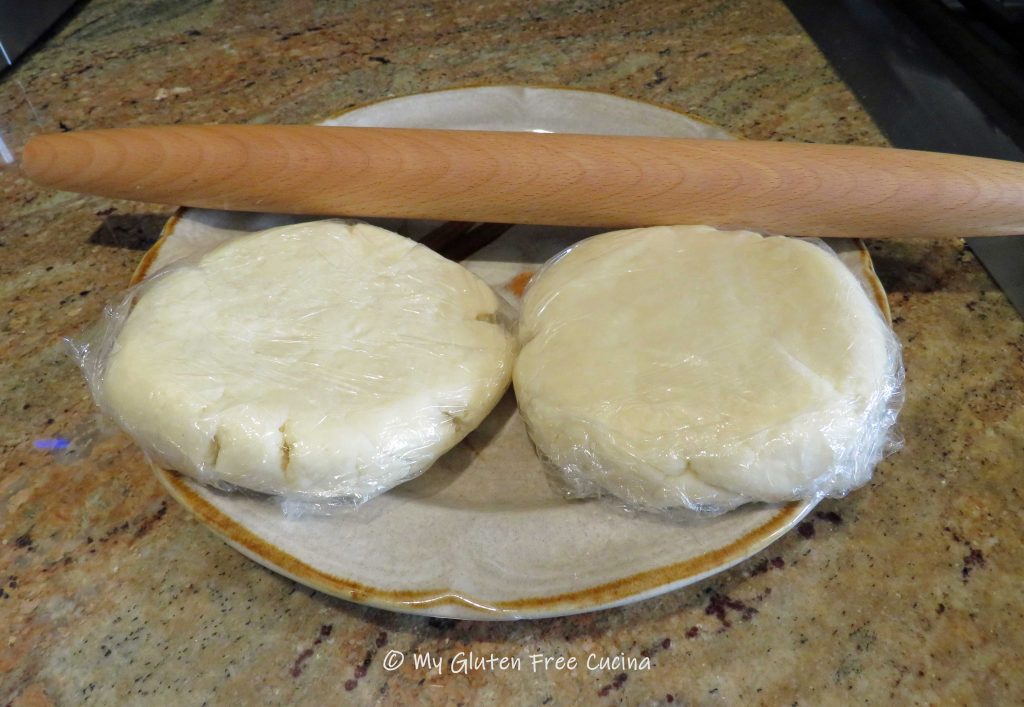 The easiest way to roll the dough is to lay it on a sheet of lightly floured

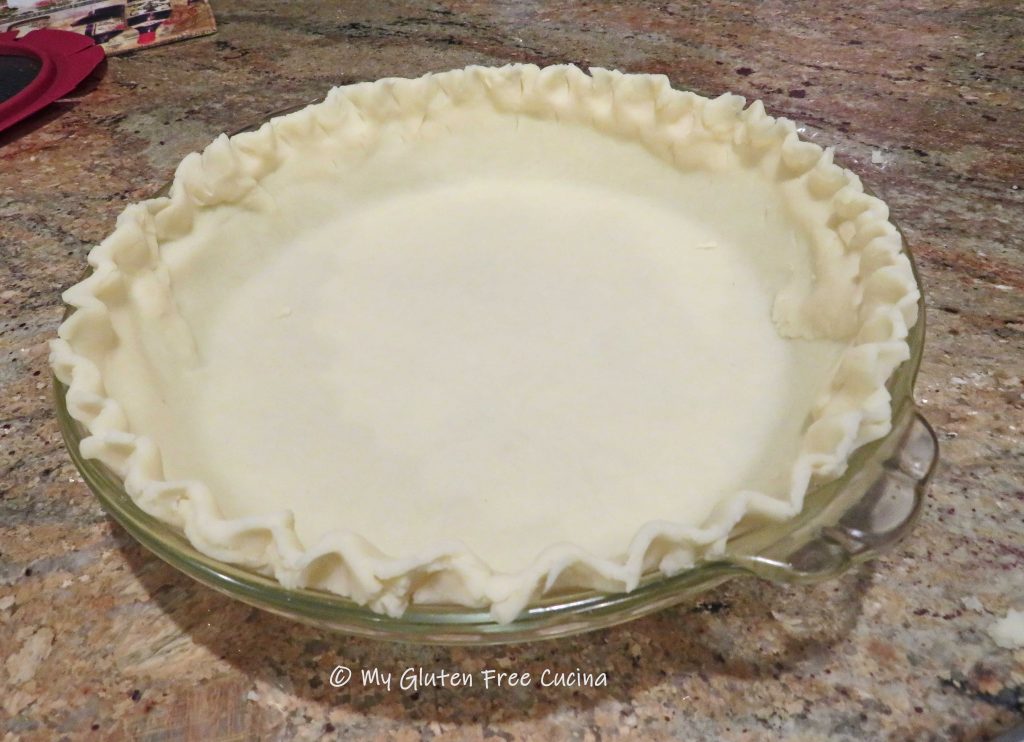
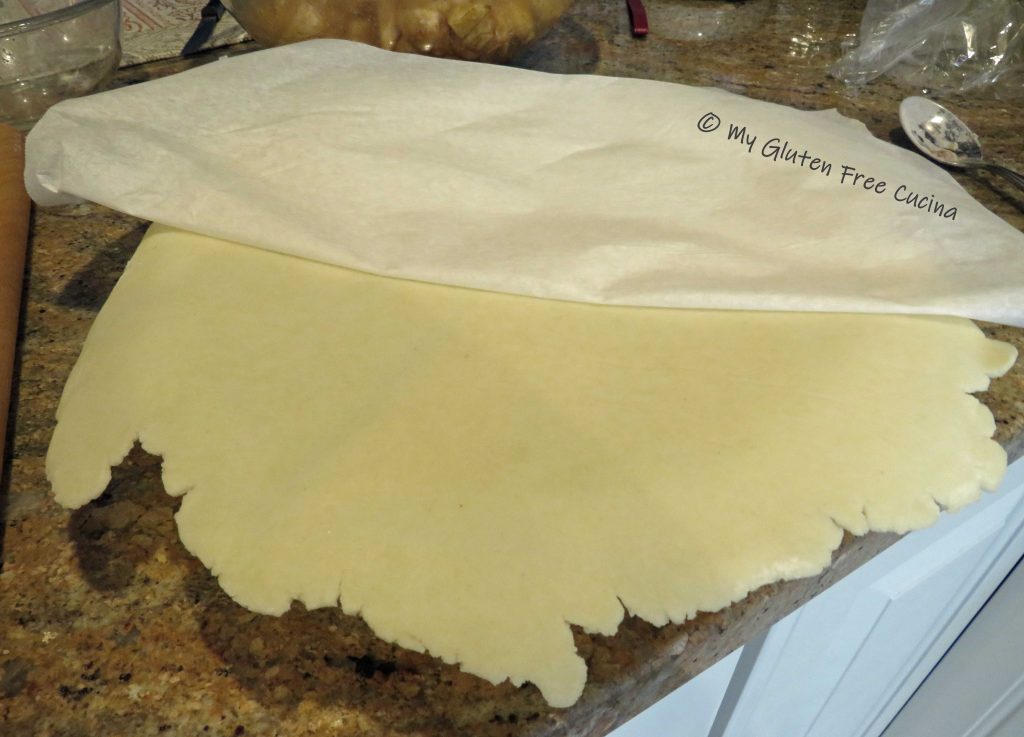 Carefully peel away the parchment and ease the dough into the dish like this.


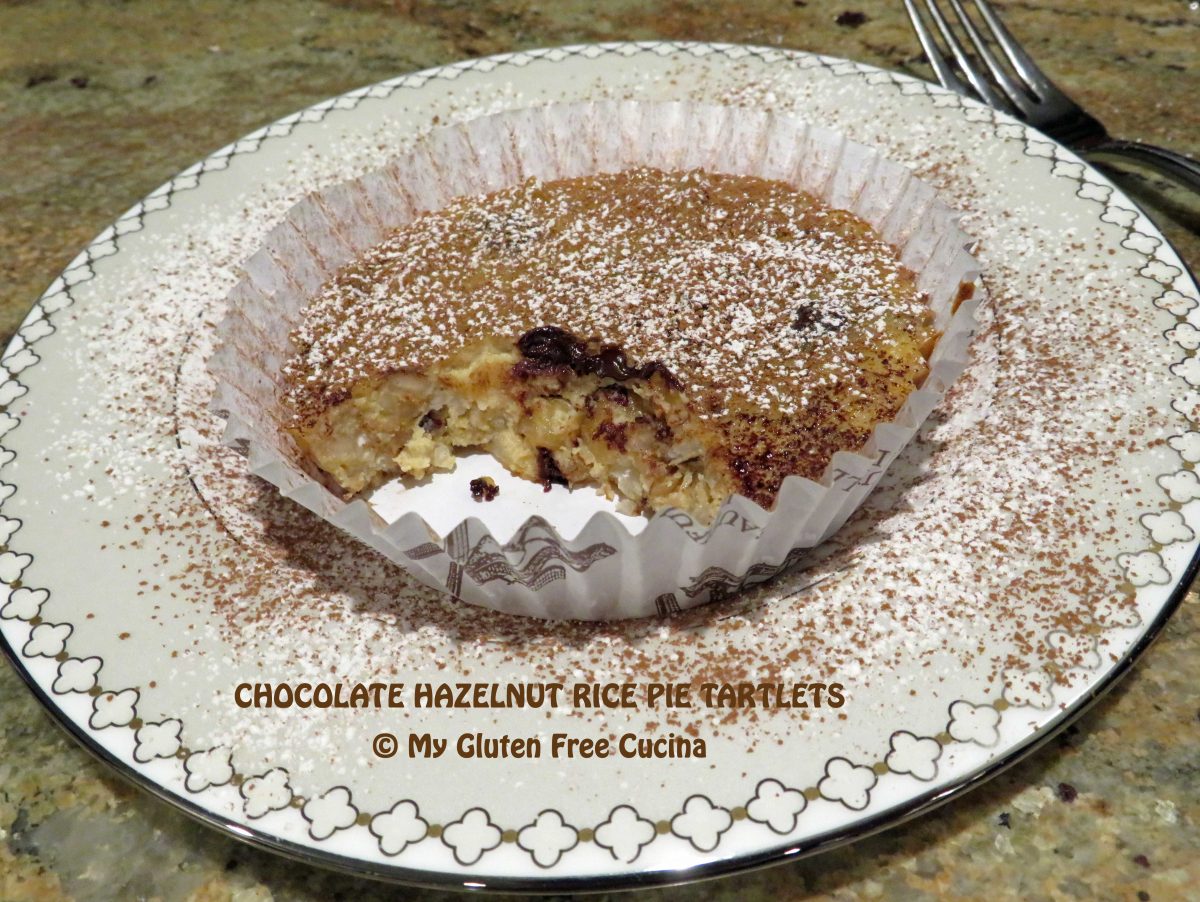


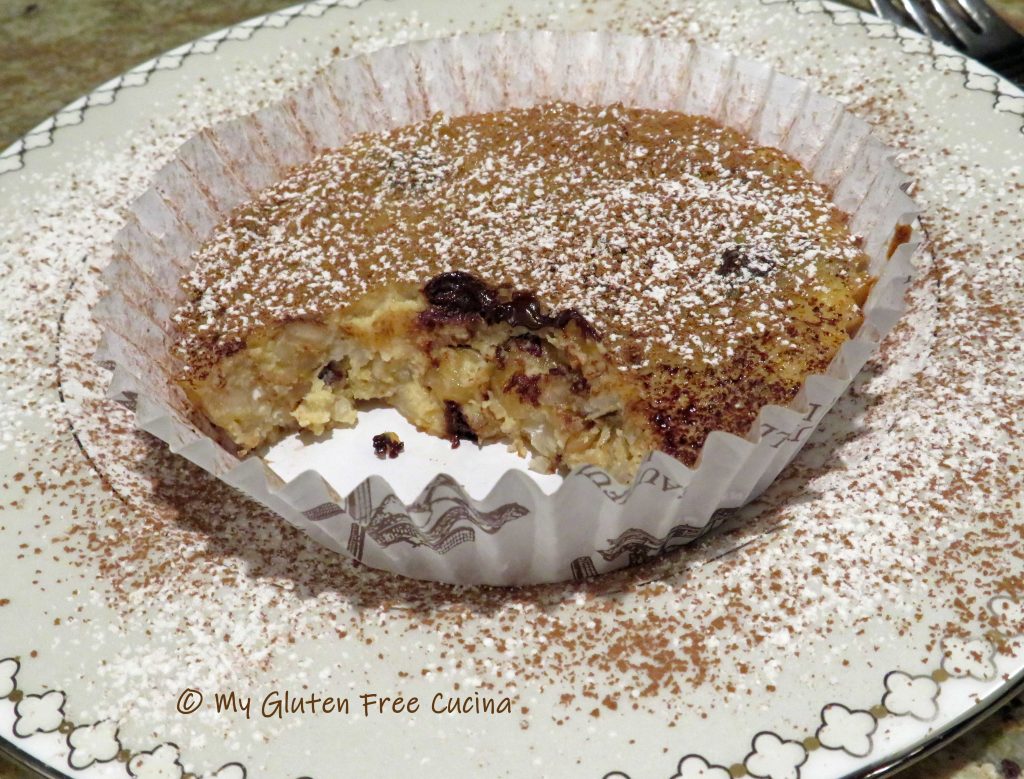
 Serve the tartlets at room temperature or chilled. Before serving, dust with cocoa powder and powdered sugar.
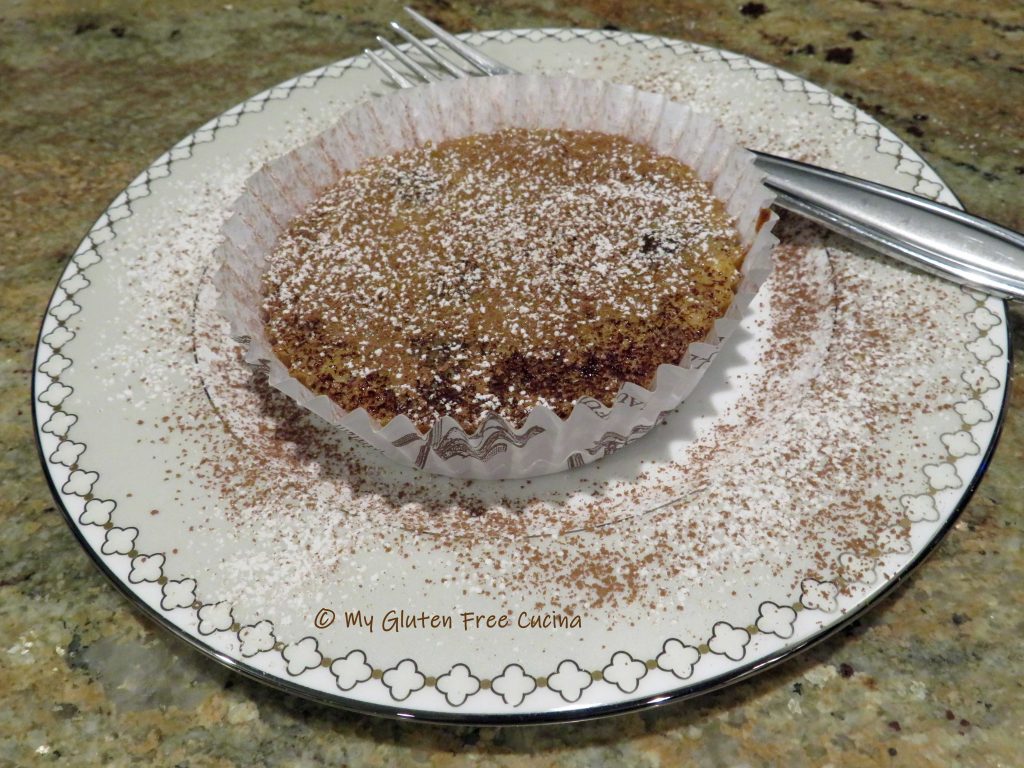


 Add the butter, eggs and milk/yeast mixture and mix together on low with the paddle attachment. It will look like wet pancake batter at this point. Increase the speed and beat for 5 minutes to form a sticky, soft dough.
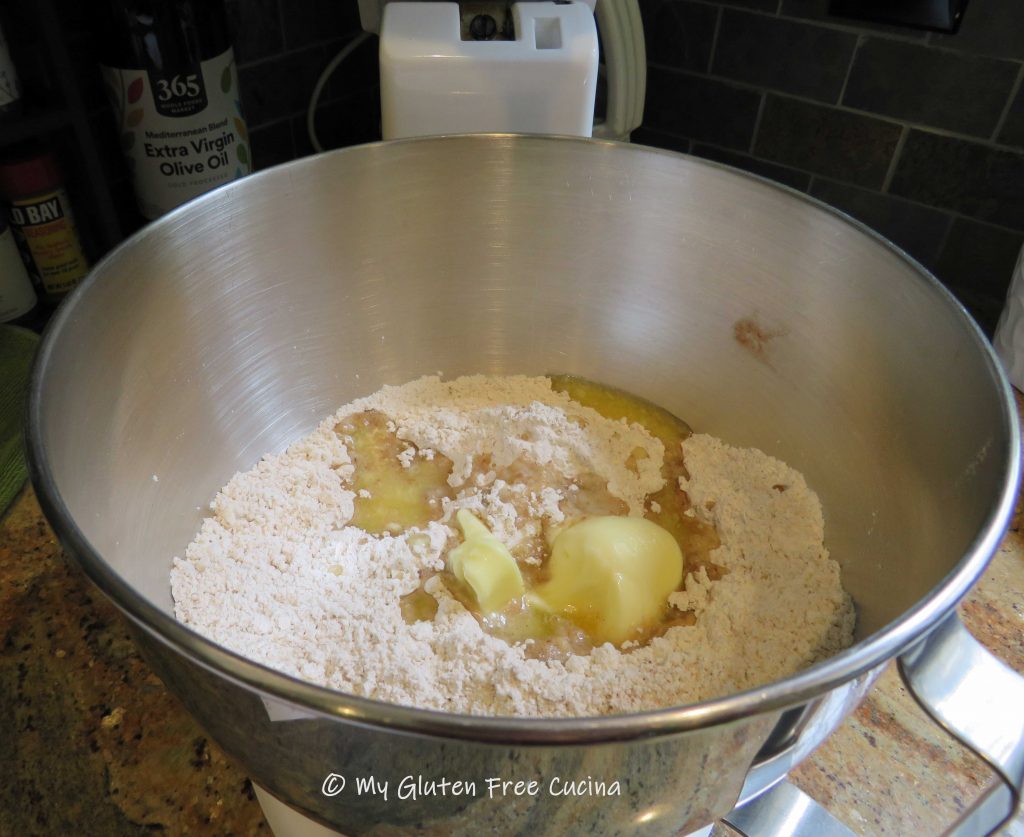
 Finally, add the rum-soaked raisins and their liquid, mixing for one more minute to incorporate.
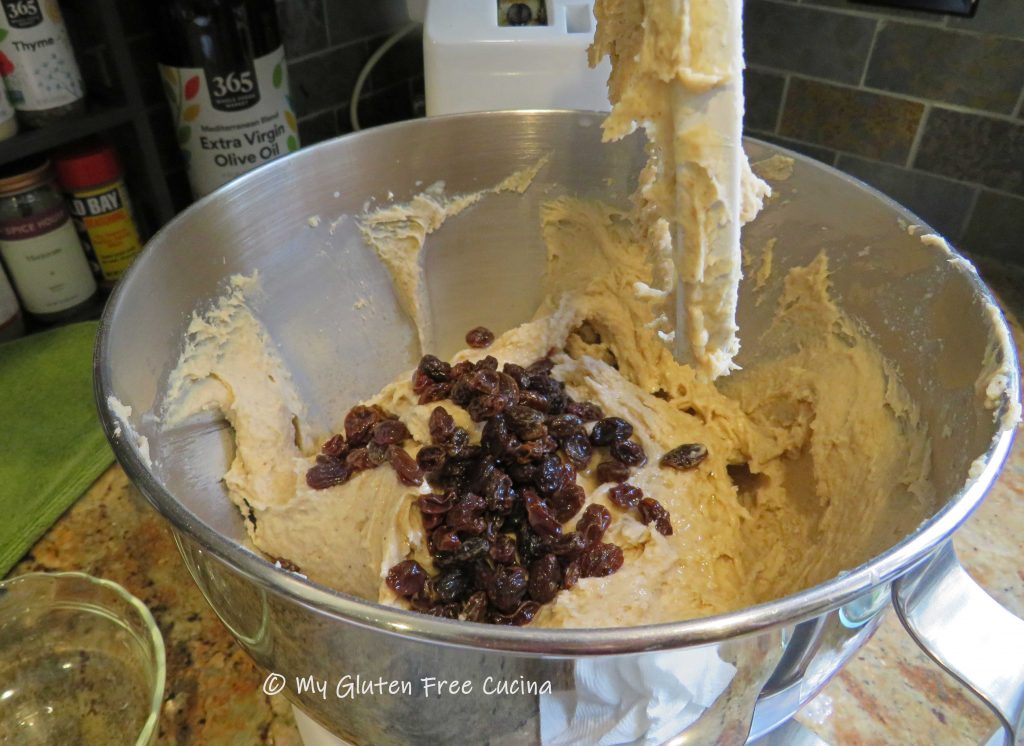


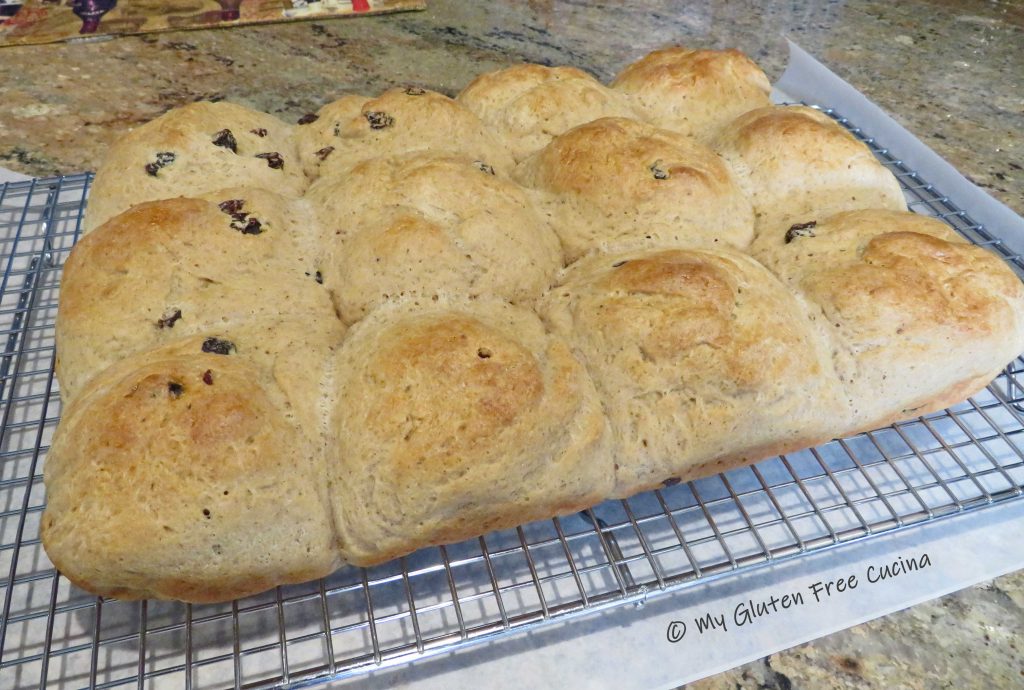

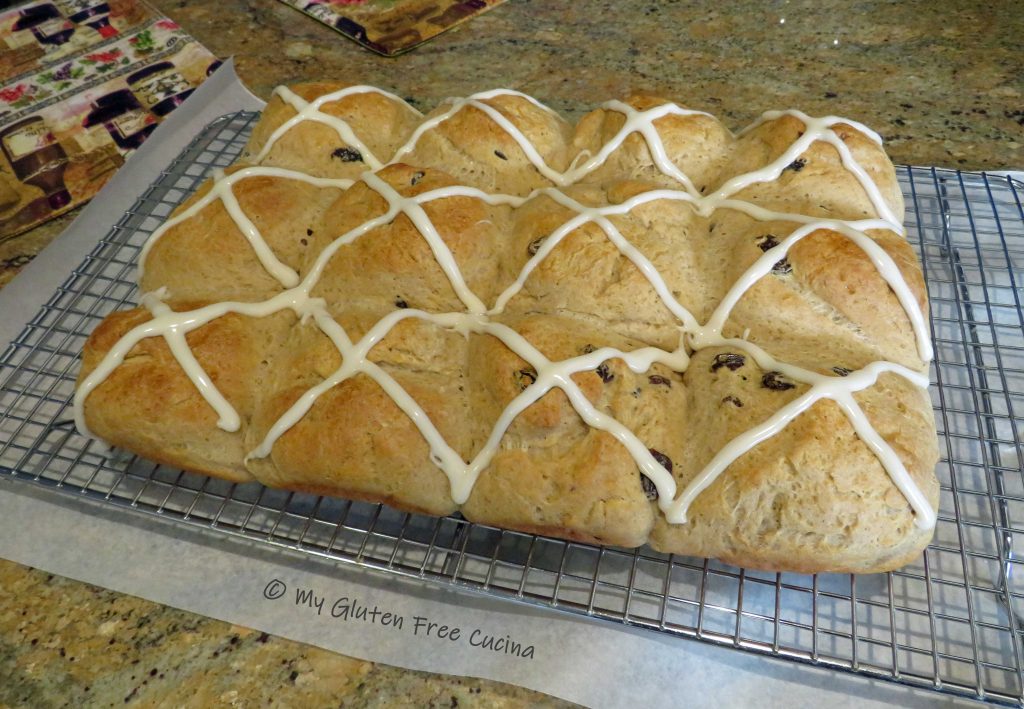
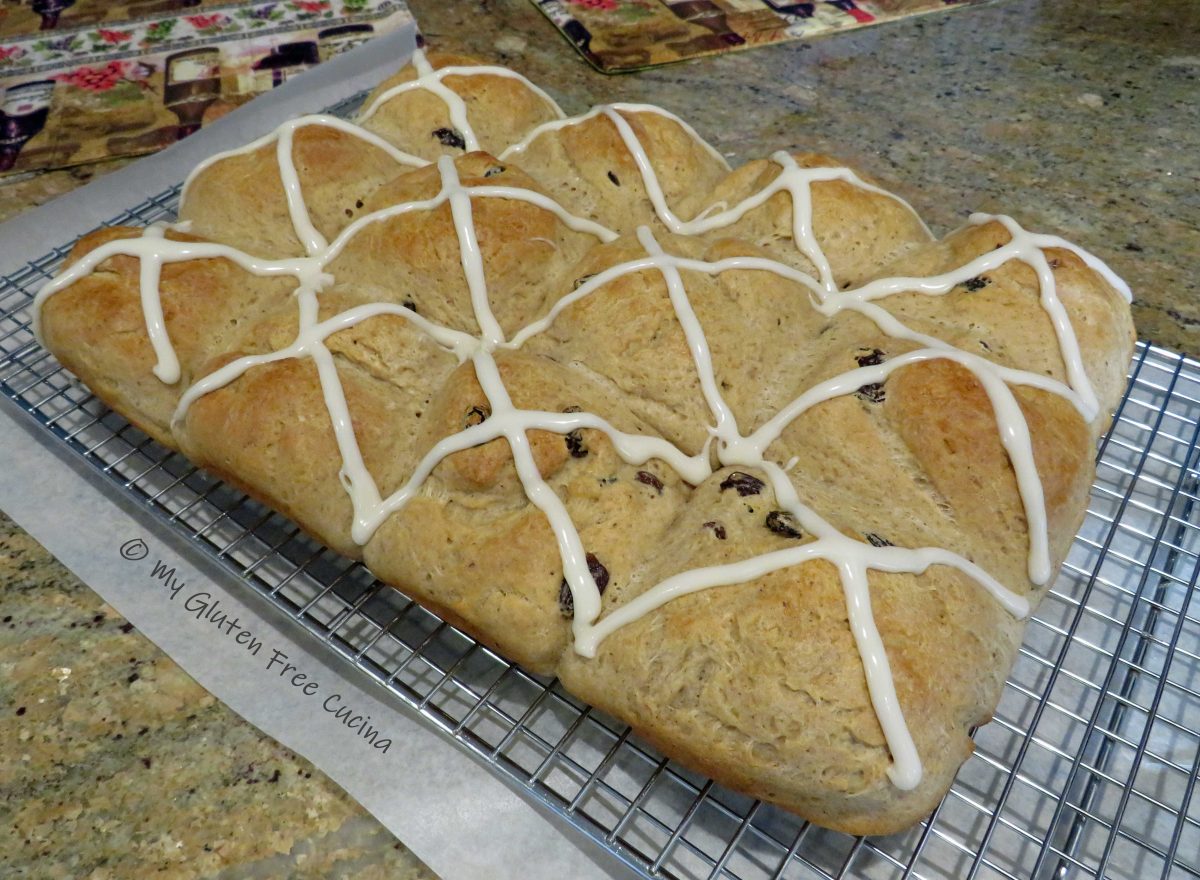
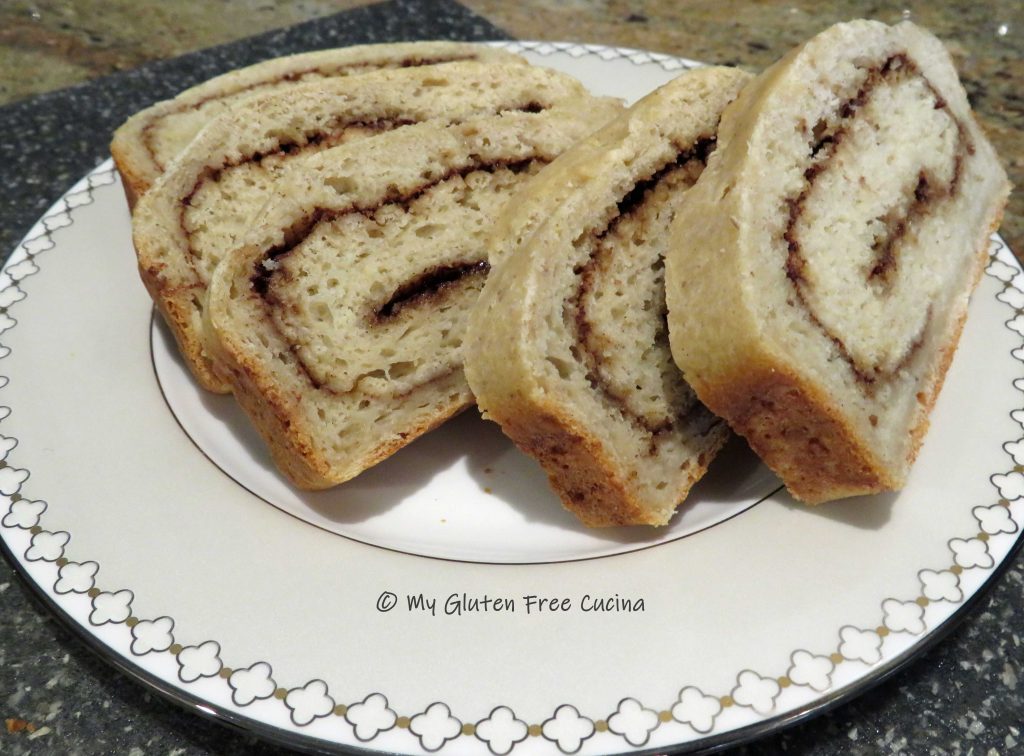
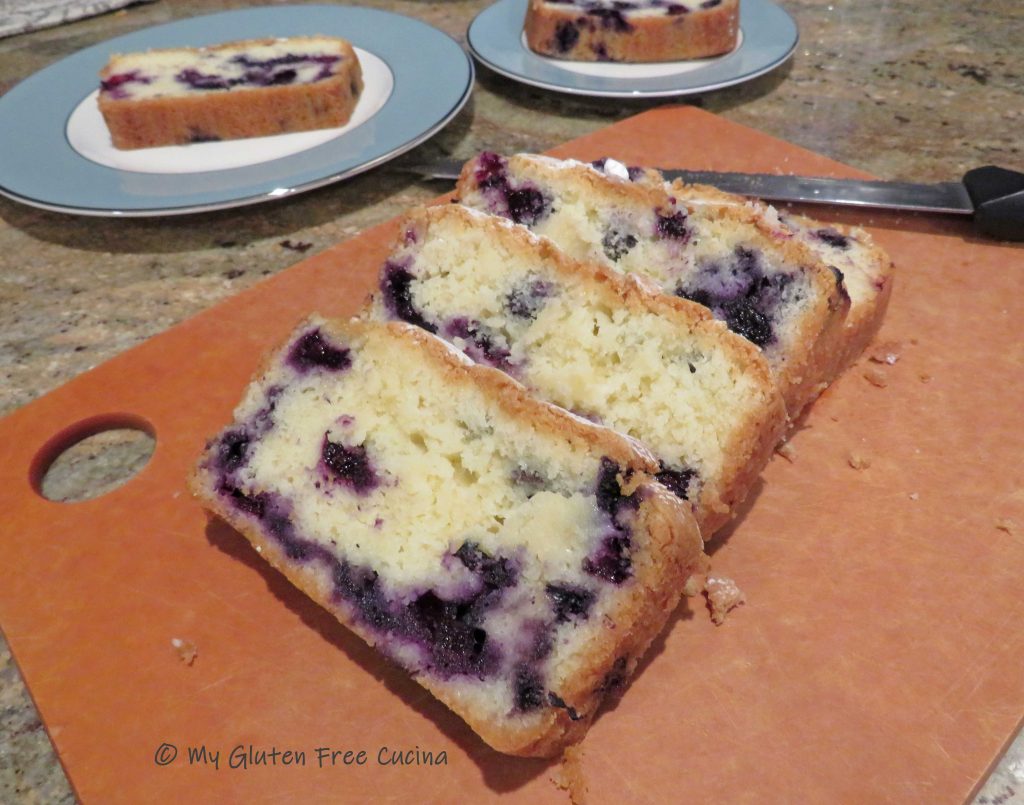
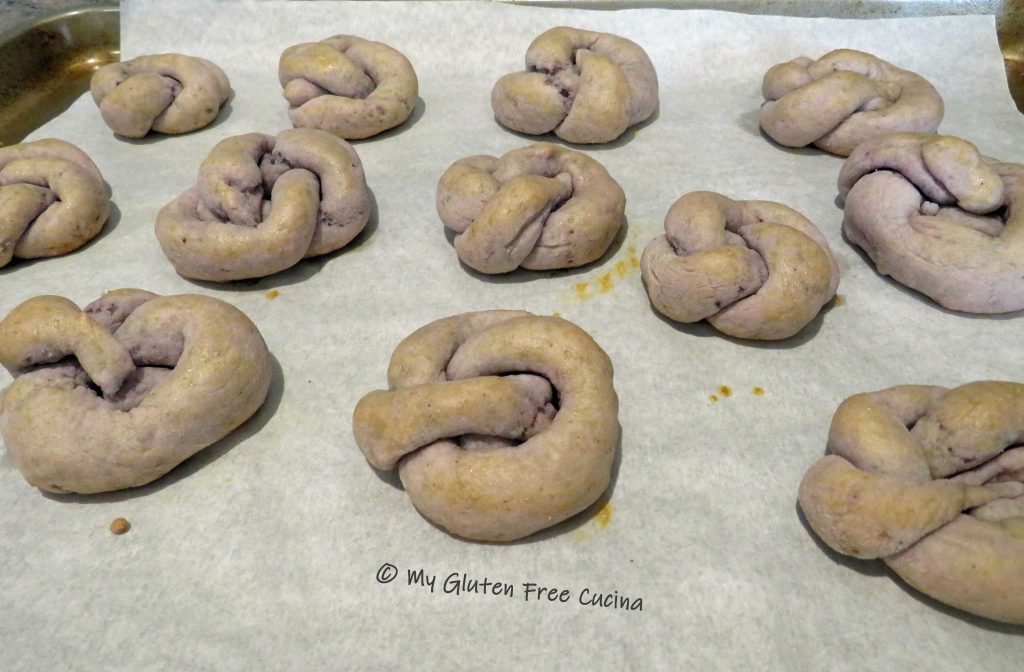
 Both adults and kids loved it, even the picky eaters! I can’t tell you how pleased I was to be making this bread again, it turned out great!

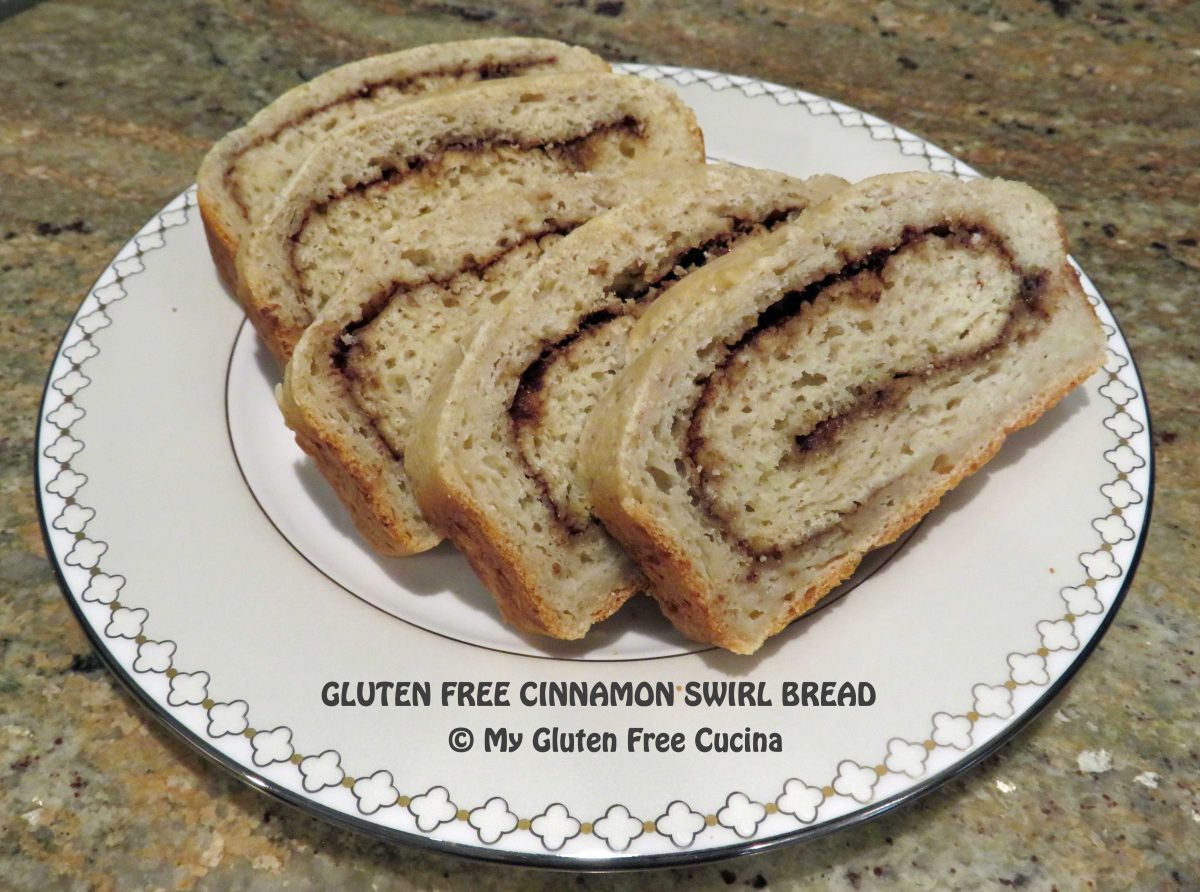
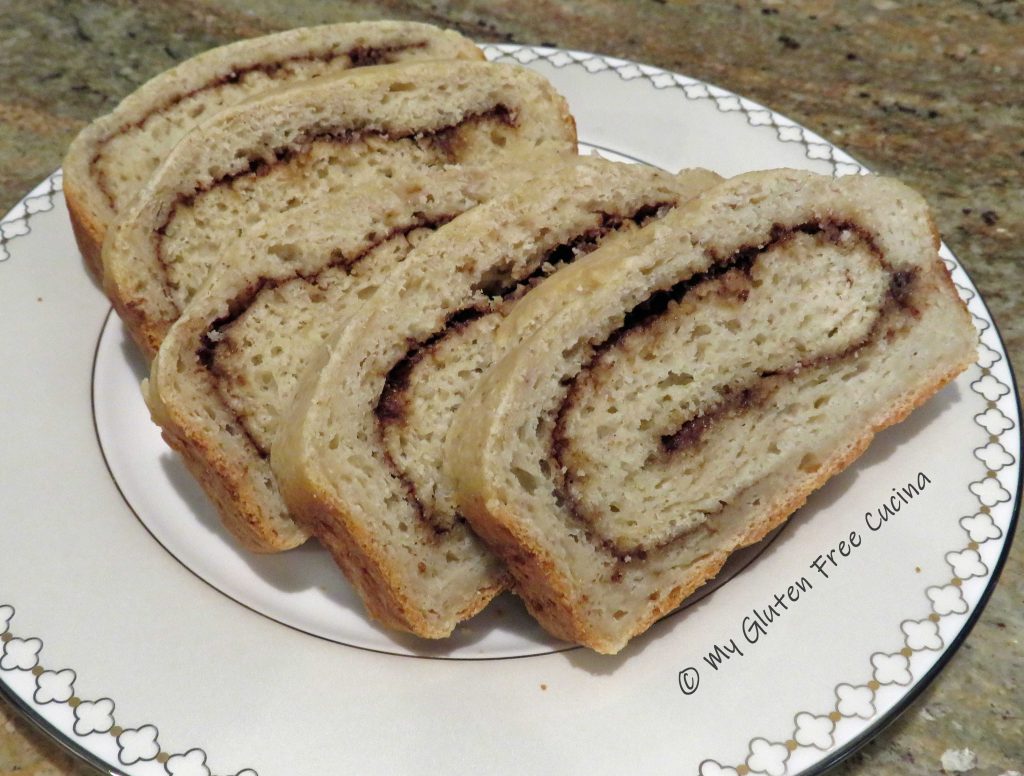
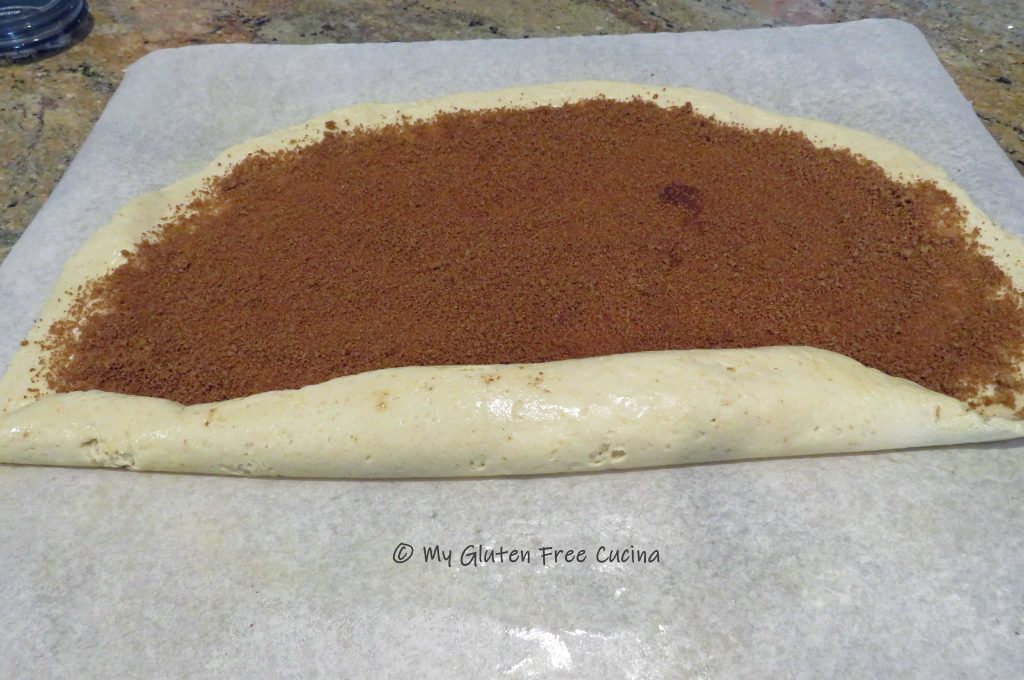
 Spread the brown sugar and cinnamon mixture evenly over the dough, leaving a 1″ border all around.
 Bake for 40 minutes or until the internal temperature reaches 200º. Remove from the oven and brush the top with 1 tbsp. melted butter.
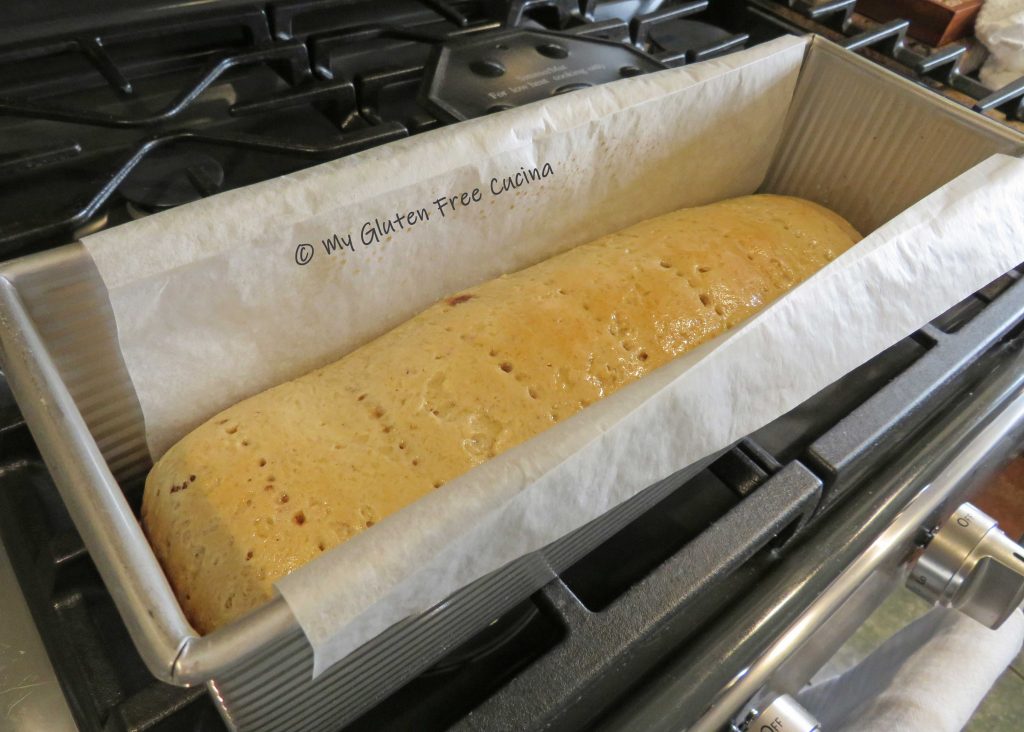 Grasp both sides of the parchment to lift the loaf out of the pan to a cooling rack.
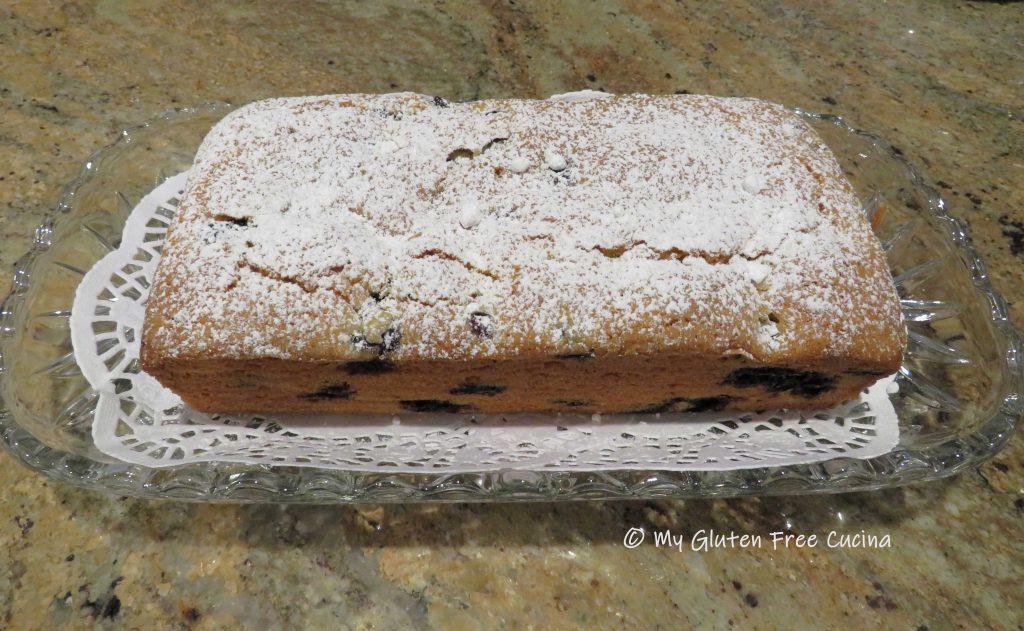
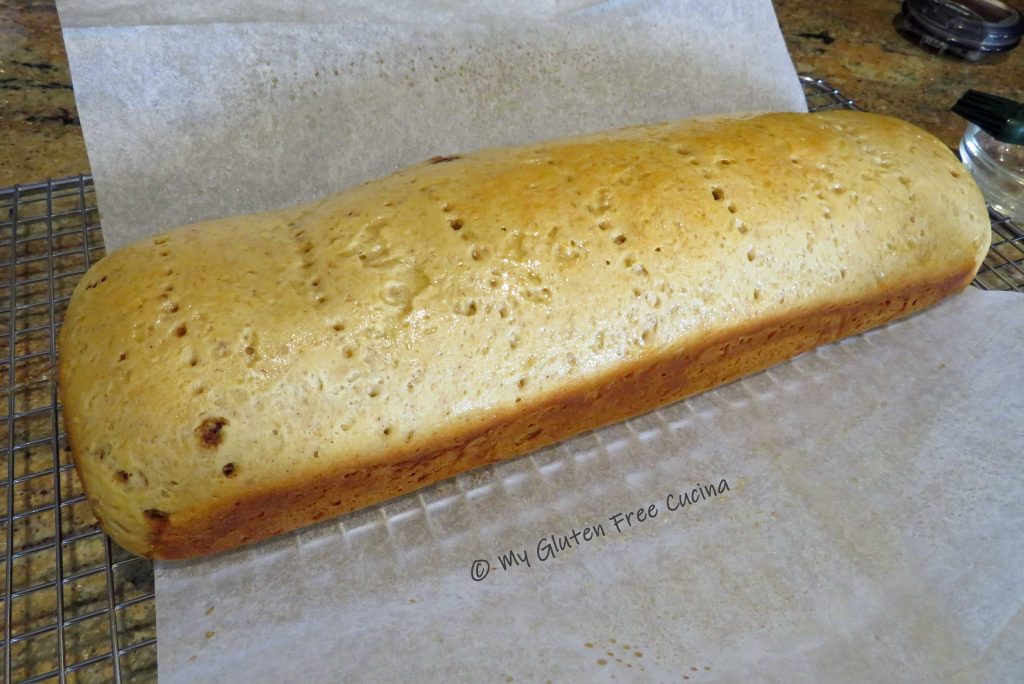 Slide the parchment out and let the loaf cool completely before slicing.
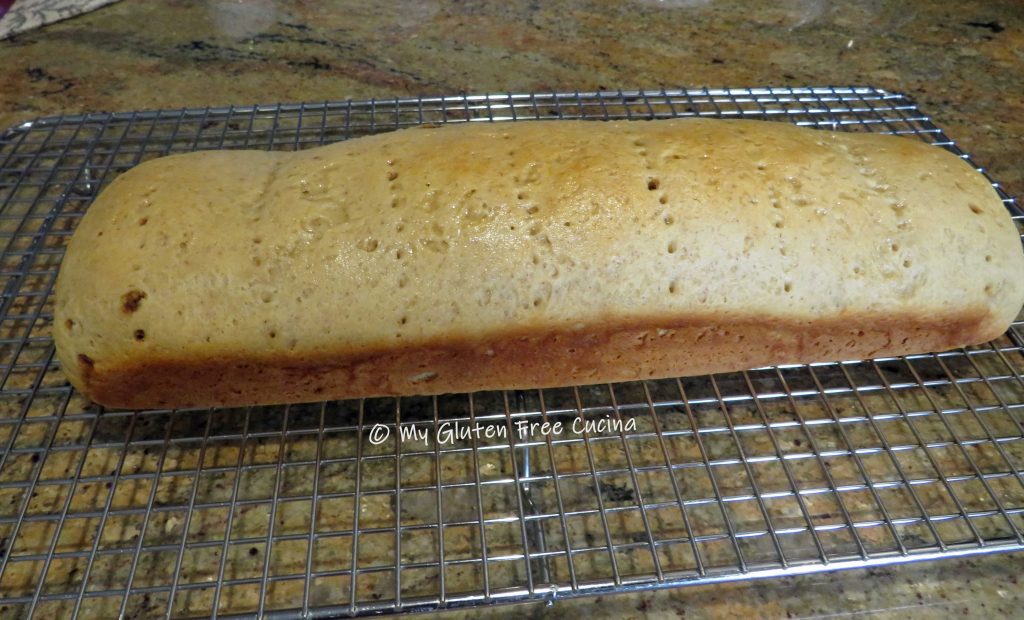


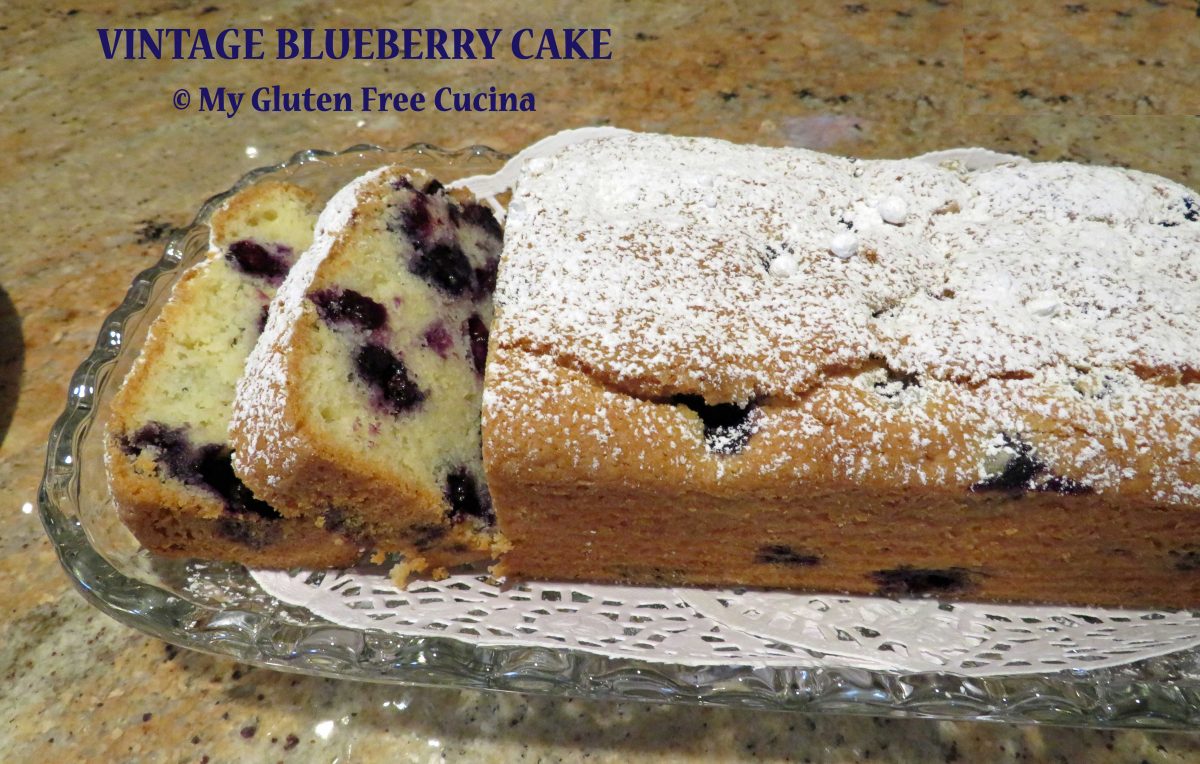
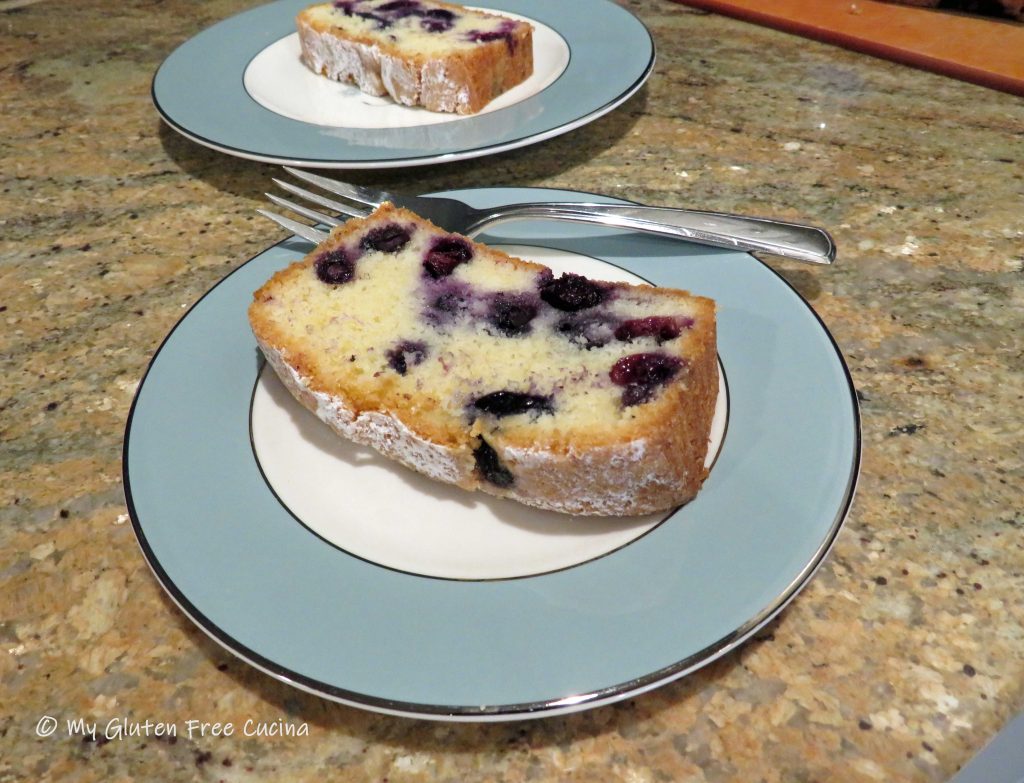
 I hadn’t made this cake since my Celiac diagnosis in 2017, and always wondered what would happen if I converted it to gluten free. Would it taste as good? The verdict, YES and the results were amazing!
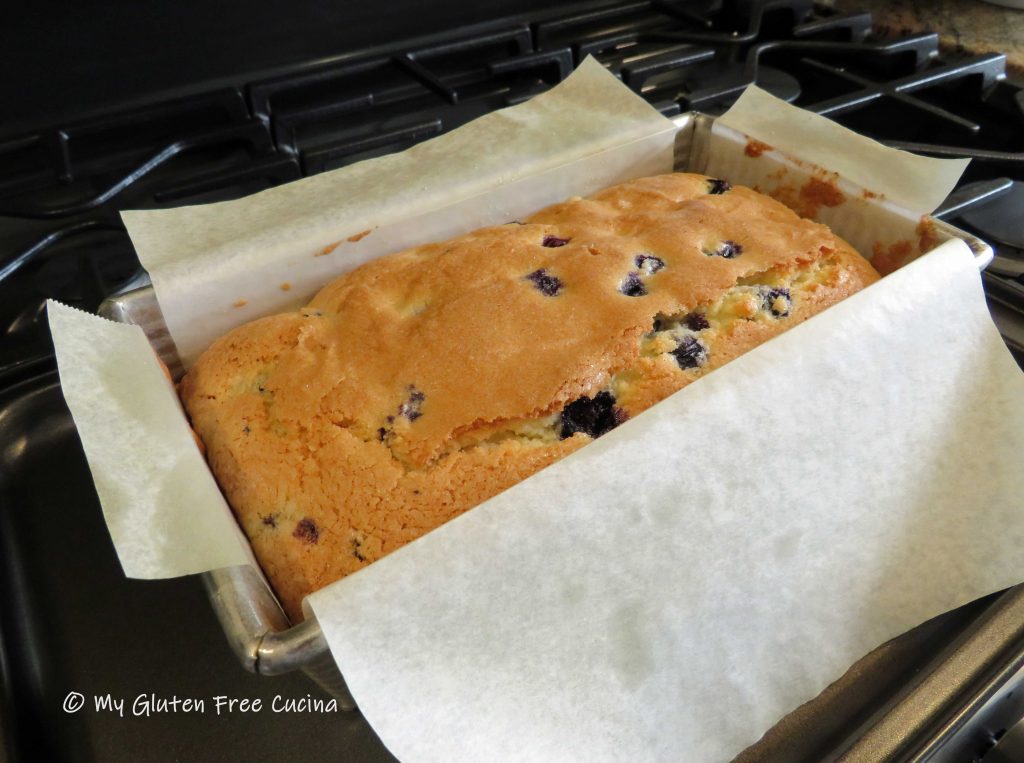


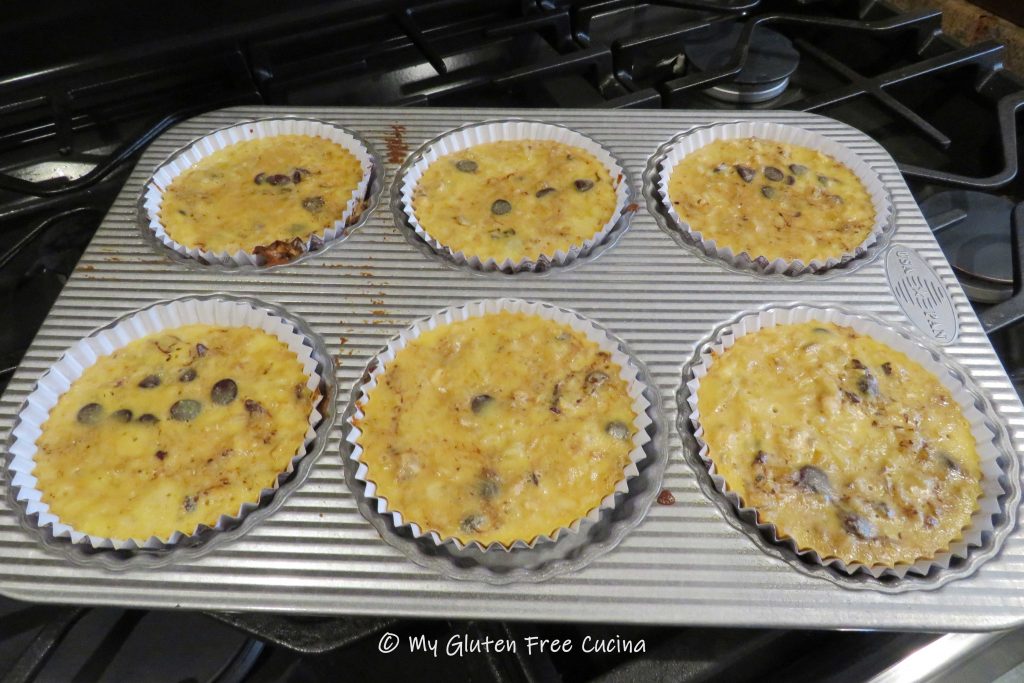
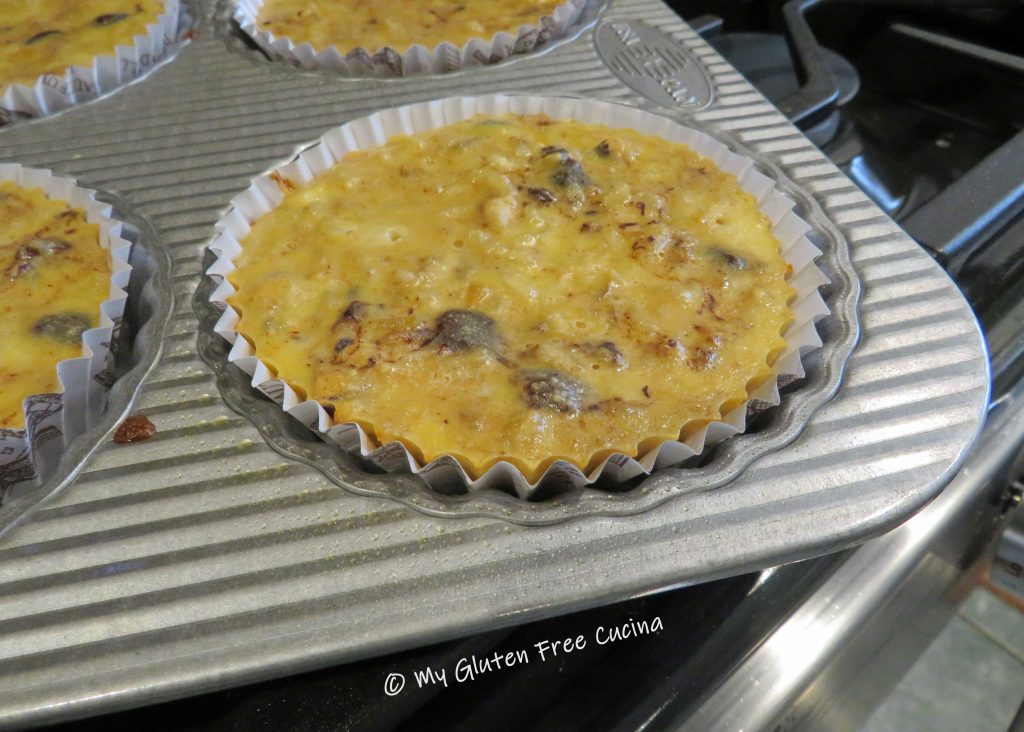
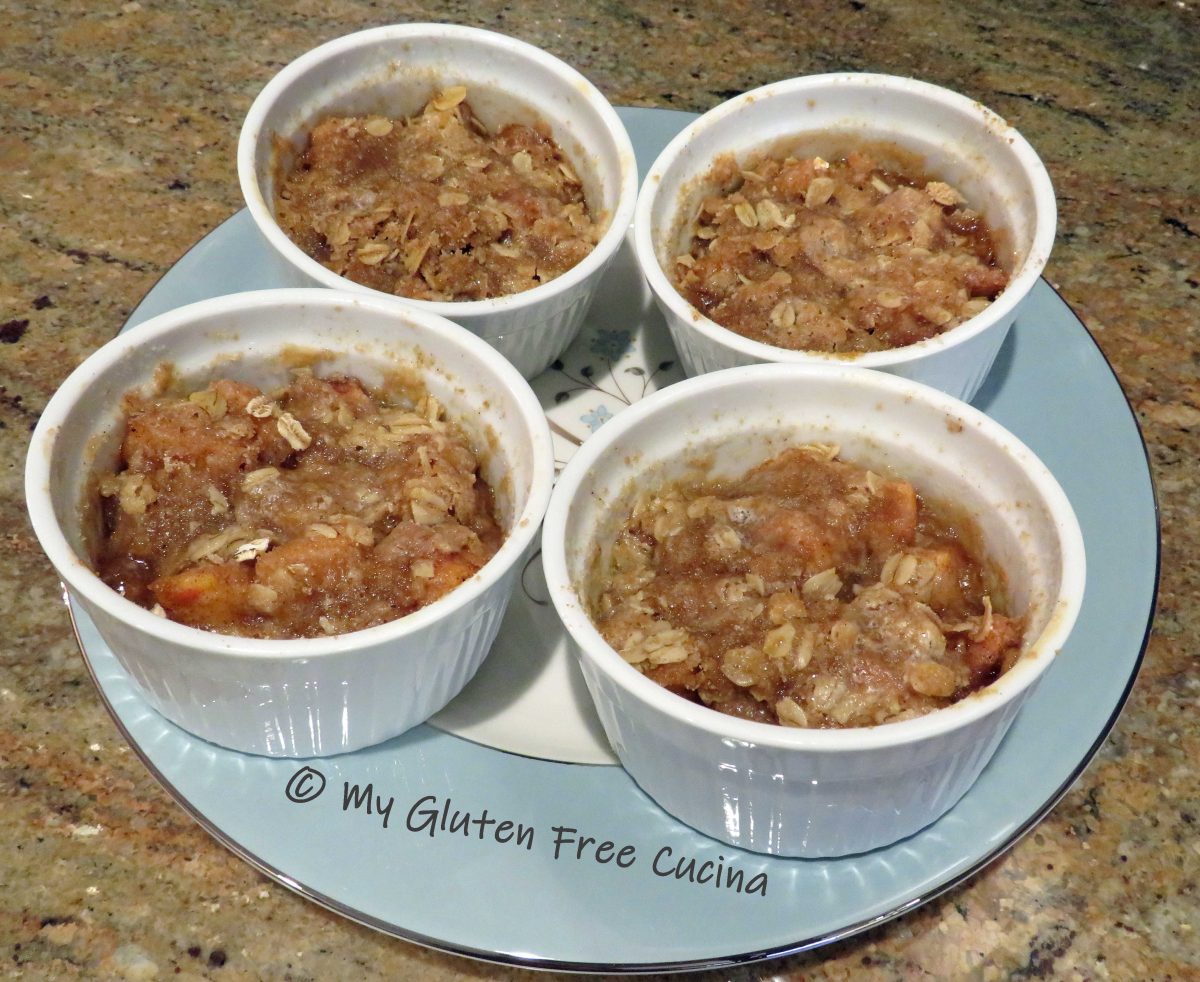
 Bake for 22-25 minutes. Cool in the pan 10 minutes then transfer to a rack. Enjoy them warm or at room temperature.
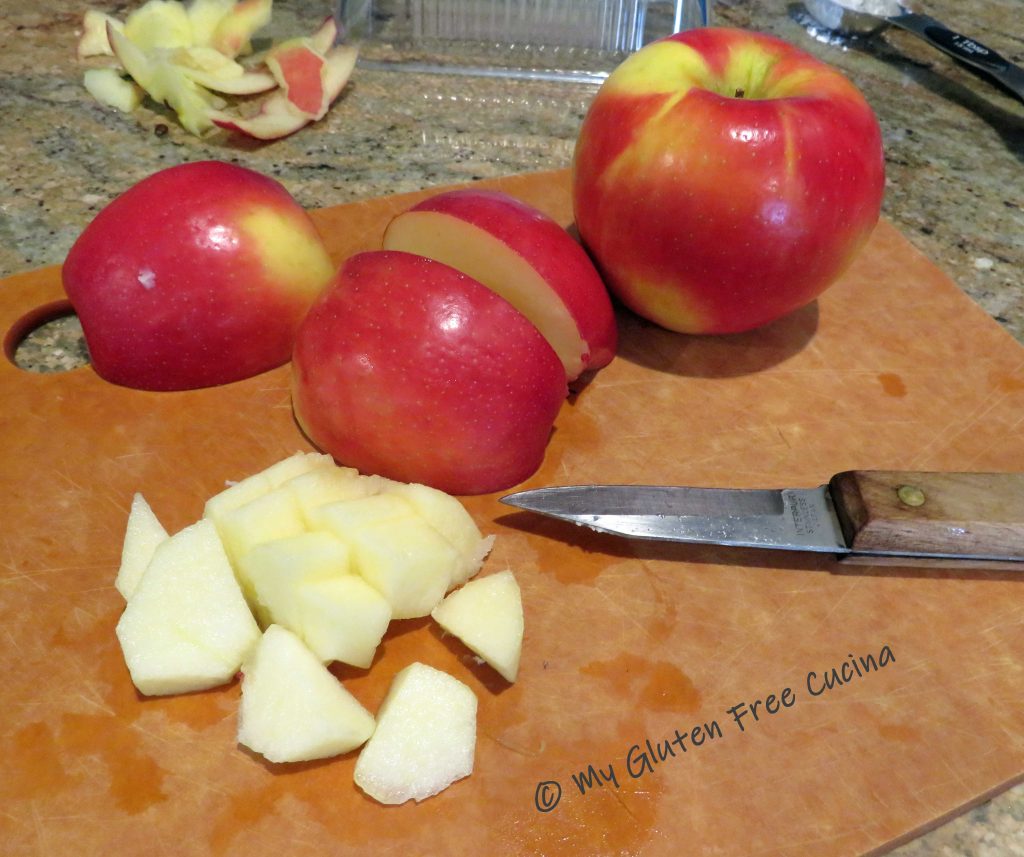

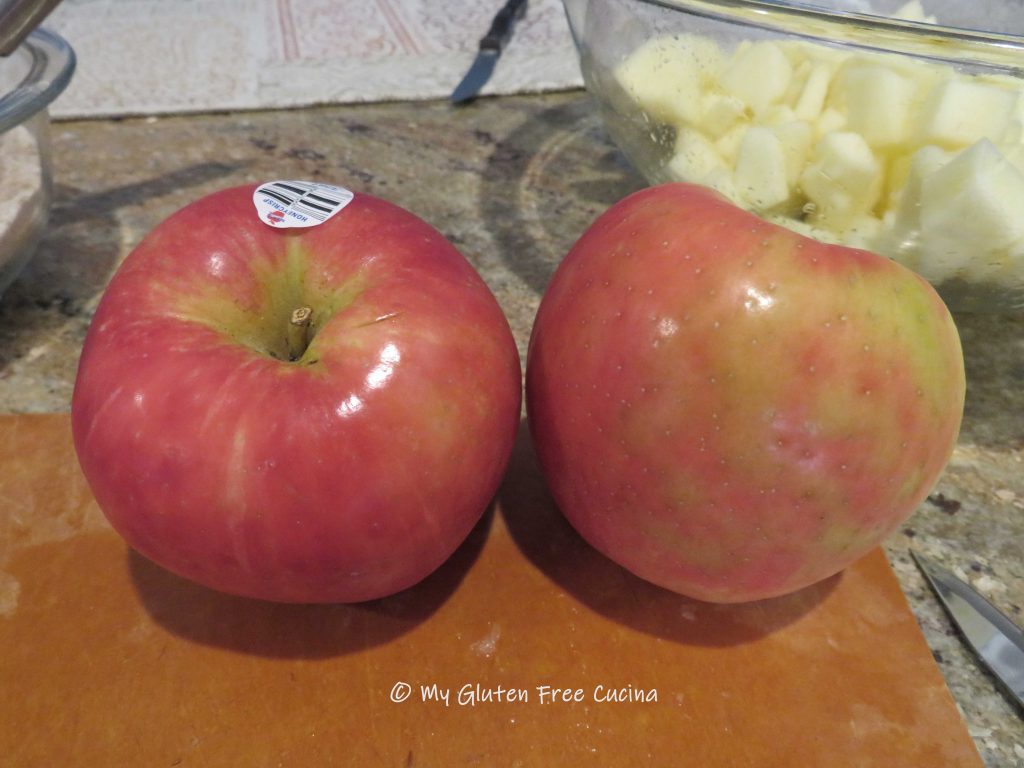
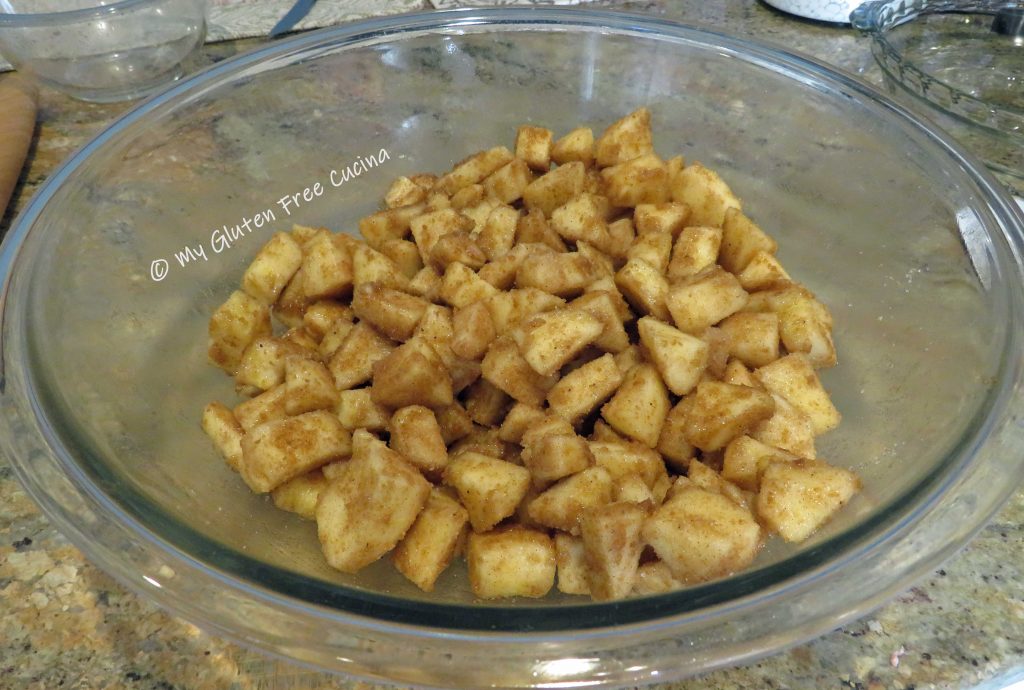
 Toss the apples with the filling mixture.
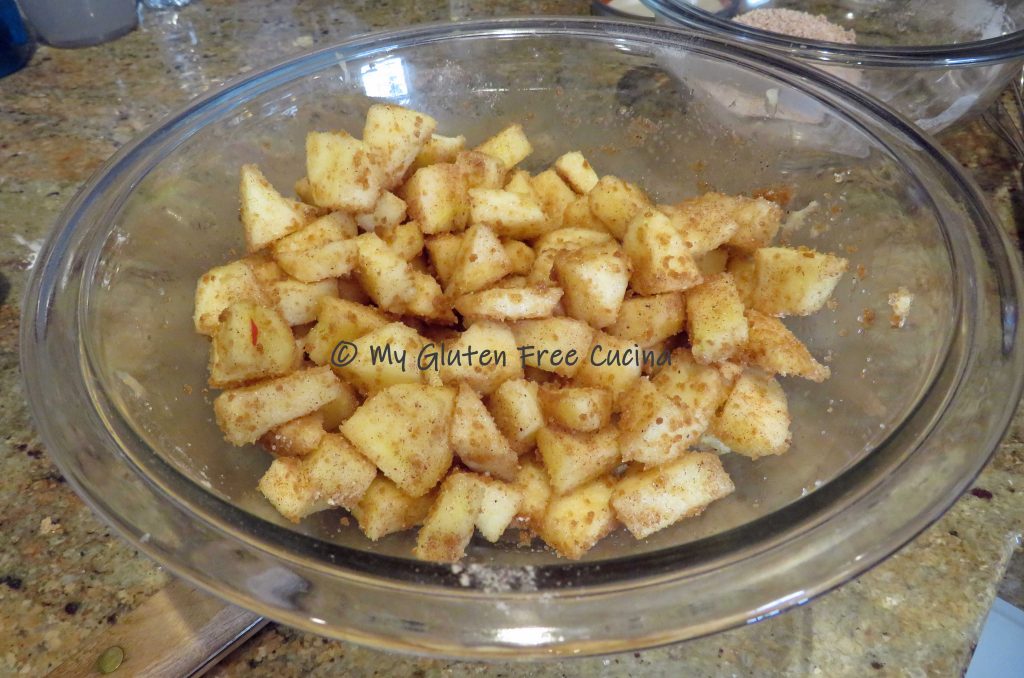


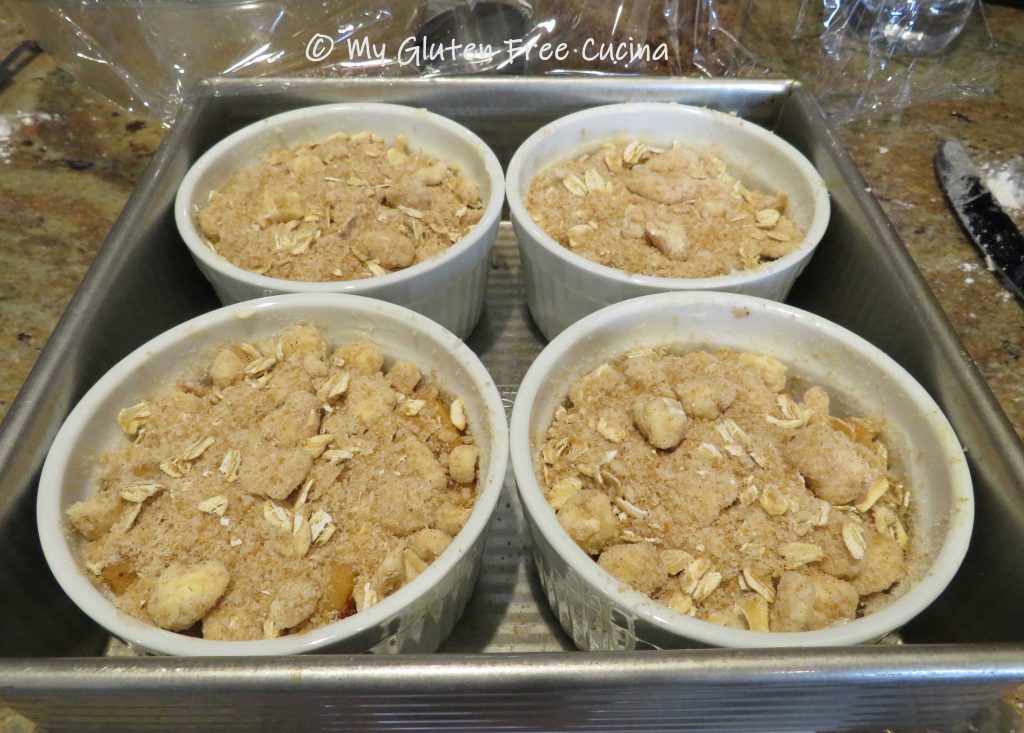
 Spread the topping mixture over each ramekin.