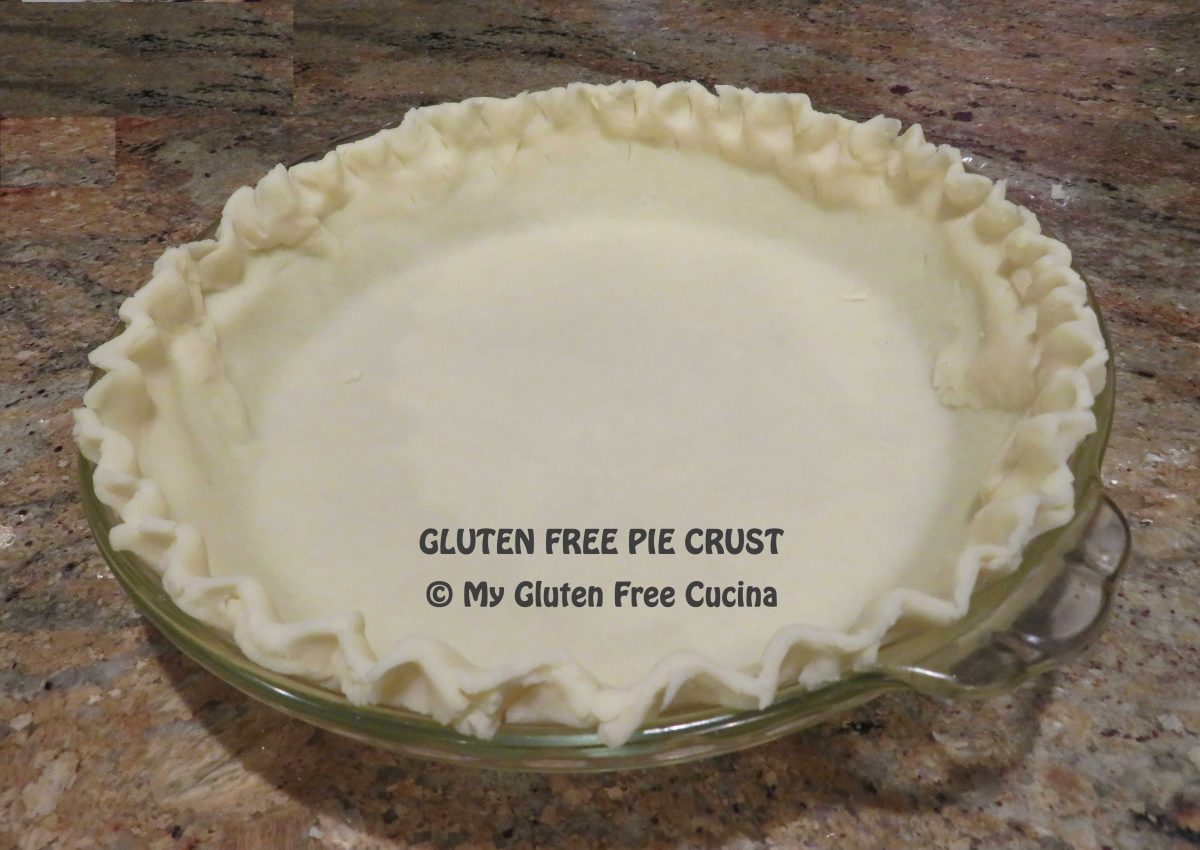
Pie crust has always been my nemeses. Gluten free or not, I just could never get the hang of it! Before my Celiac diagnosis, when I wanted to make a pie, I would buy the refrigerated double pie crust dough in the red box (remember those?) and pretend that I made it myself! 🙂
Today, until someone comes up with a gluten free alternative that doesn’t cost a fortune, we need to make our own.
This beauty of a pie crust was made with my favorite little miracle in a bag, Better Batter Original Gluten Free Flour. If you have not tried this flour, seriously go and get yourself a bag and be sure to use my Promo code MGFC30 for 30% off any non-sale item!
The recipe is an adaptation of a mainstream cream cheese pie crust made with wheat flour. The only ingredient I changed is the flour.
You can make one crust, two, three or four at a time. Use them right away or keep them in the refrigerator or freezer for when you want to bake. Our own gluten free version of the red box!
Adapted from 12 Tomatoes
This post contains affiliate links.
Ingredients:
- unsalted butter
- cream cheese (I used Philadelphia cream cheese)
- heavy cream
- gluten free flour (I used Better Batter Original Gluten Free Flour)
- sugar
- salt
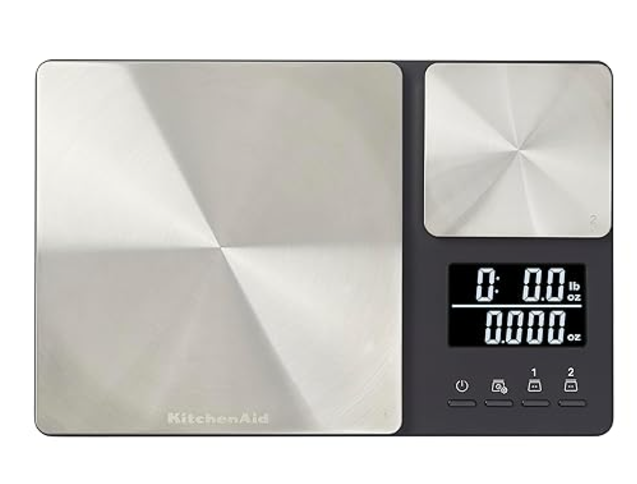
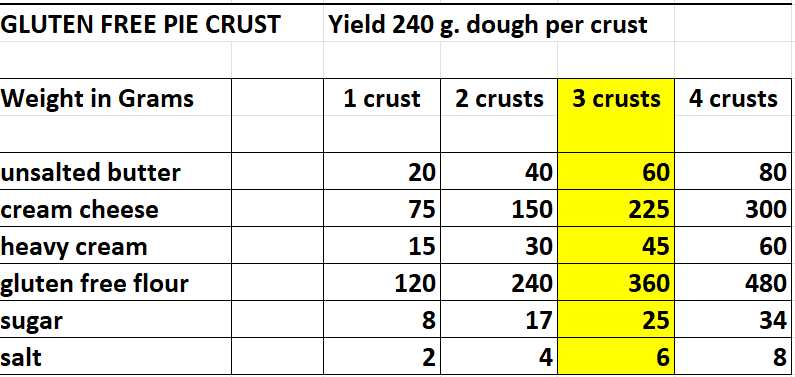
All ingredient weights are in grams. USE A SCALE! *See notes
Preparation:
I like to make 3 crusts at a time, mostly because it uses up exactly one 8 oz. package of cream cheese. I usually make one double crust pie and use the single crust for quiche. At holiday time this is a win!
Let the butter and cream cheese soften at room temperature until you can mash them together with a fork (don’t microwave!).

In the bowl of a stand mixer, combine the softened butter, cream cheese and heavy cream. Beat on low speed with the paddle attachment. Add the flour, sugar and salt, and mix until well combined.

Turn the dough out onto a floured cutting board.
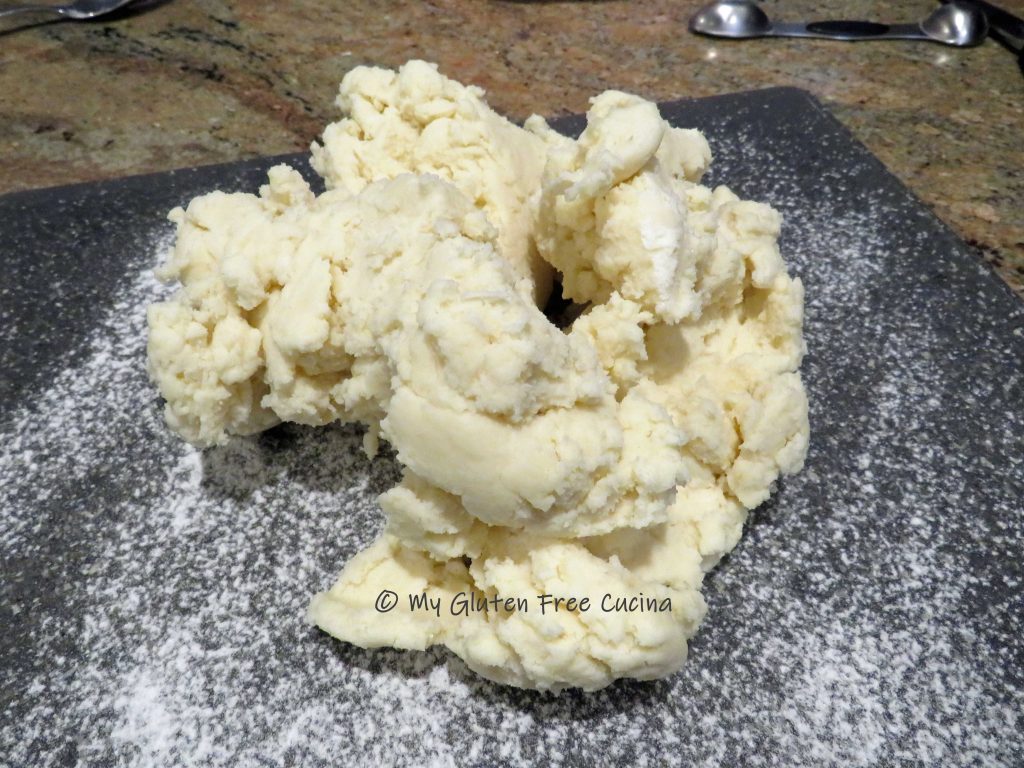
Bring the dough together into a ball. If making more than one crust, use a bench knife to divide it into even portions, 240g. each.
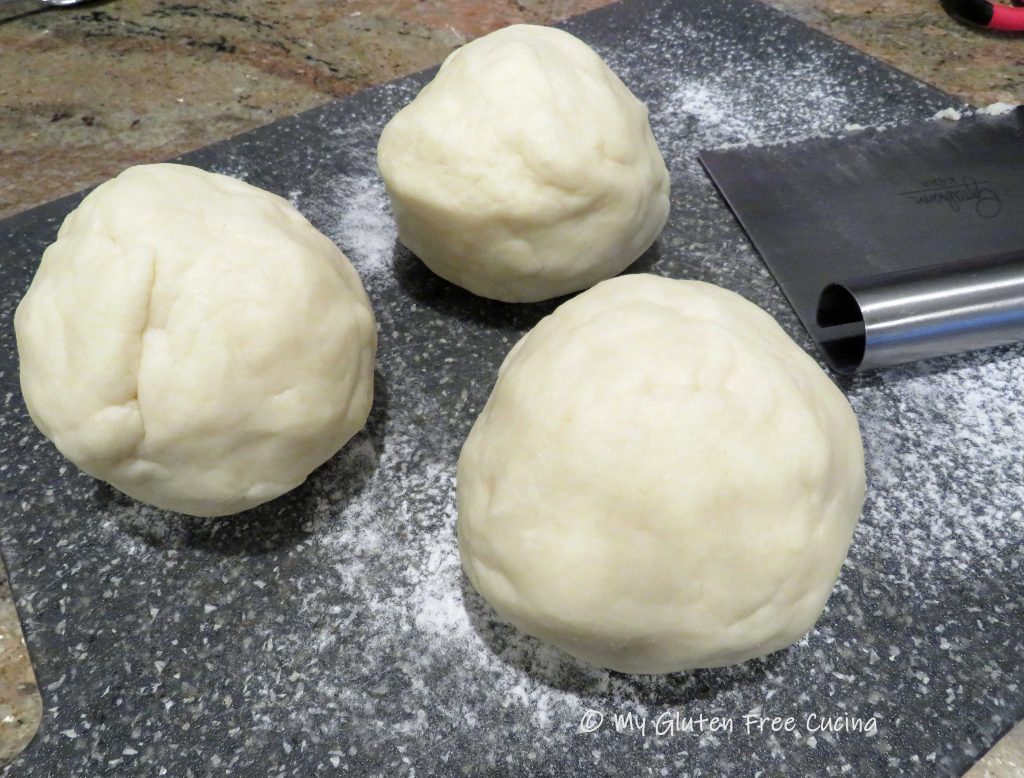
Press each portion into a disk. That’s it!

Now you can either refrigerate or freeze your pie dough. Wrap each portion in plastic wrap and store in freezer safe bags.
When you are ready to bake, take refrigerated dough out 30 minutes early (if frozen, defrost it in the refrigerator first).
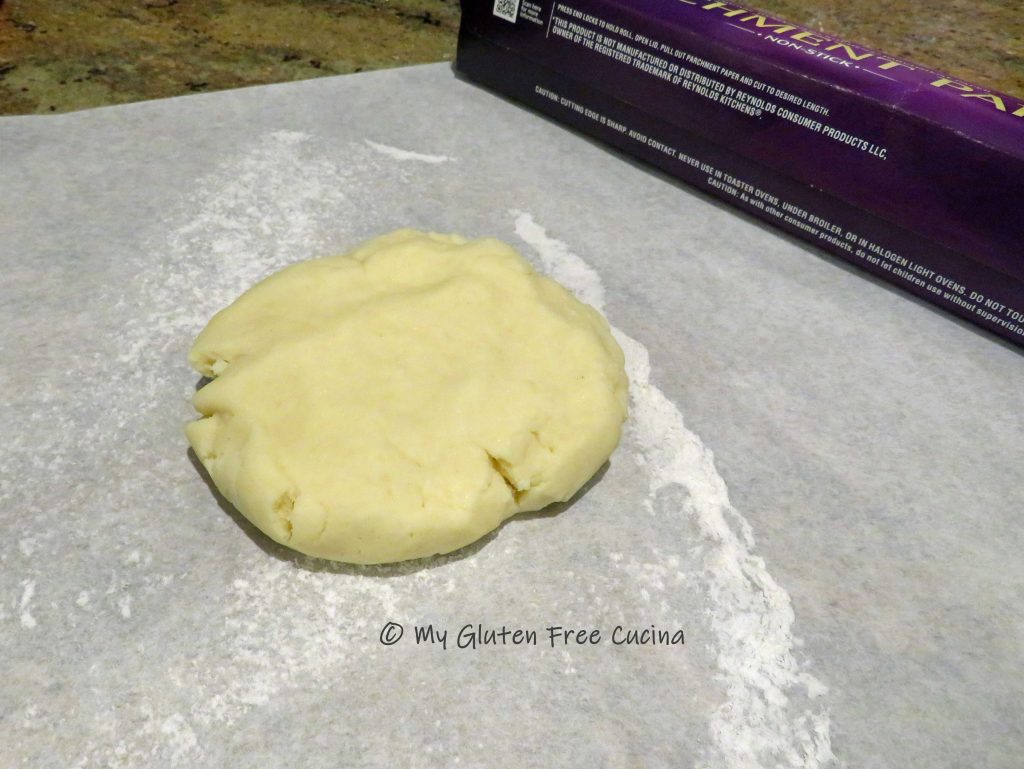
Place on a sheet of lightly floured parchment and roll into a circle.

This dough rolls like a dream, but if you feel more comfortable, you can place a second sheet of parchment on top before rolling, this makes it easier to flip.
Remove one side of the parchment, turn and place your dough into a pie dish, trimming any excess around the edges. It doesn’t have to be perfect, if the dough cracks you can pinch it together or use excess dough to patch any holes.

Now fold the edges under and crimp!
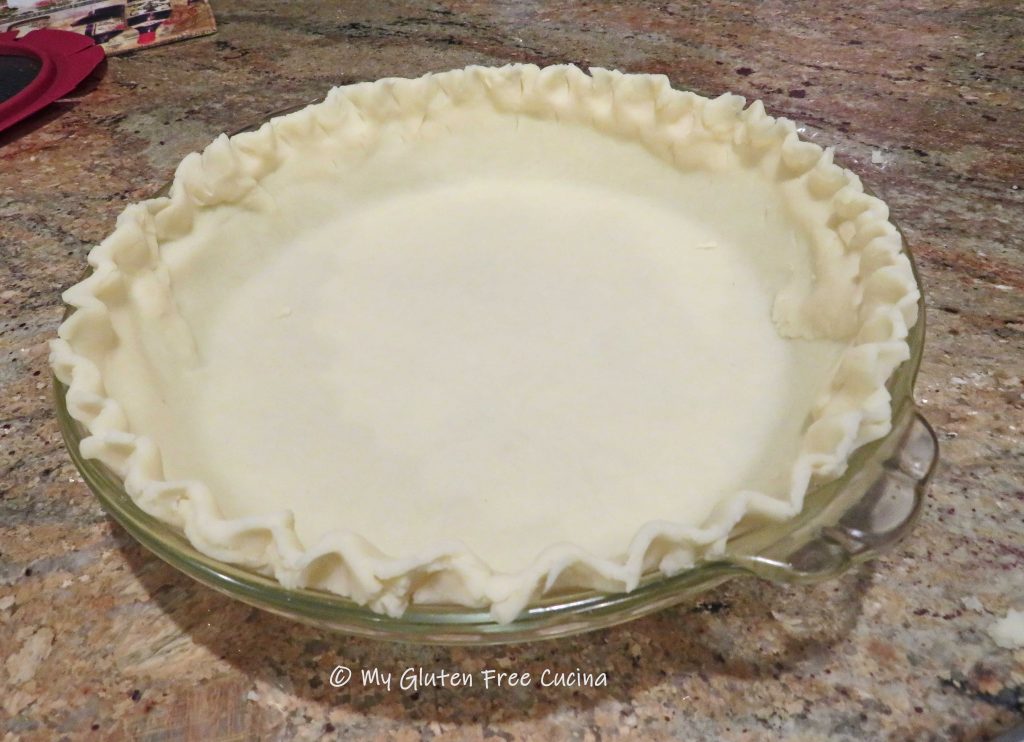
Imagine what you can do with an easy to make gluten free pie crust. Dessert pies, savory pies, galettes, crostata, quiche, tarts? My mind is racing, what will I make first?
Notes ♪♫ Some readers commented that my original measurements per pie crust were too confusing, so I have converted everything to weight in grams. I hope this will simplify the process and make it easier to follow.


