Individual Icebox Cakes

When I was a kid growing up in the 1960’s, Icebox Cake was a summer staple.  With no air conditioning, this refreshingly cold dessert was a welcome treat.

Today, the Ice Box Cake that my mom would make during those hot summer months seems to be making a comeback, with several posts coming into my feed just this week with the familiar layers of pudding and graham crackers.

For me, this is a nostalgic childhood memory.  For my mom, it was a convenience recipe, as it consisted of only 3 ingredients.
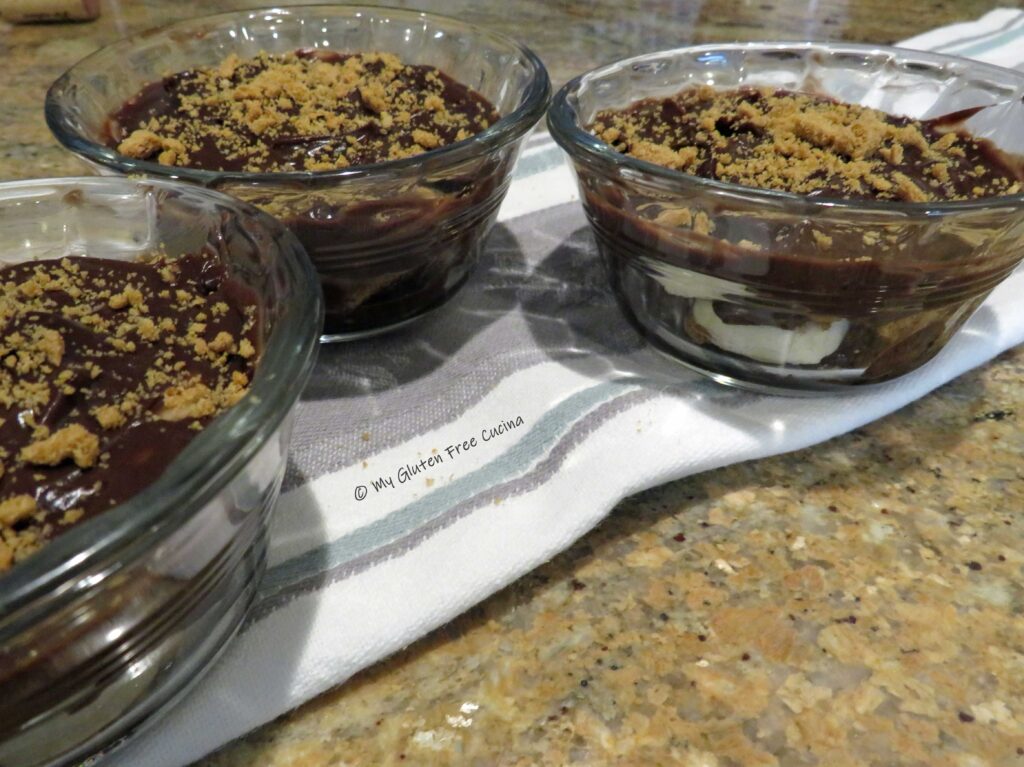
A layer of graham crackers, topped with thin slices of banana and a layer of chocolate pudding.  The layering repeated to fill an 11 x 17″ Pyrex dish.  After the final layer of pudding, she crumbled a few Graham crackers over the top to finish it off.  Then into the refrigerator it went to chill for dinner.  No baking!

There are times when I still reminisce about that dessert during the summer months and wanted to create something like it.  Here it is, unbelievably easy and completely gluten free.

This post contains affiliate links.

Did I say EASY?  With the availability of gluten free graham crackers and ready-made pudding (something mom didn’t have back in the sixties!) this dessert is a no brainer.  Yes, you could make the crackers and pudding from scratch, but today I’m going with convenience!
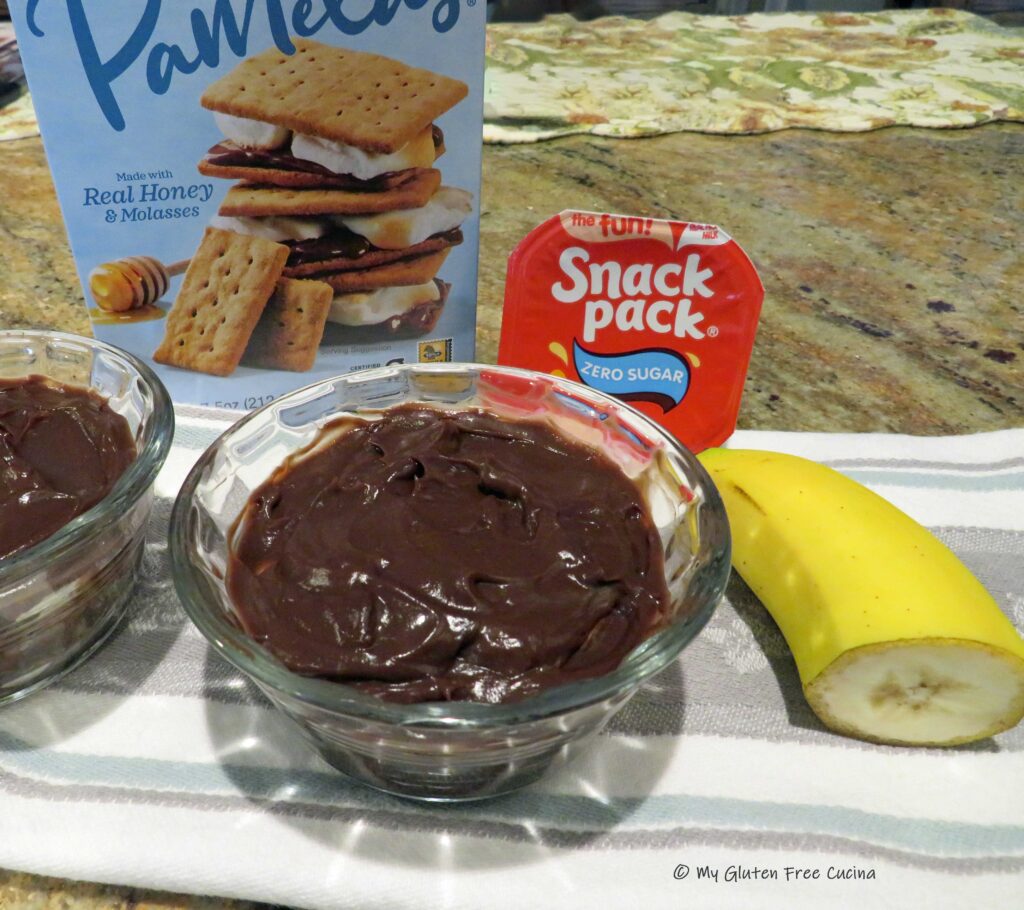
For the sake of portion control, I converted my mom’s recipe to single servings and in keeping with the nostalgic feel of this recipe, I used Pyrex glass custard cups.  You can make one serving or a dozen!

Ingredients:

Preparation:

Into each small bowl or ramekin, spread a layer of pudding, followed by a layer of graham crackers (break up the crackers to fit), and a layer of banana slices.
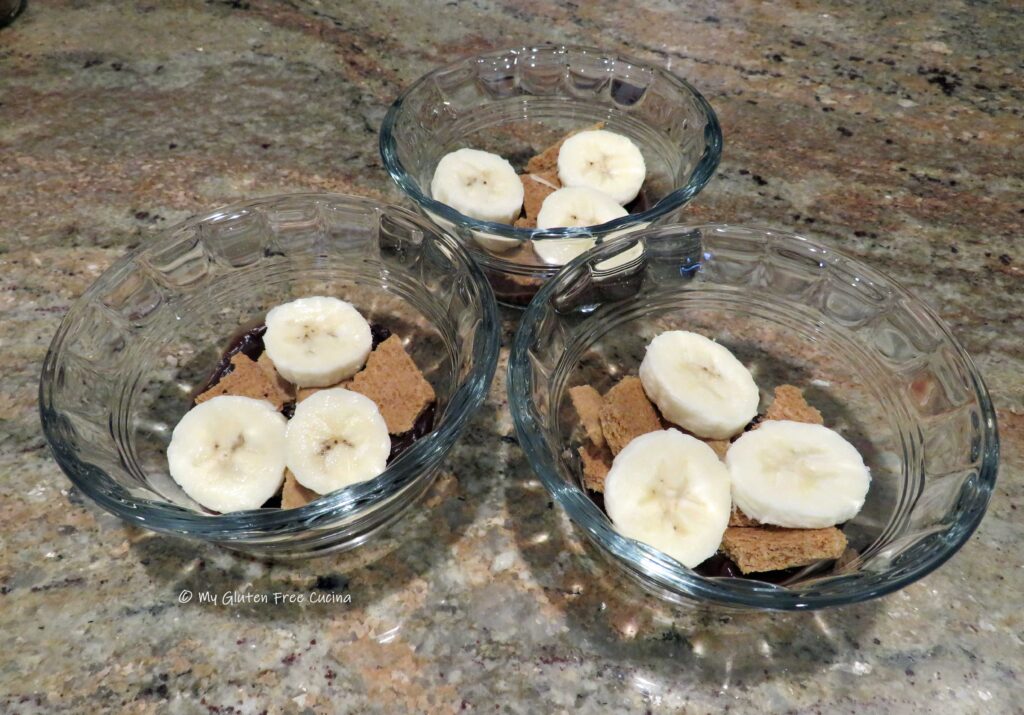
Repeat the layers, ending with a layer of chocolate.  Crumble a few cracker crumbs over the top.  Chill for at least 8 hours or make it the day before so that the crackers have time to soften up.
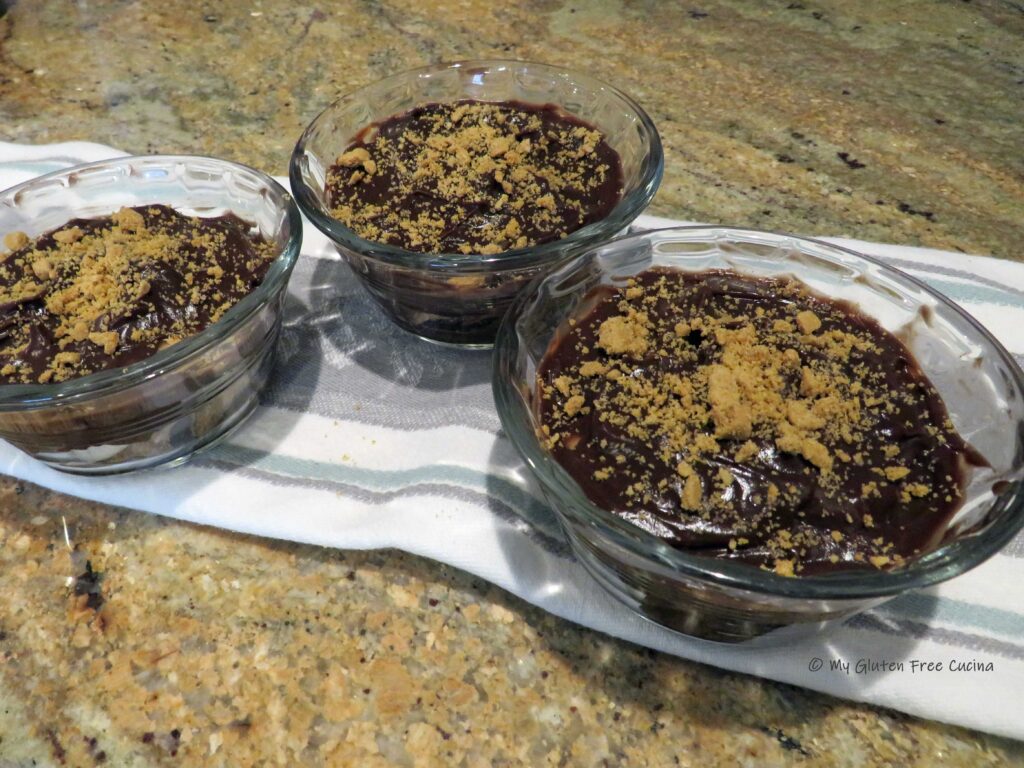
What do you say?  Take a walk down memory lane with this easy recipe and if you have never had Ice Box Cake before, now’s your chance to try it!

Notes ♪♫ I used sugar free chocolate pudding in this recipe.  You can change it up with any gluten free pudding you like.
Print
clock clock iconcutlery cutlery iconflag flag iconfolder folder iconinstagram instagram iconpinterest pinterest iconfacebook facebook iconprint print iconsquares squares iconheart heart iconheart solid heart solid icon

Individual Icebox Cakes

5 Stars 4 Stars 3 Stars 2 Stars 1 Star No reviews
  • Author: © My Gluten Free Cucina
  • Category: Dessert
  • Diet: Gluten-Free

Description

When I was a kid growing up in the 1960’s, Icebox Cake was a summer staple.


Ingredients


Instructions

Into each small bowl or ramekin, spread a layer of pudding, followed by a layer of graham crackers (break up the crackers to fit), and a layer of banana slices.

Repeat the layers, ending with a layer of chocolate.  Crumble a few cracker crumbs over the top.  Chill for at least 8 hours or make it the day before so that the crackers have time to soften up.


Notes

I used sugar free chocolate pudding in this recipe.  You can change it up with any gluten free pudding you like.


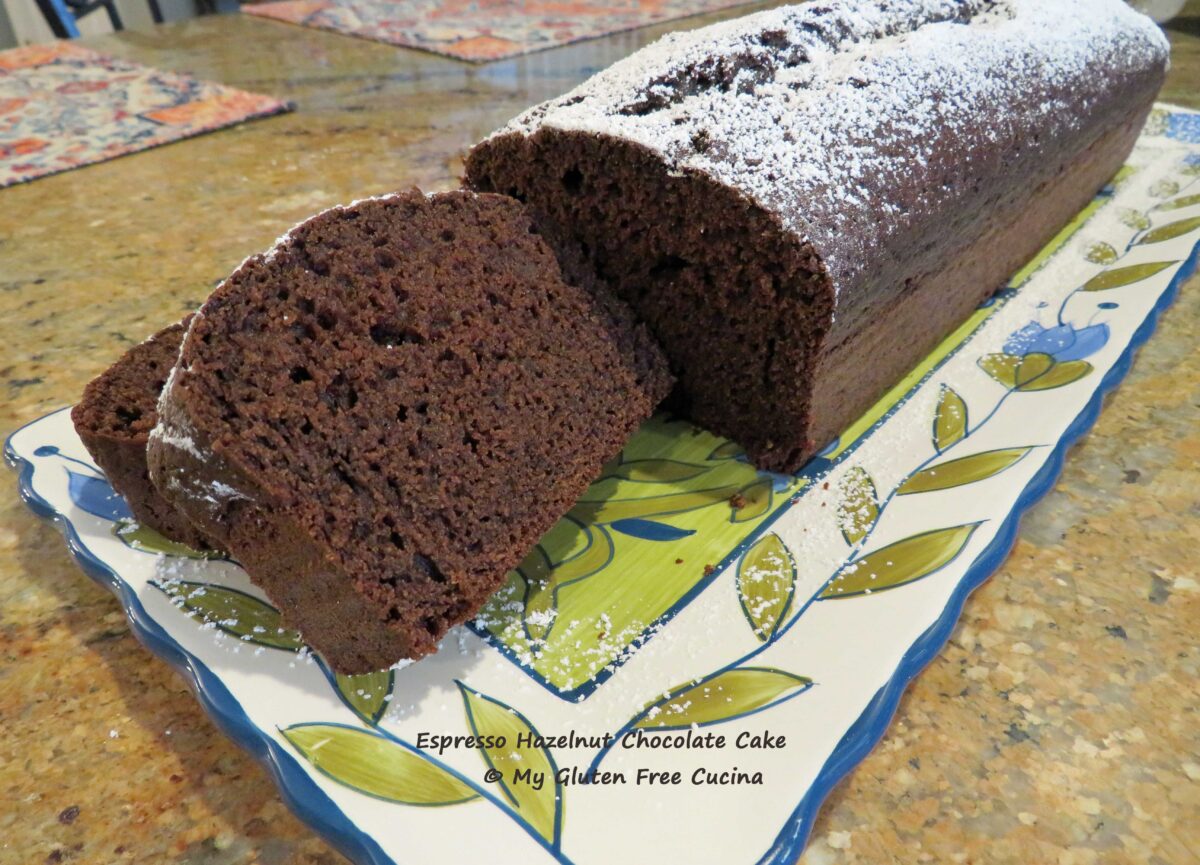
Espresso Hazelnut Chocolate Cake with Better Batter

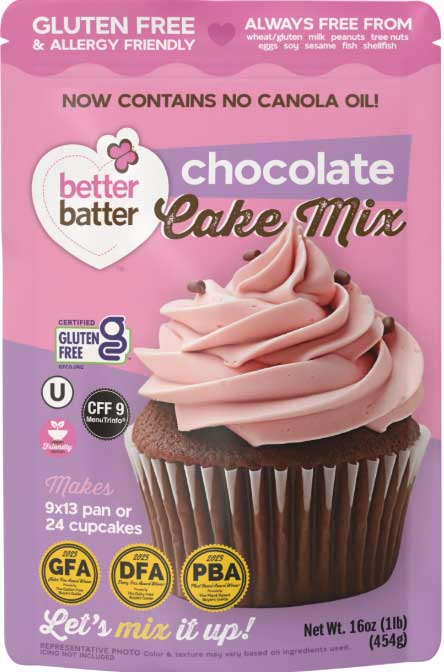
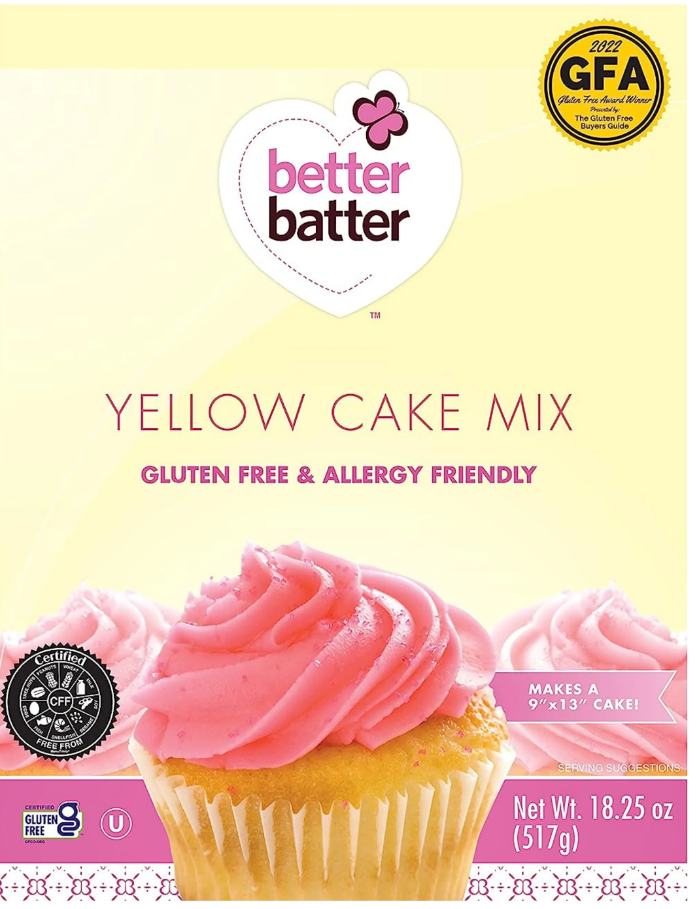
You know I am a big believer in baking from scratch, but there are times when it is convenient to have a gluten free cake mix in the pantry.  In a pinch, I can always make something gluten free for an impromptu gathering or last-minute party dessert.

This yummy chocolate cake started with the Chocolate Cake Mix from Better Batter, but I wanted to zhuzh it up!  Nothing drastic, just a few small tweaks to bring out the chocolate flavor and make it special.

This post contains affiliate links.


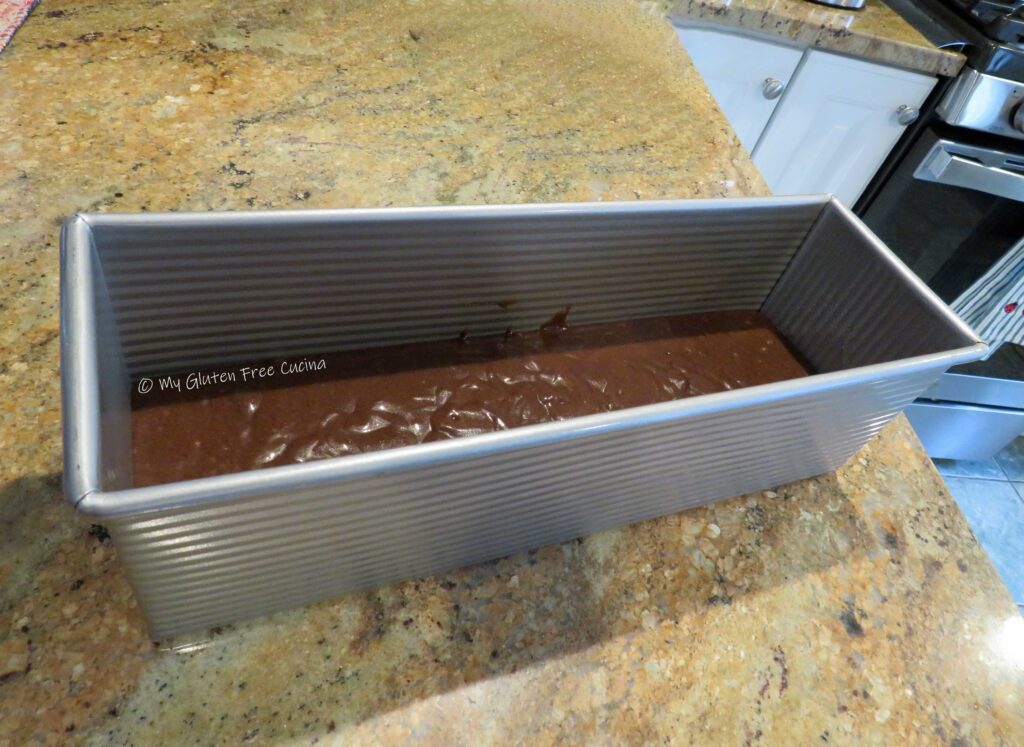
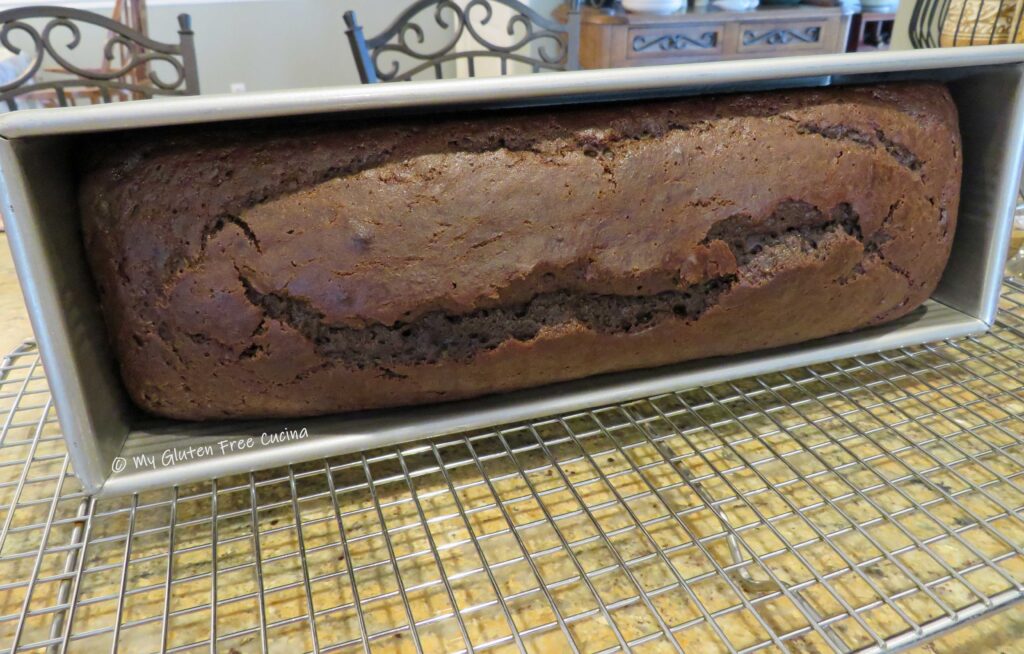
I baked it in a long, skinny pan for diet friendly slices.  Check out this Pullman pan from USA Bakeware; I use it for cakes and quick breads.

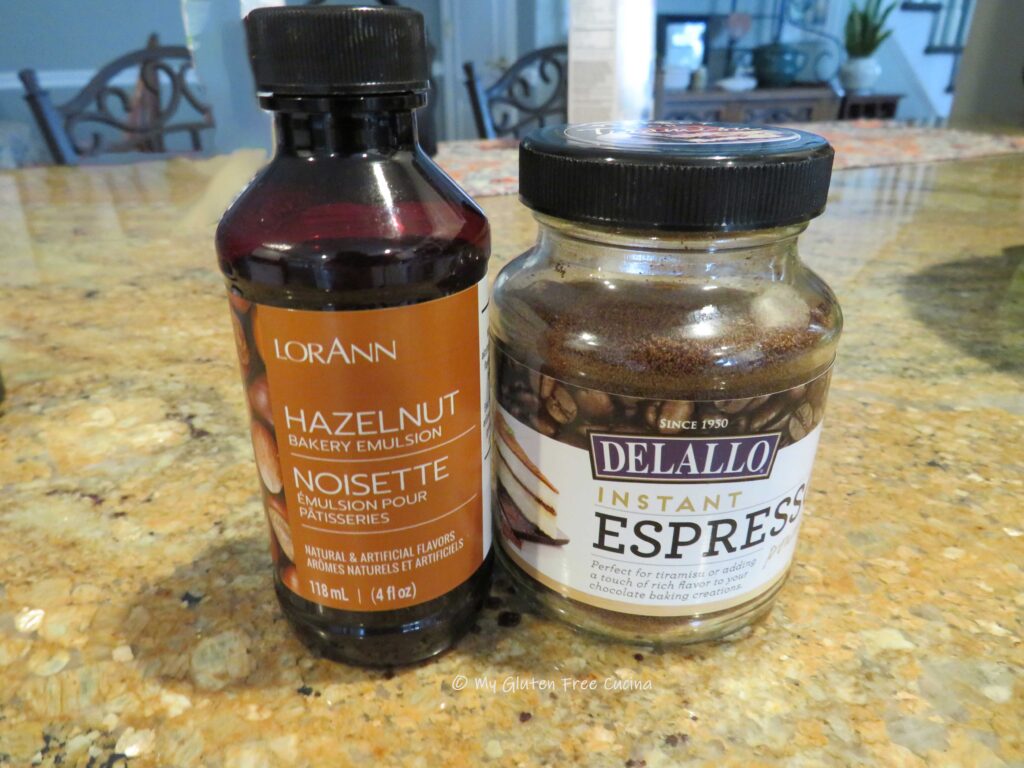
Ingredients:

Preparation:

Preheat the oven to 325º.  Mist the bottom of the pan with cooking spray.

Beat the eggs in a stand mixer with the whisk attachment.  Add the oil, espresso powder and hazelnut extract.  Beat to incorporate.

Next add the cake mix, along with the milk and beat on low speed for 30 seconds (don’t overmix).

Pour the batter into the prepared pan and place in the oven on the middle rack.  Set your timer for 55 minutes.

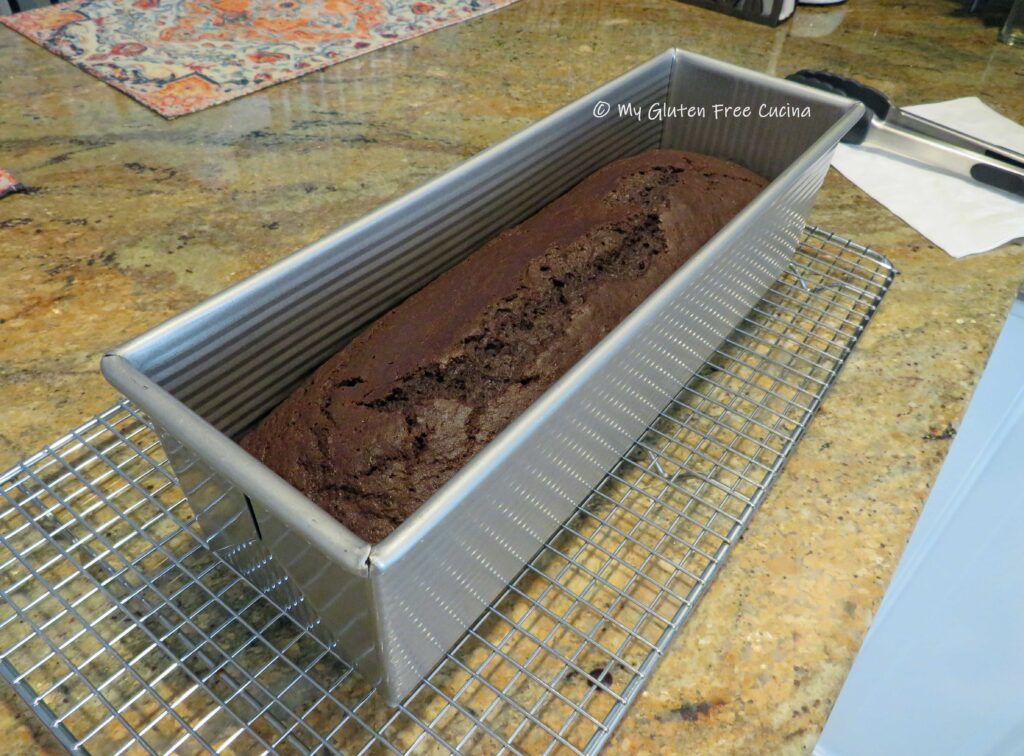
Test with a toothpick.  In my oven it was done in 1 hour.

Remove from the oven and cool in the pan for 15 minutes then tip the pan gently to slide the cake onto a rack to cool.
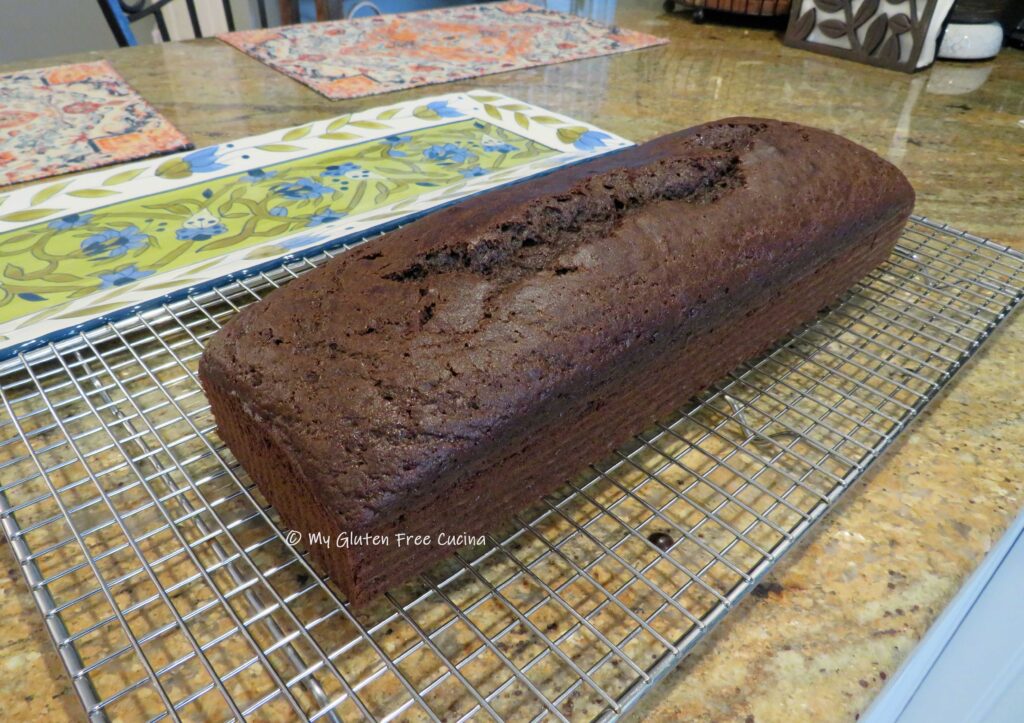
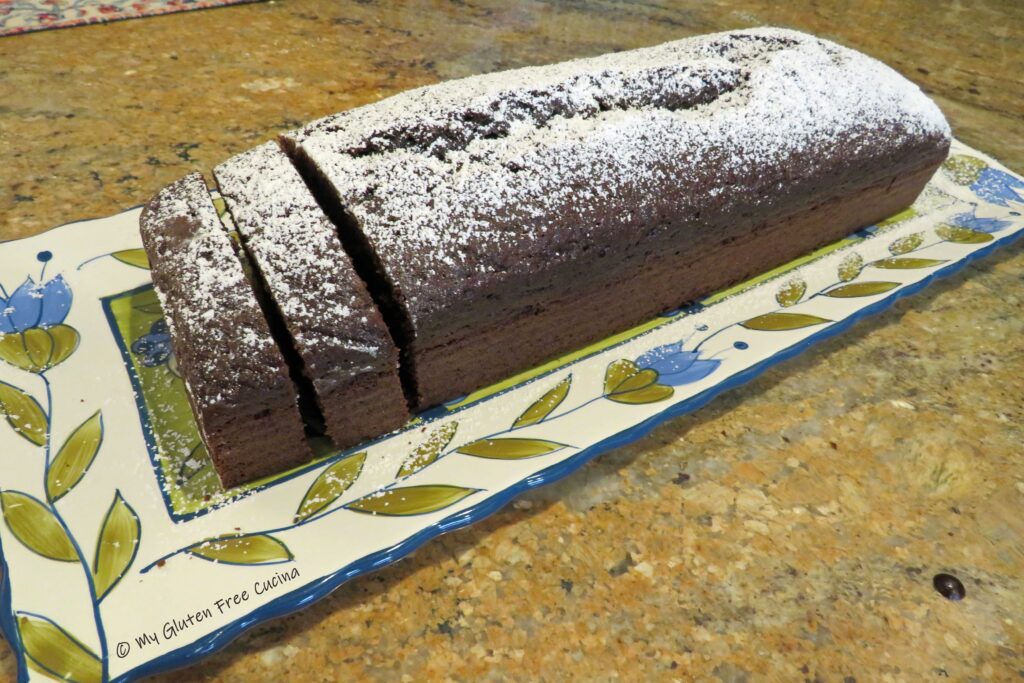
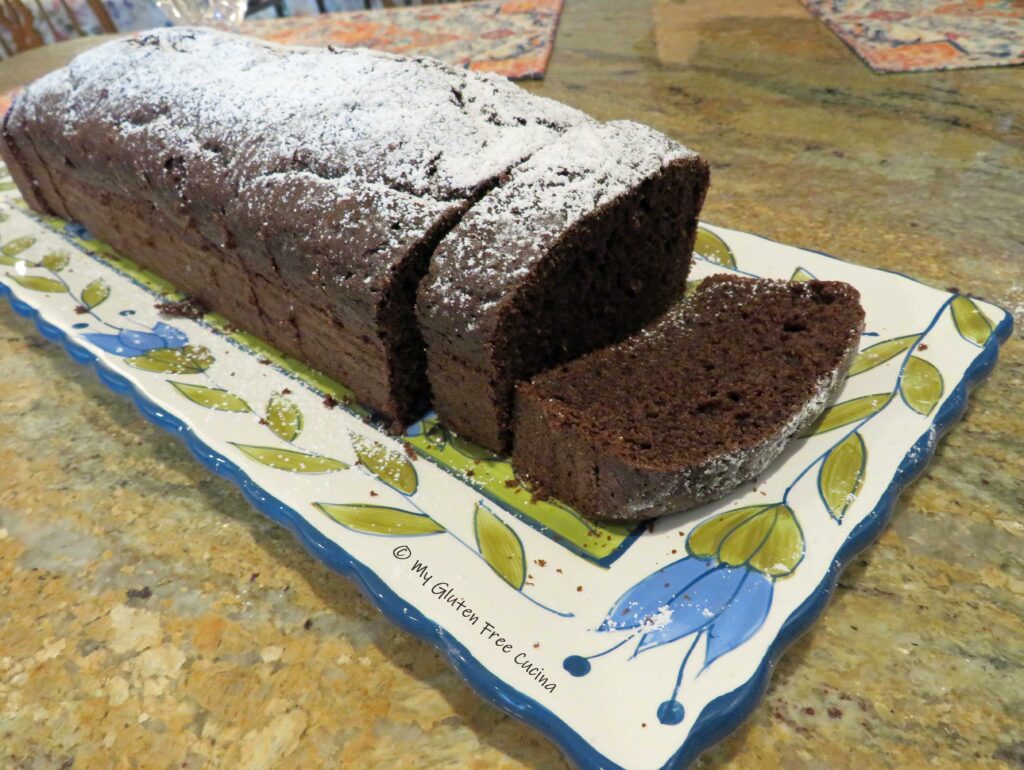
Cool for 15-20 minutes longer then transfer the cake to a serving dish.  Dust with powdered sugar just before slicing.

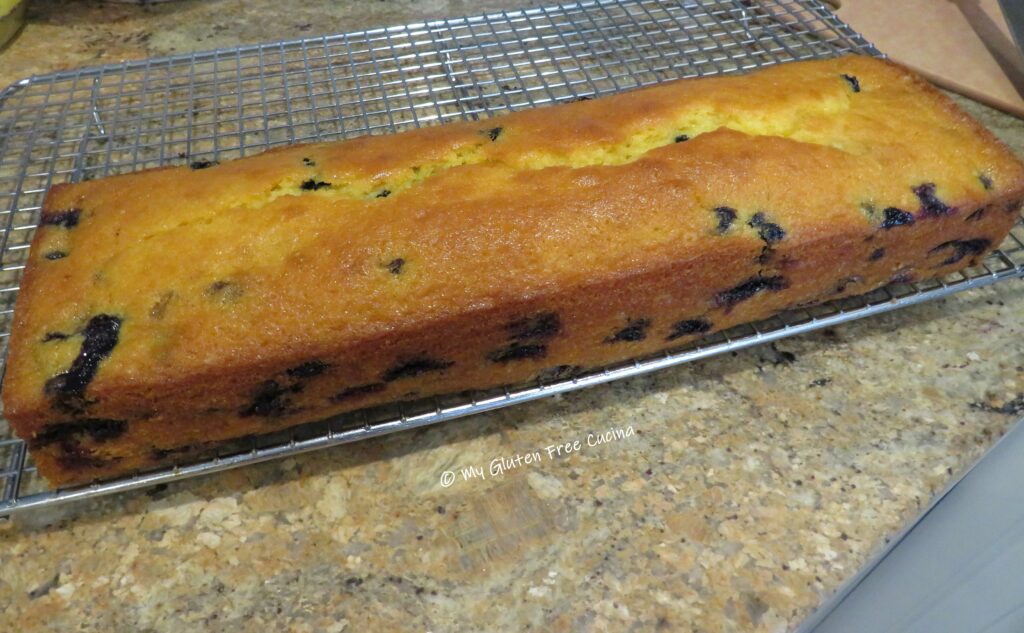
I hope you enjoyed this post!  For more like this, check out my Lemon Blueberry Cake made with Better Batter Yellow Cake Mix.

Notes

Can you use a regular loaf pan?  Yes, but you may need to adjust the baking time, depending on the size of your pan.  Keep in mind that the cake will cook faster in a dark pan.  Start checking with a toothpick at 45 minutes and keep an eye on it so that it doesn’t get overdone.

When a box mix calls for water, add milk instead for a richer taste.  To personalize a mix, add extracts, spices or even liqueurs to zhuzh up the flavor! 😉

[print_link] 


Gluten Free Lemon Blueberry Cake with Better Batter

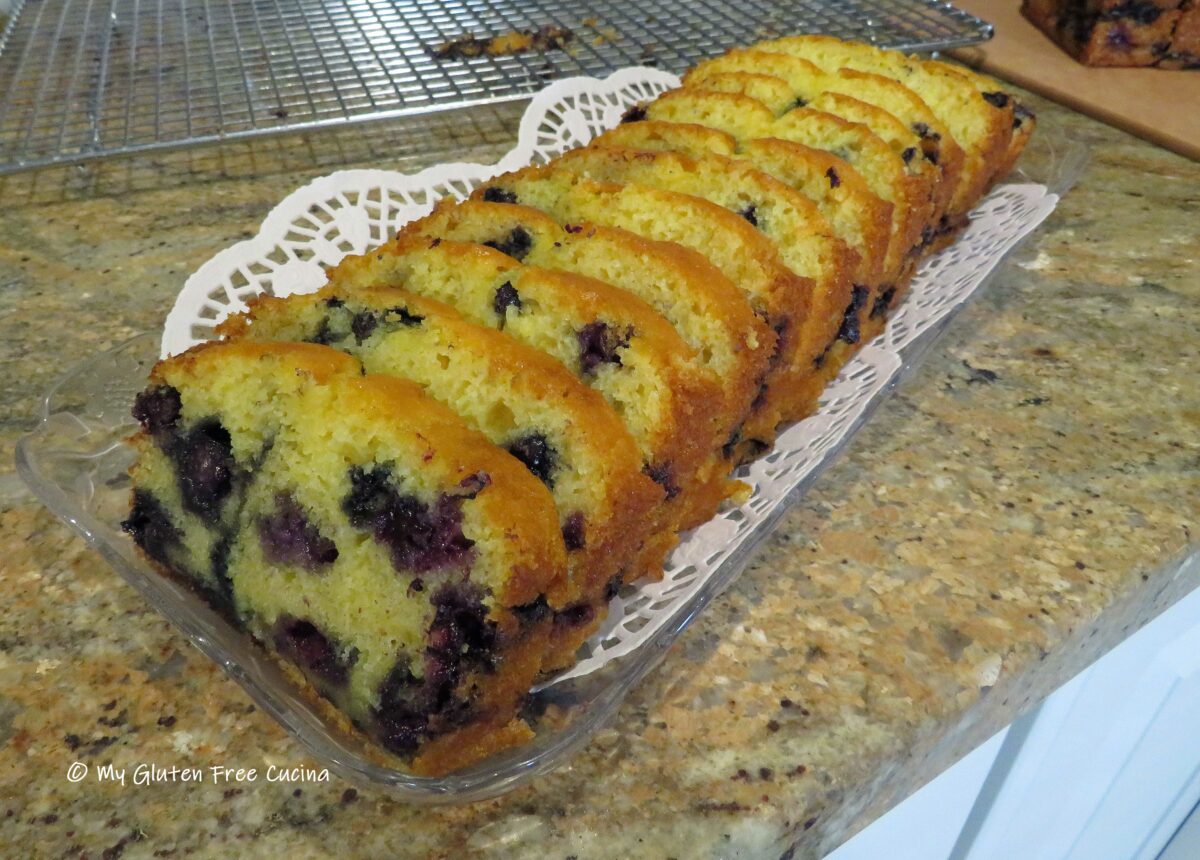
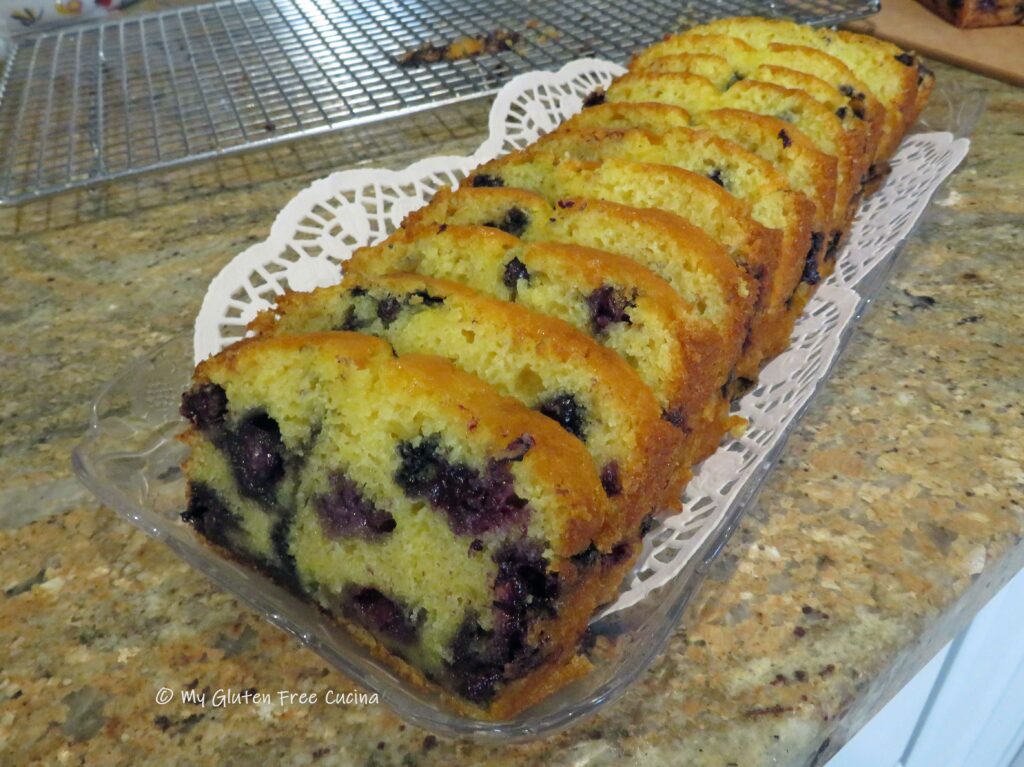
If you need a fast and easy gluten free dessert to bring to your next get-together, it’s ok to take a shortcut.  This beautiful cake was made with the Better Batter Yellow Cake Mix and it was SO delicious.  The cake came out moist and rich, bursting with lemon and blueberry flavor.

Don’t forget – when you shop at Better Batter, use my Code MGFC30 for 30% off your full price purchase.

This post contains affiliate links.

Ingredients:

Preparation:

  1. Prepare cake batter according to package directions, reserving 1 tbsp. of the cake mix for flouring the blueberries.
  2. Fold in the lemon zest and the floured blueberries.
  3. Butter the bottom and sides of a large pullman pan 13 x 4 x 4.
  4. Spoon the batter into the prepared pan and smooth the top with a spatula.
  5. Bake for 1 hour at 350º.  The top will be golden, and cake will be pulling away from the sides.  Check the center with a toothpick.

Cool in the pan then transfer to a rack.

You can dust the top with powdered sugar if you like, but it really doesn’t need anything else.  The cake is very moist.  I brought this to a family gathering and everyone loved it, no one knew it was gluten free!

Notes ♪♫ I baked this cake in a Large Pullman Pan.  This long skinny pan (13 x 4 x 4) provided plenty of slices, perfect for a party.

[print_link]

Gluten Free Apple Walnut Muffins

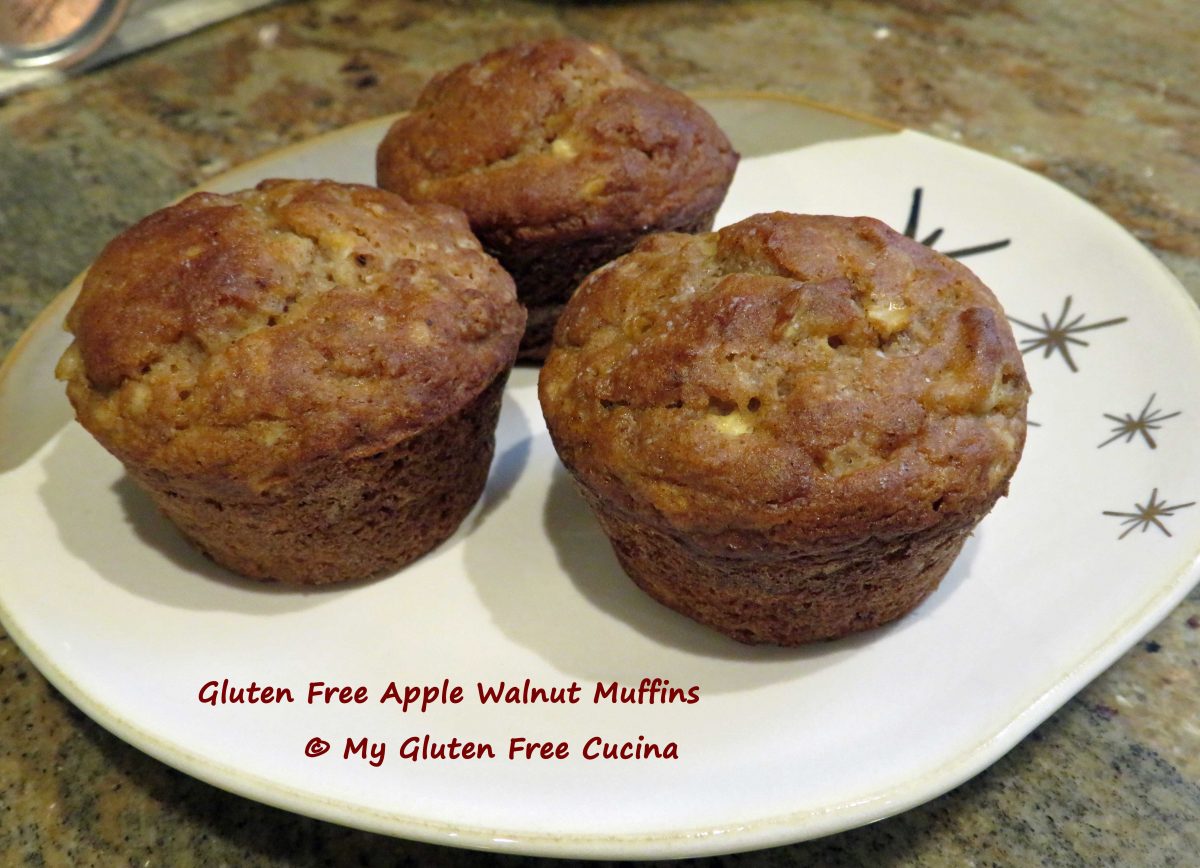
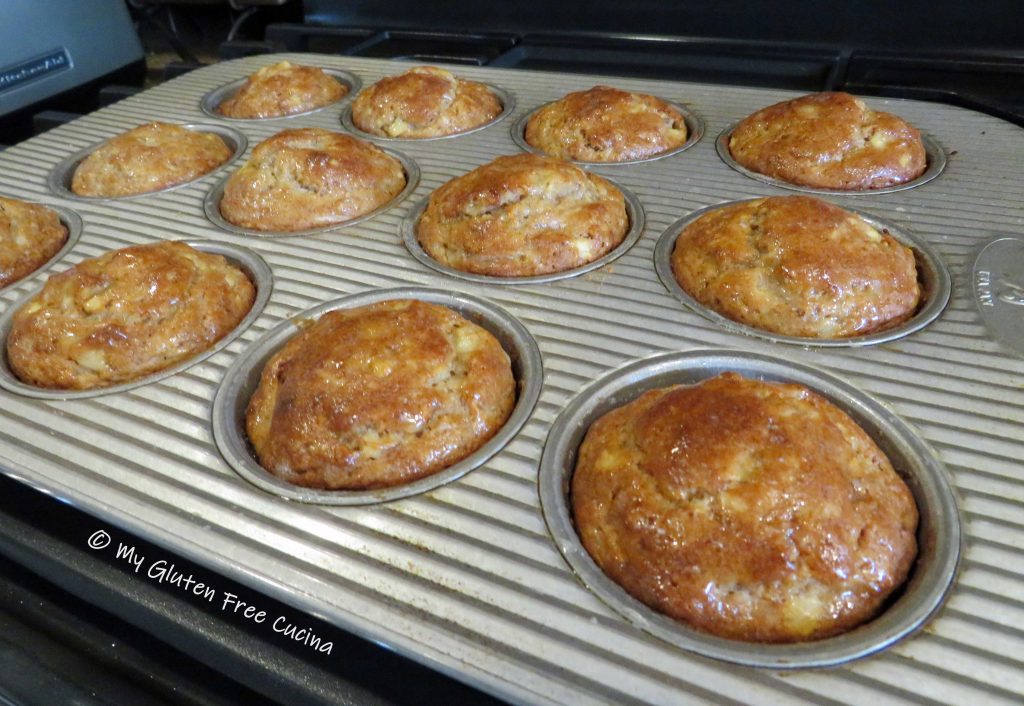
Here is another delicious gluten free muffin that you can enjoy for breakfast and snacks!  This muffin has crisp bites of apple and toasted walnut baked into a lightly spiced batter.  The recipe was one of my first posts, when I started this blog in 2018.  Along the way, it has been updated.  No, I did not change the recipe, it’s a keeper.  My photography though, has improved vastly over the years (or is it the camera?).  You be the judge.

This post contains affiliate links.

dry Ingredients:

Wet Ingredients:

  • 1 apple, cut into small dice (about 1 cup)
  • 2 large eggs
  • 63 g. (1/3 cup) granulated sugar or Truvia
  • 52 g. (1/3 cup) brown sugar or Truvia
  • 3 tbsp. canola oil
  • 3/4 cup + 2 tbsp. milk (I used 2%)
  • 1 tsp. lemon juice
  • cooking spray
  • 1 tbsp. butter, for brushing

When you shop Better Batter, use my Promo Code MGFC30 at checkout to receive 30% off any non-sale item! 

Preparation:

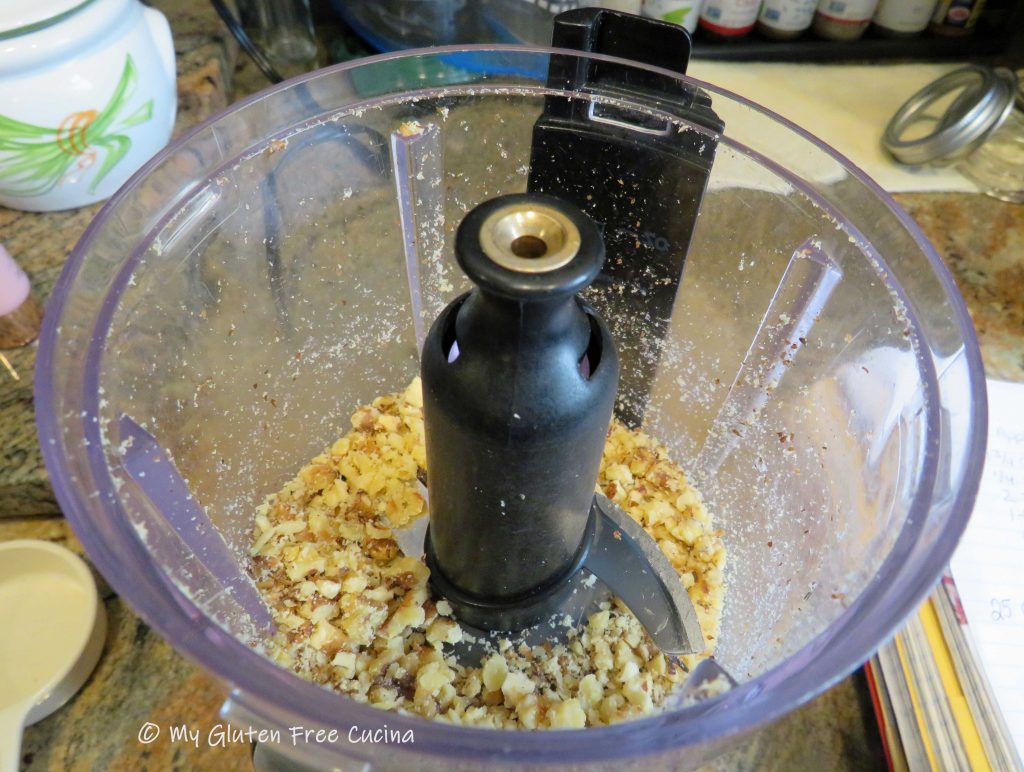
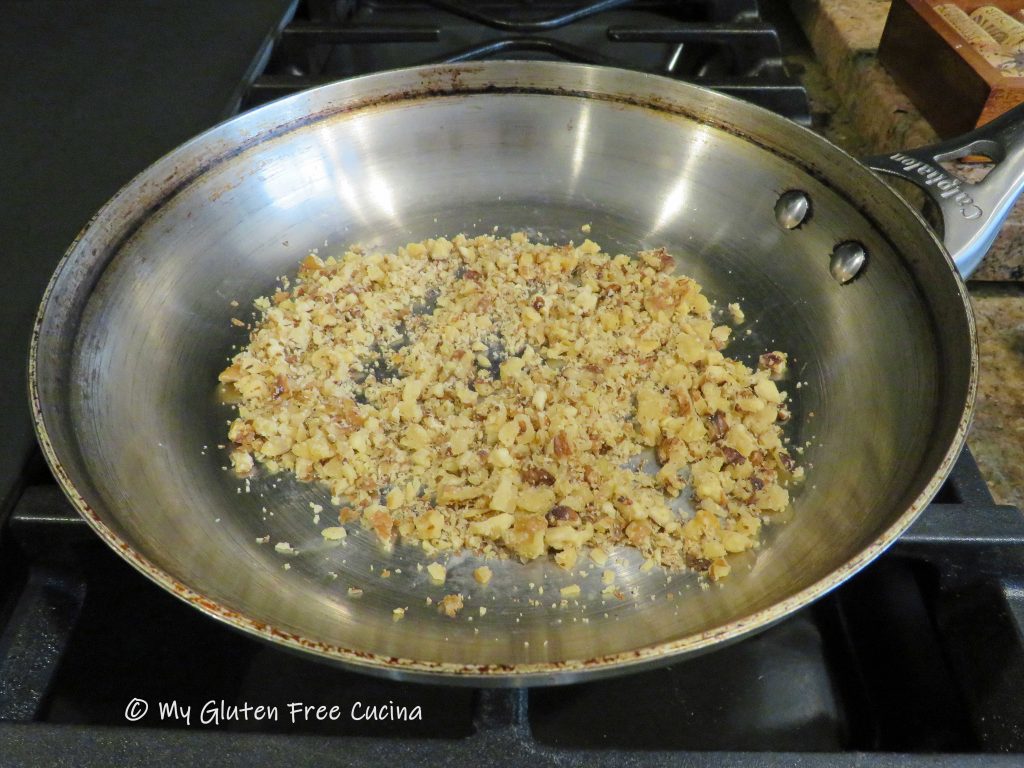
Mince the walnuts in an electric chopper, about 3 pulses, then lightly toast them in a dry skillet for 3-4 minutes.  Set aside to cool.

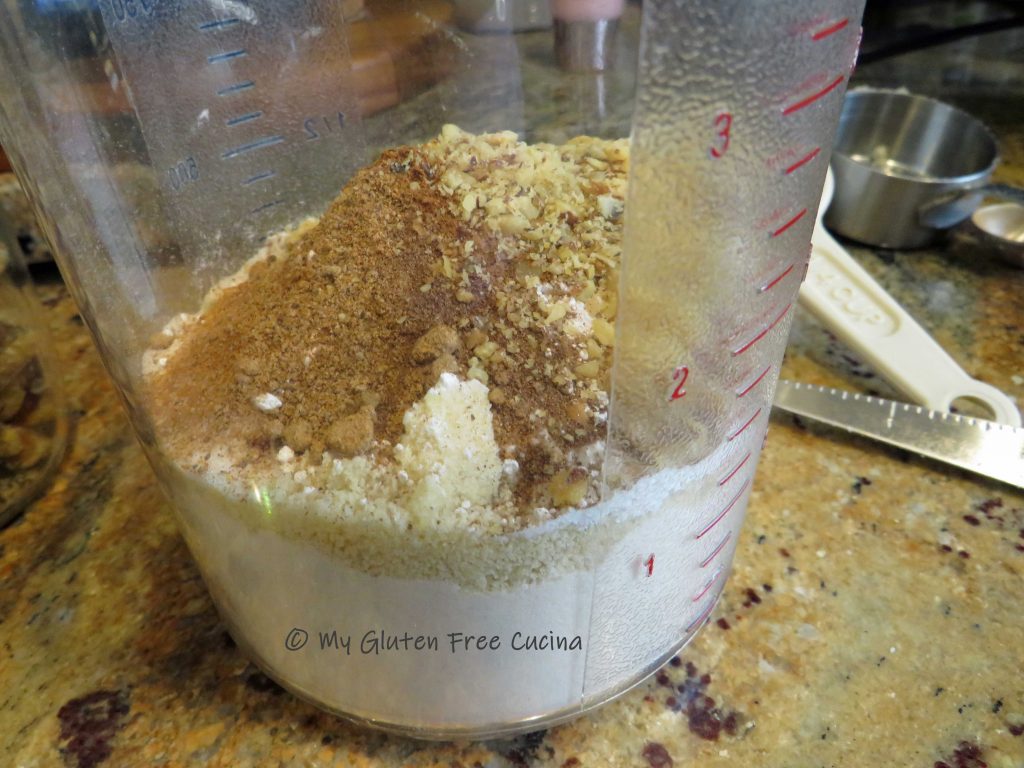
Whisk together the dry ingredients.

Chop the apple in an electric chopper (I used Honey Crisp, my favorite), then combine it with the remaining wet ingredients, through lemon juice in a separate bowl.

Stir the wet ingredients into the dry, just until moistened.  A dough whisk is great for muffins and quick breads.

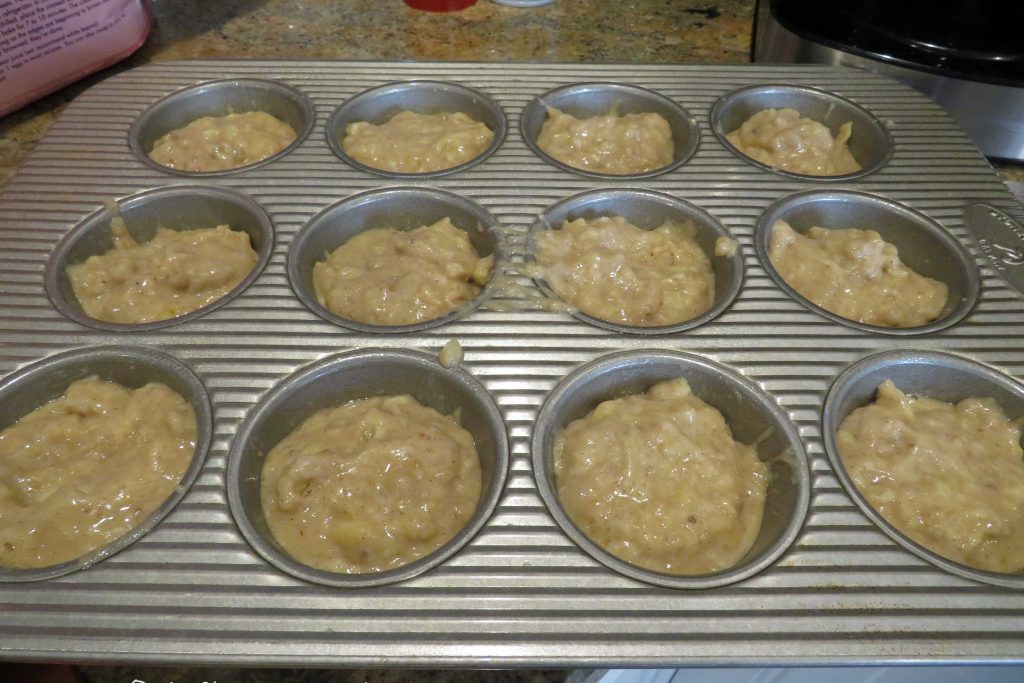
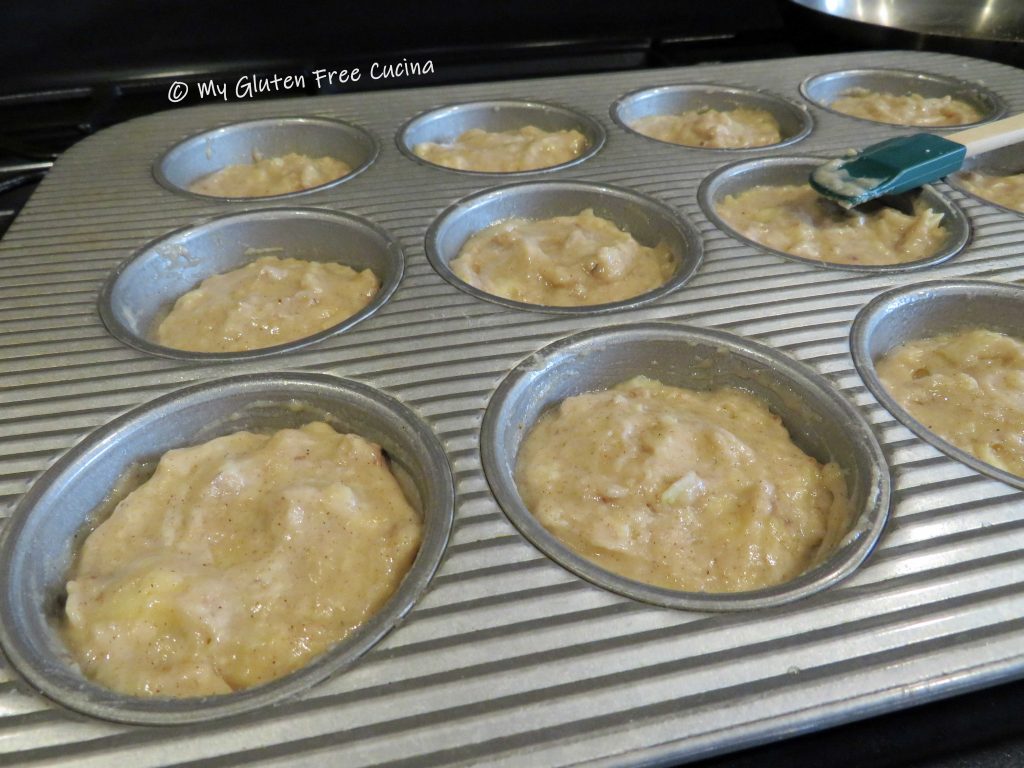
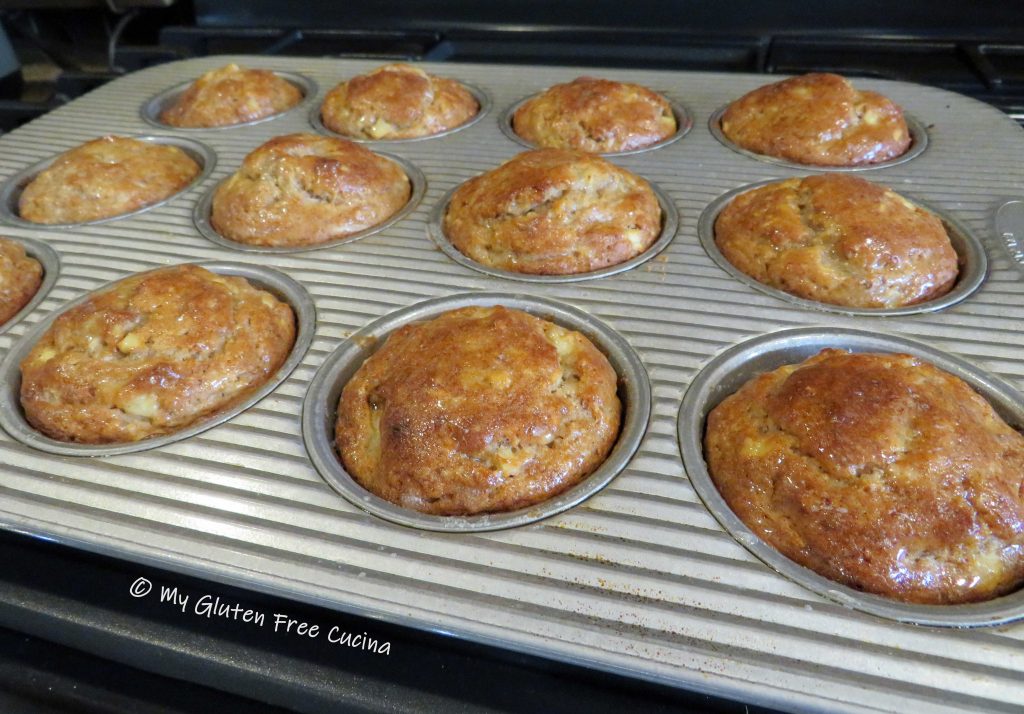
Use a wet spoon to divide the batter into 12 muffin cups, then use a spatula dipped in water to smooth out the tops.  Gluten free batter doesn’t always spread well by itself, so this step will ensure a nice, rounded shape.

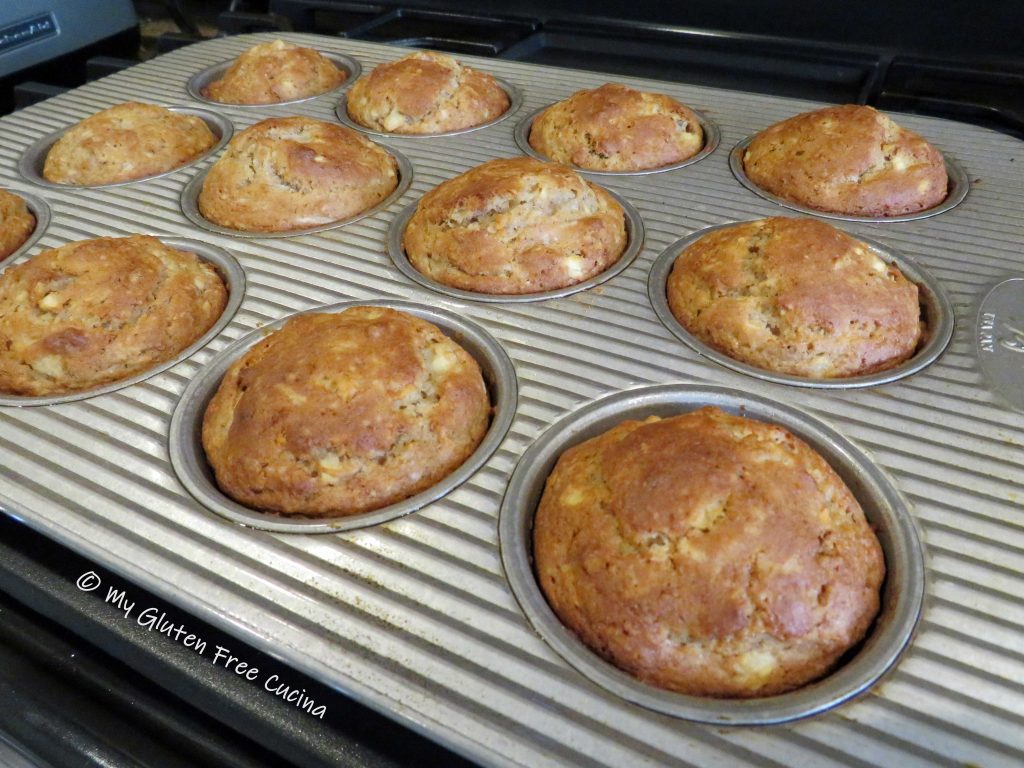
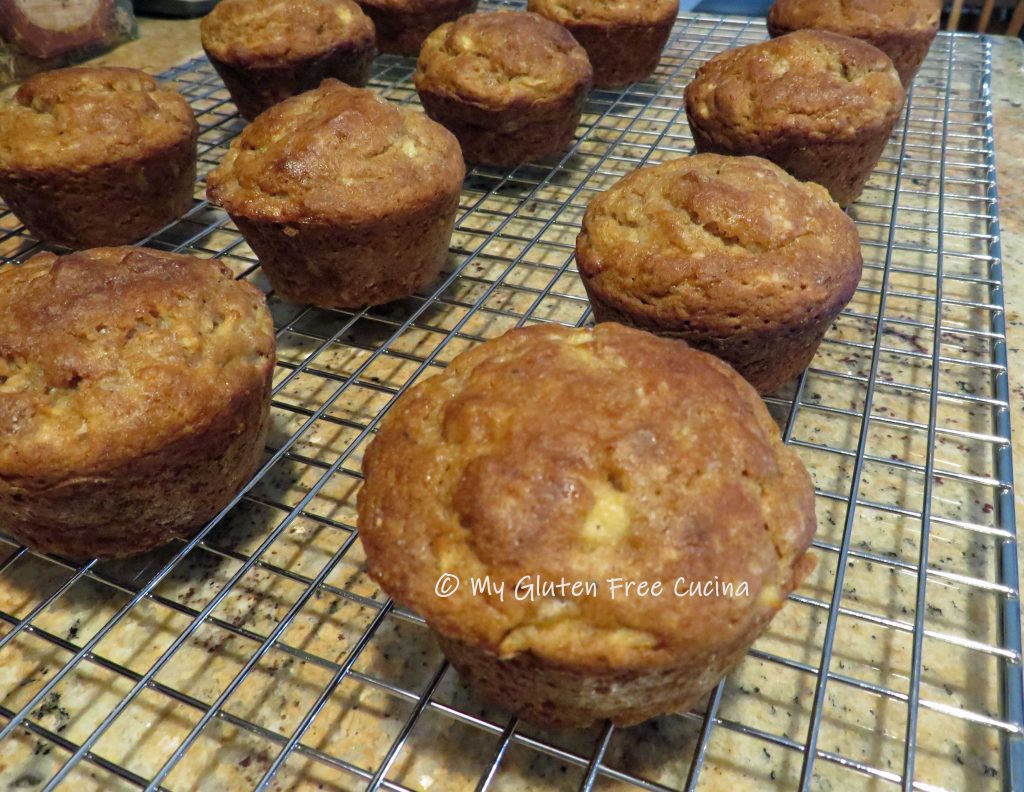
Bake for 20 minutes at 400º, the muffins should rise high with nicely rounded tops.  Check the center with a toothpick.

I melted a little butter and brushed it over the baked muffins for a nice shine.

Cool on a rack and serve warm or at room temperature.

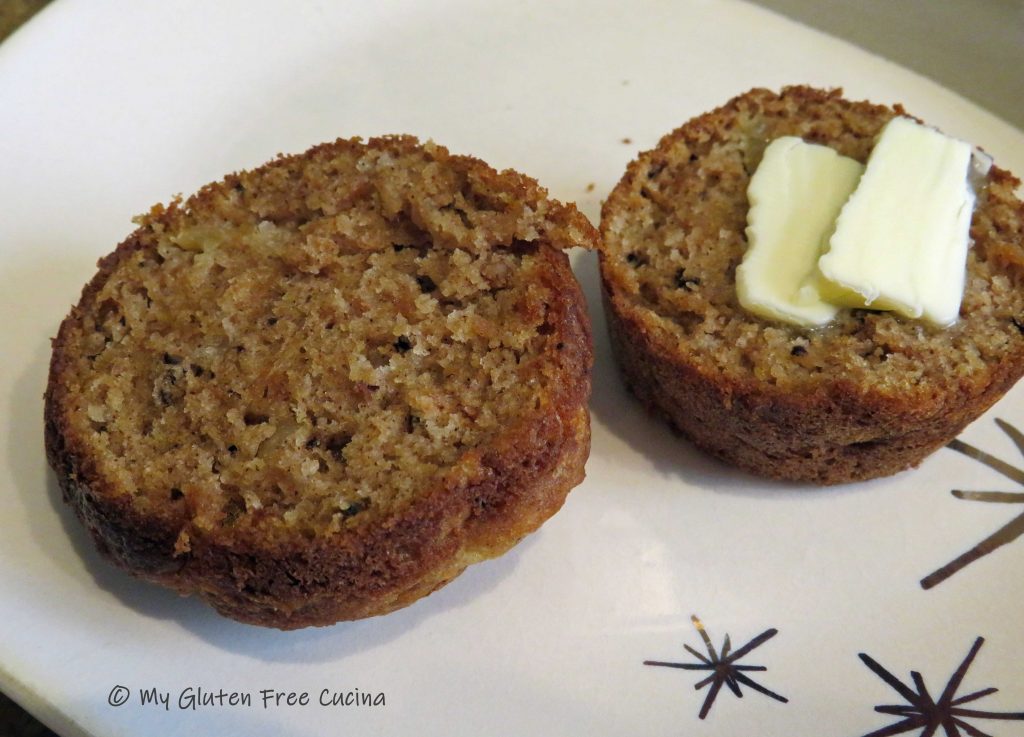
Here’s the crumb, nice and moist.  They taste great and you would never know that they were gluten free.  They freeze well too!

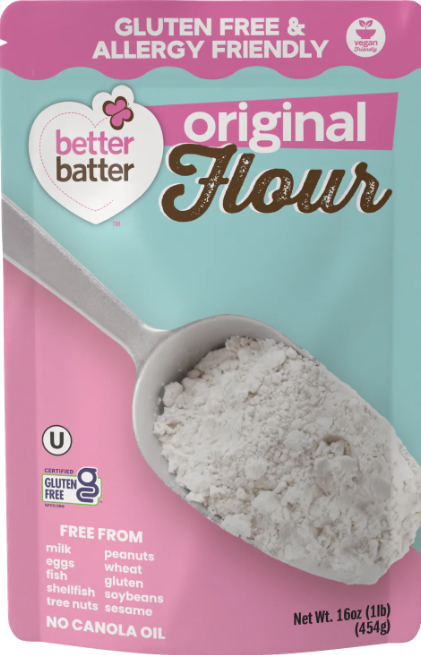
Notes ♪ I used Better Batter Original Blend in this recipe.

Notes ♫ Try using a sugar substitute like Truvia if you need the muffins to be diabetic friendly, or a reduced sodium baking powder, if you need to lower the salt.

Notes ♪♫ If you don’t have apple pie spice, you can use 1-1/8 tsp. cinnamon, 1/4 tsp. nutmeg and 1/8 tsp. ground allspice.

Original Post 6/10/2018                  Updated 6/10/2023

Print
clock clock iconcutlery cutlery iconflag flag iconfolder folder iconinstagram instagram iconpinterest pinterest iconfacebook facebook iconprint print iconsquares squares iconheart heart iconheart solid heart solid icon

Gluten Free Apple Walnut Muffins

5 Stars 4 Stars 3 Stars 2 Stars 1 Star No reviews
  • Author: © My Gluten Free Cucina
  • Yield: 12 muffins 1x

Description

This muffin has crisp bites of apple and toasted walnut baked into a lightly spiced batter.


Ingredients

Units Scale
Dry Ingredients:   Wet Ingredients:
  • 1 apple, cut into small dice (about 1 cup)
  • 2 large eggs
  • 63 g. (1/3 cup) granulated sugar or Truvia
  • 52 g. (1/3 cup) brown sugar or Truvia
  • 3 tbsp. canola oil
  • 3/4 cup + 2 tbsp. milk (I used 2%)
  • 1 tsp. lemon juice
  • cooking spray
  • 1 tbsp. butter, for brushing
 

Instructions

Mince the walnuts in an electric chopper, about 3 pulses, then lightly toast them in a dry skillet for 3-4 minutes.  Set aside to cool.

Whisk together the dry ingredients.

Chop the apple in an electric chopper (I used Honey Crisp, my favorite), then combine it with the remaining wet ingredients, through lemon juice in a separate bowl.

Stir the wet ingredients into the dry, just until moistened.  A dough whisk is great for muffins and quick breads.

Use a wet spoon to divide the batter into 12 muffin cups, then use a spatula dipped in water to smooth out the tops.  Gluten free batter doesn’t always spread well by itself, so this step will ensure a nice, rounded shape.

Bake for 20 minutes at 400º, the muffins should rise high with nicely rounded tops.  Check the center with a toothpick.

Melt a little butter and brush it over the baked muffins for a nice shine.

Cool on a rack and serve warm or at room temperature.


Notes

If you don’t have apple pie spice, you can use 1-1/8 tsp. cinnamon, 1/4 tsp. nutmeg and 1/8 tsp. ground allspice.


© My Gluten Free Cucina * All Rights Reserved

Unauthorized use and/or duplication of this material without express and written permission from this blog’s author and/or owner is strictly prohibited.

Better Batter Collaborator

When you shop Better Batter | Gluten Free Flour, use my Promo Code MGFC30 for 30% off your non-sale purchase!

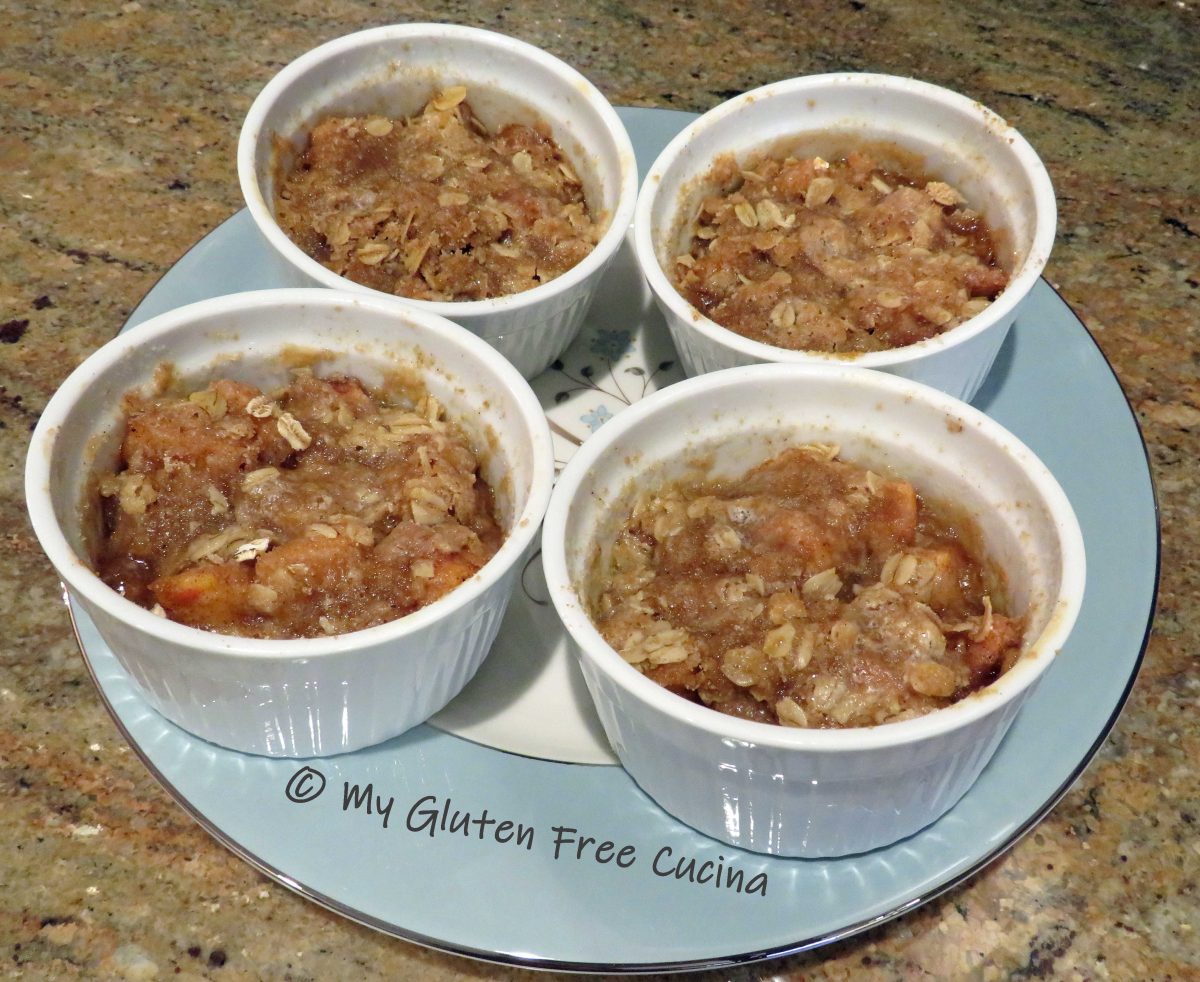
Individual Gluten Free Apple Crisp

There are times when you just want an individual size dessert.  These single serving Apple Crisps are gluten free and easy to prepare with just a few ingredients.  Perfect for portion control, small gatherings or when you don’t want to have leftovers to tempt you.  Quite possibly the easiest dessert I have ever prepared!  Baked and served in ramekins for a nice presentation.

4 Servings (you will need 1 apple 🍎 for every 2 servings)

This post contains affiliate links.

Ingredients:

Filling: 

  • 4 tsp. unsalted butter
  • 2 medium apples (I used Honeycrisp)
  • 1 tbsp. lemon juice
  • 2 tbsp. white sugar
  • 2 tbsp. brown sugar
  • 1 tbsp. cornstarch
  • 1/2 tsp. cinnamon
  • 1/4 tsp. nutmeg

Topping:

Use my Promo Code MGFC30 for 30% off your non-sale purchase at Better Batter!

Preparation:

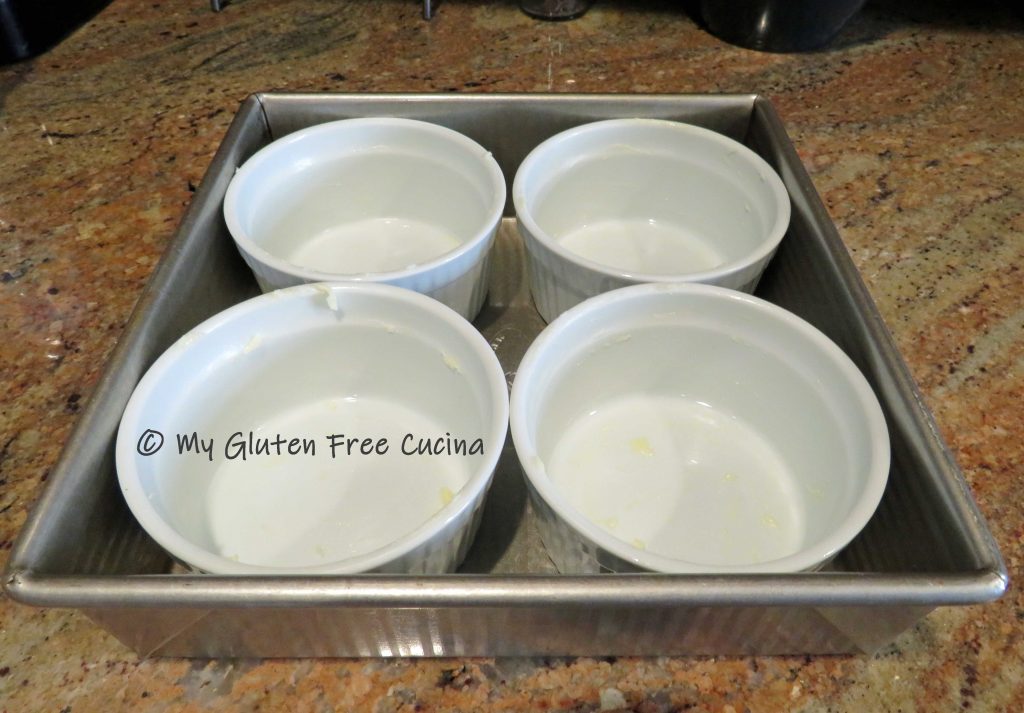
Prepare the ramekins by rubbing each with 1 tsp. softened butter.  I set mine up in a square baking pan, to make it easier getting them in and out of the oven.

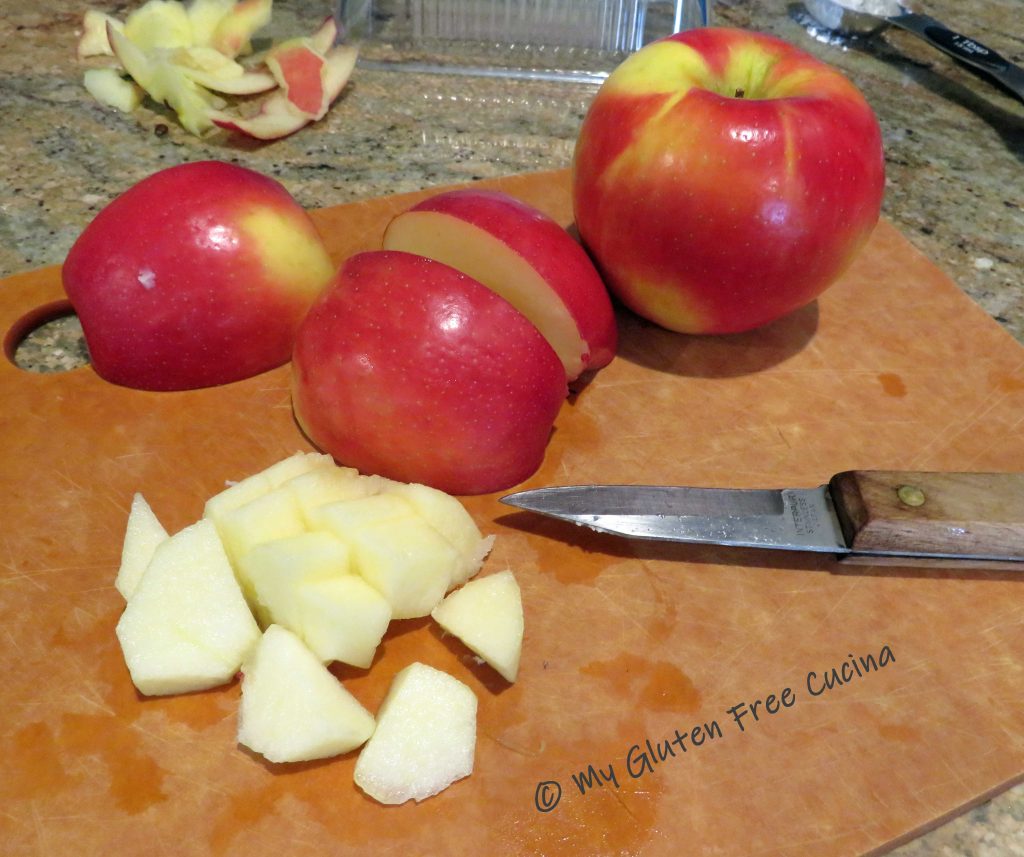
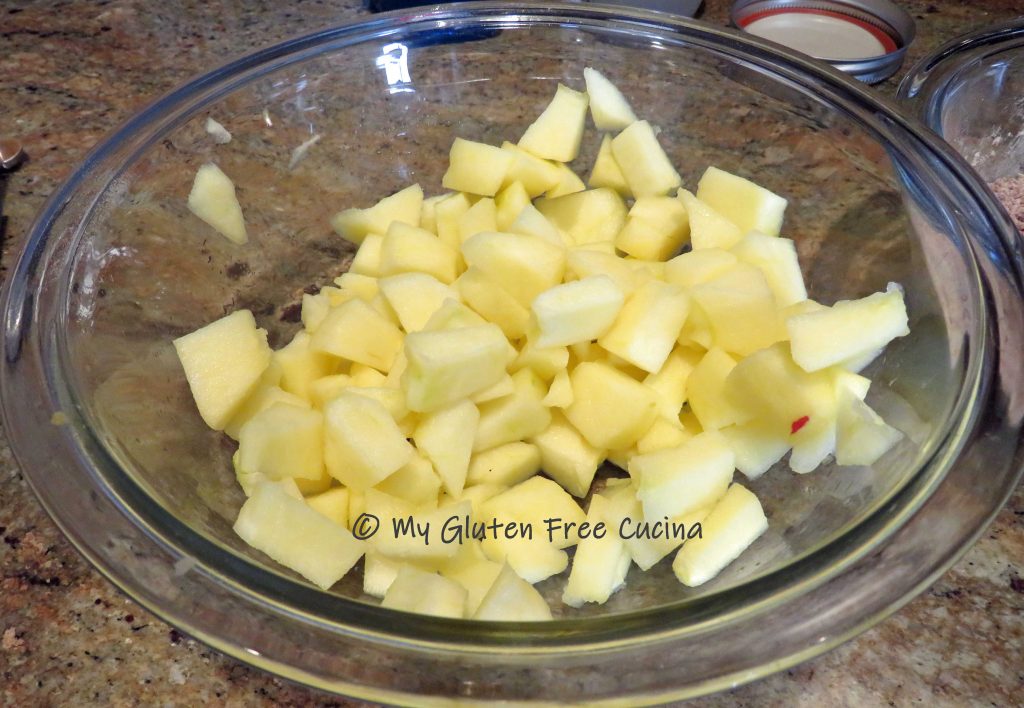
Peel the apples and cut into small dice, then toss with lemon juice (to prevent browning).

Whisk together the filling ingredients.

Toss the apples with the filling mixture.
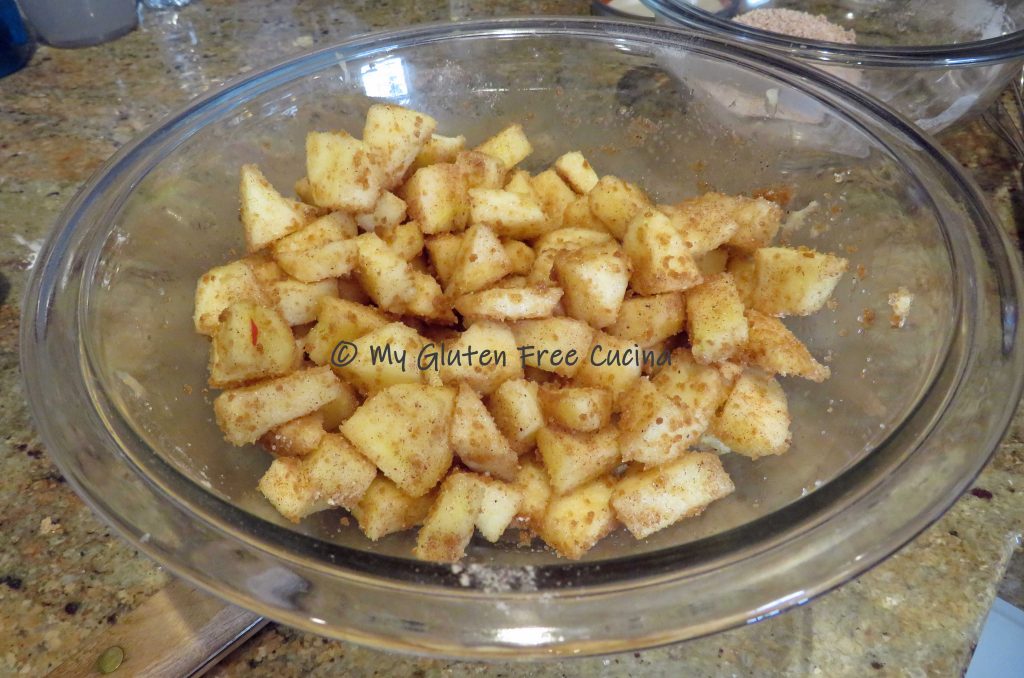
Fill the ramekins and refrigerate while you make the topping.

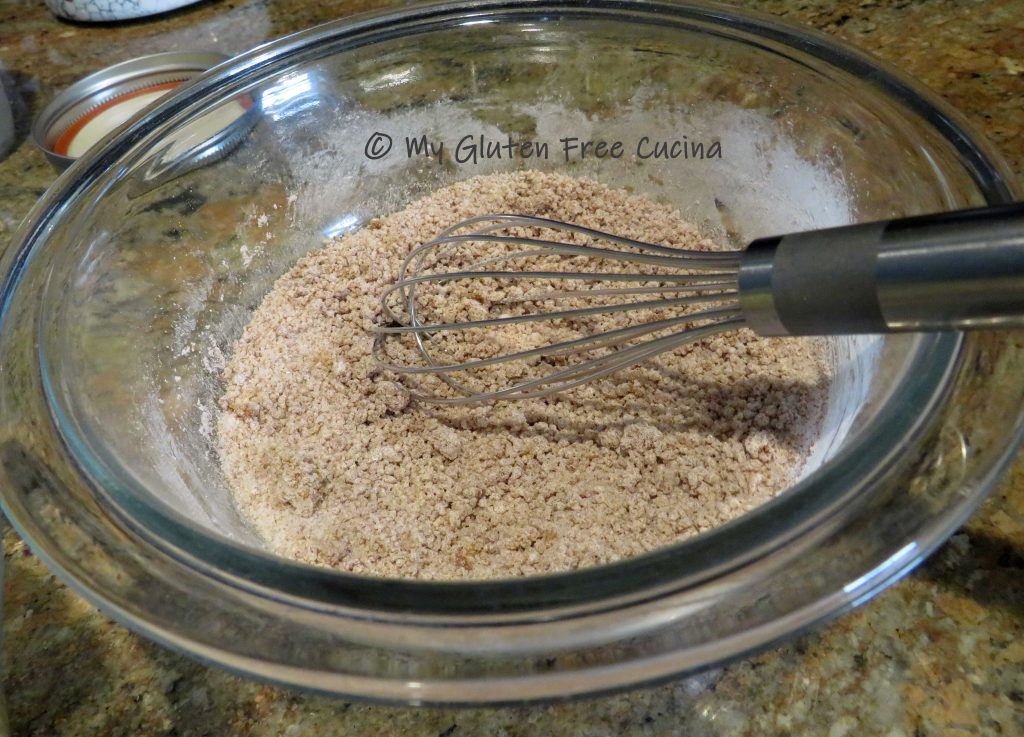
Whisk together the topping ingredients and use a pastry cutter (or knife and fork, or your fingers) to incorporate the butter.

The butter should be broken down into small, pea sized pieces.

Spread the topping mixture over each ramekin.

Place the ramekins in a baking dish for easier handling.  Bake at 375º for 25 minutes.  The filling will be bubbling up on the sides.  Let them cool slightly before serving.  For a little something extra, serve with a scoop of ice cream or frozen yogurt!

Notes ♪♫ Whether or not you continue to consume oats is a personal choice. 

Look for the gluten free label when shopping for grains, even those (like oats) that are naturally gluten free because of potential cross contact during farming, harvesting, transport and production.  If you have Celiac disease, always look for purity protocol oats (dedicated gluten free fields, mill, and production line).  If you are among the small percentage who cannot consume oats in any form, substitute almond flour in this recipe.

Print
clock clock iconcutlery cutlery iconflag flag iconfolder folder iconinstagram instagram iconpinterest pinterest iconfacebook facebook iconprint print iconsquares squares iconheart heart iconheart solid heart solid icon

Individual Gluten Free Apple Crisp

5 Stars 4 Stars 3 Stars 2 Stars 1 Star No reviews
  • Author: © My Gluten Free Cucina
  • Category: Dessert
  • Method: Baking
  • Diet: Gluten-Free

Description

These single serving Apple Crisps are gluten free and easy to prepare with just a few ingredients.


Ingredients

Units Scale
  • 4 tsp. unsalted butter
  • 2 medium apples (I used Honeycrisp)
  • 1 tbsp. lemon juice
  • 2 tbsp. white sugar
  • 2 tbsp. brown sugar
  • 1 tbsp. cornstarch
  • 1/2 tsp. cinnamon
  • 1/4 tsp. nutmeg
Topping:

Instructions

Prepare the ramekins by rubbing each with 1 tsp. softened butter.  I set mine up in a square baking pan, to make it easier getting them in and out of the oven.

Peel the apples and cut into small dice, then toss with lemon juice (to prevent browning).

Whisk together the filling ingredients.

Toss the apples with the filling mixture.

Fill the ramekins and refrigerate while you make the topping.

Whisk together the topping ingredients and use a pastry cutter (or knife and fork, or your fingers) to incorporate the butter.

The butter should be broken down into small, pea sized pieces.

Spread the topping mixture over each ramekin.
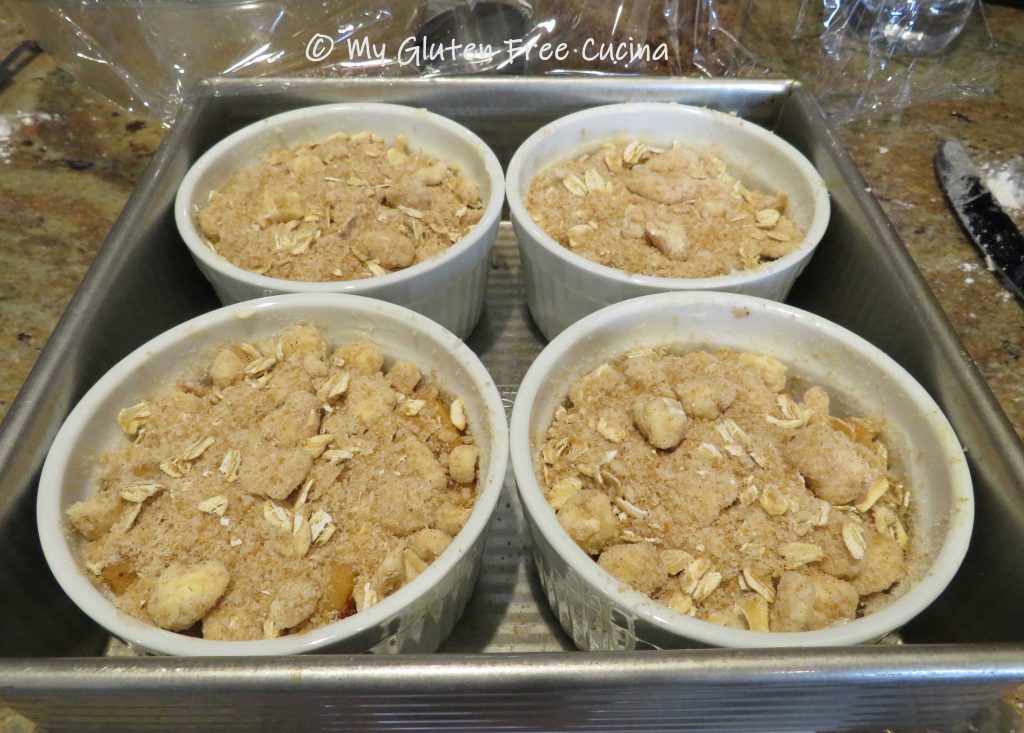
Place the ramekins in a baking dish for easier handling.  Bake at 375º for 25 minutes.  The filling will be bubbling up on the sides.

Let them cool slightly before serving.


Notes

Look for the gluten free label when shopping for grains, even those (like oats) that are naturally gluten free because of potential cross contact during farming, harvesting, transport and production.  If you have Celiac disease, always look for purity protocol oats (dedicated gluten free fields, mill, and production line).  If you are among the small percentage who cannot consume oats in any form, substitute almond flour in this recipe.


© My Gluten Free Cucina * All Rights Reserved

Unauthorized use and/or duplication of this material without express and written permission from this blog’s author and/or owner is strictly prohibited.

Better Batter Collaborator

When you shop Better Batter | Gluten Free Flour, use my Promo Code MGFC30 for 30% off your non-sale purchase!

Gluten Free Rhubarb Crumble

A word of Caution- This recipe contains oats.

A recent statement from Gluten Free Watchdog states that they cannot currently recommend ANY brand of gluten free oats.

Whether or not you continue to consume oats is a personal choice.  As we await more information, I will preface any recipes that include oats with a link to this important statement from Gluten Free Watchdog, an independent, subscriber-driven gluten-testing organization.  About | Gluten Free Watchdog

***

To me, rhubarb says spring!  This Rhubarb Crumble has been a family favorite for so many years.  Way back when, my husband would pick the rhubarb fresh from our backyard garden and it was just wonderful!  These days, our harvesting is done at the grocery store, but it always brings back those memories.

In this recipe, I threw an apple into the usual mix of rhubarb and strawberry, and it worked so well, I think you could add just about any fruit you like, and it would be delicious.

The Lazy Gastronome


When shopping for rhubarb, be sure to choose stalks that are firm and vibrantly colored.  If the outer skin of the rhubarb is tough and stringy, you can easily peel some of it off.  Young, slender stalks are less likely to need peeling, but you may need to buy a few extra.

6 Servings

This post contains affiliate links.

Ingredients:

For the filling:

For the topping: 

Preparation:

In a large bowl, combine 2/3 cup granulated sugar and 2 tbsp. cornstarch.  Peel and dice the apple and chop the rhubarb into 1/4″ slices.  Toss the rhubarb and apples with the sugar and cornstarch mixture.  Refrigerate while you prepare the crumble topping.

In a small bowl, combine the flour, oats and sugars.  Chop the butter into cubes.

Working quickly, cut the butter into the topping mixture using a pastry cutter, firm spatula, or 2 butter knives.  You can even use your fingers to incorporate the butter into pea size pieces.

Preheat the oven to 375° and coat a square baking dish with cooking spray.  Add the apples and rhubarb then use a teaspoon to dot the strawberry preserves over the fruit.

Spread the topping evenly.

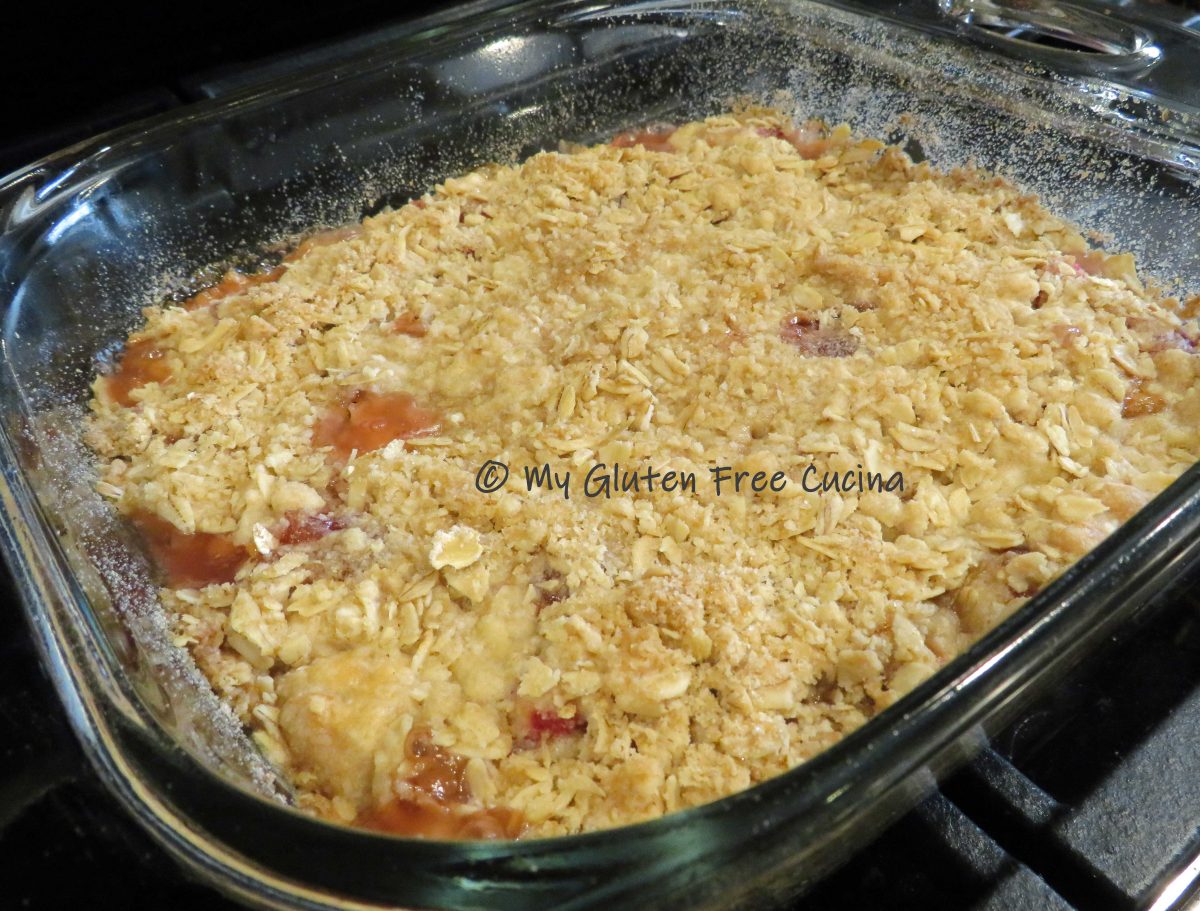
Bake for 45 minutes.  When done, the top should be lightly browned and bubbly.

Allow to cool slightly before serving.  Honestly, it’s delicious warm, room temperature or chilled!  Store in the refrigerator and it will be good for several days, but I don’t expect it to last that long…

Notes: ♪♫ For the preserves, I used Polaner All Fruit Strawberry, it is gluten free and sweetened only with fruit juice.

[print_link]