When I hear people say that the gluten free diet promotes weight loss, I have to shake my head! 🤦🏻♀️ The reality is that gluten free breads, pastas and cereals have as many or more calories and carbs than their wheat filled counterparts.
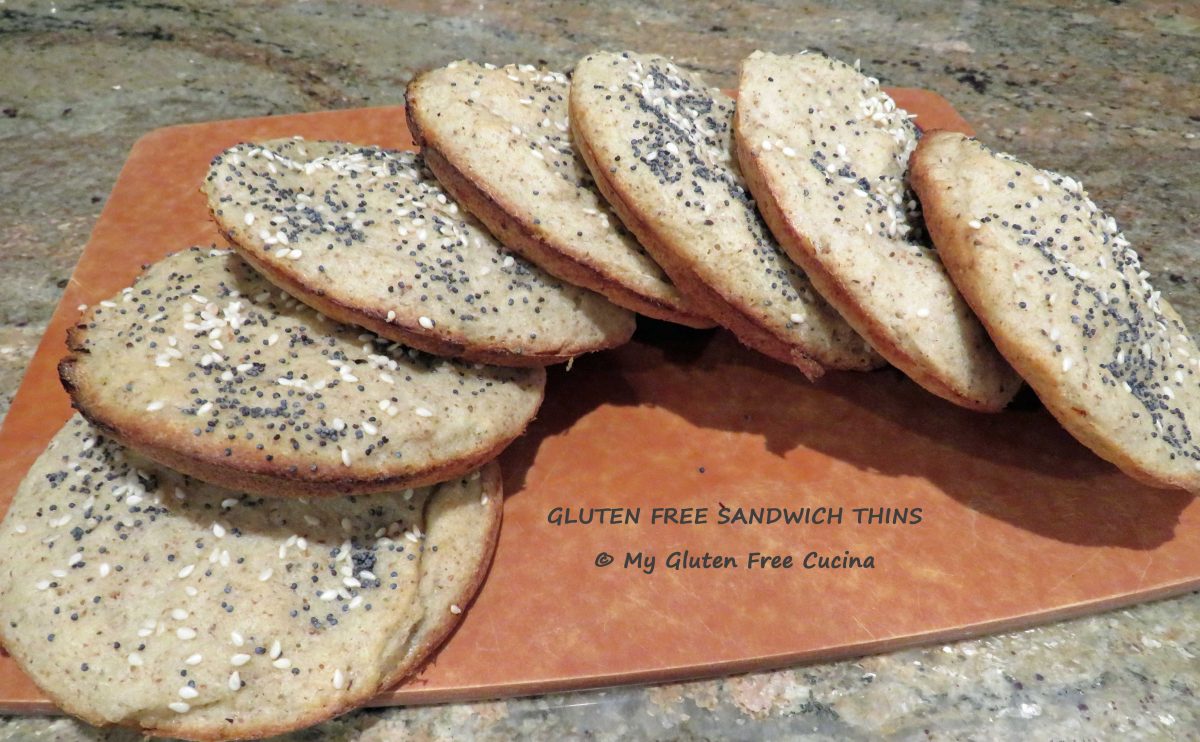
It got me to thinking, that back a few years “BC” (before Celiac) I had a great homemade recipe for the popular Sandwich Thin buns that everyone loved. In this post I’ll show you how I recreated that recipe to a gluten free version for my lunch sandwiches.
This post contains Affiliate Links.
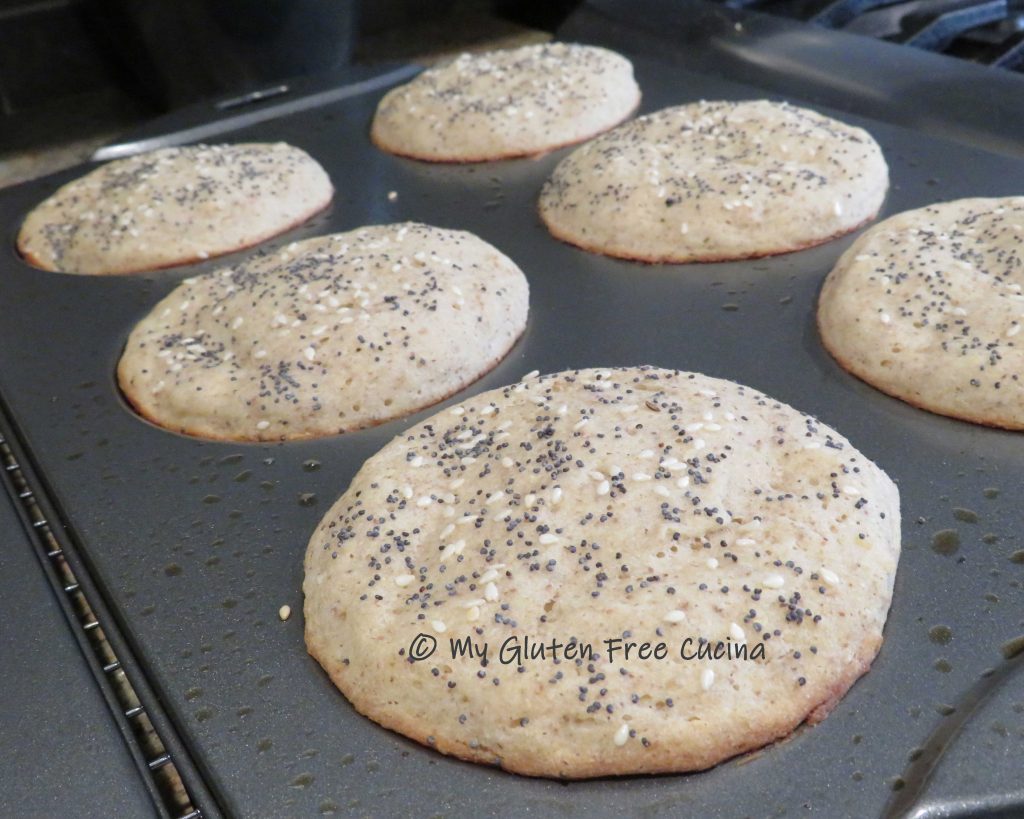
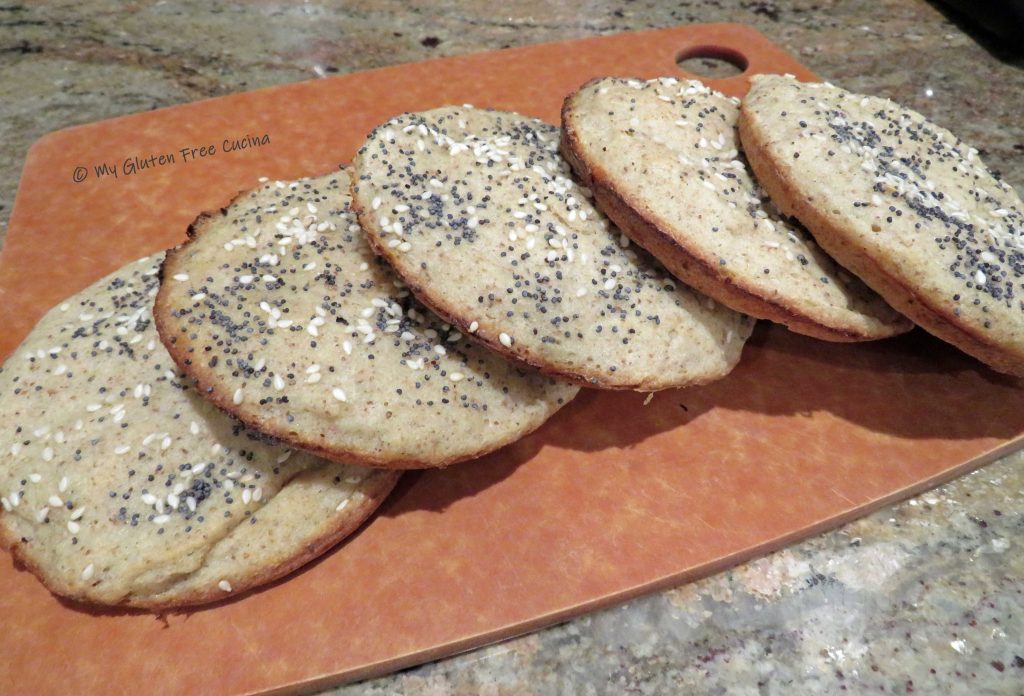
Mind you, I wanted my bread to be nutritious and wholesome, not just empty calories. This recipe checks all my boxes- whole grains, small portions, great taste. I used a muffin top pan to create perfectly shaped rounds that were all the same size, about 1.5 oz. each after baking.
The flour blend was a result of trial and error, largely based on my own taste buds as well as some sampling by my family. Sorghum and brown rice are high on my list of favorites, and I use a combination of the two in many of my breads. Dark teff grain has an earthy flavor that can easily overpower a recipe, but using just a little lends a wheat like flavor and color. I also blended 3 starches together which worked great, but no corn starch as I don’t like it for baking (again, just my taste preference).
You might be interested to know that I used a coffee grinder for some of my ingredient prep. Tiny grains like teff and chia seeds can be purchased in whole form, and ground into a flour just before baking for ultimate freshness.
You don’t need a special pan to make the buns, but the muffin top pan I used was great for shaping and definitely helped with portion control. The non-stick finish made for a very easy cleanup. I liked it so much I ordered a second one!
Makes 12 buns
Ingredients:
- 1 tbsp. yeast
- 1 tbsp. chia seeds, ground
- 1 tbsp. sugar
- 1/2 cup warm water
………………………………..
- 90 g. whole grain sorghum flour
- 130 g. brown rice flour
- 40 g. tapioca starch
- 40 g. arrowroot starch
- 40 g. potato starch
- 15 g. teff grain, ground
- 1 tsp. gelatin
- 1-1/4 tsp. xanthan gum
- 3/4 tsp. salt
…………………………………….
- 1 egg
- 3 tbsp. olive oil
- 1/2 cup warm milk
- 1/2 cup warm water
…………………………………….
- 2 tbsp. 1% milk, for brushing
- sesame seeds
- poppy seeds
Preparation:
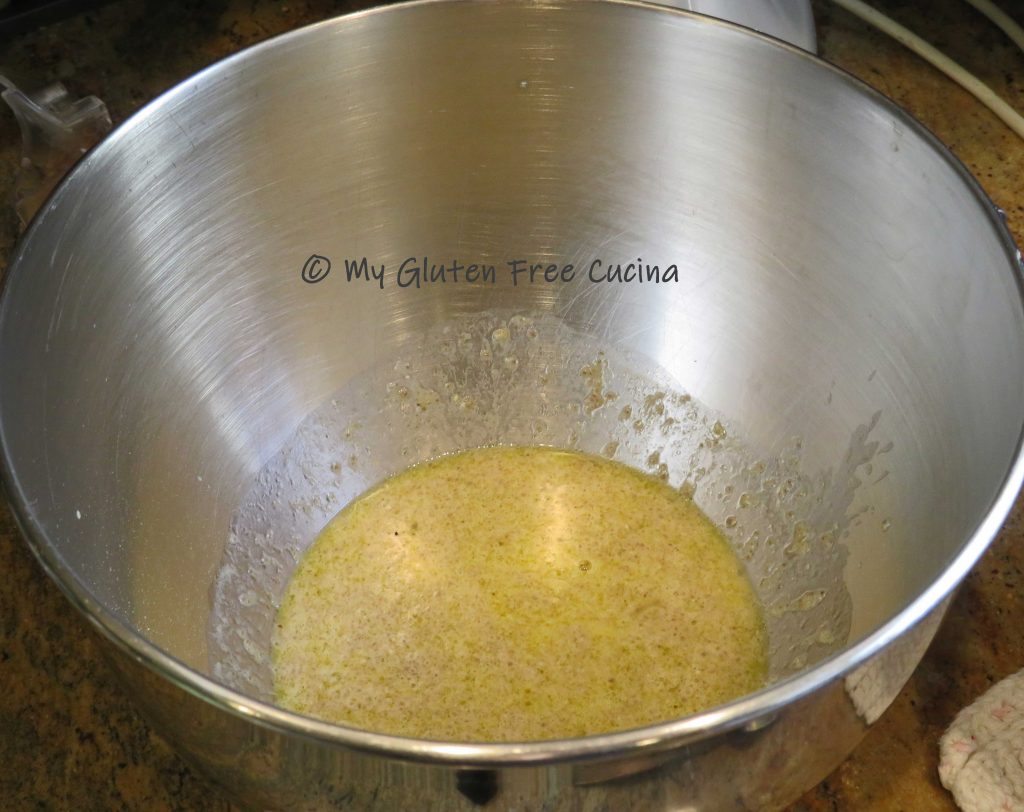
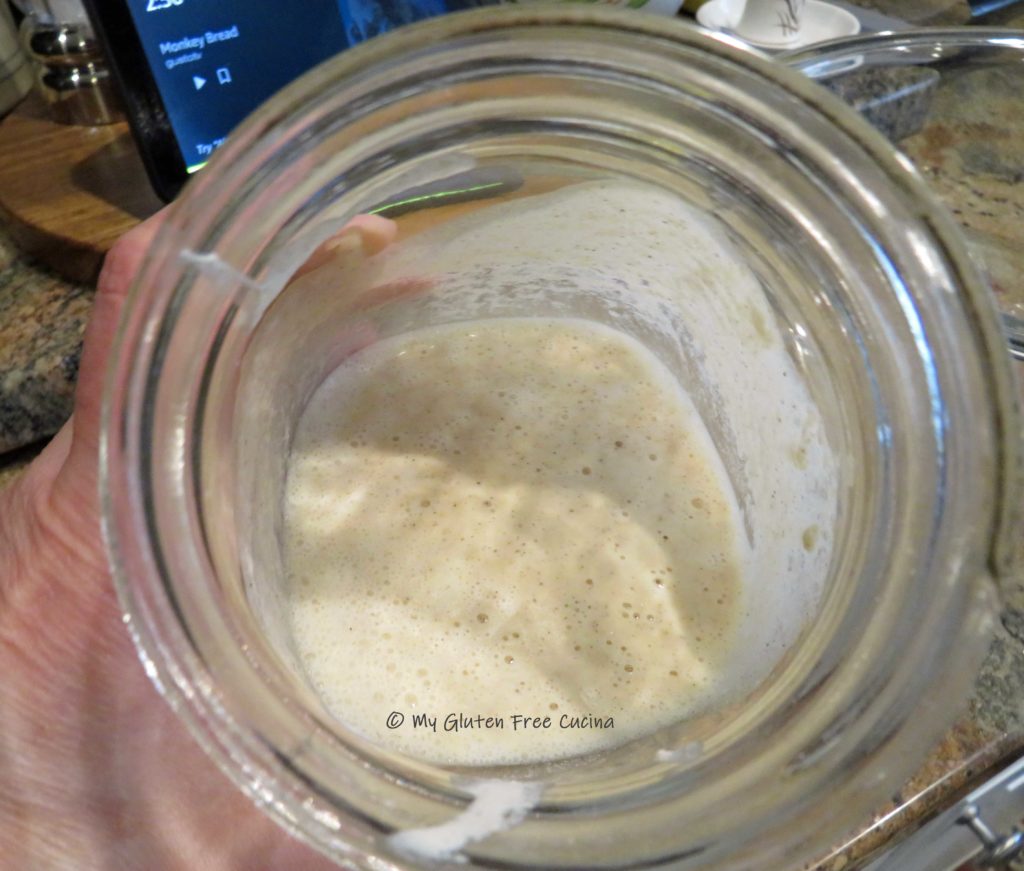
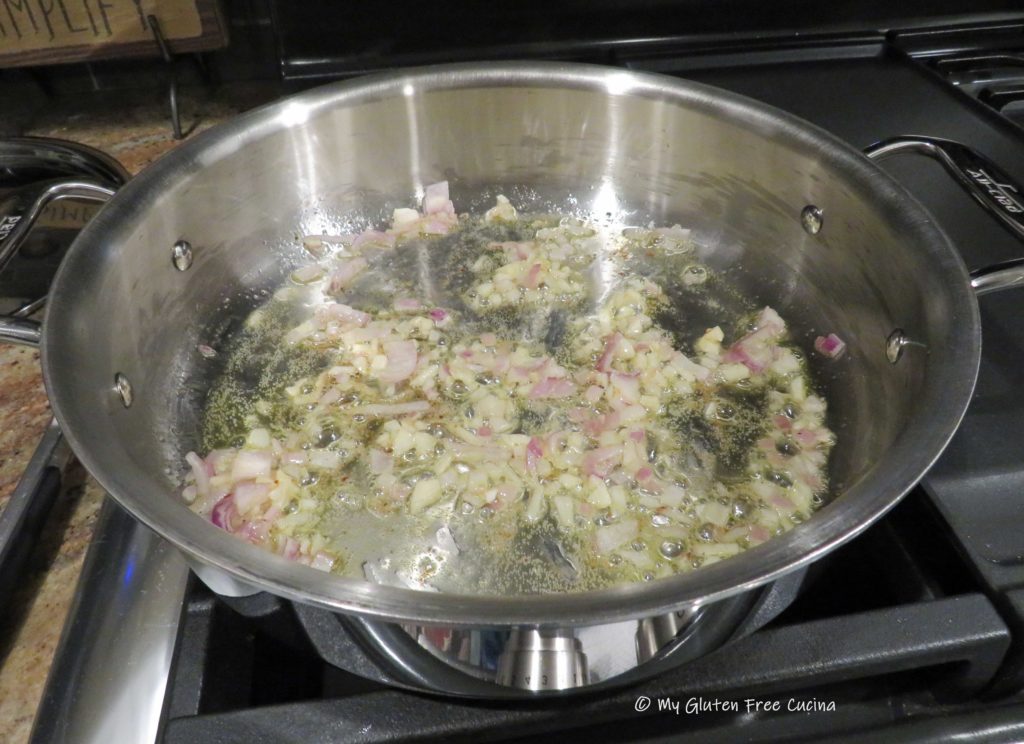
Grind 1 tbsp. chia seeds in a coffee grinder and combine it with 1 tbsp. yeast, 1 tbsp. sugar, and 1/2 cup warm water. Stir and let it sit for 10 minutes.

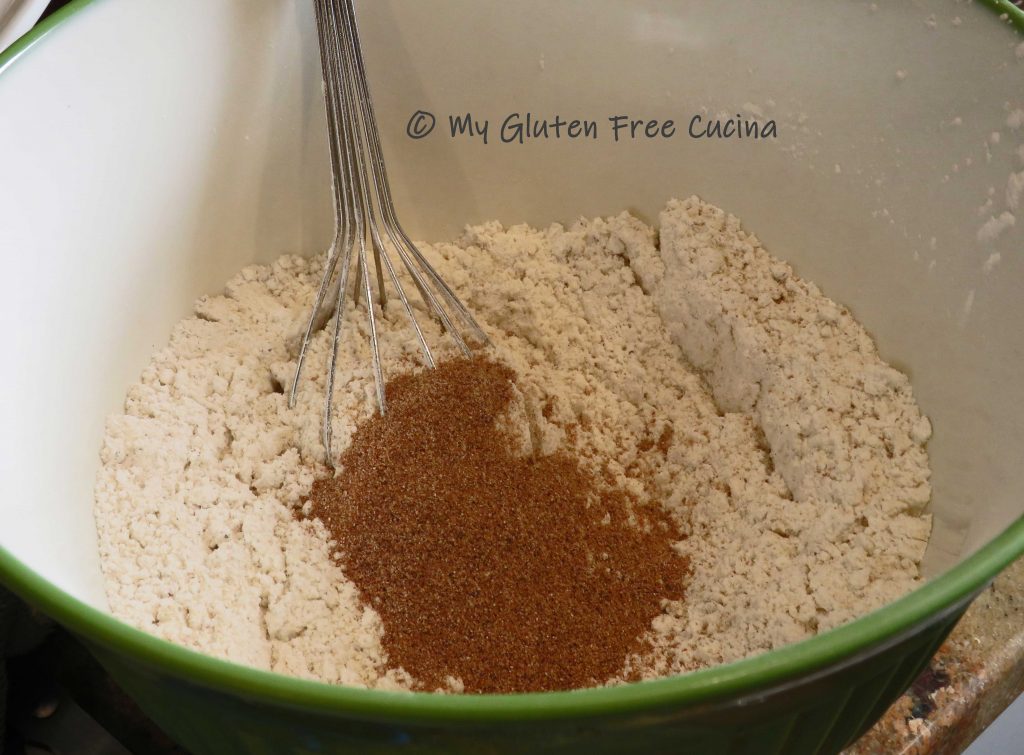
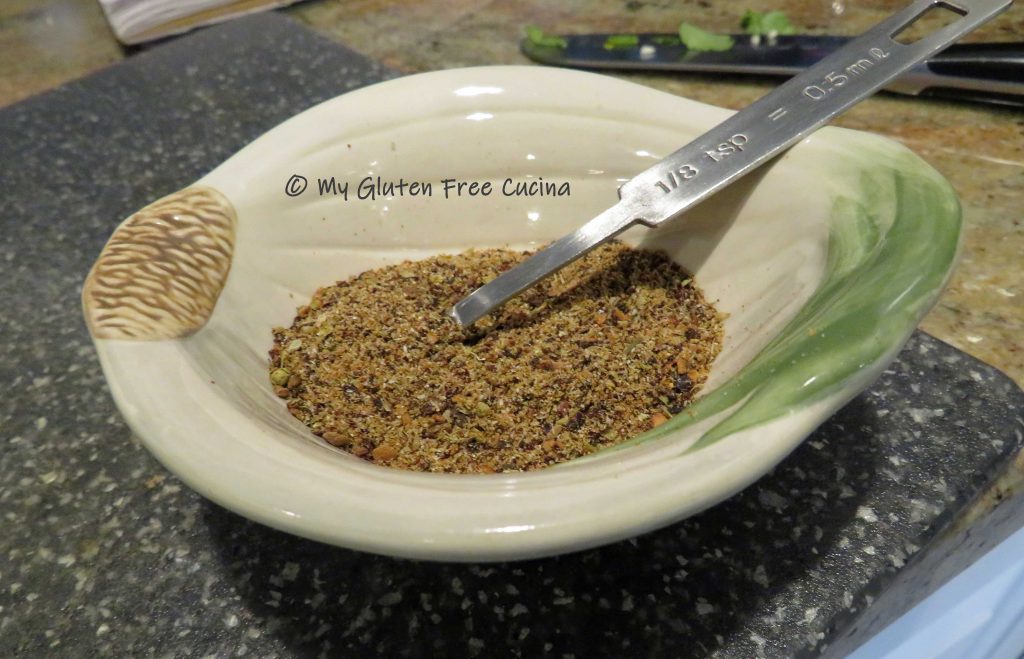
Grind 15 g. of teff grain in a coffee grinder.

Whisk together with the other dry ingredients.
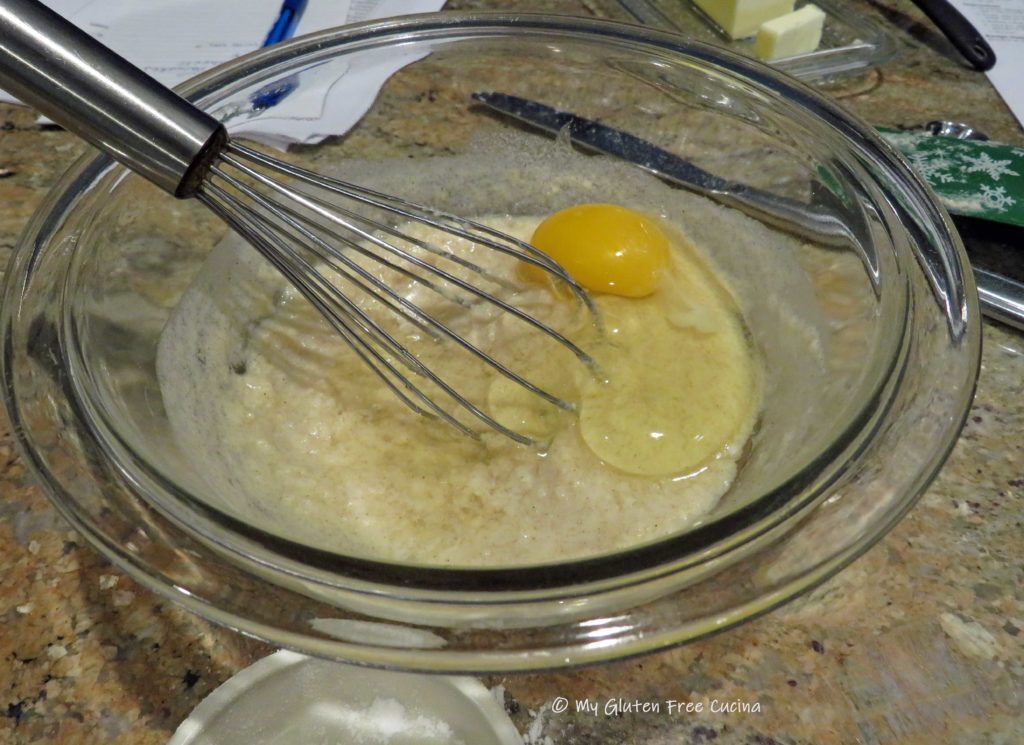
Whisk the egg, olive oil and milk into the yeast mixture.
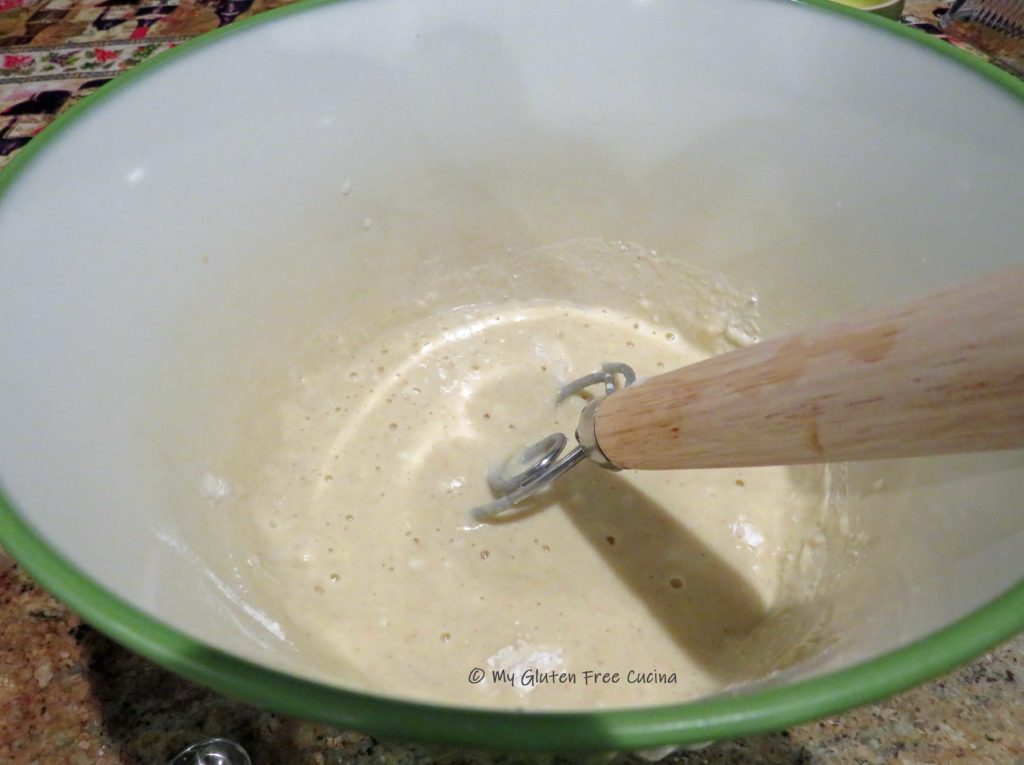
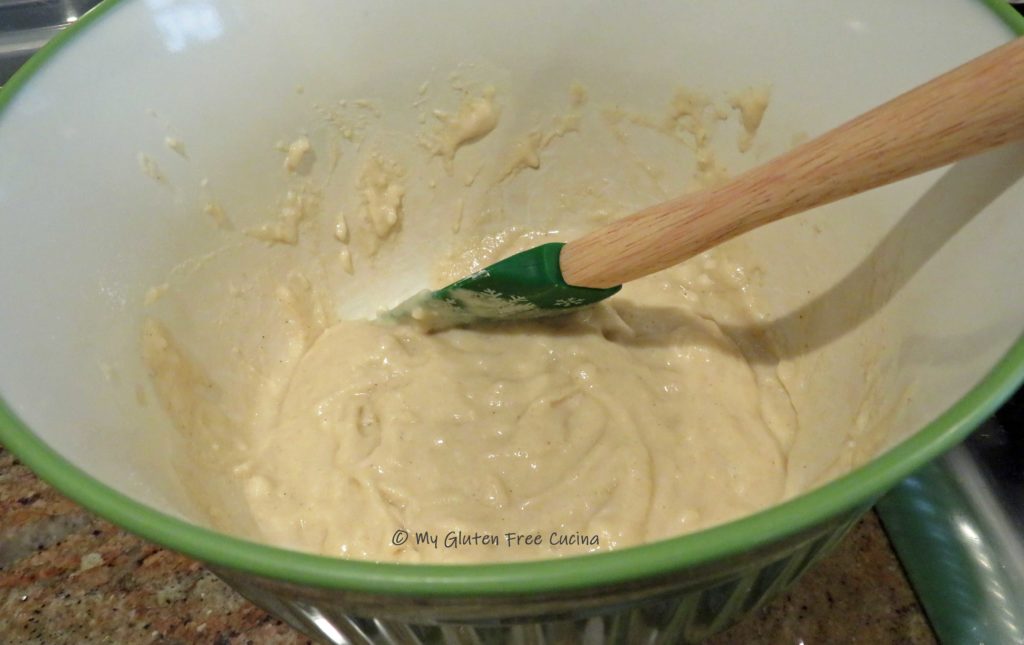
With the paddle attachment, mix in the dry ingredients along with the last 1/2 cup of water. Beat for 3 minutes to form a smooth, wet dough.

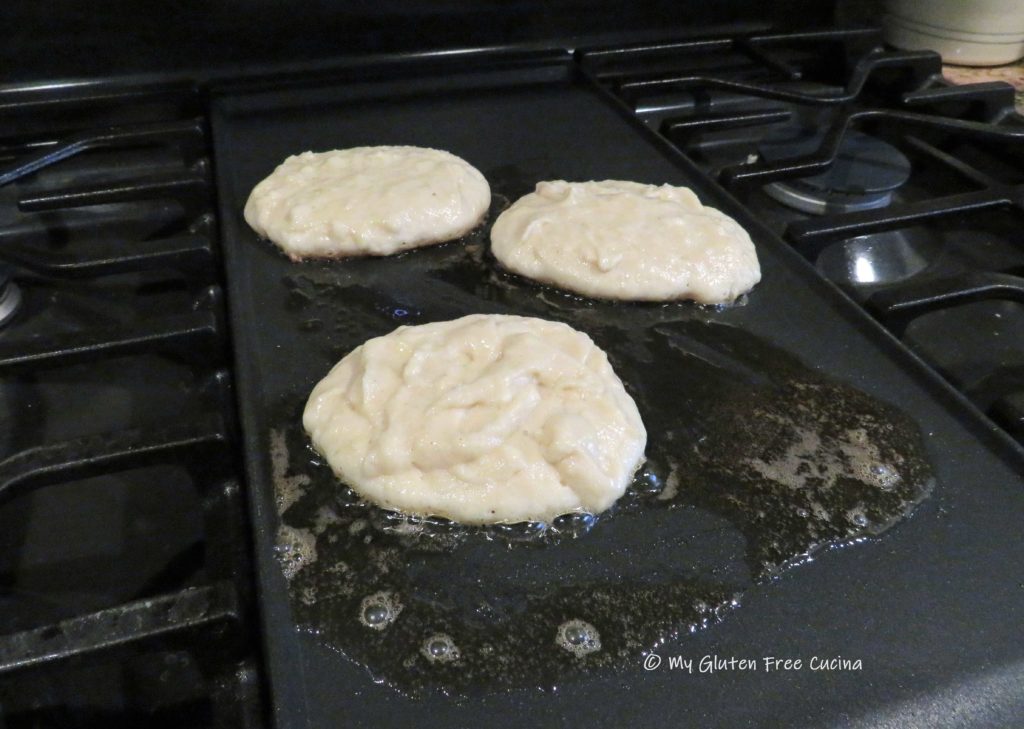
Have a bowl of warm water ready for dipping your spoon and fingertips. Drop a scant 2 tablespoons of dough into each well, dipping the spoon into the water each time to help manage the sticky dough.
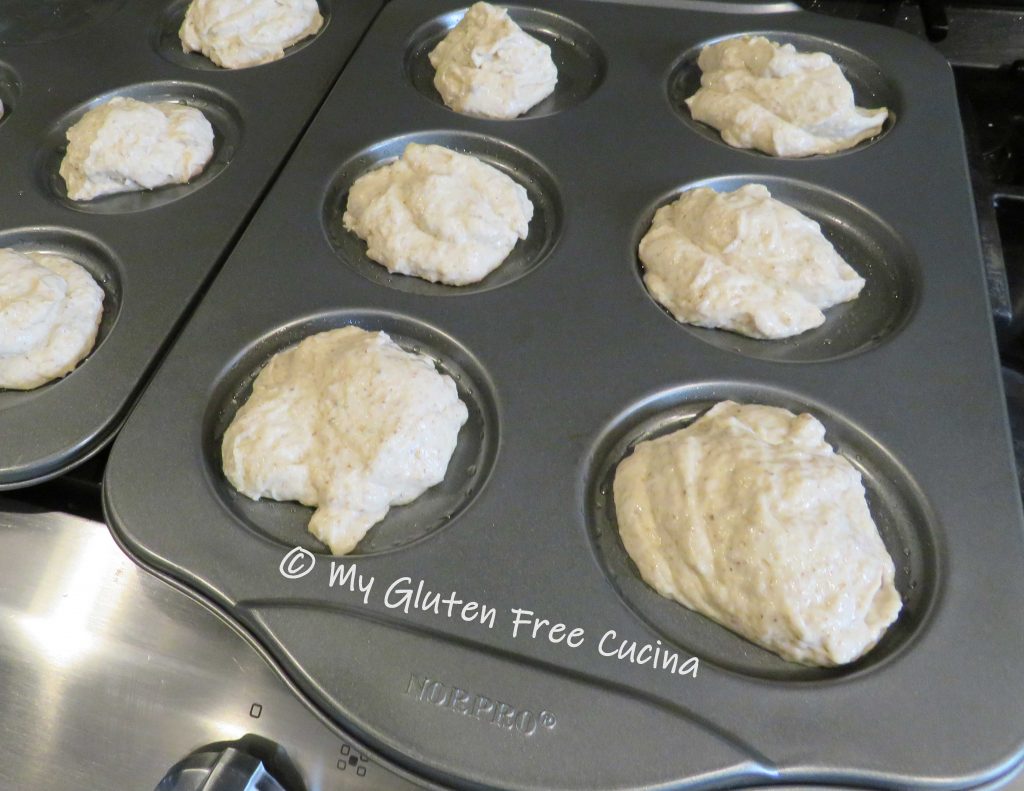
Dip a small spatula into the water and smooth out the dough, spreading it in a circular motion to fill in the rounds. Don’t skip this step, gluten free dough does not spread by itself! If you are not using a muffin top pan, spoon the dough onto a baking sheet lined with parchment and spread into 4″ rounds.
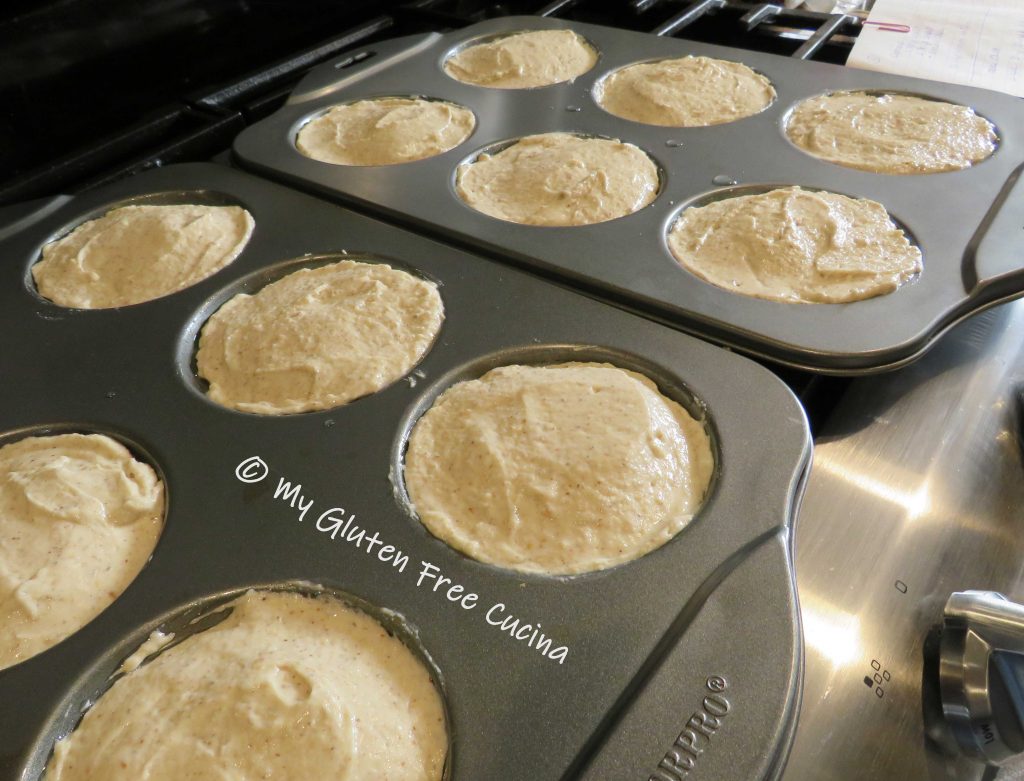
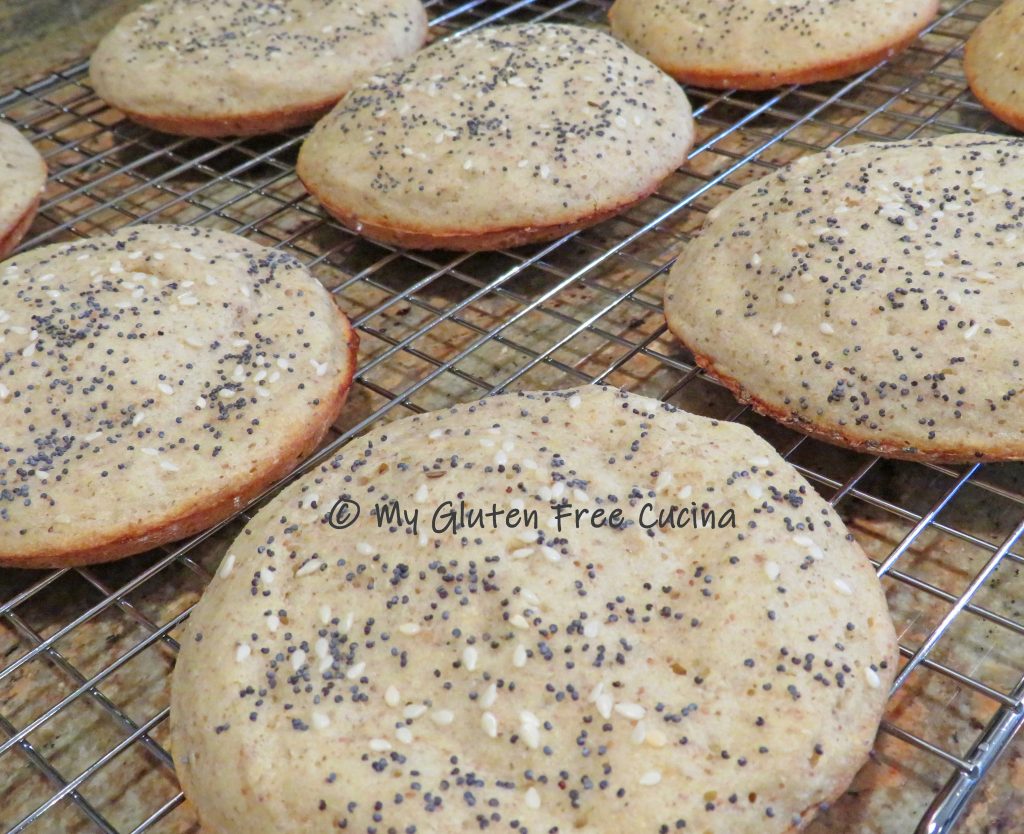
Cover with oiled plastic wrap and let rise for 30 minutes. Preheat the oven to 400º. After 30 minutes, brush the tops of the buns with milk and sprinkle with sesame and poppy seeds.
 Bake for 15 minutes, or until the buns reach an internal temperature of 205º.

Remember, gluten free bread takes longer to cook than regular, and if not cooked through the center will be wet and tacky. Check the internal temperature with a thermometer!
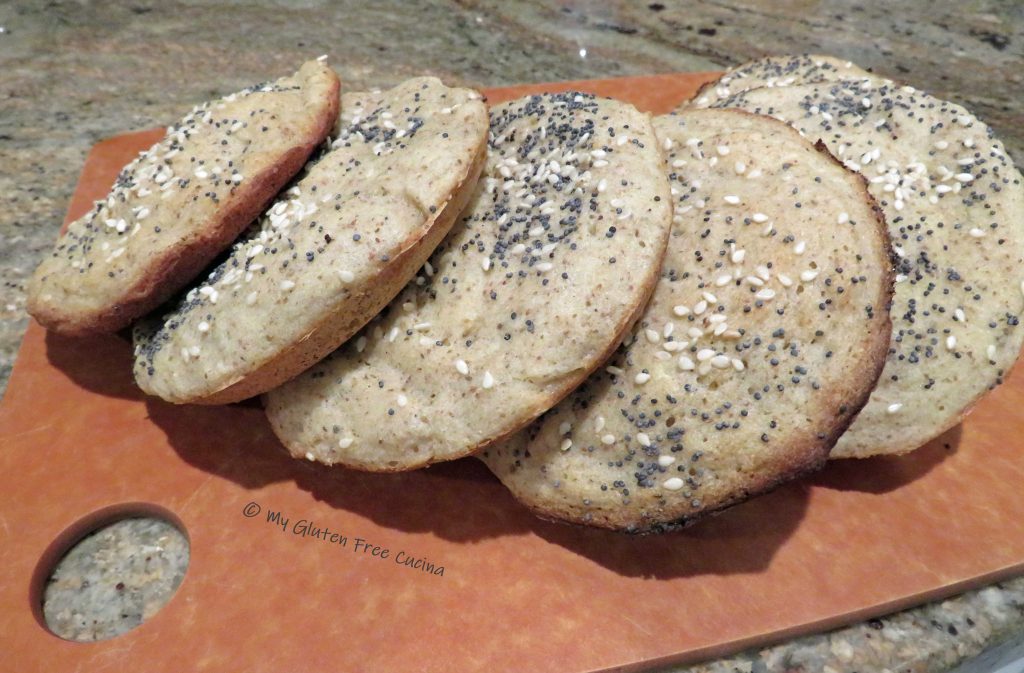
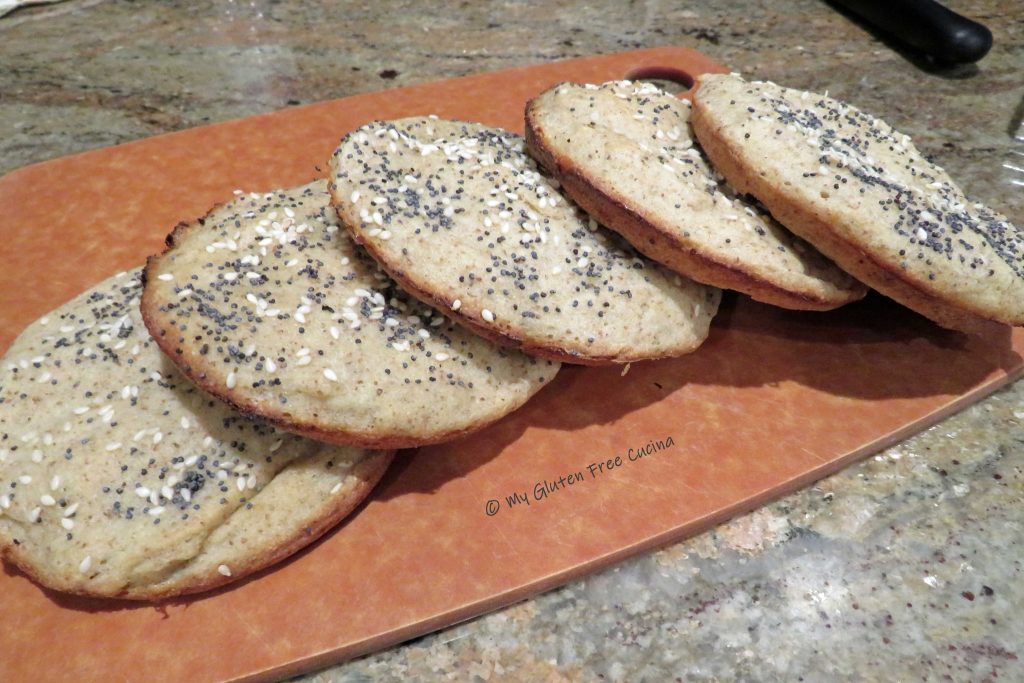
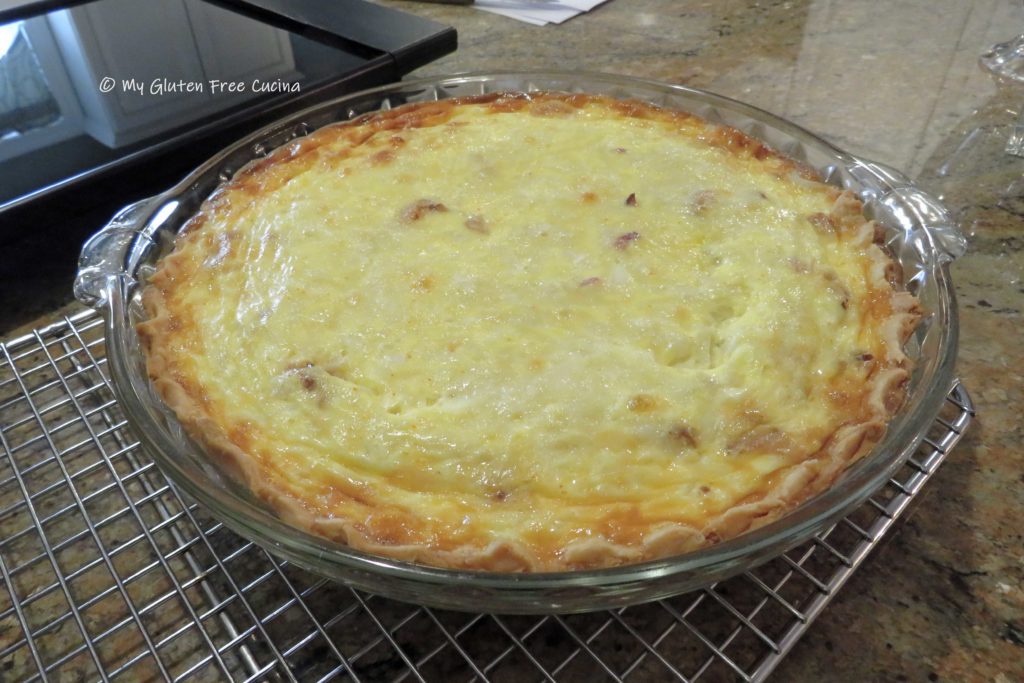
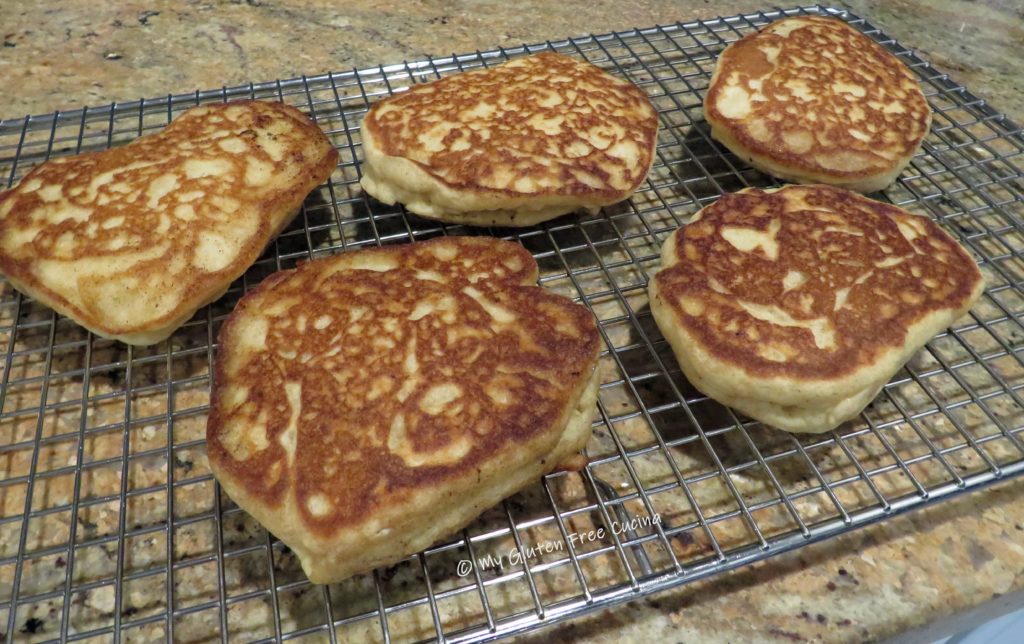
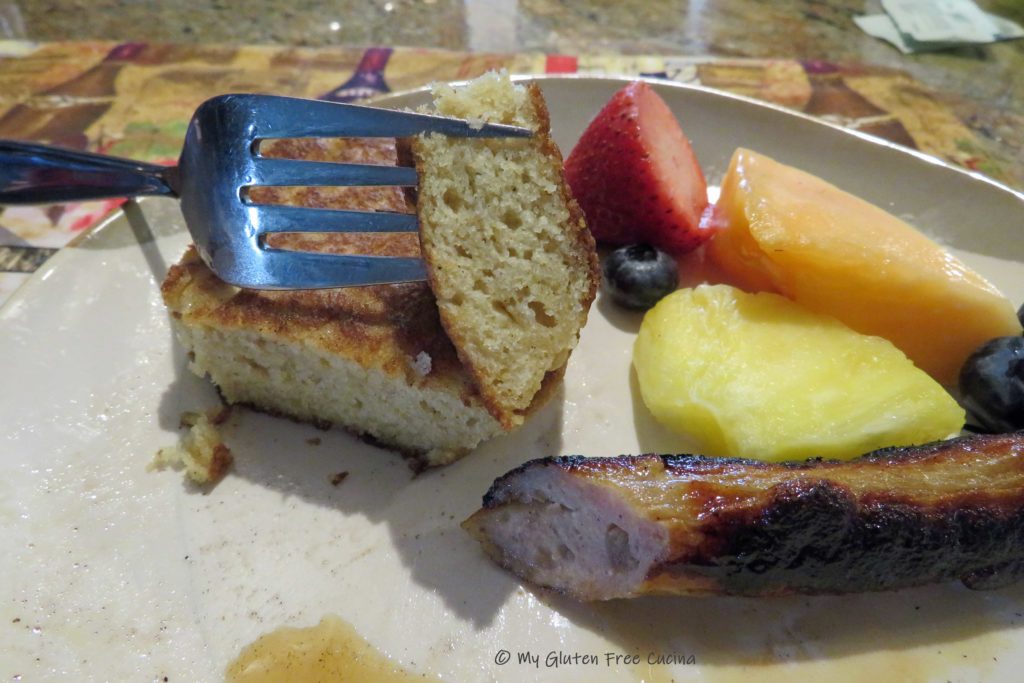
Cool completely on a rack. Buns are best the day they are baked, and leftovers should be frozen as soon as they reach room temperature. I like to slice mine and wrap them individually in plastic wrap to store in freezer safe bags. So easy to grab a roll for my lunch! Here’s the crumb shot.
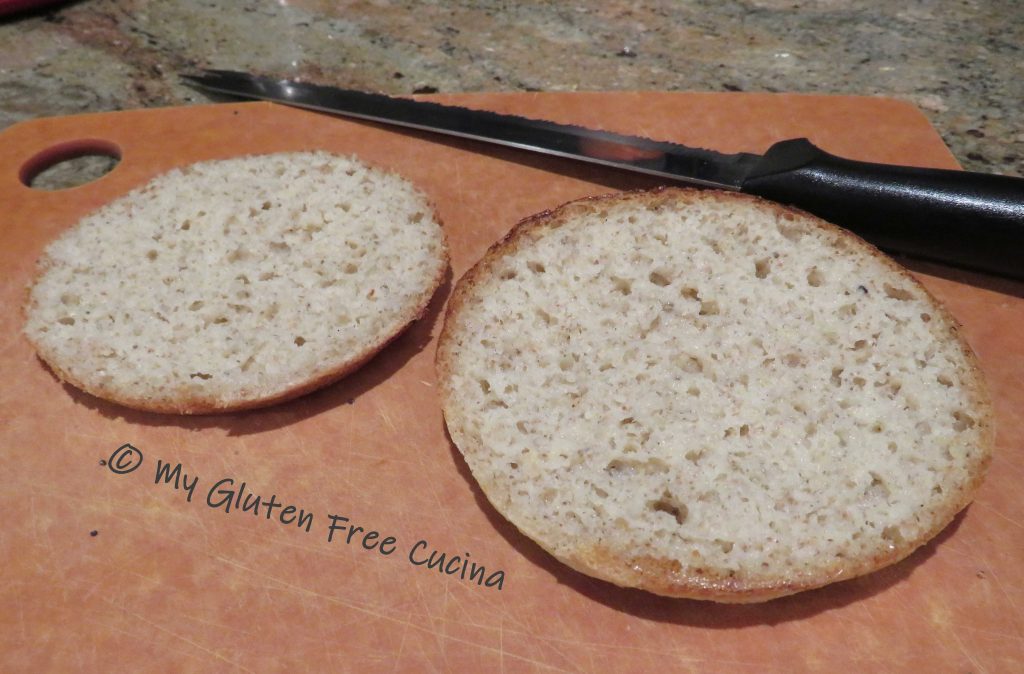
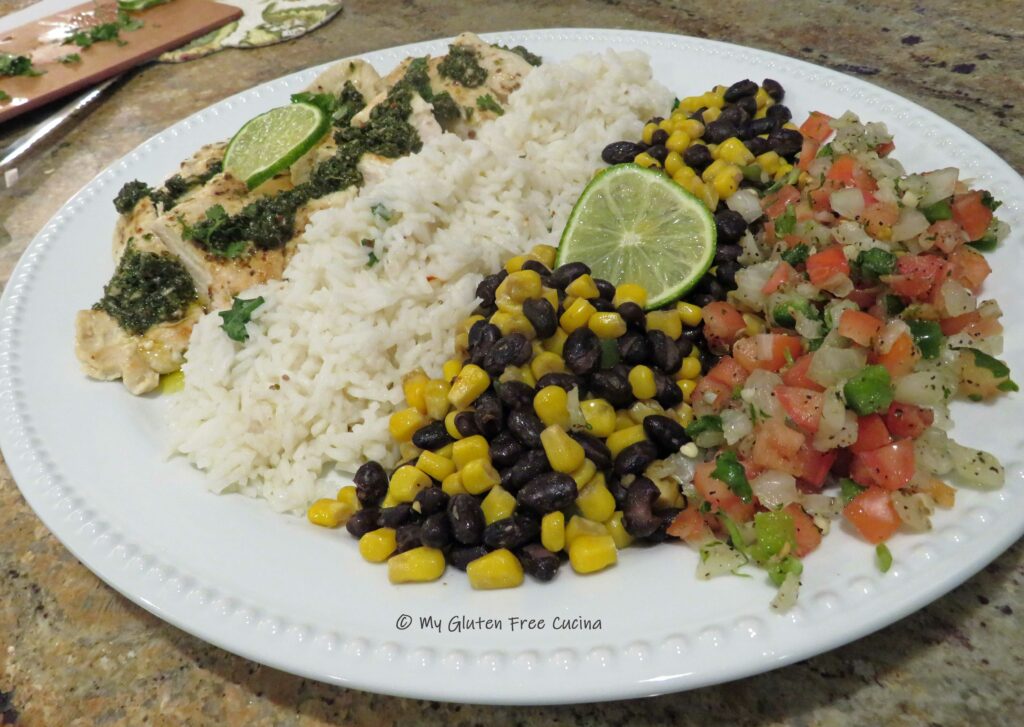
Just the right size for a light sandwich. As I was baking, the kitchen really smelled like bread. If you are gluten free you know what a big deal this is. And the taste did not disappoint! I have been enjoying my sandwiches knowing that I’m not overdoing it on carbs. This recipe is a must try! Please pin, like and share the recipe and let me know what you think!
Notes ♪♫ I placed my muffin top pans on top of another baking sheet for insulation. This prevented the bottoms of the buns from burning before the centers were cooked through. It worked perfectly!
Originally published 03/23/2019 Updated 01/21/2024

 Print This Post


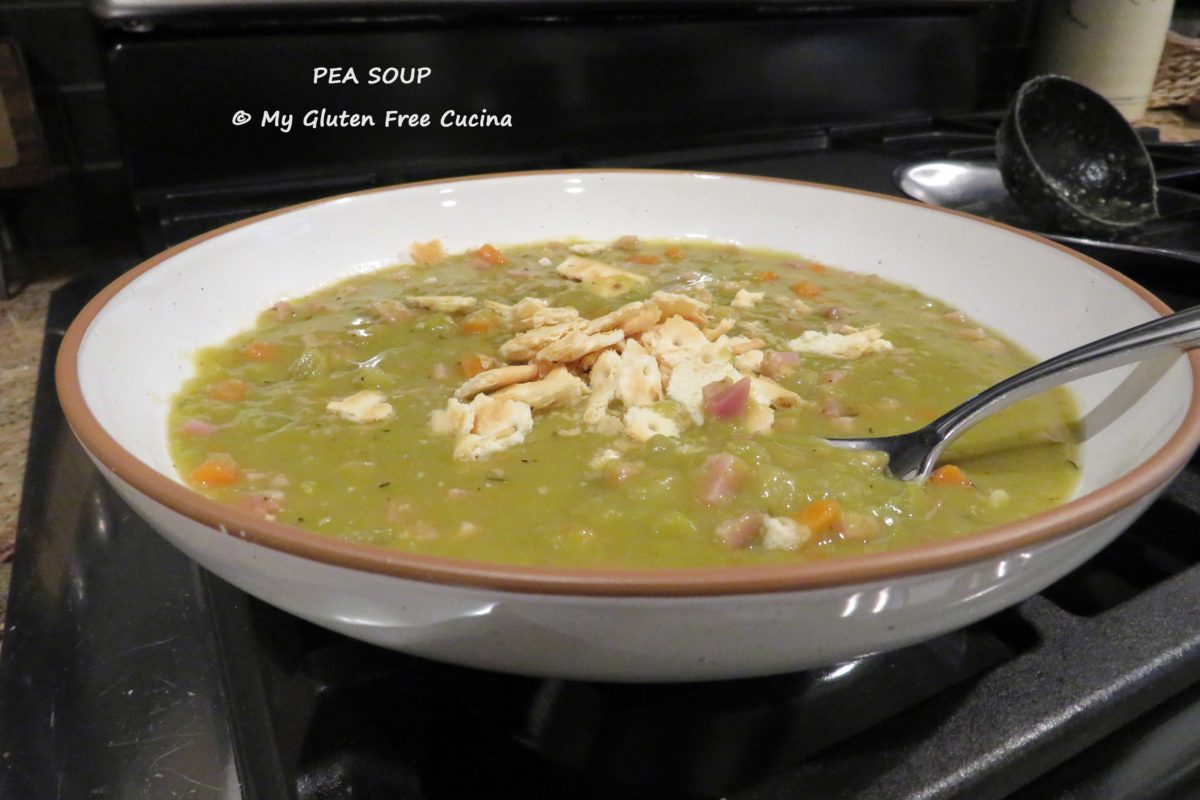
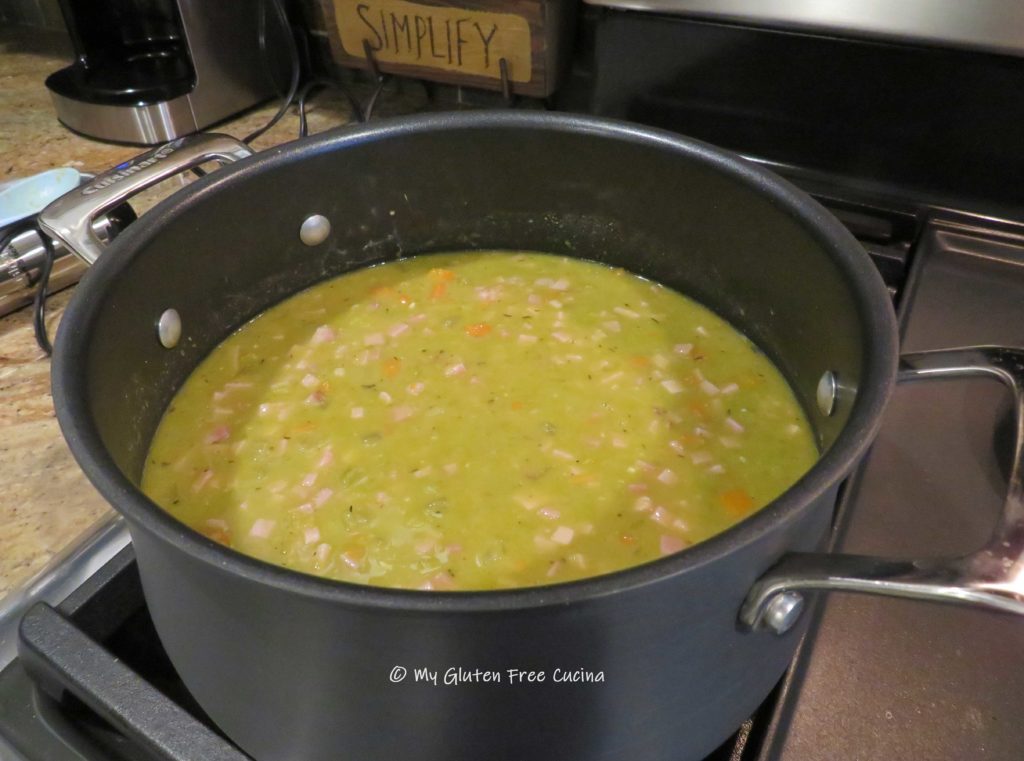
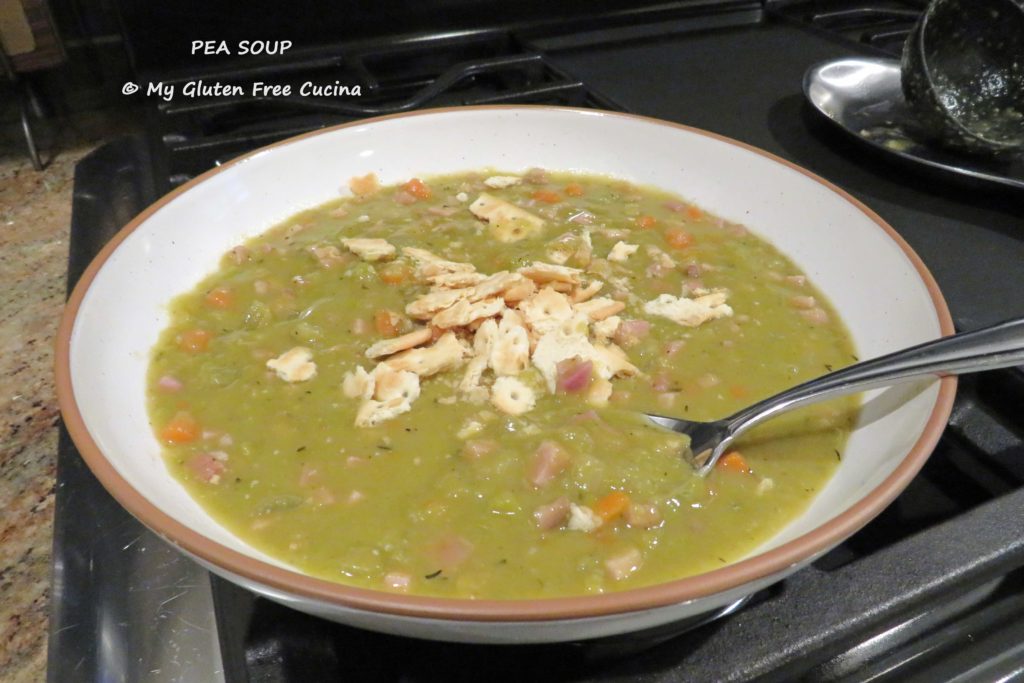
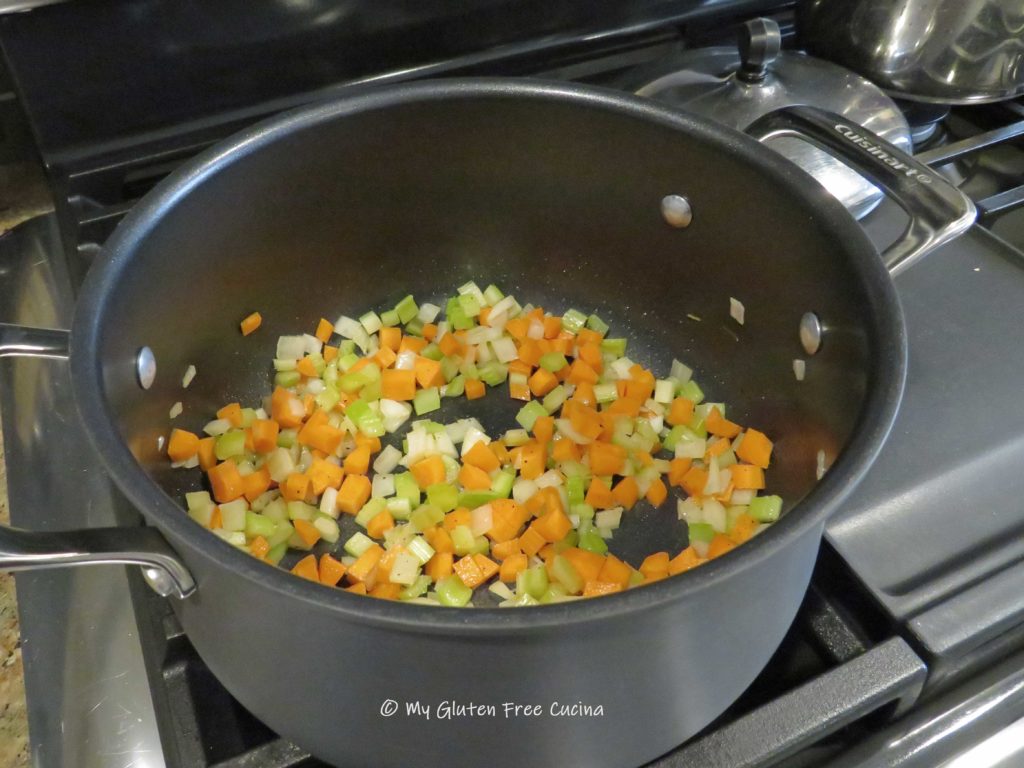 Season with sage, thyme, salt and pepper. Add 32 oz. of the chicken stock, bay leaves, and bouillon. Simmer 30 minutes.
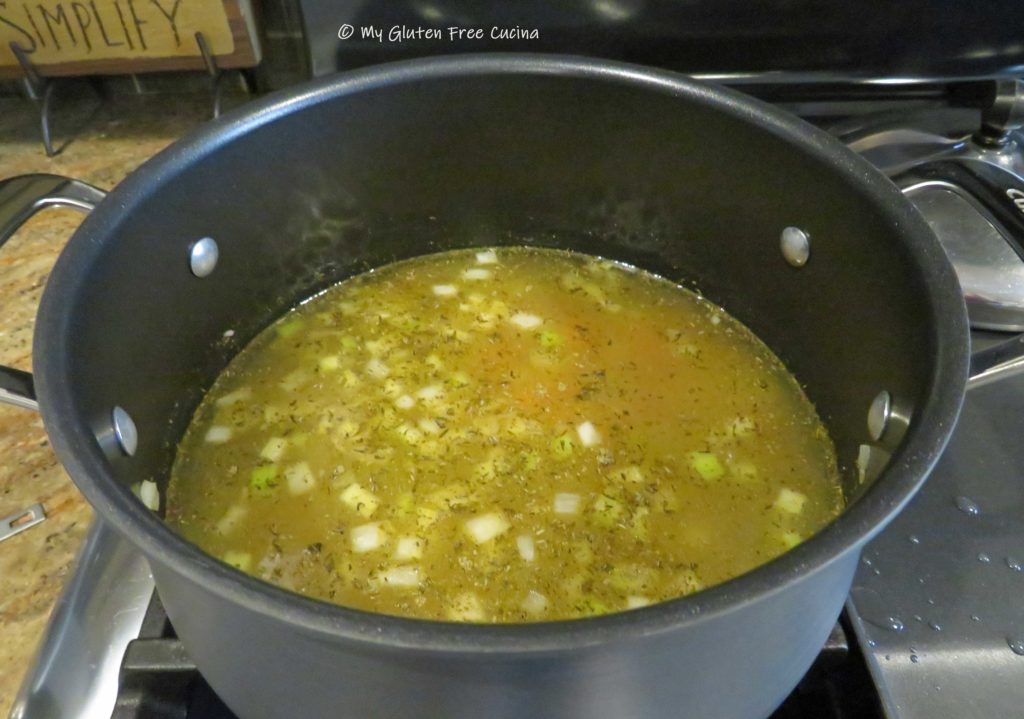 Drain and rinse the peas again. Add them to the pot, stir well and continue cooking for another 45 minutes to an hour, or until the peas are tender.
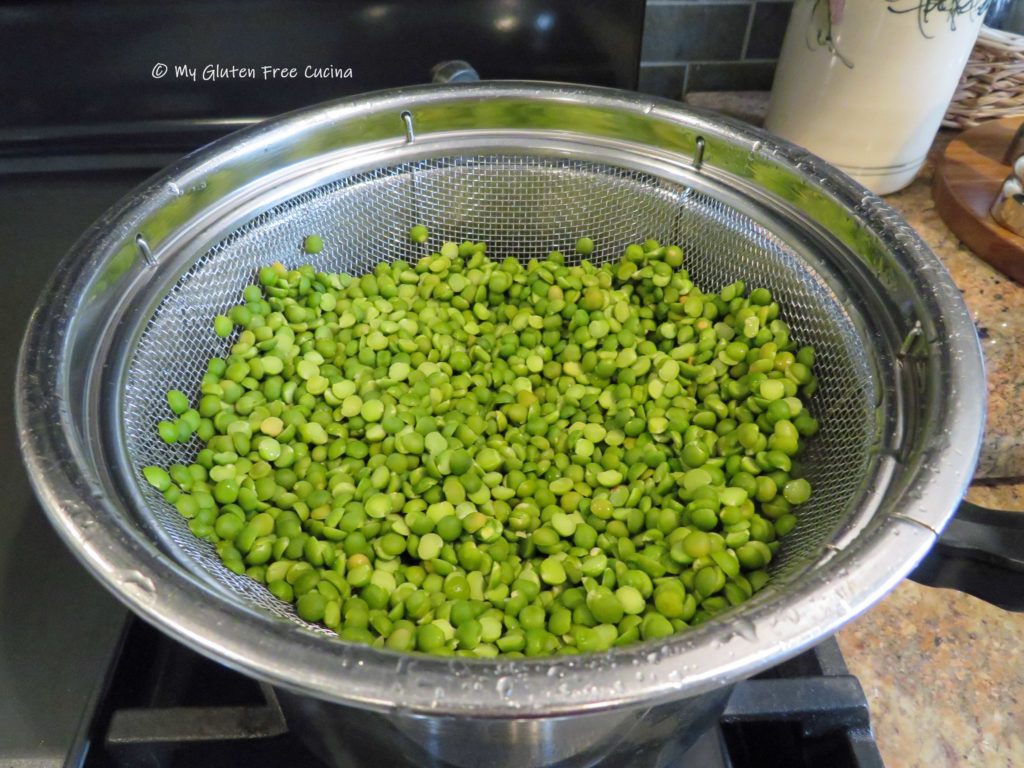
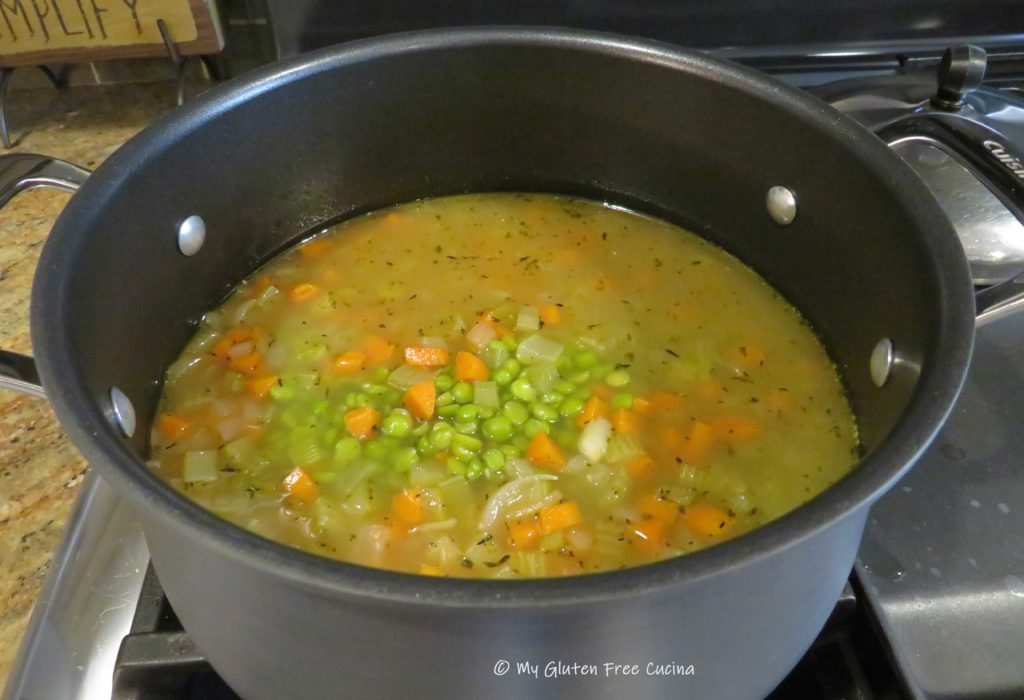 As they simmer, the peas will absorb quite a bit of liquid, so add more chicken broth as needed.
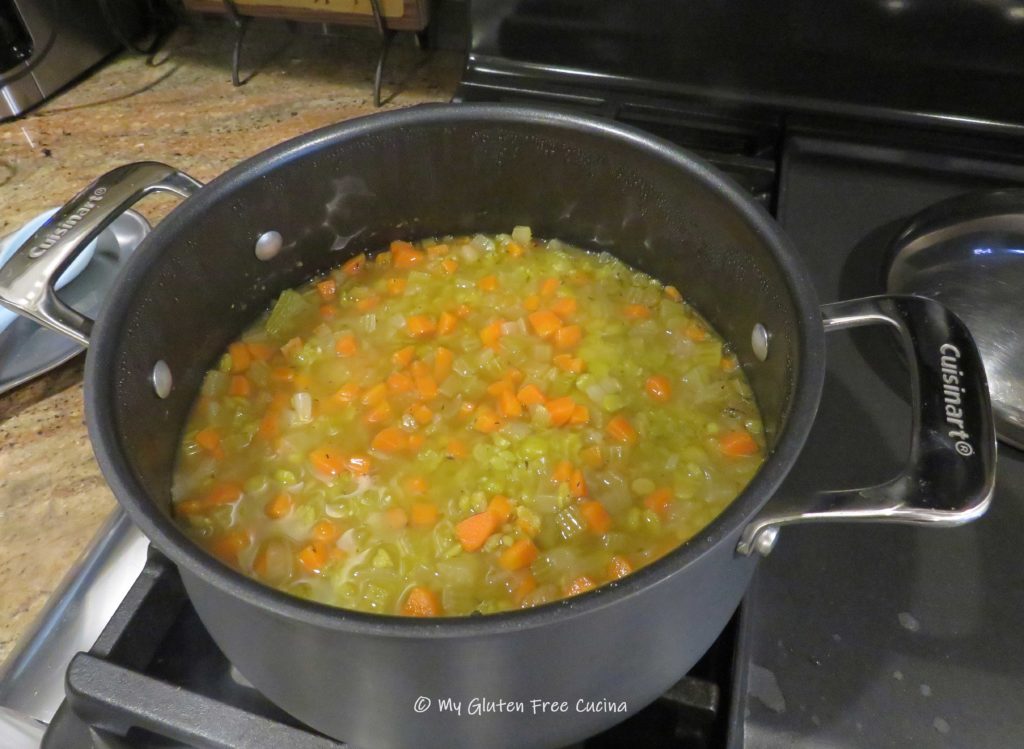


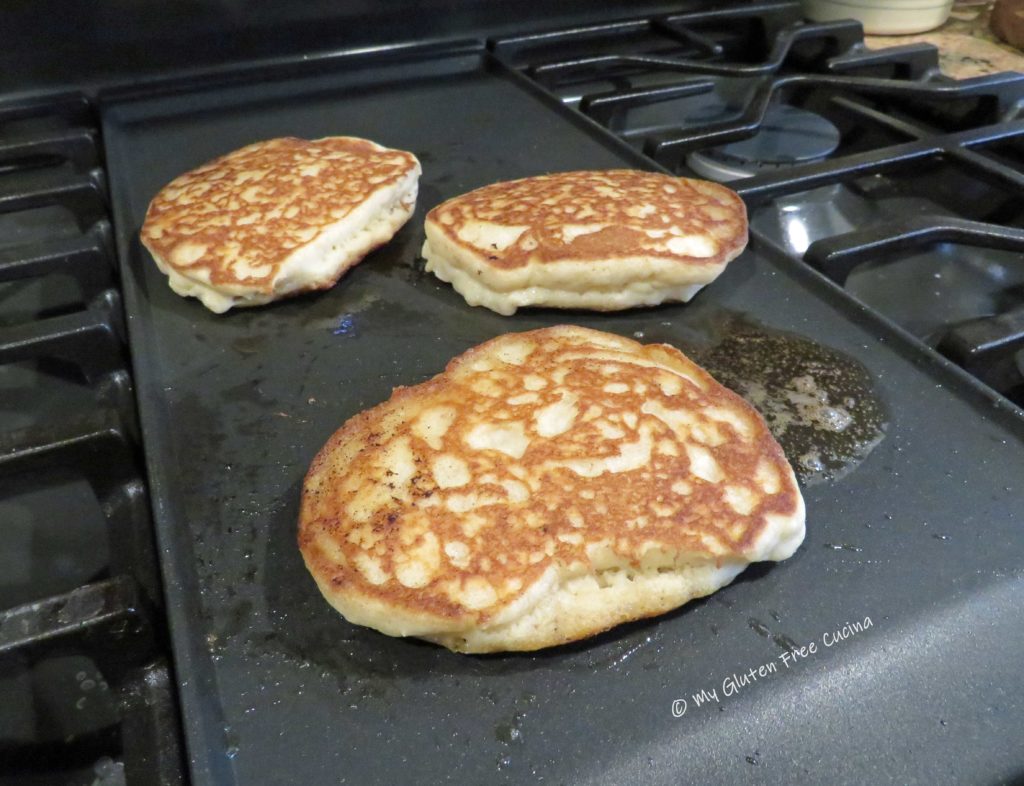
 When the second side is set check the center for doneness with a toothpick. I had to flip mine another time or two.


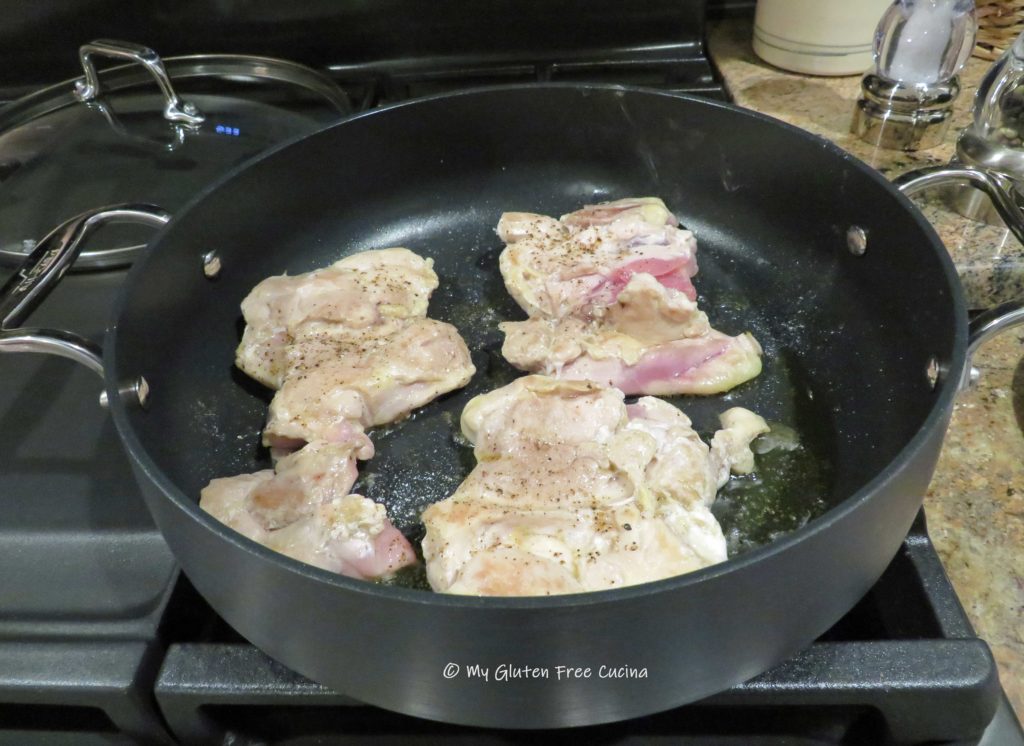

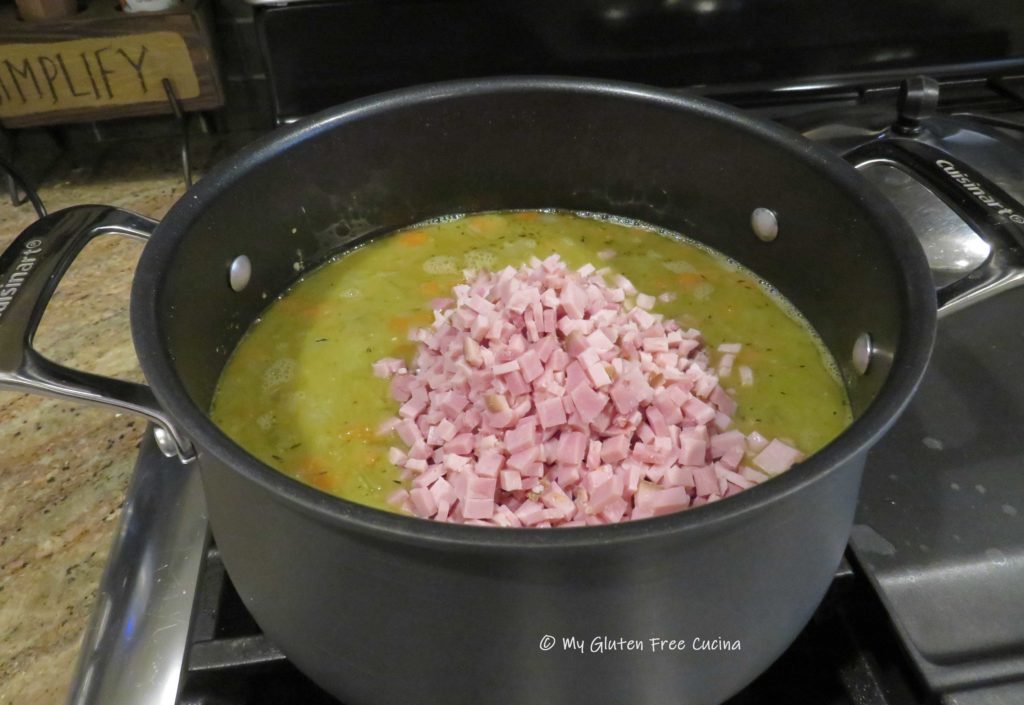
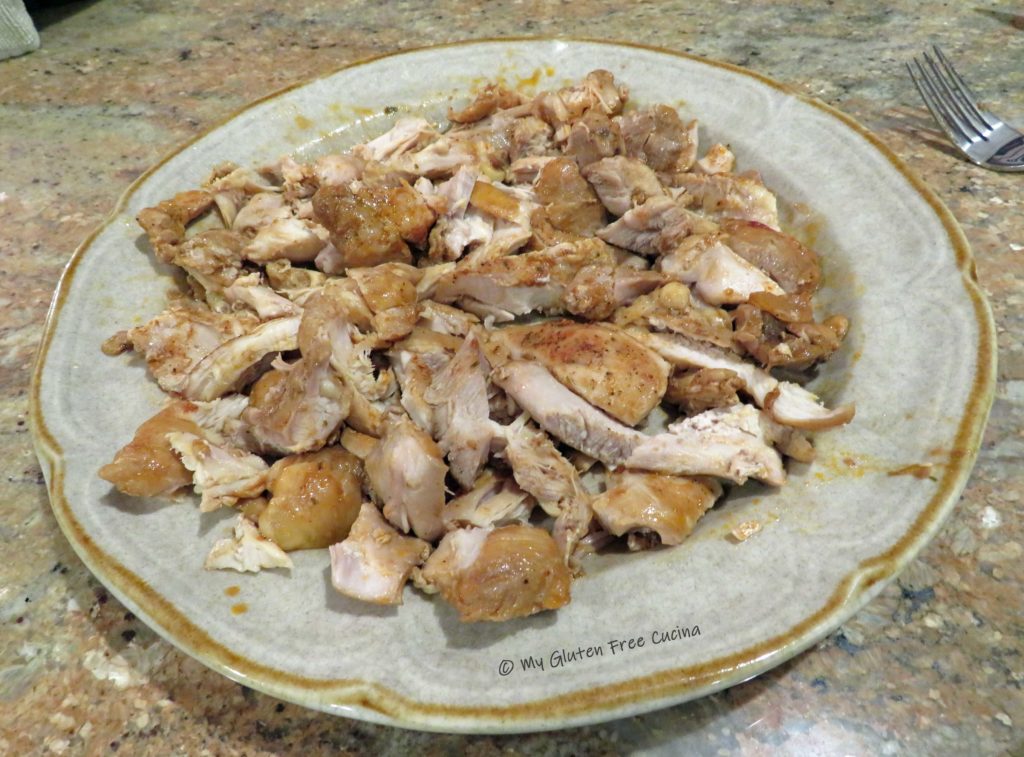
 Add the chicken back to the pan with about 1 cup of chicken broth. Cover and cook for 25 minutes.
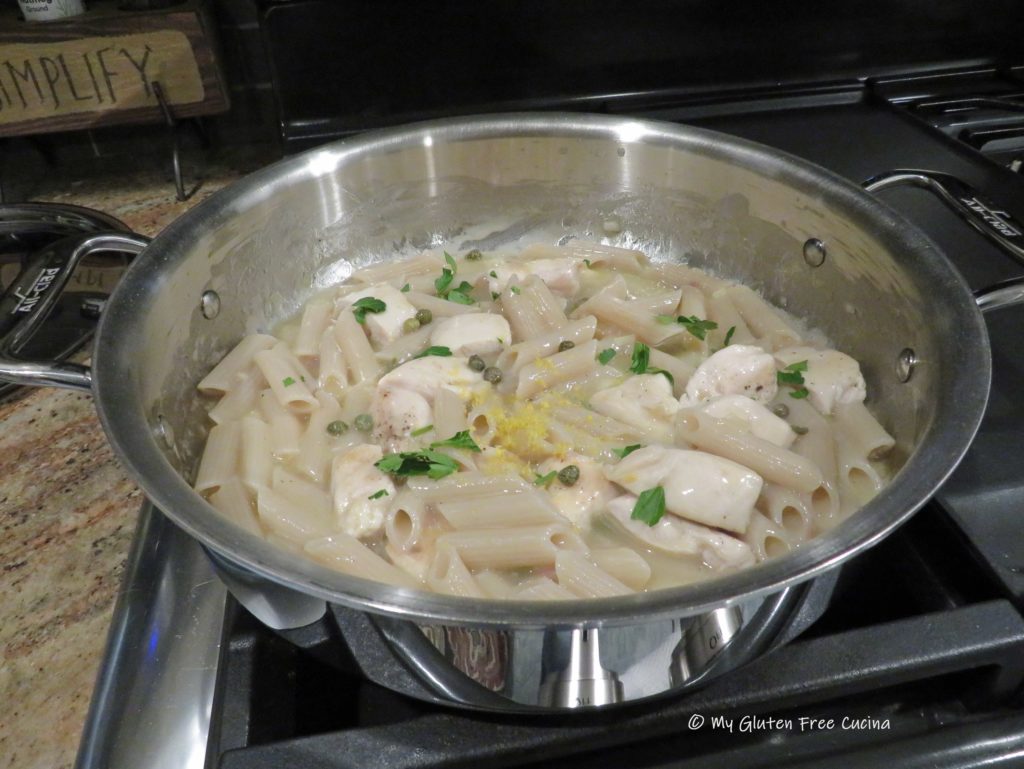
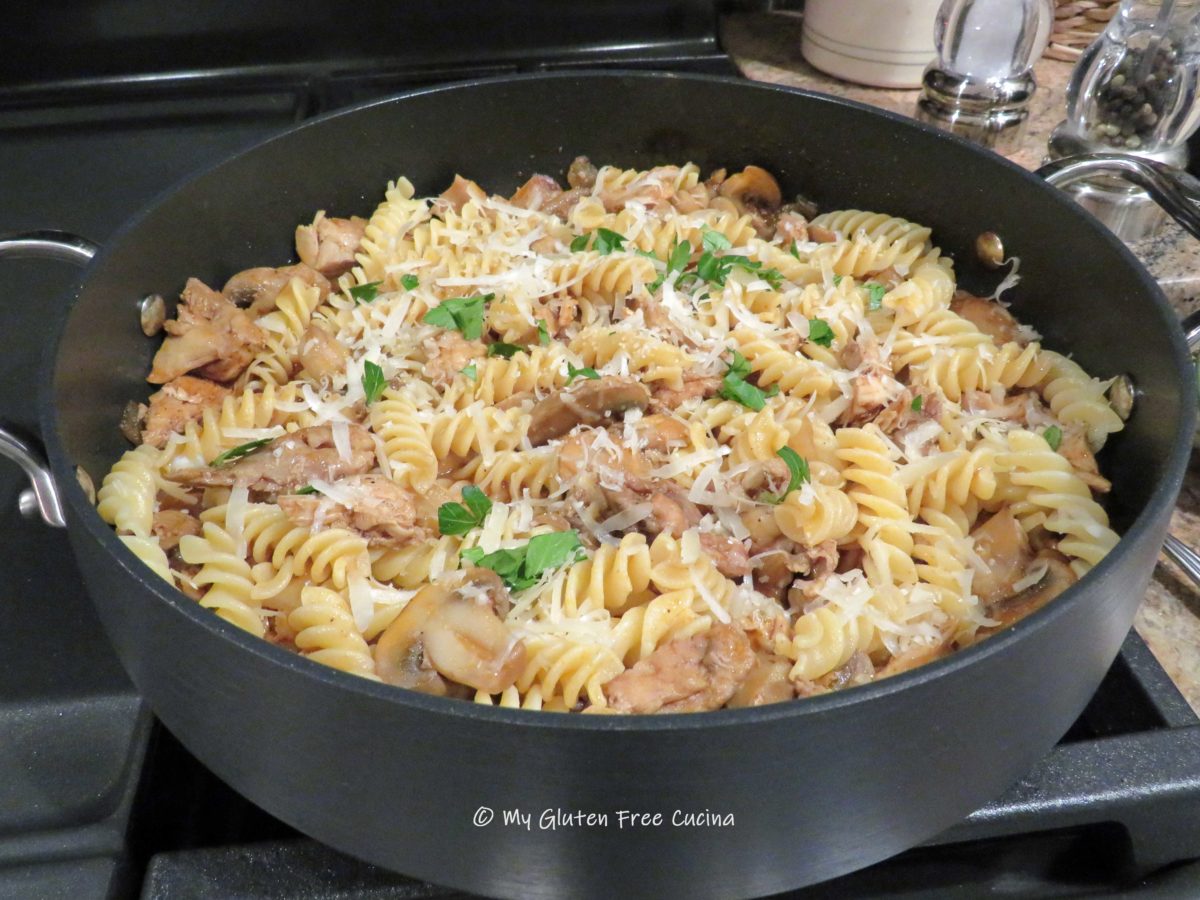
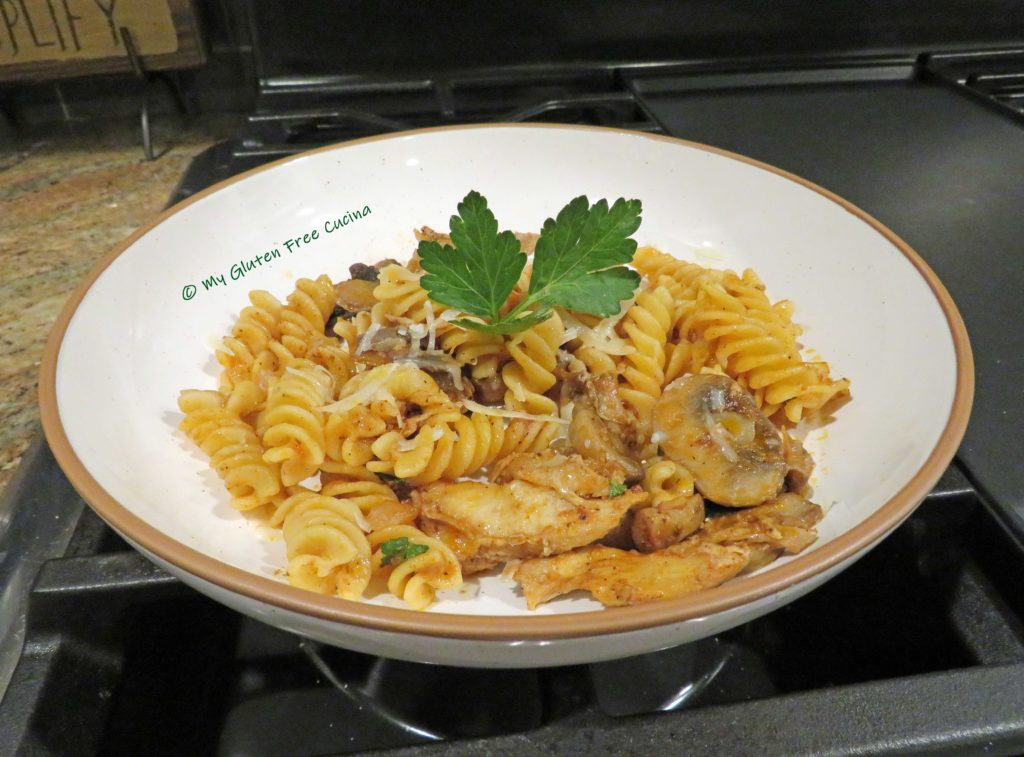
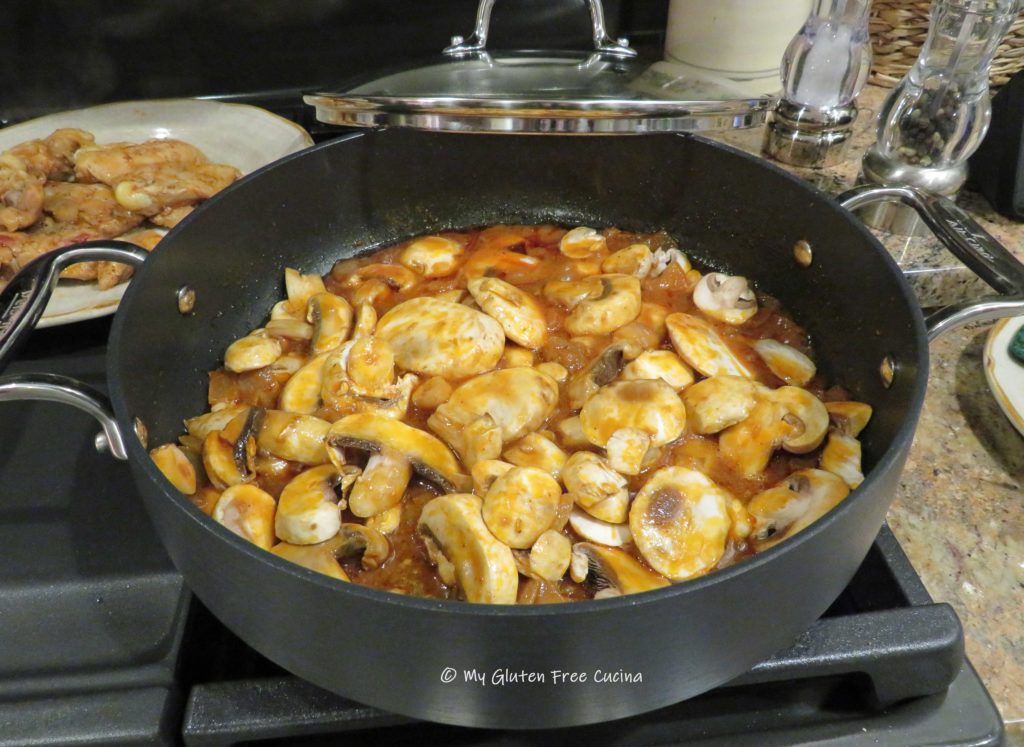 Bring to a simmer and add back the chicken. Cook for an additional 15 minutes. While the ragu finishes, boil water for pasta.
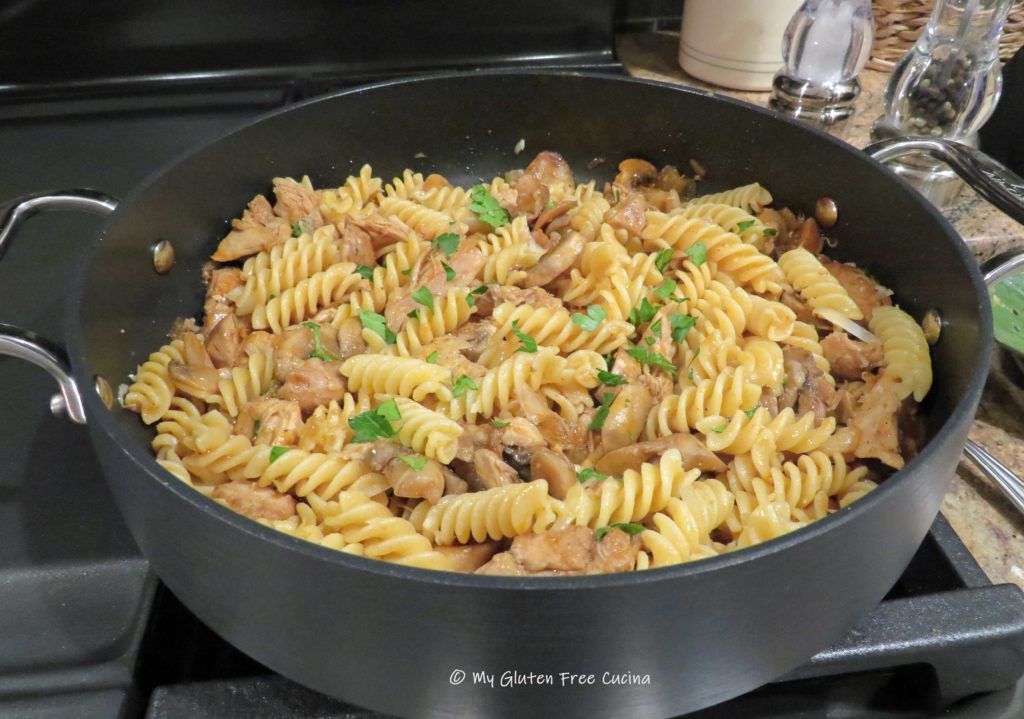


 Cover and simmer on low for 20 minutes, adding a bit more water if it seems dry.

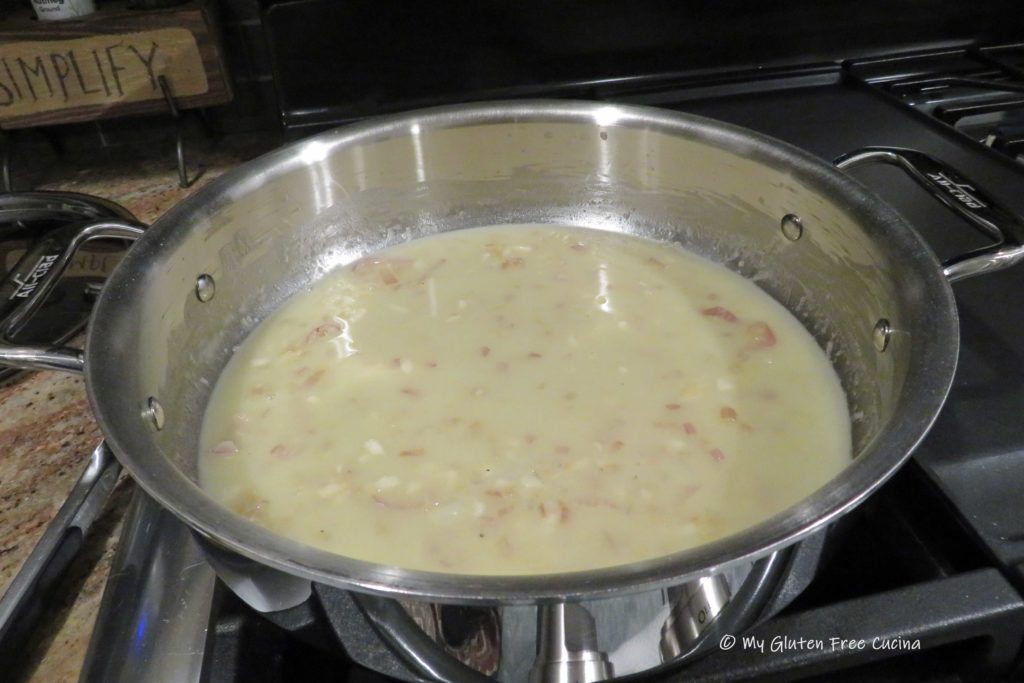
 Drizzle the liquid into the pan as you continue whisking.