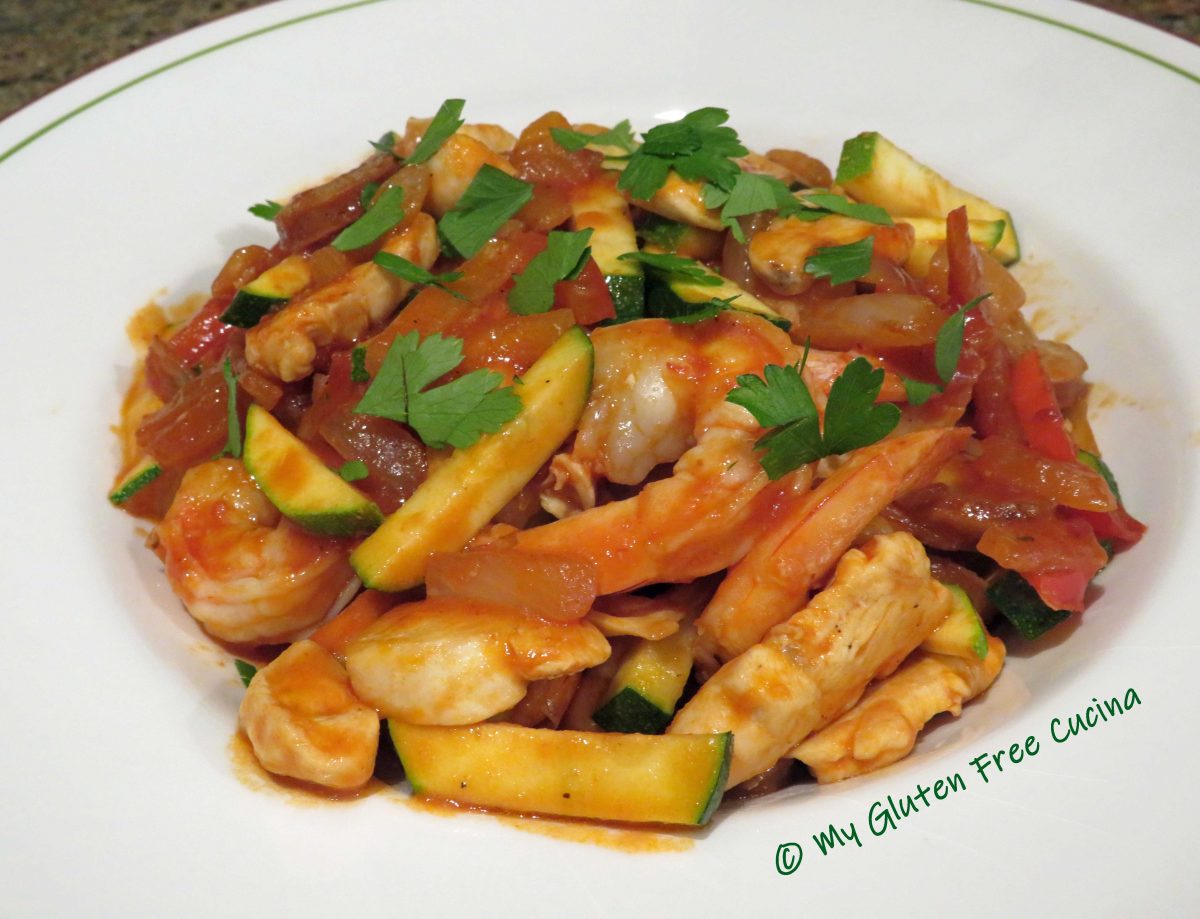
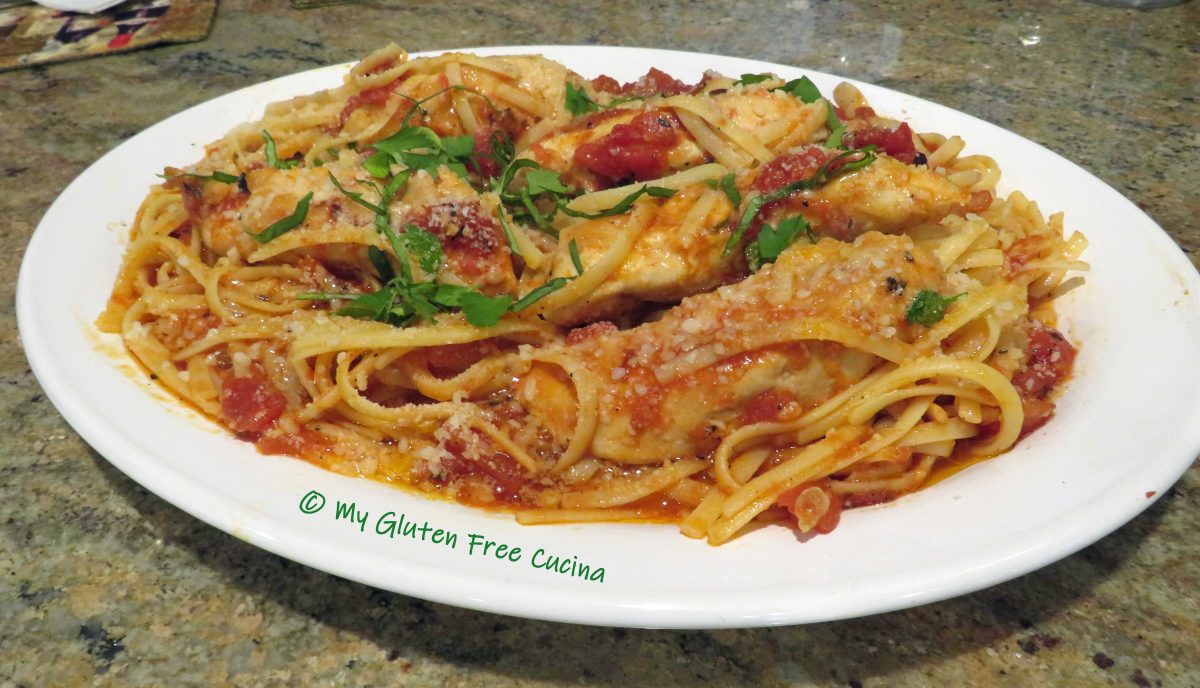
Jambalaya is a delicious, versatile recipe that you can enjoy right at home, better than any restaurant! It is easily adapted to a gluten free diet, as most of the ingredients in this spicy Louisiana dish are naturally gluten free. Andouille sausage gives this dish its signature heat and flavor and is now commonly available with no gluten containing ingredients. Always look for the gluten free label to be safe!
4 Servings
This post contains affiliate links.
Ingredients:
- 8 oz. boneless chicken breast, cut into 1″ dice
- 4 oz. (about 1 link) gluten free andouille sausage sliced into thin coins
- 8 large raw shrimp, peeled and deveined
- 1/2 medium sweet onion, diced
- 1/2 small zucchini, cut into strips
- 1/4 large red bell pepper, thin sliced
- 1 garlic clove, minced
- 2 tbsp. tomato paste
- olive oil
- 2 cups gluten free chicken broth
- 1/2 tsp. creole seasoning (or to taste)
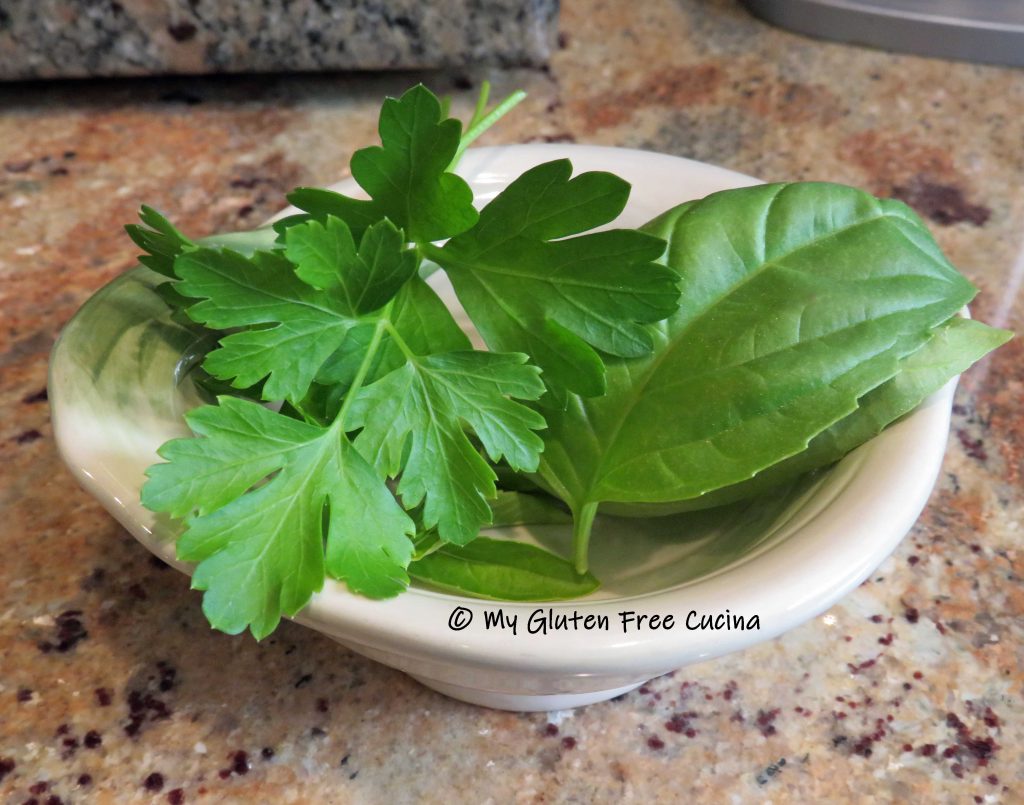
- chopped Italian parsley, for garnish

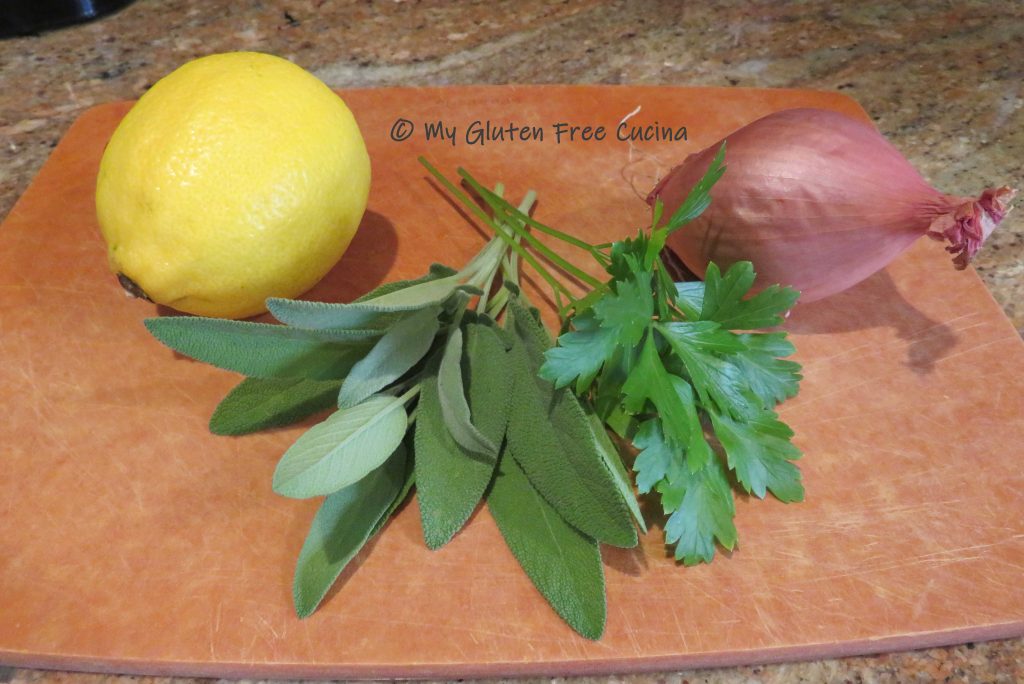
Mise en place:
This is one of those recipes that comes together very quickly once the prep work is done. You don’t want to be doing your chopping and peeling once you begin to cook, so get “everything in its place” before you start cooking…

Preparation:
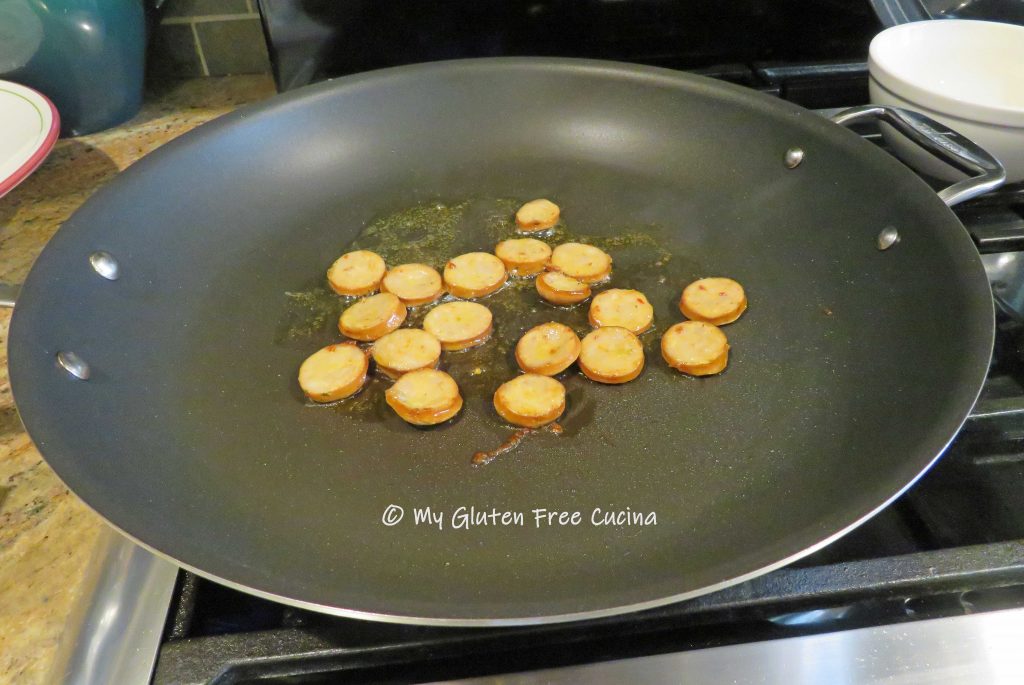
Heat a large nonstick skillet over medium low with a little olive oil and begin cooking the sausage coins. When browned on both sides, remove the sausage and leave the oil in the skillet.
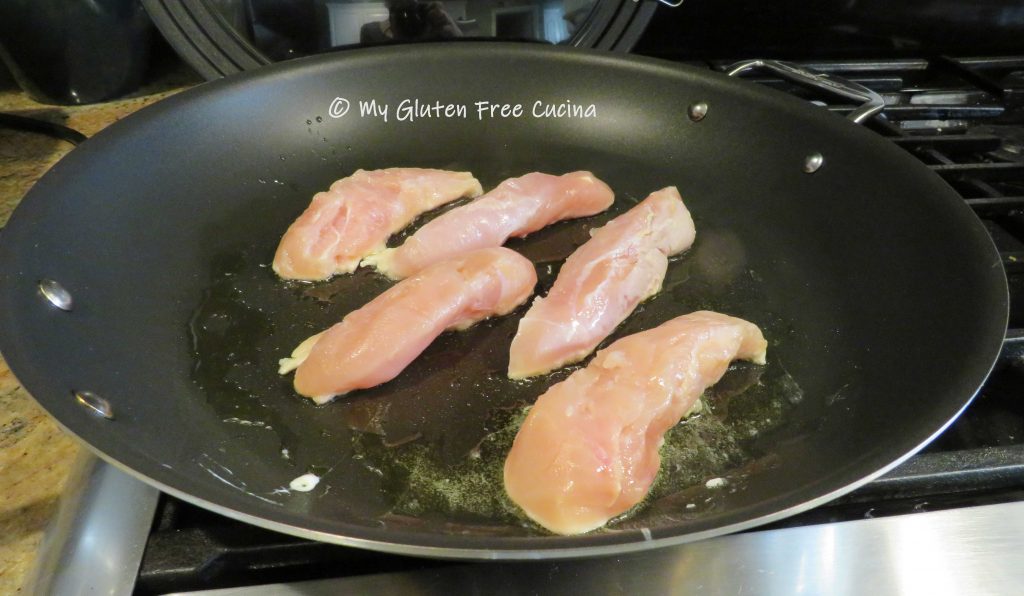
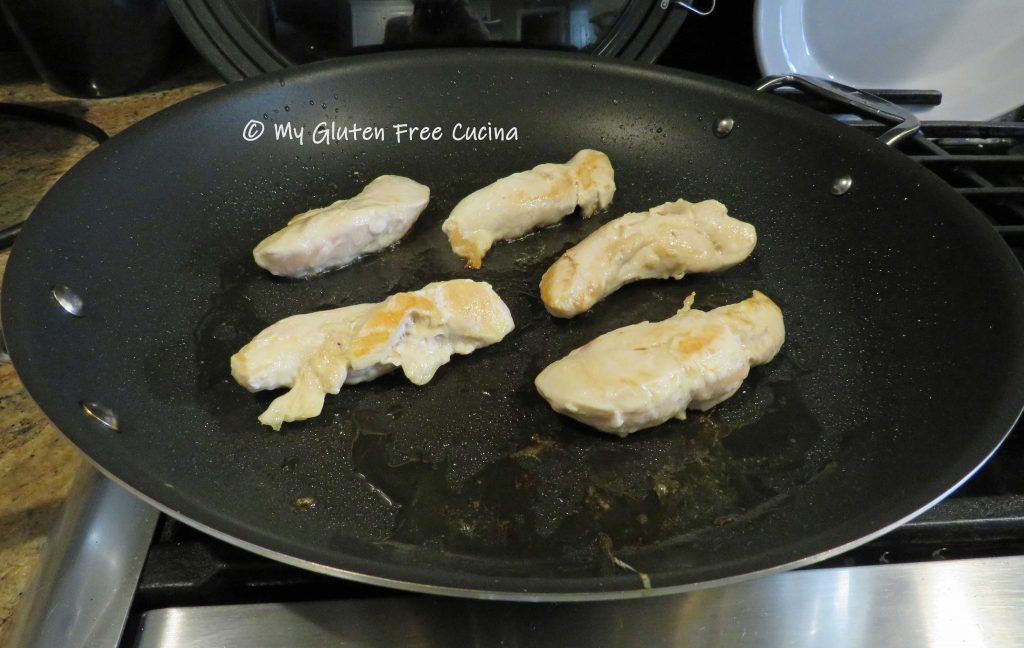
Next, cook the chicken in the reserved oil. Add a bit more olive oil as needed and sprinkle with seasoning.
 Remove the chicken when almost cooked through and add the onions and peppers to the skillet. Sprinkle with seasoning.
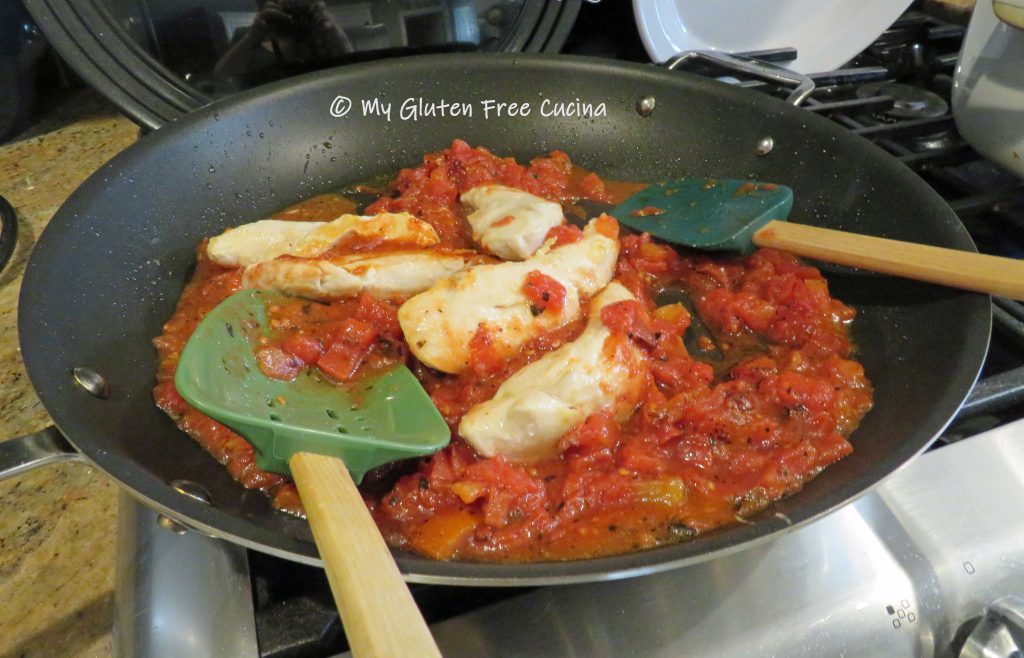
 Cook 2-3 minutes, then push the veggies aside to make a clean spot in the center of the pan. Add the tomato paste and let it toast for a minute before stirring it into the veggies with 1/2 cup of the chicken broth.


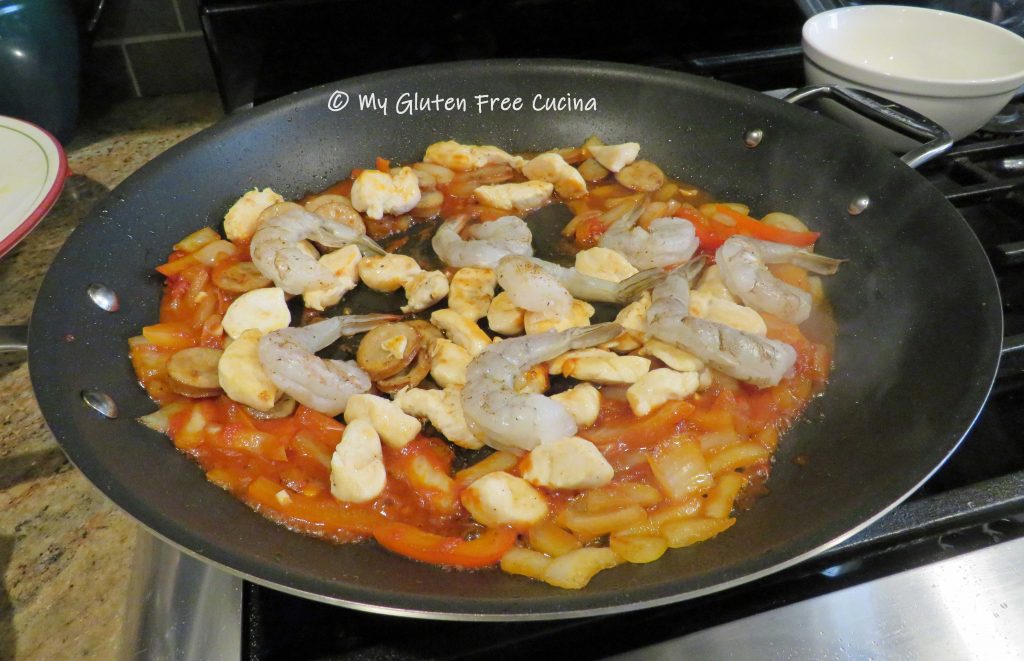
Add the garlic, return the sausage and chicken to the skillet along with the shrimp.
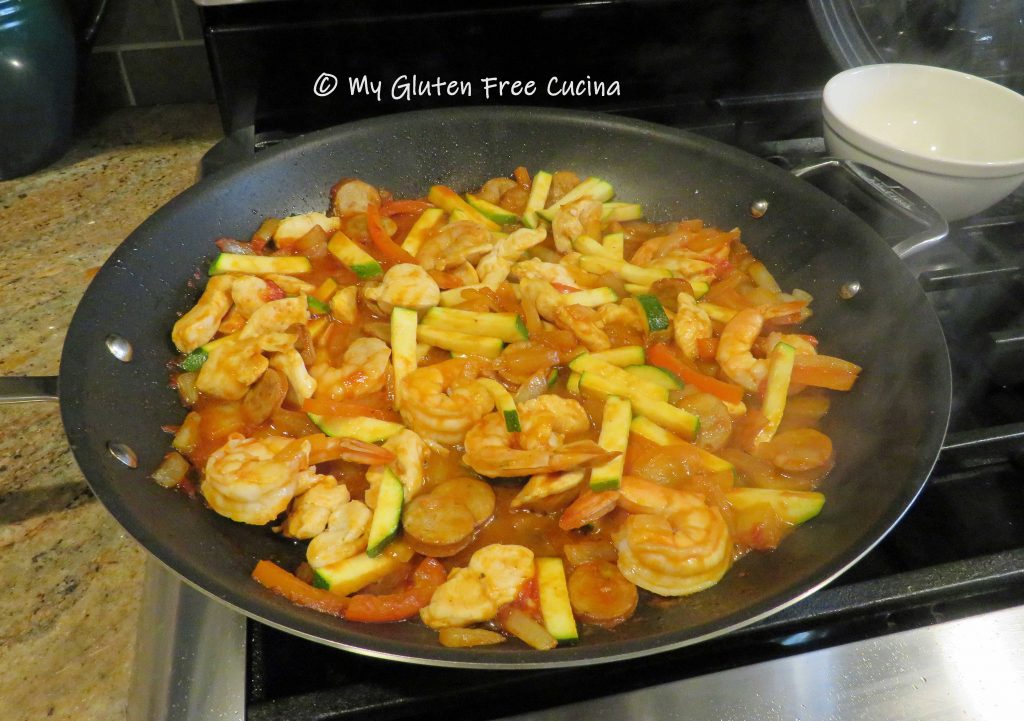
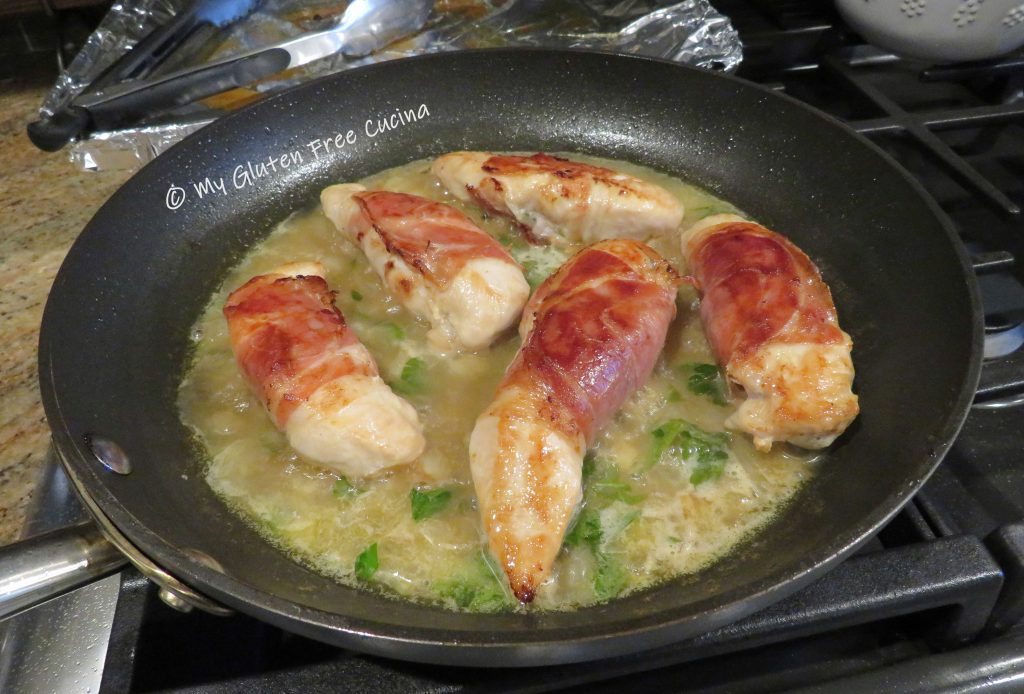
 Stir everything together, then add the remaining 1-1/2 cups chicken broth along with the zucchini.

Cover and cook several minutes longer, just until the shrimp turn pink.
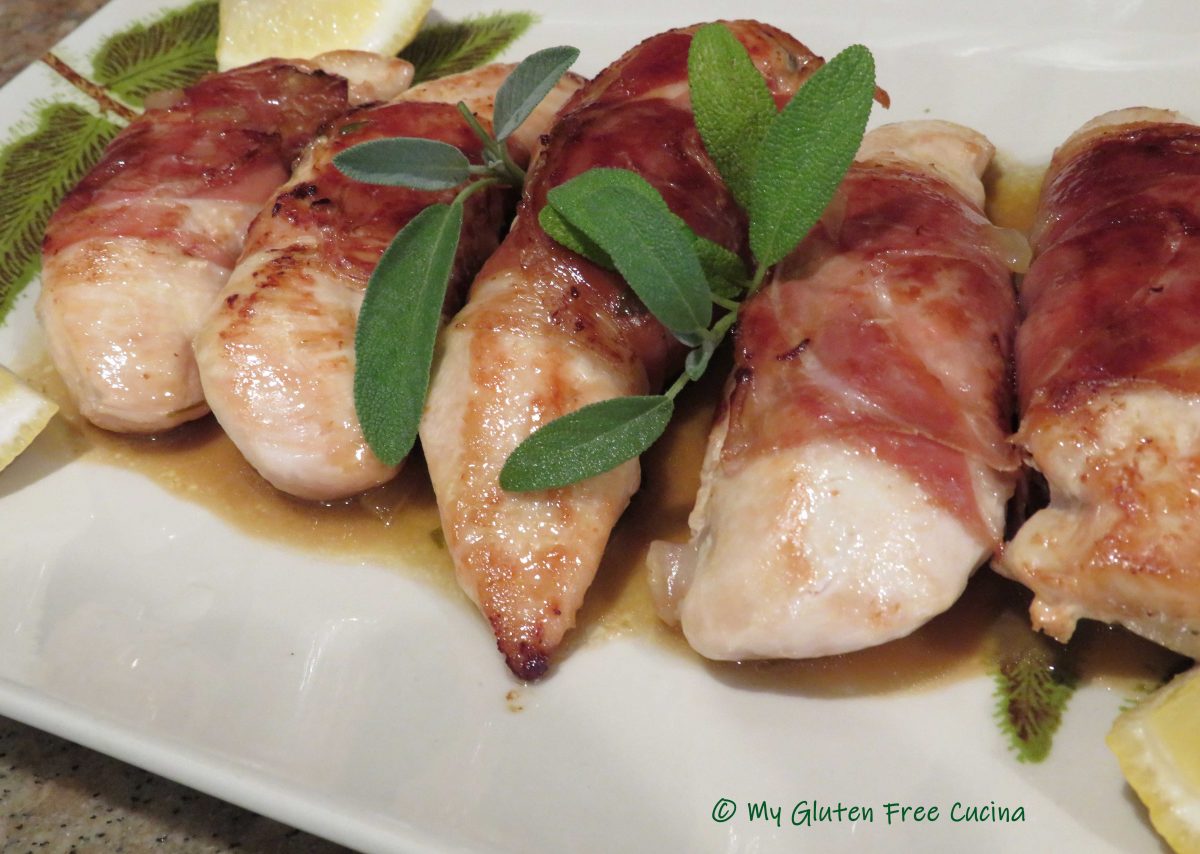
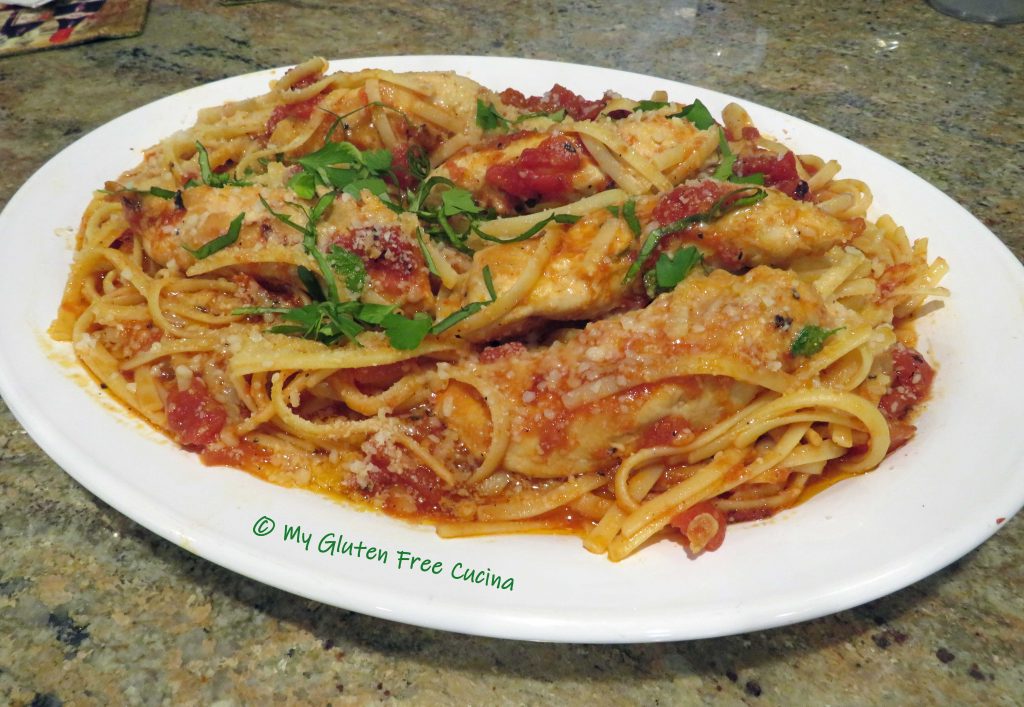
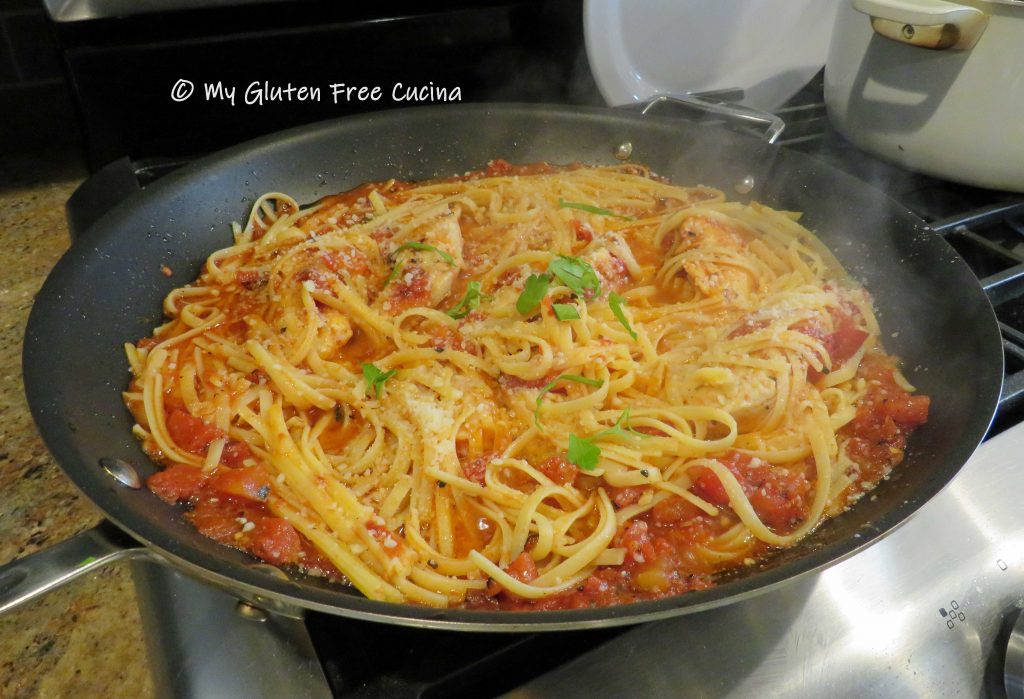
That’s it! Just transfer to a serving bowl and finish with chopped parsley.

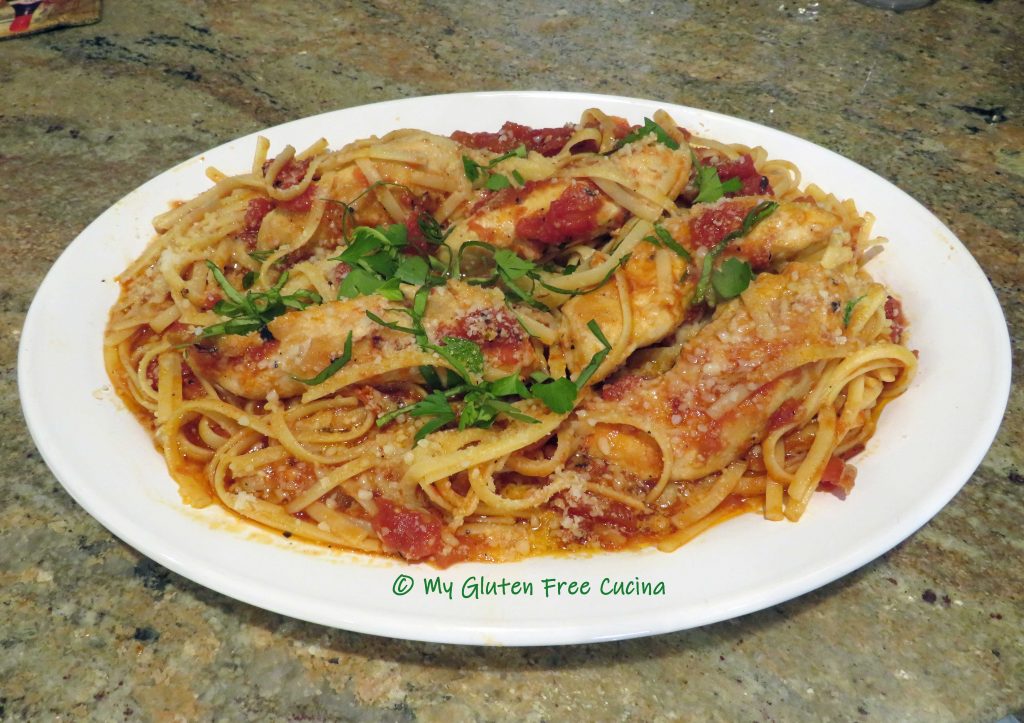
Notes ♪♫ This spicy dish is traditionally served over rice, but it is also delicious tossed with pasta. If you enjoyed this post check out my Jambalaya Pasta, and Jambalaya Stuffed Peppers!


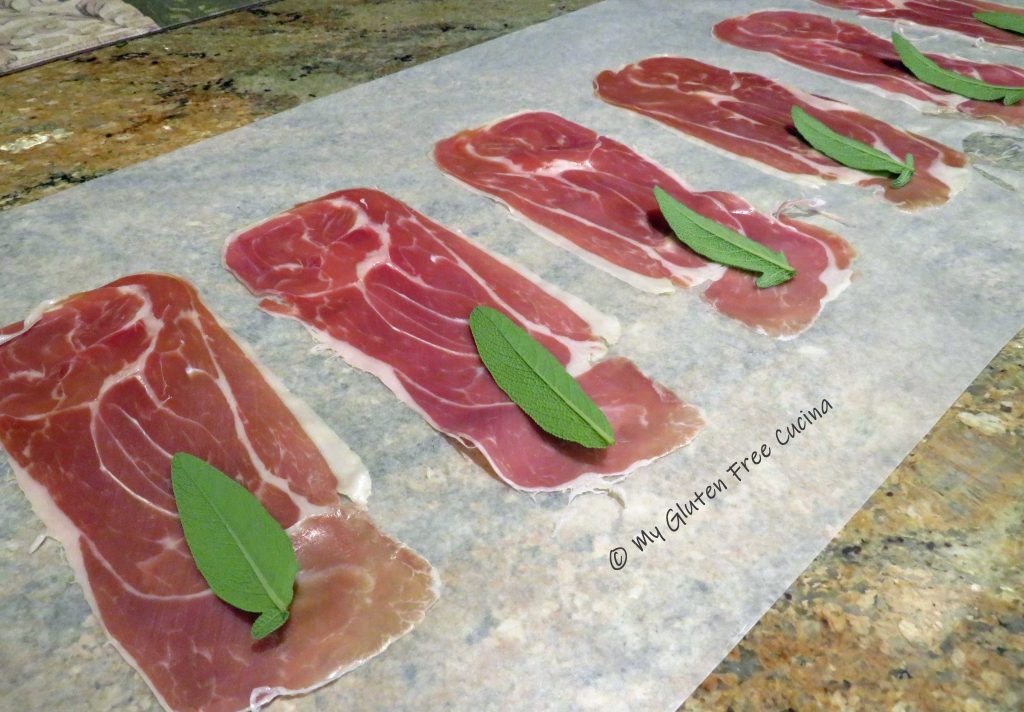
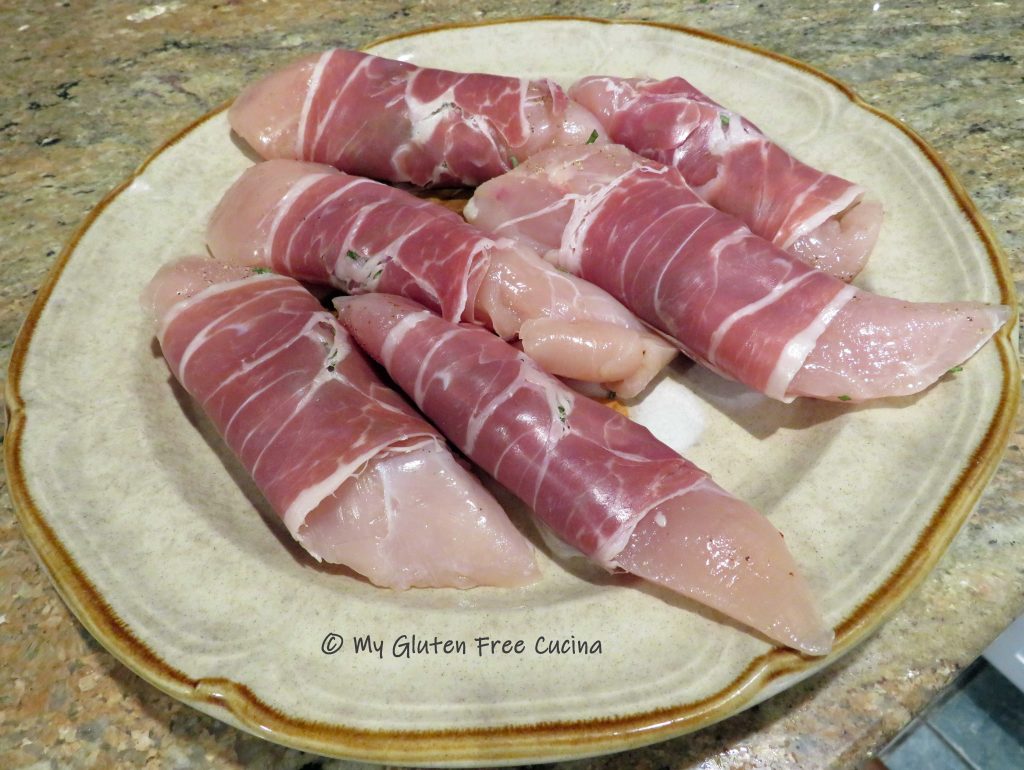
 The inspiration for this post was a beautiful pot of sage from my herb garden. I’m really proud that I grew it from seed!


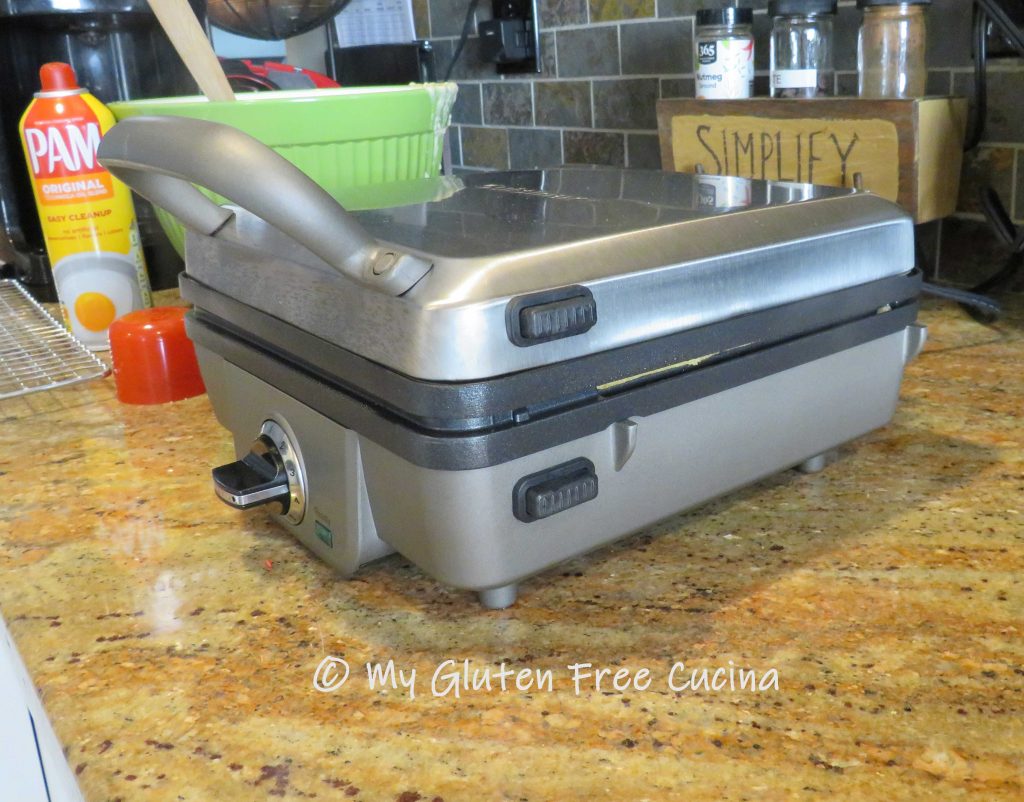
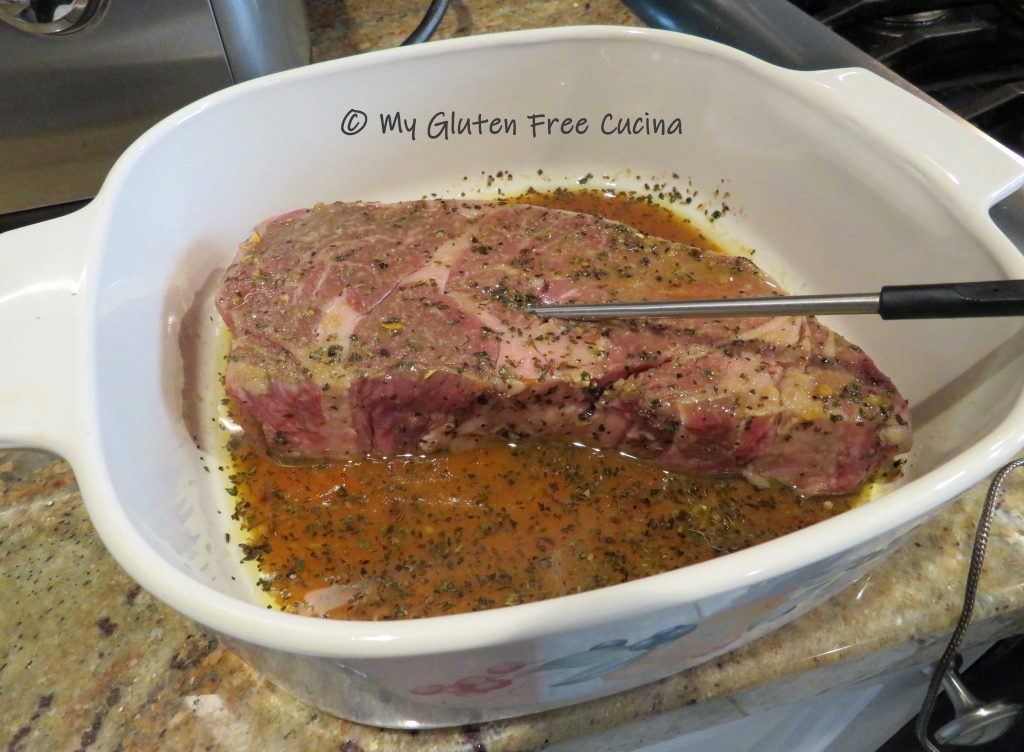
 When I first made this recipe, I used a


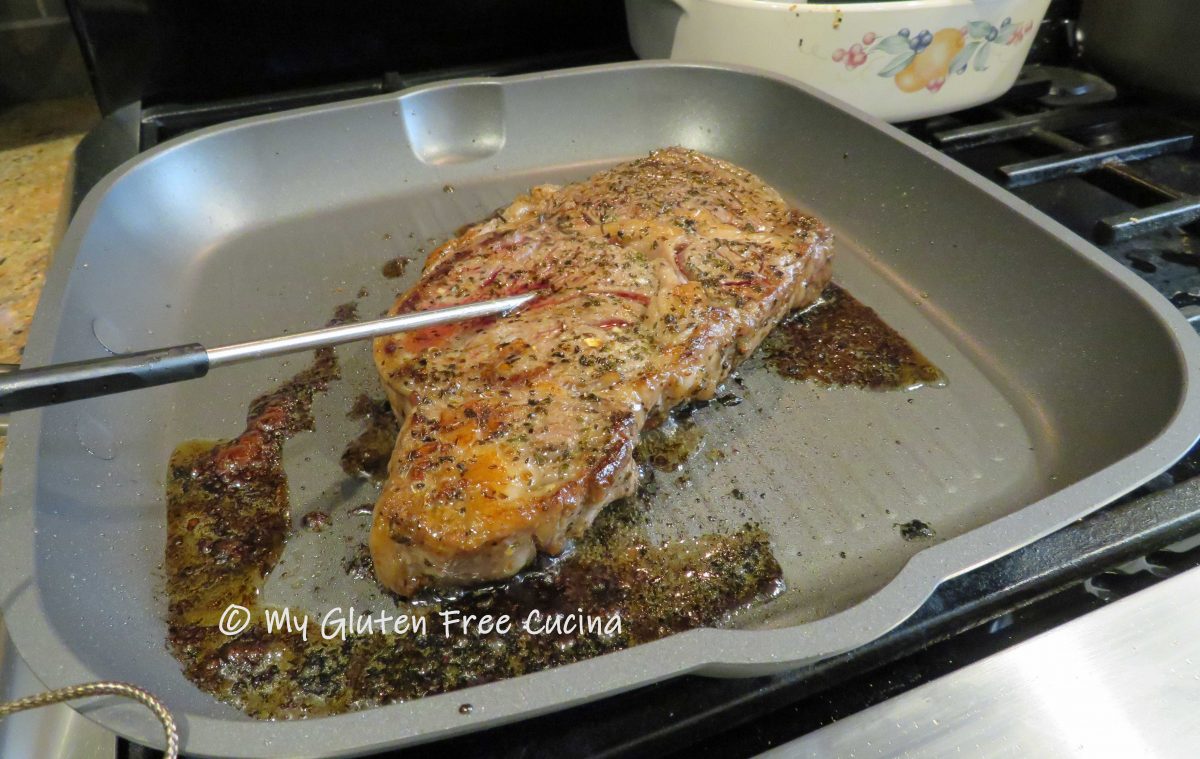


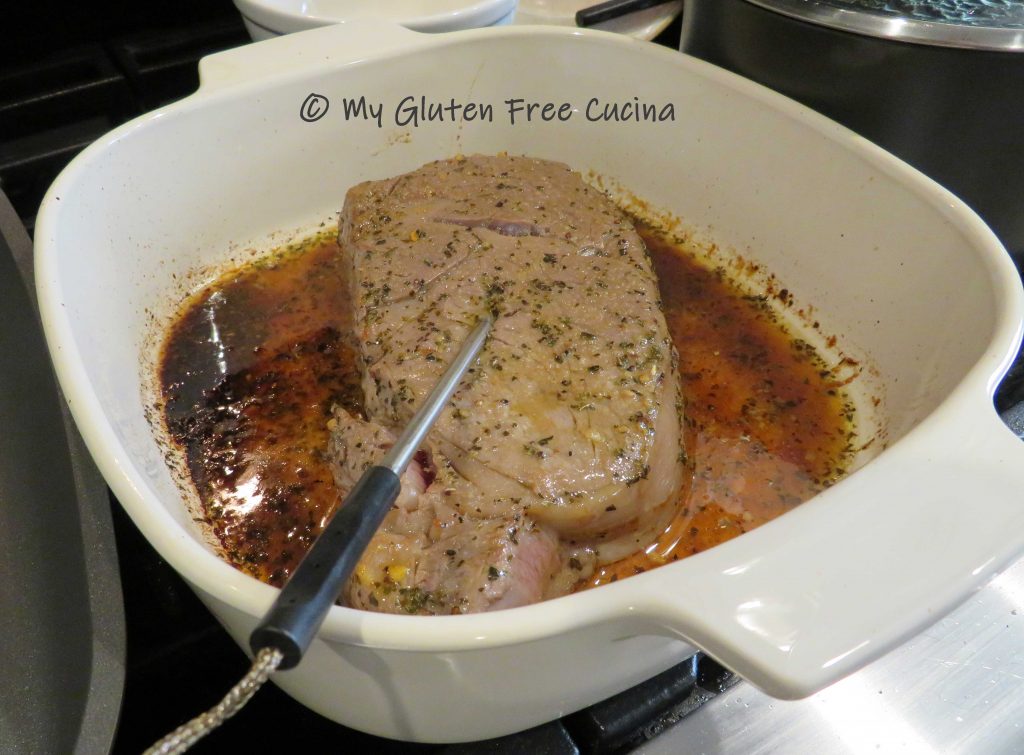

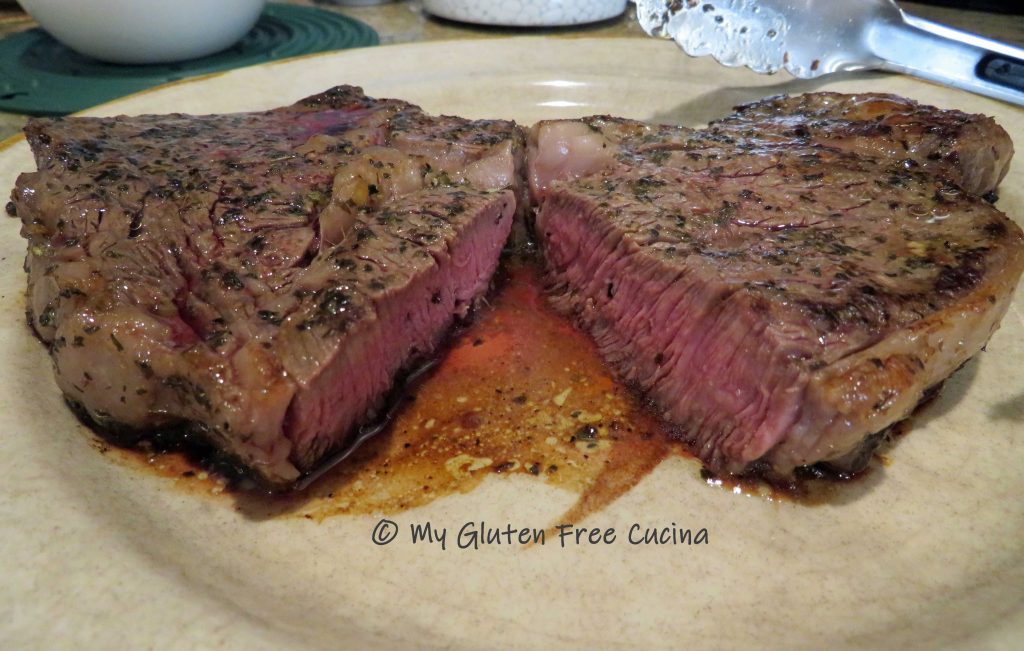
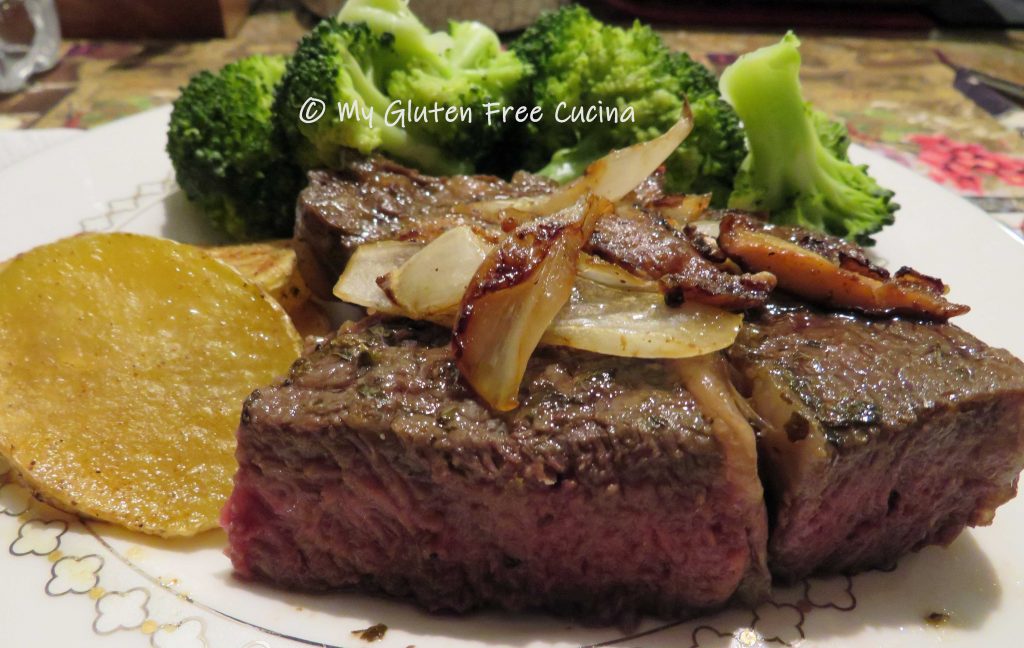
 Keeping the thermometer in place, cook the steak for 2 minutes more per side, or until the internal temperature reaches 140º for medium.
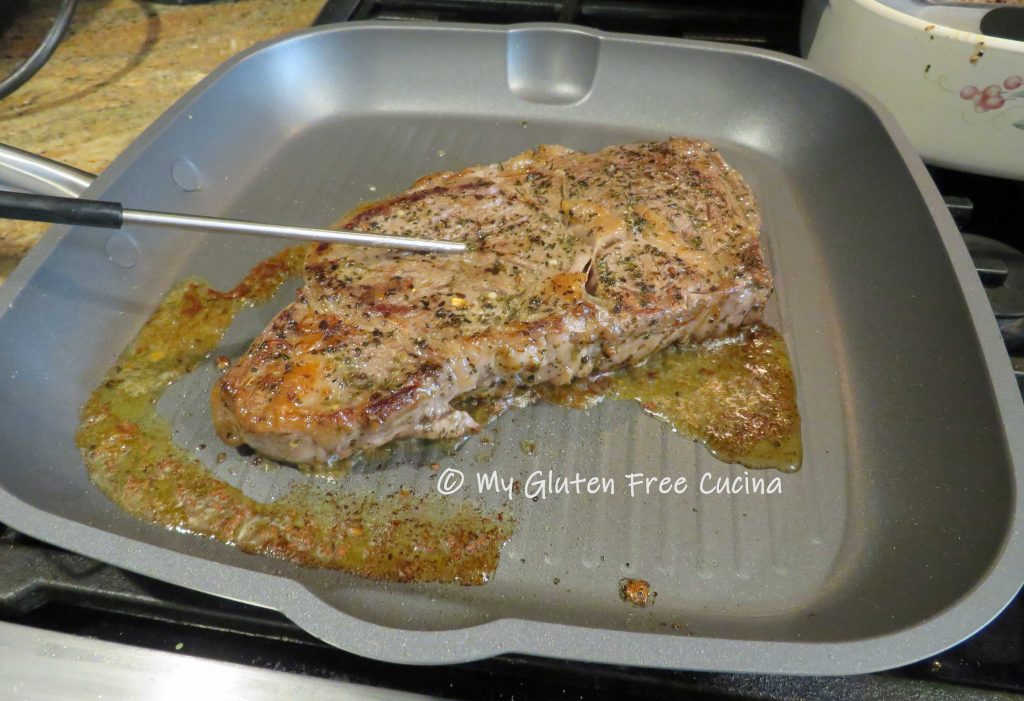

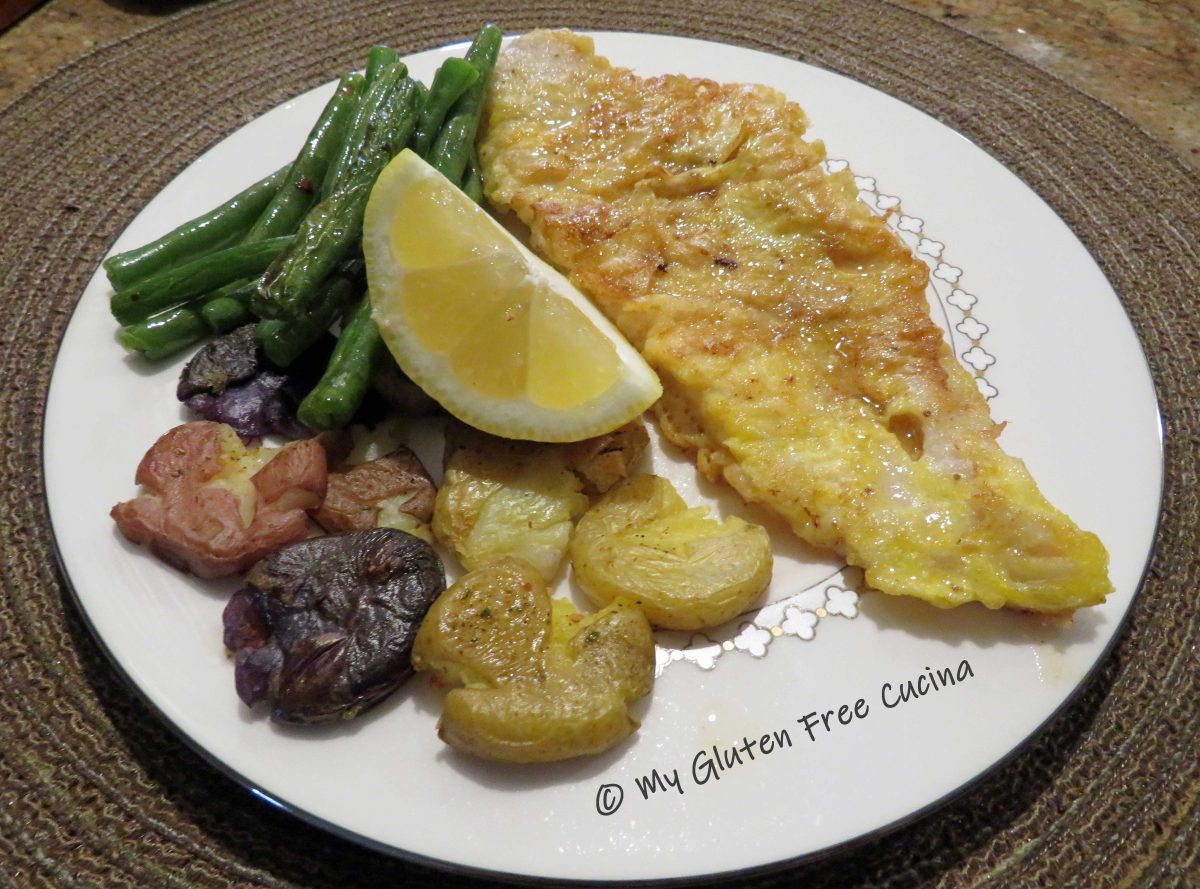
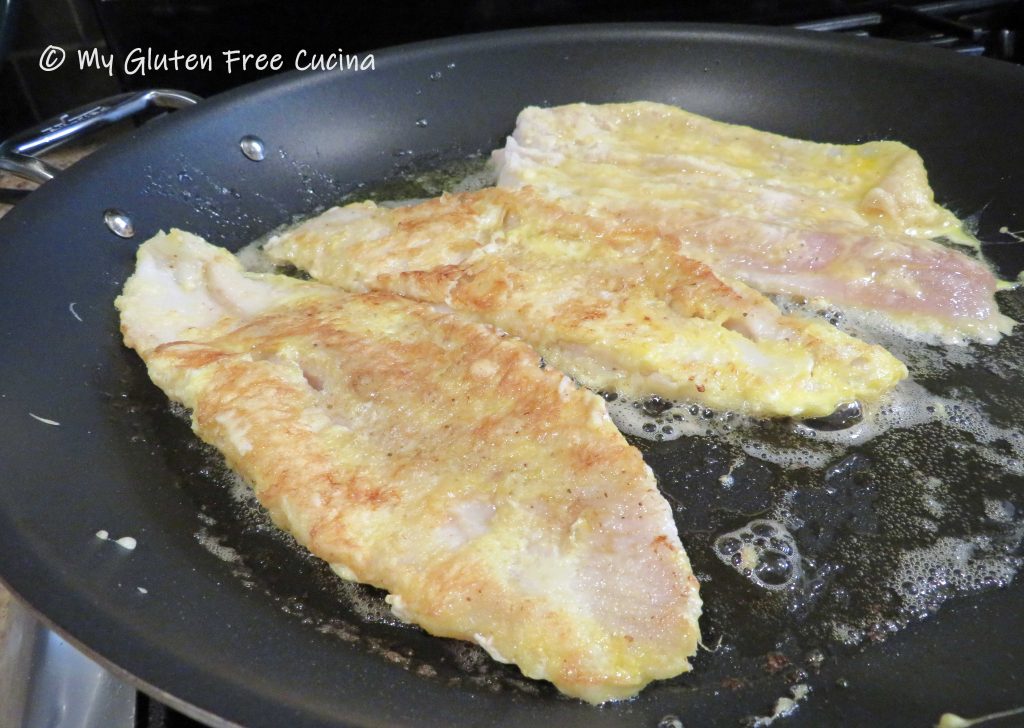
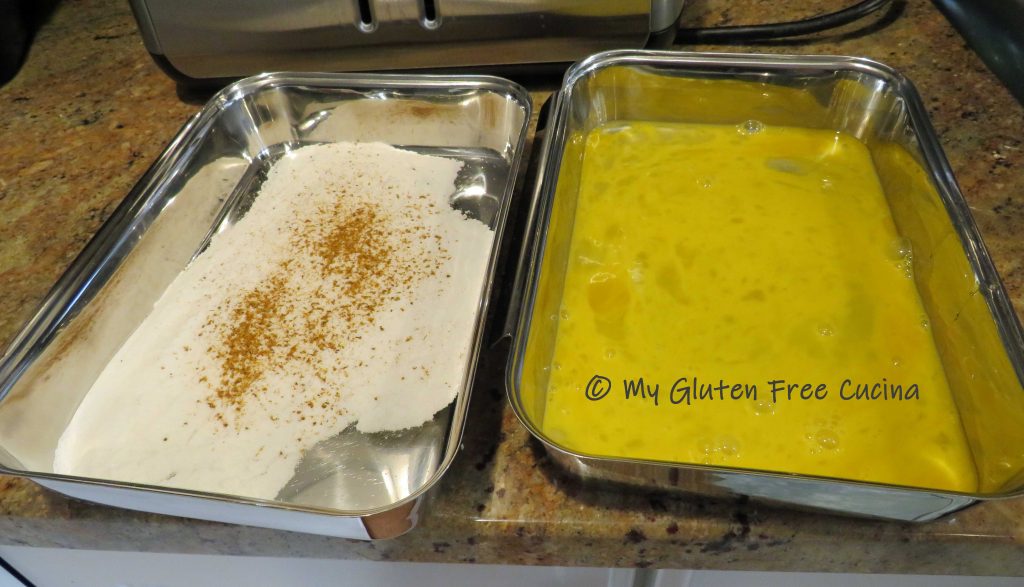
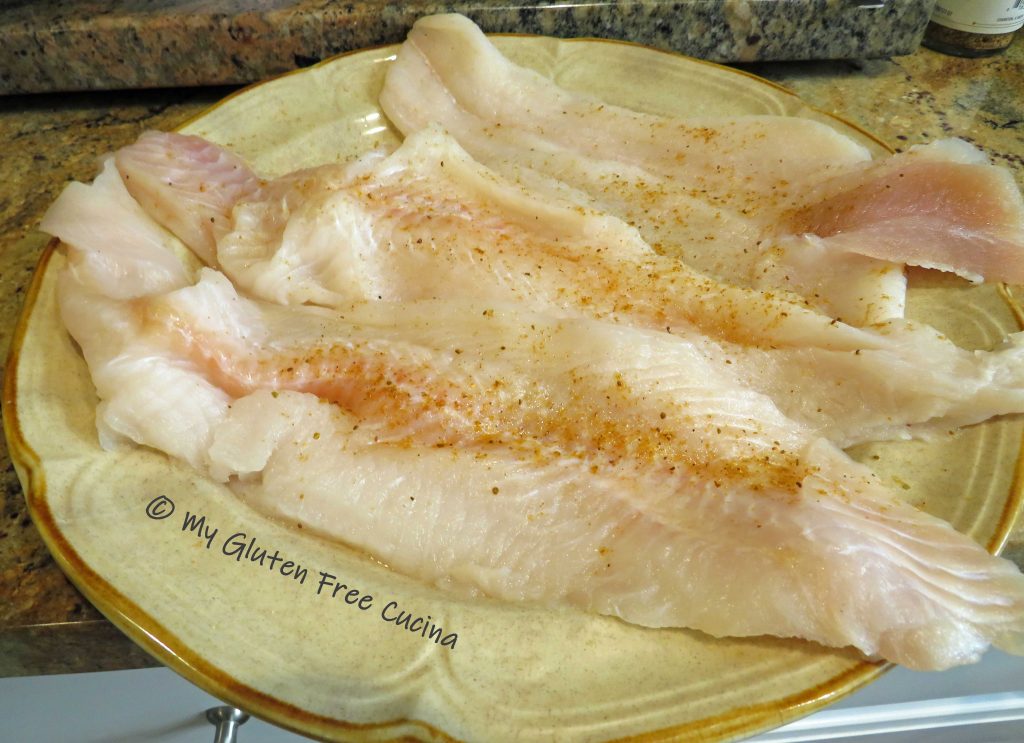
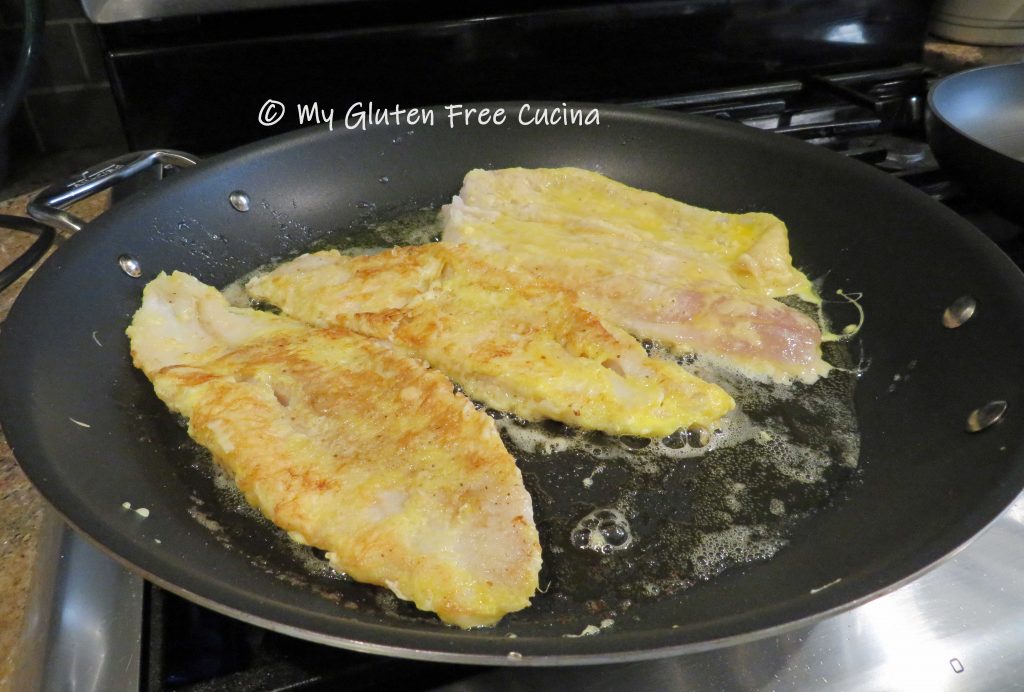
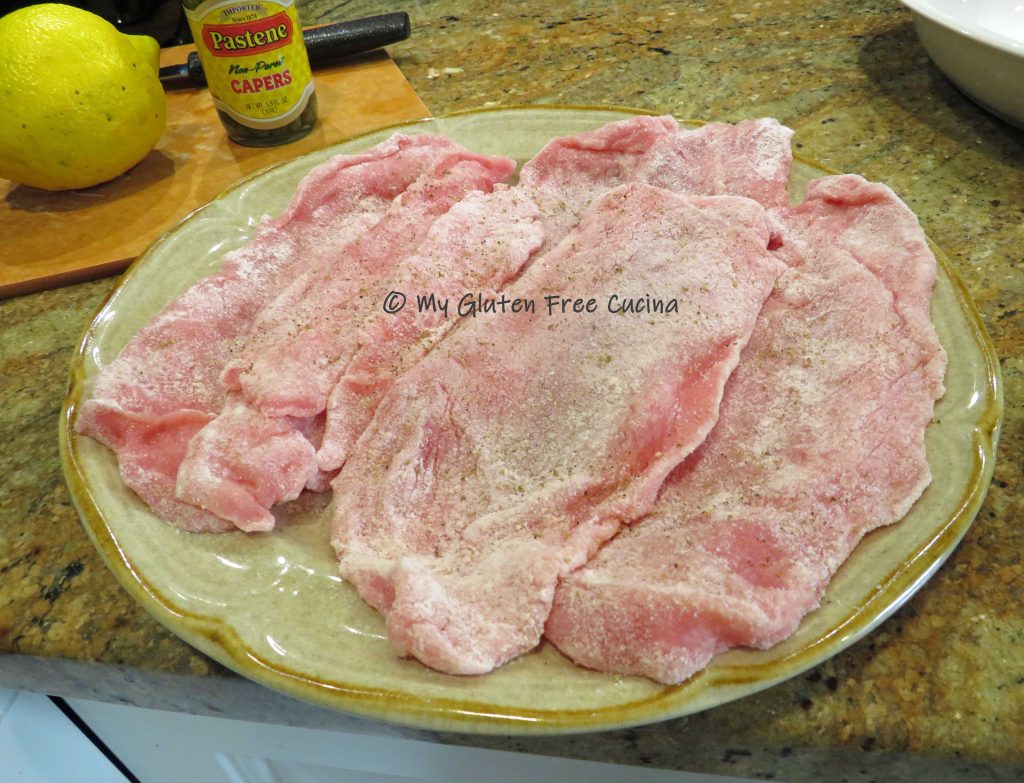
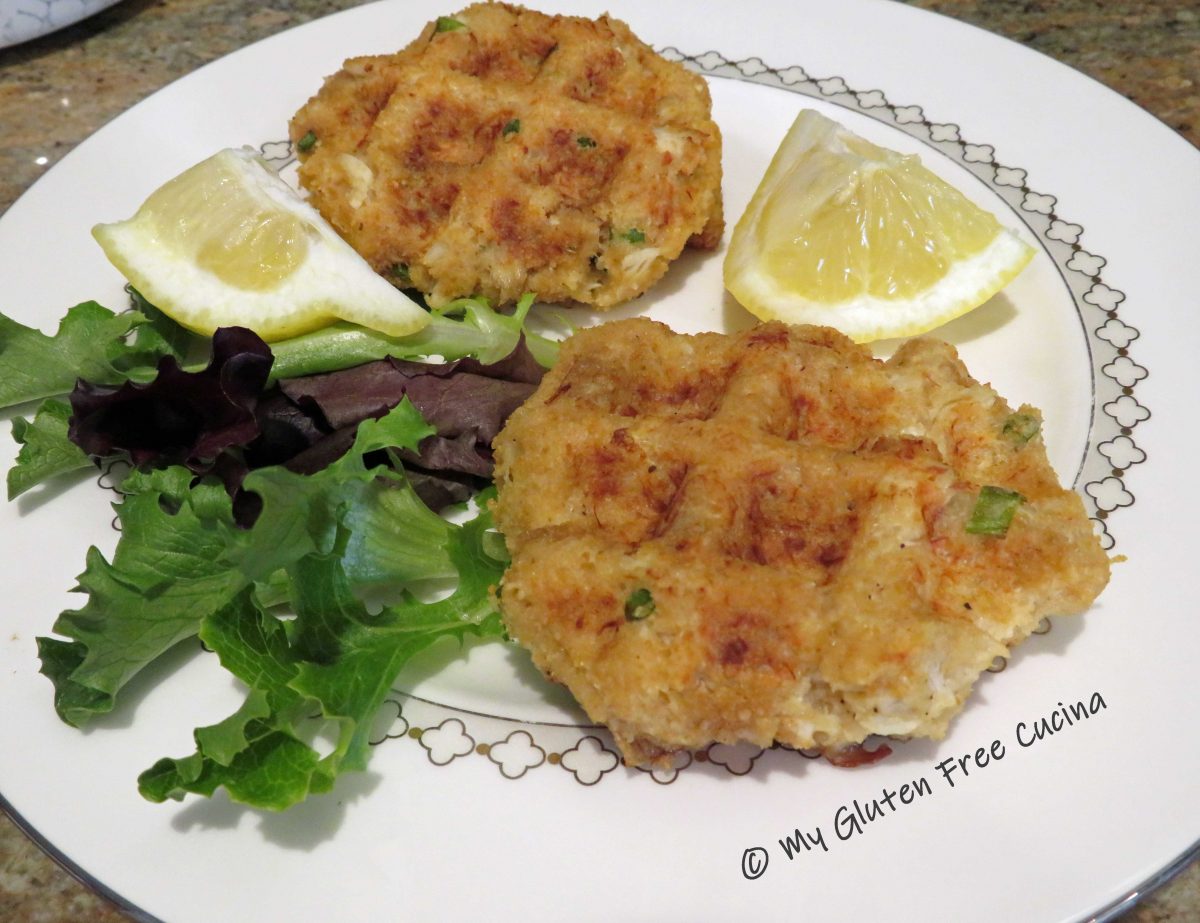
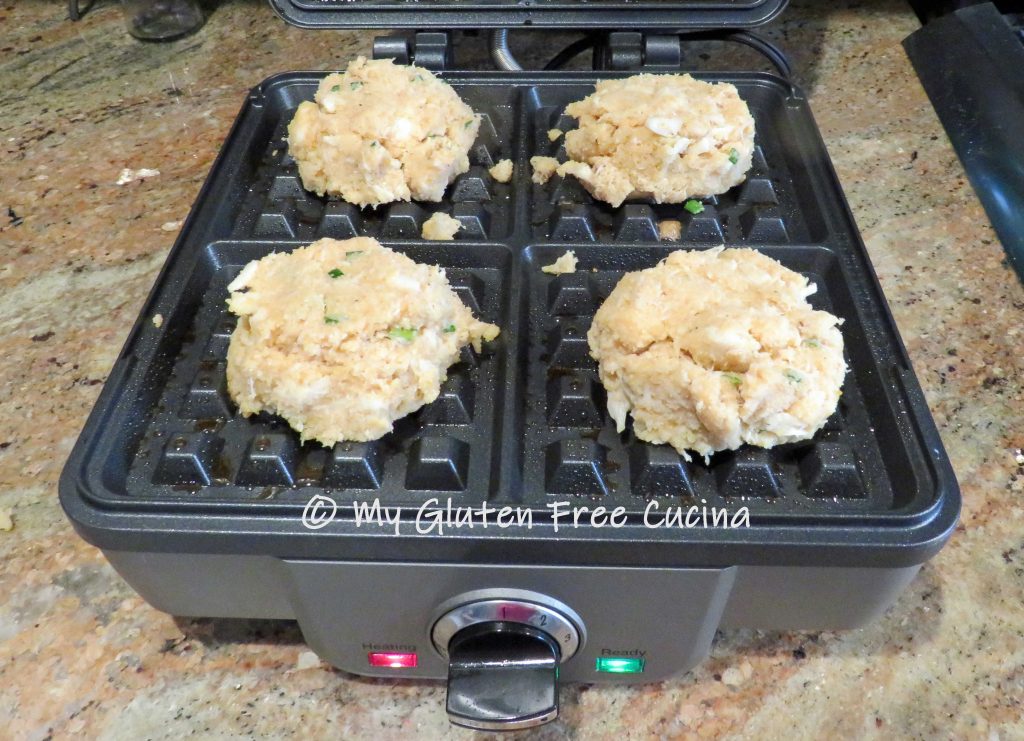
 Sprinkle the sole fillets with Old Bay, then dredge each piece in flour. Dip in egg, shaking off the excess.