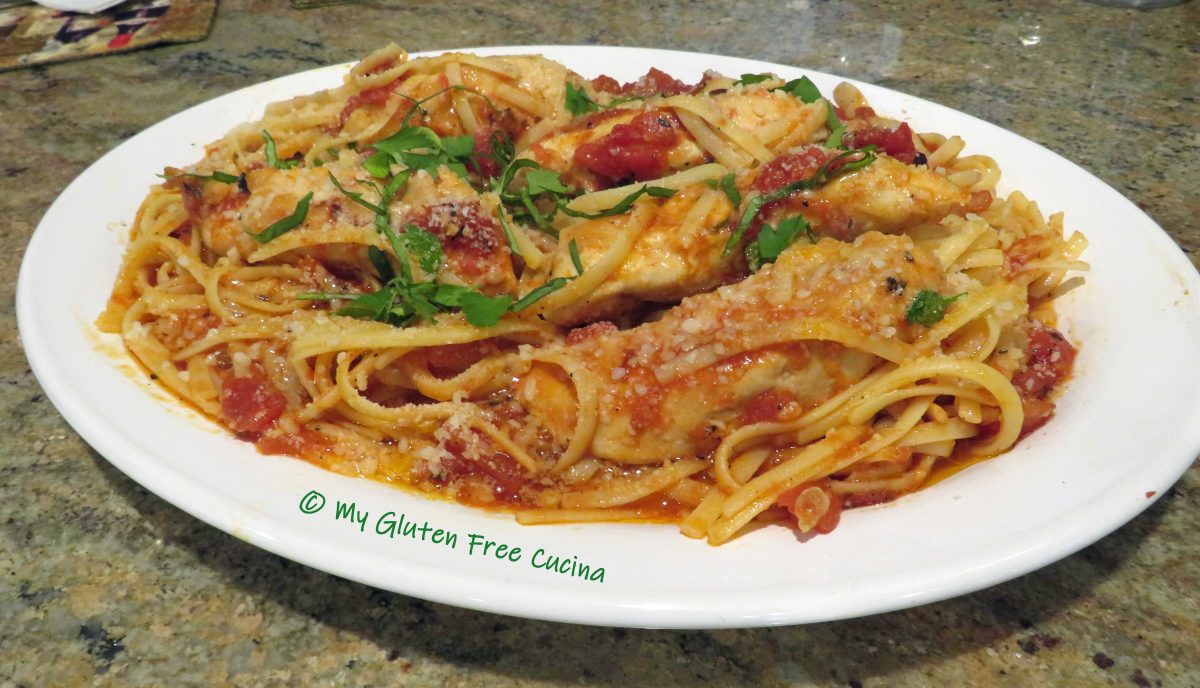
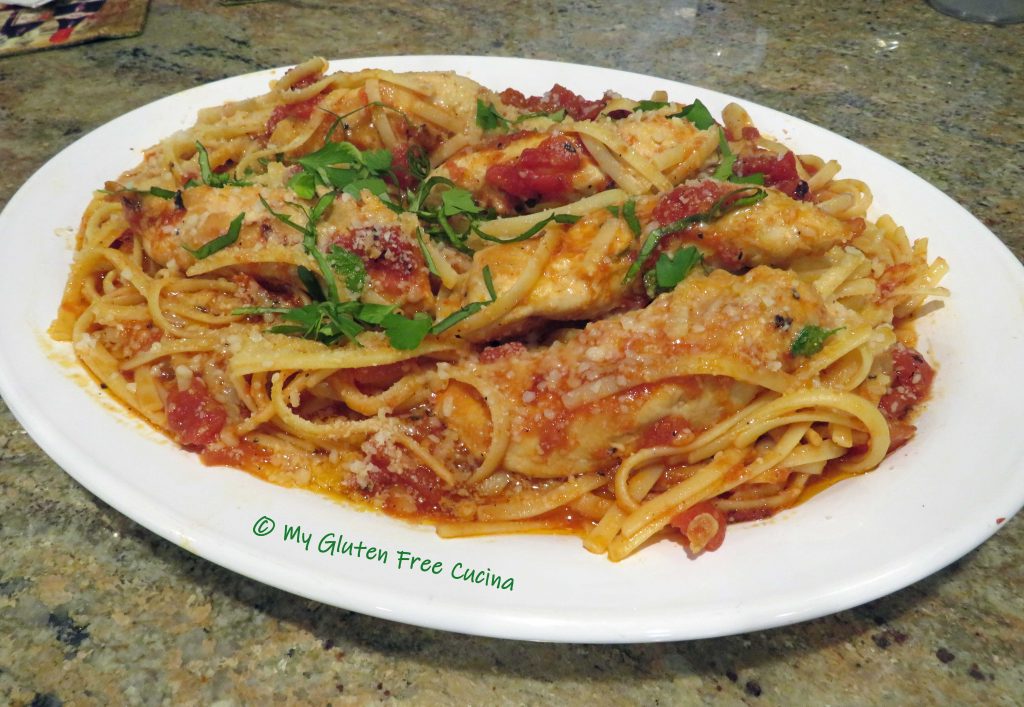
Can you make an Italian Sunday Dinner in under 30 minutes? When you don’t have the time or the inclination to make an elaborate meal, this recipe comes together in a flash with common pantry ingredients. I used chicken tenders to keep prep to a minimum. A simple sauce made with fire roasted tomatoes and a red wine vinaigrette is rich with flavor. I finished it off with grated cheese and a sprinkle of fresh herbs from my garden.
This post contains affiliate links.
4 Servings
Ingredients:
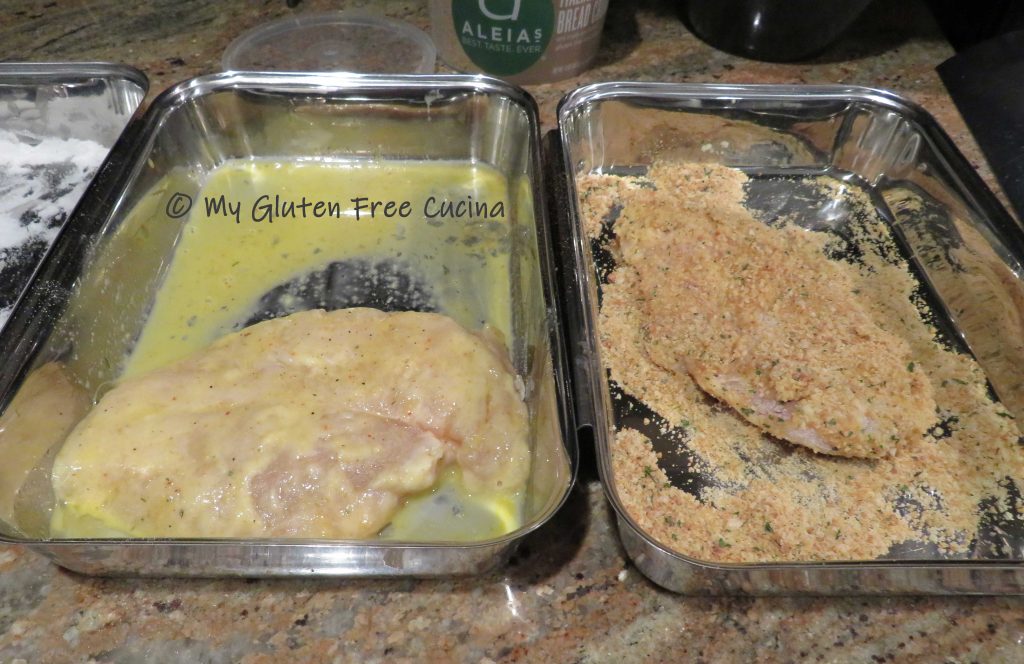
- 1 lb. boneless chicken tenders
- 3-4 tbsp. olive oil, divided use
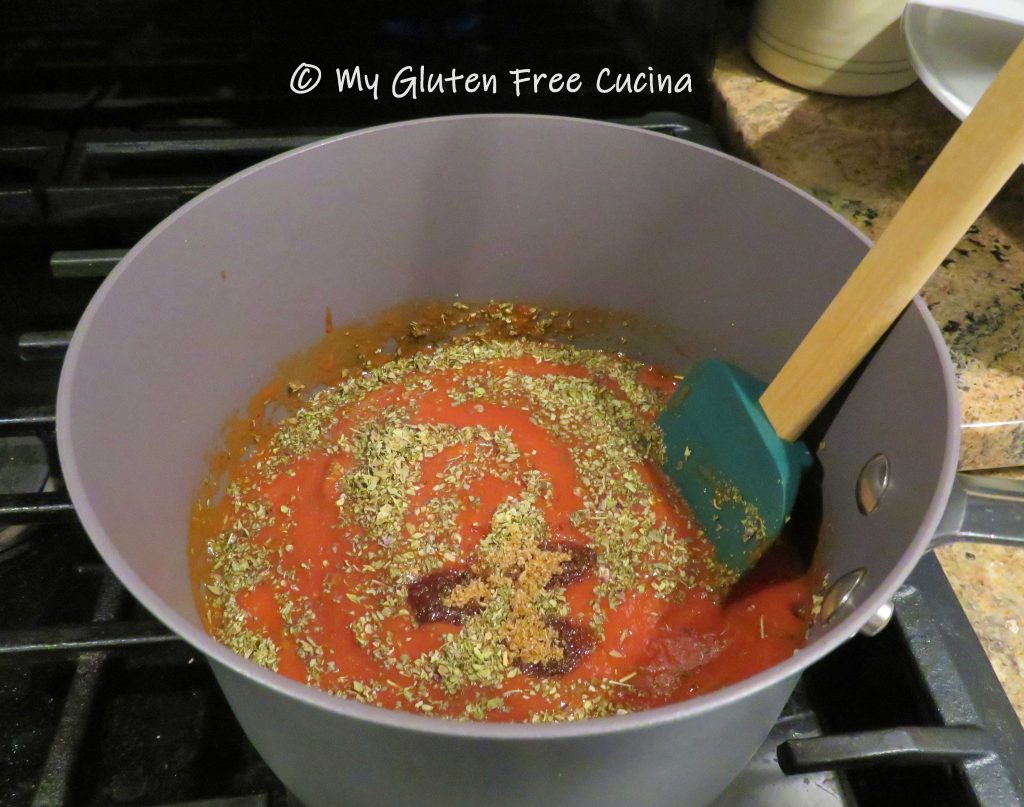
- 3 tbsp. tomato paste
- 1 can (14.5 oz.) gluten free Fire Roasted Tomatoes
- 1-1/2 tbsp. red wine vinegar
- 1 tsp. Italian seasoning
- 1/4 tsp. red pepper flakes
- 1/4 tsp. garlic granules
- 1 ladle of pasta water
- 1/2 lb. gluten free fettuccine
- 1/2 tsp. salt
- 2 tbsp. grated Parmesan cheese
- 2 tbsp. grated Romano cheese
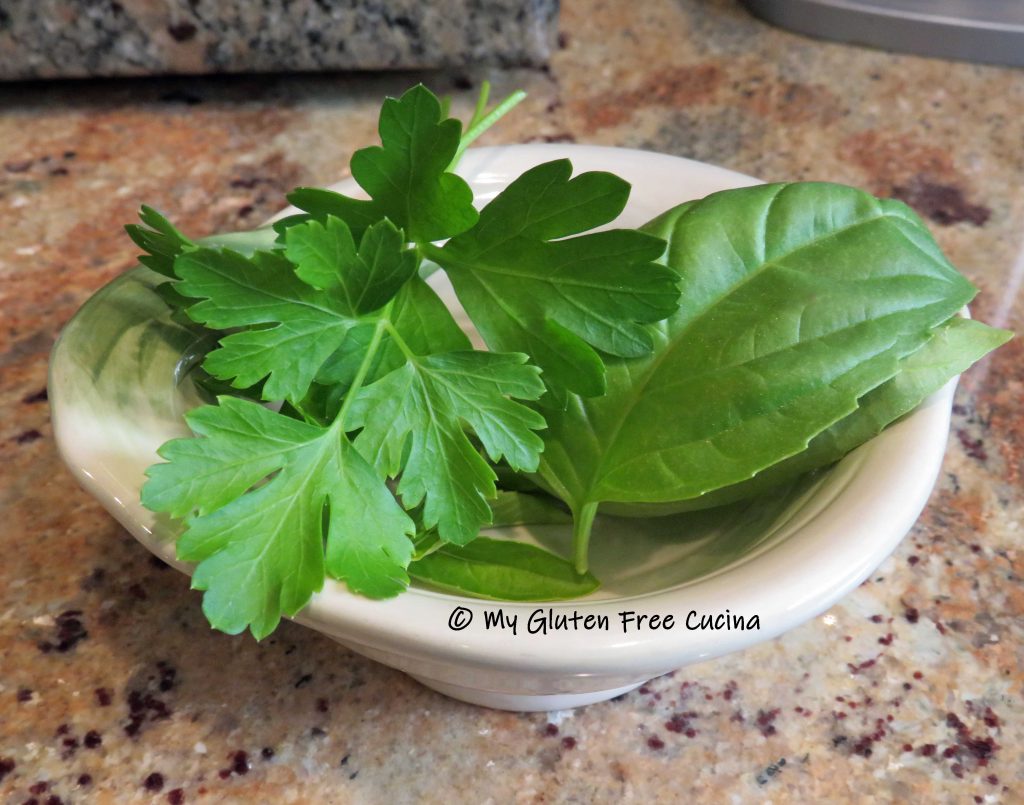
- 1 tbsp. each fresh Italian parsley and slivered basil for garnish
Preparation:
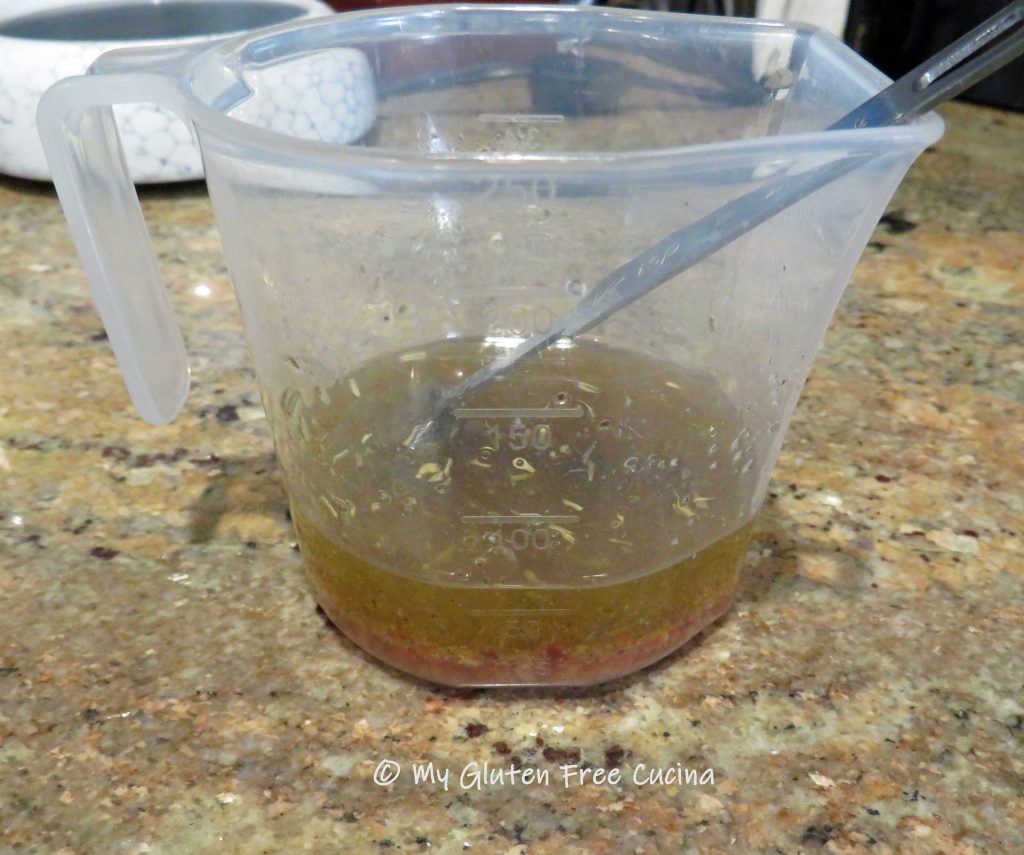
Boil water for the pasta, add 1/2 tsp. of salt and 1/2 tsp. olive oil. Cook the fettuccine according to package directions. Whisk together 2-1/2 tbsp. olive oil, the red wine vinegar and the seasonings.
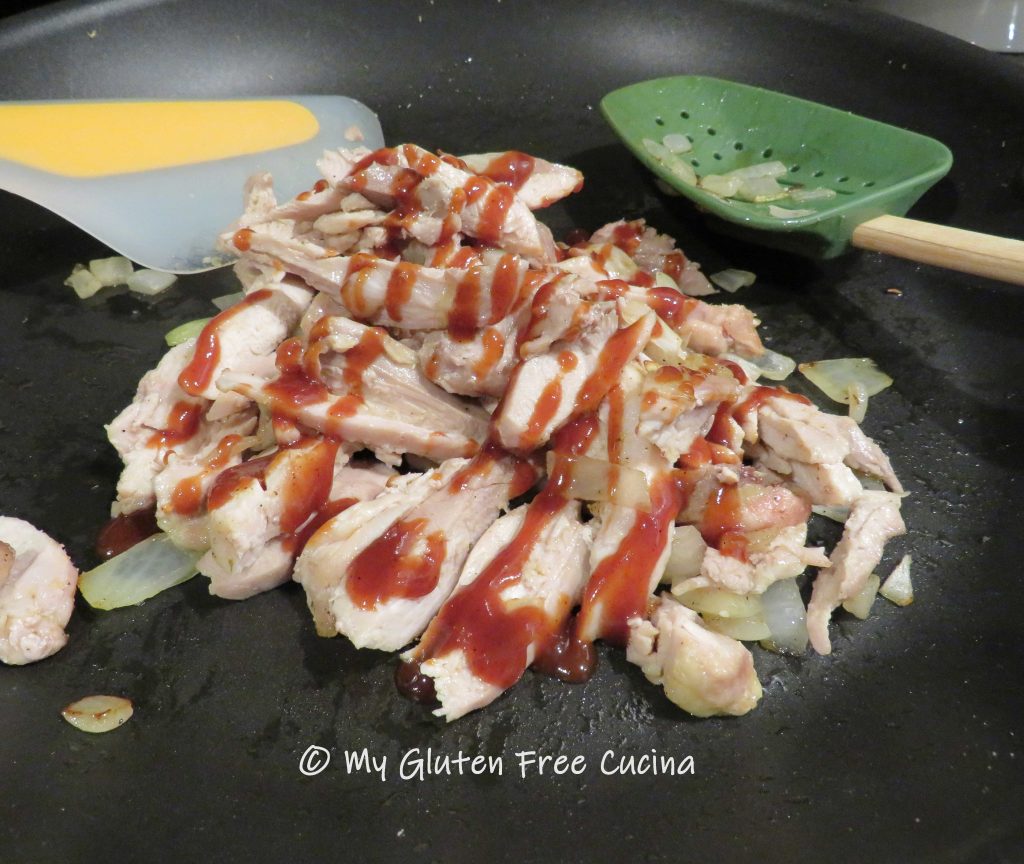
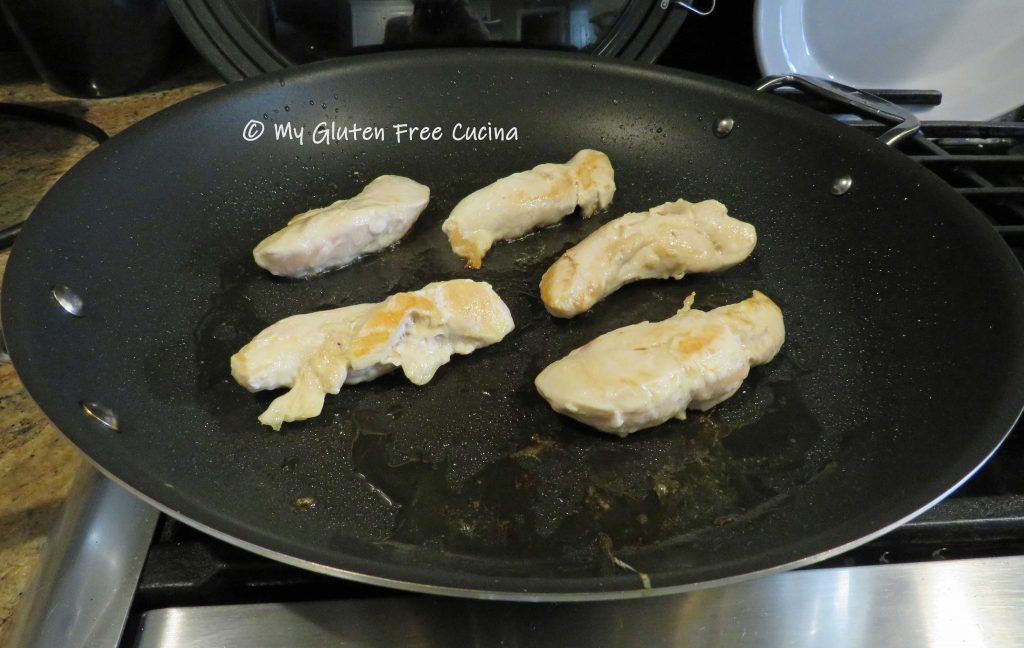
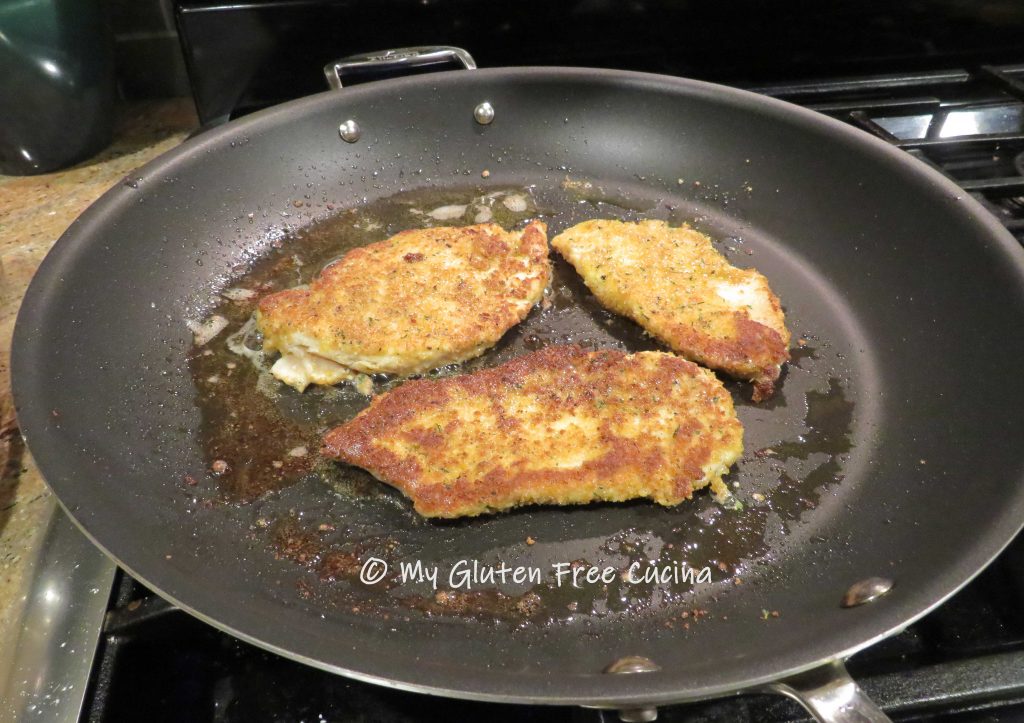
While the pasta is cooking, heat a large nonstick skillet with 1 tbsp. olive oil. Add the chicken tenders, turning to brown all sides until cooked through, about 8 minutes.
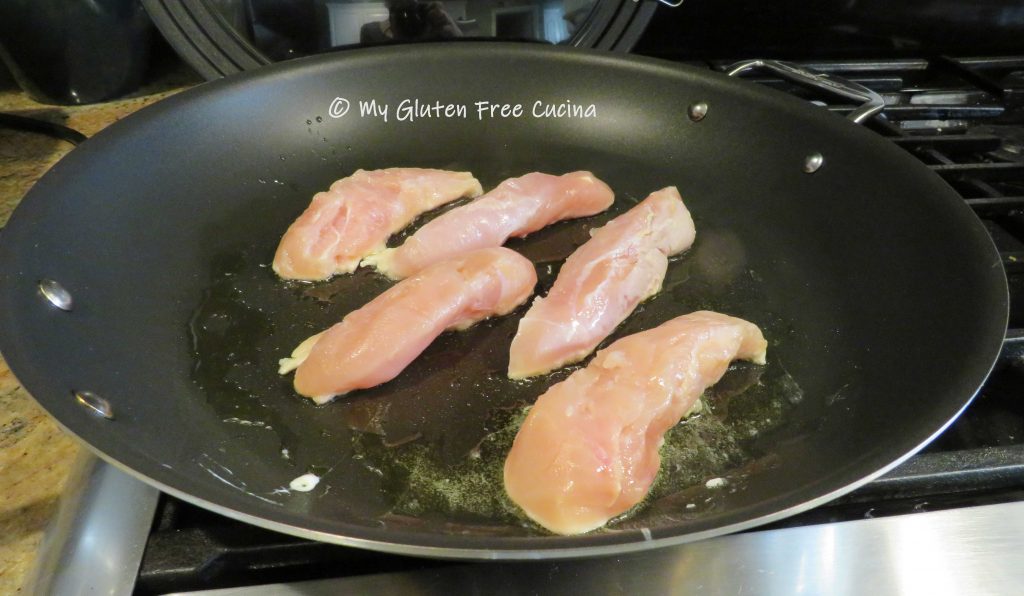
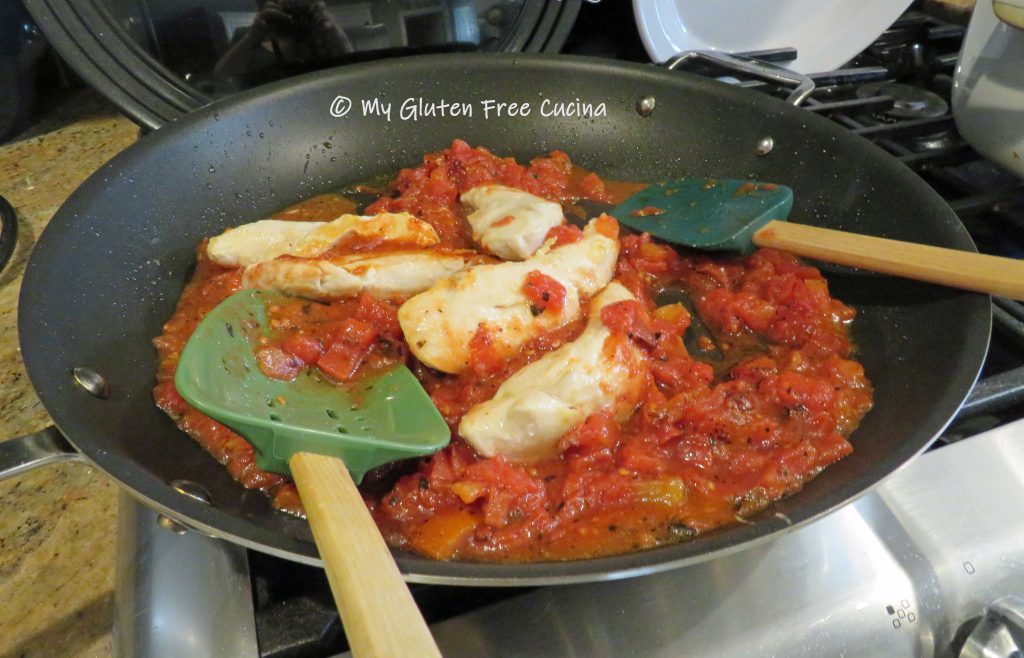
When the chicken is close to being done, push it to the side of the pan and add the tomato paste in center.

Let it toast for 1 minute then add the diced tomatoes and the vinaigrette. Lower the heat and simmer for 2 minutes.
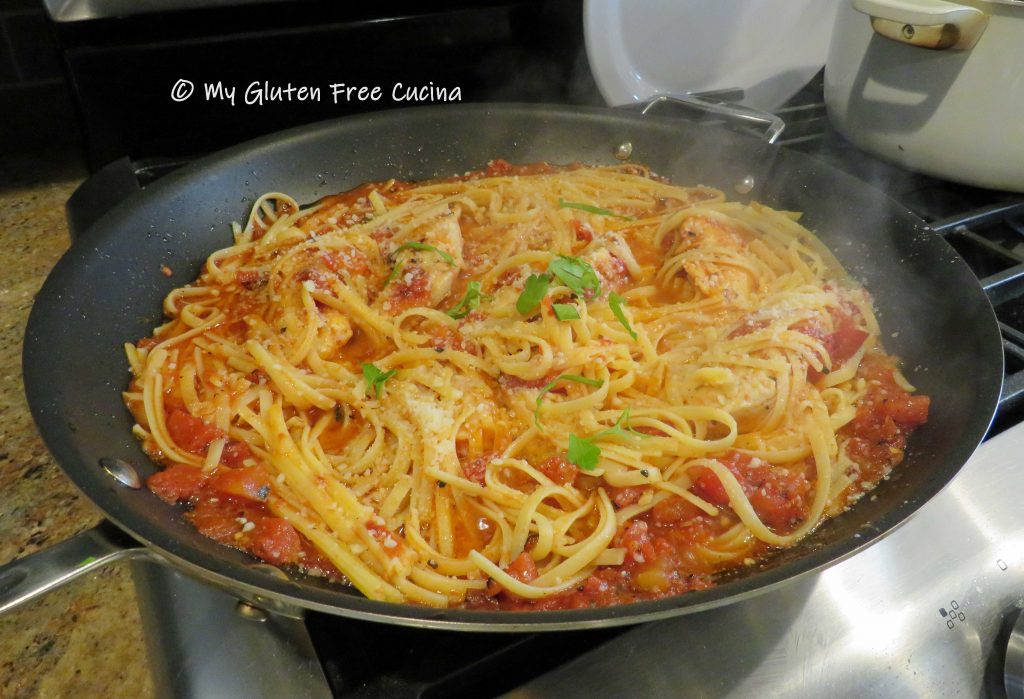
Before draining the pasta, reserve a ladle of the pasta water and add it to the skillet. Add the fettuccine to the sauce and toss well.

Cook for another minute then sprinkle with half the cheese and fresh herbs.
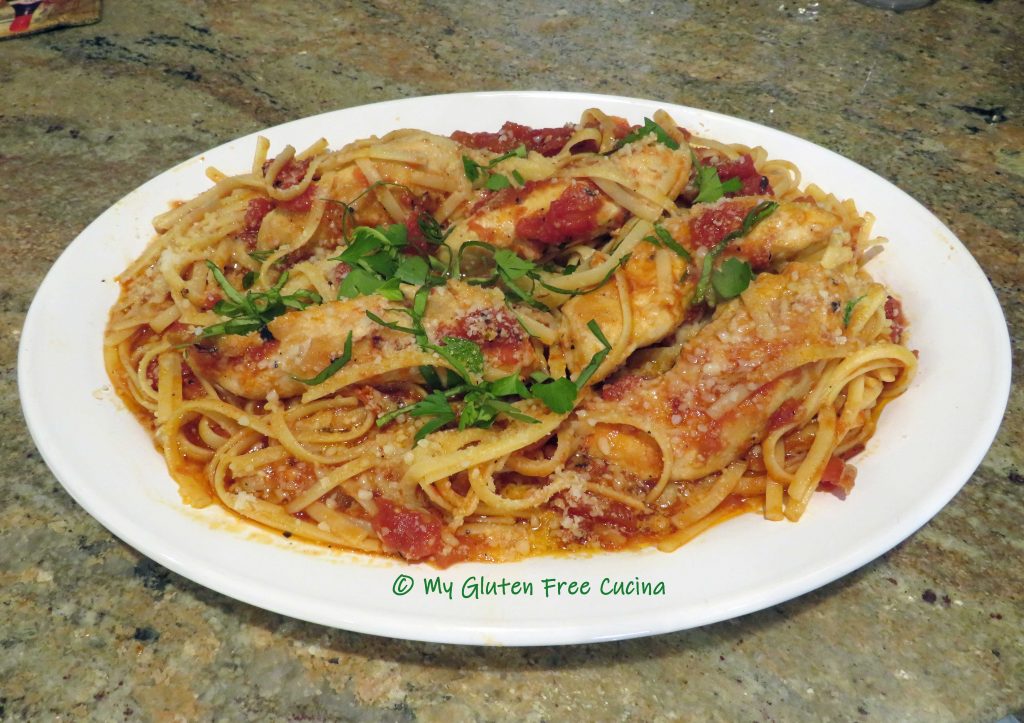
Transfer to a serving platter, sprinkle with the remaining cheese, basil and parsley.
Notes ♪♫ Conventional kitchen wisdom tells us to never add oil to your pasta water, and for regular wheat pasta I would agree. Gluten free pasta, on the other hand is notorious for sticking together, especially our much-loved spaghetti, linguine and fettucine. I find that adding just a drop of oil to the cooking liquid helps keep the strands separate as they cook.


 Remove the neck and giblets from the hen and discard. Rinse and pat dry.
 Next rub the butter mixture all over the hen, be sure to get under the legs and wings.
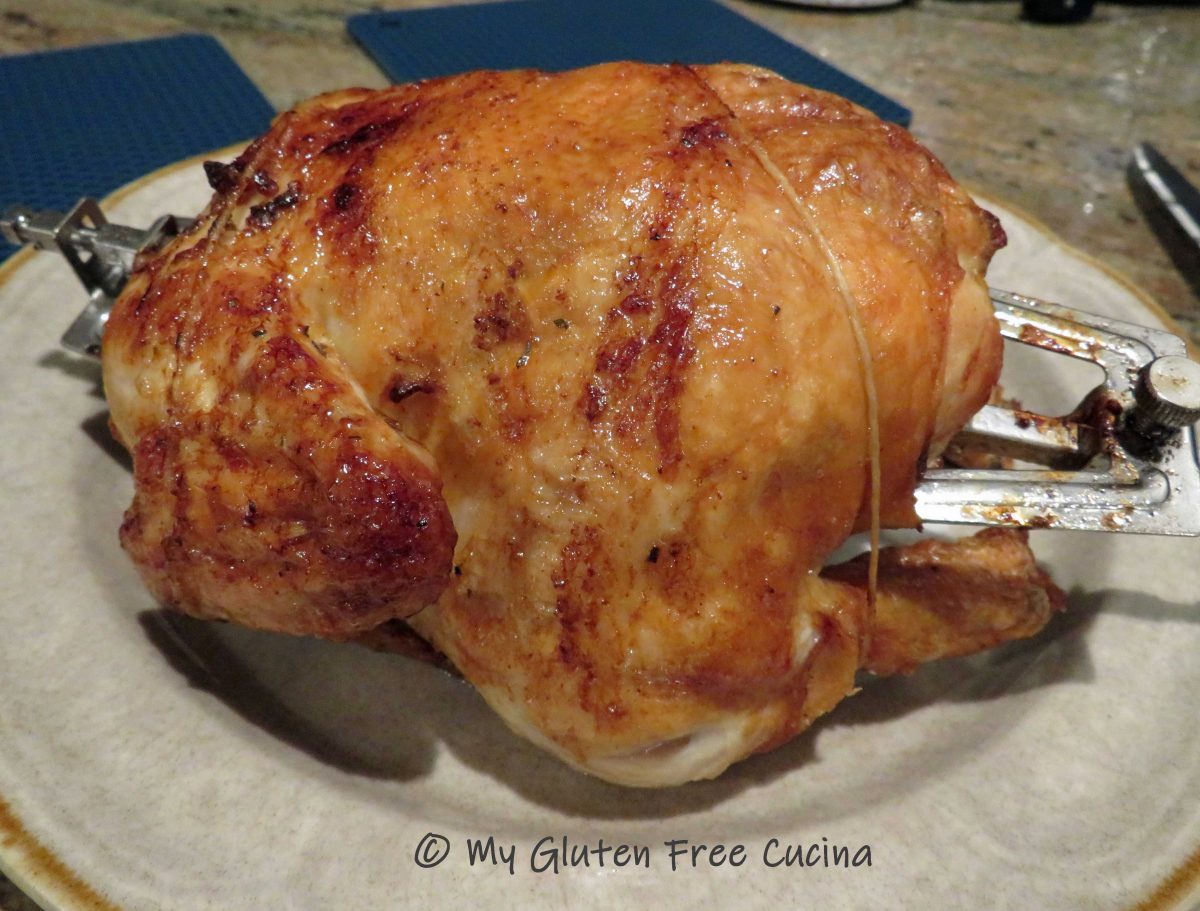
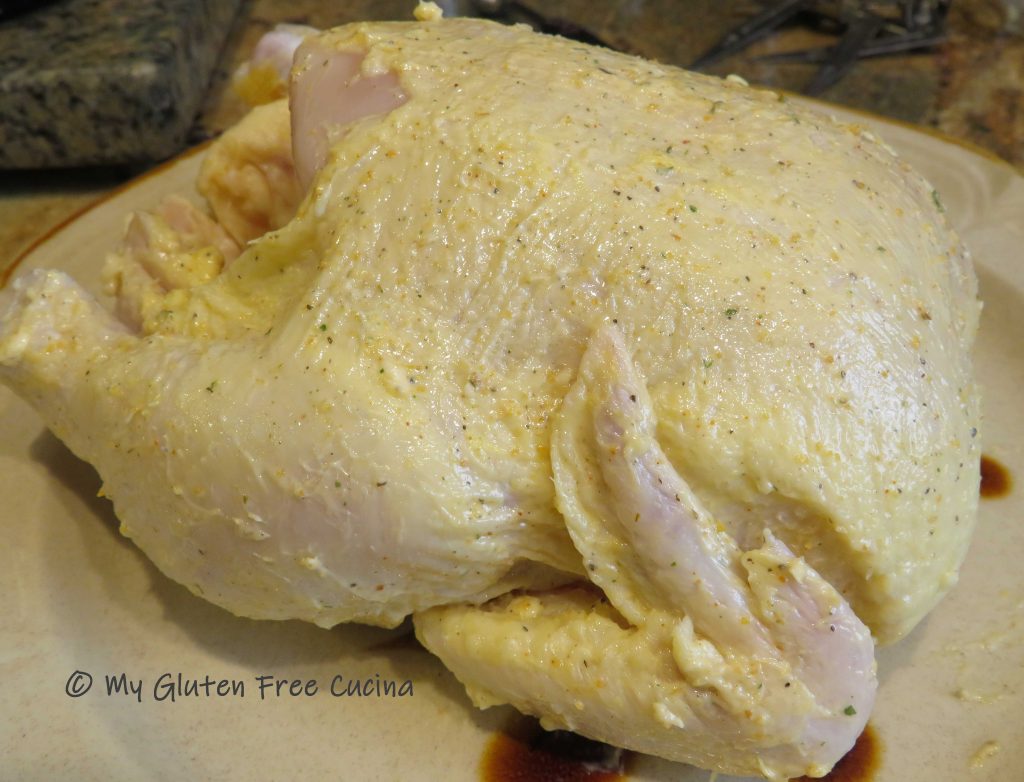 Insert the rotisserie spit and secure the ends with clips, then tie the legs and wings with twine. Sprinkle all over with paprika.
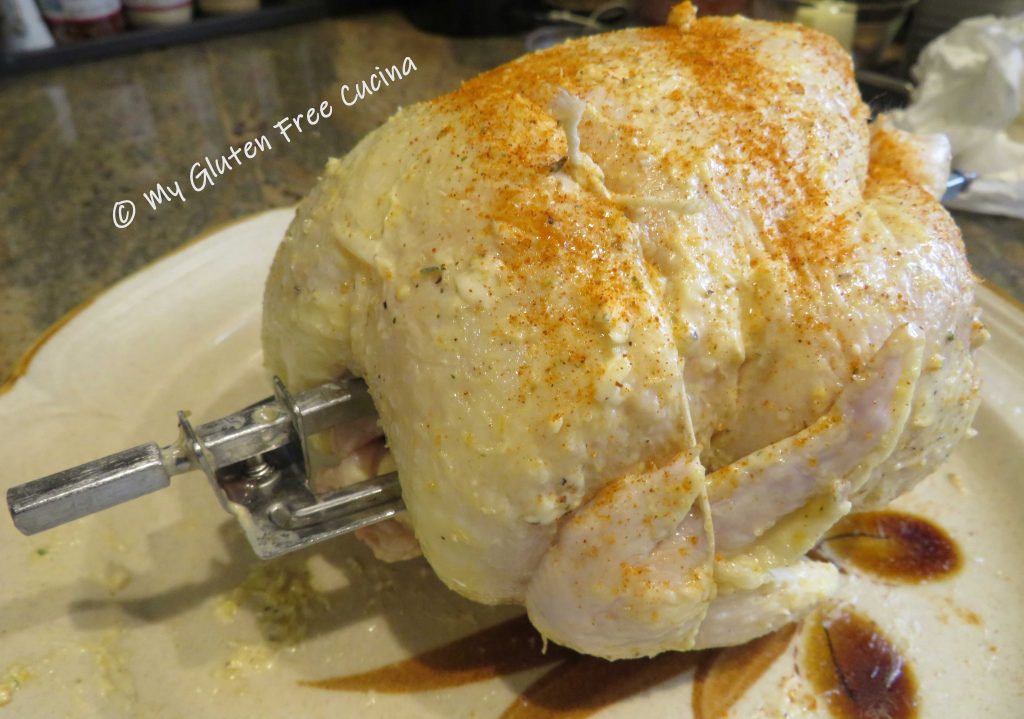
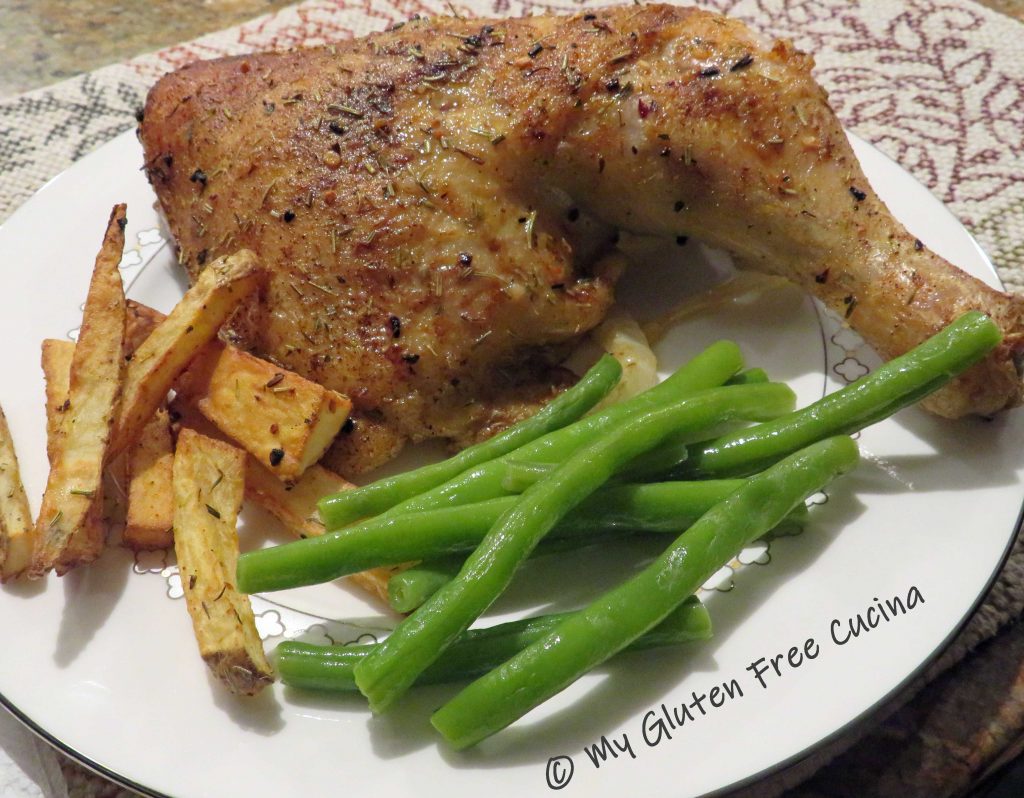
 Place the hen in the air fryer for 45 minutes at 375º.
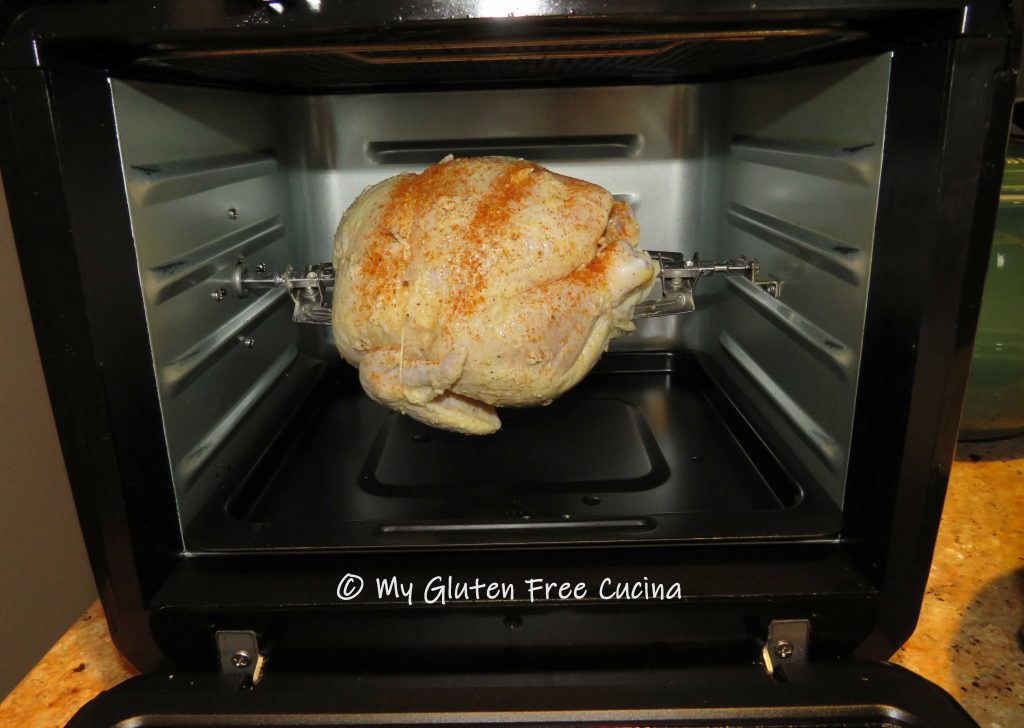 When finished, check with a


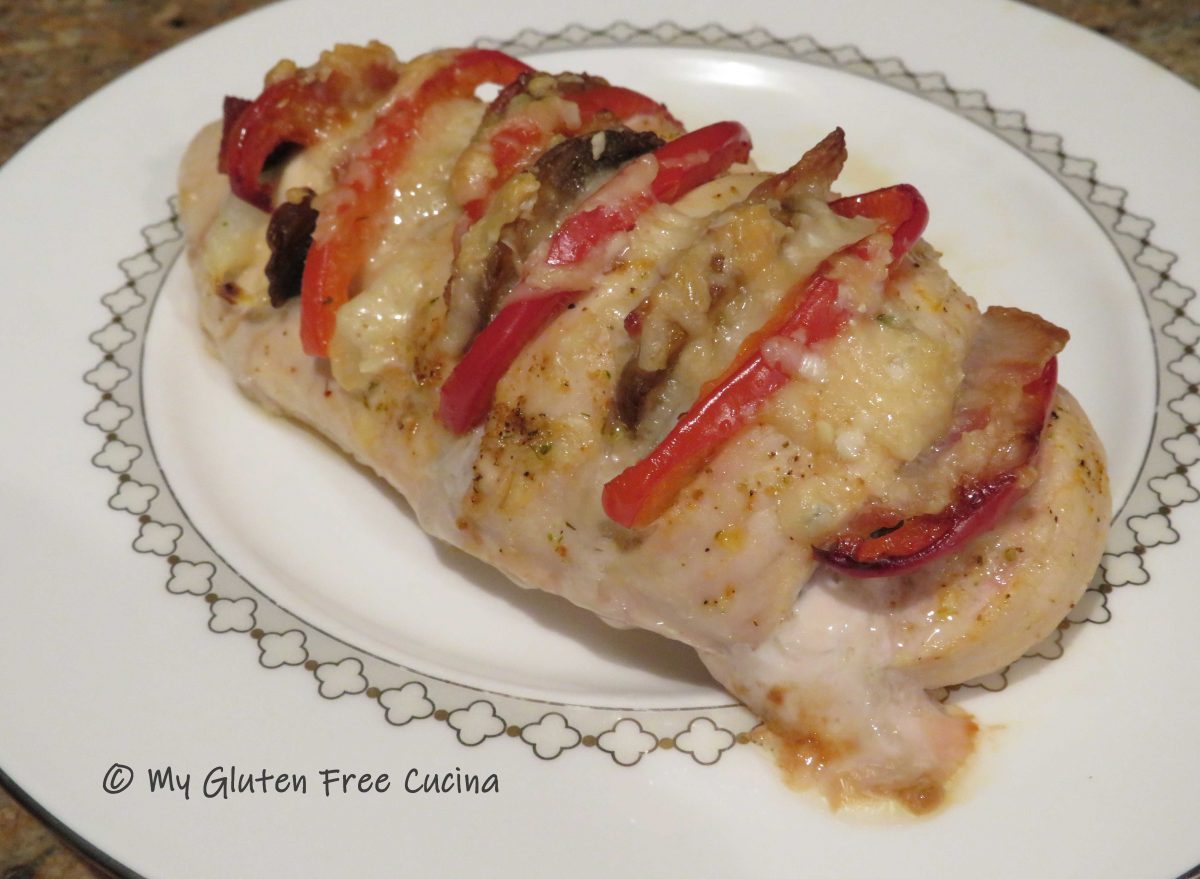


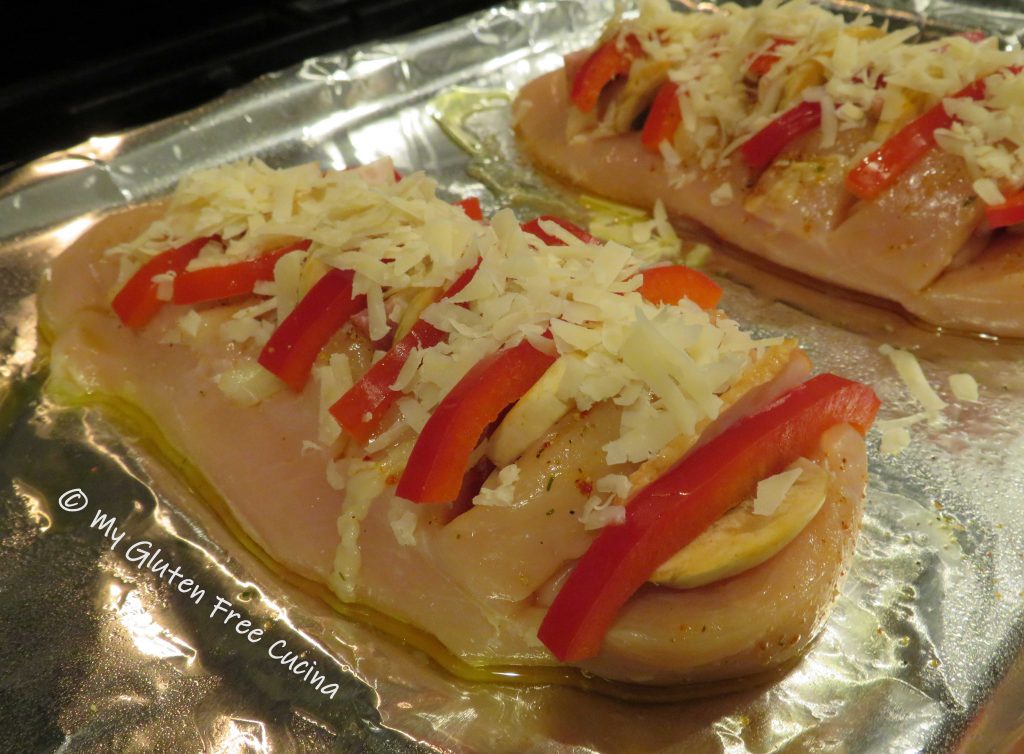

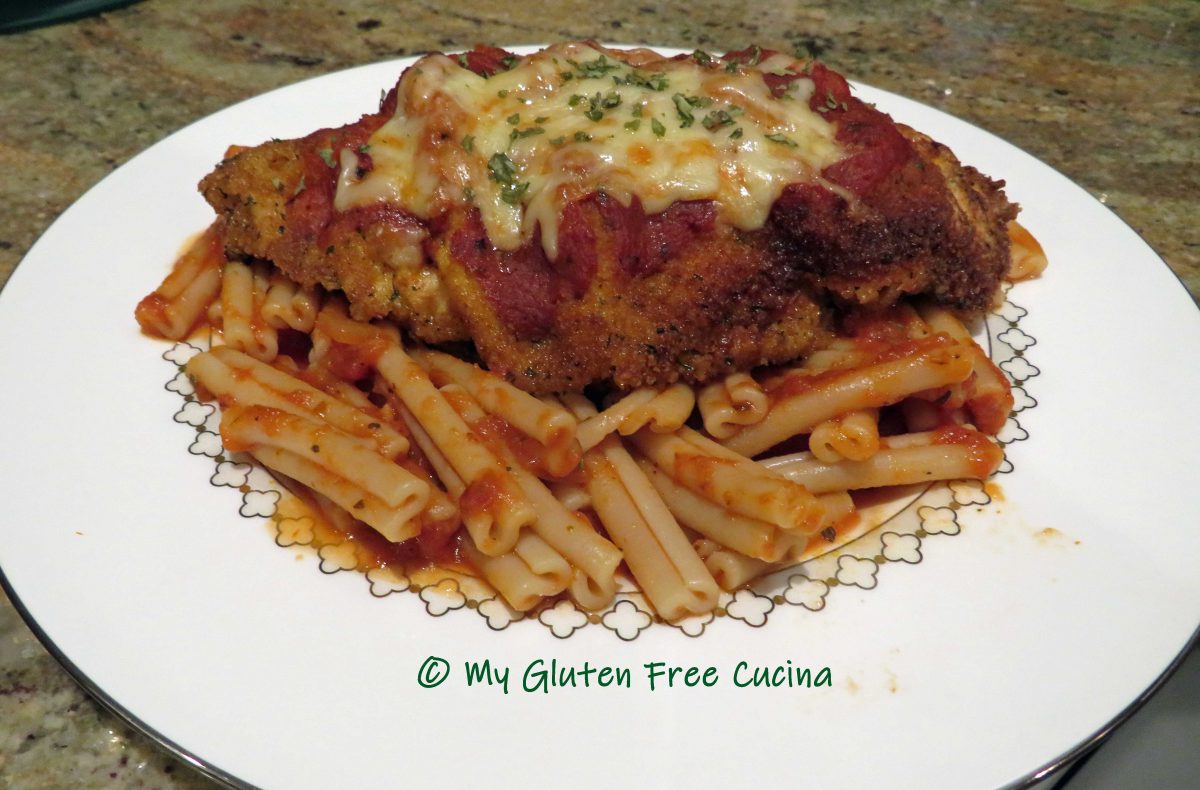


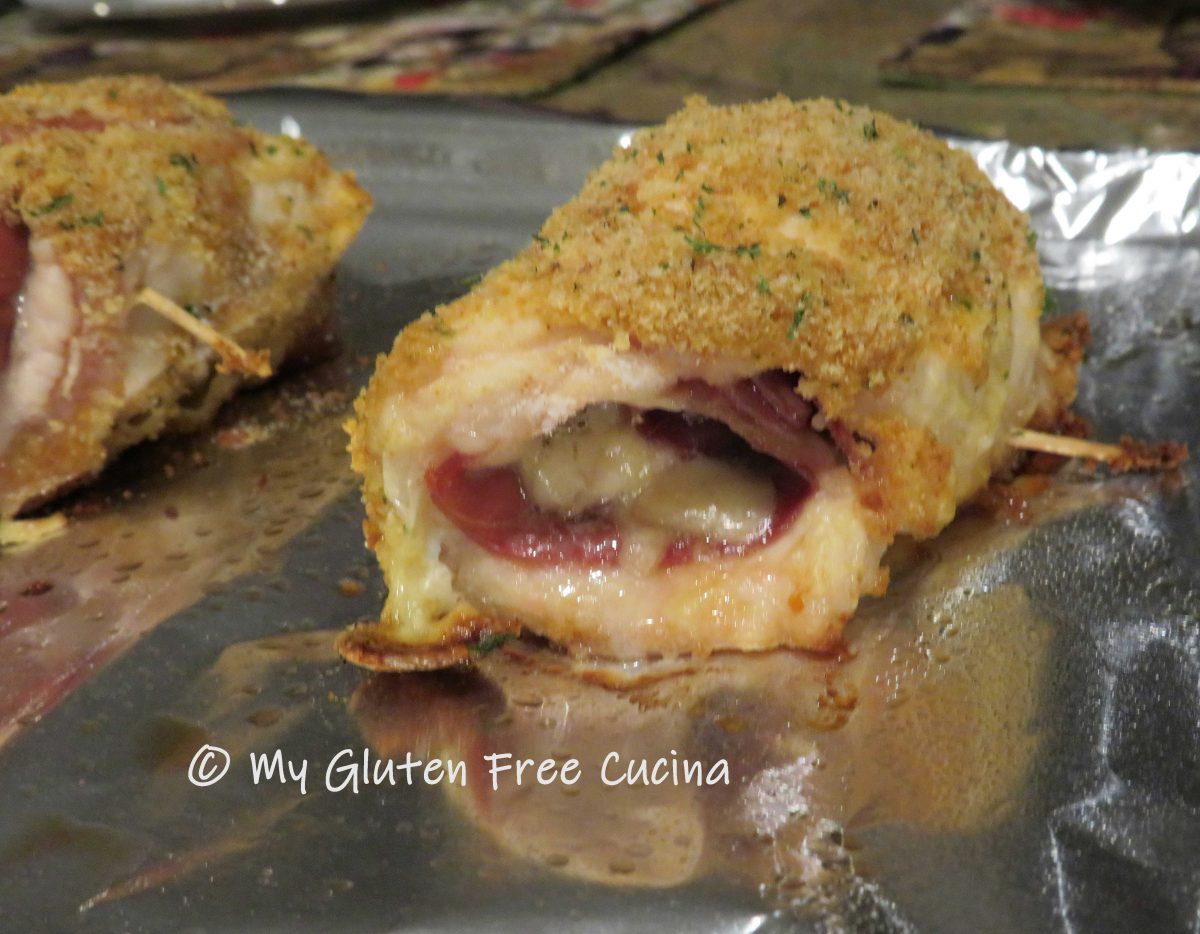
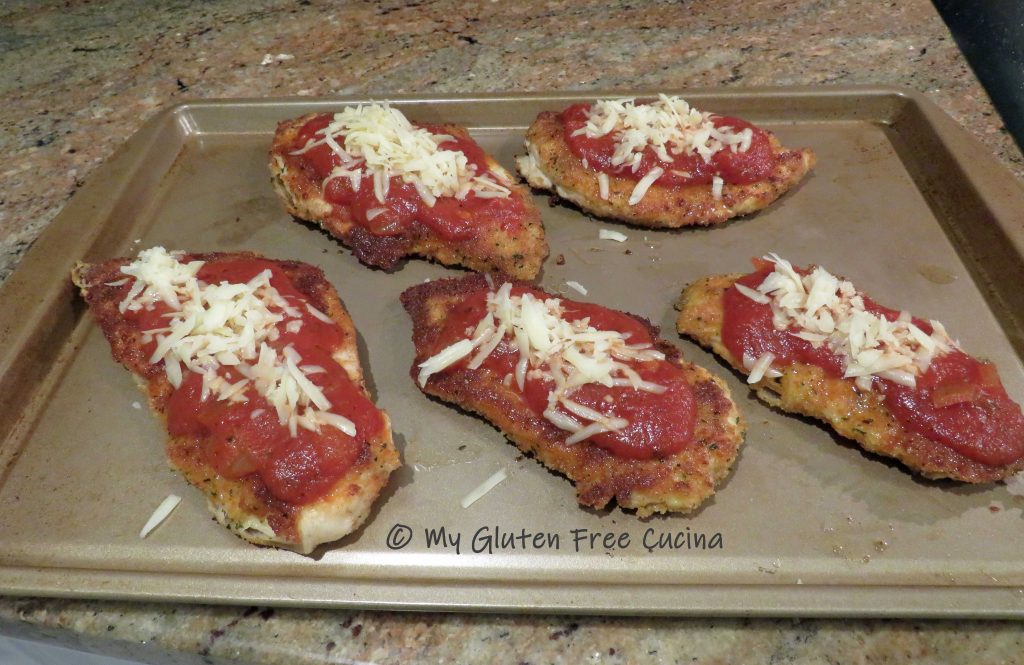 Finish in the oven for 15-20 minutes or until the cheese is melted.
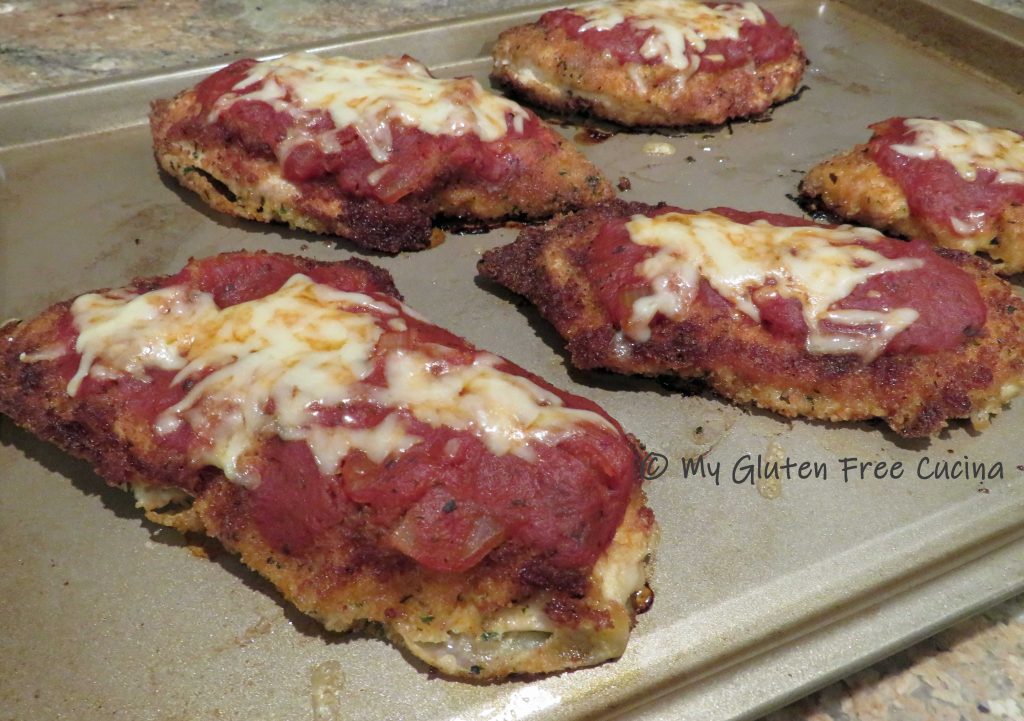
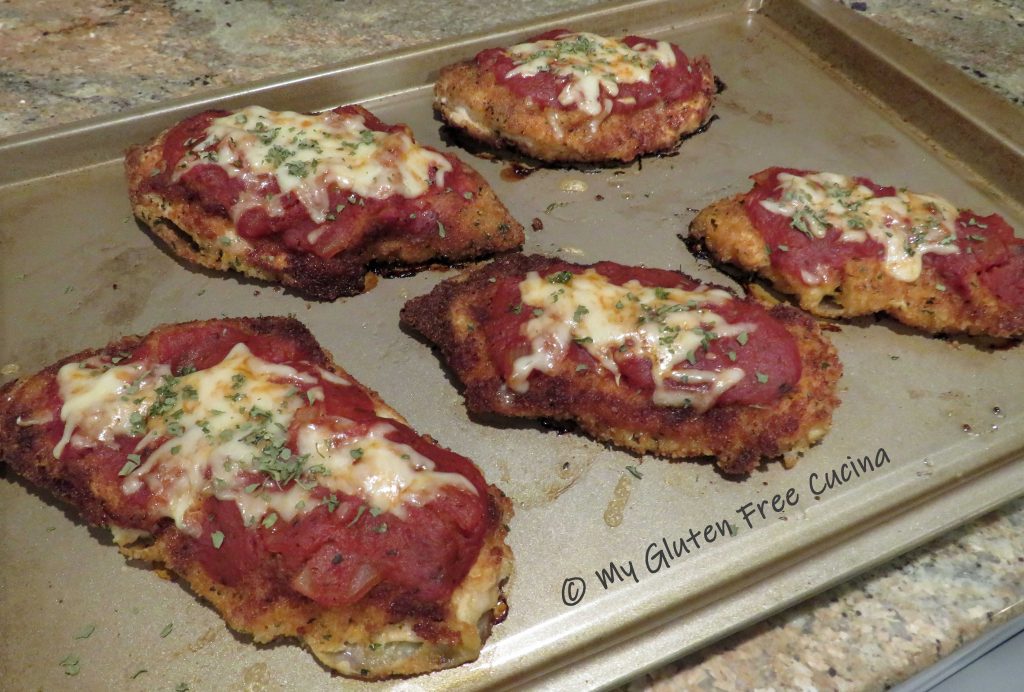
 When I made this for company, no one knew it was gluten free. Mum’s the word!

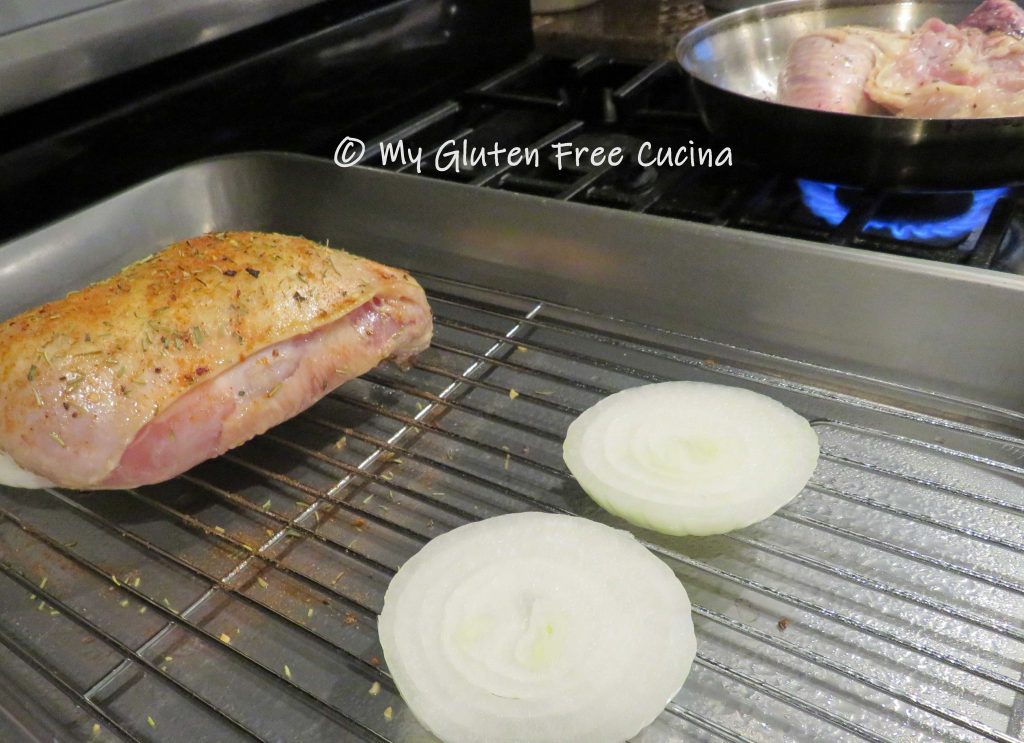


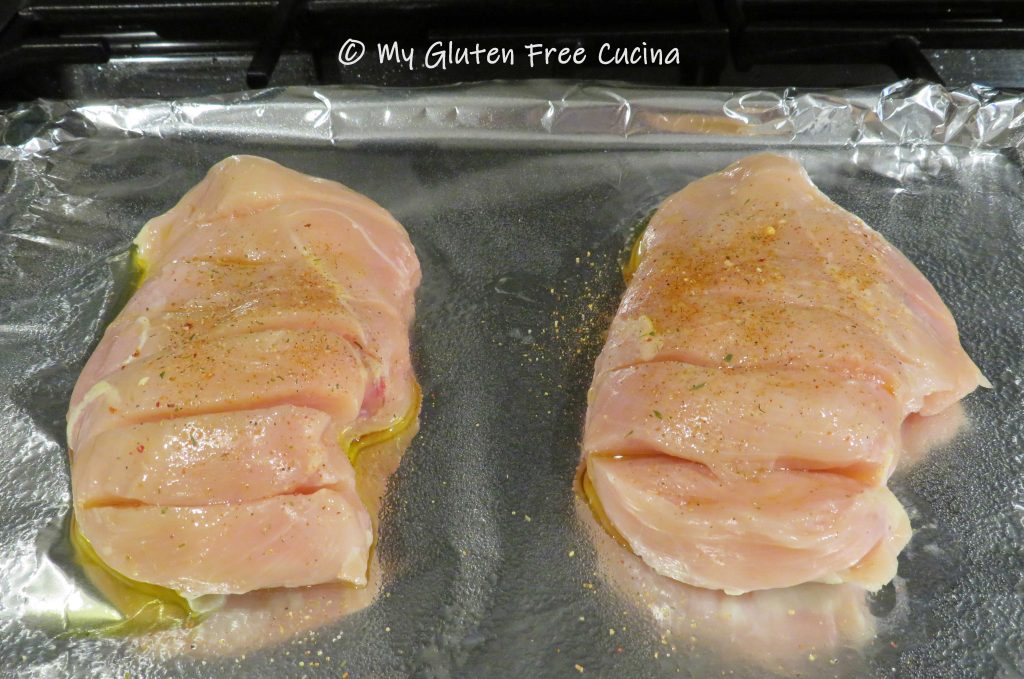
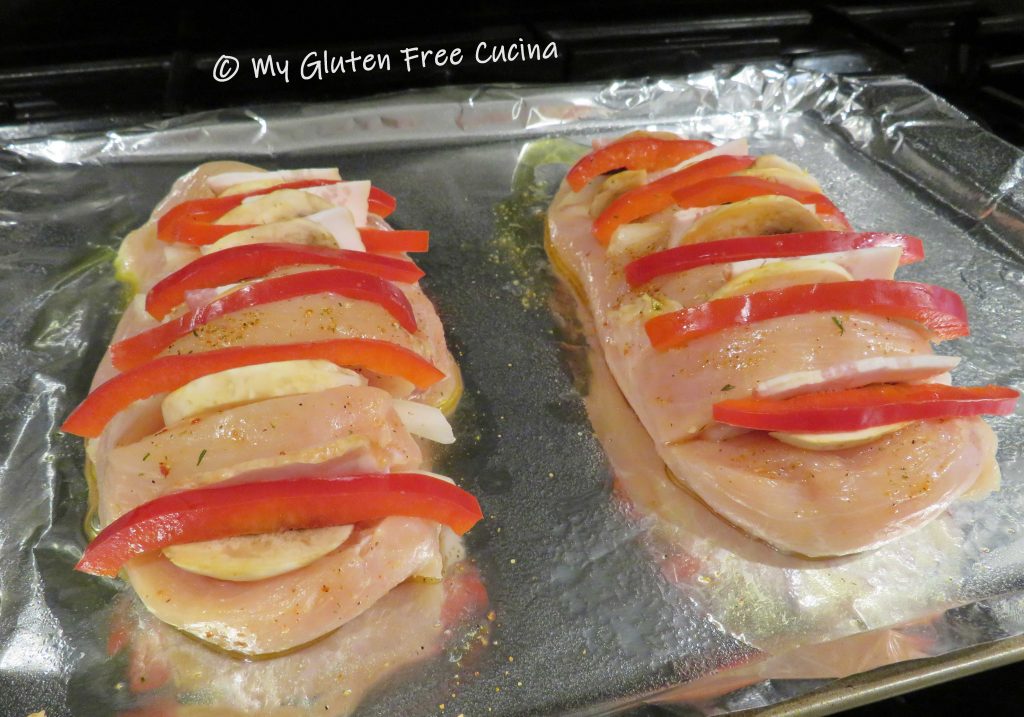
 Set the bundles seam side down on a baking sheet lined with foil and coated with cooking spray.