Your whole family will love this Tex-Mex style chicken. Made with just a few pantry staples, it’s so easy to put together! Slow cooked on low heat, the chicken always comes out tender and juicy. The homemade Mexican spice blend gives the dish it’s bold flavor, and you can as much or as little as you like.
4 Servings
This post contains affiliate links.
Ingredients:
- 4 boneless, skinless chicken thighs
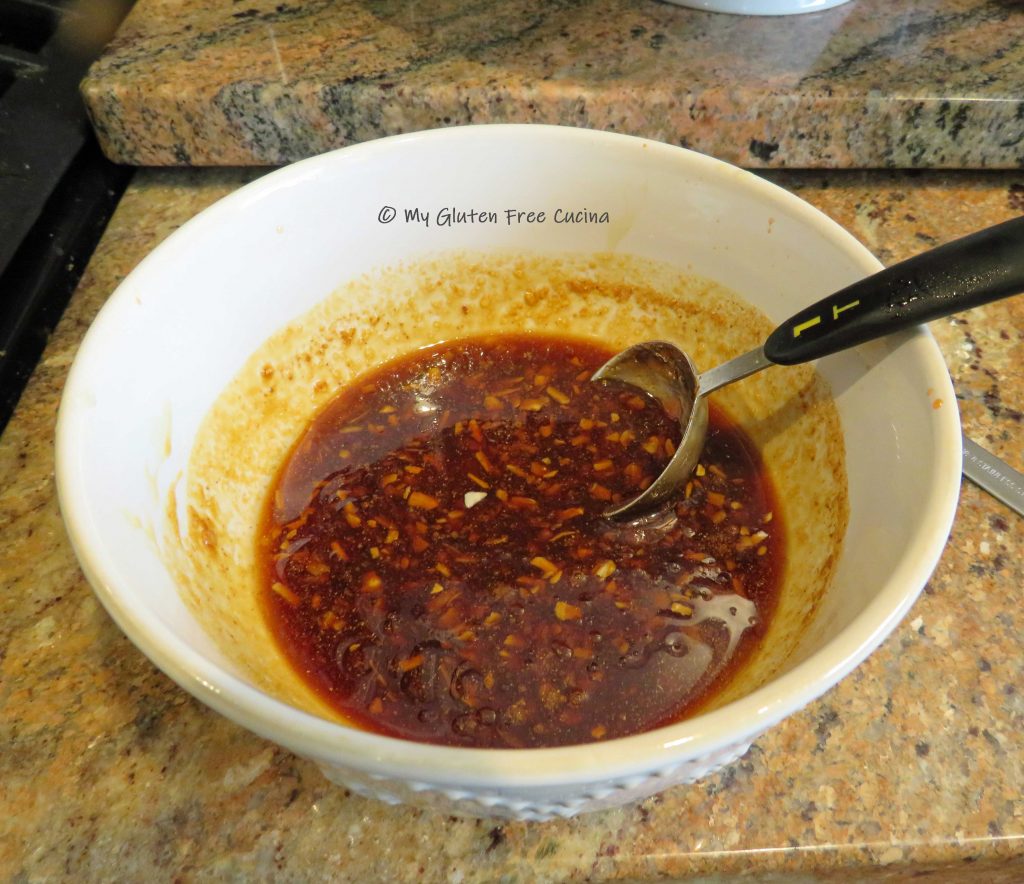
- 1/2 tsp. Mexican spice blend (use more or less to taste)
- salt, to taste
- 2 tbsp. olive oil
- 3/4 cup frozen or canned corn kernels
- 3/4 cup canned black beans, drained and rinsed
- 3/4 cup canned fire roasted diced tomatoes with their juice
- 1 cup cooked white rice, for serving
- fresh chives or cilantro for garnish

Preparation:
Brush the chicken thighs with olive oil and sprinkle seasoning on both sides. Coat an oven safe skillet, braising pan or Dutch oven with cooking spray and arrange the thighs in a single layer.

Pour the tomatoes over the chicken and sprinkle more seasoning. Cover and bake for 45 minutes at 300º.

Turn the chicken over, add the beans and corn, cover and bake for an additional 45 minutes.

This casual dinner comes to the table right in the pan. Garnish with chives or cilantro.

I made a side of white rice to go with the meal. To serve, divide the rice into 4 plates. Top each with one chicken thigh and spoon the corn and beans over the chicken along with extra pan juices.

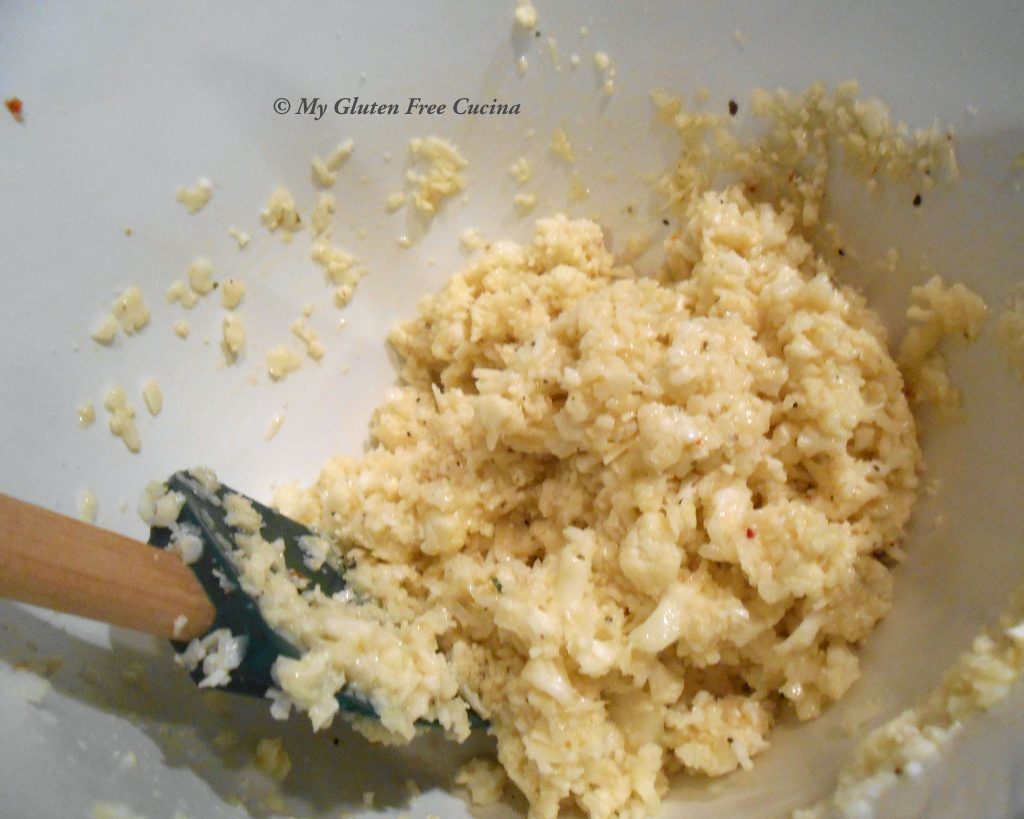
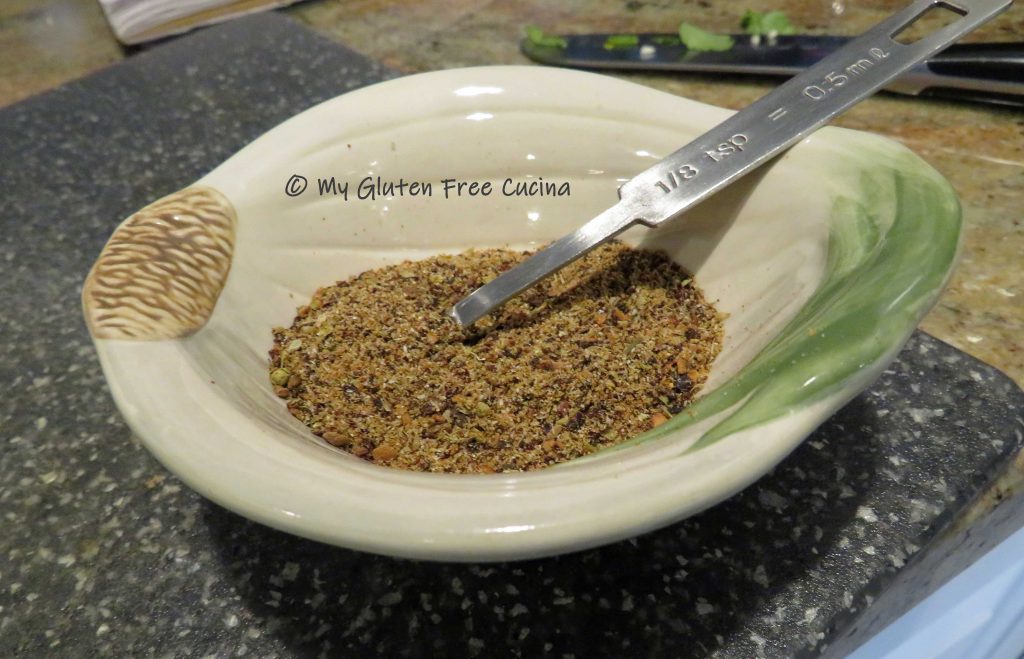
Notes ♪♫ Always check canned and frozen vegetables for gluten containing ingredients or possible cross contamination. Feel free to use a prepared Taco seasoning mix, as there are many great brands out there that are gluten free. I opted make my own to control the sodium content.


 A single Cornish Hen (2 lb.) should yield 2 servings, or for hearty appetites plan on one hen each. Your gatherings may be smaller, but they can still be delicious!