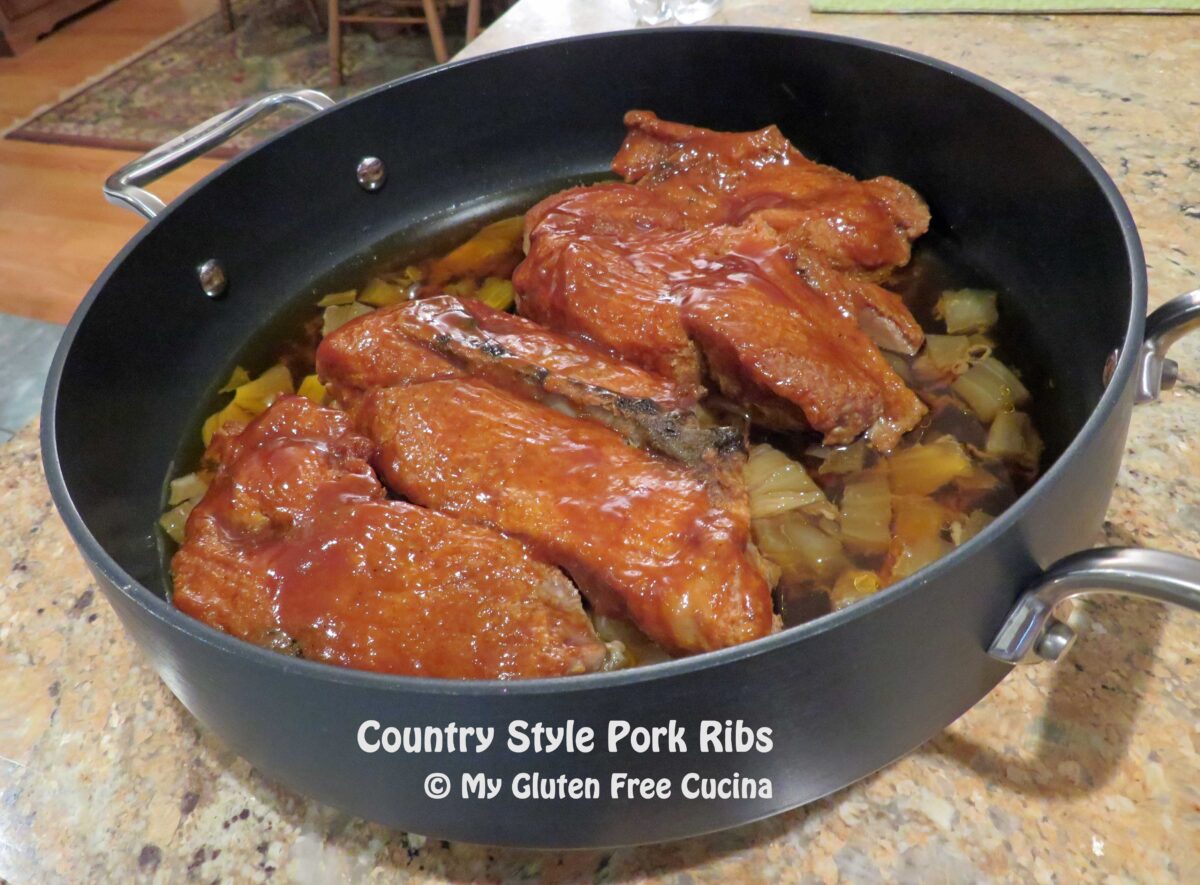
I love having Country Style Pork Ribs all year round, and this easy oven preparation means that we can enjoy them rain or shine! Cooking ribs slowly on very low heat ensures tender juicy meat. A simple, dry rub helps keep the meat moist as it cooks, and I finish it with a homemade BBQ sauce.

This post contains affiliate links.
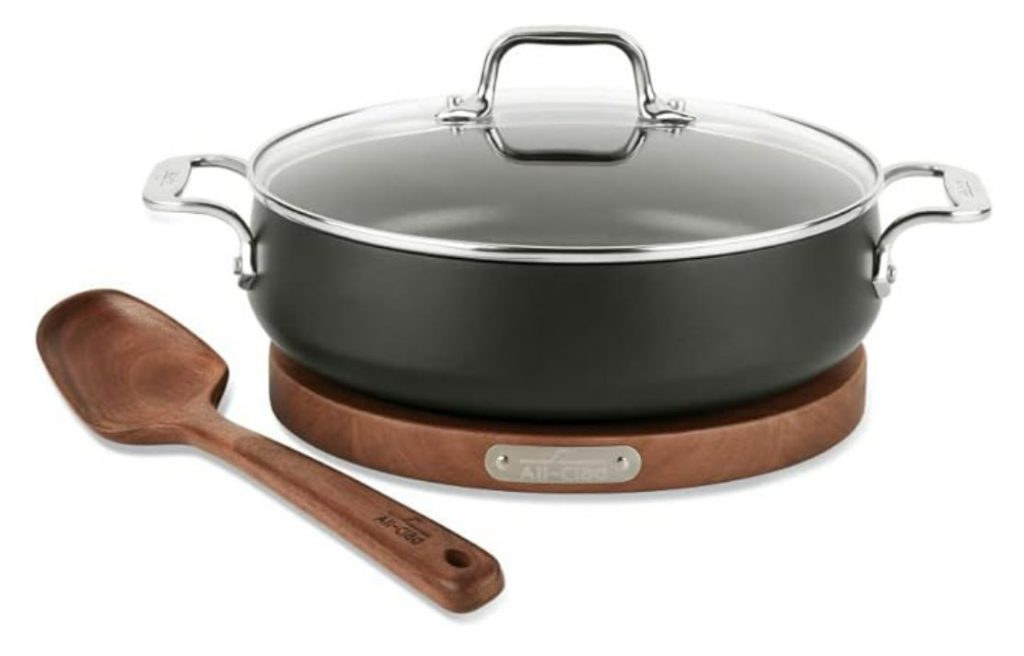
An oven proof skillet with cover is perfect for this recipe, you can also use a Dutch oven or braising pan with a lid.
You may be thinking that an oven temperature of 225º is too low, but if you check with a meat thermometer you will find that the center is perfectly cooked after 4 hours. The meat is moist and delicious, and it smells amazing!
3-4 Servings (can be doubled or tripled)
Ingredients:
- 2 lbs. country style pork ribs, bone in
- 1 large, sweet onion, cut into chunks
- BBQ Rub, see below
- Cooking spray
- Gluten free BBQ sauce
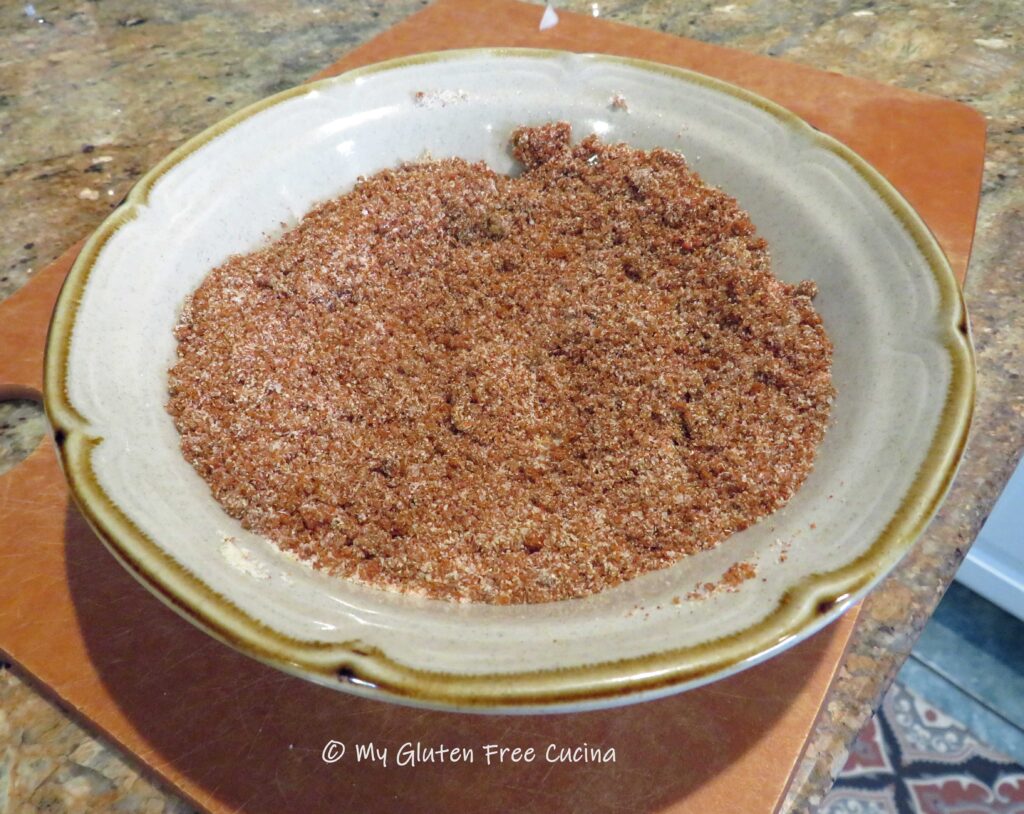
Rub:
- 3 tbsp. brown sugar
- 1 tbsp. paprika
- 1 tbsp. onion powder
- 2 tsp. garlic granules
- 2 tsp. salt
 Preparation:
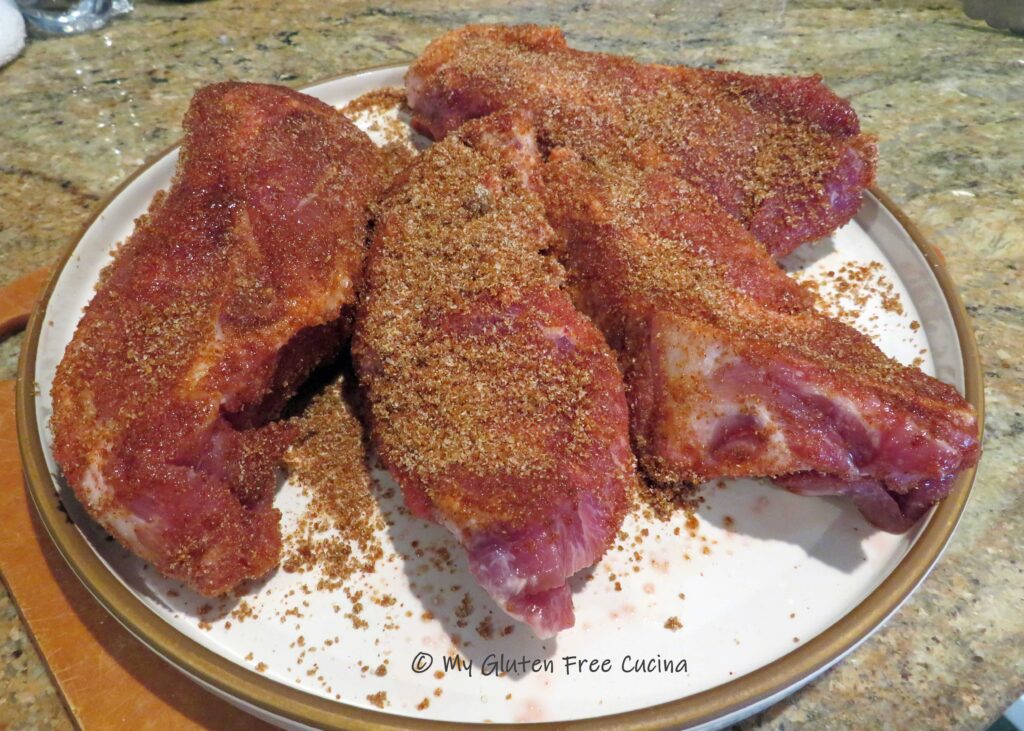
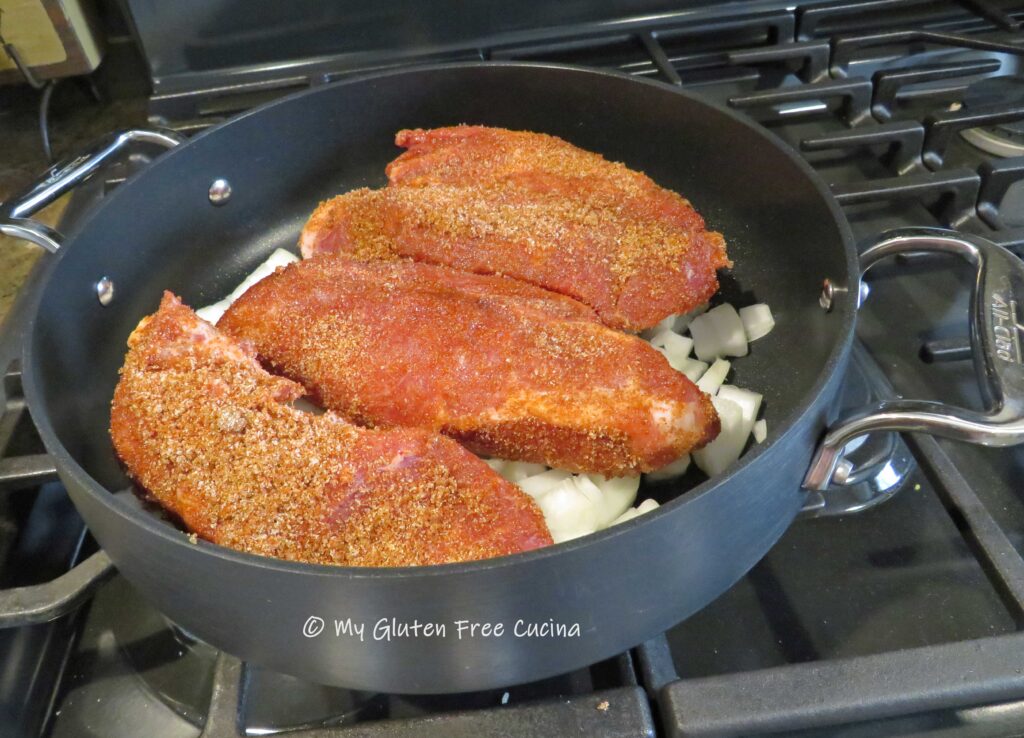
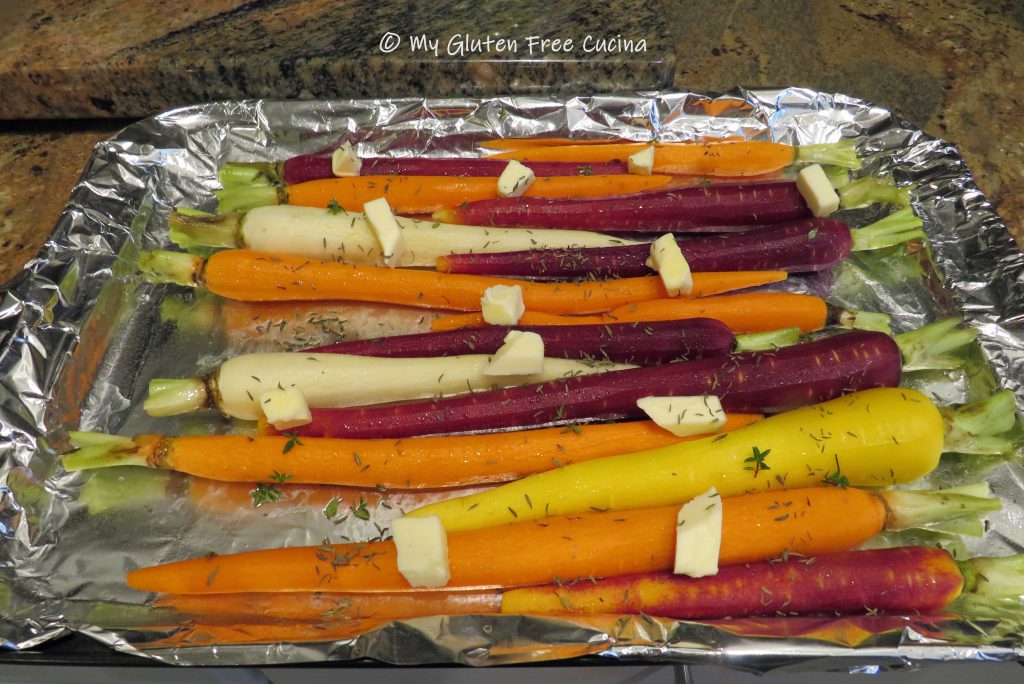
Whisk together the dry rub ingredients. It’s a mild flavored rub, but you can add bolder spices like cayenne pepper to kick up the heat. Use your hands to coat the ribs evenly with the rub. Be sure to cover the entire surface.
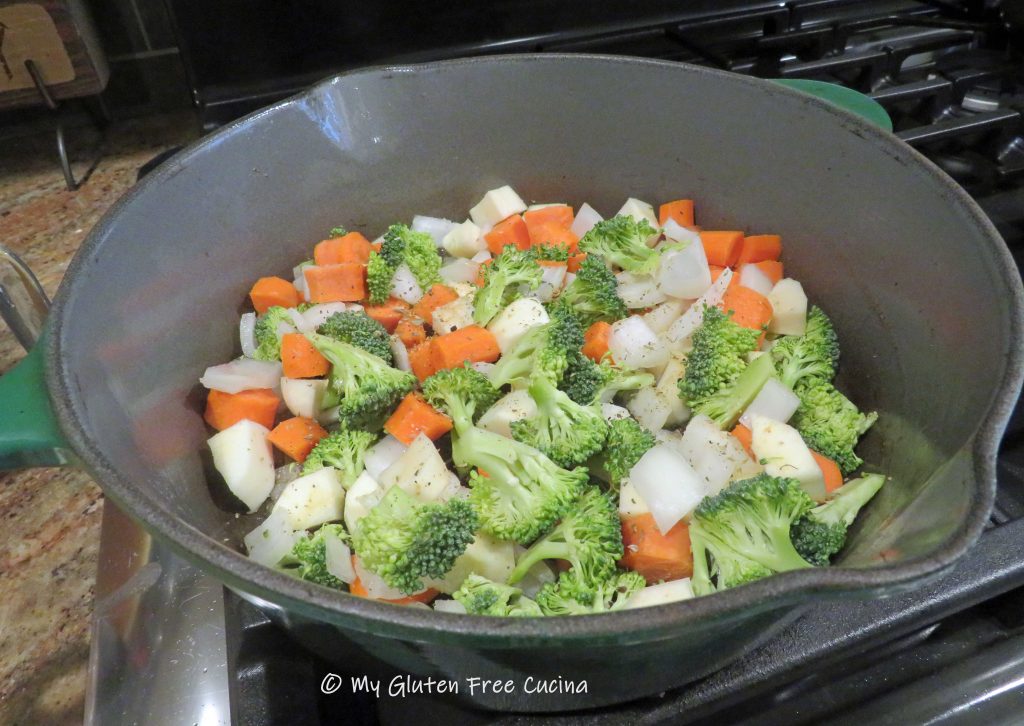
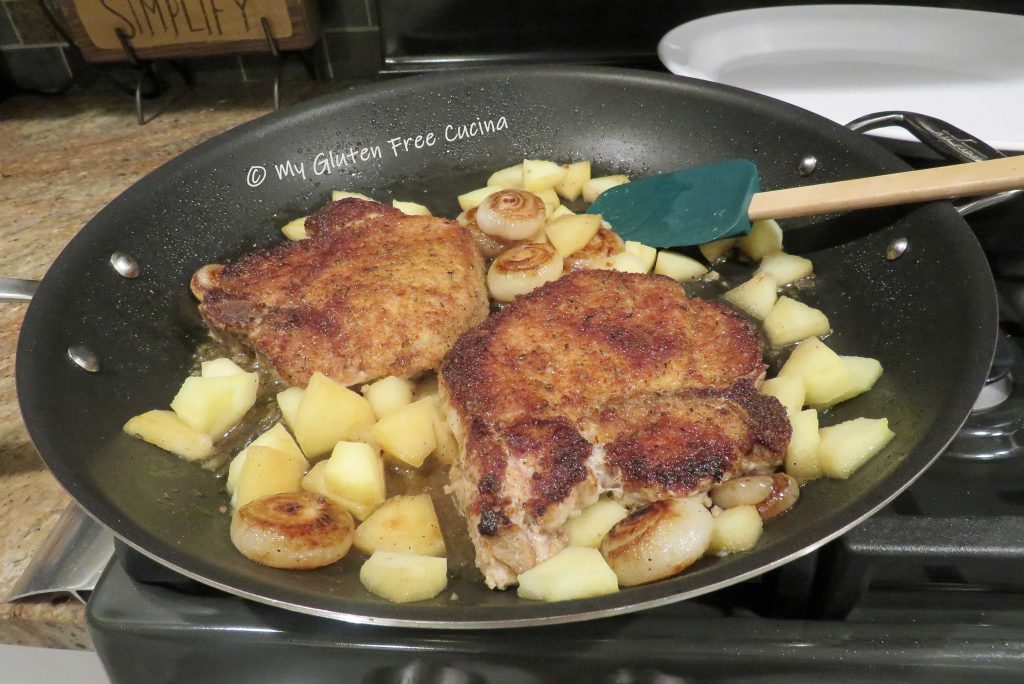
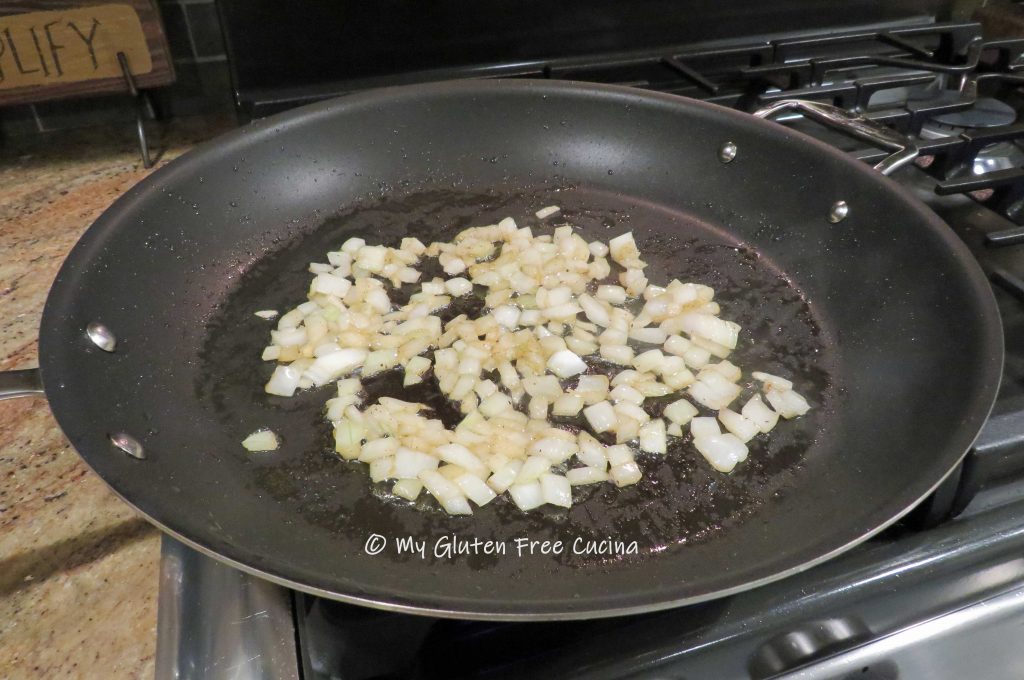
 Mist a covered skillet, Dutch oven or braising pan with cooking spray. Cut the onions into large chunks and arrange in a single layer, to create a base for the ribs.
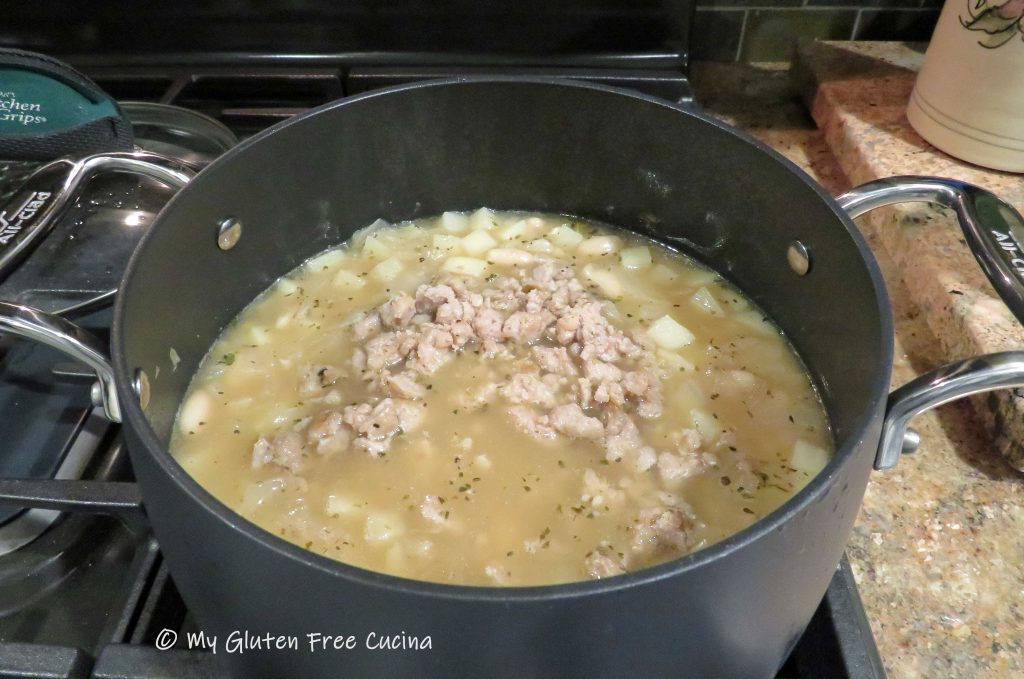
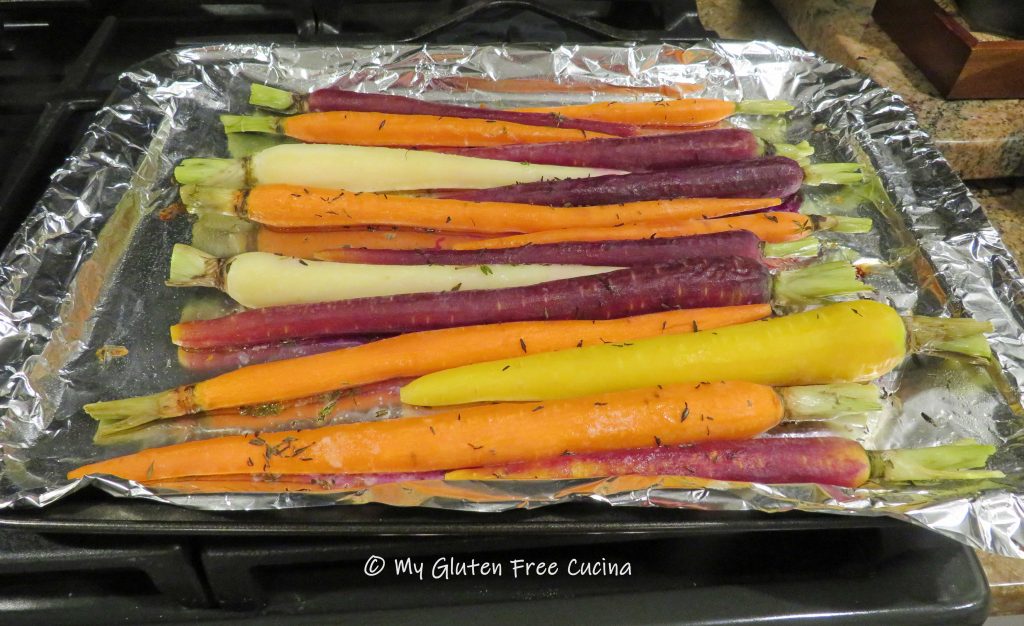
 Place the ribs on top of the onions. As the ribs cook down, they will release liquid, and you want them to be elevated for most of the cook time, not submerged.
 Cover and roast at 225° for 4 hours total. After 3-1/2 hours, uncover and brush liberally with BBQ sauce.
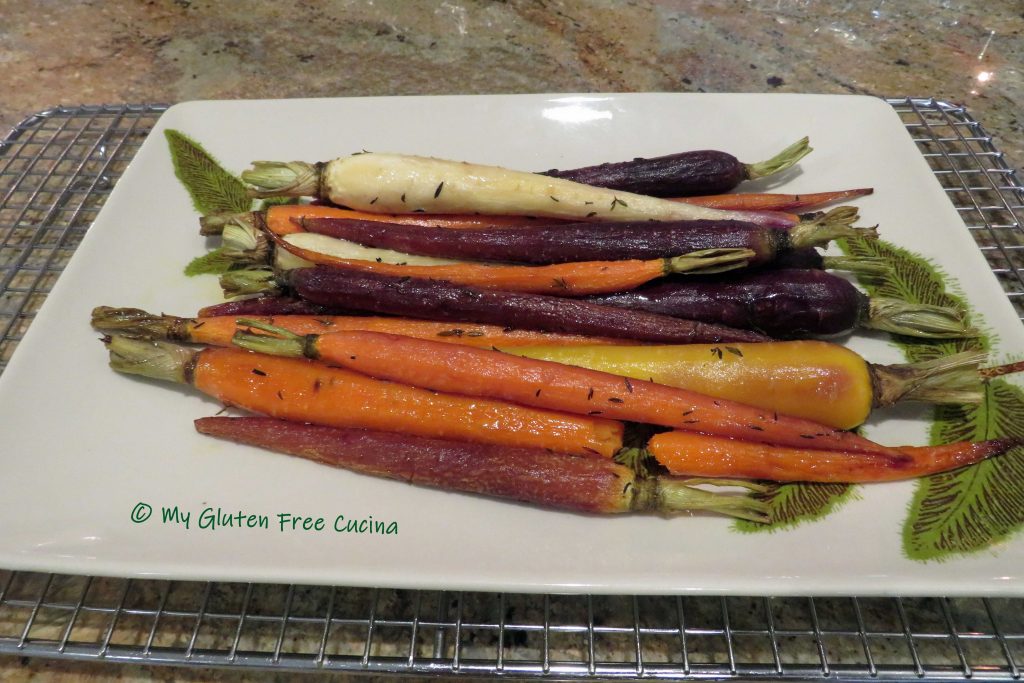
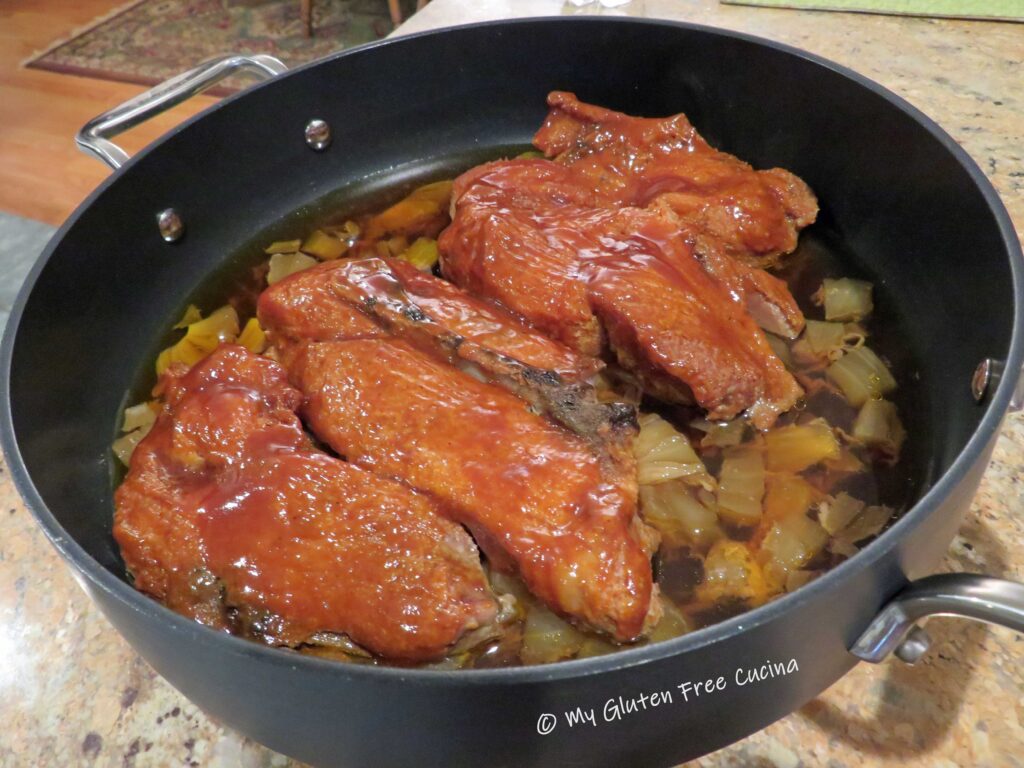 Continue cooking 1/2 hour longer. The meat will be falling off the bone tender!
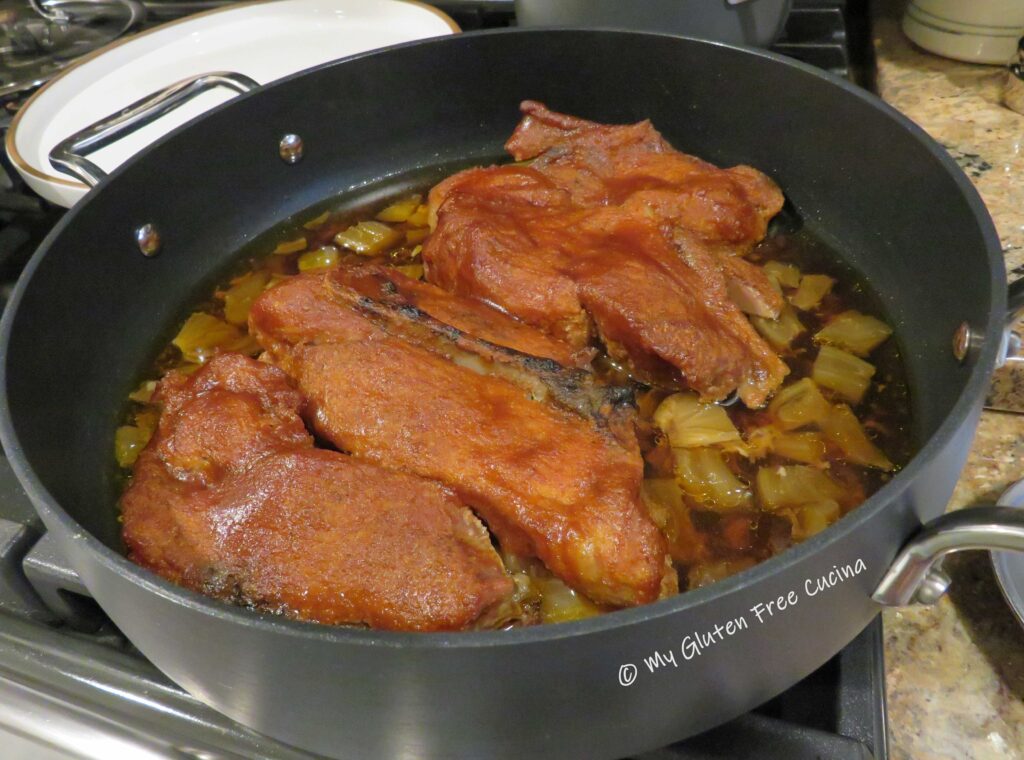 See how much liquid has accumulated in the bottom of the pan, yet the ribs are not swimming in it?
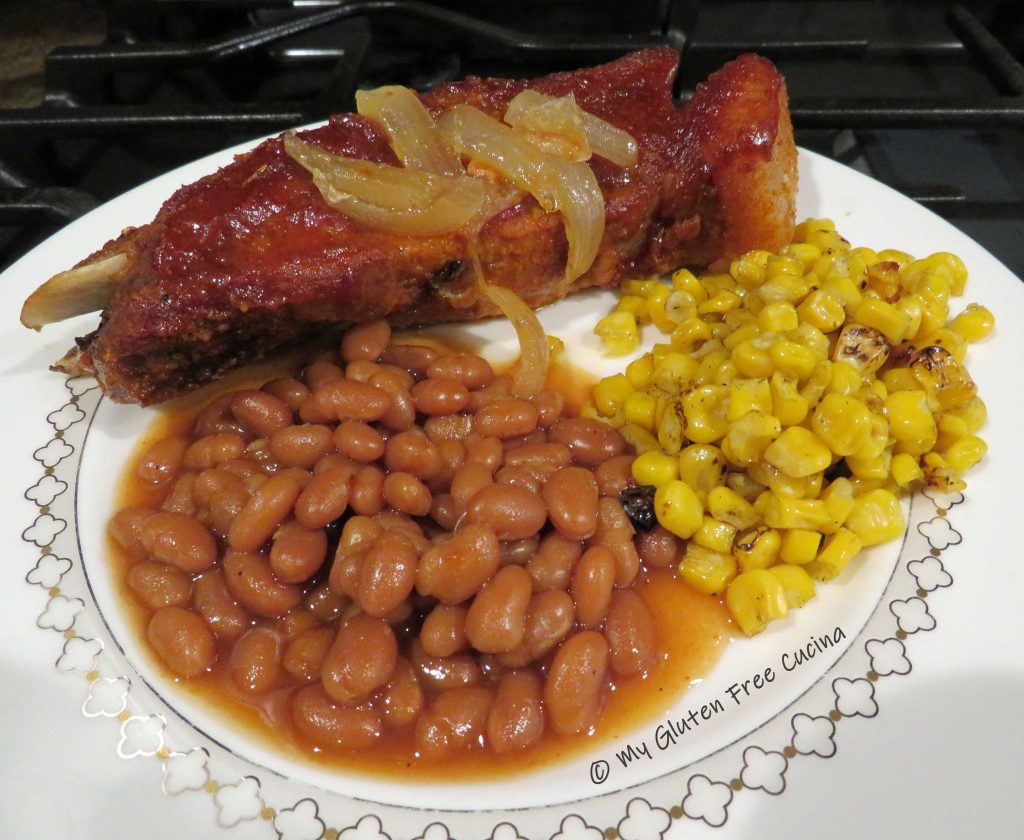
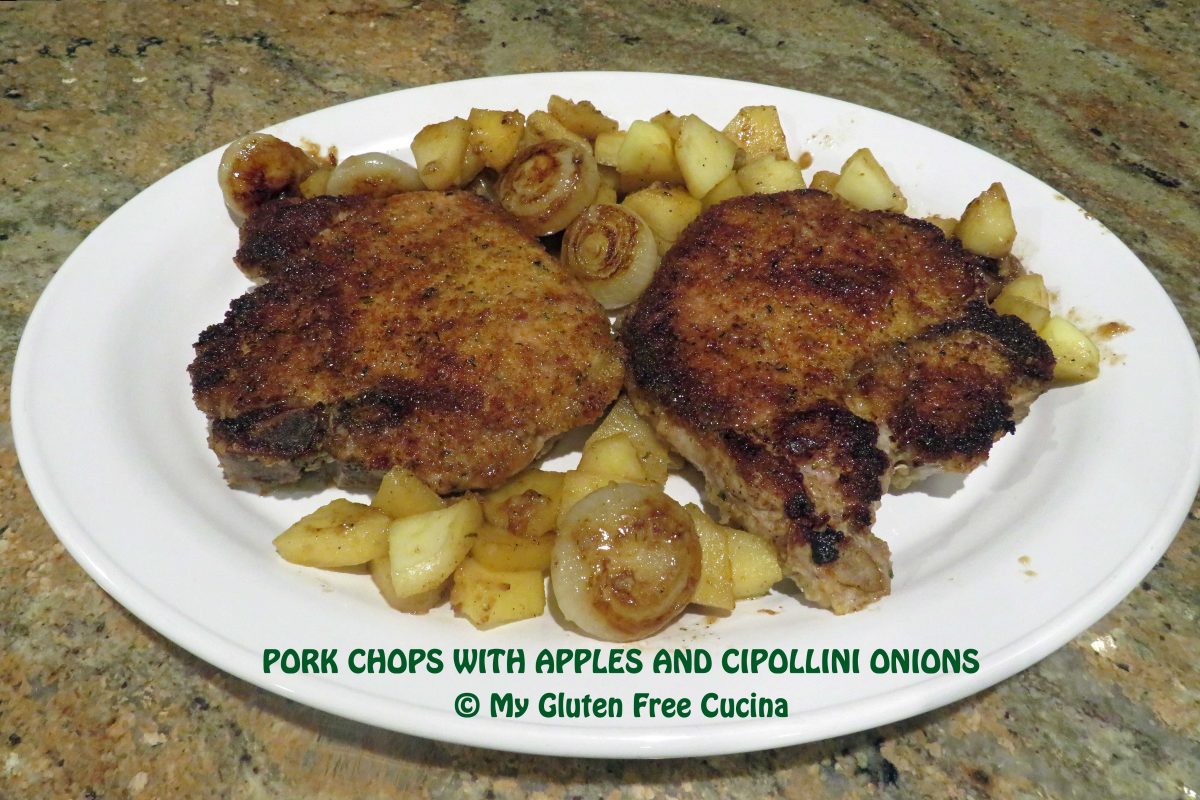
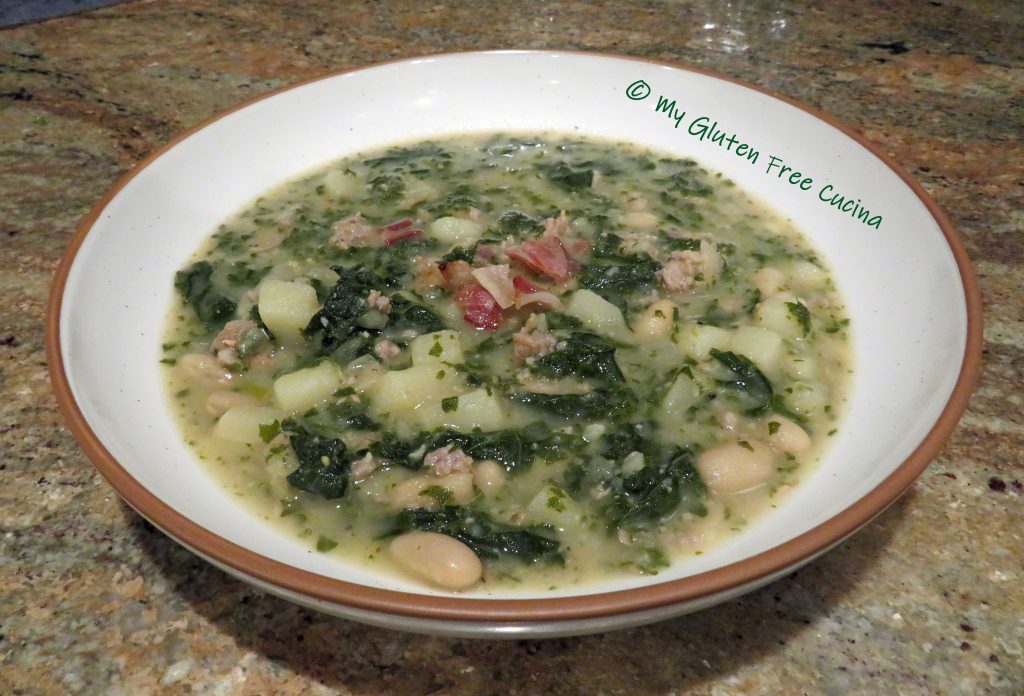
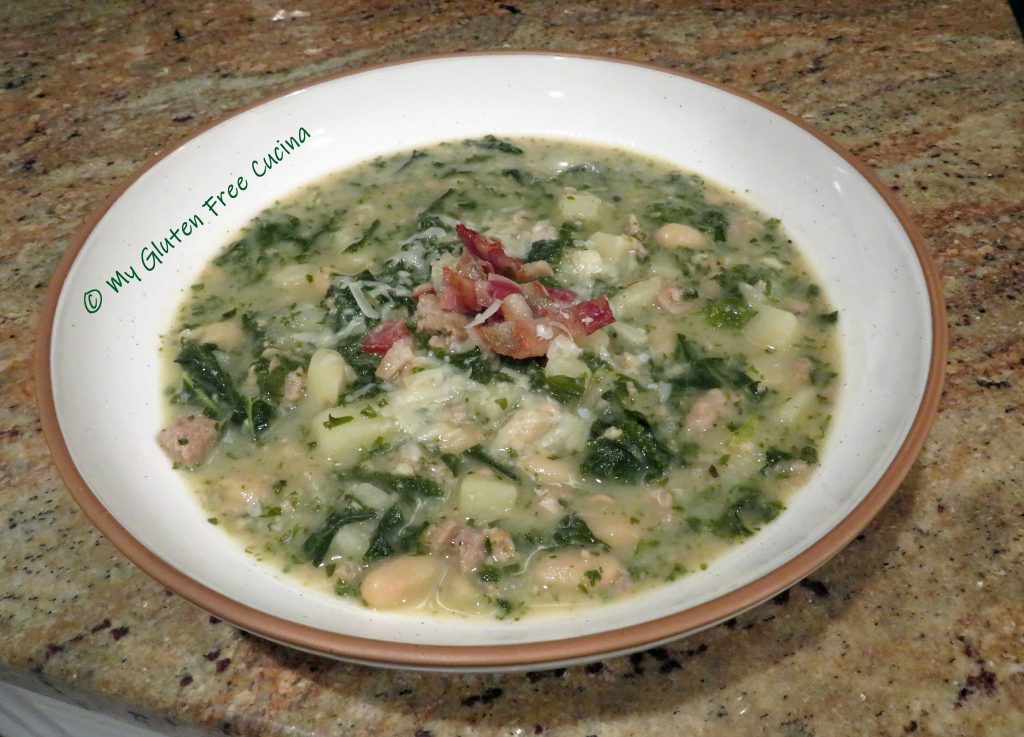
 To plate, spoon some of the onions and pan juice over the ribs. I served the ribs with a side of BBQ Baked Beans and fire roasted corn. Have extra BBQ sauce available for dipping.
 Notes ♪♫ I won’t tell if you use a store-bought BBQ rub and/or BBQ sauce, just be sure they are gluten free. Stubbs is my favorite 😉!
Originally posted 8/06/2018 * Photos updated 7/04/2023, 9/21/2024


 Preparation:


 If you don’t have a probe (oven safe) thermometer, then roast for 20 minutes per pound and check with an

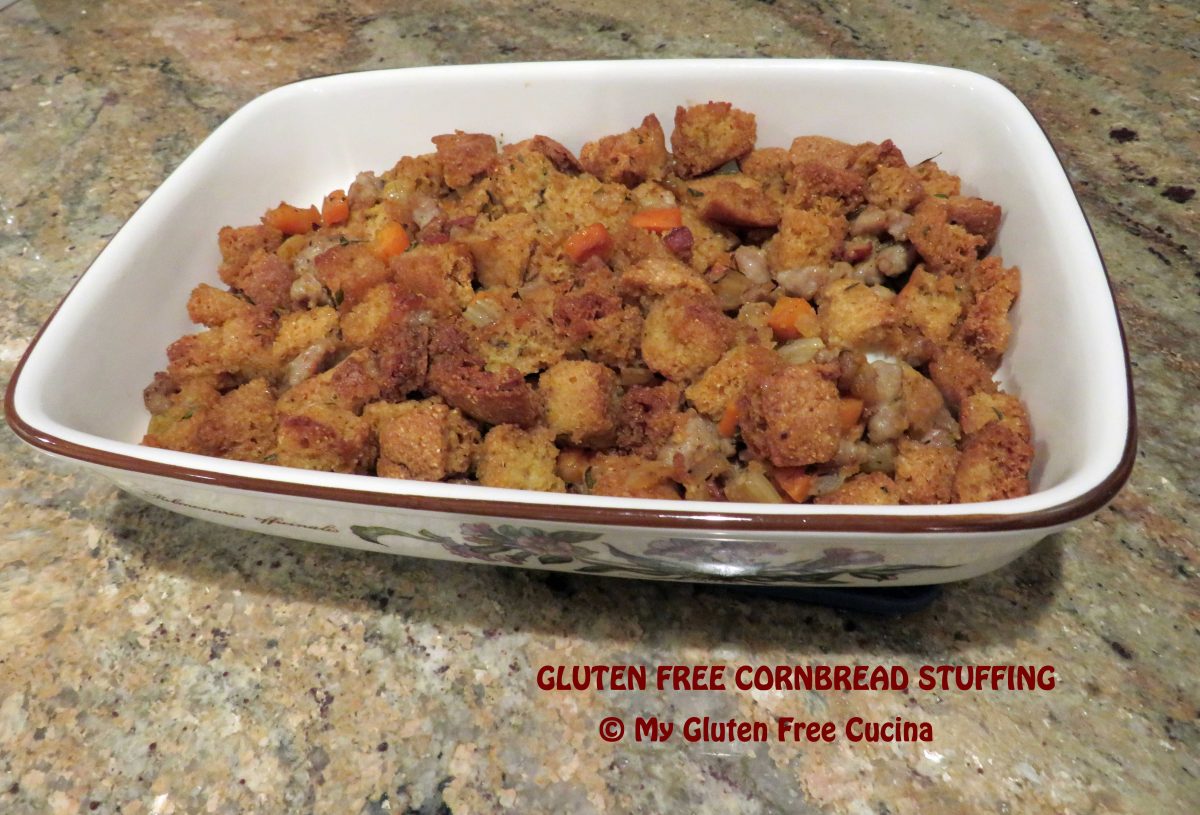


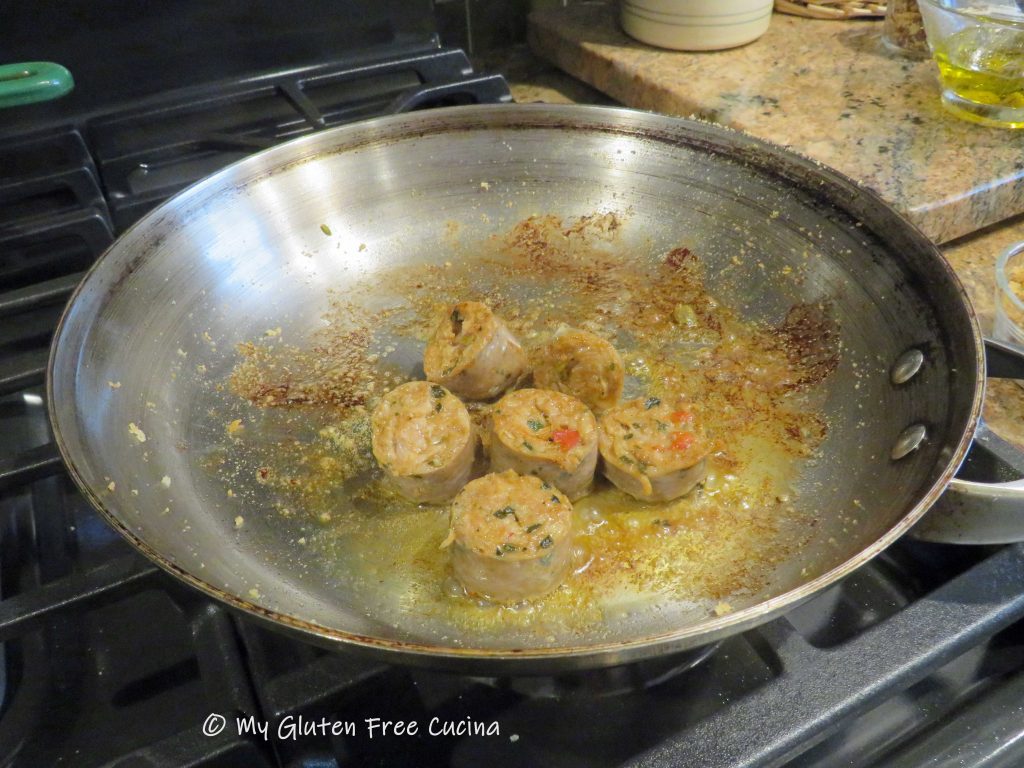
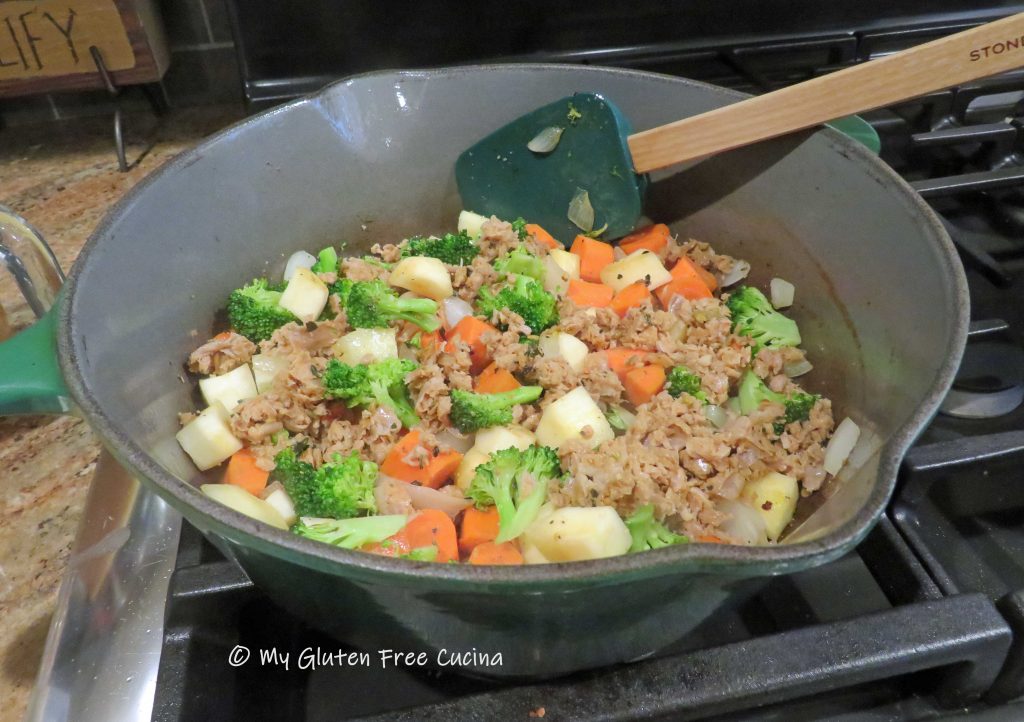
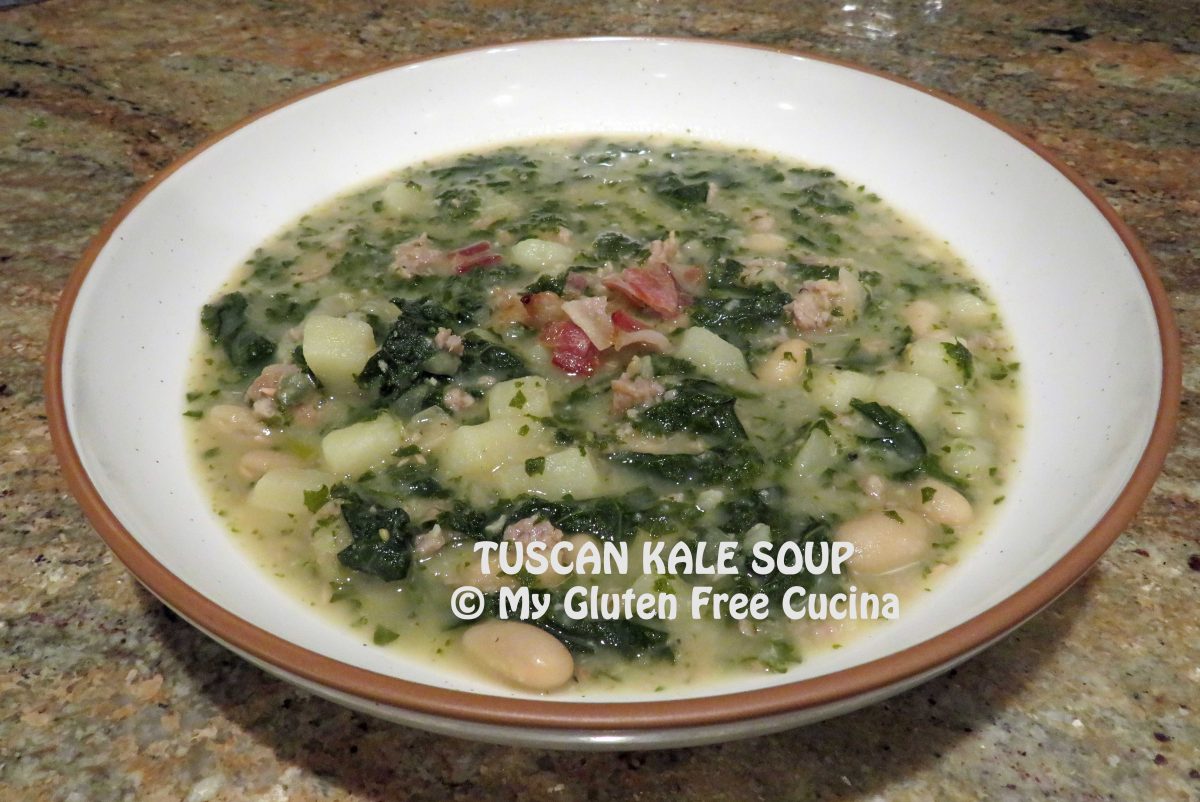
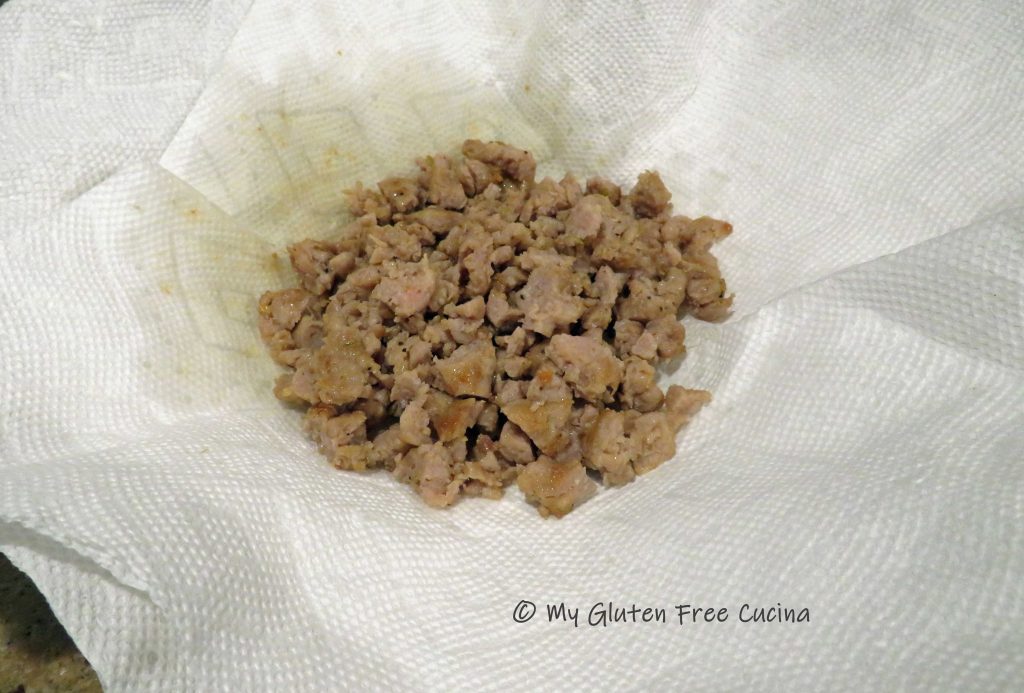
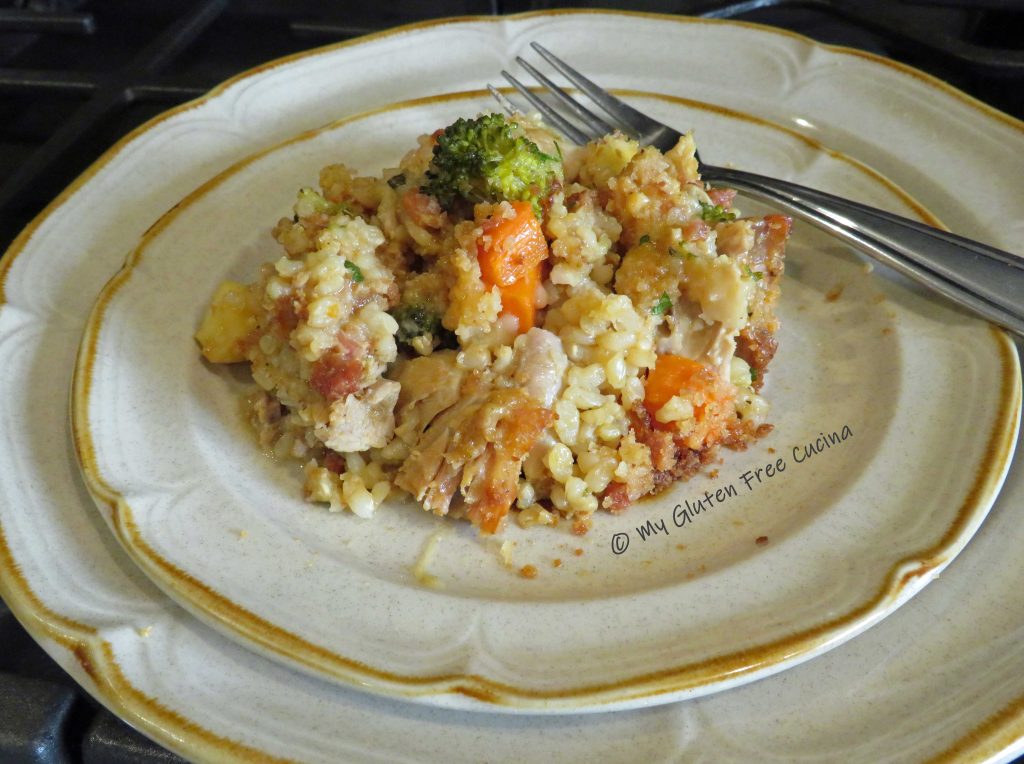
 Add back the sausage and bacon to the skillet and toss well to combine.
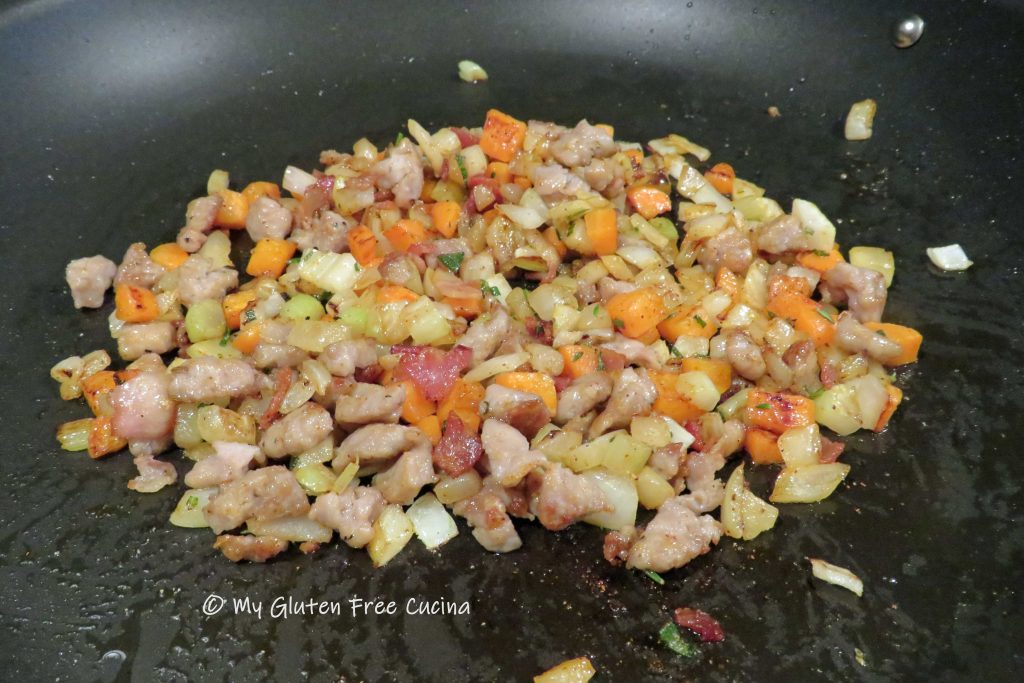


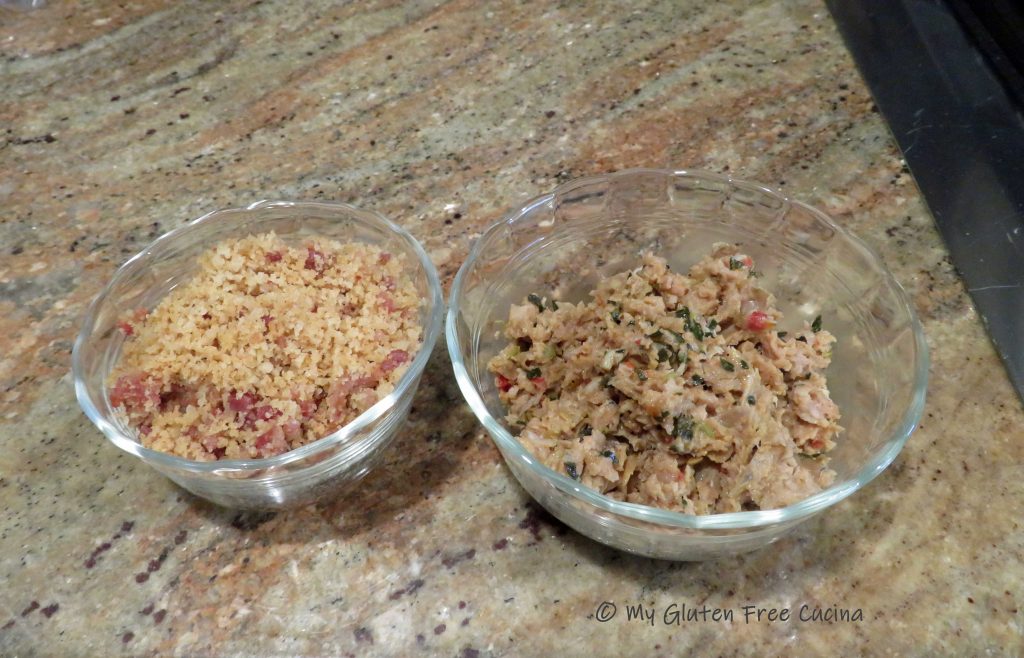
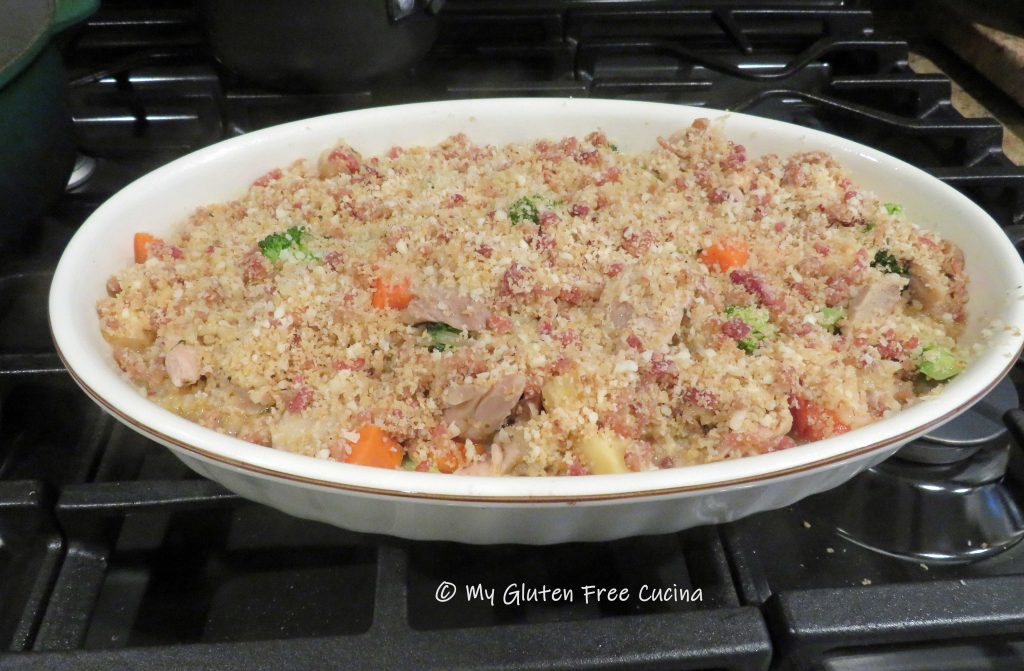
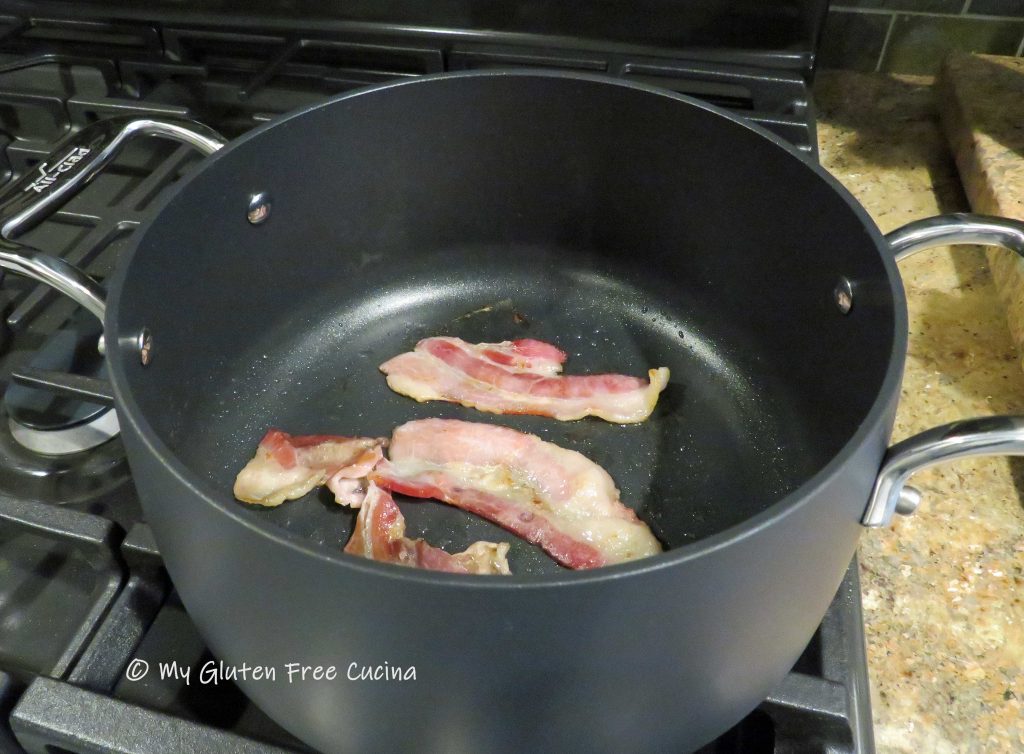
 Crumble the bacon, or place in an
 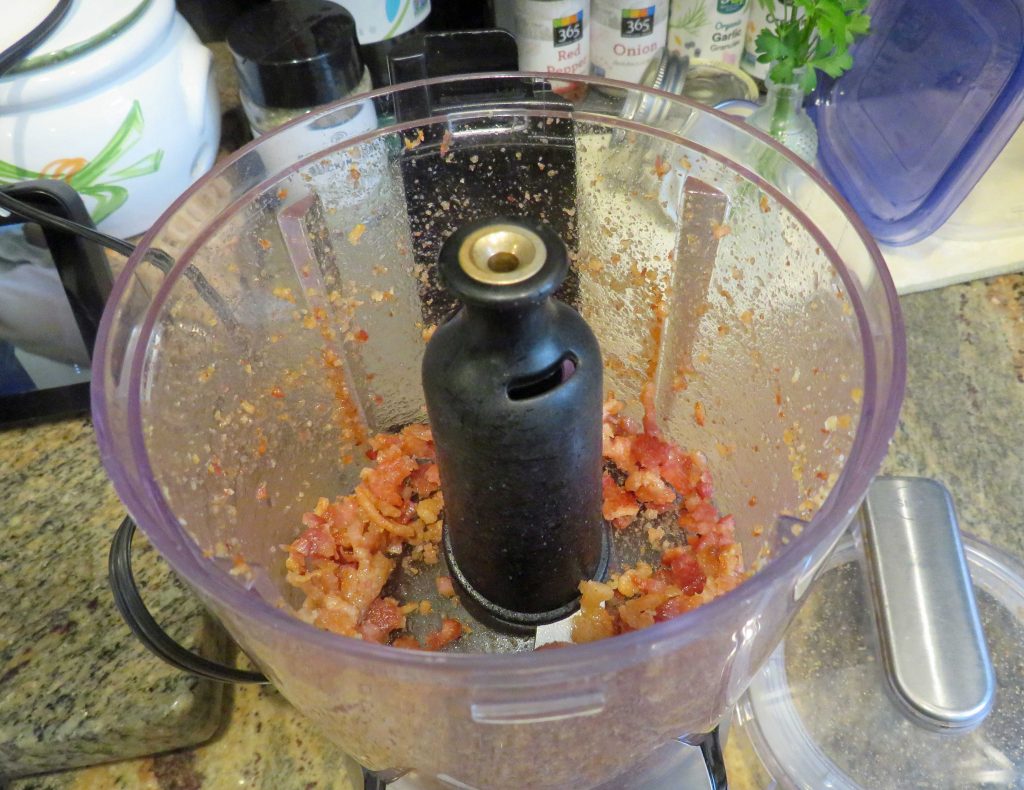 Add 1/3 cup of gluten free breadcrumbs to the skillet with the bacon fat and stir over low heat. Add back the crumbled bacon and stir well to combine. Set aside to cool, then mix with 1/4 cup grated parmesan cheese for topping.
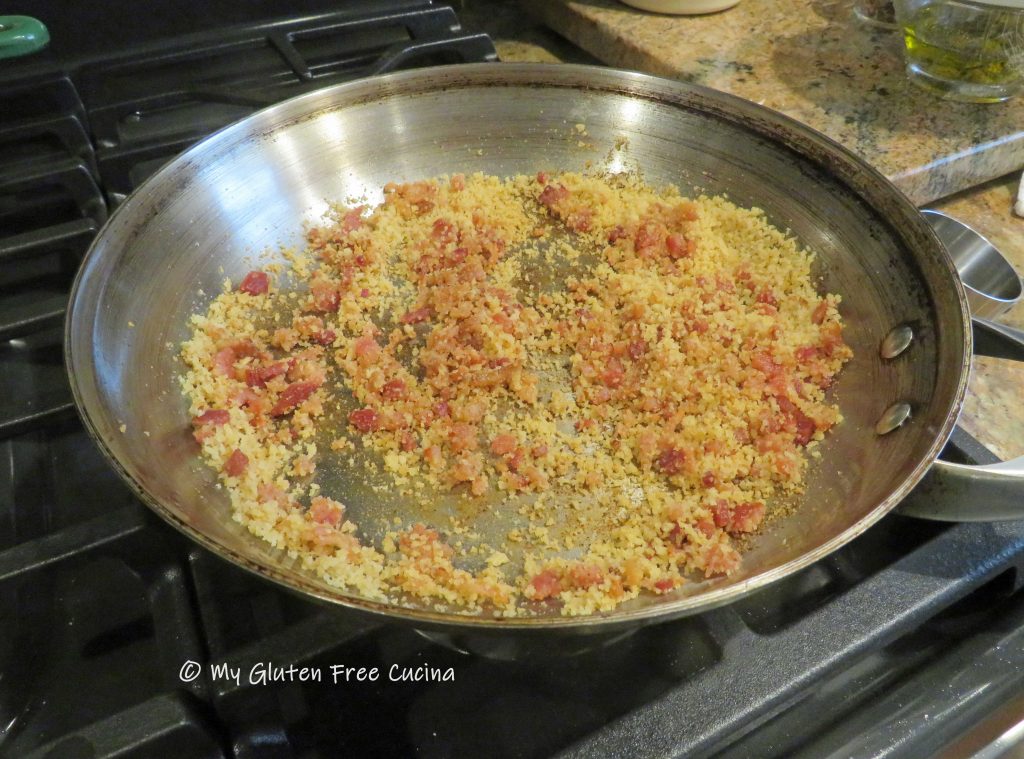

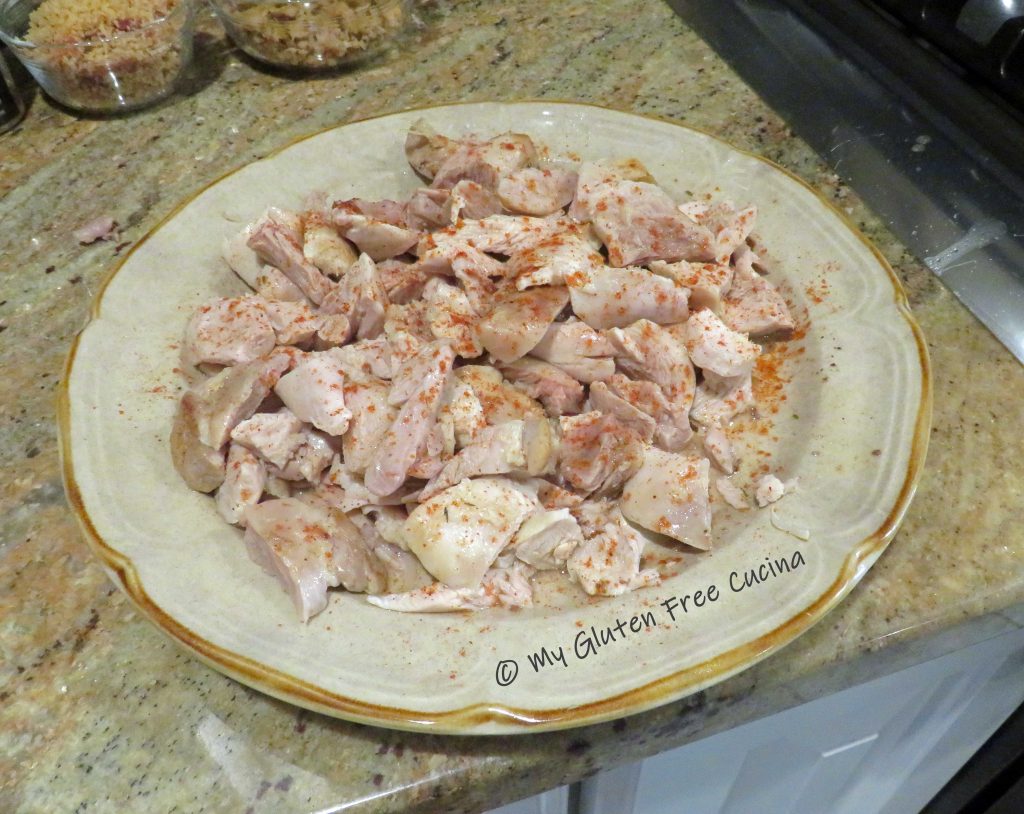
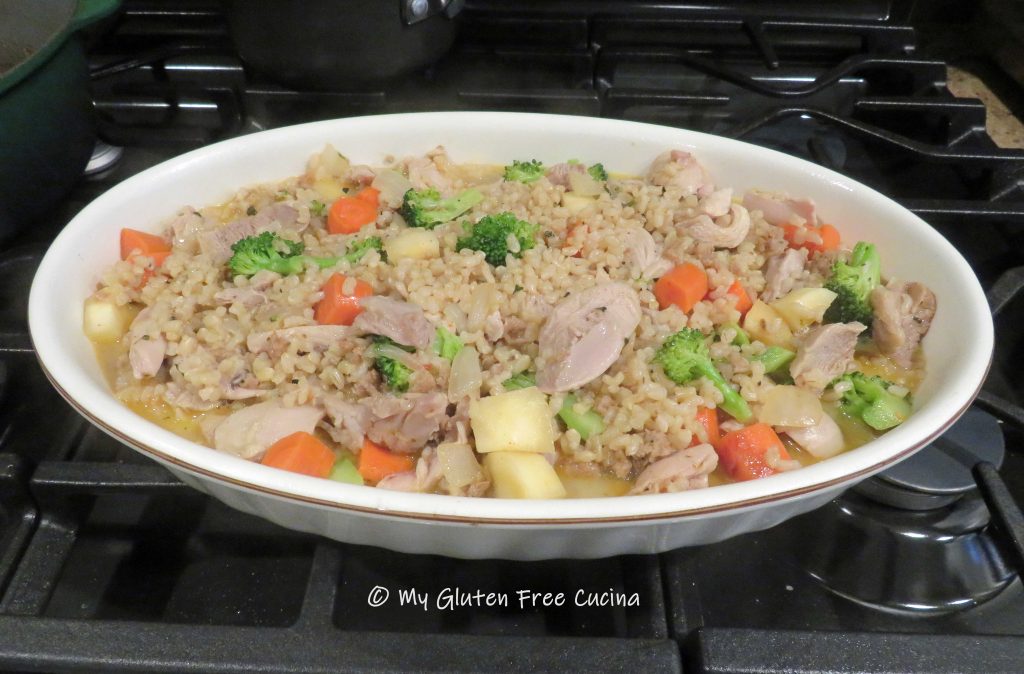
 Place browned chicken in a