Homemade Gluten Free BBQ Sauce

This is a simple BBQ sauce that you can make at home in small batches.  My husband said he likes it better than his favorite store brand, very high praise indeed!  Use it to baste and glaze meats, as a dipping sauce, even a pizza sauce.

This post contains affiliate links.

Ingredients:

Preparation:

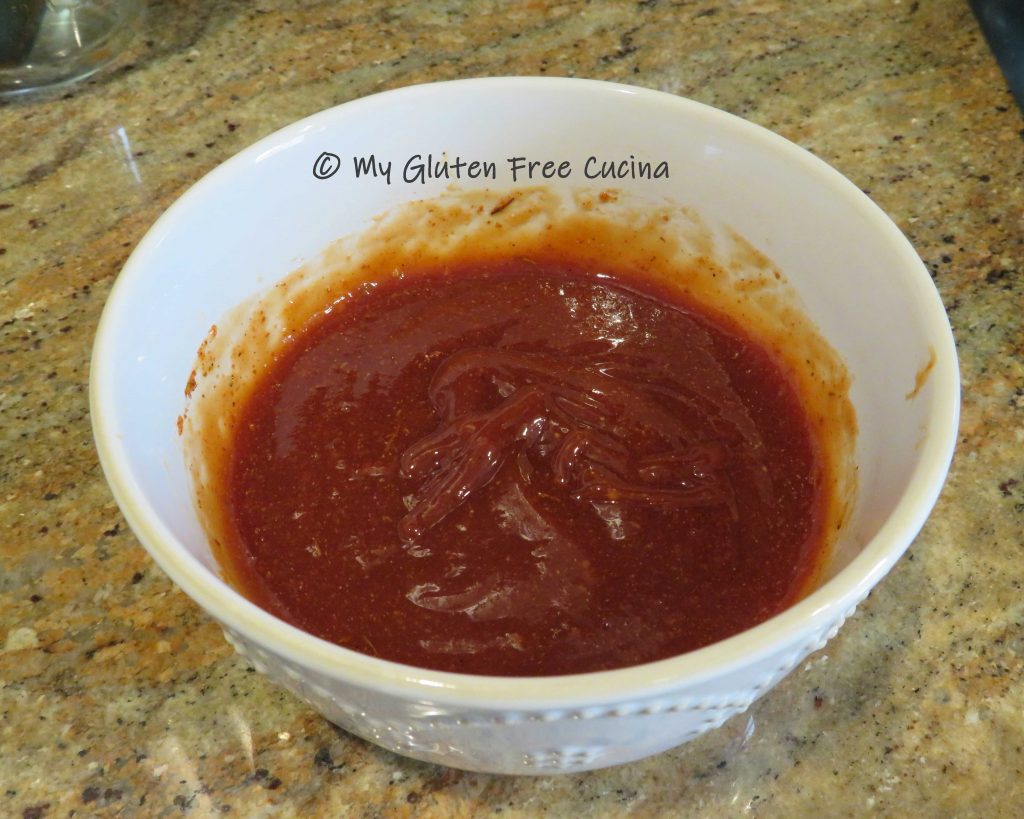
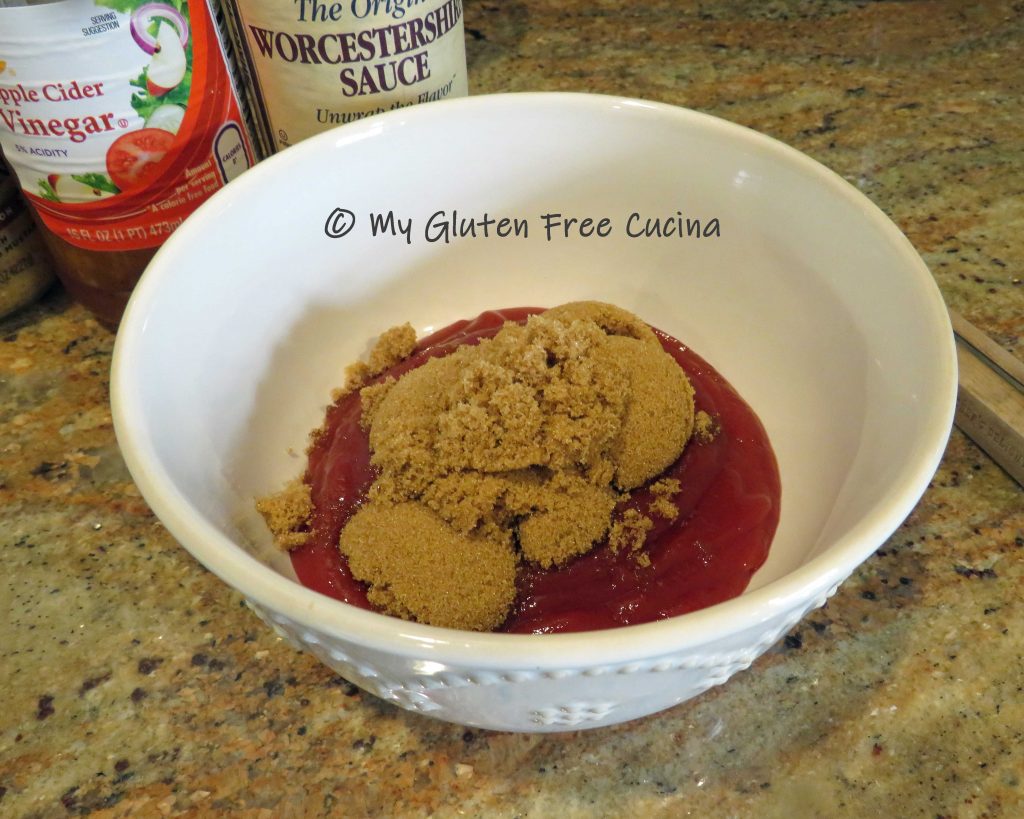
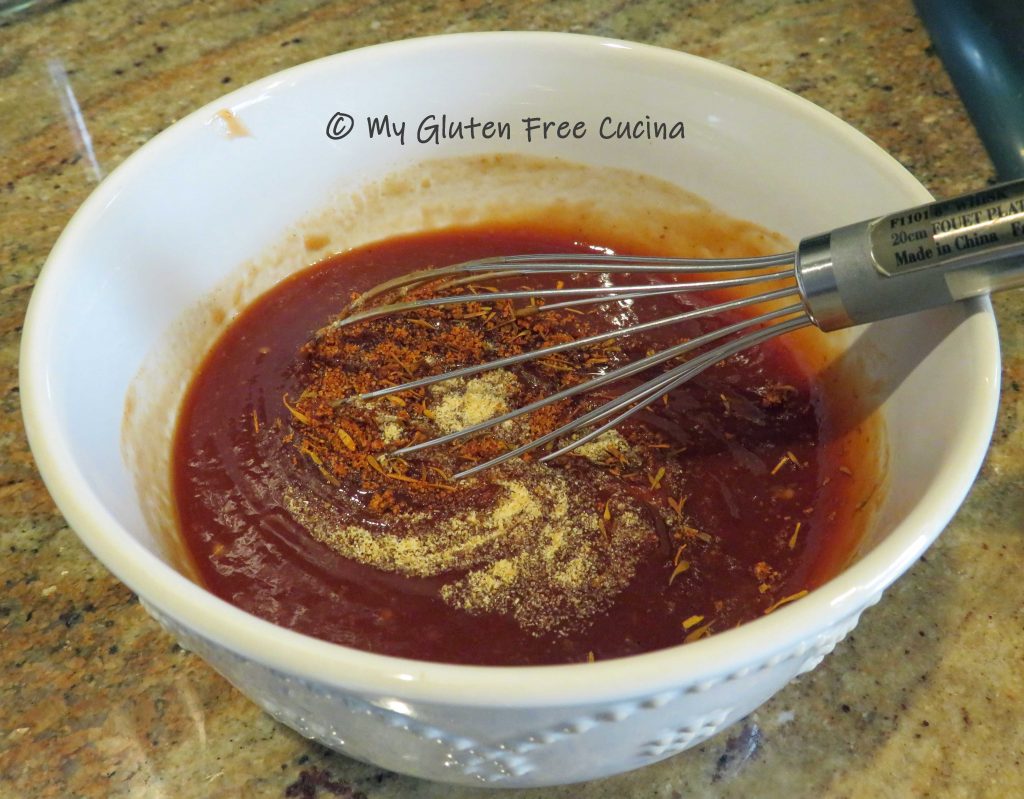
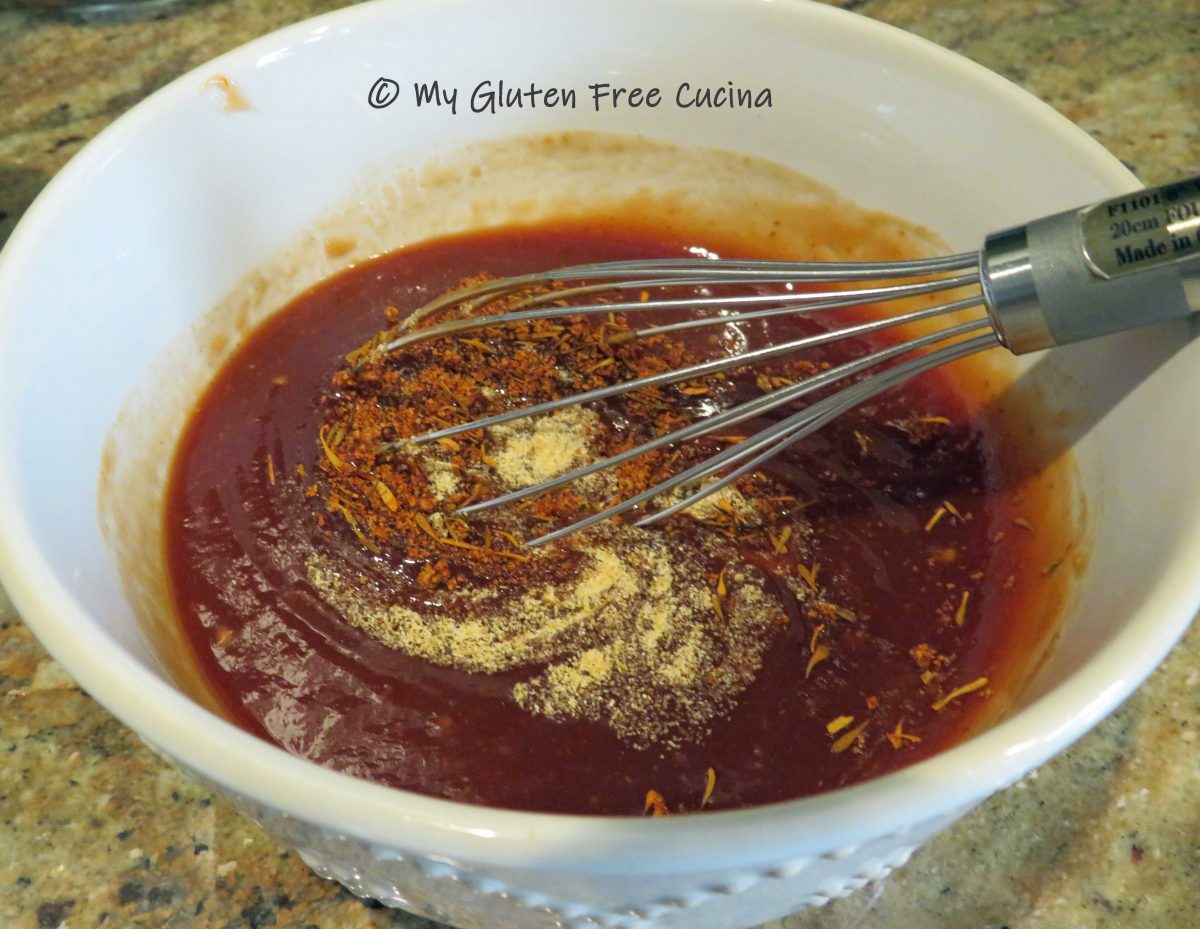
Whisk the ingredients together and warm in a small saucepan.

Try using it on my BBQ Beef Short Ribs or my BBQ Chicken Pizza!

Notes ♪♫ I keep this recipe lower in sodium by choosing unsalted ketchup and low sodium Worcestershire sauce.  Use garlic granules (or powder) instead of garlic salt.

Print This Post Print This Post

Shrimp Fried Rice

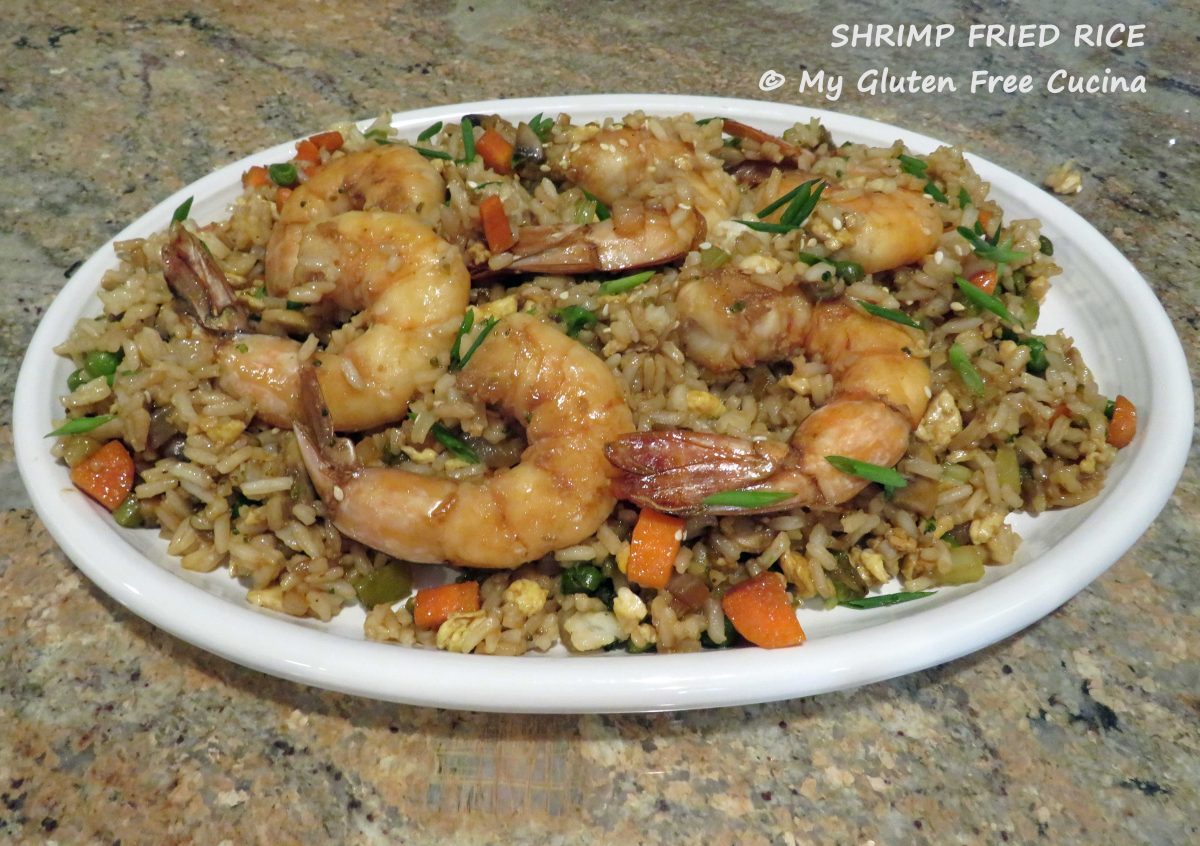
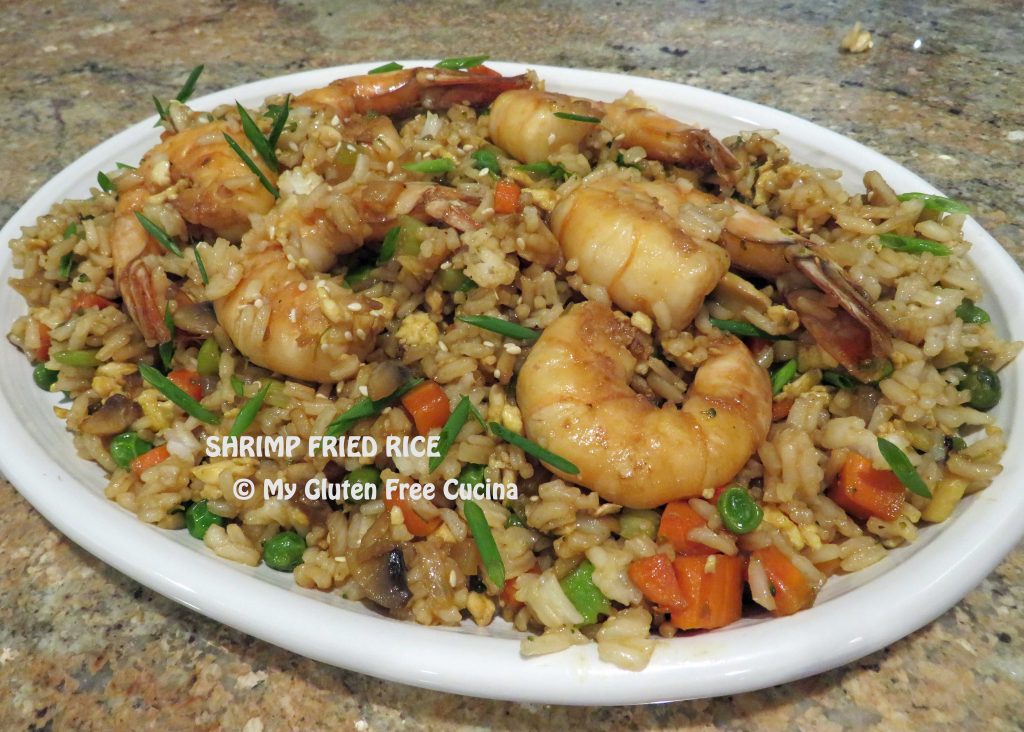
I love Asian inspired meals.  This dish satisfies my craving for takeout, which is usually off limits because of the gluten in soy sauce.  Easy to prepare at home, the measurements are approximate, and the recipe is very forgiving.  Substitute chicken, pork or beef for the shrimp and use veggies that you have on hand.  You can also save time by making the rice a day ahead, it’s actually better this way.

3-4 servings

This post contains affiliate links.

Ingredients:

  • 1/2 cup uncooked long grain rice (use white rice or brown rice)
  • 1 tsp. butter
  • 1 cup water
  • 1/8 tsp. salt
  • 8 oz. raw shrimp (about 12 large or 6 colossal) peeled and deveined
  • 1 large egg
  • 1 tsp. water
  • 1 tsp. butter
  • olive oil
  • toasted sesame oil
  • 1/2 cup carrot, diced
  • 1/4 cup each sweet onion, celery, mushrooms, broccoli, peas
  • 2 tbsp. mirin
  • 1/8 tsp. garlic powder
  • 1/8 tsp. ginger powder
  • 1/8 tsp. ground pepper
  • gluten free coconut aminos
  • toasted sesame seeds for garnish
  • fresh chives for garnish

Preparation:

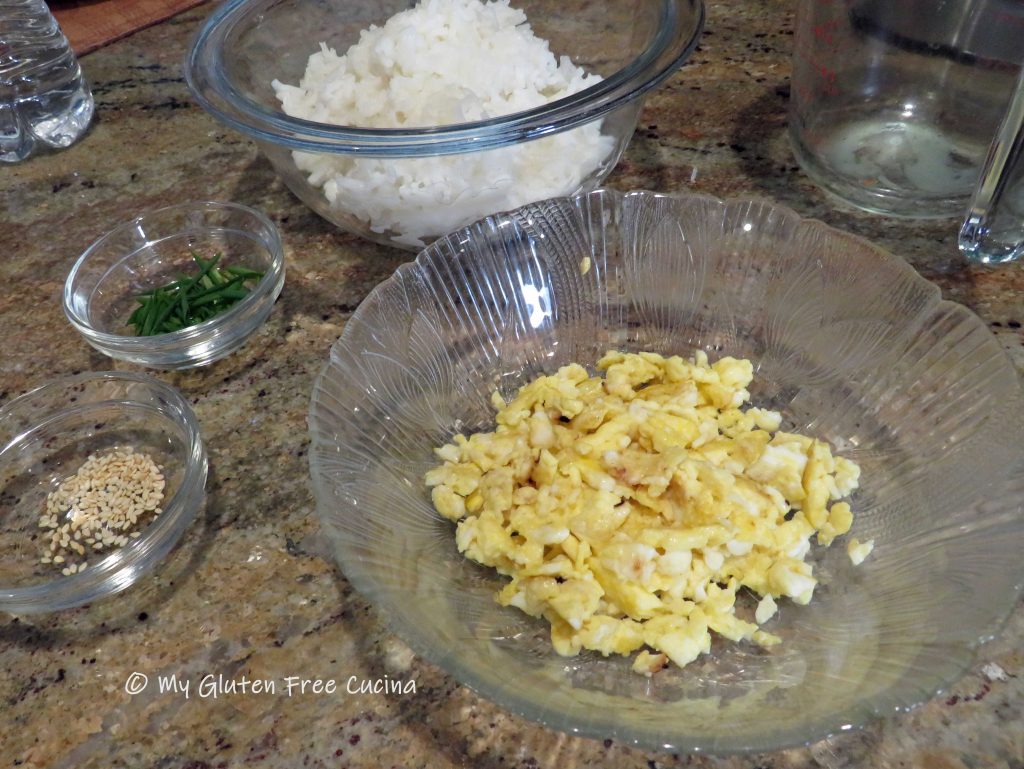
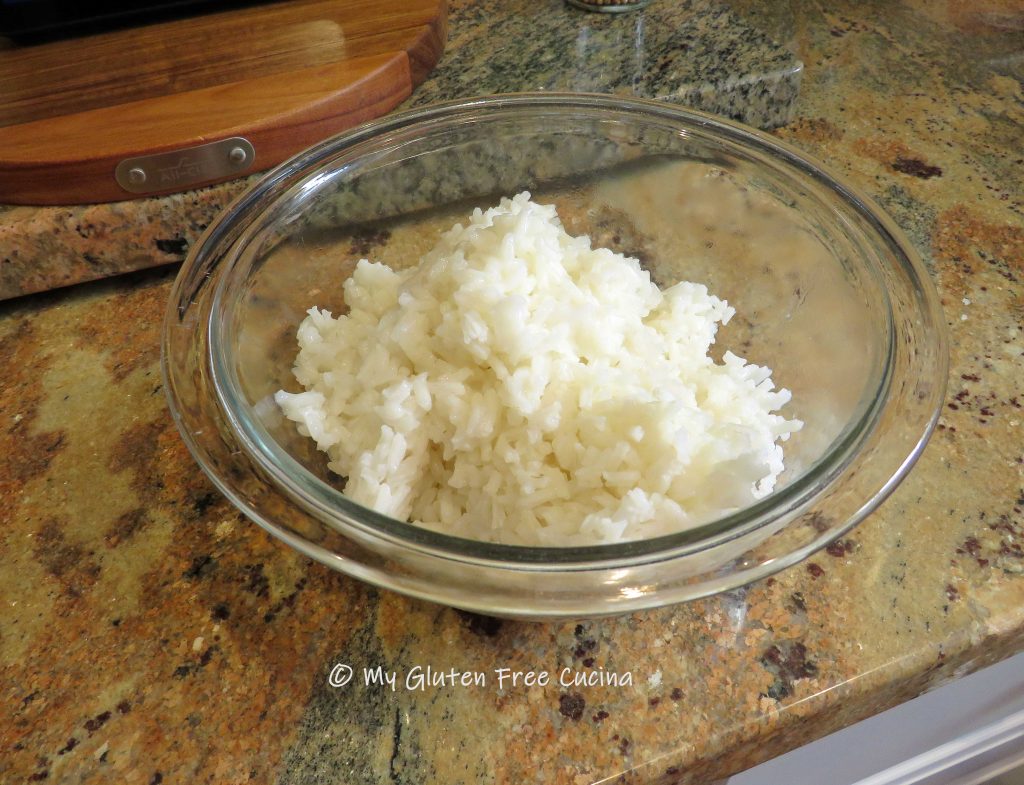
Combine the rice with 1 tsp. melted butter in a small saucepan, stirring to coat.  Add the water and salt, cover and bring to a boil.  Reduce heat to a simmer and cook according to package directions, about 15 minutes for white rice or 35 minutes for brown.  Chill the rice while you get the rest of the dish ready.

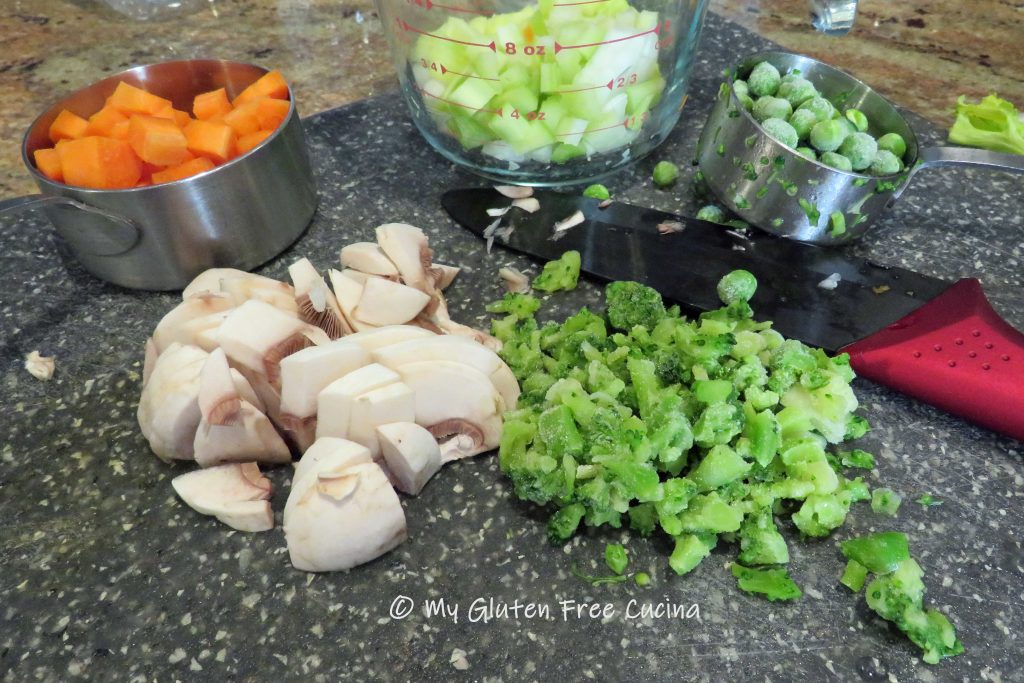
While the rice cooks, chop the veggies into small dice.  Whisk together the mirin, garlic and ginger powders.

Toast the sesame seeds in a dry skillet and cut the chives on the diagonal into 1/2″ pieces.

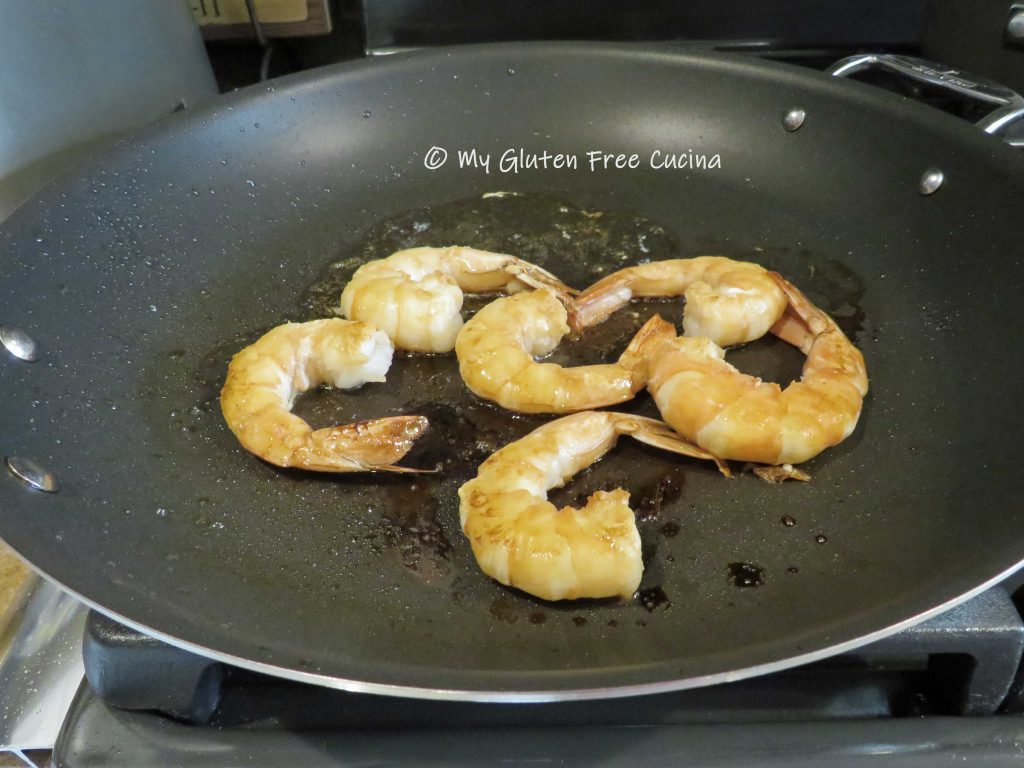
Peel and devein the shrimp, and sprinkle with coconut aminos.  Heat a large nonstick skillet over medium low and add 2 tsp. sesame oil.  Cook the shrimp in a single layer just until they turn pink, turning once.  Remove from the skillet and set aside.

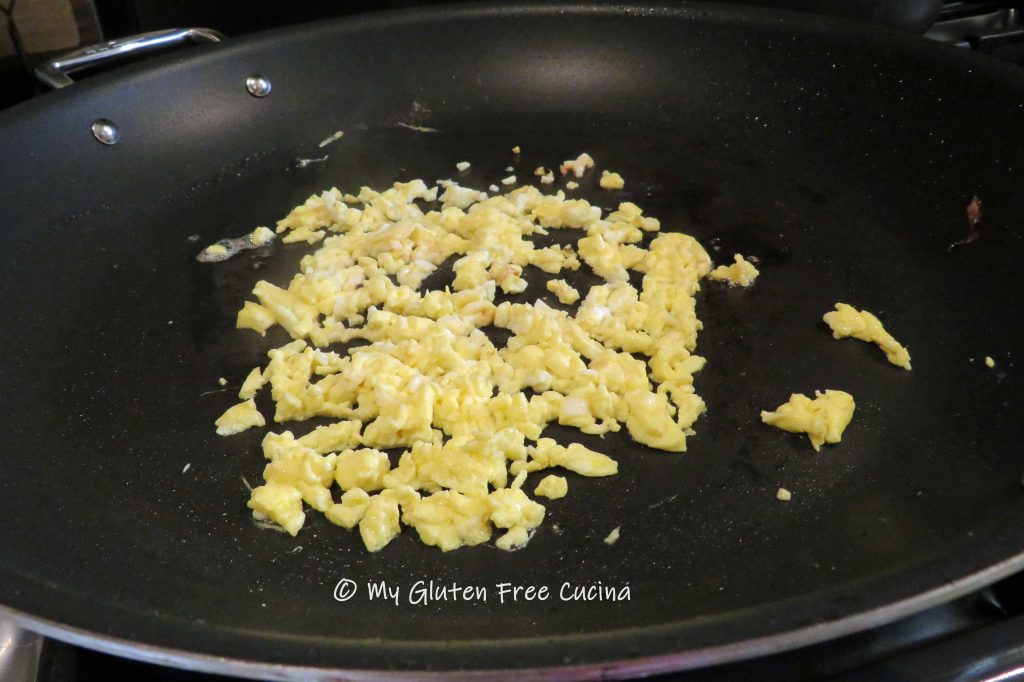
Wipe the skillet clean and add 1 tsp. of butter.  Whisk the egg with 1 tsp. of water and add to the skillet, turning to cook through.  Use a spatula to break the egg into small pieces, then transfer to a bowl and keep warm.

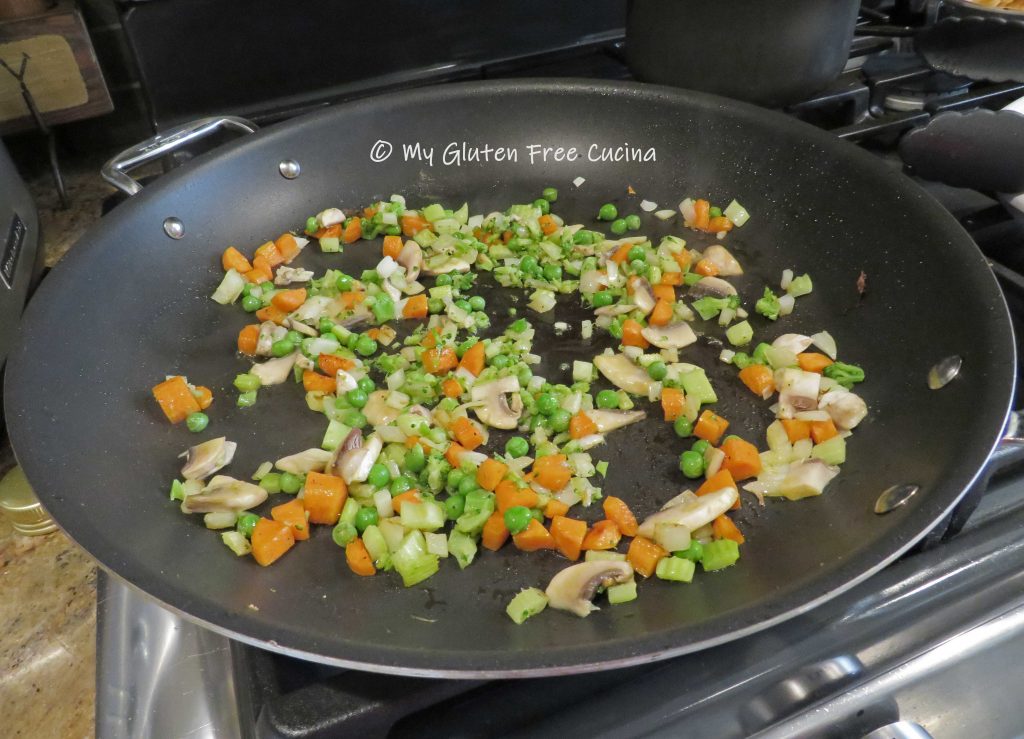
Next, add 2 tbsp. olive oil with 2 tsp. sesame oil to the skillet and cook the veggies.  Give the carrots a few minutes head start, followed by the onion and celery.  Soft veggies like broccoli, peas and mushrooms go in last.  Season with ground pepper, and sprinkle with coconut aminos.

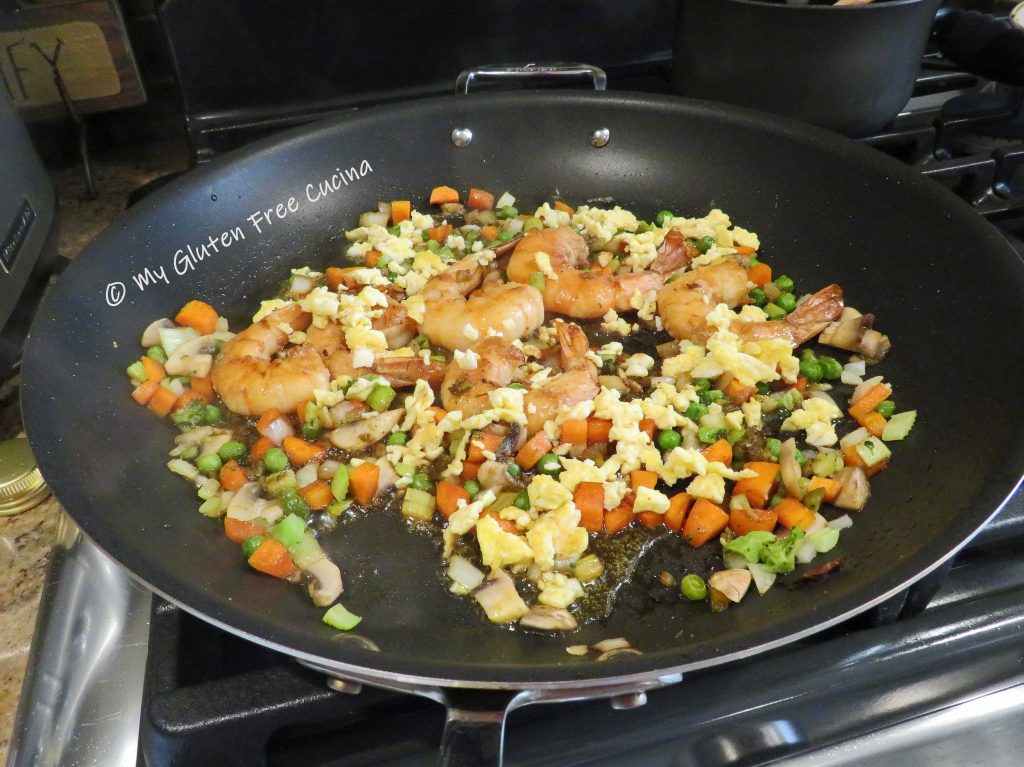
When the veggies are ready, it’s time to put everything together.  Stir in the mirin mixture, then add back the shrimp and egg.

Finally, add the rice and drizzle with 2 tsp. sesame oil and a little more coconut aminos.  Use 2 spatulas to stir and toss everything together until well blended and heated through.

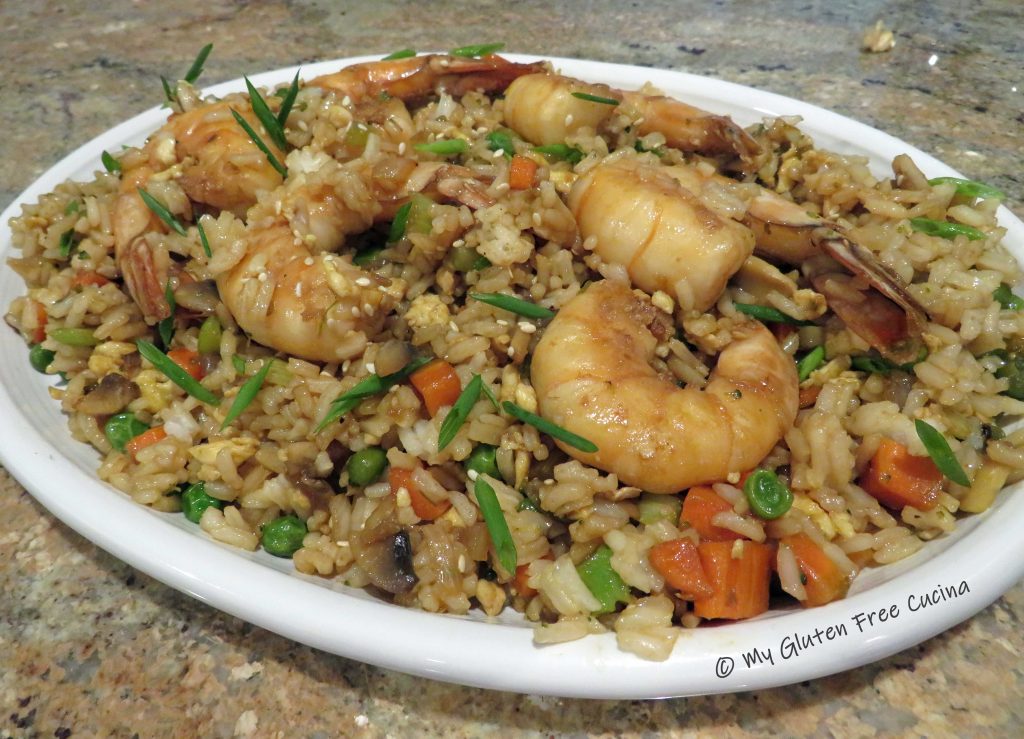
Transfer to a serving platter and garnish with the chives and toasted sesame seeds.

This is a delicious gluten free meal to add to your weeknight rotation.  Forget takeout!  With endless substitutions to keep it fresh, this will become one of your favorite go-to recipes.

Notes ♪♫ I used Coconut Aminos in this recipe instead of gluten free soy sauce.  We are a low sodium household, and coconut aminos have about a 10th the sodium of regular soy sauce.  If salt is not an issue, you can use gluten free soy sauce or tamari.  Remember, regular soy sauce is fermented in wheat and is not safe for those with Celiac disease.

Originally posted 06/22/2018                     Updated 07/10/2023

Print This Post Print This Post

Country Style Pork Ribs

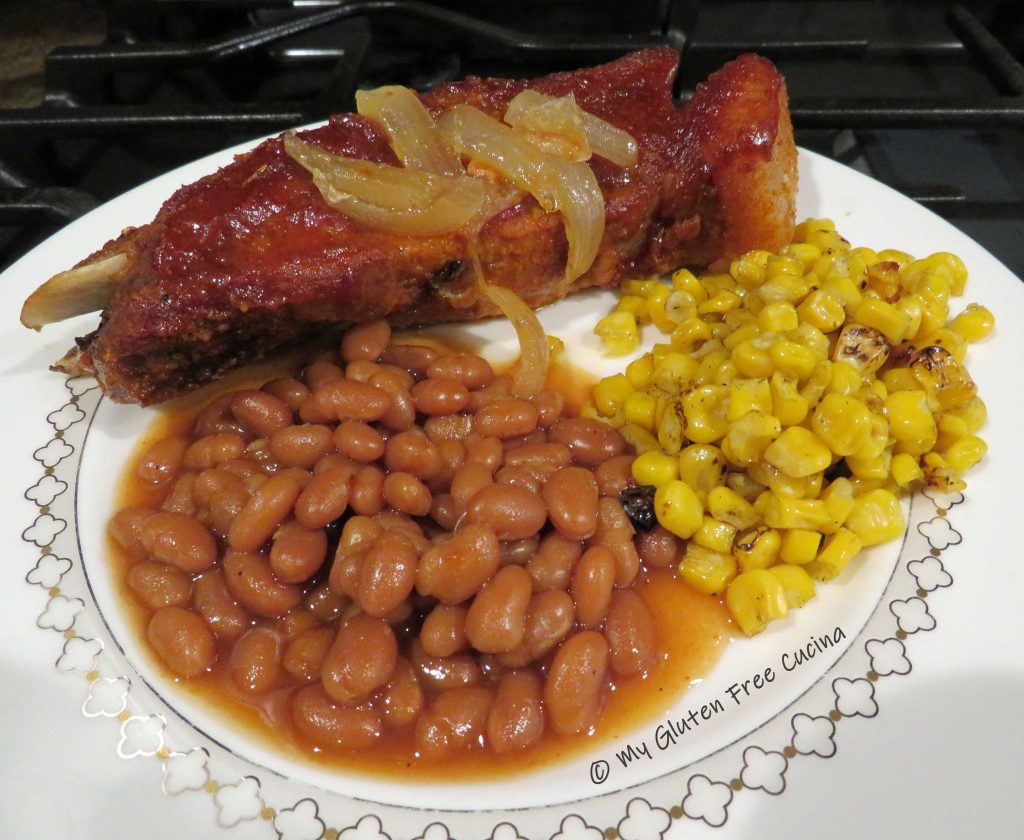
I love having Country Style Pork Ribs all year round, and this easy oven preparation means that we can enjoy them rain or shine!  Cooking ribs slowly on very low heat ensures tender juicy meat.  A simple, dry rub helps keep the meat moist as it cooks, and I finish it with a homemade BBQ sauce.

This post contains affiliate links.

A heavy oven proof skillet with cover is perfect for this recipe, you can also use a Dutch oven or braising pan with a cover.  You may be thinking that an oven temperature of 225º is too low, but if you check with a meat thermometer you will find that the center is perfectly cooked after 4 hours.  The meat is moist and delicious, and it smells amazing!

2 Servings (can be doubled or tripled)

Ingredients:

  • 1-1/2 lbs. country style pork ribs, bone in
  • 1-2 large, sweet onions, cut into chunks
  • BBQ Rub, see below
  • Cooking spray
  • Gluten free BBQ sauce

Rub:

  • 3 tbsp. brown sugar
  • 1 tbsp. paprika
  • 1 tbsp. onion powder
  • 2 tsp. garlic granules
  • 2 tsp. salt

Preparation:

Whisk together the dry rub ingredients.  It’s a mild flavored rub, but you can add bolder spices like cayenne pepper to kick up the heat.  Use your hands to coat the ribs evenly with the rub.  Be sure to cover the entire surface.

Mist a covered skillet, Dutch oven or braising pan with cooking spray.  Cut the onions into large chunks and arrange in a single layer, to create a base for the ribs.

Place the ribs on top of the onions.  As the ribs cook down, they will release liquid, and you want them to be elevated for most of the cook time, not submerged.

Cover and roast at 225° for 4 hours total.  After 3-1/2 hours, uncover and brush liberally with BBQ sauce.

Continue cooking 1/2 hour longer.  The meat will be falling off the bone tender!

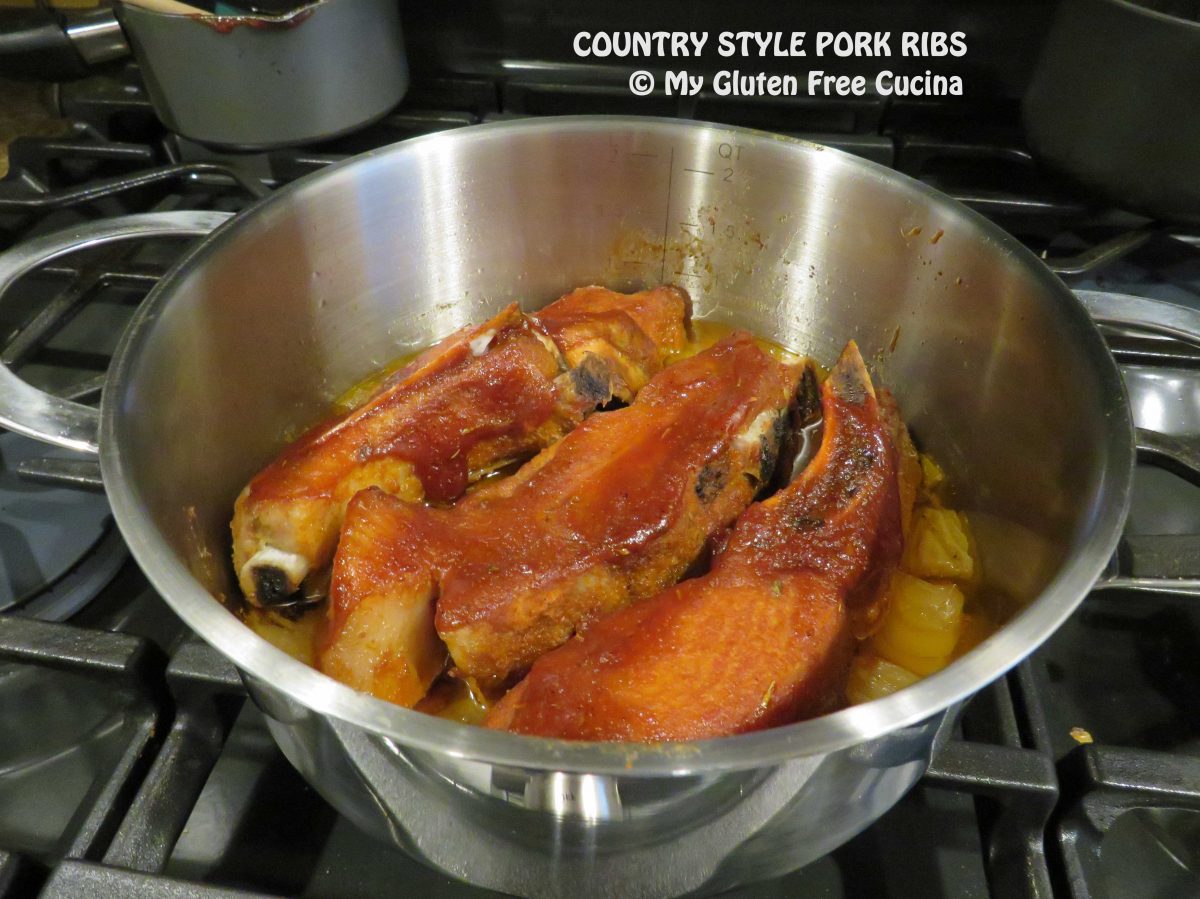
See how much liquid has accumulated in the bottom of the pan?  Yet the ribs are not swimming in it.  To plate, spoon some of the onions and pan juice over the ribs.  I served the ribs with a side of BBQ Baked Beans and fire roasted corn.  Have extra BBQ sauce available for dipping.

Notes ♪♫ Of course, you can always use a store-bought BBQ rub and BBQ sauce, just be sure they are gluten free.  Always check ingredient labels for hidden gluten!

Originally posted 8/06/2018                  Updated 7/04/2023

Print This Post Print This Post


Gluten Free Apple Walnut Muffins

Here is another delicious gluten free muffin that you can enjoy for breakfast and snacks!  This muffin has crisp bites of apple and toasted walnut baked into a lightly spiced batter.  The recipe was one of my first posts, when I started this blog in 2018.  Five years later, it was in need of an update!  No, I did not change the recipe, it’s a keeper.  My photography though, has improved vastly over the last few years (or is it the camera?).  You be the judge.

This post contains affiliate links.

dry Ingredients:

Wet Ingredients:

  • 1 apple, cut into small dice (about 1 cup)
  • 2 large eggs
  • 63 g. (1/3 cup) granulated sugar or Truvia
  • 52 g. (1/3 cup) brown sugar or Truvia
  • 3 tbsp. canola oil
  • 3/4 cup + 2 tbsp. milk (I used 2%)
  • 1 tsp. lemon juice
  • cooking spray
  • 1 tbsp. butter, for brushing

Preparation:

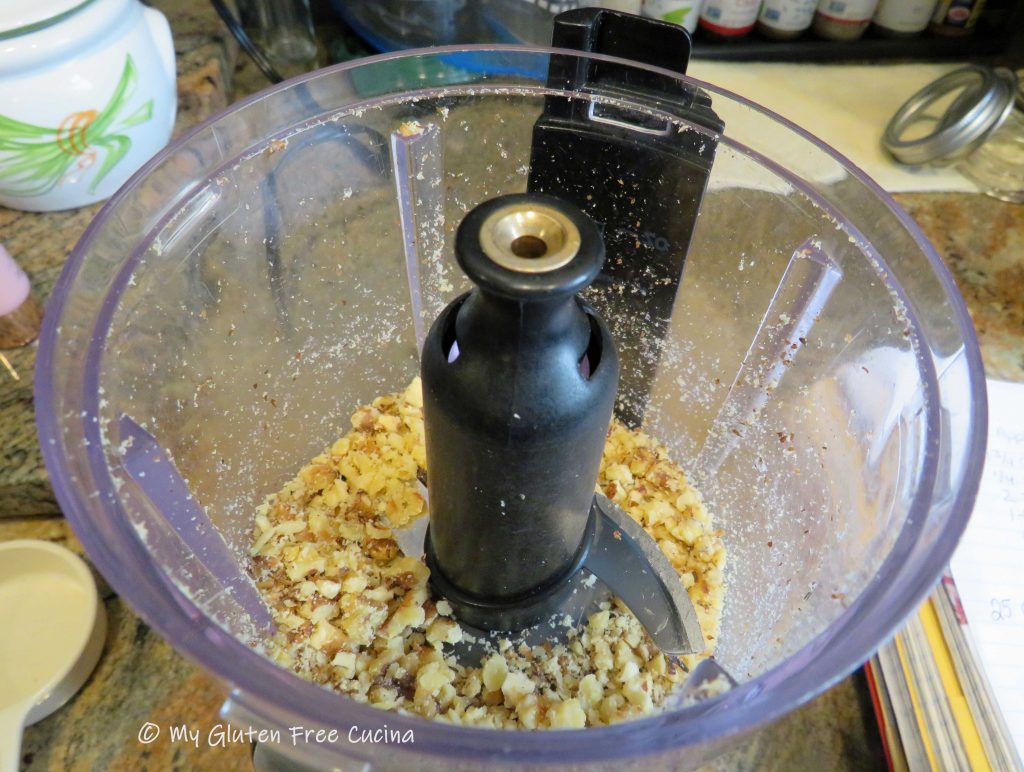
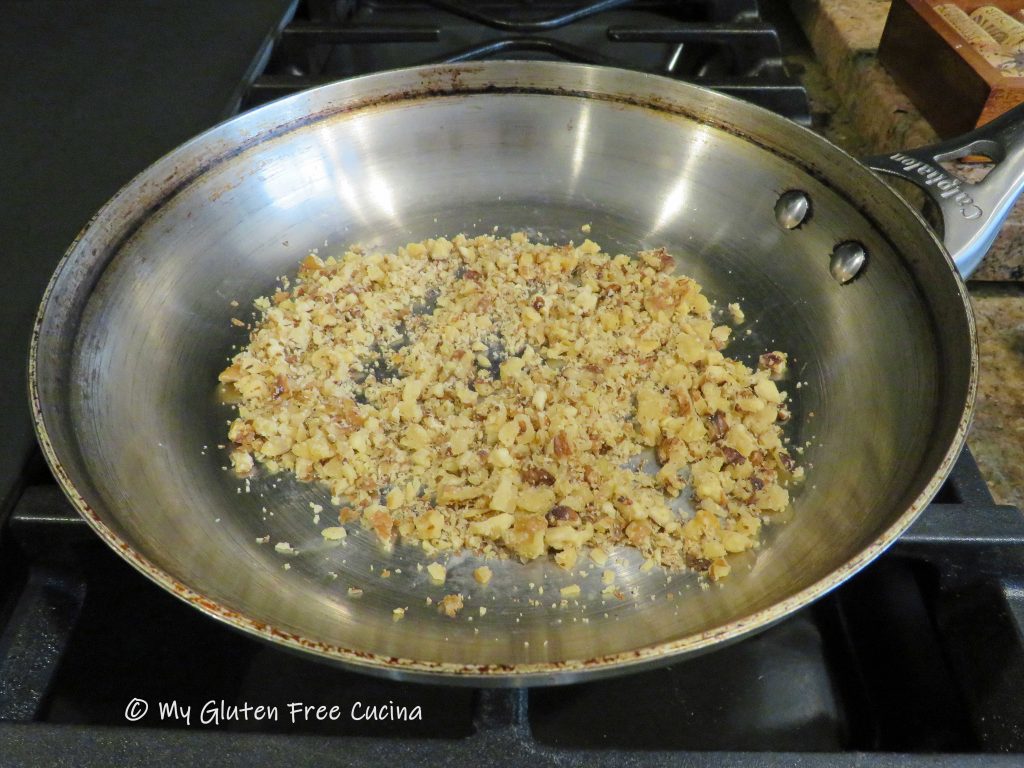
Mince the walnuts in an electric chopper, about 3 pulses, then lightly toast them in a dry skillet for 3-4 minutes.  Set aside to cool.

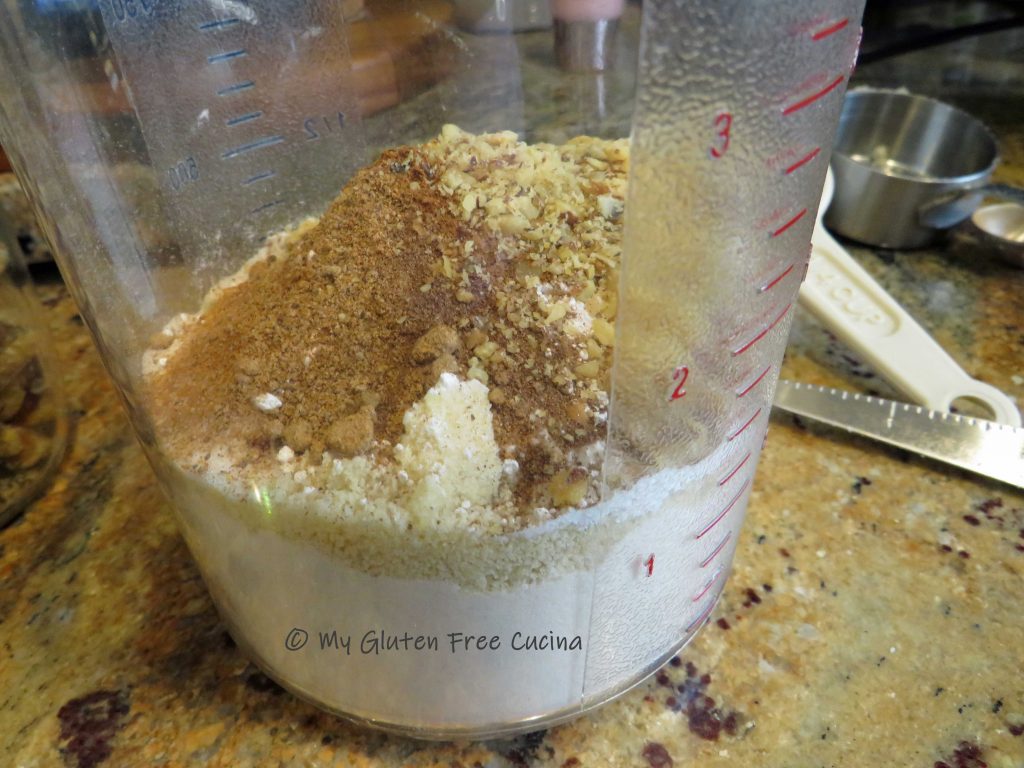
Whisk together the dry ingredients.

Chop the apple in an electric chopper (I used Honey Crisp, my favorite), then combine it with the remaining wet ingredients, through lemon juice in a separate bowl.

Stir the wet ingredients into the dry, just until moistened.  A dough whisk is great for muffins and quick breads.

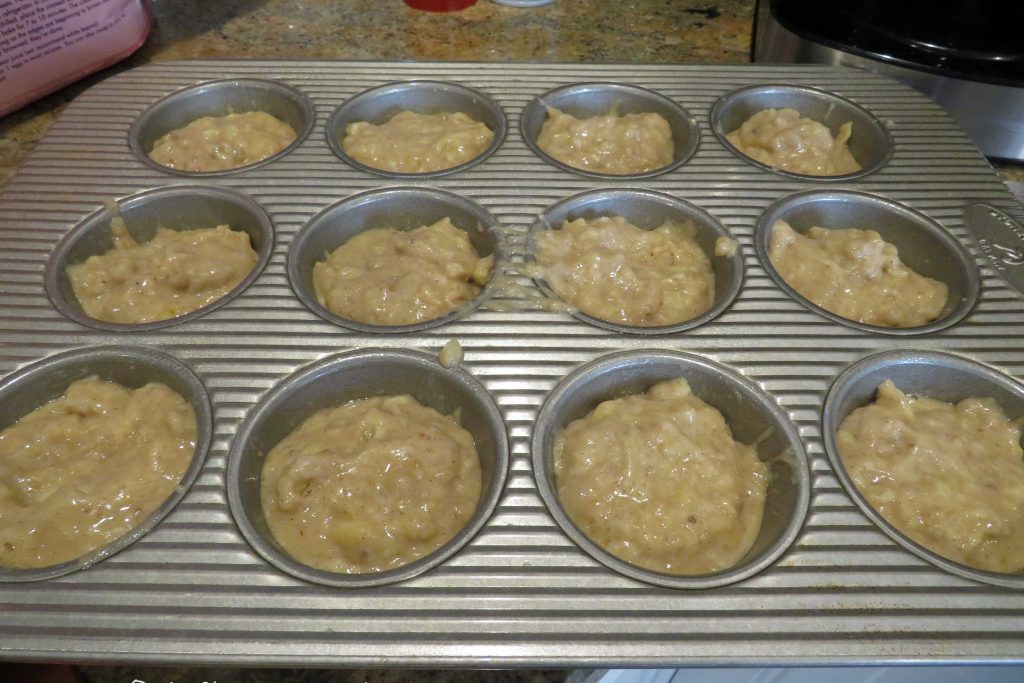
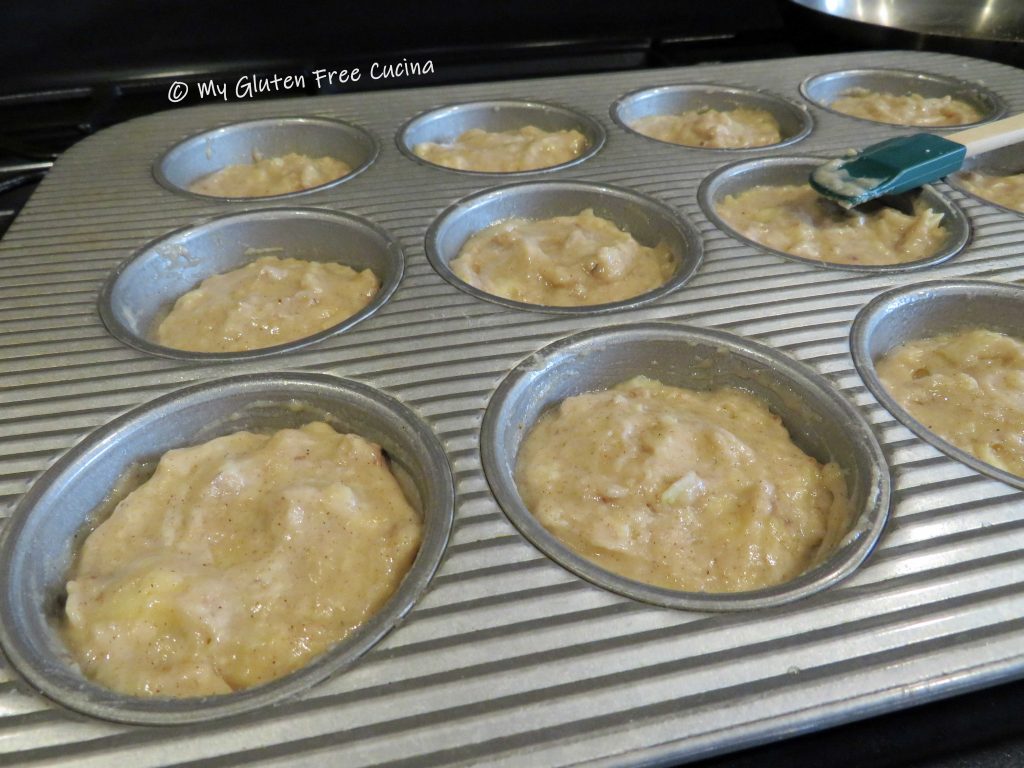
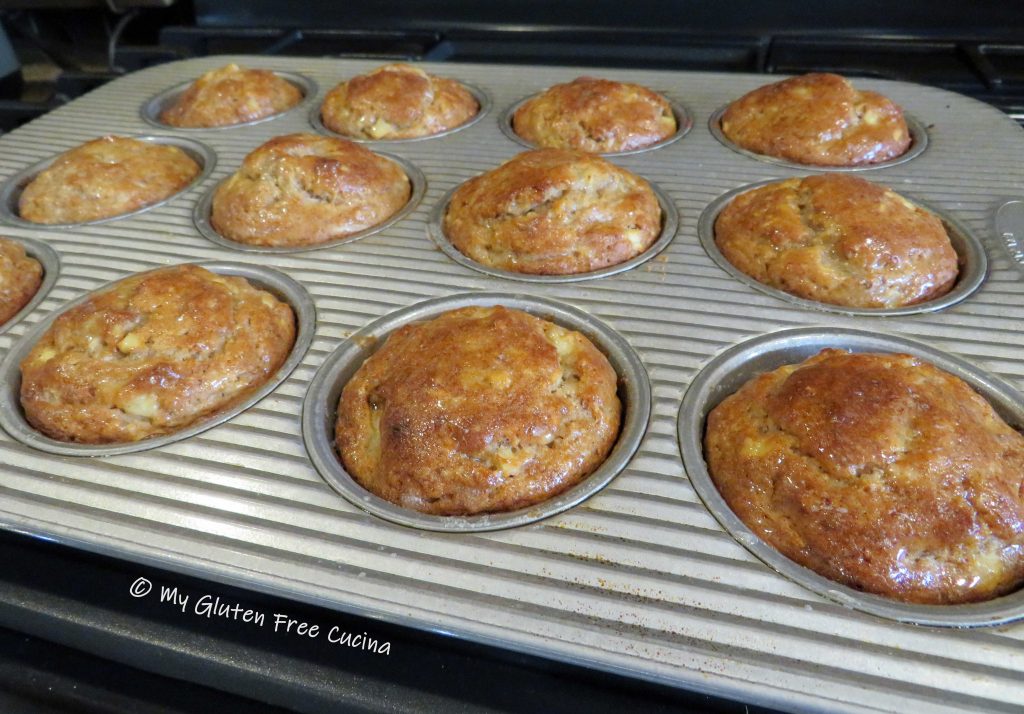
Use a wet spoon to divide the batter into 12 muffin cups, then use a spatula dipped in water to smooth out the tops.  Gluten free batter doesn’t always spread well by itself, so this step will ensure a nice, rounded shape.

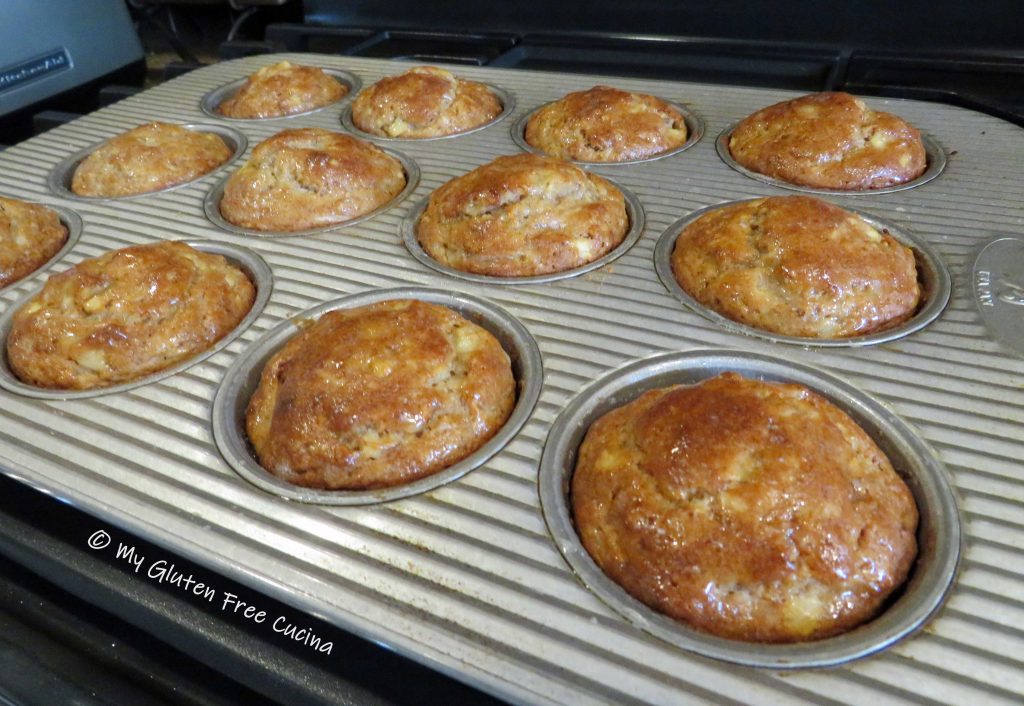
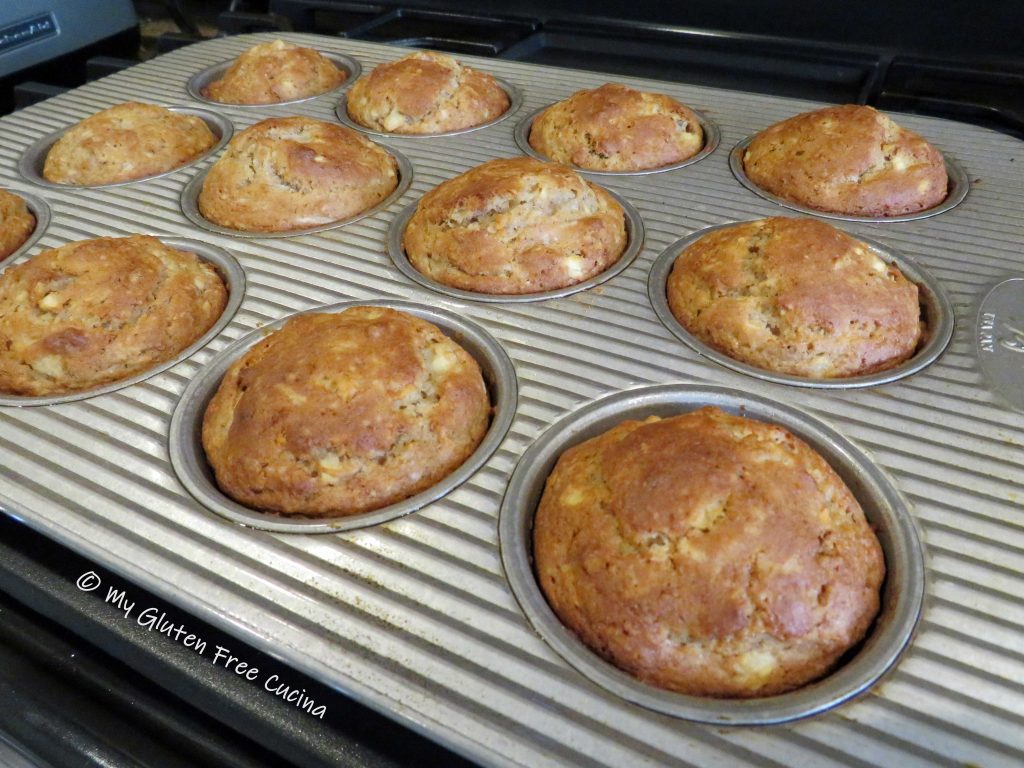
Bake for 20 minutes at 400º, the muffins should rise high with nicely rounded tops.  Check the center with a toothpick.

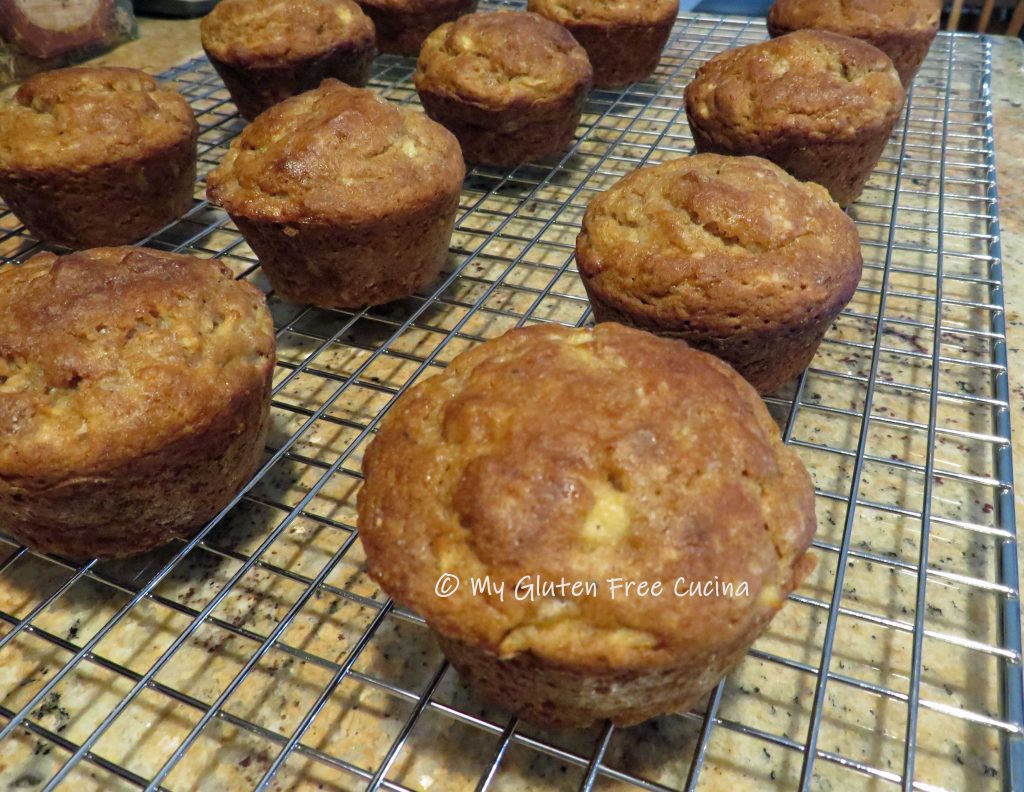
I melted a little butter and brushed it over the baked muffins for a nice shine.

Cool on a rack and serve warm or at room temperature.

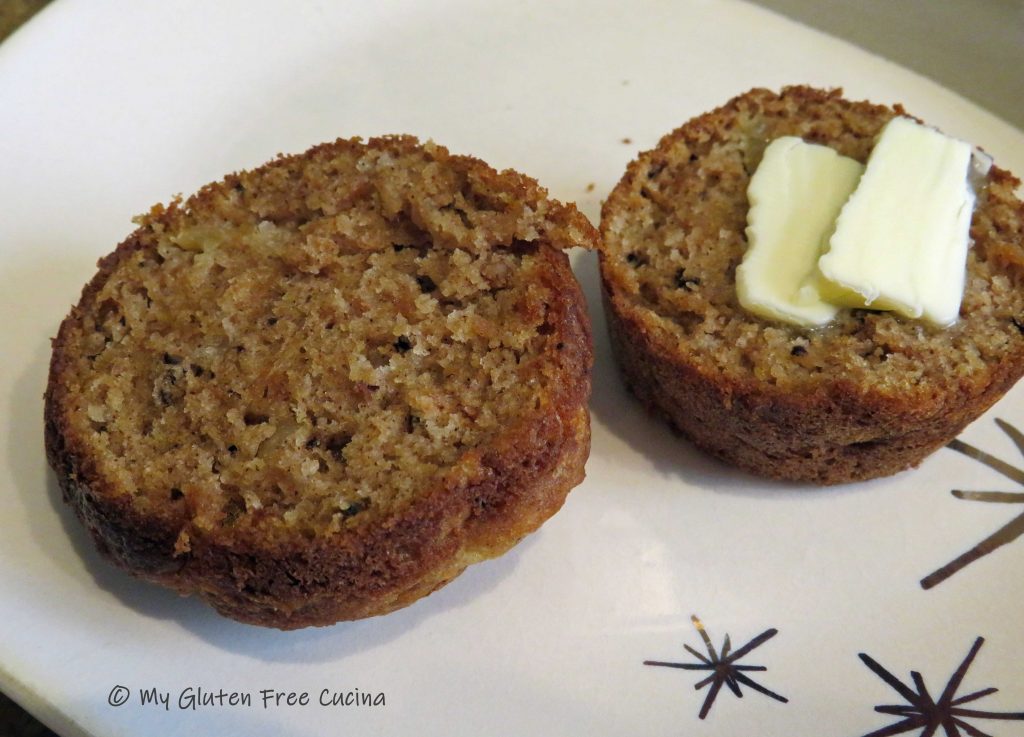
Here’s the crumb, nice and moist.  They taste great and you would never know that they were gluten free.  They freeze well too!

Notes ♪ I used my favorite gluten free all-purpose flour from Better Batter in this recipe.

When you shop Better Batter, use my code MGFC30 at checkout to receive 30% off any non-sale item! 

Notes ♫ Try using a sugar substitute like Truvia if you need the muffins to be diabetic friendly, or a sodium free baking powder substitute, if you need to lower the sodium.

Notes ♪♫ If you don’t have apple pie spice, you can use 1-1/8 tsp. cinnamon, 1/4 tsp. nutmeg and 1/8 tsp. ground allspice.

Original Post 6/10/2018                  Updated 6/10/2023

Print This Post Print This Post

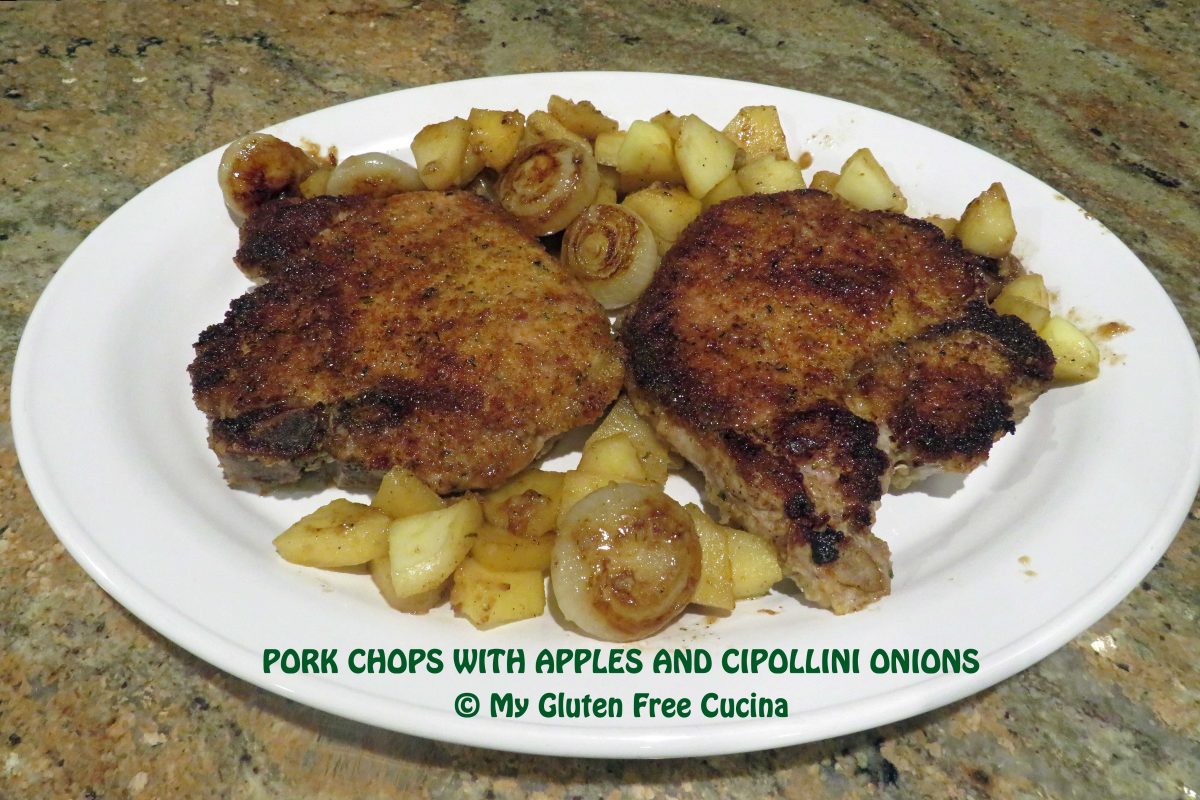
Pork Chops with Apples and Cipollini Onions

Have you tried Cipollini onions?  Cipolla means onion in Italian, and cipollini are “little onions”.  Milder and sweeter than regular onions, Cipollini can be a flavorful addition to pork and beef dishes.

You may think these little onions are difficult to peel, but here’s a trick!  Simply soak them in water for 30 minutes before you begin prepping the meal.  Those skins will pop right off!  This is an easy dinner for two, and with only one pan required, cleanup is a breeze!

Dinner for two

This post contains affiliate links.

Ingredients:

  • 2 pork chops, 1″ thick, bone in
  • 8 oz. cipollini onions, peeled and trimmed
  • 1 apple, peeled and sliced
  • 1/2 cup of 1% milk
  • 1/2 cup of white wine (NOT cooking wine!)
  • 1/2 cup gluten free seasoned breadcrumbs
  • salt and pepper
  • 2 tbsp. olive oil
  • 1 tbsp. butter

 Preparation:

Soak the Cipollini onions in water for 30 minutes.  Be sure they are submerged.  At the same time, tenderize the pork chops by placing them in a non-reactive dish with 1/2 cup milk for 30 minutes, turning once.  Season with salt and pepper.

After soaking for 30 minutes, peel and trim the onions.

Heat a large nonstick skillet with the olive oil and butter.  Season the Cipollini with salt and pepper and cook on medium low heat for 8-10 minutes, turning every few minutes.

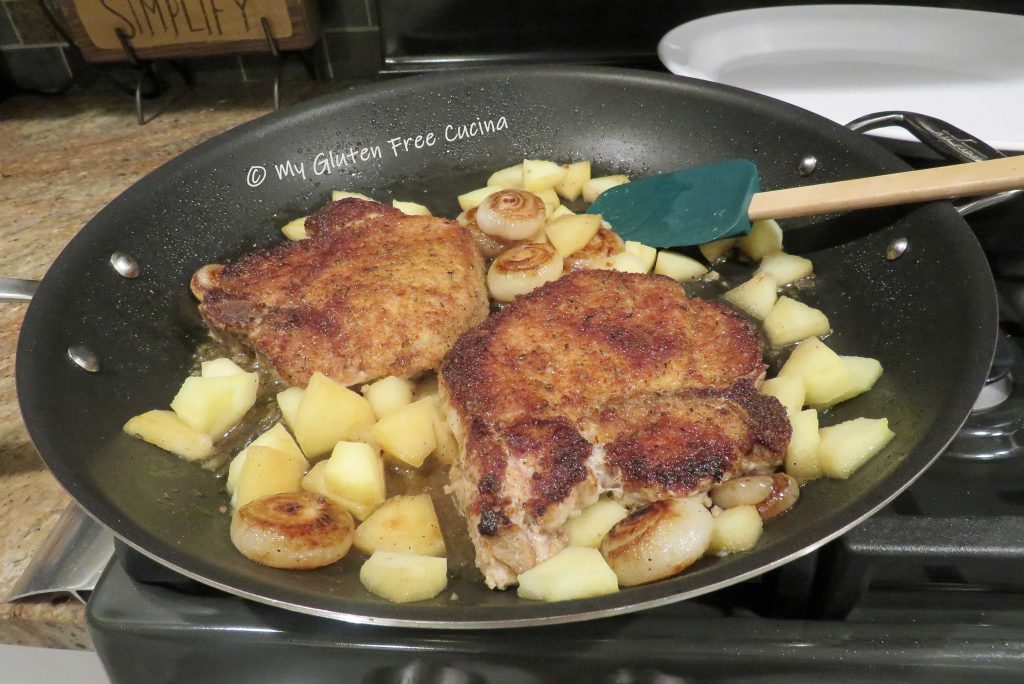
Here you can see the onions are partially cooked and starting to get some color.  At this point push them to the side, to make room for the pork chops.

Take each pork chop, shake off the excess milk and dredge in the breadcrumbs.  Add the pork chops to the center of the pan, cover and cook 4 minutes.

Turn the pork chops, add the apples to the pan along with the wine, then cover and cook for an additional 4 minutes.  Remove the cover and allow any remaining liquid to evaporate, then transfer to a serving platter.

I served them with a side of white rice.

Notes ♪♫ I used Aleia’s gluten free Italian breadcrumbs in this recipe.  They are so delicious, the closest I have found in taste and texture to regular Italian breadcrumbs.  Everyone in your family will love them, gluten free or not!

Originally published 02/10/2020           Updated 01/02/2023

Print This Post Print This Post

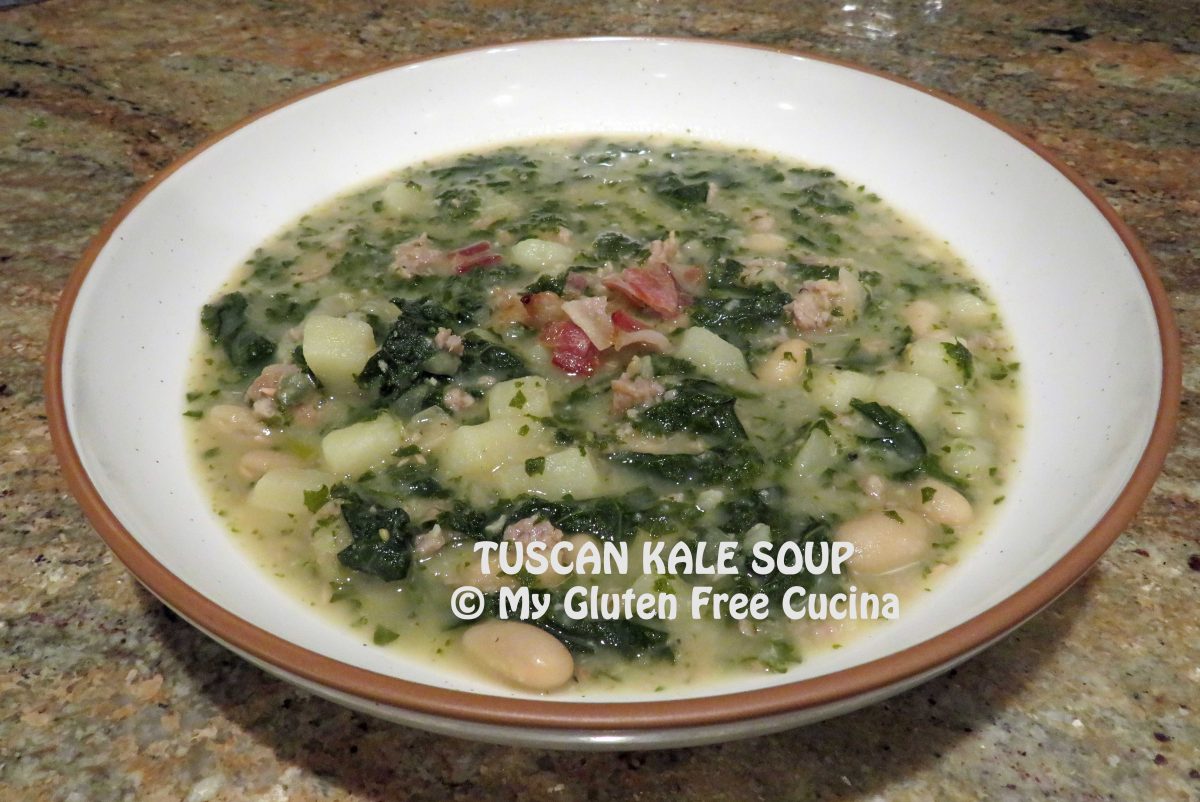
Gluten Free Tuscan Kale Soup

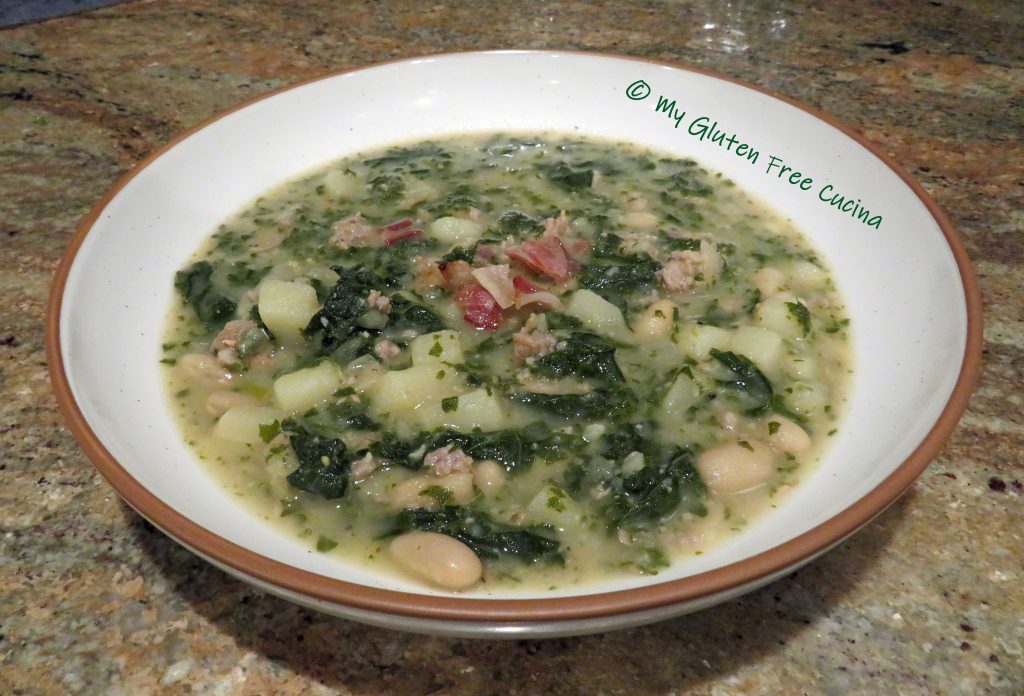
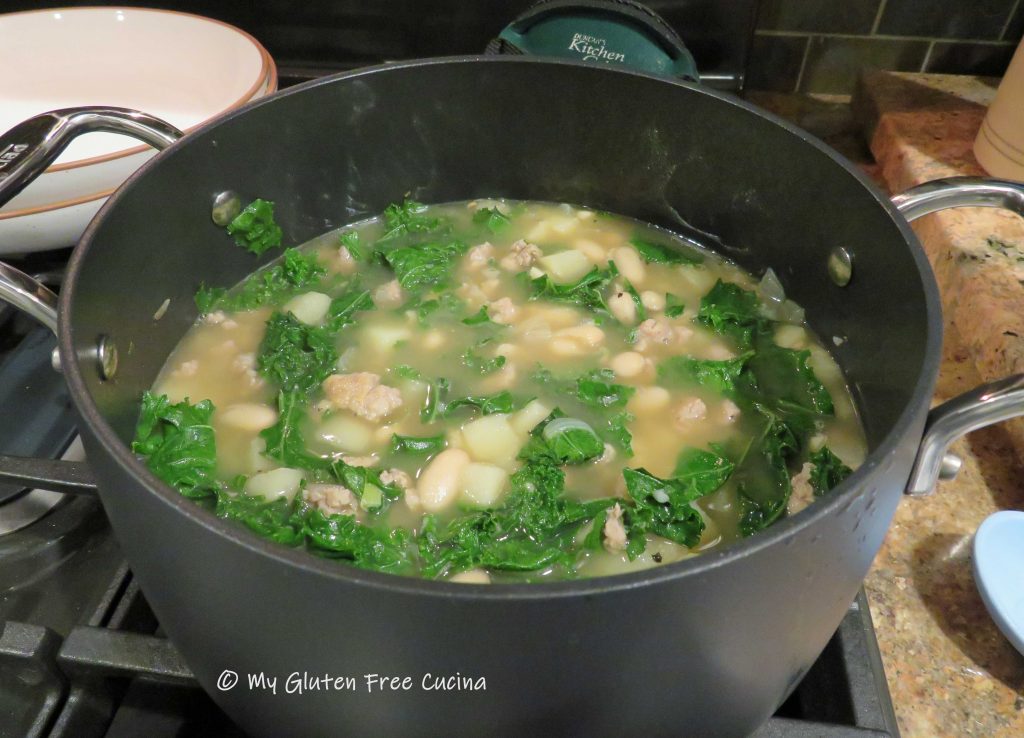
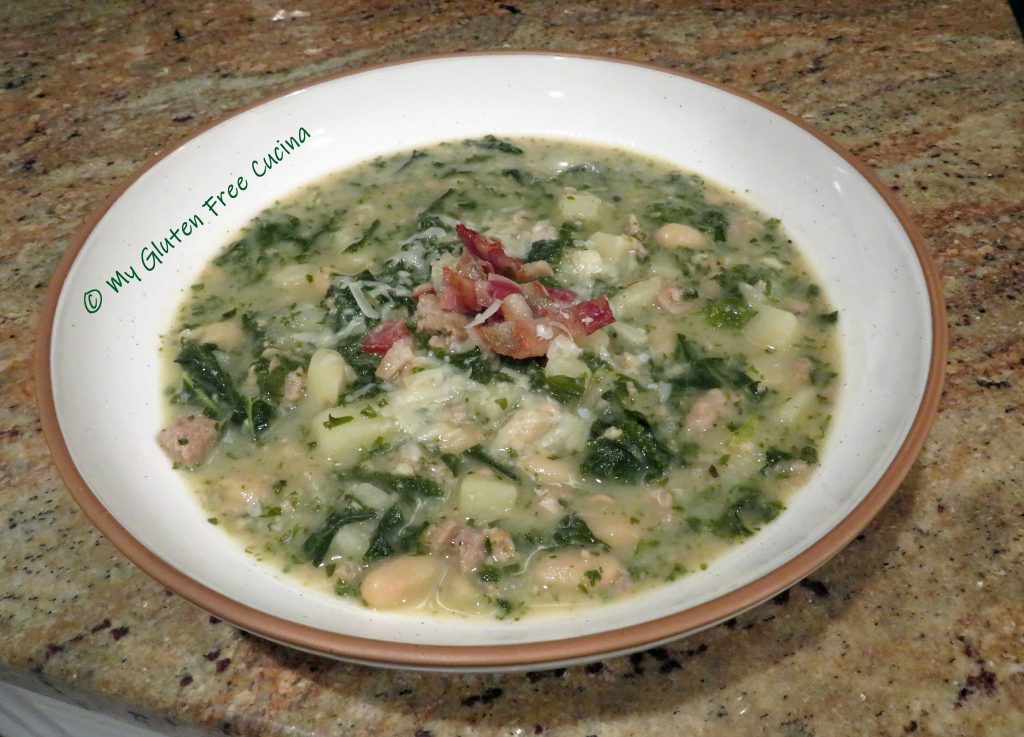
Tuscan Kale Soup, also called Zuppa Toscana is a restaurant favorite.  Made with potatoes, sausage, cannellini beans and (of course) kale, it is a hearty soup that can be a meal in itself.  Most of the ingredients are naturally gluten free, just watch labels on sausage, broth and seasonings.

The recipe makes 6-8 cup size servings or 4 dinner bowl size servings.

This post contains affiliate links.

Ingredients:

  • 2 strips of bacon
  • 1/2 medium sweet onion, diced
  • 2 cloves garlic, minced
  • 6 oz. gluten free Italian sausage (I used Premio)
  • 3.5 cups gluten free chicken broth
  • 1 tsp. Tuscan seasoning
  • salt and pepper, to taste
  • 1 medium russet potato, peeled and diced
  • 1 bunch of Tuscan kale, ribs and stems removed
  • 15.5 oz. can cannellini beans
  • 2 tbsp. heavy cream
  • grated cheese, for serving

Preparation:

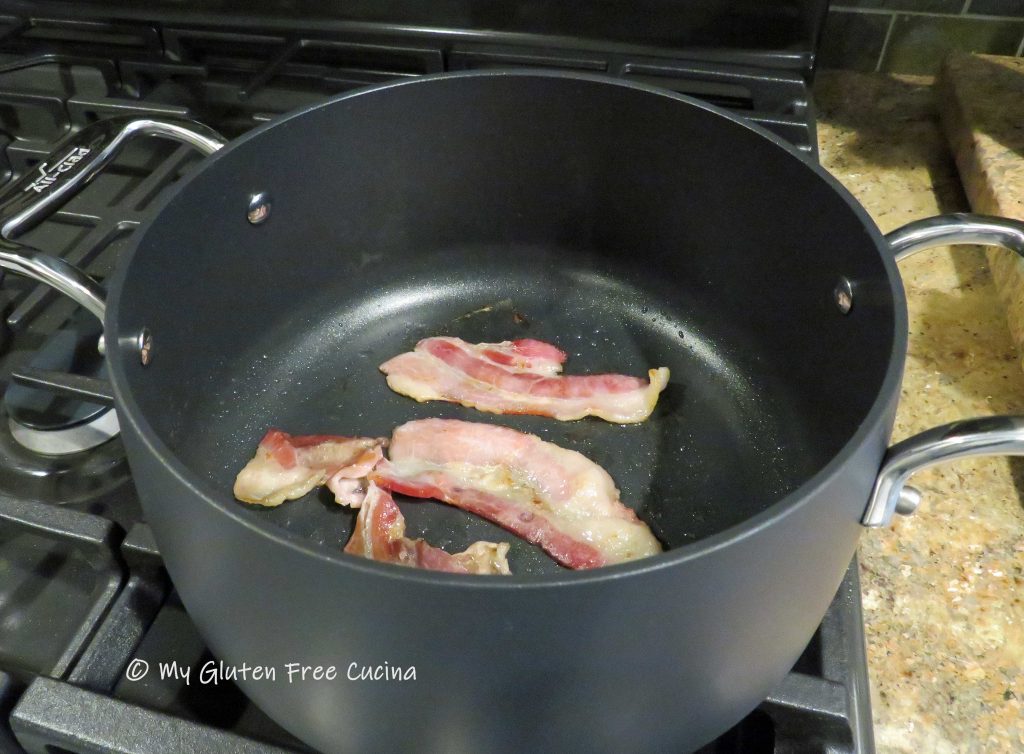
Heat a 4 qt. soup pot on medium low.  Cook the bacon and drain on paper towels.  Crumble and set aside for serving.

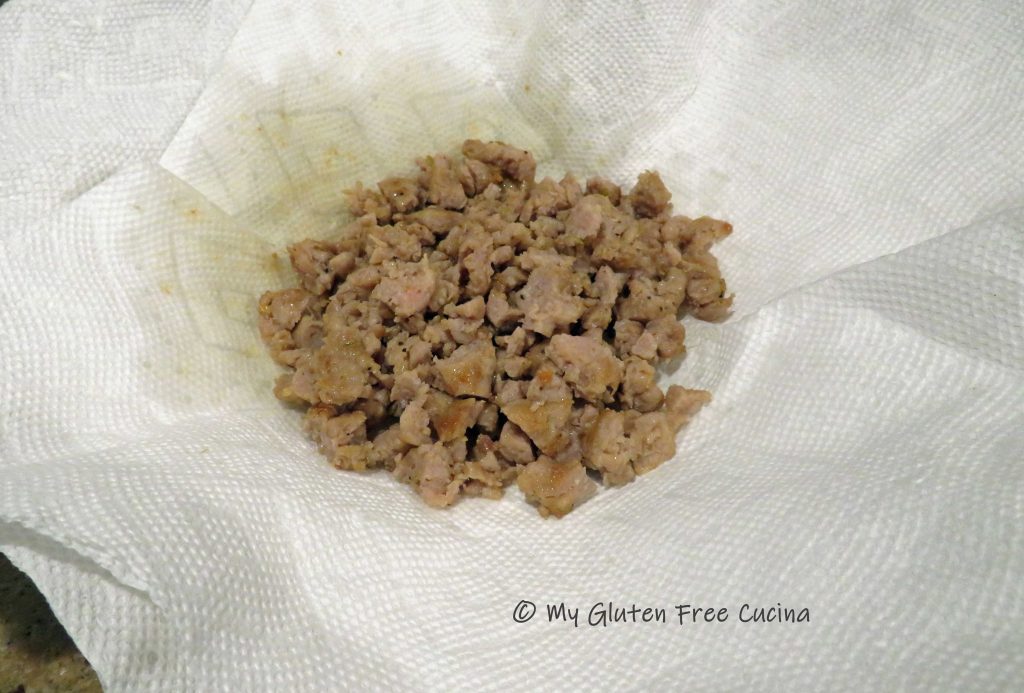
Next, remove sausage from casings and cook, breaking up the meat with a spatula.  Drain on paper towels.

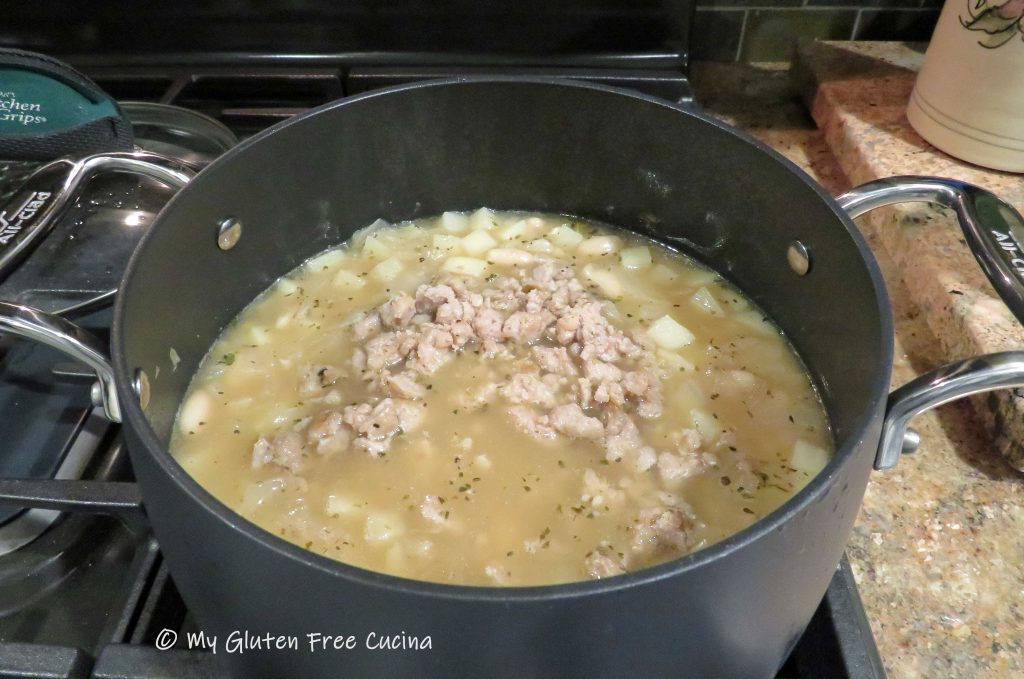
Remove all but 1 tbsp. of fat from the pot.  Add the onions and cook for 5 minutes.  Add the garlic, diced potatoes, chicken broth and seasoning.  Simmer 15 minutes.

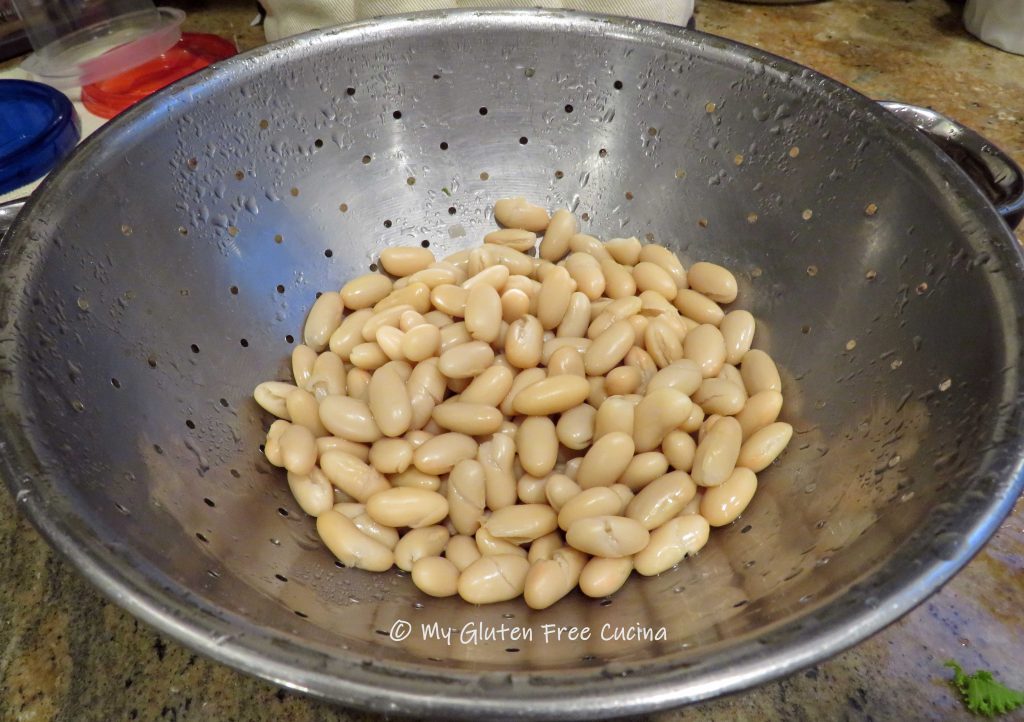
Drain and rinse the beans.  Add the beans and sausage back to the pot and simmer 5 minutes.

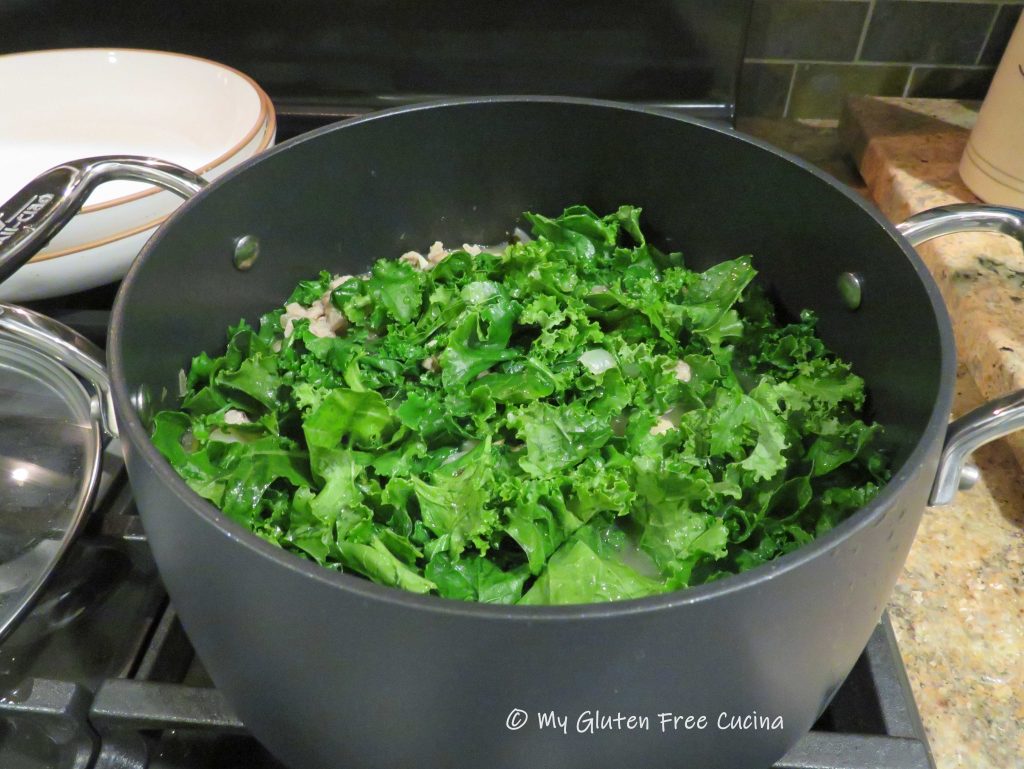
Rinse the kale thoroughly, remove ribs and stems, and tear into small pieces.  Add kale to the pot and simmer 15 minutes more (don’t worry, it will cook down).

Stir the cream in just before serving.  You can leave the soup just like this, or partially puree it with a stick blender.

Ladle into bowls, garnish with crumbled bacon and grated cheese.

Notes ♪♫ Gluten free sausage is widely available today, but it is usually smoked or fully cooked.  When I spotted this fresh Italian sausage from Premio at the market, I knew exactly what I was going to make with it.  Here is a link to the sausage I used in this recipe.  Premio Sweet Italian Sausage 

Print This Post Print This Post

Roasted Rainbow Carrots

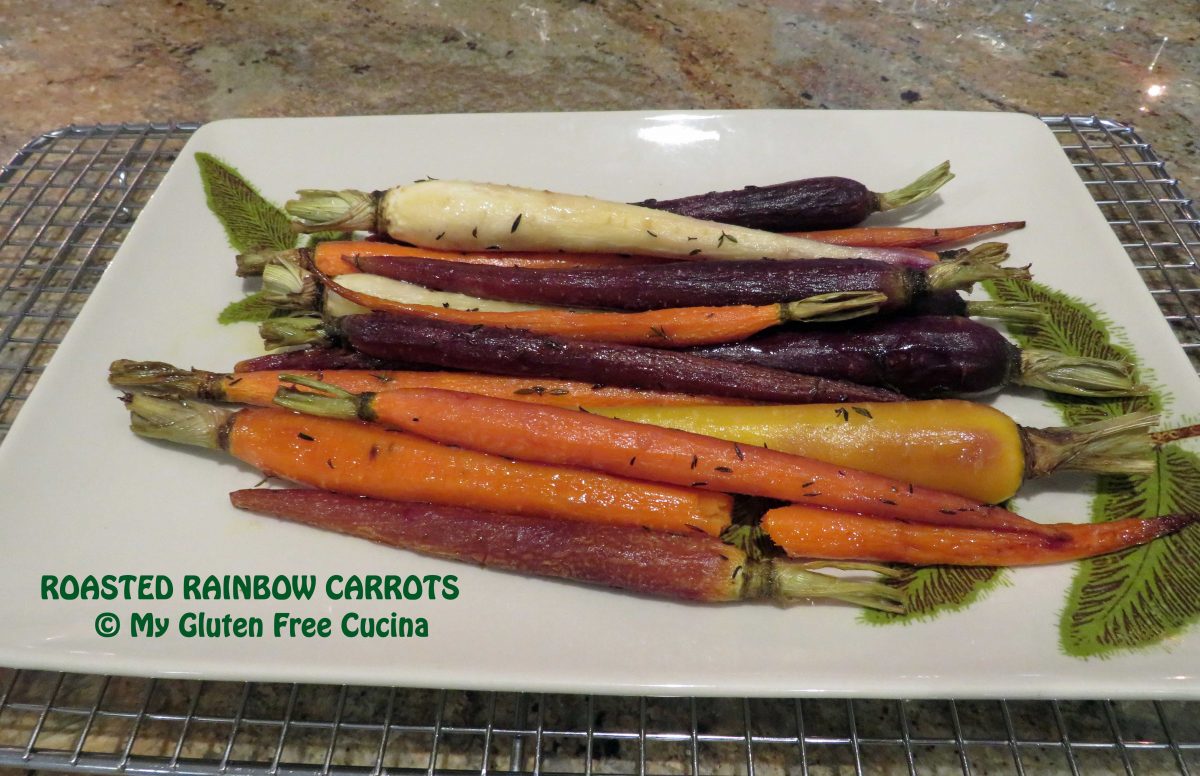
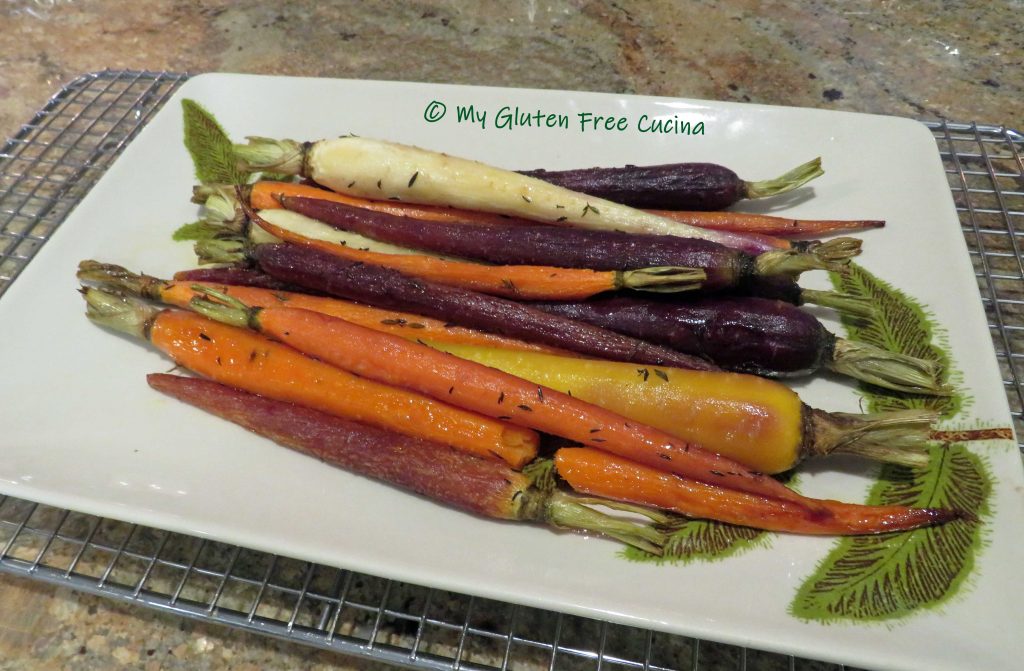
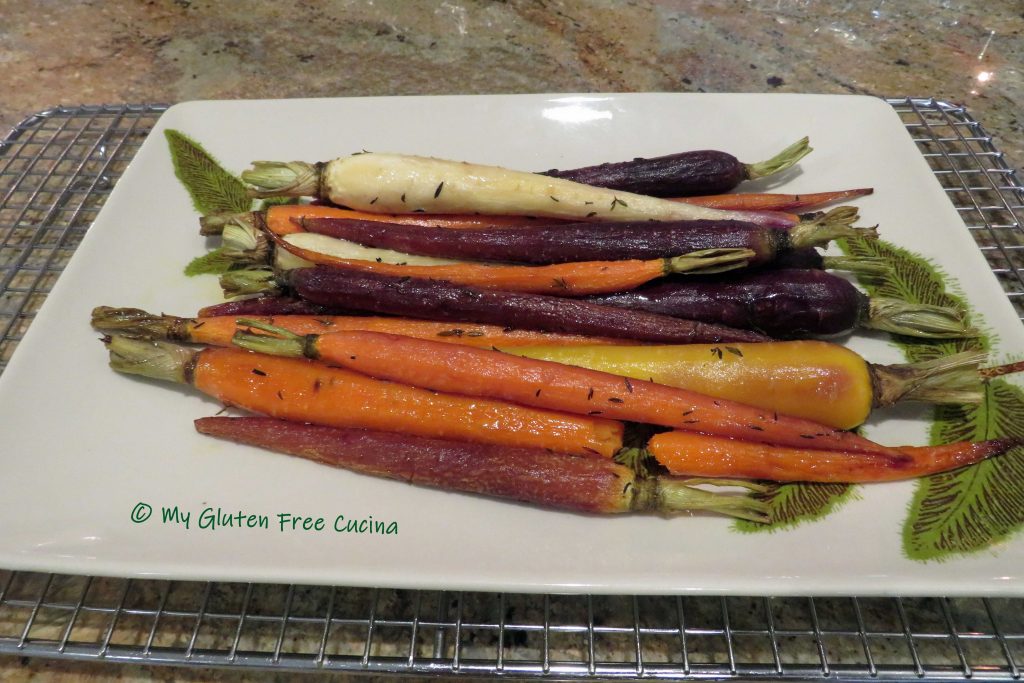
Are you looking for a beautiful and easy side dish for your holiday table?  Roasted Rainbow Carrots are so pretty and go well with a variety of roasts and main courses.  In this easy preparation, I roast them whole with butter and herbs then give them just a brush of maple syrup at the end for sweetness.  Of course, you can do this with regular carrots.  Just be sure to choose slender carrots that are about the same size, so they cook evenly.

This post contains affiliate links.

Ingredients:

Preparation:

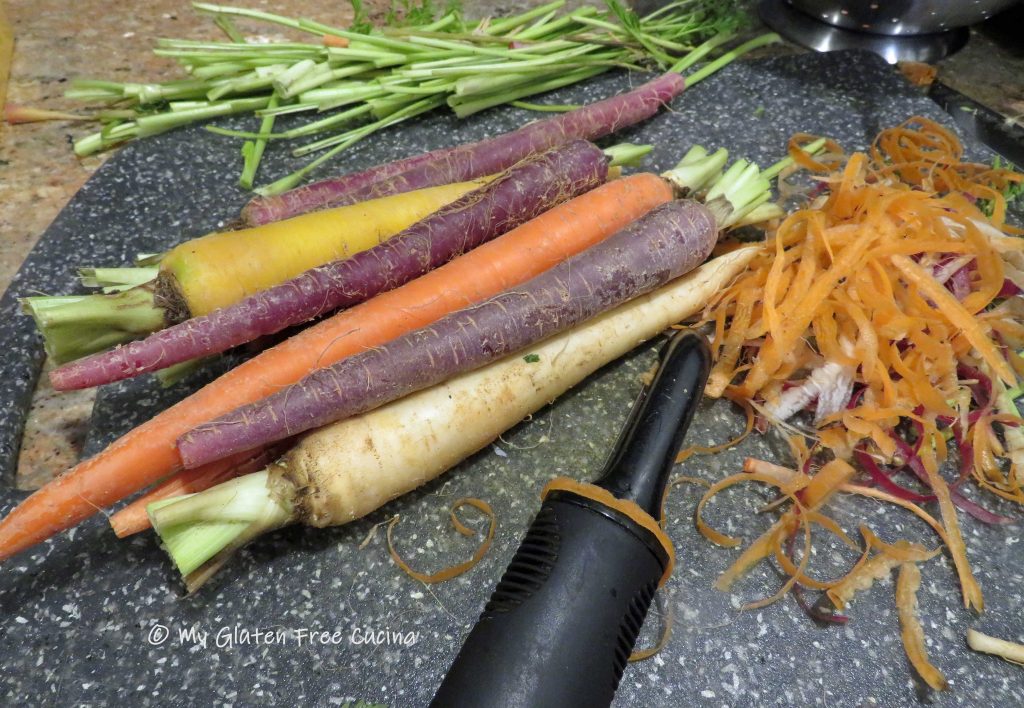
Peel and trim the carrots, leaving a little of the stem (for appearance, not to eat).

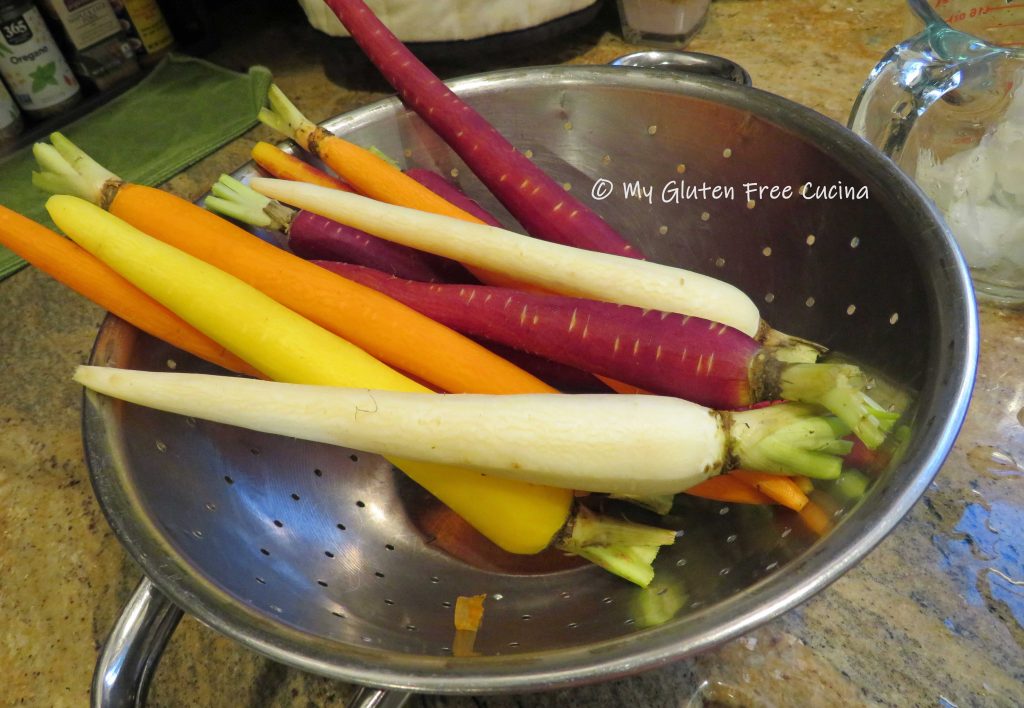
Rinse the carrots and pat dry.

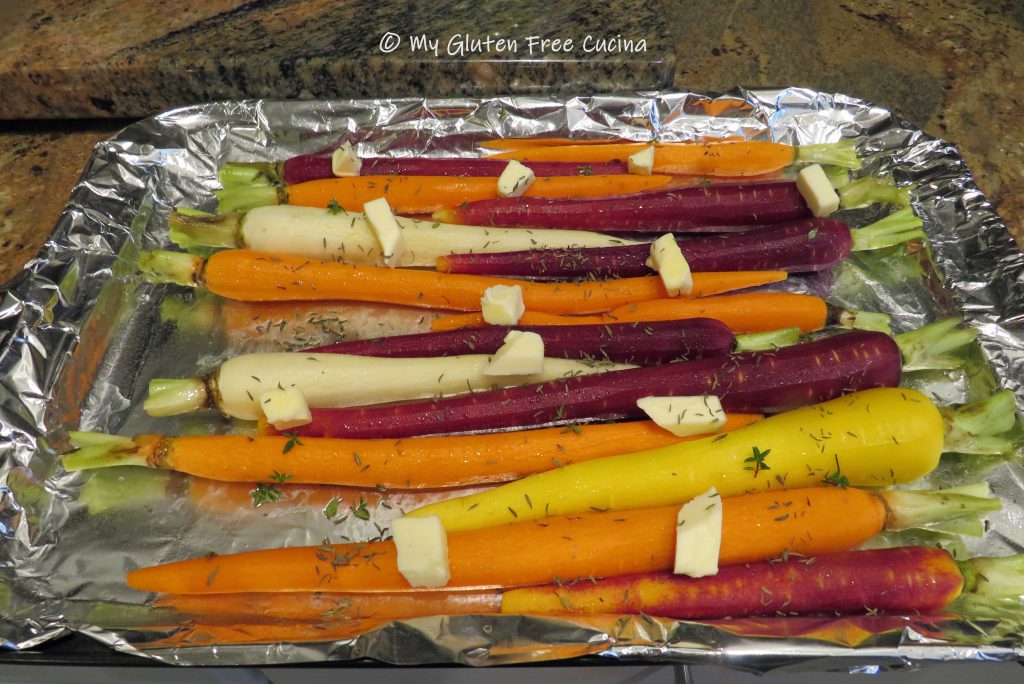
Line a sheet pan with foil and mist with cooking spray.  Arrange the carrots in a single layer, dot with butter and season with salt, pepper and thyme.

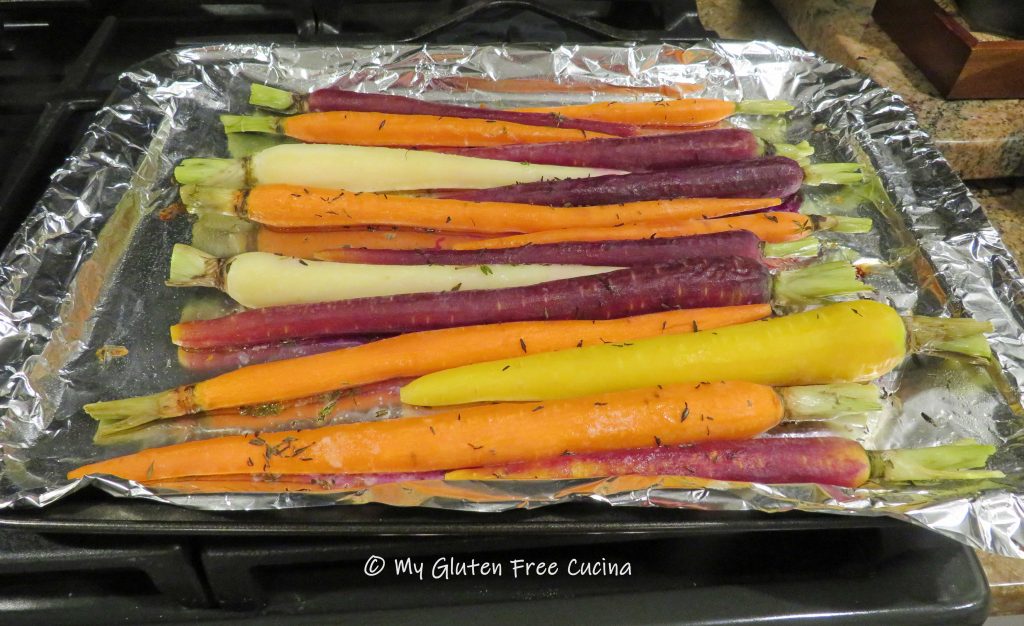
Roast at 400º for 20-25 minutes or until they reach the desired softness.

You can prepare to this point the night before and reheat in the morning.  Brush the carrots lightly with maple syrup and return to the oven for 15-20 minutes at 325º.  Transfer to a serving dish.

Notes ♪♫ Thyme pairs beautifully with carrots.  I was fortunate enough to still have fresh thyme from my herb garden when I made this for Thanksgiving.  Look for it in the supermarket, or if you can’t find it, use dried thyme.

Print This Post Print This Post


Skillet Farfalle with Diced Ham

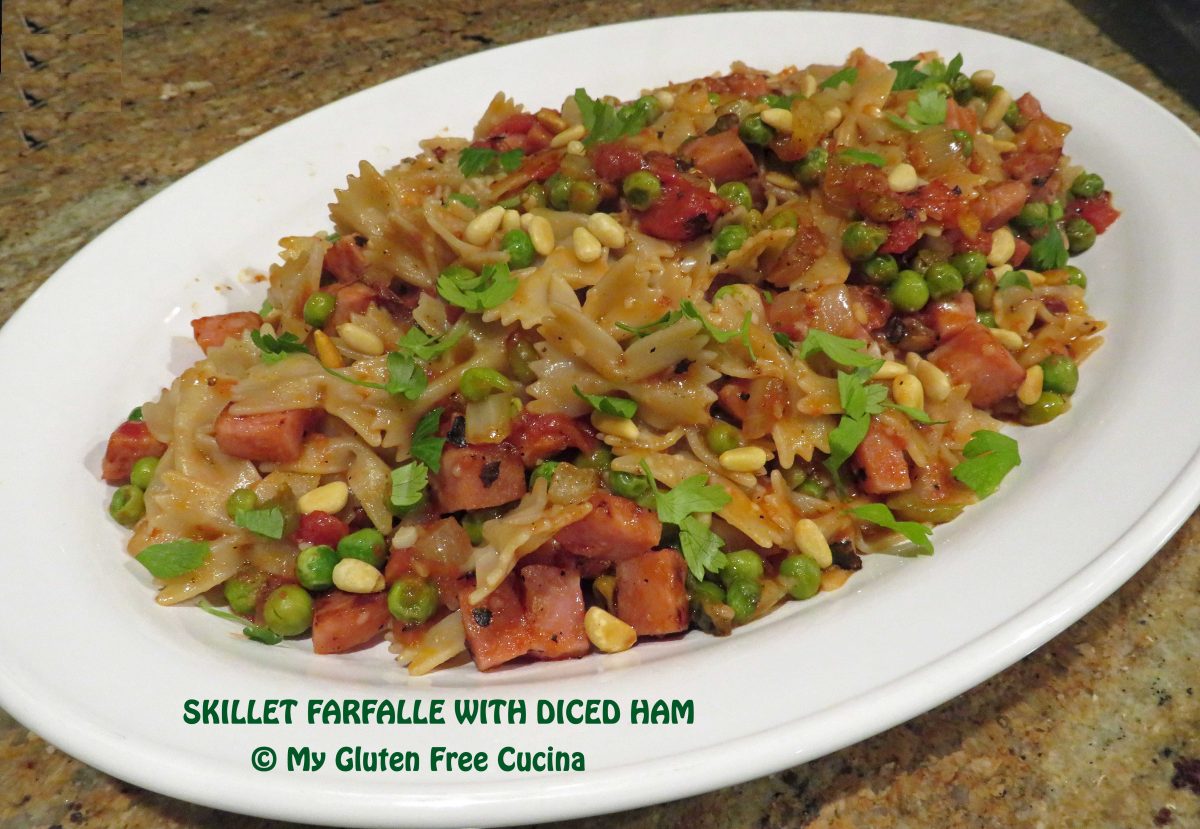
I love easy skillet dinners like this one for busy weeknights!  You can make the whole meal beginning to end in about 30 minutes.  Honestly, if you prep the veggies the night before it can be ready in less time than that.  It’s a great way to use leftover ham, or you can purchase a ham steak which is what I did here.  Don’t forget those little finishing touches that can make a meal special, in this case it’s a sprinkle of toasted Pignoli (pine nuts), a favorite at our house!

3-4 Servings

This post contains affiliate links.

Ingredients:

  • 8 oz. boneless ham steak, cut into small cubes
  • 4 oz. gluten free pasta
  • 1 cup sweet onion, diced
  • 1 tbsp. garlic, minced
  • 1 cup frozen peas, thawed
  • 1 can (14.5 oz.) diced tomatoes
  • 1/2 tsp. gluten free Italian seasoning
  • salt and pepper to taste
  • Olive oil
  • 1 tbsp. pignoli (pine nuts), toasted
  • 1/2 tsp. Italian seasoning
  • fresh Italian parsley, for garnish
  • grated Parmesan, for serving

Preparation:

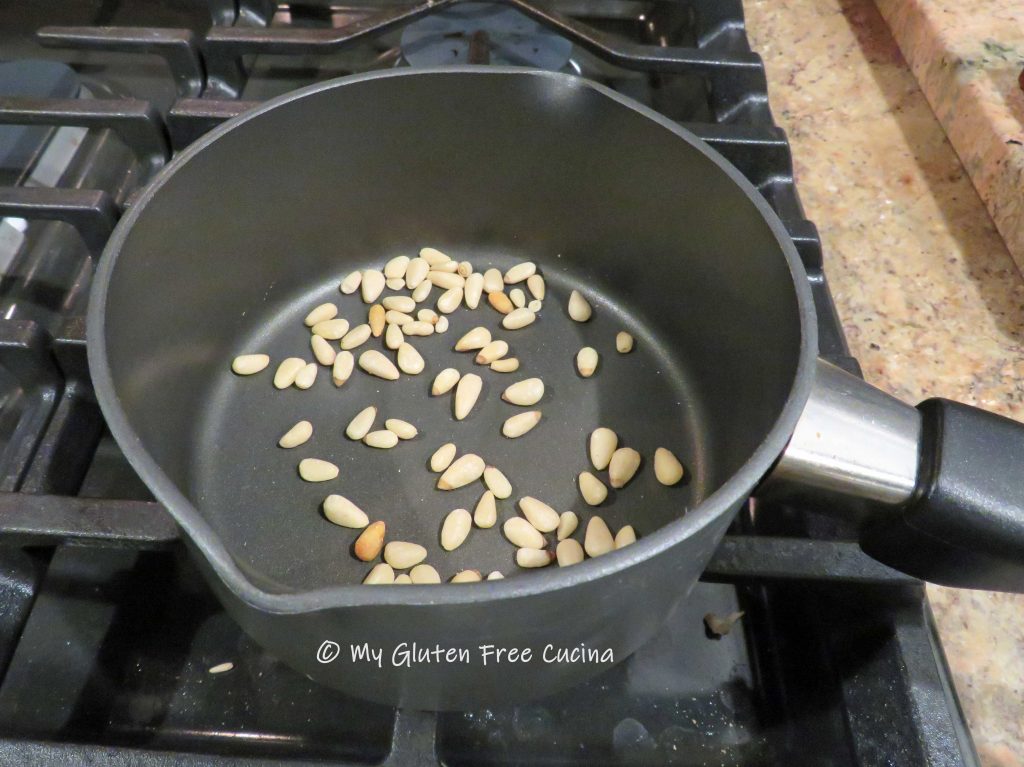
Toast the pignoli until lightly browned and fragrant.  I like to use a small saucepan, so they don’t jump all over the place.  Set aside for garnish.

Cook the pasta to 1 minute less than package directions, drain and set aside.  While the pasta cooks, heat a large, nonstick skillet with 1 tbsp. olive oil and cook the ham 3 minutes.  Remove and set aside.

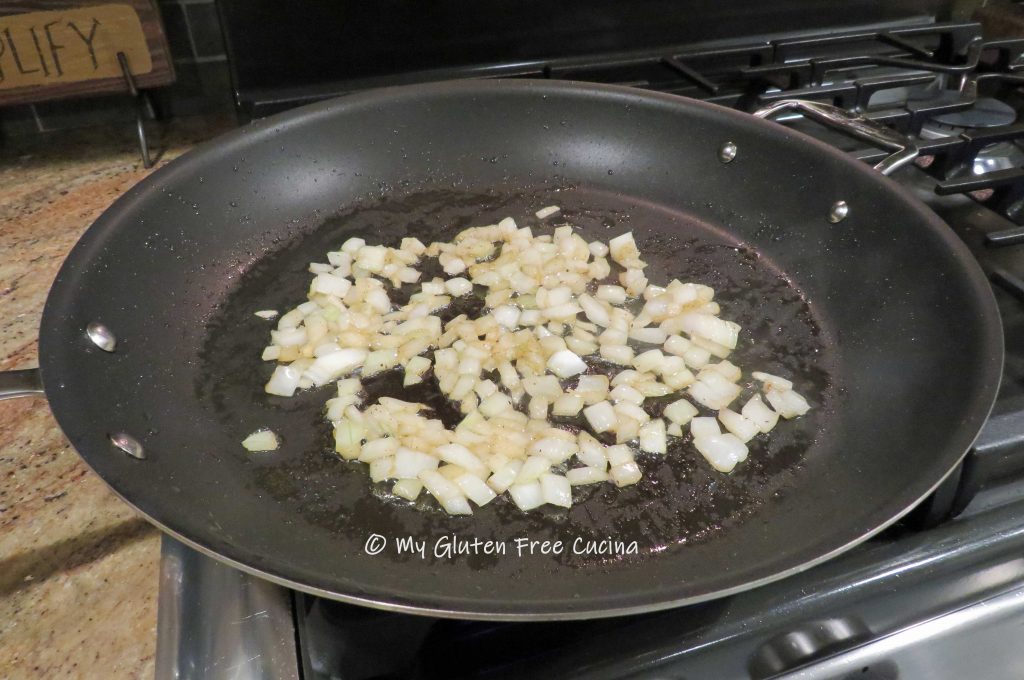
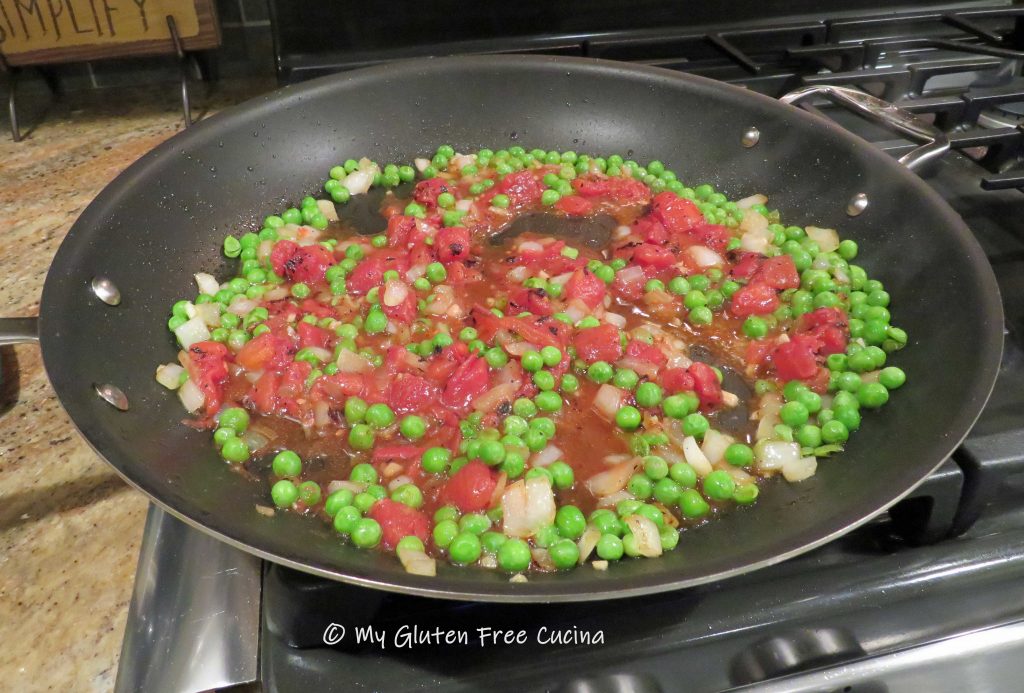
Add a little more olive oil and cook the onions until just beginning to brown, about 3 minutes.  Add the garlic and peas, cook 2 minutes more stirring frequently.  Season with salt and pepper.

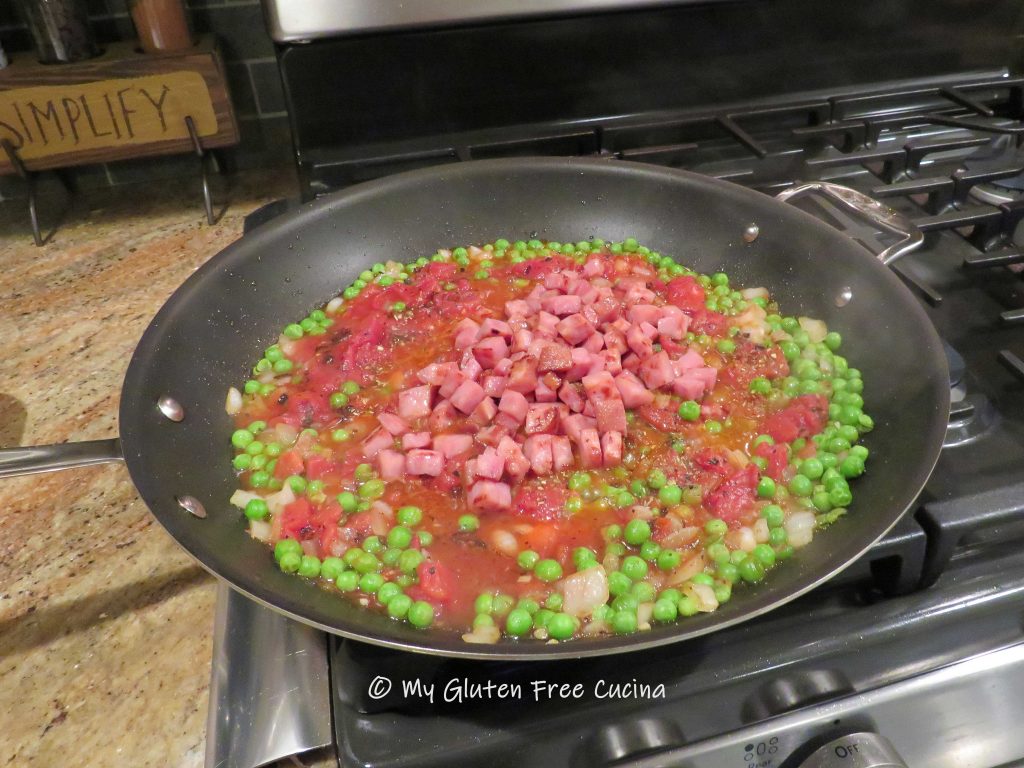
Add the tomatoes with their liquid, toss well to combine and cook until liquid almost evaporates.  If the pan is too dry add a ladle of pasta water.  Sprinkle with Italian seasoning.

Add back the ham.

Next add back the drained pasta and toss well.  Drizzle with olive oil, stir and toss to finish cooking the pasta, 1 minute more.  Sprinkle grated cheese.

Transfer to a serving dish, garnish with parsley and toasted pignoli, and serve with grated cheese.

Notes ♪♫ I used Jovial gluten free farfalle (bowtie pasta) in this recipe.  One of my favorites, it has great taste and chew.  The Smithfield ham steak was labeled gluten free.  Always check ingredient labels for hidden gluten, especially in processed foods and seasoning blends.

Originally published 5/16/2020        Updated 12/10/2022

Print This Post Print This Post

Prosciutto Wrapped Pork Tenderloin

Pork tenderloin is an easy and delicious main course.  Whether you are having a casual family meal, romantic dinner for two or dinner party with guests, pork tenderloin is always a great choice.  With a simple, elegant preparation that looks like you fussed, you will have dinner on the table with plenty of time to make your side dishes and socialize!

If roasting more than one tenderloin try to get them about the same size, so that they all finish cooking at the same time.  For foolproof results, always use a meat thermometer!

Here’s how to make it.

This post contains affiliate links.

Ingredients:

  • Pork tenderloin (allow 4-6 oz. per serving)
  • Olive oil, about 1 tsp. per pound of meat
  • Salt and pepper to taste
  • Thinly sliced prosciutto, about 4 slices per tenderloin
  • Fresh Italian parsley

Preparation:

Preheat the oven to 325°

Remove the tenderloins from the package.  Pat dry with paper towels and rub with olive oil.  Season all over with salt and pepper, then wrap each tenderloin in prosciutto slices.  This keeps the meat very moist.  Tie each tenderloin every few inches with cooking twine.

Use a roasting pan with a rack.  Mist the rack with cooking spray and set the tenderloins with space between for the air to circulate.  Drape fresh parsley over the top and insert an oven safe thermometer in the thickest part of the largest tenderloin.

If you don’t have a probe (oven safe) thermometer, then roast for 20 minutes per pound and check often with an instant read.

When the internal temperature reaches 140° (pink in the center) remove from the oven and tent with foil.  If you like it more well done, then let it go a little longer, up to 150°.  Allow the roast to rest covered for at least 10 minutes to redistribute the juices.

Slice and serve.  Isn’t that beautiful?  Always a hit with family and friends.

Notes ♪♫ A packaged tenderloin will usually weigh between 2 to 2.5 lbs.  If you purchased a larger piece, you are likely to find that the package actually contains 2 smaller tenderloins.  For small households you can cook one and freeze the other.

Print This Post Print This Post

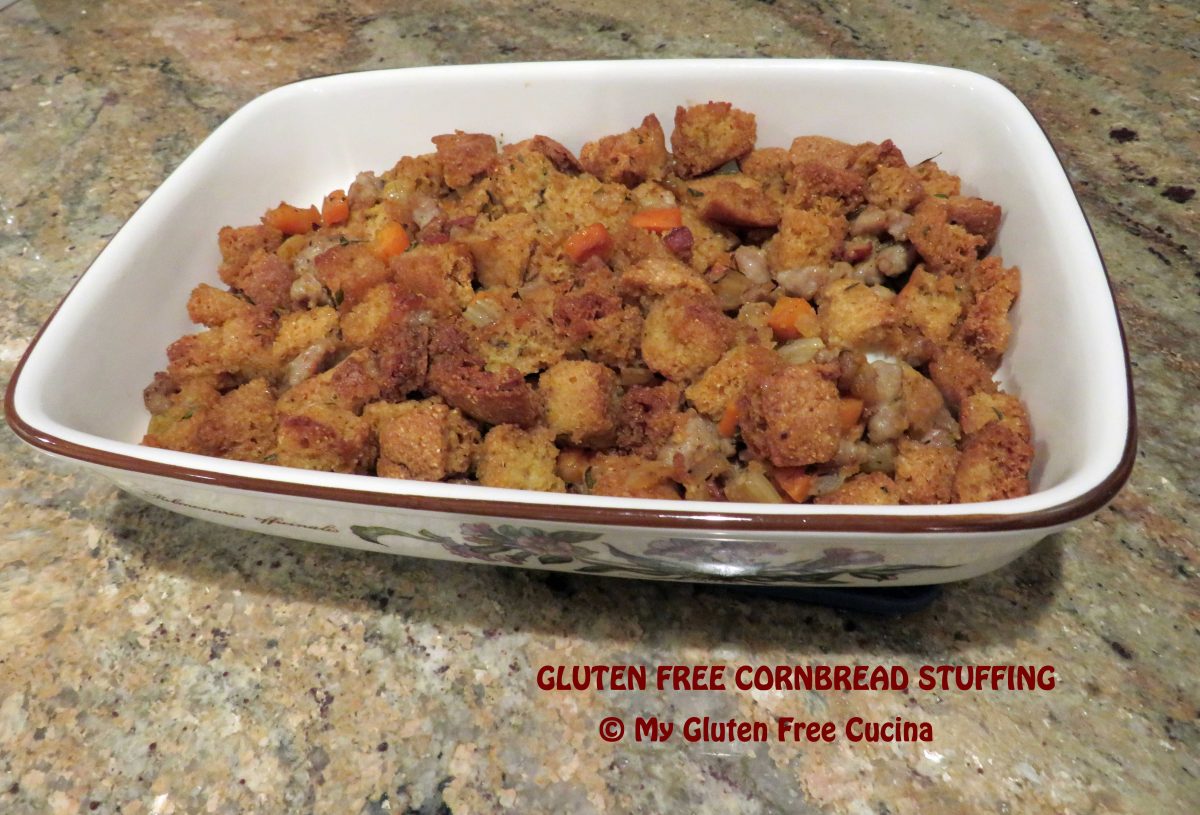
Gluten Free Cornbread Stuffing

For me, the best part of Thanksgiving dinner has always been the stuffing.  It’s so easy to make this delicious Gluten Free Cornbread Stuffing from scratch!

If you are hosting the holiday meal, this stuffing will please all of your guests, no one will know it’s gluten free!  If you are visiting family and need to bring your own gluten free food, this is the perfect dish.  Just be sure to make enough to share, everyone will want to sample it!

Gluten Free Cornbread Stuffing is moist and delicious “in or out of the bird”.  This recipe makes enough to stuff a small (10-12 lb.) turkey with extra for a 1.5-quart baking dish.  You can make half or double it for a large family.

This post contains affiliate links.

Ingredients:

  • 4 cups of cubed gluten free cornbread
  • 1/2 lb. gluten free sausage, casing removed (I used Premio)
  • 4 strips of gluten free bacon
  • 2 small carrots, peeled and cut into 1/4″ dice
  • 2 celery stalks, cut into 1/4″ dice
  • 1 medium sweet onion, chopped fine
  • 2 tbsp. minced fresh sage, thyme and rosemary (optional but very good)
  • 2 tbsp. butter
  • salt and pepper, to taste
  • 1 egg
  • 1/2 cup 1% milk
  • 3/4 cup gluten free low sodium chicken or beef broth
  • 1/4 tsp. each, dried sage and thyme
  • cooking spray

Preparation:

Most of the initial prep for this stuffing can be done ahead of time, so you will only have to assemble and bake it the morning of the holiday.  It all begins with this Gluten Free Corn Bread, that you can make ahead and freeze.  You will need half of the cornbread for this stuffing recipe, and the rest can be a nice addition to your breadbasket for the holiday table.

Once the Cornbread has cooled to room temperature, wrap tightly in plastic wrap then again in foil.  Place in a freezer safe bag until needed.

To make the stuffing, cut half of the cornbread into cubes, for a total of about 4 cups.  Spread the cornbread cubes on a parchment lined baking sheet in a single layer.  Bake at 250º until dried and slightly browned, 45 minutes to an hour.

Remove from the oven and set aside to cool in the pan.  If you are doing this step ahead of time, make sure the cornbread is completely dry, then store in an airtight container for up to 3 days.

Chop the bacon and sausage into 1/2″ pieces.

Cook them together in a large, nonstick skillet until completely browned, then remove and drain on paper towels.  Reserve the fat in the pan.

Next melt 2 tbsp. of butter in the same skillet and add the onion, celery and carrots.  Season with salt and pepper, and the minced fresh herbs.  Cook over low heat for 10-15 minutes, stirring frequently.

Add back the sausage and bacon to the skillet and toss well to combine.
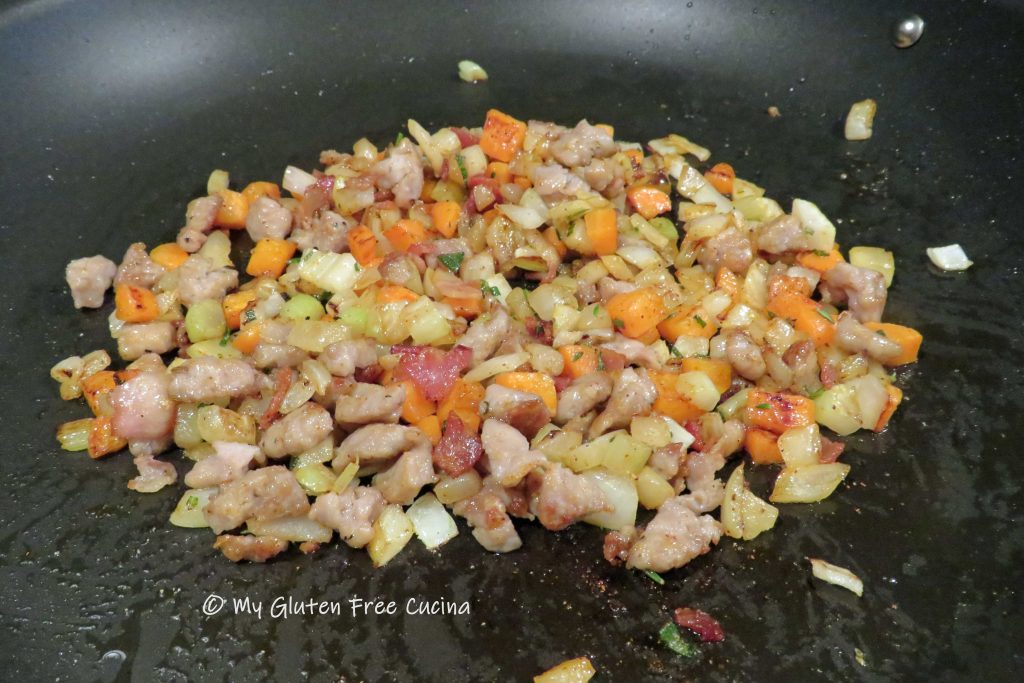
You can prepare the recipe up to this point the night before and refrigerate.  You can also make ahead and freeze it, just spoon the mixture into a freezer safe bag or container and defrost the night before.

On the morning of the holiday, return the sausage and veggie mixture to the skillet over low heat and warm through.  Turn off the heat and stir in the cornbread cubes.
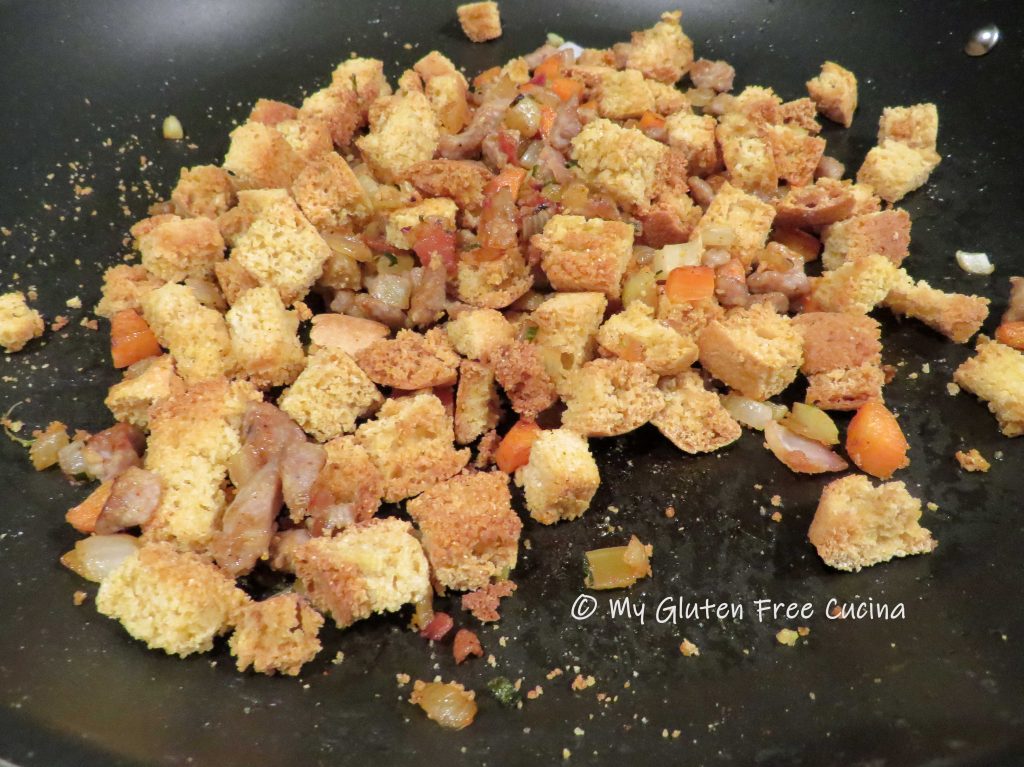
Whisk together the egg, milk, and broth with dried sage and thyme.  Pour it over the cooled cornbread mixture and toss well until everything is moistened.

To stuff or not to stuff?  You decide.  Always follow food safety guidelines.  If you stuff the turkey, do so just prior to roasting.

For those who prefer out of the bird, spray a baking dish with cooking spray and spread the stuffing evenly.  Cover with foil and bake 35 minutes.

With a few great recipes like this one, the stress of being gluten free during the holidays will melt away.  I hope it will become a tradition at your holiday table!

Notes ♪♫ Want to take a shortcut?  If you prefer to use storebought bread cubes there are some great ones to choose from, I’ll never tell!  Check out my Easy Gluten Free Ramekin Stuffing Cups, a recipe made with Aleia’s Gluten Free Stuffing Cubes.

Originally posted 11/04/2018         Updated 11/19/2022

Print This Post Print This Post