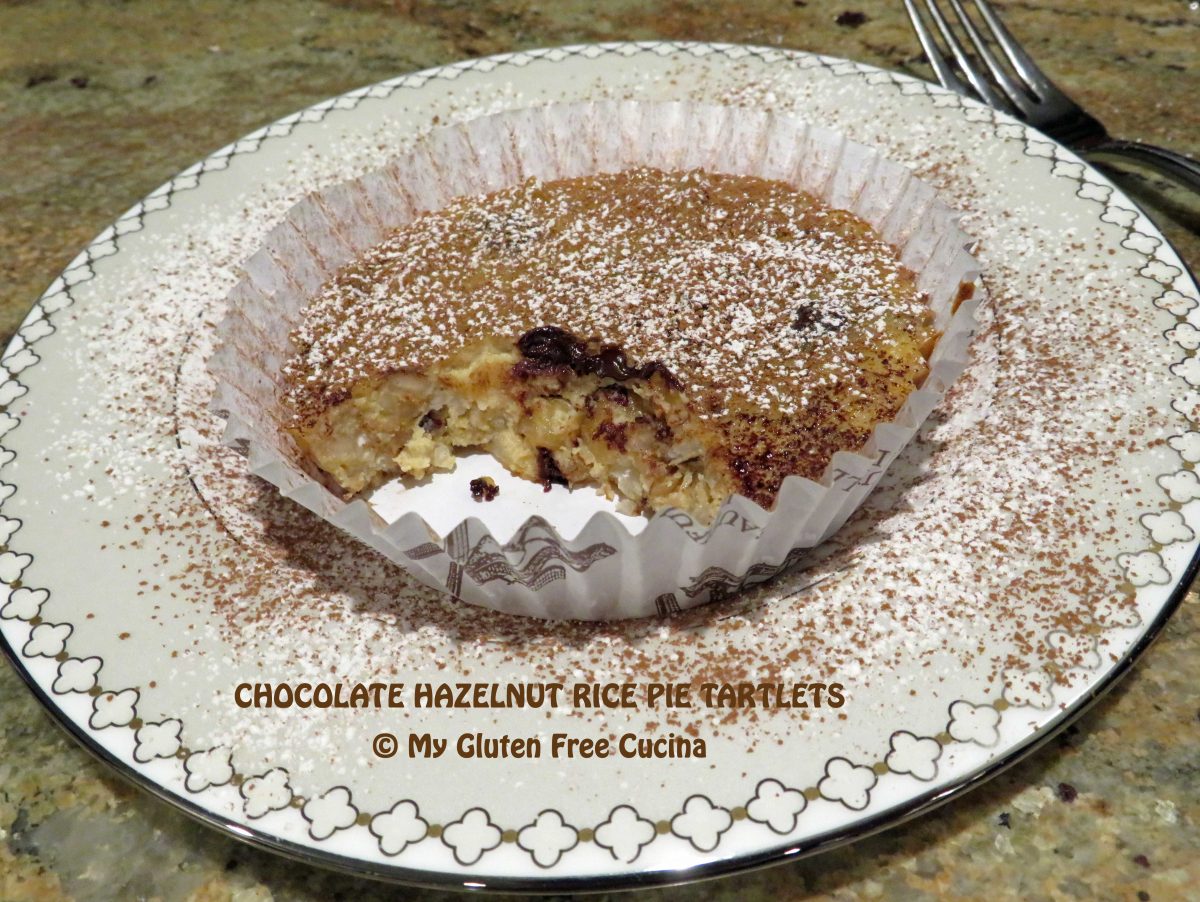
Rice Pie (Torta di Riso) is a traditional Italian dessert served at Easter. When I was growing up, every Italian household had Rice Pie during Easter week and it is still widely enjoyed today. You might be surprised to know that the recipe contains no flour at all and most of the ingredients are naturally gluten free!
This post contains affiliate links.
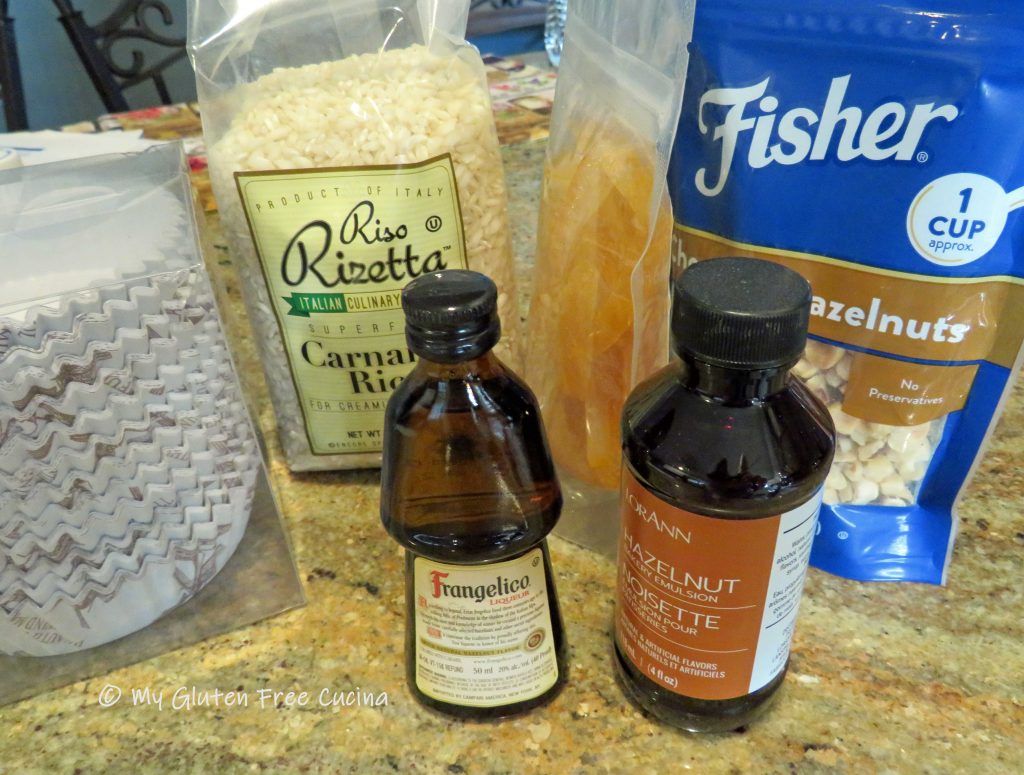
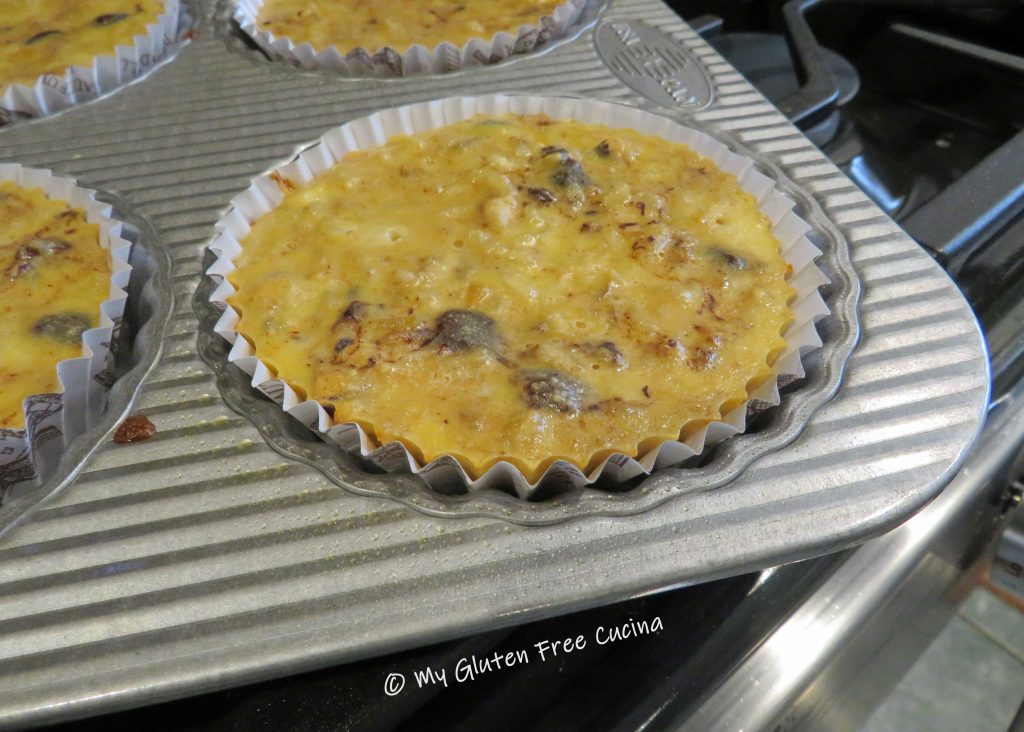
I jazzed up the plain rice pie we had as kids with toasted hazelnuts, candied orange peel and chocolate chips. Instead of a pie dish, I opted for this mini fluted tart pan to create 6 individual servings. Perfect for small Easter gatherings!
Ingredients:
- 2 cups milk (I used 2%)
- 1/2 cup Carnaroli Rice (Risotto Rice – see notes)
- ½ cup sugar
- ¾ tsp. vanilla extract
- 1 tsp. hazelnut extract, divided
- 3 eggs
- 1 cup ricotta
- 1/2 cup raw hazelnuts, coarsely chopped
- ¼ cup candied orange peel, minced
- ¼ cup dark chocolate chips
- optional Frangelico liqueur for brushing (adult bunnies only!)
- powdered sugar and cocoa powder for dusting
Preparation:
Spread the hazelnuts on a baking sheet and bake for 5 minutes at 325°.

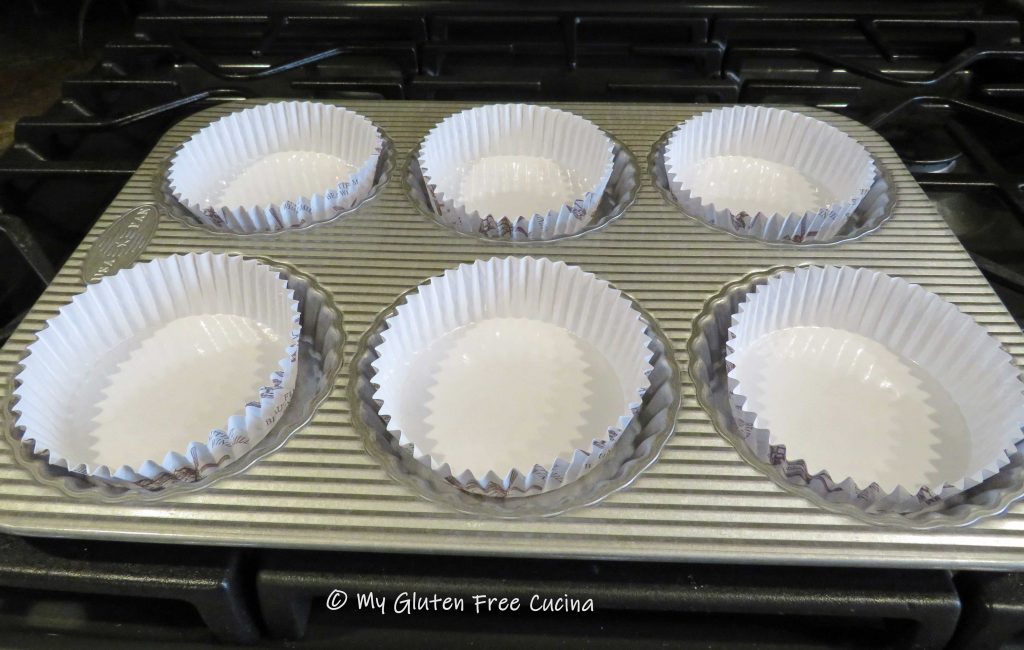
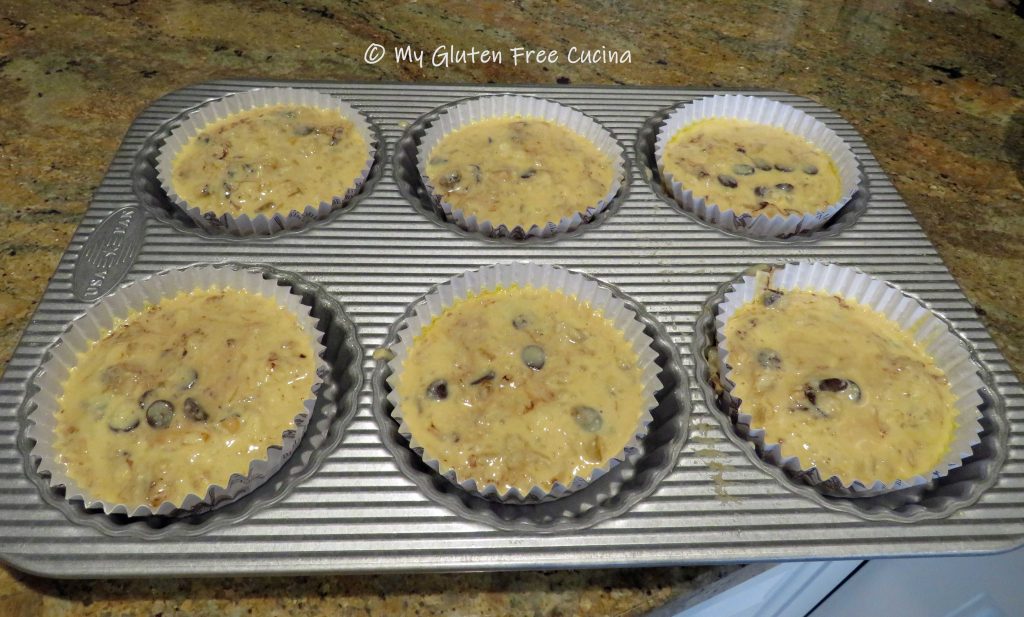
Line the tart pan with paper baking cups and mist with cooking spray.
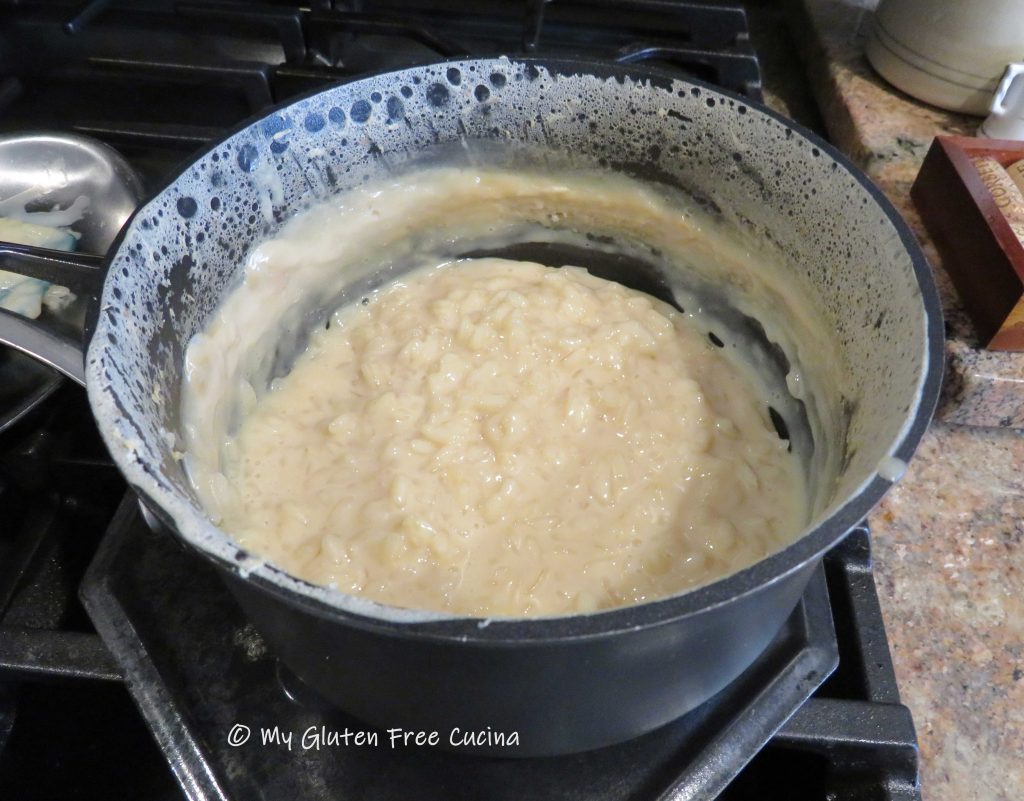
Add milk to a saucepan and heat to a simmer. Add the rice and stir. Next stir in the sugar, vanilla and ½ tsp. hazelnut extract.

Reduce the heat and simmer uncovered on low for 45 minutes.
Hint! Do not walk away while the rice is cooking! You will need to stir frequently and watch that it doesn’t burn or boil over!
Remove the cooked rice from the stove, transfer to a bowl and let it cool slightly before combining the rice with the egg mixture (you do not want to cook the eggs).
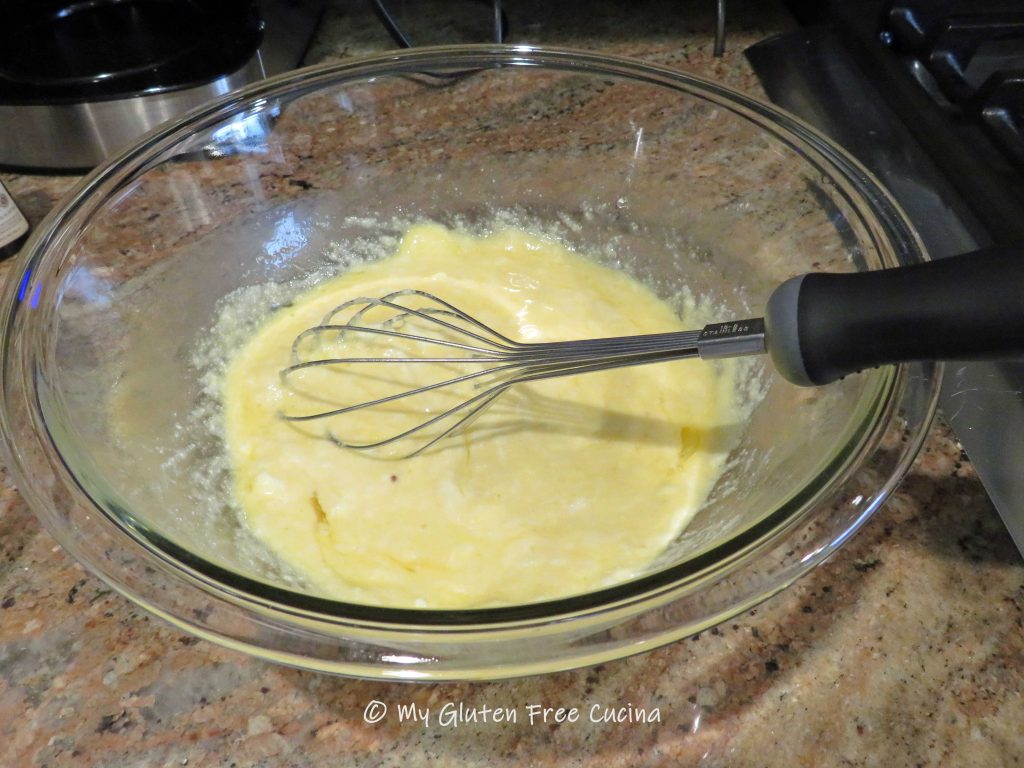
Whisk the eggs and ricotta in a large bowl. Add the remaining ½ tsp. of hazelnut extract.
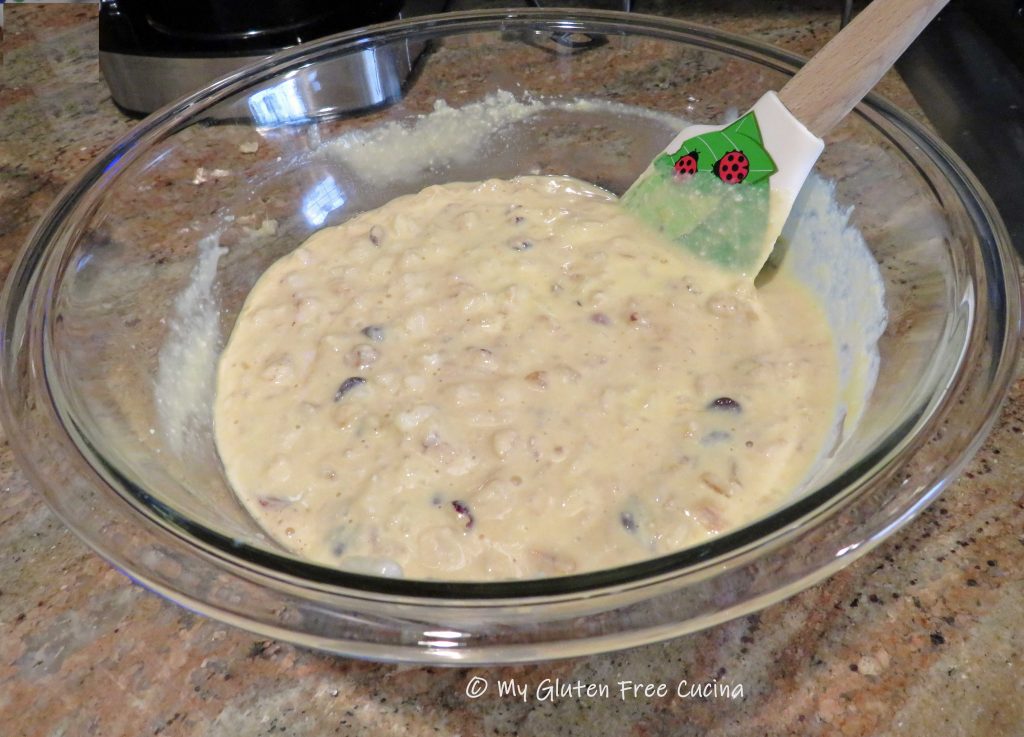
Fold in the toasted hazelnuts, candied orange peel and chocolate chips.

Gradually add the rice to the egg mixture, one scoop at a time to temper the eggs. Stir well after each addition of rice until it is completely incorporated.
Divide the mixture evenly among the 6 cups, each should be about 2/3 full (they will rise to the top during baking).
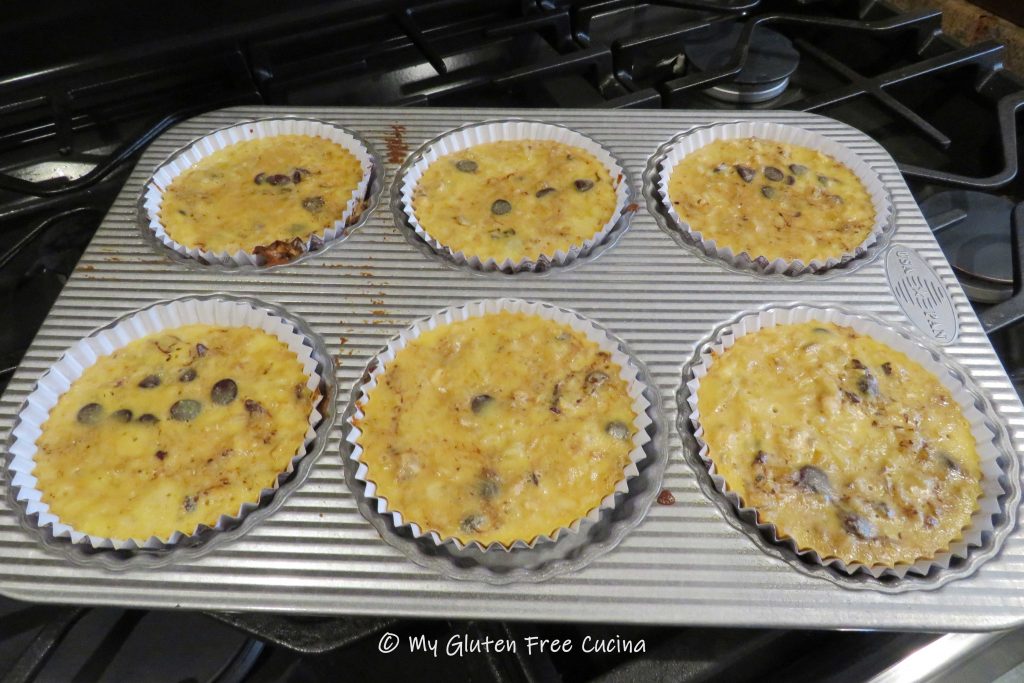
Bake at 325 degrees for about 25 minutes. Check with a toothpick and touch the center with your finger (it should feel set, no liquid). Remove from the oven, and while still warm, brush the tops lightly with Frangelico (optional, if serving to adults).
Cool completely in the pan.
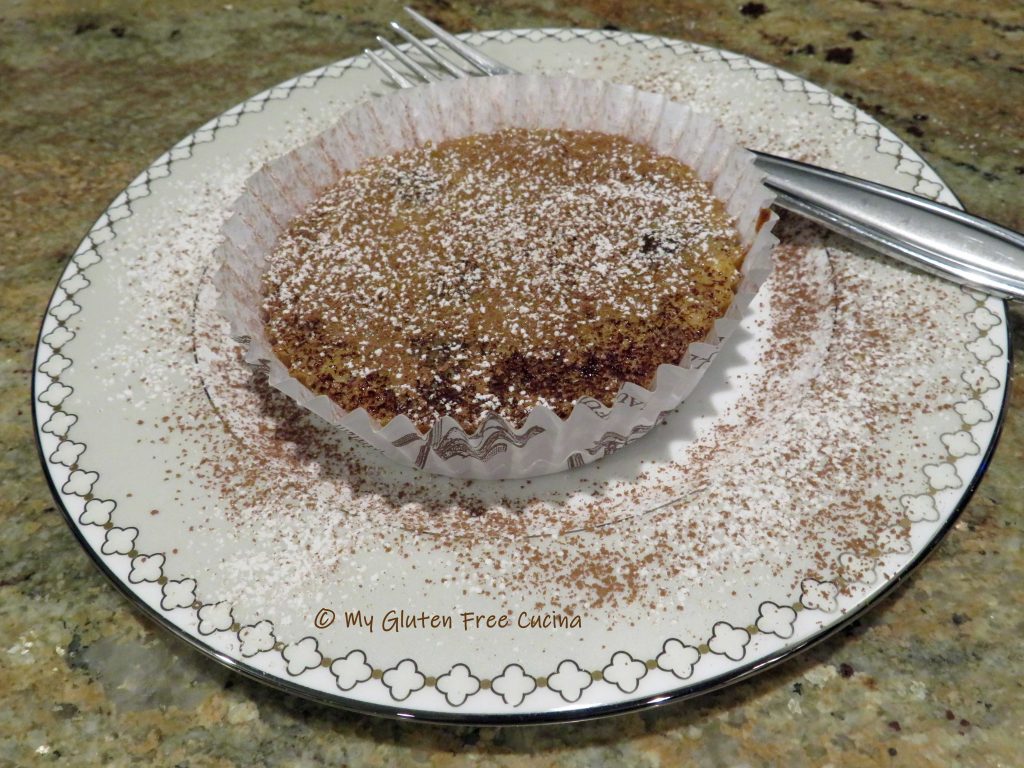
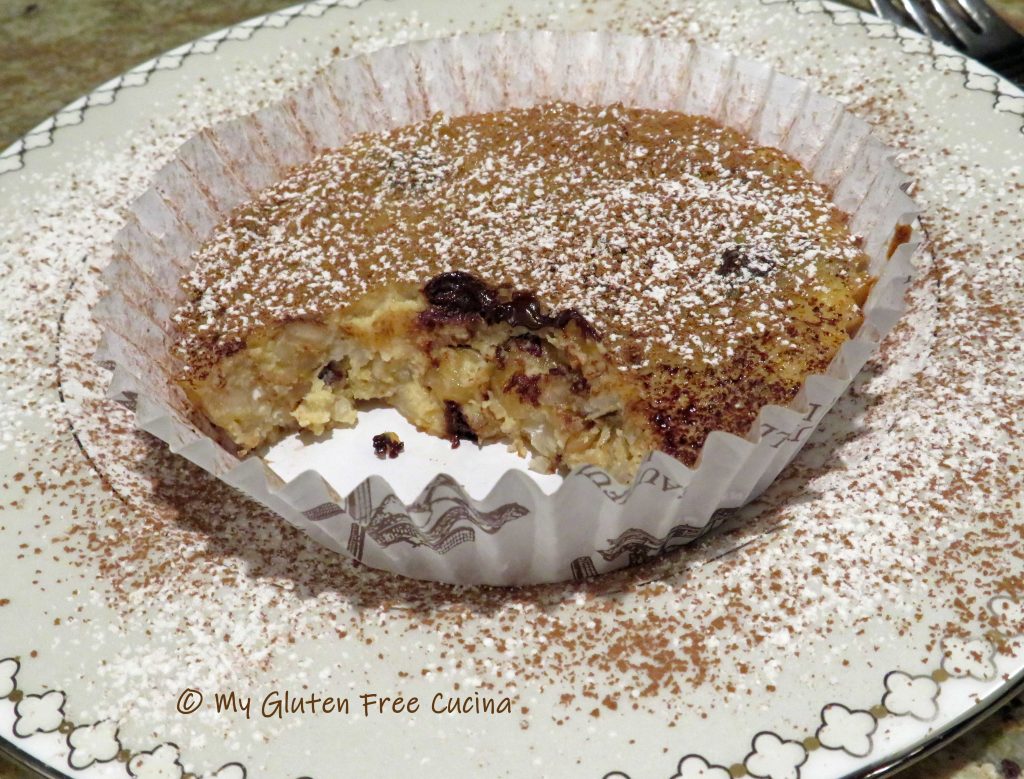
 Serve the tartlets at room temperature or chilled. Before serving, dust with cocoa powder and powdered sugar.
This showstopper of a dessert is bound to become one of your Easter favorites! I know it was at our house!
Notes ♪♫ Carnaroli Rice is widely regarded as the best for making risotto and it is worth seeking out if you can’t find it at the grocery store. It is a high-quality short grain rice with a wonderful texture that is perfect for making risotto that is creamy but firm. If you cannot find Carnaroli rice locally, it is available here on Amazon or substitute Arborio rice.


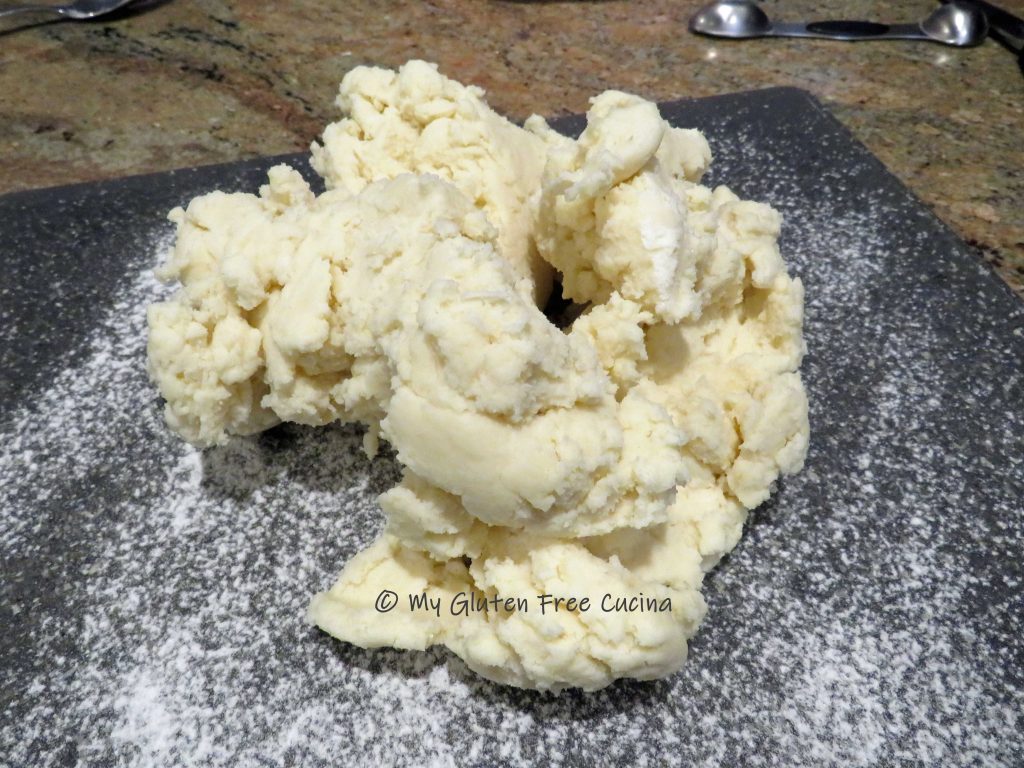
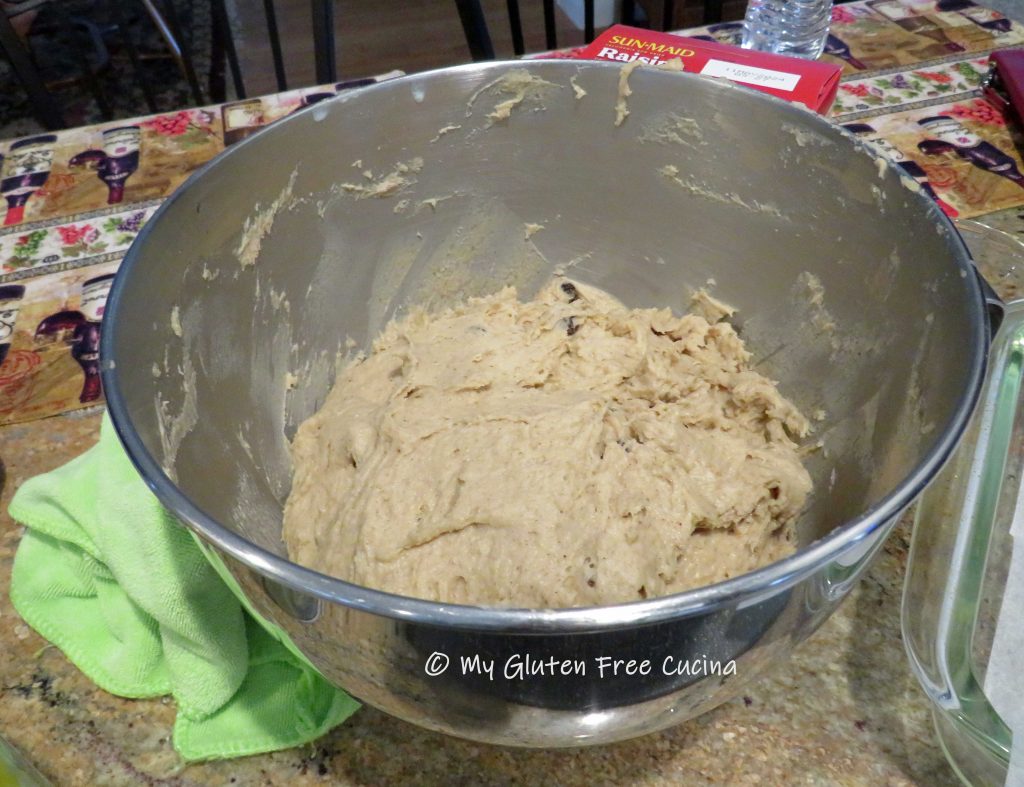
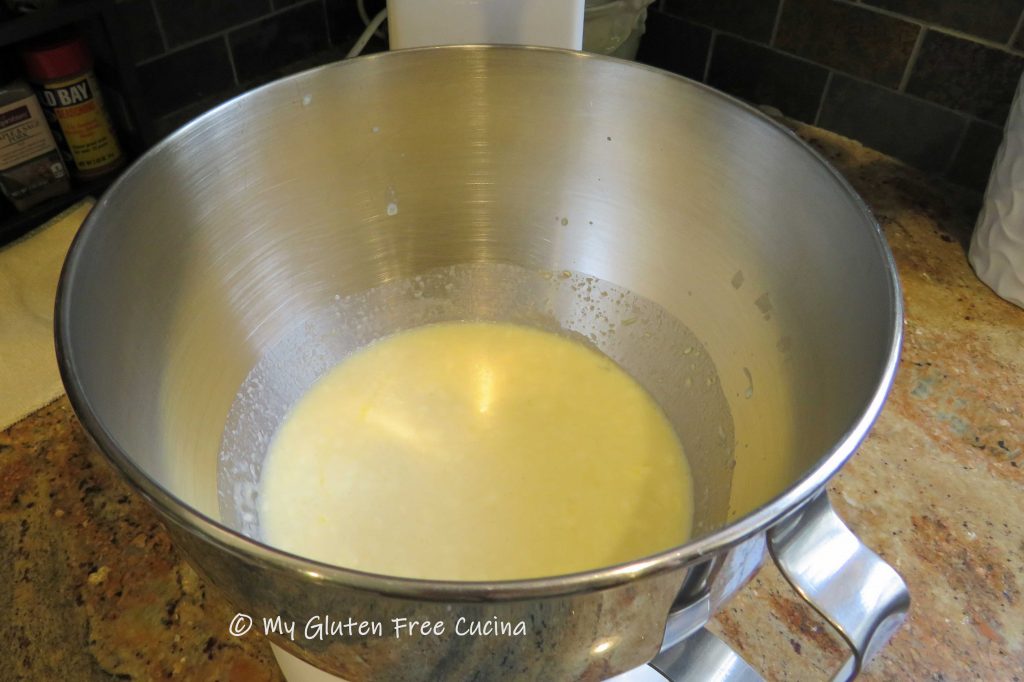
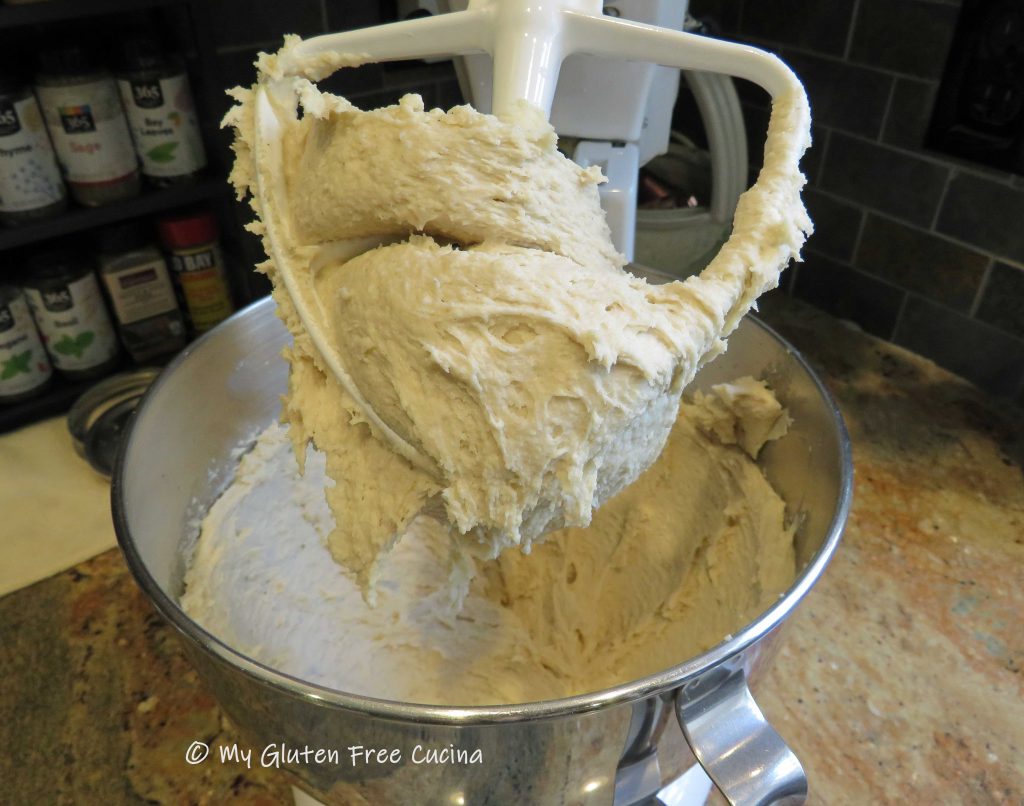
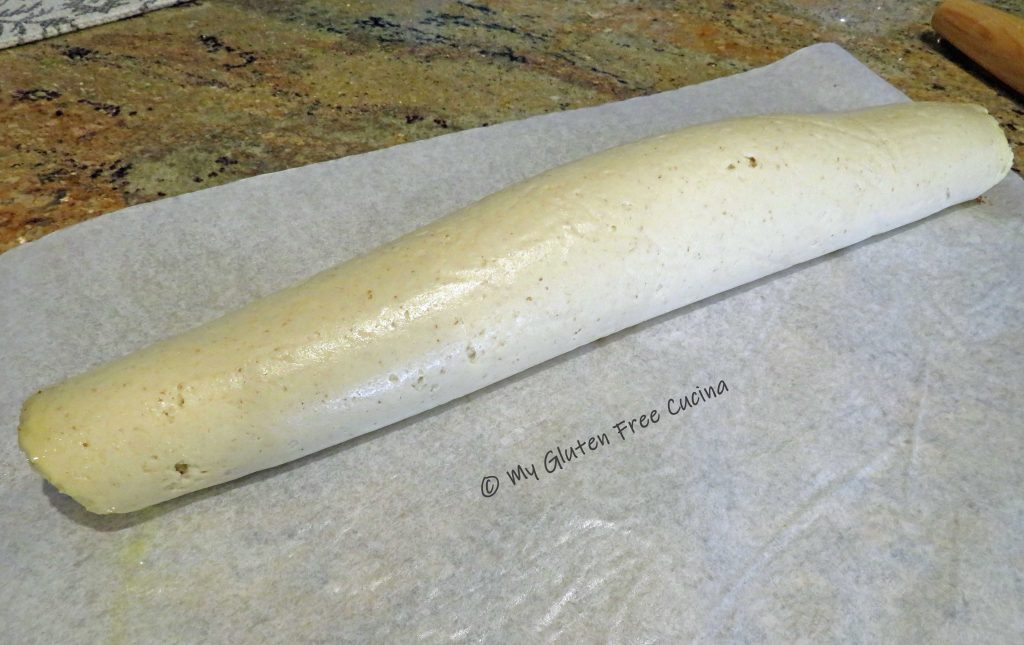
 Add the butter, eggs and milk/yeast mixture and mix together on low with the paddle attachment. It will look like wet pancake batter at this point. Increase the speed and beat for 5 minutes to form a sticky, soft dough.
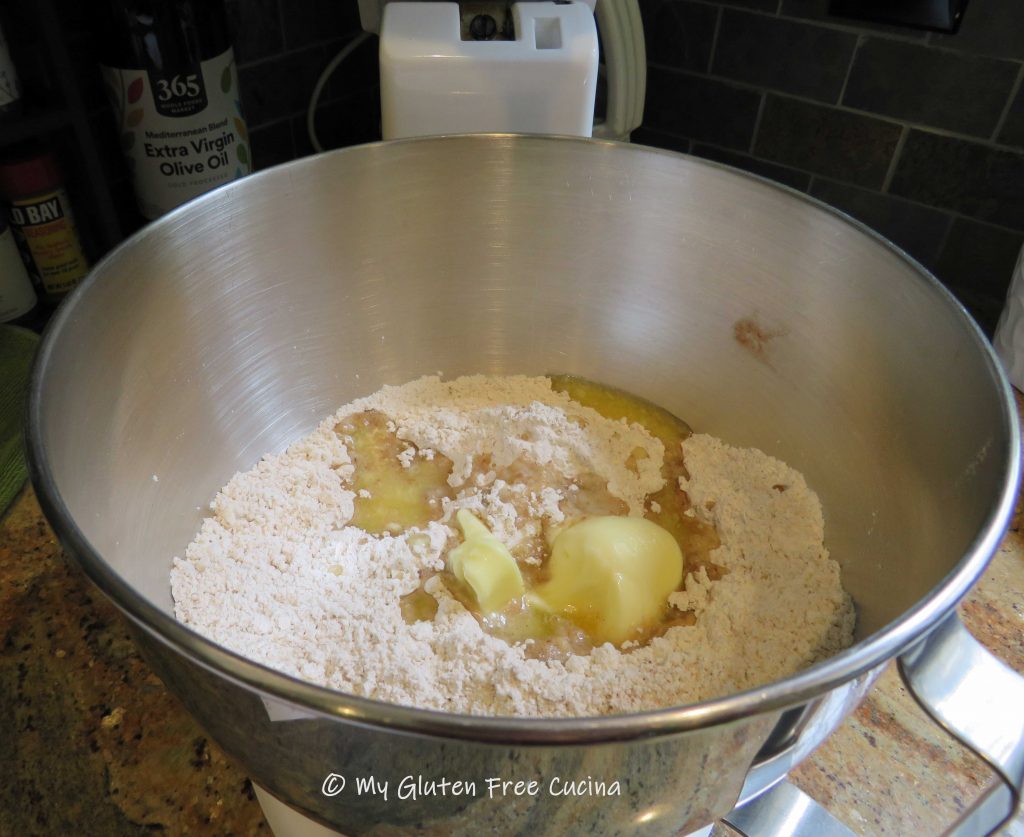
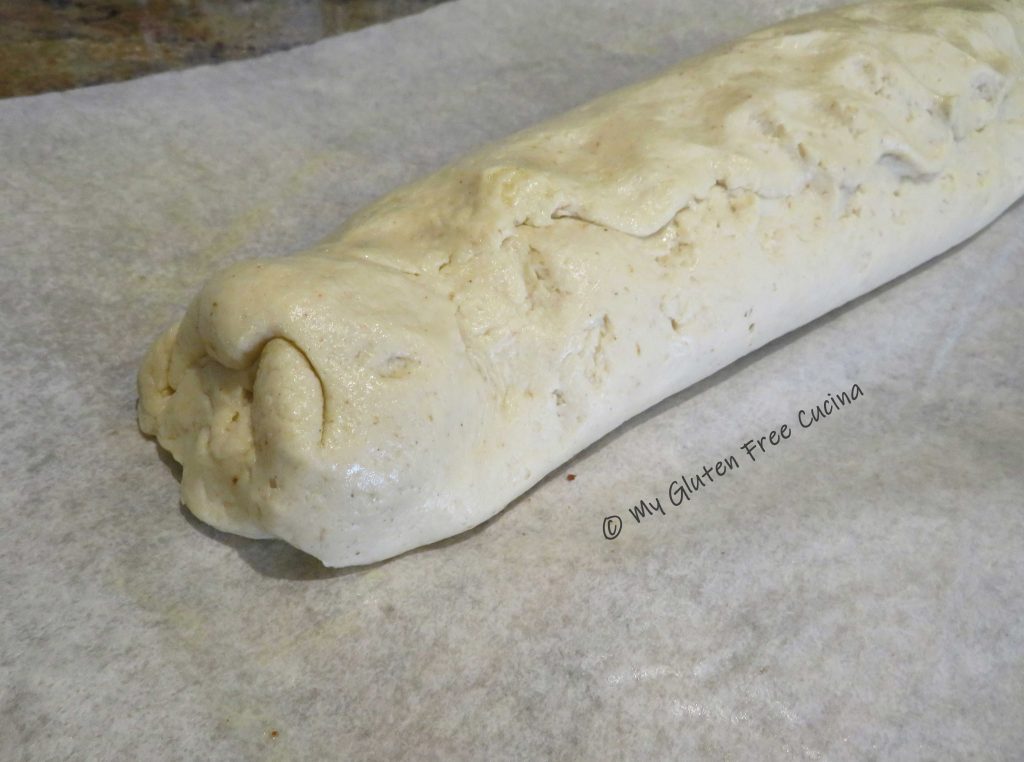
 Finally, add the rum-soaked raisins and their liquid, mixing for one more minute to incorporate.
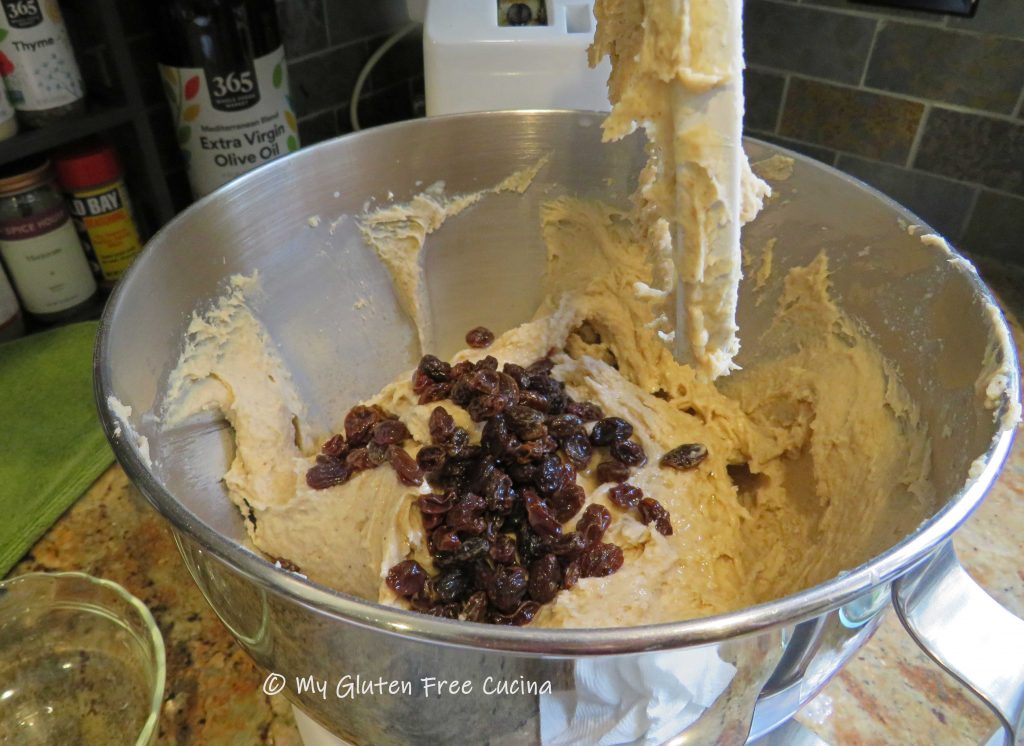


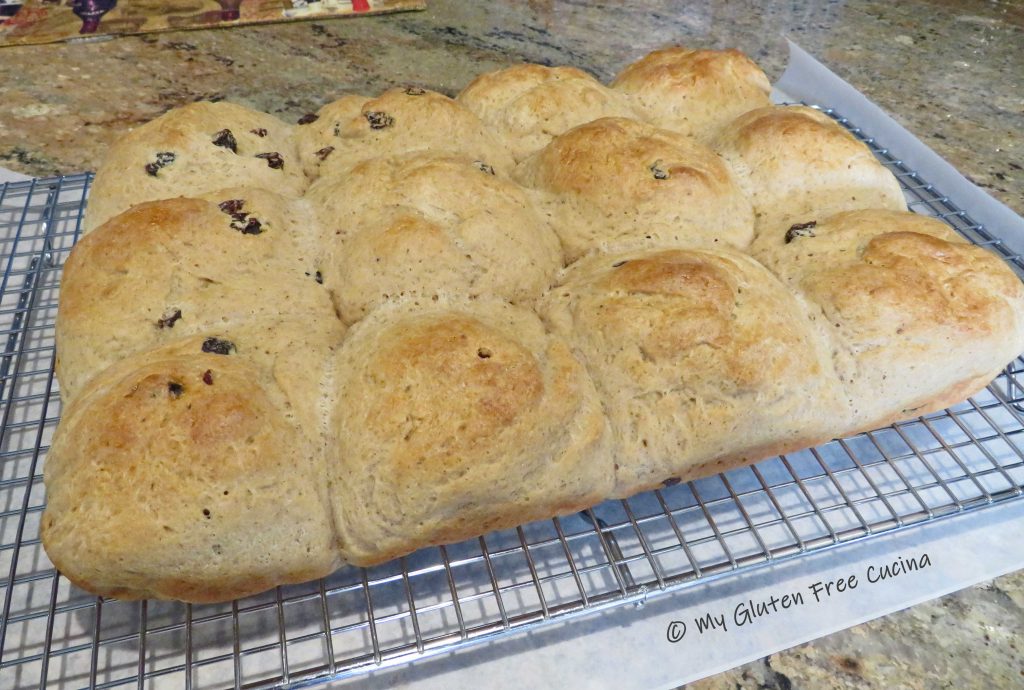

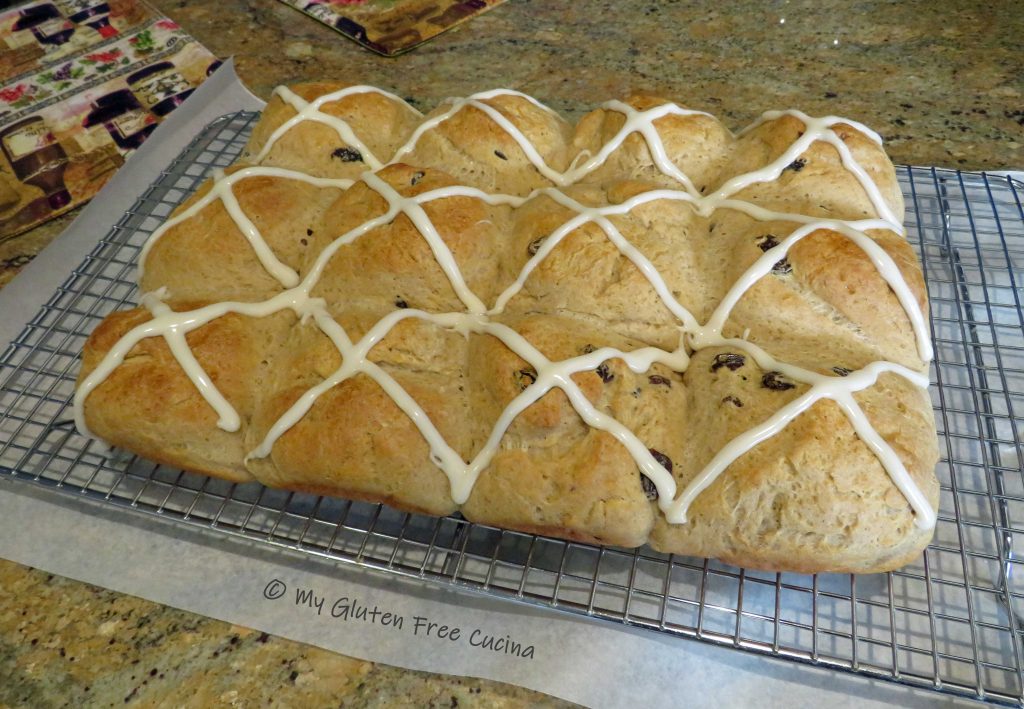
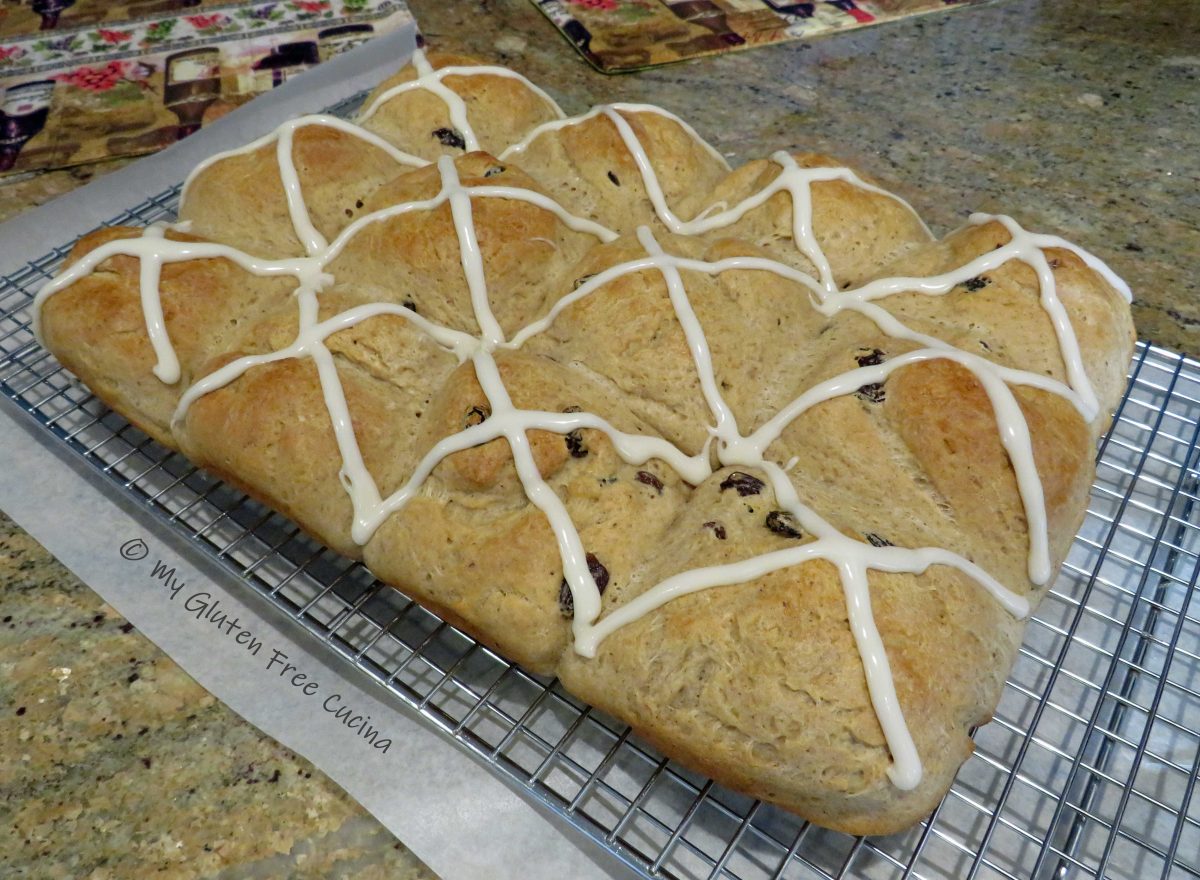
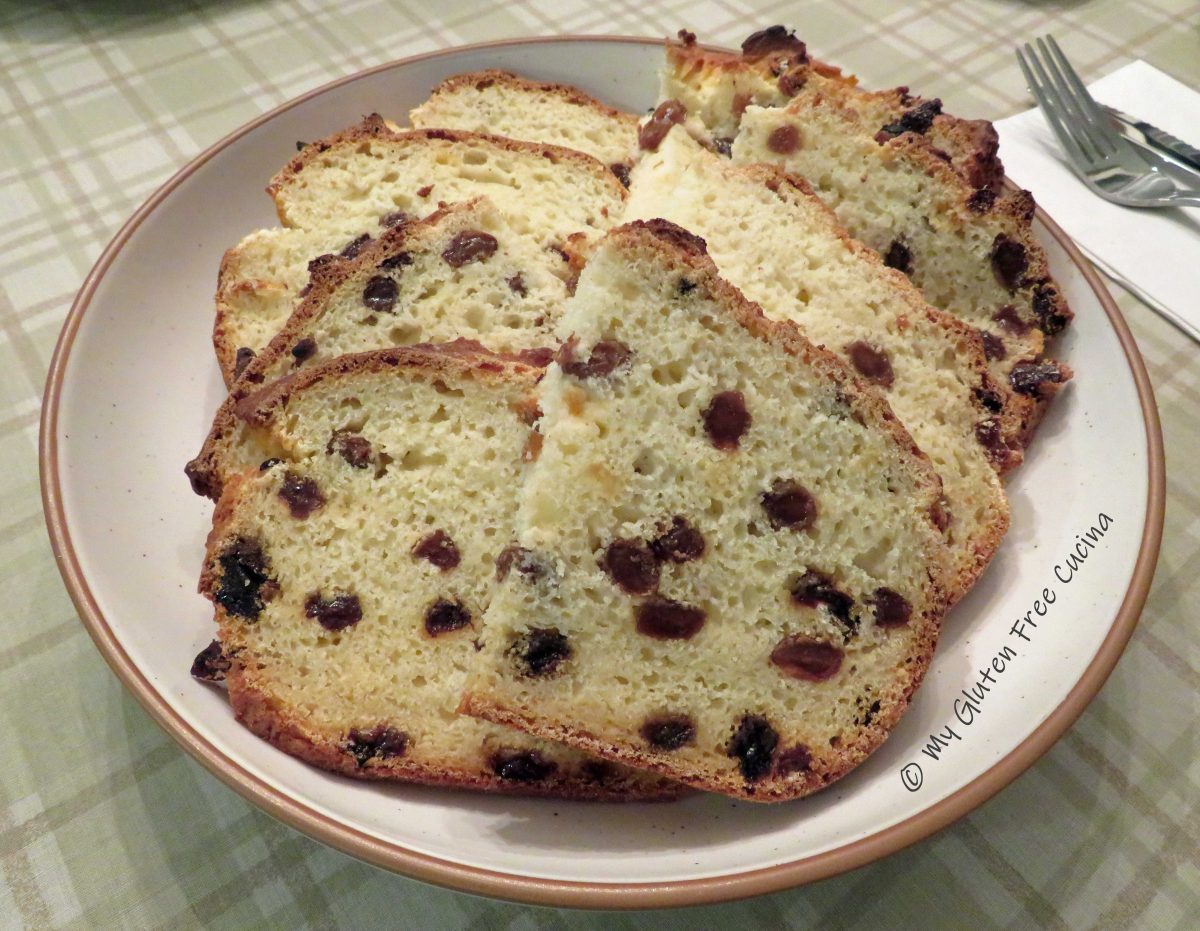
 Both adults and kids loved it, even the picky eaters! I can’t tell you how pleased I was to be making this bread again, it turned out great!
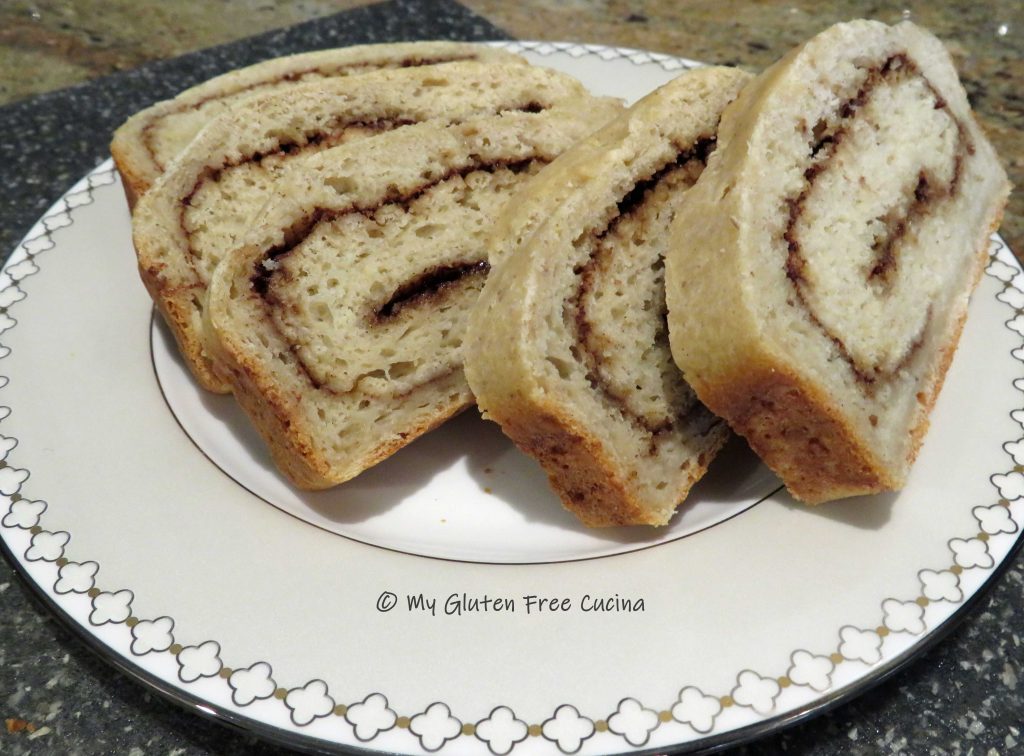

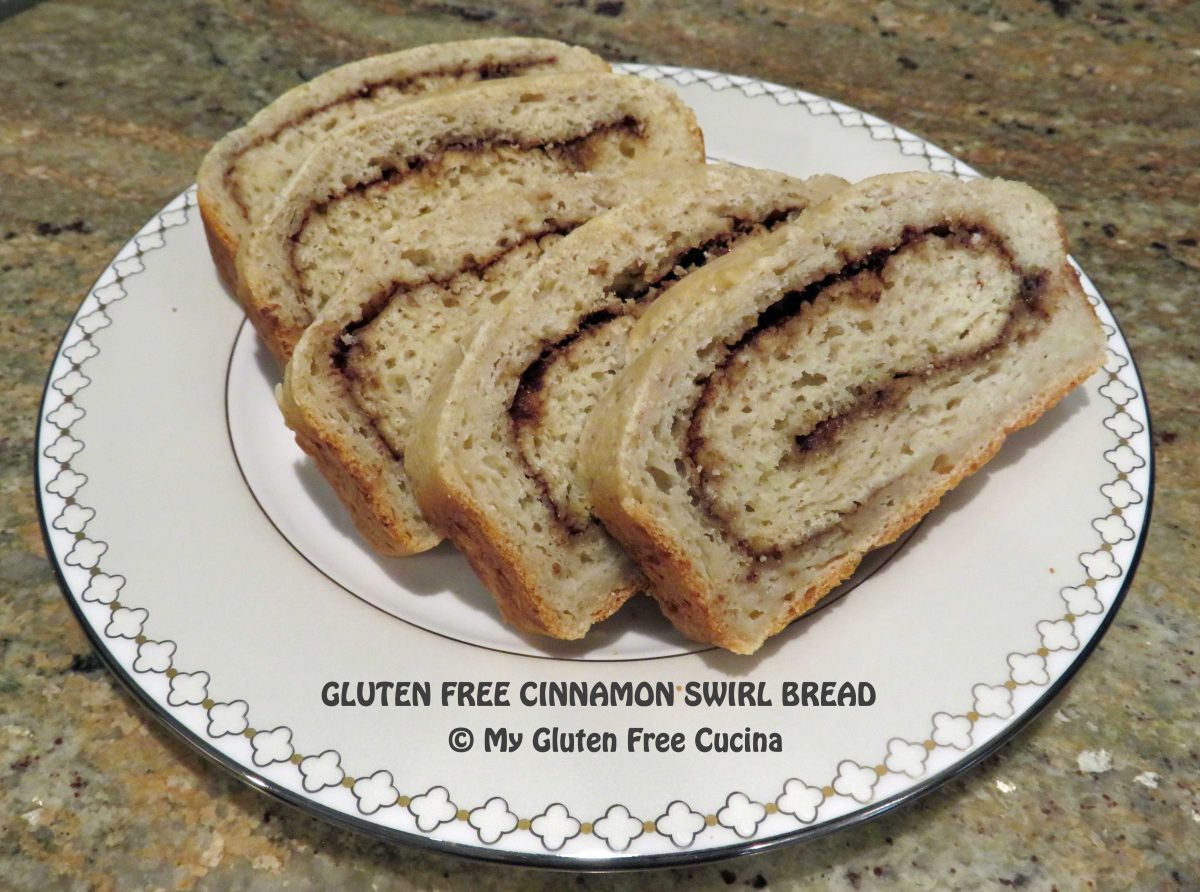
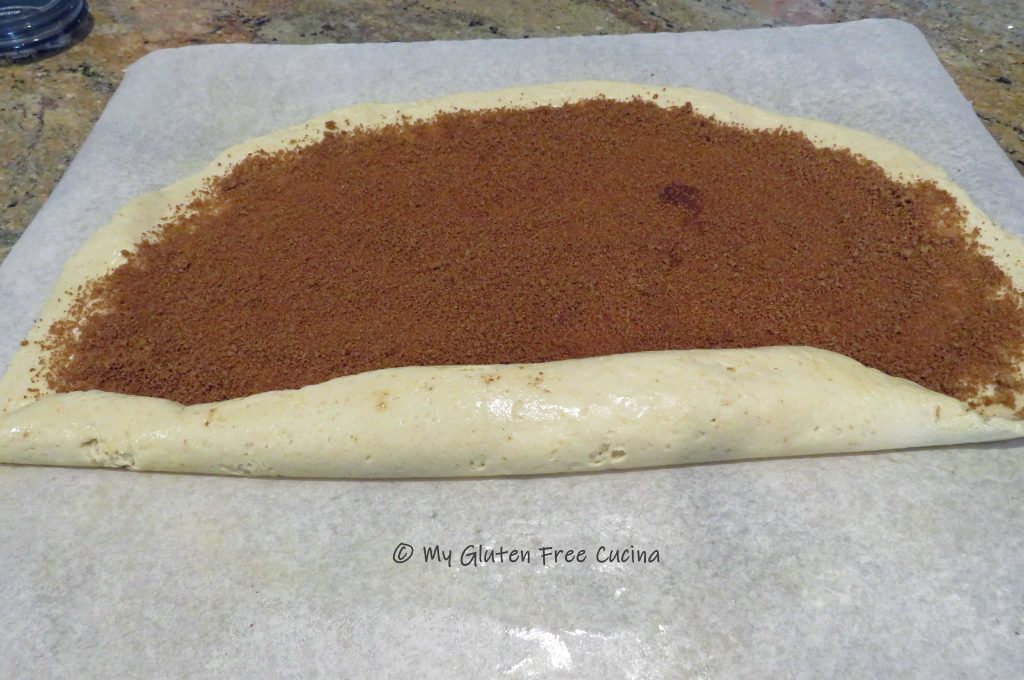
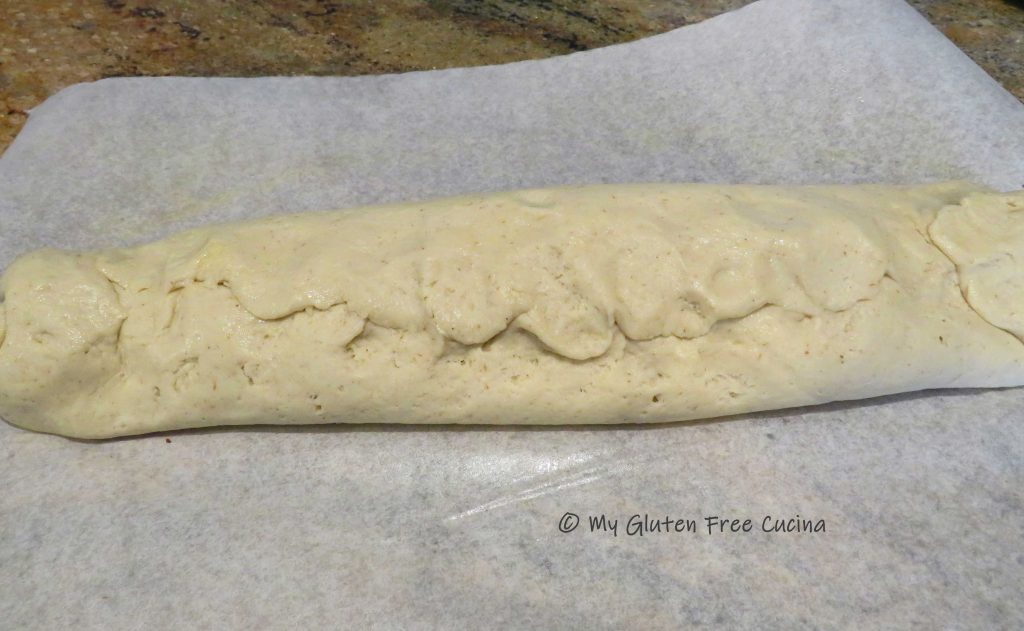
 Spread the brown sugar and cinnamon mixture evenly over the dough, leaving a 1″ border all around.
 Bake for 40 minutes or until the internal temperature reaches 200º. Remove from the oven and brush the top with 1 tbsp. melted butter.
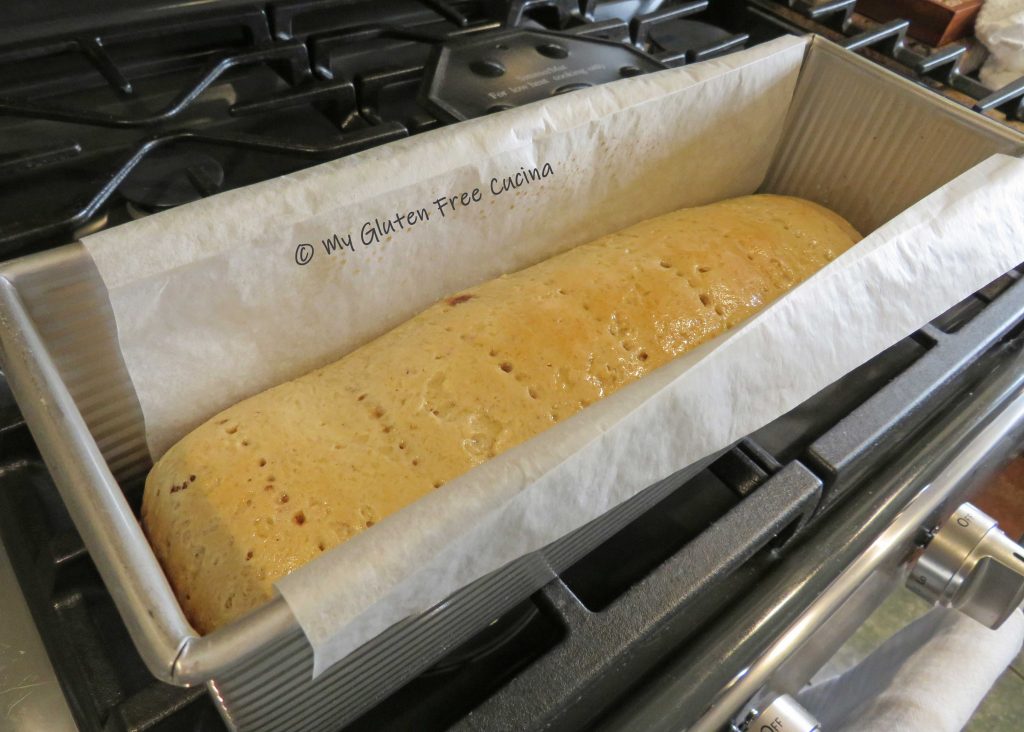 Grasp both sides of the parchment to lift the loaf out of the pan to a cooling rack.
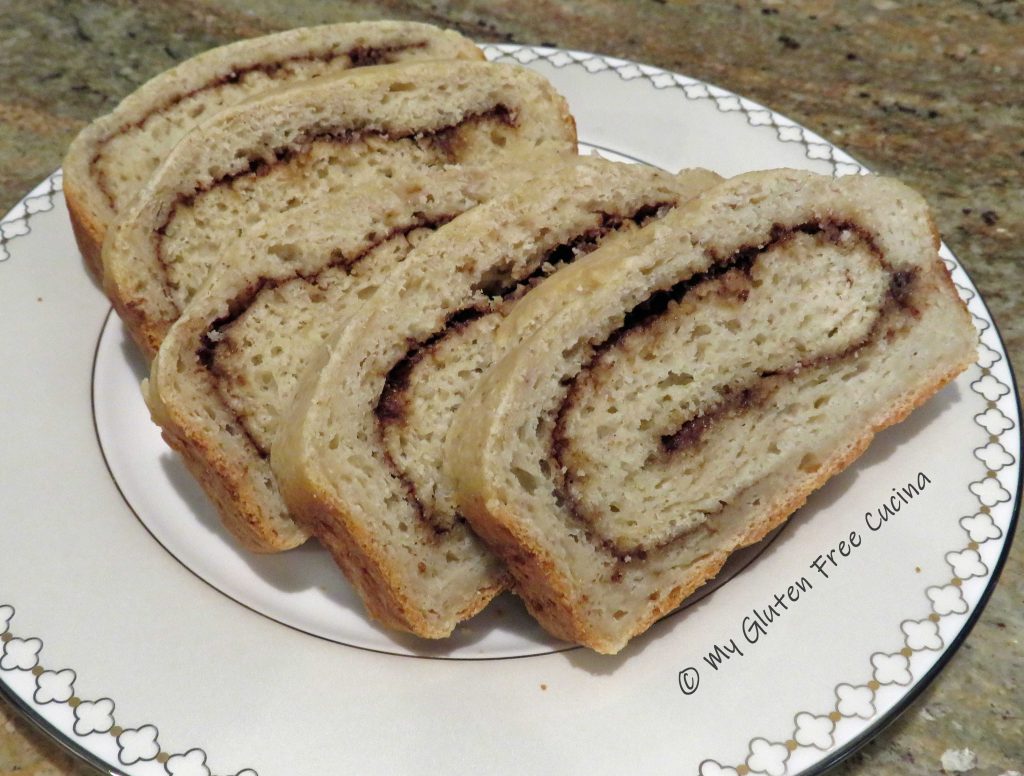
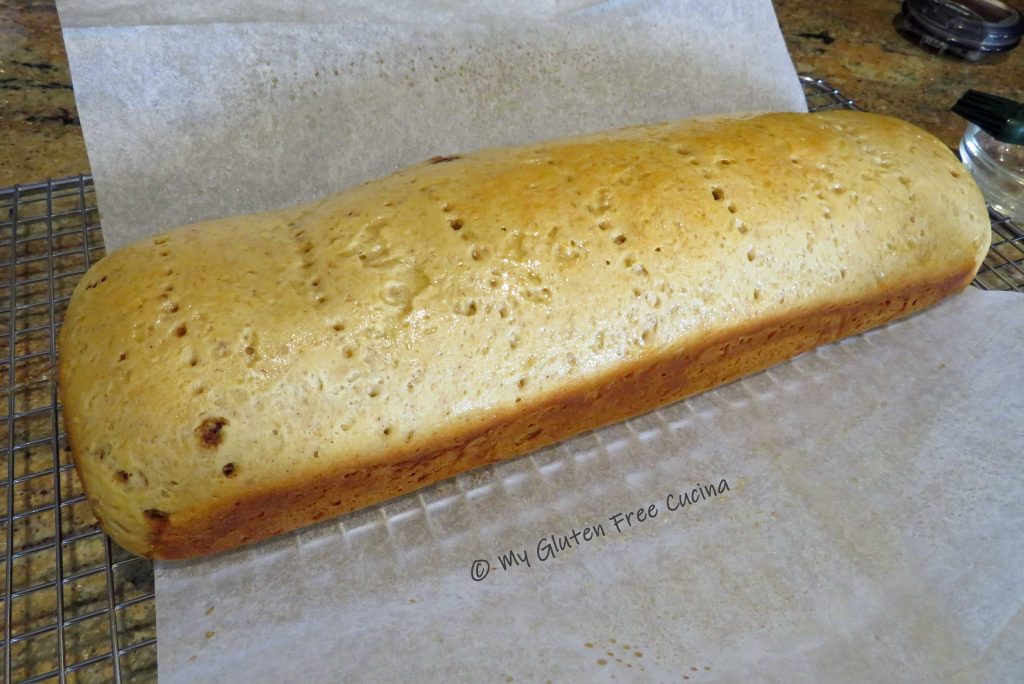 Slide the parchment out and let the loaf cool completely before slicing.
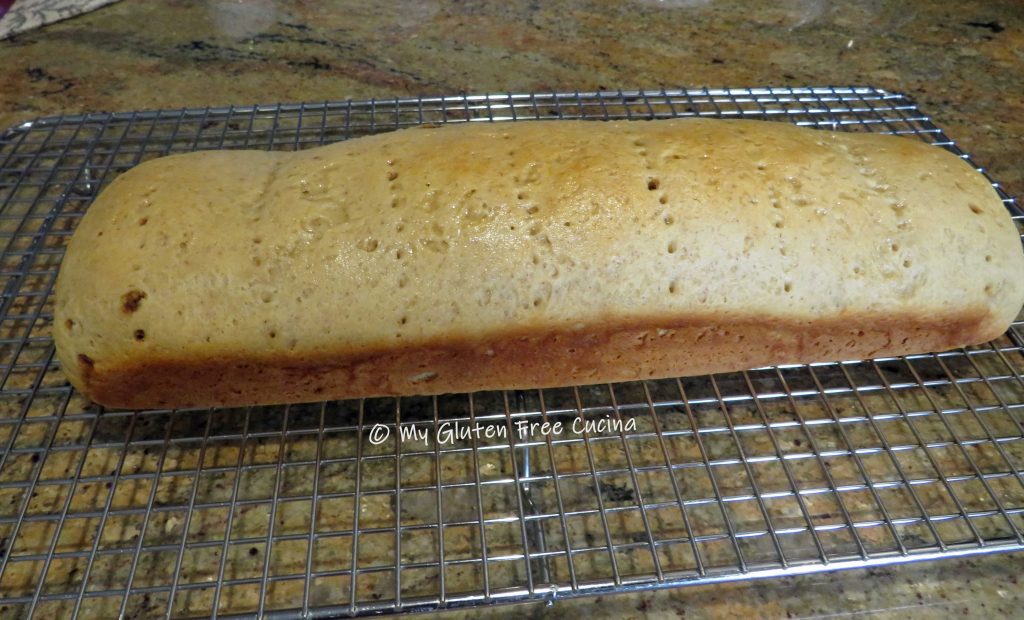


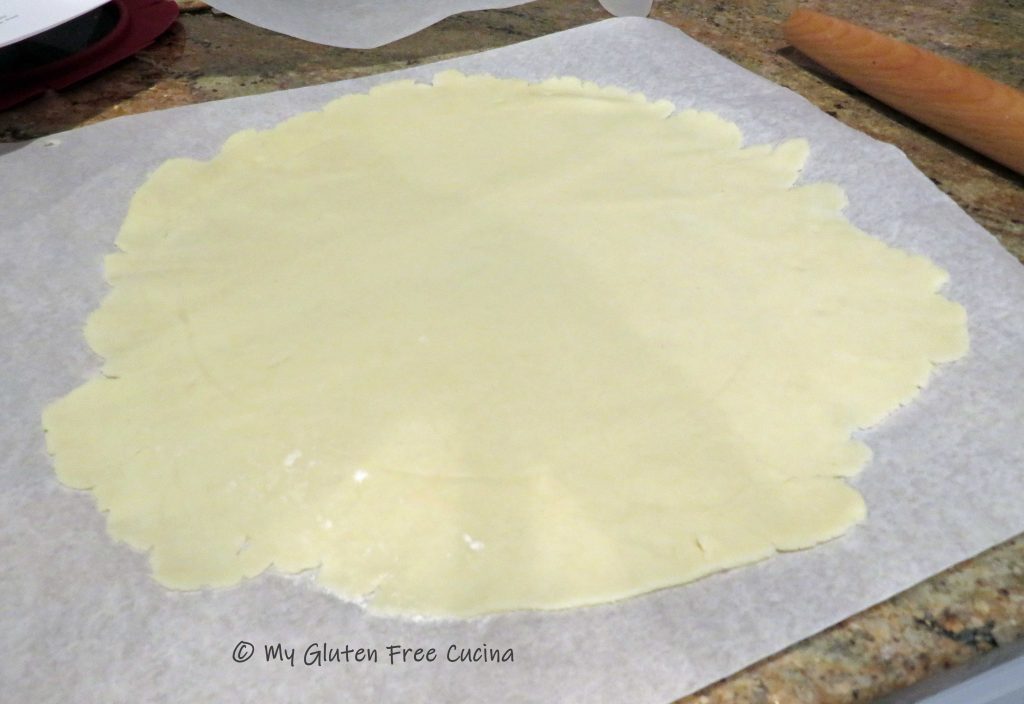
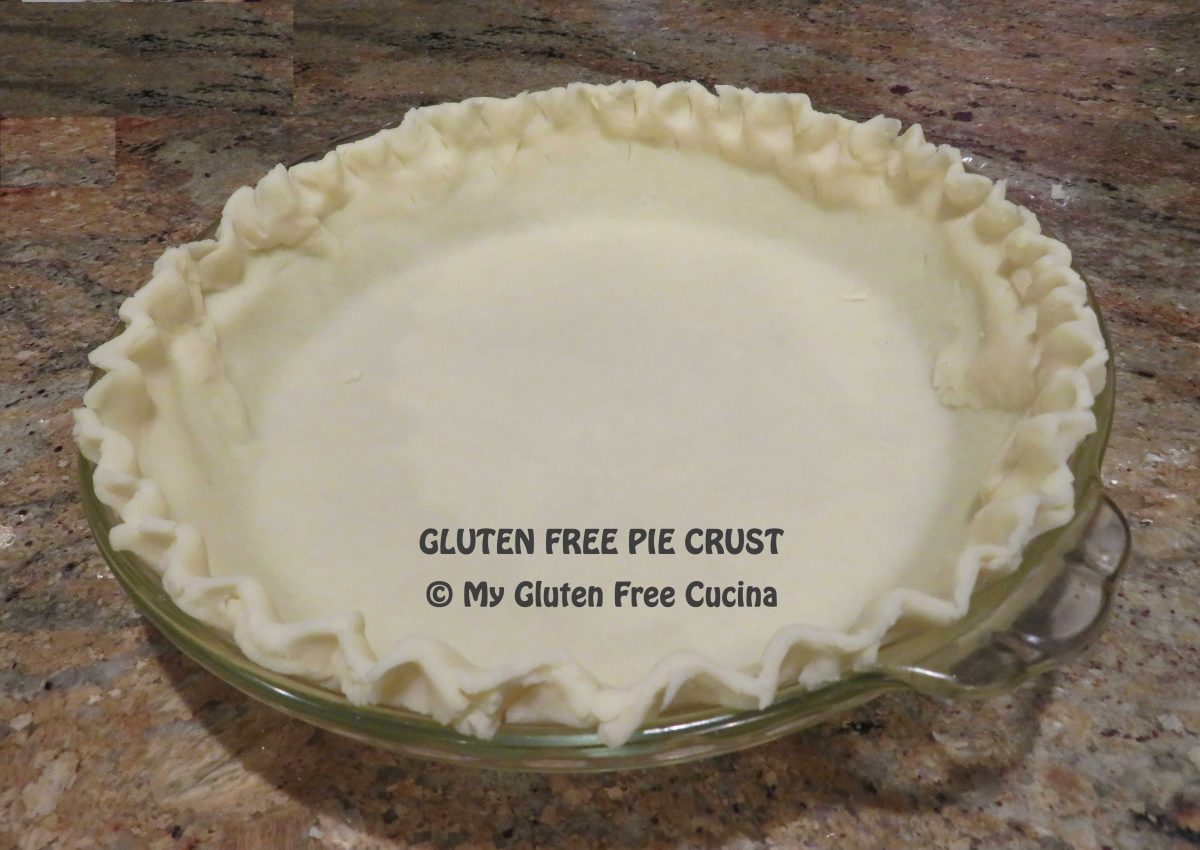
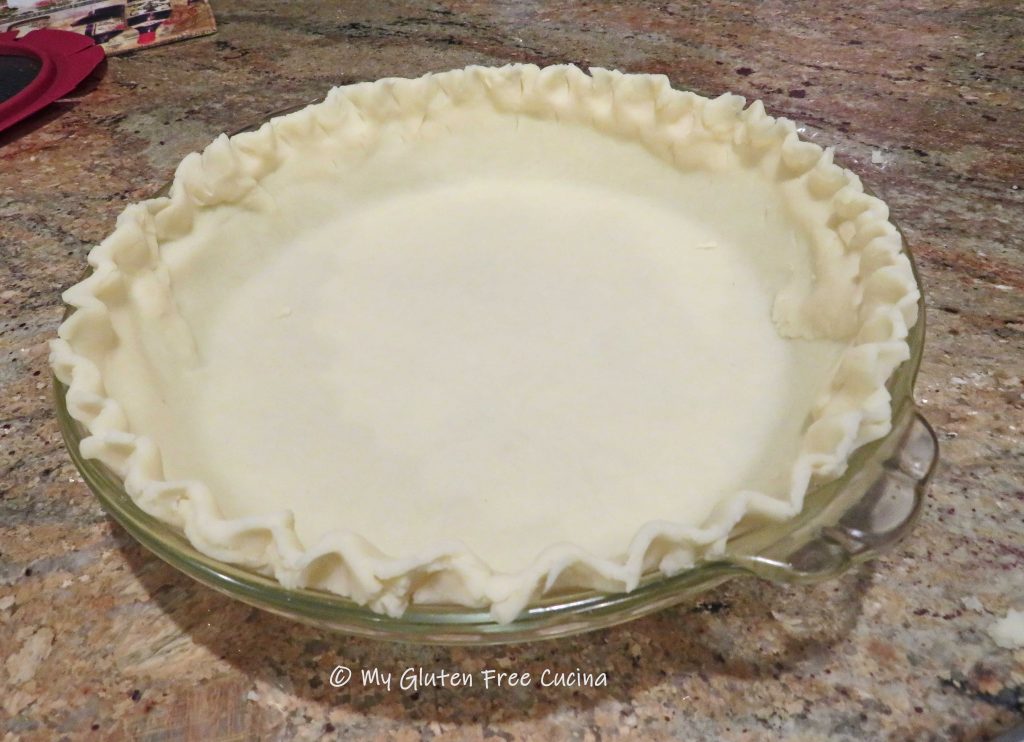
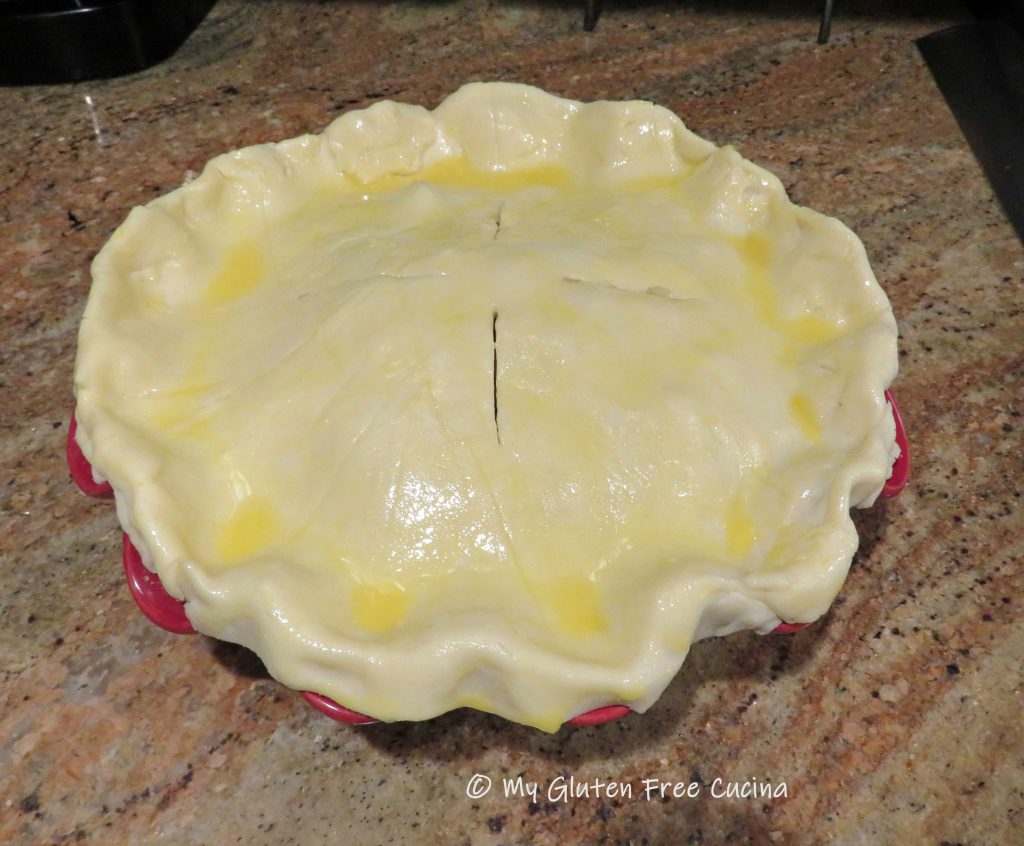
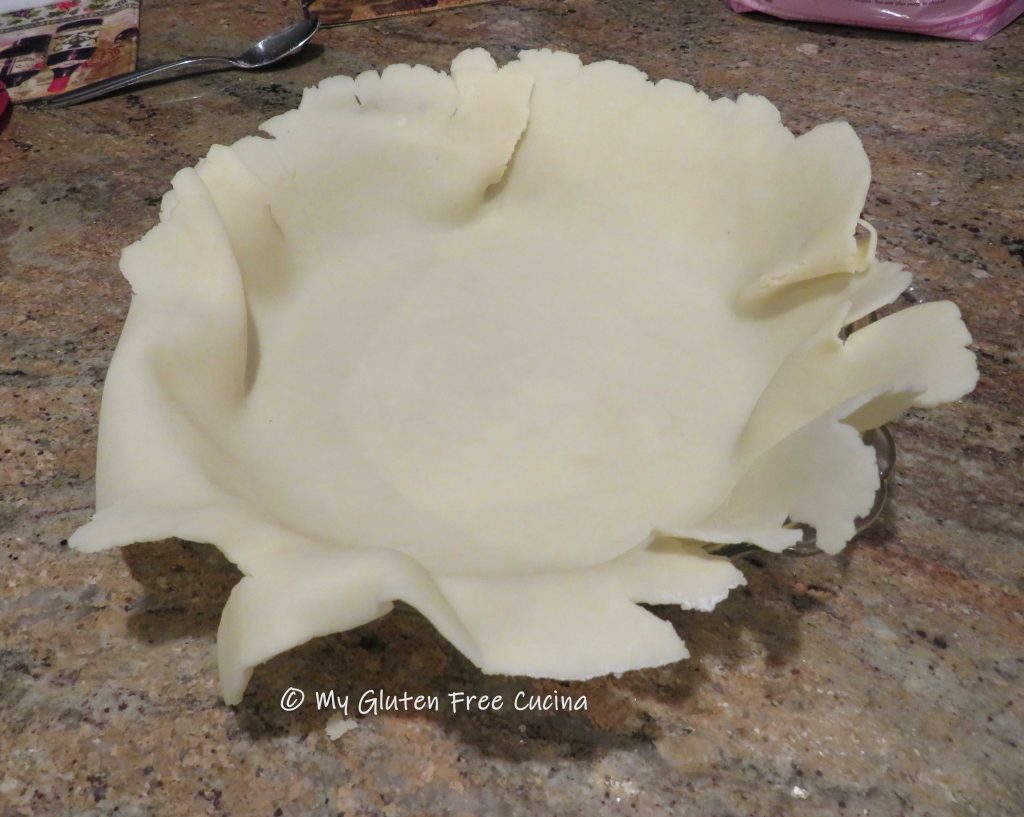 Trim the excess (can be used to patch any cracks or holes), fold the edges under and crimp.
 Because the filling is made with heavy, wet ingredients, you will need to blind bake (pre-bake) the crust for 10 minutes to keep it from getting soggy. Be sure to weigh down the crust down to keep the bottom from puffing up. You can cover the crust with parchment and use beans or


 Place one crust in the


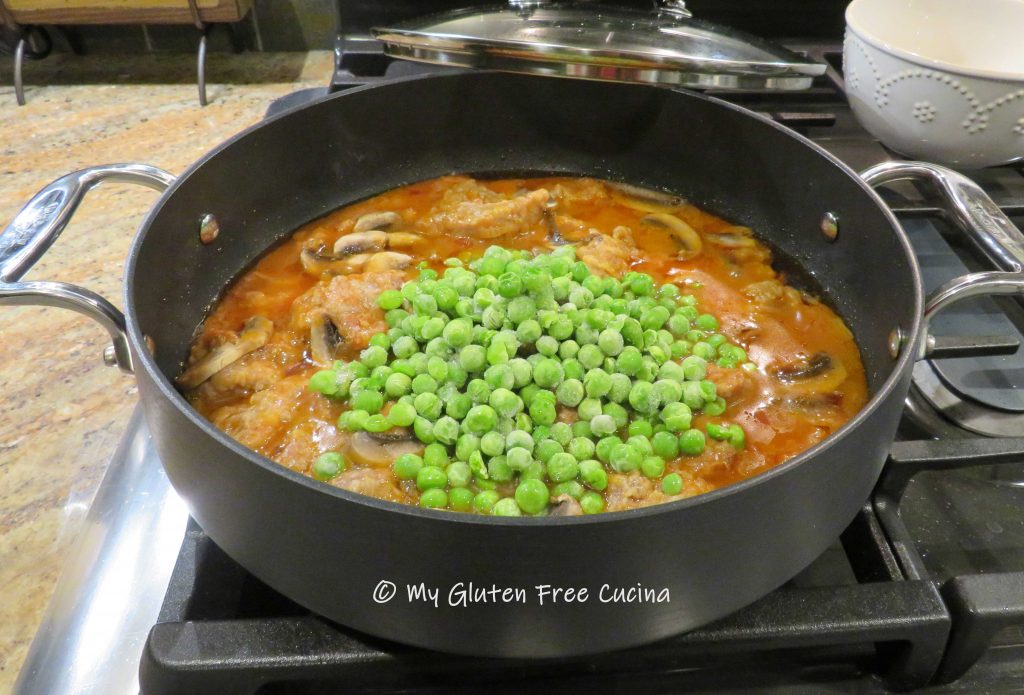
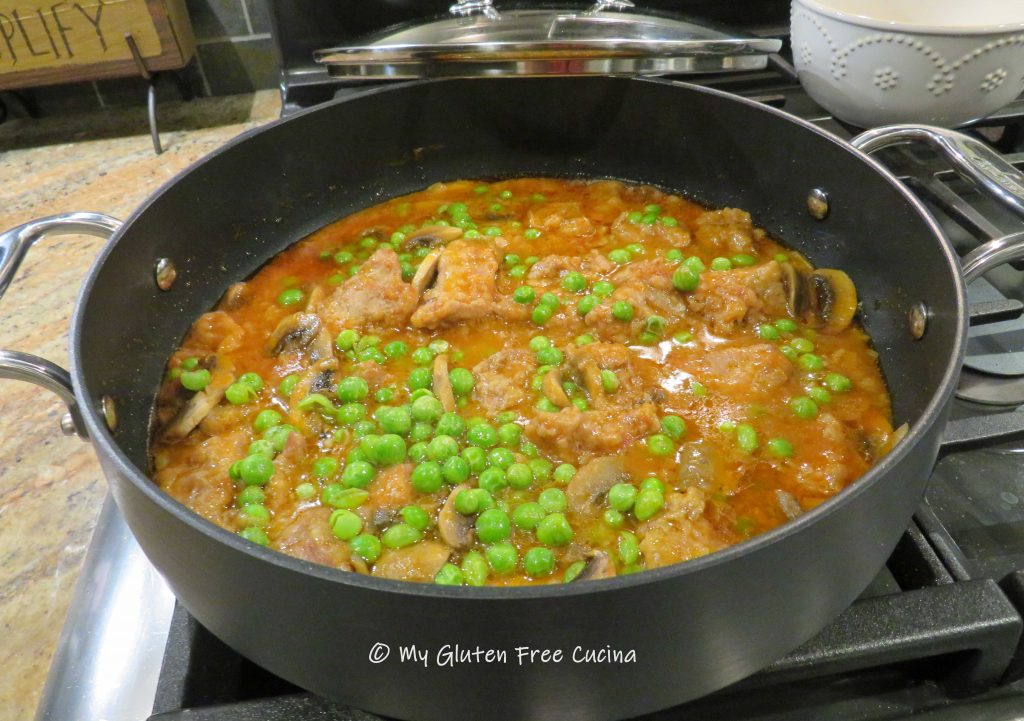
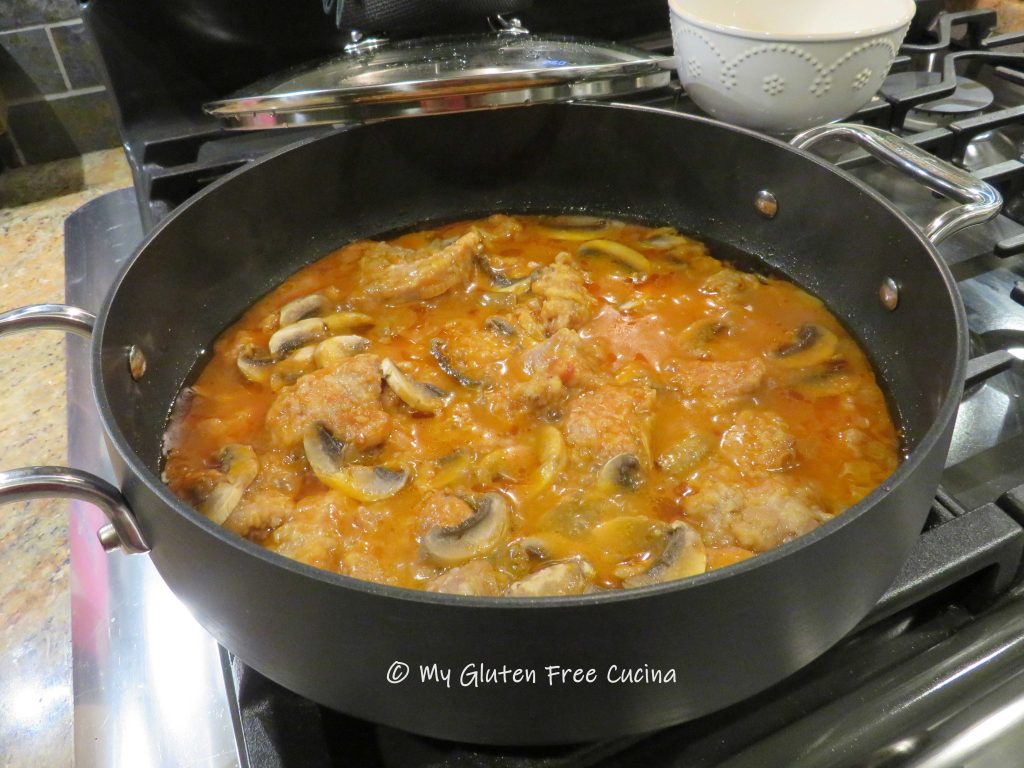 During the last 10 minutes of cooking add the peas, and finish cooking uncovered to thicken.