Gluten Free Chicken Cordon Bleu

Classic Chicken Cordon Bleu.  Years ago this dish was a restaurant standard, and it has long been on my culinary bucket list to make a gluten free version at home!  Swapping out the flour and breadcrumbs for gluten free was all that was needed.

This is a great dish for a dinner party, or a romantic dinner for two.  When planning your meal, allow about 6 oz. chicken cutlet and 2 slices prosciutto per serving.  For our dinner I had one very large chicken breast that I cut into 3 slices.  You can save a step by purchasing thin sliced chicken breast cutlets.

This post contains affiliate links.

Ingredients:

  • boneless chicken breast cutlets, 6 oz. per serving
  • thin sliced prosciutto, 2 slices per serving
  • grated gruyere cheese, 2-3 tbsp. per serving
  • 1 egg or 1/4 cup egg whites
  • 1/4 cup white rice flour seasoned with paprika
  • 1/2 cup gluten free seasoned breadcrumbs
  • cooking spray

Preparation:

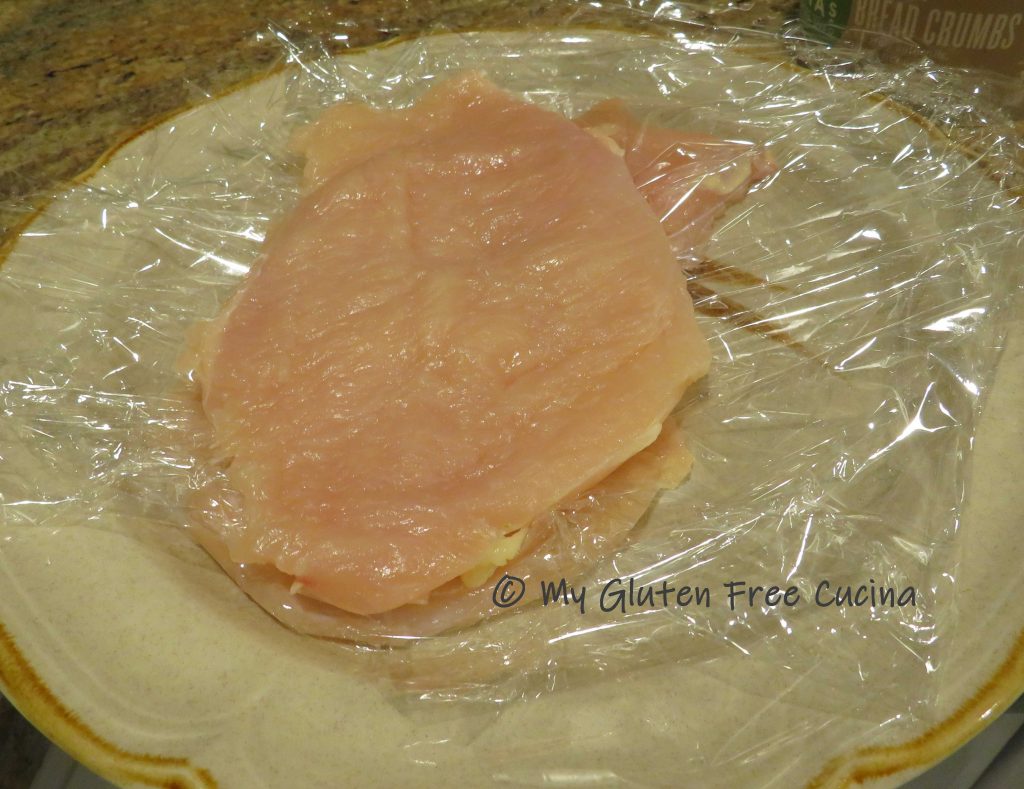
Using a sharp paring knife, slice horizontally through the center of the breast making 1/2″ slices about 6 oz. each.  Cover with plastic wrap and use the flat side of a meat mallet to pound each slice to an even thickness.

Continue with each slice, stacking between layers of plastic wrap.

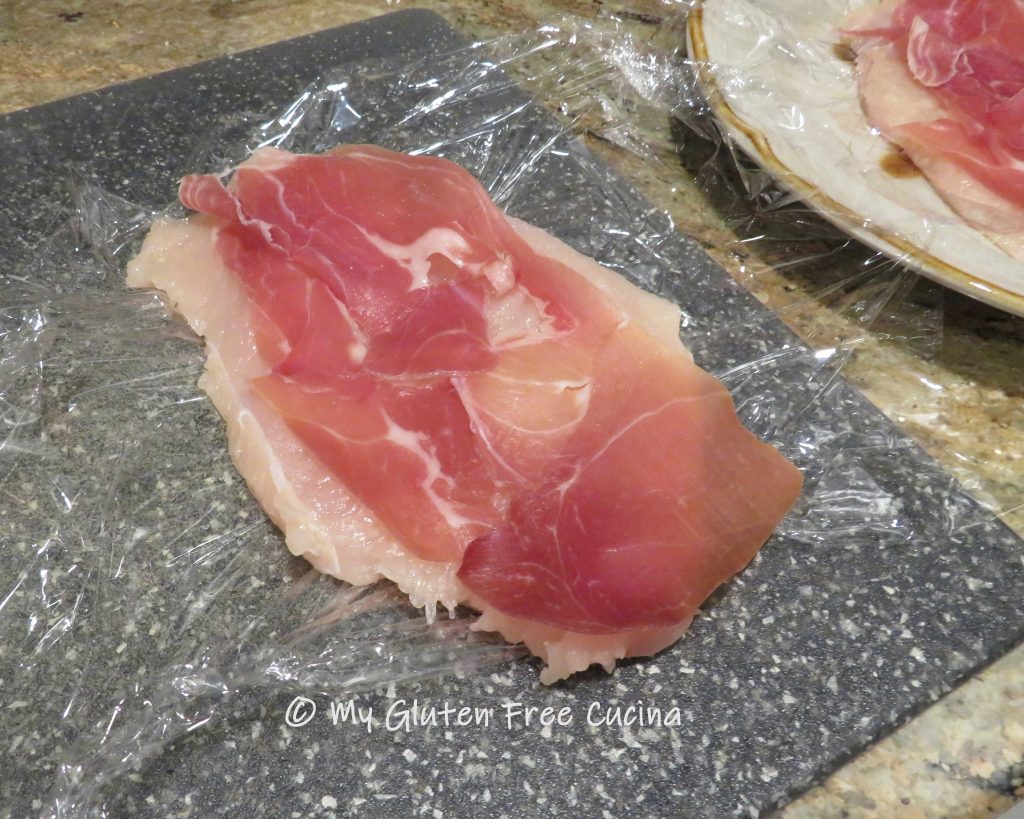
When you are ready to assemble, layer each piece of chicken with 2 slices of prosciutto.

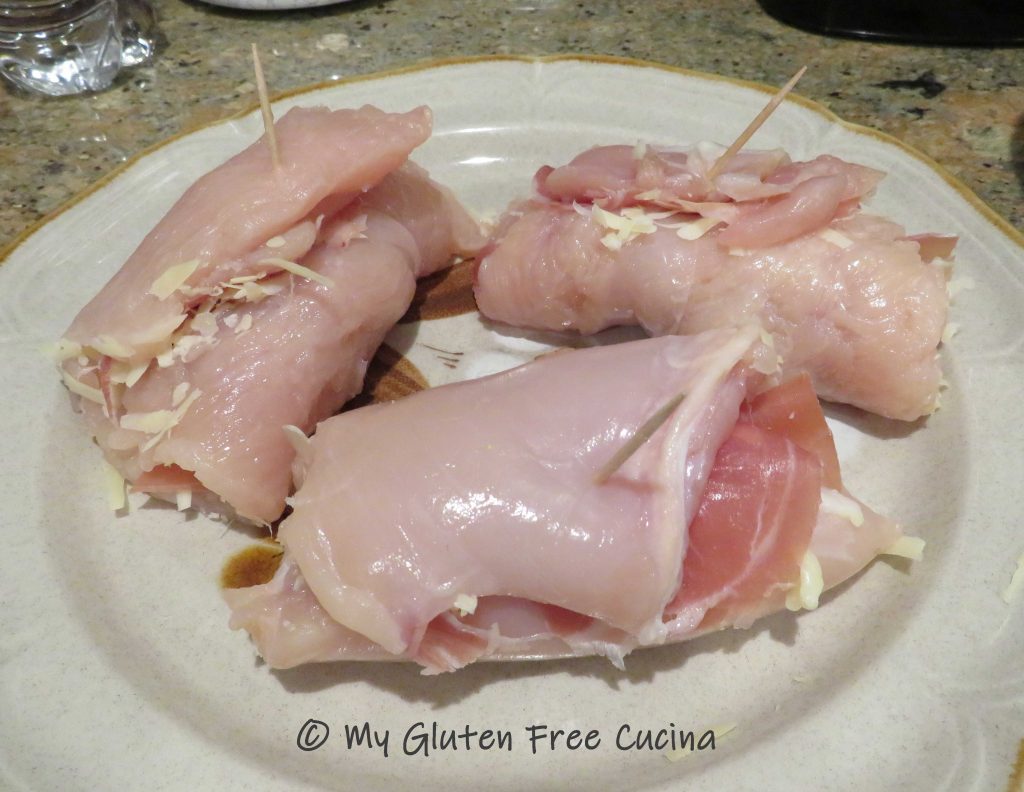
Sprinkle evenly with Gruyere cheese and roll up into a bundle.

If you have the time, roll up the chicken in plastic wrap, twisting the ends like a sausage casing.  Refrigerate for at least 1 hour.  This is a great trick for to help the bundles stay together without using twine or toothpicks!

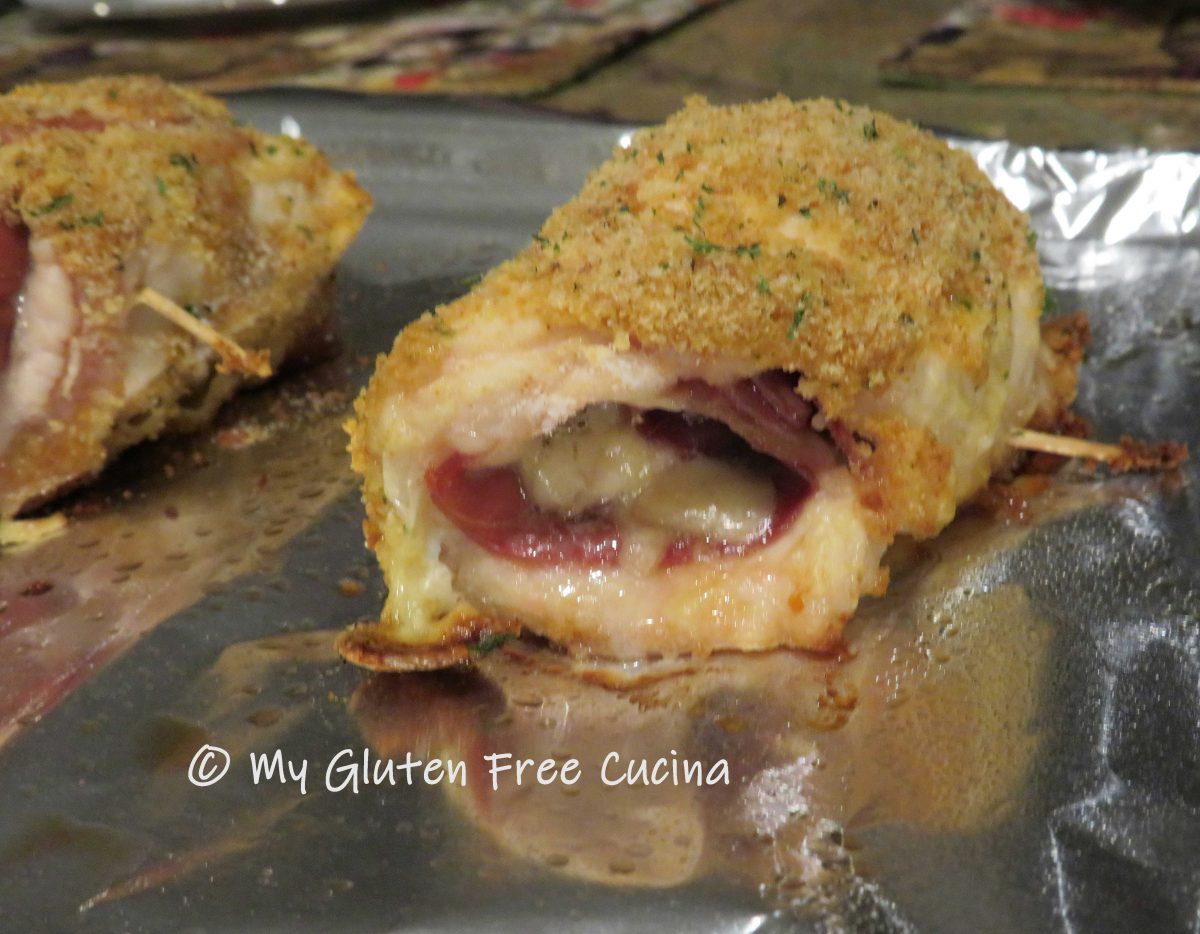
Pressed for time and don’t have that extra hour?  Don’t worry!  Just secure the bundles with a toothpick, like this.

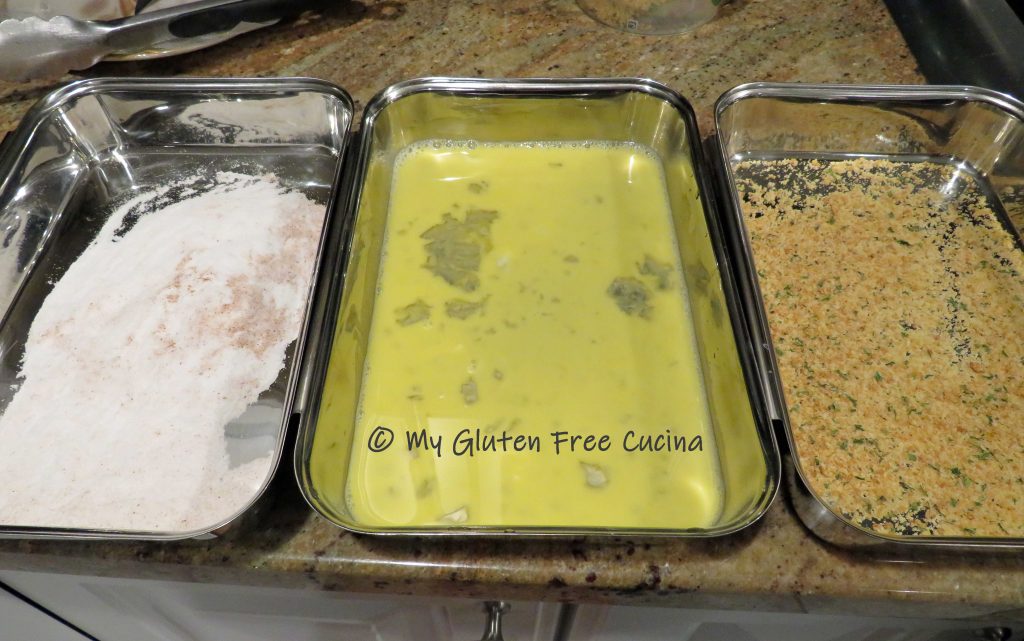
Set up breading trays with the flour, egg and breadcrumbs.

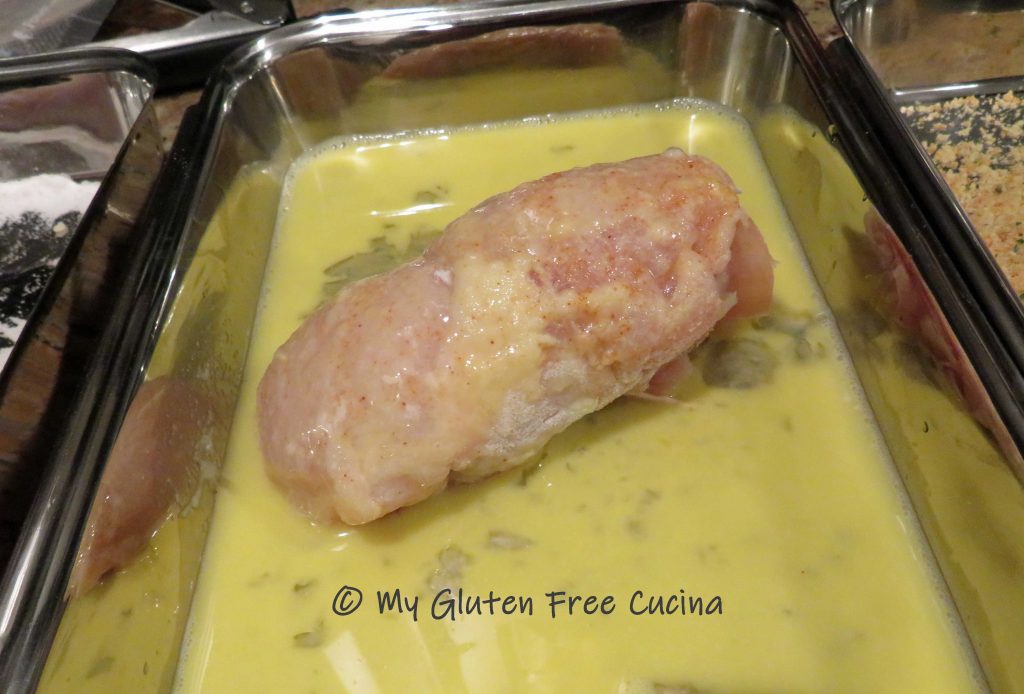
Gently roll the bundles in the flour, then dip in the egg, and finally roll in the breadcrumbs.

Set the bundles seam side down on a baking sheet lined with foil and coated with cooking spray.

Bake for 40 minutes at 350º and rest 5 minutes before serving.

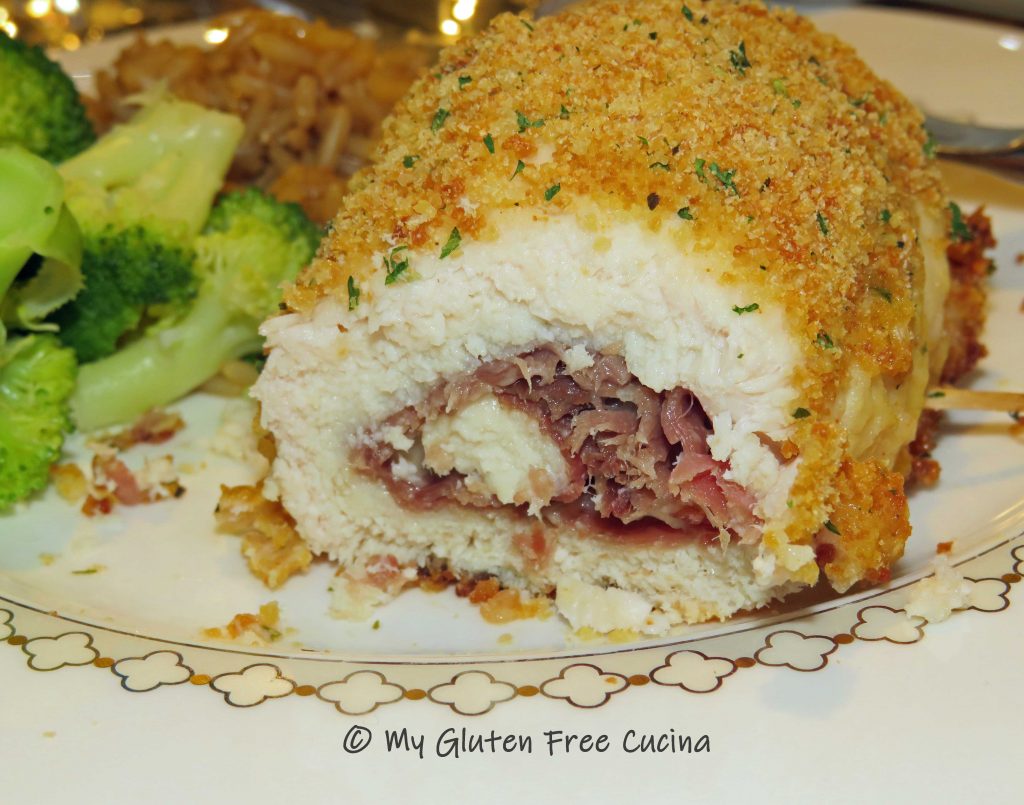
And that’s it friends.  A beautiful plate!

I hope you enjoyed this post and have been inspired to give the recipe a try! Be sure to check out some of my other restaurant classics that you can make at home, gluten free.

Notes ♪♫ Ingredients make the difference!  I used Aleia’s gluten free Italian breadcrumbs in this recipe.  They are simply the best!

Print This Post Print This Post

Sirloin Tips

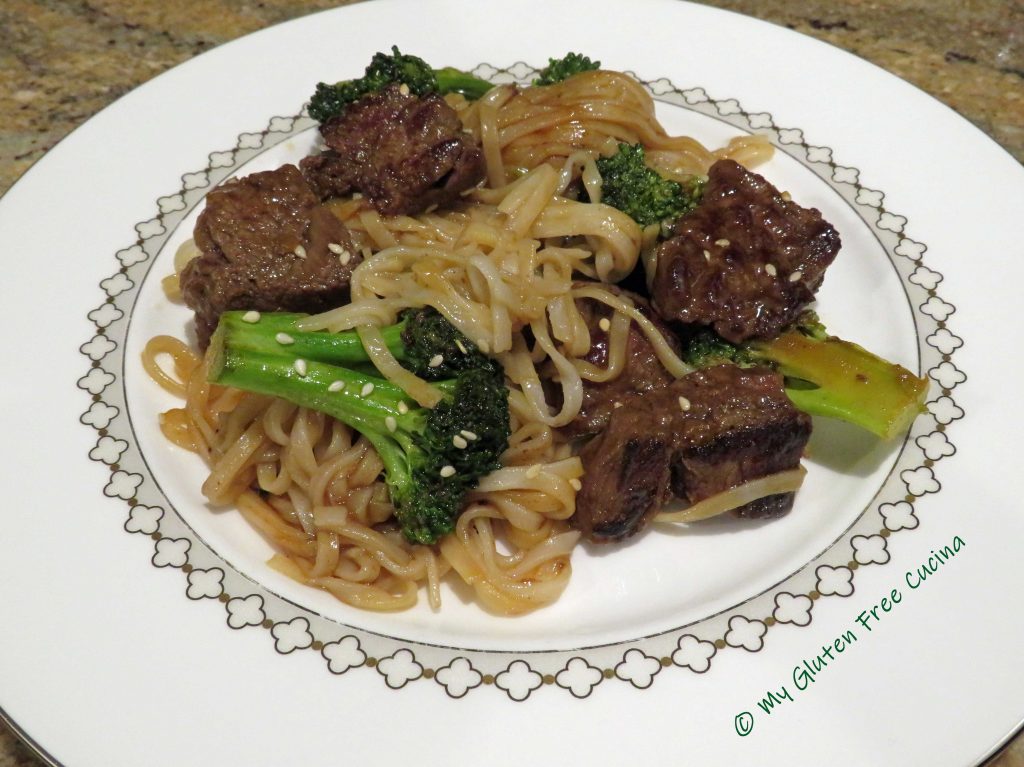
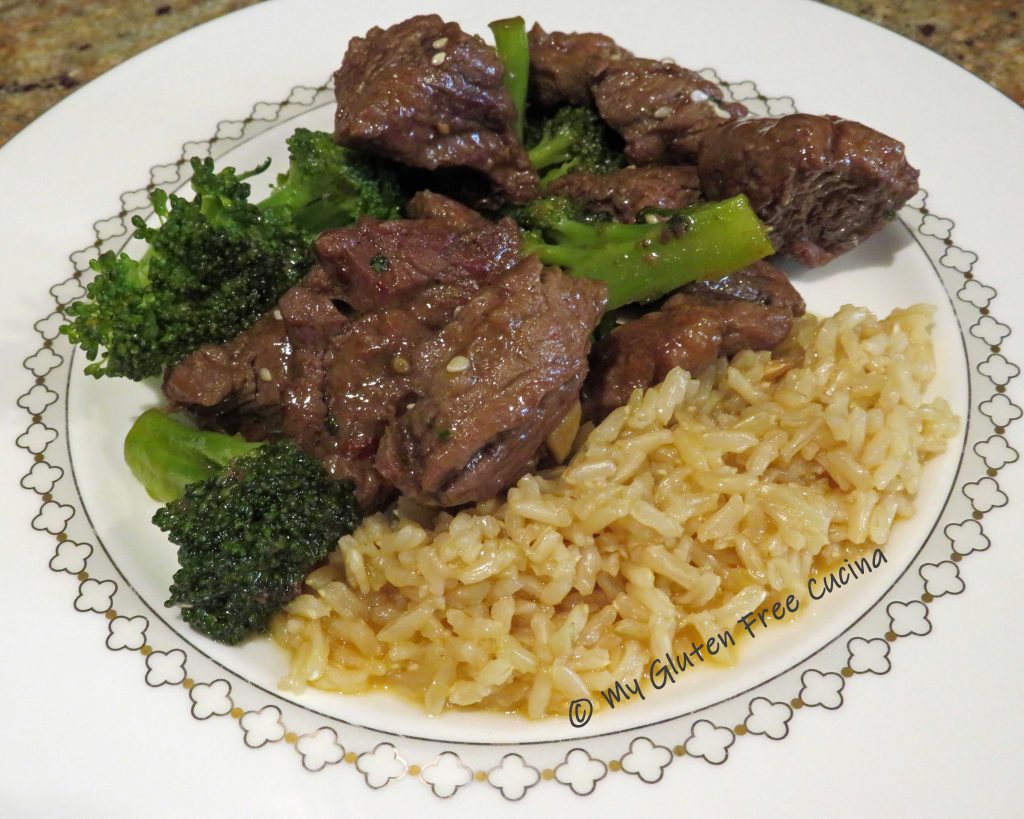
Sirloin tips have always been one of my favorite restaurant entrees.  Much to my dismay, many restaurants use soy sauce in their steak marinade, making this meal off limits for those of us with Celiac disease.  Fortunately, it is easy to recreate this great meal at home.  Be sure and check out my homemade, gluten free steak marinade, or use coconut aminos for a lower sodium option.

Dinner for two

This post contains affiliate links.

Ingredients:

Preparation:

Combine the steak tips with 2 tbsp. gluten free steak marinade.  Let them marinate for 30 minutes to an hour at room temperature.

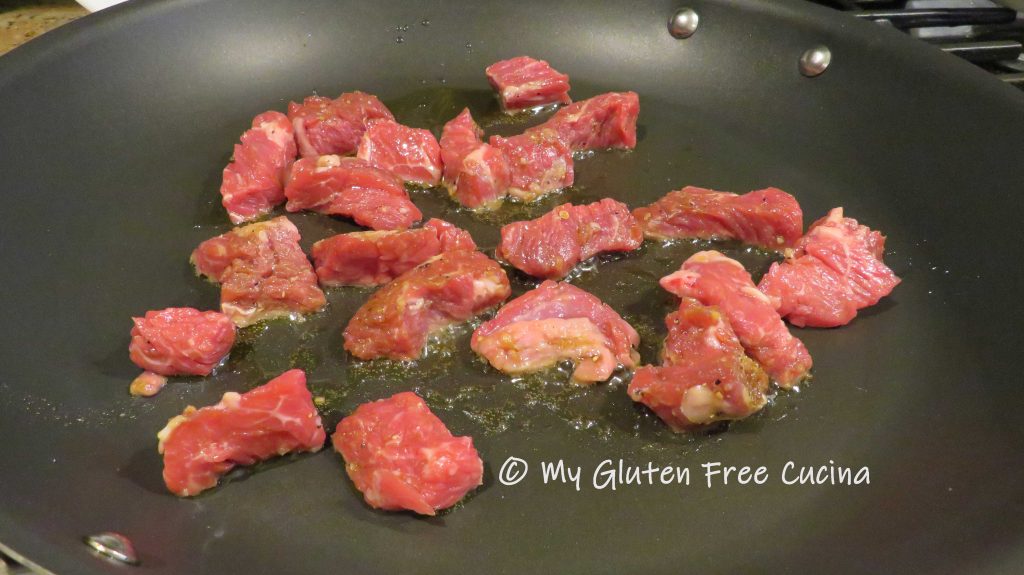
While the steak marinates, cook the rice in 2 cups broth, either stovetop or in a rice cooker (here’s mine, it’s perfect for 2 people).  Heat a large nonstick skillet with a little olive oil over medium low.  Add the steak tips.

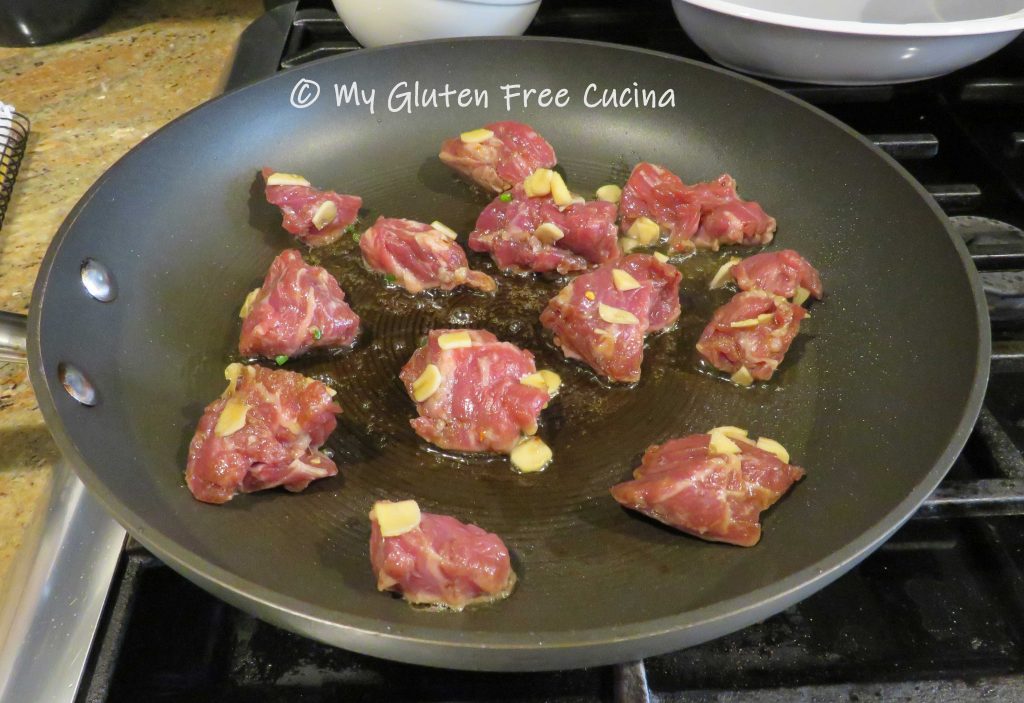
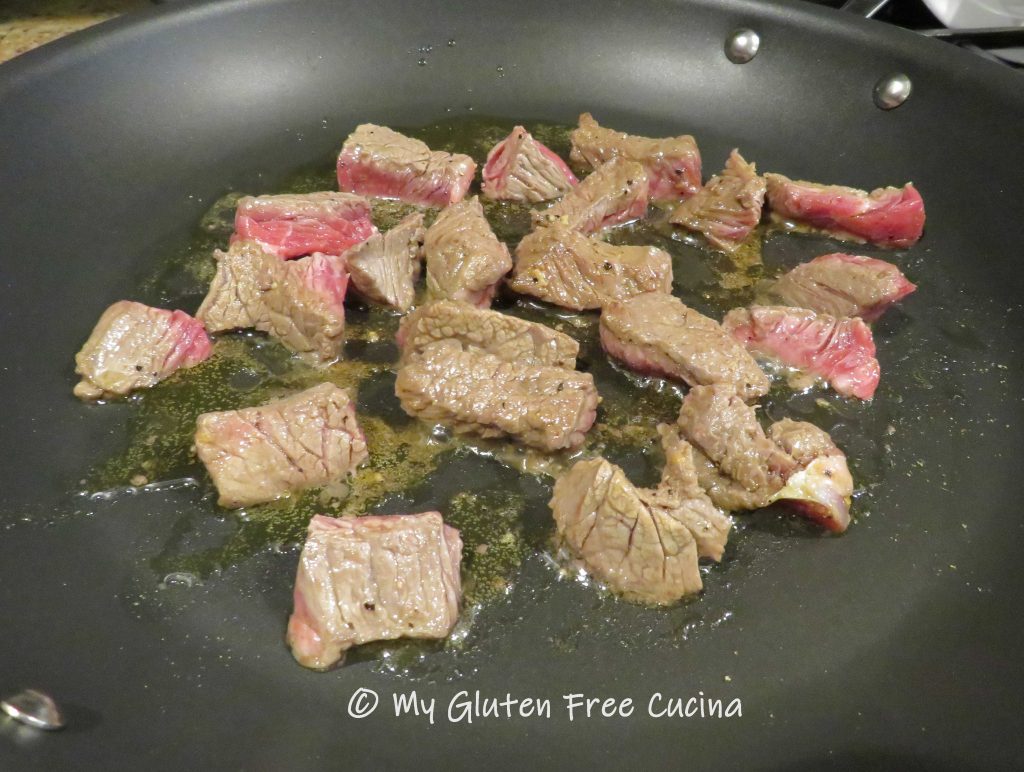
Brown the meat on both sides, turning once.

It doesn’t have to be cooked through at this point.

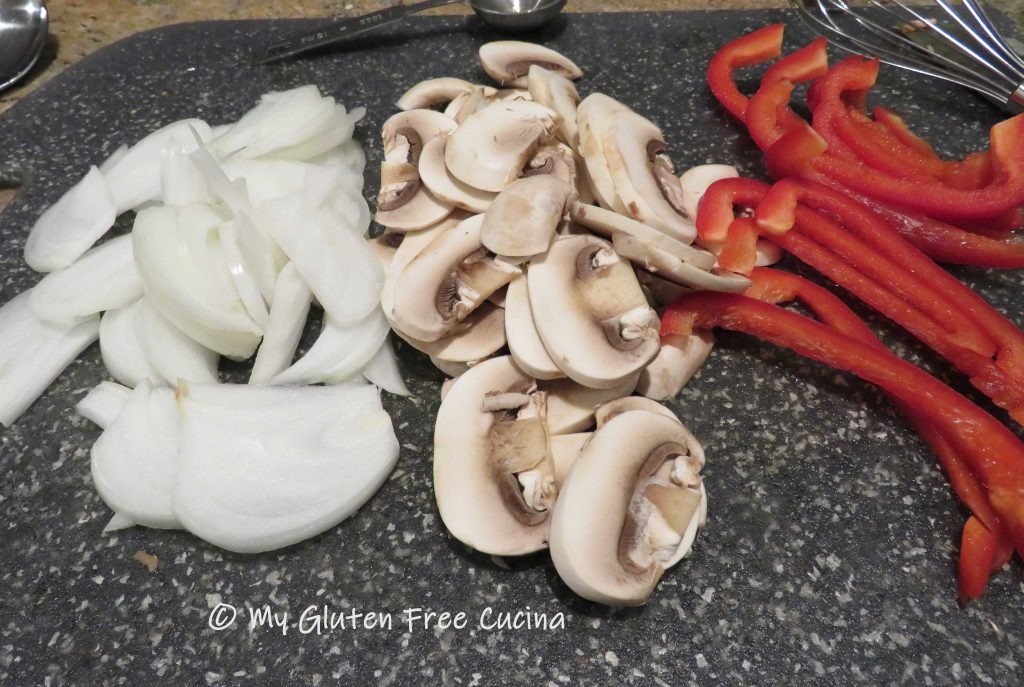
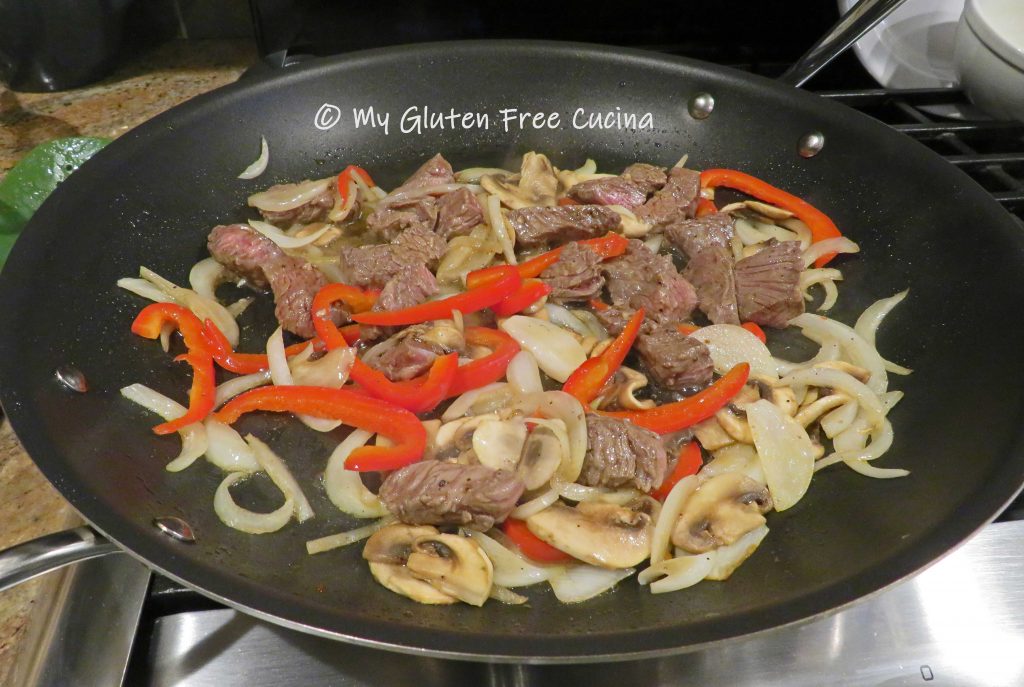
Transfer to a bowl, wipe the skillet clean and add the veggies with more olive oil.

Cook several minutes until crisp tender.  Season with salt and pepper.  Add the steak tips back to the skillet to finish cooking.

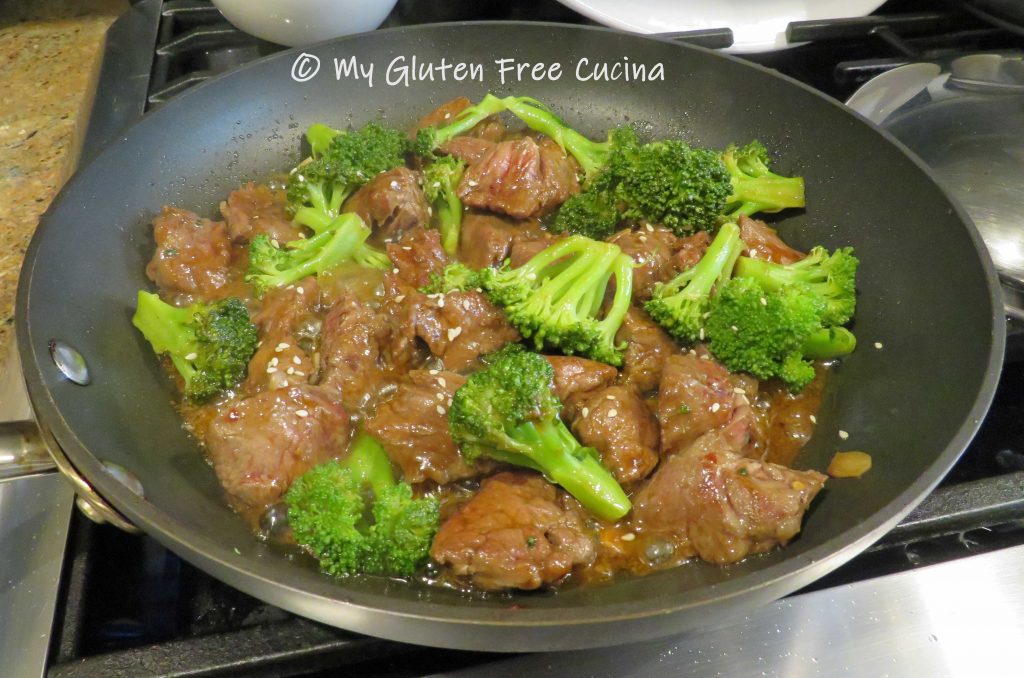
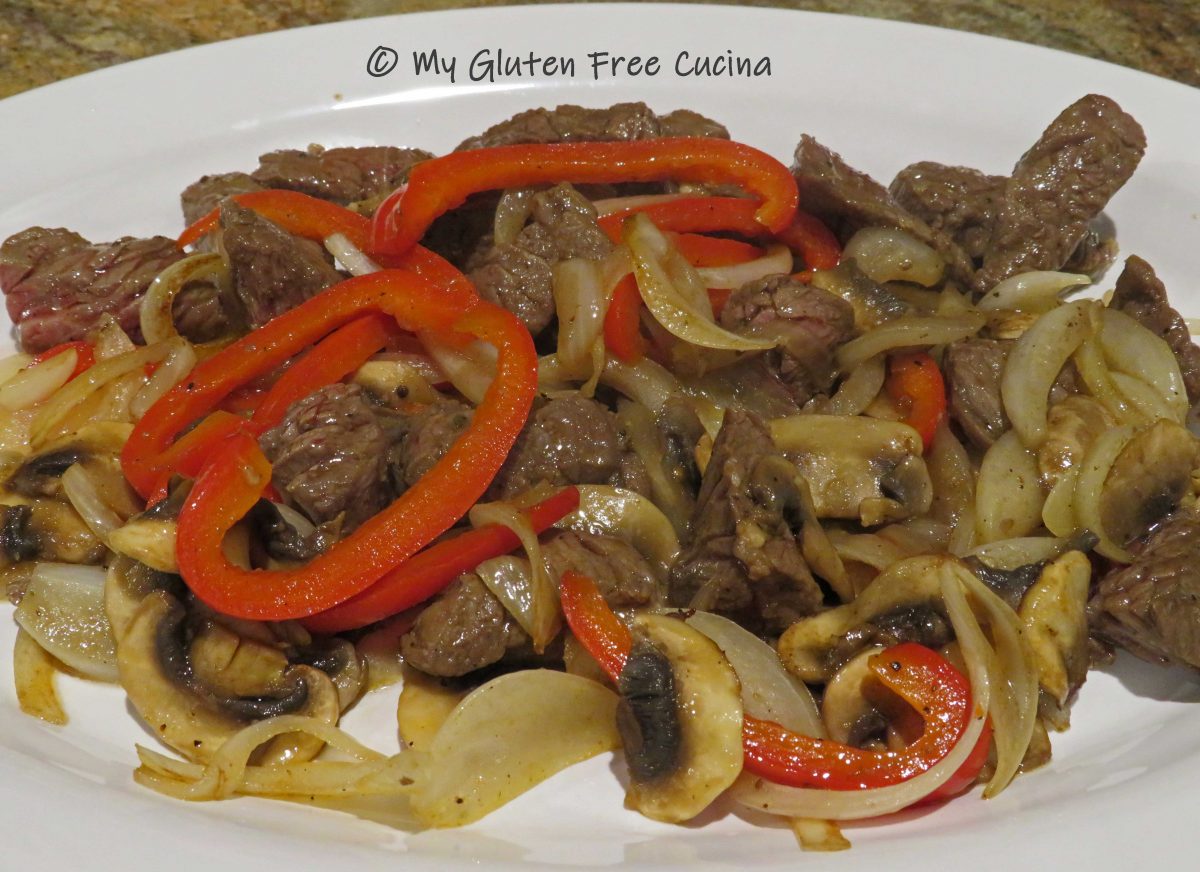
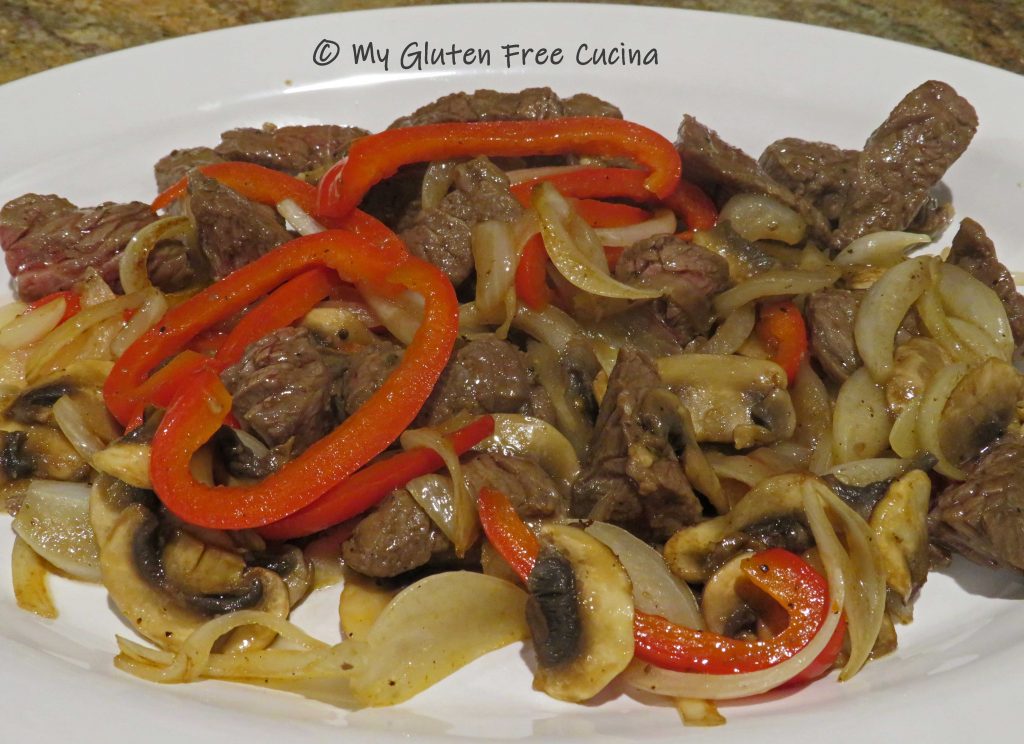
Finish with 1 tbsp. tamari or coconut aminos, and transfer to a serving platter.  You can combine with the rice at this point or keep the rice separate if you’re watching carbs.

Serve with rice and you have one easy meal!

Notes: ♪♫ Tamari is a delicious, gluten free alternative to soy sauce.  San-J gluten free Tamari is my favorite.  If sodium is a concern, try Coconut Aminos.  Both gluten free and soy free, Coconut Aminos have a much lower sodium content.  Coconut Secret is the brand I use, and it works well in this recipe as well as many of my Asian inspired favorites.

Print This Post Print This Post


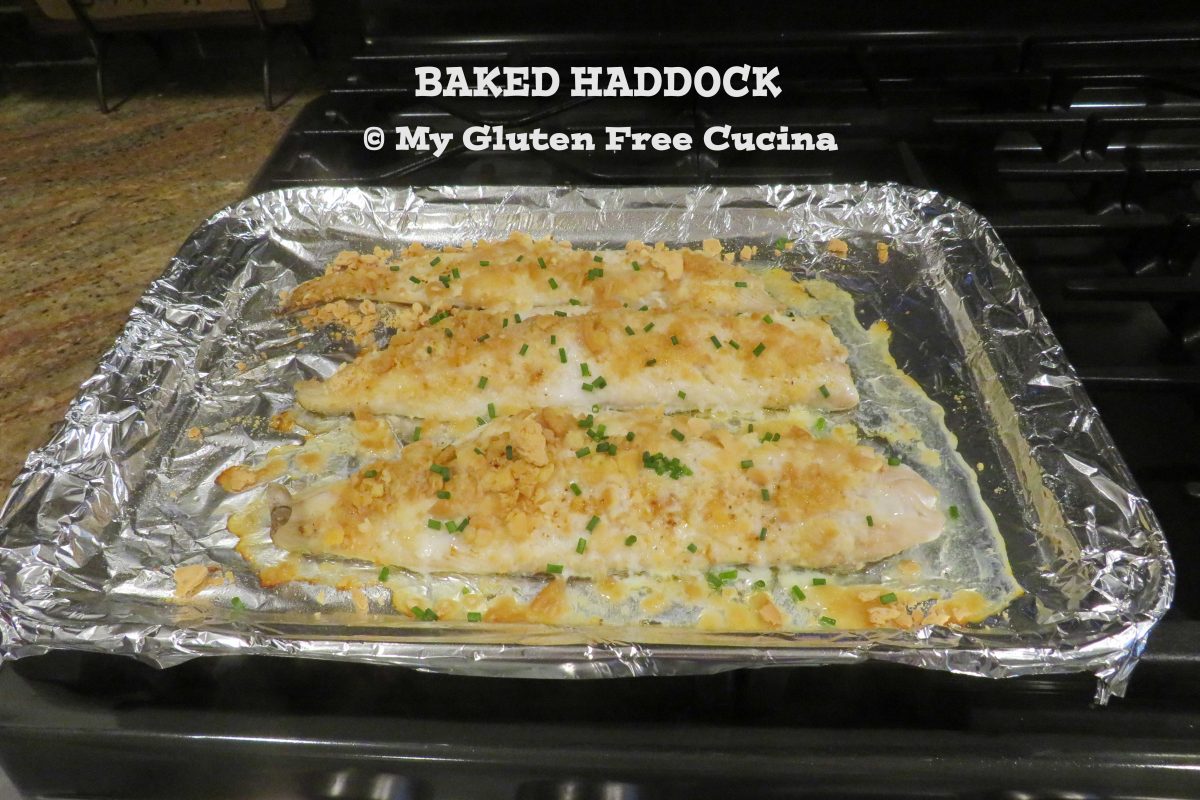
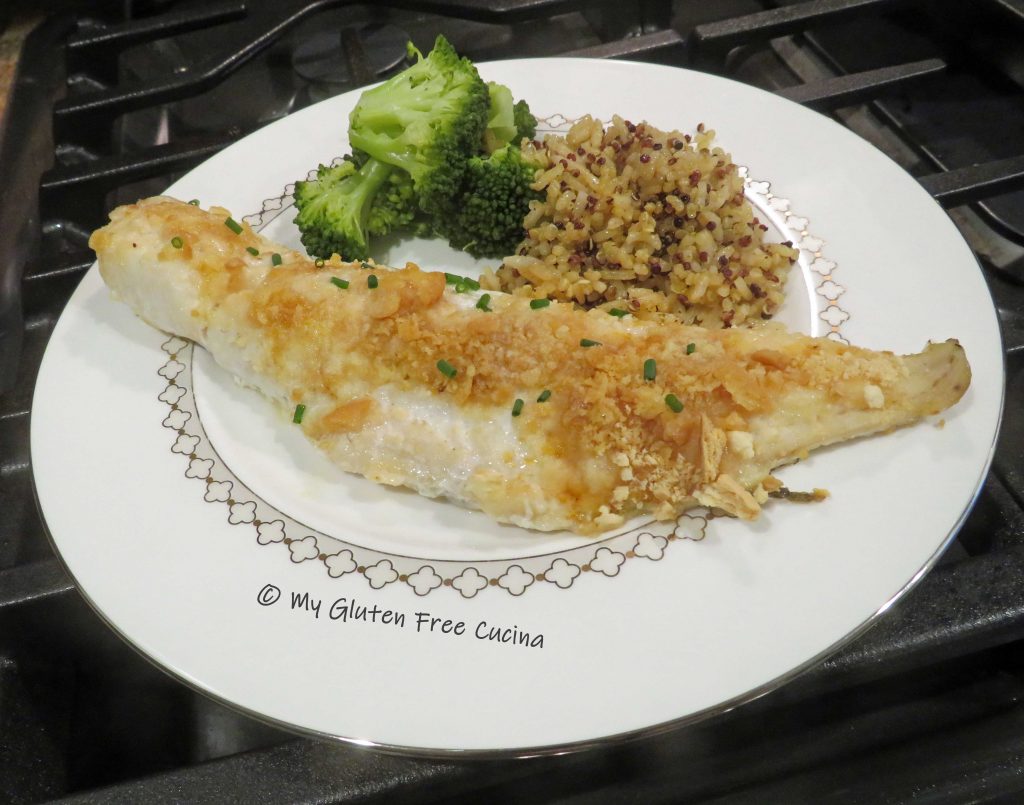
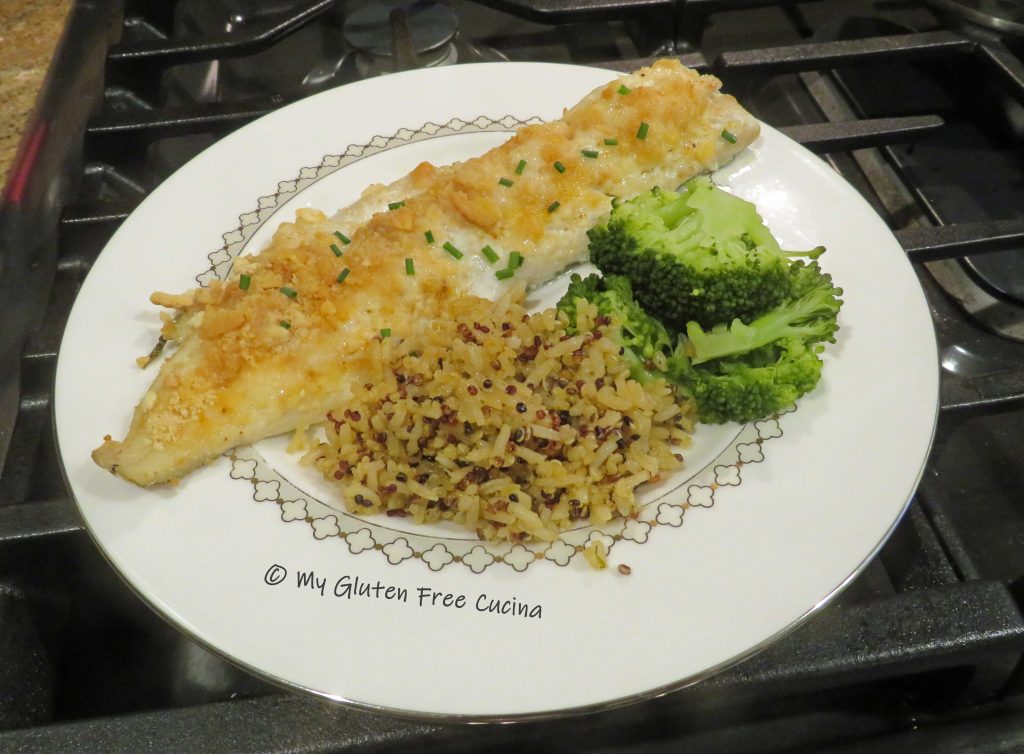
Gluten Free Baked Haddock with Butter and Cracker Crumbs

Gluten Free Baked Haddock with Butter and Cracker Crumbs

I grew up in a Catholic Italian family during the 1960’s.  The church was a central part of the community, and like all good Catholics we abstained from eating meat on Friday as an act of penance.  Back then that meant that seafood was the star of the dinner table!

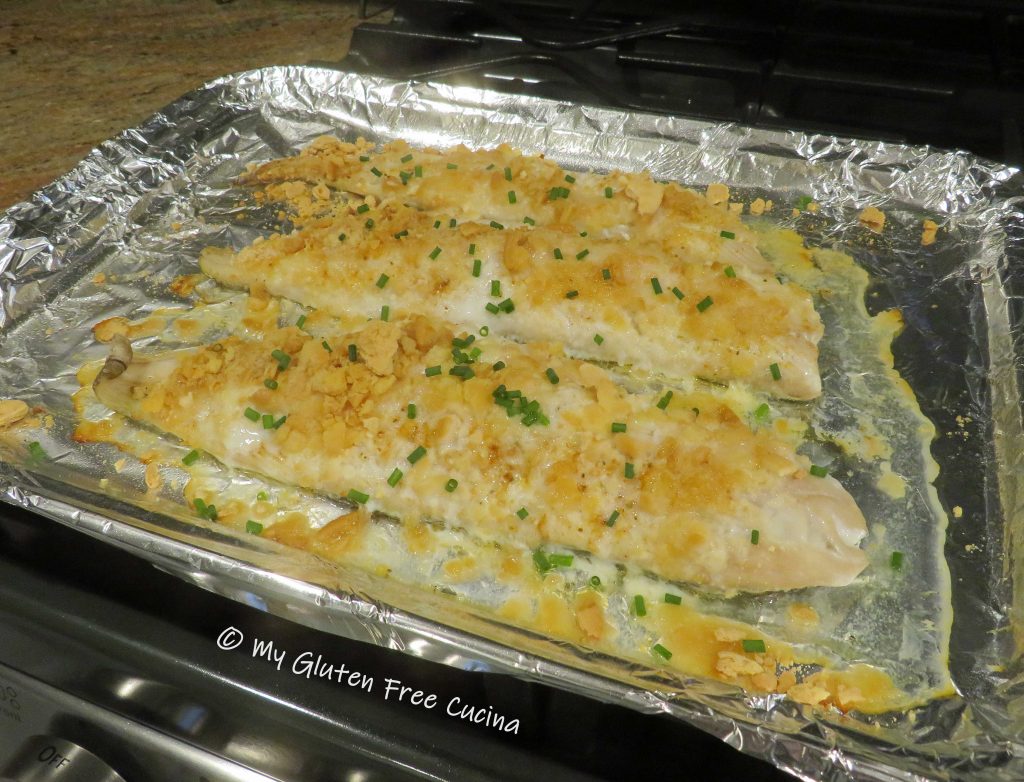
My mother’s answer to the weekly fish dinner was the New England classic of Haddock, Cod or some white fish slathered with butter and Ritz cracker crumbs.  Fast, easy and family friendly.

This post contains affiliate links.

Sometimes it’s the little things that you miss on the gluten free diet, and for me this meal has been one of them.  I tried using breadcrumbs, crushed cereal etc. but it was not the same.  So, I started experimenting with different gluten free crackers.  For a while, Lance crackers were my go-to, but they have been almost impossible to find since the pandemic.  I have since been using Schar Entertainment Crackers and they are a good alternative.

Ingredients:

  • 1 lb. haddock (substitute cod or other flaky white fish)
  • ¼ cup cracker crumbs (about 10 crackers)
  • 1 tbsp. butter
  • Old Bay seasoning
  • Cooking spray
  • Fresh chives, for garnish

Preparation:

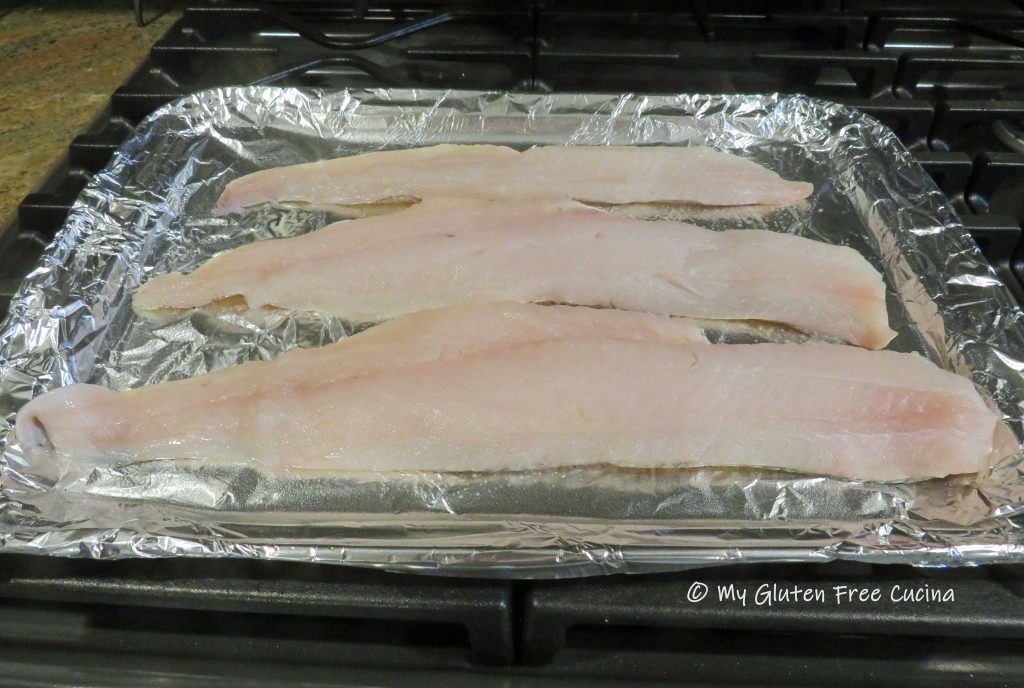
Line a baking pan with foil and mist with cooking spray.  Rinse the fish, pat it dry and arrange on the baking pan so that pieces don’t touch.

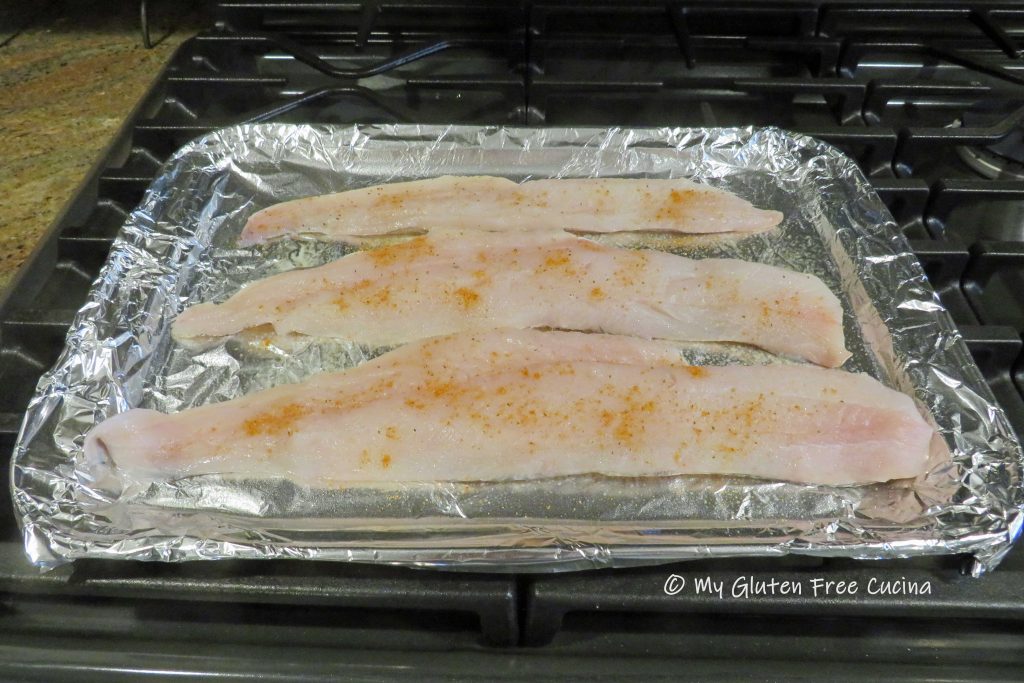
Mist with cooking spray and sprinkle the tops with Old Bay.

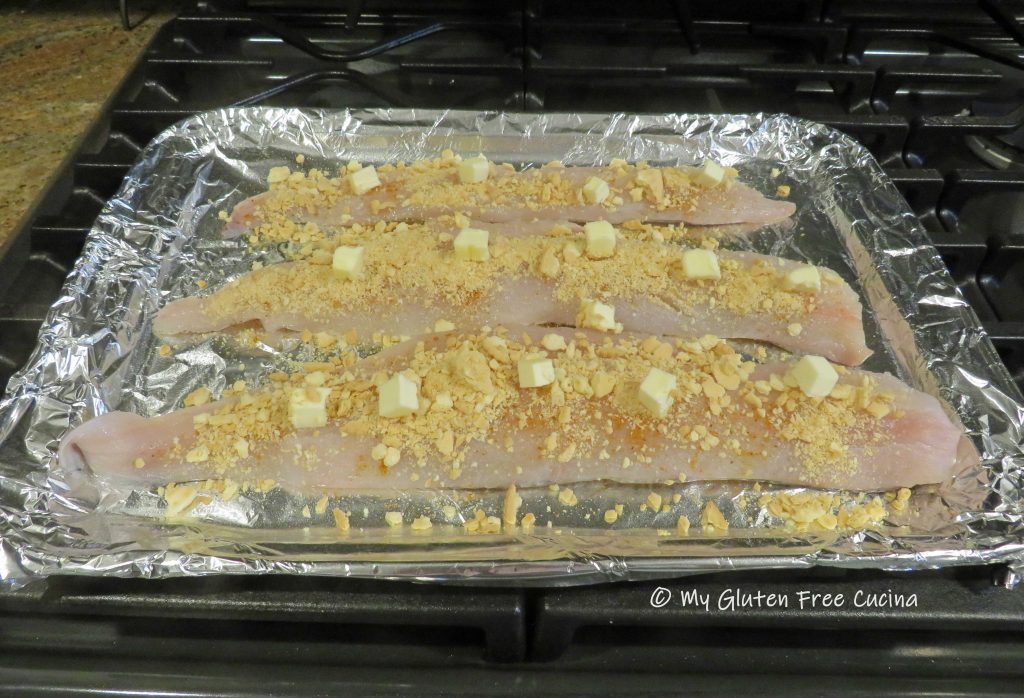
Pulse the crackers in an electric chopper or place them in a bag and pound into crumbs.  Spread the crumbs evenly over the fish.  Cut the butter into small pieces and dot the top of the fish.

It doesn’t get any easier!  Bake at 350◦ for 30 minutes.  Garnish with chives and serve.

Notes ♪♫ If you’re missing Ritz Crackers try Schar Entertainment Crackers, which I have used in this recipe.  They are a good substitute for recipes that call for Ritz cracker crumbs.

Print This Post Print This Post

Favorite Mexican Grilled Chicken

Favorite Mexican Grilled Chicken

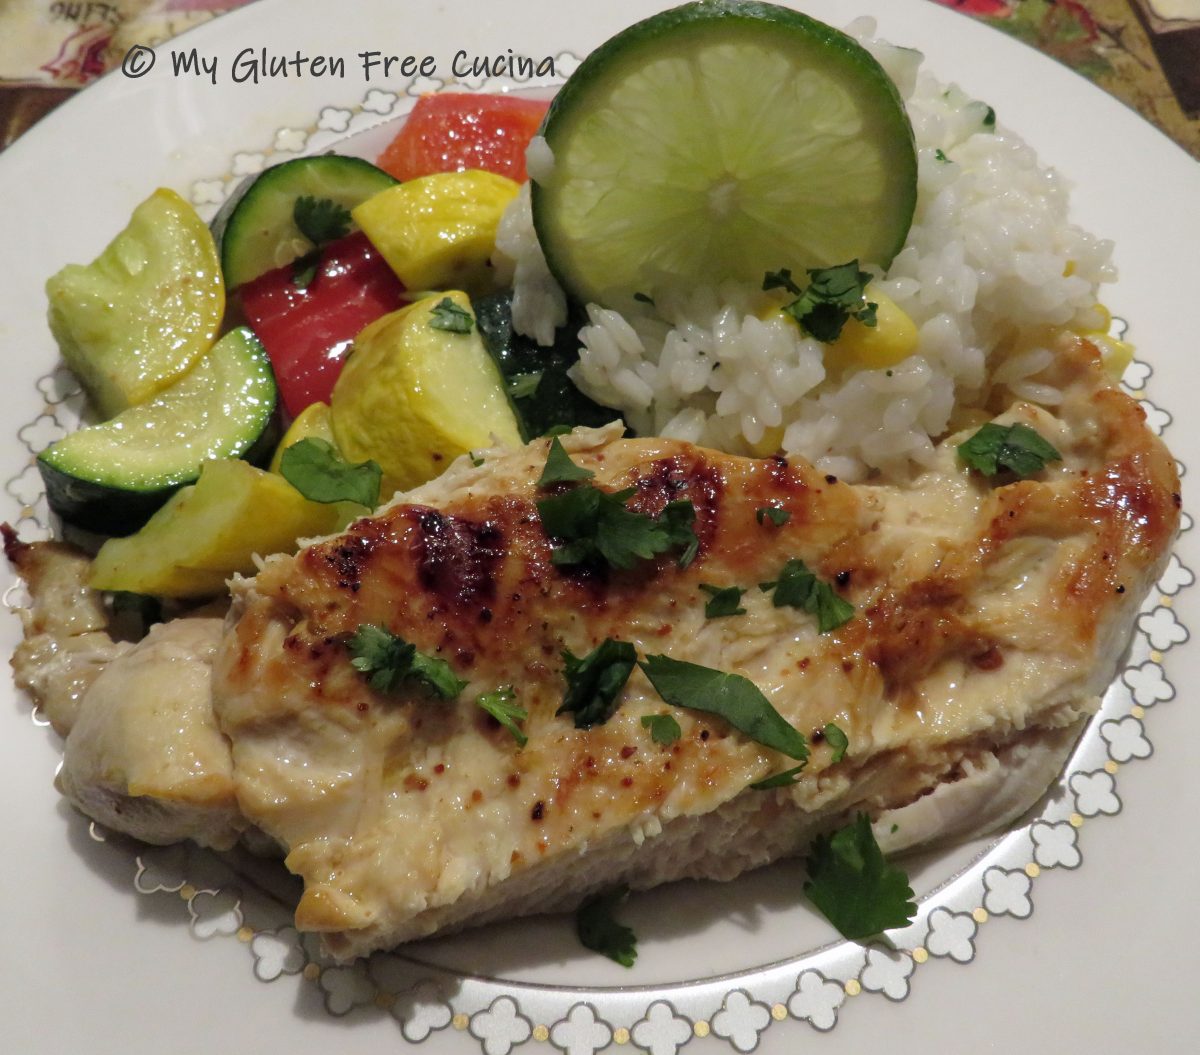
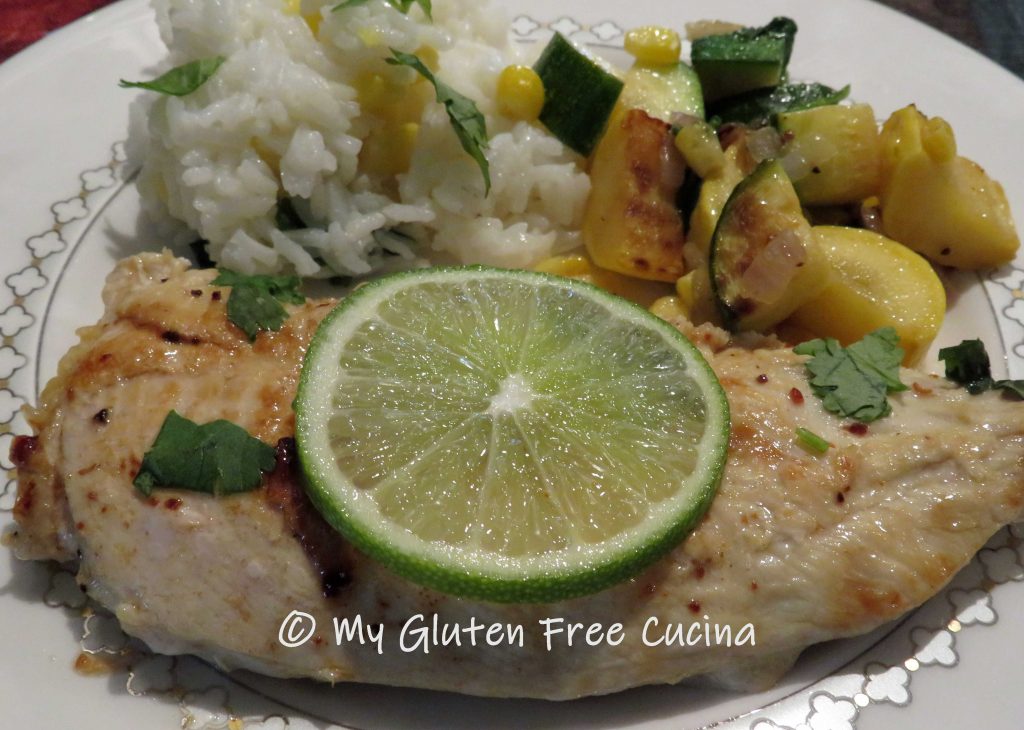
I haven’t been out to dinner much lately.  Sometimes it’s just easier to stay home, but there is a local Mexican restaurant that I’m especially missing.  Not dedicated gluten free but they always make sure that I have a safe basic meal of grilled chicken, rice and veggies.  It was a cinch to recreate this favorite dinner at home, especially during the summer months when squash is abundant, and cilantro is growing fresh in my herb garden.

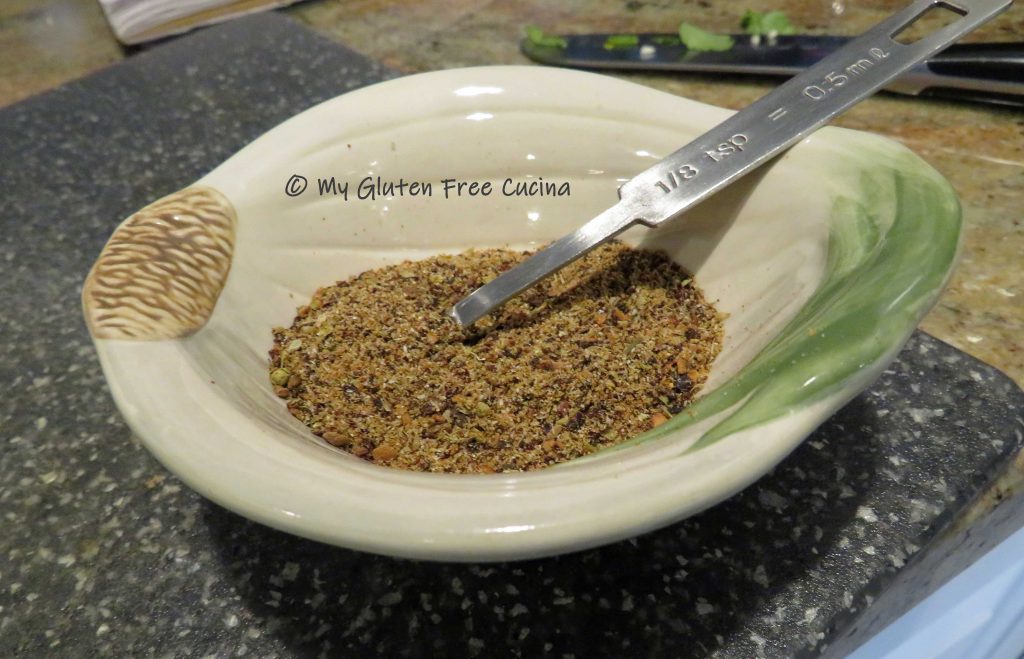
Grilled chicken is a no brainer.  So, how do we give it that Mexican flavor profile?  To me the must-haves are Chipotle Chile, cumin, onion, oregano, cilantro and lime…  The entire meal echos these flavors.  Get my Mexican Spice Blend here.

2 Servings

This post contains affiliate links.

Ingredients:

  • 14 oz. boneless chicken breast
  • Zucchini and summer squash, diced
  • 1/4 cup sweet corn
  • 2 tbsp. shallots, minced
  • Olive oil
  • Mexican seasoning
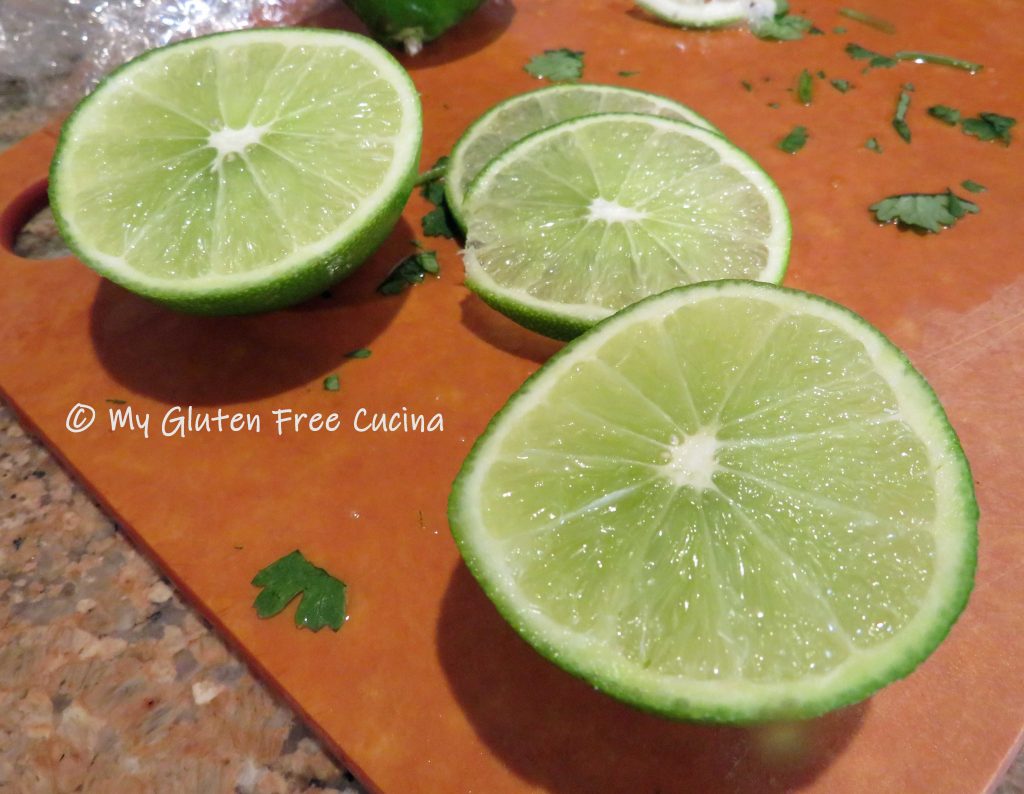
  • Juice of 2 limes
  • Fresh cilantro, for garnish

Preparation:

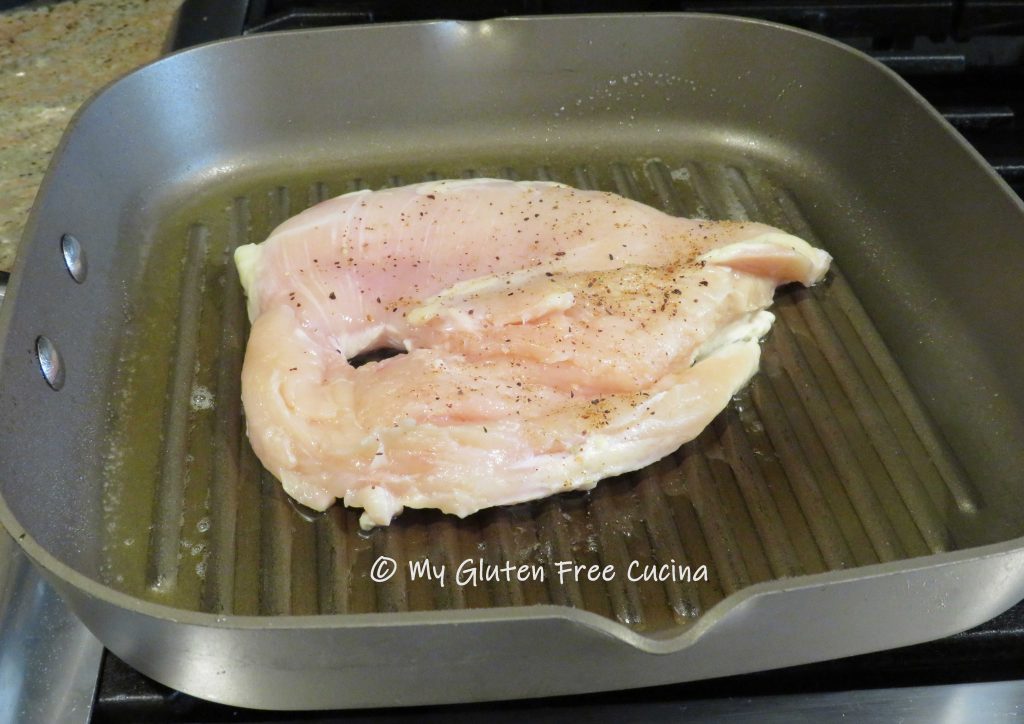
Butterfly the chicken breast by slicing through the center horizontally, cutting almost to the other side and opening it up like a heart.  Place between 2 sheets of plastic wrap and pound to an even ½” thickness.

Brush the chicken with olive oil and season with Chipotle seasoning.  Let it stand at room temperature for 15 minutes, then heat a grill pan with olive oil on medium low and add the chicken.

Cook 5 minutes per side, or until the internal temperature reaches 165º.  Squeeze lime juice over the chicken and transfer to a serving dish.  Garnish with fresh cilantro and keep warm.

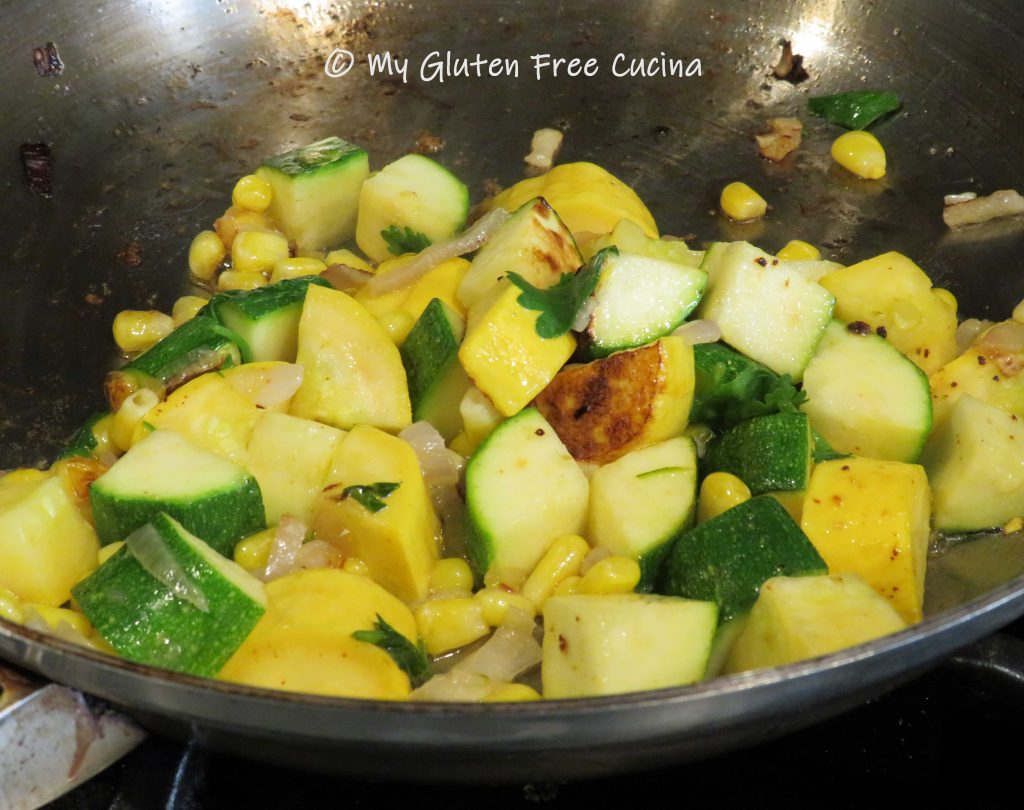
Add the zucchini, summer squash, corn and shallots to a hot skillet coated with olive oil, sprinkle with seasoning and a squeeze of lime juice.  Cook just a few minutes until crisp tender.

Serve with Cilantro Lime Rice, and Tomatillo Sauce (salsa verde) for dipping.

Thanks for visiting today and be sure and check all my Cinco de Mayo recipes!

Print This Post Print This Post


Gluten Free Spaghetti and Meatballs

Growing up in an Italian family I have fond memories of our Sunday dinners with my parents, grandparents, my sister and I.  There was always a huge pot of sauce on the stove with meatballs, sausage, sometimes a roast or even bracciole.  My mother made her “gravy” in generous amounts and froze the leftovers, enough for several more meals.  Then, on Wednesday we would have spaghetti with leftover meatballs and sauce for an easy weeknight meal.

Today, over 50 years later I still love a Spaghetti and Meatball dinner.  At first it was a struggle to make my meatballs gluten free.  I had a foolproof recipe my entire adult life and thought that I could just swap out the breadcrumbs.  The result was a mushy mess.  So, I had to reinvent my Italian meatballs to a new and improved gluten free version.

If your gluten free meatballs are too mushy and fall apart in the sauce, try this recipe.  You will have perfect meatballs every time and no one will know they are gluten free!  Double or triple the recipe for a large family.

*This recipe contains oats (see notes)

4 Servings

This post contains affiliate links.

Ingredients:

Preparation:

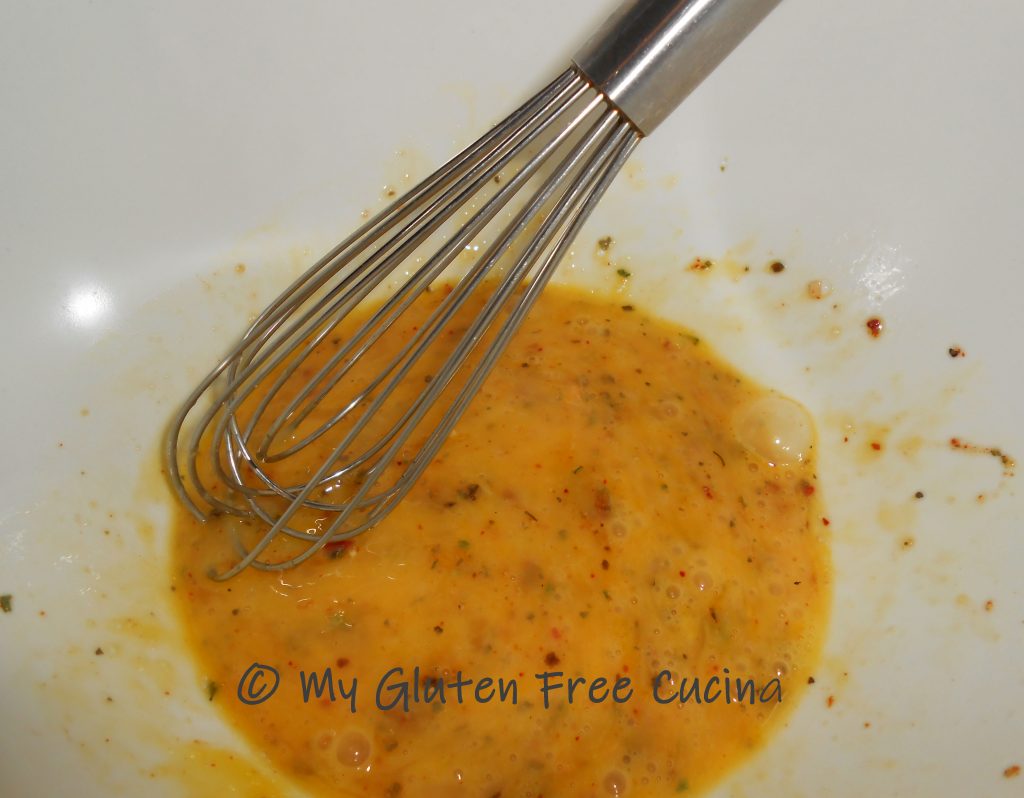
Whisk together the egg and the Italian seasoning.

Add 1/4 cup tomato sauce, the ground beef and sausage followed by the breadcrumbs, potato flakes and rolled oats.  Mix thoroughly (use your hands).

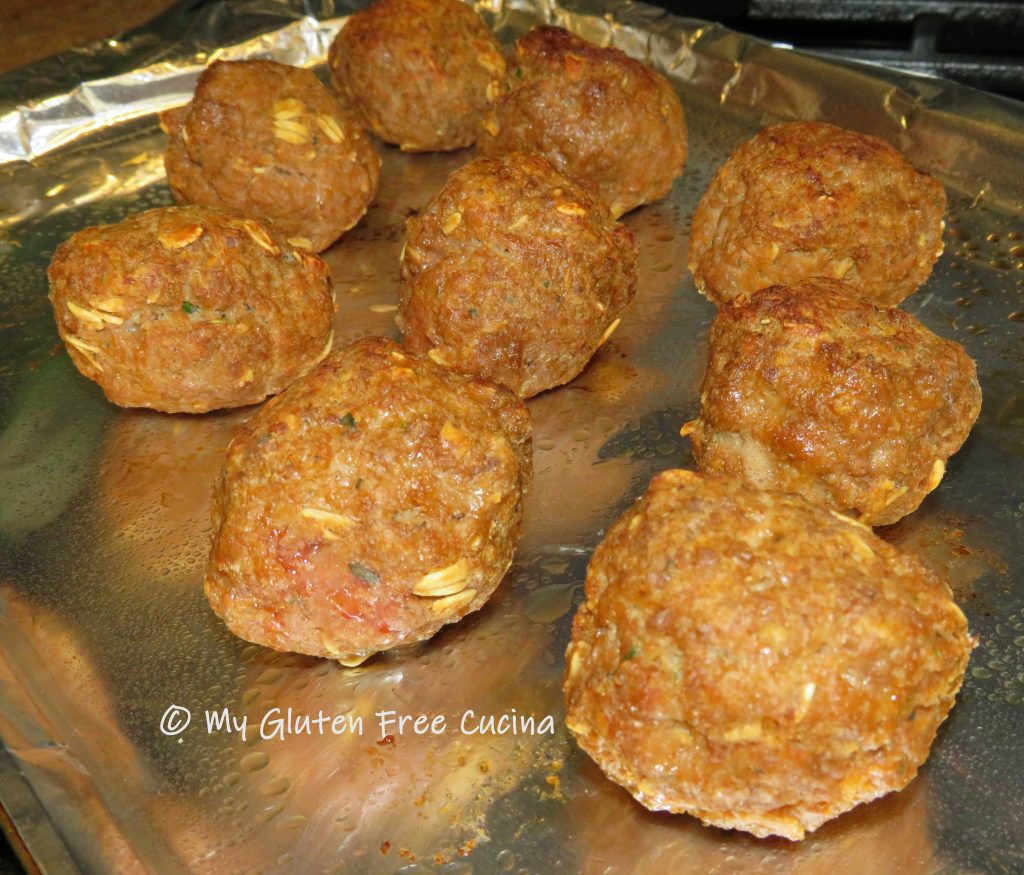
Line a baking sheet with aluminum foil and coat lightly with cooking spray.  Form 9 meatballs and arrange them on the baking sheet, leaving space in between.  Broil on high for 4-5 minutes on each side, turning once.  Remove from the oven and let them rest at room temperature while you make the sauce.  This will allow the meatballs to set up and hold together.

Heat the marinara sauce in a deep skillet or braising pan.  Add the meatballs to the sauce 15-20 minutes before serving.  Keep warm but do not allow the sauce to come to a boil.

Serve with your favorite gluten free pasta and grated cheese.  With so many brands of gluten free pasta, you have more than a few options to choose from.  I used Garofalo gluten free spaghetti in this recipe.  Some of my other favorite brands are Barilla and Bionaturae.

Notes ♪♫ As you are probably aware, oats continue to be controversial as far as being safe for those with Celiac disease.  Whether or not you consume oats is a personal choice.  I personally still include oats in my diet, provided they are certified gluten free and purity protocol.  Bakery on Main is the brand that I currently use.   


Print This Post Print This Post


Paella

Paella is a restaurant favorite of mine.  The blend of color, flavor and aroma in this Valencian rice dish is wonderful!  You may be thinking it would be difficult to recreate this magnificent meal at home, but it really isn’t.

Today I made Paella for the first time since my Celiac diagnosis, almost 3 years ago!  Afterward I thought, what have I been waiting for?  Most of the ingredients are naturally gluten free!  Follow my step by step instructions and serve this up for your family tonight.  You do not need a paella pan, a large nonstick skillet will do the trick!  The most time consuming part of this meal is the prep.  Once you start cooking it will come together in about 30 minutes.

4 servings

Ingredients:

  • 1 tbsp. butter
  • 1 tbsp. olive oil
  • 1 cup Arborio rice
  • 1/2 cup white wine
  • 32 oz. carton gluten free, low sodium chicken broth
  • salt
  • red pepper flakes
  • 1/2 tsp. thyme
  • 2 bay leaves
  • paprika
  • big pinch of saffron
  • 2 garlic cloves, minced
  • 4 oz. gluten free Andouille sausage, sliced into coins
  • 6 oz. chicken breast, sliced into thin medallions
  • 1 cup baby bella mushrooms
  • 1 cup zucchini
  • 1/2 cup sweet onion, diced
  • 1/2 cup red bell pepper, diced
  • 8 jumbo shrimp
  • 15 small to medium clams
  • butter
  • 2 tbsp. scallions (for garnish)

Preparation:

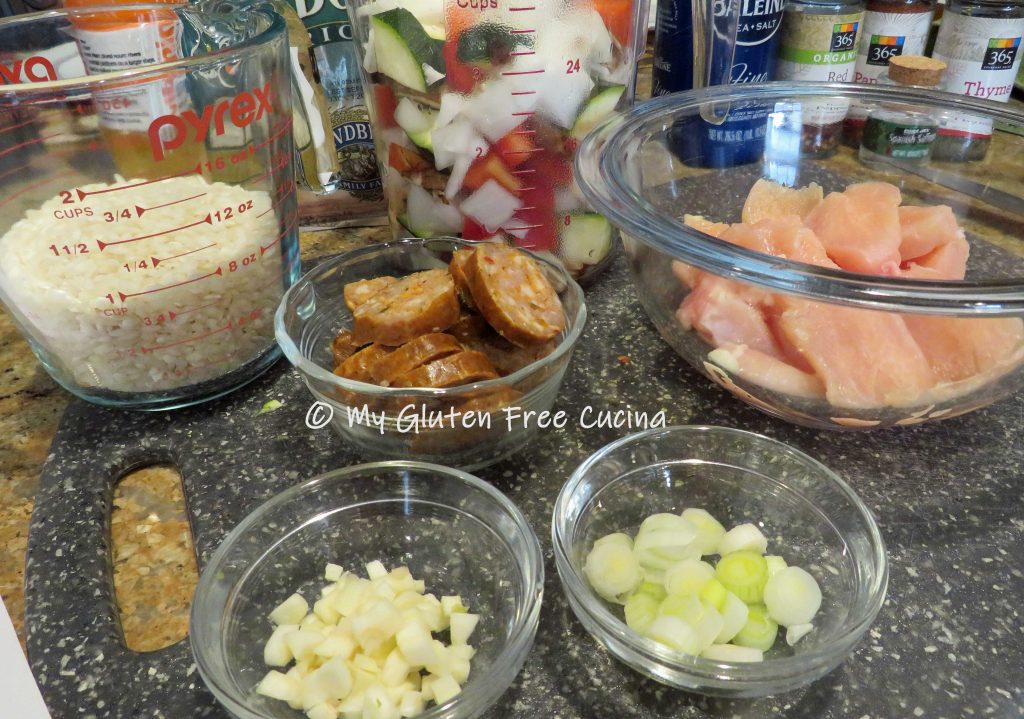
Mise en place is a French culinary phrase which means “putting in place” or “everything in its place”.  This simple process of gathering and arranging ingredients, cookware and tools before you begin is the secret to preparing recipes like Paella.  So line up your pantry ingredients, dice the veggies, slice the meat and clean the fish before you start cooking!

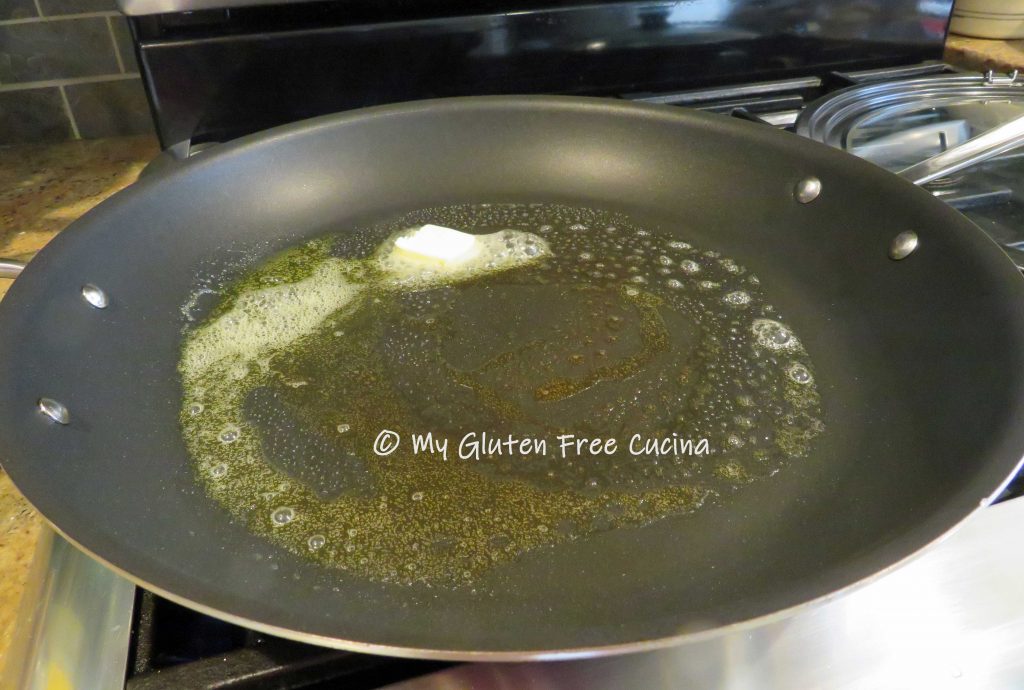
The rice goes in first, to allow for the necessary cook time.  Add butter and oil to a large nonstick skillet (mine is 14″) over medium low heat.  Brush or swirl it around to coat.

Add the rice, bay leaf, thyme, garlic and pinch of red pepper flakes.  Stir to coat the rice with butter then add 1/2 cup of white wine.  Stir frequently until the wine is almost evaporated.

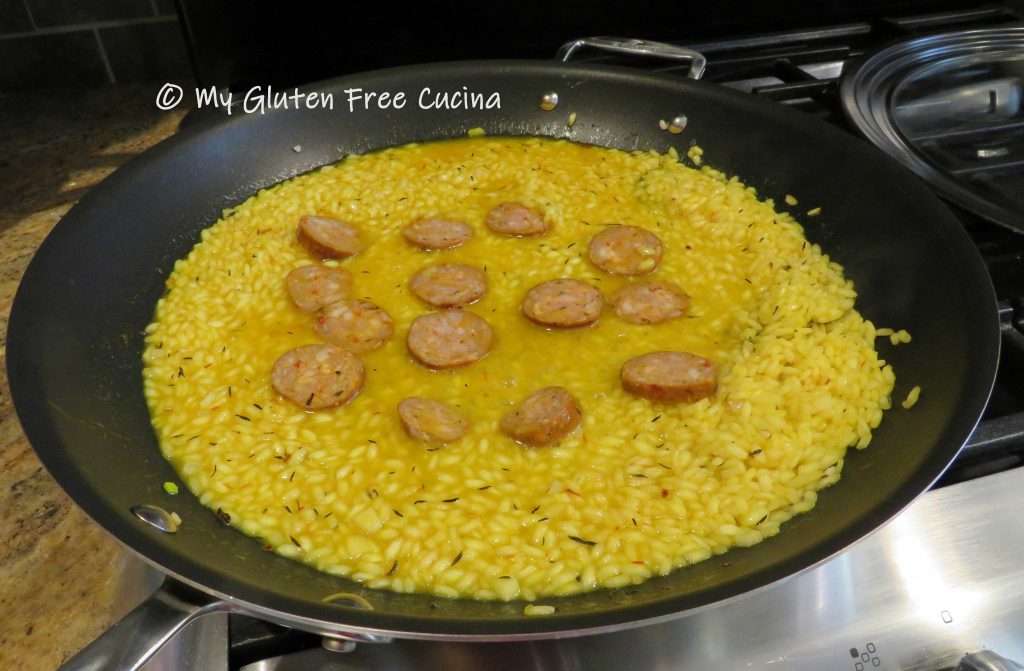
Begin ladling in the chicken broth, 1/2 cup at a time, stirring constantly.  Add a big pinch of saffron with the first ladle of broth.  Saffron is a key ingredient in Paella and will give the rice a rich flavor and golden color.

As each ladle of broth is almost absorbed, add another.  Continue doing this for about 20-25 minutes, then begin adding the other ingredients, one at a time.  First the Andouille sausage, followed by the chicken.

Next comes the zucchini, onion, pepper, and mushrooms and cook for 5-10 minutes.  Be careful not to add too much broth from this point, as the vegetables and fish will release their own liquid.

The shrimp and clams will go in last as they will only take about 6 minutes to cook.

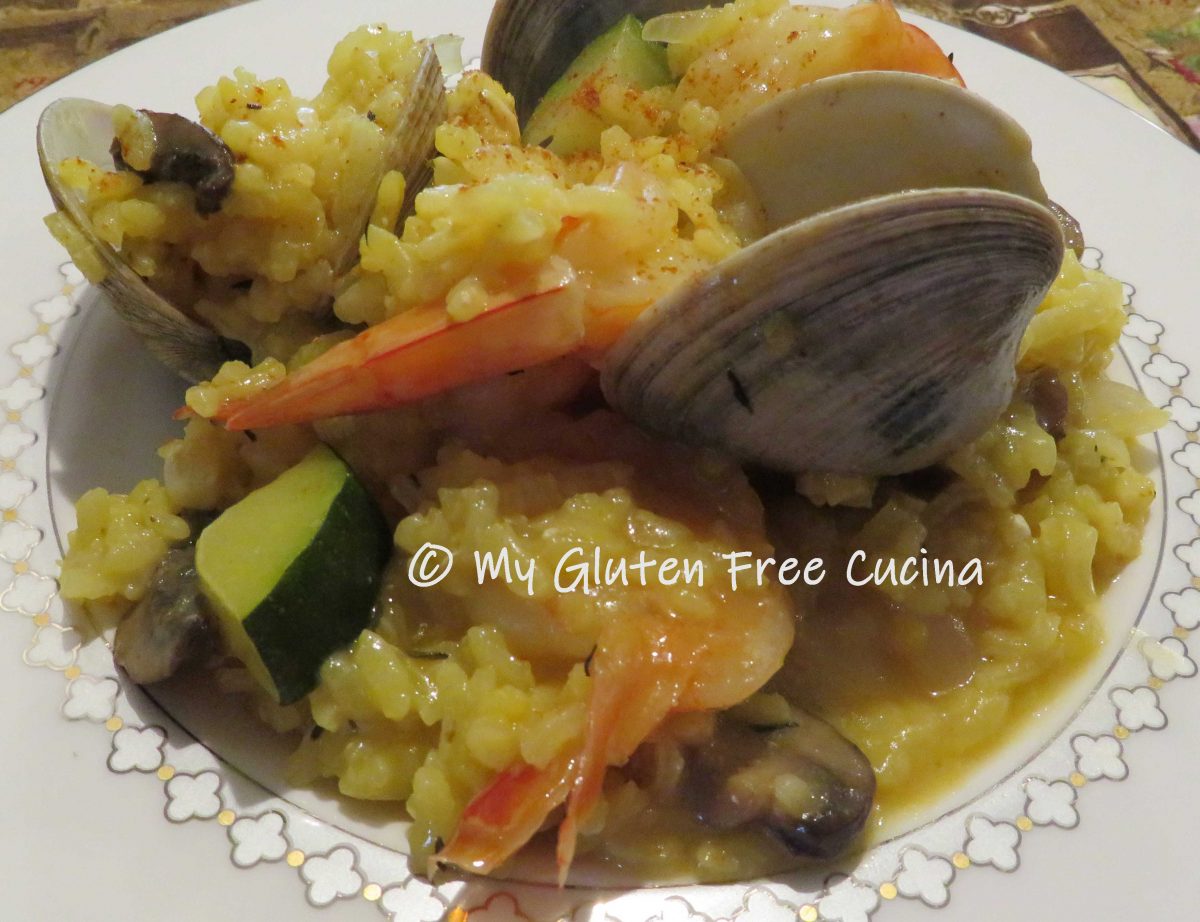
Toss the shrimp with the rice and veggies then nestle in the clams.  Immediately close the cover and cook for about 6 minutes, or until the clams have opened (clams that don’t open should be discarded).

Finish with a pat or two of butter and don’t forget to pull out the bay leaves!

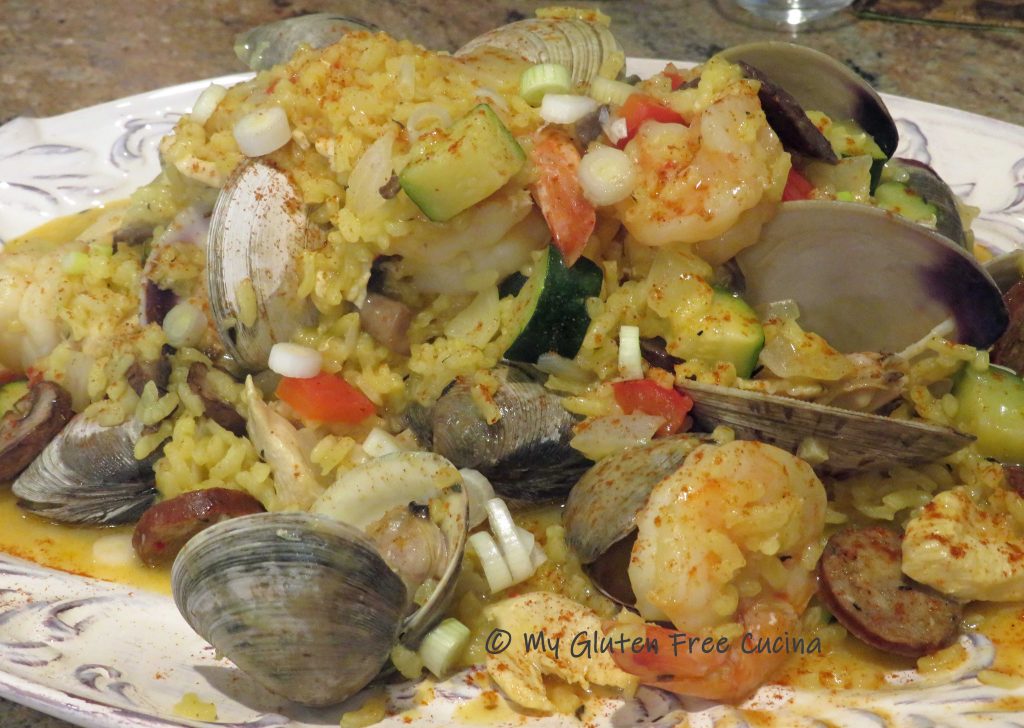
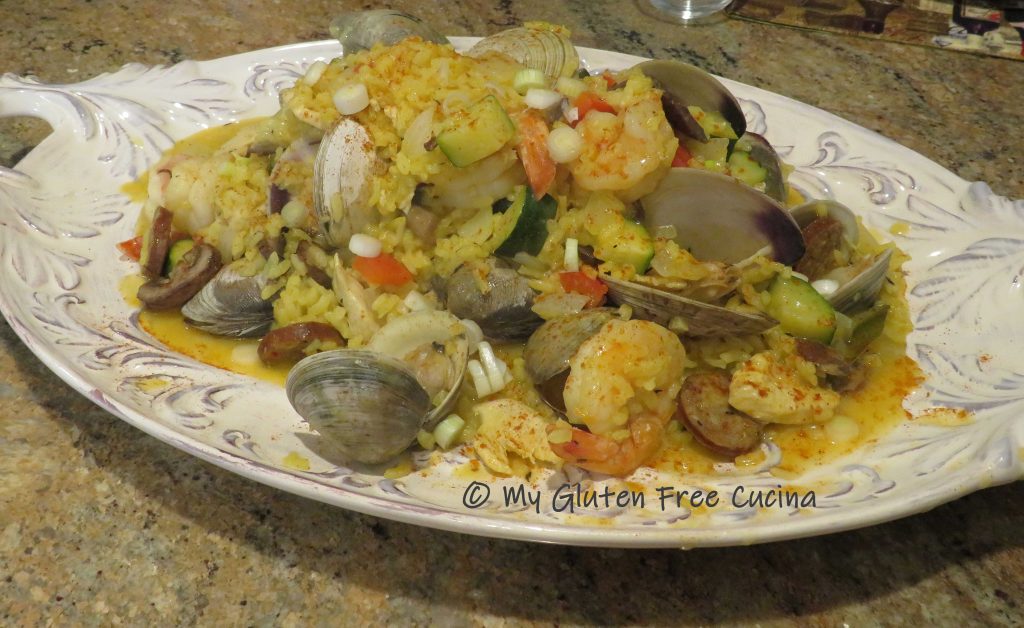
Transfer to a serving platter and garnish with scallions and more paprika.  This 5-star dinner will be a hit with the whole family, if you need to make a delicious gluten free meal that everyone will enjoy this is the one!

Notes: ♪♫  For best results, make sure your chicken broth is warm or at room temperature.  As you add each ladle of broth to the pan, you want it to heat up quickly so that the rice continues to cook evenly.  Tip, always start with a new carton of room temperature chicken broth, you won’t need the whole thing and leftovers can be saved for another recipe.


Print This Post Print This Post

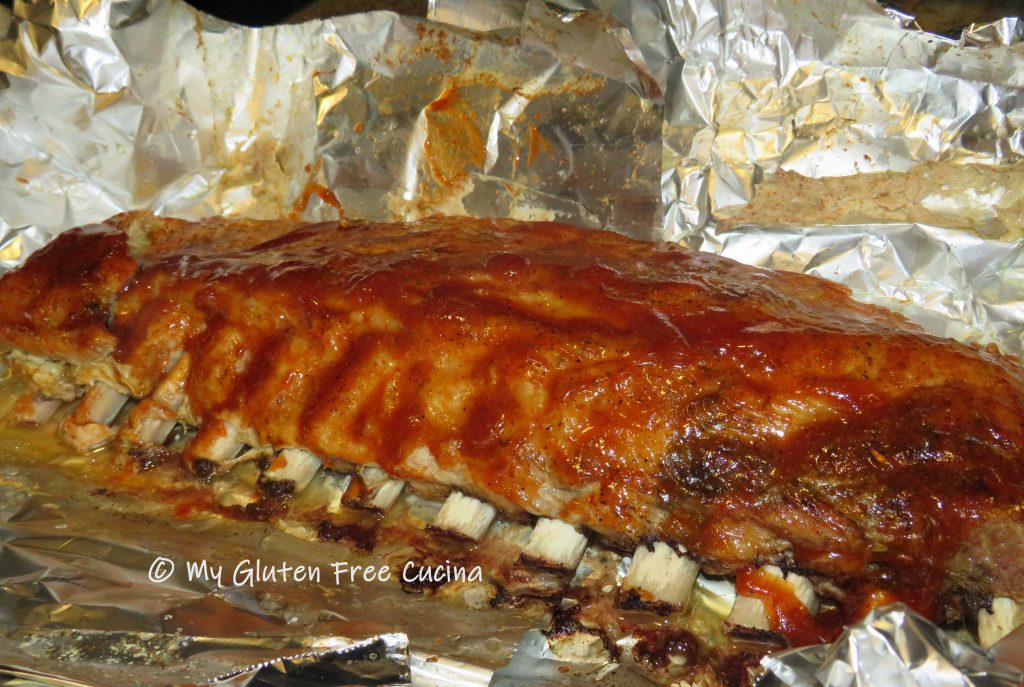
Baby Back Ribs

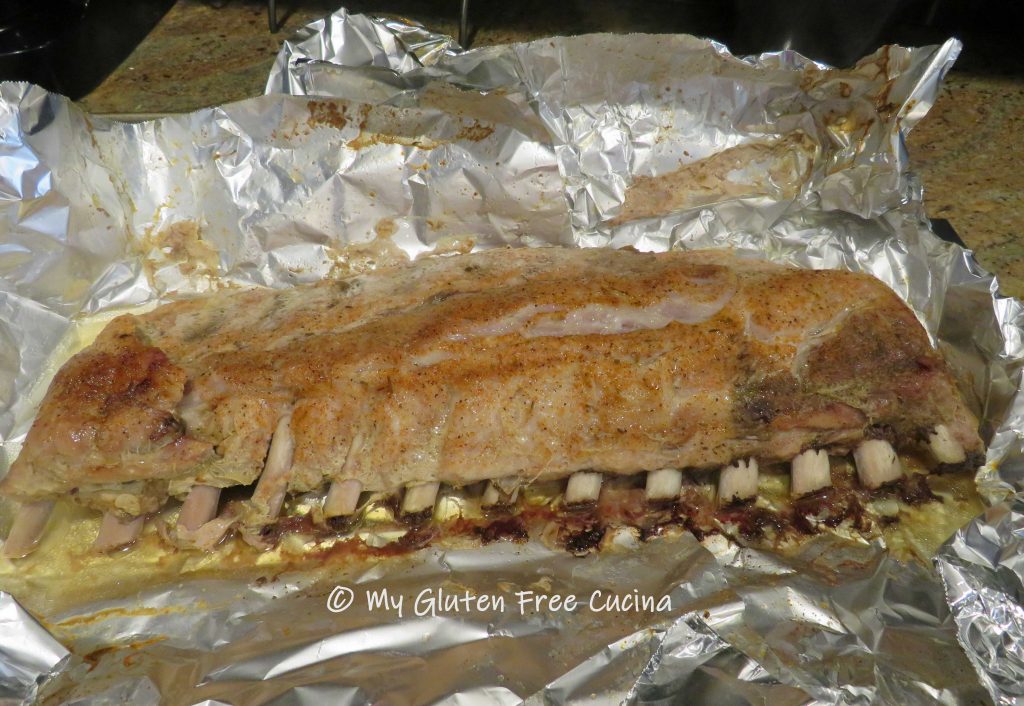
I have been making Country Style Pork Ribs for years, and they are a family favorite.  While I love Baby Back Ribs, I’ve never made them at home.  For some reason I thought that really good Baby Back Ribs would require expensive BBQ equipment and complicated cooking techniques.  I couldn’t have been more wrong!  In fact, I would say this was one of the easiest meals that I have made of late.  Since the preparation was mostly hands off, I had plenty of time to whip up a batch of my Homemade Gluten Free BBQ Sauce.  Of course that is optional, but when I make it I always get rave reviews.

The verdict on the ribs, amazing!  From now on I’ll be making these year-round.

This post contains affiliate links.

Ingredients:

Preparation:

Preheat the oven to 275º.  That may sound low, but the secret to tender ribs is to cook them slowly on very low heat.

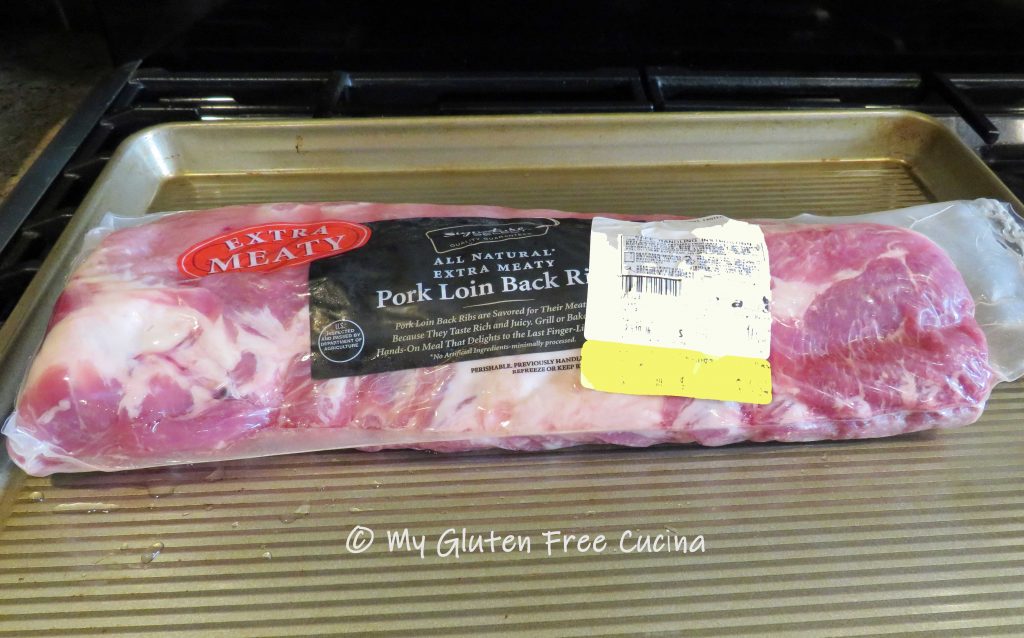
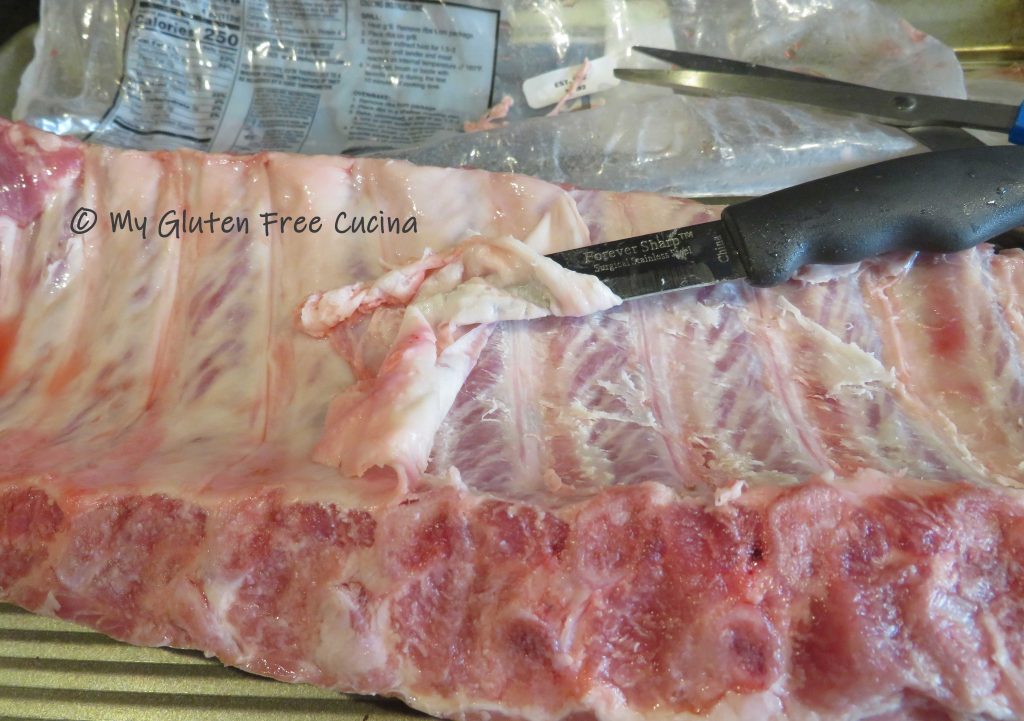
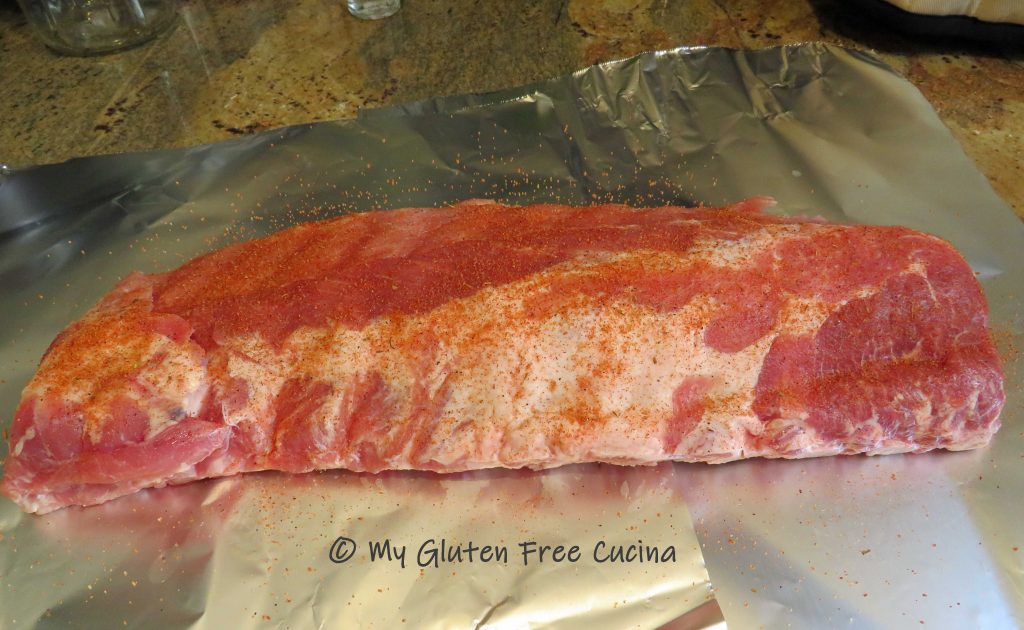
Remove the packaging and pat the ribs dry.  Turn the ribs meat side down and use a sharp paring knife to loosen the white membrane.  Once you have it started, use a paper towel to grasp the membrane and pull it off.  While not absolutely necessary, removing the tough membrane will result in the most tender ribs.  If you would rather not do this, be sure to pierce the membrane all over with a knife.

Season the rack with salt, pepper and creole seasoning.

Wrap the ribs in foil and place on a large baking sheet (to catch any drips).  Bake at 275º for at least 3 hours and up to 4 hours.

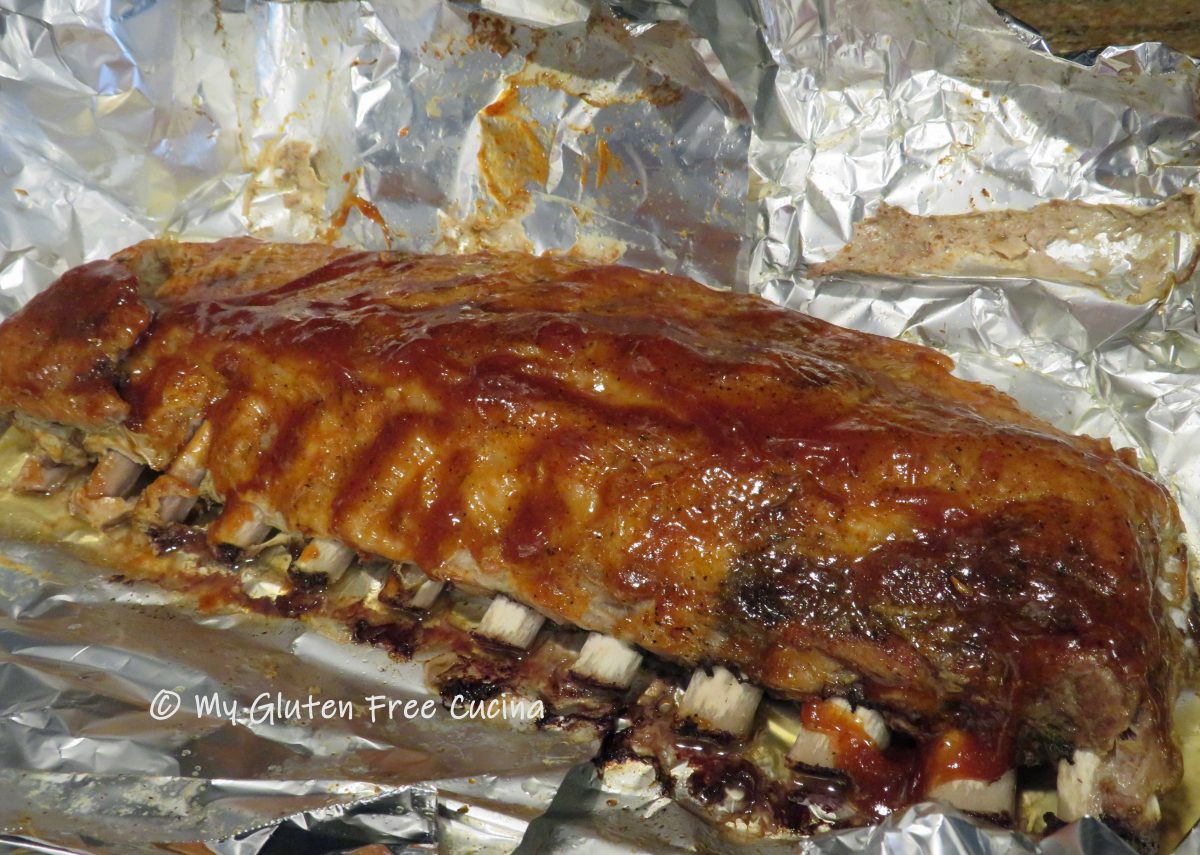
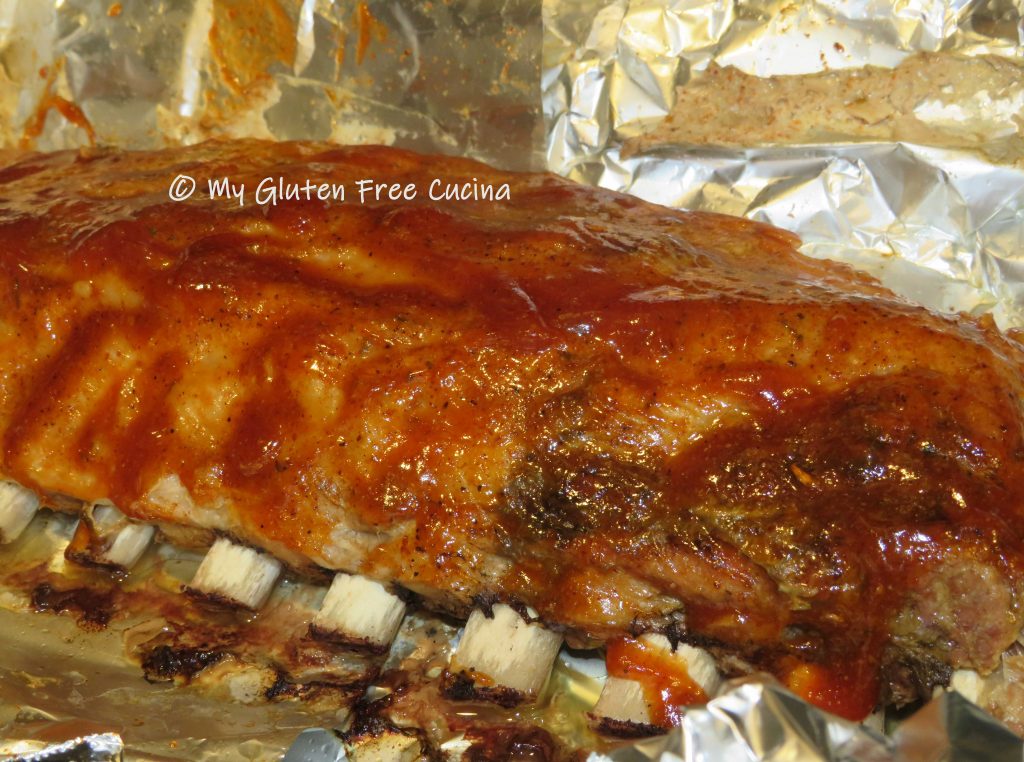
When the ribs are done, use tongs to carefully open the foil.

Brush with your favorite BBQ sauce and serve.  For other serving suggestions see my homemade Potato Chips and Gluten Free Corn Bread!

Notes ♪♫ Always watch for hidden gluten in sauces and seasonings.  The BBQ sauce is my own from scratch recipe which I make for special occasions.  If using store bought, I recommend Stubbs brand which is gluten free.

Print This Post Print This Post

Crock-Pot Asian Chicken

Crock-Pot meets Stir-Fry

Hello friends!  Meal delivery services have become so commonplace these days, that you can order takeout from just about anywhere.  Except when you have dietary restrictions- that is.  There are no dedicated gluten free restaurants where I live, and I am not comfortable ordering over the phone where I cannot speak to staff face to face about their allergen protocols.

So today it’s off to the kitchen to satisfy my craving!  I’m using the Crock-Pot along with my skillet to create an absolutely amazing dish that rivals any restaurant!

This post contains affiliate links.

Crock-Pot Ingredients:

  • 1 lb. boneless chicken breast
  • 1/4 cup honey
  • 2 tbsp. tamari (gluten free soy sauce)
  • 1 tbsp. dry minced onion flakes
  • 1 tbsp. ketchup
  • 2 tsp. canola oil
  • 1/4 tsp. garlic powder
  • 1/4 tsp. powdered ginger
  • cooking spray
  • 2 tsp. cornstarch + 2 tbsp. water
  • 1 tsp. toasted sesame seeds

Stir-Fry Ingredients:

  • 1 cup brown rice
  • 1 cup water
  • 1 cup chicken broth
  • pinch of garlic granules or garlic powder
  • salt, to taste
  • 1 large egg + 1 tbsp. water
  • 1/2 cup slivered carrots
  • 1/2 cup diced onions
  • 1/3 cup mushrooms
  • 1/2 cup frozen peas
  • 1/4 cup scallions
  • 1 cup baby bok choy
  • sesame oil
  • gluten free tamari
  • 1/3 to 1/2 cup more chicken broth

Preparation:

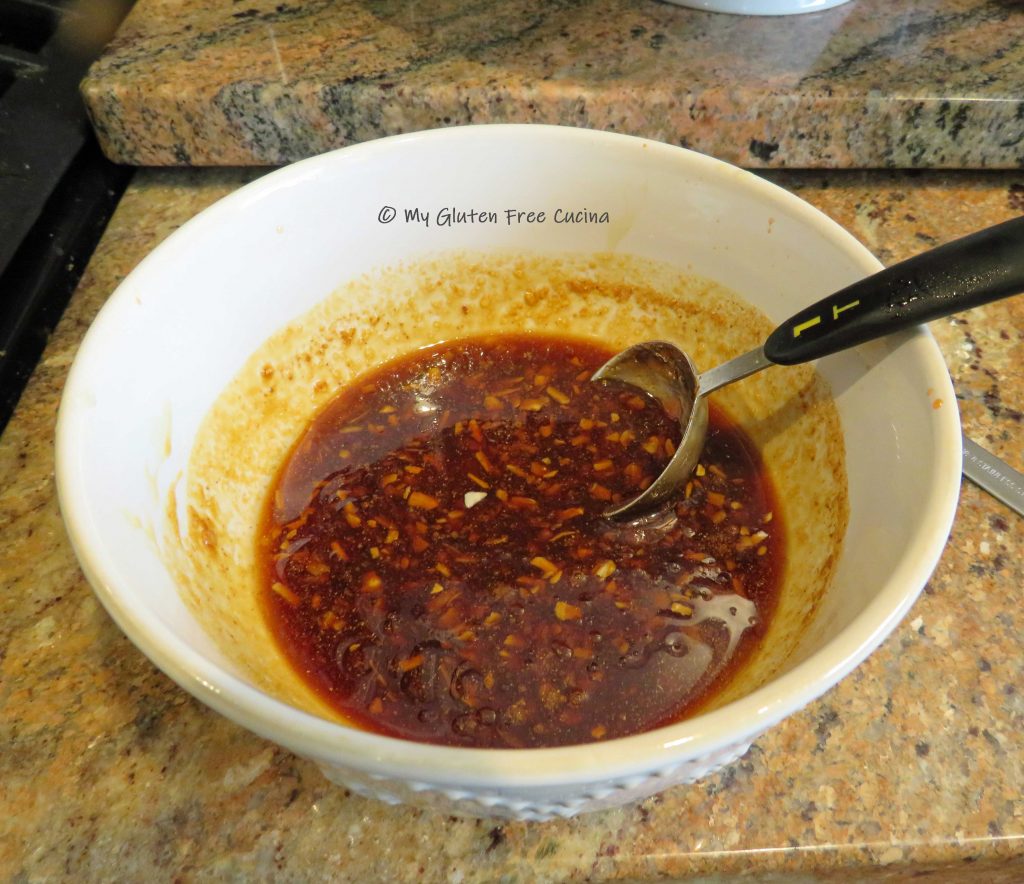
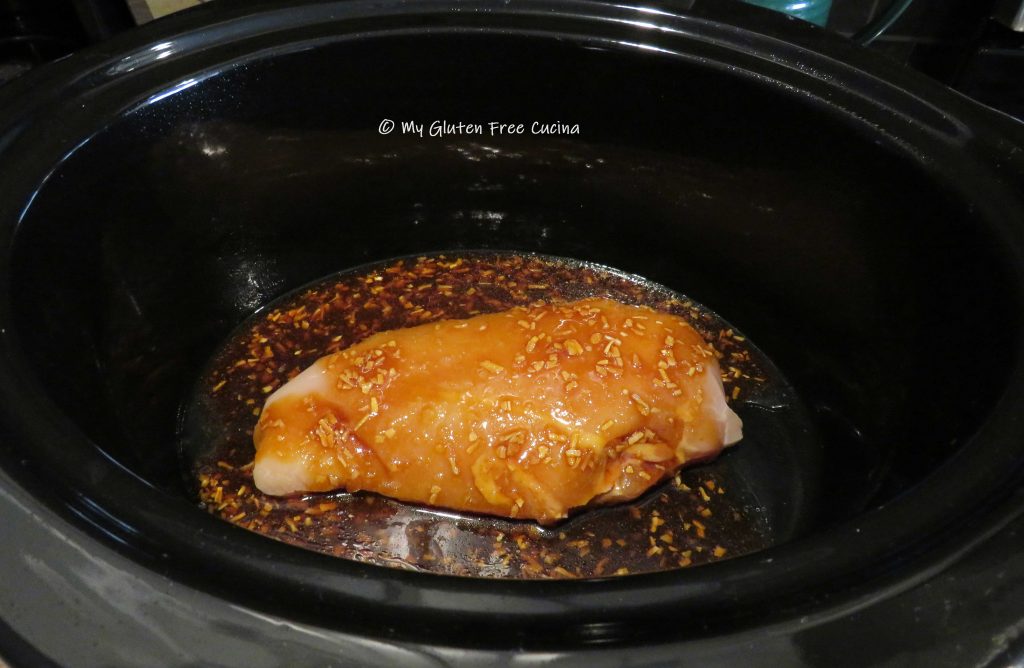
Coat the crock-pot with cooking spray and add the whole chicken breast.  Whisk together the honey, tamari, dried onion flakes, ketchup, canola oil, garlic and ginger.  Pour it over the chicken, cover and cook on high for one hour, then reduce heat to low and cook 2 more hours.

While the chicken cooks, make the rice.  Cook 1 cup of brown rice in 1 cup chicken broth, 1 cup water, seasoned with salt and garlic powder.  When the rice is finished, let it cool to room temperature and set aside until the chicken is ready.

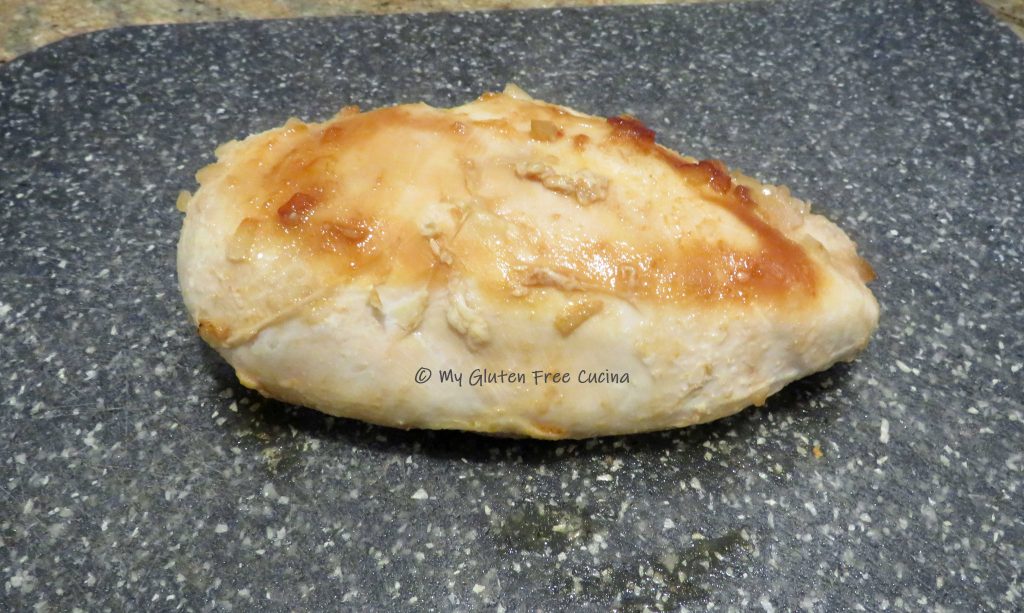
After 3 hours the chicken should be cooked through and very tender.  Remove to a cutting board and cut into 1″ pieces.

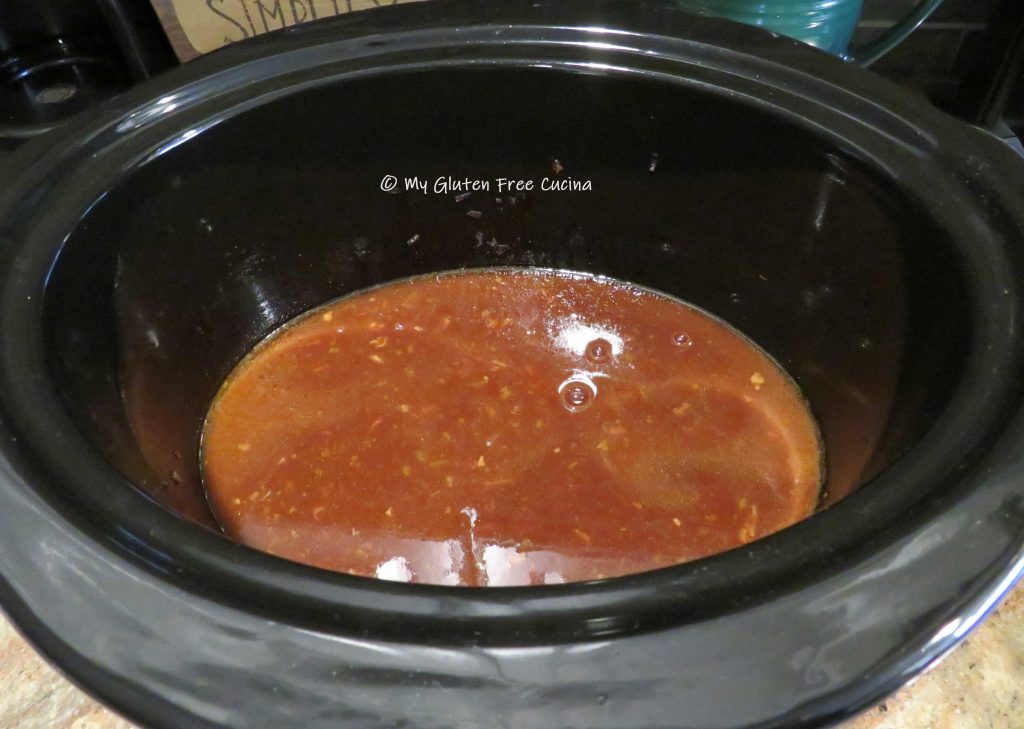
Skim fat from the crock-pot and whisk in 2 tsp. cornstarch.

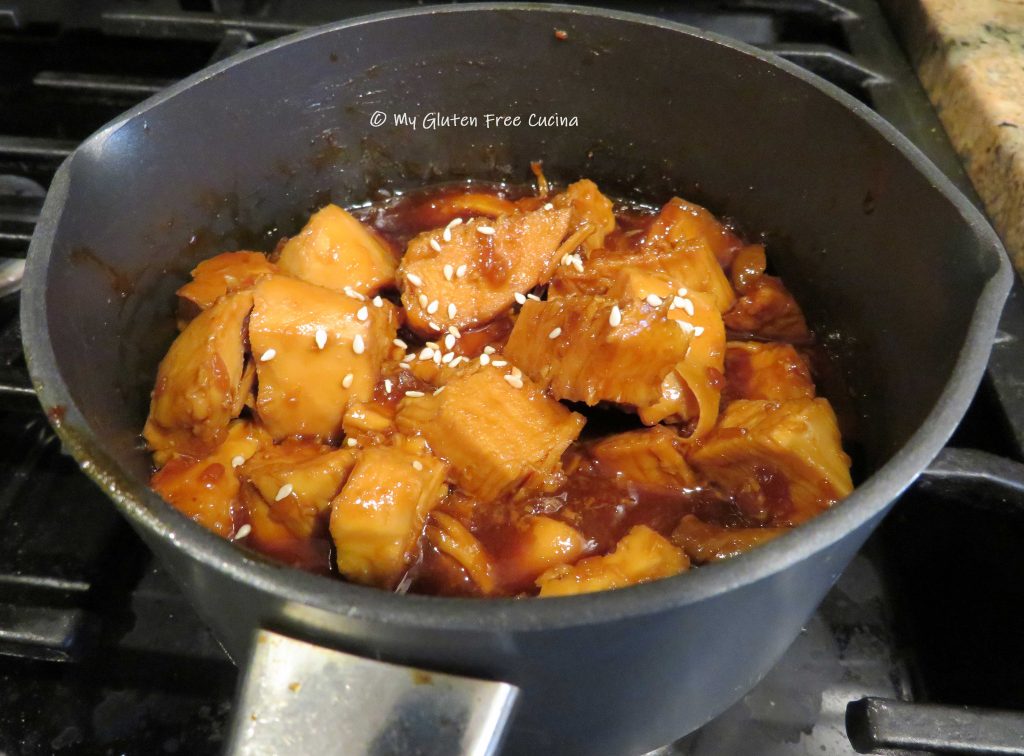
Return the diced chicken and increase heat to high, stirring frequently to thicken the sauce.  Alternately you can transfer to a small sauce pot as I’ve done here.  Keep warm while you finish the dish.

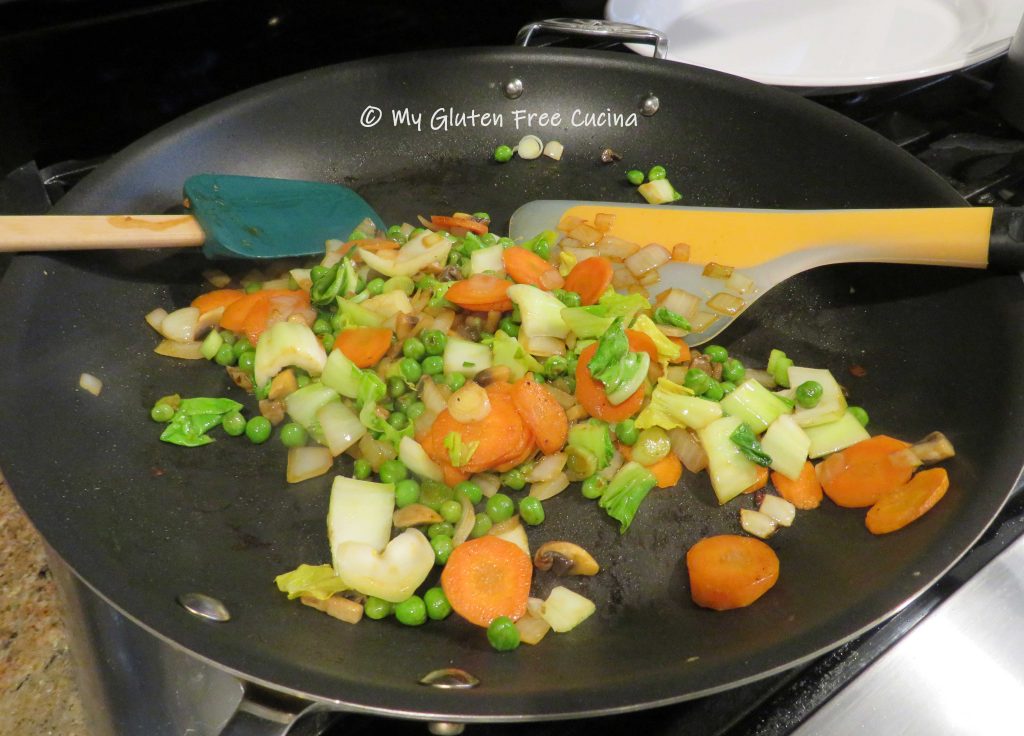
Heat a large nonstick skillet over medium low heat.  Whisk the egg with 1 tbsp. water, scramble and chop into small pieces.  Transfer to a bowl and keep warm.  Wipe the skillet clean and begin cooking the veggies in a little sesame oil.  I started with the carrots and onions as they take longest.

After a few minutes, add the peas, mushrooms and scallions with a little more oil and cook 2 minutes more.  Finally, add the bok choy with a few shakes of tamari and stir well to blend.

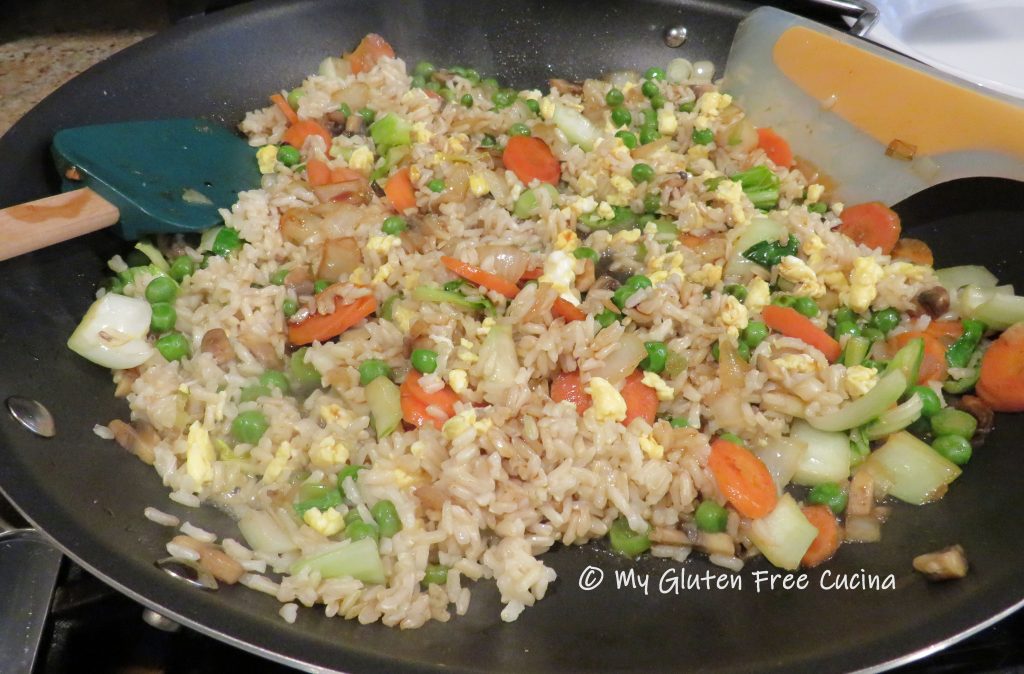
To finish, add back the rice and the scrambled egg with a few more shakes of tamari, along with 1/3 to 1/2 cup chicken broth.  Quickly toss and stir to incorporate the rice and veggies until the liquid has been absorbed and the rice is heated through.  Transfer to a serving platter.

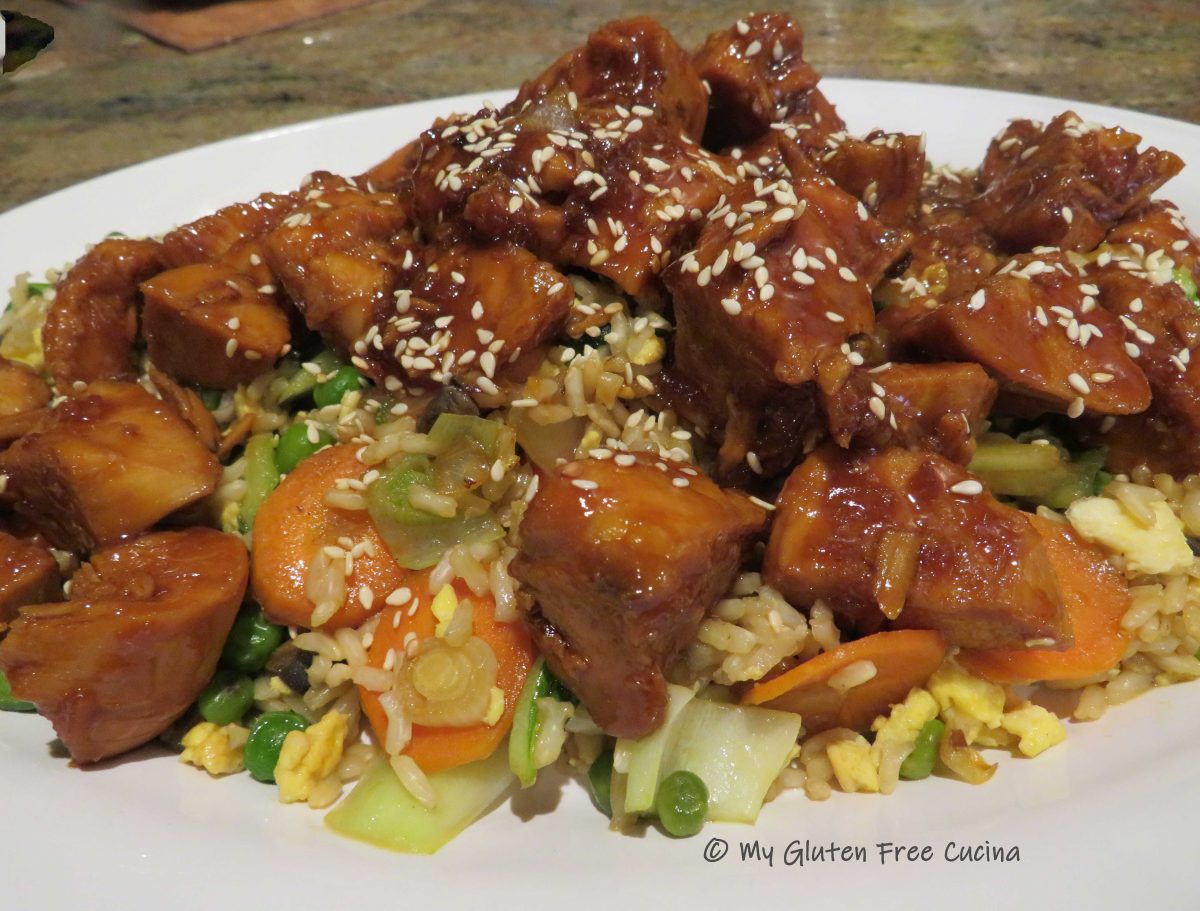
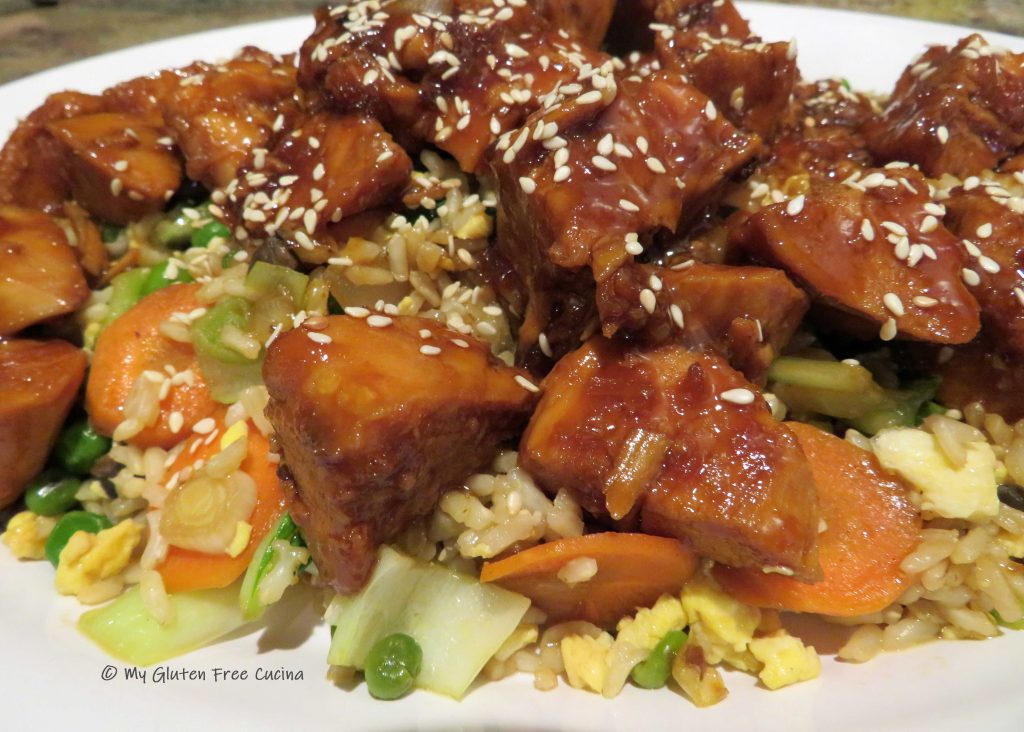
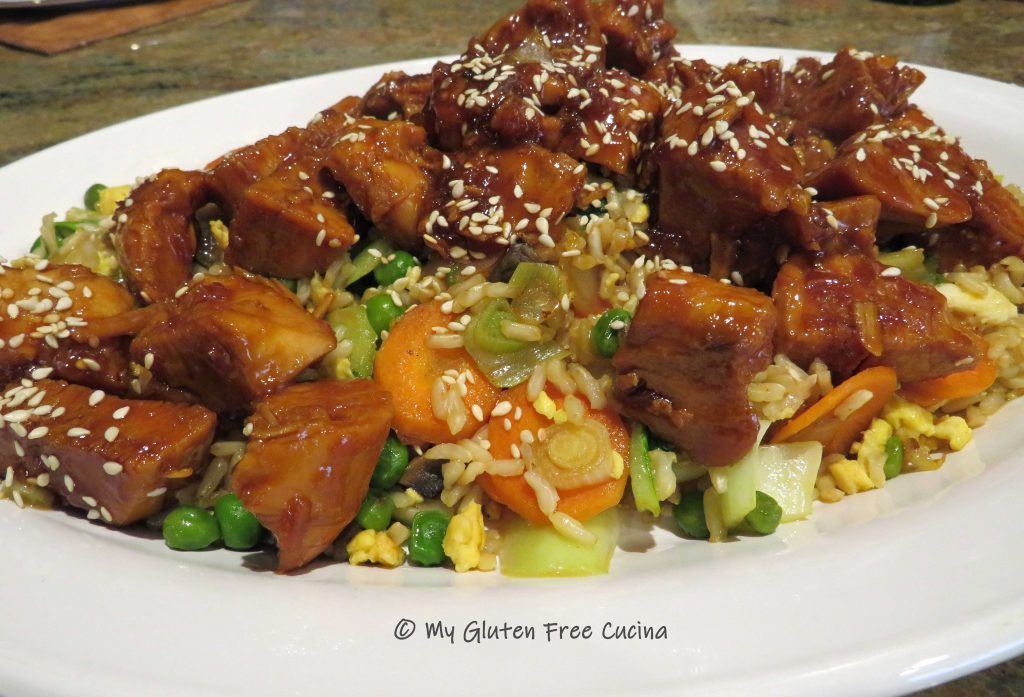
Spoon the chicken over the fried rice and garnish with toasted sesame seeds.

Notes: ♪♫ Were you surprised to learn that soy sauce is not gluten free? I was!  The soy is fermented in wheat, making it unsafe for those of us with Celiac disease.  In this recipe I used San J brand gluten free Tamari in place of soy sauce.  It is a great addition to any Asian inspired recipe and also great for marinades.

Print This Post Print This Post

Cilantro Lime Rice

I love this easy Cilantro Lime Rice that you can enjoy at home with all your Mexican favorites.  A restaurant classic, making it at home means no chance of cross contact with gluten!

Just about everyone will love this mild flavored rice and it pairs nicely with spicier foods.  The ingredients are naturally gluten free and it’s ready in 20 minutes.

4 Servings

Ingredients:

  • 1/2 cup white rice
  • 1-1/4 cups water
  • 1/4 tsp. salt
  • 1 tsp. butter
  • 1/4 cup frozen corn, defrosted
  • juice of 1/2 lime
  • 1/4 cup chopped fresh cilantro
The Lazy Gastronome

Preparation:

Cook 1/2 cup of white rice in 1 cup water, with salt and butter, 15 minutes.  Stir in an additional 1/4 cup of water along with the corn, half of the cilantro and the lime juice, cook 5 minutes longer.

Finish with the rest of the cilantro and a slice of lime.

Here I’ve paired it with a simple meal of grilled chicken and veggies.  Absolutely delicious!

Print This Post Print This Post


Gluten Free Cornish Hens

Update: I wrote this post in April of 2020, at the height of the pandemic.  We are so thankful that those days are (hopefully) behind us, and we can celebrate the holidays with family again.  I debated rewriting the introduction, to remove references to this point in time, but decided to leave it as is for now, as a reminder to cherish our family gatherings and take nothing for granted.

Like so many this year, we will be spending Easter at home and practicing social distancing.  Plans to invite family over, go visiting or eat at a restaurant are all on hold.  I hope that everyone is staying healthy and keeping their spirits up while we wait for this virus to recede.

I have been passing the time doing some deep cleaning and home reorganization.  But my happy place is and always will be the kitchen.  So, I’m taking advantage of the extra hours to create some delicious quarantine cuisine that I wouldn’t normally have time to make!  Today’s post is a special dinner that you can make at home for one, two or more.  Easter is going to be different this year, but it can still be delicious!

A single Cornish Hen should yield 2 servings, or for hearty appetites plan on one hen each.  For this meal I borrowed some inspiration from my Whole Roast Chicken recipe as well as my Thanksgiving Turkey Stuffing.  The result, a delicious, flavorful and very moist chicken dinner, completely gluten free.

Ingredients:

  • 2 Cornish hens
  • 1/2 stick of butter, softened
  • 1 tsp. each, rosemary and thyme
  • salt and pepper to taste

For the stuffing:

  • 2 strips of bacon, cooked and drained
  • 1/2 cup onion, small dice
  • 1/3 cup celery, small dice
  • 1/3 cup apple, small dice
  • 1 tbsp. butter
  • gluten free sausage seasoning
  • 1/4 cup gluten free seasoned breadcrumbs
  • 2 tbsp. gluten free chicken broth
  • salt and pepper to taste

Preparation:

Cook the bacon and drain on paper towel, reserving the fat in the skillet.

Add 1 tbsp. butter to the skillet with the bacon fat and begin cooking the onion, celery and apple.  Sprinkle with sausage seasoning.  Chop the bacon and add it back to the pan, and let it cool slightly while you prep the hens.

Place the hens in an empty sink.  Remove the gizzards from the cavity, rinse the hens inside and out with cold water and place in a baking dish coated with cooking spray.  I used a 9″ x 13″ Pyrex dish.
Wash the sink thoroughly and now we’ll finish the stuffing.  Stir in 1/4 cup breadcrumbs and about 2 tbsp. chicken broth, just enough to bring the stuffing together.  Gently spoon the stuffing into each hen.
Mash together the softened butter, rosemary and thyme.  Rub the hens all over with the herb butter, be sure to get under the legs and wings and place a pat under the skin.  Season with salt and pepper.

Use twine to tie the legs together and wrap another strand around the center of the bird to secure the wings close to the body.  Add 1/2 large onion, 1 carrot and 1 potato to the pan.

Roast for 70 minutes at 350º or until the internal temperature reaches 165º.

Broil on low for 5 minutes to get more color on the skin.

Aren’t they beautiful?  Whether you are dining solo or with those you love most, I hope you find some gluten free meal inspiration for your holiday table!  May your home be filled with Easter blessings and the hope that we will soon be together again with all our family and friends.

Print This Post Print This Post