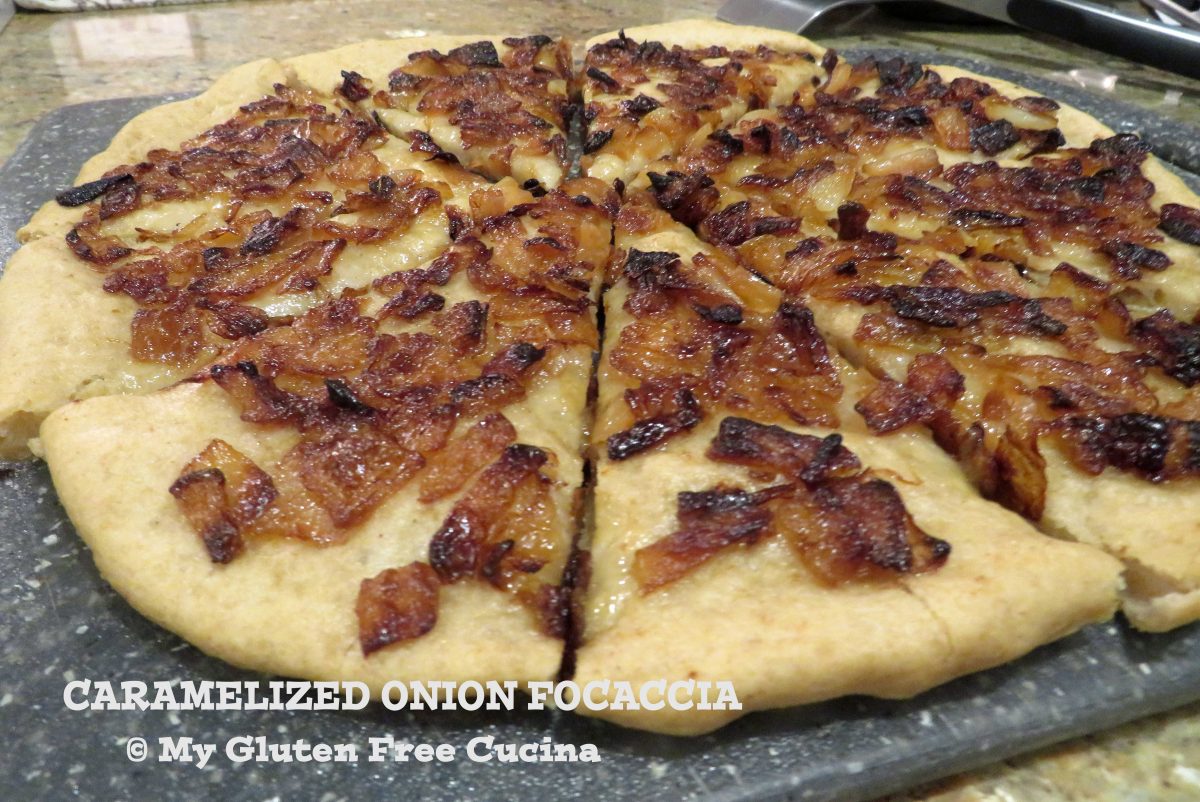
Gluten Free Caramelized Onion Focaccia

It seems like a lifetime ago.  In fact, it was over 20 years ago that I was a card-carrying member of the Cooking Club of America (anyone else?).  I had all the gadgets, the refrigerator magnets, and of course the magazine Cooking Pleasures.  I started making this focaccia bread, which appeared in the February-March 2000 issue for family get-togethers, and it quickly became my go-to for everything from dinners to parties to potlucks at the office.  Everyone loved it!

Today the club and the magazine are sadly, no more.  The recipe, long ago crumpled into a folder had been abandoned since my Celiac diagnosis.

Something made me think of it the other day, maybe the upcoming holidays or just reminiscing about things I used to bake.  So, I decided to dig out the recipe and try adapting it to be gluten free.  How did it come out?  Take a look!

Inspired by Cooking Pleasures Magazine, February-March 2000 issue

Note ♫ I used, and highly recommend Better Batter Artisan Flour Blend for this recipe.  This is my favorite gluten free flour blend for making breads and pizza, try it and I promise you will not be disappointed!

***** CLICK HERE — Be sure to use my code MGFC30 at checkout for 30% off your non-sale purchase of Better Batter *****

This post contains affiliate links.

Ingredients:

Preparation:

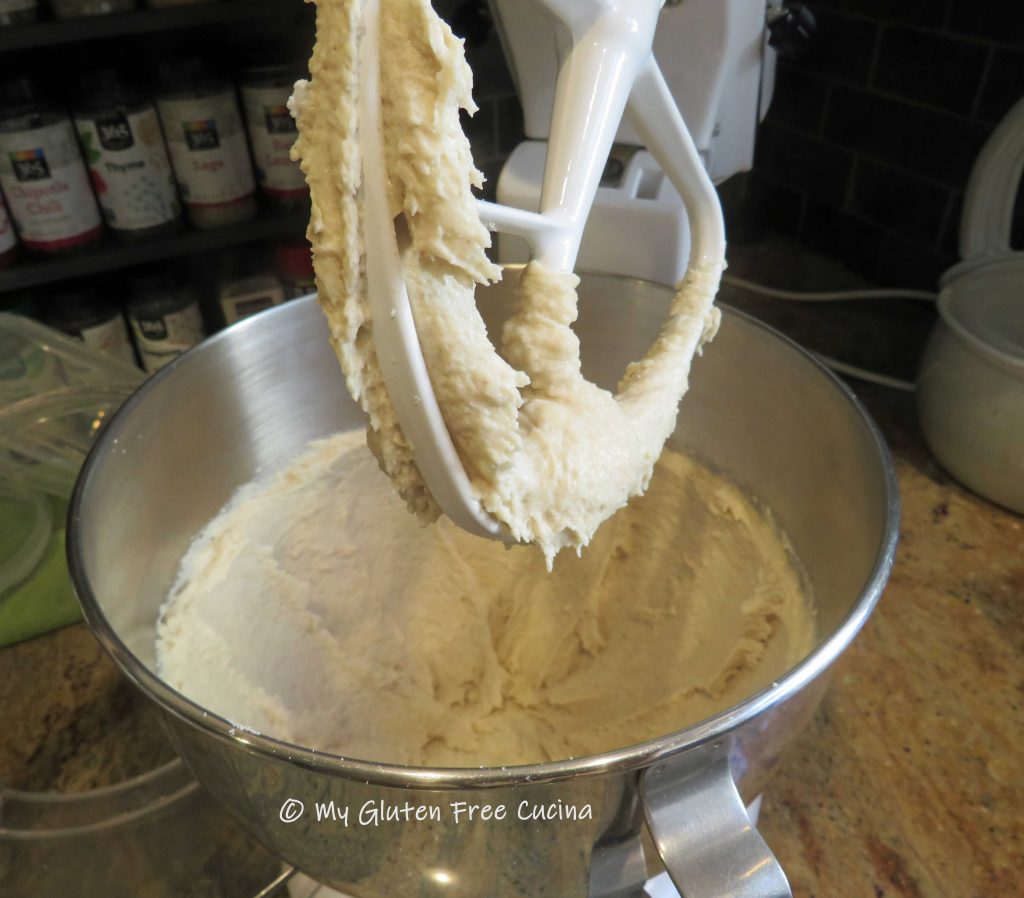
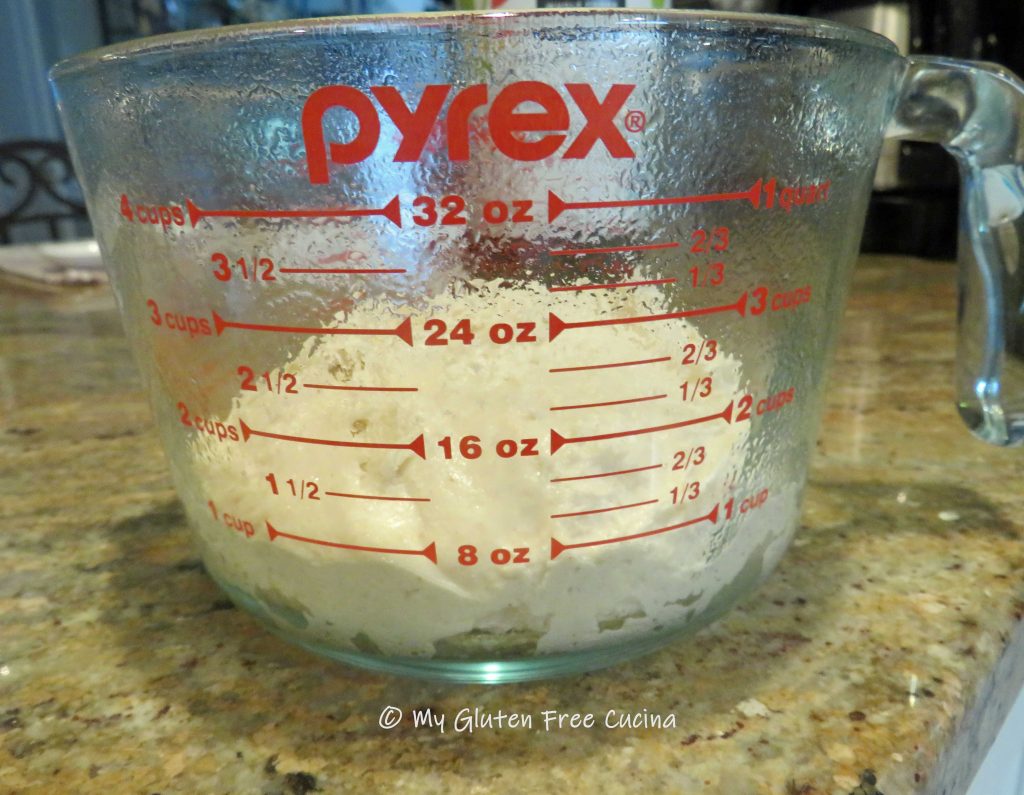
Combine water and yeast in the bowl of your stand mixer and give it about 10 minutes to activate.  Whisk together the flour and salt and add to the yeast mixture along with 2 tbsp. olive oil.  Mix with the paddle attachment for 8 minutes.

Transfer the dough to a greased bowl and refrigerate for one hour.

While the dough rests, make the caramelized onions.  Use a heavy skillet, covered braising pan or Dutch oven.  Over medium heat, add 2 tbsp. butter, 1 tbsp. olive oil and all of the onions.  As the butter melts, stir to coat the onions.  Cover and cook over medium low for 20 to 25 minutes or until the onions are translucent.  Then uncover, continue cooking over medium-low heat for 30 to 40 minutes or until onions are golden brown, stirring frequently.  Set aside to cool.

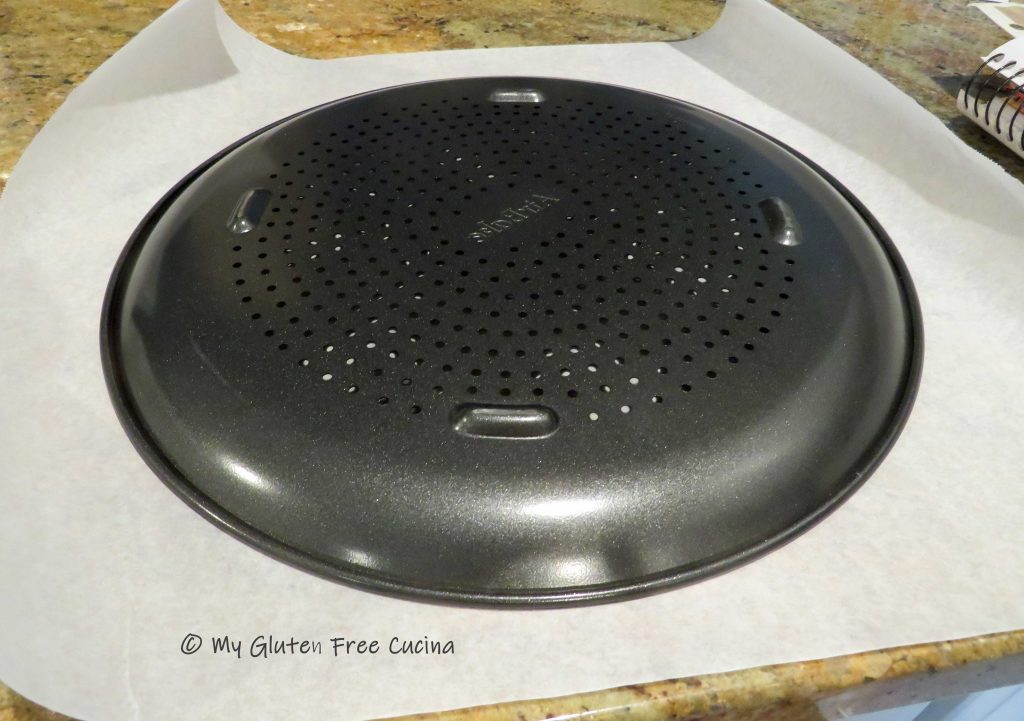
Place a pizza stone in the oven and preheat to 425º.  Cut a piece of parchment to fit a perforated 16″ pizza pan.

Hint: Trace your pan onto the parchment paper and cut for the perfect fit.

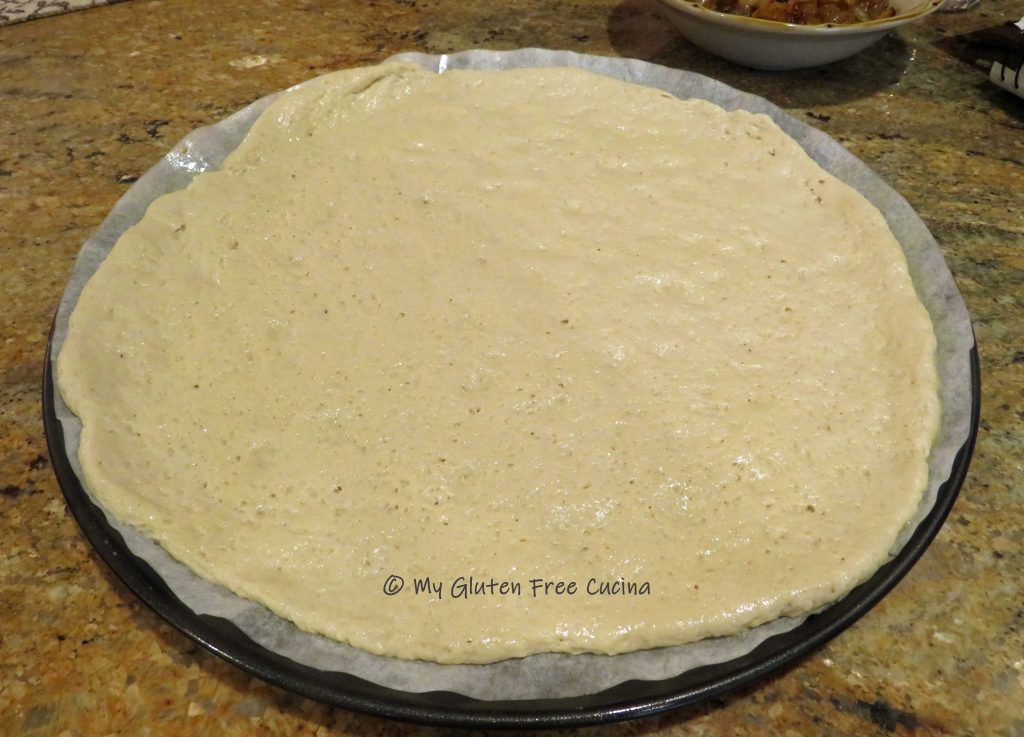
Mist the parchment with cooking spray and roll the dough into a round.  Slide it onto the pizza pan, cover with oiled plastic wrap and let it rest at room temperature for 30 minutes.

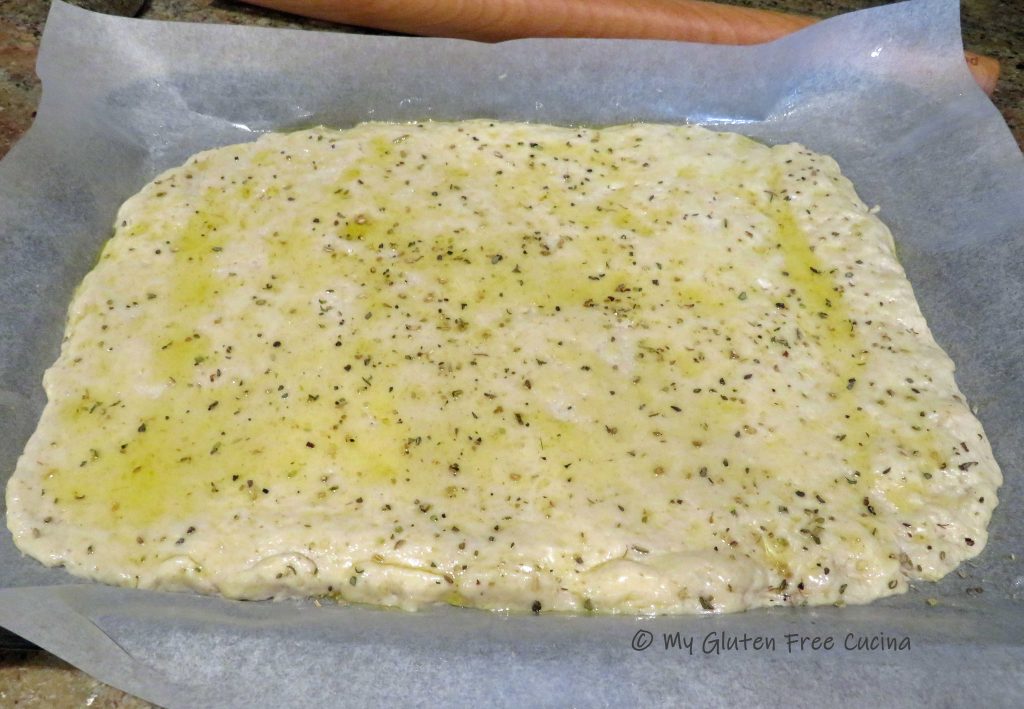
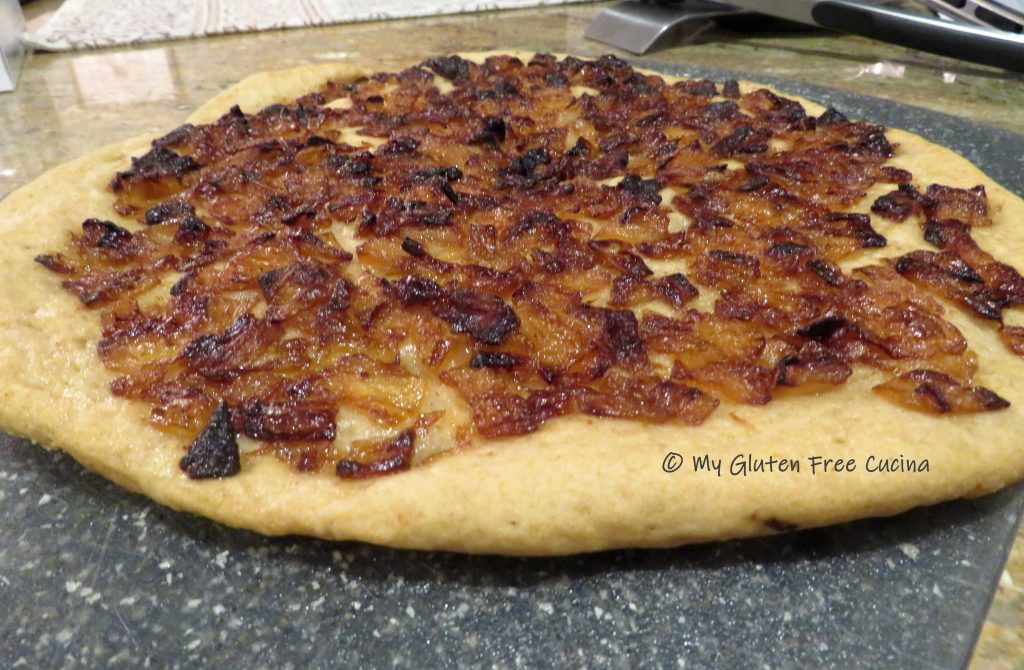
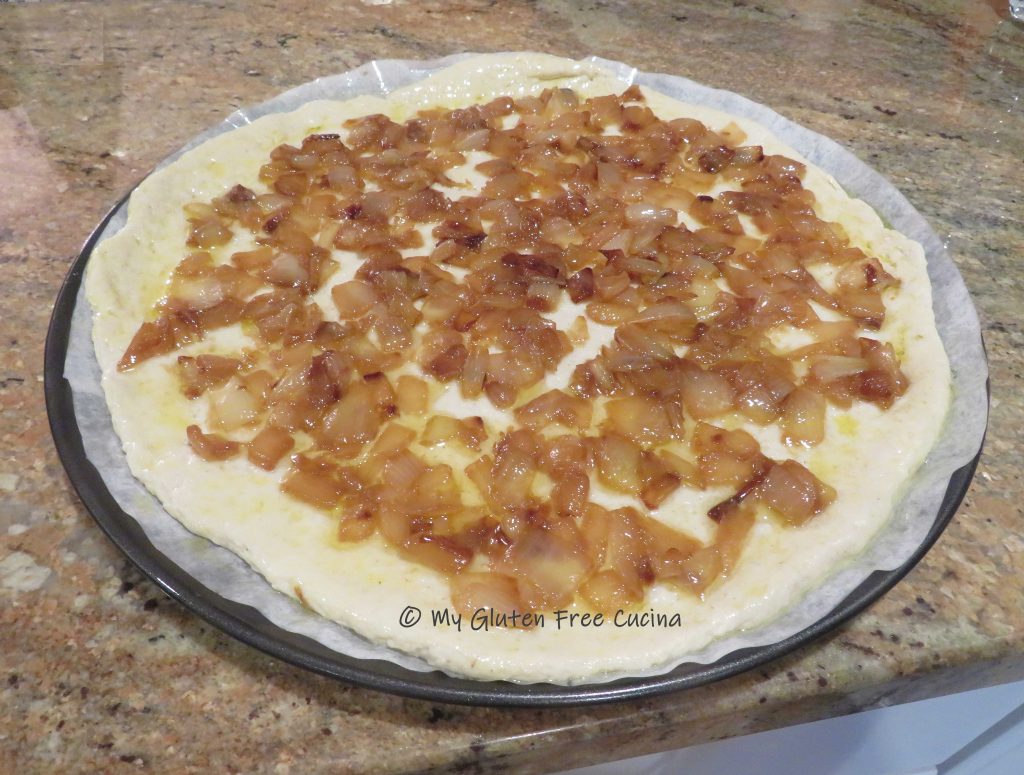
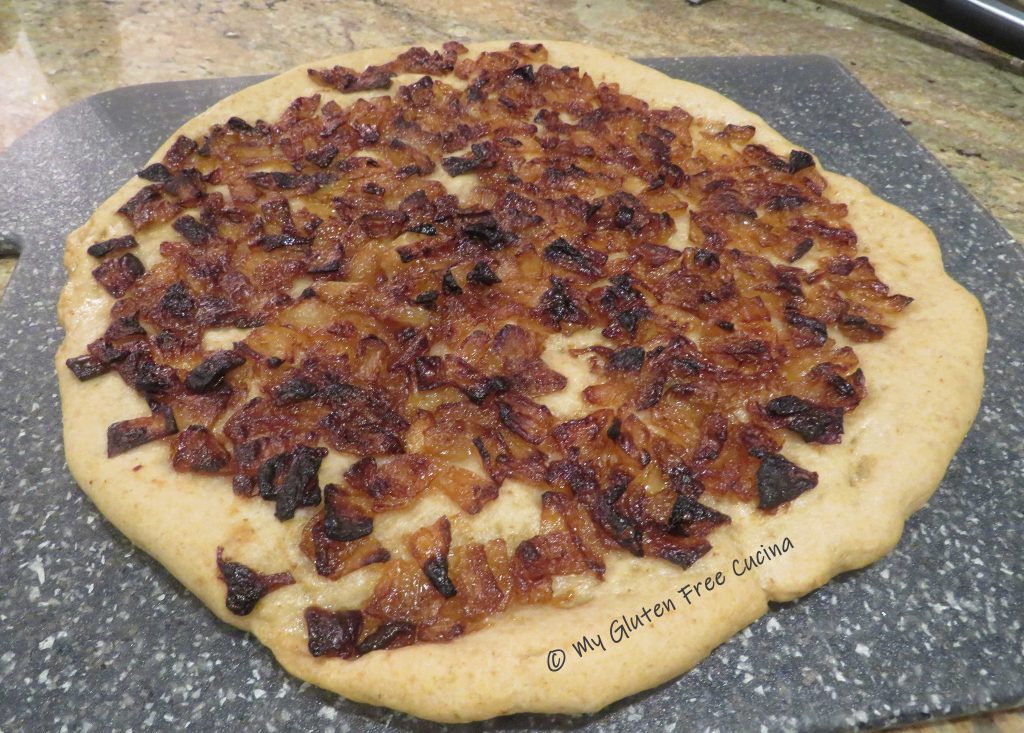
Create dimples by pushing down the dough with your fingertips.  Spread the caramelized onions evenly over the dough and brush the edges with olive oil.

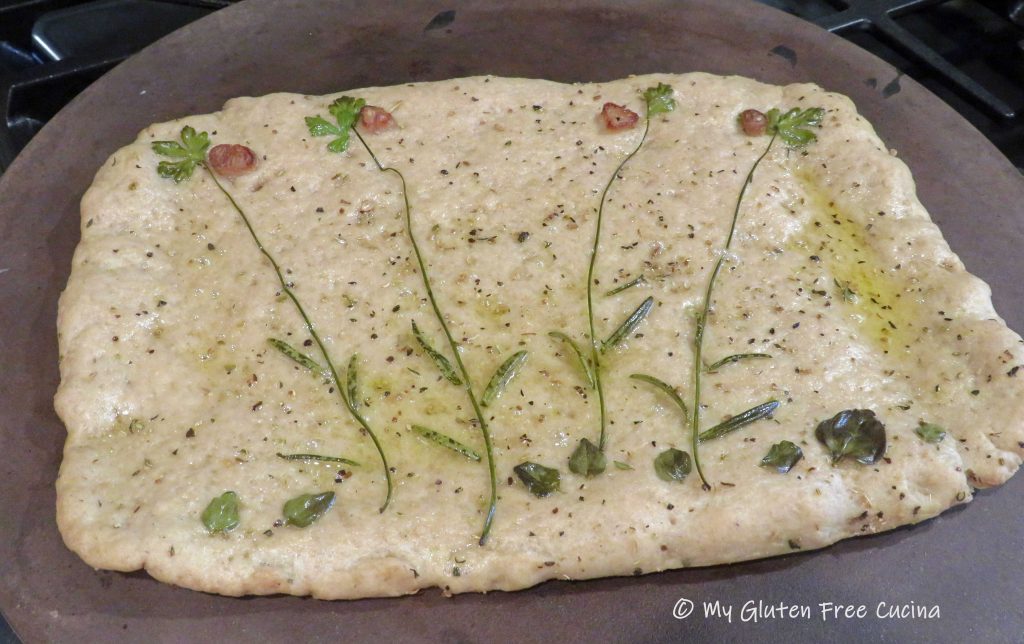
Place the pizza pan in the oven on top of the baking stone.  Bake for 25 minutes total.  During the last 10 minutes carefully slide the pizza out of the pan, remove the parchment and finish baking directly on the pizza stone.

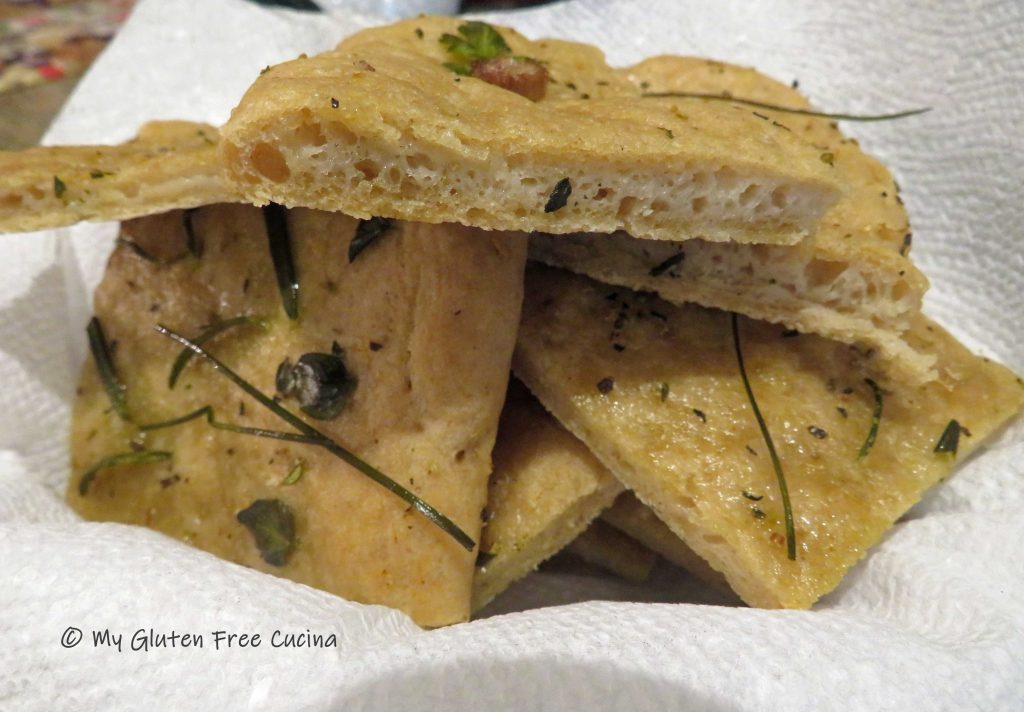
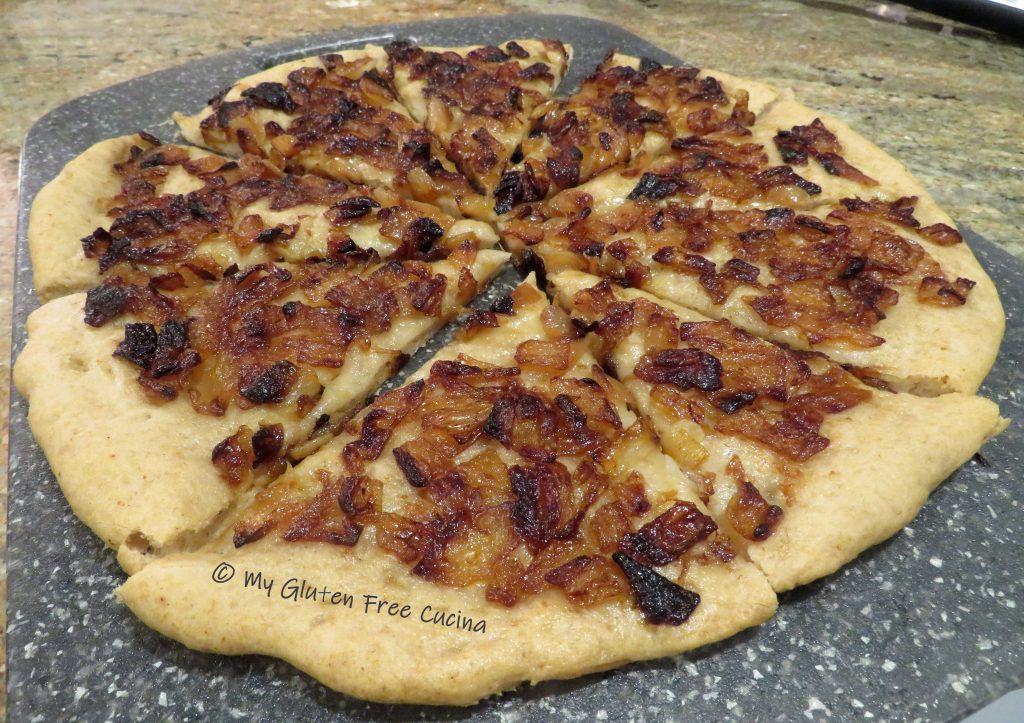
This is it, the minute you cut into the focaccia and hear that crunch!  Cut into wedges and serve.

Notes ♪♫ Caramelizing the onions is time consuming, but so worth it.  Take your time, and don’t rush the process.  Use a good heavy pan and stir, stir, stir- don’t walk away!  You will be rewarded with the most delicious decadent topping for this amazing focaccia.

Print This Post Print This Post

Easy Gluten Free Pasta Salad

Here is a simple, Italian inspired Gluten Free Pasta Salad to bring to the family BBQ, or to make ahead and enjoy with dinner after a busy workday.  With no mayonnaise, it won’t go bad on those hot summer days.  It’s a light refreshing side dish that won’t leave you feeling stuffed.

My biggest tip for this recipe is to assemble it no more than a few hours before serving.  You can prep the veggies the night before, but don’t cook the gluten free pasta too far ahead, it won’t keep as well in the fridge as regular pasta.  For best consistency, I like to drain and chill the pasta for 30 minutes before tossing it with the veggies and dressing.

8 servings

This post contains affiliate links.

Ingredients:

  • 3 slices of bacon, diced
  • 8 oz. gluten free pasta
  • 1 tbsp. olive oil
  • 2 cups veggies cut into small dice –
      • frozen peas, thawed and drained
      • red onion, small dice
      • grated carrot
      • cucumber, small dice seeds removed
      • red bell pepper, small dice
      • green beans, blanched and diced
  • salt and pepper to taste
  • 1/4 cup Italian cold cuts, chopped (optional but good)
  • 1/2 cup gluten free Italian dressing
  • 1/4 cup grated Parmesan cheese

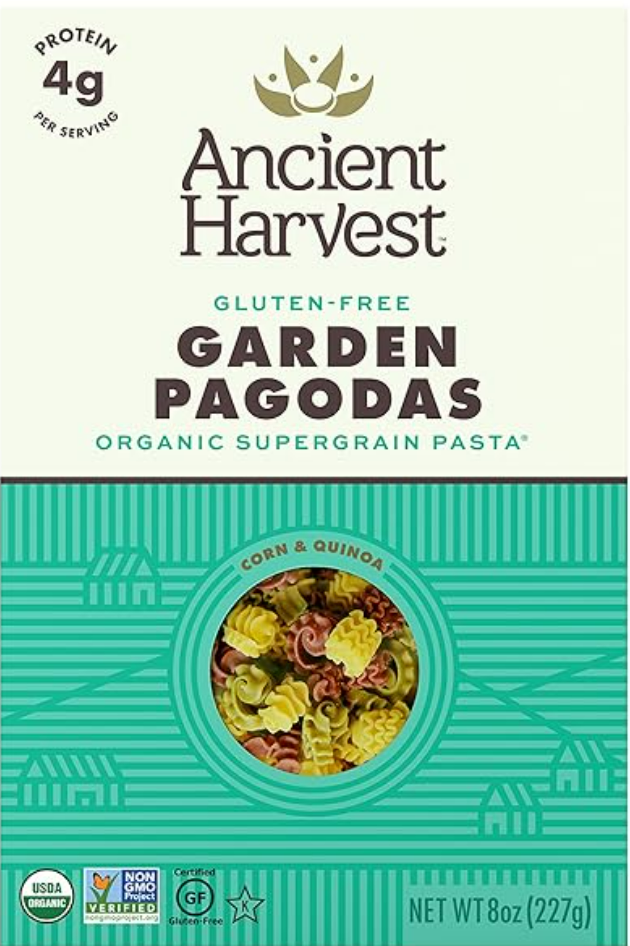
It’s been almost impossible to find these Garden Pagodas from Ancient Harvest since the pandemic.  But they are just perfect in this pasta salad, so if you spot them be sure to grab a couple of boxes!

Tinkyada also makes tri-color spirals, as does Lieber’s although I haven’t tried them.  I will update the post if I can find any others.

Preparation:

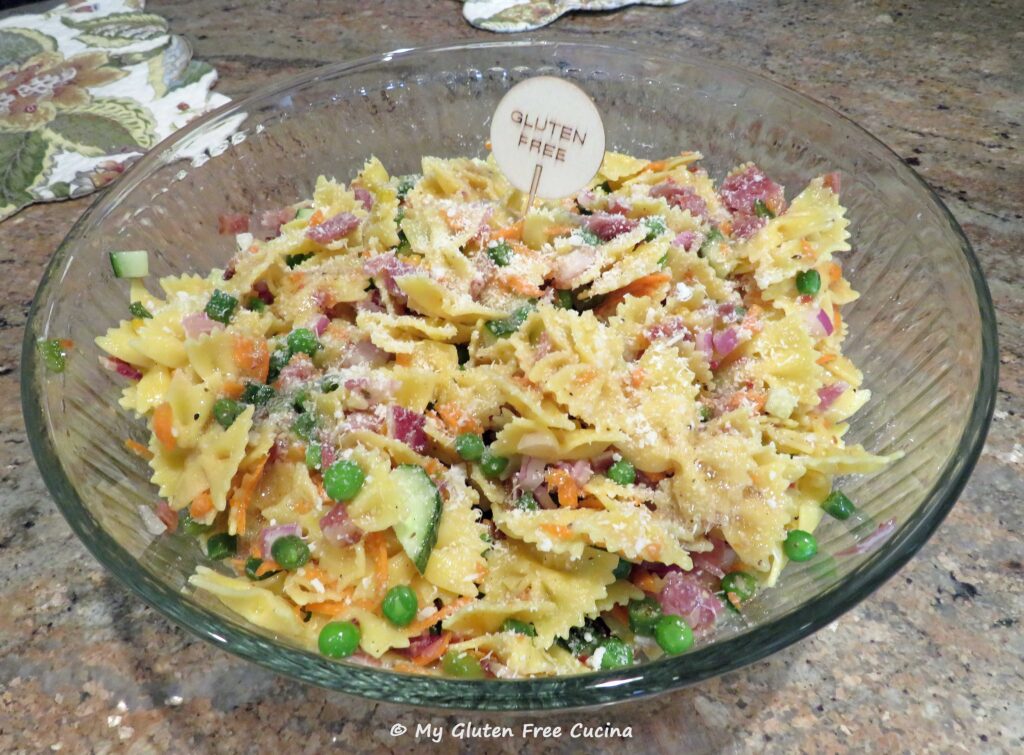
You will need about 2 cups total diced veggies.  This is a great way to use up leftovers, use veggies you have on hand or use your favorites!  Today I’m using red onion, cucumber, carrots, bell pepper, peas and green beans.  You can do this step a day ahead to save time.  Keep everything chilled until ready to assemble the pasta.

Cook the bacon and drain on paper towels.

As I mentioned above, I recommend that you wait until a few hours before serving to assemble the salad.  Cook the pasta to al dente.  This will likely be several minutes less than the package directions, so taste frequently.  Drain the pasta and immediately rinse it under cold water to stop the cooking.

Place the colander over a large bowl, toss with 1 tbsp. olive oil and chill in the fridge for 30 minutes.

Combine the drained, chilled pasta with the veggies in a large bowl, toss with the bacon, cold cuts and cheese.

Add the Italian dressing and toss well.  You can serve it just like this!

Or transfer it all to a pretty serving bowl.  Cover and refrigerate until ready to serve.

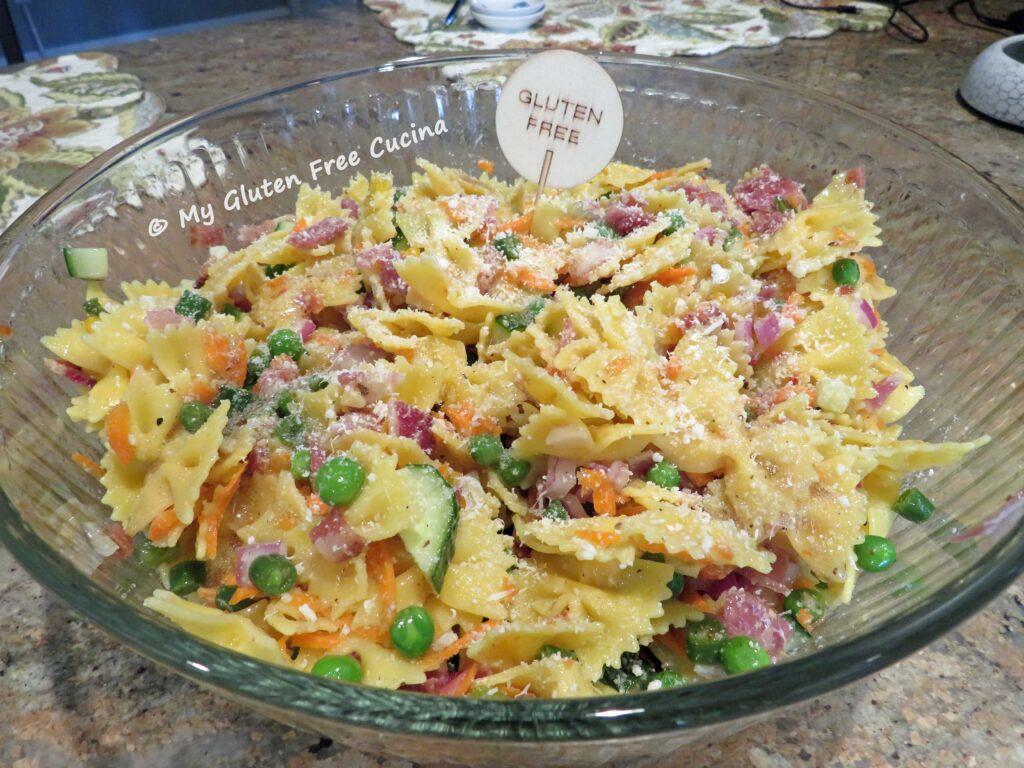
Notes ♪♫ I always add a gluten free marker to a dish that I bring to a cookout, in case there are other guests with the same dietary restrictions.  I’ll bet that if I didn’t tell anyone it was gluten free no one would be the wiser!  Make it for your next get together and watch it disappear 🙂


Originally posted 5/28/2018                      Updated 7/15/2022  

Print This Post Print This Post

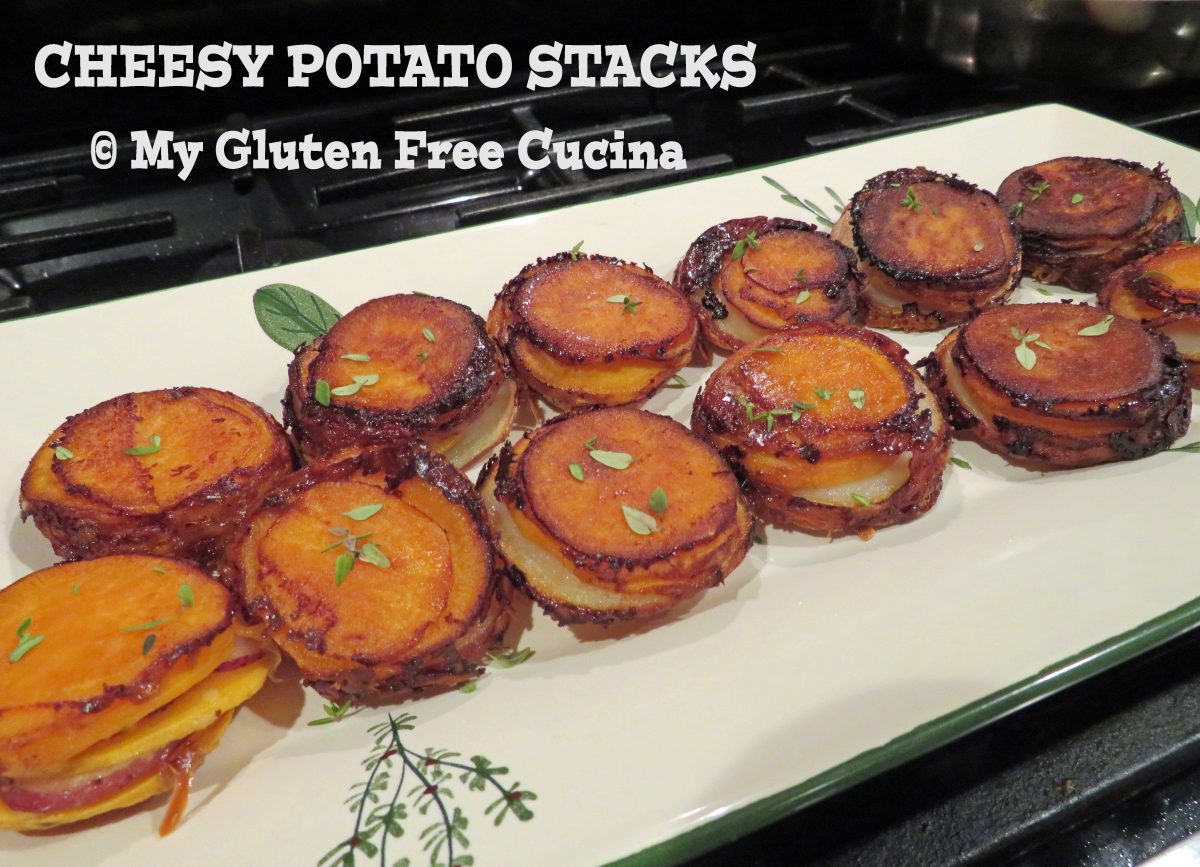
Cheesy Potato Stacks

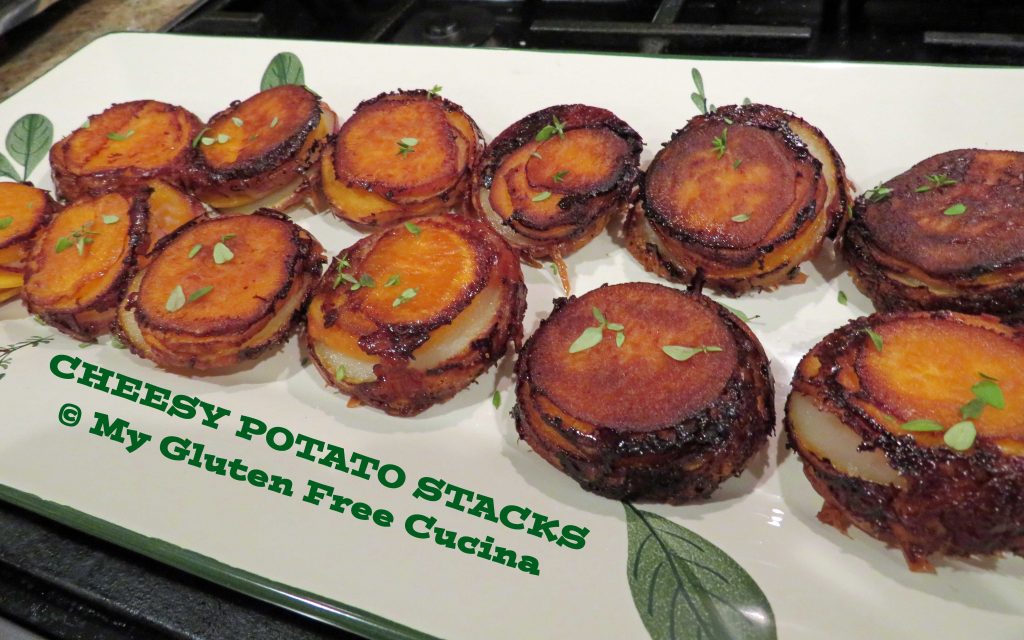
Here is a beautiful potato side for your Thanksgiving table with all the colors of fall.  A festive presentation of white and sweet potatoes, layered and baked gratin style in a muffin tin.  You will want to make a double batch, they are so good everyone will want seconds and thirds!

The Apple Smoked Gruyere that I used in this recipe was just amazing.  The unique flavor is a definitely a little bolder than plain Gruyere, but it was the perfect pairing to this fall inspired potato side.


This post contains affiliate links.

Ingredients:

  • 1 large, sweet potato, peeled
  • 4 small red potatoes, skin on
  • cooking spray
  • 4 tbsp. unsalted butter, melted
  • 1/3 cup 1% milk
  • seasoned salt, to taste (I used Lawry’s reduced sodium)
  • 2 cups shredded Gruyere cheese (I used Red Apple Smoked Gruyere)
  • fresh thyme for garnish

Preparation:

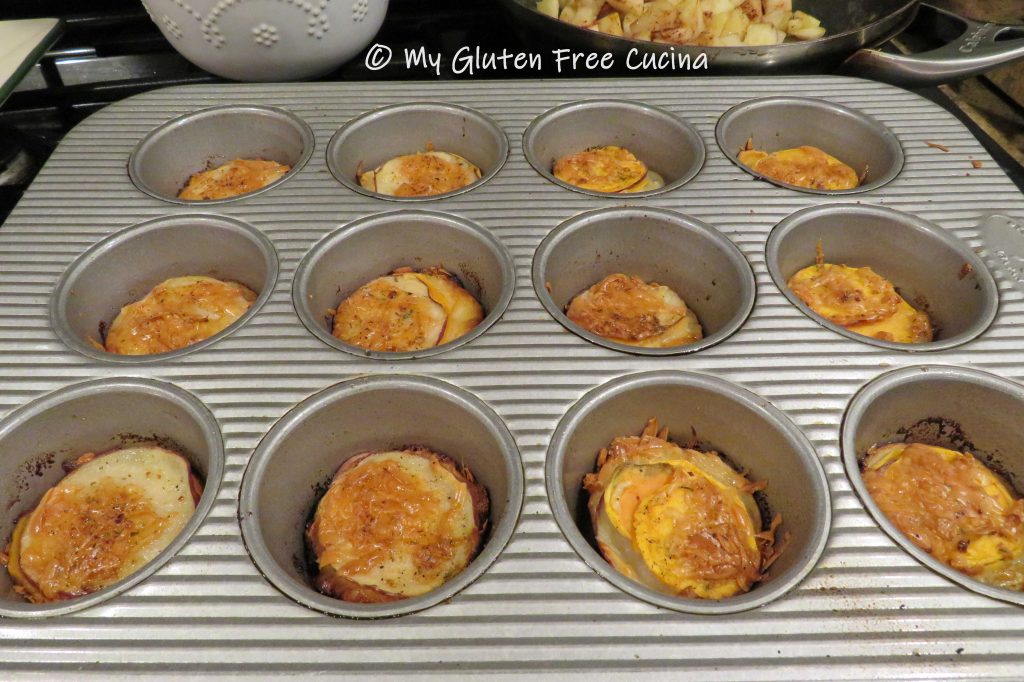
Grate the cheese.  Slice the potatoes very thin, using a mandoline or sharp knife.  Leave some of the skins on for more color and texture.

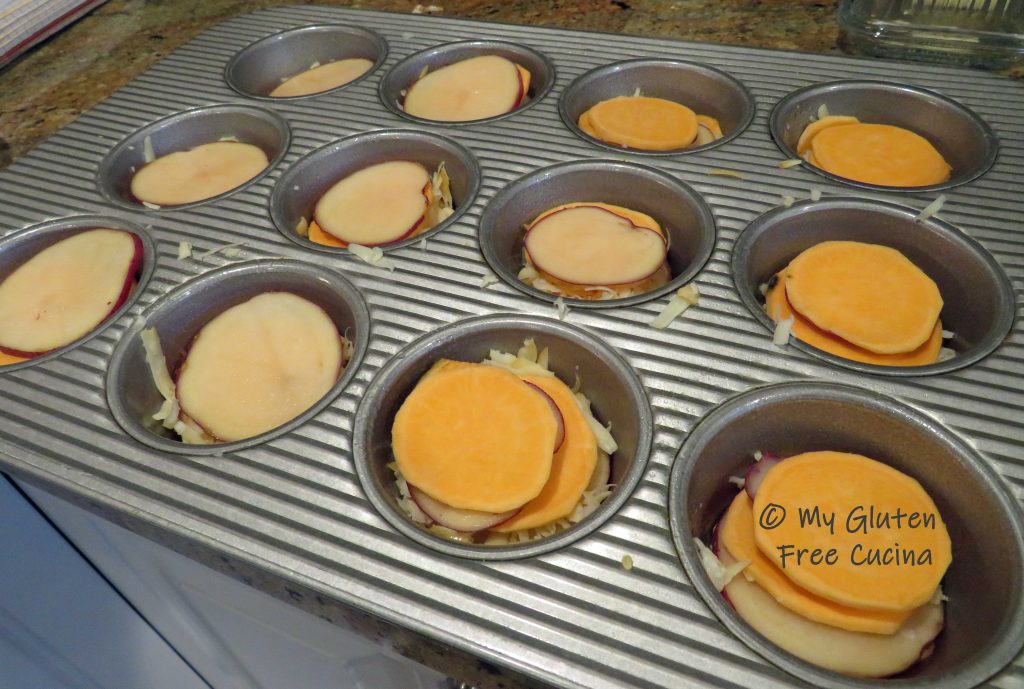
Heat the butter, milk and seasoned salt, whisk well.  Preheat the oven to 400º and coat a 12-cup muffin pan with cooking spray.  Begin layering the potatoes in the muffin cups, alternating white and sweet potato slices until the cups are half full.

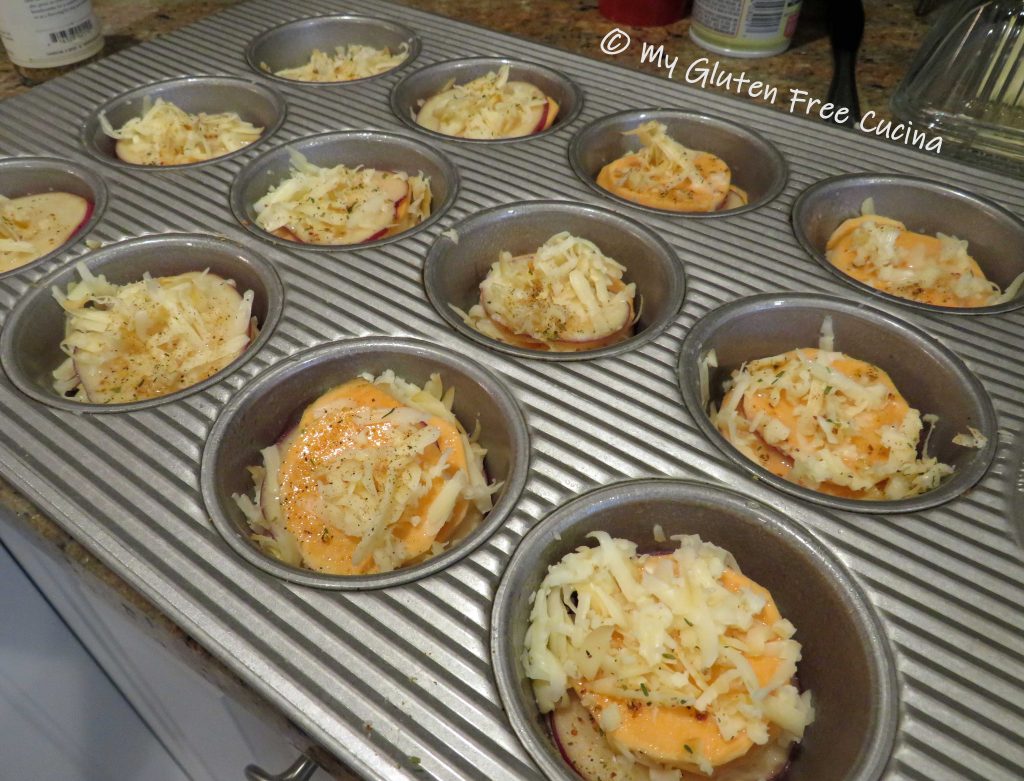
 Use the smaller slices on the bottom for the best fit.  Drizzle one tsp. of the butter mixture over each stack and top with half of the grated cheese.

Continue layering the potatoes, mounding them to just a little higher than the top of the muffin cups (they will cook down) and finish with the remaining butter and cheese.  Sprinkle more seasoning over the top.

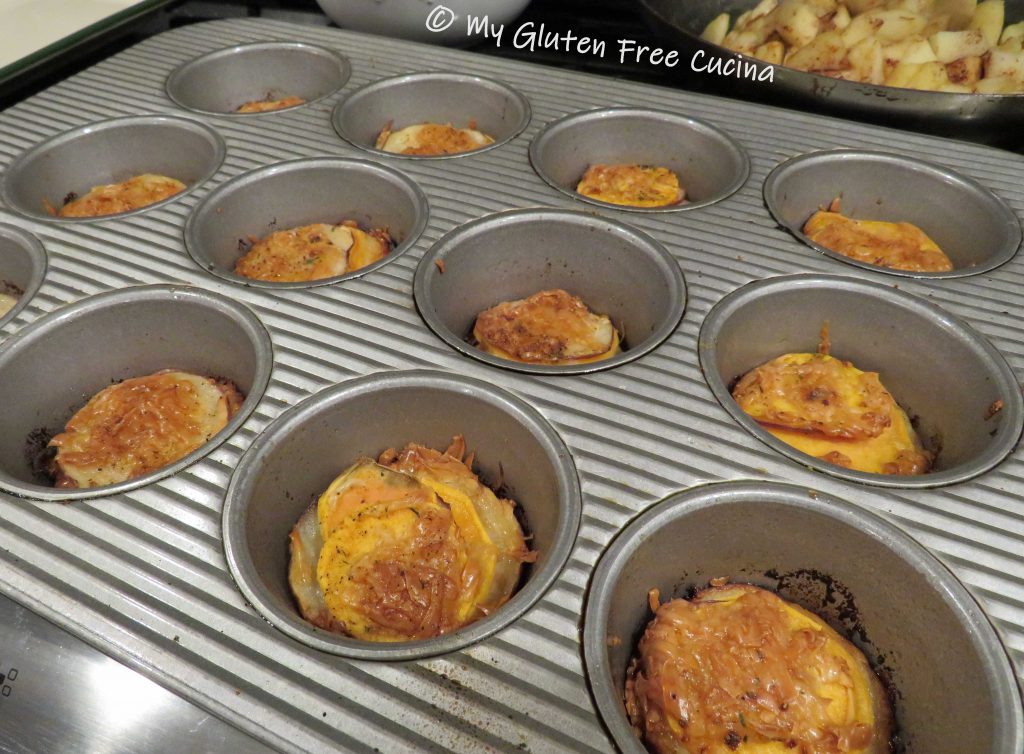
Bake for 40-45 minutes, until the edges are nicely browned, and the cheese has melted.

To serve, use a spoon to carefully remove each stack and invert onto a serving platter.  Garnish with fresh thyme.

Notes: ♪I entered this recipe in the 2021 Beyond Celiac Gluten-Free Holiday Recipe Contest.  Well guess what, my Cheesy Potato Stacks recipe earned an honorable mention!  You can view it on the Beyond Celiac website where it has been featured, and the recipe was also linked to their November newsletter.  Pretty exciting stuff for this home cook!

Print This Post Print This Post

Easy Apple Sauté

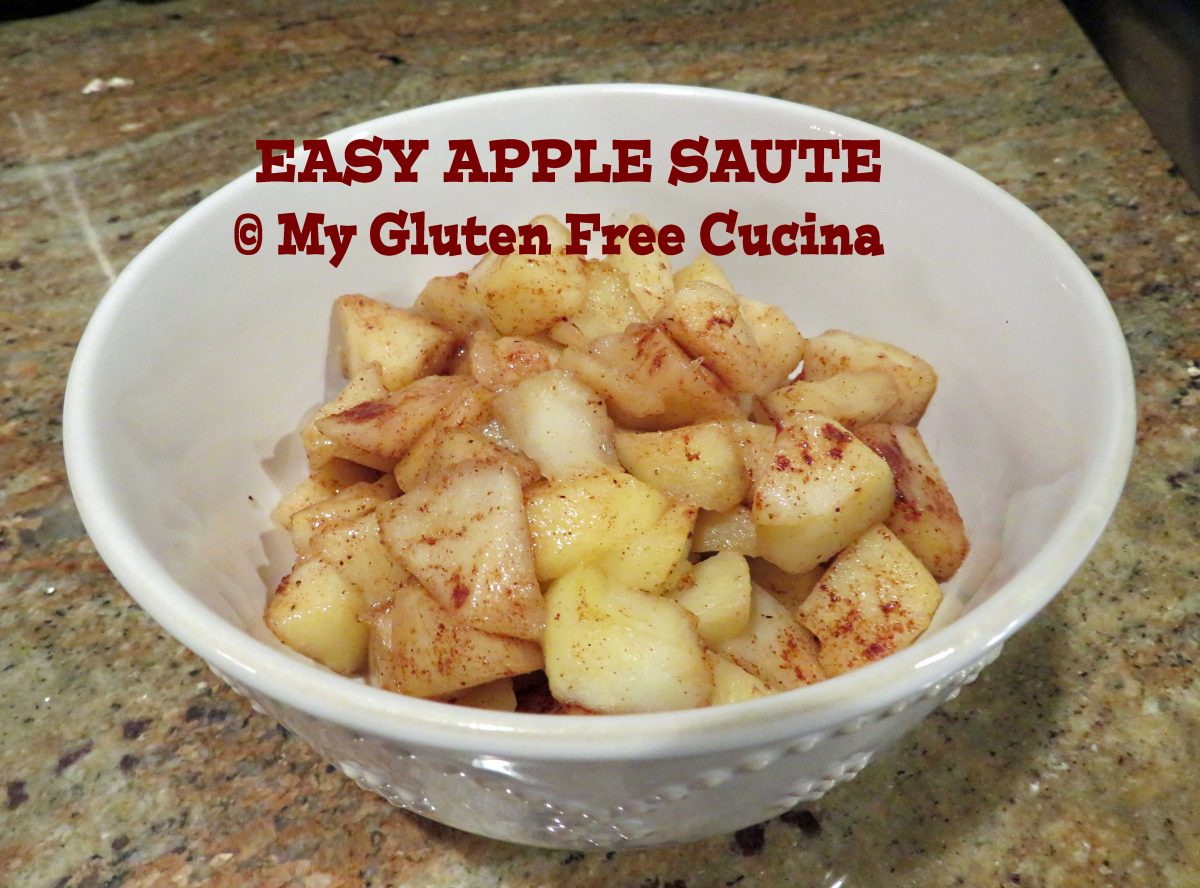
This Easy Apple Sauté is a favorite of mine.  It makes a great breakfast accompaniment to oatmeal or pancakes.  Do you ever have a side of fruit with dinner instead of a veggie, just to change things up?  Apples go well with any pork dish or BBQ meal.  And if you like, this basic recipe can stand in as a light dessert without all the extra fat and carbs.  Best of all, it’s ready in 5 minutes, no baking!

Ingredients:

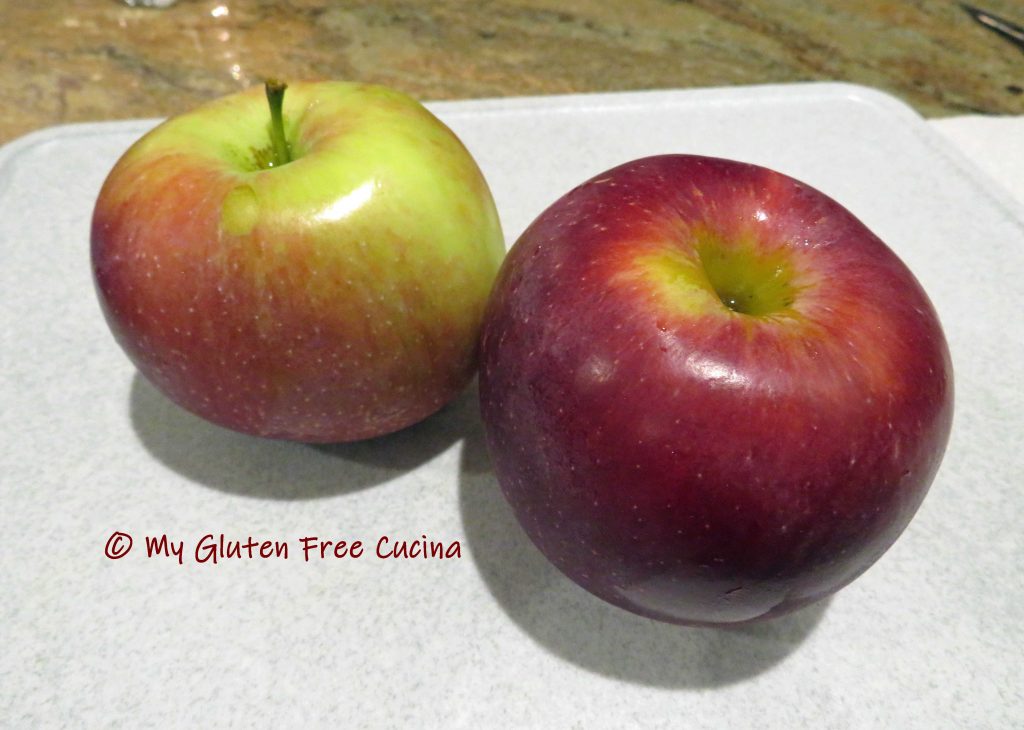
  • 2 apples (I used Cortland)
  • 1 tbsp. brown sugar
  • 1 tbsp. unsalted butter
  • cinnamon and nutmeg

This post contains affiliate links.

Preparation:

Peel and dice the apples.

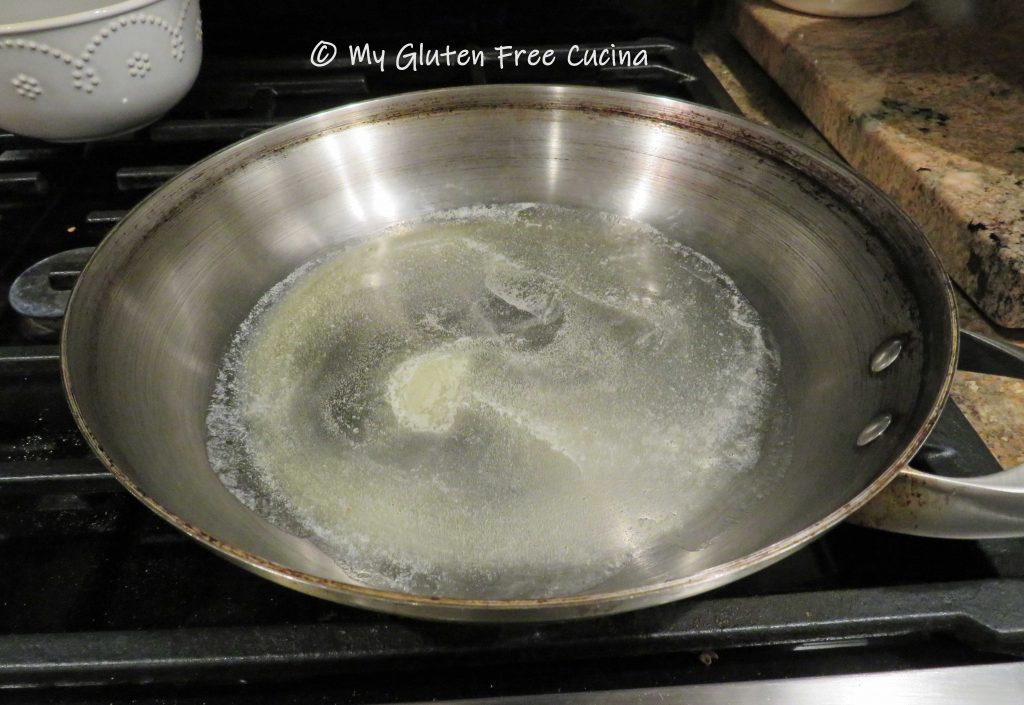
Heat a 10″ skillet on medium and melt the butter.

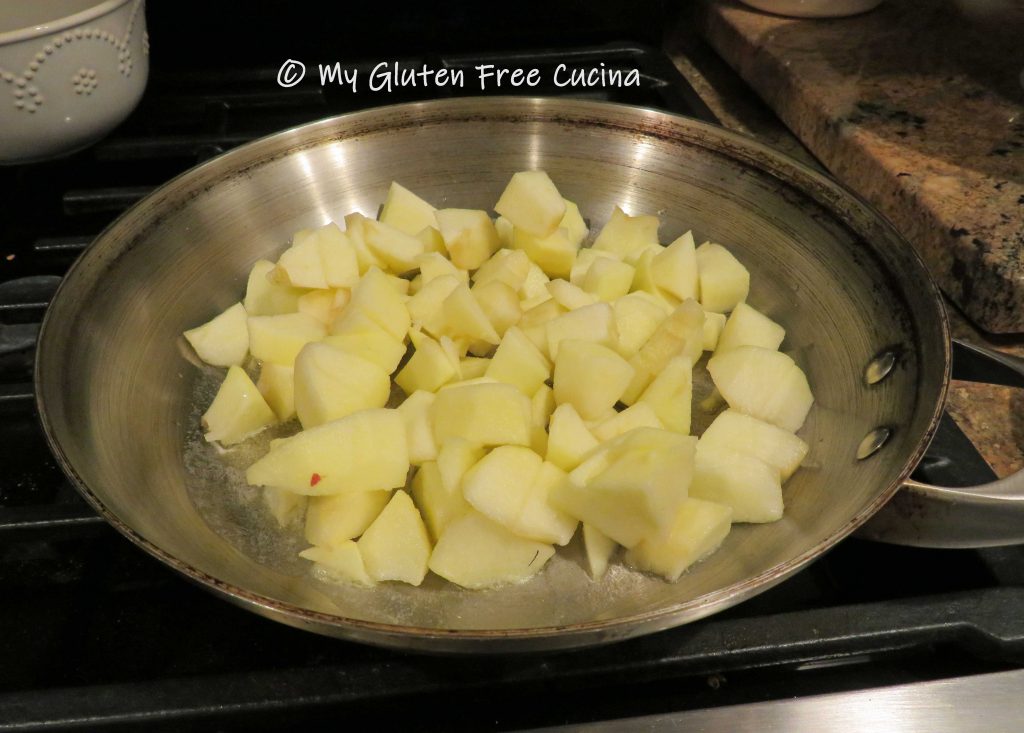
Add the apples to the skillet and toss to coat.  Cook 1-2 minutes.

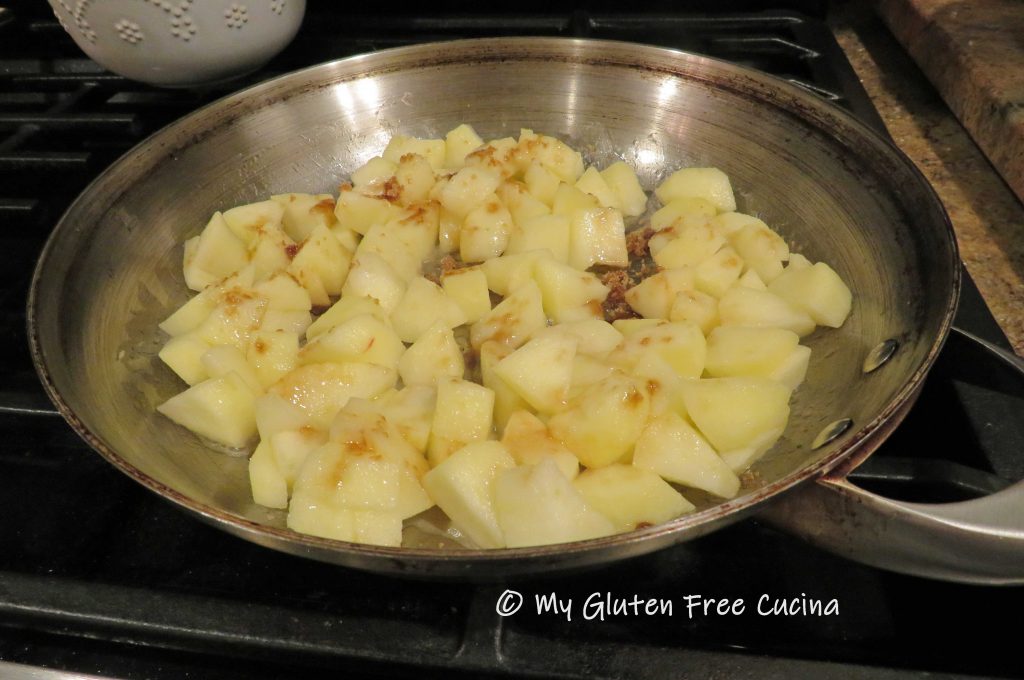
Sprinkle with  brown sugar, and stir it in to melt.

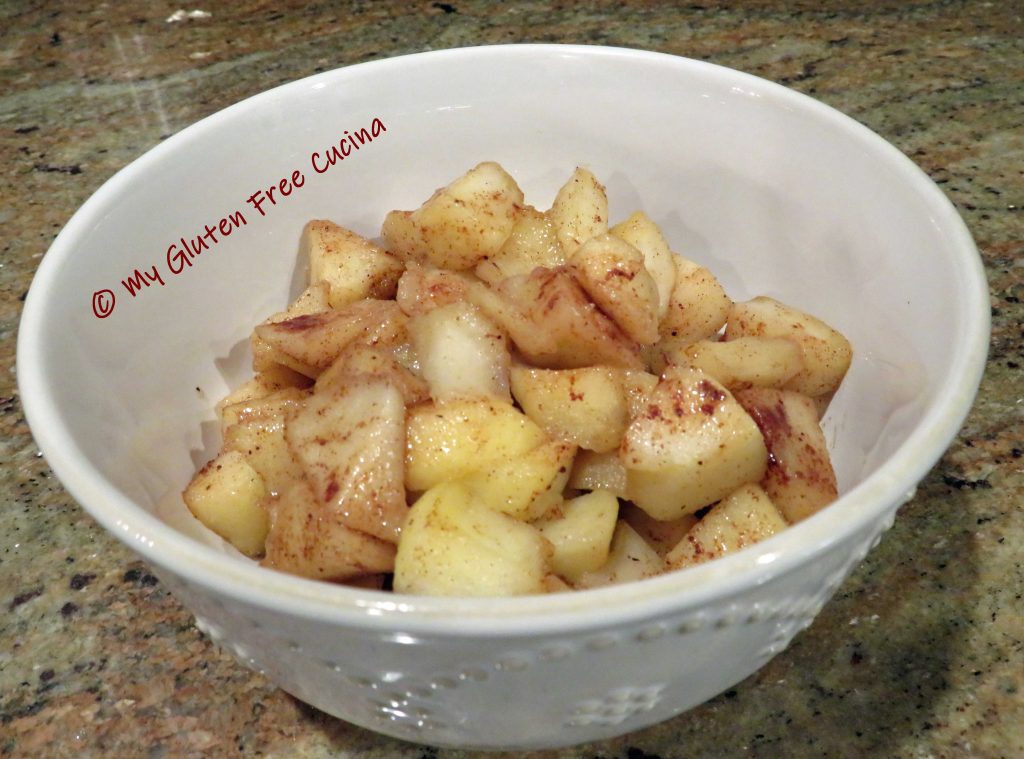
Sprinkle with cinnamon and nutmeg.  Cook for 2-3 more minutes, stirring frequently.  A light syrup will form in the pan.

I love this diet friendly treat as a standalone side or as a topping for other fall veggies, like my Apple Walnut Butternut Squash.

Notes ♪♫ Granny Smith apples are most often recommended for cooking, but there are so many varieties that would be delicious in this fast and easy preparation.  Honey Crisp is always a top choice for me, but I used Cortland apples in this post, because a dear neighbor had gifted me a bag.  They were so good, so use what you have!

Print This Post Print This Post


Easy Gluten Free Pumpkin Pasta

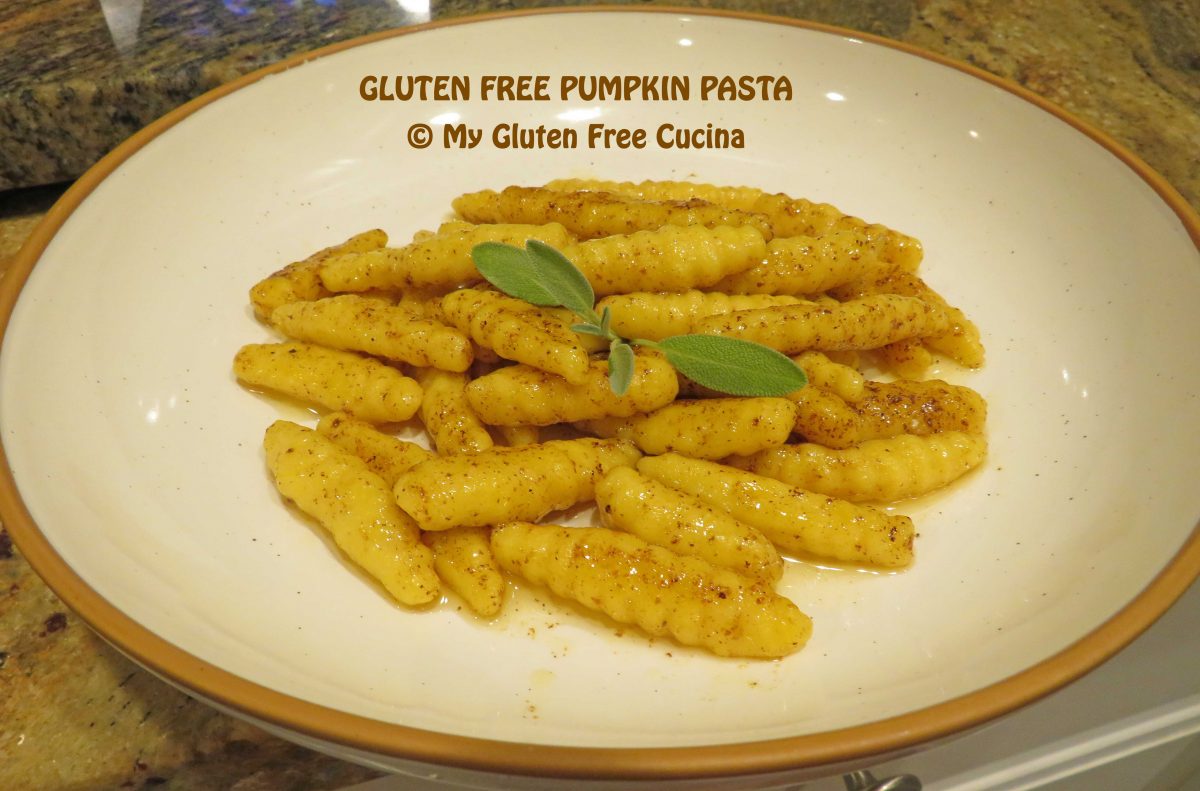
Look at that pasta!  The dough is enriched with egg and pumpkin puree, giving it a beautiful color and texture.  Yes, it is from scratch, and completely gluten free!
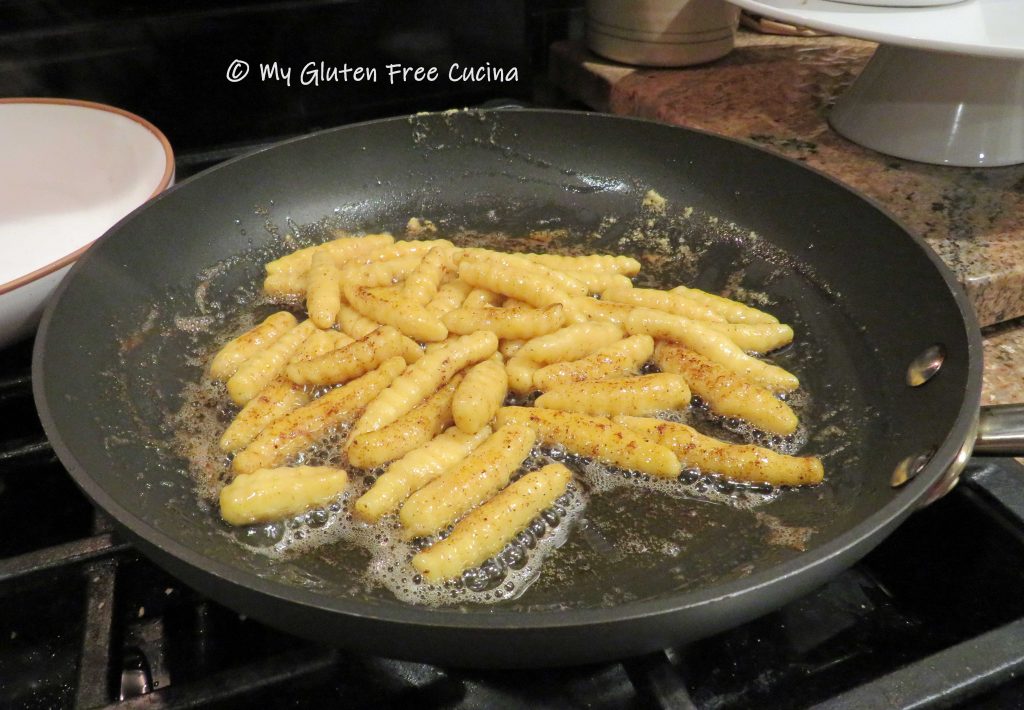
In the years before my Celiac diagnosis, I prided myself on my homemade pasta.  I made endless batches both by hand and with my KitchenAid®.  It’s been a while, but with the cooler weather I decided it was time to try it again.  This fall inspired pumpkin pasta was easy to make and I was so happy with the result!

This post contains affiliate links.

I don’t make huge batches of pasta anymore, but this little test batch is enough for a nice dinner for two.  The recipe is scalable, so you can adjust it to make a small dinner or a feast for the family.  I give you ingredient measures for 2, 4, 6 and 8 servings.

I used a Malloreddus board to create the ridged shape.  You can find them at specialty shops like Fante’s.  Similar to a gnocchi board, it’s a cool little gadget to have in your collection!  Did you know that traditional Malloreddus pasta is made with semolina?  Of course, that is off limits on the gluten free diet!
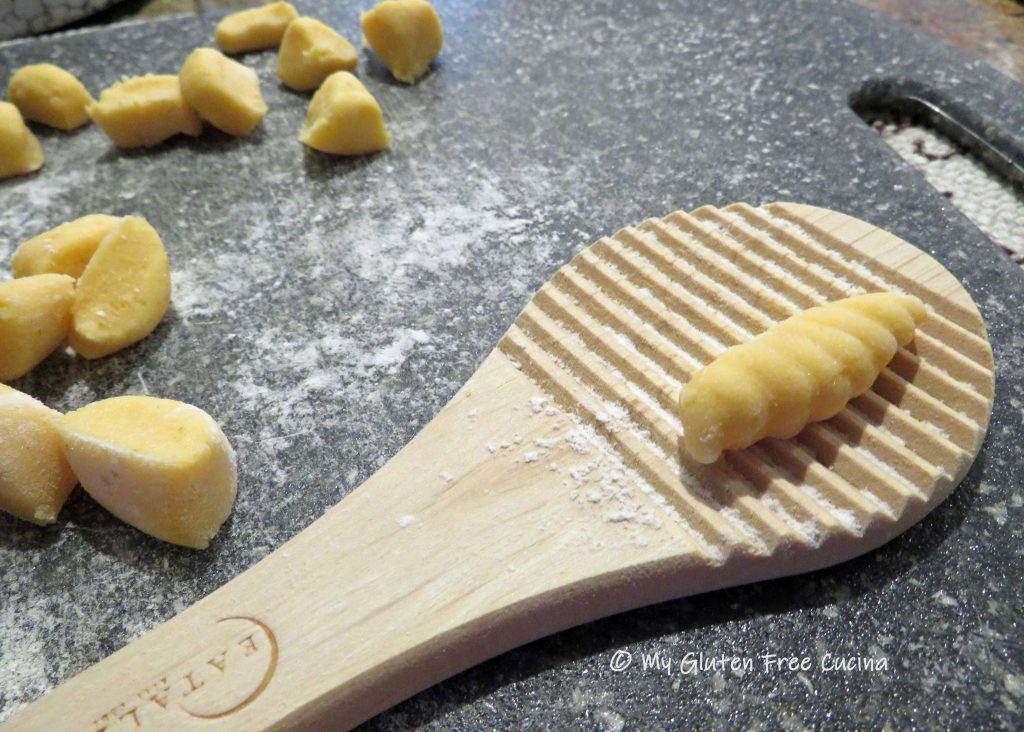
So, for this pasta I used Better Batter Original Gluten Free Flour, and wow, just wow!  The resulting dough was beautiful and silky smooth.  It was so easy to work with, reminiscent of the Italian 00 flour that I would have used back in the day.  Most importantly though, the pasta cooked beautifully and had great taste and texture.  Even the leftovers remained al dente.  Now that is a gluten free success story!

When you shop Better Batter, use my code MGFC30 at checkout to receive 30% off any non-sale item! 

Ingredients:

INGREDIENTS: 2 Servings 4 Servings 6 Servings 8 Servings
Better Batter Flour 70 G 140 G 210 G 280 G
Olive oil 3/4 tsp. 1-1/2 tsp. 2-1/4 tsp. 3 tsp.
Salt 1/8 tsp. 1/4 tsp. 3/8 tsp. 1/2 tsp.
Egg 1 large 2 large 3 large 4 large
Pumpkin Puree 1 tbsp. 2 tbsp. 3 tbsp. 4 tbsp.

Measure your ingredients according to serving size.  Be sure to use a scale to weigh the flour.  Whisk the egg, pumpkin, olive oil and salt in the bowl of a stand mixer.  Add the flour and mix with the beater attachment to form a smooth, soft dough.
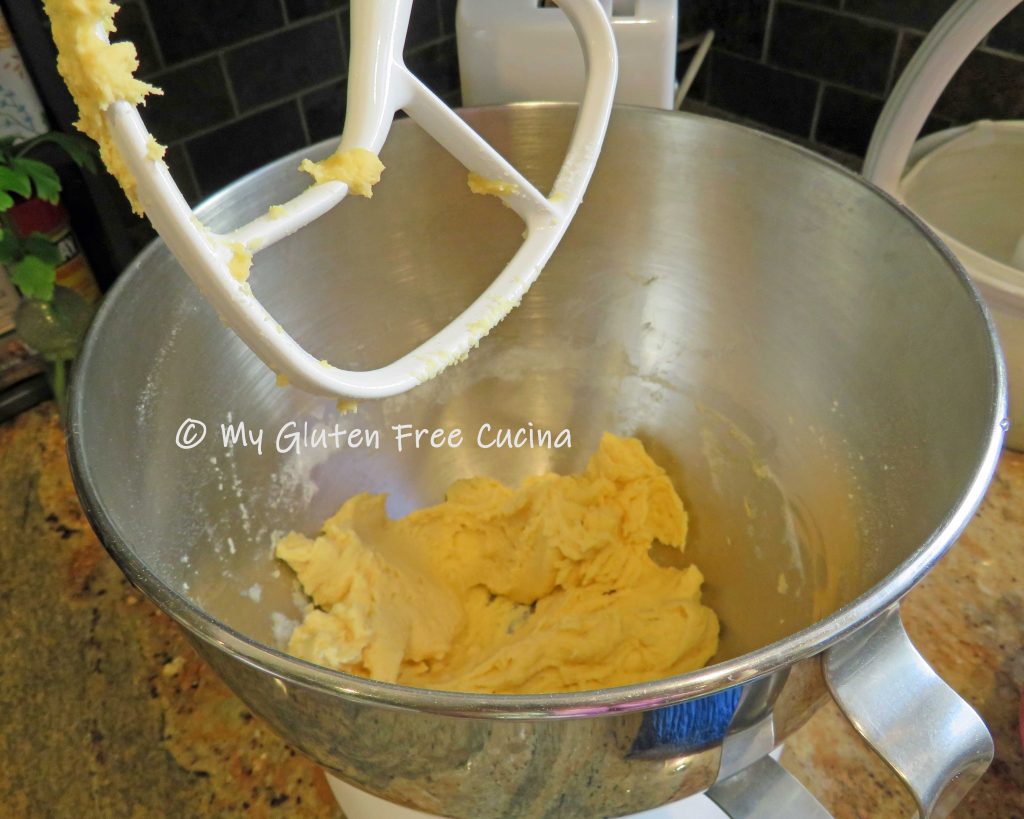
Gather the dough into a ball, wrap tightly in plastic wrap and let it rest for 15-20 minutes at room temperature.  This is a good time to wash the mixer bowl and attachments. 😉

Lightly dust a cutting board with flour.  Use a bench knife to cut the dough into 4 pieces.

Roll each piece of dough into a rope.  This is the moment when you know you have a good gluten free dough.  It rolls out beautifully without crumbling or breaking.

Cut each rope into 1/2″ pieces.

Using your fingers or a bench knife, gently roll each piece over the pasta board to create the ridges.

Line a baking sheet with wax paper and dust with flour.  As you form the pasta place it on the baking sheet.

Important- Always follow food safety guidelines.  If you are not going to cook the pasta immediately, refrigerate until ready.

How to serve it

You can dress this beautiful pasta with a simple brown butter sage sauce that comes together in minutes.  I grew sage in my container garden this year and it is amazing with browned butter.  If you don’t have an herb garden, try to find fresh sage at the market (or just leave it out).

INGREDIENTS: 2 Servings 4 Servings 6 Servings 8 Servings
Butter 1/2 stick 1 stick 1.5 sticks 2 sticks
Fresh Sage Leaves 8 leaves 12 leaves 16 leaves 20 leaves

When ready, set up a large pot of salted water for the pasta.  Bring the water to a boil while you make the sauce.  Melt the butter in a nonstick skillet.

As soon as the butter begins to foam, add the sage leaves.

As you stir the butter, you will notice the white solids beginning to separate.  Use a slotted spoon or spatula to push them to one side of the pan, skimming off as much as possible.  Watch carefully that the butter doesn’t get too dark.  Remove from the heat when it is just beginning to turn brown.  This shade is perfect.

When the water comes to a rolling boil, add the pasta and cook for about 3 minutes for al dente.  The pasta is done when it floats to the top (taste to see if you like the texture).
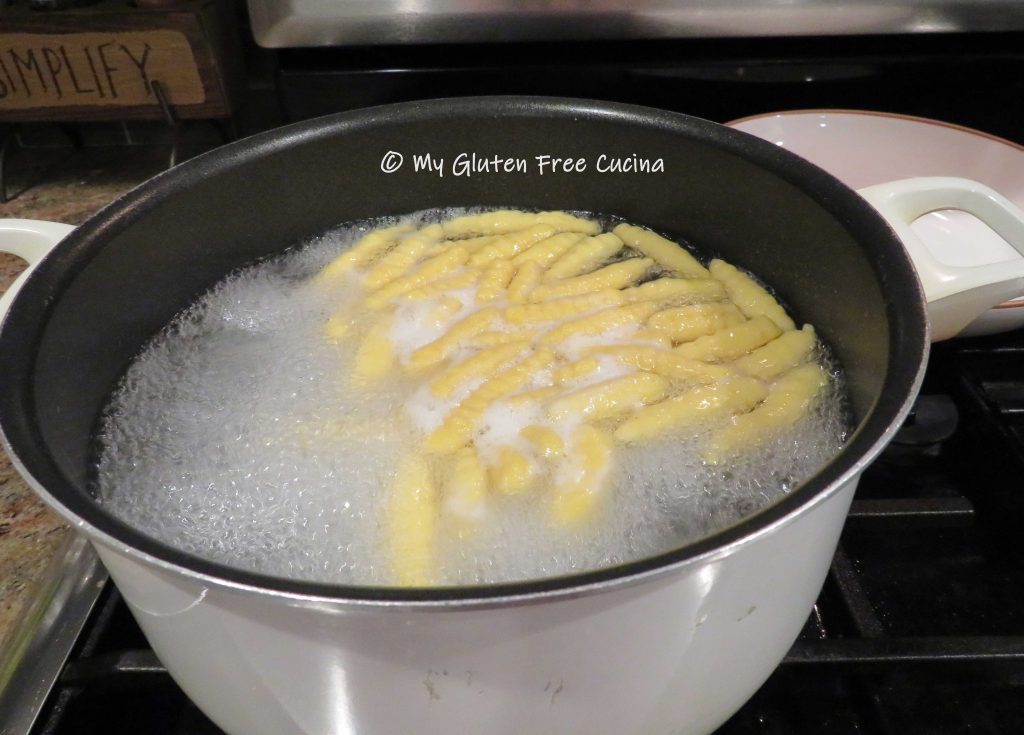
Use a spider strainer to remove the pasta and add it directly to the sauce.

Toss well to coat for 30 seconds and transfer to a serving platter.

More Serving Ideas:

This pasta is sturdy enough to hold up to a thick and chunky sauce, like my Harvest Pasta Sauce.  Made with tomato, carrot, squash and pumpkin, the flavors pair beautifully with the pumpkin pasta, perfect for a fall inspired dinner.  Enjoy it as a side dish or a main course.

Notes ♪Not all gluten free all-purpose flours are created equal.  In fact, they can vary greatly in terms of ingredient content.  You can try other brands, but I strongly recommend you use Better Batter Gluten Free Original Blend for this recipe.  It was absolutely perfect for making pasta, and what a pleasure to have a smooth silky dough that doesn’t crumble in your hands.  I also used this all-purpose flour to make a gluten free version of My mother’s Italian Wine BiscuitsTry it, you will not be disappointed!

Print This Post Print This Post


Butternut Squash and Pear Soup

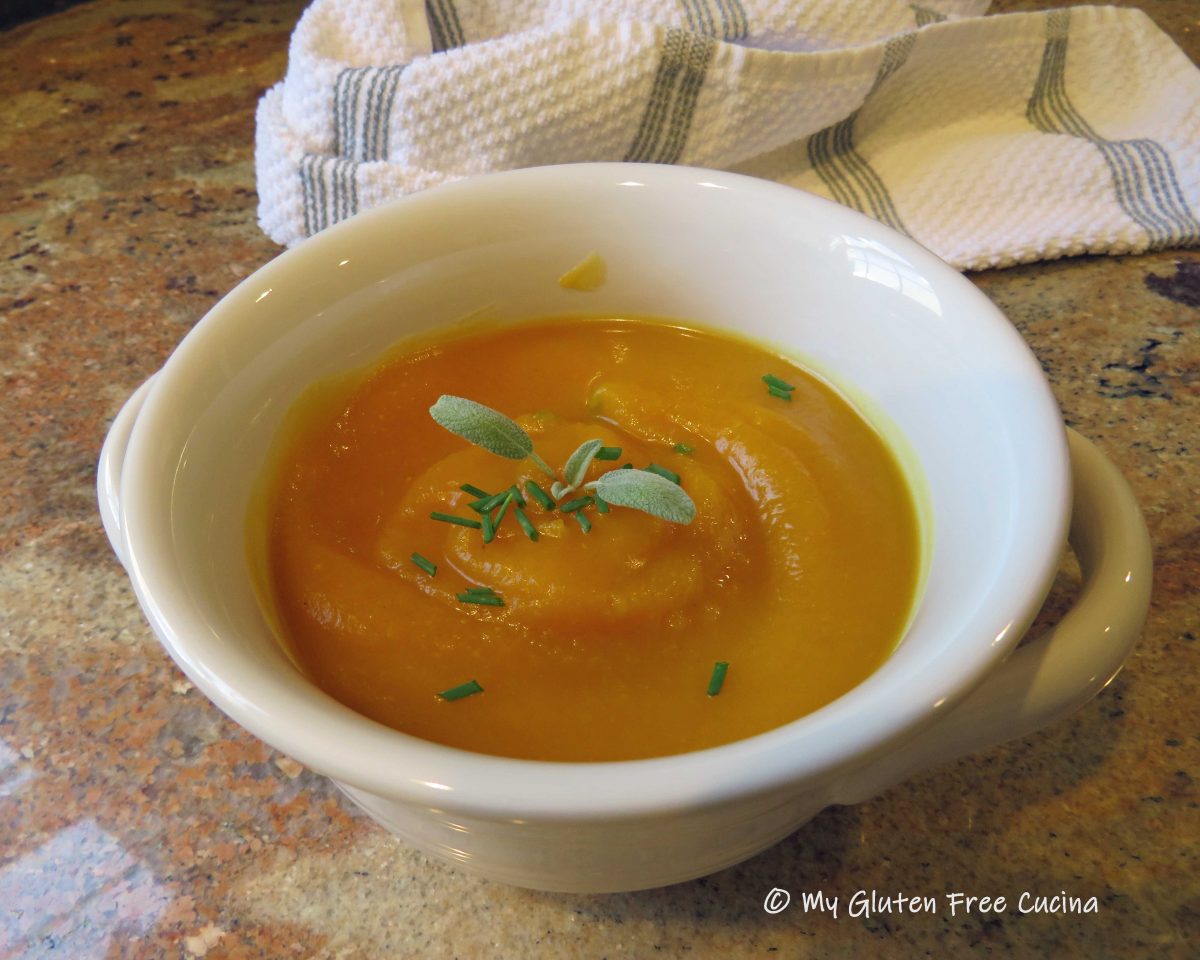
How many soup recipes can you prepare in under an hour?  Well here’s one that you will want to pin for the holidays!  It’s elegant enough for your Thanksgiving table and quick enough to prepare after work.  The butternut squash and pear combo is complemented by just the right amount of onion and garlic, the perfect balance of sweet and savory.  Celebrate the season with a comforting bowl of soup that is good for you!

This post contains affiliate links.

About 6 Servings 

Ingredients:

  • 32 oz. carton (4 cups) gluten free chicken broth
  • 1 tsp. olive oil
  • 1 tsp. butter
  • 1 cup onion, diced
  • 1/4 tsp. turmeric
  • 1 tbsp. grated fresh ginger (or 1/2 tsp. powdered)
  • 1 clove garlic
  • 1 tsp. sea salt
  • fresh ground pepper to taste (about 1/2 tsp.)
  • 1 medium butternut squash, peeled and cubed (about 4 cups)
  • 2 pears (I used Bosc), peeled and cubed
  • 1/2 tbsp. gluten free Worcestershire sauce
  • 1 tsp. sugar
  • 1/2 cup half & half (optional)

Preparation:

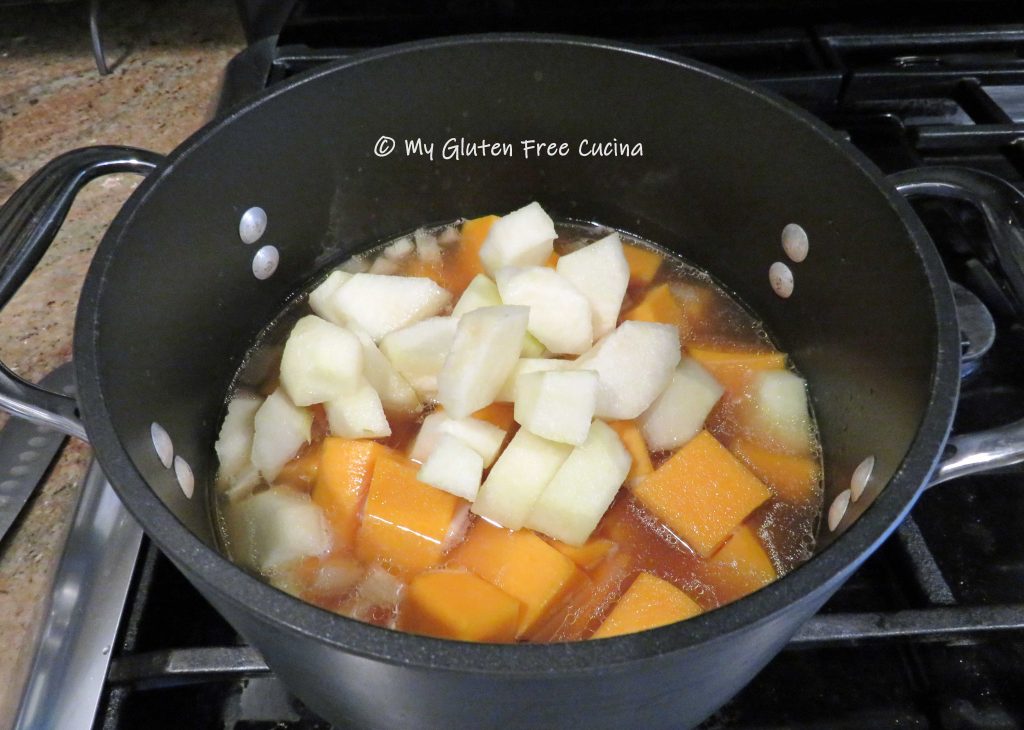
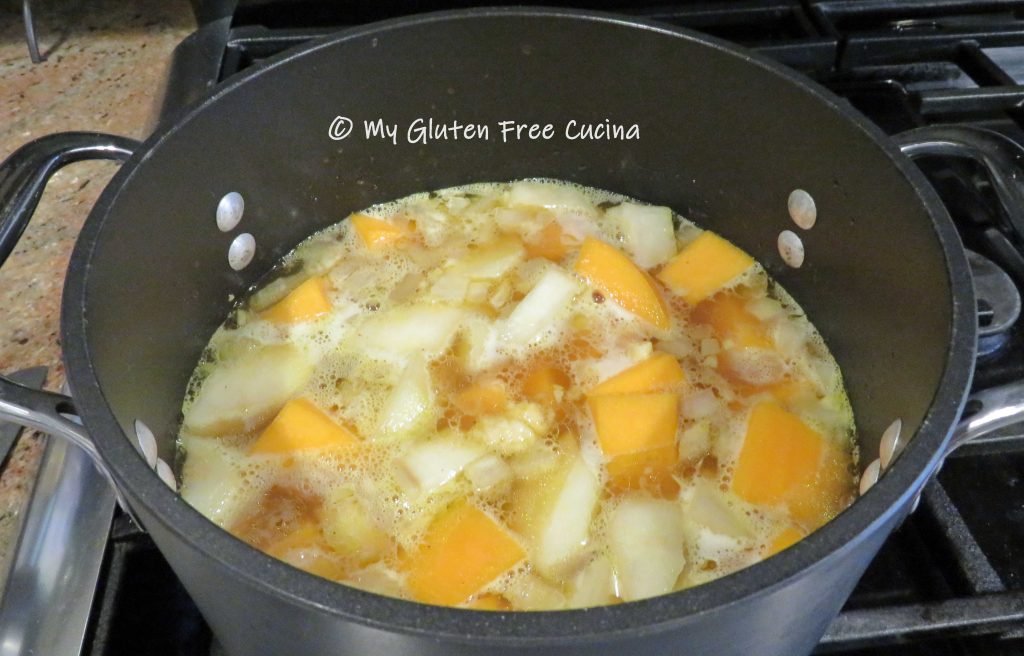
In a Dutch oven or 4-quart stock pot, sauté the onions and garlic in olive oil and butter.  Add the remaining ingredients through sugar, and simmer until the squash is soft.

Remove from heat and puree with a stick blender.  If you like, stir in a drizzle of half & half for a smooth, creamy finish.

That’s it!  Serve with a simple garnish of fresh herbs.  So pretty and festive.

Special thanks to my cousin Donna for this recipe that has become a holiday tradition

Notes ♪♫ Most of the ingredients in this recipe are naturally gluten free.  I used Swanson brand chicken broth, and Lea and Perrins Worcestershire sauce.

Print This Post Print This Post


Garlicky Green Beans

Quite possibly my favorite vegetable, I have always loved green beans.  Maybe because my grandfather used to grow them in his garden years ago.  As a child, I remember seeing rows and rows of beans that he would harvest and can for the winter months.

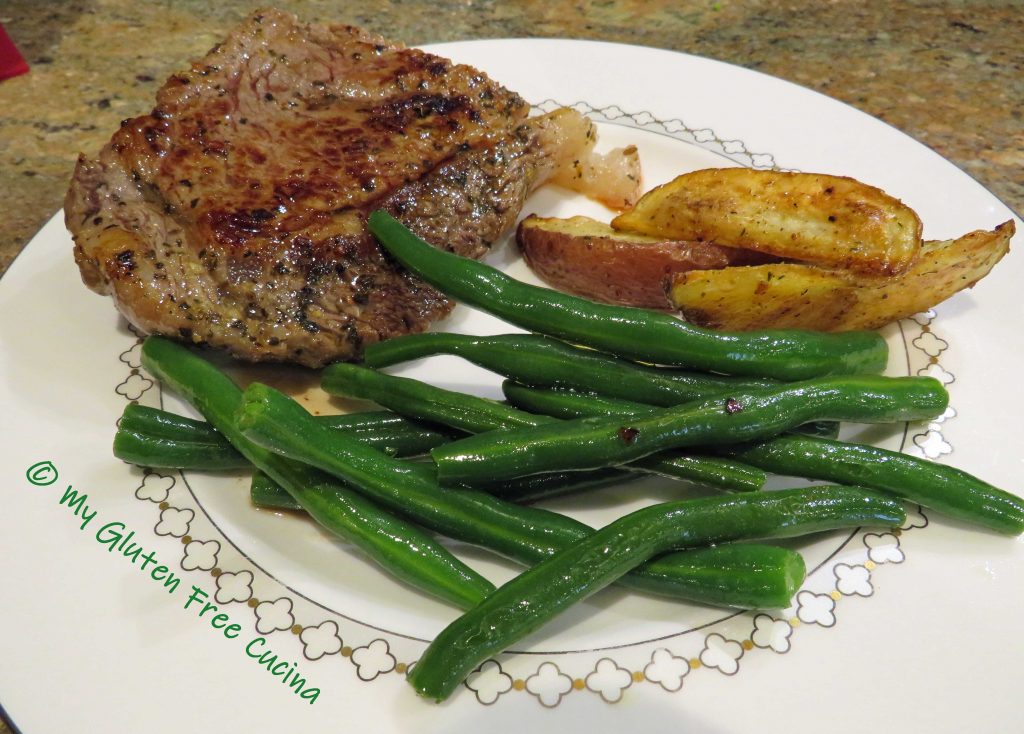
Like most vegetables, this one is best when you buy fresh.  After a quick 3-minute steaming I’ll finish them in a simple garlic oil with red pepper flakes for a big pop of flavor!

This post contains affiliate links.

First, wash and trim the ends of the green beans.  You can cut them in half or leave them full length.  I set up a pot of boiling water with a steamer basket and steamed the green beans for 3 minutes.  Do it in batches so you don’t crowd them.

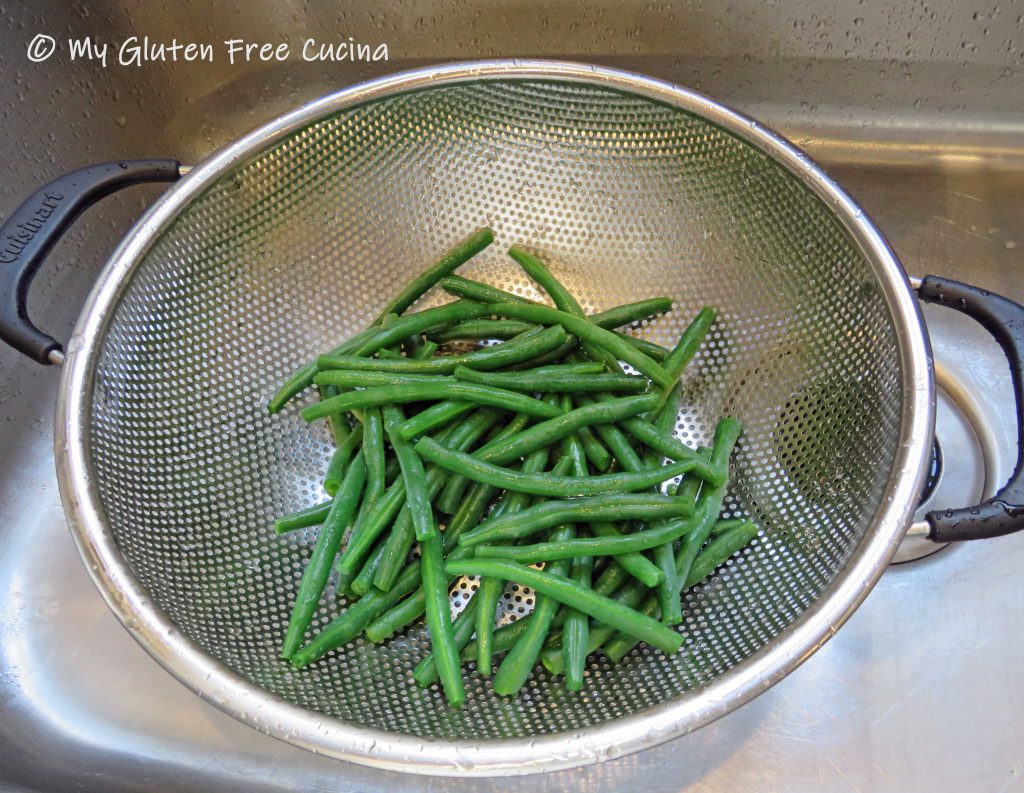
After three minutes, drain in a colander and shock them under cold water to stop the cooking.  This is how you get that vibrant green color!

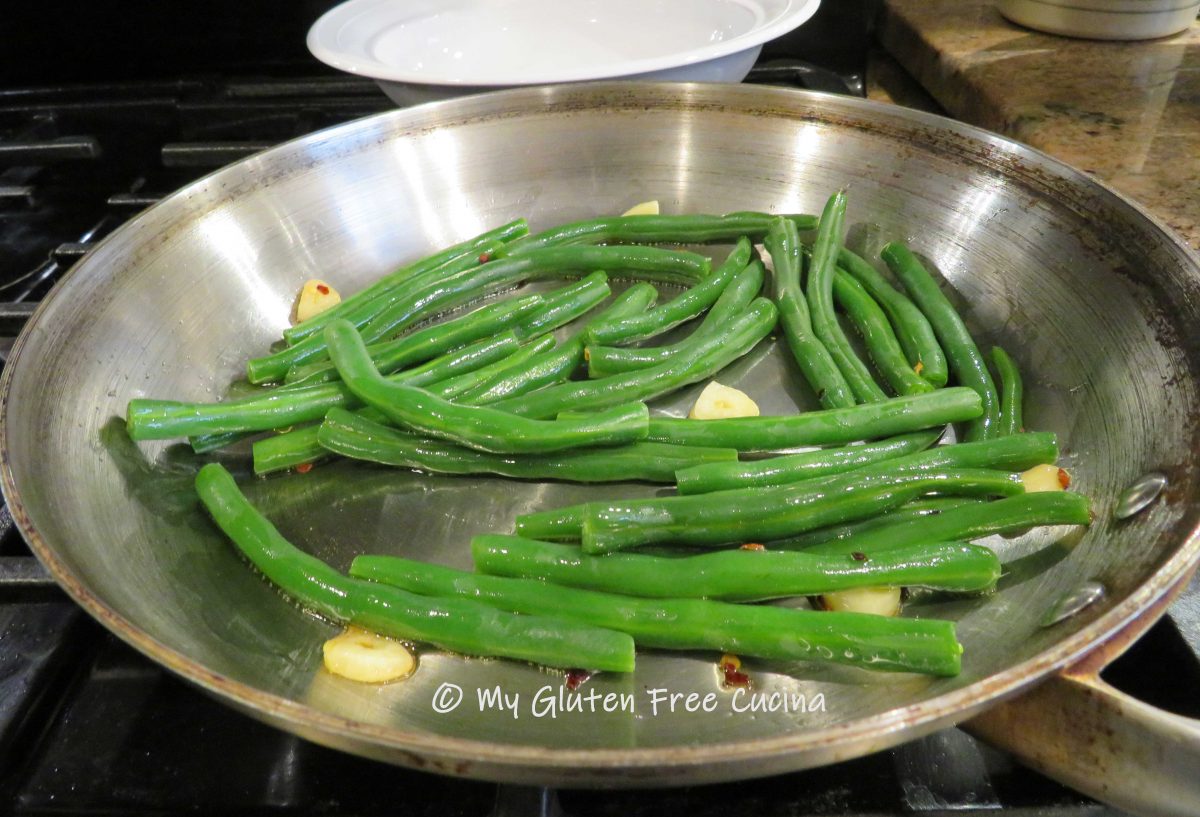
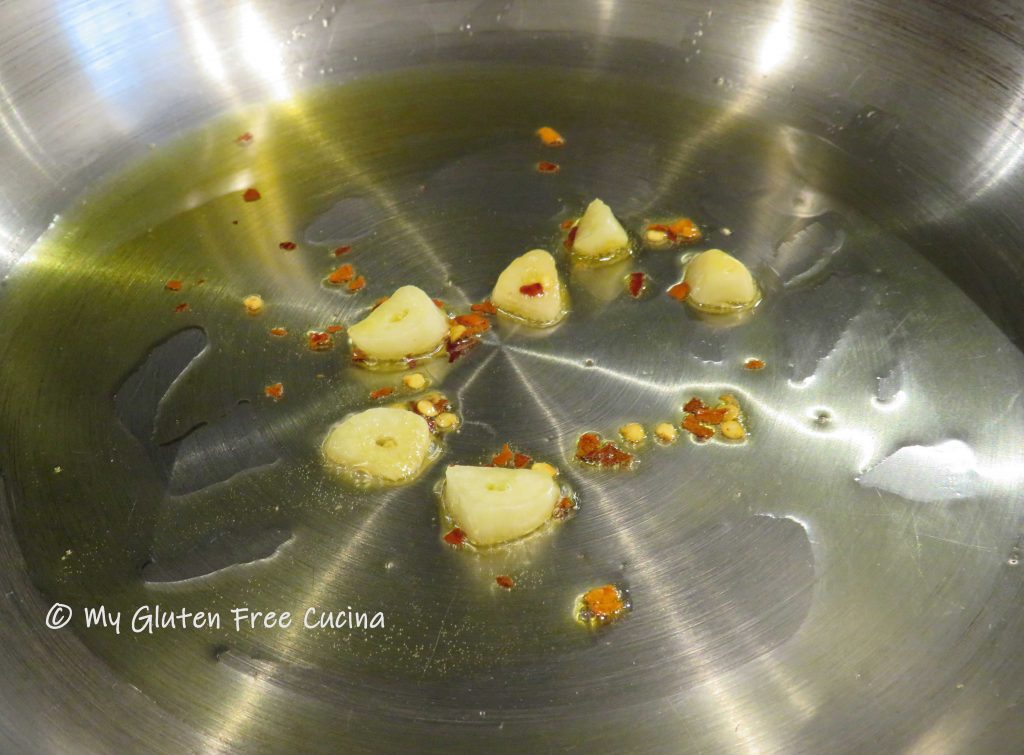
Next, warm a tbsp. of olive oil in a stainless-steel skillet on the lowest heat.  Add one sliced garlic clove and let it mellow and flavor the oil for about 10 minutes.  Don’t let it burn.  Right before adding the green beans, throw in a pinch of red pepper flakes (more if you like the heat) and let them toast for 30 seconds.

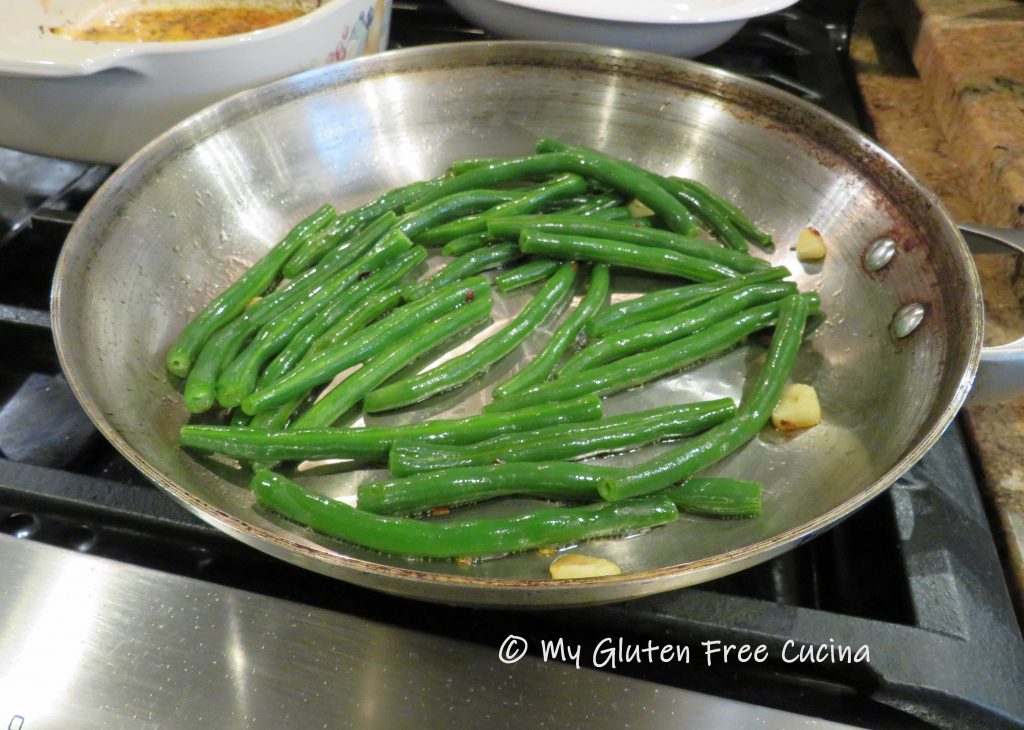
Add the green beans and toss to coat.  You can remove the garlic or leave it in.  How long to cook depends on how you like your beans.  About 2 minutes for crisp tender, or more if you like them softer.  Add salt if you like.

That’s all there is to it, the perfect accompaniment to so many meals.

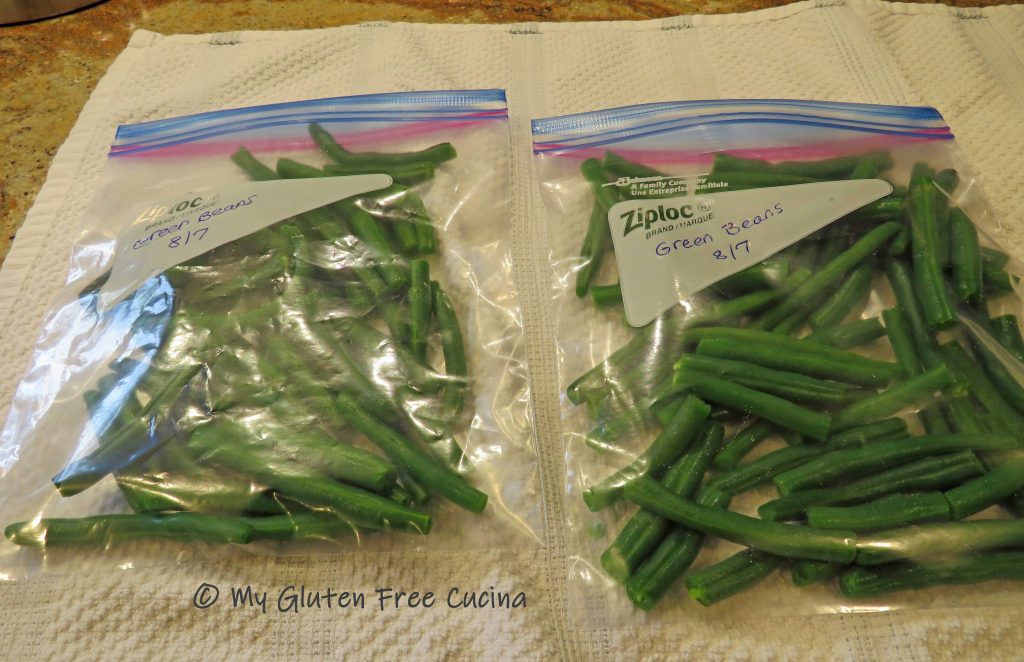
Notes ♪♫ After steaming the green beans for 3 minutes you can store them in the freezer.  You will preserve much of their fresh flavor, color and texture, and still have the convenience of frozen veggies!  Spread them out on a dish towel to dry before freezing, to remove as much moisture out as possible.  Divide them into meal sized portions and place in freezer safe bags.

Print This Post Print This Post

Hash Brown Waffles

Check out these fun, easy to make Hash Brown Waffles.  We have potatoes fairly frequently at our house so I am always trying to keep things interesting!

What makes this recipe so easy?  I used frozen, shredded hash brown potatoes.  Not only do you avoid having to shred them yourself, but you can skip the step of wringing out all the moisture.

I love using hash browns in breakfast casseroles.  Check out my Gluten Free Sausage and Hash Brown Casserole.  I made it for Easter brunch this year and it was delicious!  But that big bag of hash browns was way too much for the recipe.  So when I noticed the half empty bag sitting in back of the freezer I thought I’d try something different to use them up.

When shopping, look for plain, unseasoned shredded hash browns.  Not all hash browns are gluten free, so check for the gluten free label or verify that there are no gluten containing ingredients.

4 Servings, Serving size = 1 waffle

This post contains affiliate links.

Ingredients:

  • 1/2 lb. (8 oz.) frozen gluten free shredded hash brown potatoes
  • 1 tbsp. canola oil
  • 1/4 tsp. garlic granules
  • 2 tsp. dried onion flakes
  • 1/4 tsp. seasoned salt
  • salt and fresh ground pepper, to taste
  • 1/8 tsp. paprika
  • 1 egg
  • cooking spray

Preparation:

Take the hash browns out to thaw about 30 minutes ahead of time, they do not have to be completely defrosted.

Whisk together the egg, oil and seasonings.

Add the hash browns and stir together with a spatula until evenly coated.

Heat the waffle iron to 350º and mist with cooking spray.  Scoop the hash brown mixture onto the waffle plate and spread them out in an even layer with a spatula.  Use all of the hash browns, they will cook down quite a bit as the potatoes release their liquid.

Cook for 10 minutes, then check every few minutes to see how they’re doing.  Mine took about 20 minutes total to get nicely browned with crispy edges.

Gently lift one corner and slide a spatula underneath to move the waffles to a cutting board.

Use a knife or pizza wheel to break waffles into 4 sections.

The waffles are best eaten immediately.  They will lose some of their crispiness as they cool off.

If you have leftovers, they can be reheated on a pizza stone, in an air fryer, or in the toaster (toaster bags are recommended!).

Notes ♪♫ Who knew that you could make something other than waffles on a waffle iron?  Since I got my new waffle maker, I’ve had such fun experimenting.  Check out my Gluten Free Crab Cake Waffles, and of course my favorite Gluten Free Banana Waffles!

Print This Post Print This Post

Gluten Free Corn Cakes

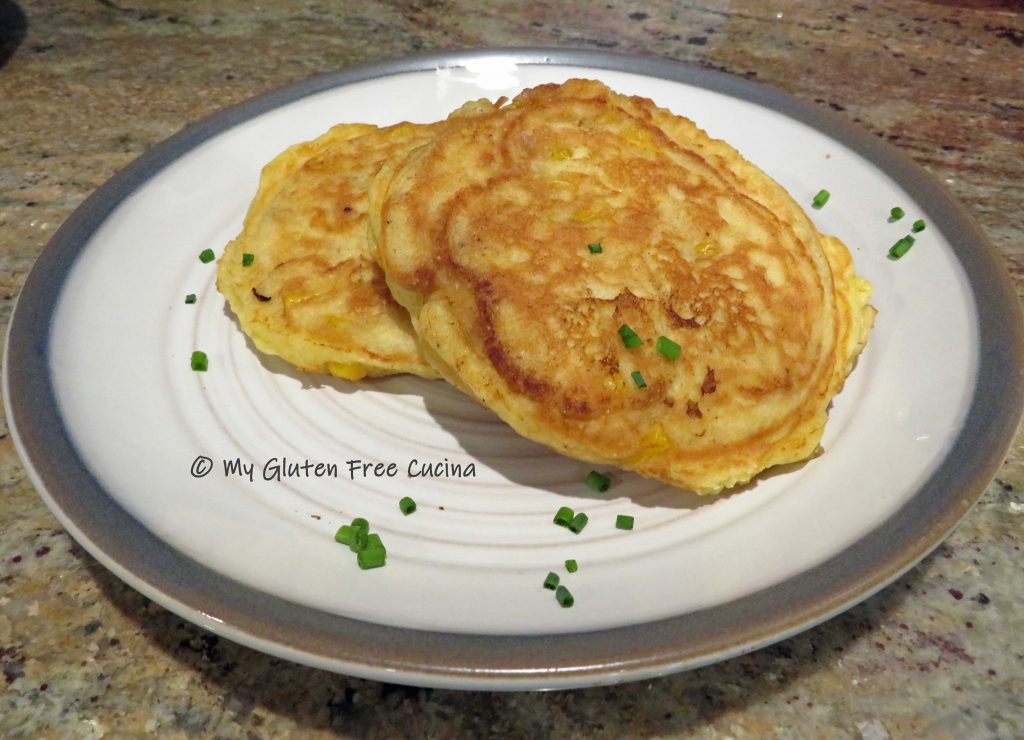
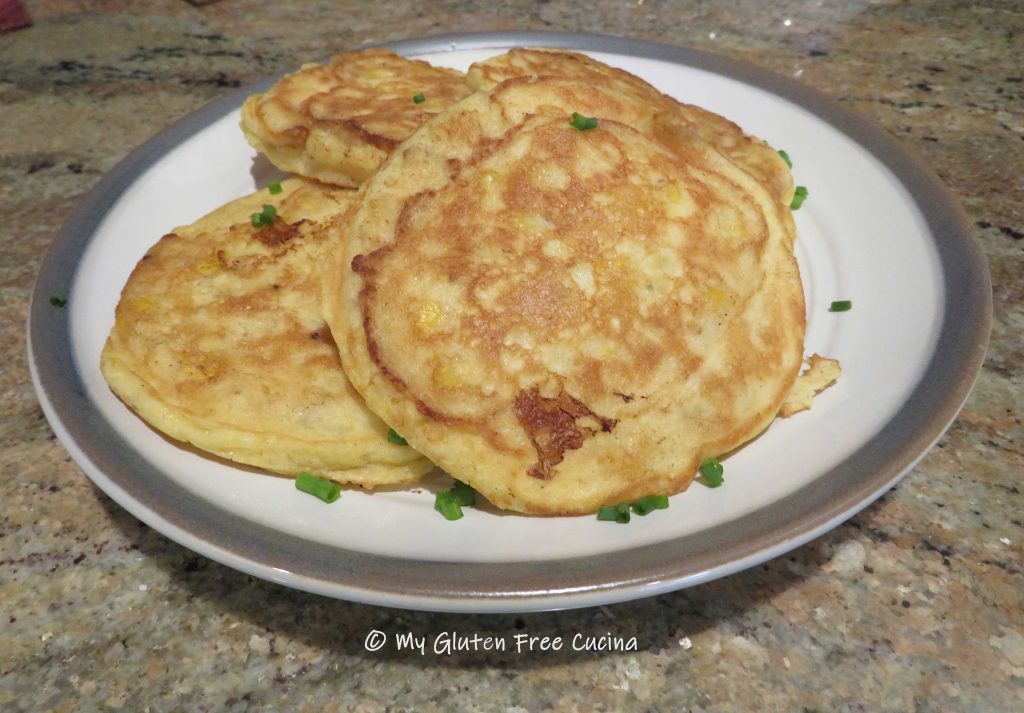
Are you tired of the usual rice and potato sides?  When you’re gluten free, it can really get monotonous.  So tonight I thought I’d try something different.  Popular in the South, I had (can you believe) never had corn cakes before.  I just made a small batch for the two of us to taste, and wow, we both loved them.  Corn Cakes would be a fun and easy side for a BBQ dinner or potluck.  You can easily double or triple the recipe, and add more or less spice to suit your family’s taste.  Making them gluten free was easy, just by swapping out the flours.

This post contains affiliate links.

4 Servings

Ingredients:

Preparation:

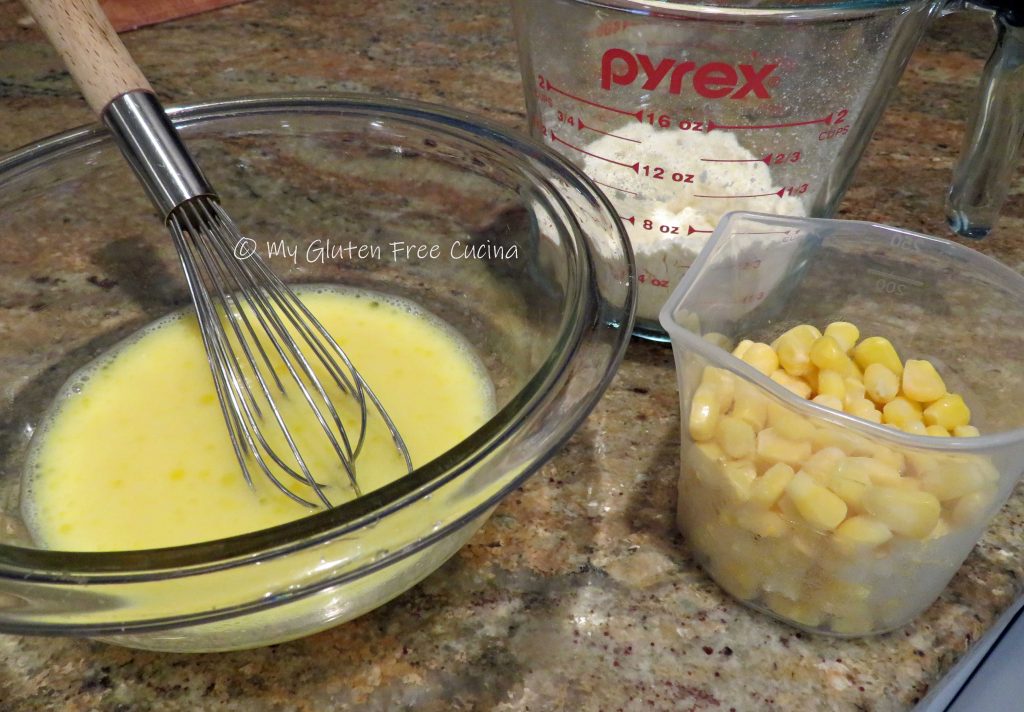
Whisk together the flour, corn meal, salt, baking powder and seasoning.  In another bowl, whisk the egg, milk and oil.

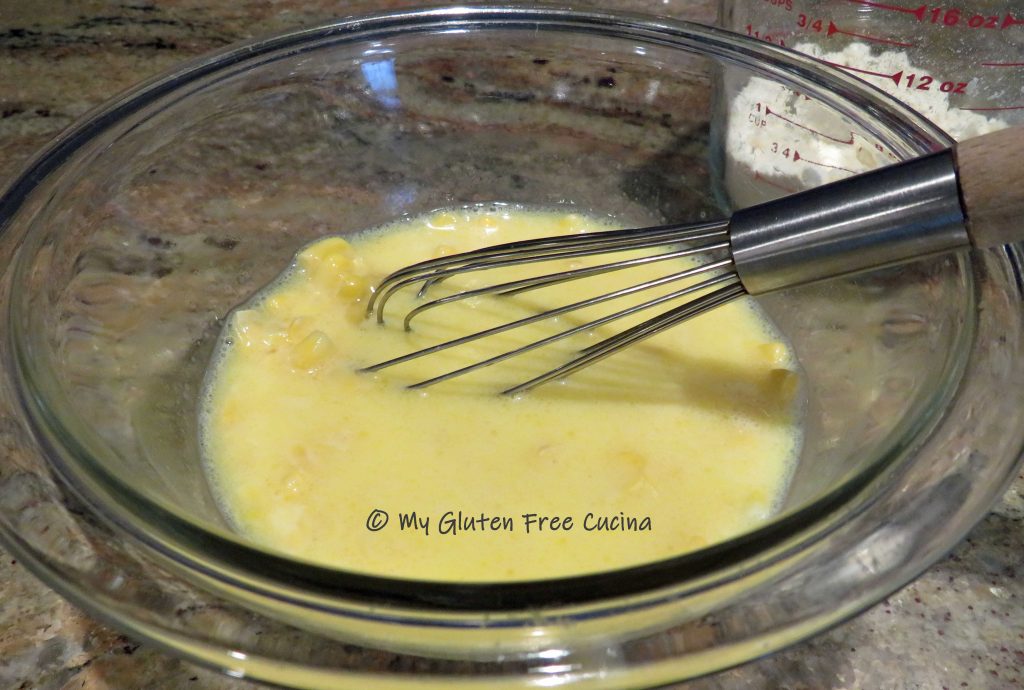
I took my corn kernels out to defrost about 30 minutes earlier.  Stir them into the egg mixture to finish thawing while you heat your griddle or skillet.

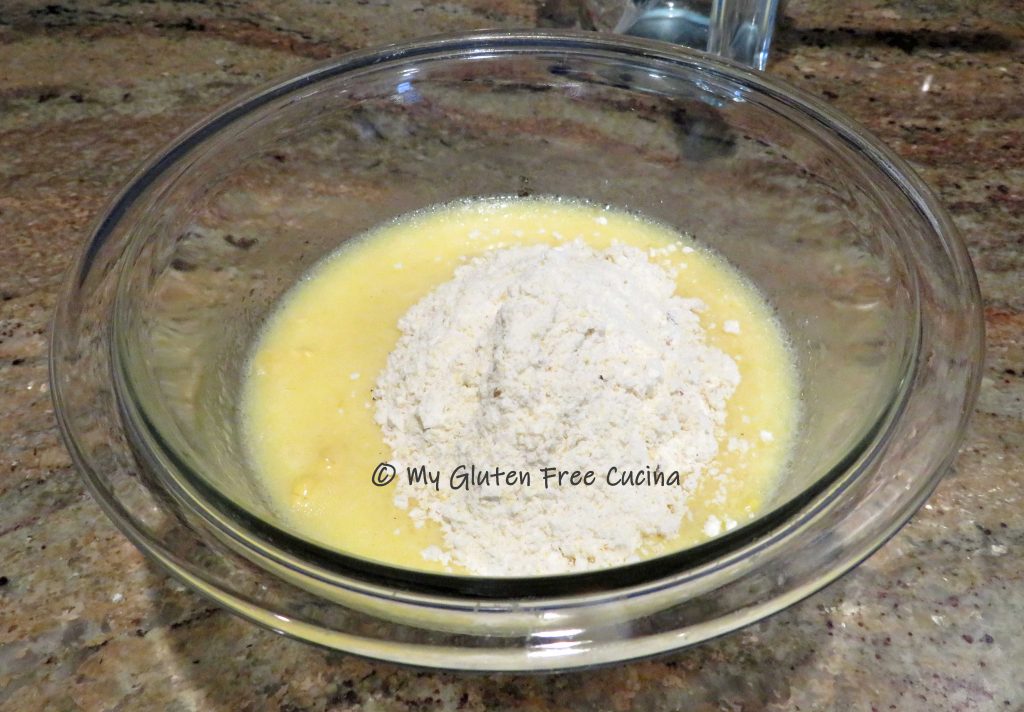
Stir the dry ingredients into the wet.  You will have about 1 of cup batter.

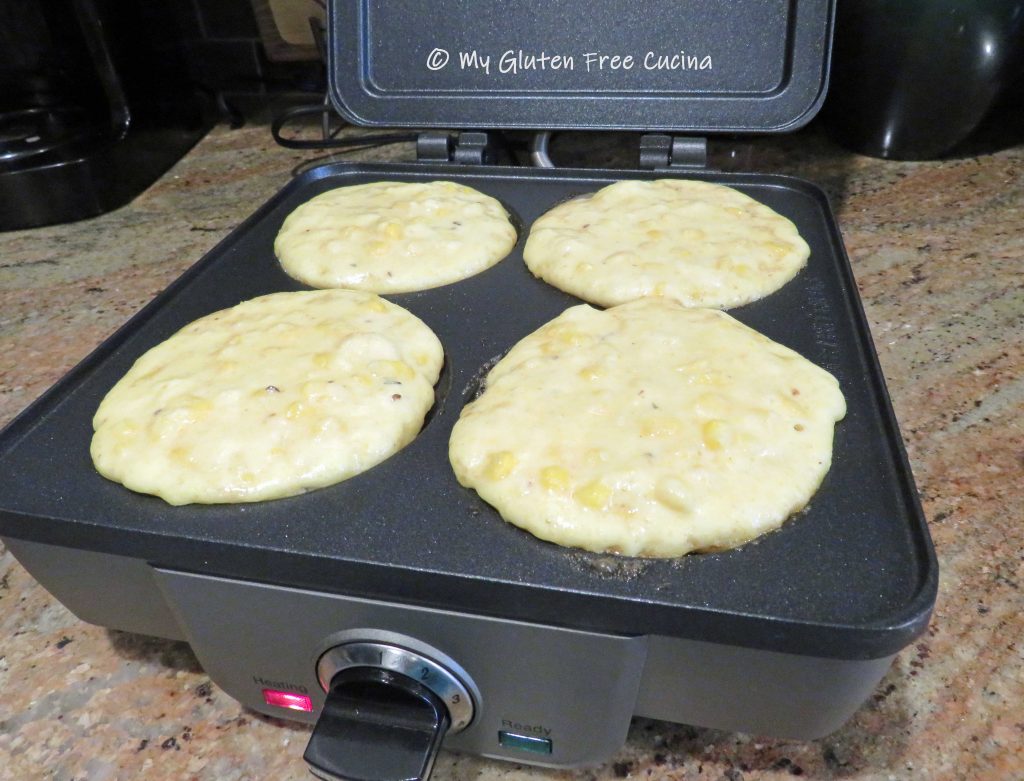
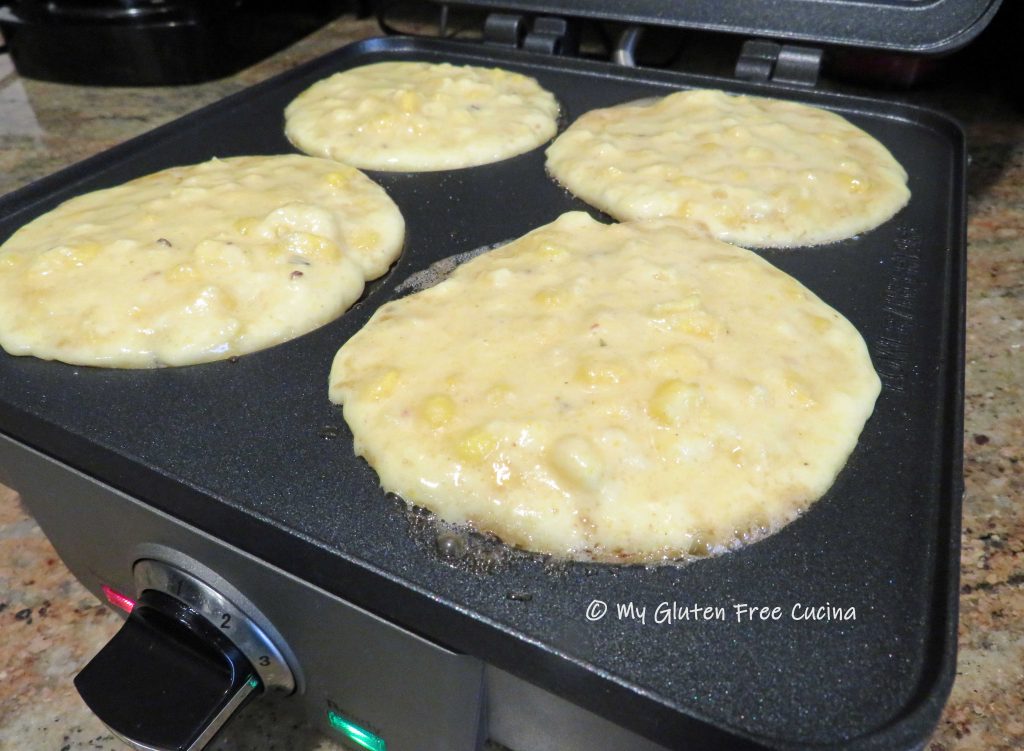
When I first made this recipe, I used a large nonstick skillet.  Today I made them on my new waffle maker because I wanted to try out the pancake plates.  I preheated it to 350° and brushed with butter.  I ladled the batter into the 4 pancake cups, about 1/4 cup each.

Cook them for about 4 minutes, until the bottoms are set and you can see a few bubbles in the batter.

Carefully turn them over with a spatula and cook 3-4 minutes longer.

Check the center with a toothpick, if it comes out dry, they are done.  Serve hot or at room temperature.

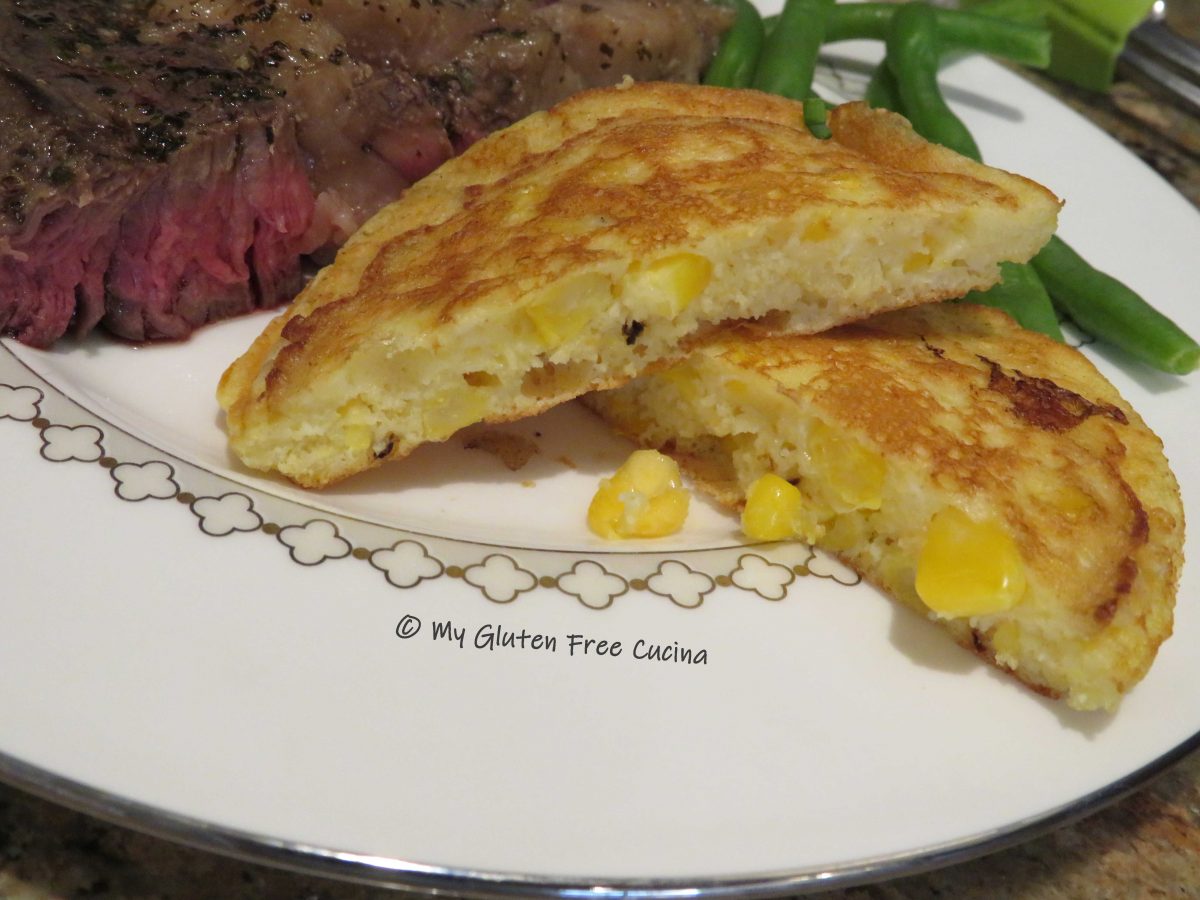
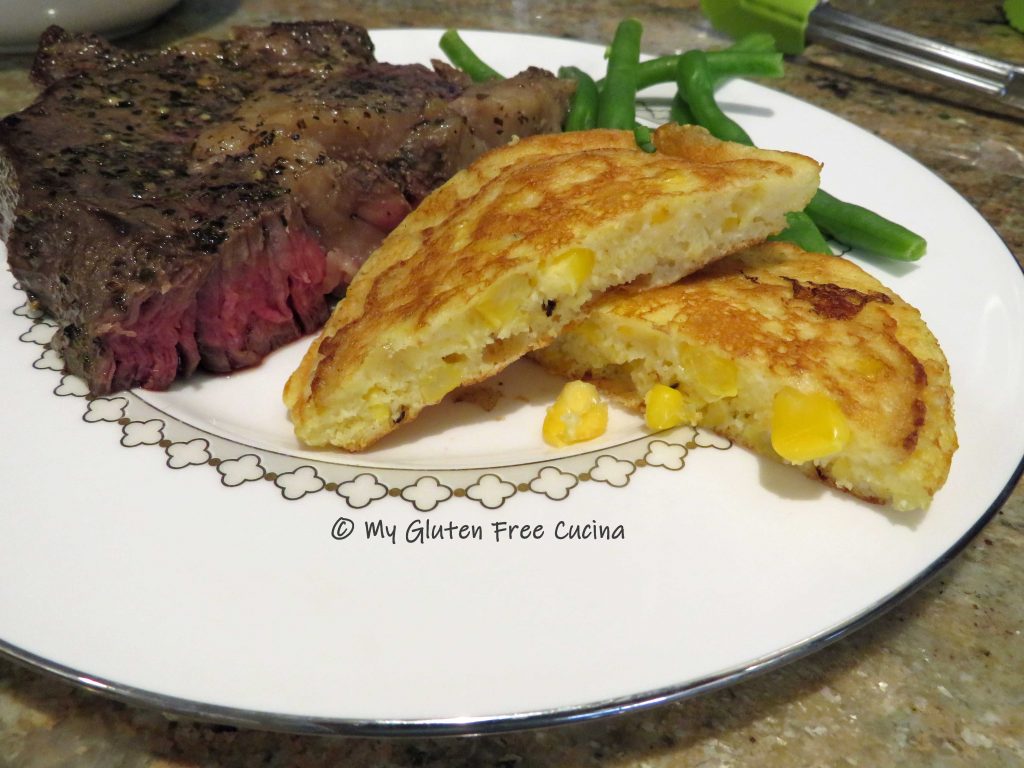
This is a fun side that goes with so many things, from your favorite BBQ fare to a casual steak dinner.

Notes: ♪♫ I used this Mexican Spice Blend to kick up the flavor of my corn cakes.  Made with Chipotle Chile, cumin, onion powder and oregano, it is a salt free blend with some heat!  Since the recipe already has salt and baking powder, I didn’t want to add more sodium.  If salt isn’t an issue for you, you can sub your favorite gluten free seasoned salt and make it as mild or spicy as you like!

Print This Post Print This Post
Slow Cooked BBQ Baked Beans

Be the star of your next cookout or potluck with these delicious, slow cooked beans.  The best part of the recipe, it cooks overnight!  This leaves you free to do other things the day of your event.  Be sure to have all of the ingredients on hand, to allow enough time for soaking and cooking, 24 hours total!  For best flavor and texture, don’t try to speed up the recipe.  Start soaking the beans in the morning, and prepare them for the crockpot in the evening.  You may find it hard to sleep, with all the amazing aromas coming from your kitchen!

This is an old family recipe that I have adapted to be gluten free.  The biggest change was that I left out beer, and substituted an equal amount of club soda.  Other than that, I just had to check the ingredient labels on my bacon, BBQ sauce, ketchup and Worcestershire.  Are beans gluten free?  Yes, they are a naturally gluten free food!  I always give them a thorough rinse before cooking to be on the safe side, in case of cross contact during processing.

This post contains affiliate links.

Ingredients:

  • 1 pound bag of navy beans
  • 12 oz. package of gluten free, lower sodium bacon (I used Smithfield)
  • 1/2 Vidalia or sweet onion, cut into small dice
  • 3 garlic cloves, minced
  • 1 cup of club soda
  • 3/4 cup gluten free BBQ sauce (I used Stubbs Smoky Mesquite)
  • 1 cup dark brown sugar
  • 1/4 cup gluten free, unsalted ketchup
  • 2 tbsp. molasses
  • 1 cup of Jack Daniels Tennessee whiskey
  • 2 tsp. dry mustard powder
  • 1/4 cup apple cider vinegar
  • 2 tbsp. gluten free Worcestershire sauce
  • up to 1 cup of water, only if needed, to adjust thickness
  • cooking spray

Preparation:

In the morning, place the beans in a sauce pan and add at least 6 cups of cold water.  Cover and soak (no heat) for 10 hours.  For guaranteed tender beans, never salt the soaking water!

The beans will double or more in size.

After 10 hours, drain the beans and rinse them thoroughly.  Return them to the pot, cover with water and bring to a simmer.  Cook for 30 minutes then drain and rinse again.

Set up your crockpot and mist it with cooking spray.  While the beans simmer, heat a large nonstick skillet and cook the bacon until crisp.  Drain on paper towels, then crumble or chop into 1/2″ pieces.

Skim the bacon fat and remove any burnt debris.  You should be left with a few tablespoons of clear fat in the pan.  Add the onions and cook just until lightly browned.  Add the garlic, stir for a few seconds then pour everything into the crockpot, fat included.

Add the club soda, sugar, ketchup, molasses, whiskey, mustard, cider vinegar and Worcestershire sauce to the crockpot and stir well to combine with the onion mixture.  Finally, stir in the drained beans and the chopped bacon.

Cover and cook for 12 hours on low overnight.  Stir every 4 hours (or whenever you wake up) and check the consistency as the sauce thickens, if the mixture is too dry add a bit more water.

After 12 hours, set the crock-pot to keep warm.  Let the beans sit for 2 more hours on warm to finish absorbing the liquid.

You can see why this recipe has become a family favorite!

You’ll get rave reviews when you make this dish!  I hope you will give it a try for your next family gathering!

Notes ♪♫ I opt for lower sodium ingredients wherever possible.  Given the amount of salt in the bacon, you will not notice if it is absent in some of the condiments.

Print This Post Print This Post