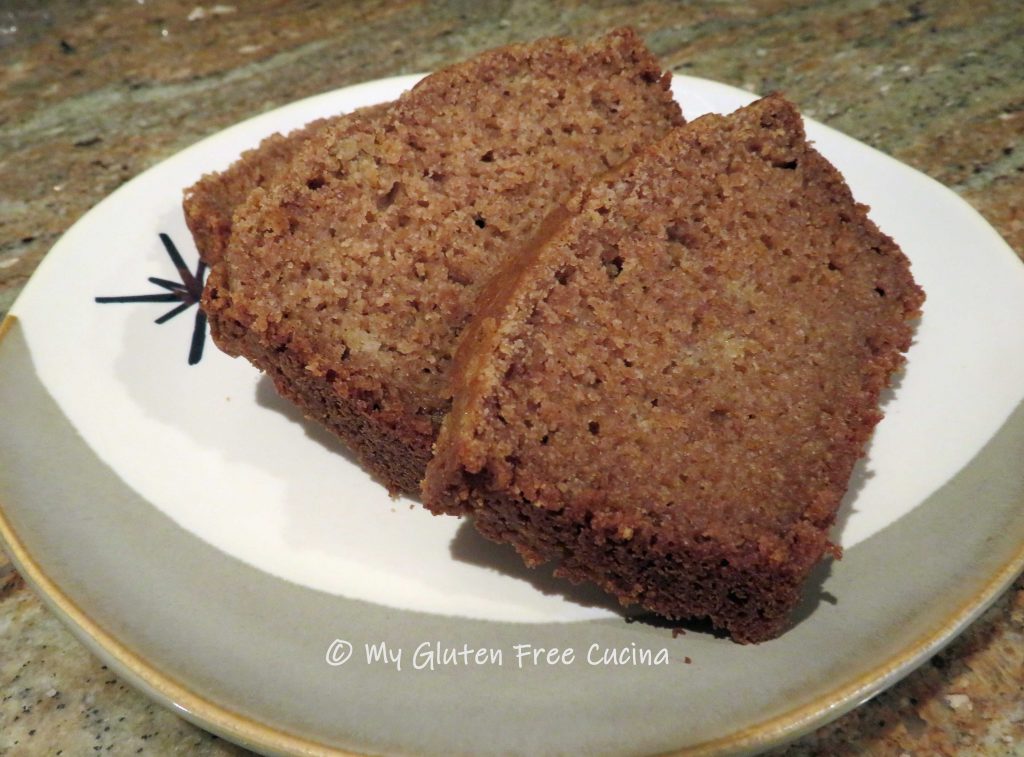
Don’t wait for apple season to make this delicious, Spiced Applesauce Loaf! It’s perfect for coffee breaks, brunches, and snacks. It would be lovely to take along when visiting a friend or neighbor. So easy to prepare, and everyone will love it, kids and adults alike.
First, check out the ingredient list. You probably have most of these items right in your pantry! Then, in addition to being gluten free I also give you some options to lower the sugar, as I know many of you have additional diet restrictions.
This post contains affiliate links.
Dry Ingredients:
- 180 g. (1-1/2 cups) gluten free all-purpose flour
- 1/2 tsp. salt
- 1 tsp. cinnamon
- 1/4 tsp. nutmeg
- 1/8 tsp. ginger
- 1/8 tsp. cardamom
- 1/2 tsp. baking soda
- 1/4 tsp. baking powder
Wet Ingredients:
- 1 large egg
- 3 tbsp. egg whites
- 1/4 cup softened butter
- 1/4 cup canola oil
- 1 cup unsweetened applesauce
- 1/4 cup sour cream
- 1/2 cup brown sugar or 1/4 cup Truvia Brown Sugar Blend
- 1/2 cup white sugar or 2 tbsp. + 2 tsp. Truvia Cane Sugar Baking Blend
Preparation:
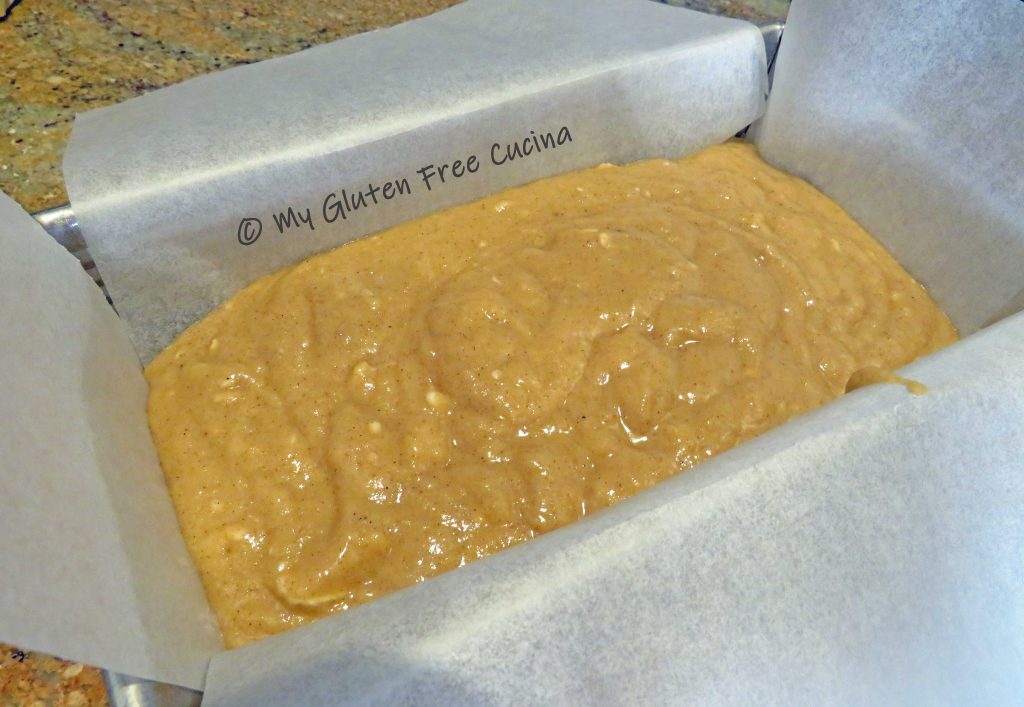
Whisk together all of the dry ingredients. Combine the wet ingredients in the bowl of a stand mixer with the paddle attachment and beat until smooth. Add the dry ingredients to the wet and blend together just until moistened.
Line an 8″ loaf pan with parchment and scrape the batter into the pan.
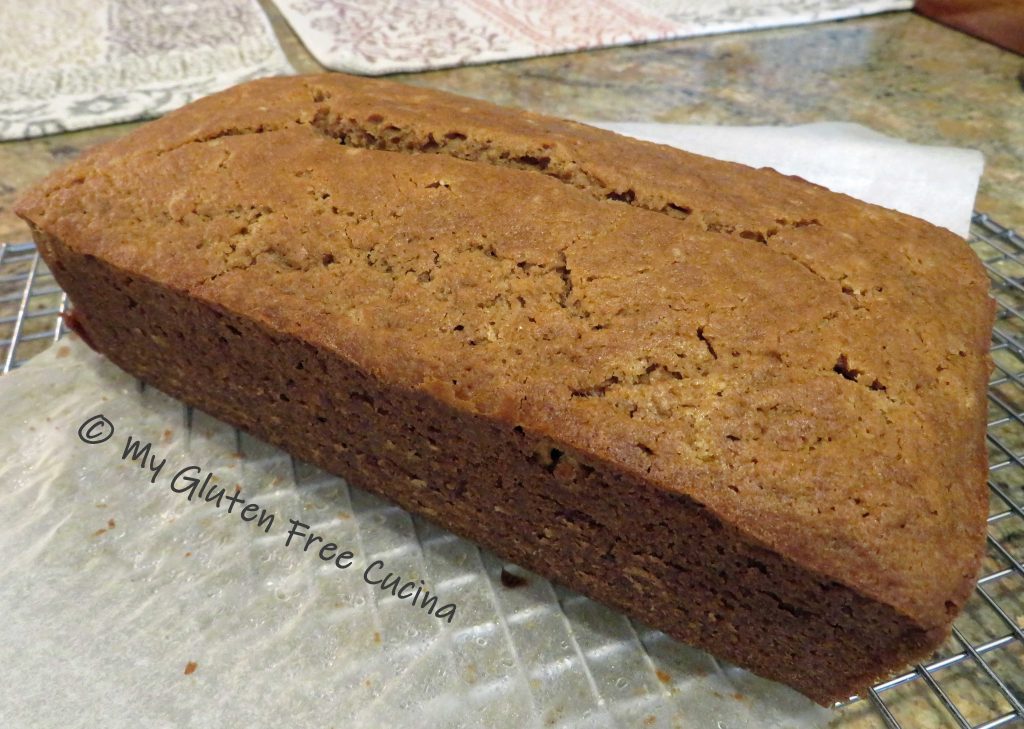
Bake for 1 hour at 350°. When it’s done, the loaf will have risen almost to the rim of the pan and the top will crack. If you’re not sure it’s done, check with a toothpick in the center of the loaf.

Cool in the pan for 1/2 hour, then grasp both sides of the parchment and lift the loaf onto a cooling rack.
Carefully remove the parchment and continue cooling to room temperature. Try to resist cutting into it right away, to minimize crumbling.

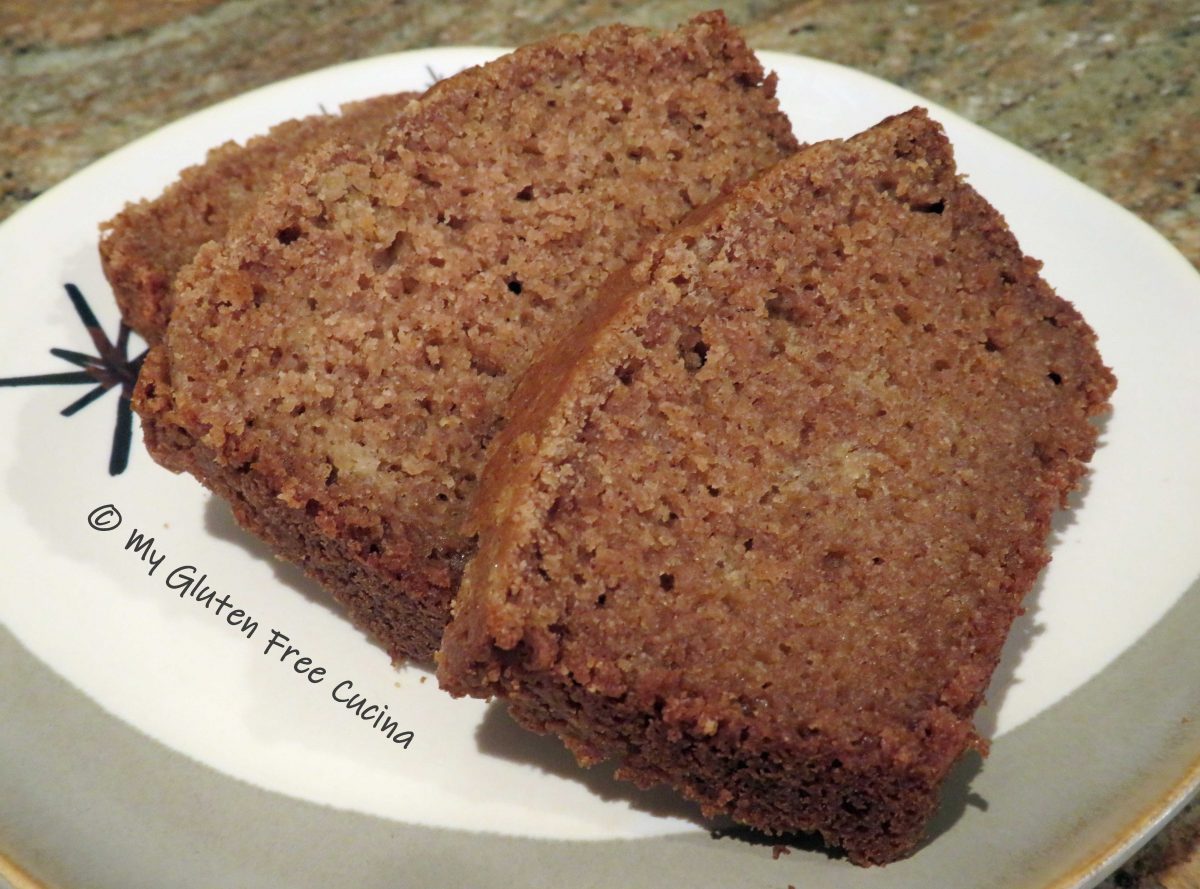
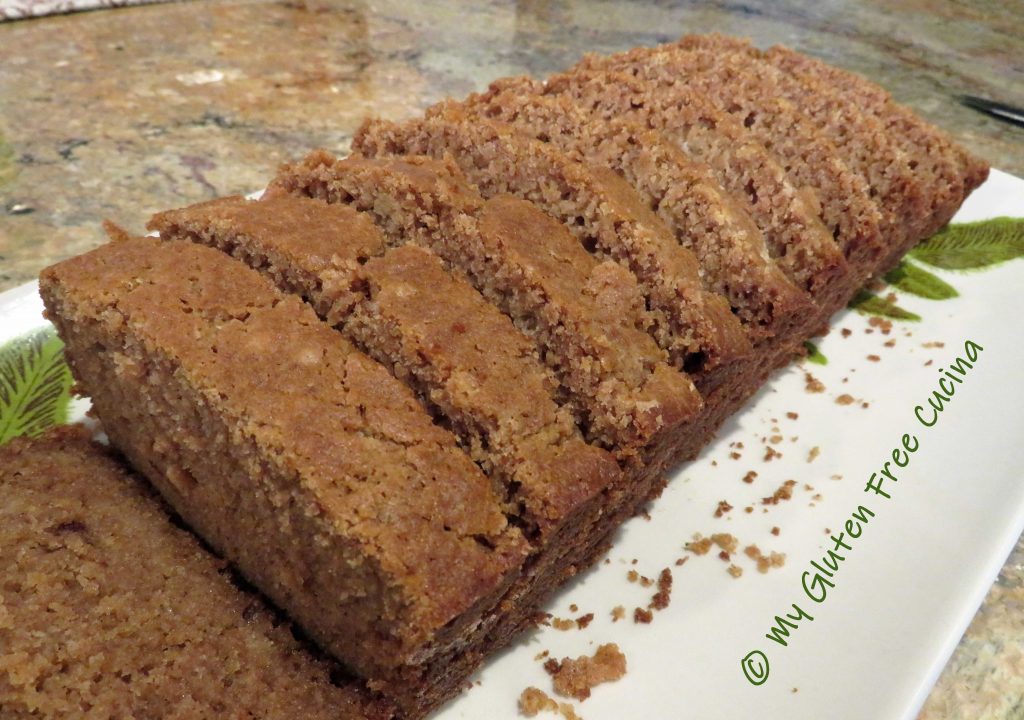
You could dust the top with confectioners’ sugar, or drizzle with a simple icing. Honestly though, this cake is so moist and delicious it really needs no other adornment. Slice with a serrated knife and arrange on a serving dish.
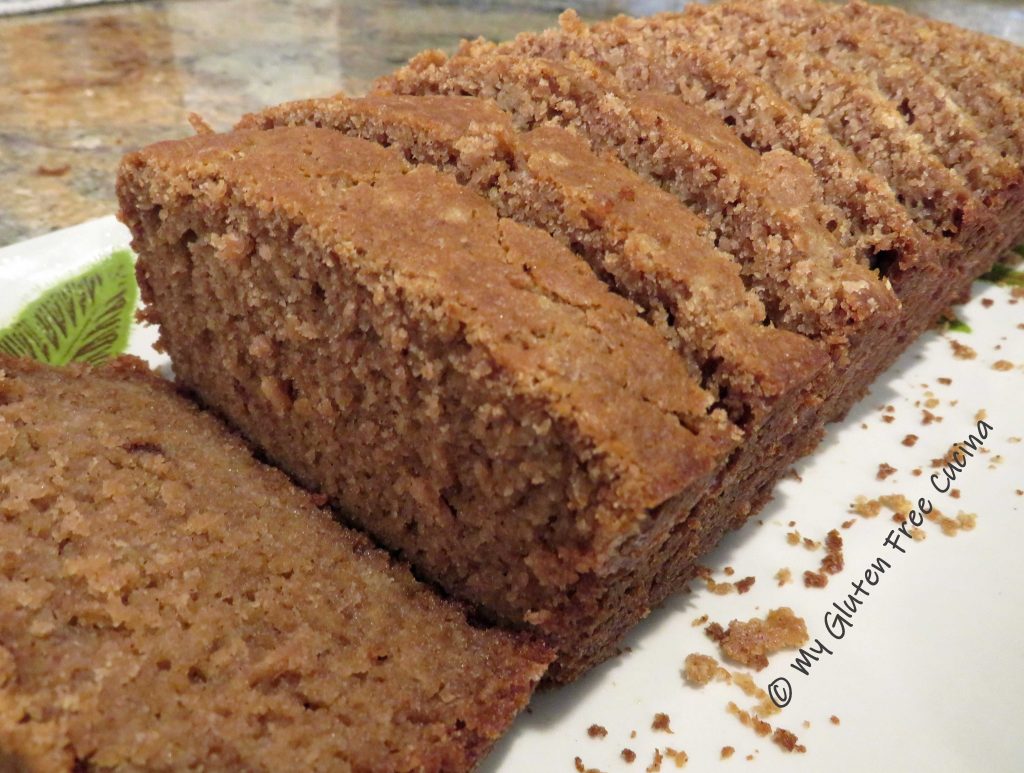
Look at that nice moist crumb! You’ll have to take it from me, it tastes great!
Notes ♪♫ I have always loved quick breads. This is an old recipe of mine that I converted to gluten free. For muffins and quick breads, I use and recommend Better Batter Original Blend gluten free flour. When you shop Better Batter, be sure to use my Promo Code MGFC30 at checkout for 30% off full price!


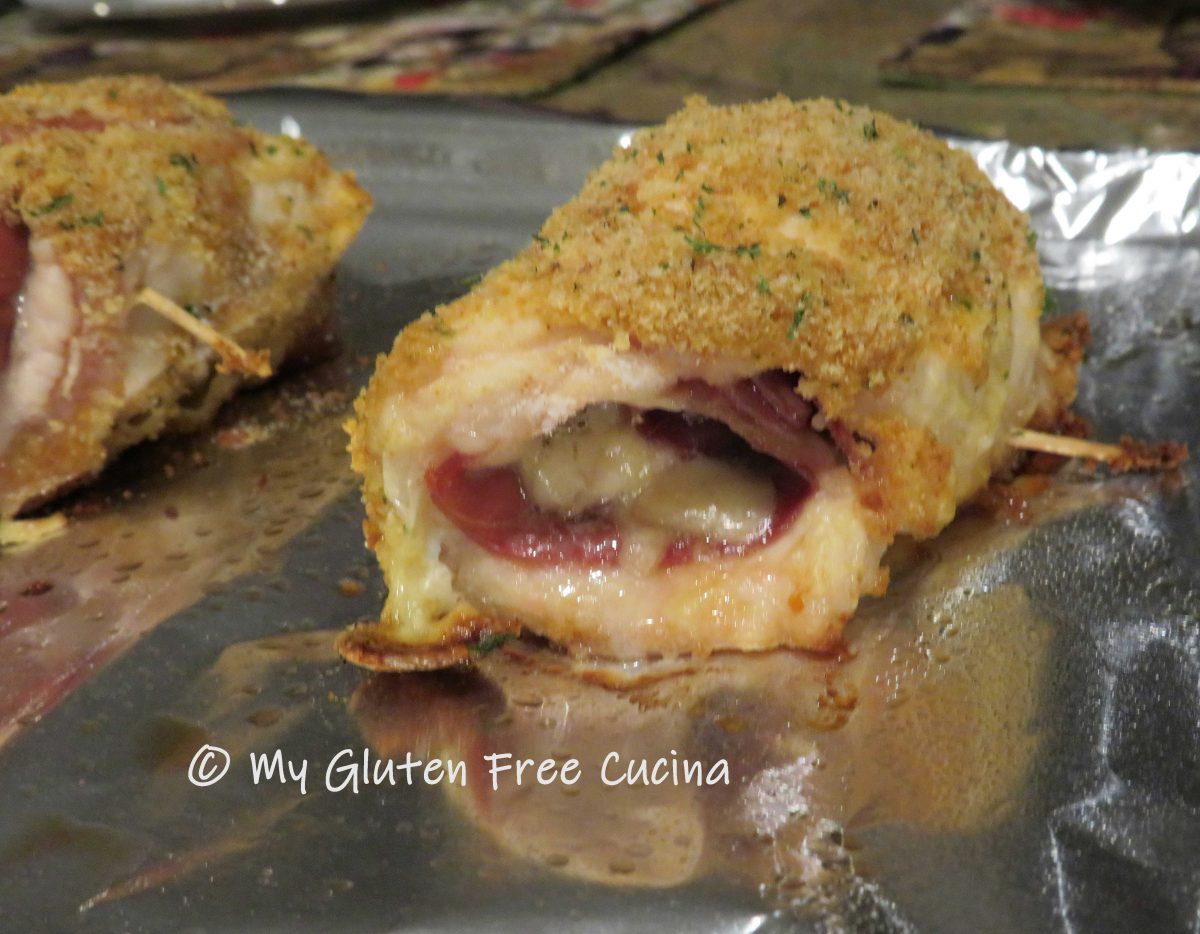


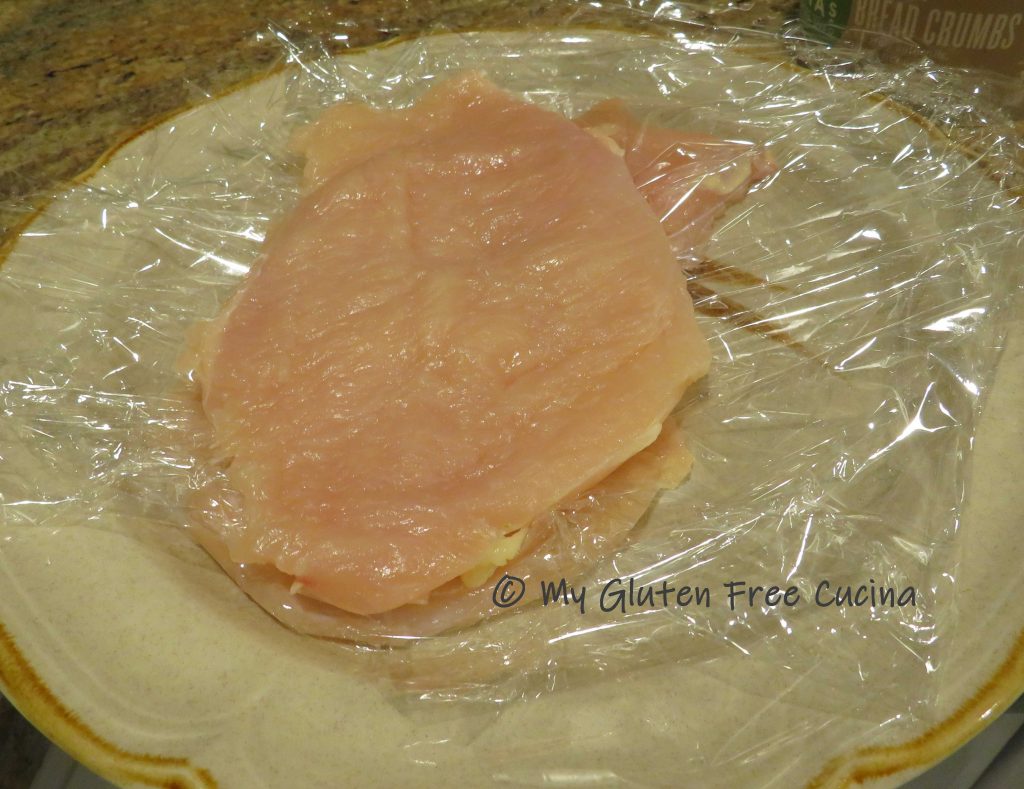
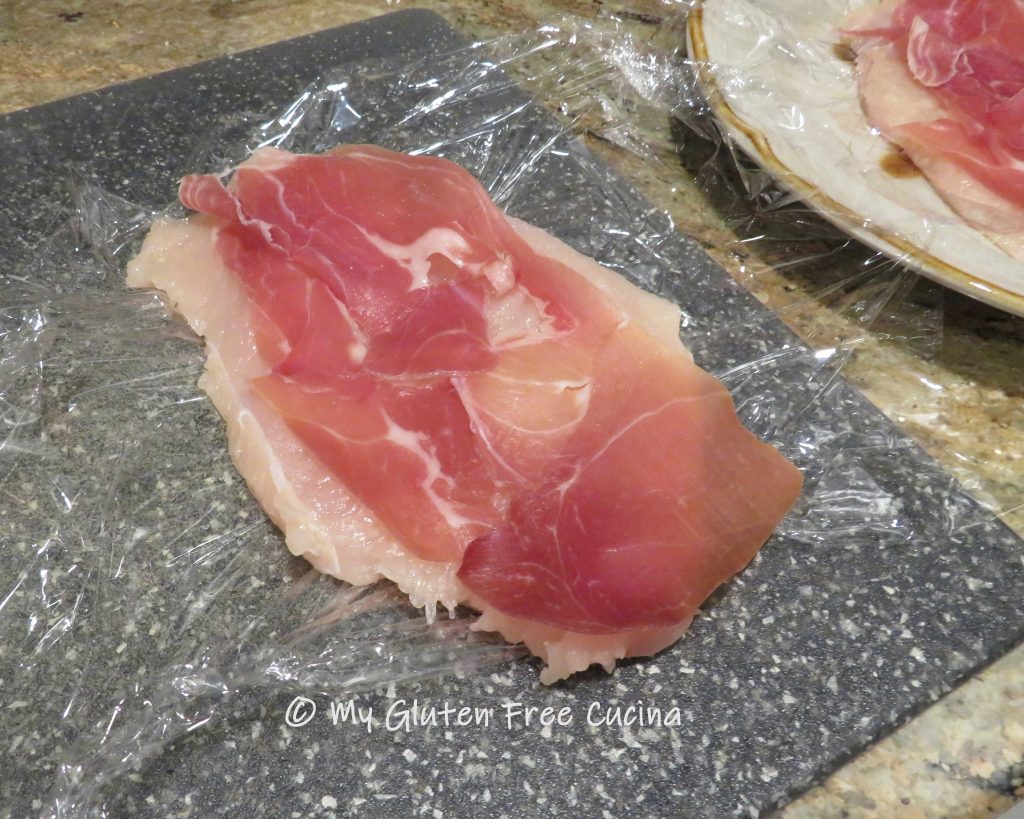


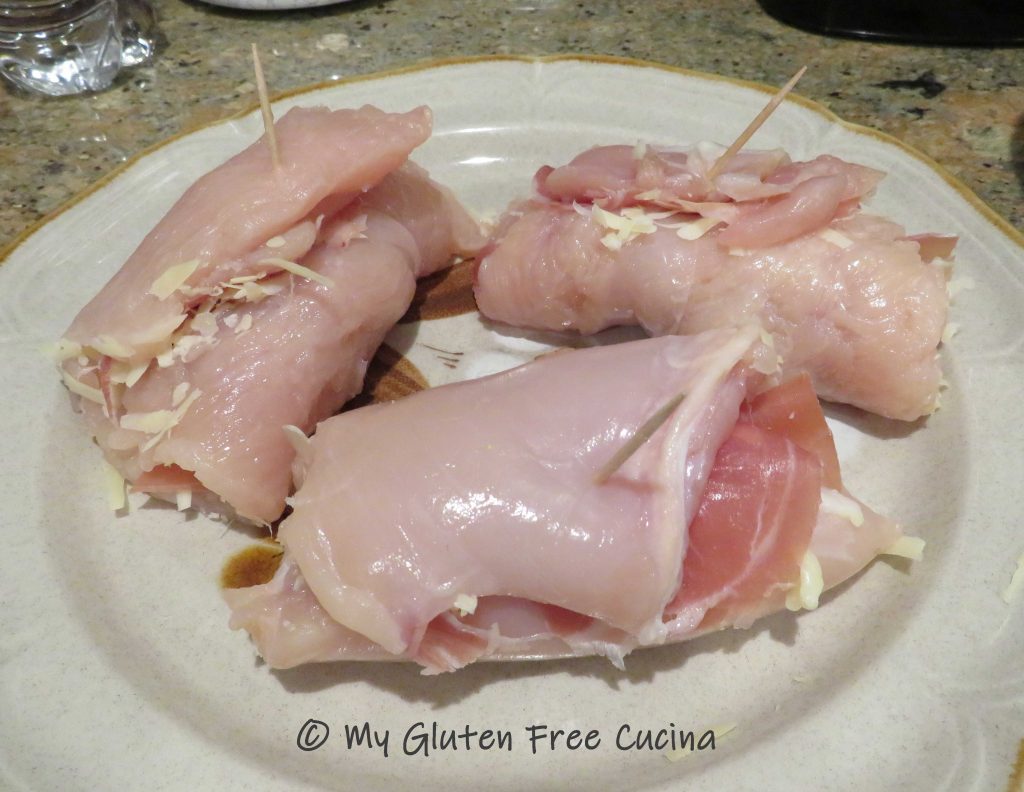

 Set the bundles seam side down on a baking sheet lined with foil and coated with cooking spray.


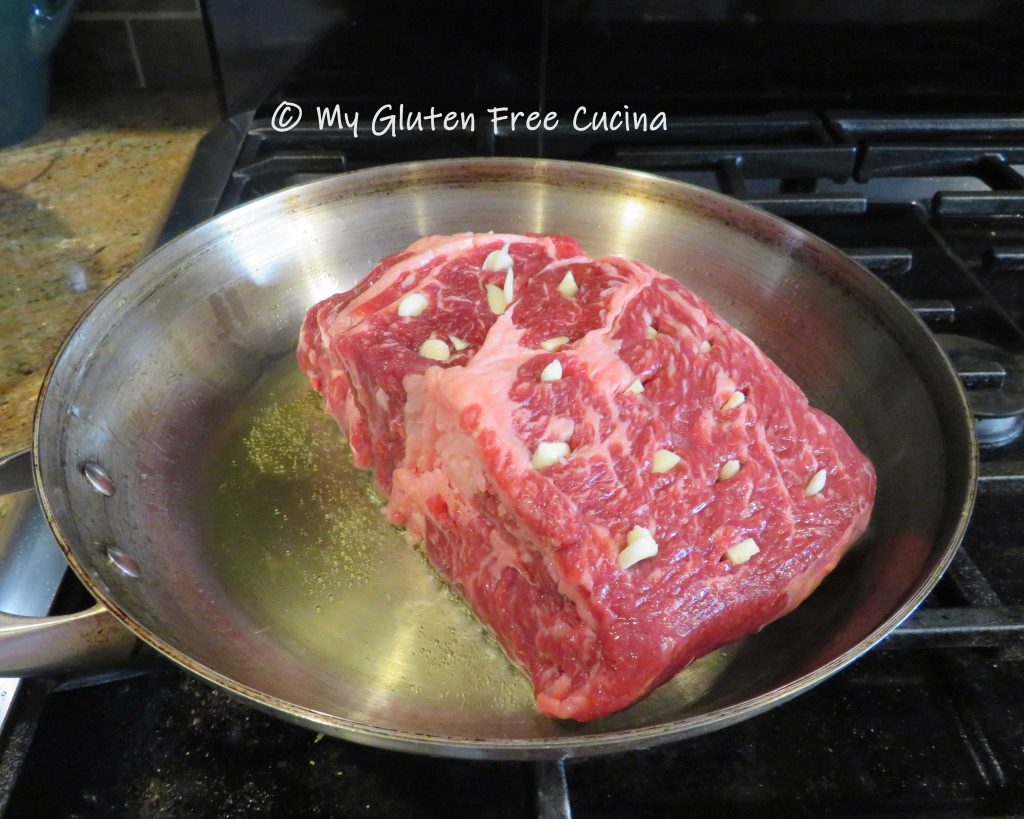
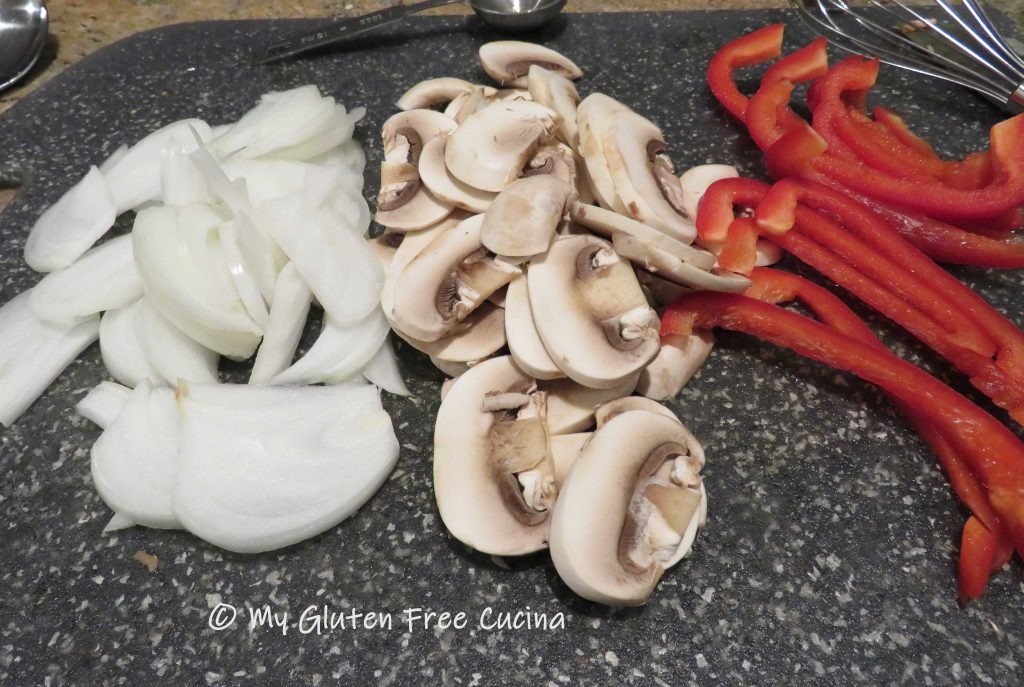
 Add onions to the same skillet and cook until translucent. Add them to the roast then deglaze the skillet with the red wine and pour over everything.
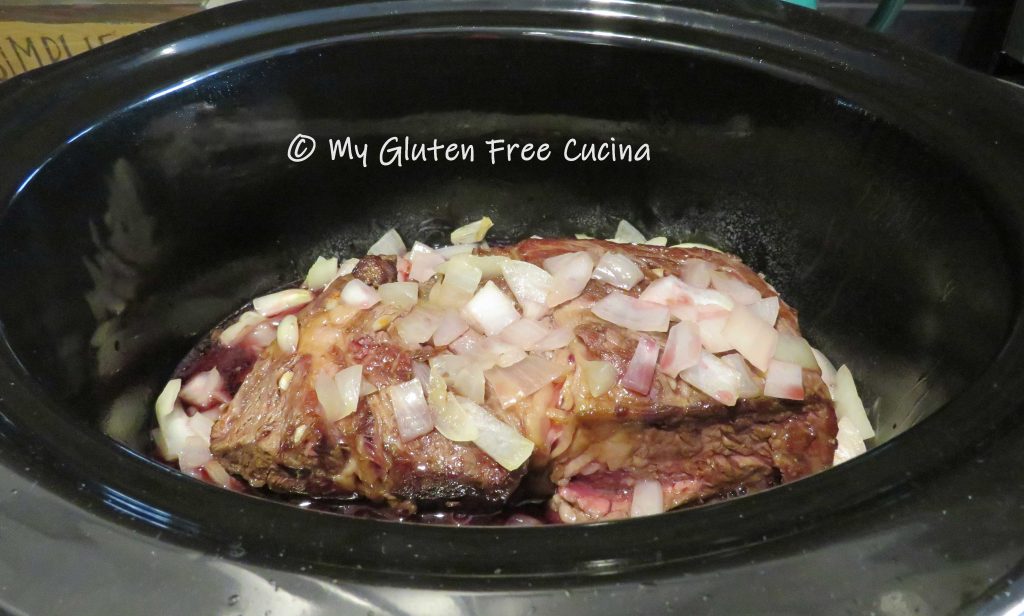
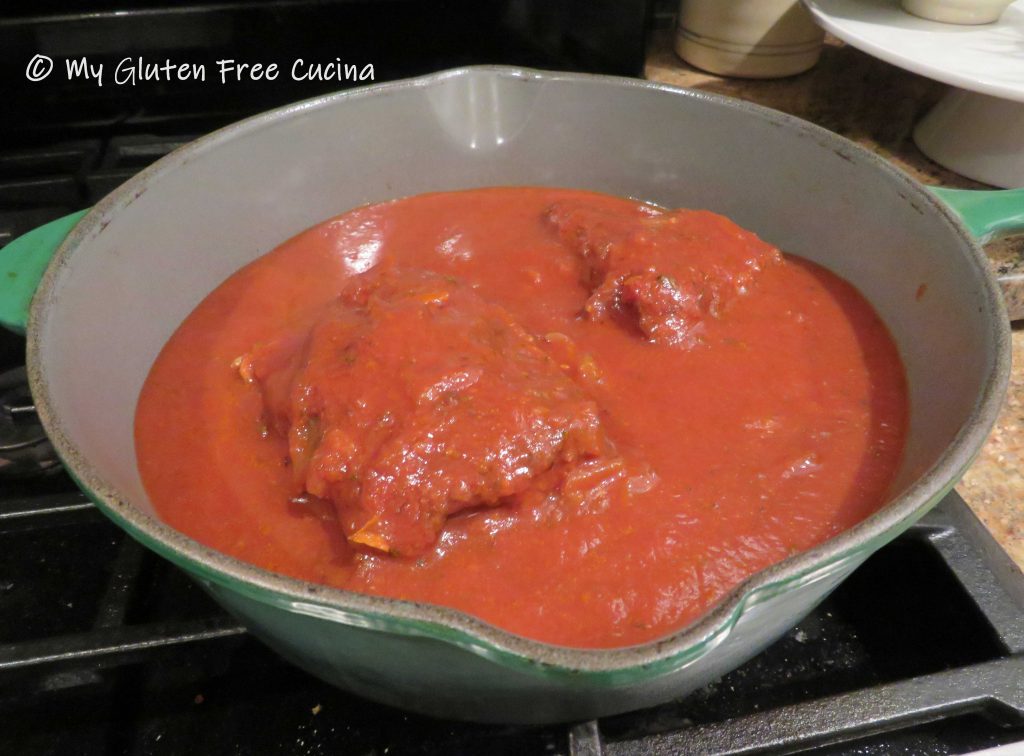 Most of the onions will have melted into the sauce at this point, but if you want an extra smooth sauce (or have picky eaters) you can puree it with a stick blender.
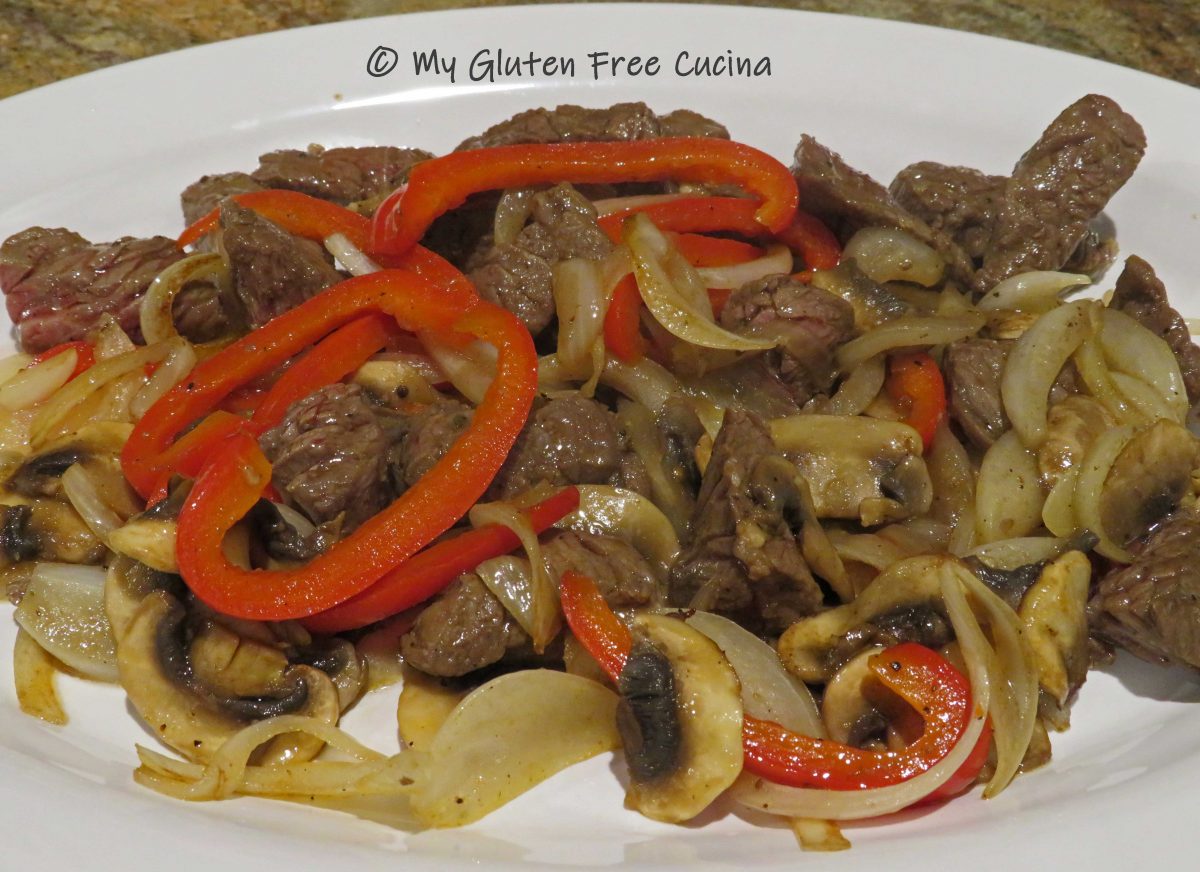
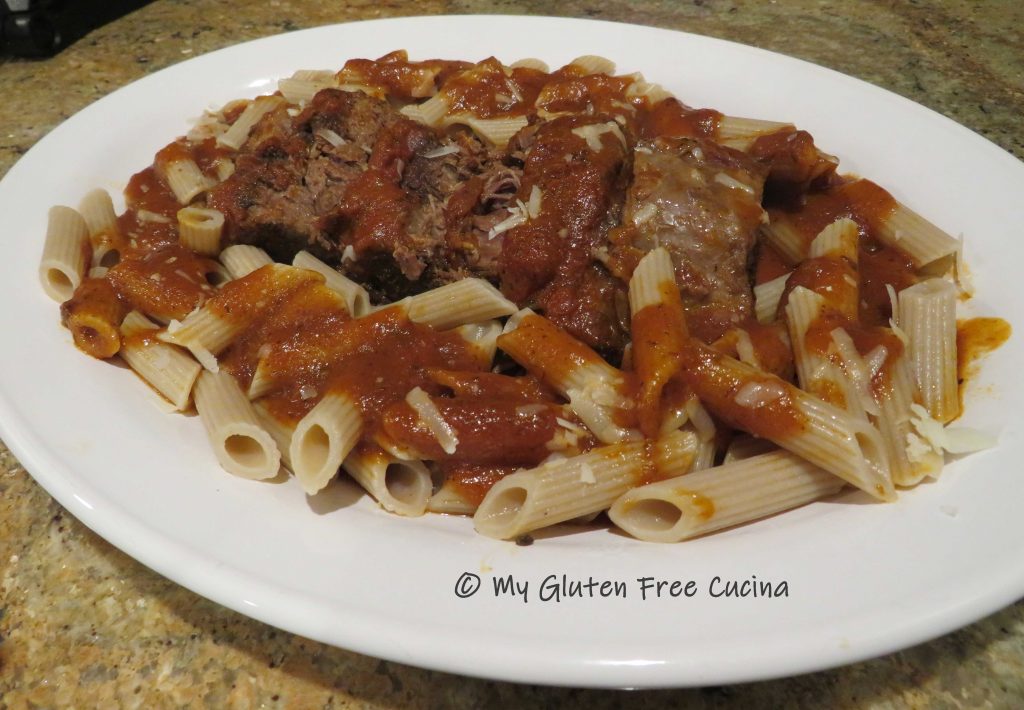 Bring to the table with extra sauce and grated cheese. The only thing missing here is fresh parsley from my herb garden. I guess I’ll have to wait for summer and make this again!


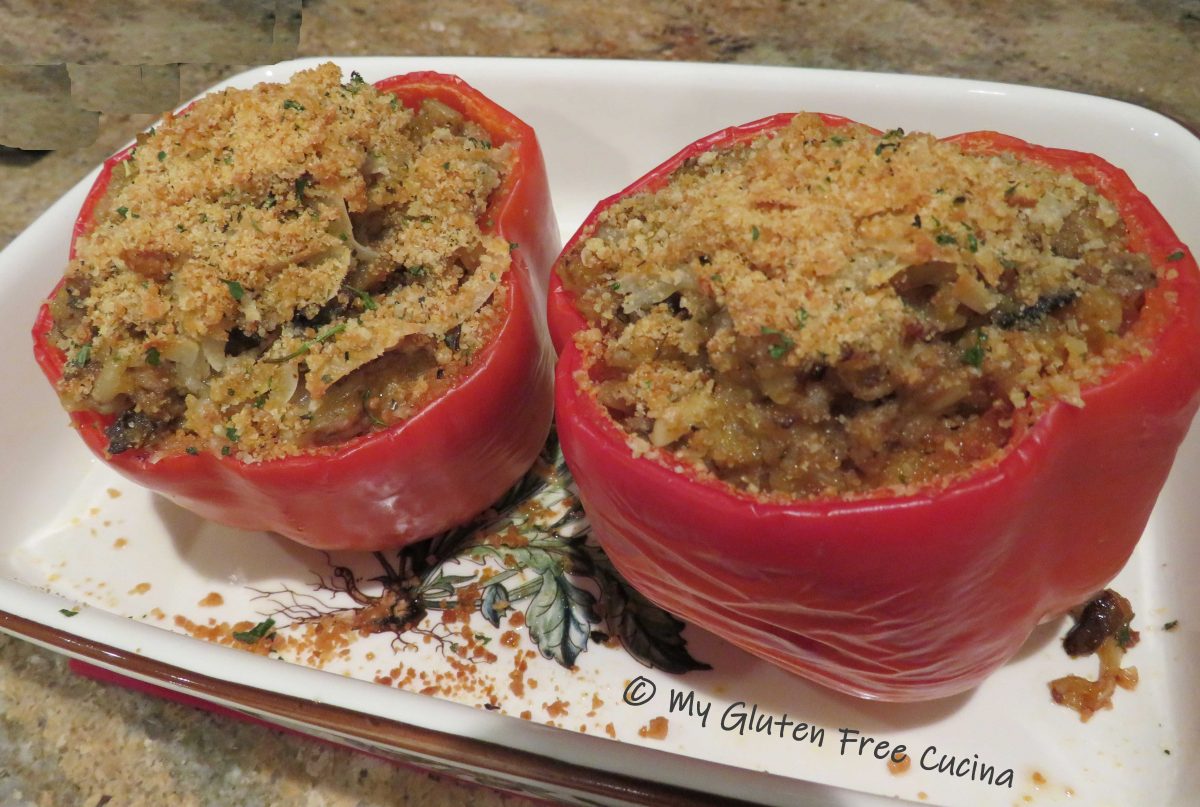
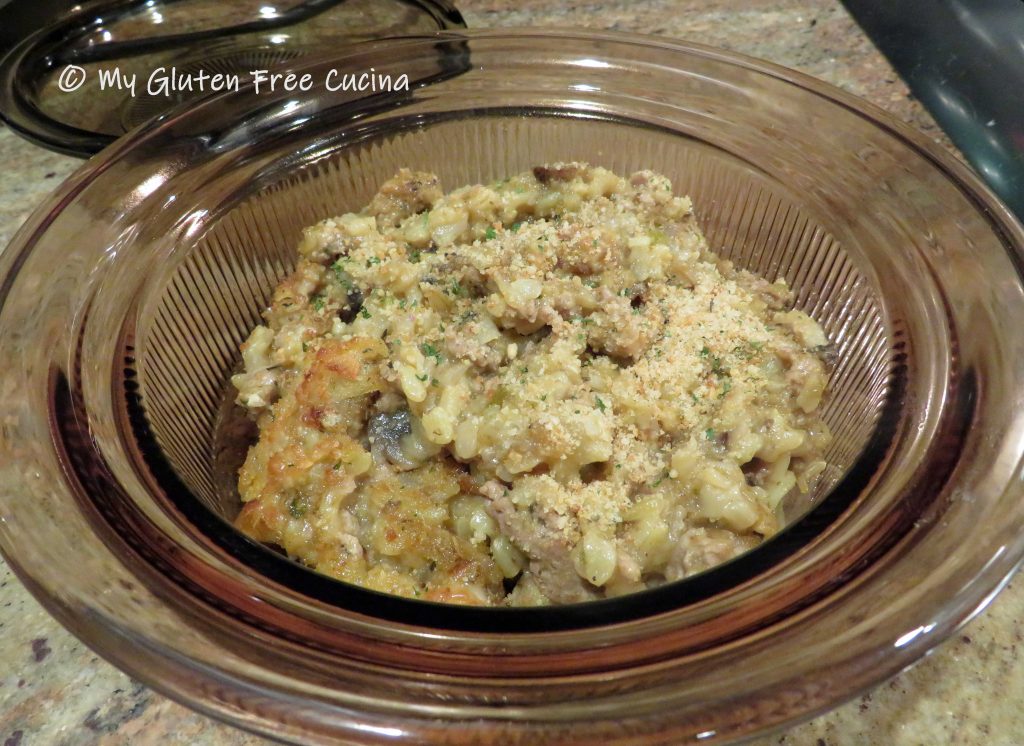
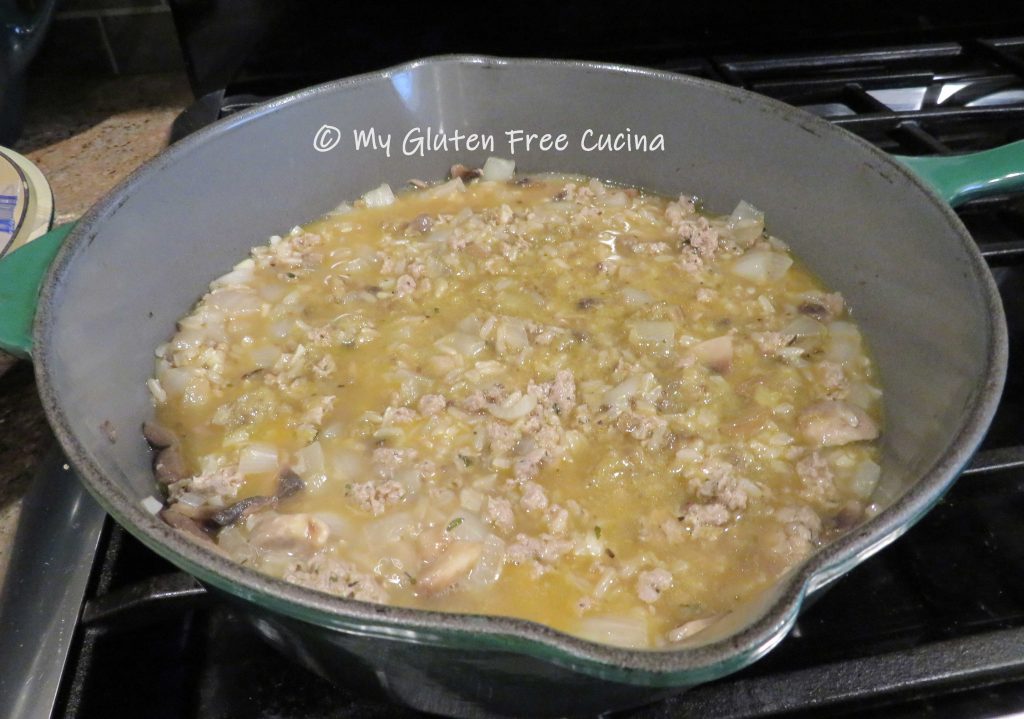
 The sausage and rice stuffing is so delicious and can stand on its own as a casserole!


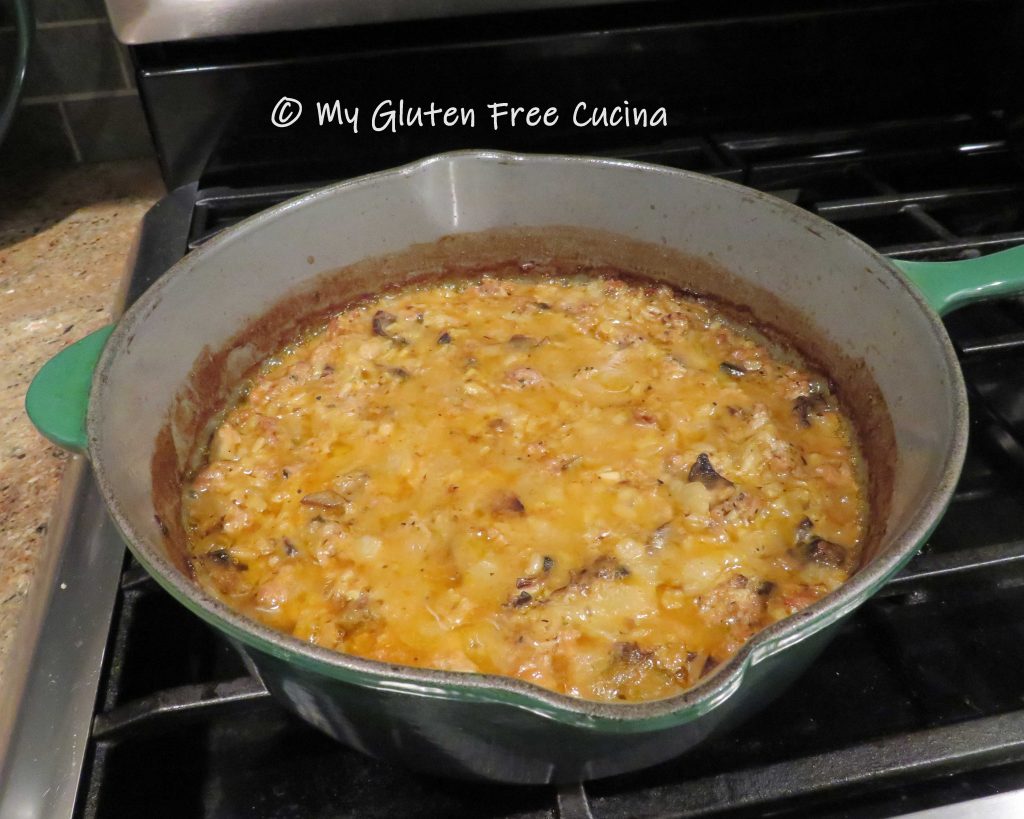
 Sprinkle the top with paprika and place the skillet in a 350° oven. Bake for 30 minutes uncovered.


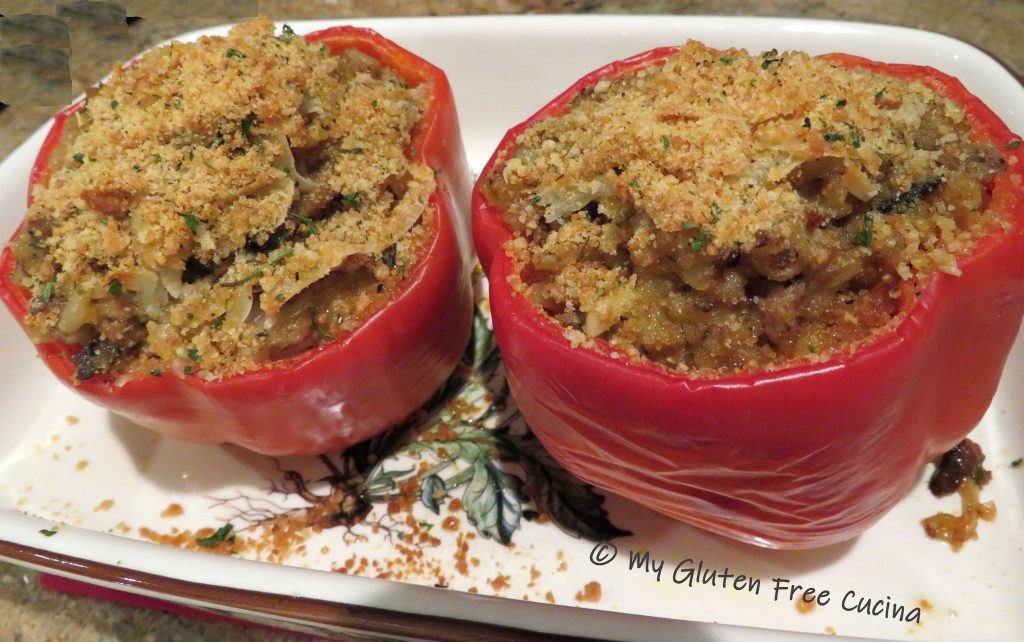
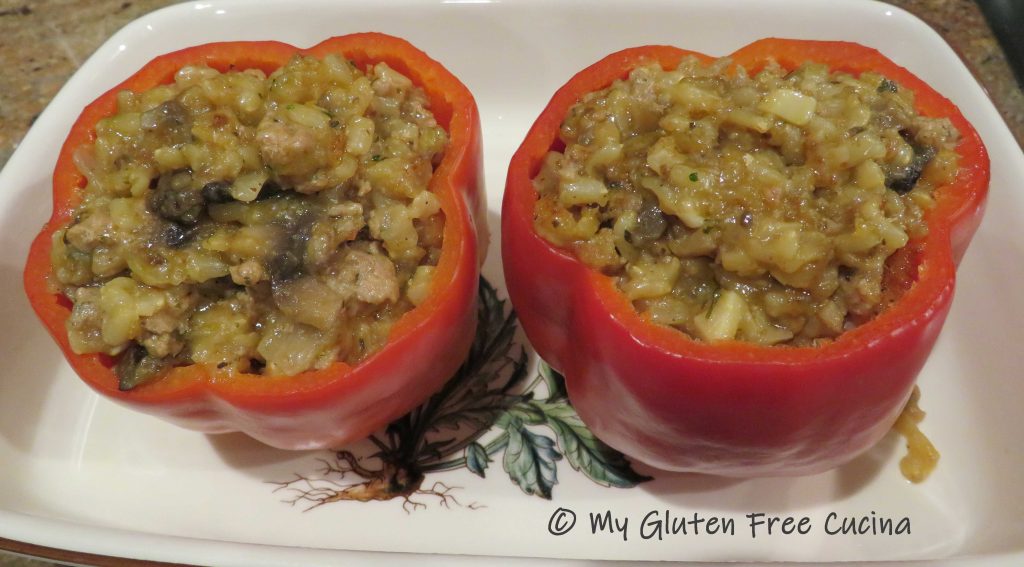
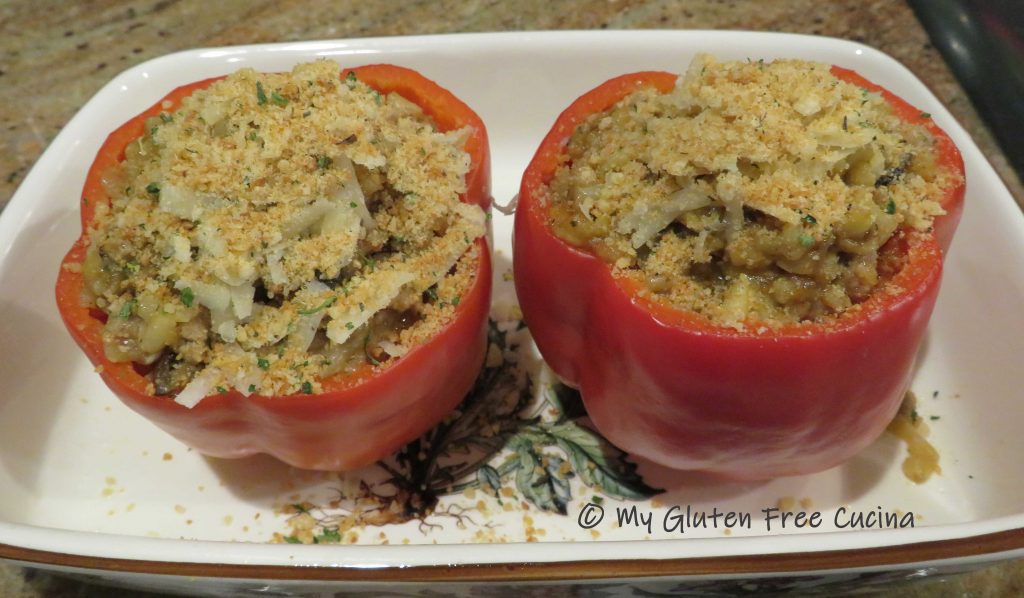
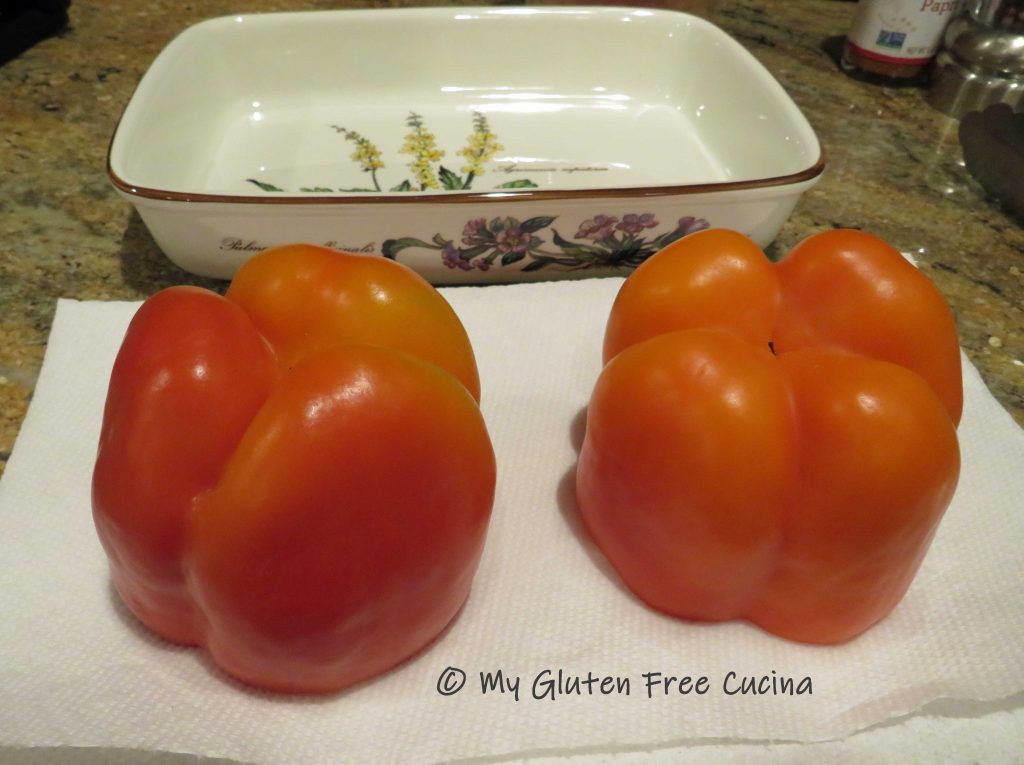 Arrange the cooled peppers in a baking dish coated with cooking spray and spoon in the stuffing.
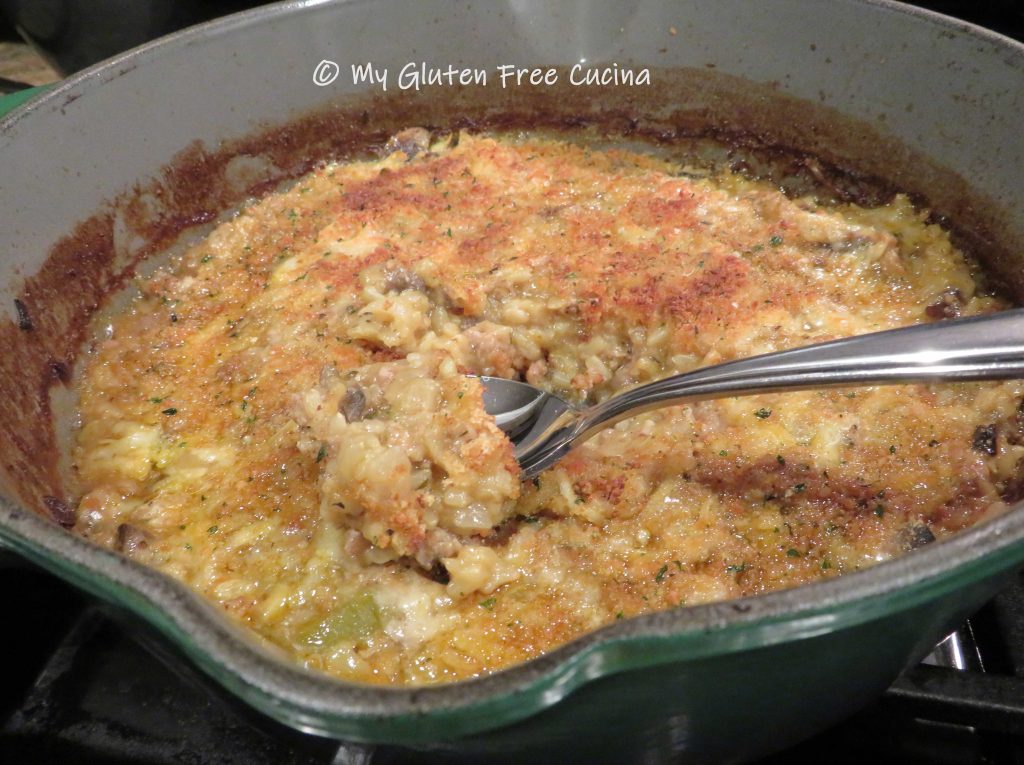
 Finish under the broiler for 1-2 minutes, just until the tops are browned.