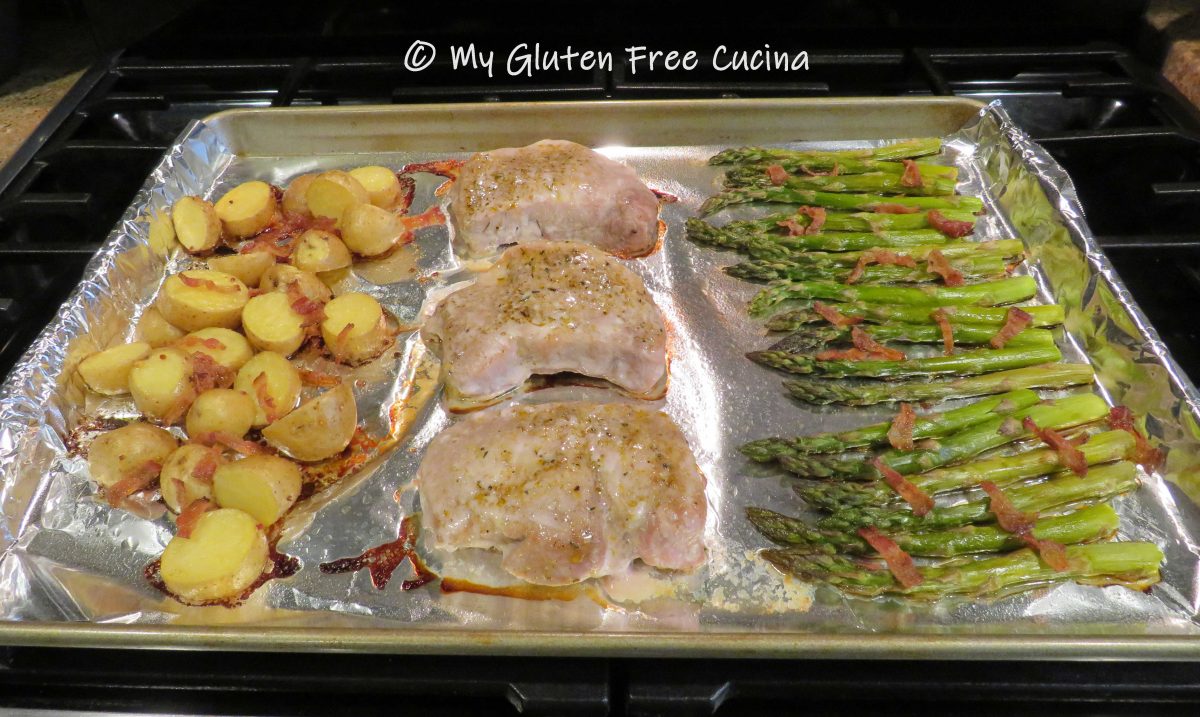
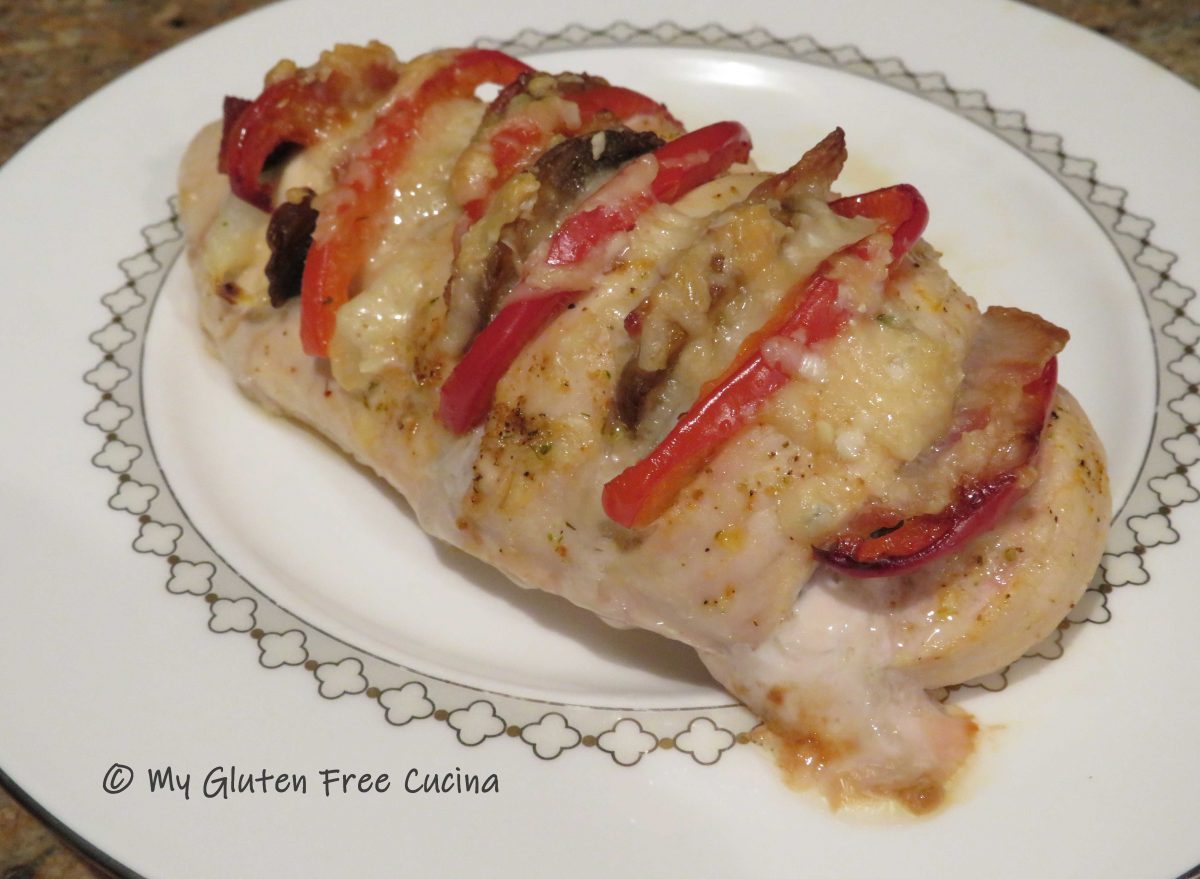
Easy, delicious and only one pan to clean? Yes please! Juicy pork chops, tender potatoes and asparagus spears all perfectly seasoned and baked in a sheet pan. Both the cook and the dishwasher are sure to love this one dish meal! You can change up the seasonings to suit your taste or just use salt and pepper. I had a little leftover bacon from another meal, and it really made the veggies pop!
3 servings
This post contains affiliate links.
Ingredients:
- 3 boneless pork chops, 6 oz. each
- olive oil, divided use
- maple flavor grill seasoning
- 2 cups baby yellow marble potatoes
- garlic pepper seasoning
- 2 strips of cooked bacon cut into slivers, divided use
- 1 bunch of asparagus
- Montreal steak seasoning
- cooking spray
Preparation:
Line a half sheet pan with foil and mist with cooking spray. Preheat the oven to 350º.

For the potatoes
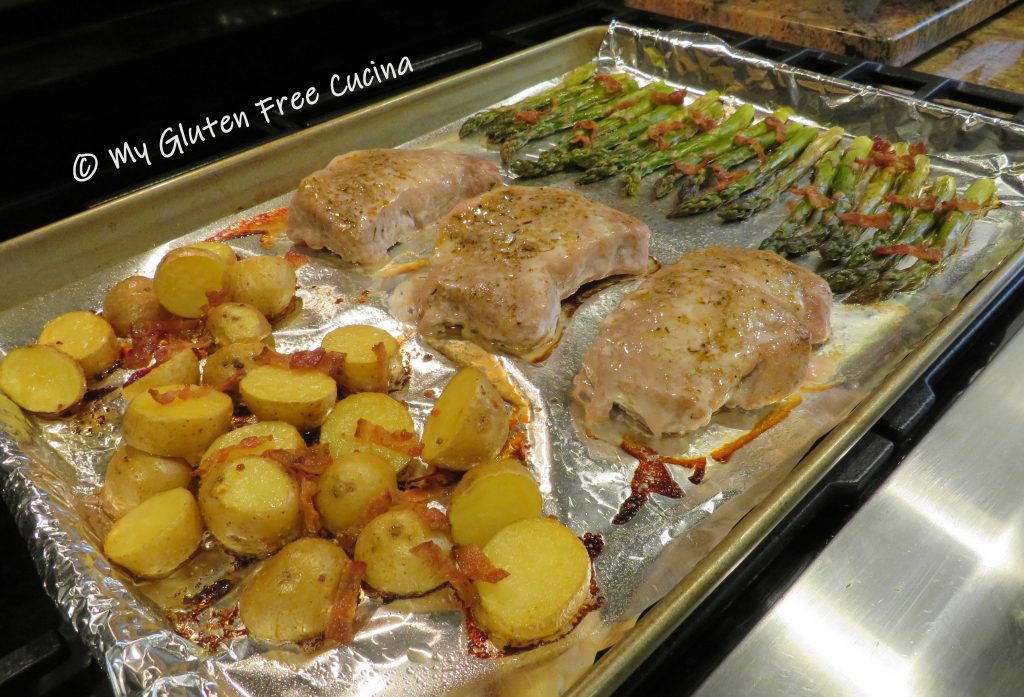
I used yellow marble potatoes because of their quick cook time. If using russet potatoes, you may need to give them a 10-minute head start in the oven or microwave for a few minutes before baking. Rinse the potatoes and cut them into even size pieces. In a small bowl, toss them with olive oil and seasoning. I like a garlic pepper seasoning like this one from Nashville Spice Co. Spread the potatoes evenly on the right side of the pan and top with 1 strip of chopped bacon.
For the pork chops
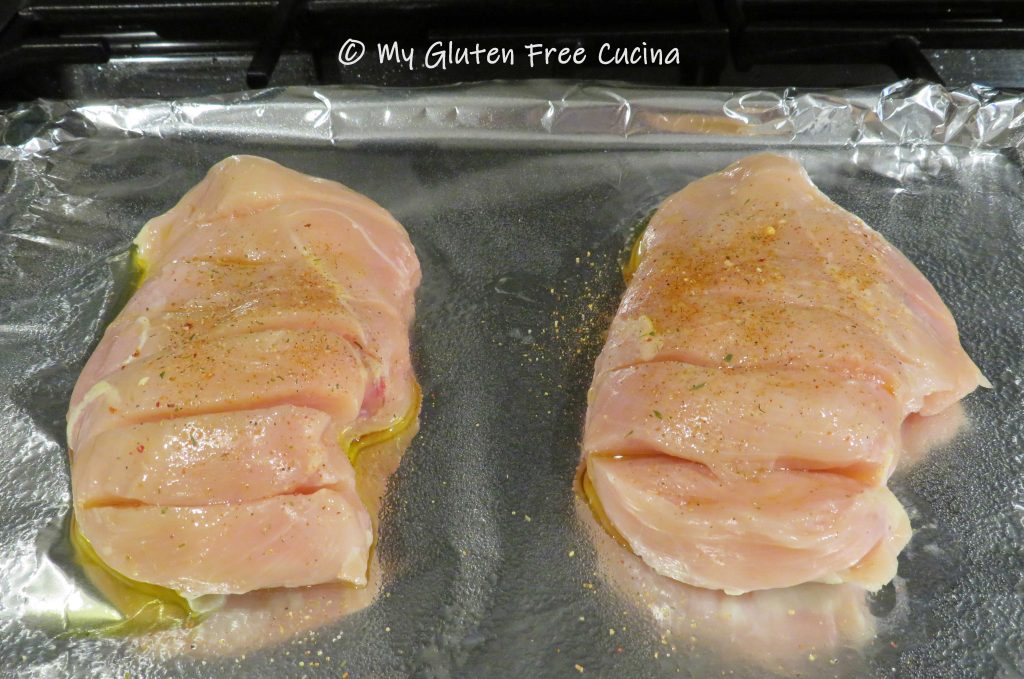
Pat the pork chops dry with paper towels, then brush both sides with olive oil. Sprinkle with seasoning and lay them out in the center of the pan. Try a barbeque seasoning like this one, with hints of maple flavoring that picks up on the bacon in the veggies.

For the asparagus
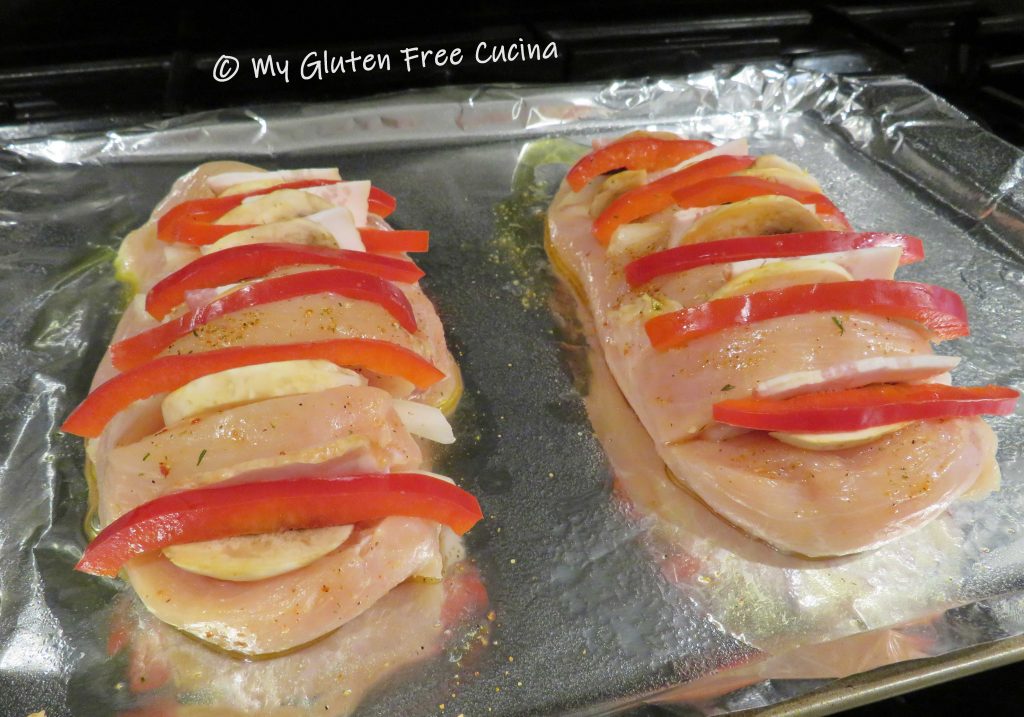
Cut the bottom 3″ off the asparagus and discard. Rinse and spread the spears out on the left side of the pan, drizzle with olive oil and top with remaining strip of chopped bacon. Try a bold seasoning blend like this one, it’s not just for steak!

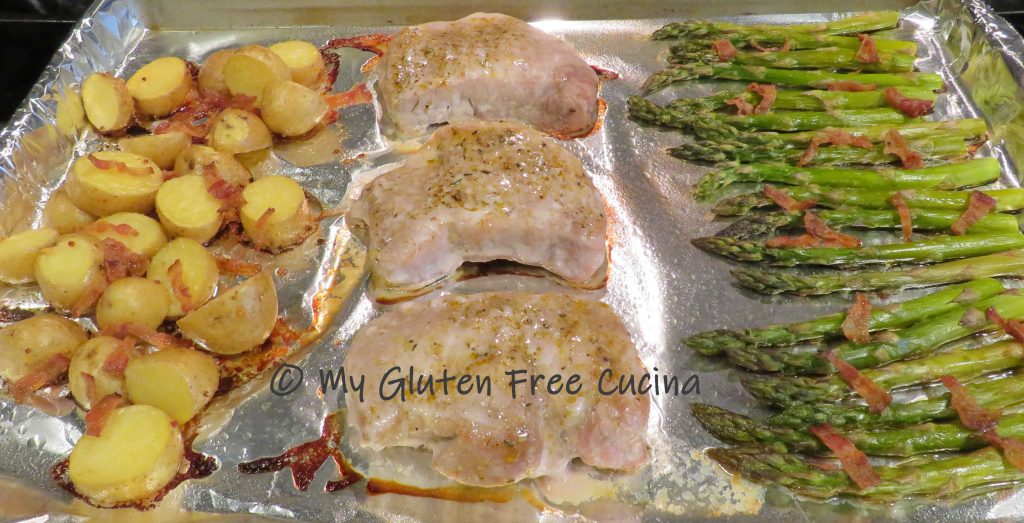
Bake for 40 minutes at 350º. Potatoes should be fork-tender, and pork chops should reach an internal temperature of 145º. Bring to the table right in the pan for casual dining and easy cleanup!
Notes ♪♫ I can be quite the spice snob at times. Lately I’ve been using Nashville Spice Co products in my recipes. They have an amazing variety of spice blends and seasonings that are gluten free, and the company is committed to the clear labelling of allergens and gluten containing ingredients. They also offer salt free seasoning blends on their website. I used their Pepper Roasted Garlic, Bourbon Maple Hops, and Montreal Steak Spice in this recipe.


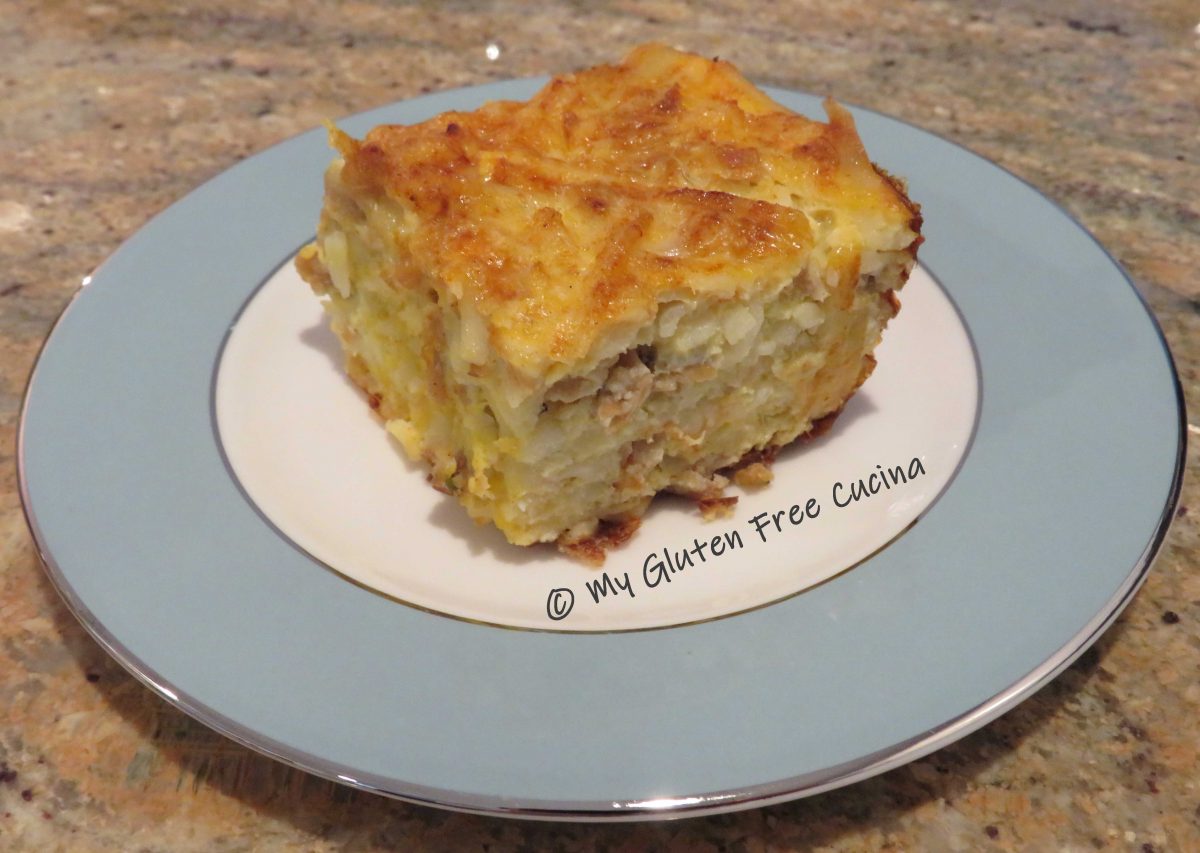


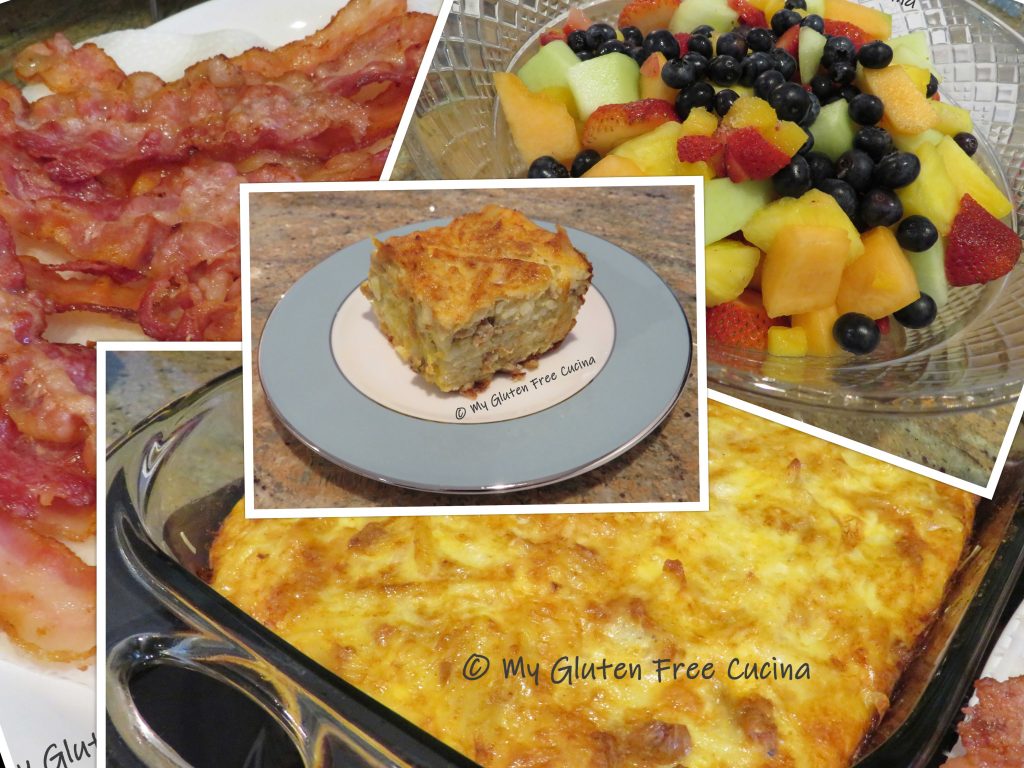
 This casserole is a complete meal, but you can serve it with a nice fruit salad, bacon or ham. Don’t fight over the corners!


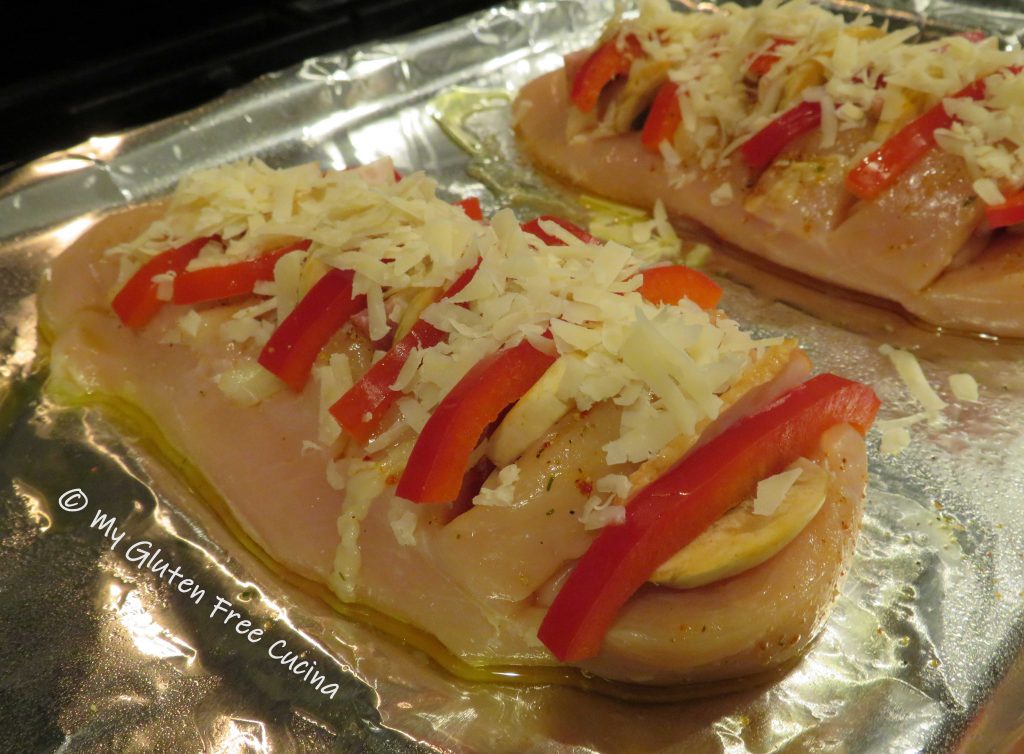
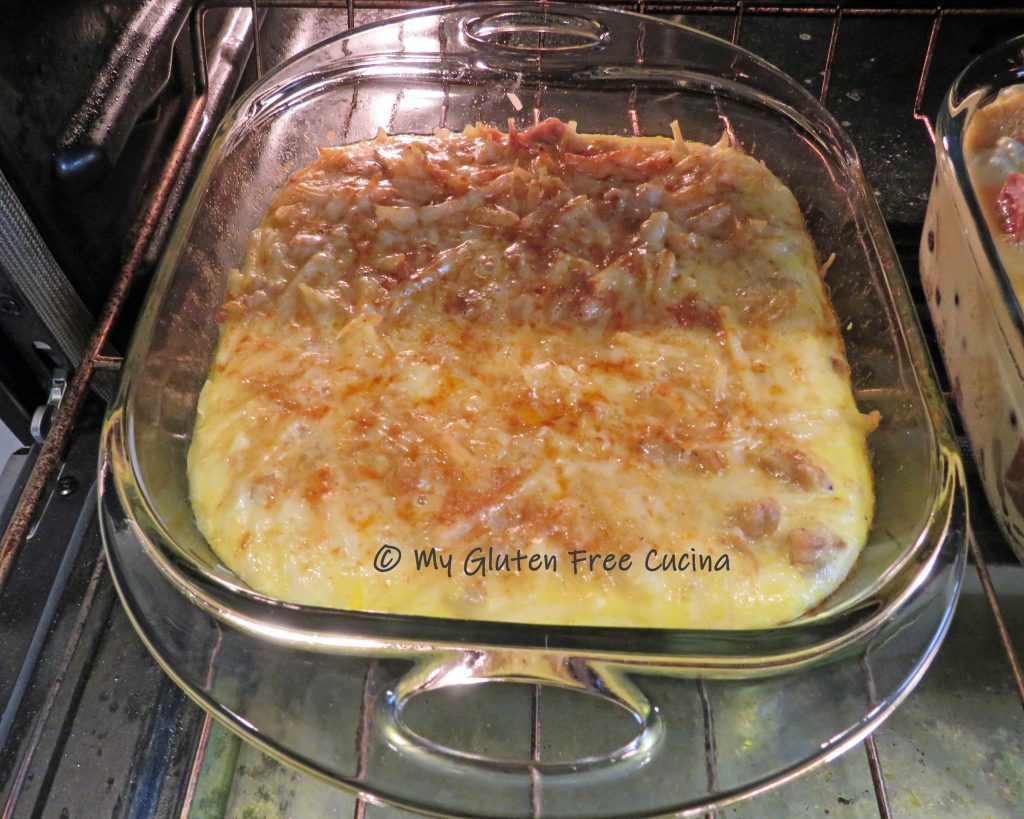
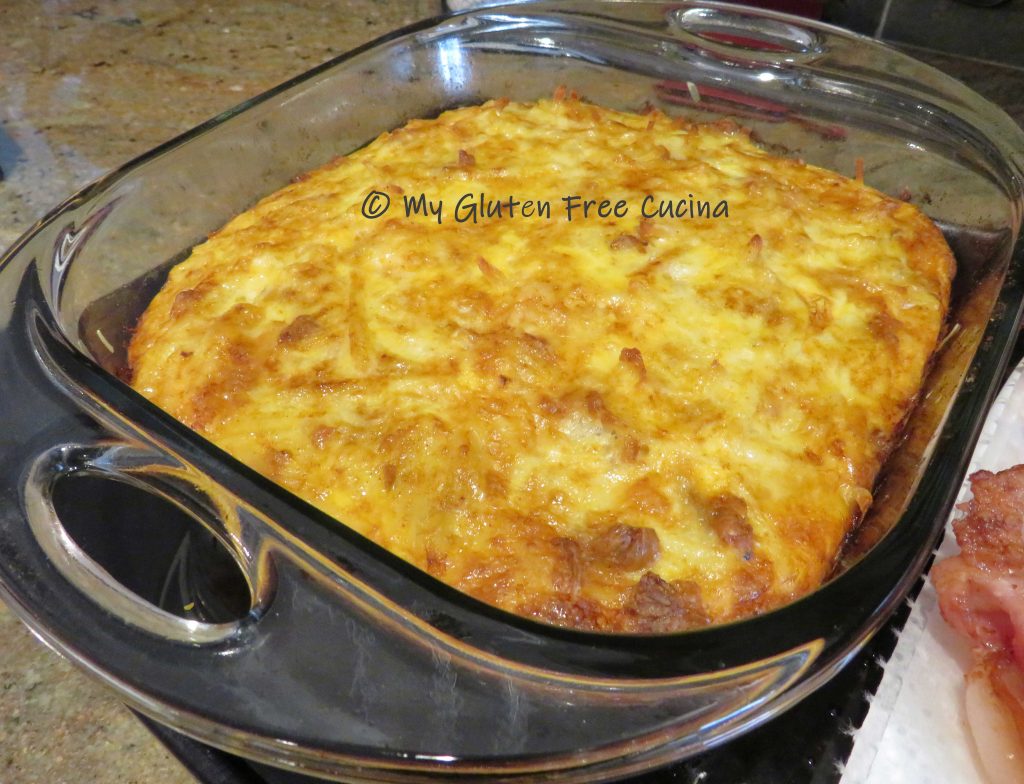
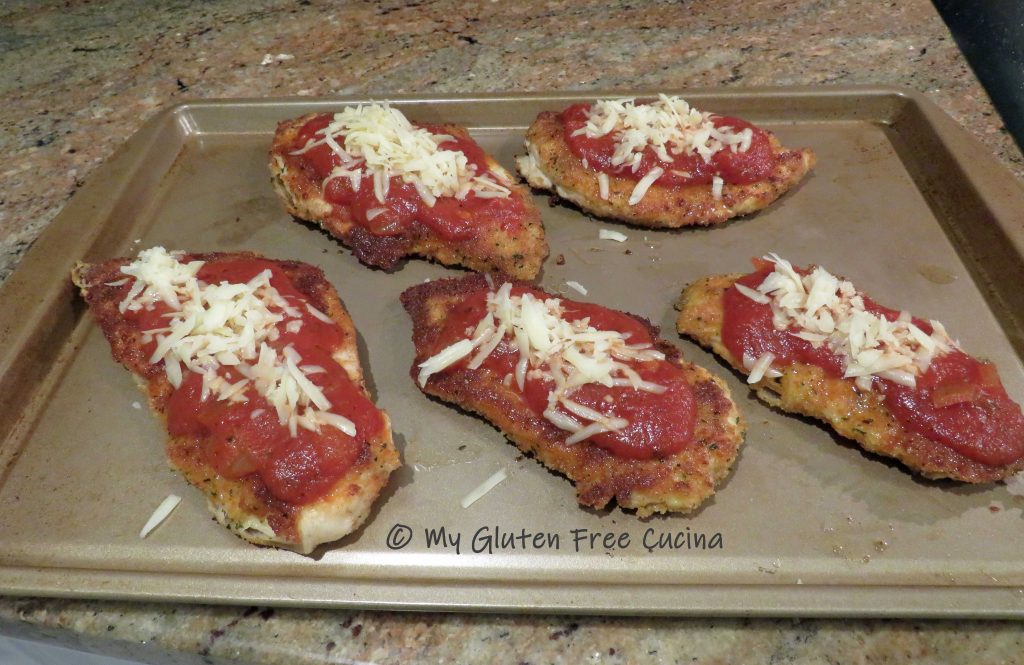 Finish in the oven for 15-20 minutes or until the cheese is melted.
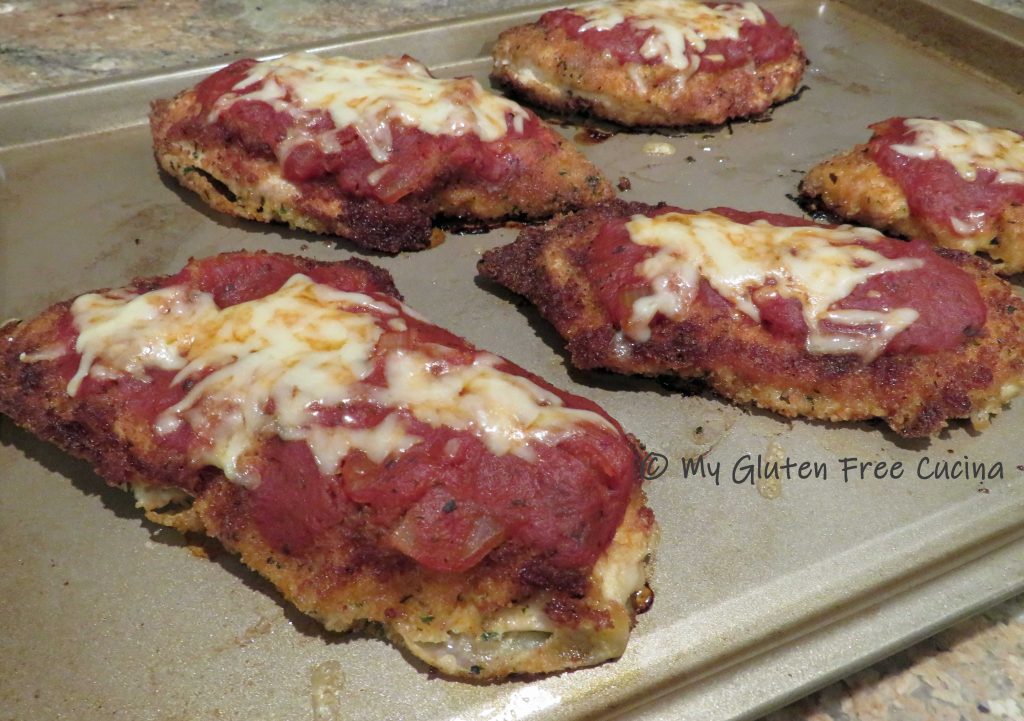
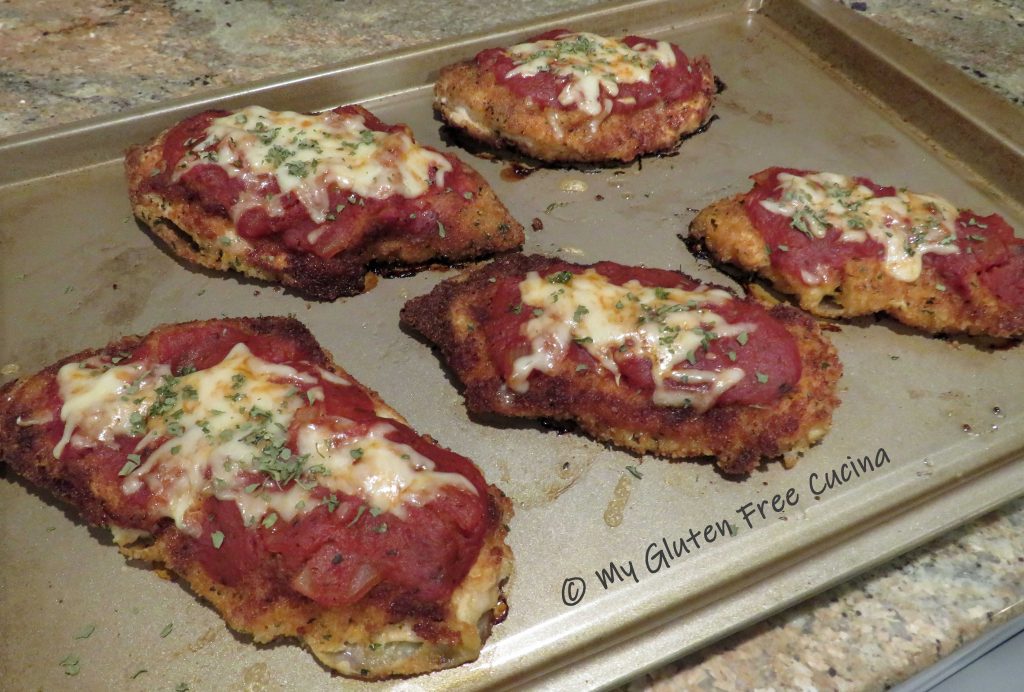
 When I made this for company, no one knew it was gluten free. Mum’s the word!


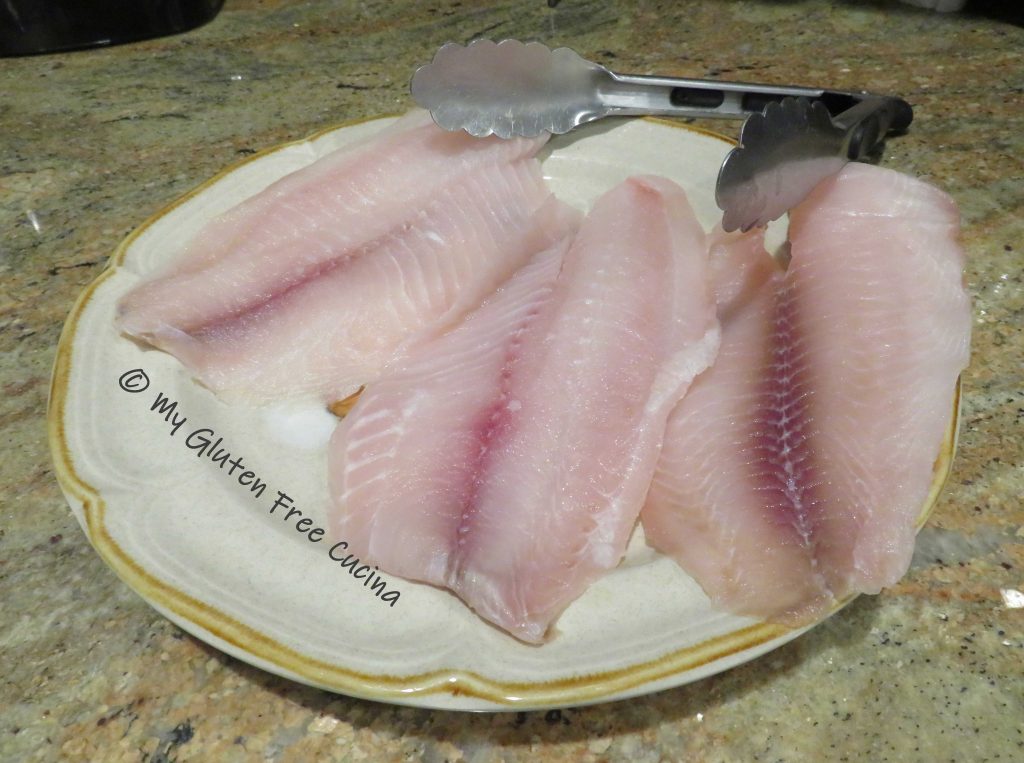
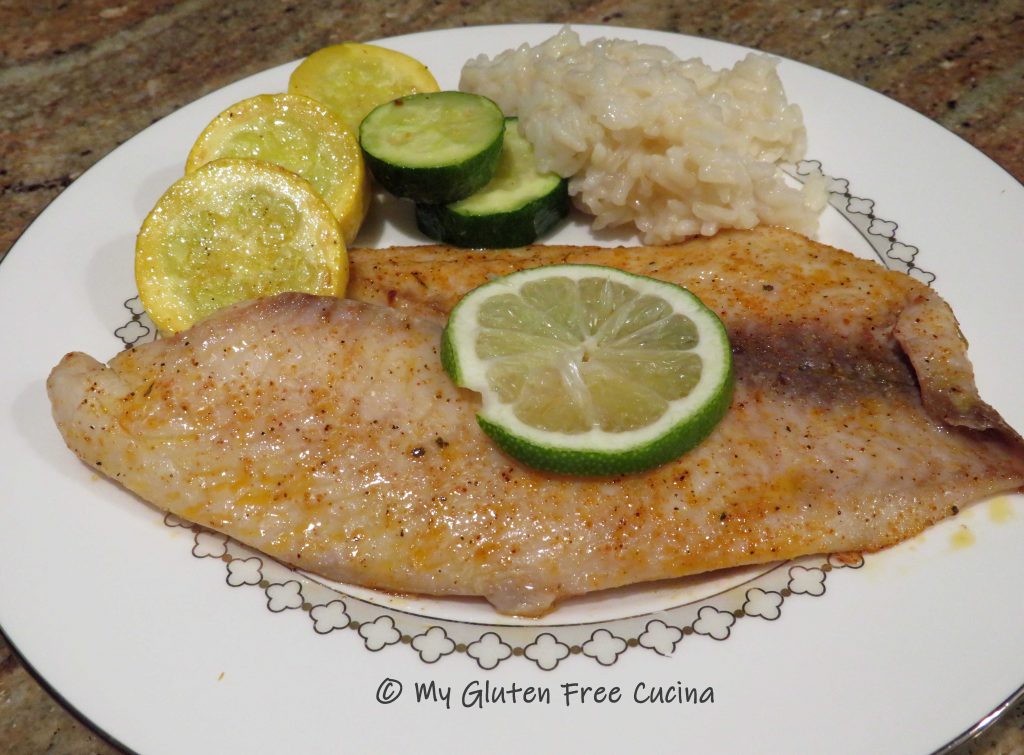
 While the chips are getting started prepare the fish. You want a thick, firm white fish for this recipe. Cod or haddock are the usual choices but today I got this beautiful Sablefish on sale.


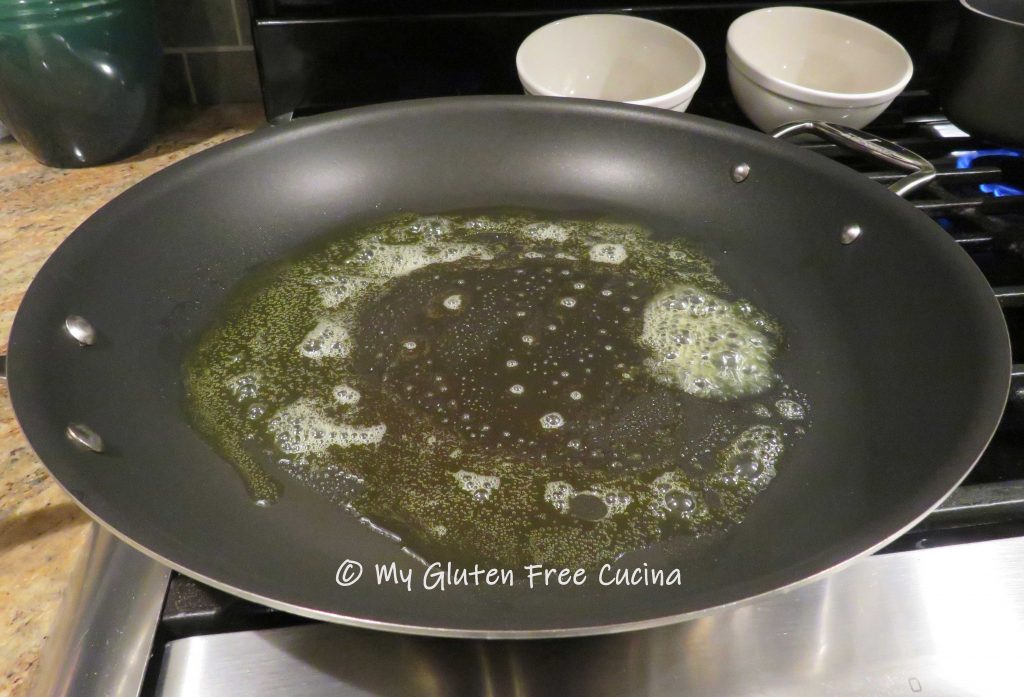
 Cook the spaghetti to 1 minute less than package directions. While the pasta cooks, add 1 tbsp. each of butter and olive oil to a
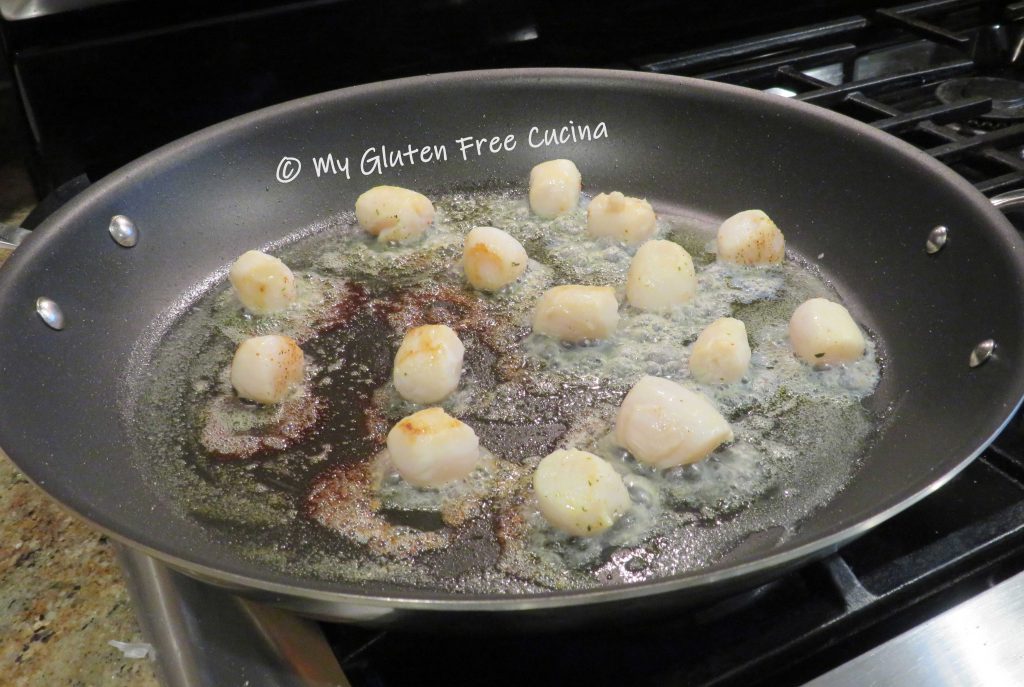
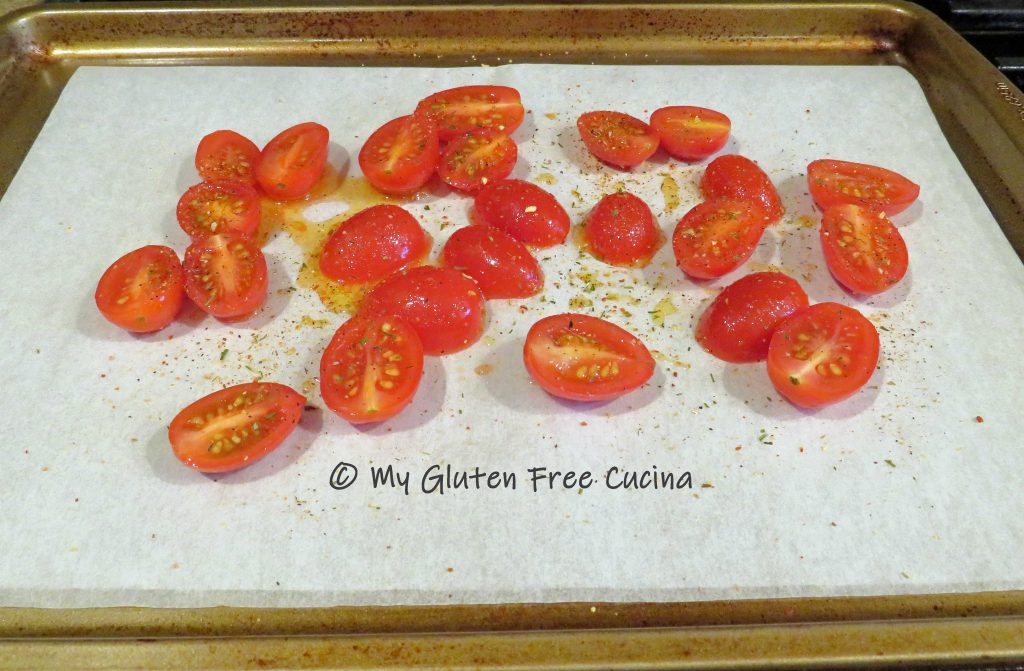
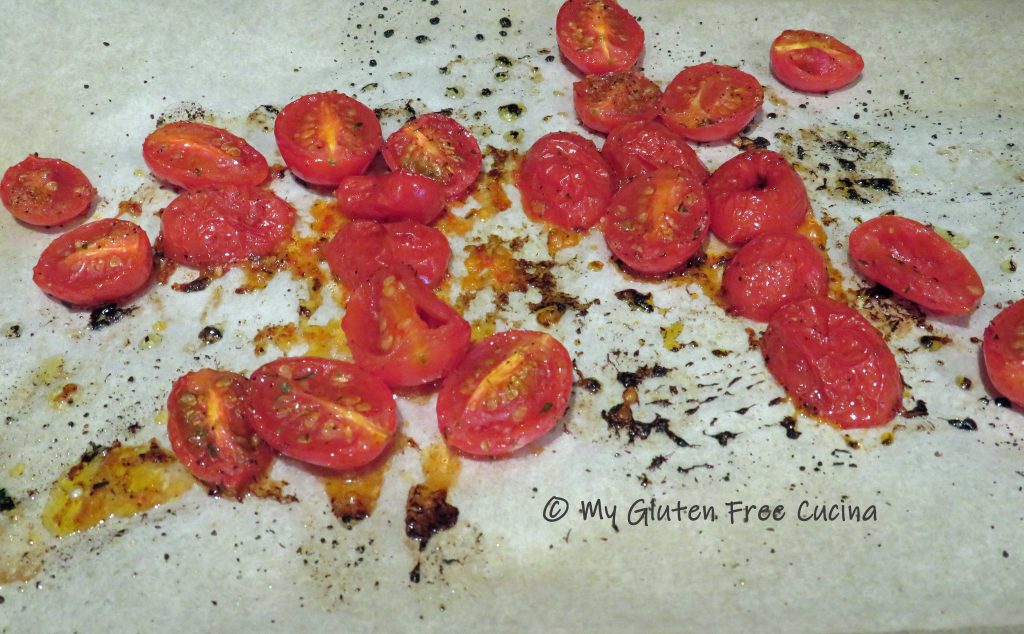
 Stir and cook 1 minute, then add back the roasted tomatoes.
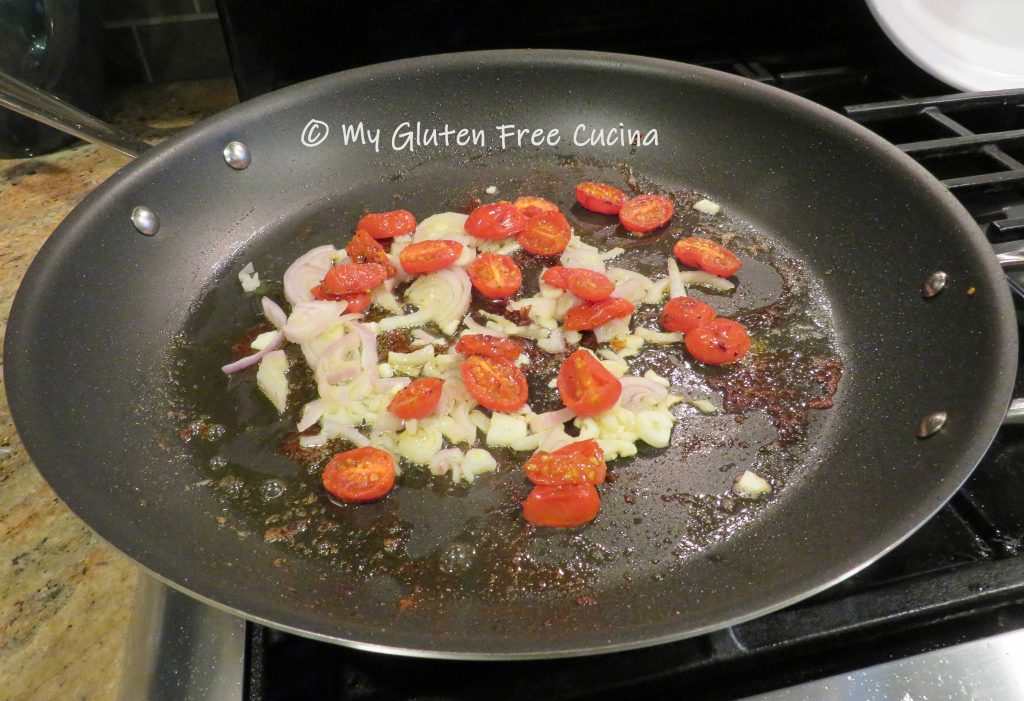 Cook for 1 minute more, then add all of the baby spinach with 1/2 cup of white wine. Don’t worry, it will cook down! Cover the pan and cook for several minutes, until the spinach wilts.
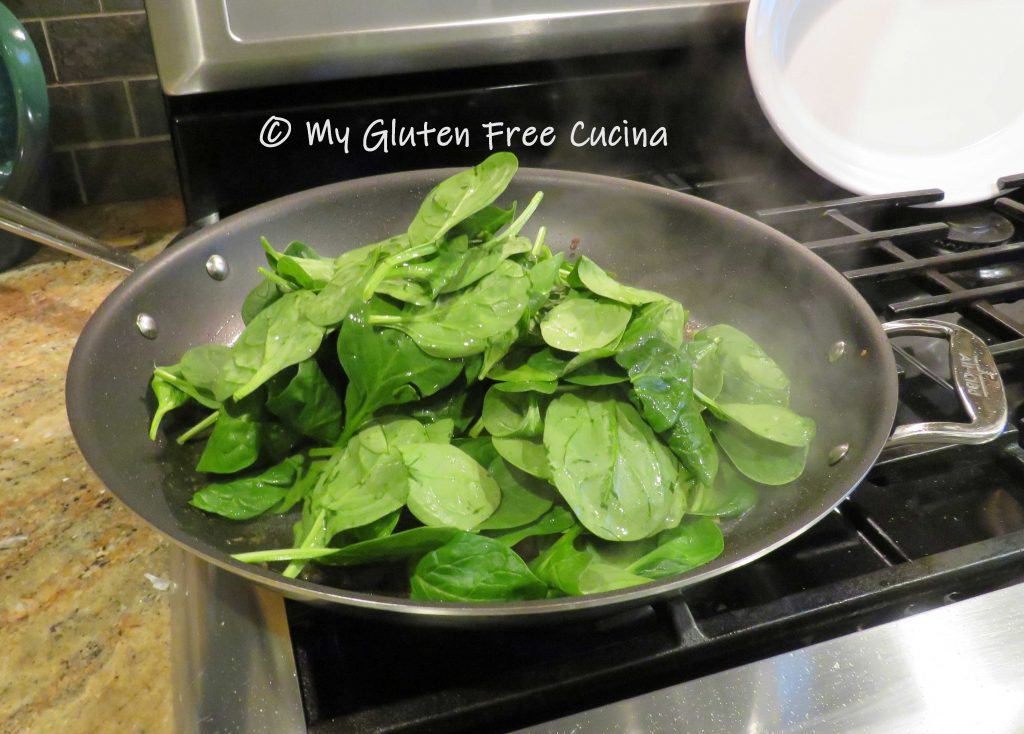 What did I tell you?
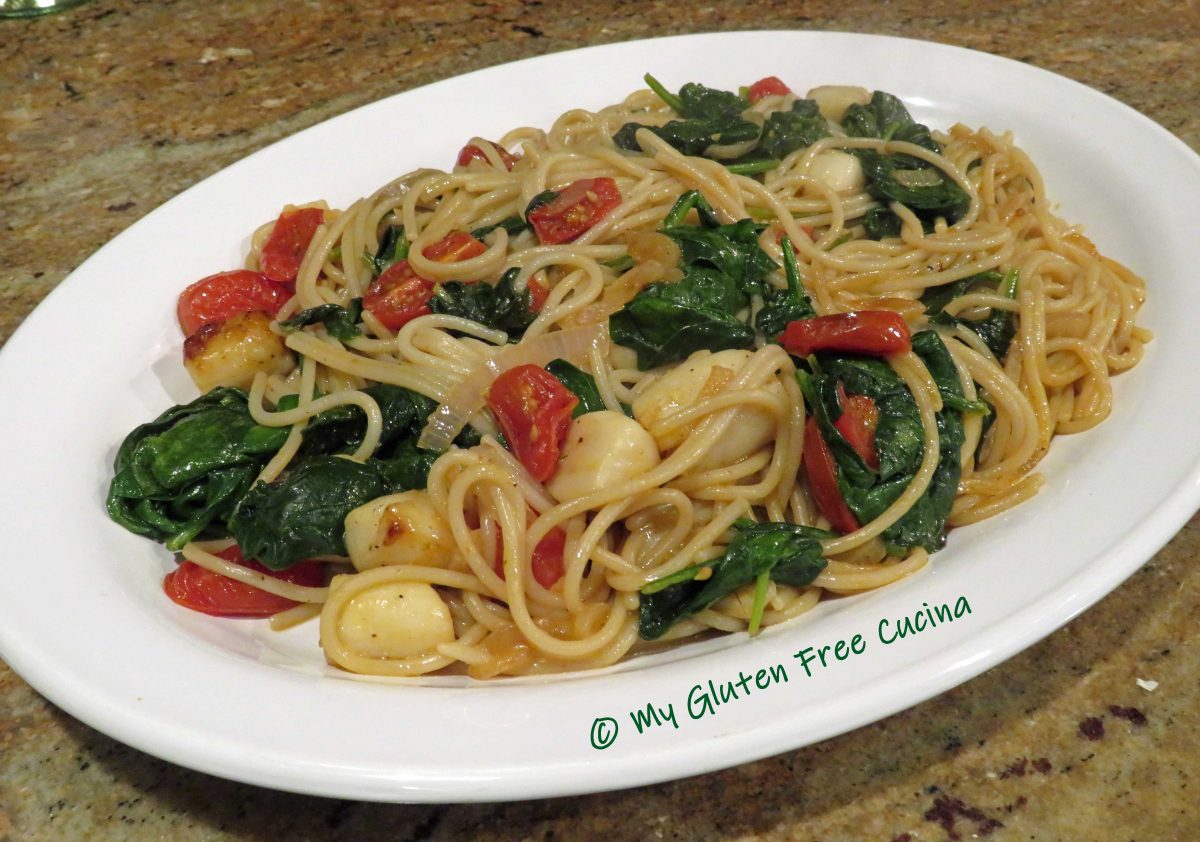
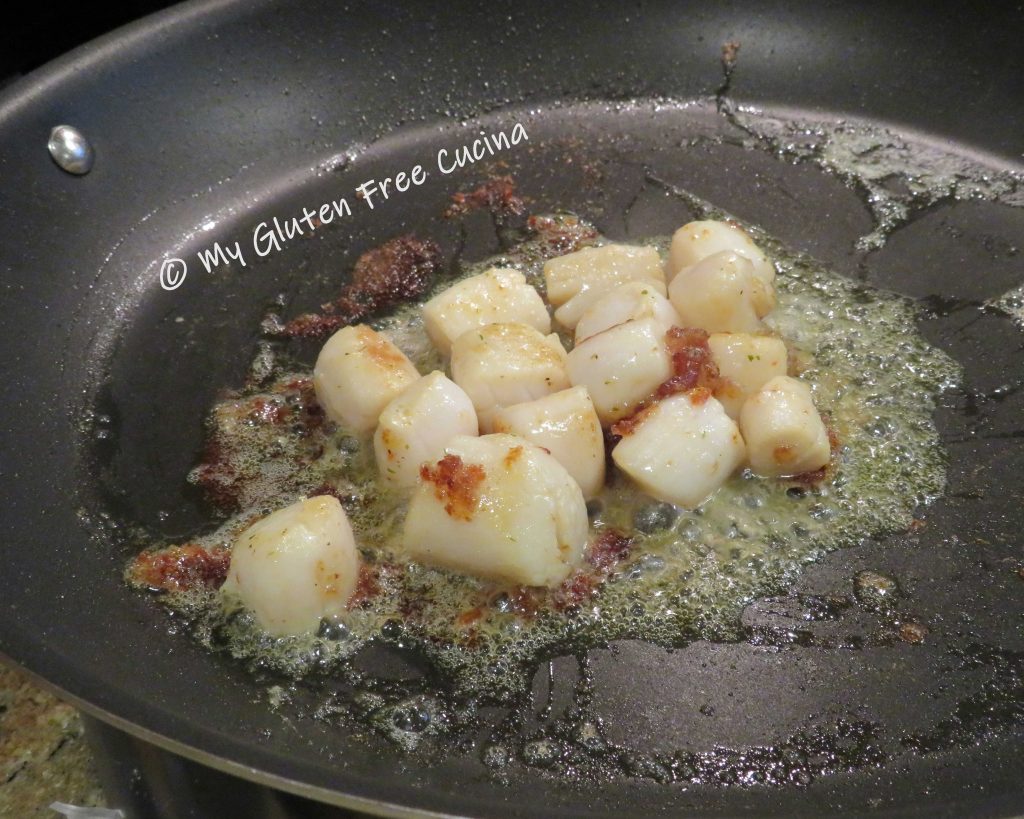
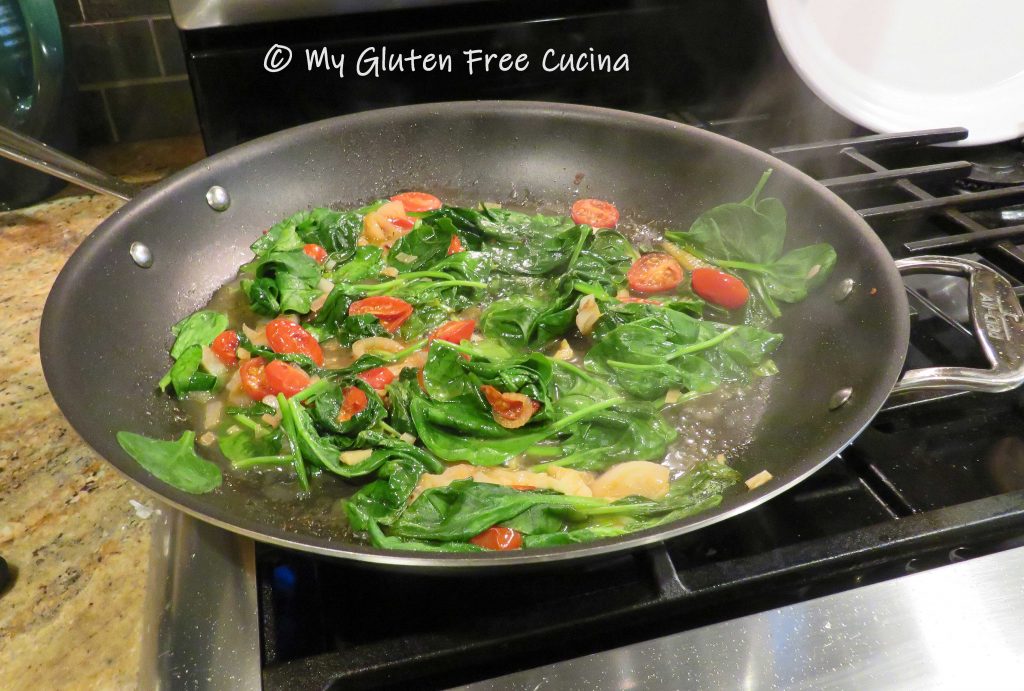 Use tongs to add the cooked spaghetti to the spinach mixture, along with the scallops. Season to taste, and finish with another 1 tbsp. each of butter and olive oil.
 Toss gently to combine and heat the scallops through, then transfer to a serving platter.