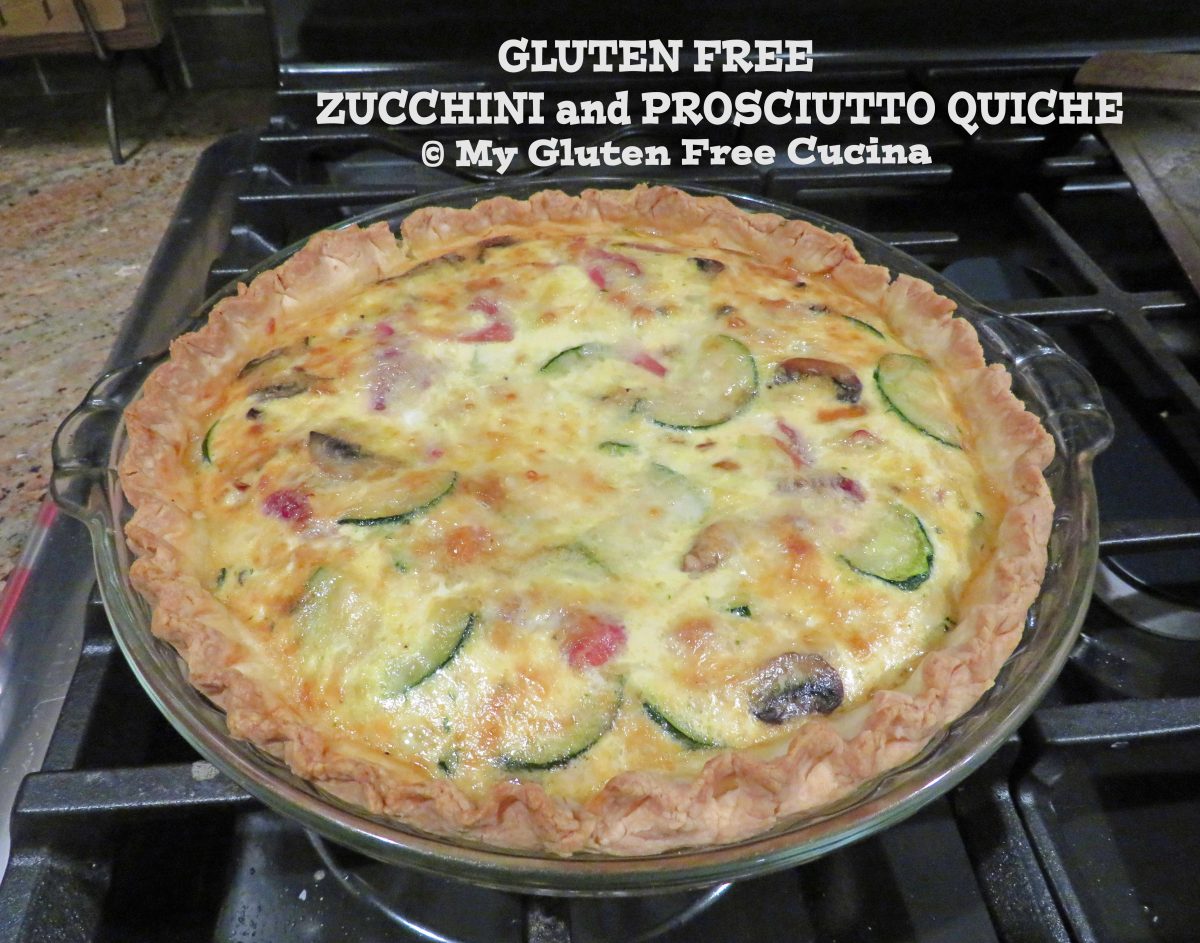
Making a gluten free quiche has been on my recipe bucket list for a long time. This week I finally did it! The filling is a savory blend of zucchini, prosciutto, mushrooms and Gruyere cheese. I still can’t believe how tasty it was.
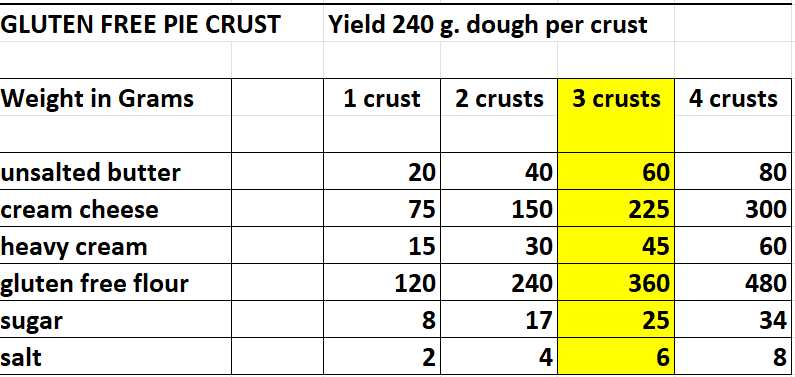
Of course, the foundation of a good quiche is the pie crust. If you missed my earlier post on how to make an easy, gluten free pie crust you can check it out here.

This post contains affiliate links.
Ingredients:
- one gluten free pie crust
- 3 oz. package prosciutto
- 1 cup grated Gruyere cheese, divided
- 1 tbsp. olive oil
- 1/2 small zucchini, sliced thin
- 10 small button mushrooms, sliced thin
- 1 bunch scallions, trimmed and sliced
- 1/2 tsp. seasoned salt
- 3 large eggs
- 1-1/2 cups 2% milk
- fresh ground pepper

Preparation:
Preheat the oven to 350º.
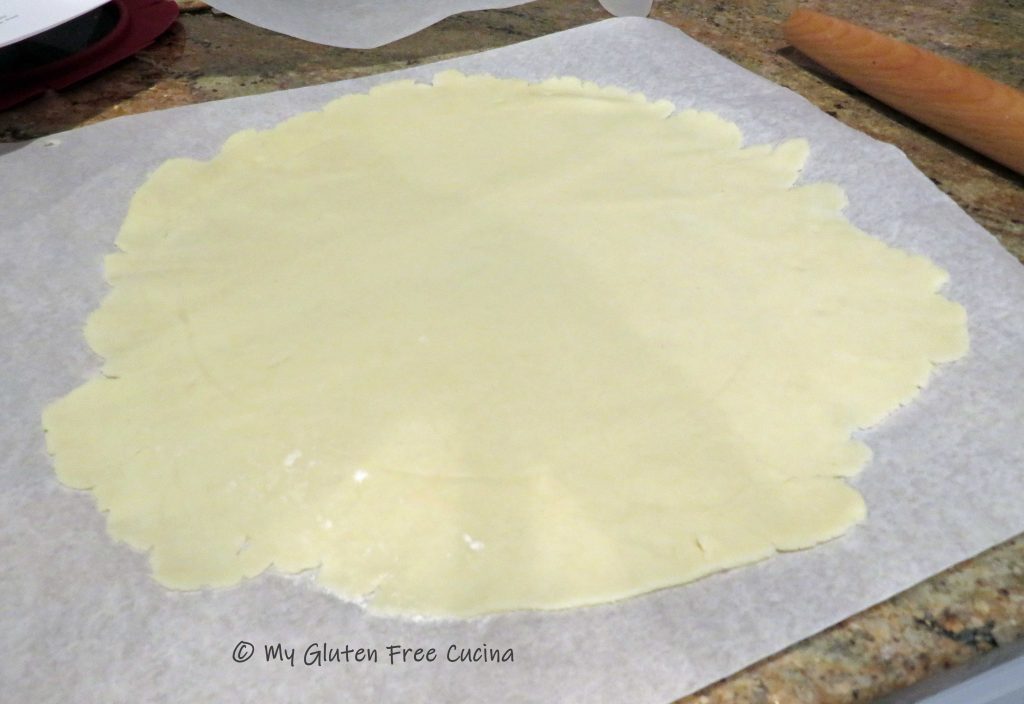
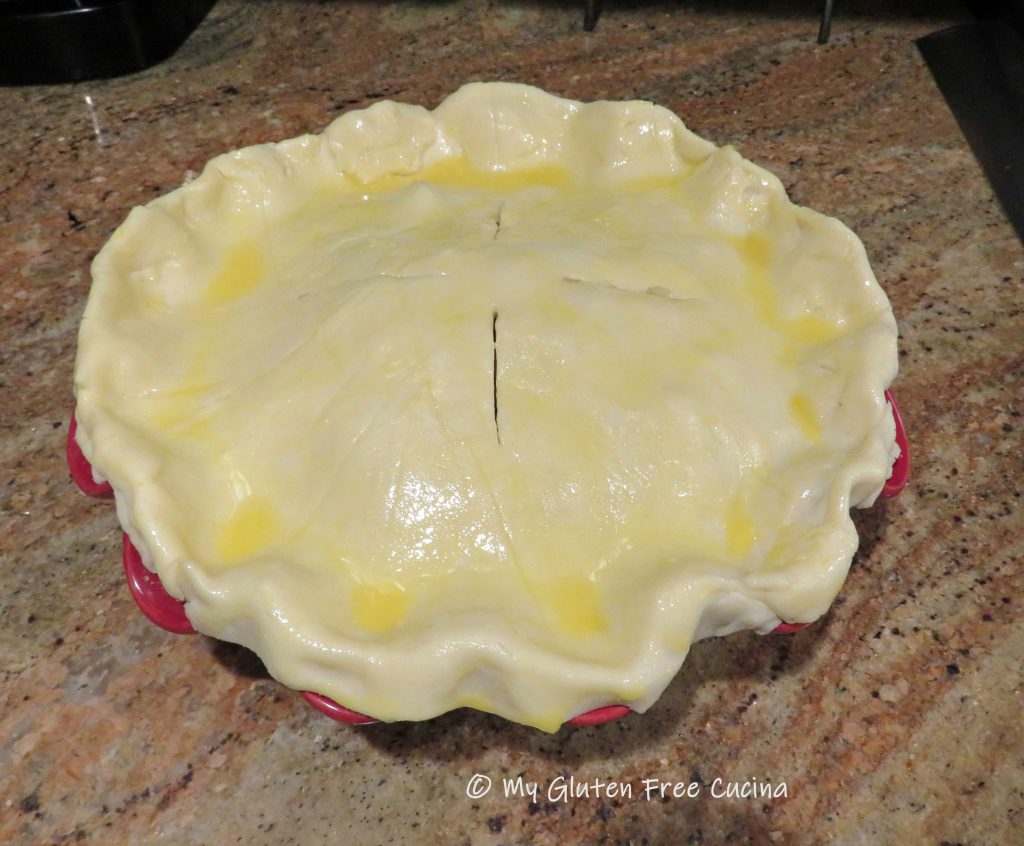
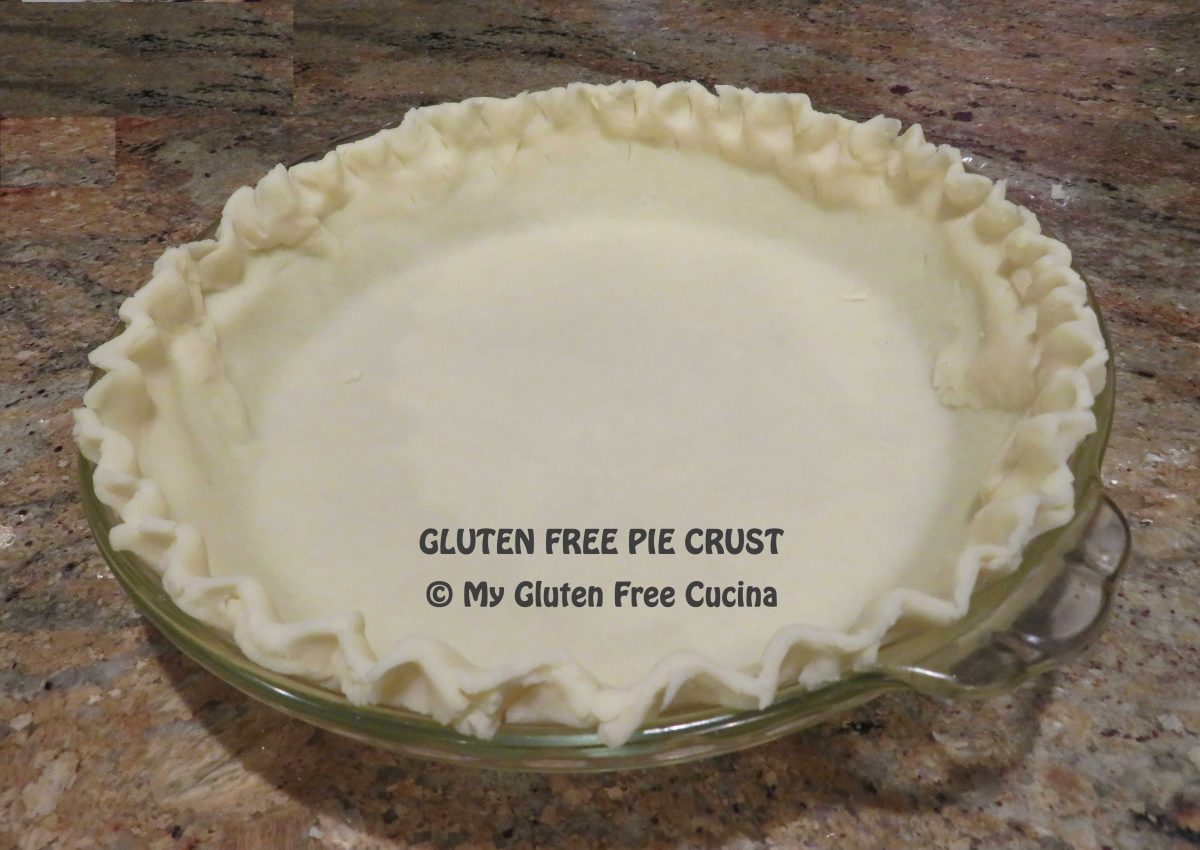
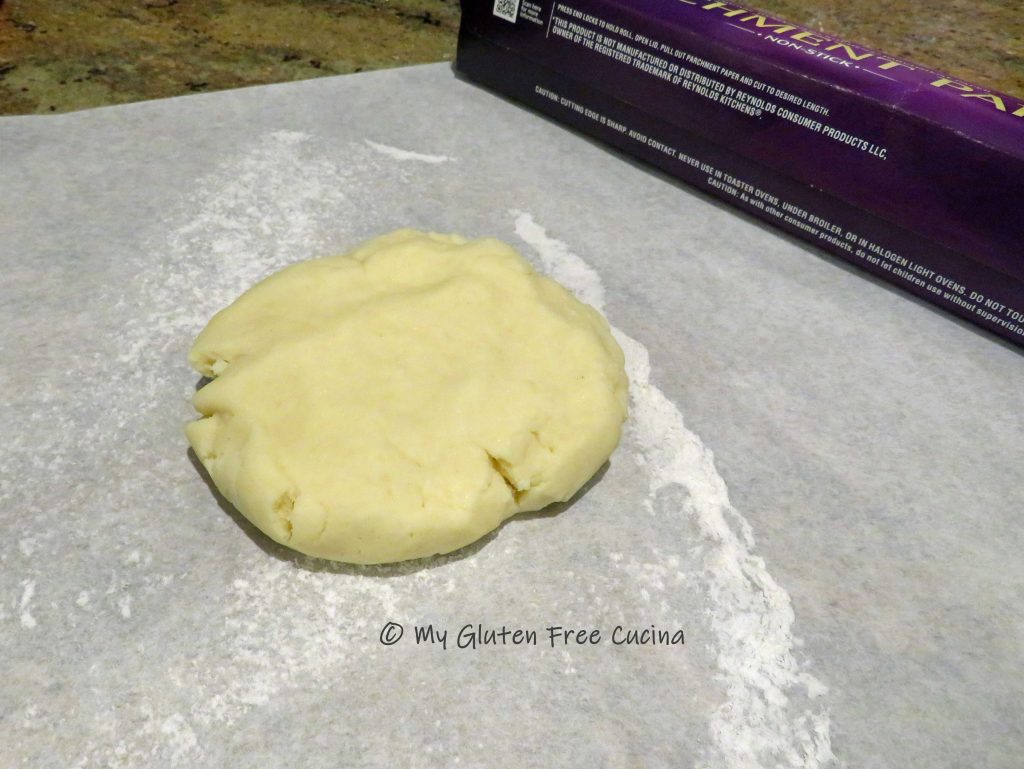
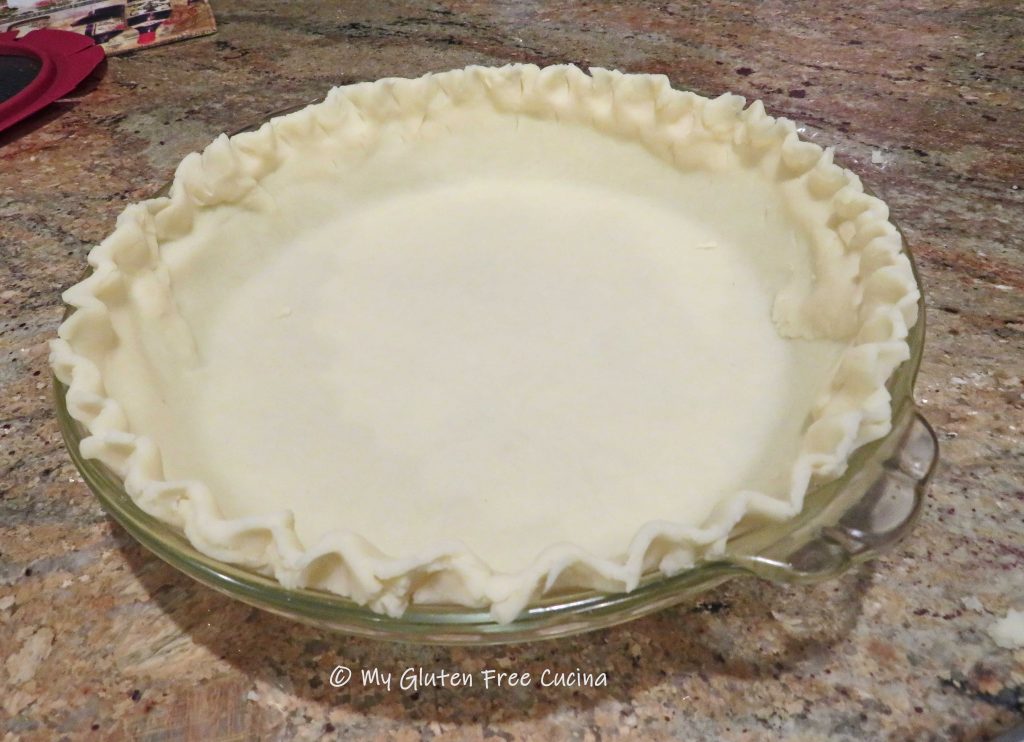
Roll your pie dough into a circle, using your pie dish as a guide. You want the dough to fit into the pie dish with a little extra to fold under and crimp.

Carefully lift the dough and place in your pie dish.
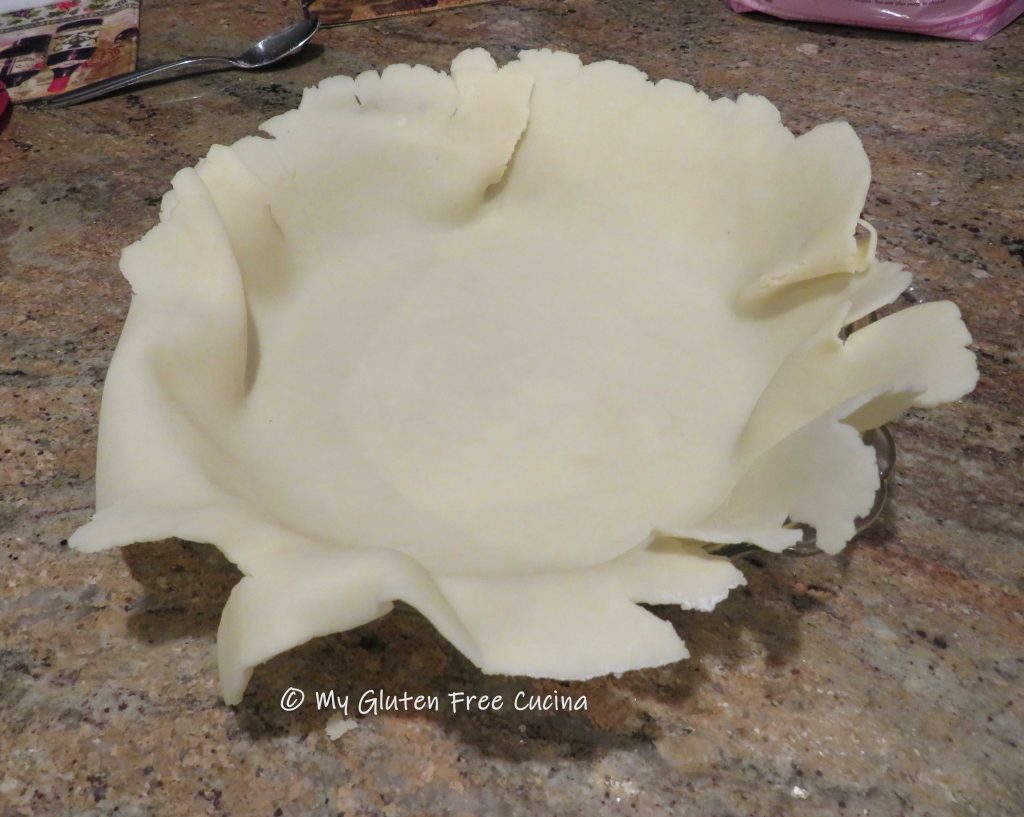 Trim the excess (can be used to patch any cracks or holes), fold the edges under and crimp.
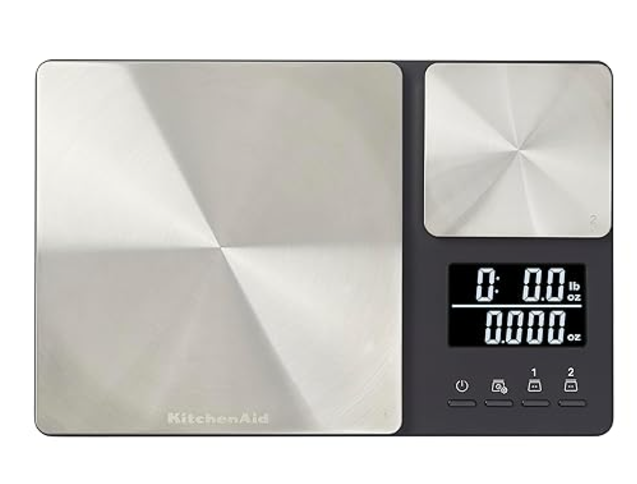
 Because the filling is made with heavy, wet ingredients, you will need to blind bake (pre-bake) the crust for 10 minutes to keep it from getting soggy. Be sure to weigh down the crust down to keep the bottom from puffing up. You can cover the crust with parchment and use beans or pie weights. Or you can try this gadget, it works like a charm and it’s so easy to remove and clean!

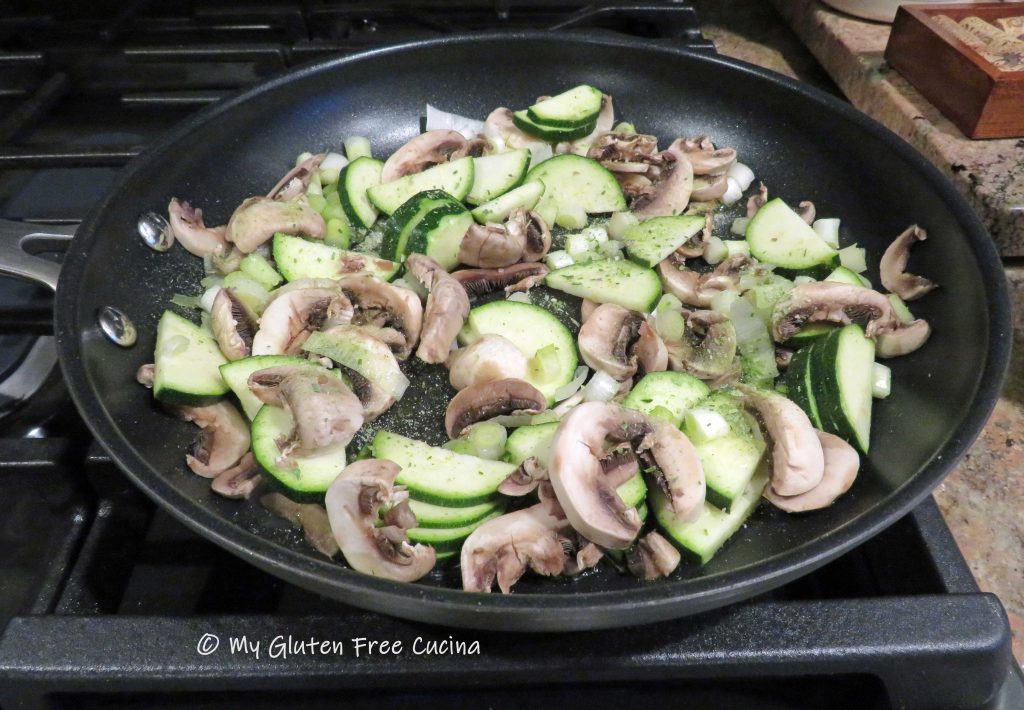
While the crust is baking prepare the filling. Cut the zucchini and mushrooms into thin slices and chop the whites of the scallions into 1/4″ pieces. Grate the cheese and tear the prosciutto into small pieces.
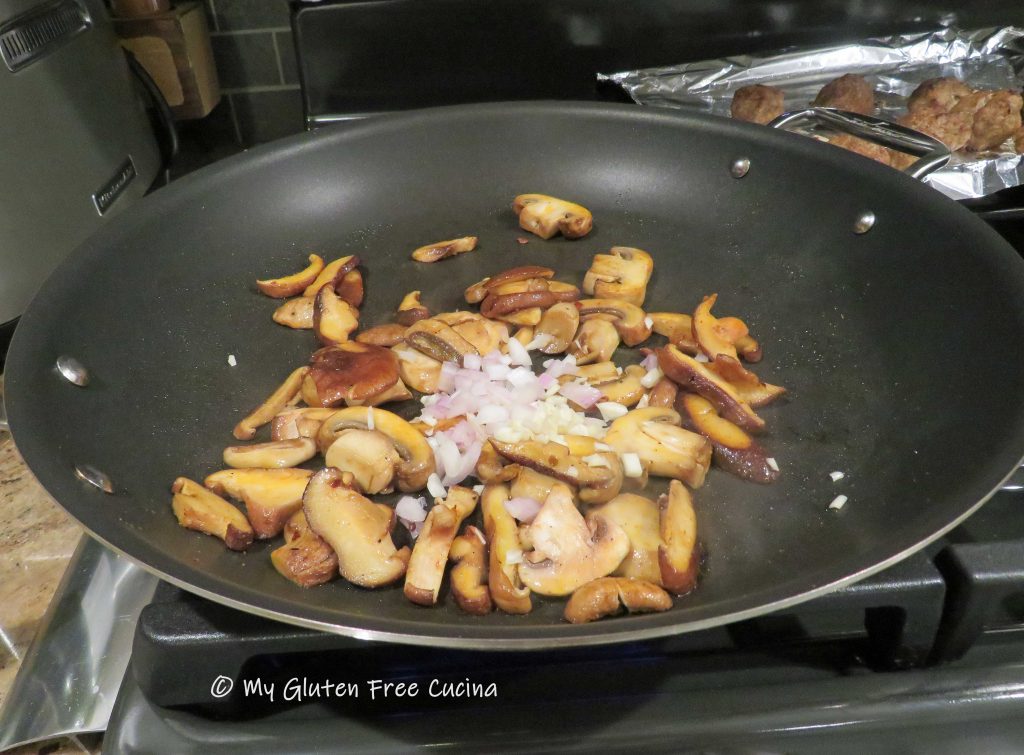
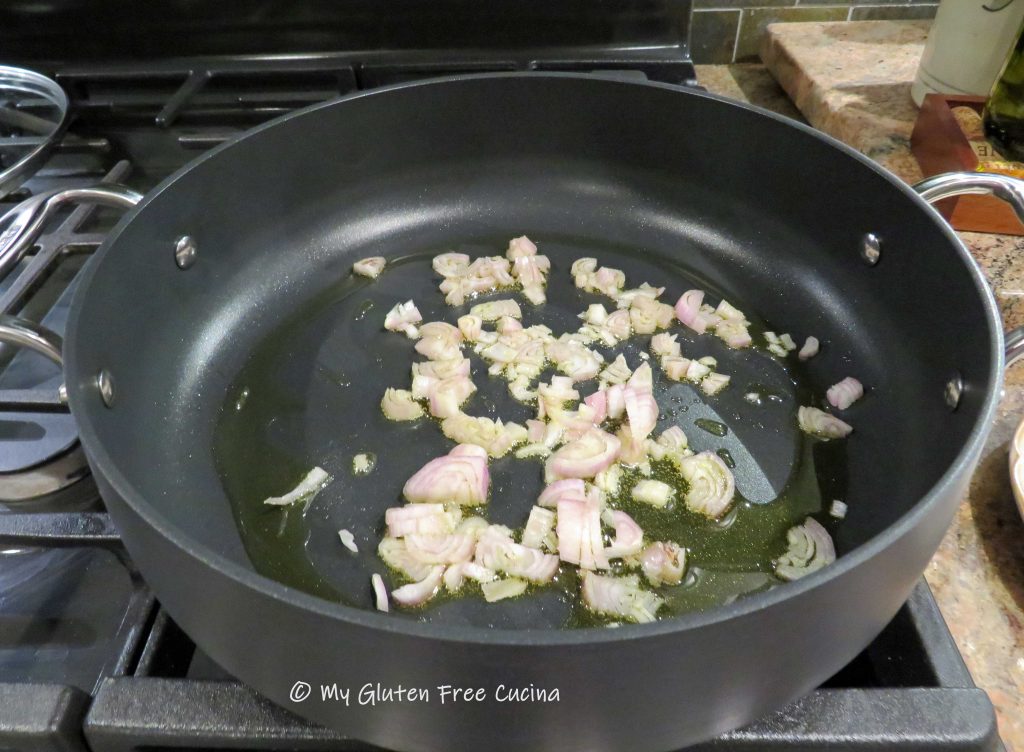
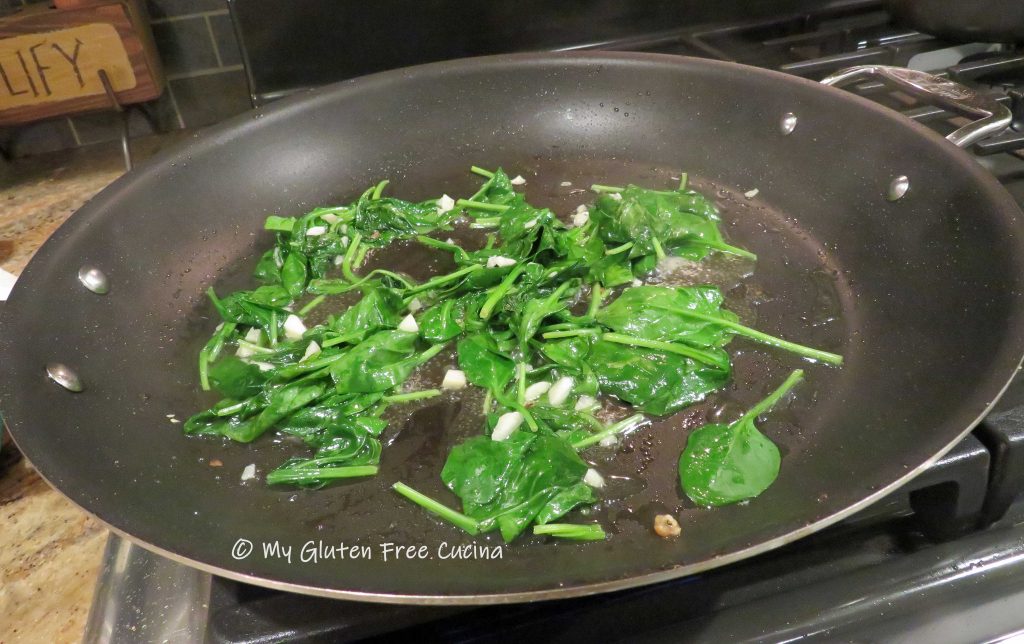
Heat 1 tbsp. olive oil in a nonstick skillet, add all of the veggies and sprinkle with seasoning.
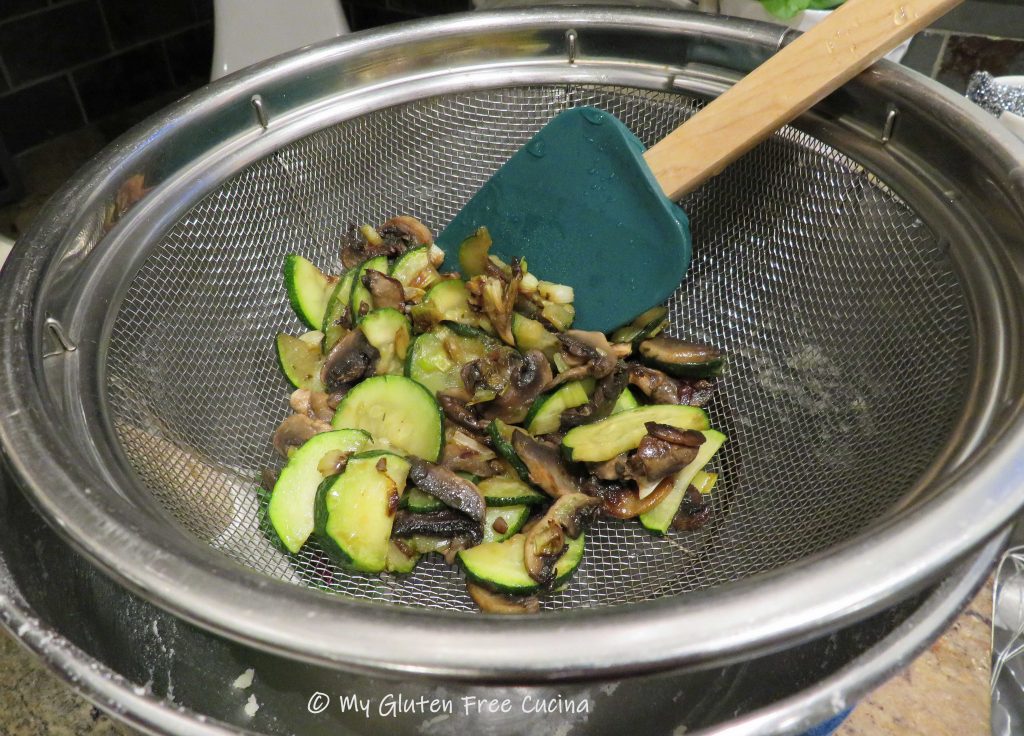
Cook the veggies until they have released their liquid and reduced to about 1 cup. Transfer to a colander to cool and drain.
Take the partially cooked pie crust out of the oven after 10 minutes and remove the pie weight.

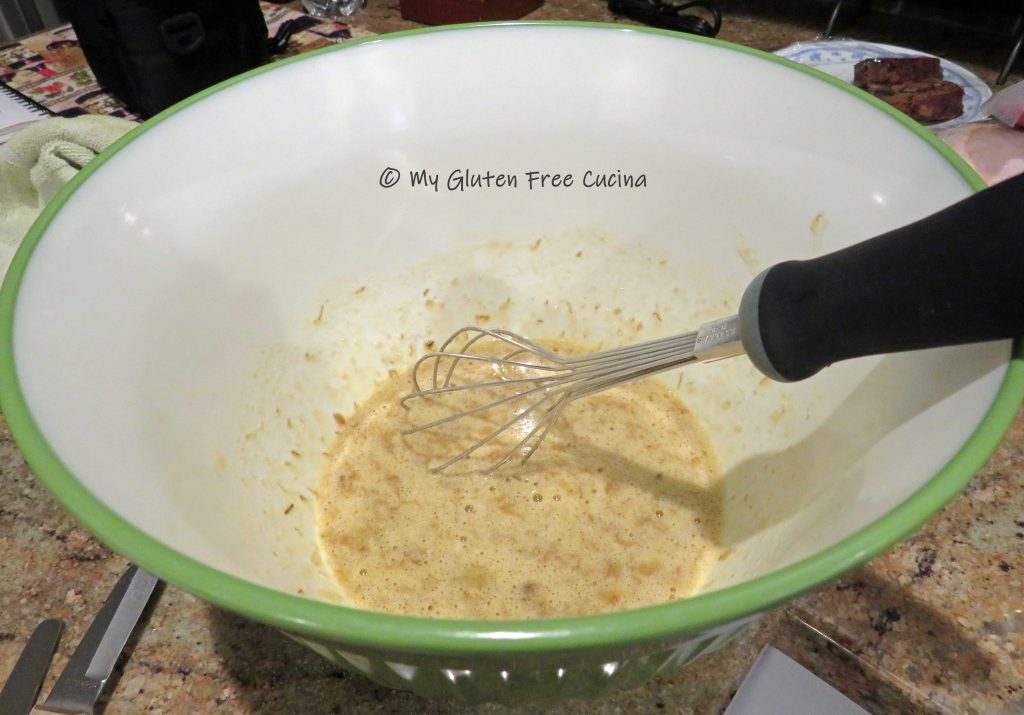
To finish the filling, beat the eggs and milk. Stir in the drained veggies, 3/4 cup of cheese and the prosciutto. Add about 8 grinds of fresh ground pepper.

Pour the filling into the prepared crust and top with the remaining 1/4 cup of cheese.

Place the quiche on the center rack of your oven. I put a cookie sheet underneath, to keep the bottom from getting over cooked. Bake for 45-50 minutes, until the top is set, and edges of the crust are well browned.

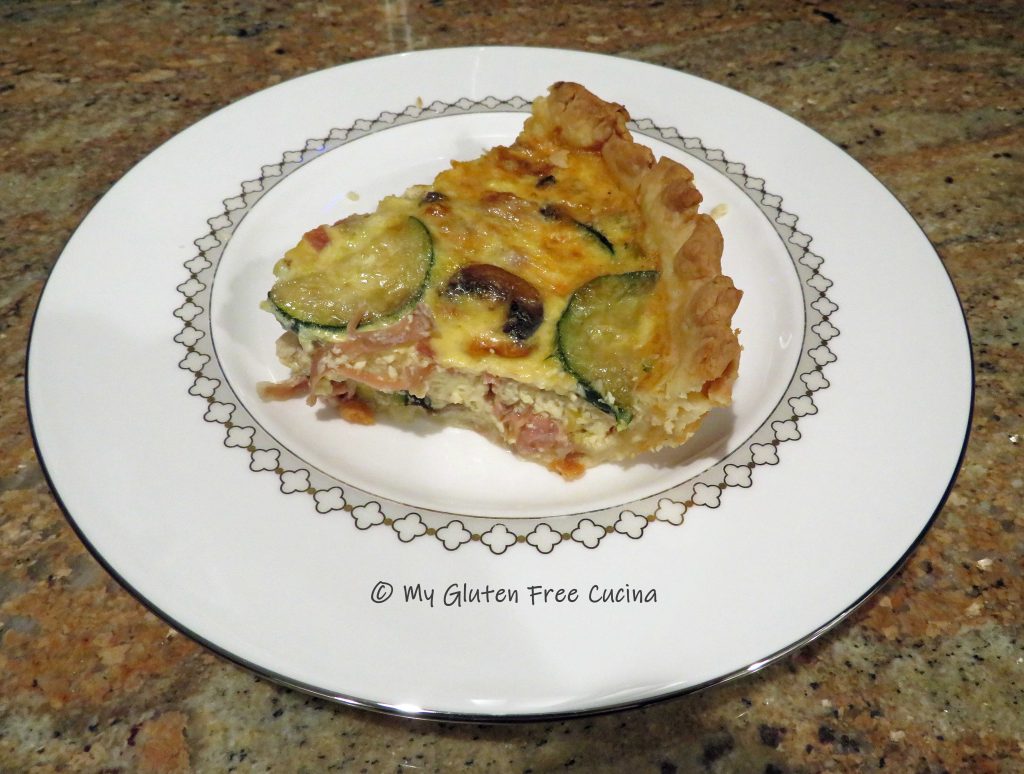
Let it rest for 15 minutes before slicing.

Notes ♪♫ We had this quiche for dinner, and reheated leftovers for lunch the next day. Like any pie, the number of servings will depend on your appetite, somewhere between 4-8 wedges. It was delicious and would be an amazing addition to your brunch menu!


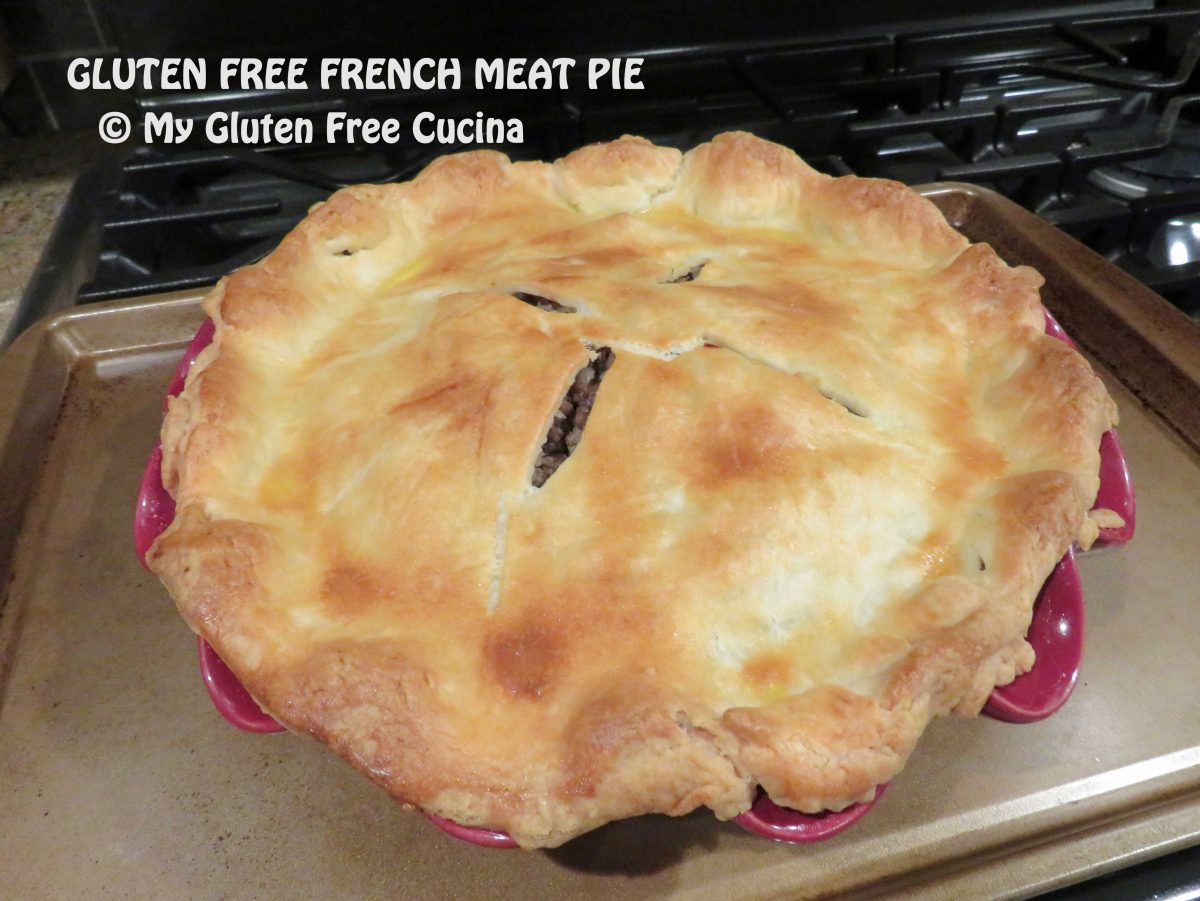
 Place one crust in the


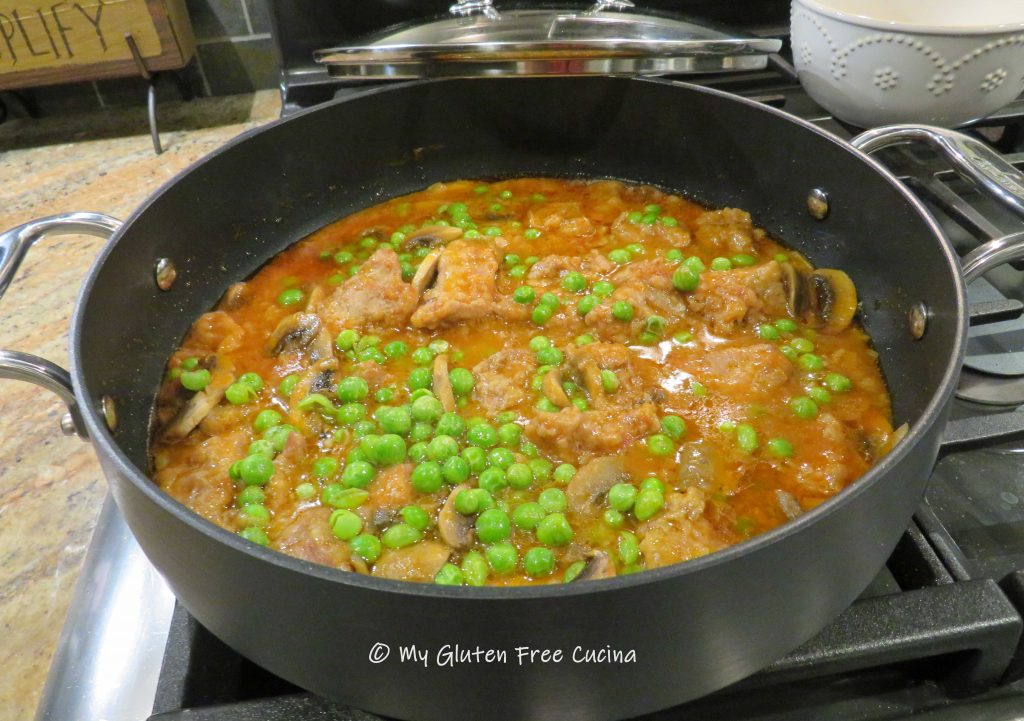
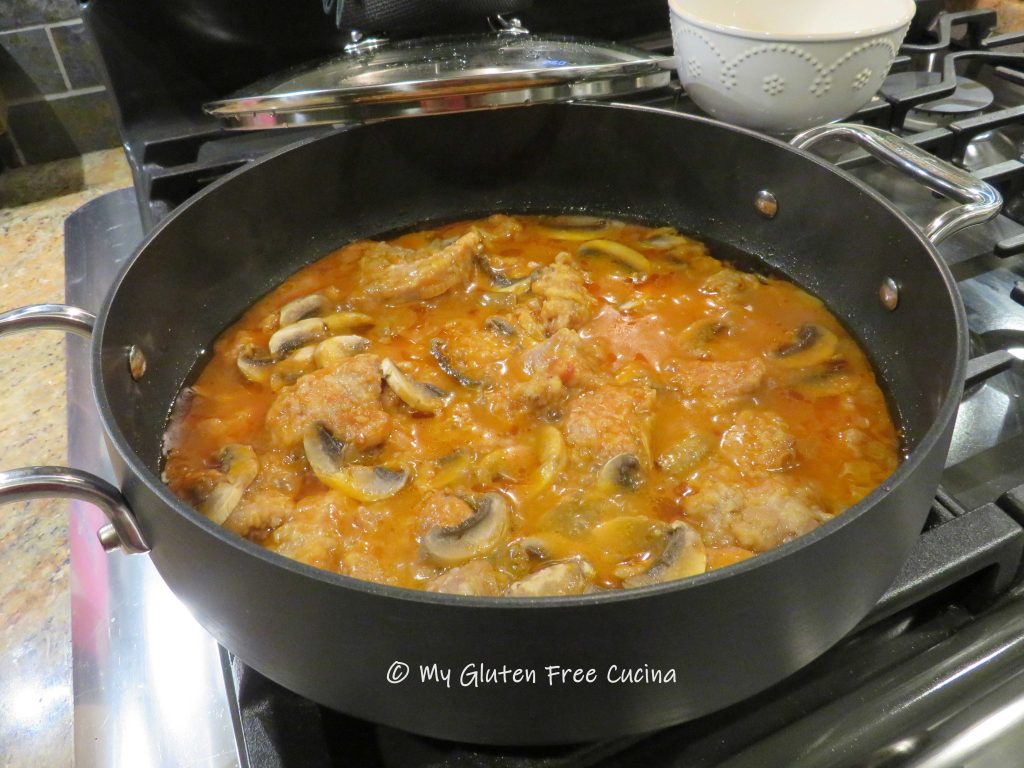 During the last 10 minutes of cooking add the peas, and finish cooking uncovered to thicken.
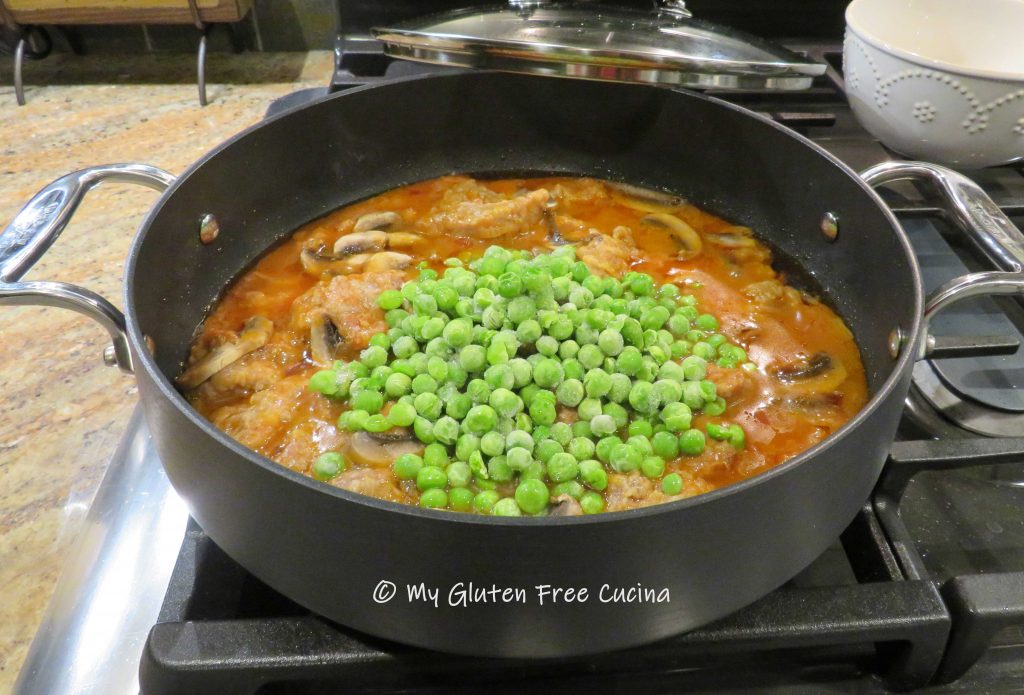


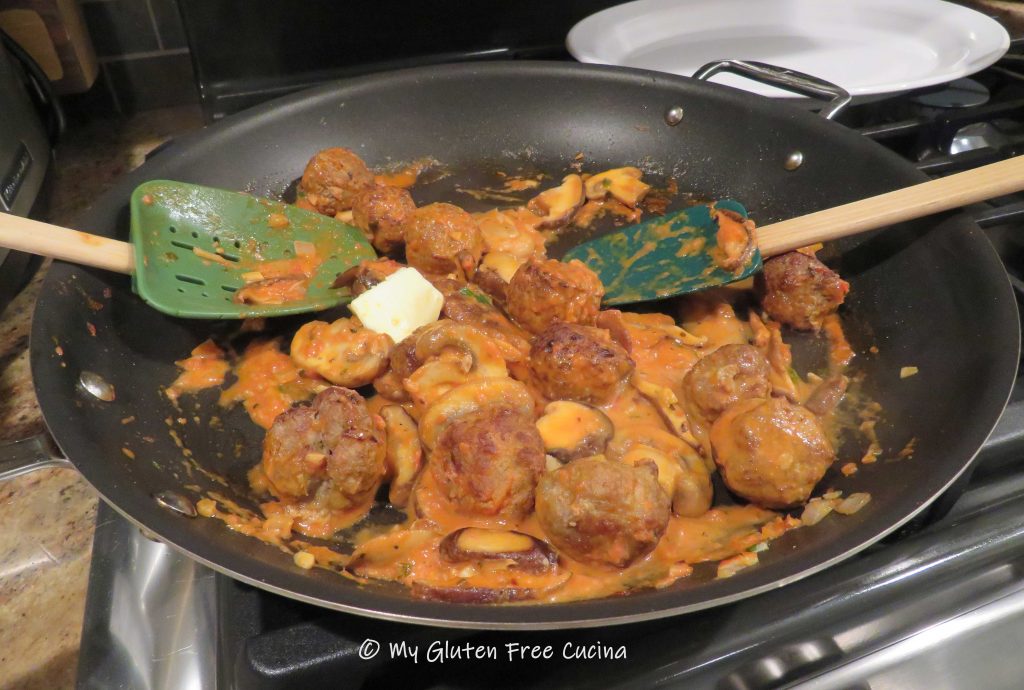
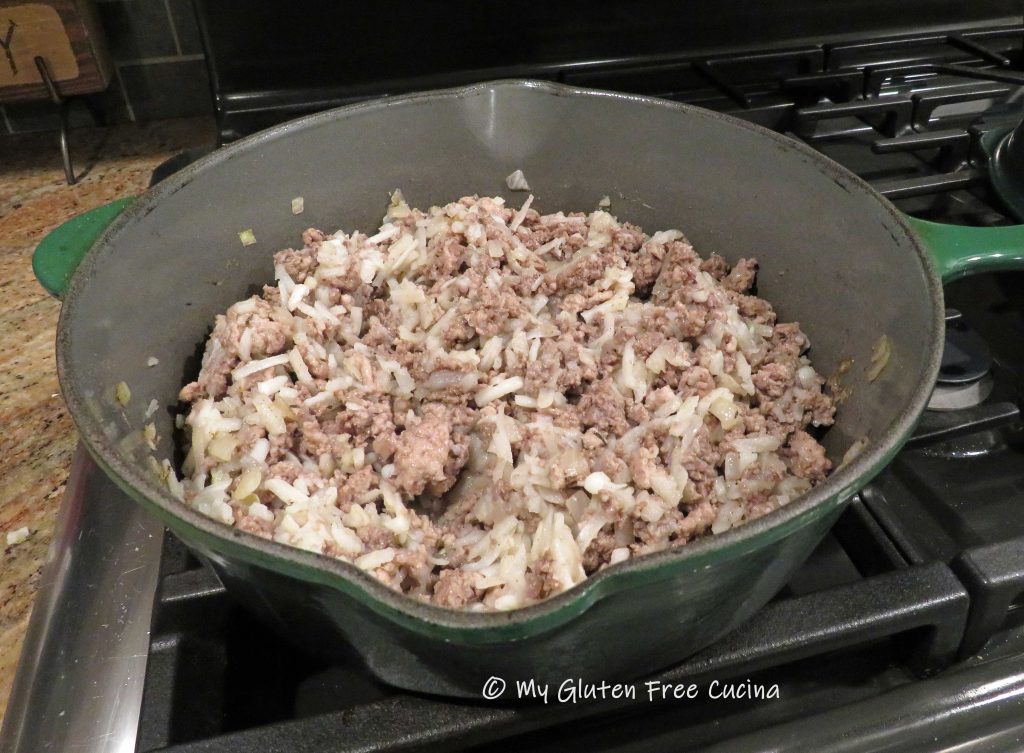
 Stir in 1 cup


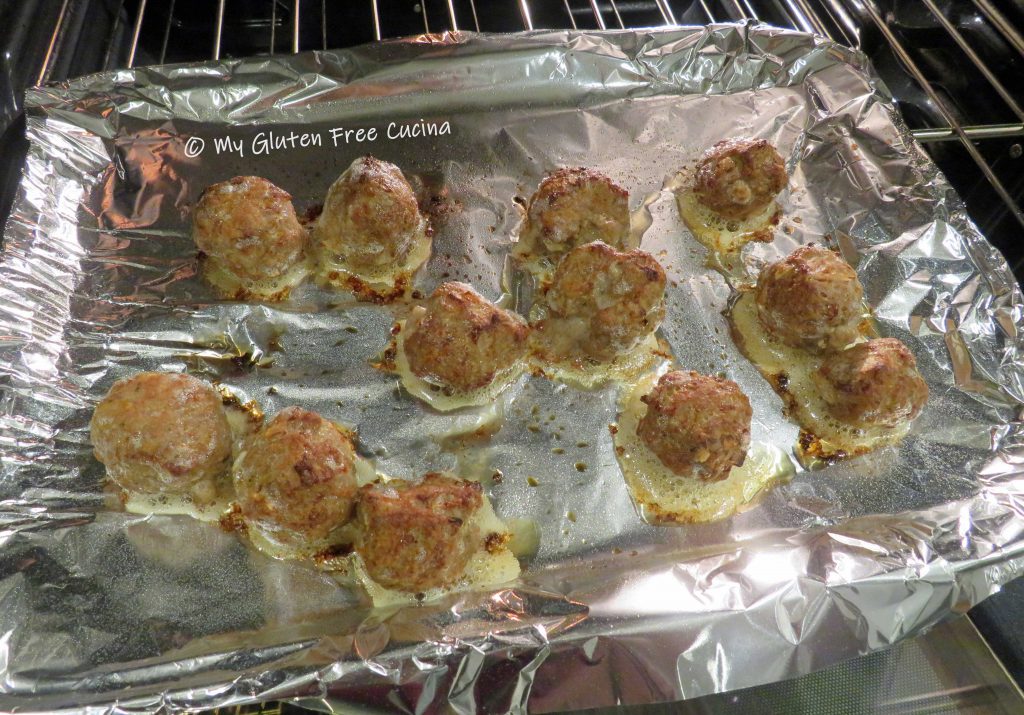


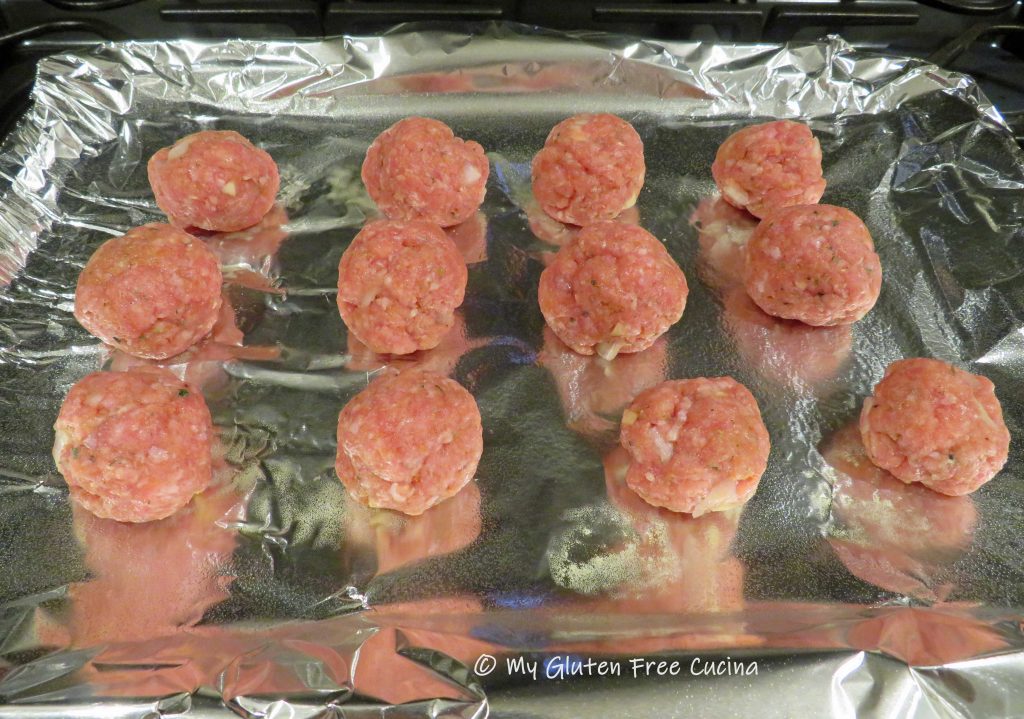
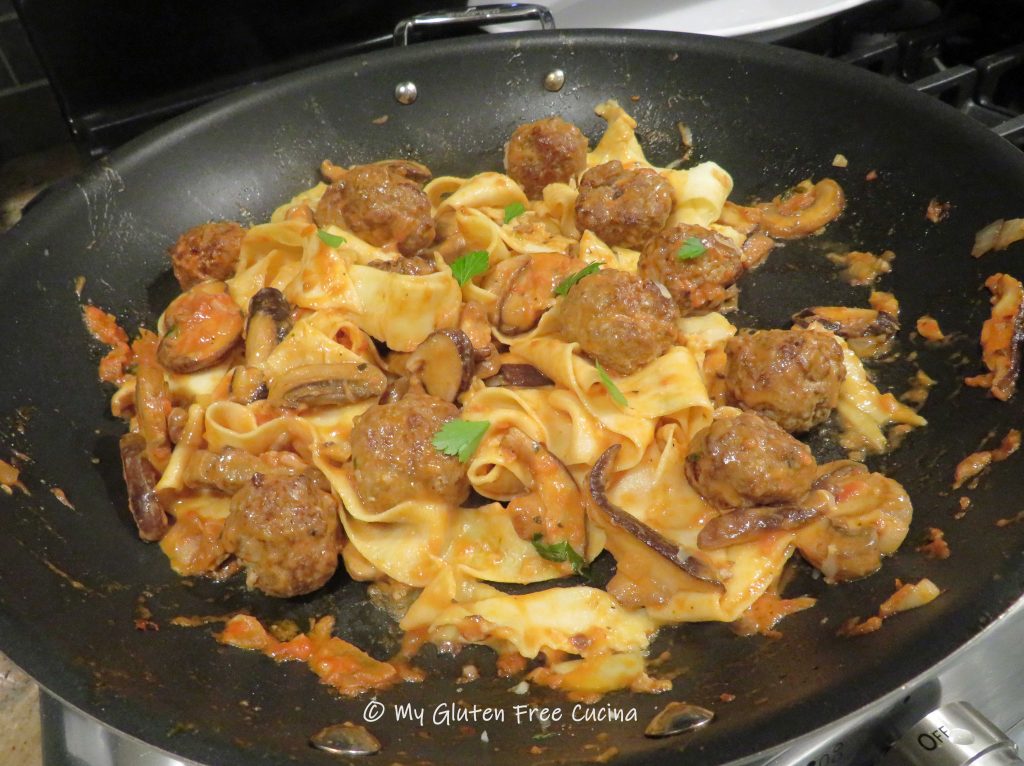
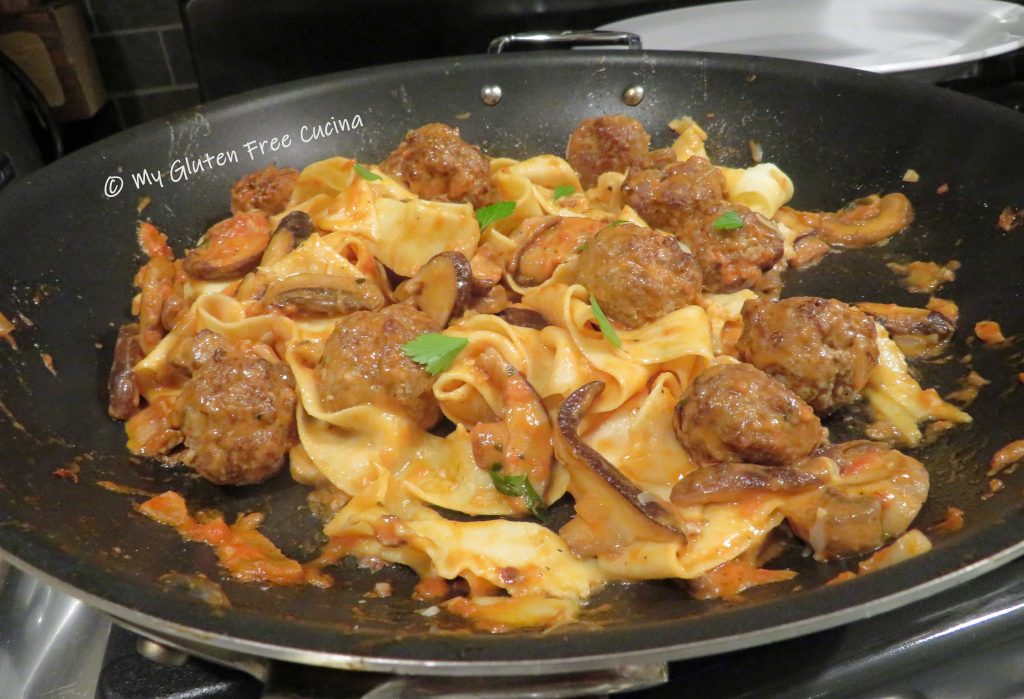
 Line a baking sheet with foil and mist with cooking spray. Form 12 small meatballs and arrange on the baking sheet, leaving space in between.