Why can’t restaurants make a good marinara sauce? I’m often so disappointed when ordering a simple pasta dish. It’s the sauce. You know that bland watery tomato sauce straight out of the can with no seasoning? Honestly, sometimes I want to walk into the kitchen and show them how to do it!
Well, maybe I’ll just show you, dear readers, that it’s not difficult to make a marinara sauce at home. Do you really need certified San Marzano DOP dell’agro Sarnese Nocerino tomatoes? Ok yes, they are out of this world good, but if you’re on a budget it is perfectly fine to start with any canned plum tomatoes or sauce, you just have to jazz it up!

This post contains affiliate links.
I confess, to this day I still prefer Hunts Sauce for my marinara because that’s what my mother used, and it brings back such memories of our Italian Sunday dinners growing up. If you do decide to splurge on real Certified San Marzano tomatoes, I recommend you shop around. I paid $6.99 a can at my grocery store but later found them online for less!
Before we get started with the recipe, I will tell you that this is not the purist version of marinara sauce. Yes, I am 100% Italian, and I add onions (gasp) and sugar to my marinara. It’s the way I make it, and everyone loves it. Try it, you’ll see! So much better than jar sauce and in case you were wondering, marinara sauce is gluten free when you make it yourself and there are no mystery ingredients!
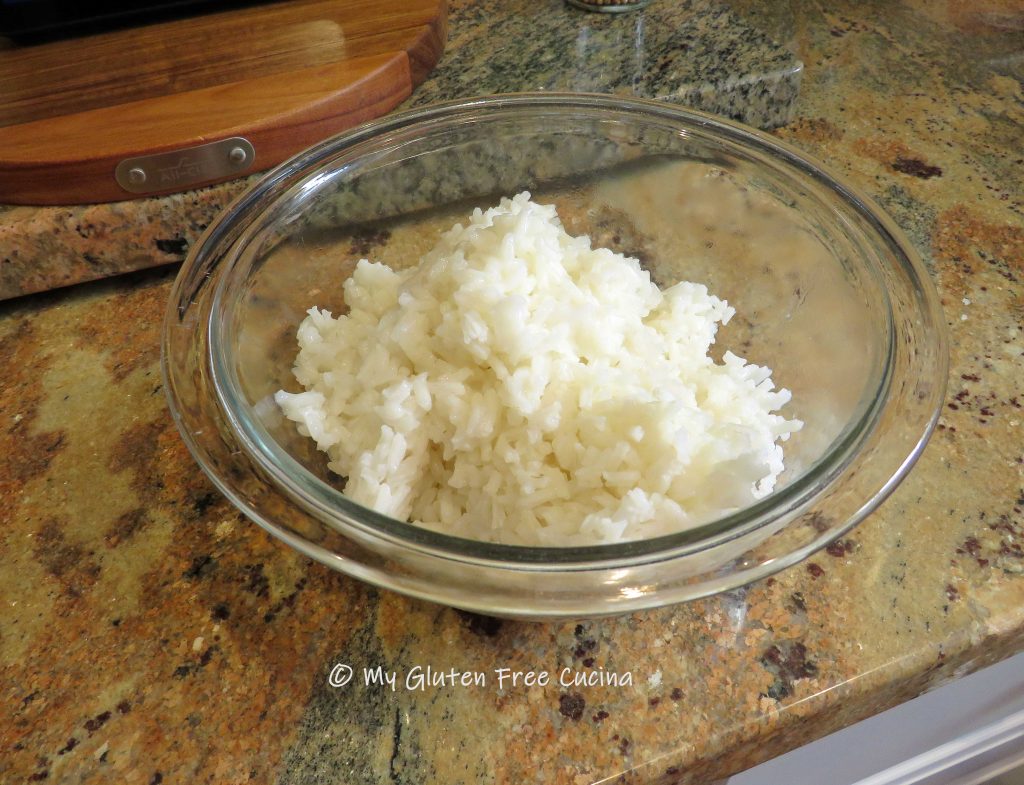
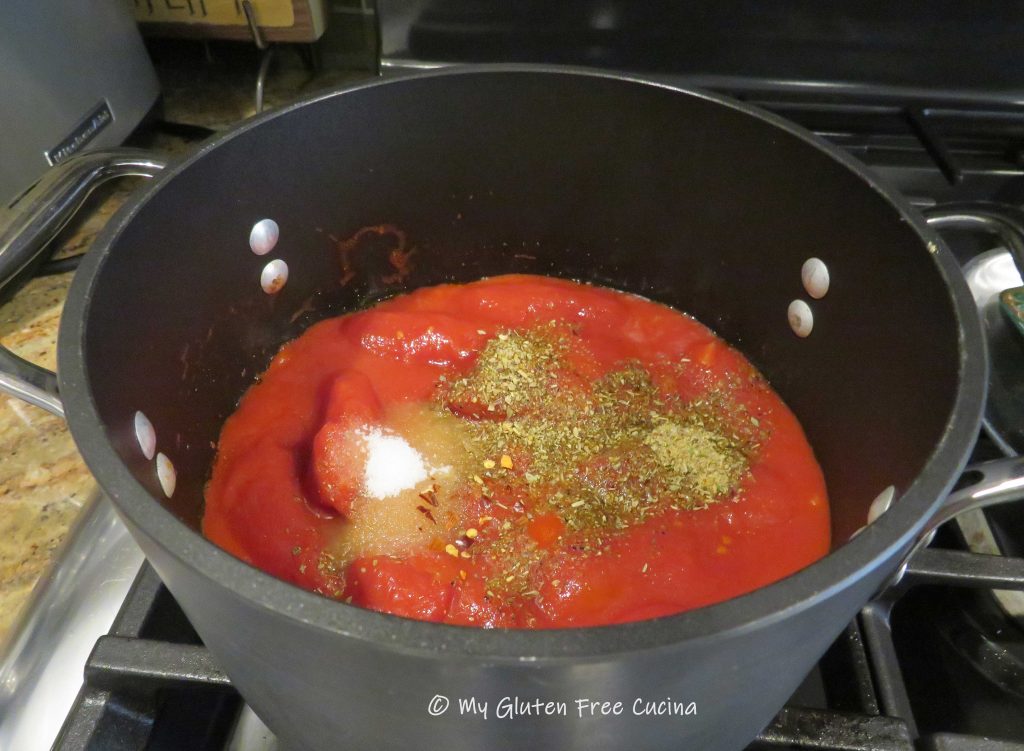
Start with whole peeled tomatoes if you like it chunky, or plain tomato sauce if you prefer a smooth sauce with no seeds. You can use a combination of the two.

Ingredients:
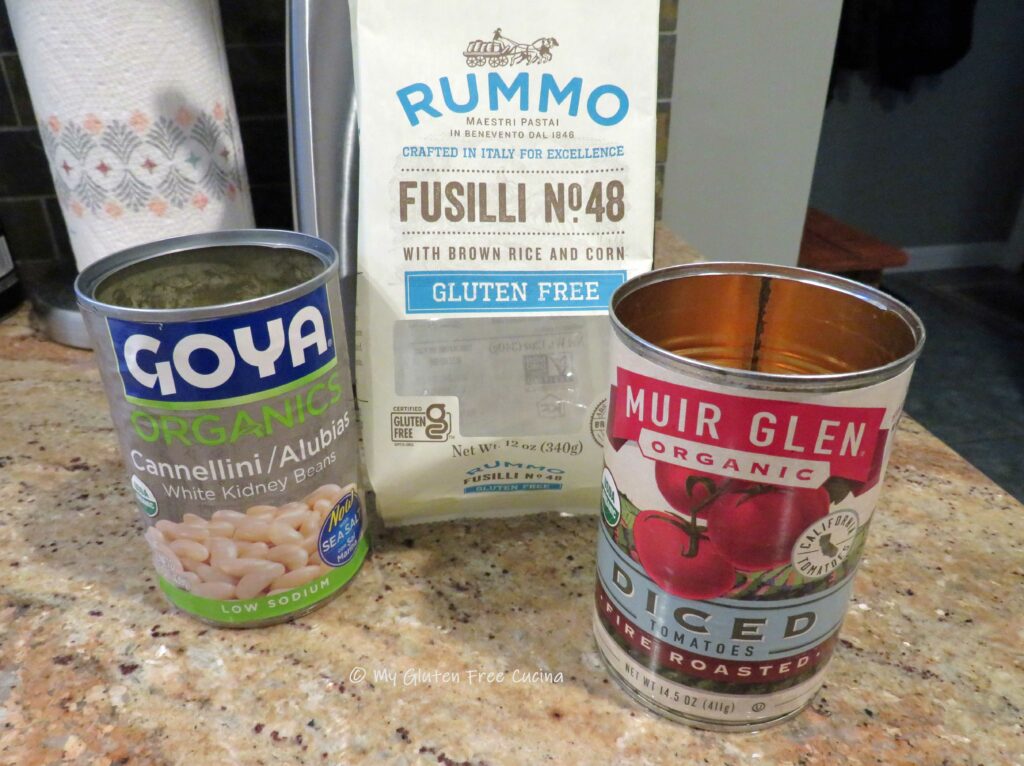
- 1 can (29 oz.) tomato sauce (or whole peeled tomatoes) (or Certified San Marzano tomatoes)
- 2 tbsp. tomato paste
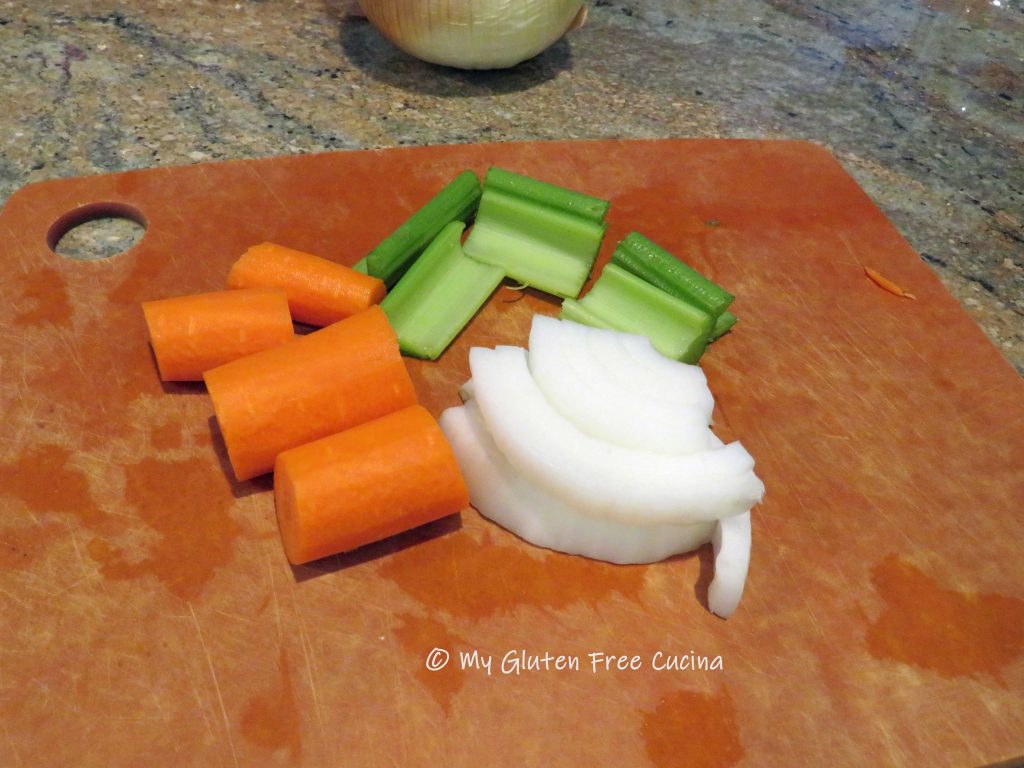
- 1/2 sweet onion, cut into small dice
- 2-3 garlic cloves, minced
- 2 tbsp. olive oil
- 1 tbsp. brown sugar
- 1 tsp. basil
- 1/2 tsp. oregano
- few grinds of fresh ground pepper
Preparation:
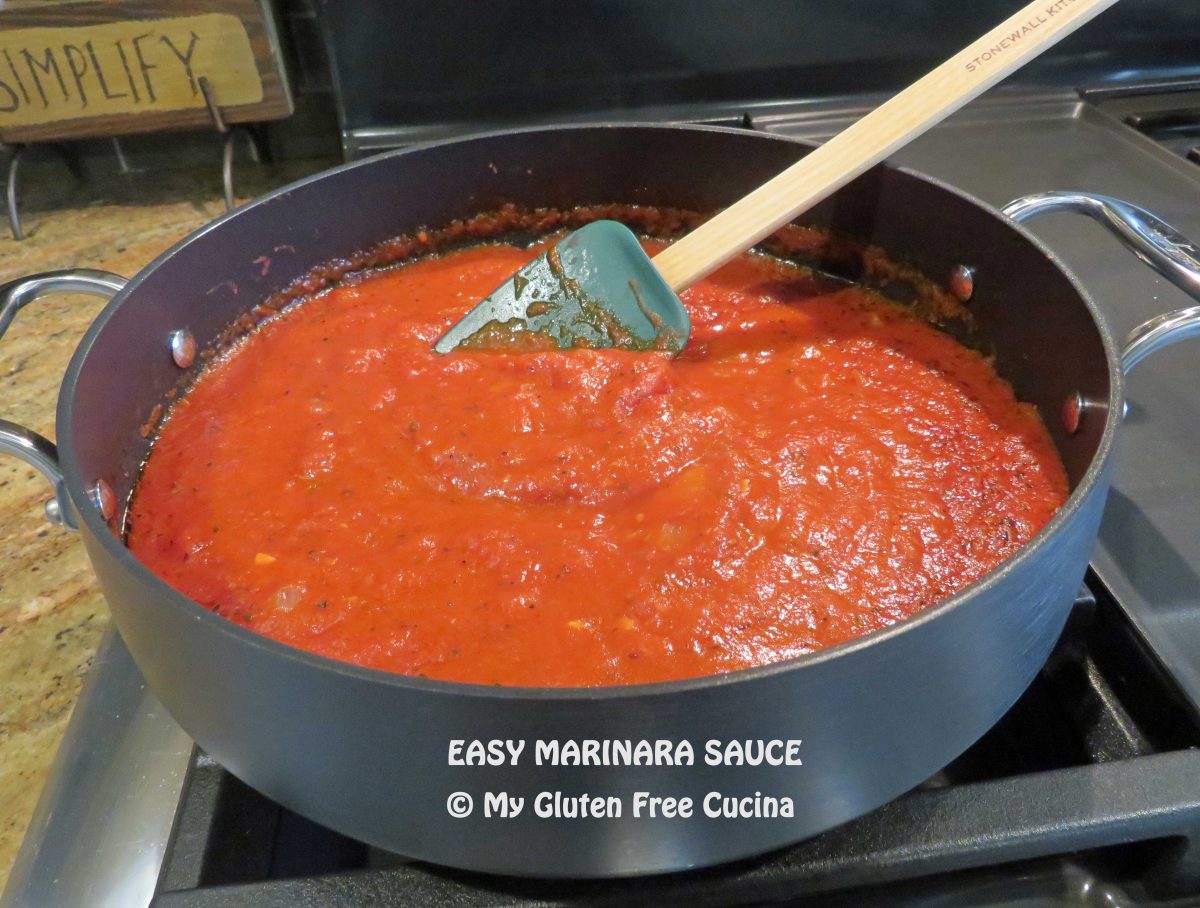
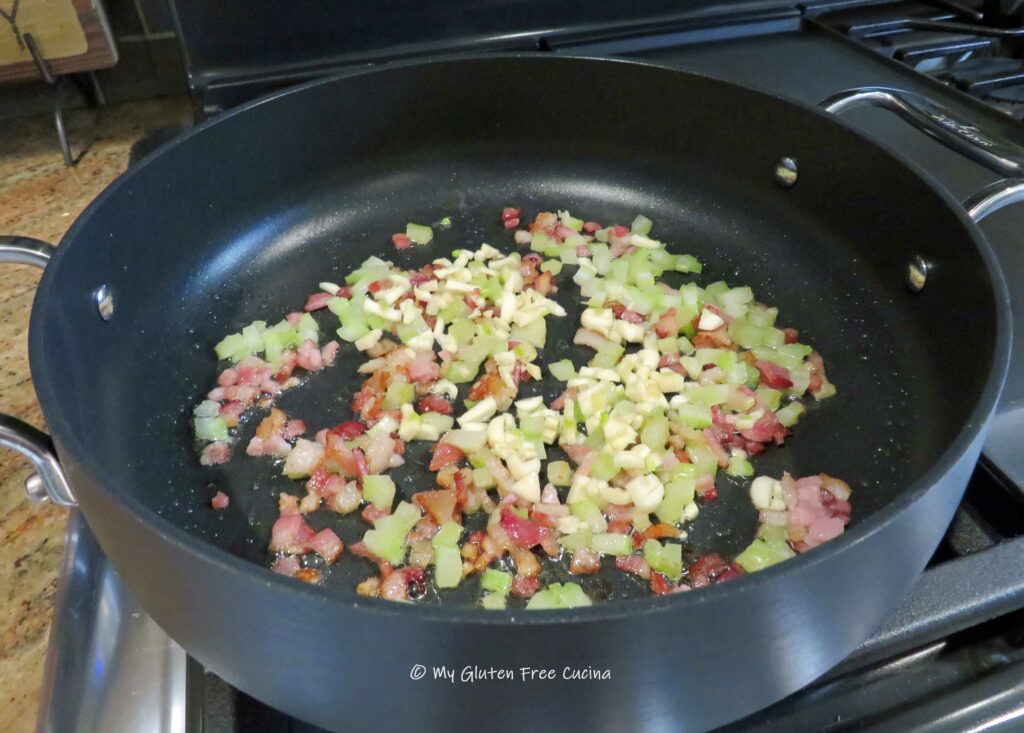
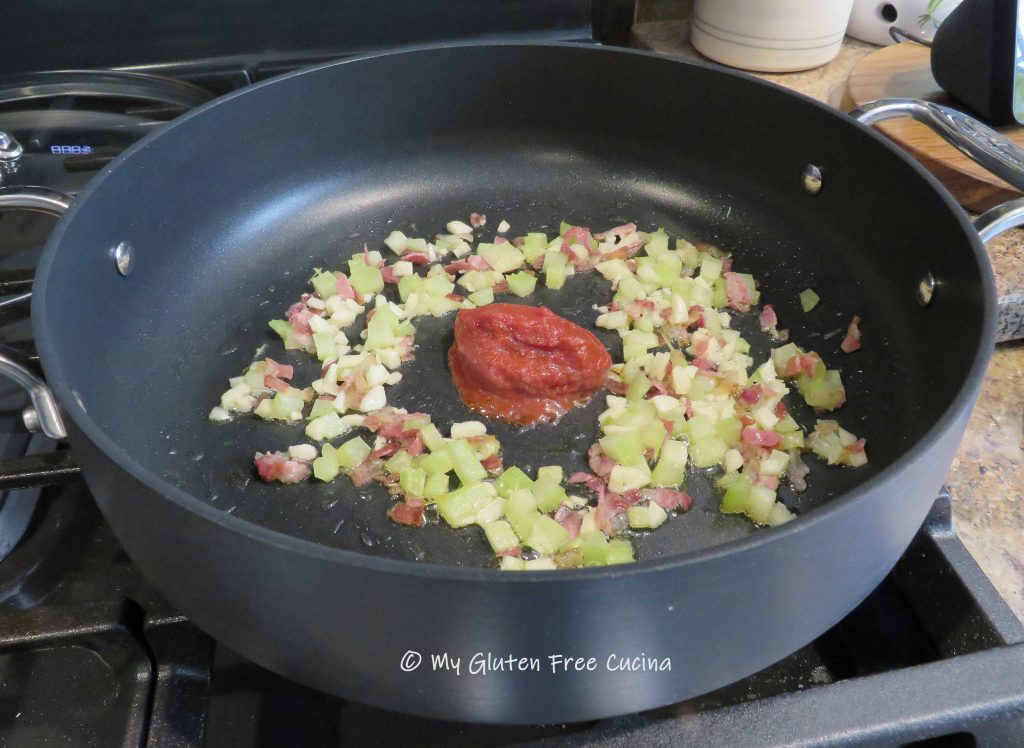
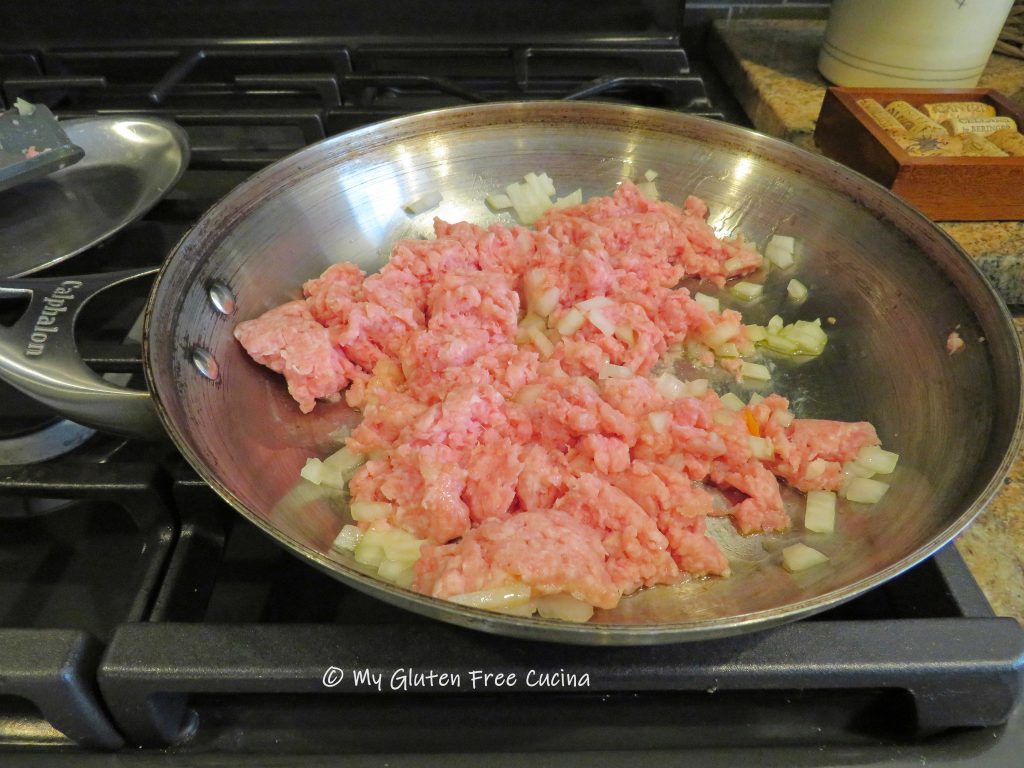
Add 2 tbsp. olive oil to a nonstick deep skillet or Sauteuse and heat over medium low (do not use a saucepan, you want something with a wide surface that will allow the sauce to reduce). Add the onions and cook for several minutes, stirring frequently until they are fragrant and translucent. Add the garlic and cook for another 30 seconds, be careful not to let it burn.

Next add the tomato paste. Using paste gives the sauce body and makes it less watery. Make a space in the center of the pan and drop it in, then let it toast for a minute before stirring it into the onions and garlic.


Now add the sauce and/or whole peeled tomatoes (break them up with your hands first), brown sugar, pepper, basil and oregano. I do not add sugar to a meat sauce, but for a marinara I love just a tablespoon of sugar or brown sugar per large can of tomatoes.

Stir it up, cover and simmer on low for about 30 minutes, stirring occasionally. A simmer mat is great for maintaining a low, gentle simmer and you don’t have to worry about burning your sauce.
When finished, remove the lid and let the sauce sit for 15 minutes.
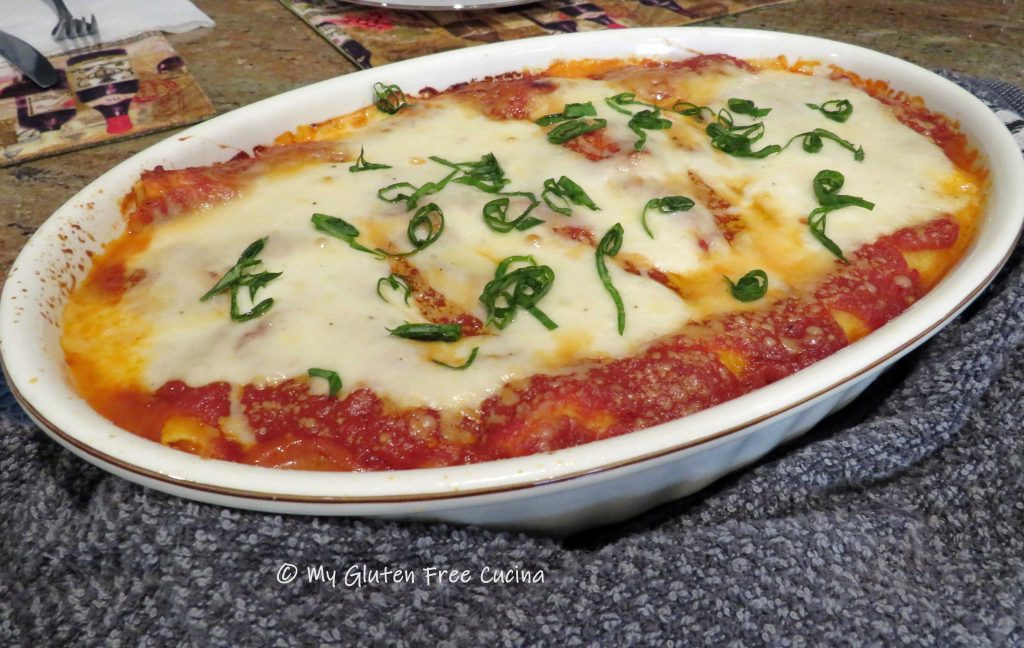
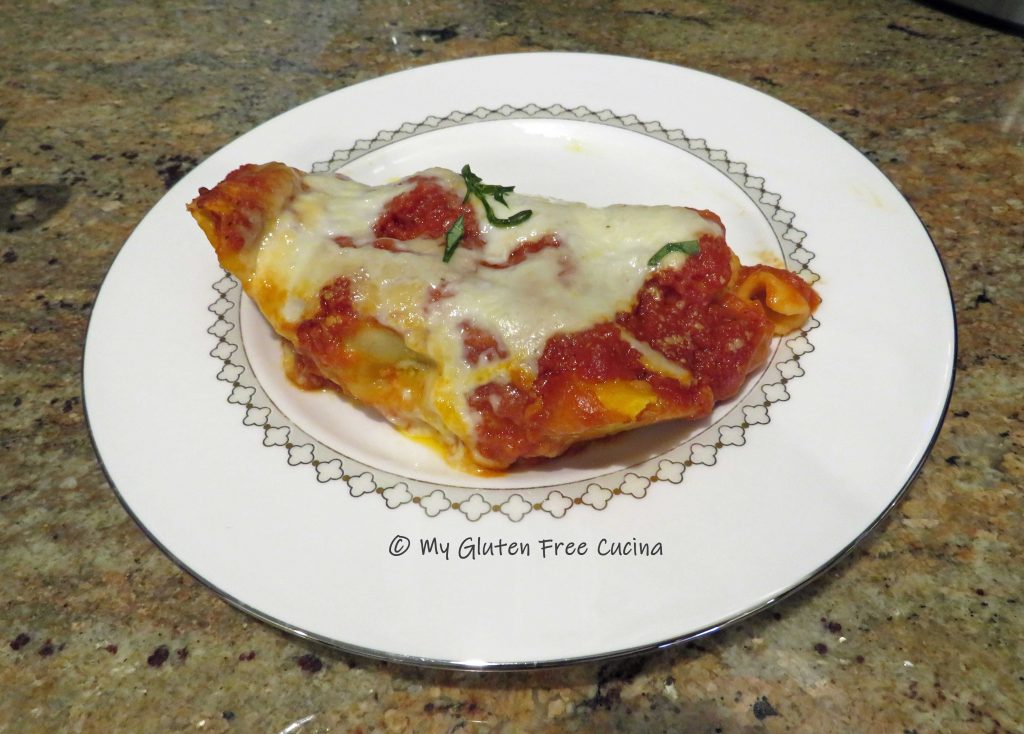
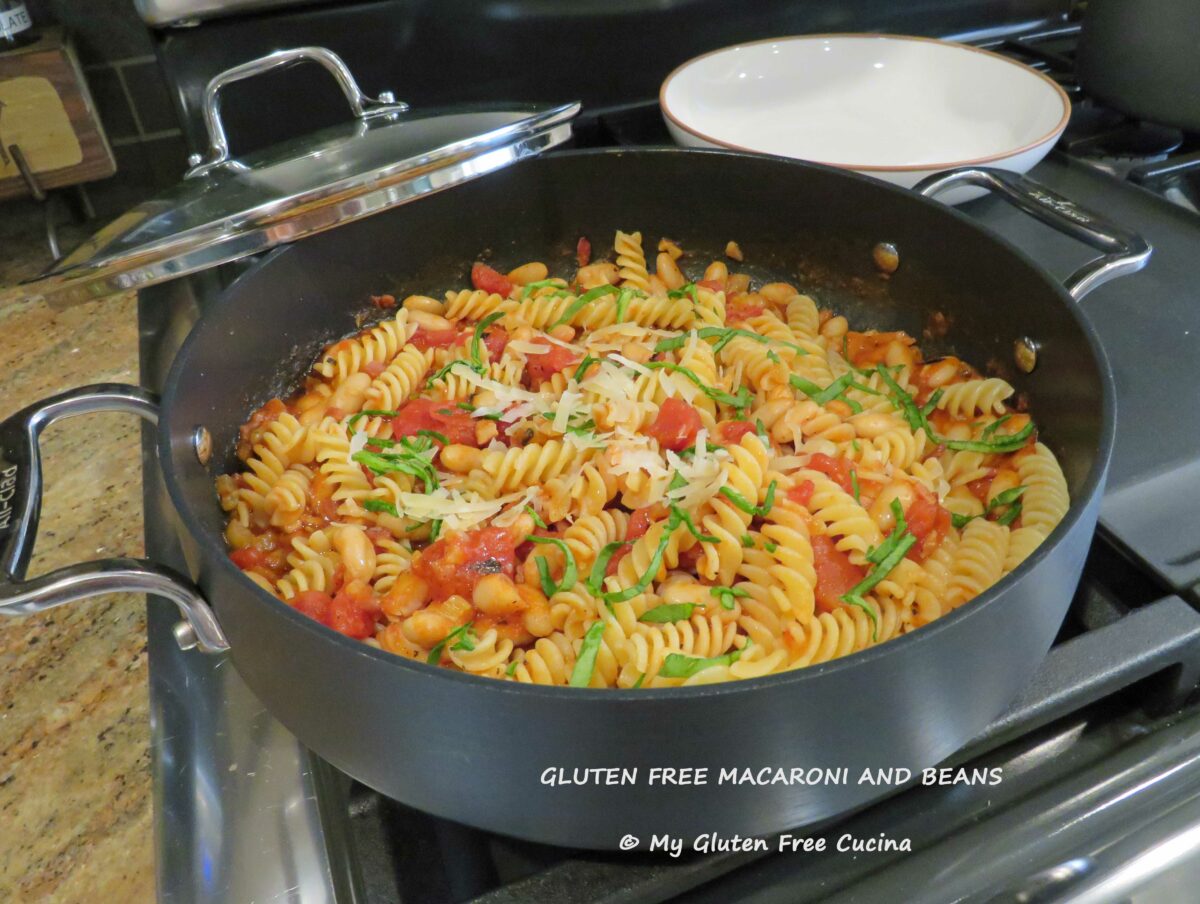
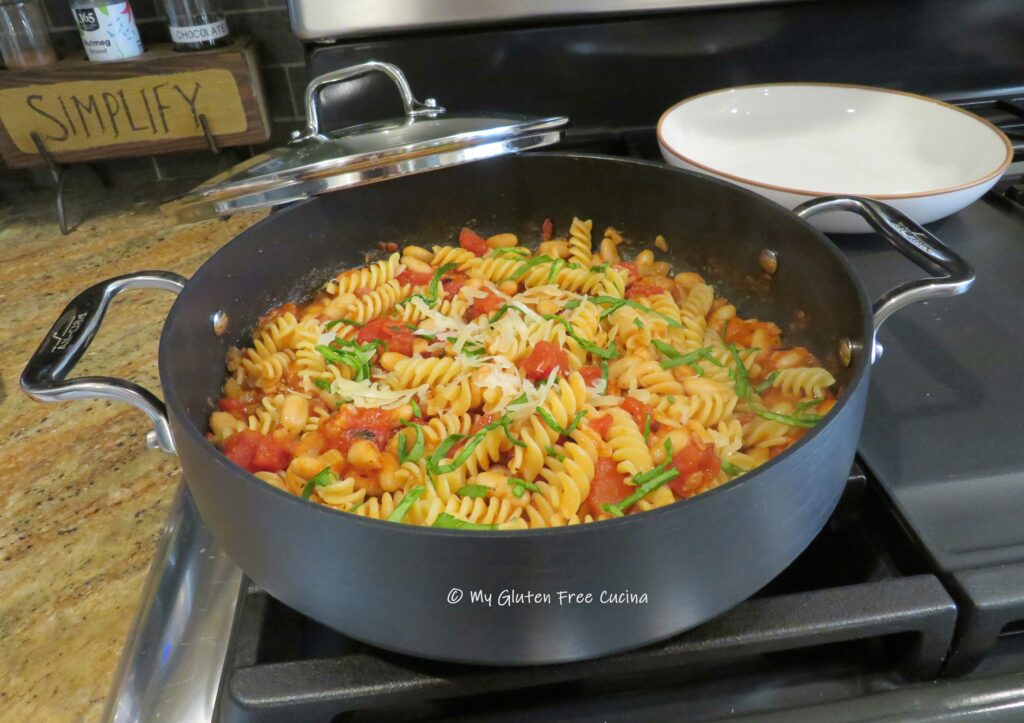
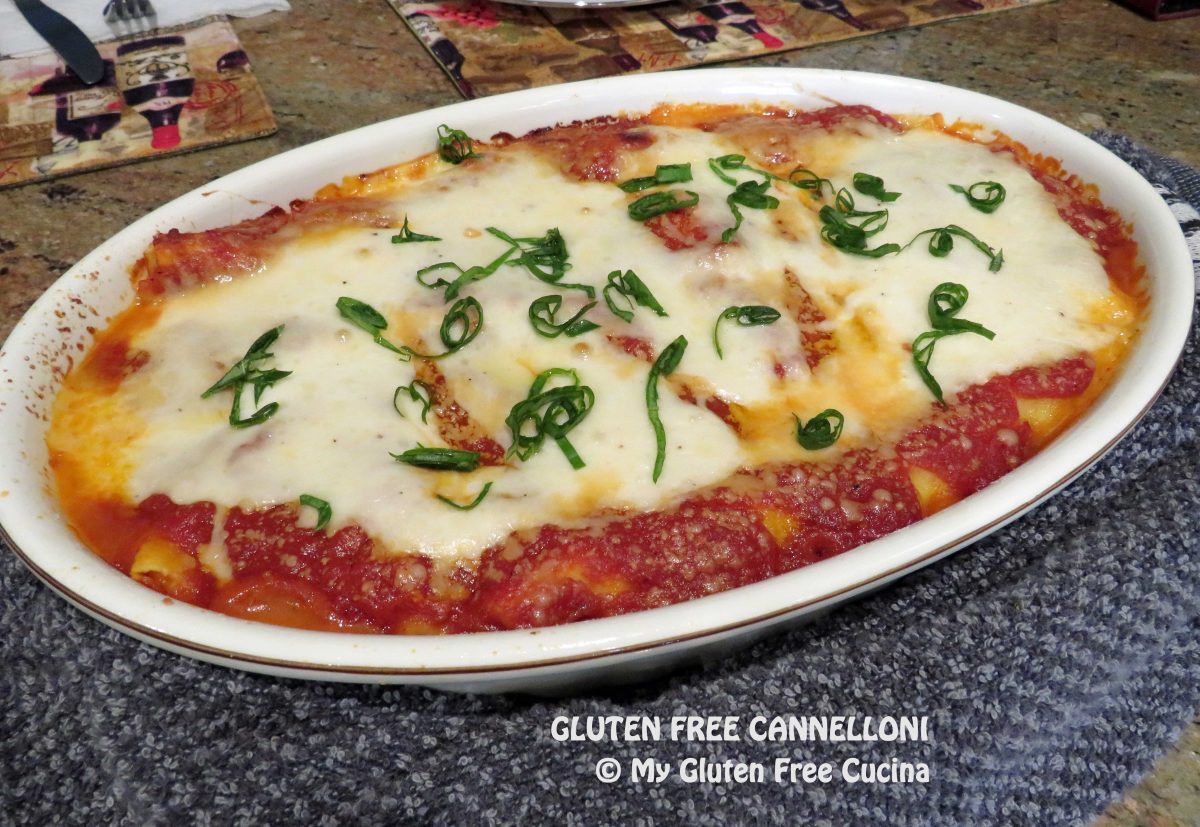
 Now that you know how to make a good marinara sauce, what restaurant favorite will you have for dinner tonight? How about Spaghetti and Meatballs? Chicken and shells? With a great marinara recipe, you can recreate all those great meals right at home!
For some other great sauces, check out my Harvest Pasta Sauce, Traditional Bolognese Sauce, and Mushroom Cream Sauce!
Notes ♪♫ Fun fact, my mother would put a whole onion into her sauce, then remove it before serving “so no one would know”! She made a huge pot of sauce every month then froze it in portions for Sunday dinner. I still remember that big Farberware pot on the stove. I always said my mother’s sauce was better the week after she made it, so go ahead and make a double or triple recipe to always have some on hand! You can freeze marinara sauce for 6 months.


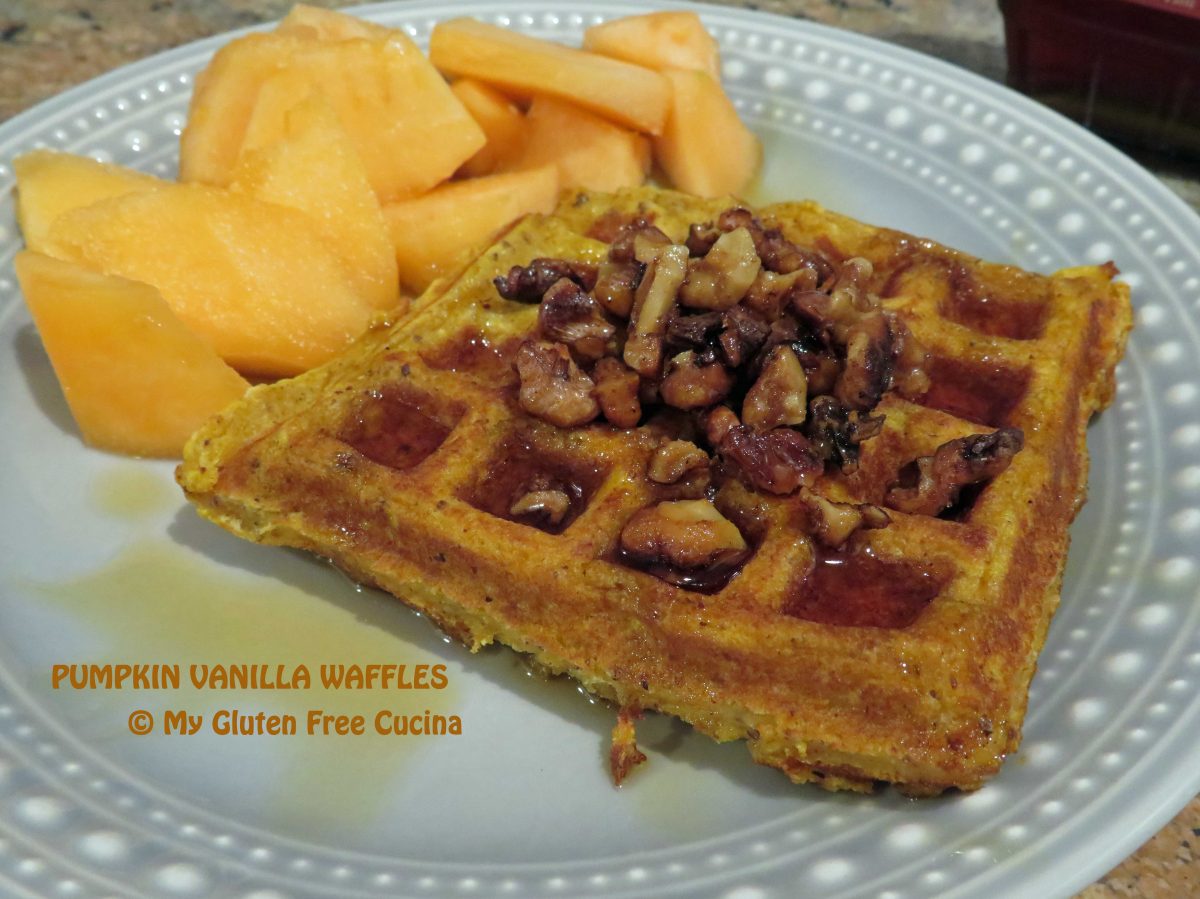


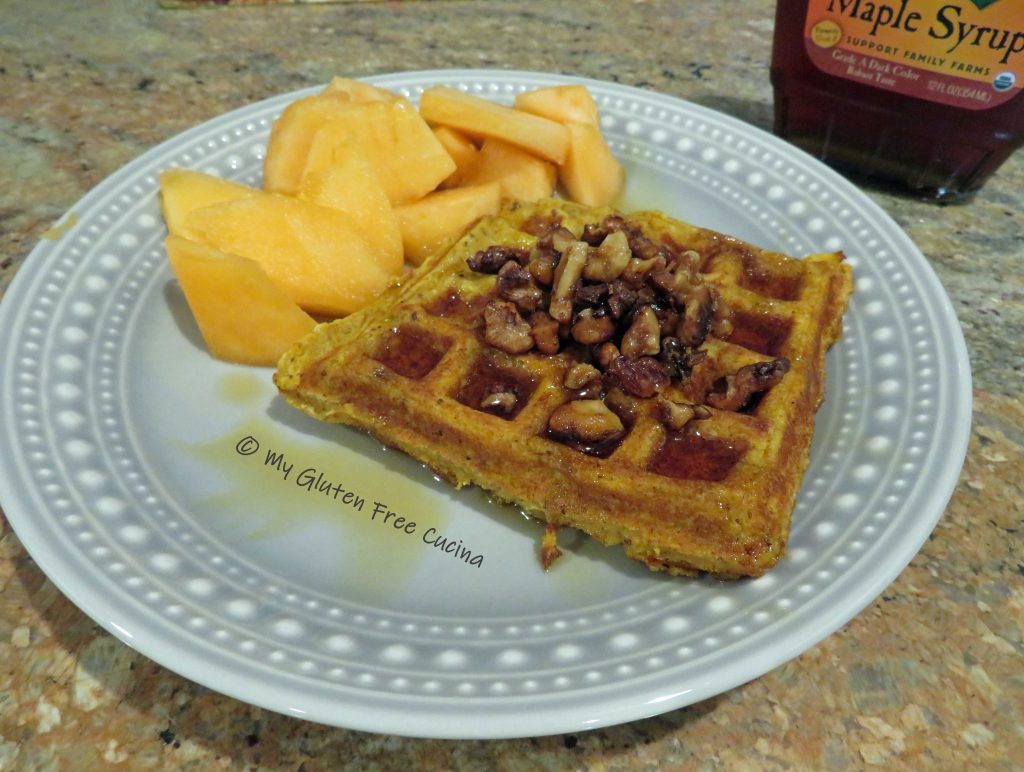

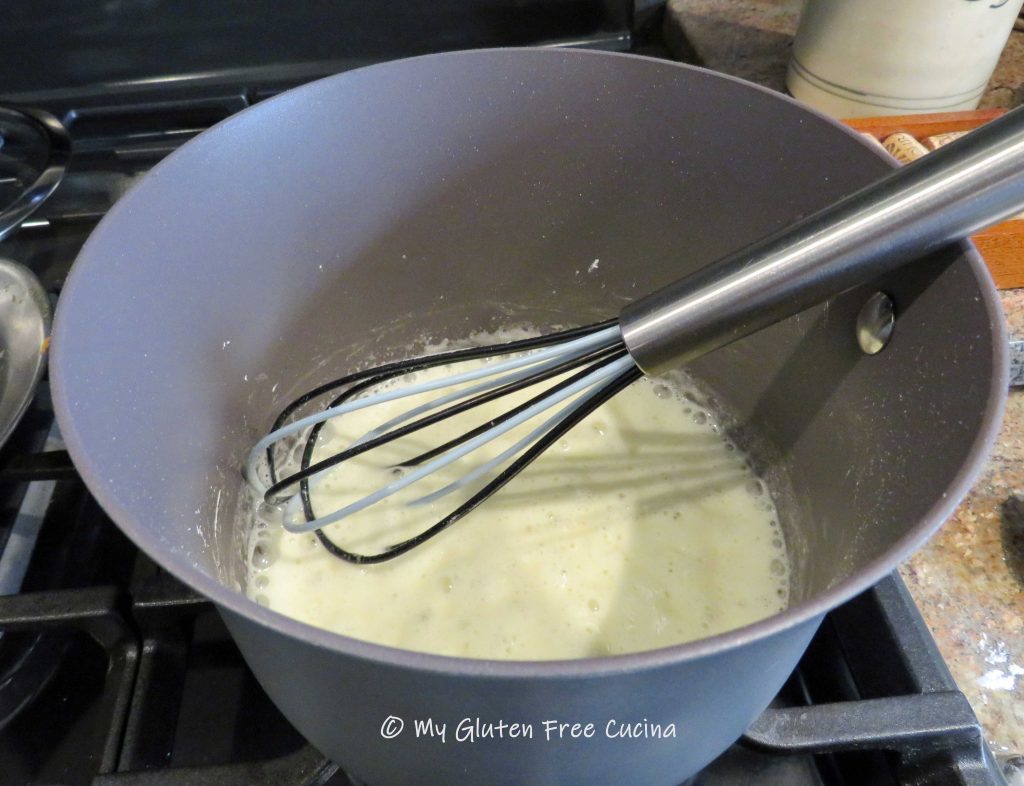
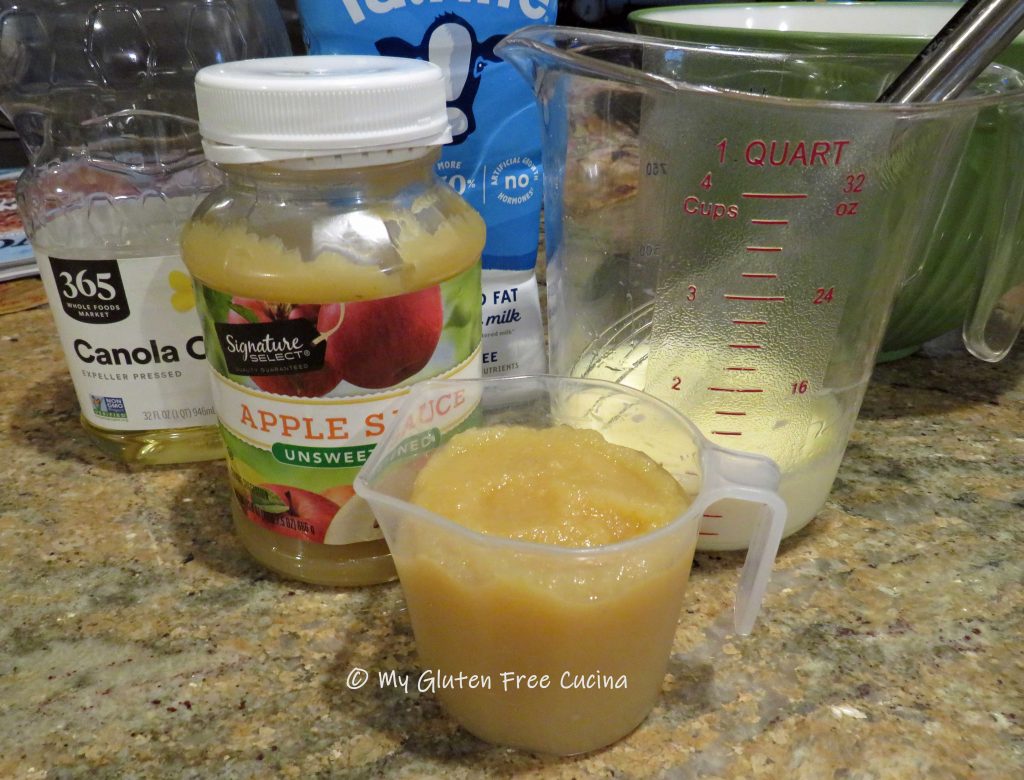
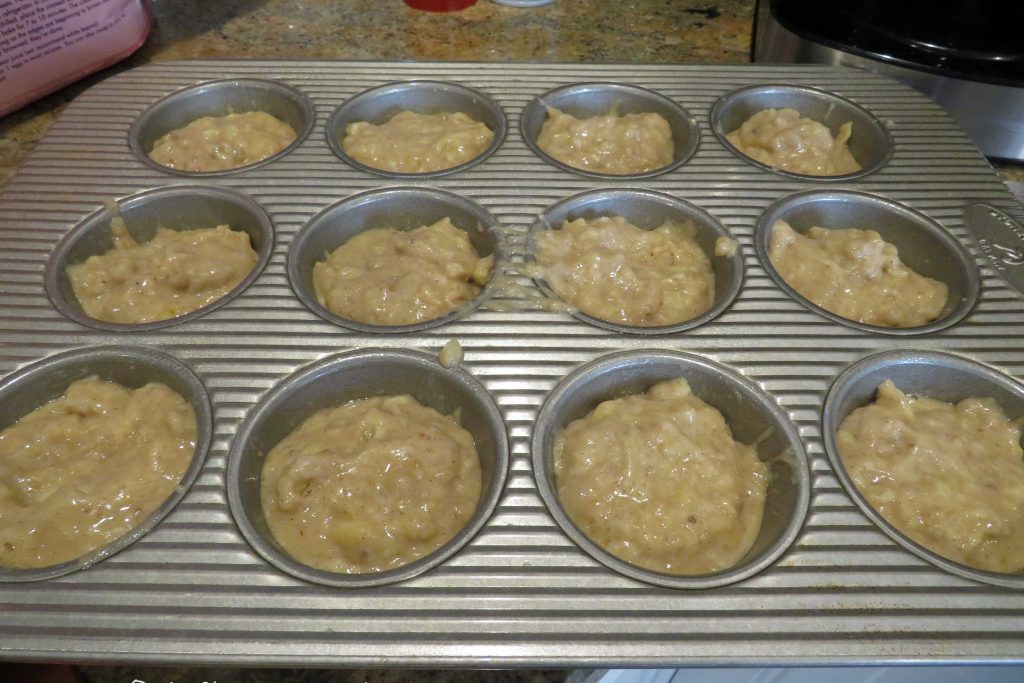
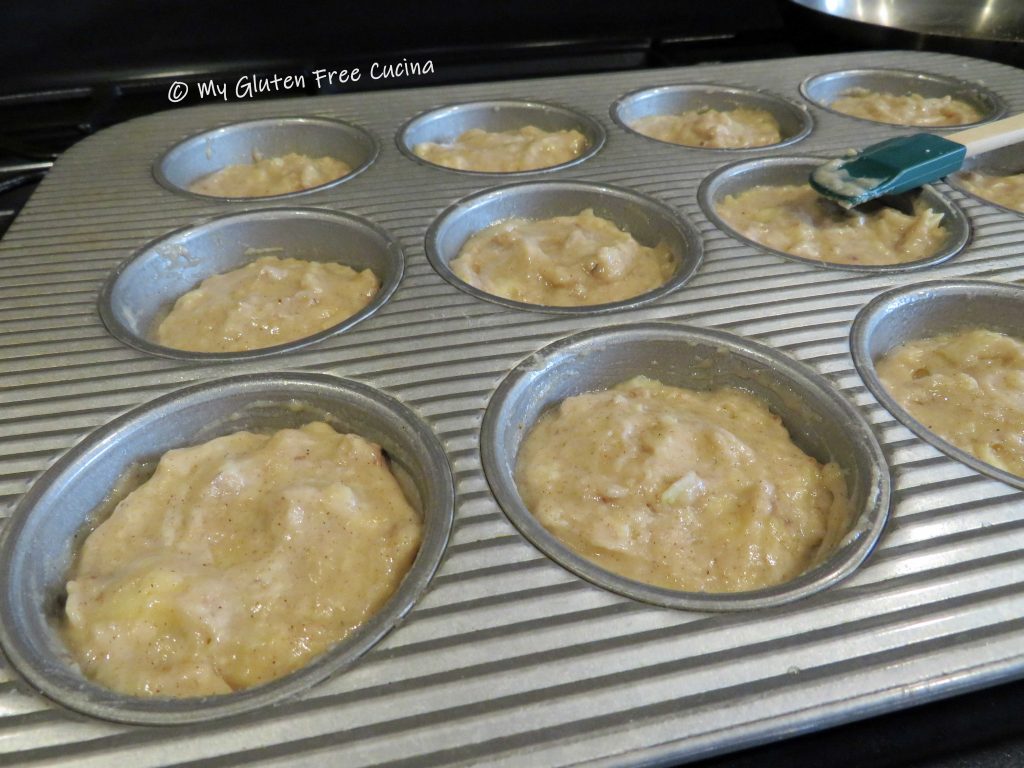
 Using a gluten free pancake mix makes this recipe a snap and no oddball ingredients to purchase! I love
 Preparation:
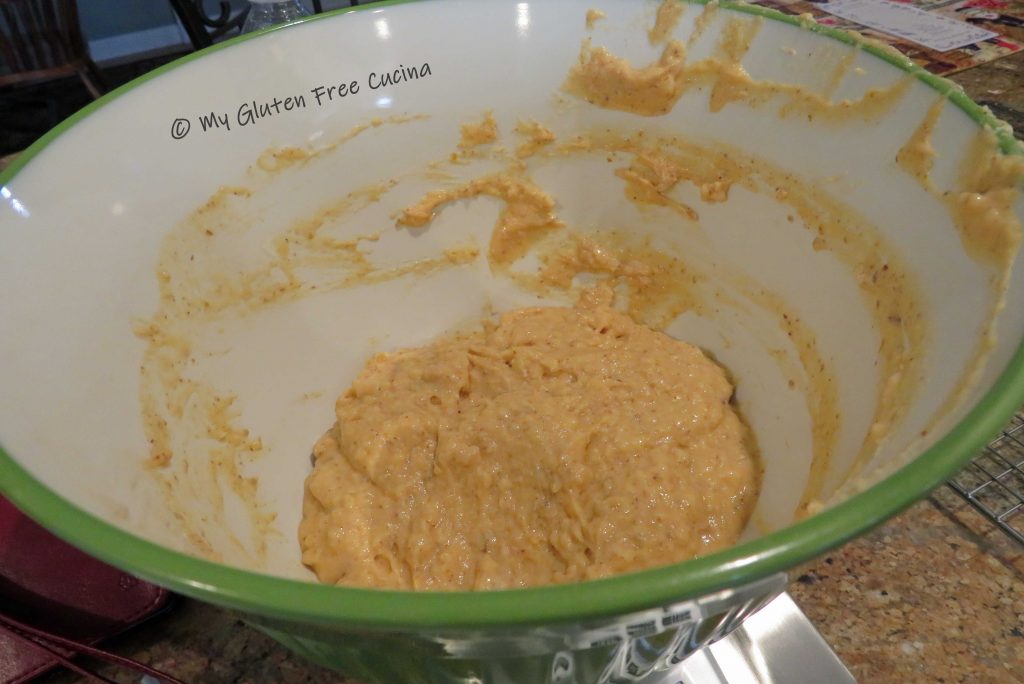
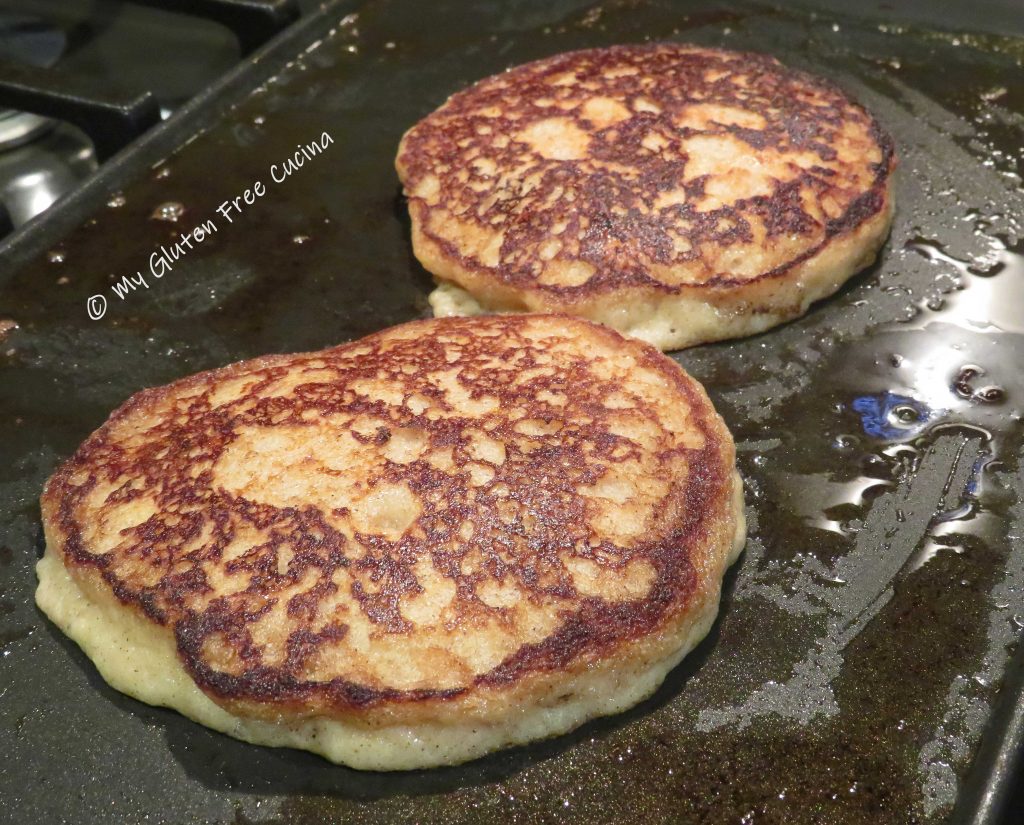
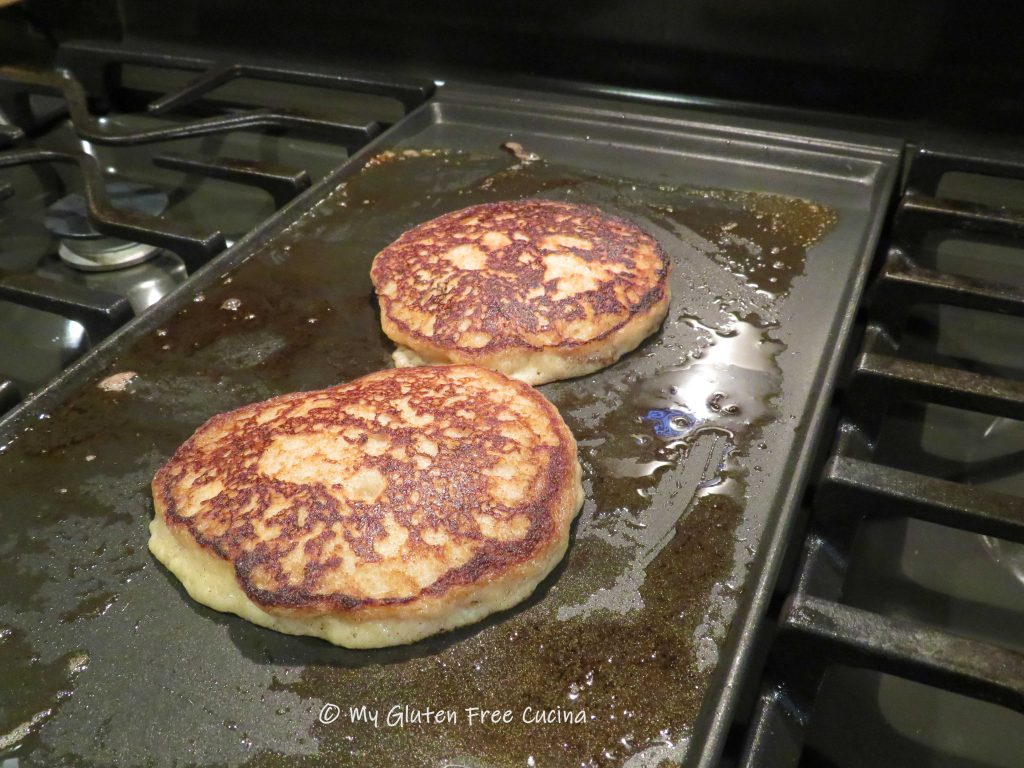
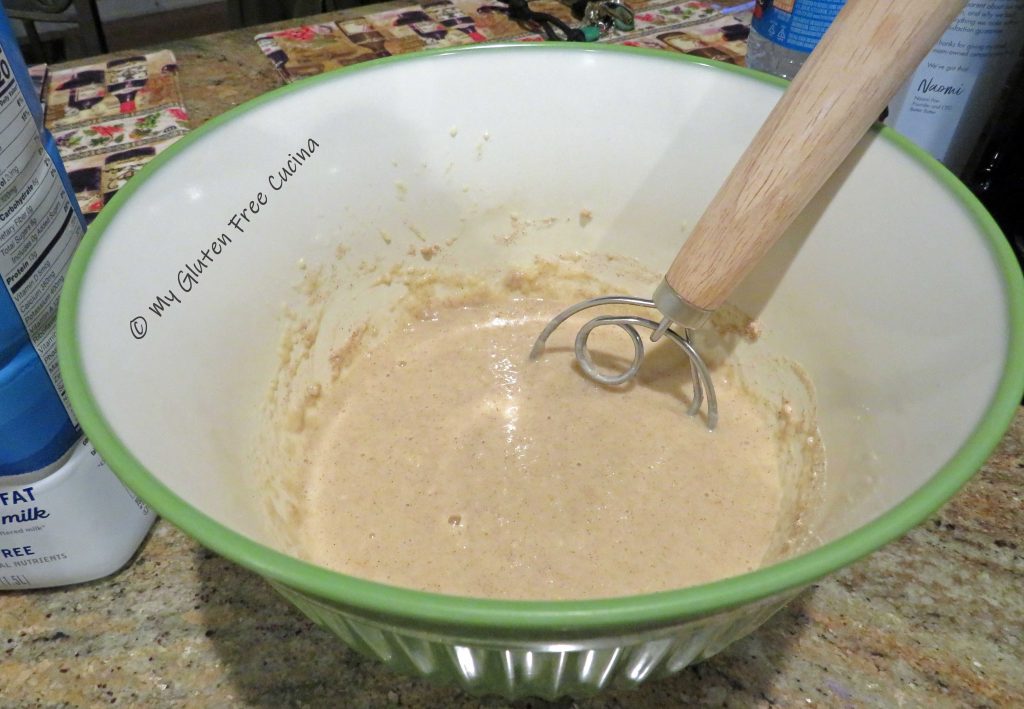 Coat the griddle with butter and spoon the batter in circles, about 1/3 cup each. Cook for 4-5 minutes per side. They are ready to turn when the tops begin to bubble. Continue with the rest of the batter, adding more butter to the griddle each time.
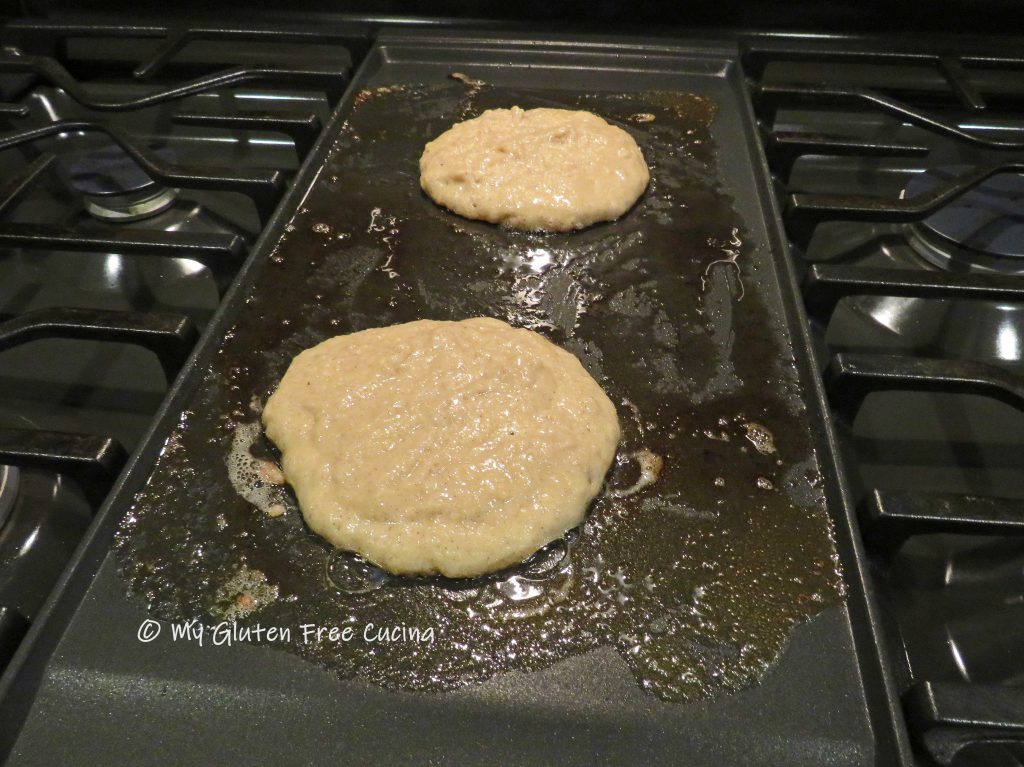
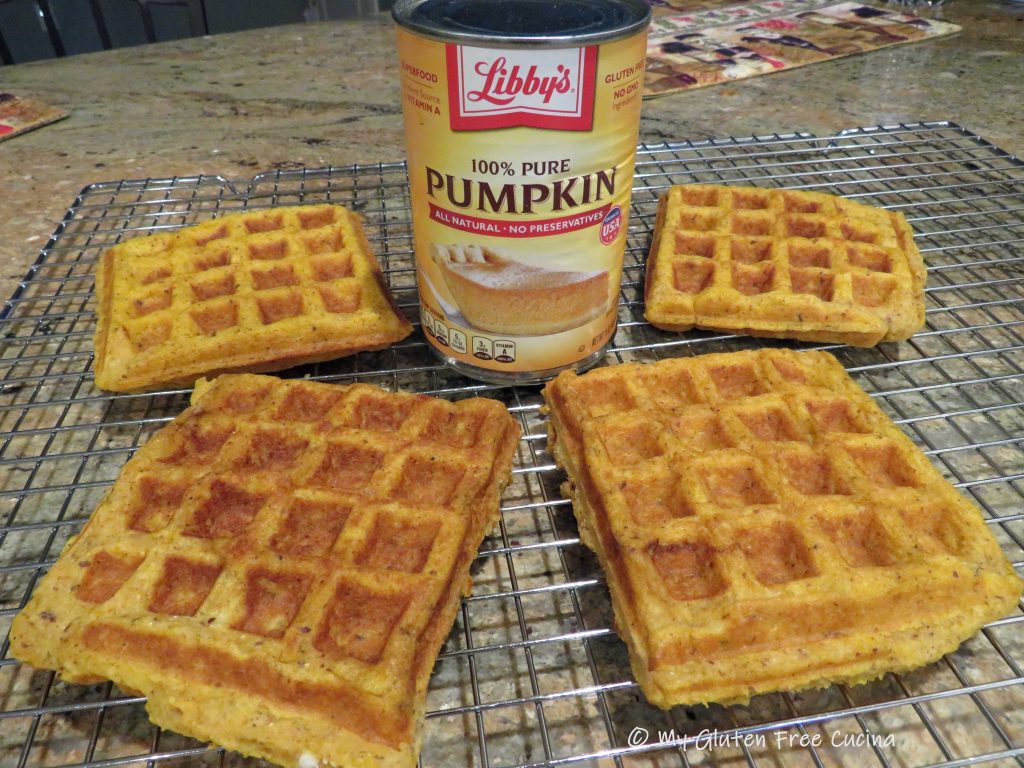
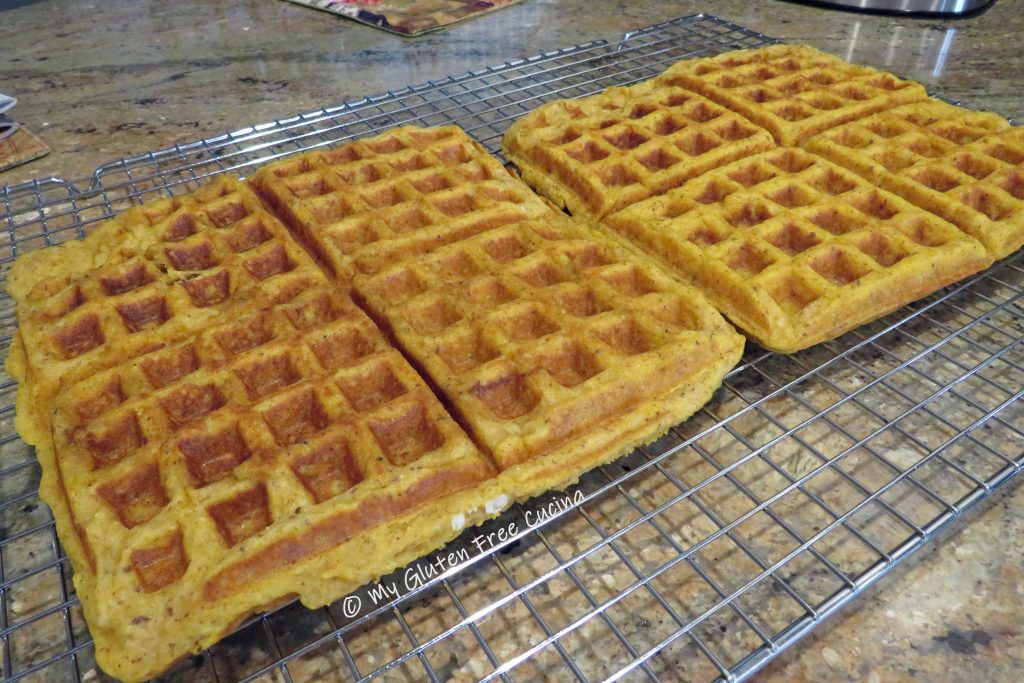
 Transfer the cooked pancakes to a cooling rack (or right onto your plate!). I usually make enough to freeze so they will get individually wrapped in plastic wrap and stored in freezer safe bags.
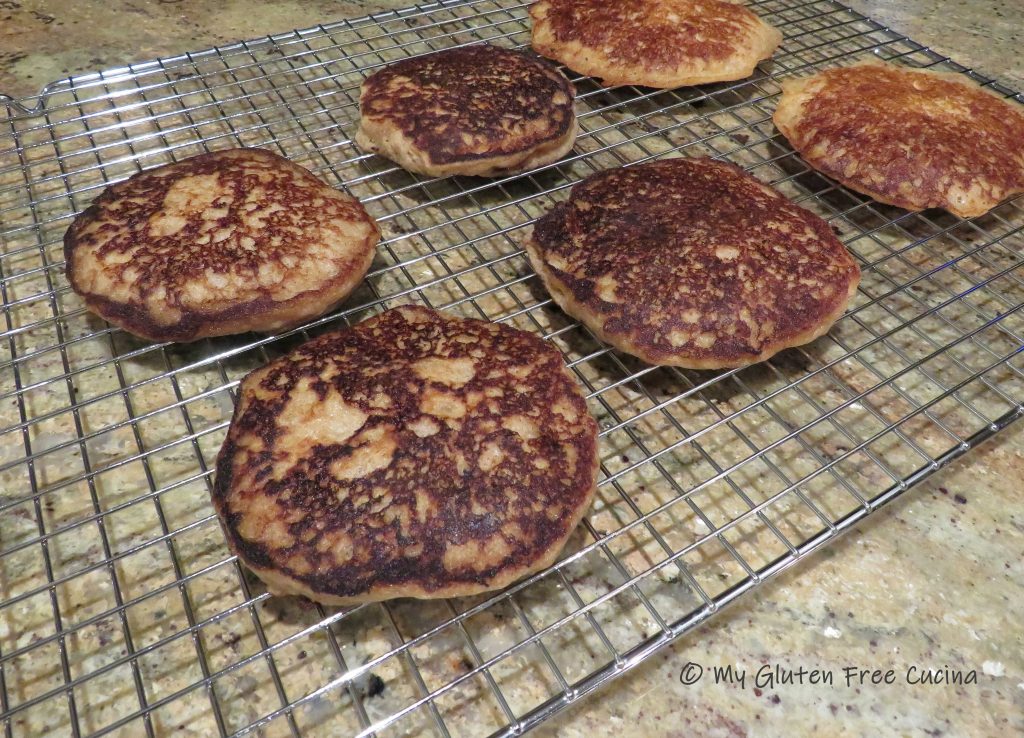 You can reheat them on the griddle, microwave or toaster.
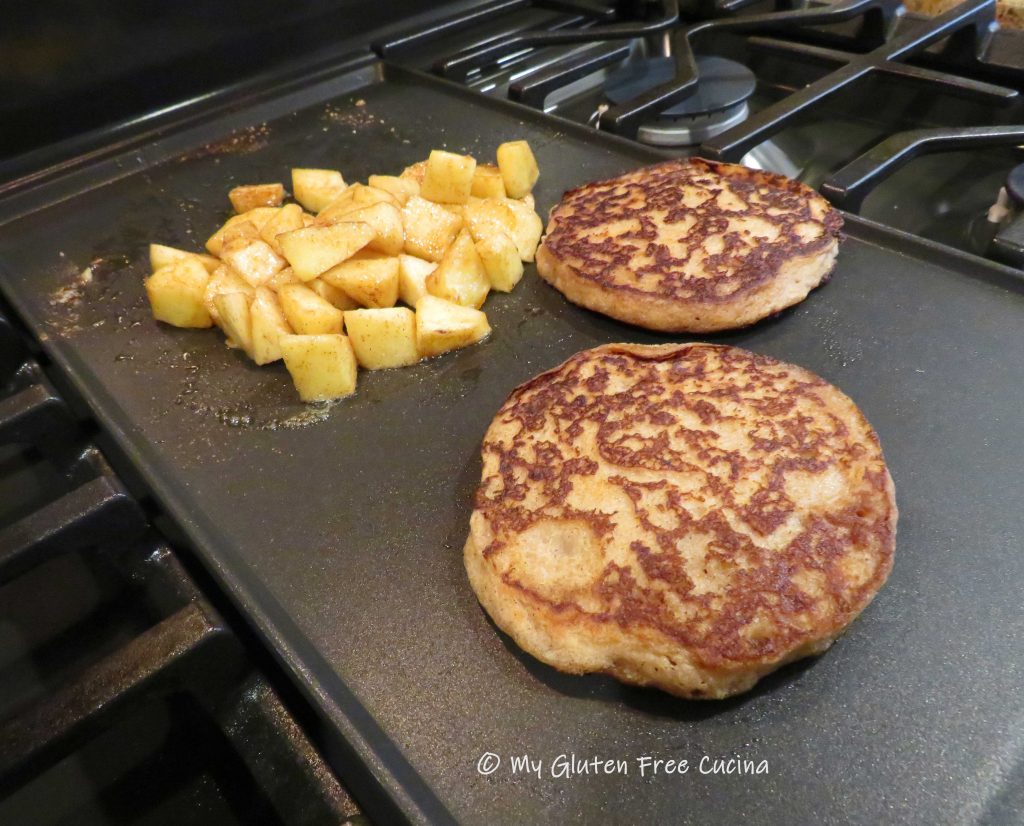 I served them with a side of
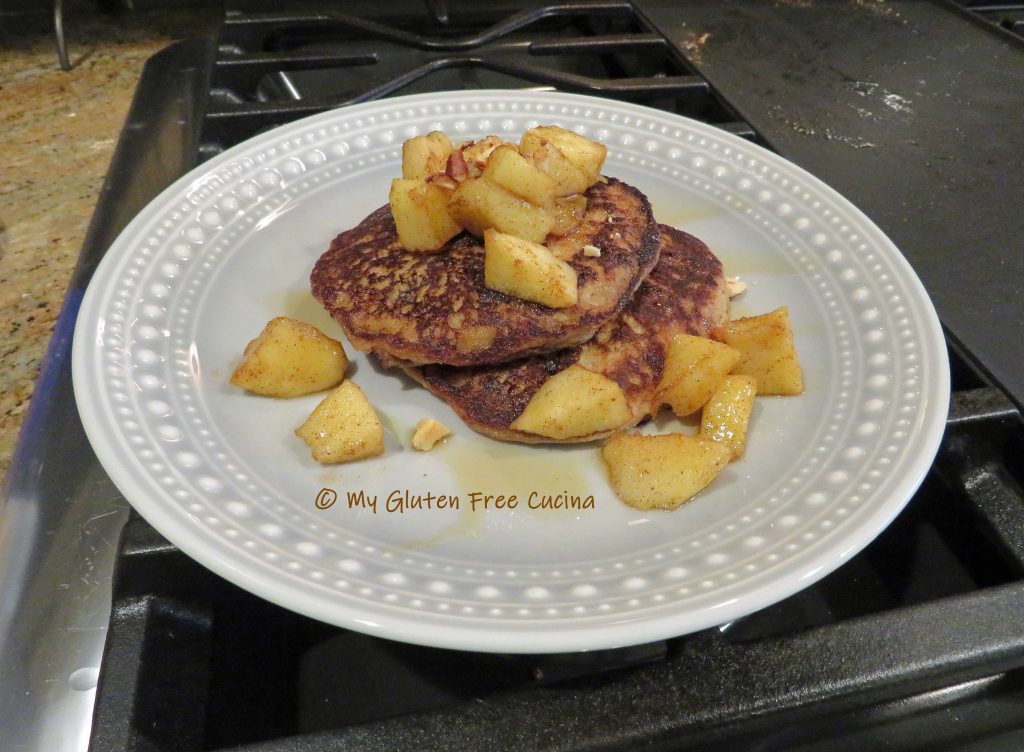

 Sprinkle with
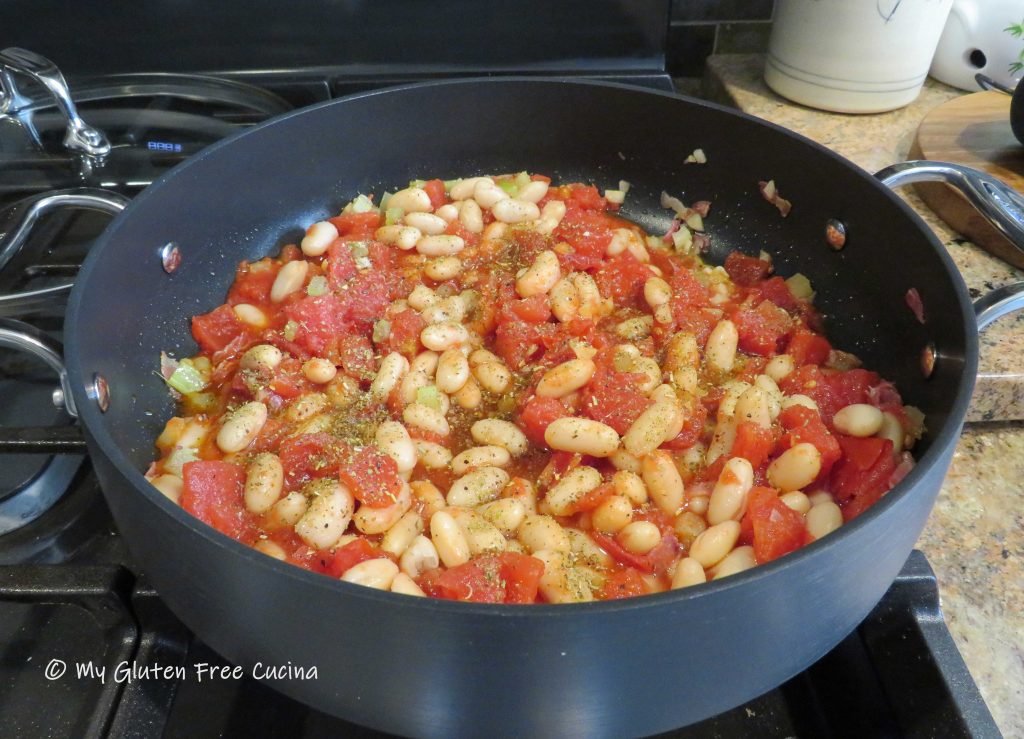


 Transfer to a
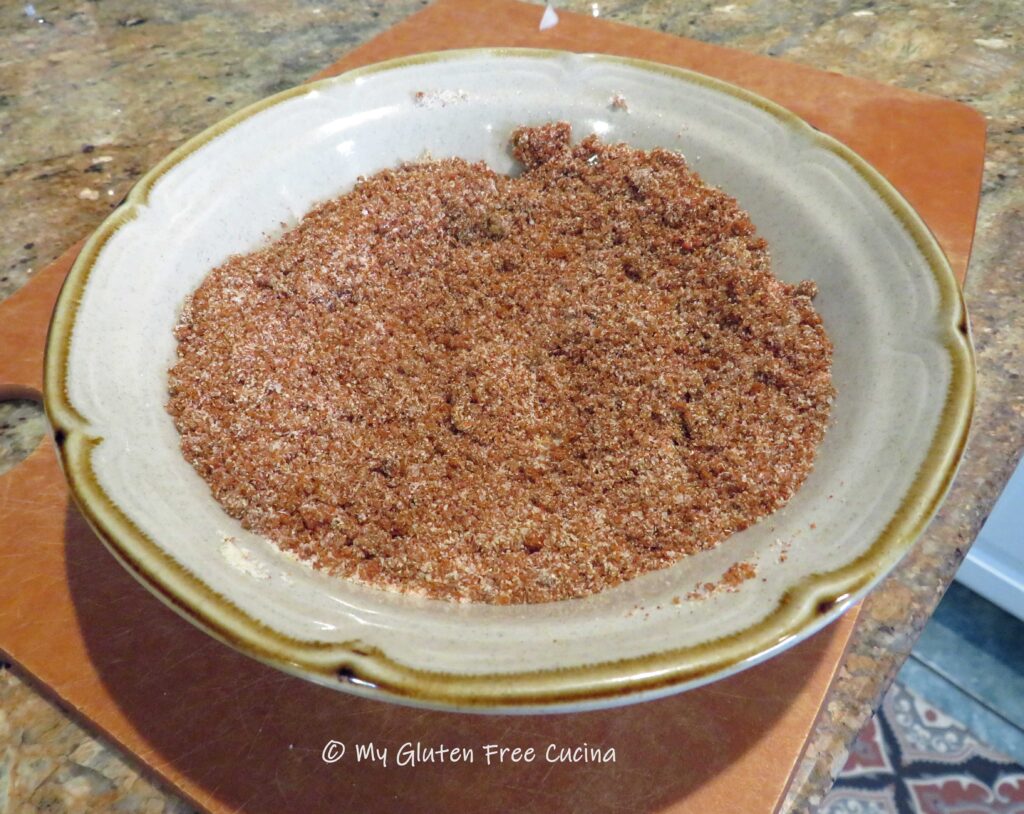 Preparation:
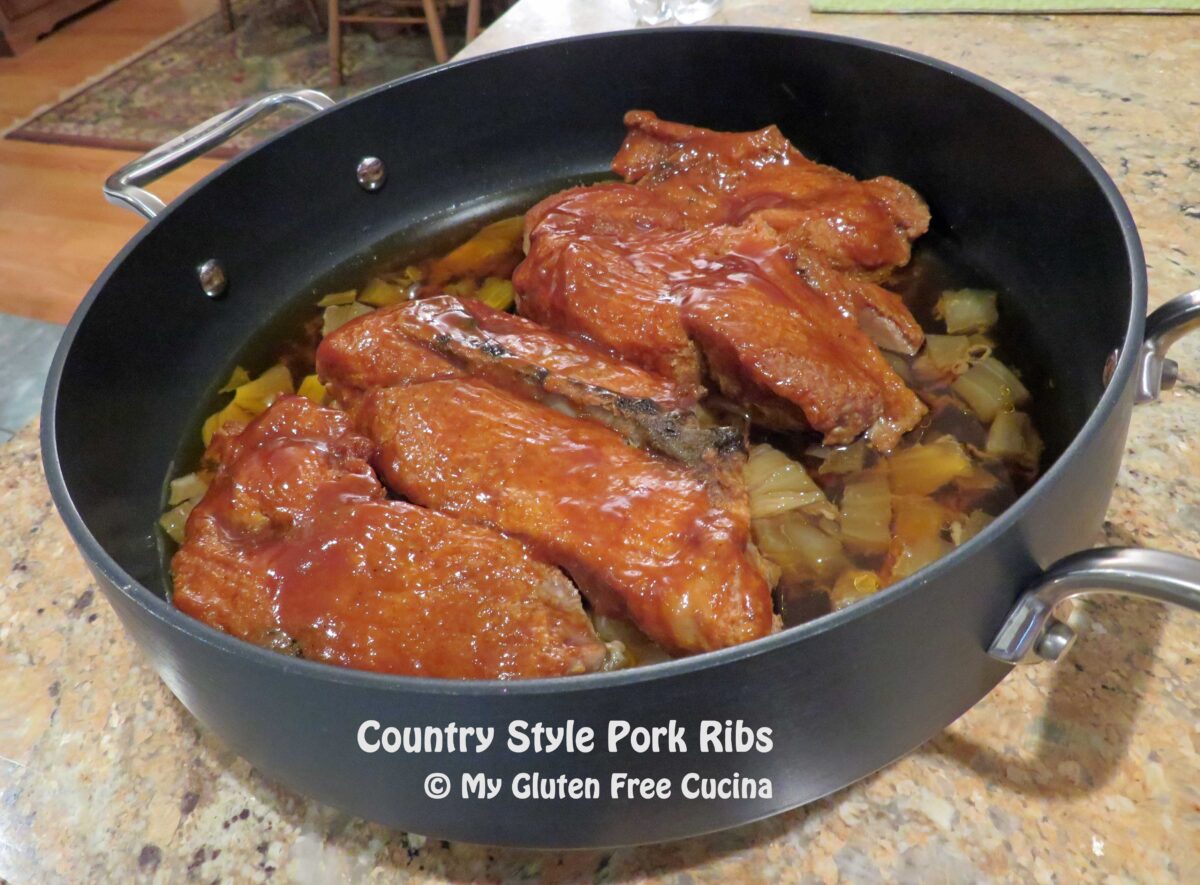
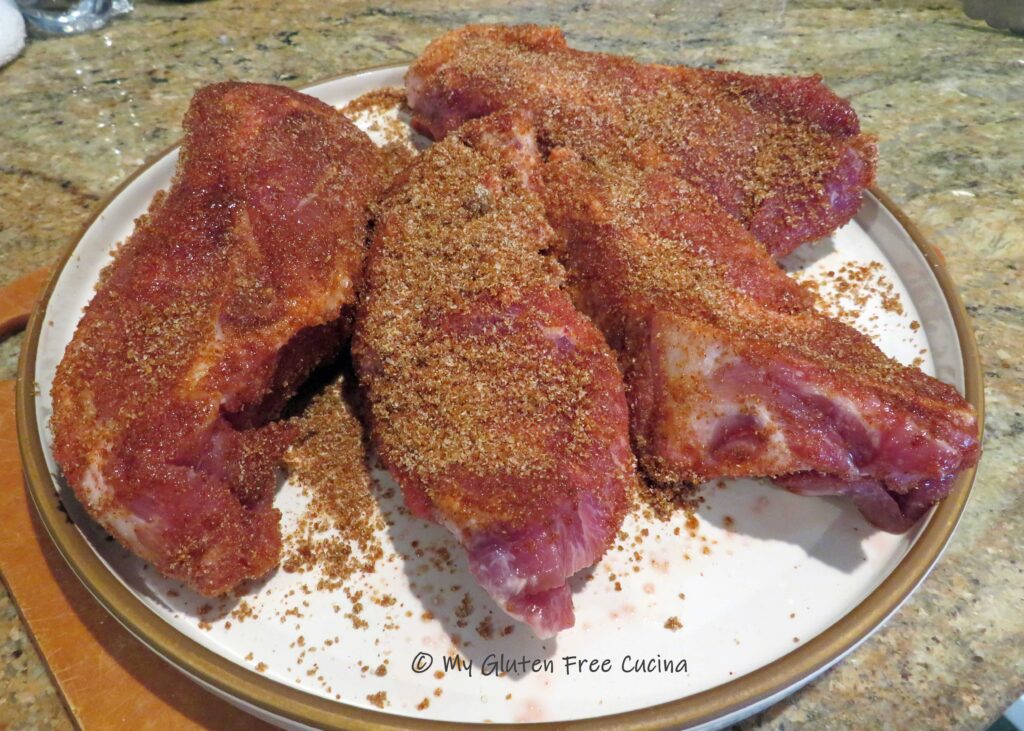 Mist a covered skillet, Dutch oven or braising pan with cooking spray. Cut the onions into large chunks and arrange in a single layer, to create a base for the ribs.
 Place the ribs on top of the onions. As the ribs cook down, they will release liquid, and you want them to be elevated for most of the cook time, not submerged.
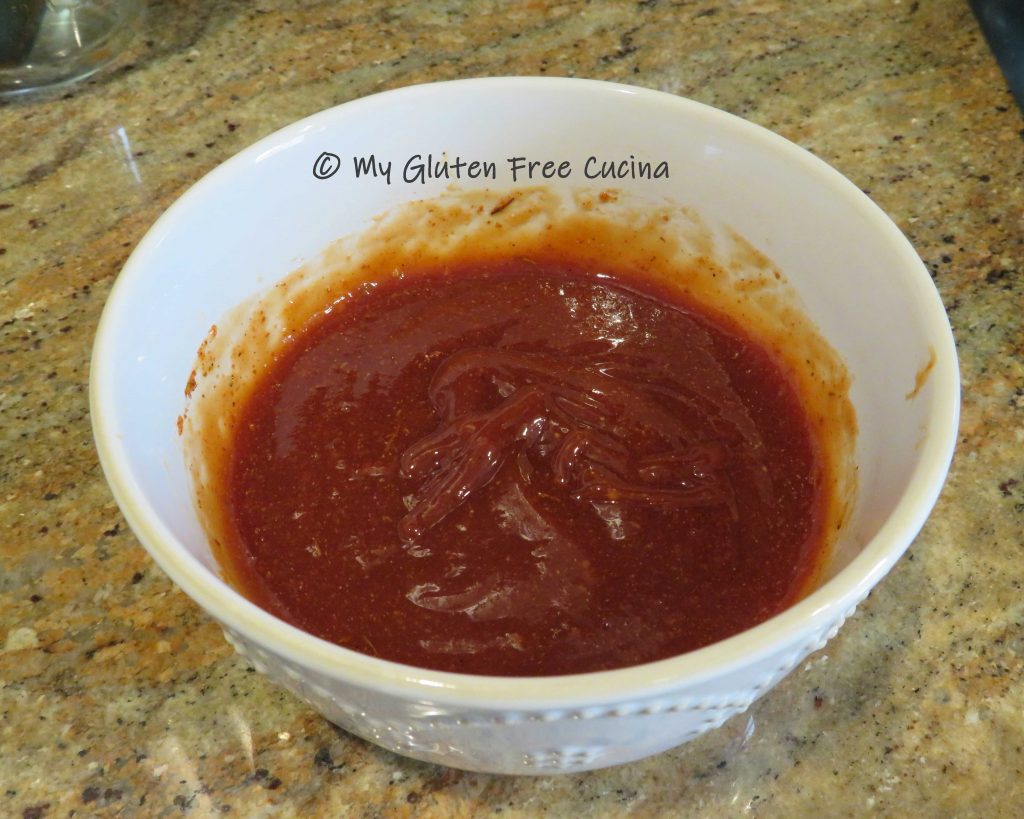
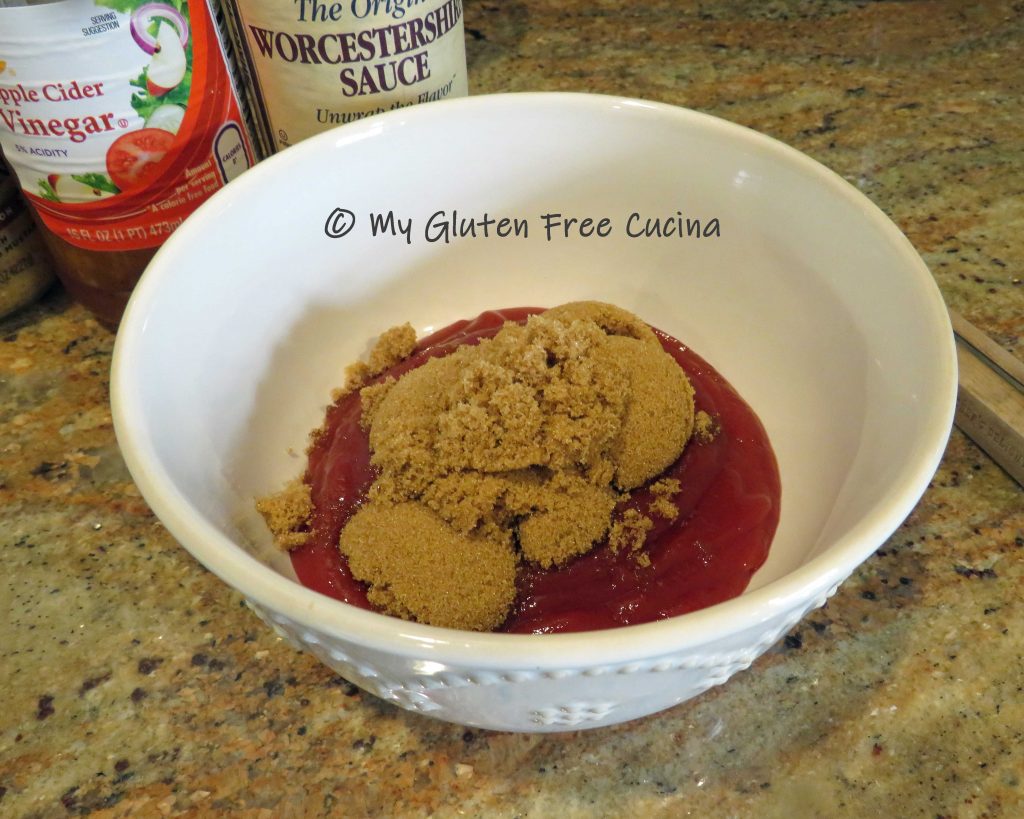
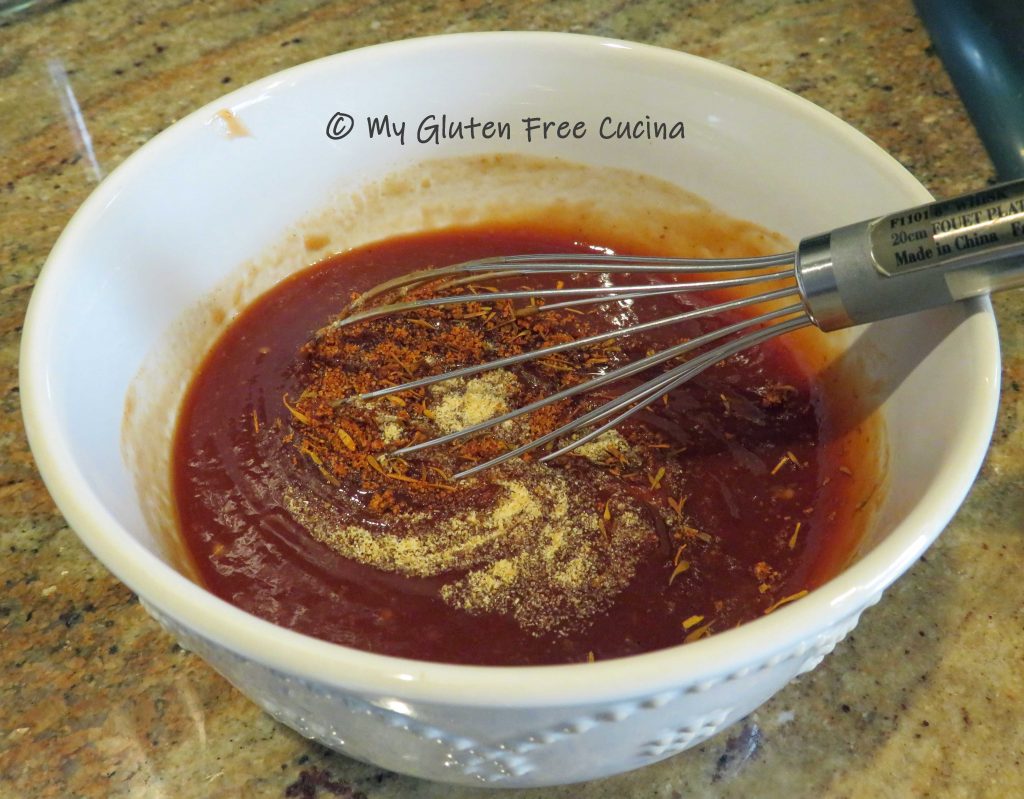
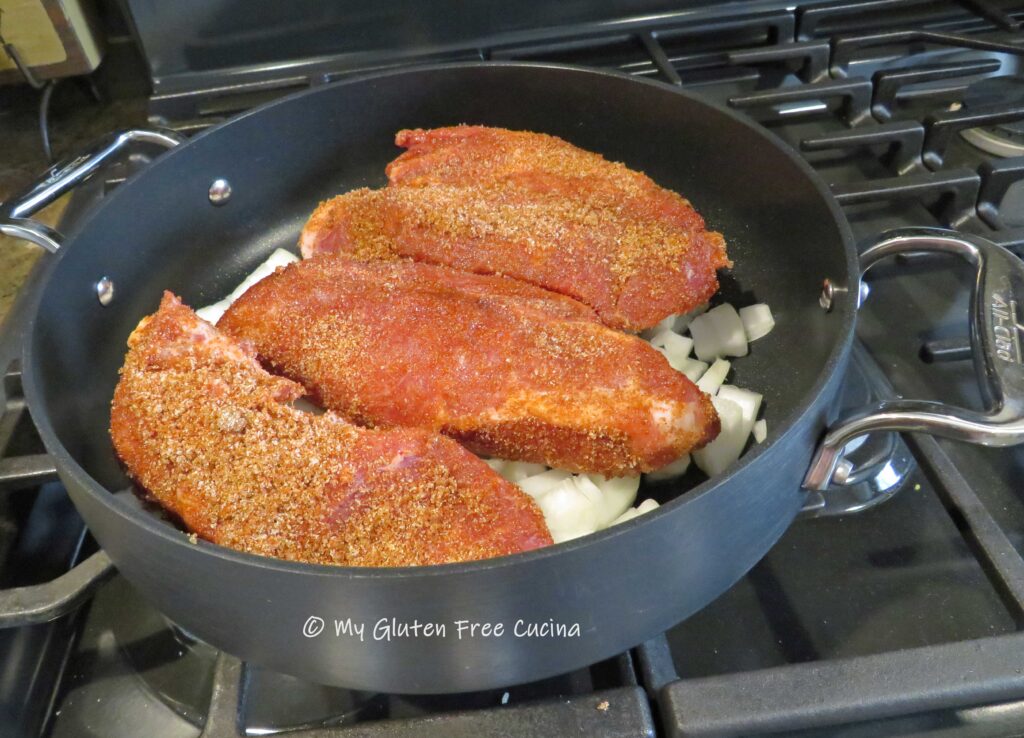 Cover and roast at 225° for 4 hours total. After 3-1/2 hours, uncover and brush liberally with BBQ sauce.
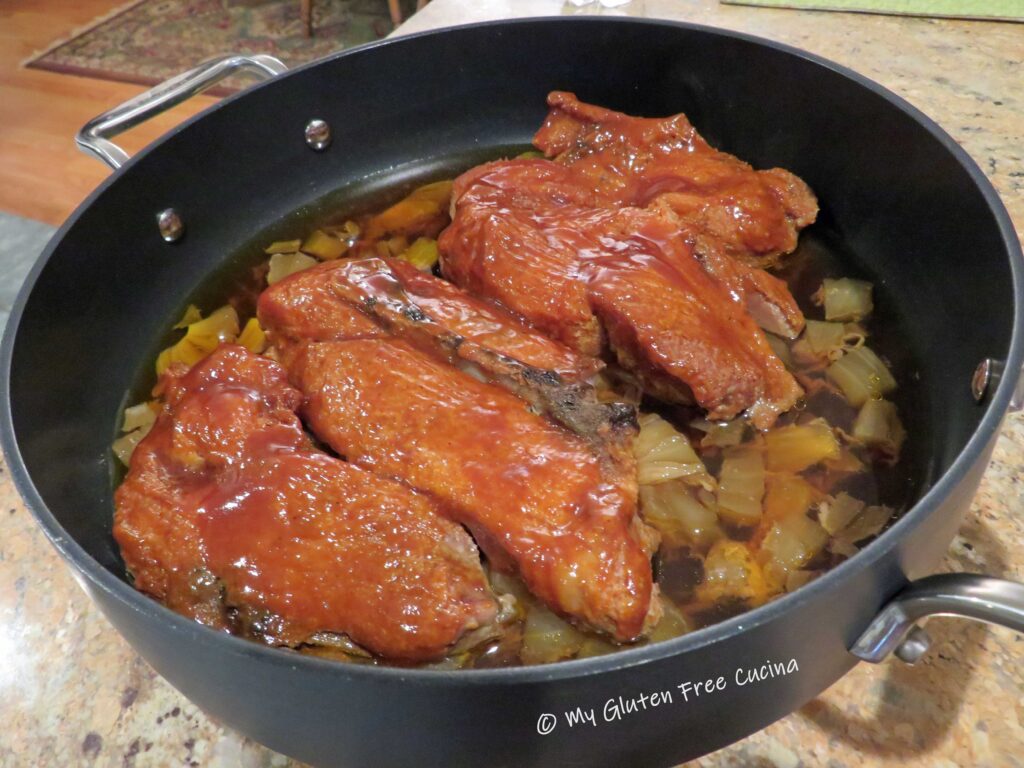 Continue cooking 1/2 hour longer. The meat will be falling off the bone tender!
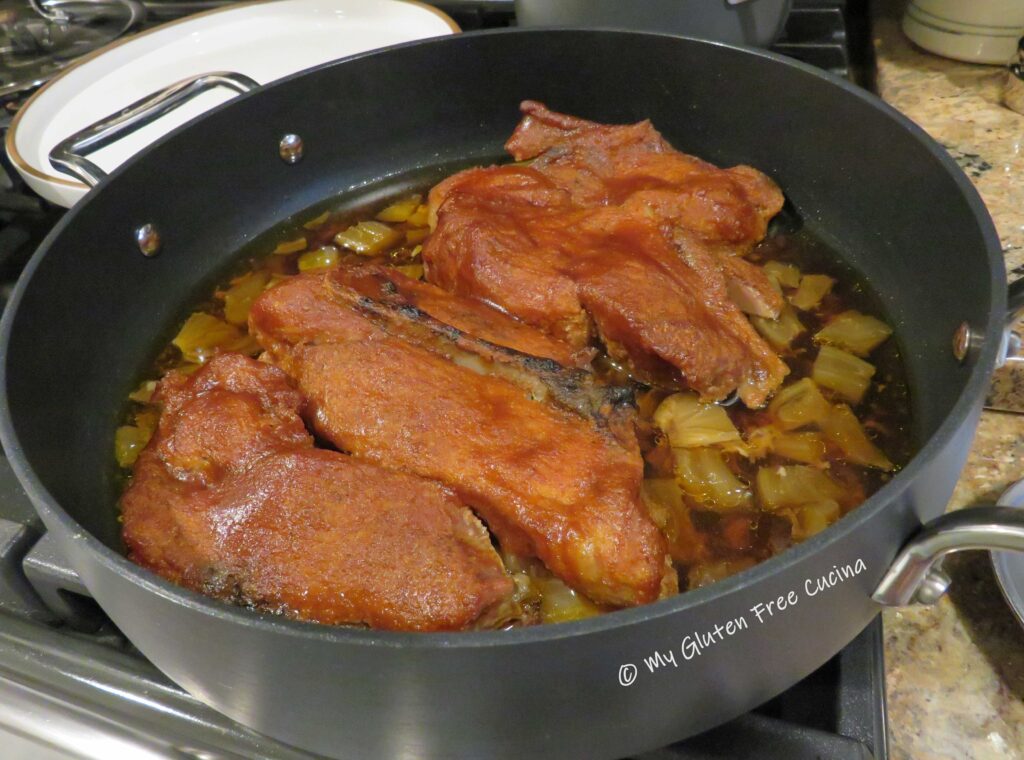 See how much liquid has accumulated in the bottom of the pan, yet the ribs are not swimming in it?
 To plate, spoon some of the onions and pan juice over the ribs. I served the ribs with a side of
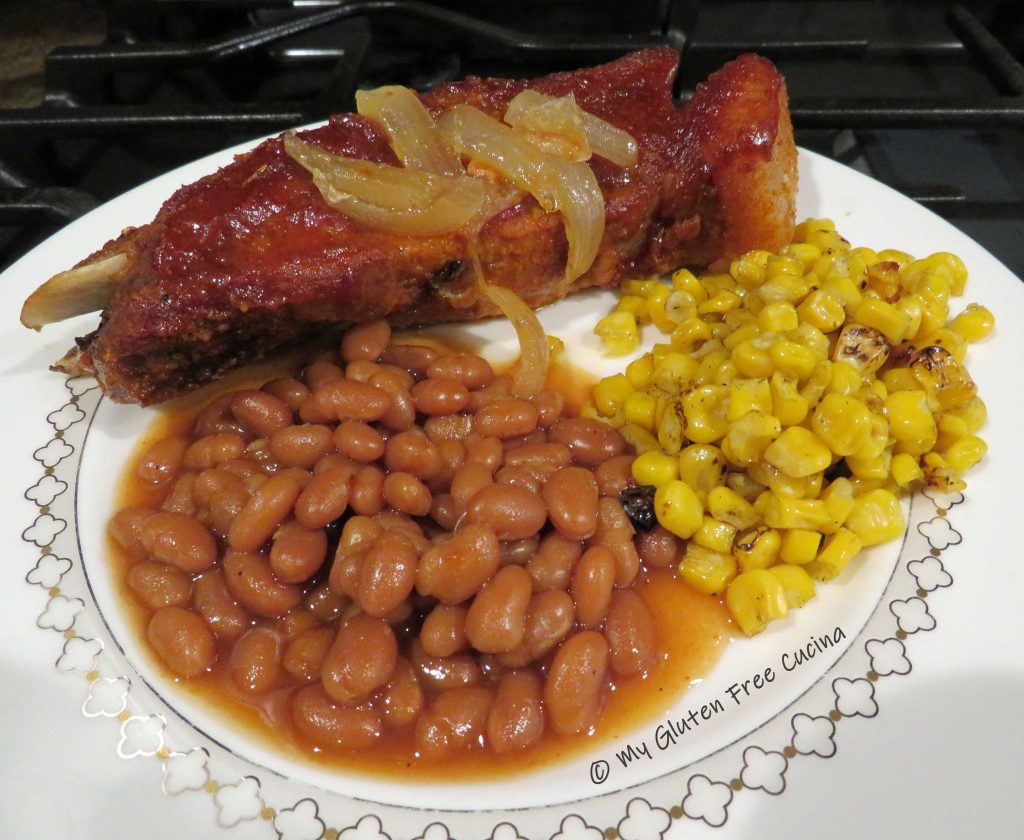


 Cover and simmer on low for 2 hours, stirring occasionally. I like to use a
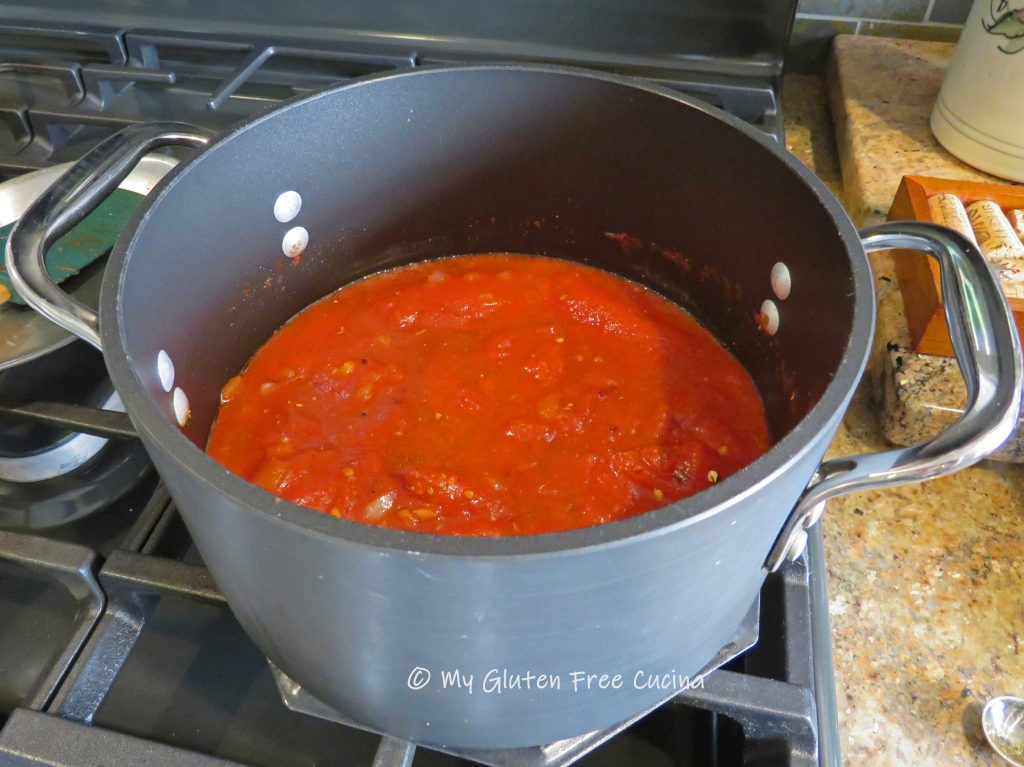
 Add the wine and continue cooking slowly, stirring frequently until most of the liquid evaporates.
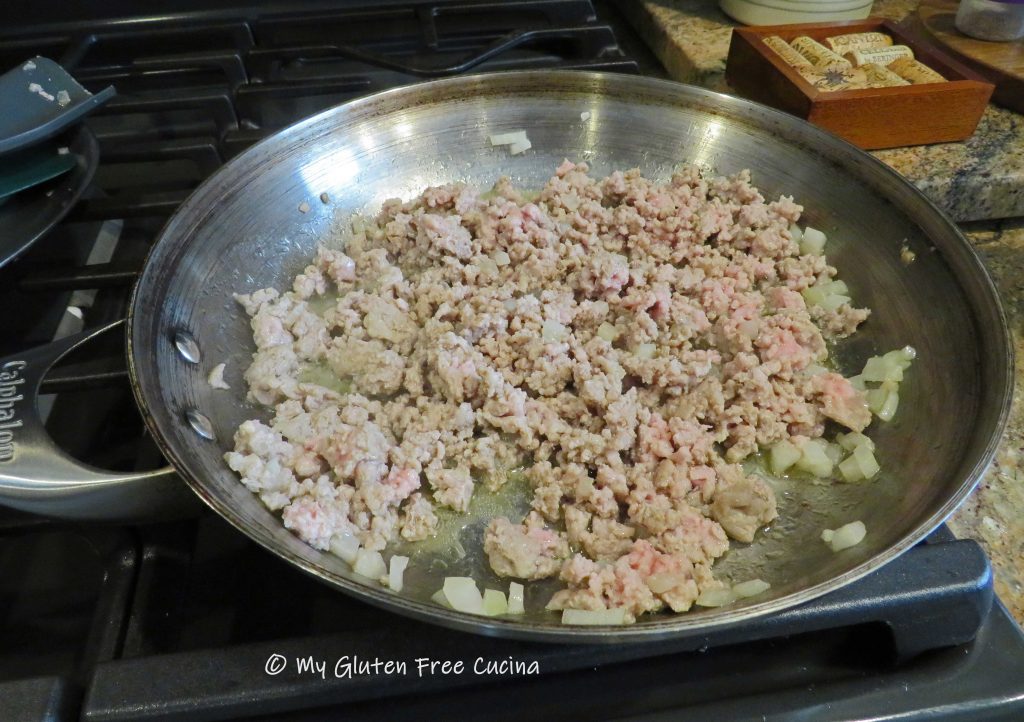
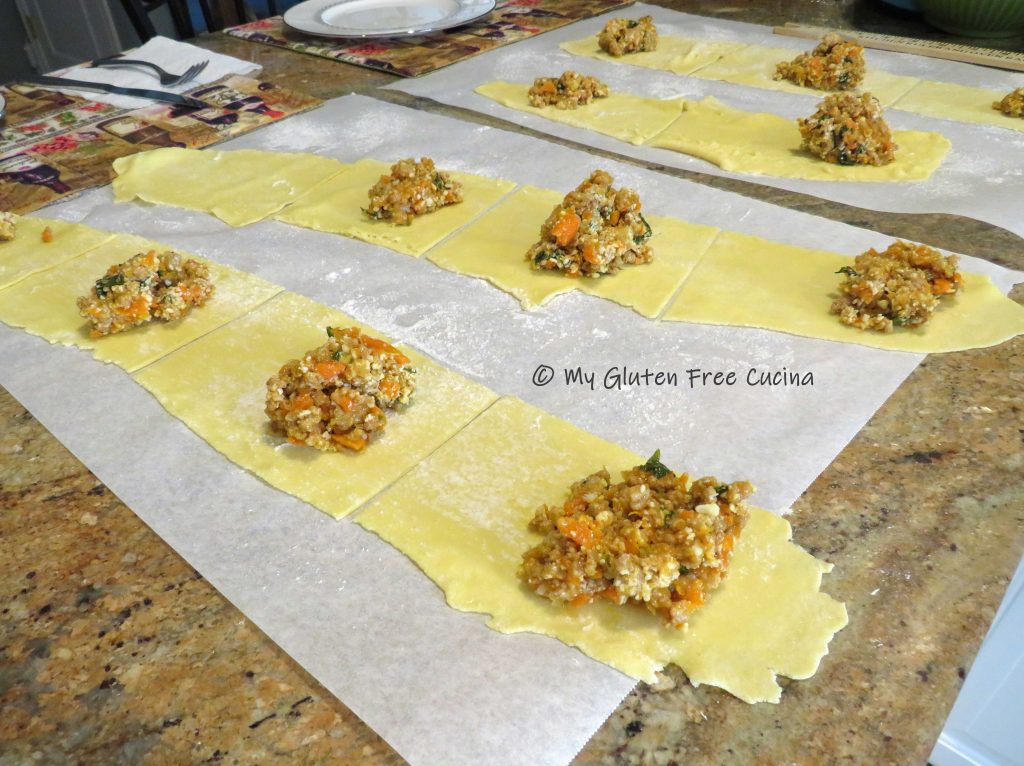
 Add the minced veggies to the pork and stir well.
 Make a spot in the center of the pan and add the tomato paste. Let it toast for a minute before stirring it into the pork and veggies.
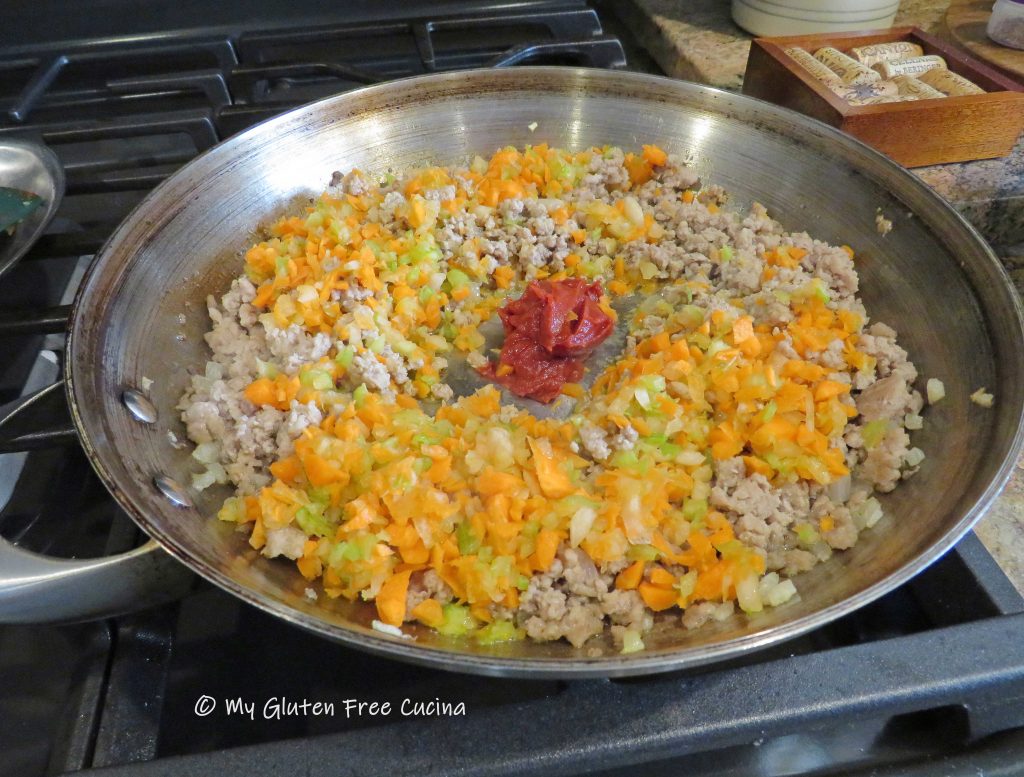
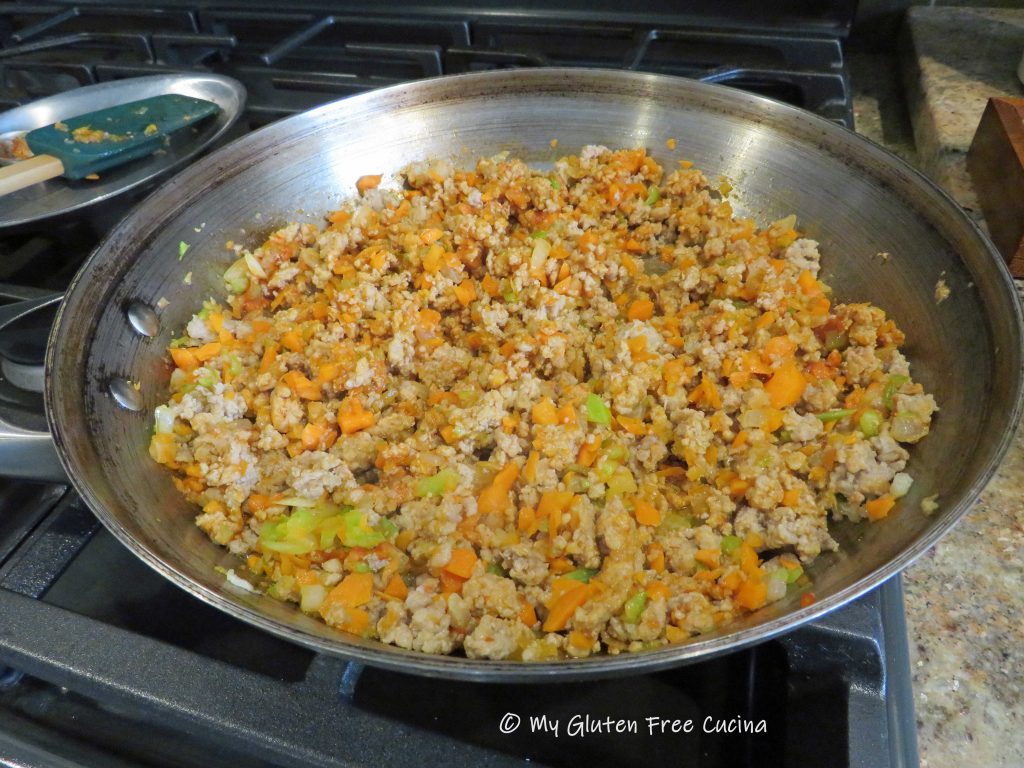 Add the broth with salt to taste.
 Sprinkle the arrowroot evenly over the mixture and stir it in. Simmer on low until the filling has thickened. Stir in the baby spinach. The filling should be moist, but not watery.


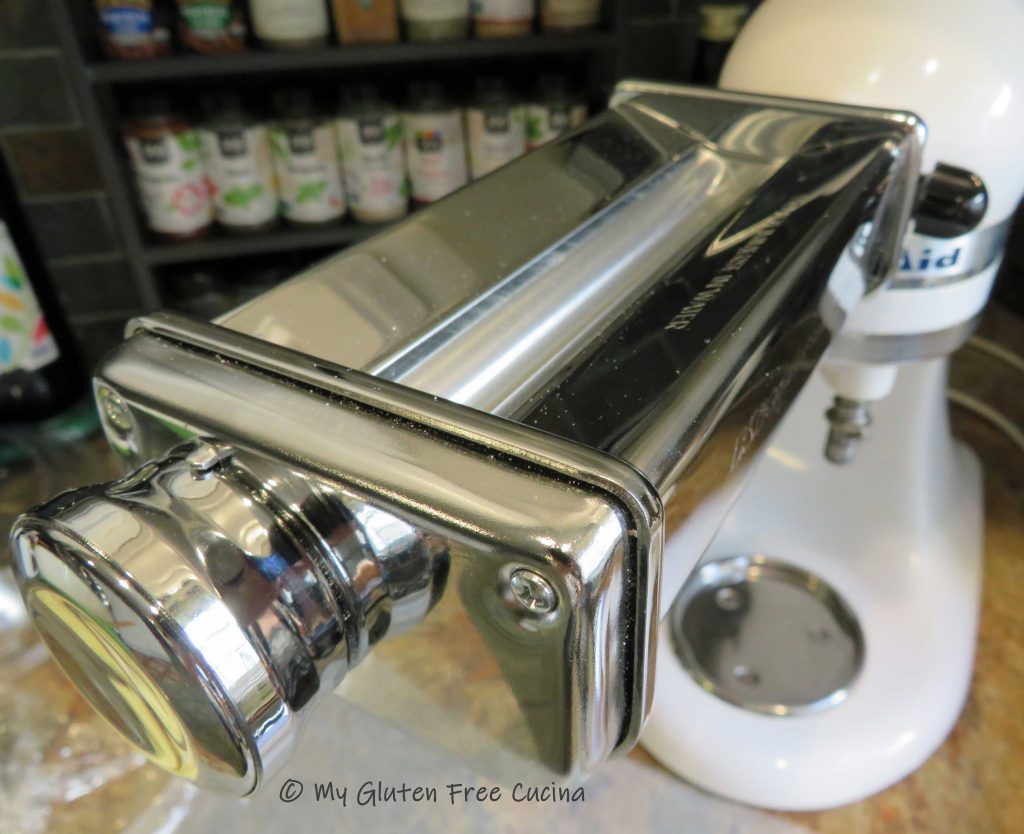 For this recipe, setting 3 on a