Gluten Free Mummy Bread

Return of the Mummy

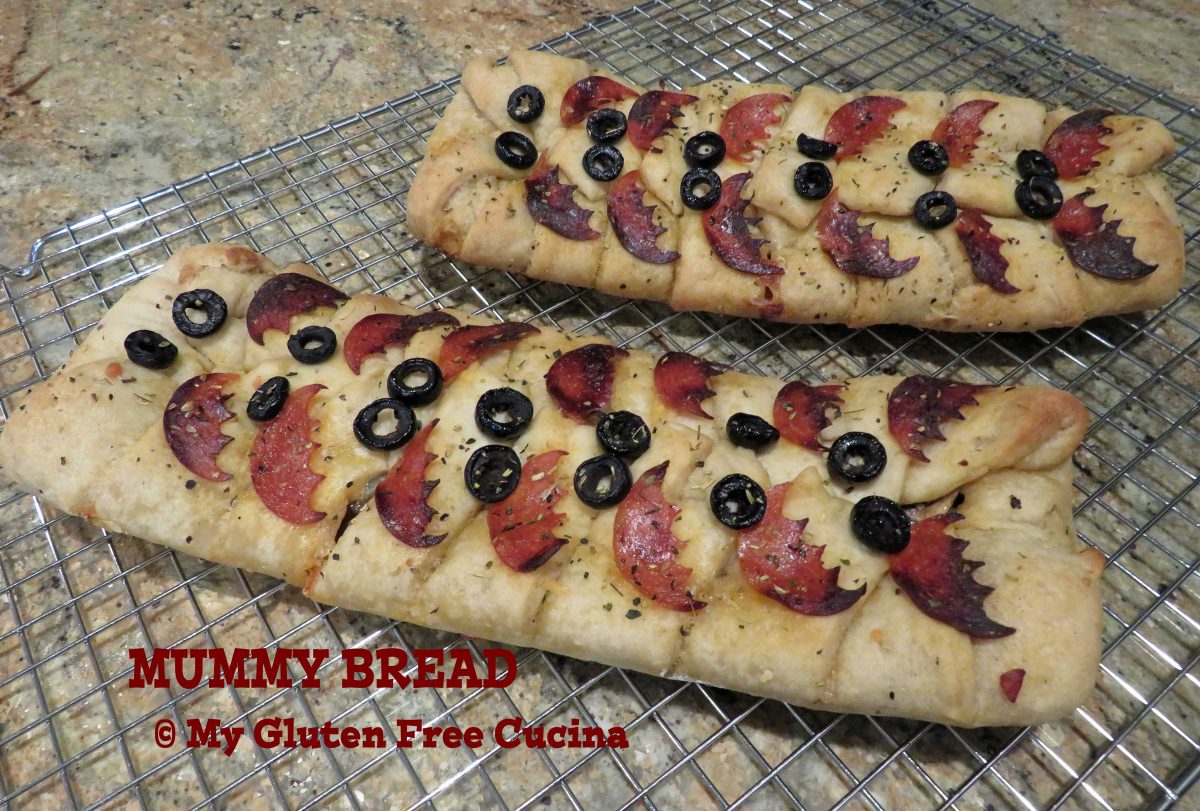
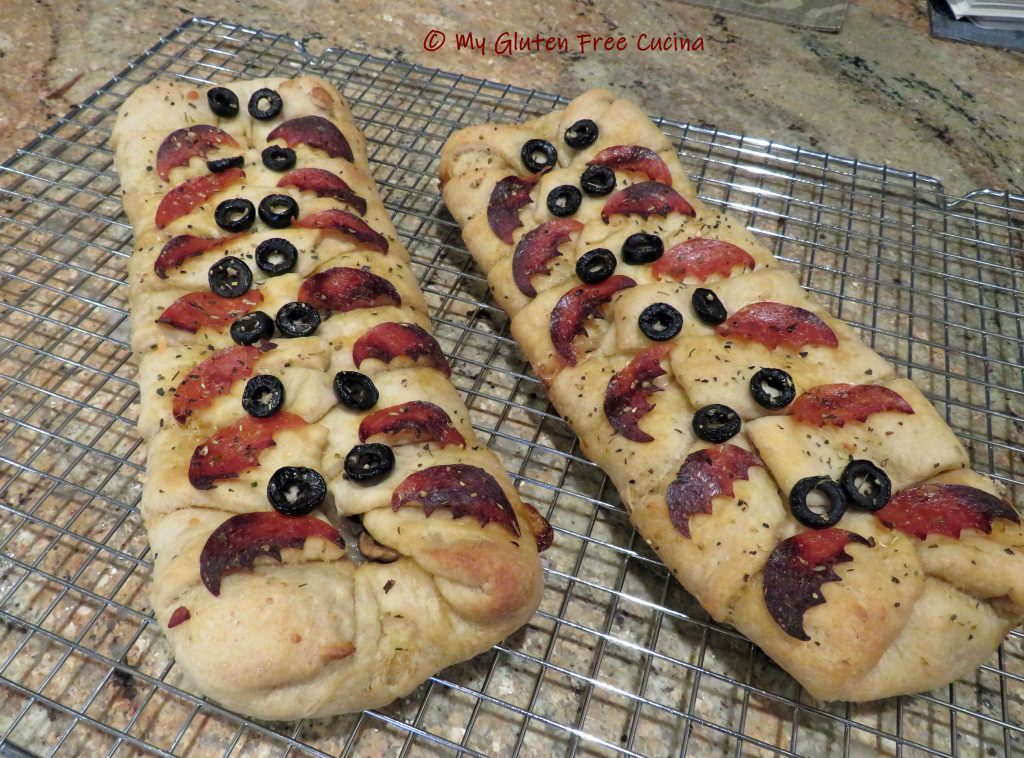
Mummy Bread has been a Halloween tradition in our family for years.  It’s sure to be a hit at a Halloween party!  This Stromboli style bread is fun to make with kids, and grownups will love it too.

This post contains affiliate links.

Recipe makes 2 mummies, 6-8 servings each.

Ingredients:

For the Dough:

For the Mummies:

Preparation:

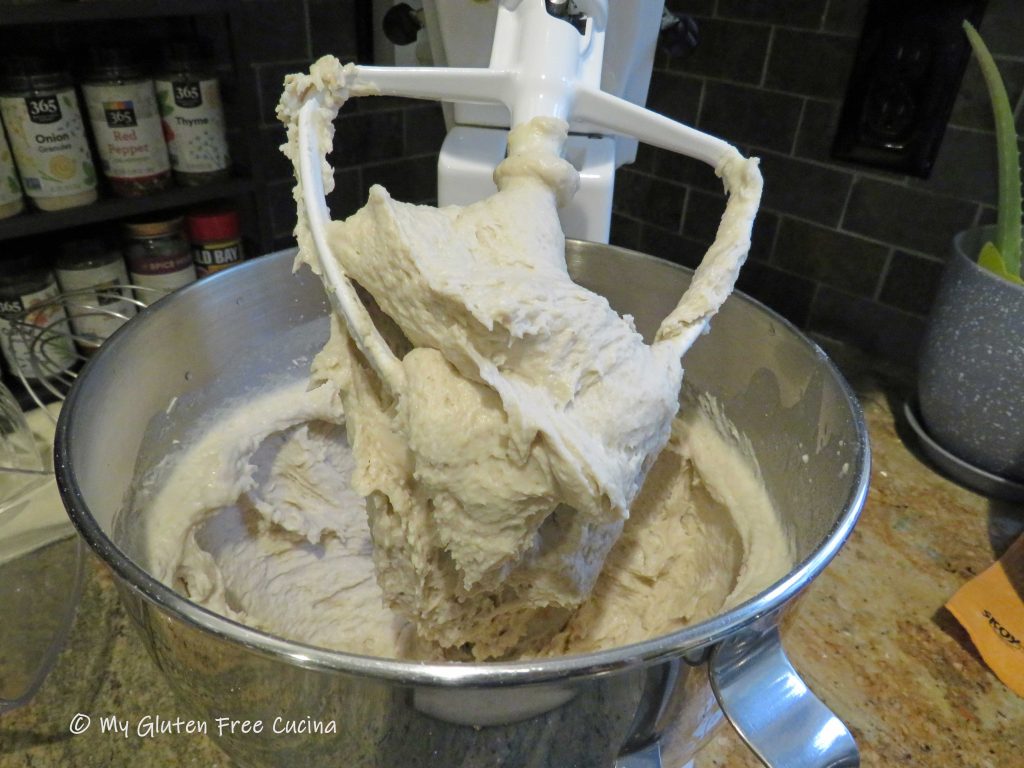
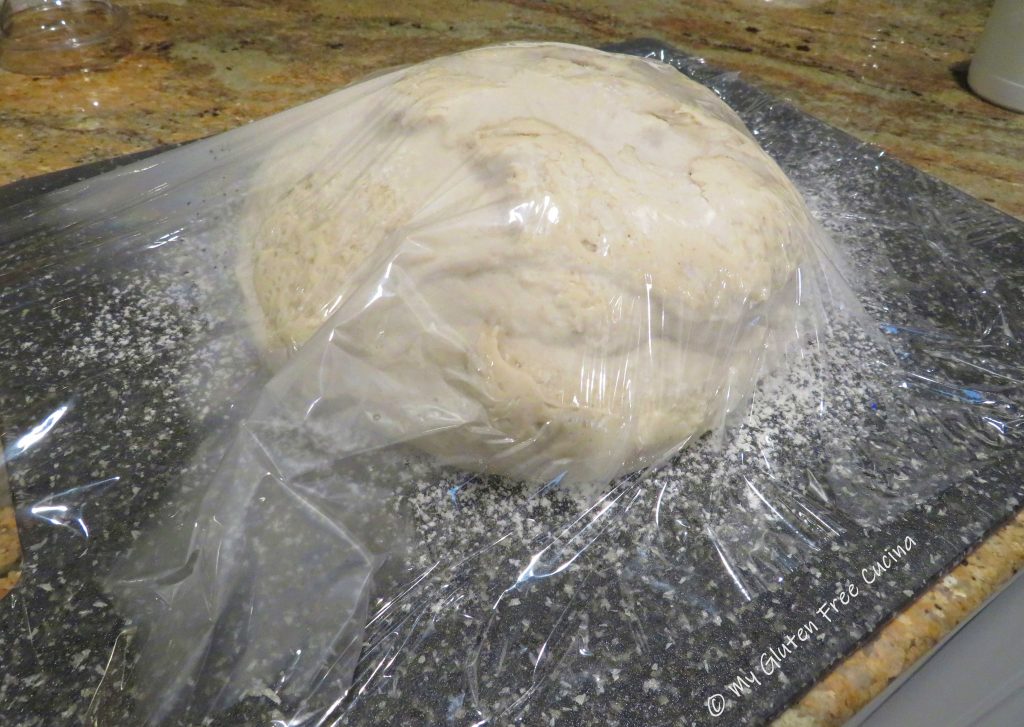
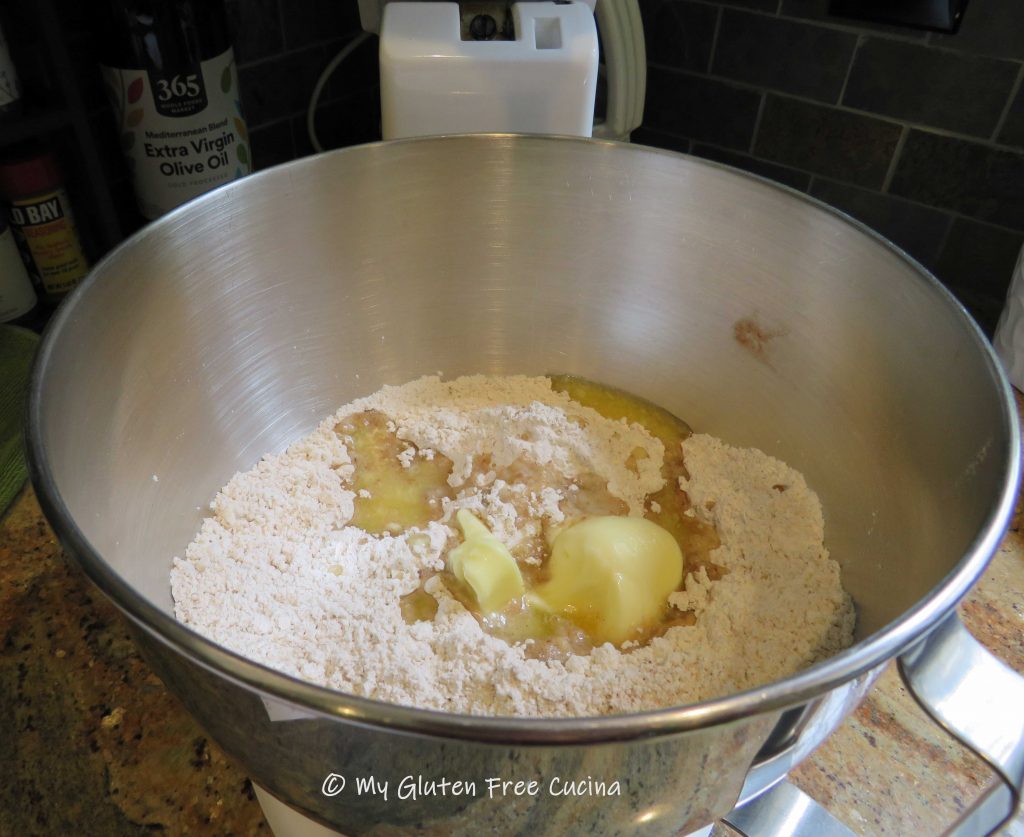
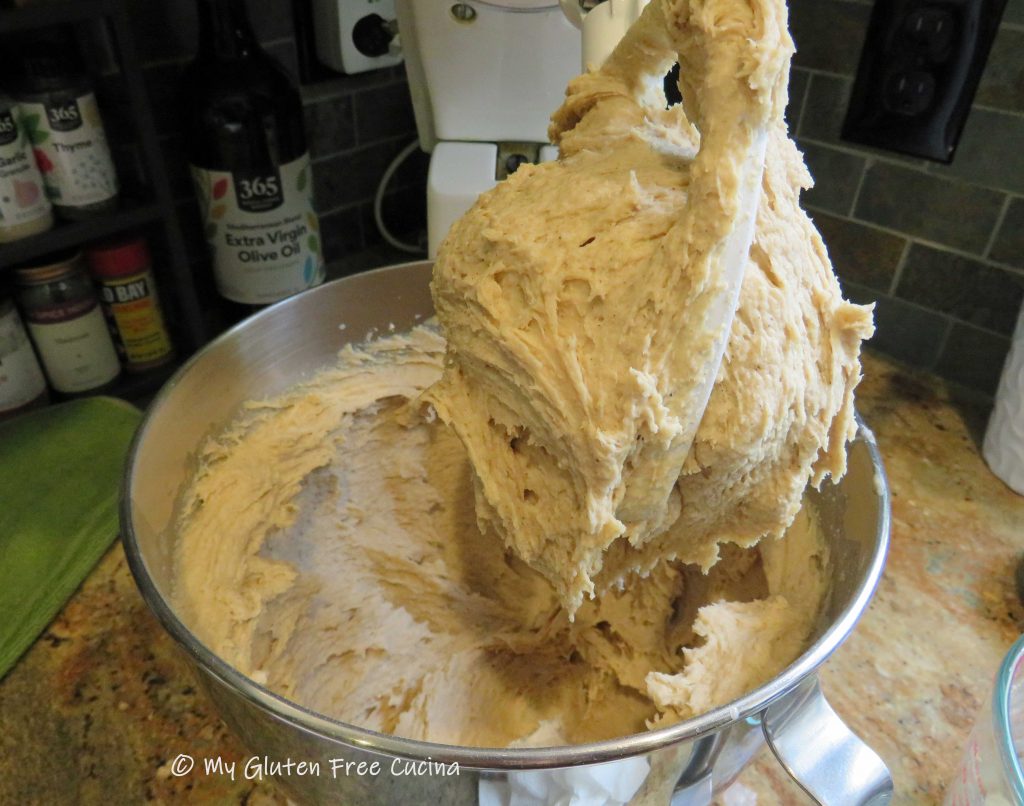
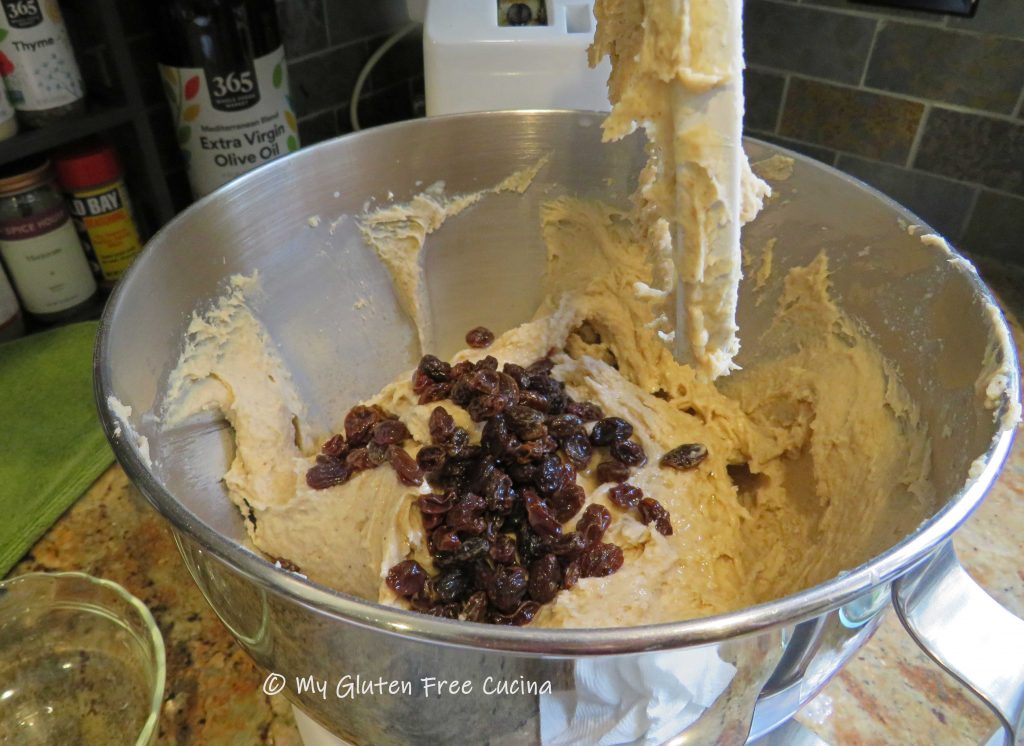
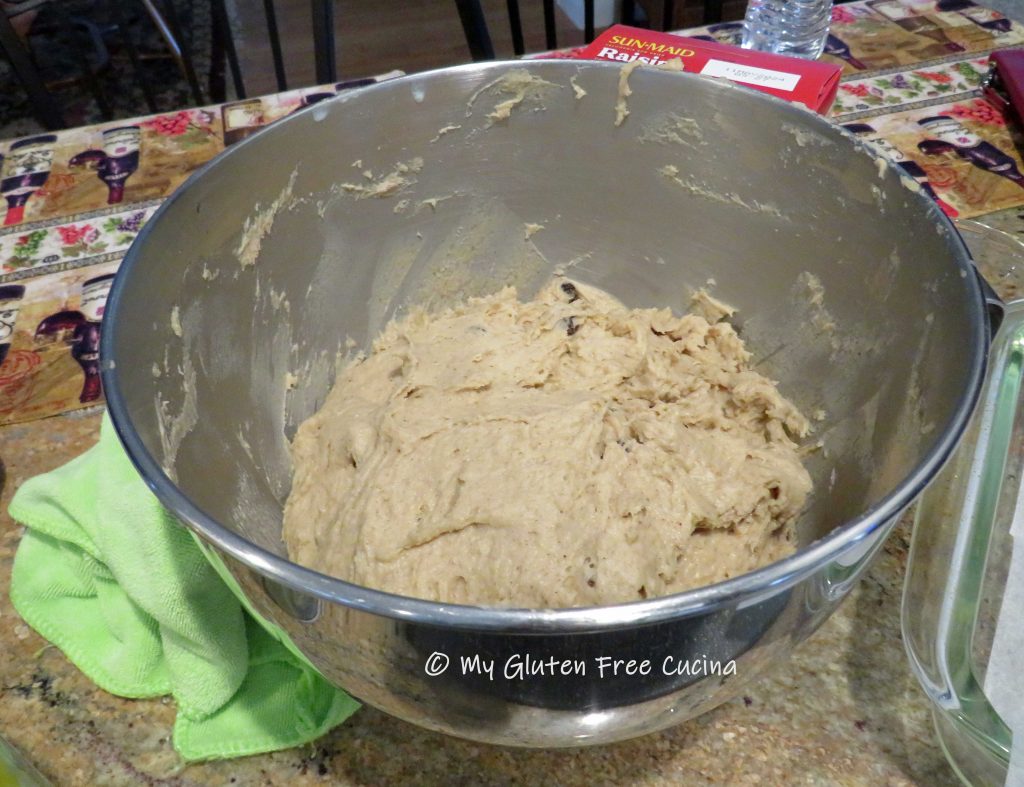
Mix together all of the dough ingredients in the bowl of a stand mixer.  Cover the dough and refrigerate for 1 hour.

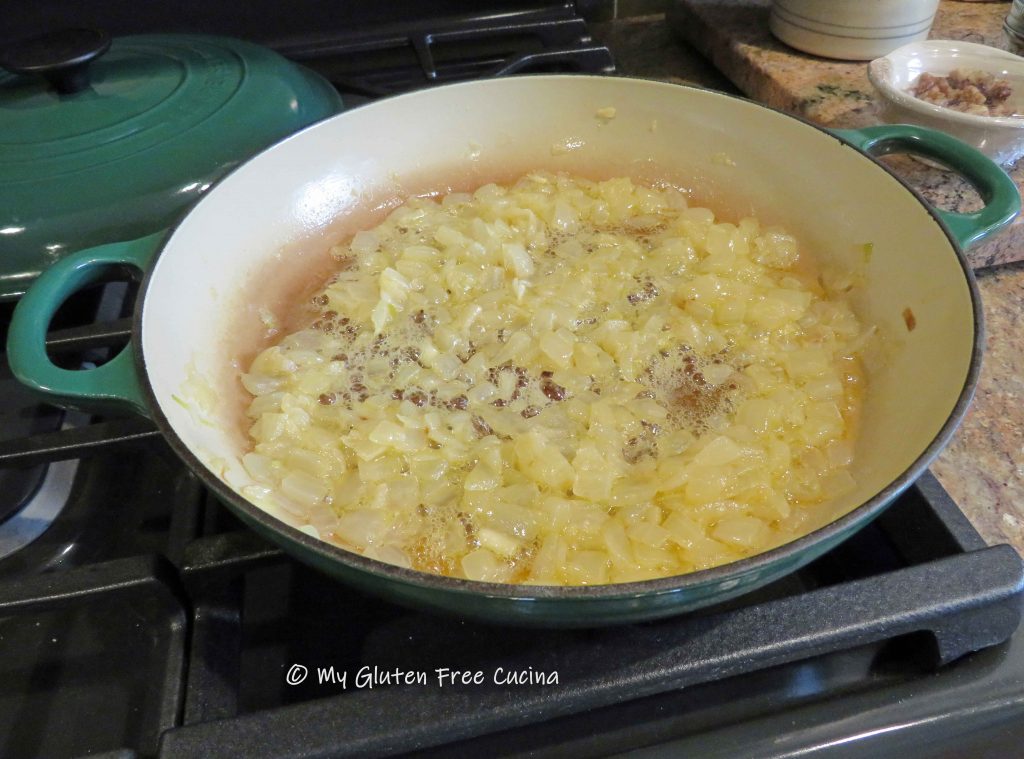
Add the onions to a heavy skillet with 2 tbsp. butter and 2 tbsp. oil.  Cook covered, 20 minutes then uncover and cook for an additional 20 minutes, stirring frequently.

Cook the mushroom slices in 1 tbsp. butter and 1 tbsp. olive oil.

Drain the mushrooms and onions to remove as much liquid as possible.

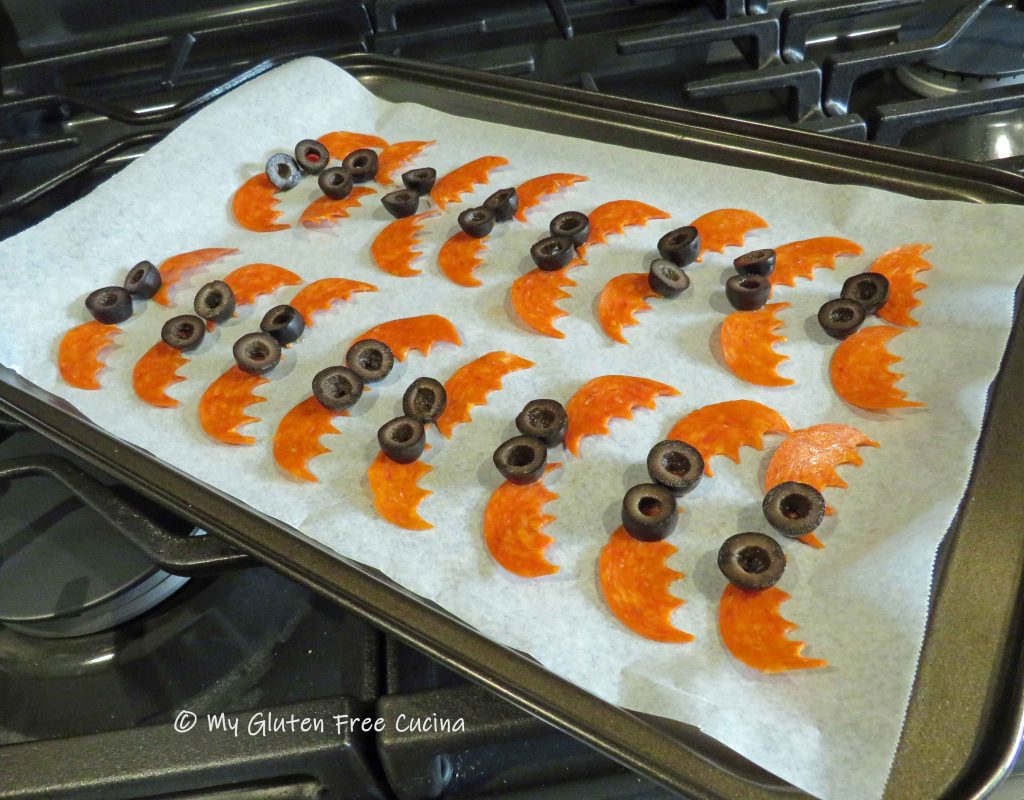
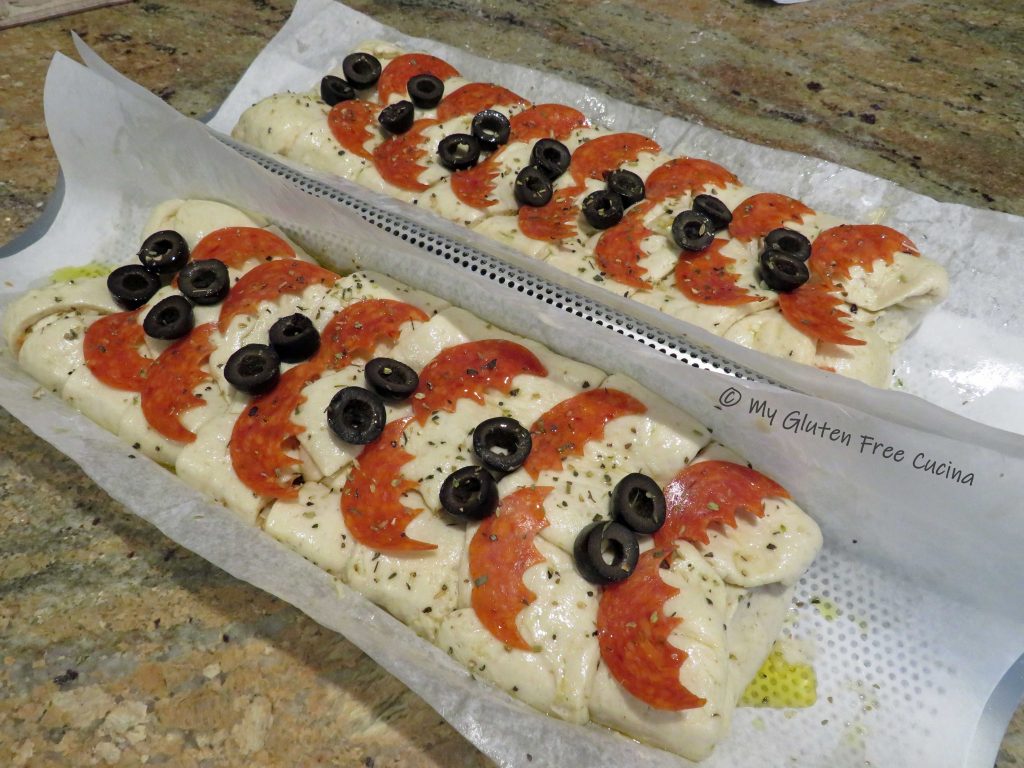
While the dough is rising, plan your decorative toppings.  I made these pepperoni and olive bats!

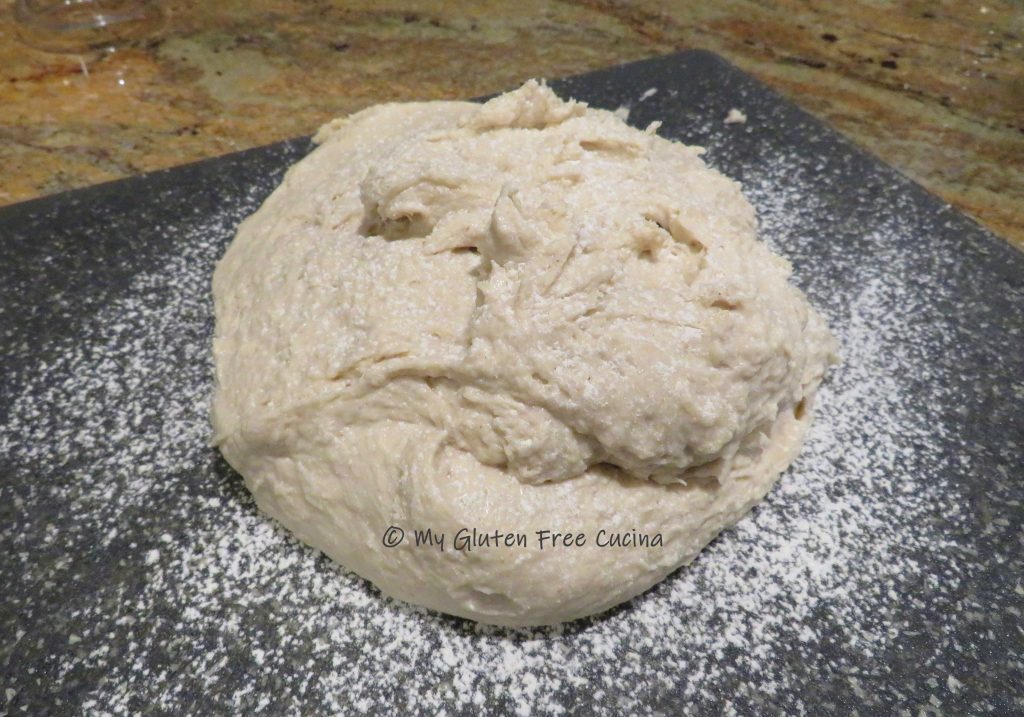
After 1 hour in the fridge, turn the dough out onto floured parchment and use a bench knife to divide it in 2.

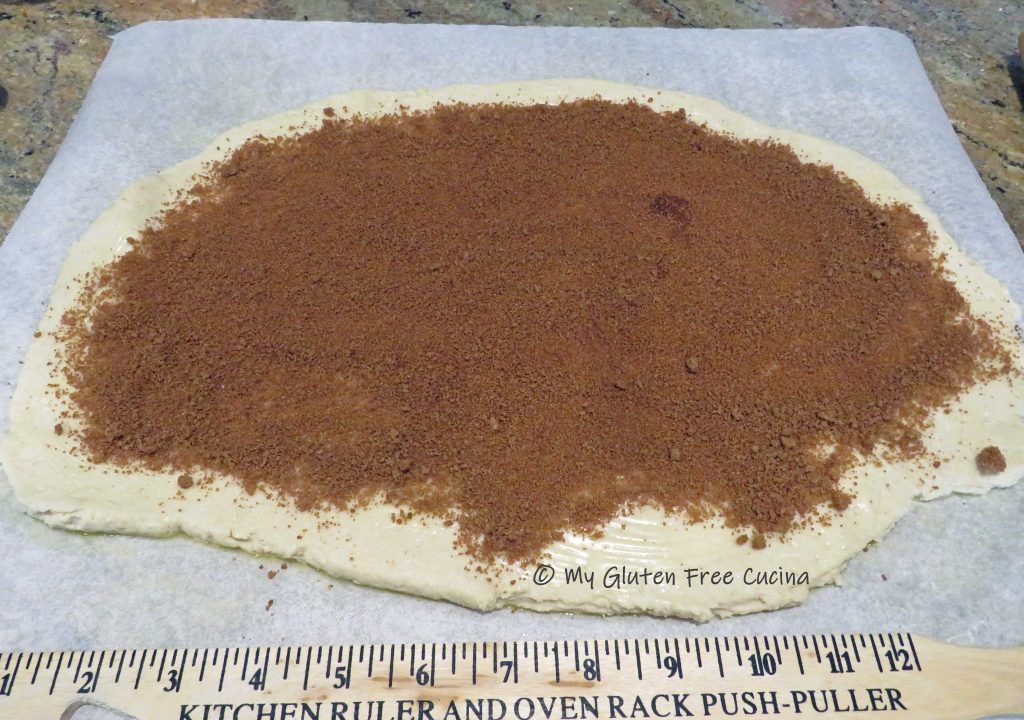
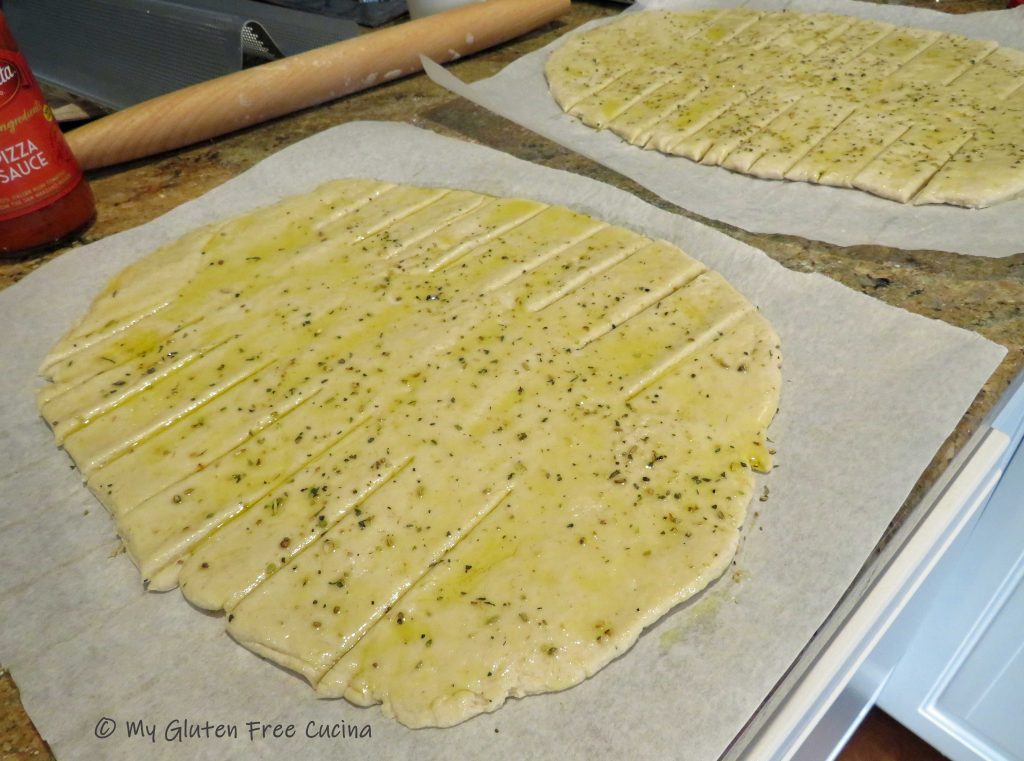
Roll out each piece into a thin rectangle, about 11 x 16″.  Brush lightly with olive oil and sprinkle with seasoning.  Use a bench knife to cut 1″ strips on either side of the dough.

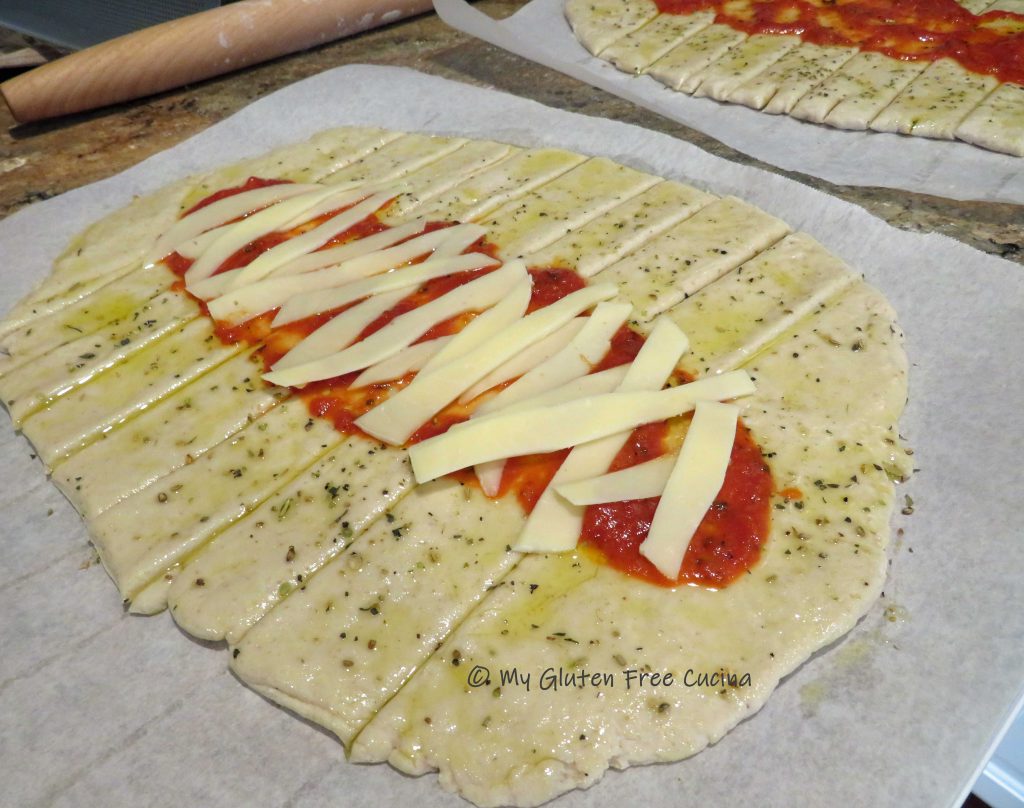
Brush the center of each mummy with 3-4 tbsp. of pizza sauce, then layer with strips of provolone cheese.

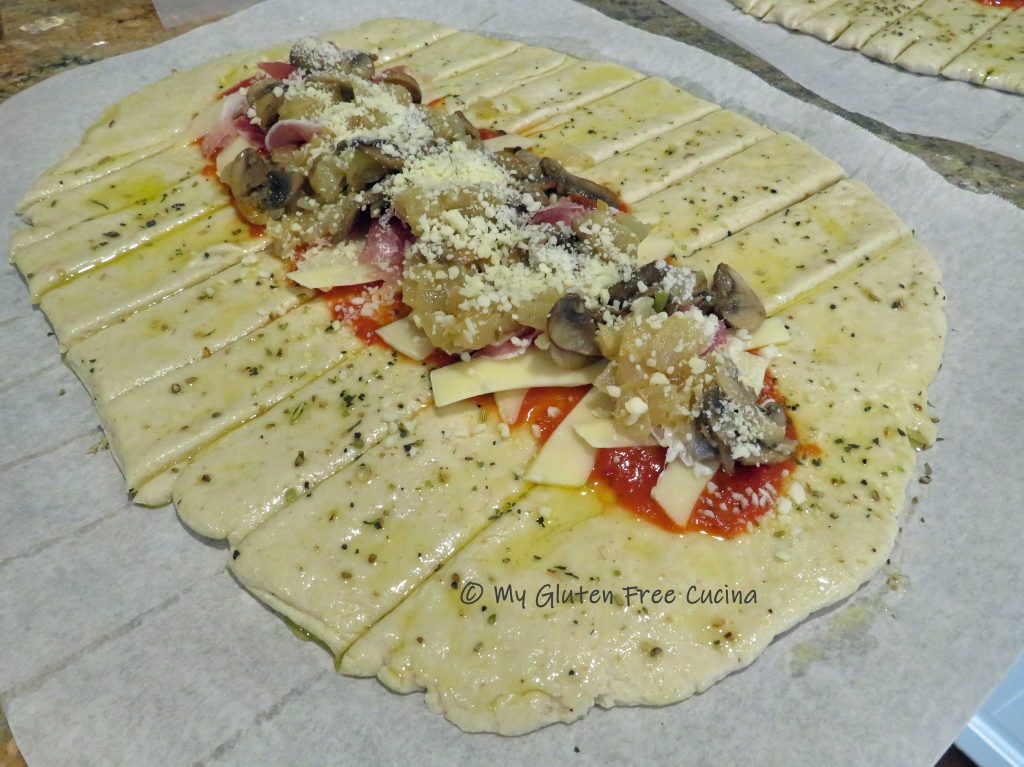
Top with torn pieces of cold cuts and divide the mushrooms and onions between the 2 mummies.  Sprinkle with grated parmesan.

Hint:  Don’t over fill the dough and make sure veggies are well drained so it won’t be soggy! 

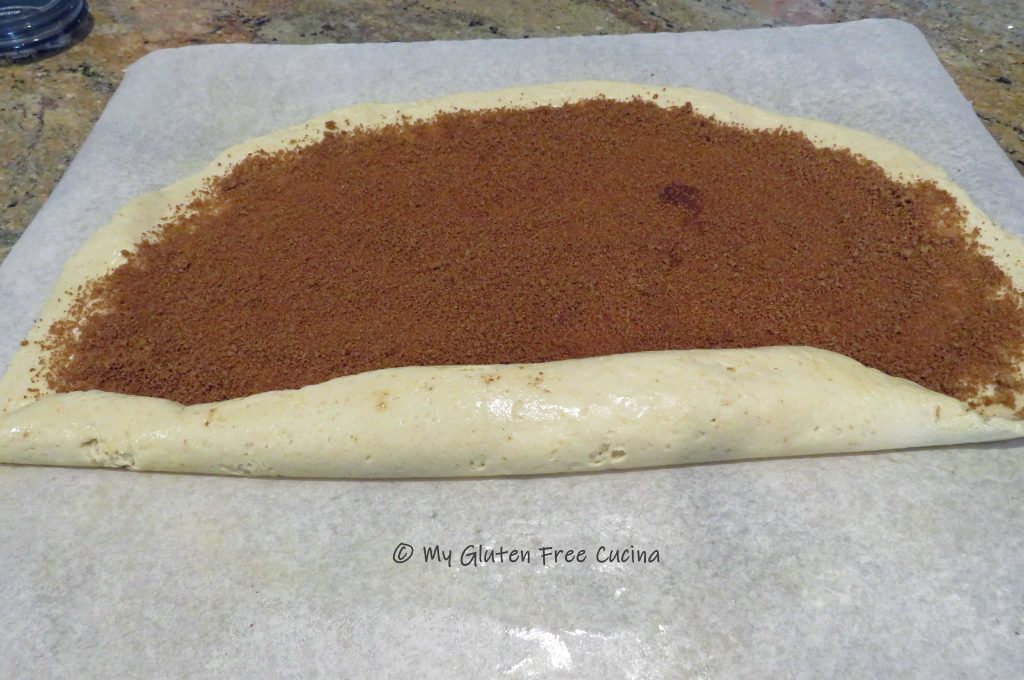
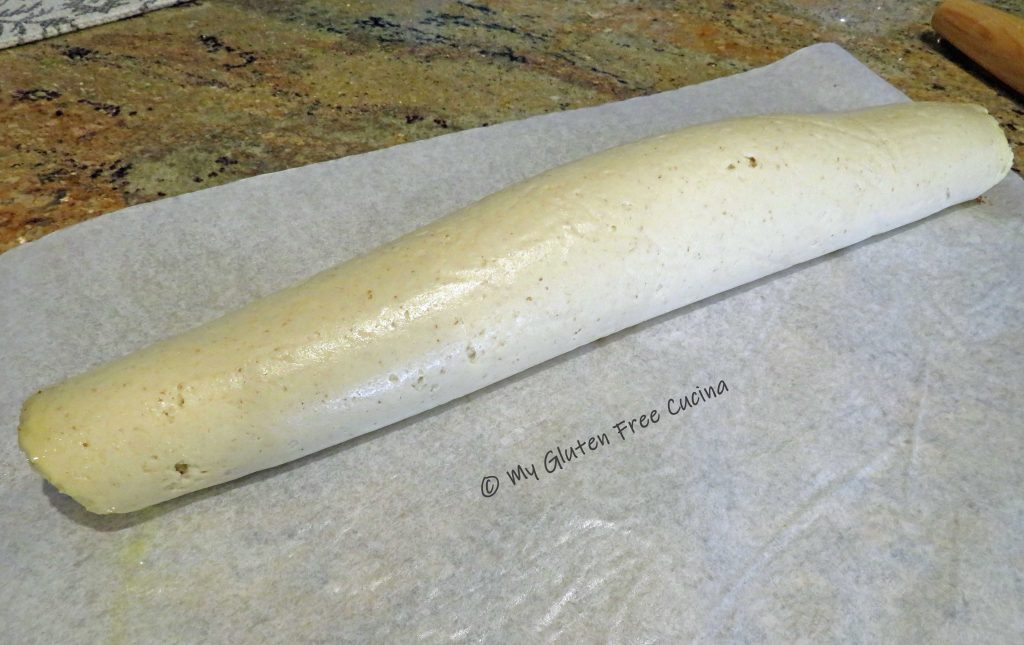
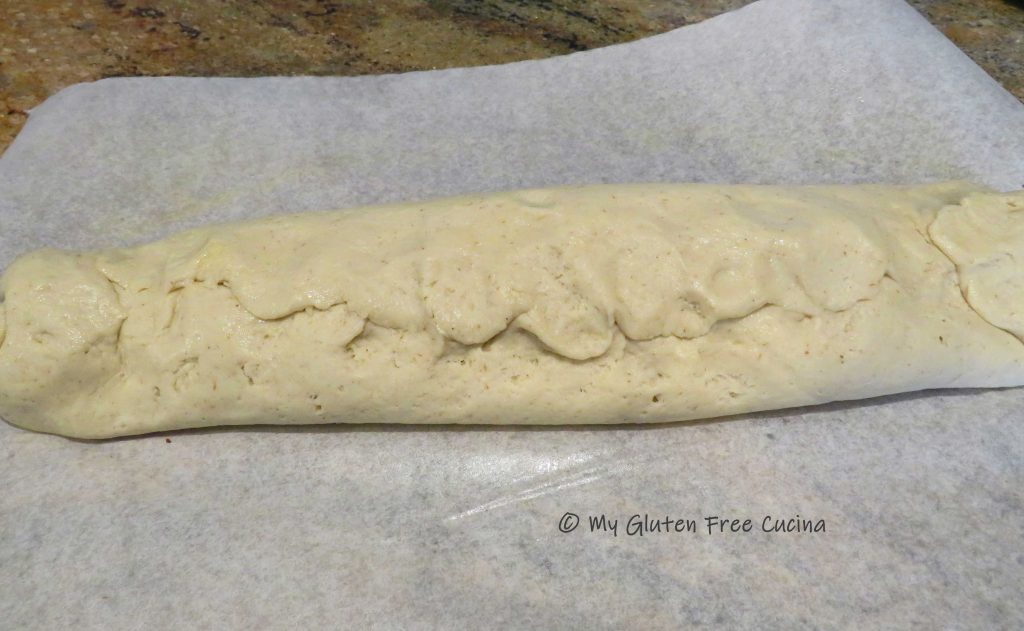
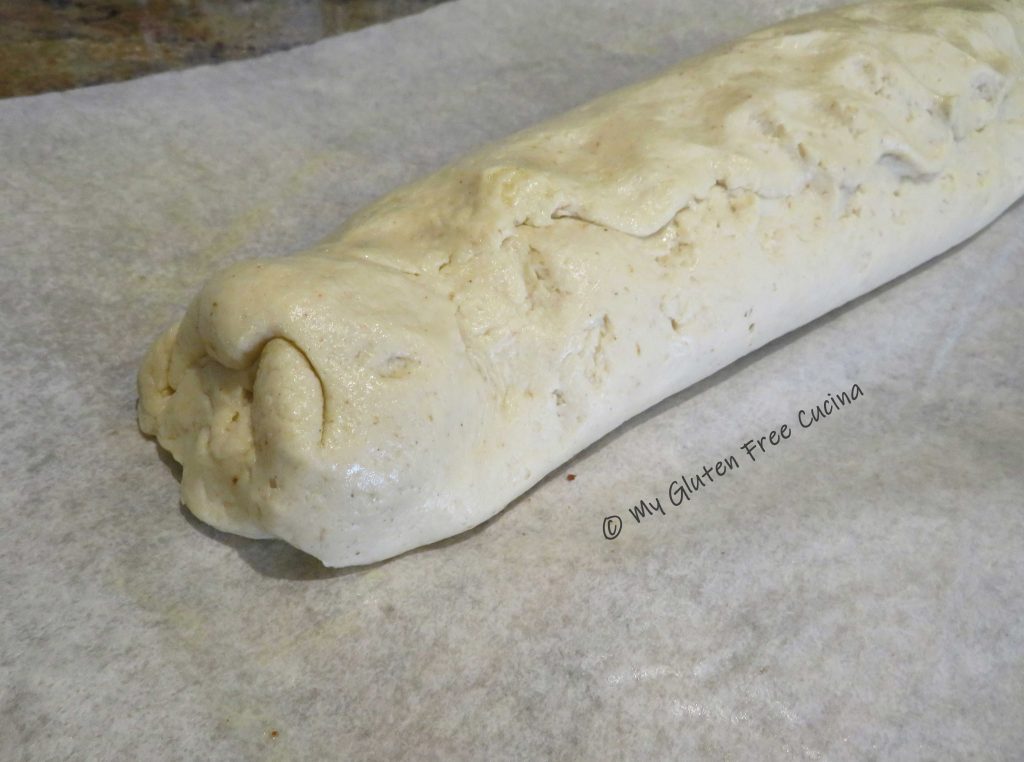
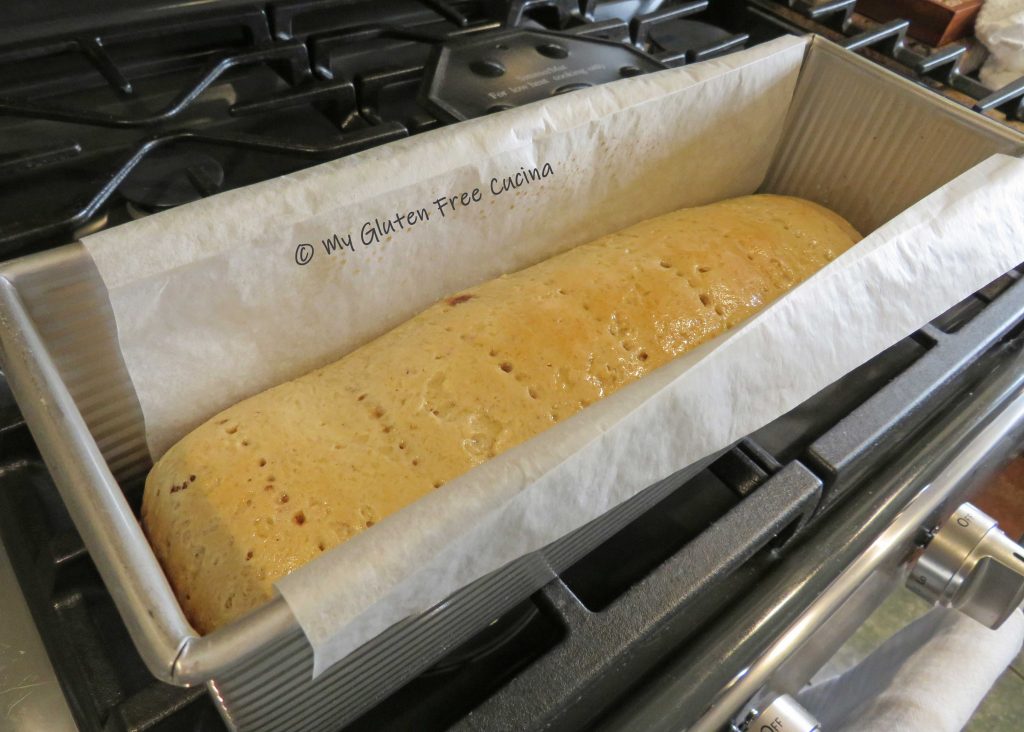
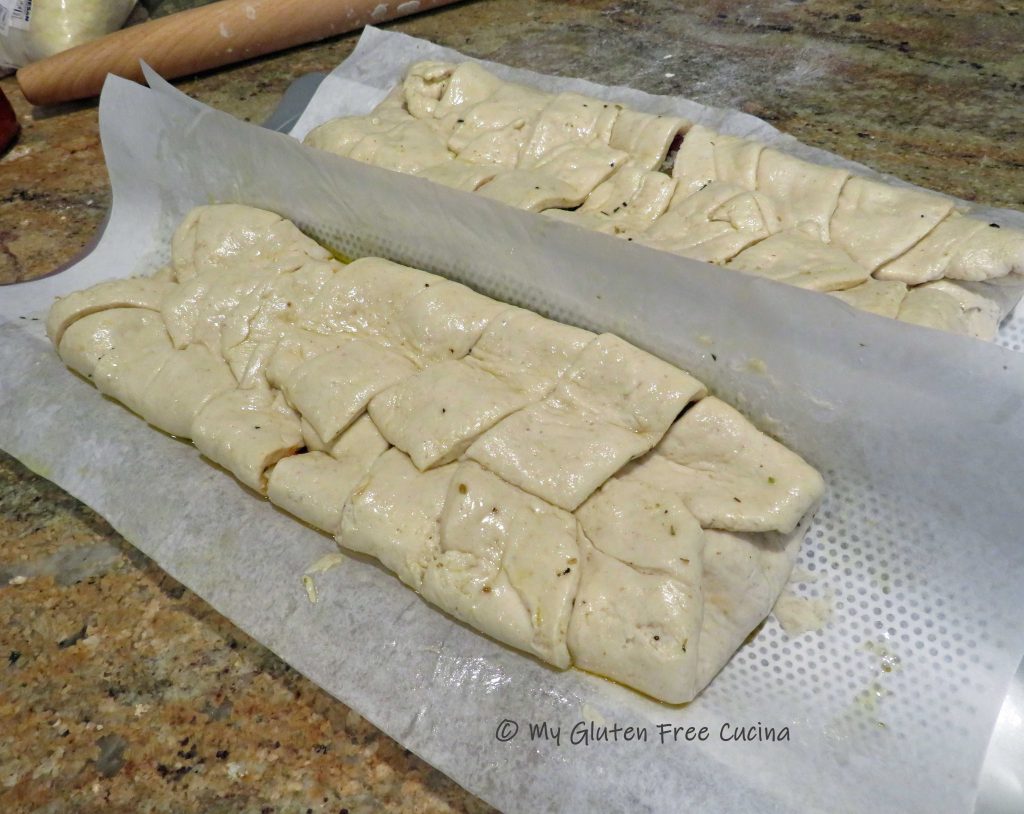
Starting at the bottom, fold the dough over the filling, then begin overlapping the strips from side to side.  Continue folding to create the mummy.  I transferred my mummies to a perforated loaf pan and trimmed the parchment to fit.

Preheat the oven to 500º.  Decorate the mummies with olive and pepperoni slices.  Be creative, you can use all sorts of veggies and herbs to dress up your mummy.  Brush everything with olive oil and sprinkle with more Italian seasoning.

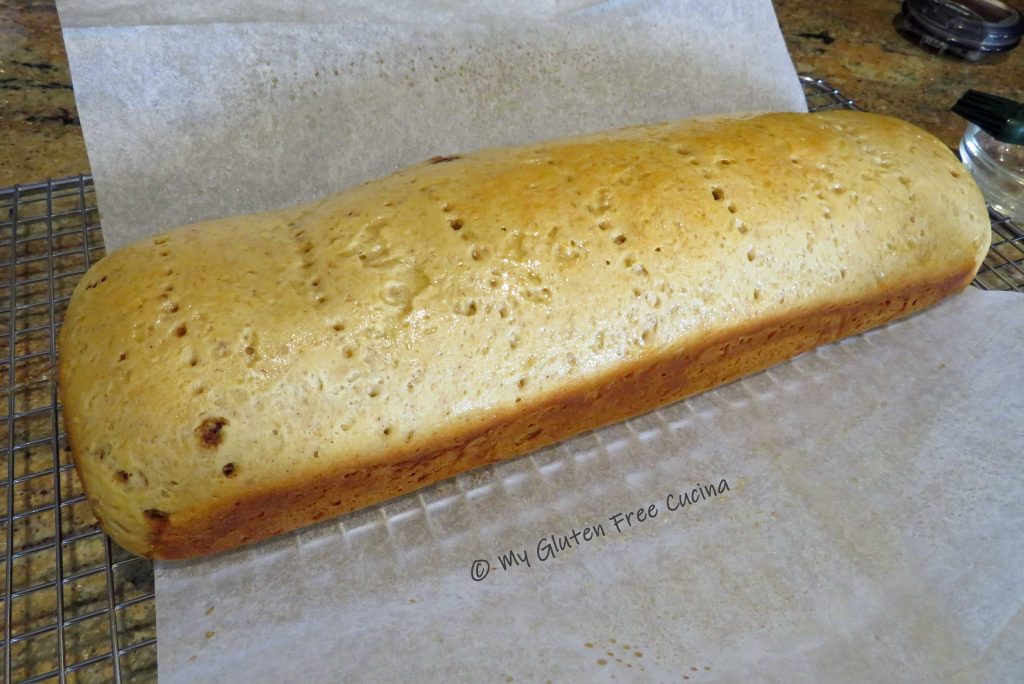
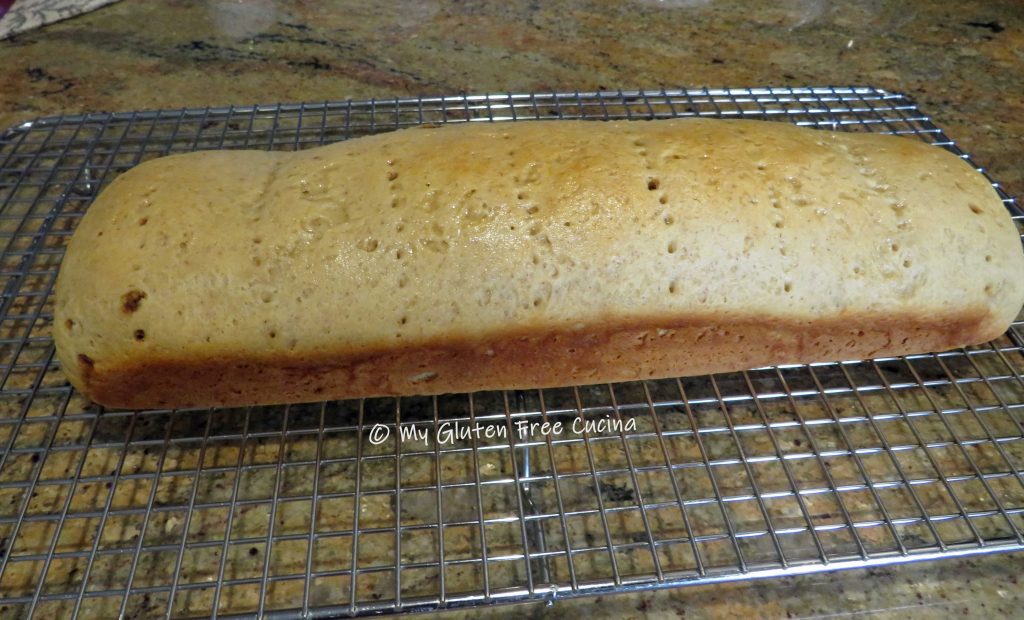
Place the loaf pan on a baking sheet for more stability and to prevent the bottom from burning.  Bake for 20 minutes, and tent with foil if the mummies seem to be browning too quickly.  Cool in the pan for 10 minutes before moving to a rack.

Mummy bread can be eaten warm or at room temperature.  They will stay warm for several hours.

Leftovers (if you have any) can be reheated on a pizza stone.

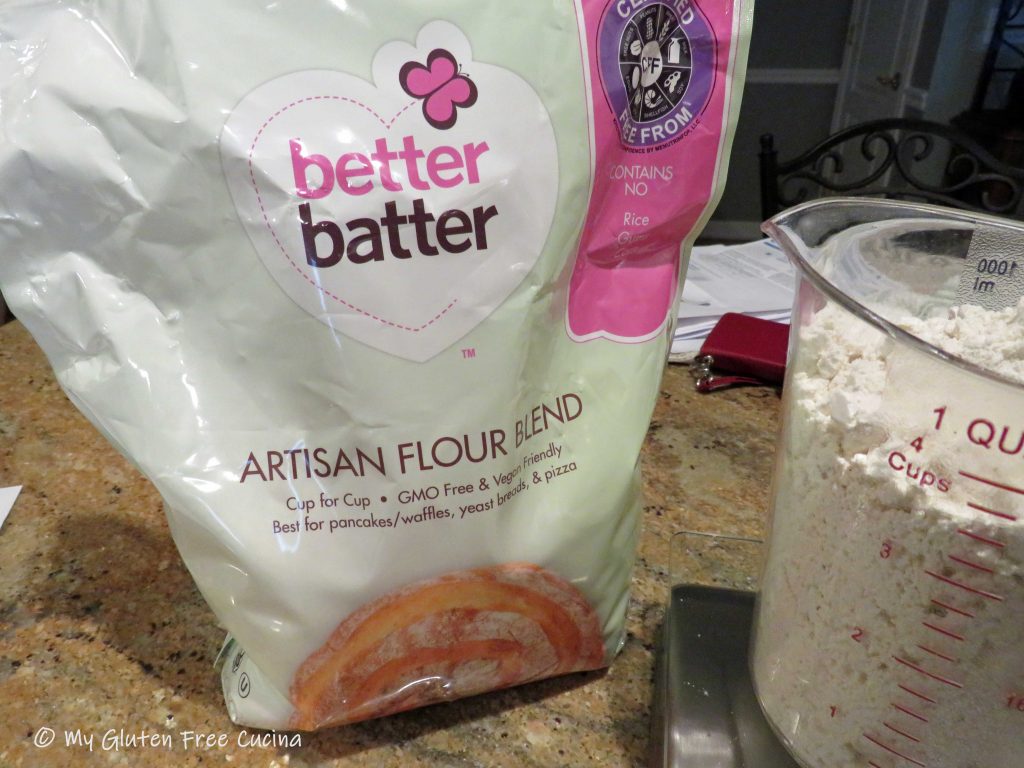
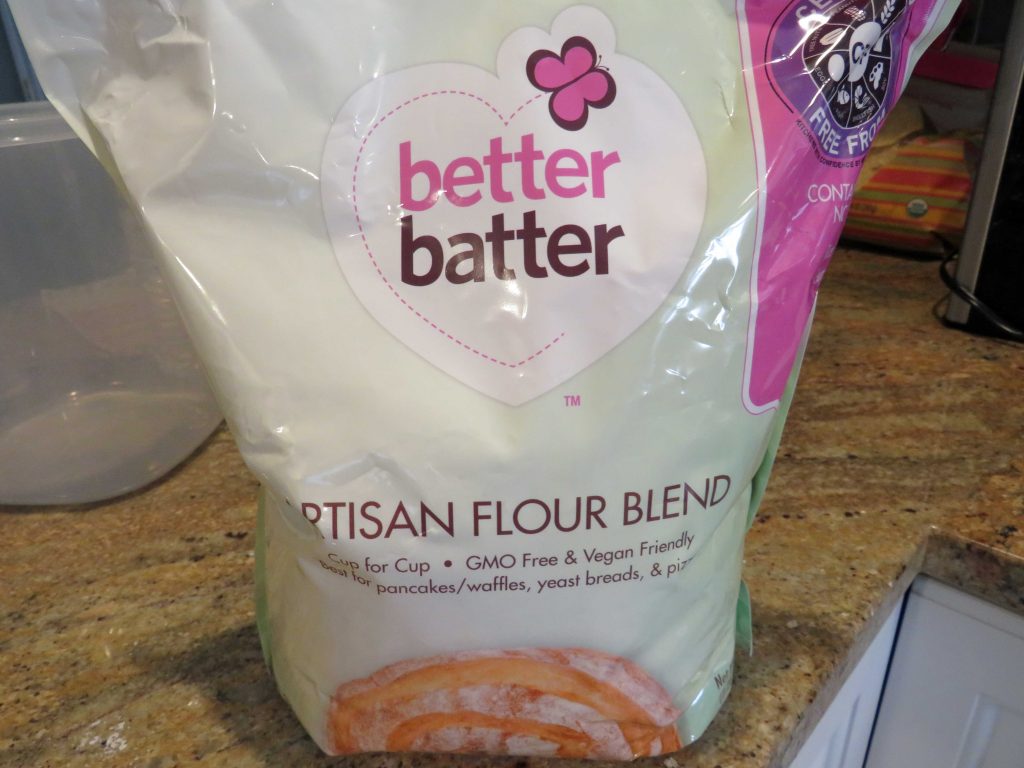
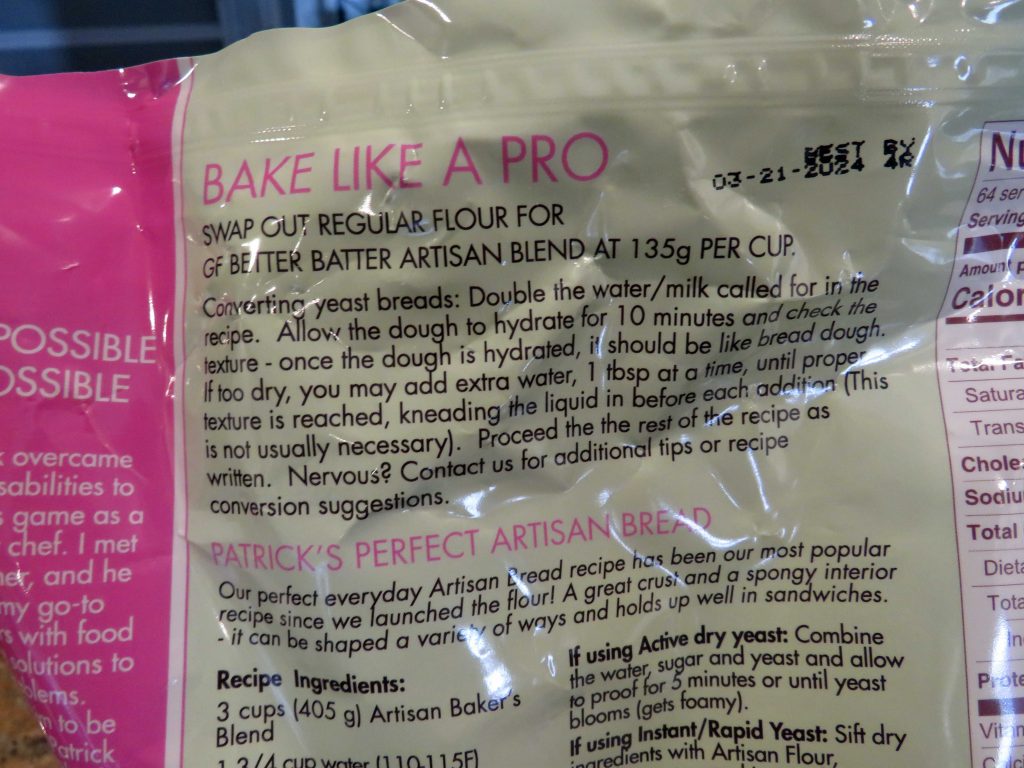
Notes ♪♫ If you follow me, you know that I am a huge fan of Better Batter.  I made my mummies with their Gluten Free Artisan Flour Blend.  This flour is a game changer for making bread and pizza and I cannot recommend it enough!  Be sure to use my promo code MGFC30 for 30% off your non-sale purchase.

Happy Halloween from My Gluten Free Cucina!

Print This Post Print This Post

Gluten Free Apple Pie French Toast

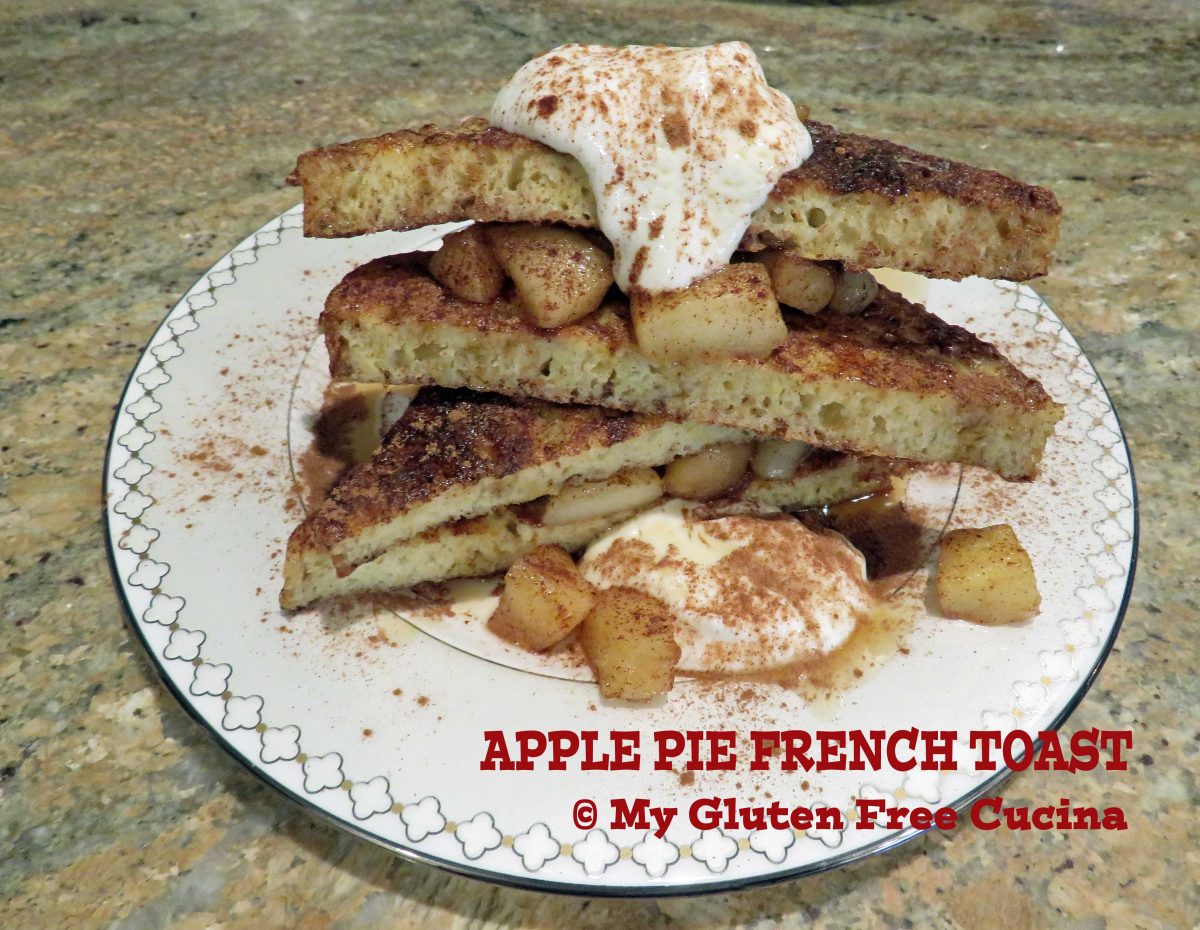
My Apple Pie French Toast features warm spiced apples layered between slices of French Toast, topped with vanilla Greek yogurt, maple syrup and a dusting of cinnamon.  Breakfast or dessert?  You decide!

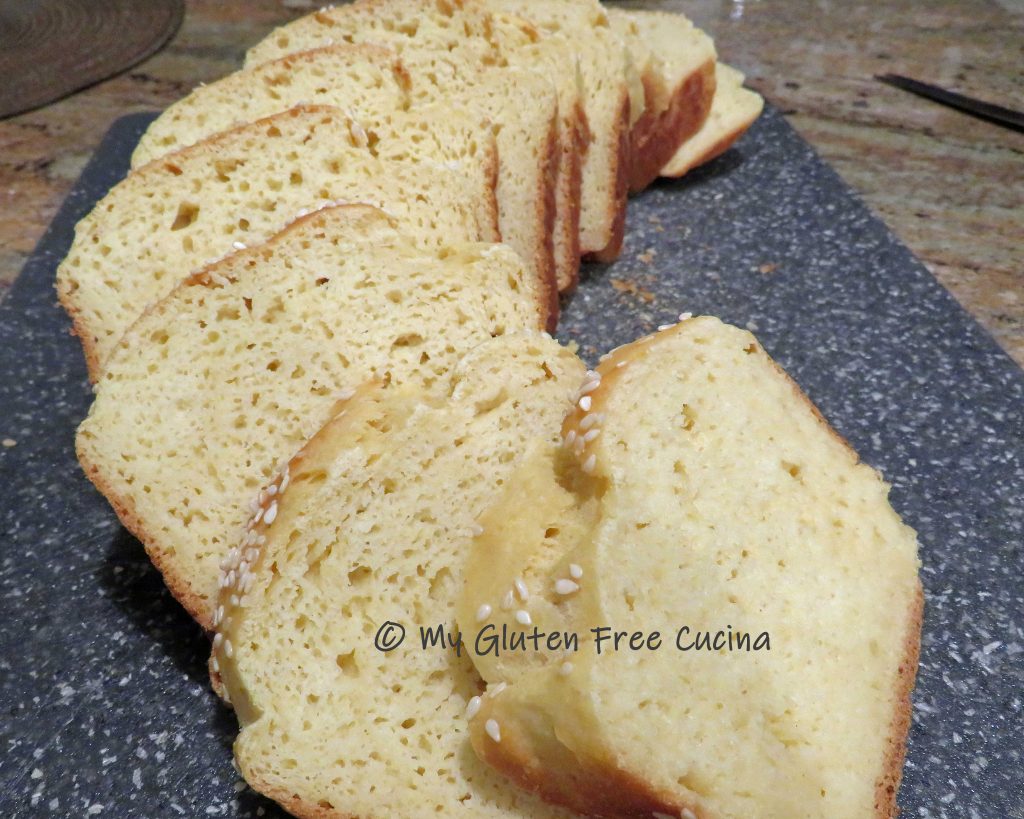
I used my Gluten Free Millet Bread in this recipe, it is an extra special cakelike bread that is perfect for making French Toast.  Of course, you can use store bought gluten free bread (I won’t tell!).

This post contains affiliate links.

2 servings

Ingredients:

  • 4 slices of gluten free bread
  • 2 eggs
  • 4 tbsp. milk
  • 1 small apple
  • 3 tbsp. butter, divided
  • 1 tbsp. brown sugar
  • vanilla Greek yogurt
  • maple syrup
  • cinnamon

Preparation:

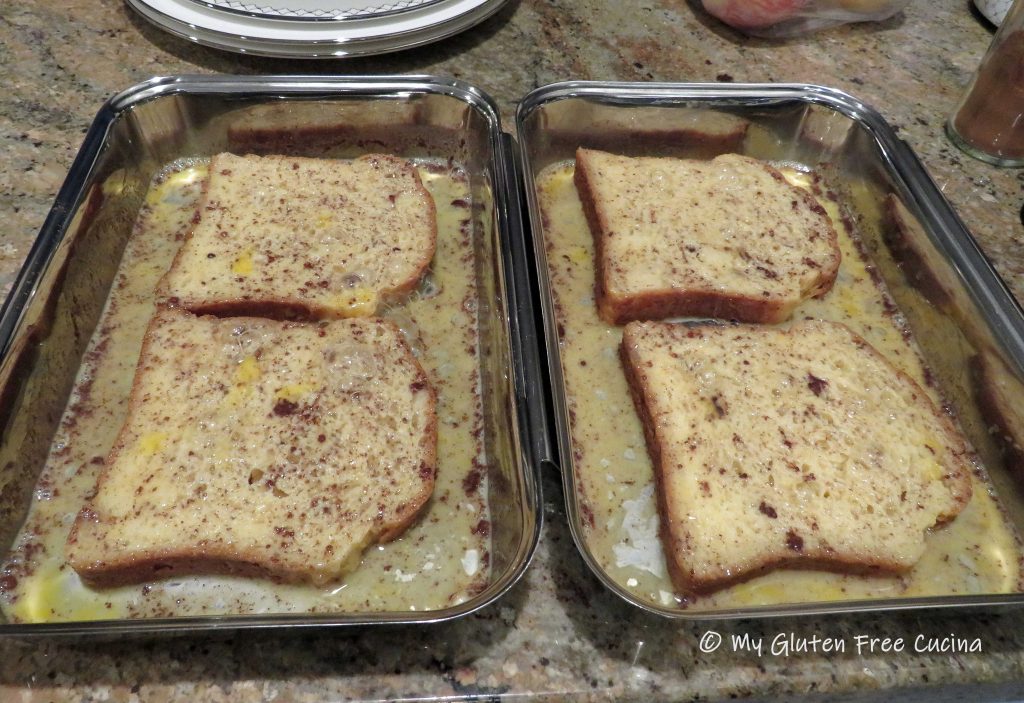
Whisk together the eggs and milk, and sprinkle with cinnamon.  Soak the bread slices in the egg mixture for 15 minutes, turning occasionally.  Use 2 pans if needed to fit all of the slices.

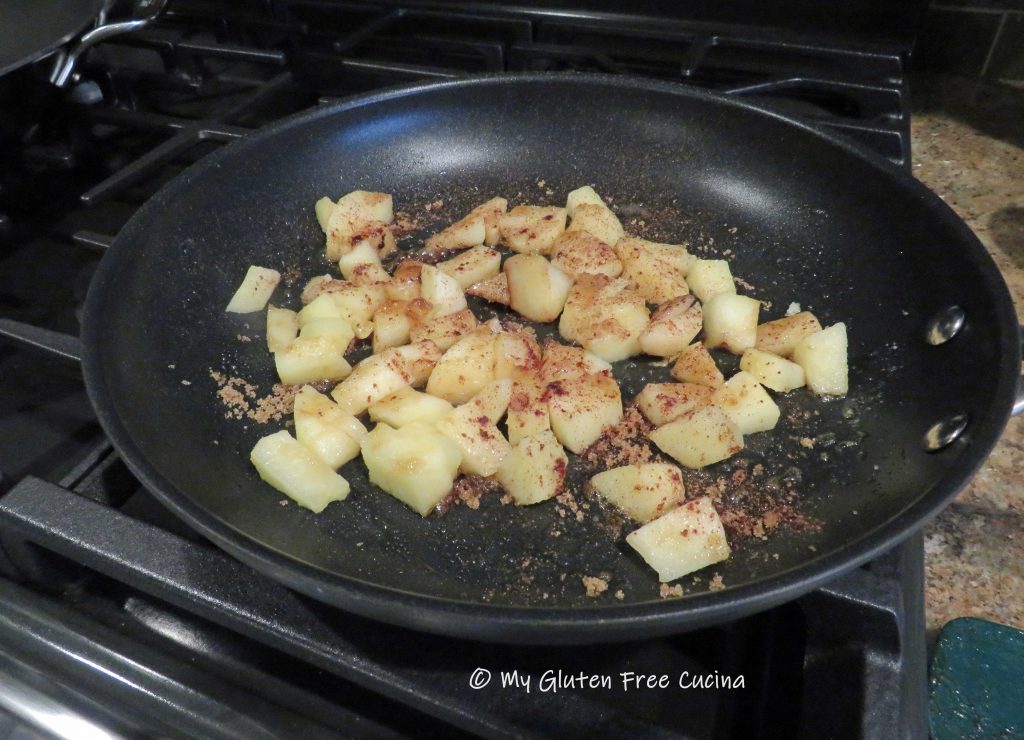
Peel and dice the apples.  In a nonstick skillet, melt one tbsp. butter.  Add the apples and cook for several minutes, stirring frequently.  Sprinkle with cinnamon and 1 tbsp. brown sugar.  Continue cooking 2 more minutes, then keep warm.

In a larger nonstick skillet or griddle, melt 2 tbsp. butter.  Add the bread slices and cook 3 minutes per side.

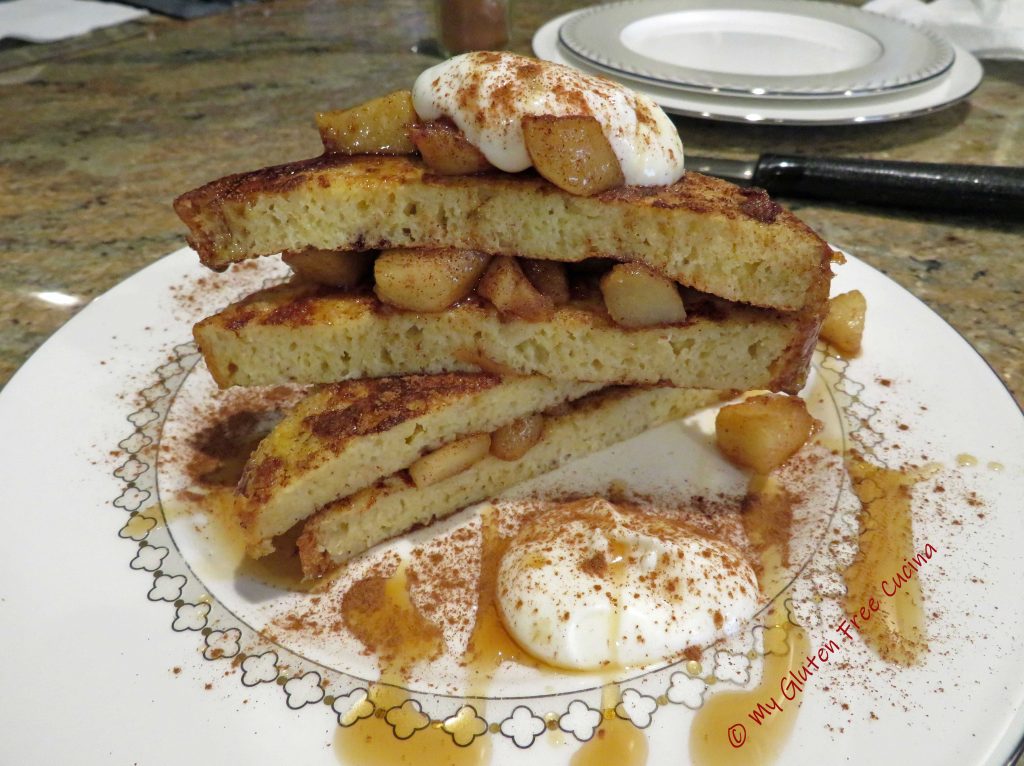
To plate, layer one slice of French toast with apples, then top with a second slice.  Cut in half diagonally and stack one half over the other.  Top with more apples, and a scoop of vanilla yogurt.  Drizzle with maple syrup and sprinkle with cinnamon.

Look at that plate, breakfast fit for a king and queen!  Definitely a wonderful way to start your day!

Notes ♪♫ If you enjoyed this post, be sure to check out my Tiramisu Stuffed French Toast.  And I hope you will try my Gluten Free Millet Bread, you will love the soft, mildly sweet texture of this loaf for French Toast and sandwiches!

Print This Post Print This Post


Gluten Free Herb Focaccia

Focaccia Bread Art is something I have always wanted to try.  Encouraged by my recent success making a Caramelized Onion Focaccia, I decided to give it a go while I still have fresh herbs from my garden.  Here is my little masterpiece, a very simple first effort that I will definitely do more of!

I used chives for the stems, rosemary and oregano for the leaves, parsley and shallots for the flowers.  There is a bit of fresh thyme sprinkled throughout.  I wondered how the fresh herbs would taste in the finished product and they were delicious!

This post contains affiliate links.

INGREDIENTS:

PREPARATION:

Combine water and yeast in the bowl of your stand mixer and give it about 10 minutes to activate.  Whisk together the flour and salt and add to the yeast mixture along with 2 tbsp. olive oil.  Mix with the paddle attachment for 8 minutes.  Transfer the dough to a greased bowl and refrigerate for one hour.

Cut parchment paper to fit a quarter sheet pan and mist with cooking spray.  Place chilled dough in the center of the parchment.

Roll the dough into a rectangle, slide it onto the sheet pan and cover with oiled plastic wrap.  Let it rest at room temperature for 30 minutes.

Place a pizza stone in the oven and preheat to 425º.

Create dimples in the dough by pushing down with your fingertips.  Brush the top with olive oil and sprinkle with Italian Seasoning.  Here’s what I used.

Arrange the fresh herbs on your dough and brush them lightly with olive oil so they don’t burn.

Place the sheet pan in the oven on top of the baking stone.  Bake for 25 minutes total.  During the last 10 minutes carefully slide the pizza out of the pan, remove the parchment and finish baking directly on the pizza stone.

So pretty, I hated to cut it (at least not until I took pictures ????).  Use a pizza wheel to cut into squares.

Here’s the crumb shot!

Notes ♪♫ If you follow me, you know that I am a HUGE fan of Better Batter gluten free flour.  I used their Artisan Flour Blend in this recipe, it is a little miracle in a bag that I recommend for pizza and yeasted bread recipes.  Try it, you will not be disappointed (be sure to use my code MGFC30 at checkout for 30% off your non-sale purchase)!

Print This Post Print This Post

Gluten Free Caramelized Onion Focaccia

It seems like a lifetime ago.  In fact, it was over 20 years ago that I was a card-carrying member of the Cooking Club of America (anyone else?).  I had all the gadgets, the refrigerator magnets, and of course the magazine Cooking Pleasures.  I started making this focaccia bread, which appeared in the February-March 2000 issue for family get-togethers, and it quickly became my go-to for everything from dinners to parties to potlucks at the office.  Everyone loved it!

Today the club and the magazine are sadly, no more.  The recipe, long ago crumpled into a folder had been abandoned since my Celiac diagnosis.

Something made me think of it the other day, maybe the upcoming holidays or just reminiscing about things I used to bake.  So, I decided to dig out the recipe and try adapting it to be gluten free.  How did it come out?  Take a look!

Inspired by Cooking Pleasures Magazine, February-March 2000 issue

Note ♫ I used, and highly recommend Better Batter Artisan Flour Blend for this recipe.  This is my favorite gluten free flour blend for making breads and pizza, try it and I promise you will not be disappointed!

***** CLICK HERE — Be sure to use my code MGFC30 at checkout for 30% off your non-sale purchase of Better Batter *****

This post contains affiliate links.

Ingredients:

Preparation:

Combine water and yeast in the bowl of your stand mixer and give it about 10 minutes to activate.  Whisk together the flour and salt and add to the yeast mixture along with 2 tbsp. olive oil.  Mix with the paddle attachment for 8 minutes.

Transfer the dough to a greased bowl and refrigerate for one hour.

While the dough rests, make the caramelized onions.  Use a heavy skillet, covered braising pan or Dutch oven.  Over medium heat, add 2 tbsp. butter, 1 tbsp. olive oil and all of the onions.  As the butter melts, stir to coat the onions.  Cover and cook over medium low for 20 to 25 minutes or until the onions are translucent.  Then uncover, continue cooking over medium-low heat for 30 to 40 minutes or until onions are golden brown, stirring frequently.  Set aside to cool.

Place a pizza stone in the oven and preheat to 425º.  Cut a piece of parchment to fit a perforated 16″ pizza pan.

Hint: Trace your pan onto the parchment paper and cut for the perfect fit.

Mist the parchment with cooking spray and roll the dough into a round.  Slide it onto the pizza pan, cover with oiled plastic wrap and let it rest at room temperature for 30 minutes.

Create dimples by pushing down the dough with your fingertips.  Spread the caramelized onions evenly over the dough and brush the edges with olive oil.

Place the pizza pan in the oven on top of the baking stone.  Bake for 25 minutes total.  During the last 10 minutes carefully slide the pizza out of the pan, remove the parchment and finish baking directly on the pizza stone.

This is it, the minute you cut into the focaccia and hear that crunch!  Cut into wedges and serve.

Notes ♪♫ Caramelizing the onions is time consuming, but so worth it.  Take your time, and don’t rush the process.  Use a good heavy pan and stir, stir, stir- don’t walk away!  You will be rewarded with the most delicious decadent topping for this amazing focaccia.

Print This Post Print This Post

Gluten Free Oatmeal Bread

A word of Caution- This recipe contains oats.

A recent statement from Gluten Free Watchdog states that they cannot currently recommend ANY brand of gluten free oats.

Whether or not you continue to consume oats is a personal choice.  As we await more information, I will preface any recipes that include oats with a link to this important statement from Gluten Free Watchdog, an independent, subscriber-driven gluten-testing organization.  About | Gluten Free Watchdog

***

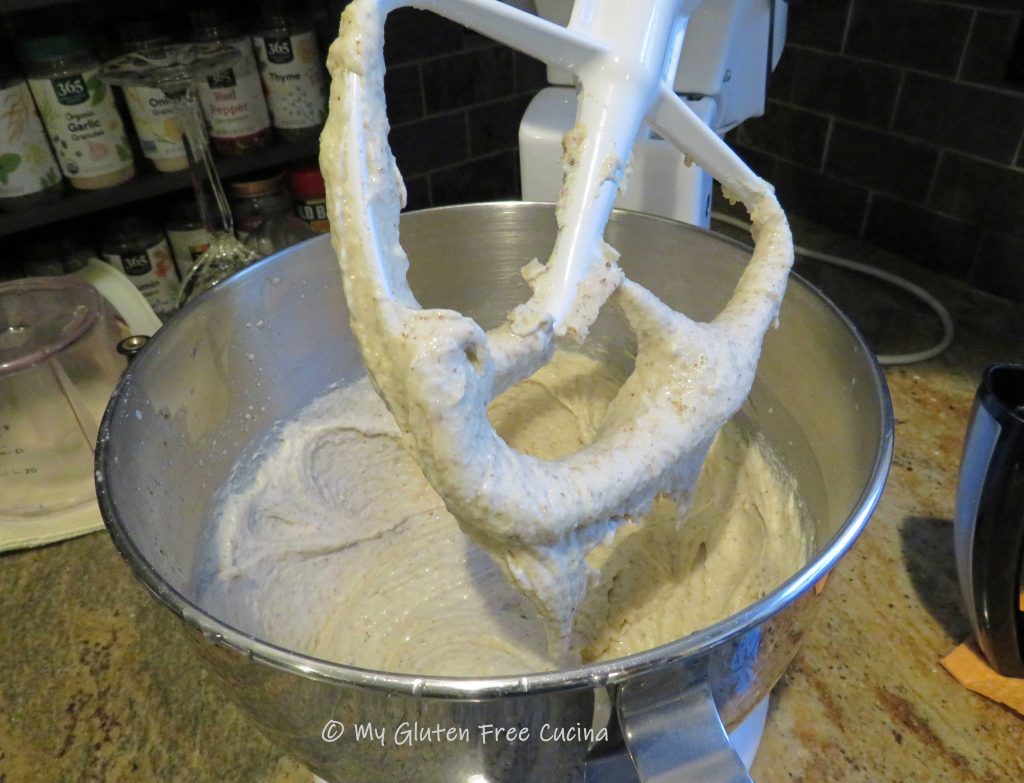
This bread needs to be in your breakfast rotation!  It is a hearty, dense loaf that toasts up like a dream.  I always have gluten free old fashioned rolled oats (not instant) in my pantry, so when I need oat flour, I can just process a little in my coffee grinder and voila, fresh flour!  This bread is so good, everyone in your family will love it, gluten free or not.

This post contains affiliate links.

The Lazy Gastronome

Ingredients:

Preparation:

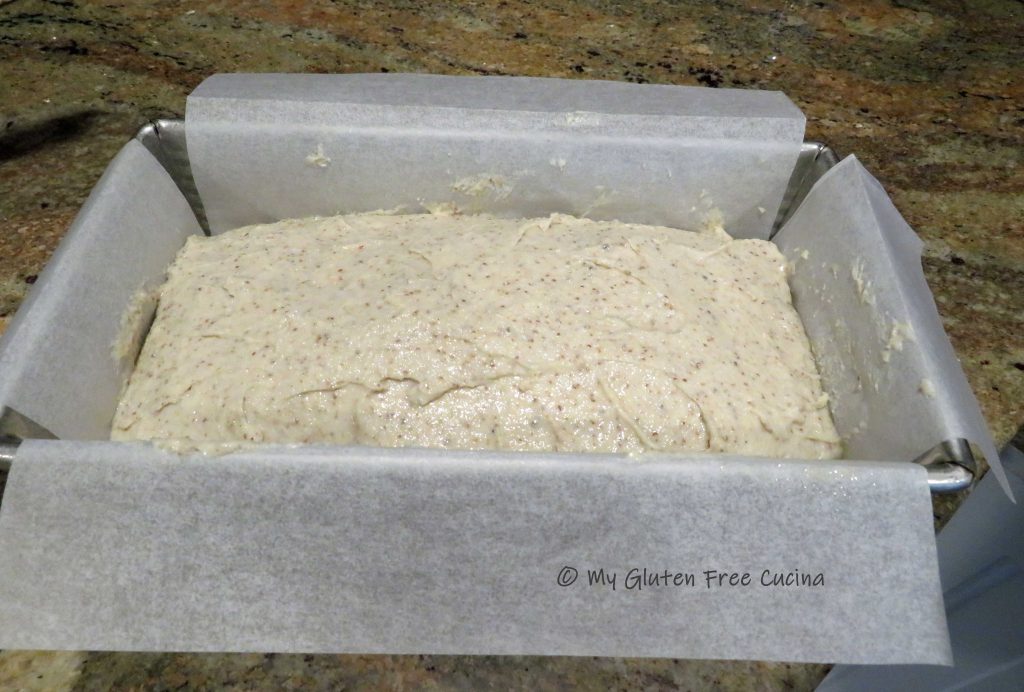
Place a pizza stone on the middle shelf of the oven and preheat to 450º.  Line a 9 x 4 x 4″ loaf pan with parchment and mist with cooking spray.

Warm the milk for 30-45 seconds in the microwave.  Add to the bowl of your stand mixer then whisk in the honey and yeast.  Cover and let it proof for 10 minutes.

Whisk in the vinegar and psyllium husk and let the mixture rest for about 5 minutes to thicken.

Whisk together the dry ingredients (sorghum flour through salt).

Add the dry ingredients to the wet and mix with the paddle attachment for 8 minutes to form a thick batter.

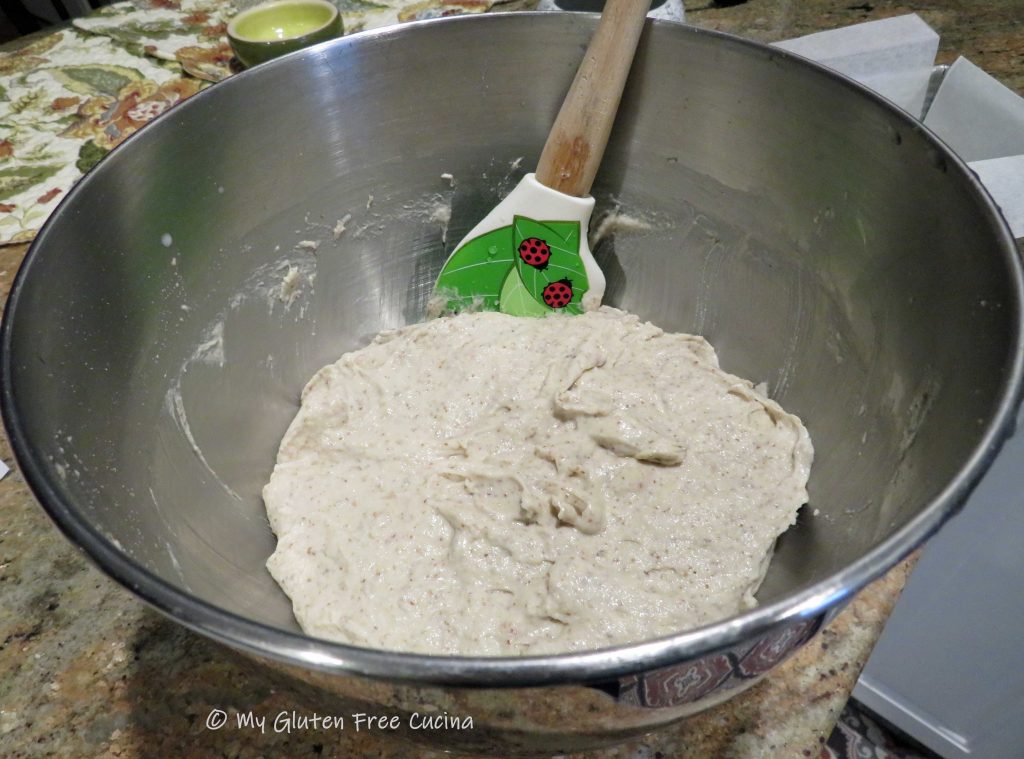
Turn the batter out onto a lightly floured cutting board.  It will look like this and have a mashed potato consistency.  Sprinkle a tiny bit of flour over the top and cover with plastic wrap for 5 minutes.

After 5 minutes, the dough will be much more workable so you can roll and shape it into a loaf.  Do not add more flour!  I used a dough scraper to help with handling and shaping.

Hint: Resist the urge to add more flour during shaping, or you may end up with the dreaded tunneling effect!  This happened to me a few times ????

Carefully place the shaped loaf into the prepared pan, cover with plastic wrap and proof for about 30 minutes.

Remove the plastic wrap and mist the top of the bread with water.  Sprinkle rolled oats over the top and mist with water again to help them adhere.

Place in the oven on the preheated pizza stone and bake for 30 minutes.

After 30 minutes, carefully grasp the parchment paper on either side and lift the loaf out of the pan.  Place it directly on the pizza stone, lower the oven temperature to 400º and continue baking for another 30 minutes.  When done, the internal temperature should be 210º.

Remove from the oven and cool in the pan for 5 minutes before placing the loaf on a cooling rack.  Let it cool down for 10 minutes then gently peel off the parchment paper.

This bread needs plenty of time to set, at least 5-6 hours!  Even better, leave it covered at room temperature overnight and slice in the morning.  Resist the urge to cut into it right away, or the bread will be wet and gummy in the center.

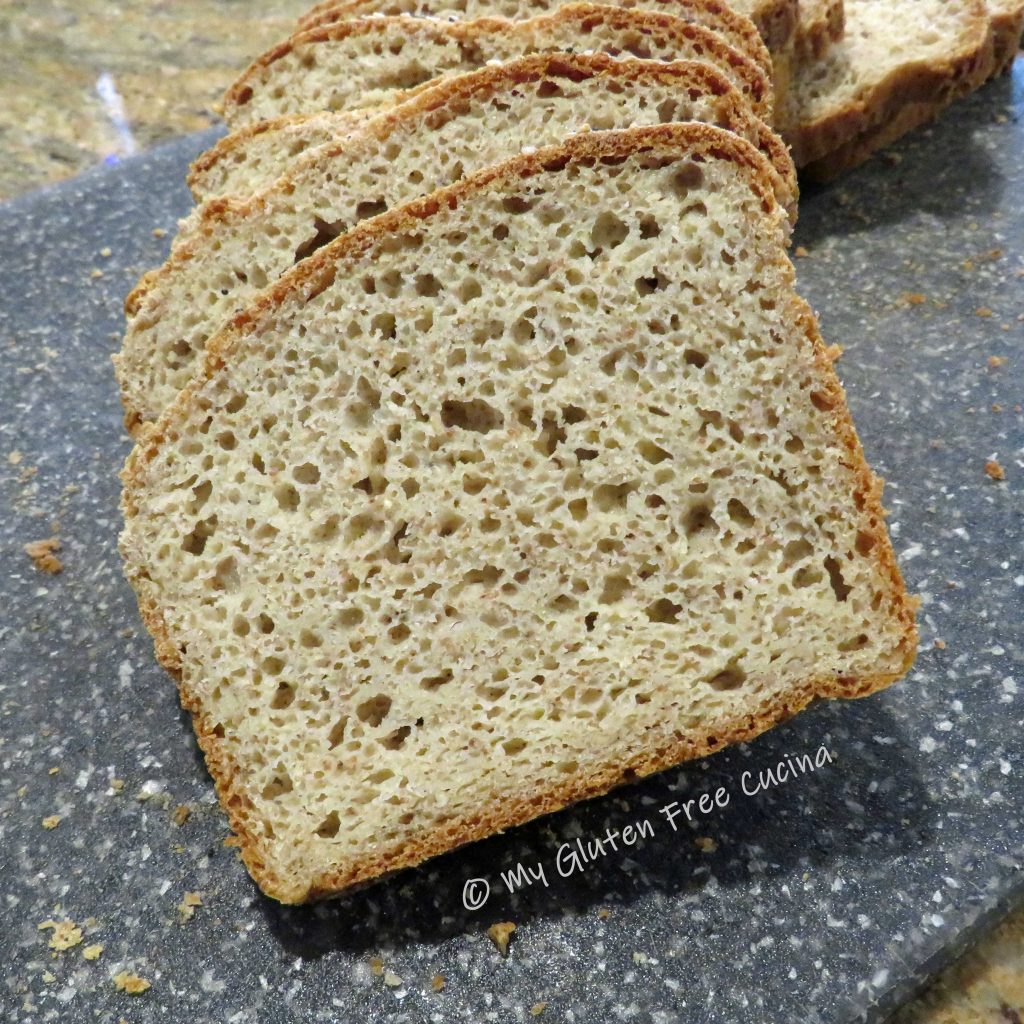
Your patience will be rewarded.  Here’s the crumb shot!

Notes ♪♫ I am one of those people with Celiac who is able to tolerate oats.  I realize that not everyone can and that this bread may just not be for you.  If you do consume oats, always be sure to choose brands such as Bakery on Main or Gluten-Free Prairie, produced under a gluten free purity protocol.

Print This Post Print This Post


Gluten Free Tiramisu Stuffed French Toast

Dessert for breakfast!  Take ordinary French Toast to the next level with a vanilla cream cheese stuffing that has hints of rum, espresso and chocolate.  This stunner of a recipe will be a special treat for you and the one you love. It’s easy to prepare, but for extra convenience the filling can be made the night before. 

Inspired by ©MARILYN’S TREATS Tiramisu French Toast

A recipe within a recipe, I started with a loaf of my homemade Gluten Free Millet BreadGet the recipe here.  It’s a soft, enriched gluten free bread with just a hint of sweetness, I always keep some on hand in the freezer for making French Toast!

From there, it’s an easy pan cooked French toast recipe, with a big finish of WOW from the cream cheese filling, that is positively divine!

This post contains affiliate links.

Breakfast for two

Ingredients:

—————————

  • 4 tbsp. cream cheese, softened
  • 4 tbsp. vanilla Greek yogurt
  • 2 tsp. sugar (or stevia)
  • 1 tsp. rum (or 1/2 tsp. rum extract)
  • 1 tsp. vanilla extract

—————————

Preparation:

Whisk together the stuffing ingredients (softened cream cheese through vanilla extract) until smooth and lump free.  You can prepare this the day before and refrigerate until ready to serve.

Whisk together the eggs, milk, espresso powder and sugar.  Dip the bread (one slice at a time) into the egg wash.

Melt butter in a large, nonstick skillet and cook the bread slices until browned on both sides.

Layer the filling between 2 slices of French Toast.

Slice diagonally and stack pieces one over the other.  Combine powdered sugar and cocoa powder and sift over the top.

Drizzle with real maple syrup.

What do you think friends, does this plate say love???  Perfect for brunches, Valentine’s Day or just an amazing breakfast for your someone special

Notes ♪♫ Originally titled Tiramisu French Toast, this recipe was adapted from the blog of Marilyn Lesniak a/k/a ©MARILYN’S TREATS.  Marilyn’s blog is no longer active, but over the years she has inspired many a cook with her creativity in the kitchen.  I hope my readers will enjoy this gluten free adaptation of her recipe.  Marilyn, thank you for the inspiration!

Print This Post Print This Post

Cassava English Muffins

Cassava is a gluten and grain free flour made from the root of the yucca plant.  A while back I made a Sweet Potato Flat Bread using cassava flour.  It was delicious, and ever since that post the thought of experimenting more with cassava has been on the back burner.

This post contains affiliate links.

So now that the holidays are behind us and I’m getting back into my normal baking routine, I want to tell you all about this new recipe.  A light, crispy English Muffin made with cassava flour and arrowroot starch.

There is so much to like about this recipe.  First, look at the ingredient list.  Unlike most of my gluten free breads, this one does not have a mile long list of ingredients!  You will also notice that I stirred everything together with a dough whisk, no mixer needed.  Last and most important, they look and taste great!

Note that you will need a set of muffin rings for this recipe.  The batter is too thin to hold its shape without them.

4 Servings

Ingredients:

Preparation:

Preheat the oven to 350º.  Line a baking sheet with parchment paper, spray the inside of 4 muffin rings with cooking spray and arrange on the baking sheet at least 1″ apart.  Sprinkle 1/4 tsp. of cornmeal into each ring.

Whisk together the dry ingredients.  In a separate bowl, whisk the eggs, milk and melted butter (be sure the butter has cooled first, you don’t want it to cook the egg).

Use a dough whisk to stir the dry ingredients into the wet.  You should have a smooth, thin batter that can be poured, like pancake batter.

Spoon the batter into the muffin rings.

Take a closer look.  The batter is thin enough to pour but not so liquid as to leak through the bottom of the muffin rings.  Sprinkle the remaining corn meal over the top of each muffin and bake for 8 minutes.

The muffins will be set, but not fully cooked.

Use tongs to carefully remove the muffin rings.

Use tongs or a spatula to gently turn the muffins over and bake for another 6 minutes.

Remove from the oven and turn them right side up.  Cool in the pan for five minutes.

Like all gluten free bread, it needs to set completely before slicing.  Cool on a rack for at least an hour.

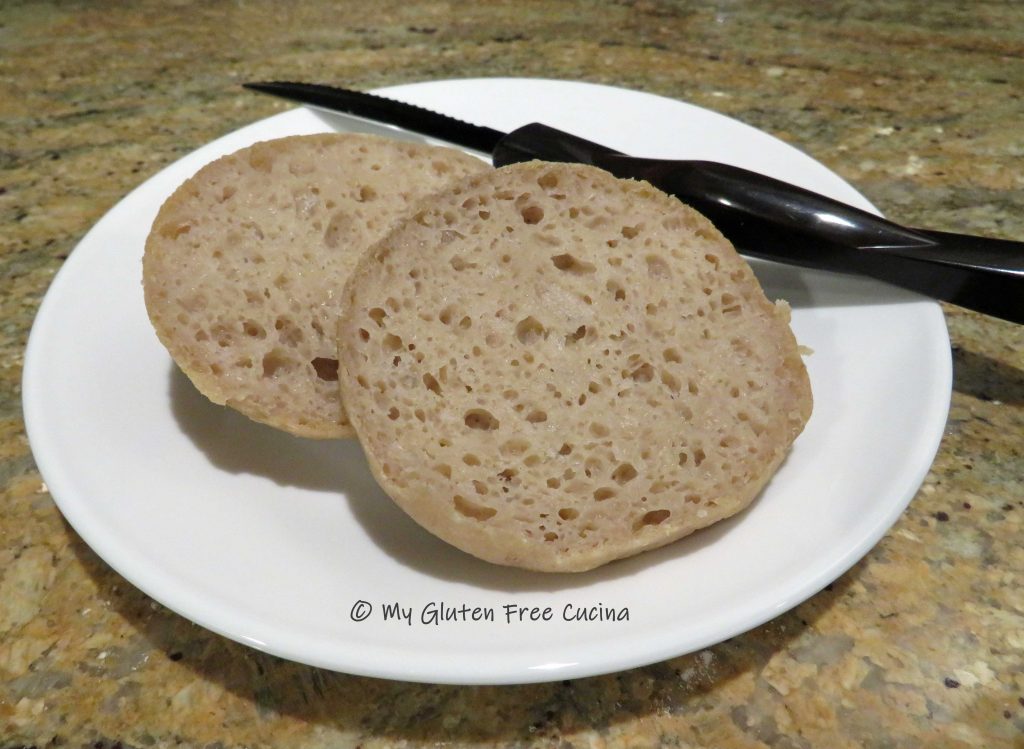
I was very happy with the appearance of the English Muffins right out of the oven.  Of course, it’s not a success until you slice it open and taste it.  Here’s how they looked before toasting, light with a nice open crumb.

Now for the taste test, I toasted for 5 minutes and served with a simple pat of butter.

The verdict, I’m quite pleased with how this recipe turned out!  The English muffins were mild tasting and light.  As you can see they toasted up beautifully with edges nicely browned.  I also got a thumbs up from my husband, who does not have to be gluten free.

I recommend that the English Muffins be frozen if you are not going to eat them within a day.  Just wrap them individually in plastic wrap and place in a freezer safe bag.

Notes ♪♫ Cassava flour has been touted to behave like wheat flour in gluten free baking, a one for one substitution.  In my experience thus far, it can definitely cut down on the ingredient list, but still performs best when blended with another starch.

Print This Post Print This Post 

Gluten Free Blueberry French Toast Casserole

French Toast Casserole is my favorite thing to make for brunch.  I have been making some version of this dish for years, even before my Celiac diagnosis.  This Easter, I decided to change it up with a blueberry cream cheese filling and it was so delicious!  Just prep the night before and bake in the morning, a real time saver when you are having company!

This post contains affiliate links.

At the heart of the recipe are those sweet, enriched bread cubes, but don’t use any old gluten free bread.  Ingredients matter, and that cardboard loaf you got at the supermarket is not going to do this casserole justice!

A recipe within a recipe…

The secret to this dish is my Gluten Free Millet Bread.  I make this bread specifically for French toast and it is amazing!  Bake it two days before, and you will have more than enough for this French Toast Casserole.

If you are going to buy the bread, choose a good quality gluten free enriched loaf, like a brioche or challah.  But I do hope you will give this Millet Bread a try, I promise you will not be disappointed!

Ingredients:

  • 9 slices gluten free millet bread, cut into cubes
  • 8 oz. cream cheese, softened
  • 4 oz. vanilla Greek yogurt
  • 1 cup fresh blueberries, divided use
  • 9 large eggs
  • 1-1/2 cups 1% milk
  • 3/4 tsp. vanilla extract
  • 1/4 cup real maple syrup
  • pinch of nutmeg and cardamom
  • powdered sugar, for dusting

Preparation:

Two days before, bake the Millet Bread.  Cool completely on a rack, and store it at room temperature for 24 hours in a plastic bag.

The night before, coat a 2 quart square glass baking dish with cooking spray.  Spread half of the bread cubes in an even layer.

Mash the softened cream cheese and vanilla yogurt together with a fork until well blended.

Distribute the cream cheese mixture evenly over the bread cubes, like this.

Top with 3/4 cup of the blueberries.

Finish with the remaining bread cubes.  Whisk together the eggs, milk, vanilla extract, maple syrup, nutmeg and cardamom.  Pour the egg mixture over the casserole and press down with a spatula to be sure all of the bread cubes are moistened.

Cover tightly with foil, be sure to mist the foil with cooking spray so it doesn’t stick.  Refrigerate overnight.

In the morning, take the casserole out of the refrigerator at least 1/2 hour before baking (so the dish doesn’t shatter in the oven).  Preheat the oven to 350º.

Bake for 30 minutes covered, then carefully use tongs to remove the foil and continue baking for an additional 30-45 minutes, or until a toothpick inserted in the center comes out clean.

Remove from the oven and keep warm until ready to serve.  Top with 1/4 cup fresh blueberries and dust liberally with powdered sugar.

This beautiful casserole is dense and filling.  And with that sweet blueberry cream cheese filling, it’s almost like eating dessert!

I served it with maple syrup, but honestly it doesn’t need anything additional.  We had a little left over, and it was just as good the next day!

Notes ♪♫  Would you be surprised to know that the inspiration for this dish came from Allrecipes? And the original casserole was not gluten free?  In  many cases, changing one or two ingredients is all you need to convert a recipe to gluten free.  So don’t hesitate to check out traditional recipes and make substitutions.  Always check labels for gluten containing ingredients.  In this recipe, pay particular attention to the cream cheese, yogurt and powdered sugar as some may contain gluten while others do not.

Print This Post Print This Post

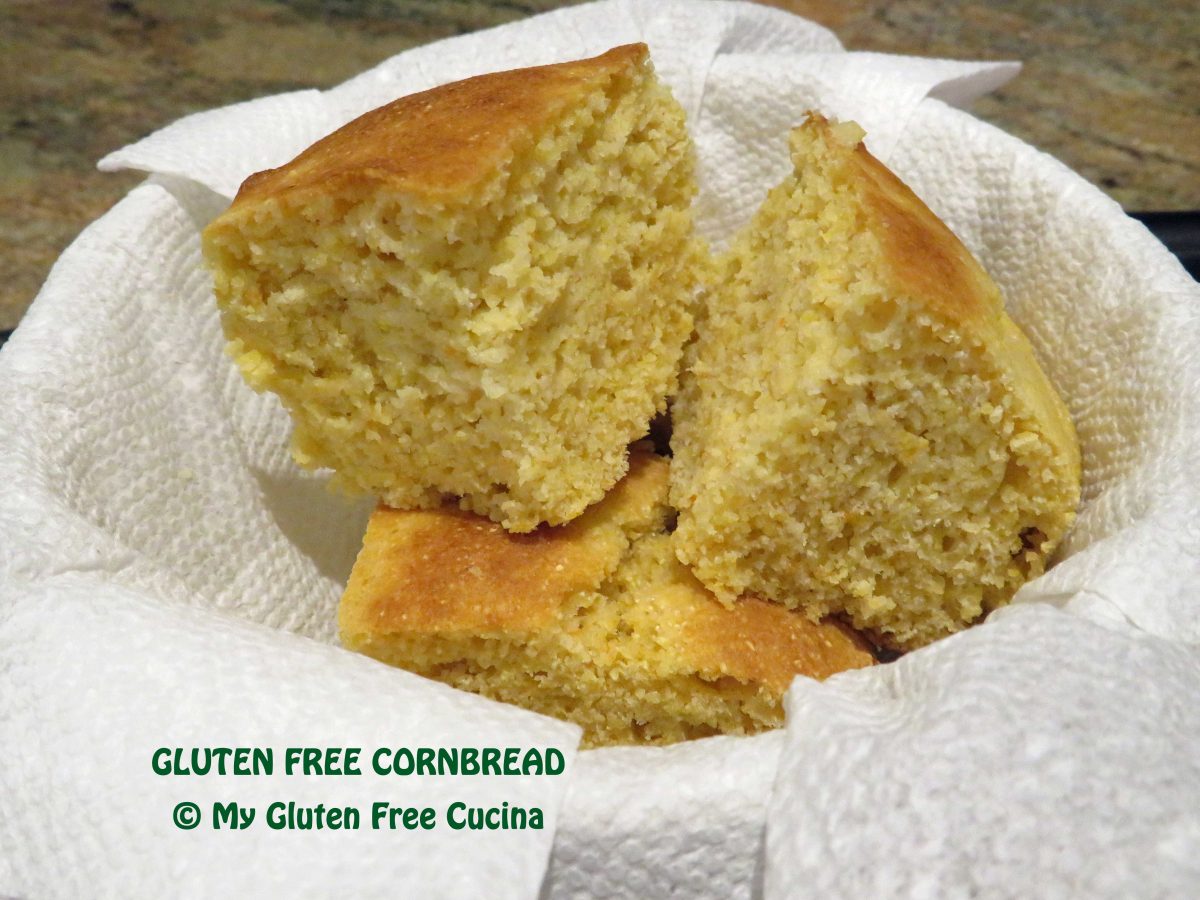
Gluten Free Pumpkin Corn Bread

Traditional corn bread gets all dressed up for autumn with the addition of pumpkin and spice.  Wouldn’t this Gluten Free Pumpkin Corn Bread be a wonderful addition to your Thanksgiving breadbasket?  Not only have I made it gluten free, but it is also lower in fat, sugar and sodium so that most folks will be able to enjoy a small, diet friendly square with their meal.

16 Servings

This post contains affiliate links.

Ingredients:

Preparation:

Whisk together the dry ingredients, flour through ginger.  In a separate bowl, whisk together the wet ingredients, egg through sour cream.  Combine the wet and dry ingredients, stirring together just until moistened.

Line an 8″ x 8″ baking dish with parchment and scrape the batter into the pan, smoothing it with a spatula.  Bake for 30 minutes at 350º.

Lift the bread out of the pan and carefully remove the parchment.  Let it cool slightly before slicing.

Cut into 16 squares and serve warm or at room temperature.  Store at room temperature for up to 2 days (it won’t last that long!).

Notes ♪ I use a coffee grinder to grind flax and chia seeds into a meal for baking.  Typically, 1 tbsp. of seed does not equal 1 tbsp. of meal.  For recipes, measure 1 tbsp. of meal after grinding.

Notes ♫ Did you know that both baking powder and baking soda contain sodium?  I reduced the sodium in this recipe by using a lower sodium baking powder.  I have been using it with great success in my bread recipes.  Check it out!

Notes ♪♫ Nutritional values are approximate and based on 16 servings.  May vary depending on ingredient brands used or changes to serving size.

Print This Post Print This Post

Sweet Potato Flatbread

This delicious flatbread recipe features sweet potato and cassava flour.  A must have in your gluten free pantry, cassava flour is made from the root of the yuca plant.  The entire root is grated, dried, and ground into a mild tasting flour that is both gluten free and Paleo friendly.

This gluten free, grain free flat bread was a nice change from my usual potato side, really different from anything I have ever made.  To achieve the same results, I recommend weighing your ingredients.

6 Servings

This post contains affiliate links.

Ingredients:

  • 1 large sweet potato, about 12 oz.
  • 1/2 cup cassava flour, about 2.2 oz. plus more for dusting
  • 1/4 tsp. salt
  • 1/2 tsp. gluten free Italian seasoning
  • 2 tbsp. olive oil
  • 3/4 cup grated cheese such as parmesan, gruyere etc.

Preparation:

Peel the sweet potato and cut into chunks.  I used 1 sweet potato for this recipe.  After peeling, it weighed 10 oz.

Steam the potato until very soft, 25-30 minutes.  Remove the potato and add to the bowl of a stand mixer.

Beat with the paddle attachment until smooth.  Whisk together ½ cup of cassava flour with salt and Italian seasoning.  Add to the bowl and mix until a soft dough forms.  The dough will be heavy and clinging to the paddle, like this.

Transfer the dough to a sheet of parchment paper.  I used a pie dough roller and floured fingers to gently roll and press the dough into a 1/4″ thick round.  Use a spatula to neaten the edges.

Slide the parchment onto a pizza stone.  Brush with olive oil, sprinkle with more seasoning and the grated cheese.  I used Parmesan and it browned up nicely, but Romano, Gruyere or even cheddar would be fine.  Use your favorite, or whatever you have on hand.  Bake at 375◦ for 25 minutes, then broil on high for 5 minutes.  The cheese should be melted and starting to brown, the edges crispy.  Watch that it doesn’t burn!

Use a large spatula to slide the flatbread off the parchment onto a cutting board.  Slice into wedges and serve.  You should hear a nice crunch when you cut into it.  Once the flatbread begins to cool it will soften up, so it is best eaten immediately.  Leftovers can be reheated on a pizza stone.

The verdict, everyone loved it!  Potato lovers, change up your menu with this easy, gluten free side.  Everyone will want a slice, so be ready to share!

Notes ♪♫ Cassava flour is quickly gaining popularity in gluten free baking.  If you can’t find it at your supermarket it is widely available online from sites like Amazon.

Print This Post Print This Post