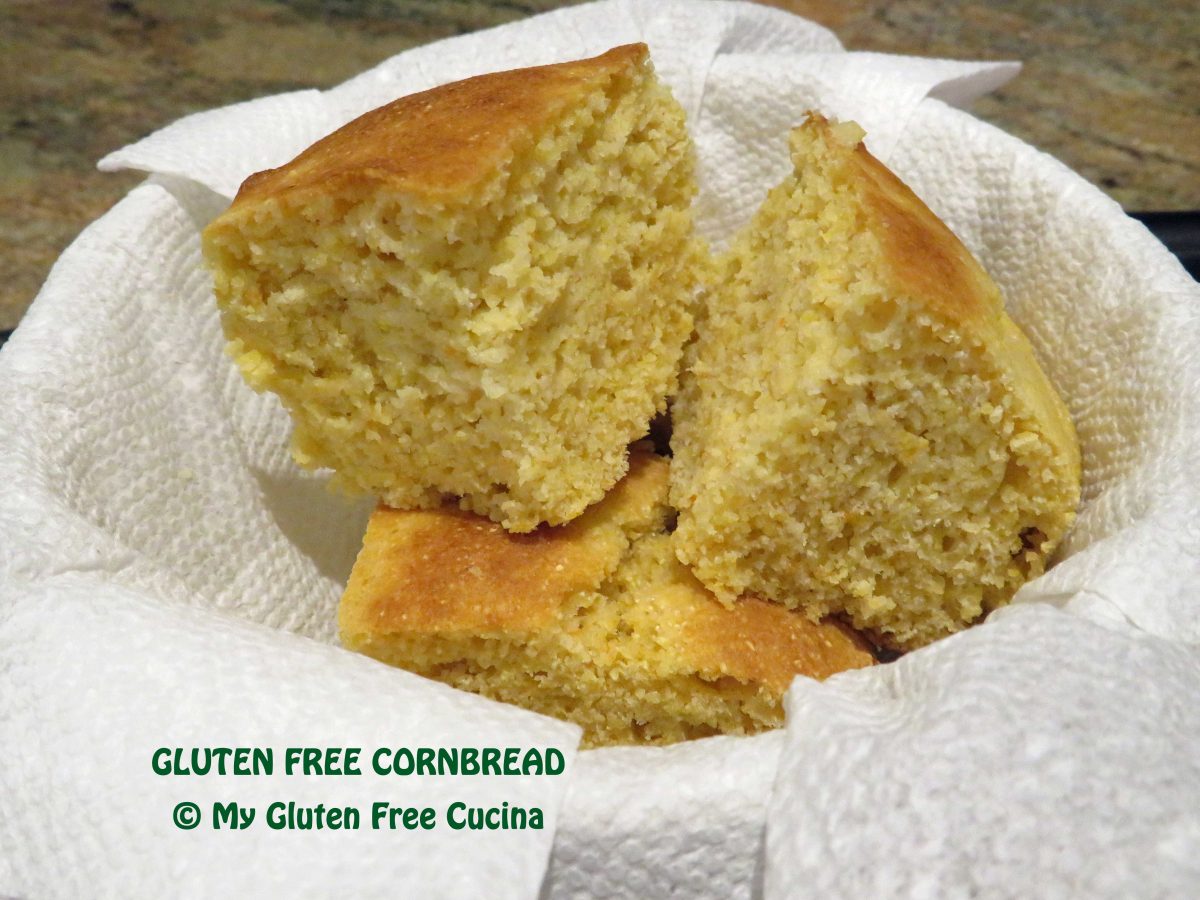
Every gluten free cook needs a good, basic cornbread recipe. Cornbread is the perfect accompaniment to winter soups, stews or your favorite barbecue dinner. Once you master this easy recipe, you can jazz it up with cranberries, dried fruits, herbs or whatever you please. With the holidays just around the corner, I’m dreaming of a yummy Gluten Free Cornbread Stuffing!
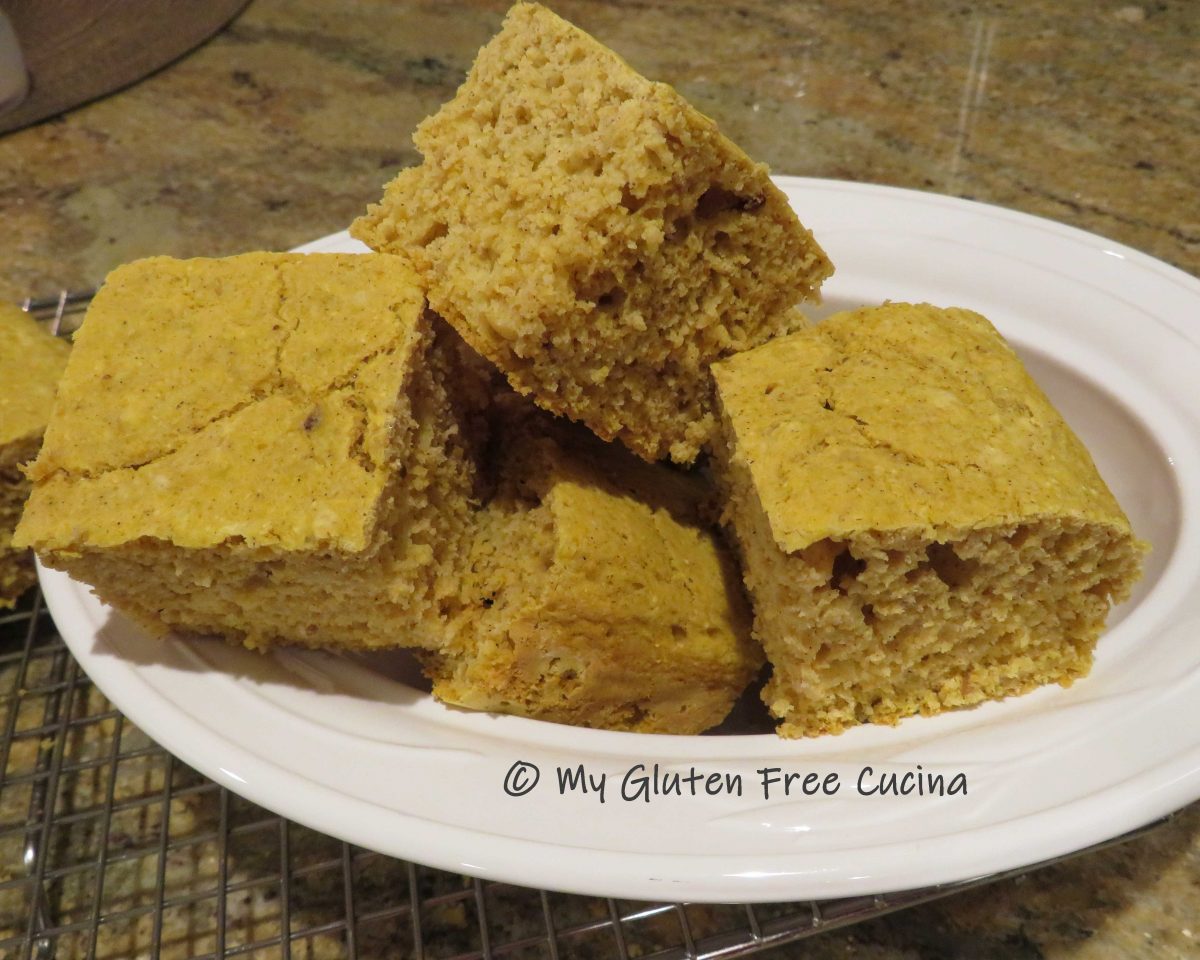
Friends, this tastes just like traditional cornbread, no one will ever guess that it’s gluten free!
This post contains affiliate links.
Ingredients:
- 2.75 oz. brown rice flour
- 2 oz. potato starch
- .8 oz. tapioca starch
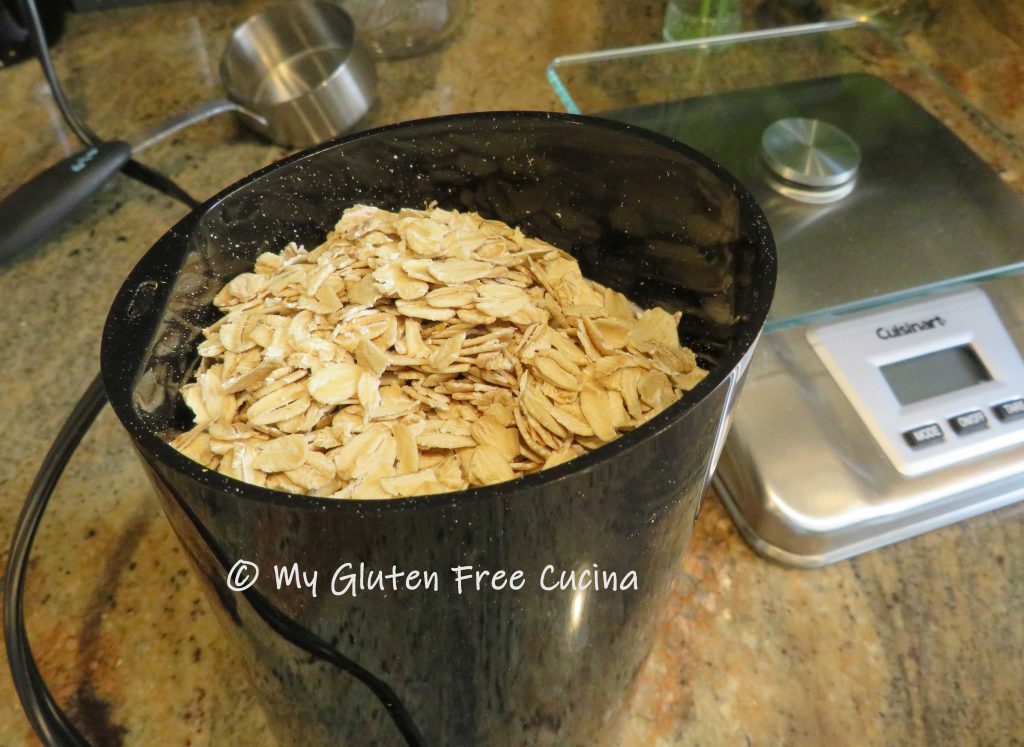
- 4.5 oz. gluten free corn meal
- 1 tbsp. baking powder
- 1/2 tsp. salt
- 1/2 tsp. baking soda
- 1/2 tsp. xanthan gum
- 1 egg
- 1/4 cup sugar
- 1 cup 1% milk
- 1 tsp. cider vinegar
- cooking spray

Preparation:
Preheat the oven to 425º.
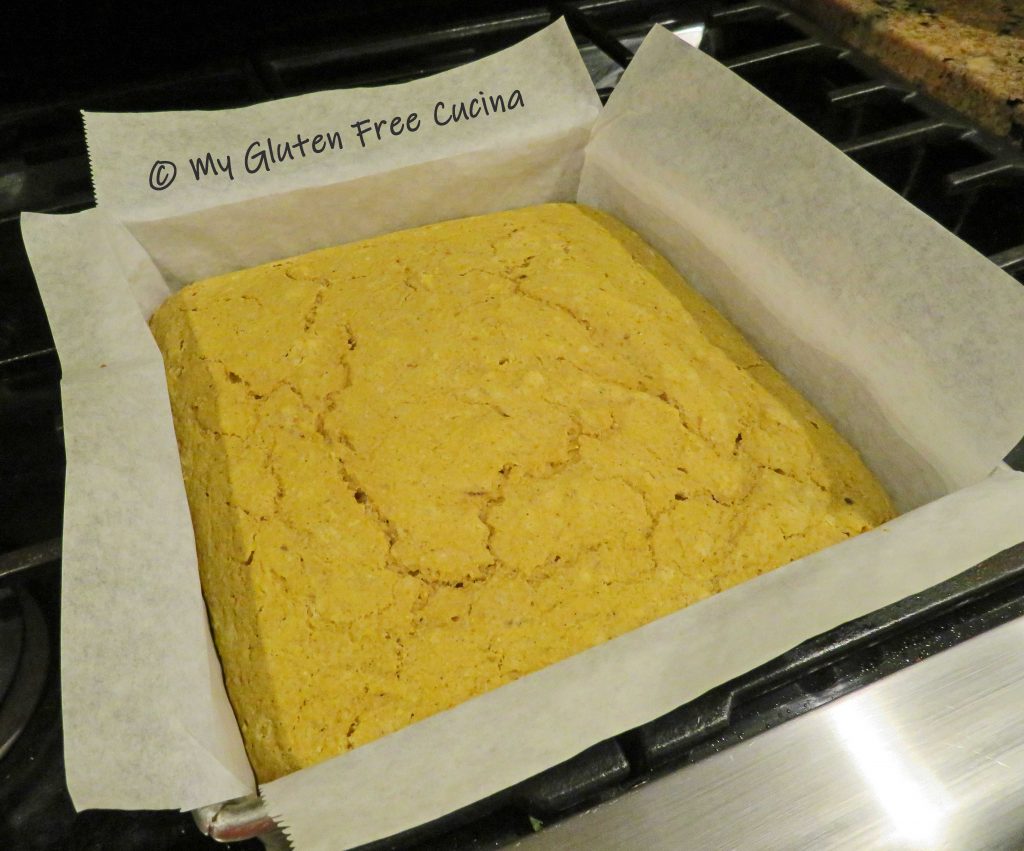
Begin by lining a square baking dish with parchment paper, and mist with cooking spray. Whisk together the dry ingredients, through xanthan gum. In a separate bowl, whisk together the egg, sugar, milk and cider vinegar.

Combine the wet and dry ingredients and stir together until completely moistened. Let the batter stand for a few minutes, then scrape it into the prepared pan.

Place the pan on a baking sheet (this helps keep the bottom from burning) and bake for 15-18 minutes, until a toothpick inserted in the center comes out dry. The top should be nicely browned, and the cornbread will be pulling away from the sides of the pan.

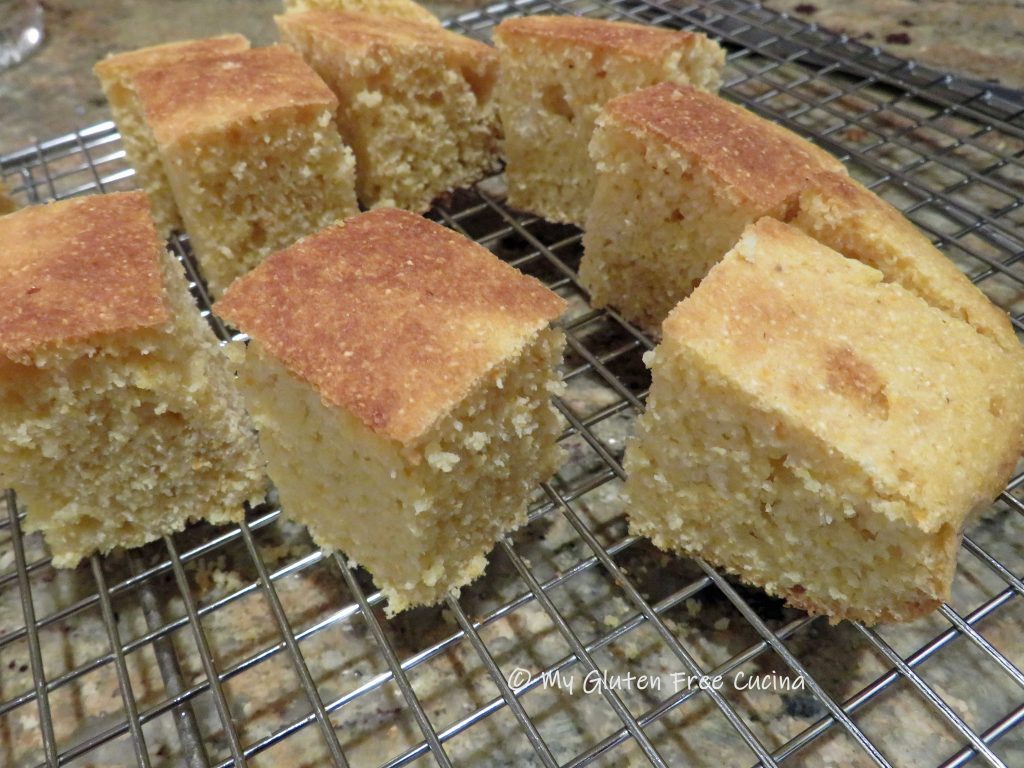
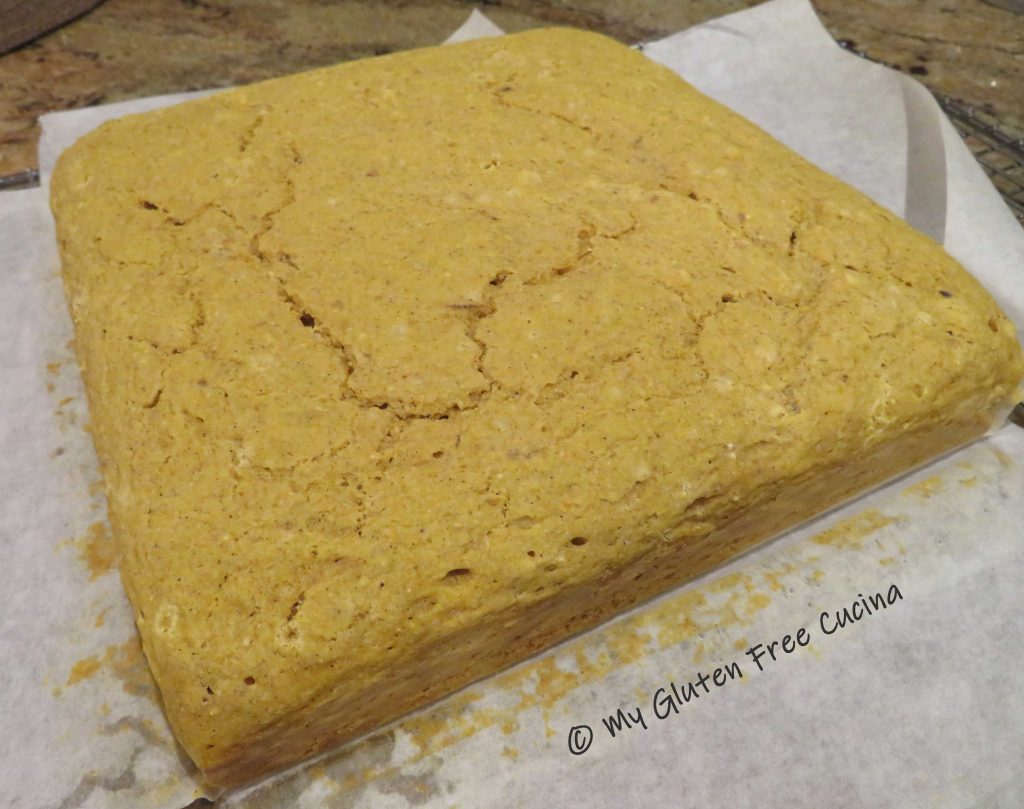
Cool in the pan for 3 minutes, then grab a corner of the parchment paper and slide the cornbread onto a cooling rack. Wait a few more minutes then remove the parchment.

Slice and serve warm or at room temperature.

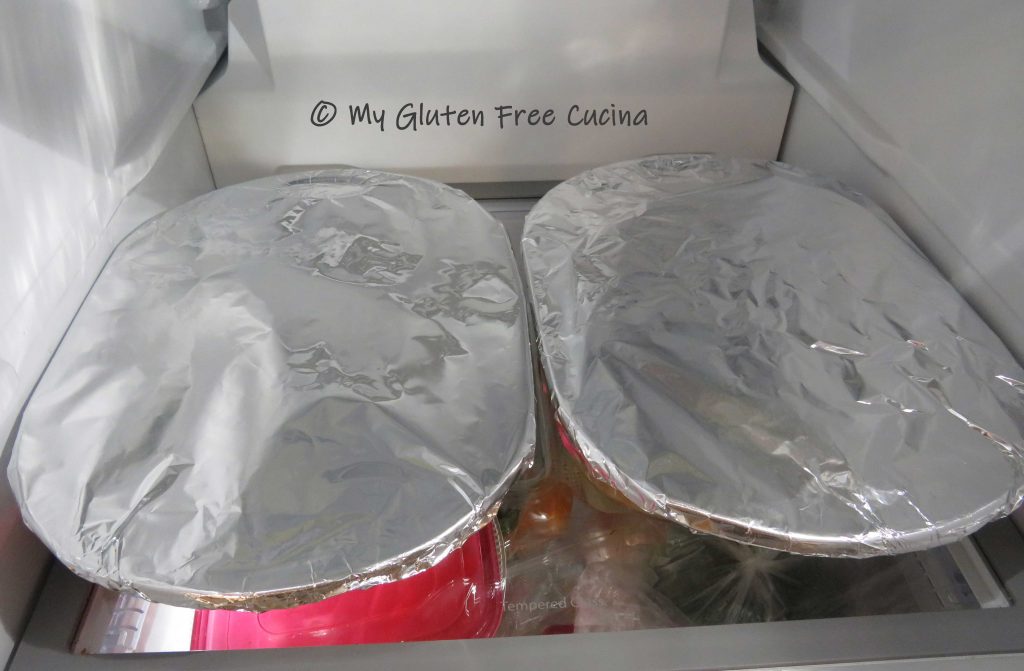
This cornbread freezes well and can be made ahead of time for your holiday breadbasket or cornbread stuffing cubes. To freeze, cover tightly with plastic wrap then wrap again in foil. Place it in a freezer safe bag.
Notes: ♪♫ Although corn itself does not contain gluten; some brands of cornmeal may contain trace amounts if they are produced on shared equipment. To avoid cross contact, be sure to look for cornmeal that is labeled gluten free.
Originally posted 11/03/2018 Updated 11/18/2022


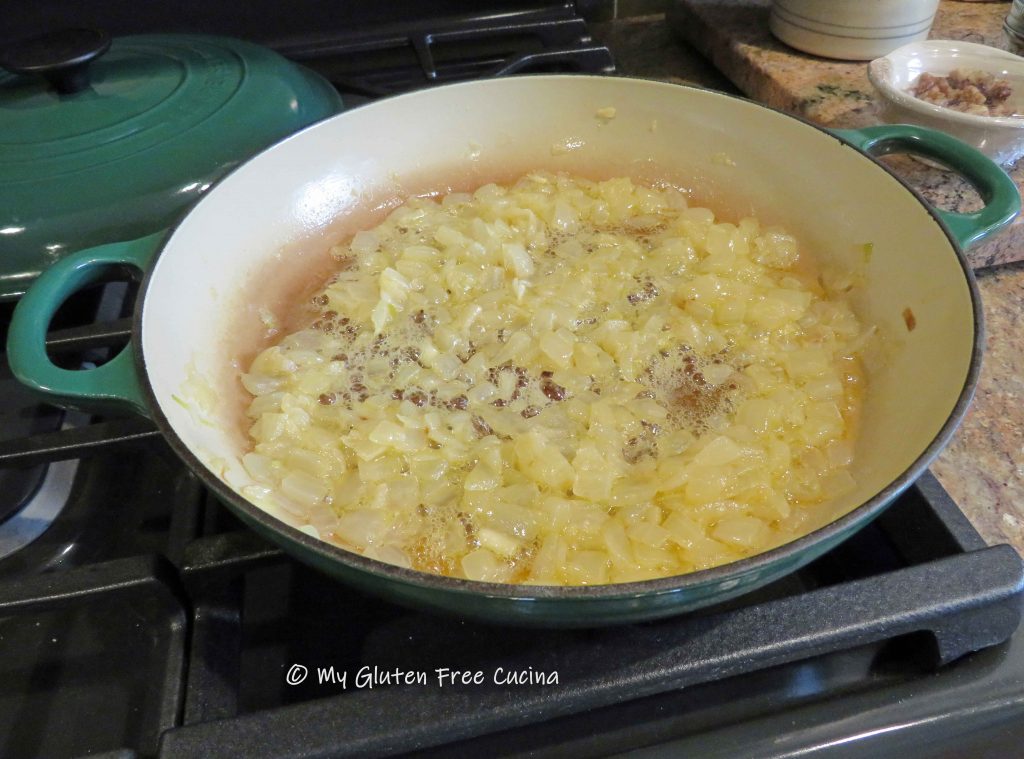 Cook the mushroom slices in 1 tbsp. butter and 1 tbsp. olive oil.
 Drain the mushrooms and onions to remove as much liquid as possible.
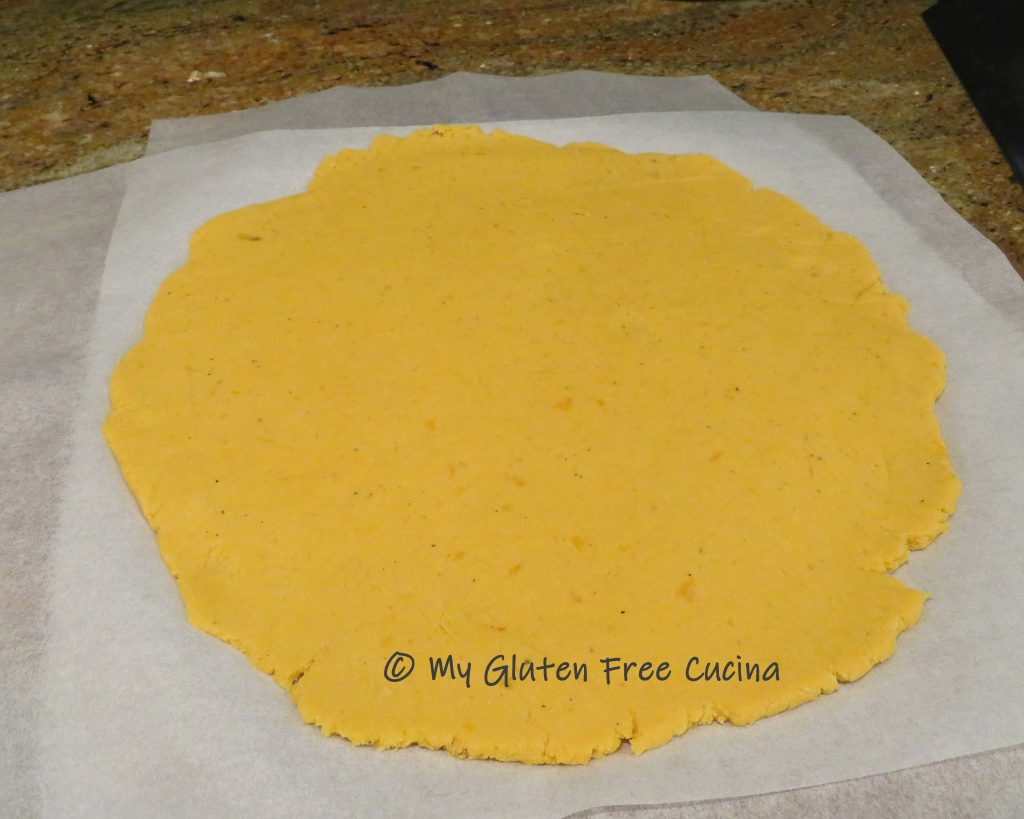
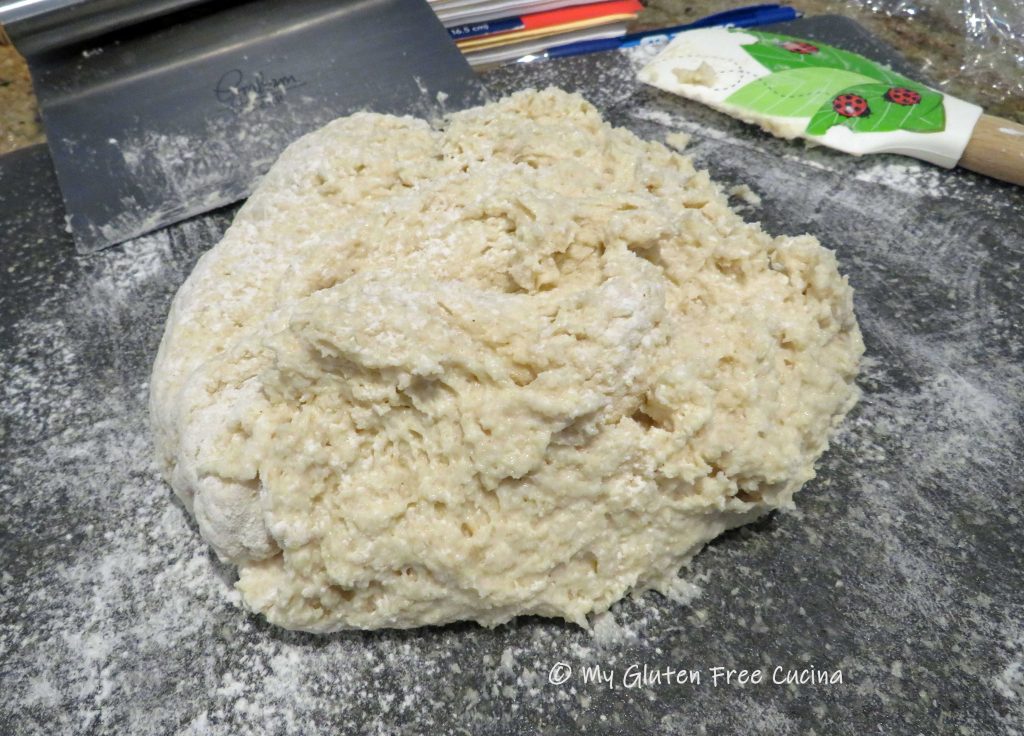
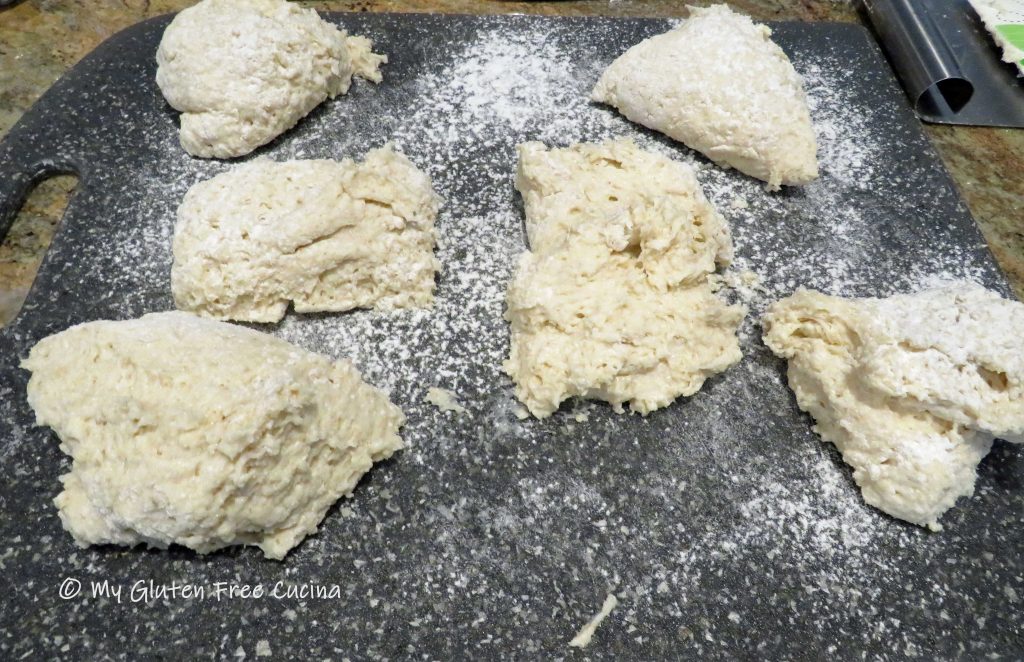
 After 1 hour in the fridge, turn the dough out onto floured parchment and use a


 Peel and dice the apples. In a
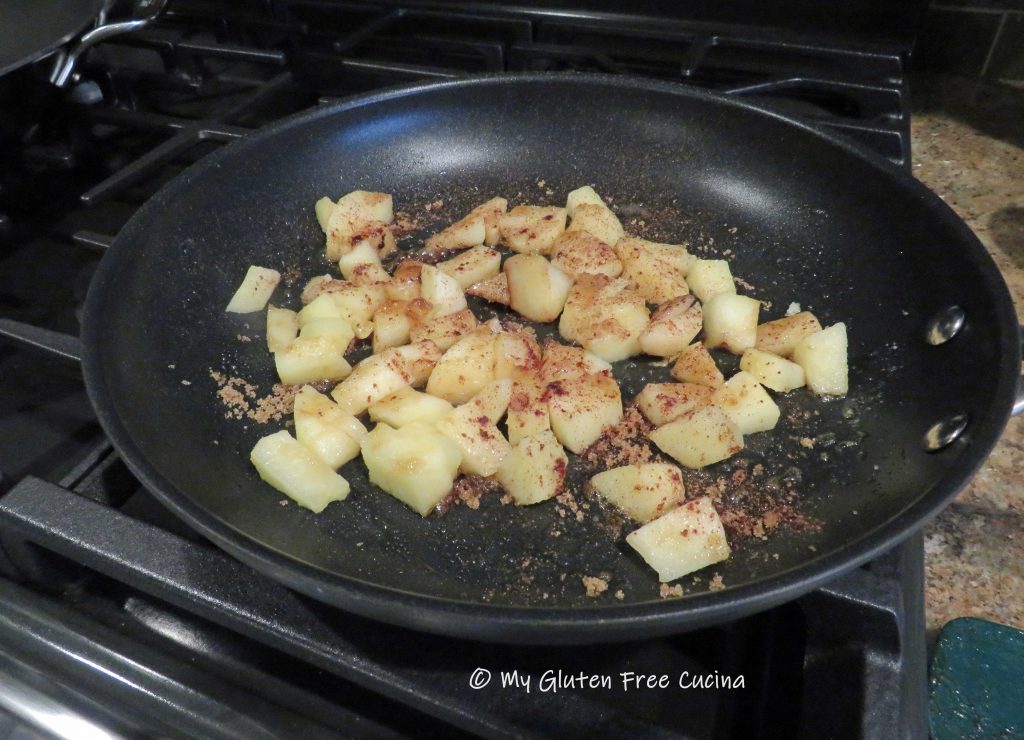

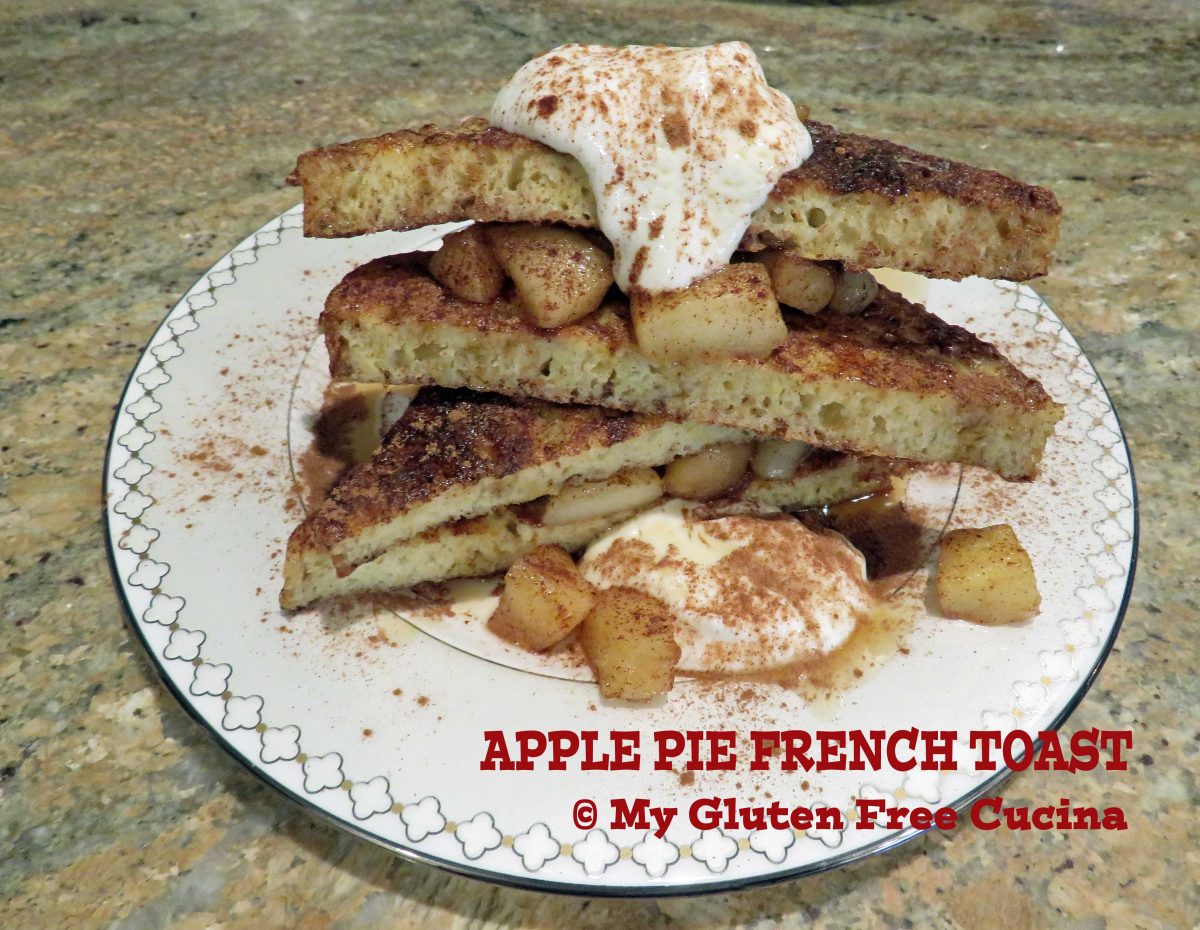
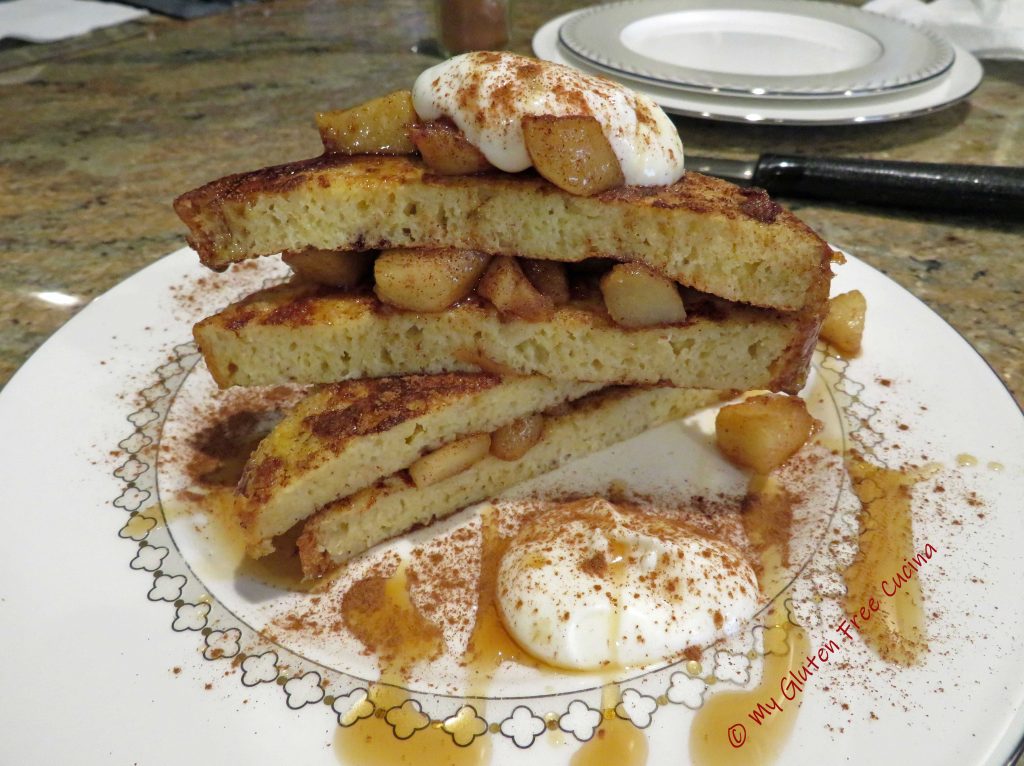
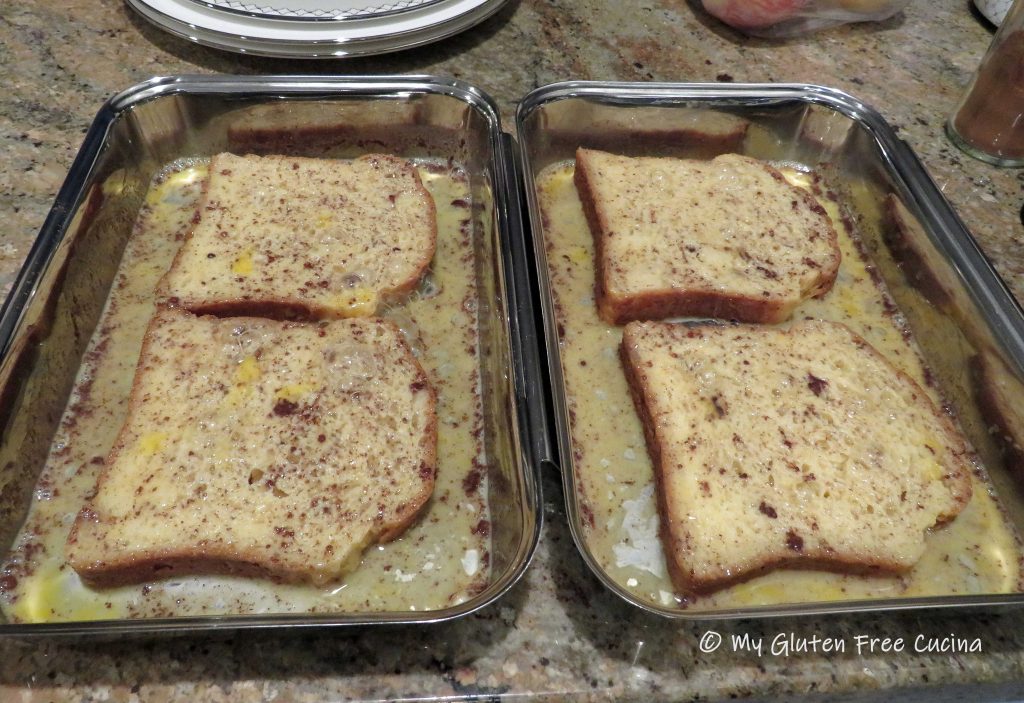
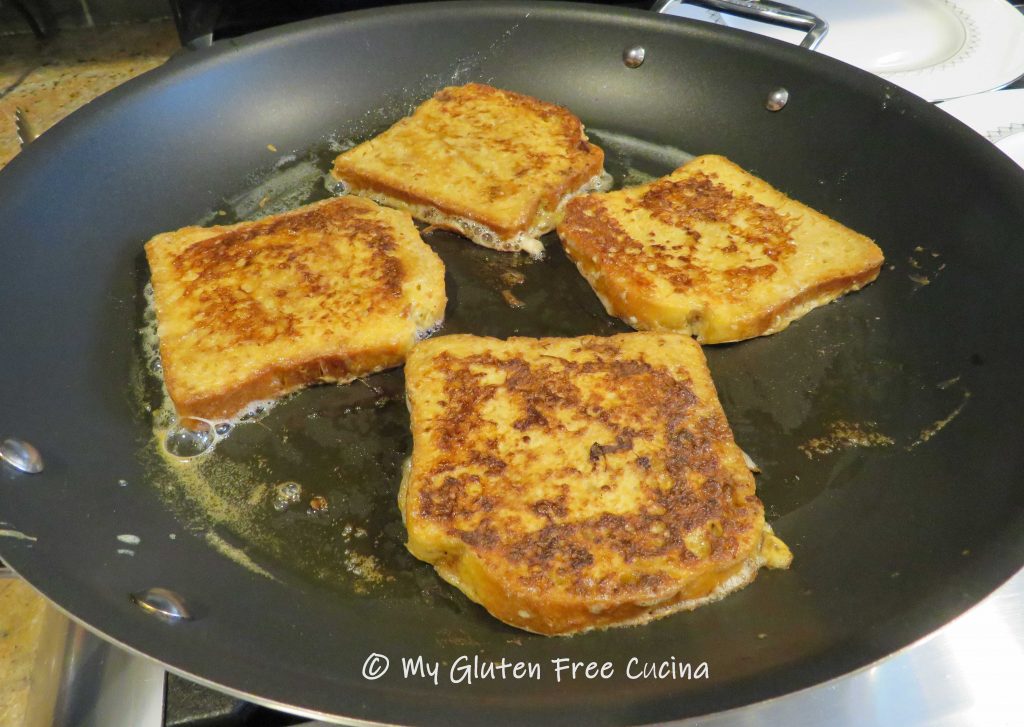
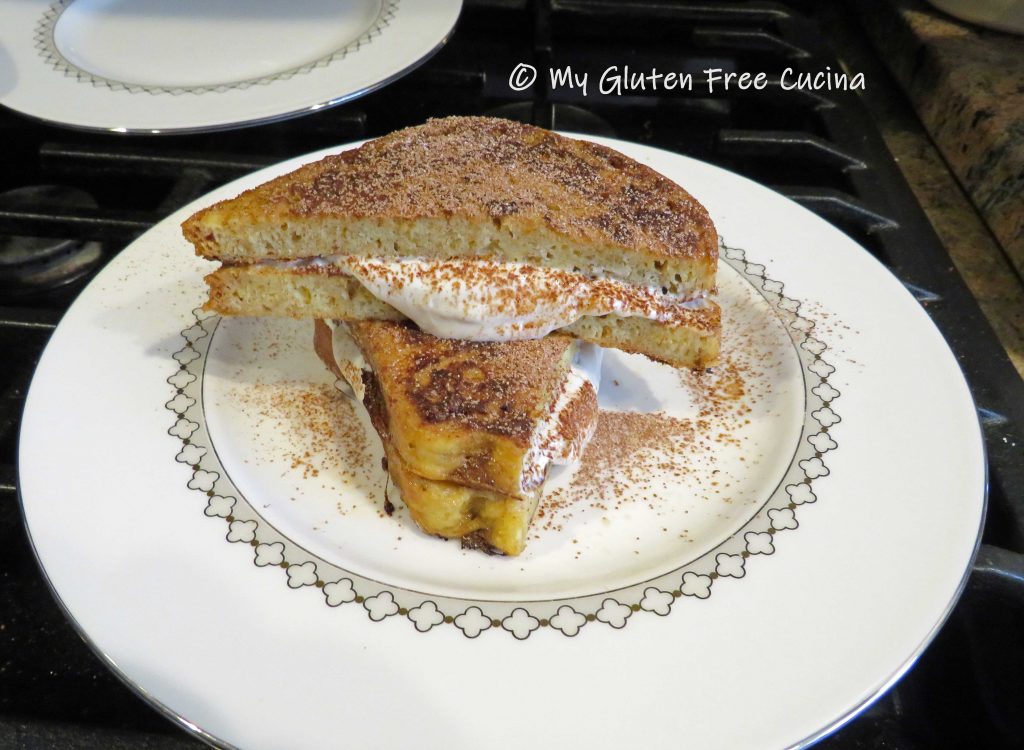
 Look at that plate, breakfast fit for a king and queen! Definitely a wonderful way to start your day!
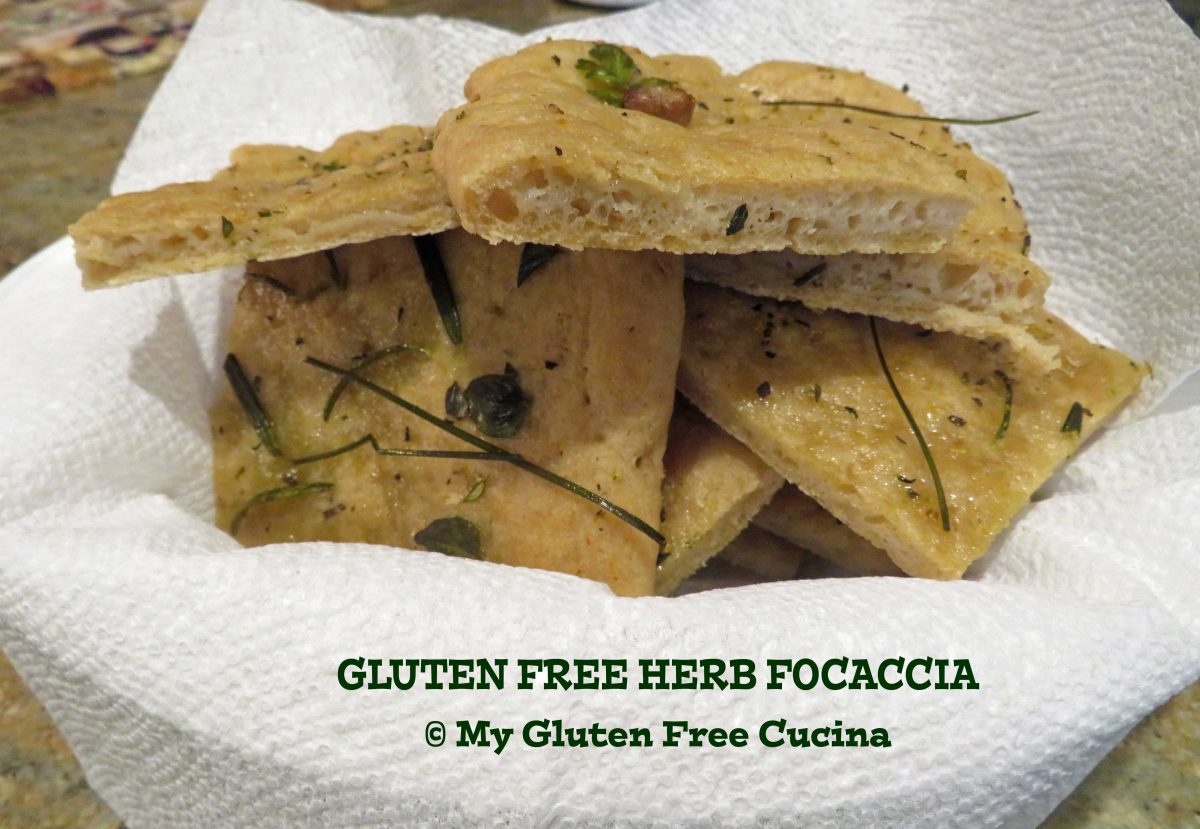

 PREPARATION:


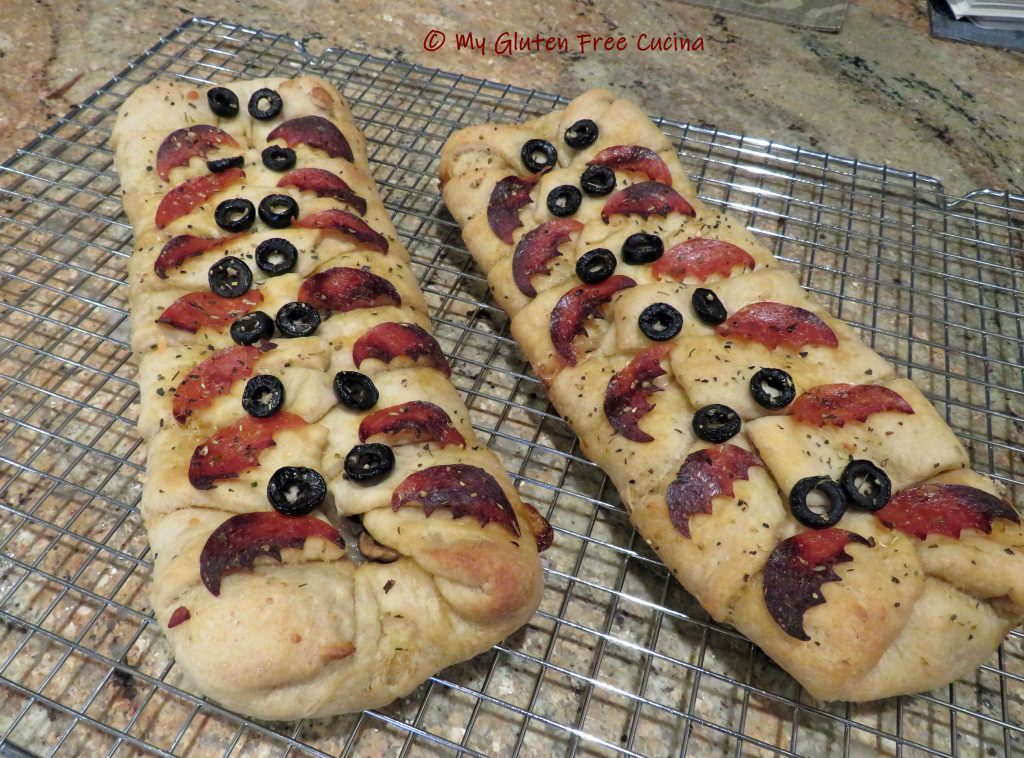
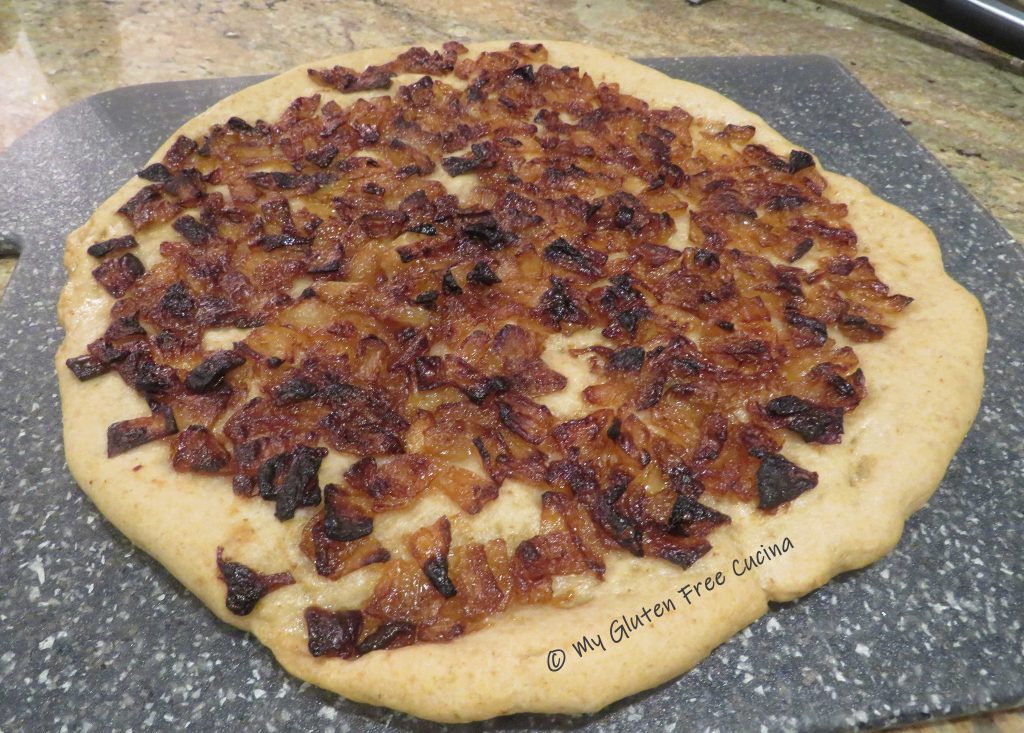
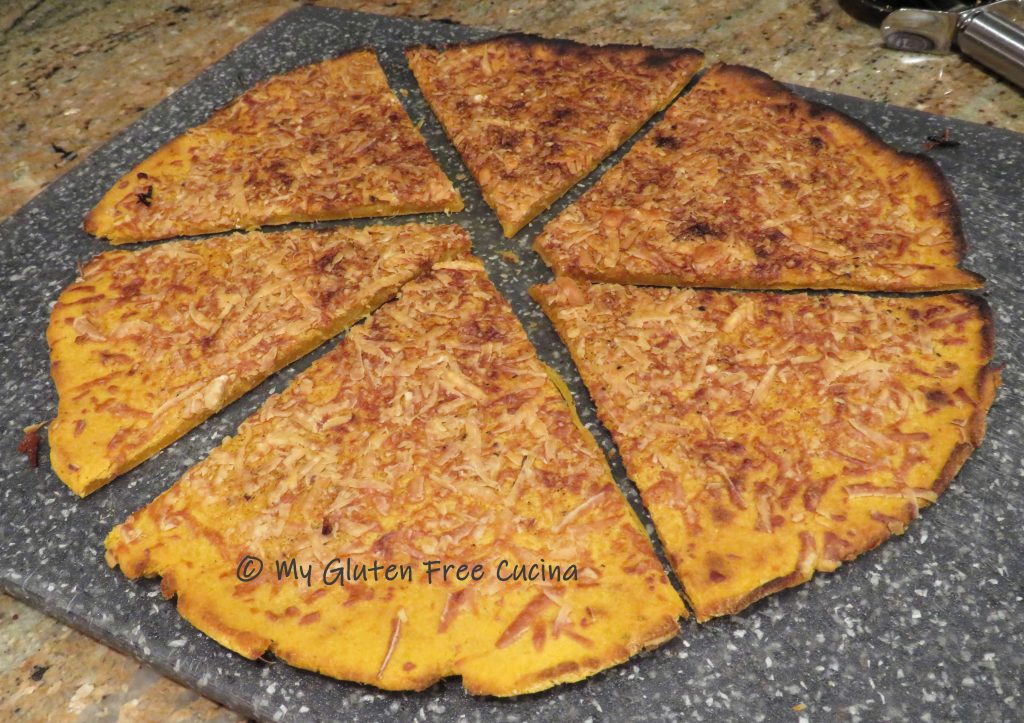
 Place the sheet pan in the oven on top of the baking stone. Bake for 25 minutes total. During the last 10 minutes carefully slide the pizza out of the pan, remove the parchment and finish baking directly on the pizza stone.


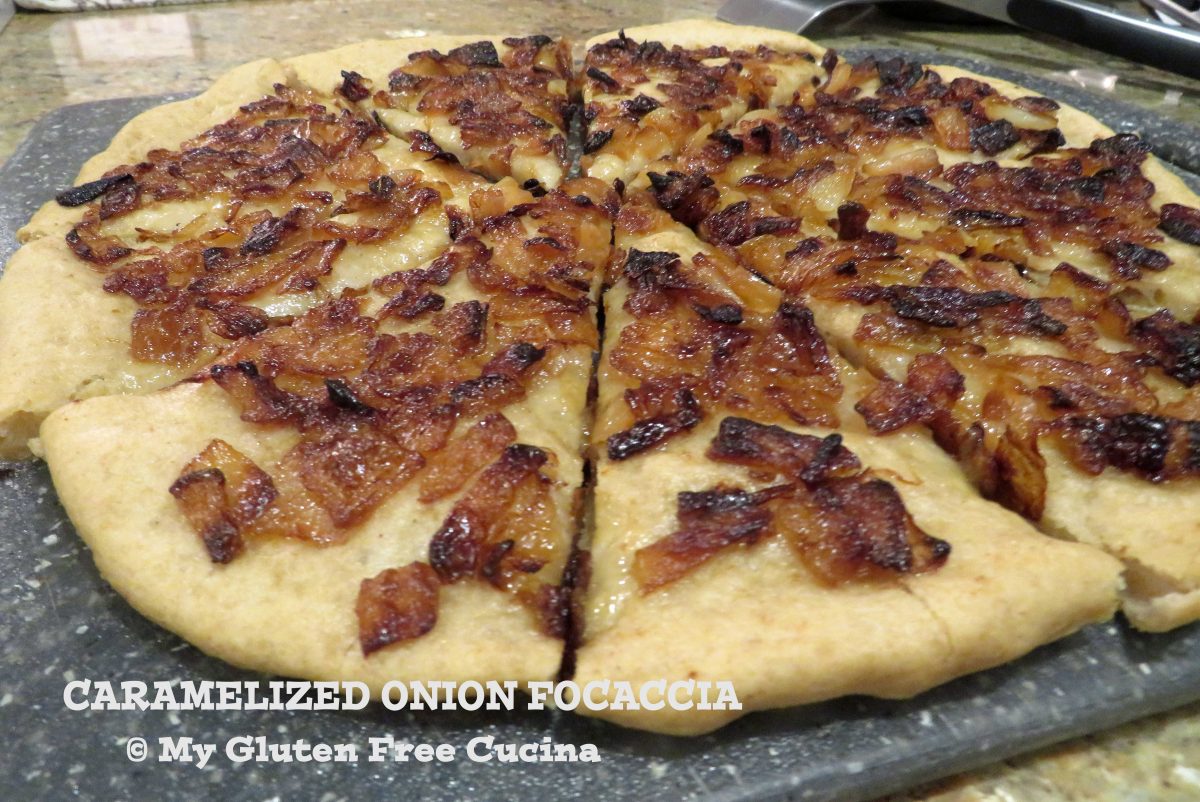


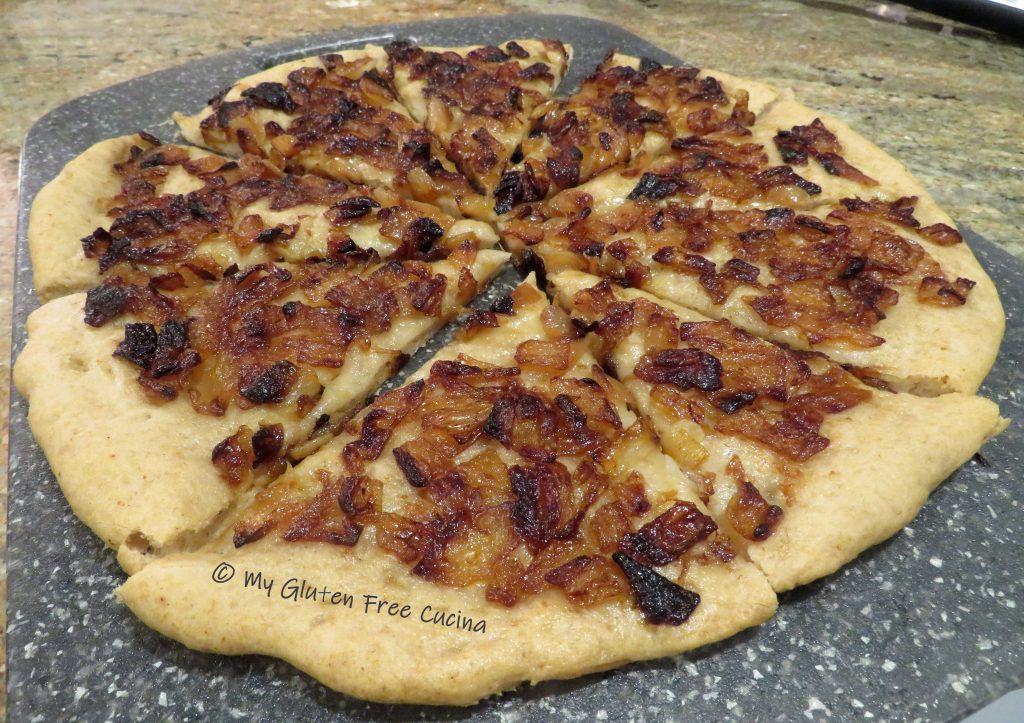

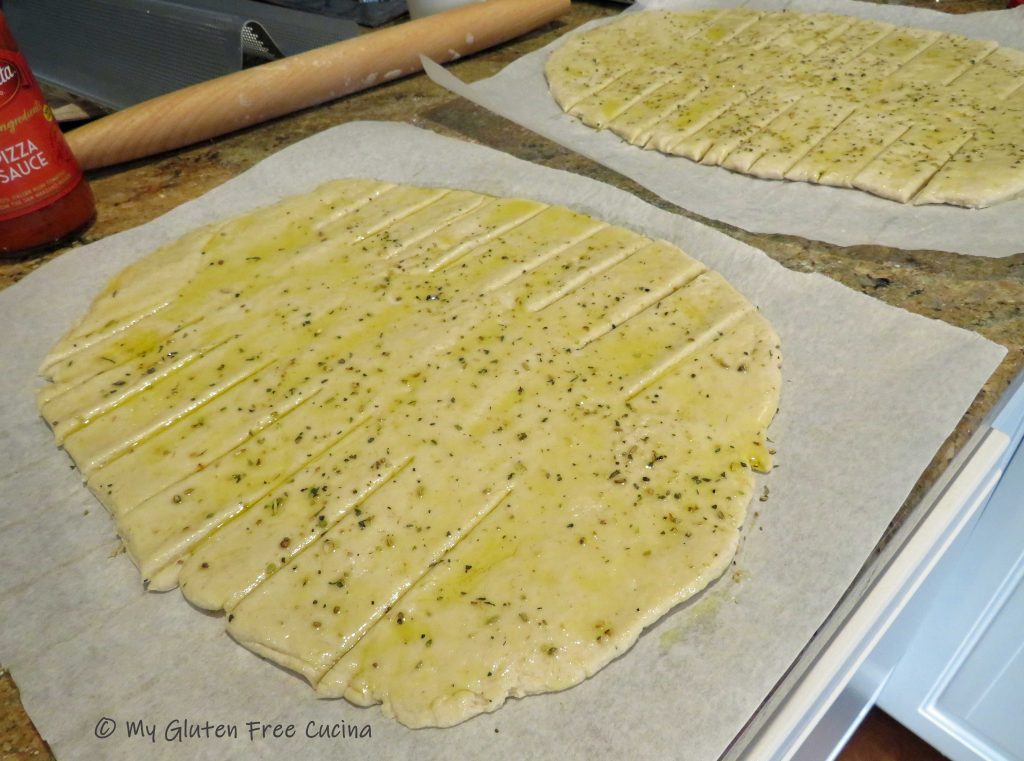
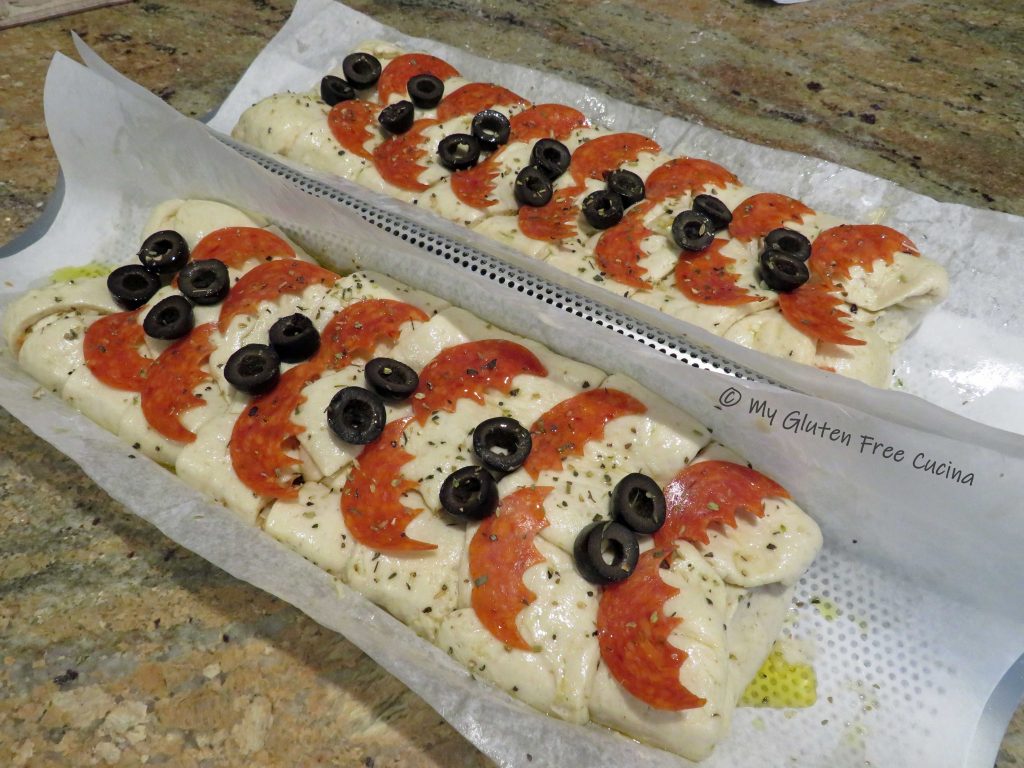
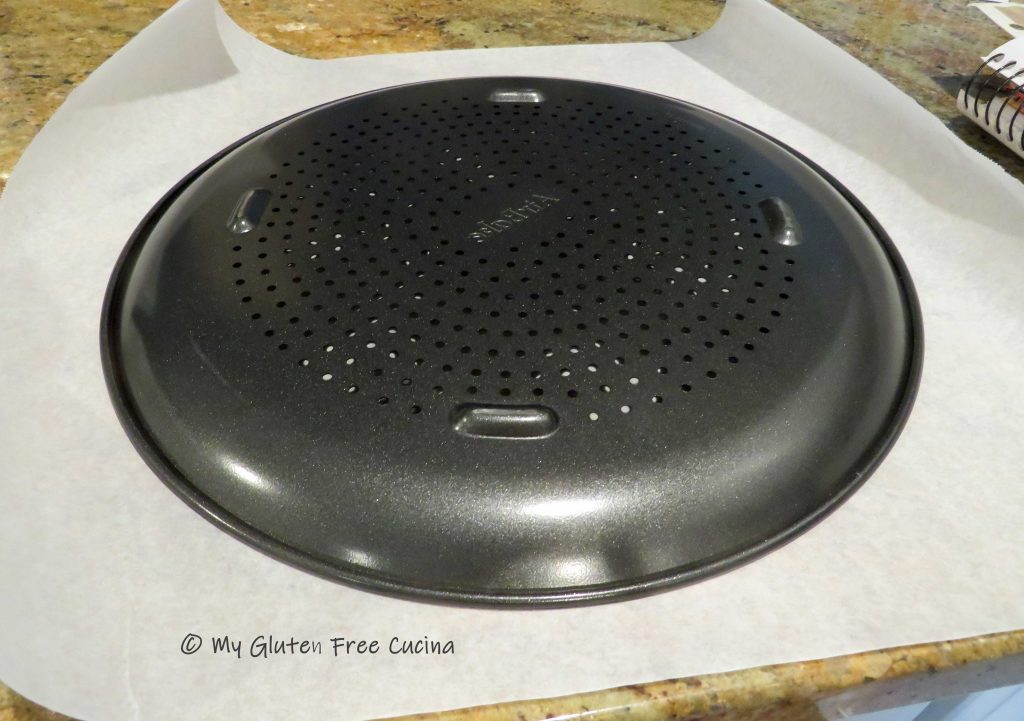 Mist the parchment with cooking spray and roll the dough into a round. Slide it onto the pizza pan, cover with oiled plastic wrap and let it rest at room temperature for 30 minutes.
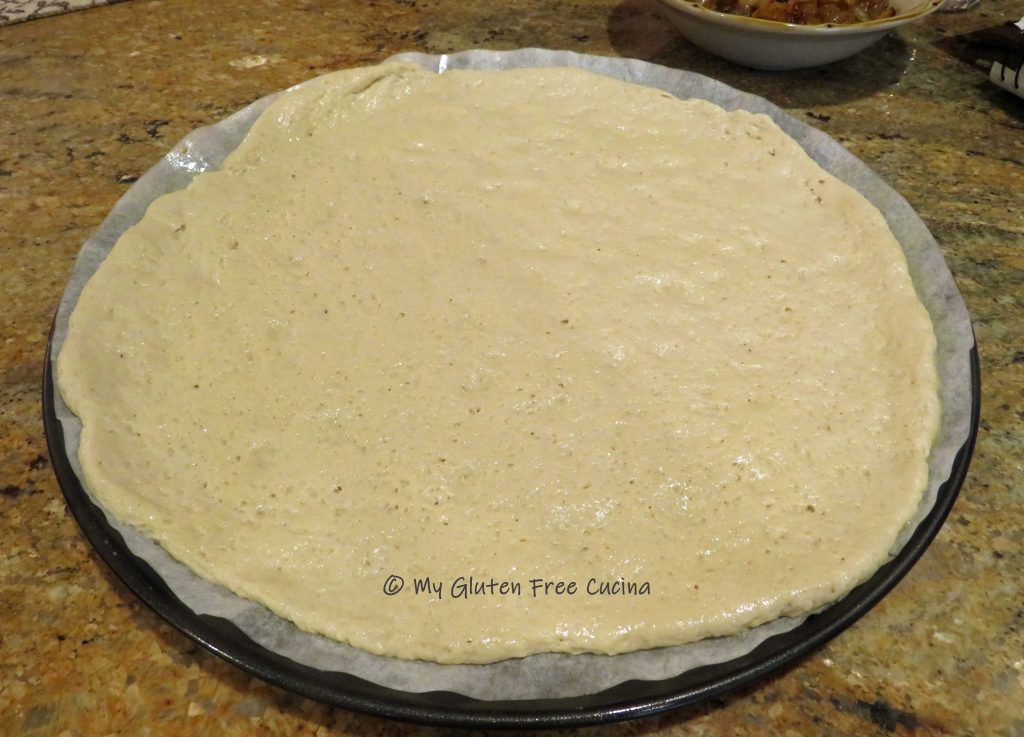


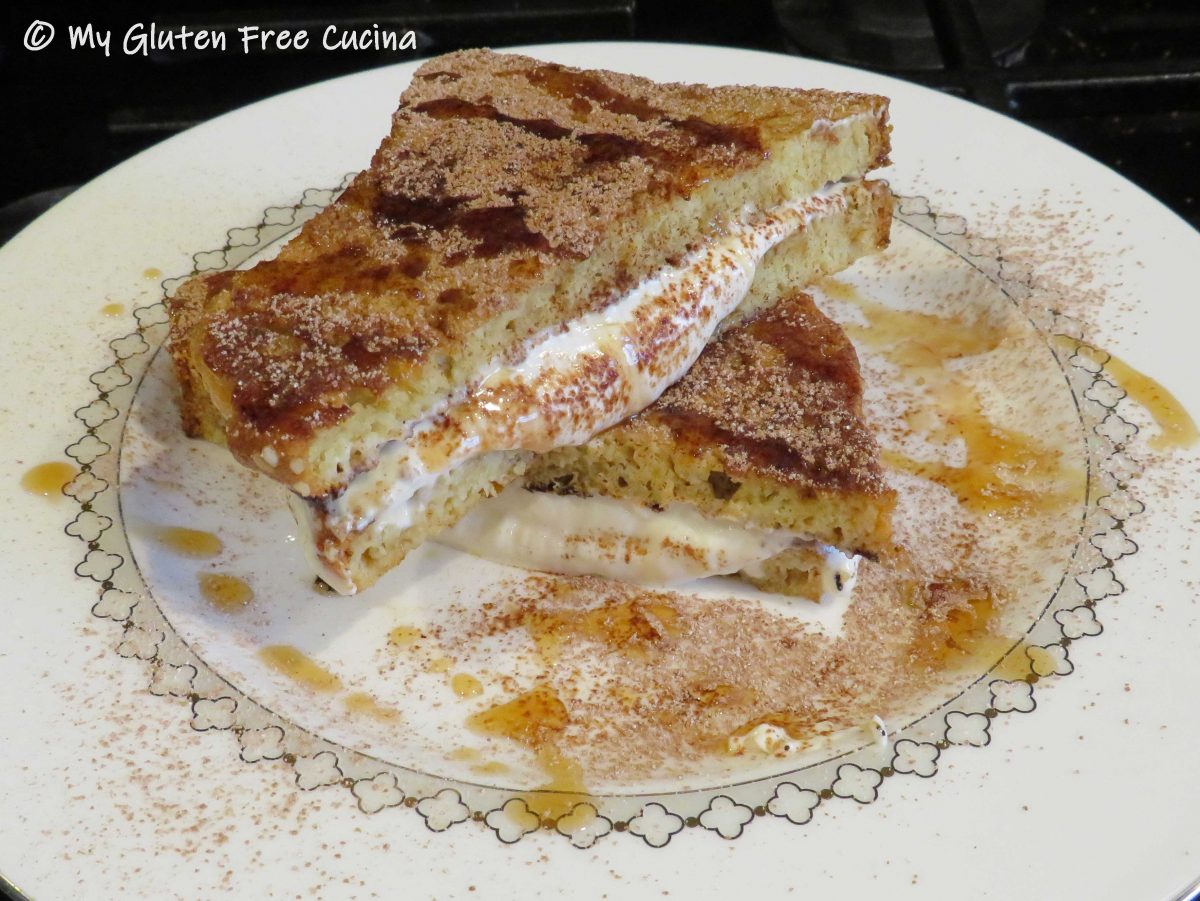
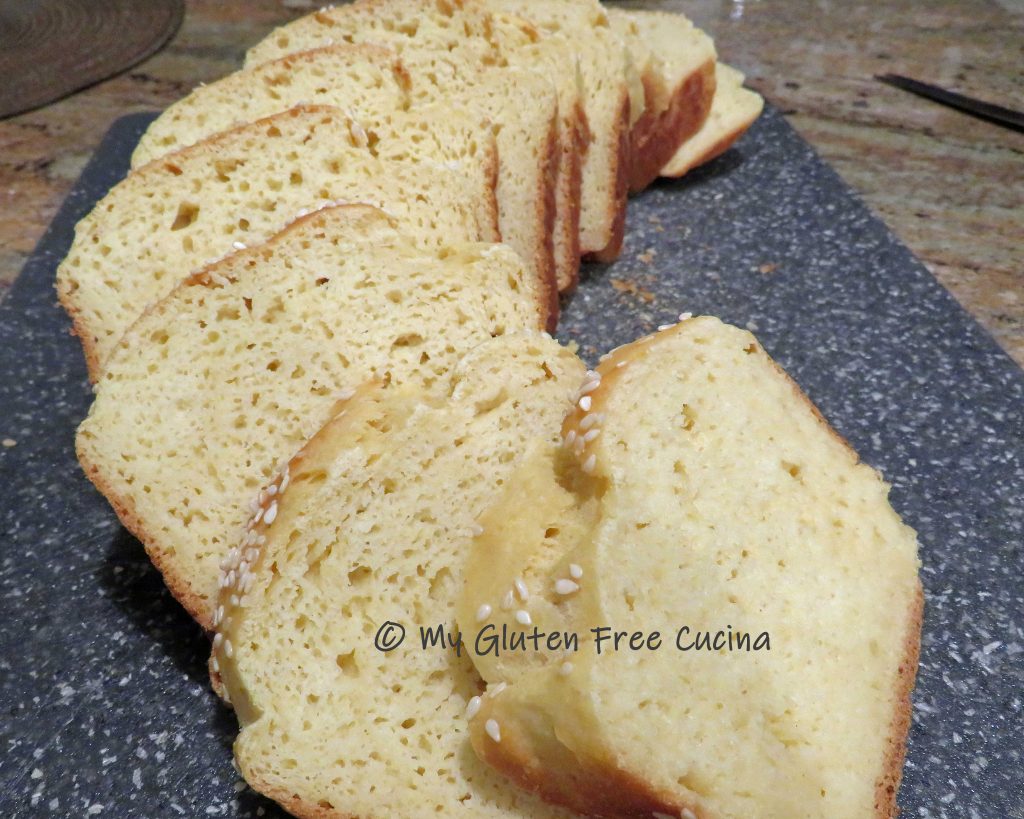
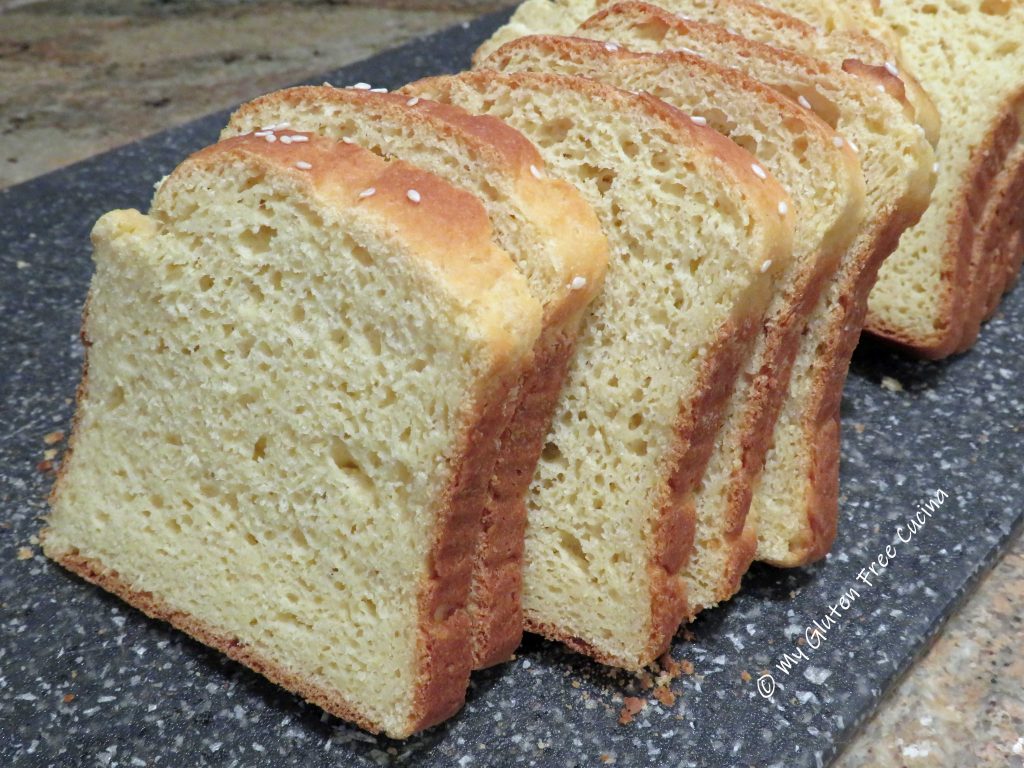
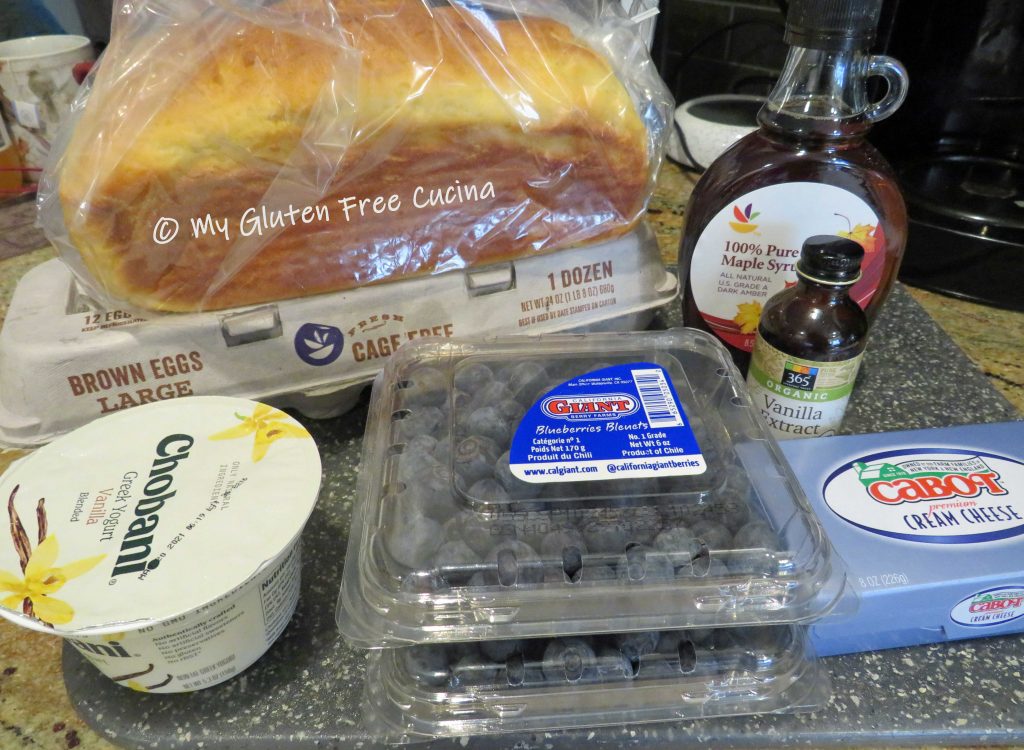
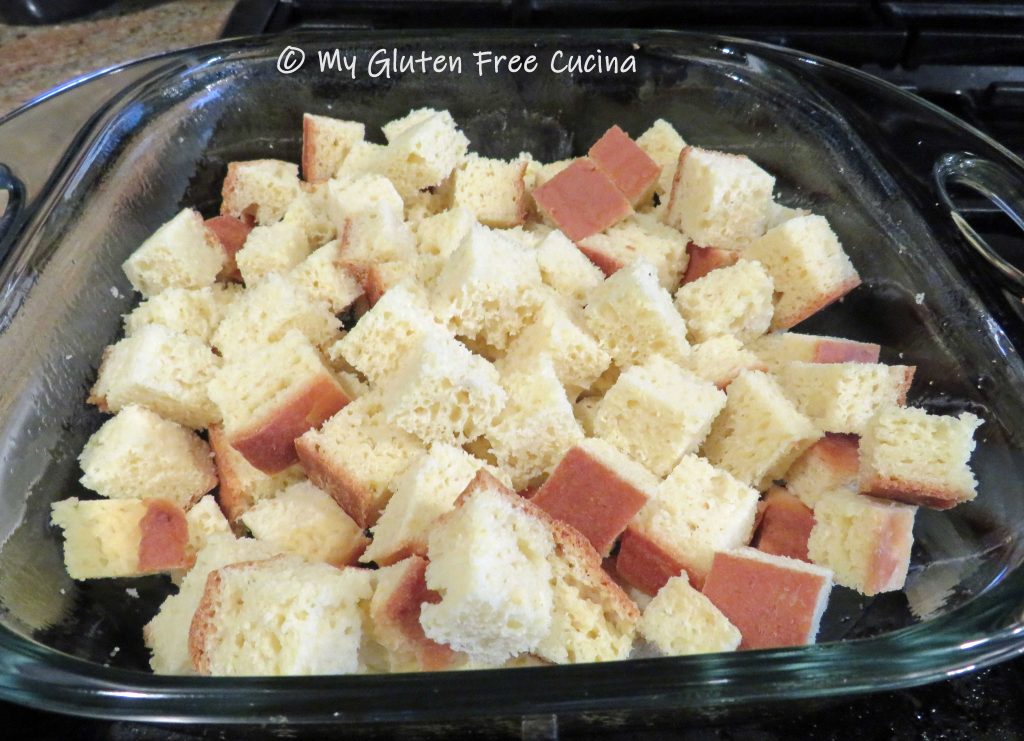
 A recipe within a recipe, I started with a loaf of my homemade Gluten Free Millet Bread.
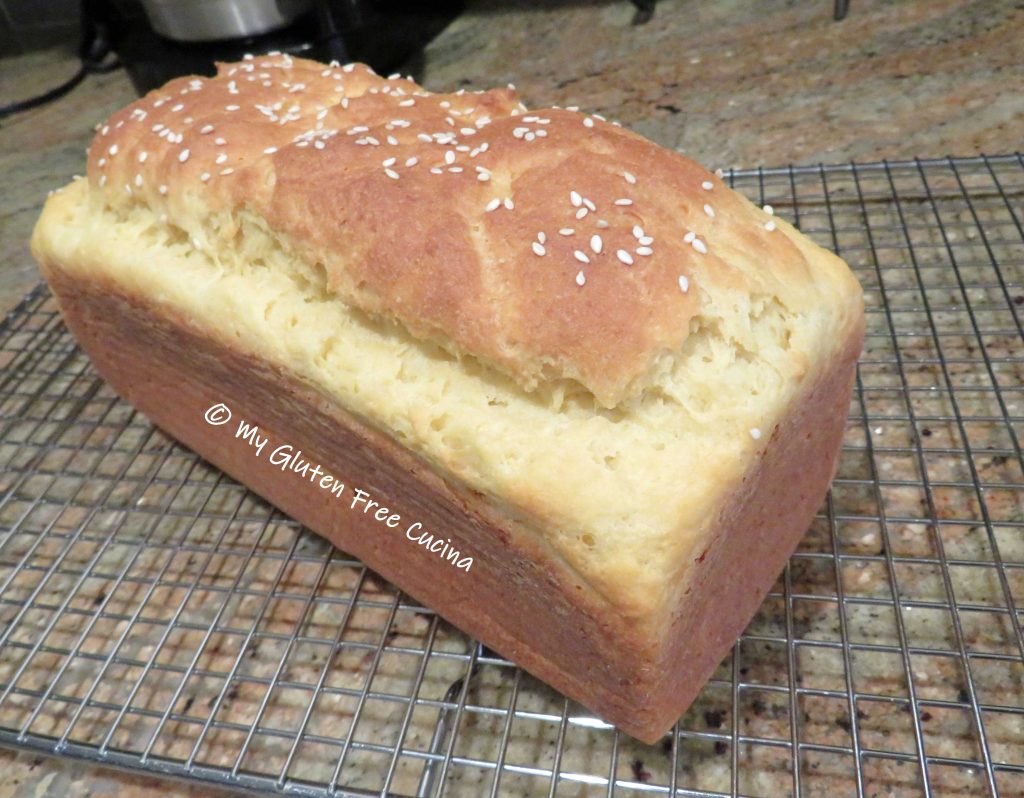
 Preparation:

 Drizzle with
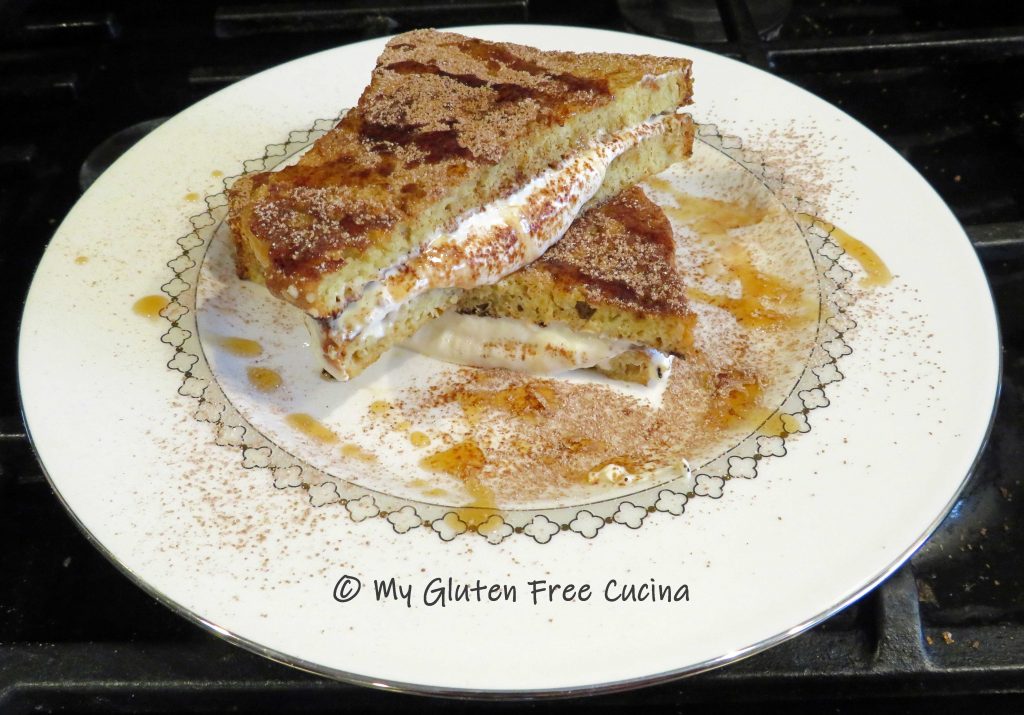


 Slide the parchment onto a
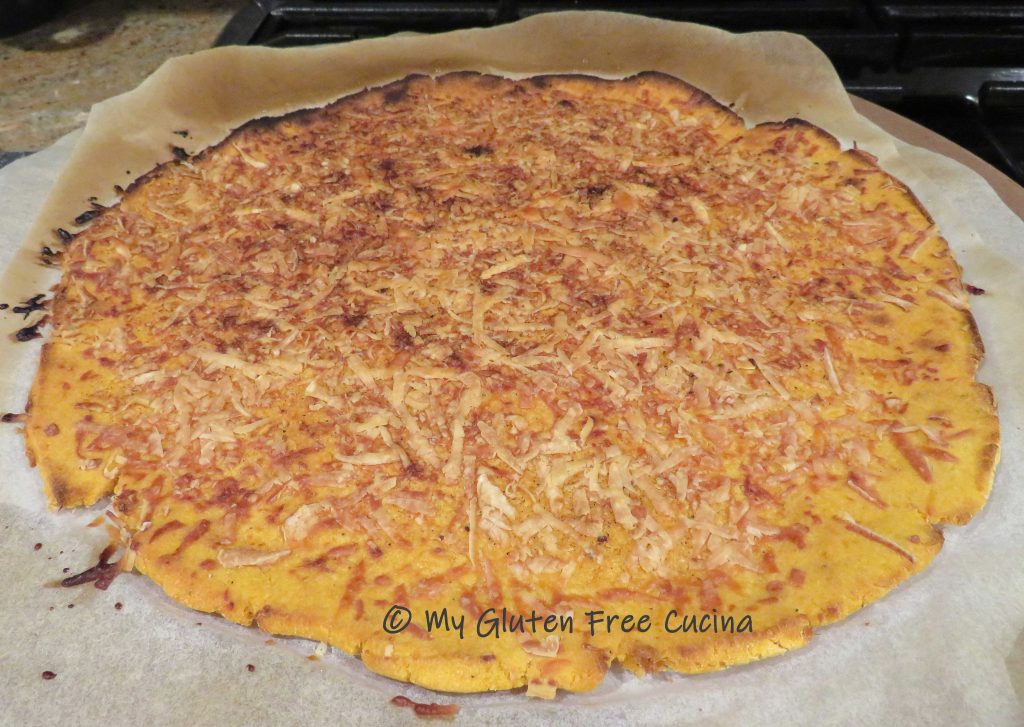


 Preparation:

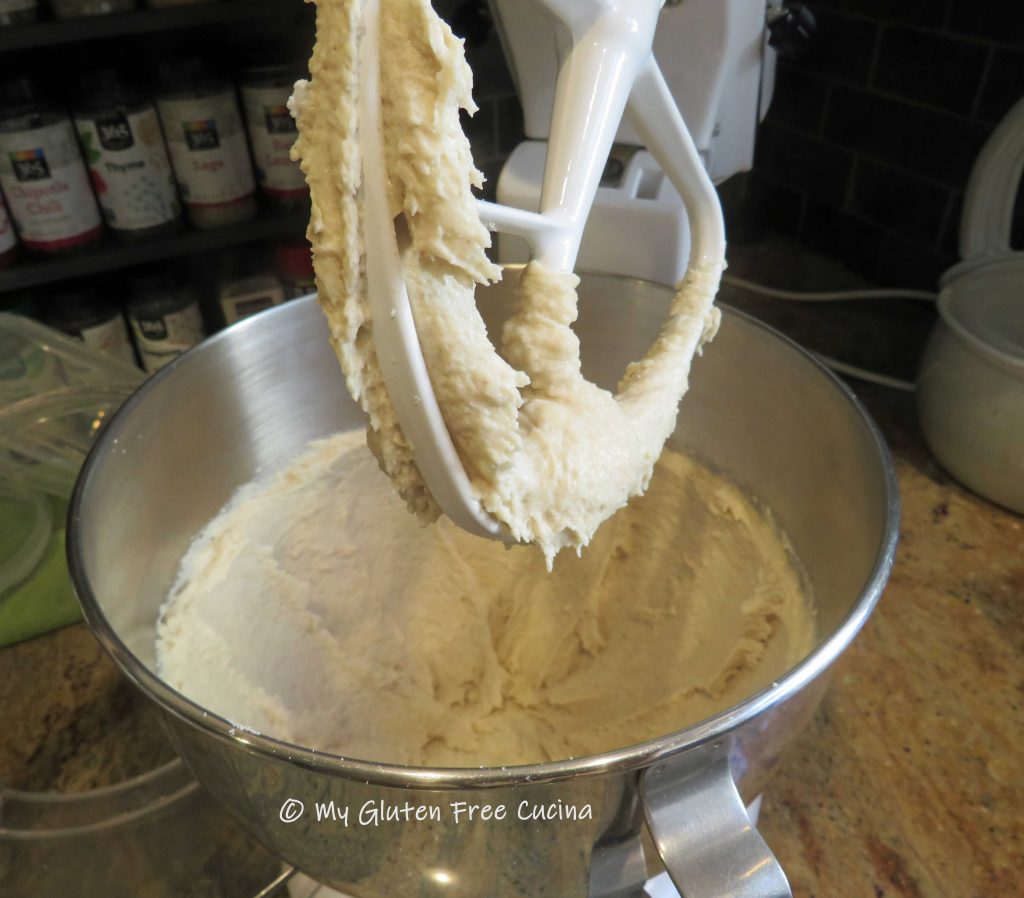
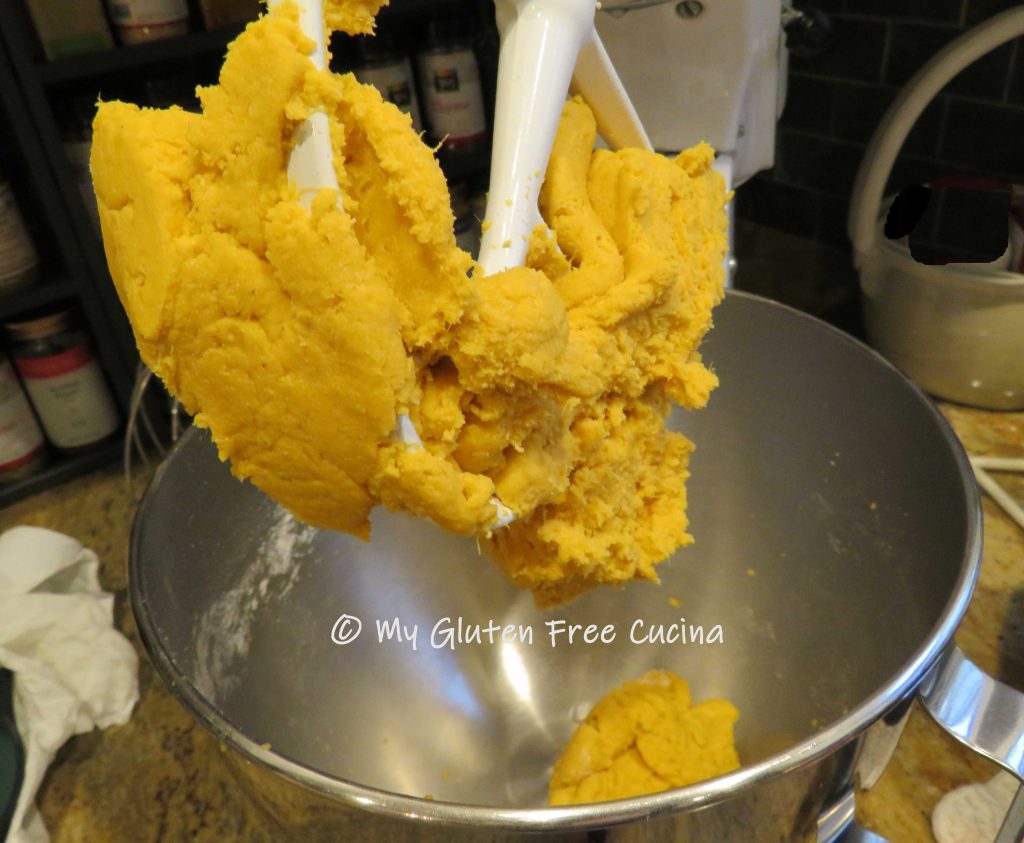
 Beat for 6 minutes to form a wet dough that clings to the beater like this.
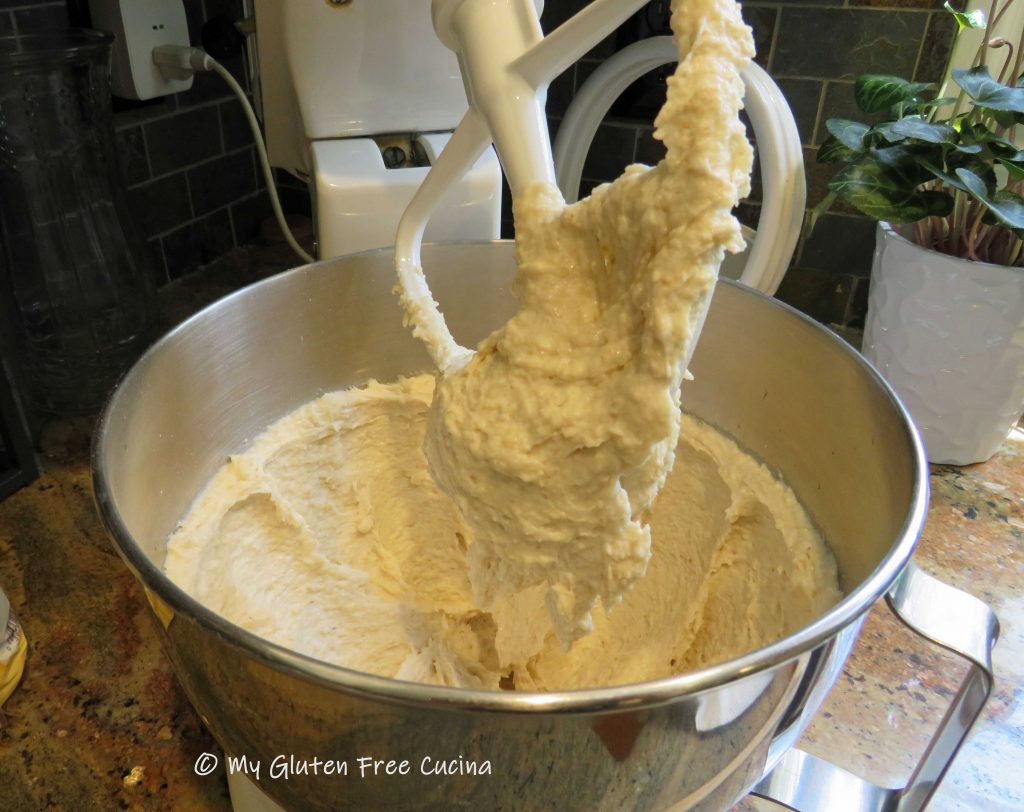


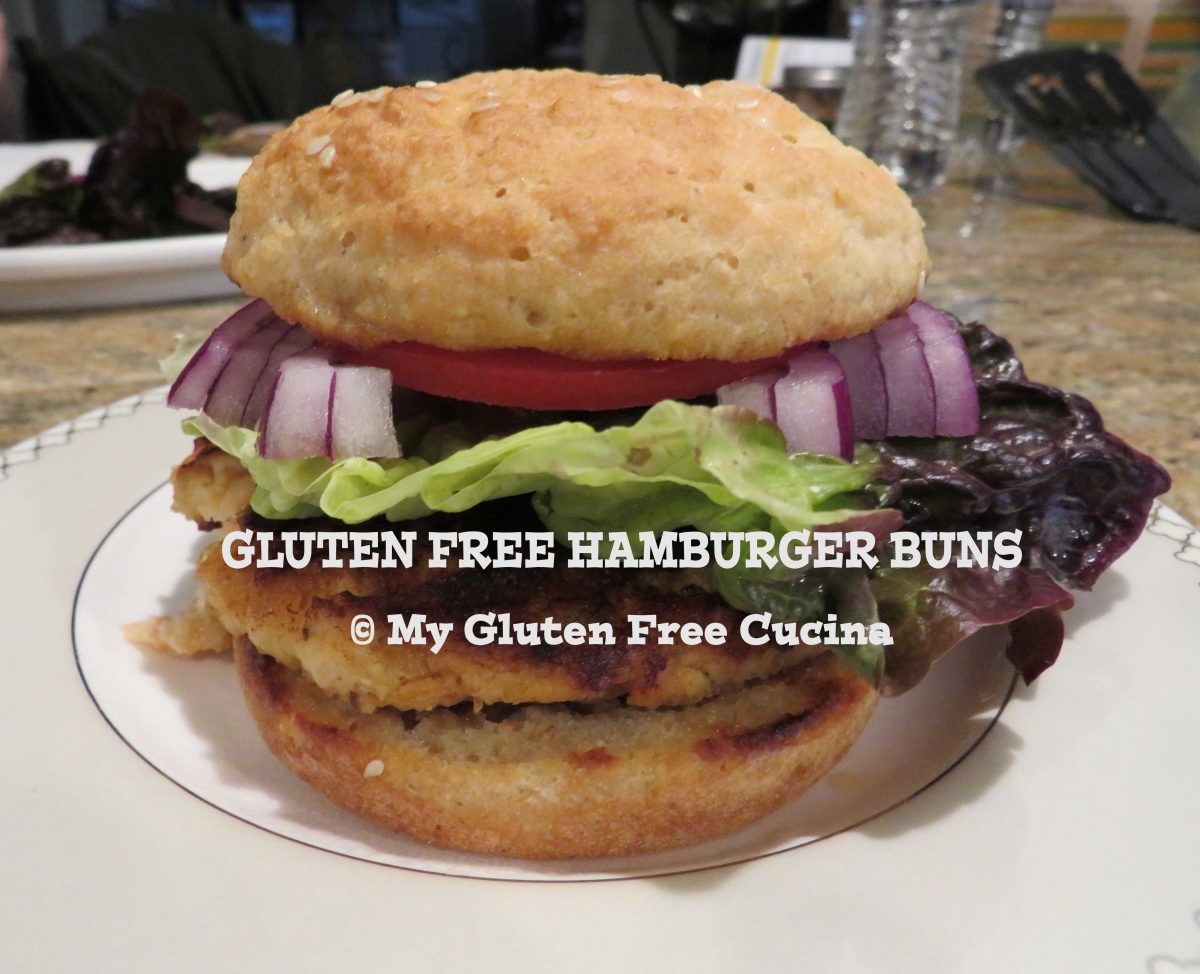
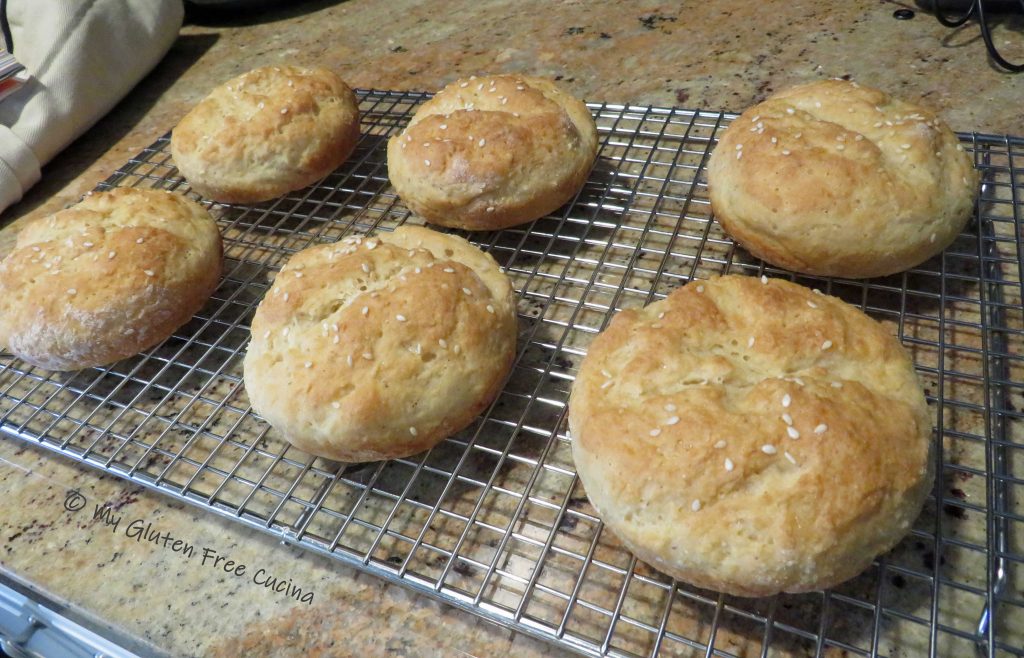
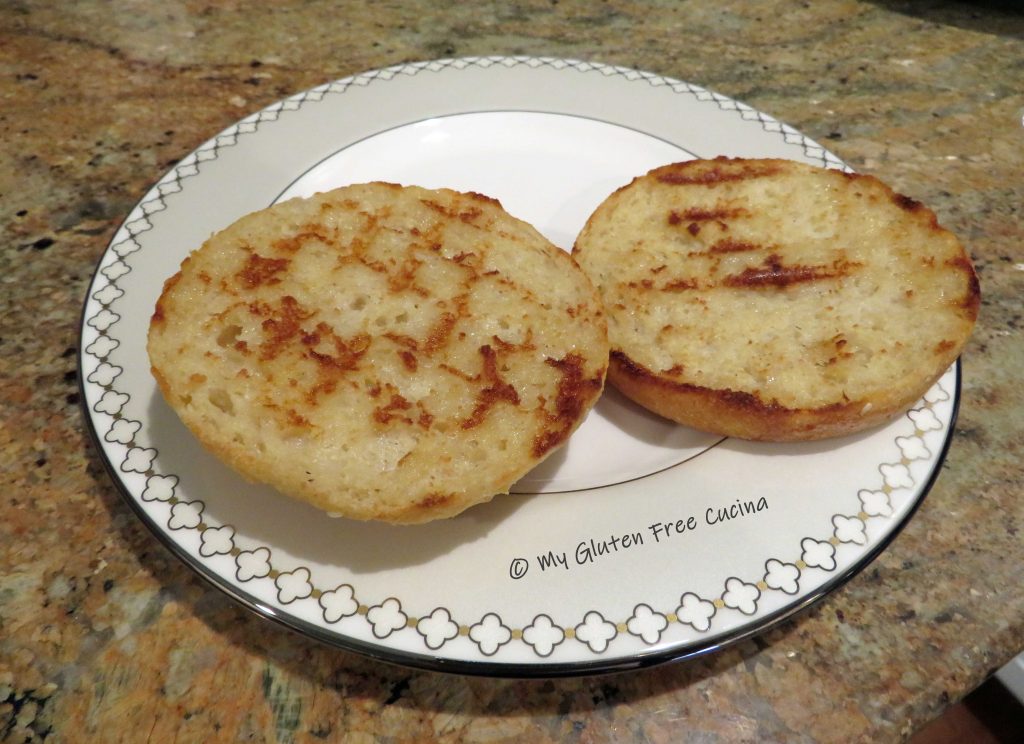 They are the perfect accompaniment to all your summer burgers and lunch sandwiches! For something different, try them with my