Gluten Free Sourdough Kaiser Rolls

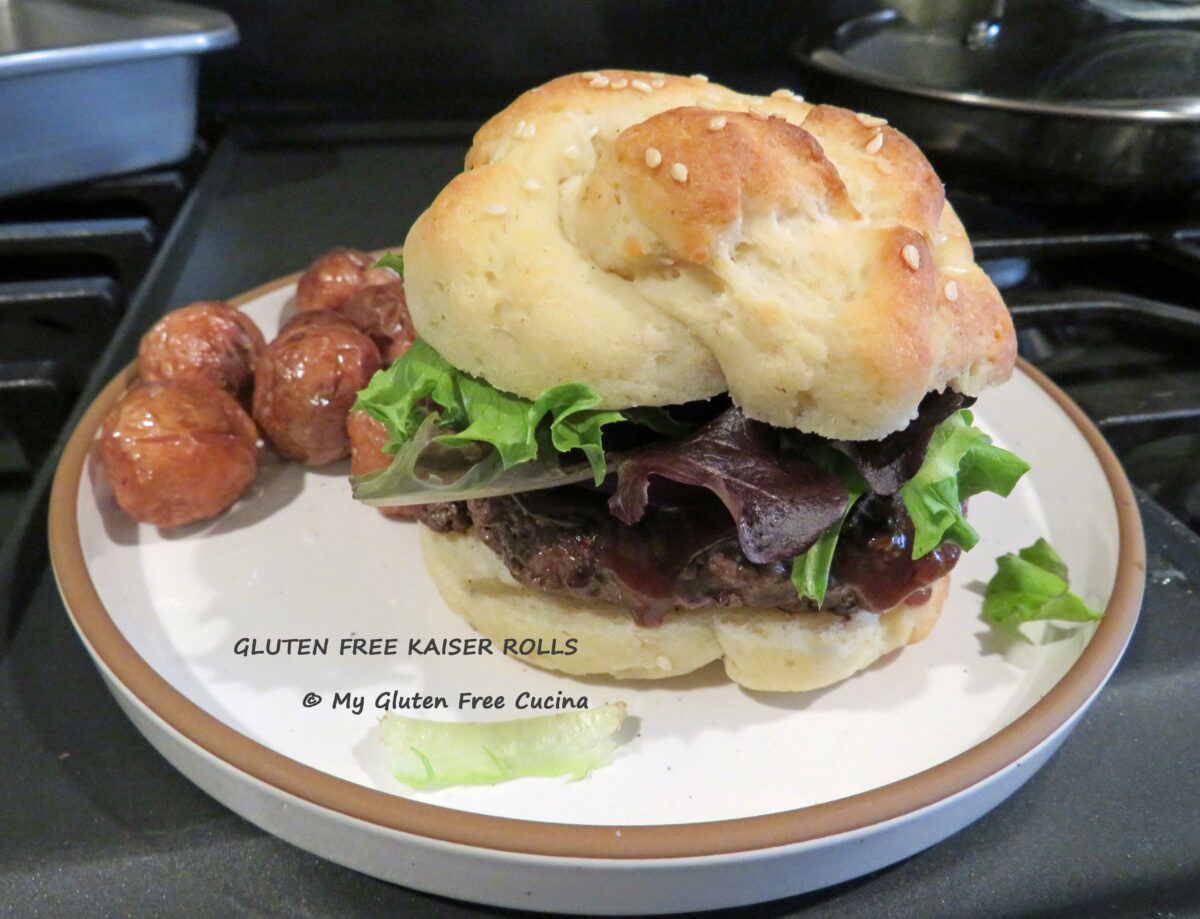
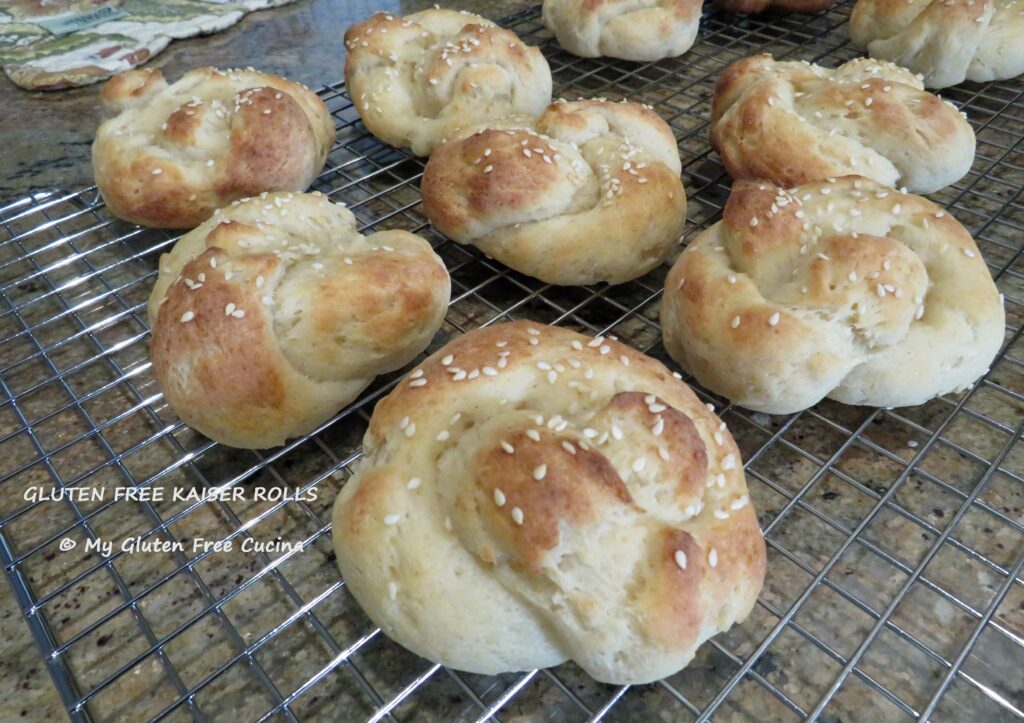
Have you struggled with rolling and shaping gluten free dough?  I’ve been dreaming of a gluten free Kaiser roll since my Celiac diagnosis 7 years ago.  They are just a little more fancy than regular hamburger buns and they look like they came from a bakery!

Today, with the new Gluten Free Bread Flour from Better Batter, I’ve made a soft enriched dough that can be rolled into long ropes and yes, even tied in a knot!

Follow the steps and learn how to shape these rolls.  This recipe makes 6-10 Kaiser rolls, depending on size.

This post contains affiliate links.

Ingredients:

  • 395 g Better Batter Bread Flour
  • 9 g (1-1/2 tsp.) salt
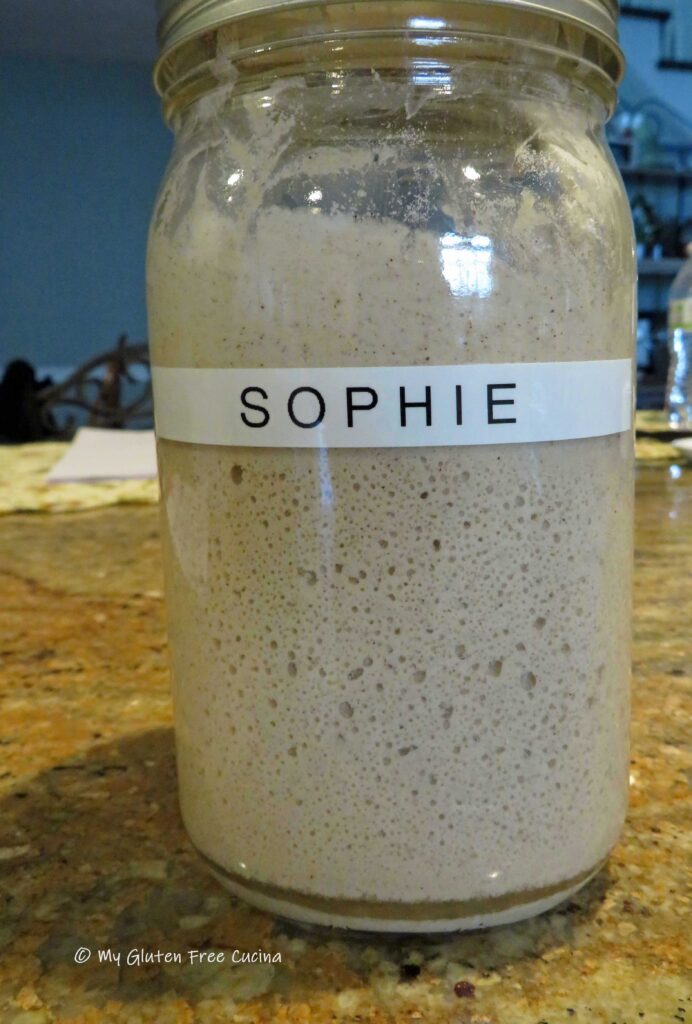
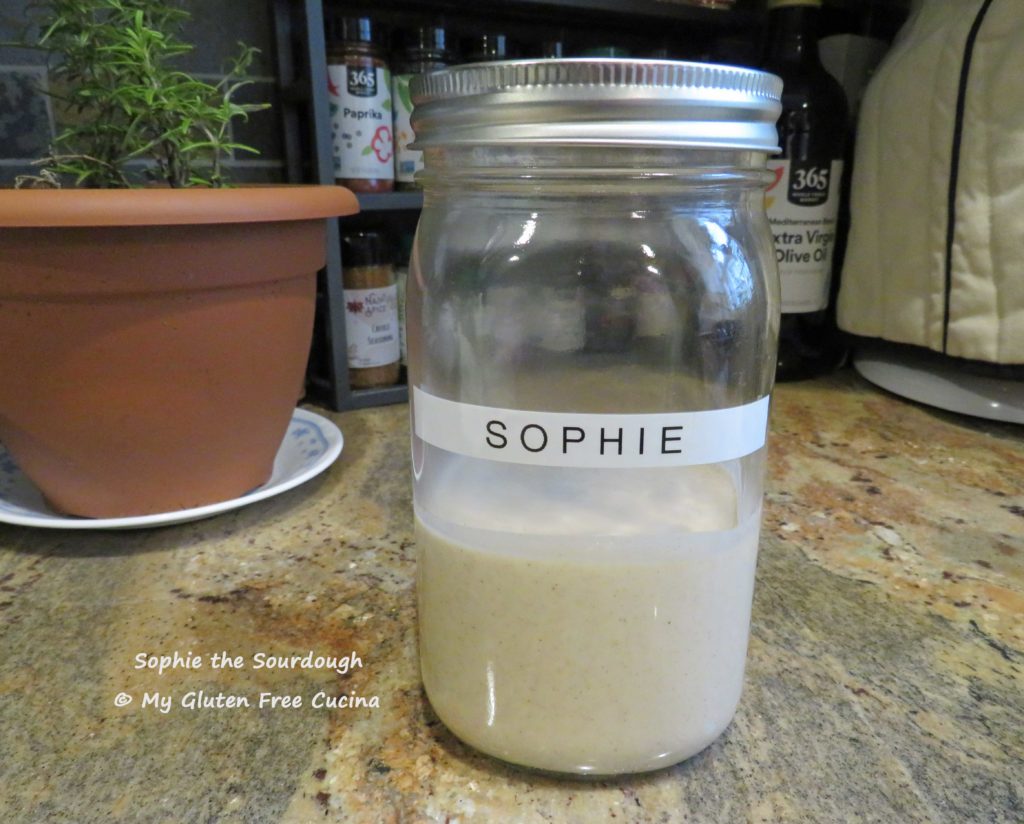
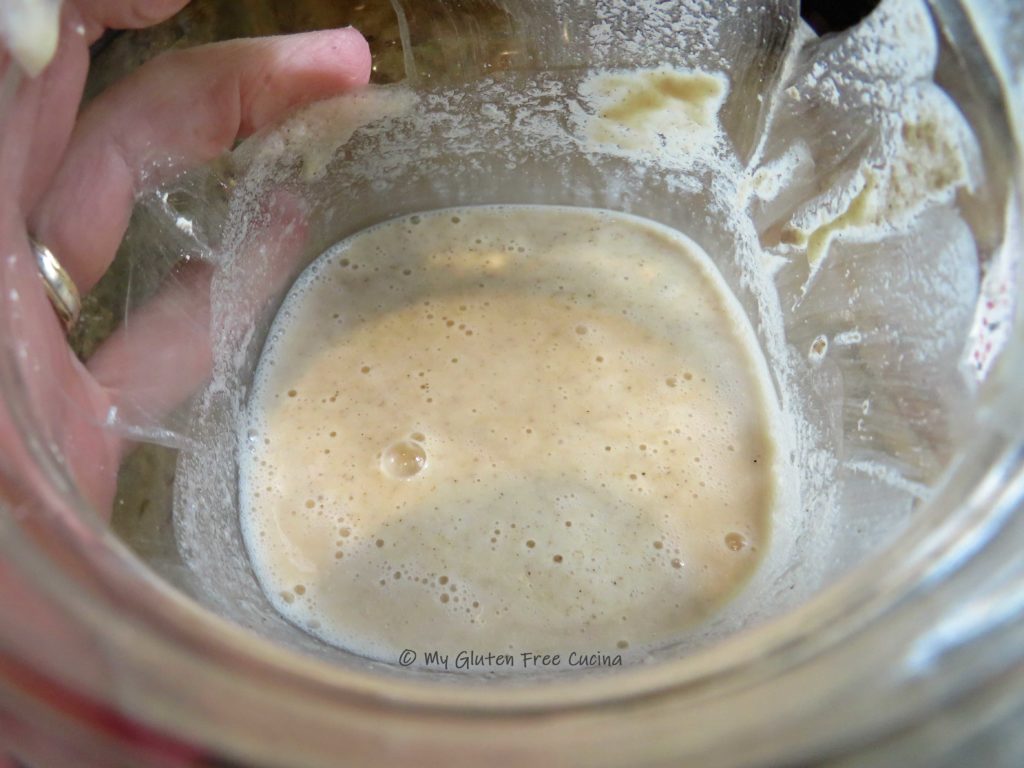
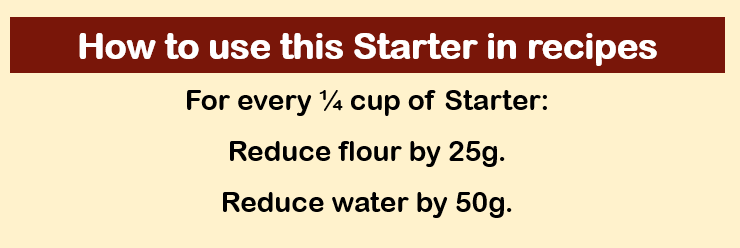
  • 75 g fully active sourdough starter (1/4 cup) *See notes
  • 1 egg
  • 1/8 tsp. instant yeast
  • 9 g (1-1/2 tsp.) sugar
  • 2 tbsp. butter, melted and cooled
  • 15 g psyllium husk (3 tbsp) ** (can be omitted, see notes)
  • 160 g warm milk
  • 270 g warm water + 3 tbsp.
  • —————————-
  • 1 tbsp. canola oil plus more for rolling
  • 1 tbsp. milk for topping
  • 1 tsp. sesame seeds for topping

Want to try the new Gluten Free Bread Flour from Better Batter?  Order yours here and be sure to use my Code MGFC30 at checkout for 30% off any non-sale purchase!

Preparation:

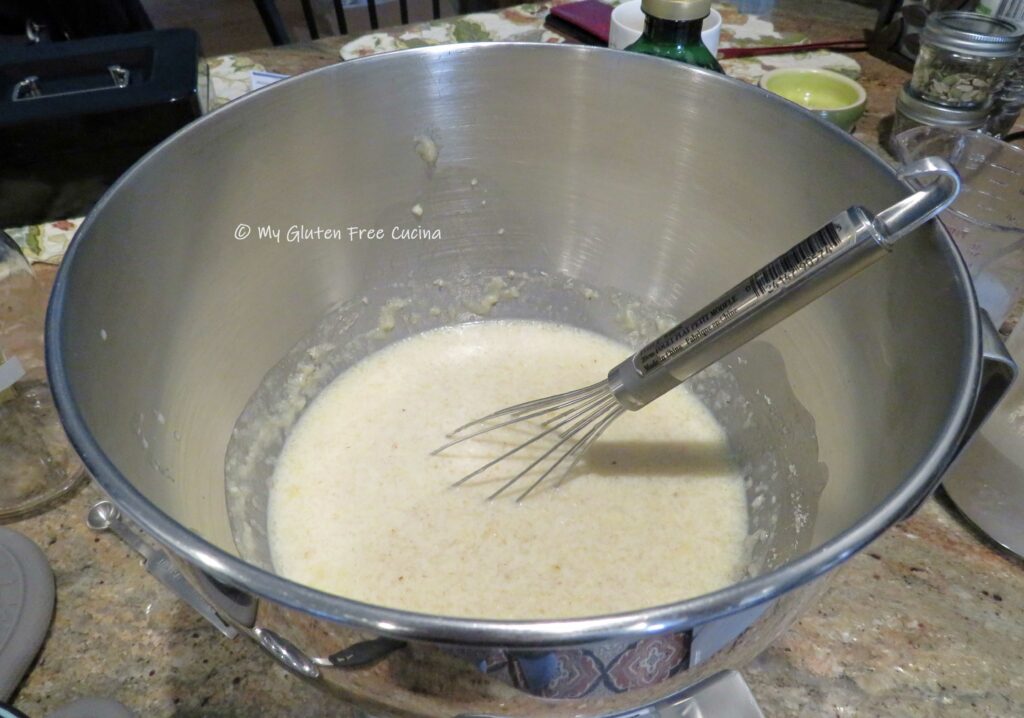
Whisk together the flour and salt.  In the bowl of a stand mixer, combine the sugar, egg, butter, psyllium husk, sourdough and instant yeast.  Let it stand for a few minutes to thicken.

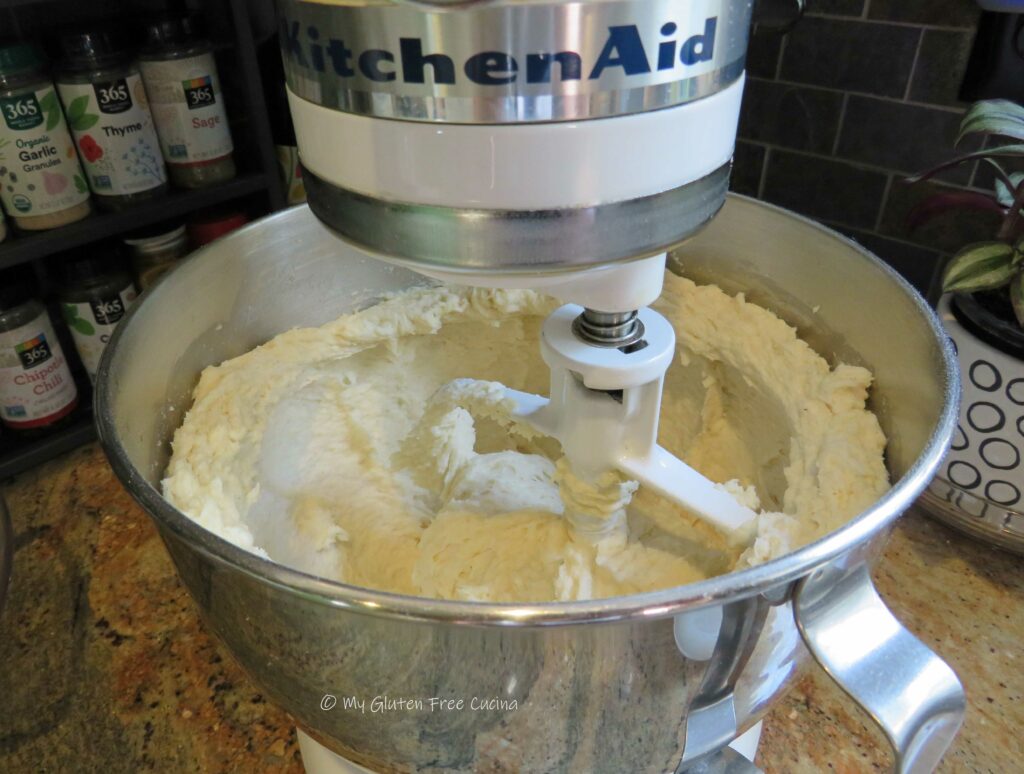
Next add the flour mixture, 160g milk and 270g water, and beat with the paddle attachment for 5 minutes.  If the dough seems a bit dry, add water one tablespoon at a time, up to 3 tablespoons.

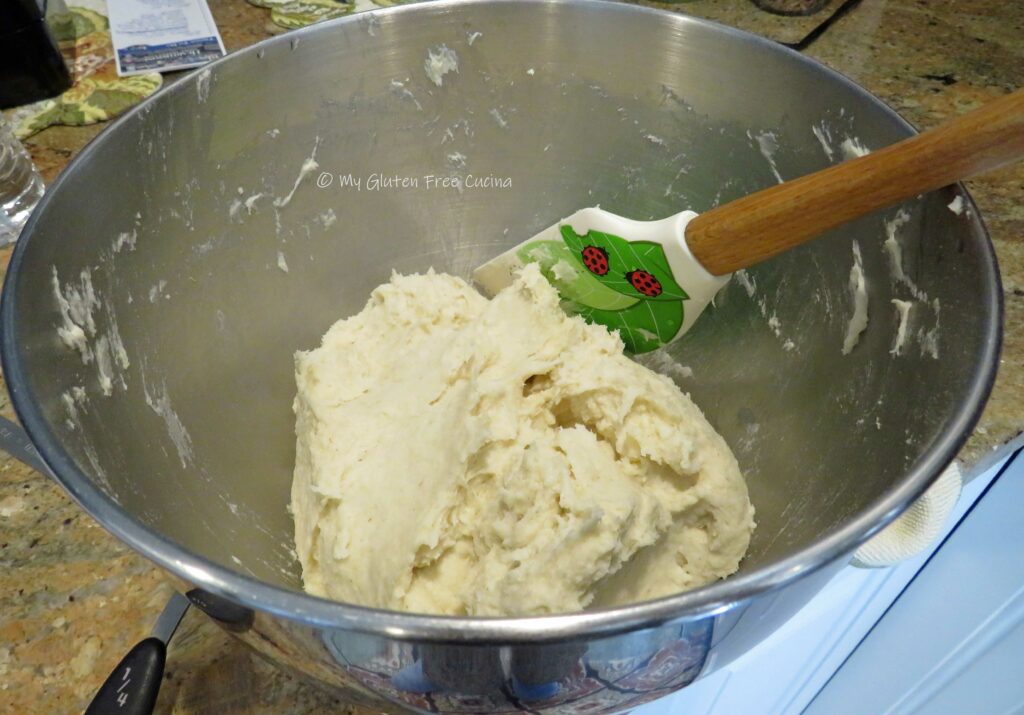
Gather the dough together with a spatula and transfer it to an oiled bowl (use about 1 tbsp. canola oil), turn to coat and cover with plastic wrap.

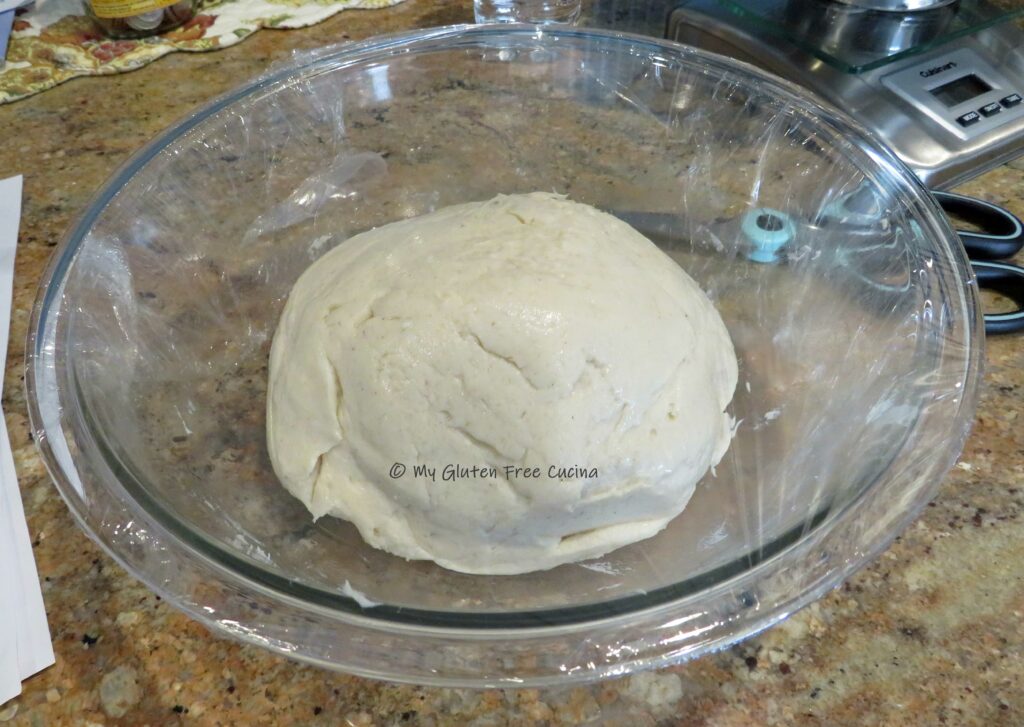
Proof the dough in a warm place for 6 hours.  I used a proofing box set to 80 degrees.

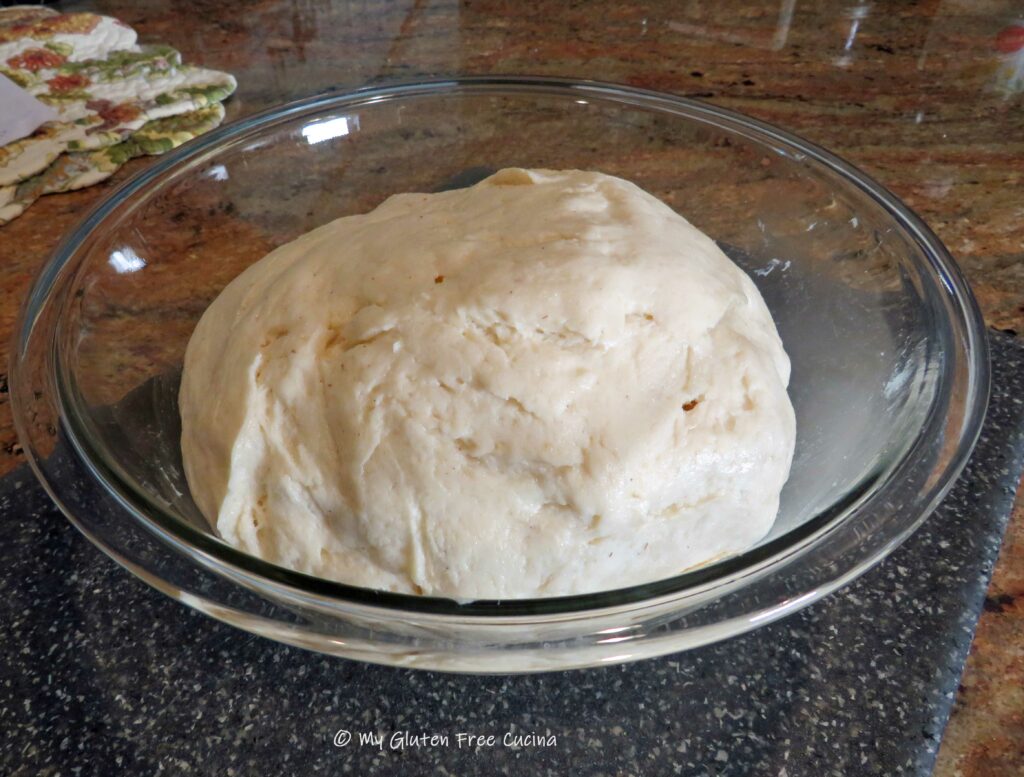
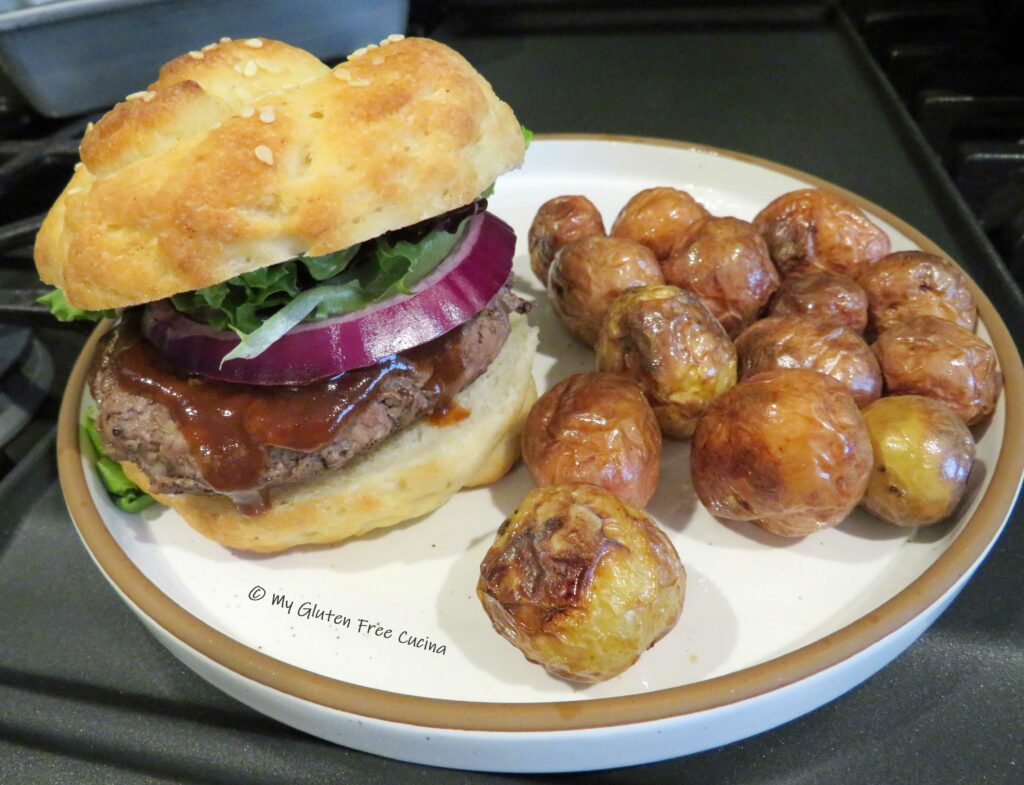
Turn the dough out onto an oiled cutting board.  Divide the dough into pieces with a bench knife and use oiled hands to roll each piece into a ball.  If you want to be really precise, weigh the dough and divide by the number of rolls you want to make.  My dough weighed 36 oz. total, and I made 10 rolls just over 3.5 oz. each.  Perfect for burgers!

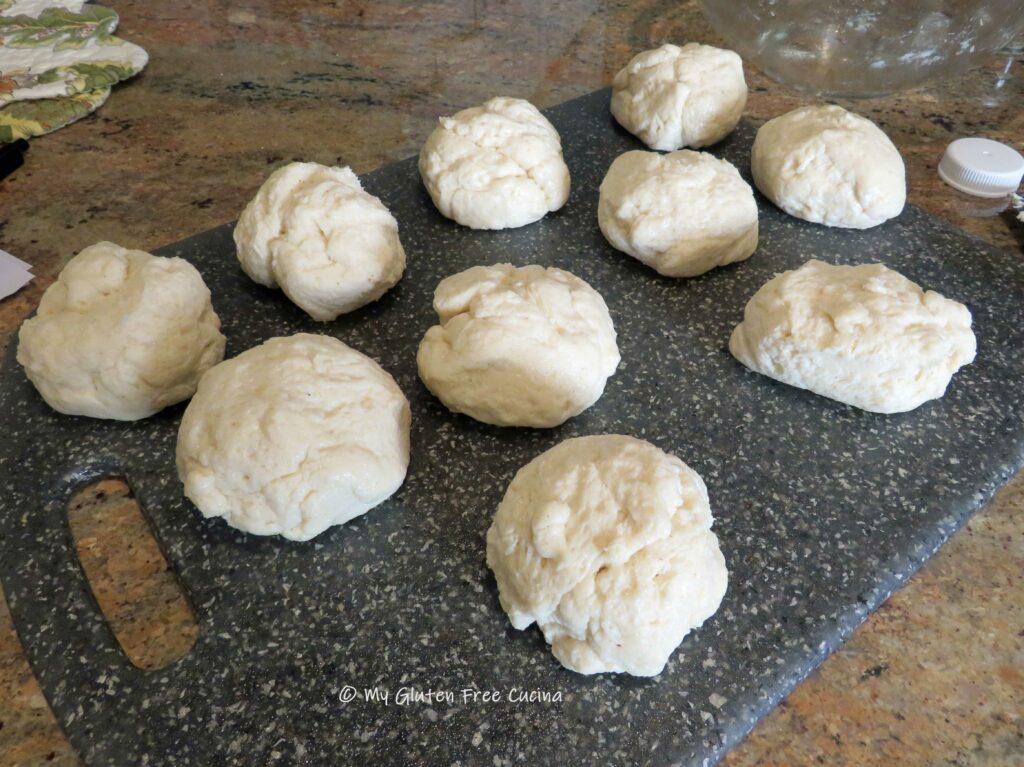
Now here’s the trick, don’t immediately try to roll the dough into ropes.  Cover with a dish towel and let the dough balls rest for 10 minutes, then gently roll each one into a 6″ cylinder.  Be sure to keep a light coating of oil on your hands and cutting board.  Cover and rest again for 5-10 minutes.  Repeat rolling and resting as needed, and with each “rest”, the dough will become more relaxed and easier to roll.

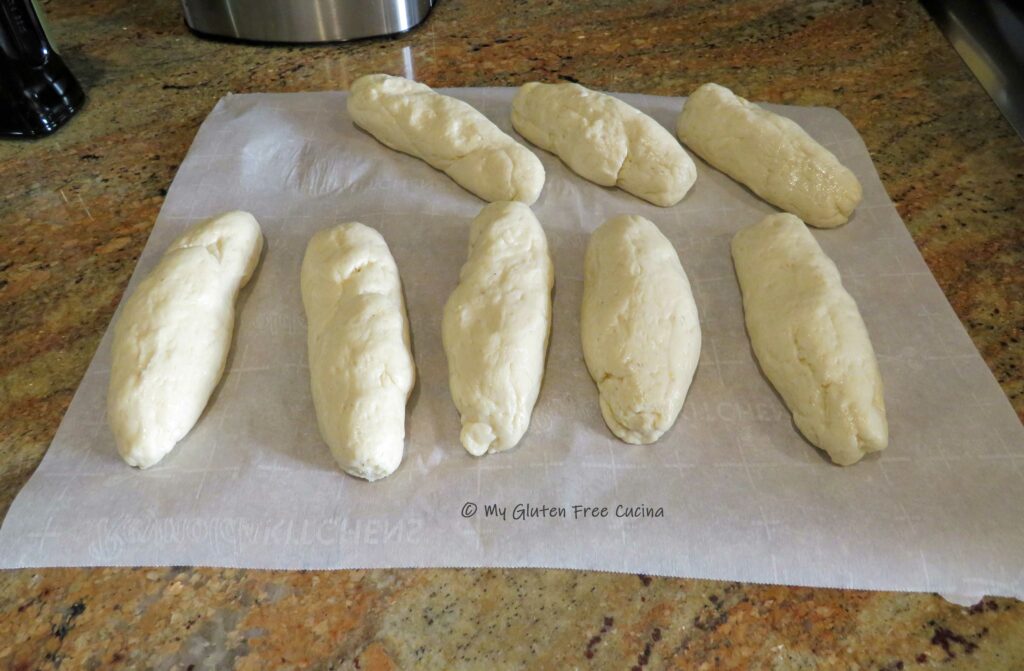
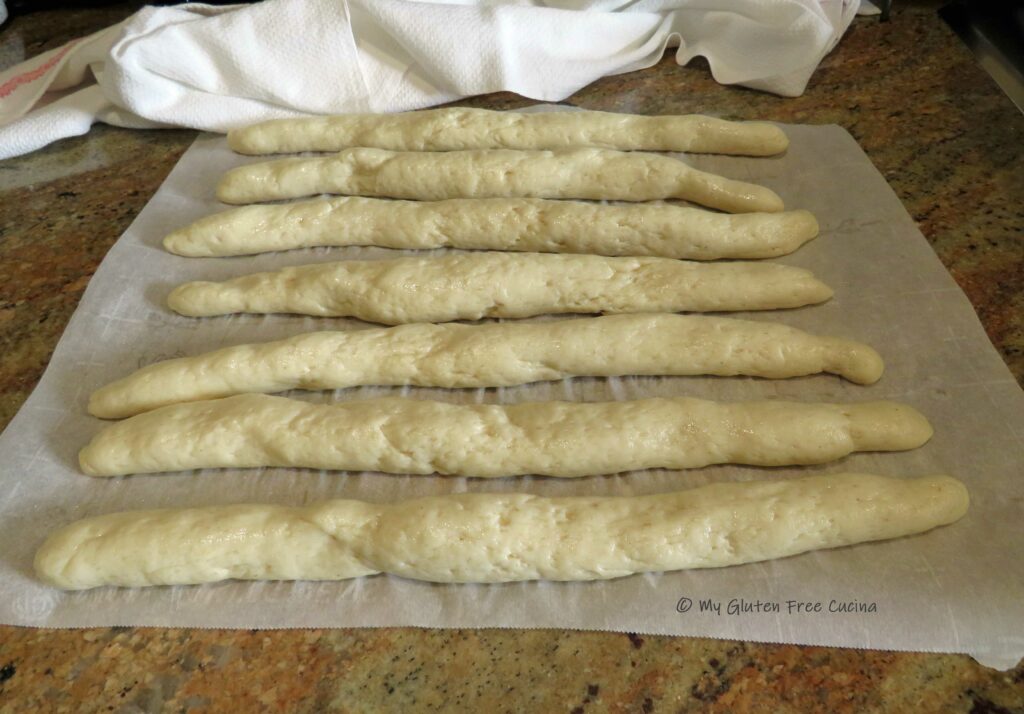
By the 3rd rest you should be able to roll the dough into ropes, about 14″ long.  To keep the dough from splitting, start at the bottom of the cutting board and roll in one direction toward the opposite side.  Then reverse and roll back.  Repeat until the rope reaches the desired length.

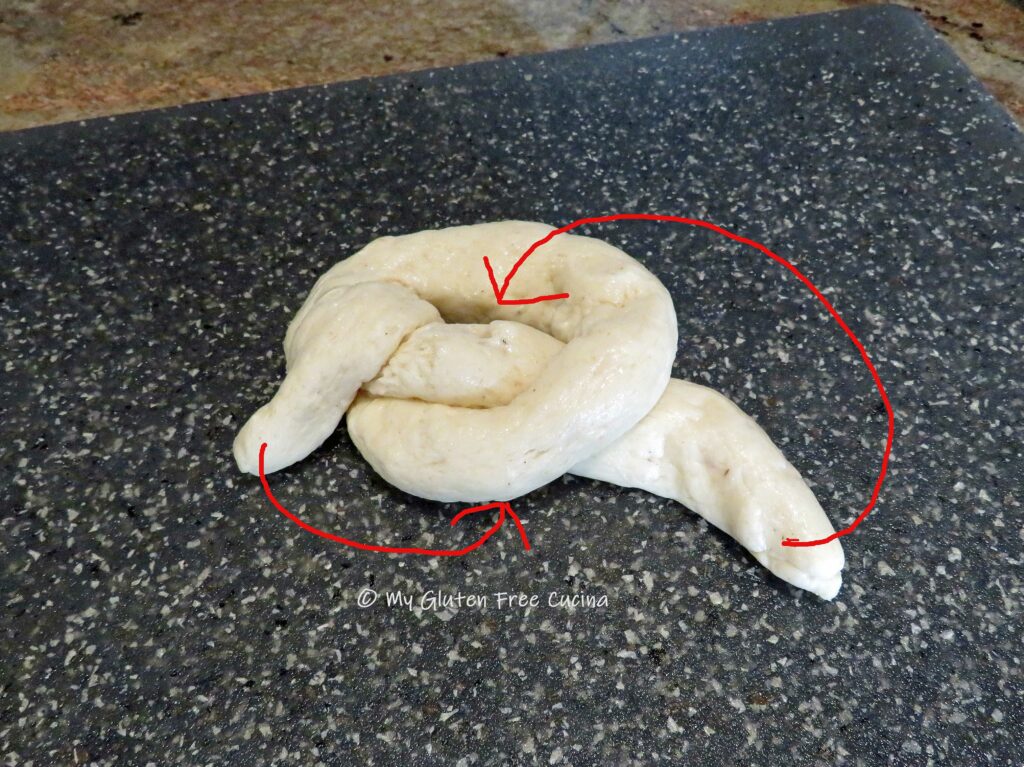
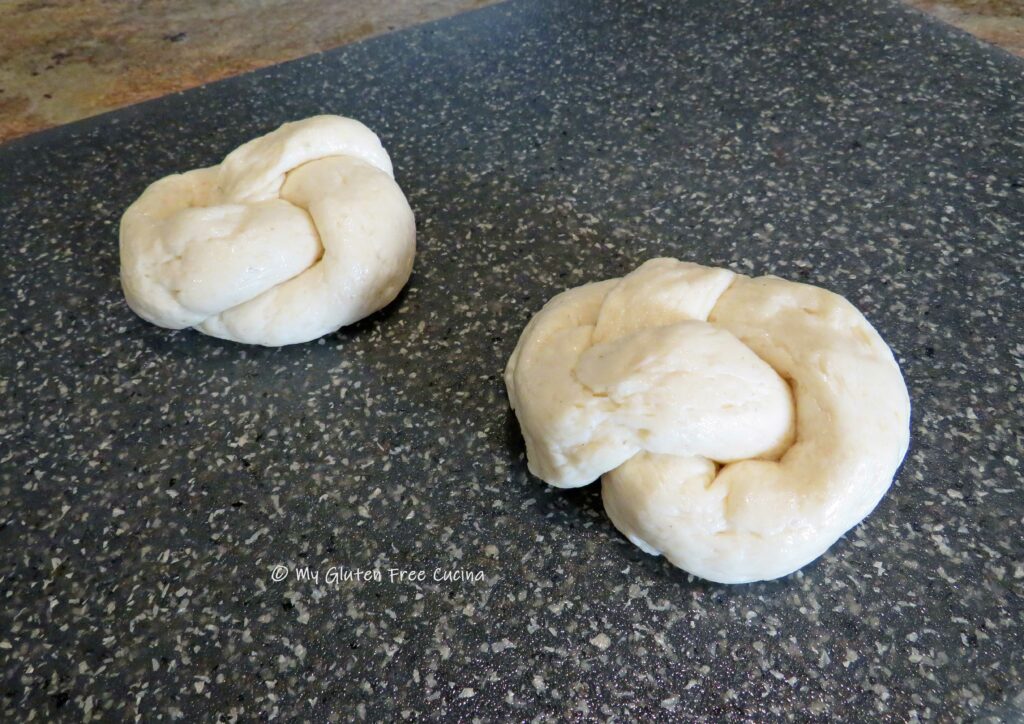
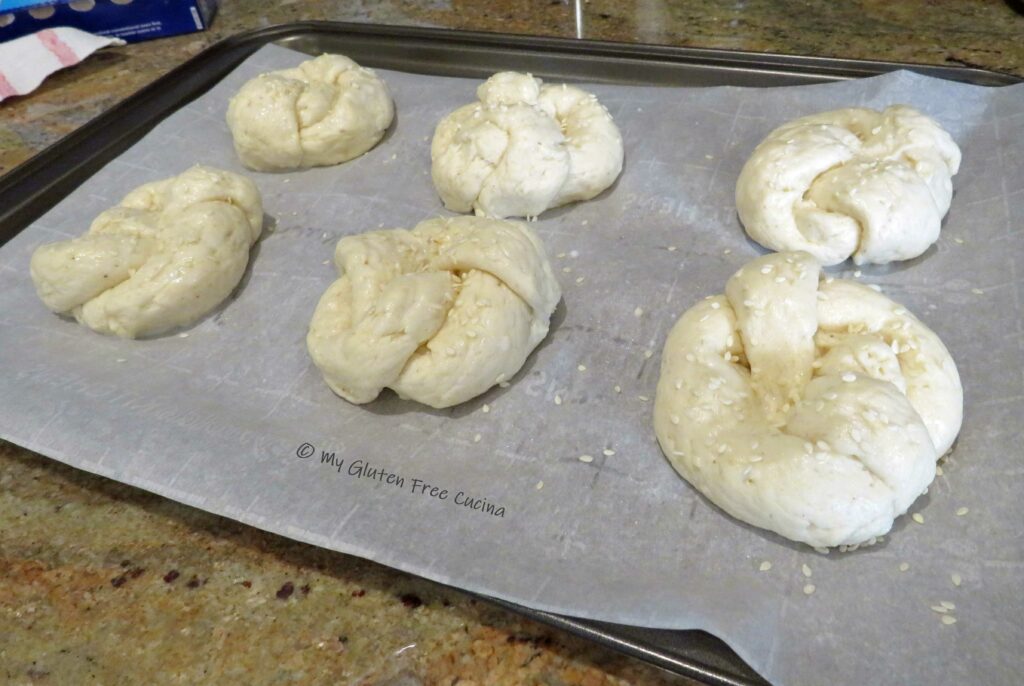
To form the Kaiser rolls, tie each rope into a loose knot.  Then bring the bottom end up over the knot and tuck it into the center.  Tuck the other end underneath.

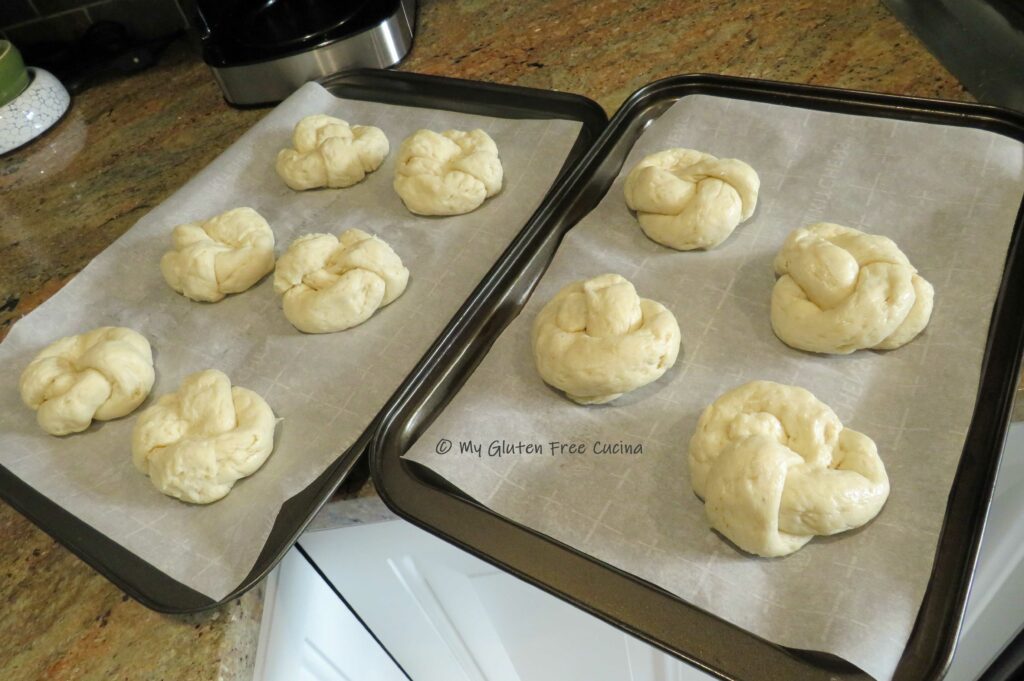
Place the shaped rolls on a baking pan lined with parchment.  Don’t crowd them together, use 2 pans if needed.

Cover with plastic wrap and proof for another 15 minutes while you preheat the oven to 425º.

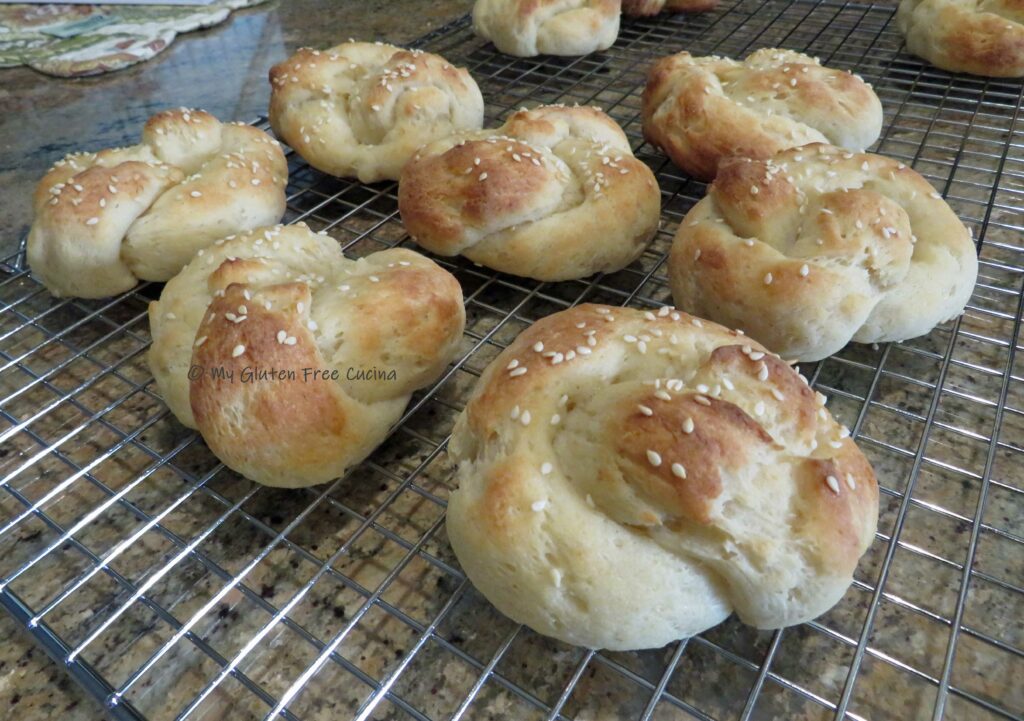
Brush the rolls with milk and sprinkle with sesame seeds.  Bake for 20 minutes or until the internal temperature reaches 210º.

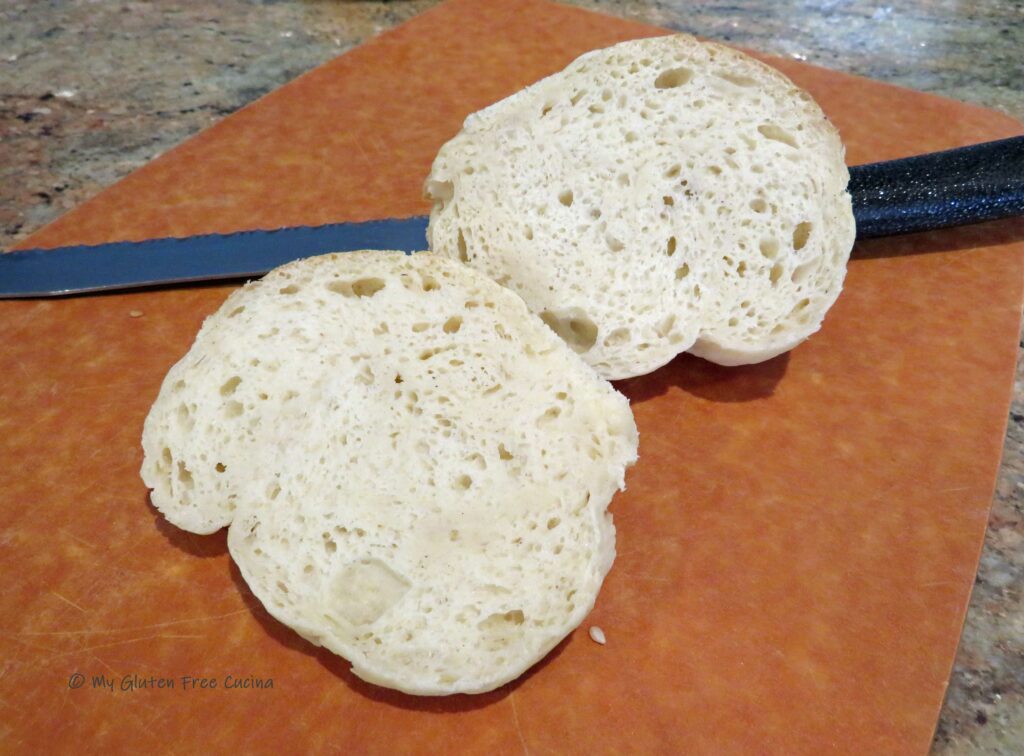
When you remove the rolls from the oven, be sure to let them cool completely before slicing.  I left mine on a rack for several hours, then stored them in a plastic bag at room temperature overnight.

When I sliced them the next day, I was quite pleased with the texture and crumb.  Check it out!

If you have been jonesing for the white bread experience, be sure to try the new Gluten Free Bread Flour from Better Batter, it will make your day!

Notes ♪ I have been experimenting with this recipe and thought the addition of sourdough really enhanced the flavor of the rolls.  If you want to make this recipe without the sourdough, increase the flour by 25g. and increase the water by 50g.  Instead of 1/8 tsp. instant yeast, use 2-1/4 tsp (1 packet).  Proofing time will be 30-45 minutes (not 6 hours).

Notes ♫ I was graced with the opportunity to receive some test samples of the new Gluten Free Bread Flour from Better Batter before it came to market.  In my experimentation I decided to add psyllium husk to my dough and the rolls turned out beautifully.  Note though, my favorite Chef, Patrick Auger who is the mastermind of product development at Better Batter advised that it is not necessary to add psyllium to the new Bread Flour as it was designed to work without.  Thanks Patrick!

Print This Post Print This Post 

Gluten Free Sourdough Starter

I have been a “Bread-head” for a very long time.  In fact, before my Celiac diagnosis, I baked my own bread every week, and even milled my own flour from organic wheatberries.  Eventually I began working with sourdough and had a very robust starter for 6 years.  But you know what happened next.  Once I learned that I had Celiac disease it all came to an abrupt end, and I had to go back to square one.

*In case you were wondering, you cannot convert a regular sourdough starter to gluten free.  Even after many feedings, the starter will still harbor gluten*

This post contains affiliate links.

That brings us to today’s post.  Gluten Free Sourdough bread has been at the top of my 2024 recipe bucket list, but first I needed an active starter.

Meet Sophie

Take a look!  After 2 weeks of feeding, she is bubbling away and ready to go to work.  I’m so excited (and hungry) for all the breads Sophie and I are going to make together!  We are already having fun with sourdough discard recipes.  So, stay tuned for more of Sophie popping up in my kitchen adventures this year.  And when you do, you can always come back to this post to read about how it all “started” (hehe)!


Key takeaways for establishing a sourdough starter:

  • Maintain a steady 75-80 degrees.
  • Use filtered water (not tap water)
  • Use whole grain gluten free flour, either sorghum or brown rice
  • Feed twice a day 1/4 cup (30 g.) flour and 1/4 cup (60 g.) water.
  • Discard between 1/4 and 1/2 cup daily.
  • Be patient, it takes longer for a gluten free starter to activate.

This post contains affiliate links.

Ingredients/Equipment:

  1. dried starter
  2. sorghum flour (you can also use brown rice flour)
  3. filtered water (not tap)
  4. 2 wide mouth ball jars, quart size
  5. cheesecloth
  6. proofing box (see notes)
  7. measuring cups
  8. wooden spoon
DAY ONE – A STAR IS BORN!
  • I opted for a dried starter because I just wasn’t having any luck with flour and water alone.  Try without it if you’re brave!
  • I fed the starter with Bob’s Red Mill Whole Grain Sorghum flour.  You want to use a single whole grain flour, not a blend that contains starches and gums.  I love the flavor of sorghum, but you can use brown rice flour if you prefer.

  • I used bottled water (filtered) because our tap water isn’t the best.
  • You need at least 2 wide mouth Ball jars, so that you can transfer the starter to a clean jar every couple of days.

I ordered a proofing box.  I know, expensive but so worth it!

  • This proofing box was a game changer for me.  My New England kitchen is chilly during the winter, and I was not about to turn up the heat to 80º for 2 weeks!  This proofing box maintains just the right temperature and folds for storage when not in use.


  • You will need measuring cups for feeding your starter and measuring the discard.
  • About those wooden spoons-

**Old wives’ tale – you should never touch your starter with a metal instrument.  I am superstitious and only use a wooden spoon!

the process:

After several failed attempts at establishing a starter, I purchased this dried gluten free sourdough packet from Cultures for Health.  It worked like a charm, not a huge investment, and they have a 60-day guarantee.

Feeding schedule:

  • Feed 1/4 cup (30 g.) flour and 1/4 cup (60 g.) water every 12 hours.  Stir vigorously after each addition.  The consistency should be like a pourable pancake batter.
  • Cover the jar with cheesecloth and place in a warm 75-80º spot.
  • Each day, before feeding you will notice that a layer of liquid has formed on top of your starter.  It’s the alcohol (a/k/a hooch) formed during fermentation, and it gives the starter that sour taste and aroma.  Don’t throw it away, just stir it back into the starter.

  • After the first few days, you will need to discard between 1/4 to 1/2 cups each morning before feeding.  Stir the starter first, then measure out and discard 1/4 cup at a time until you have just one cup remaining in the jar.  Feed as usual and transfer to a clean jar.  This step is necessary to encourage growth of the wild yeast and good bacteria, I try to maintain about 1-1/2 cups of starter at all times.

(If you’re like me, you hate throwing anything away, so I’ll be sharing a few sourdough discard recipes!)

Gluten Free Sourdough Discard English Muffins
  • When the starter is ready to use it will be loaded with little air bubbles.  Mine was ready after 14 days of twice daily feeding.
  • Once your starter is established, you can store it in the refrigerator and feed it once a week.  Cover it loosely, never tighten the lid.

Notes:

♪ No proofing box?  You can try making an inexpensive one with a Styrofoam cooler and 25-watt bulb.  I had one like this that I used for years.  Alternatively, you can create a warm, draft free environment by placing your starter in the oven with the light on (may not be practical for the 10+ days needed to activate a starter).  Some people use the microwave or even the clothes dryer! (again, not practical if you do laundry every day).

For the bread scientists 🙋‍♀️ I fed my starter with equal parts whole grain sorghum flour and water by volume (1/4 cup), but this is actually a 200% hydration starter by weight, that is, 60 g. water to 30 g. flour per feeding.

♫♪ With just a little care a starter can live for many years.  If you are not baking often, be sure to feed your starter on a regular schedule, discard the excess and move it to a clean jar every week.

Print This Post Print This Post