
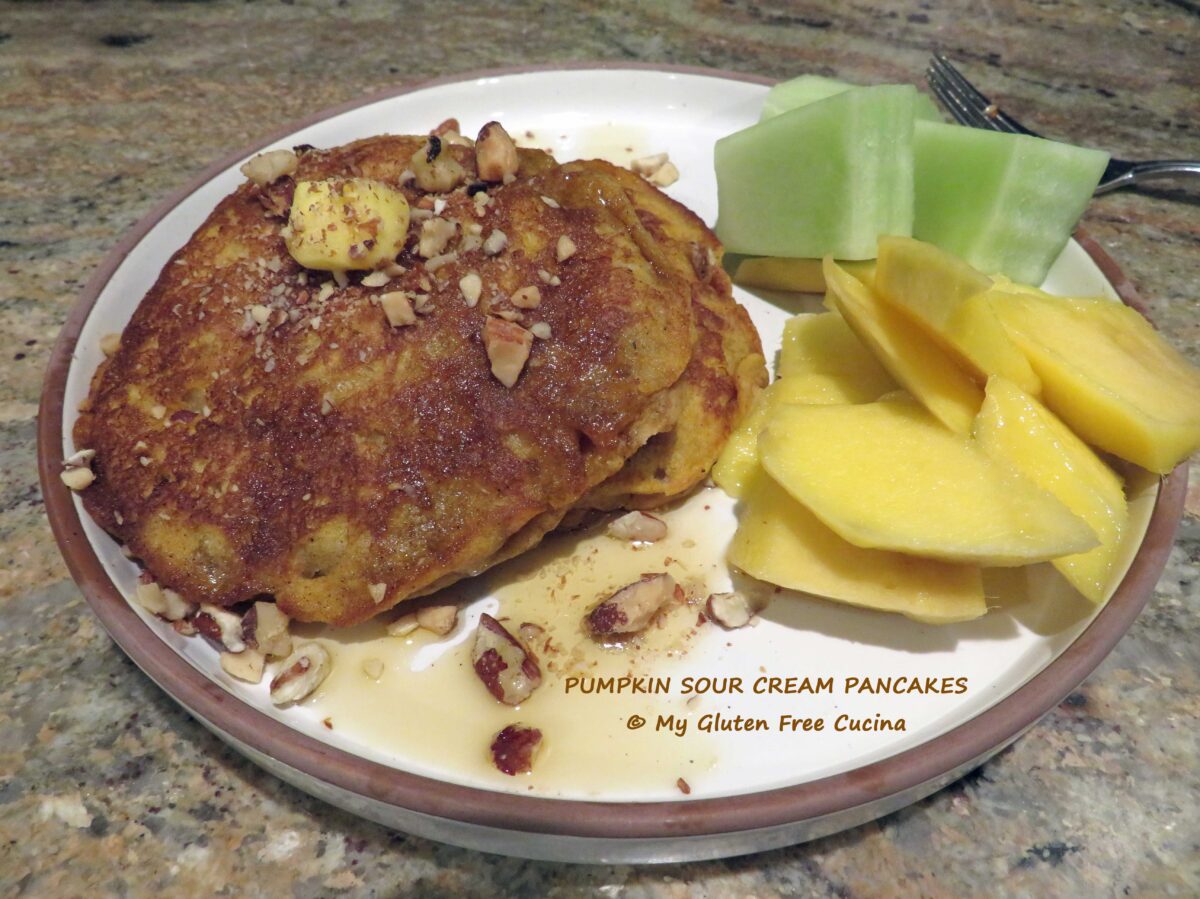
With fall days arriving there are pumpkin recipes popping up everywhere. I have my own traditions, like the Gluten Free Pumpkin Applesauce Muffins that I make every year. Then there’s Gluten Free Pumpkin Pasta, Harvest Sauce and even Pumpkin Meatballs!
This post started as one of those “use it up” recipes. I had just a little bit of sour cream, and a little pumpkin puree left over. You know I hate to throw anything away. 😉 So who wants pancakes?
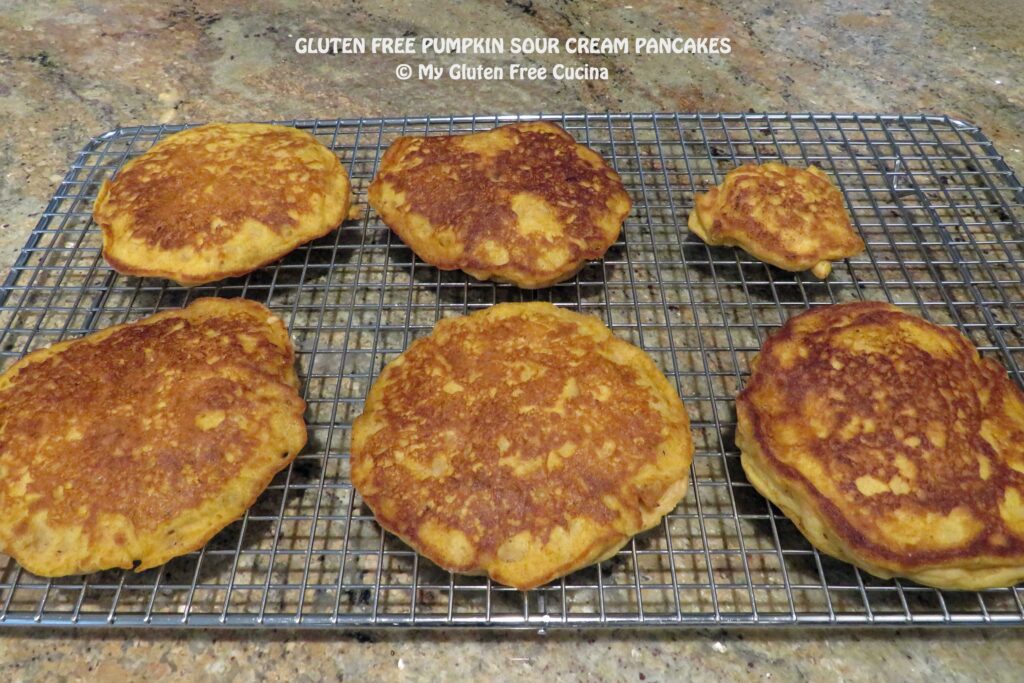
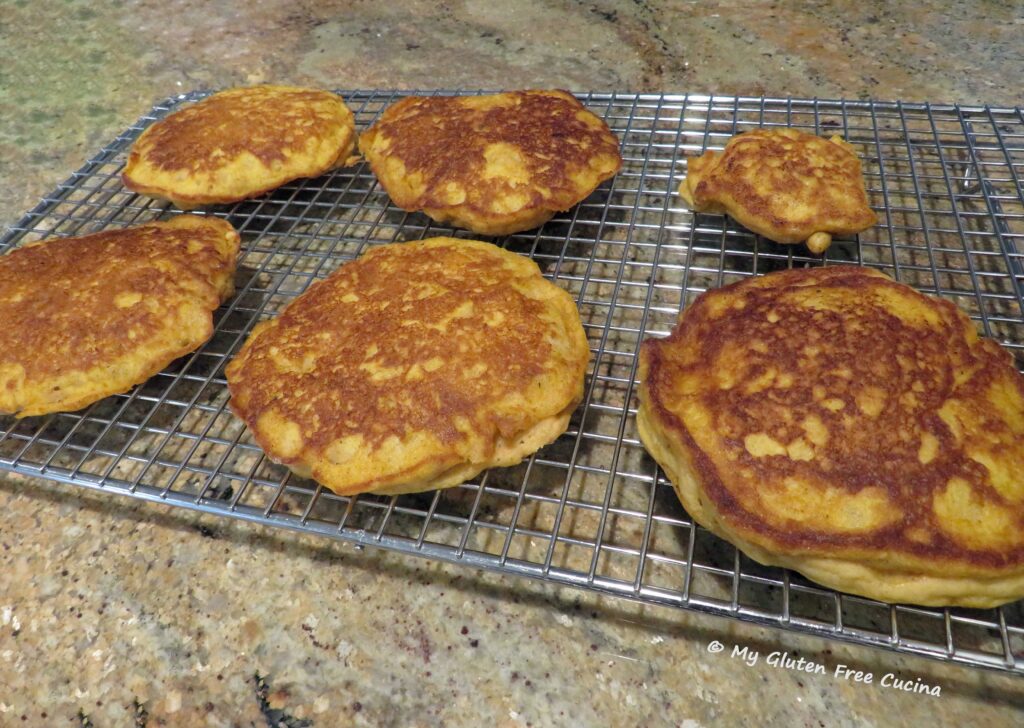 The recipe makes a small batch, breakfast for two. I ended up with 5 full size pancakes and one mini pancake. You can double or triple the recipe for a large family, or if you want extra to freeze for later.
This post contains affiliate links.
Ingredients:
Dry ingredients:
- 120 g. gluten free all-purpose flour
- 1 tsp. baking powder
- 1/2 tsp. baking soda
- 1/2 tsp. salt
- 1/2 tsp. cinnamon
- 1/8 tsp. cardamom
- 1/8 tsp. nutmeg
Wet ingredients:
- 1/4 cup canned pumpkin puree
- 1/4 cup sour cream
- 2 tbsp. sugar
- 1 large egg
- 1 tbsp. canola oil
- 1/2 tsp. vanilla
- 2/3 cups milk (I used 2%)
+ Butter for the griddle
 Preparation:
Preheat your griddle. Be sure that it is nice and hot before you begin cooking. (Hint💡 Ever wonder why that first pancake is always “a little funny”? The reason may be that your griddle wasn’t hot enough!)
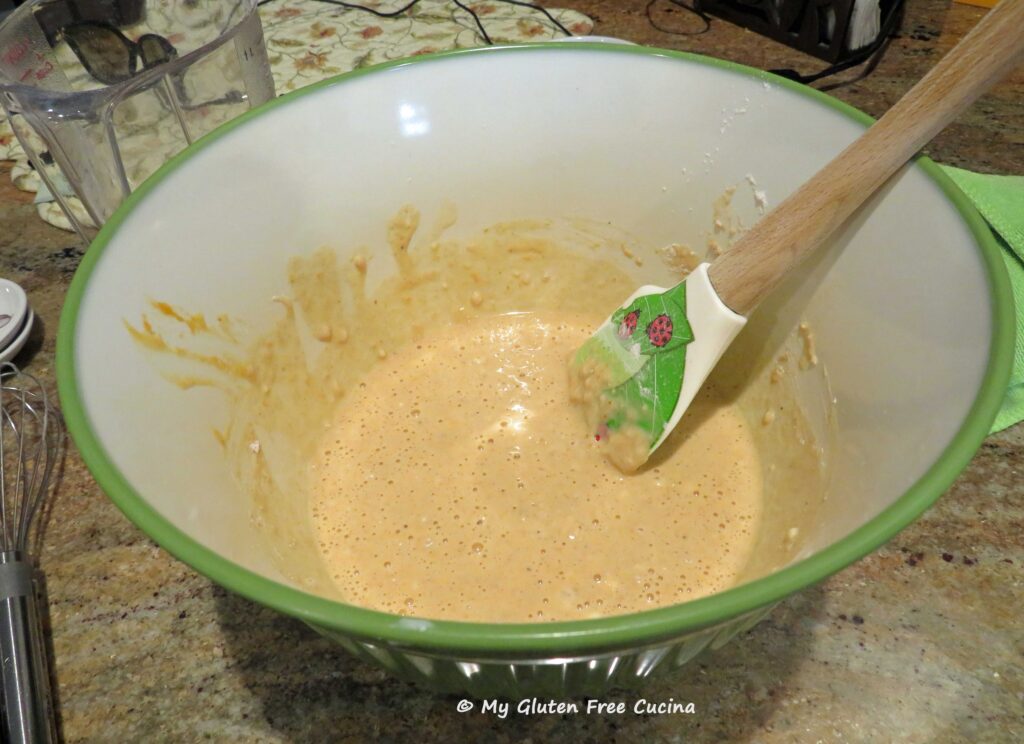
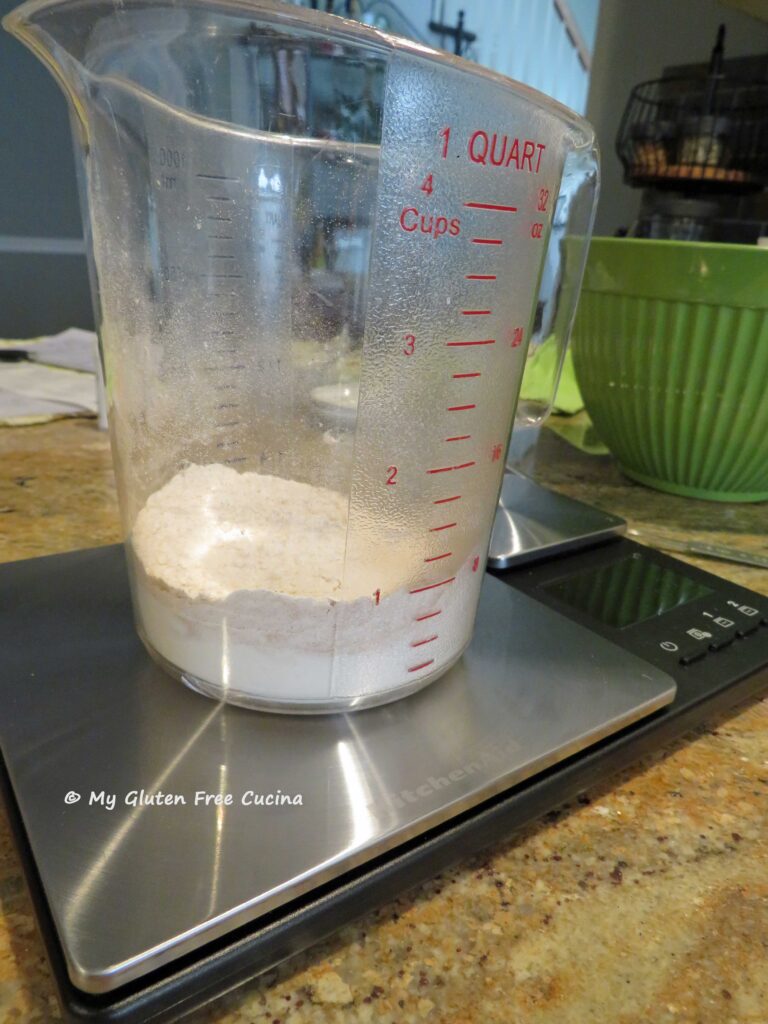 Set up 2 bowls, whisk together the dry ingredients in one bowl (I strongly recommend that you weigh the flour), and the wet ingredients in the other. Stir the wet and dry ingredients together, just until moistened.
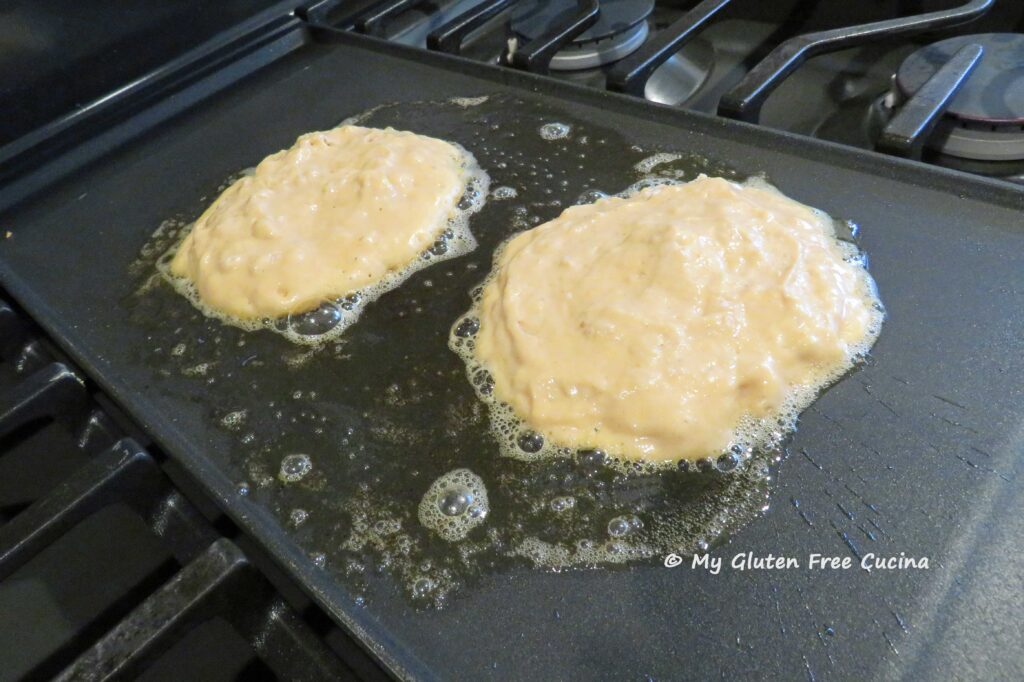
 Melt butter 1 tbsp. at a time on the griddle. Scoop batter by 1/3 cups and add to the griddle, leaving space in between.
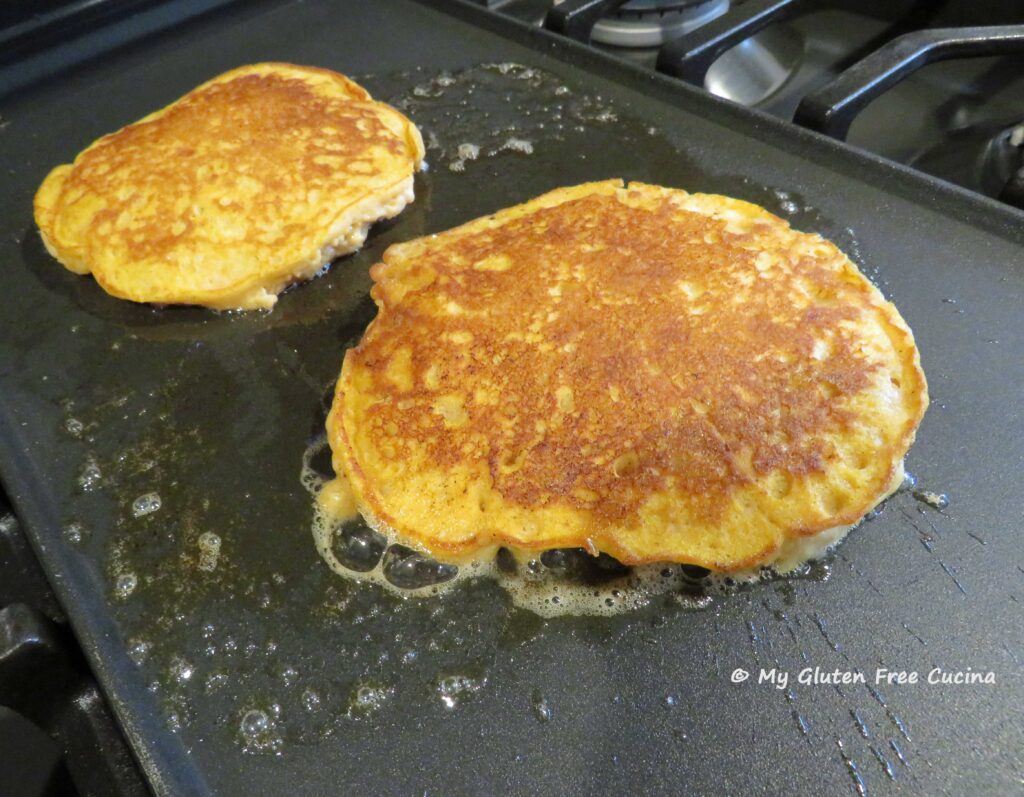
 Cook for 5 minutes then flip. Cook 3-5 more minutes. Keep in mind that gluten free pancakes take longer to cook than regular pancakes. Check if they are done by inserting a toothpick in the center. If it comes out dry, they are ready.
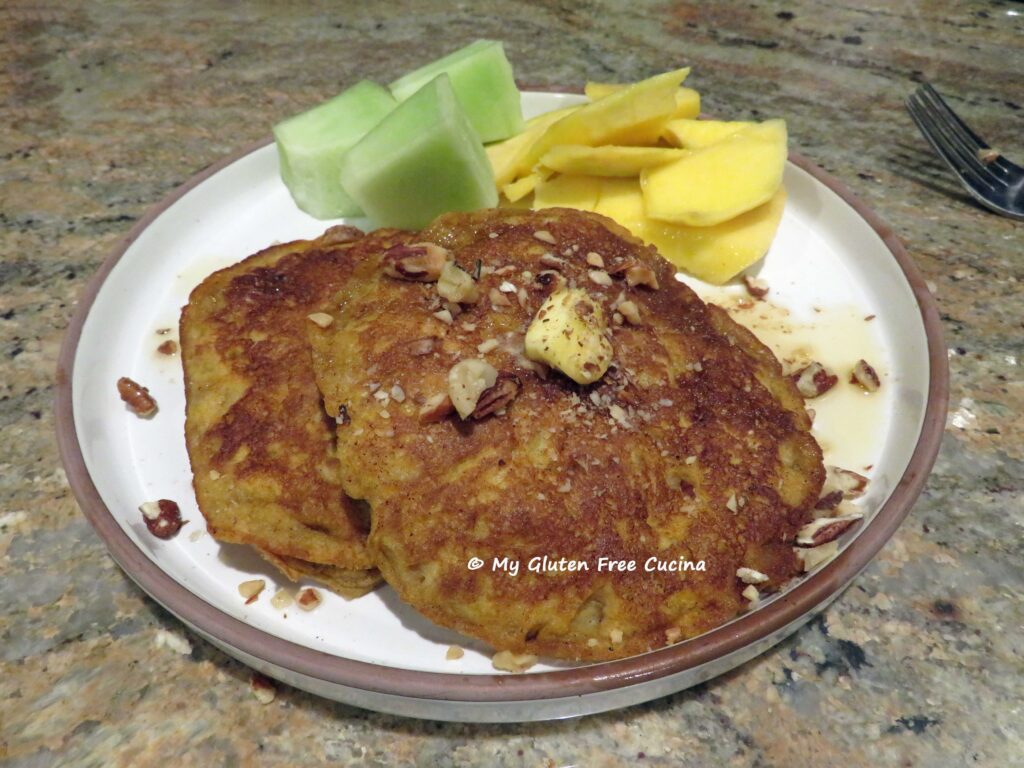
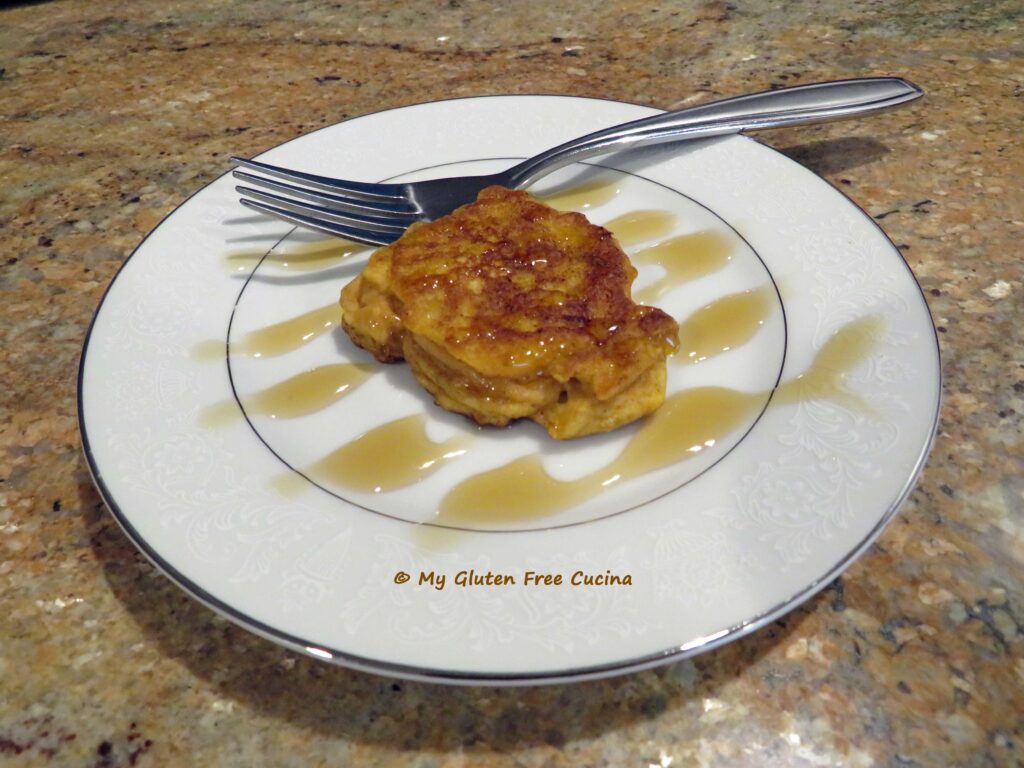
 If you have a little batter left over at the end, you can make a test pancake, here’s mine. Just one bite!
 You can serve the pancakes immediately or freeze for later. I let mine cool completely on a rack, then wrapped them separately and stored in freezer safe bags.
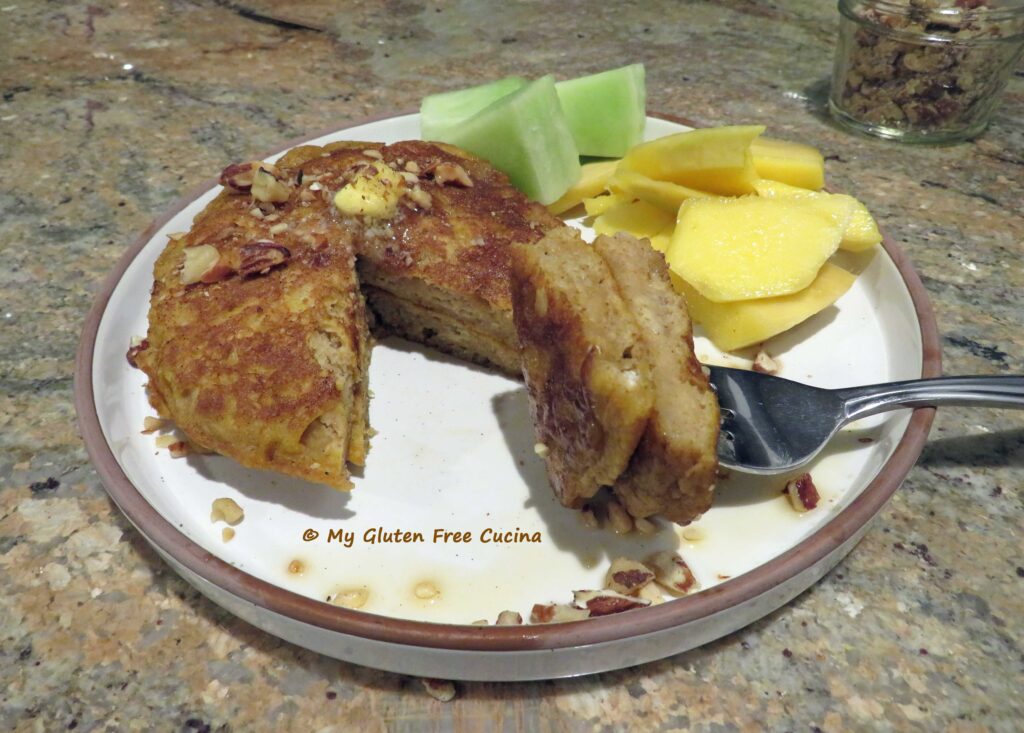
They reheat beautifully, about 75 seconds in the microwave. So, who’s ready for breakfast?
Notes ♪♫ I confess, I like a nice pumpkin on the front porch, but in the kitchen, I prefer out of the can. It’s just easier and I think it tastes better. 🤷🏻♀️Look for canned pumpkin puree (not pumpkin pie filling). Pumpkin should be the only ingredient. I used Libby’s.


Gluten Free Pumpkin Sour Cream Pancakes
Description
Great for using up that little bit of leftover pumpkin puree! The recipe makes a small batch, breakfast for two.
Ingredients
- Dry ingredients:
- · 120 g. gluten free all-purpose flour
- · 1 tsp. baking powder
- · 1/2 tsp. baking soda
- · 1/2 tsp. salt
- · 1/2 tsp. cinnamon
- · 1/8 tsp. cardamom
- · 1/8 tsp. nutmeg
- Wet ingredients:
- · 1/4 cup canned pumpkin puree
- · 1/4 cup sour cream
- · 2 tbsp. sugar
- · 1 large egg
- · 1 tbsp. canola oil
- · 1/2 tsp. vanilla
- · 2/3 cups milk (I used 2%)
- · + Butter for the griddle
Instructions
- Preheat your griddle. Be sure that it is nice and hot before you begin cooking.
- Set up 2 bowls, whisk together the dry ingredients in one bowl (I strongly recommend that you weigh the flour), and the wet ingredients in the other. Stir the wet and dry ingredients together, just until moistened.
- Melt butter 1 tbsp. at a time on the griddle. Scoop batter by 1/3 cups and add to the griddle, leaving space in between.
- Cook for 5 minutes then flip. Cook 3-5 more minutes. Keep in mind that gluten free pancakes take longer to cook than regular pancakes. Check if they are done by inserting a toothpick in the center. If it comes out dry, they are ready.
- If you have a little batter left over at the end, you can make a test pancake, here’s mine. Just one bite!
- You can serve the pancakes immediately or freeze for later. I let mine cool completely on a rack, then wrapped them separately and stored in freezer safe bags.
- They reheat beautifully, about 75 seconds in the microwave.
Notes
Ever wonder why that first pancake is always “a little funny”? The reason may be that your griddle wasn’t hot enough!
I confess, I like a nice pumpkin on the front porch, but in the kitchen, I prefer out of the can. It’s just easier and I think it tastes better.  Look for canned pumpkin puree (not pumpkin pie filling). Pumpkin should be the only ingredient.
© My Gluten Free Cucina * All Rights Reserved
Unauthorized use and/or duplication of this material without express and written permission from this blog’s author and/or owner is strictly prohibited.
Better Batter Collaborator
When you shop Better Batter | Gluten Free Flour, use my Promo Code MGFC30 for 30% off your non-sale purchase!
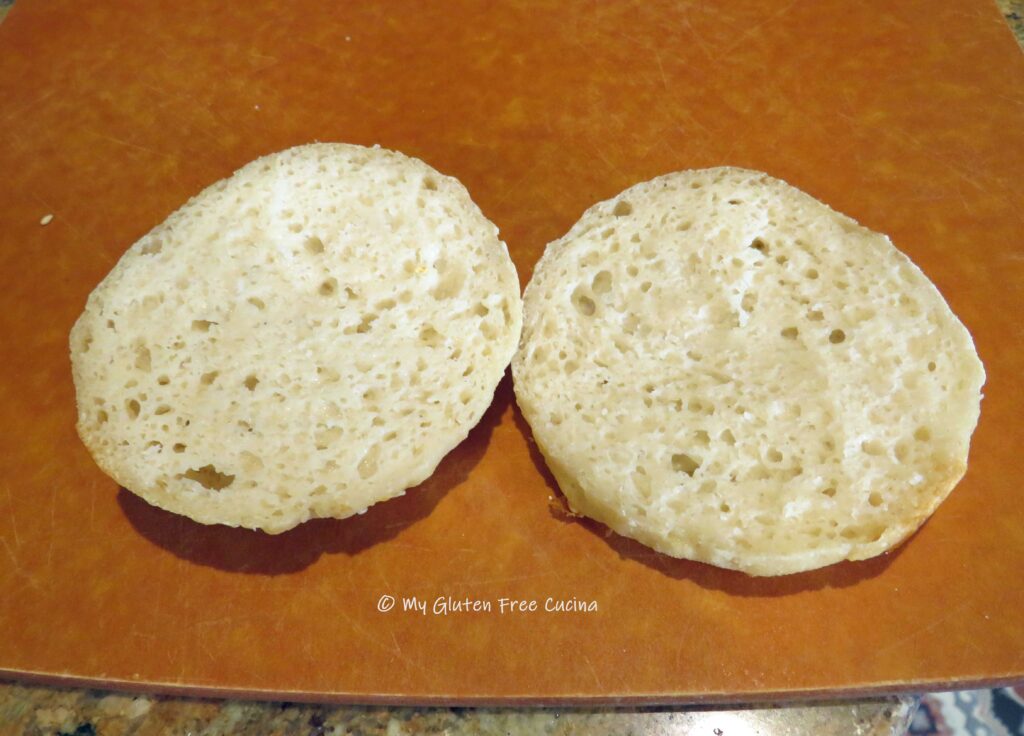
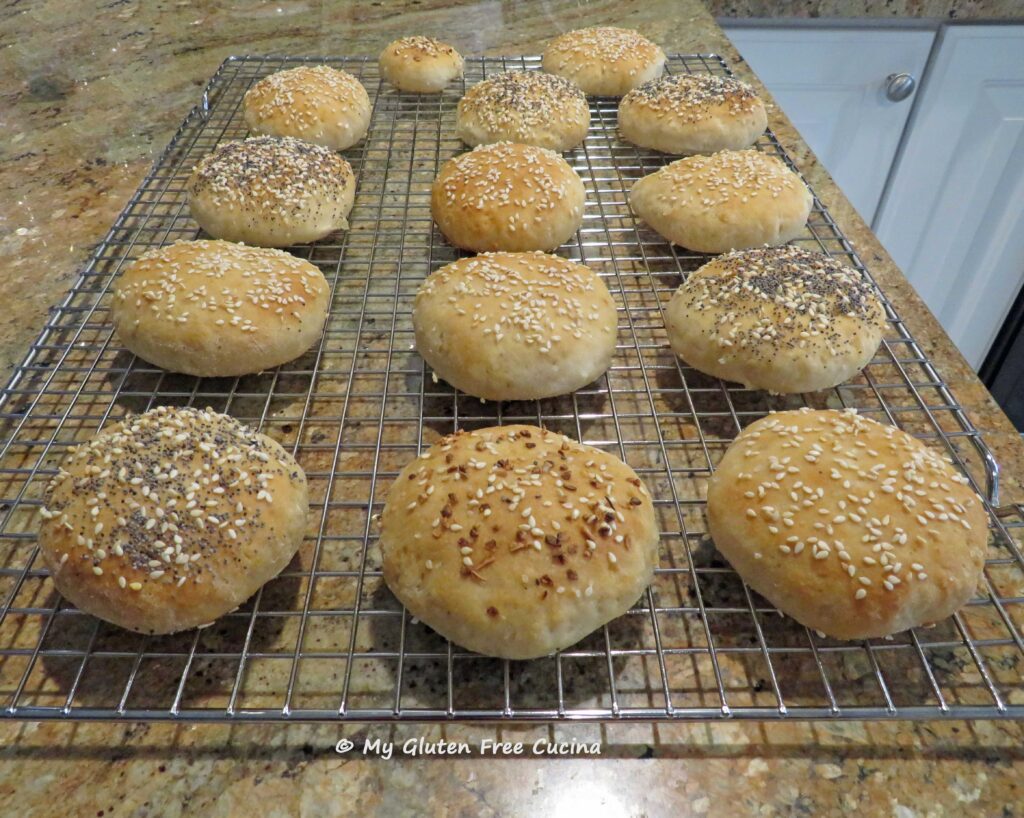
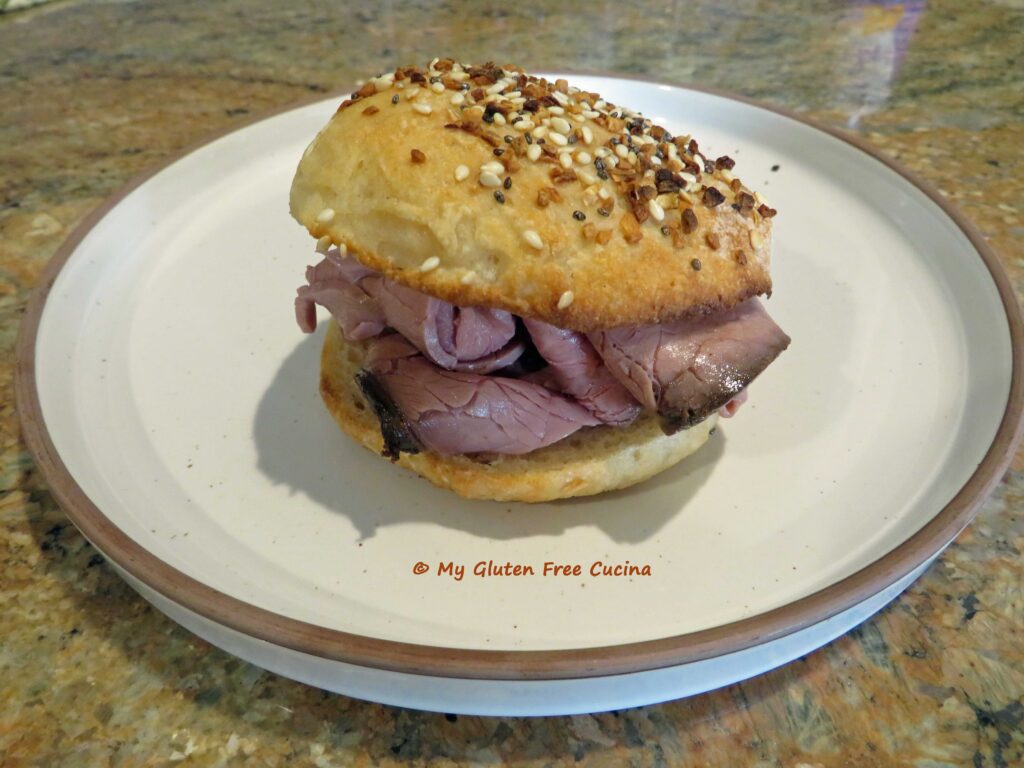
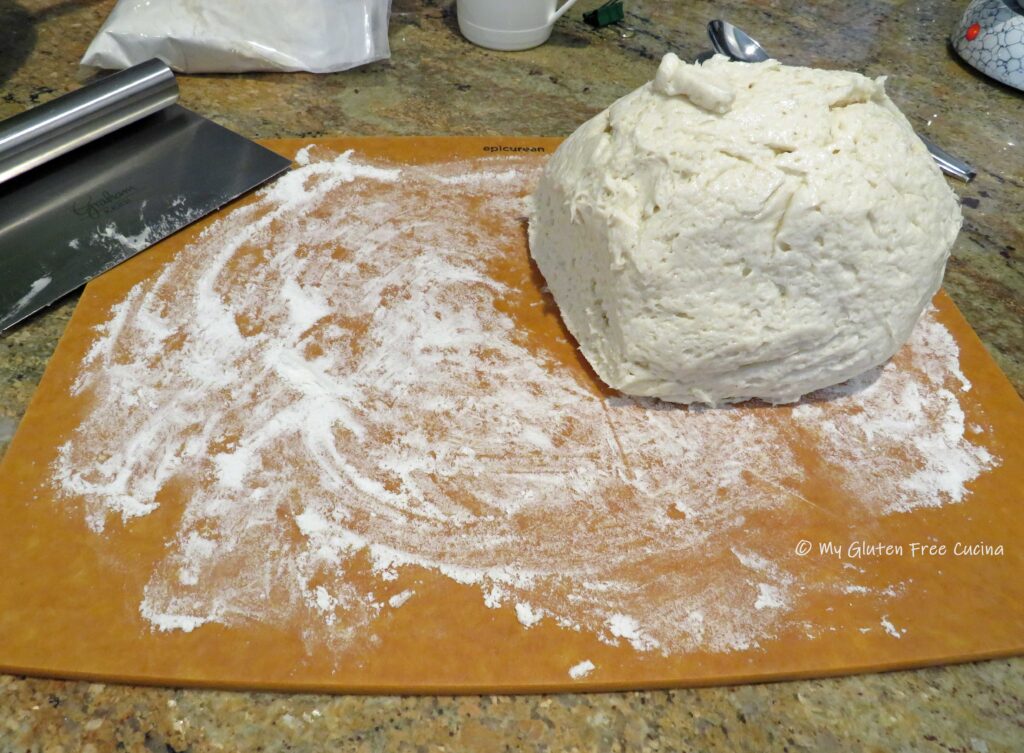
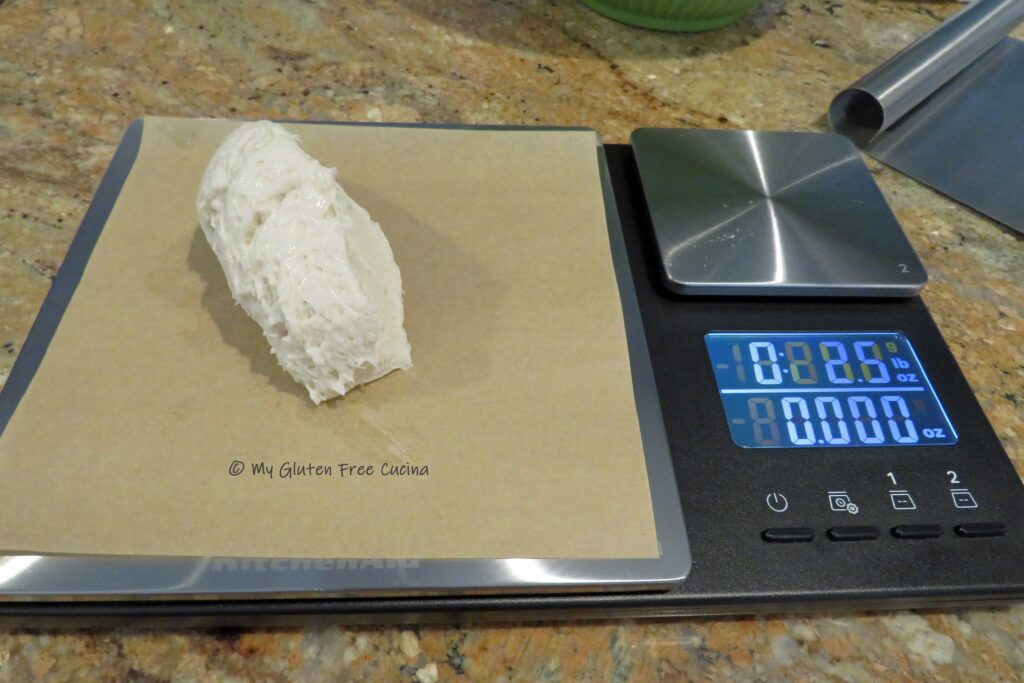
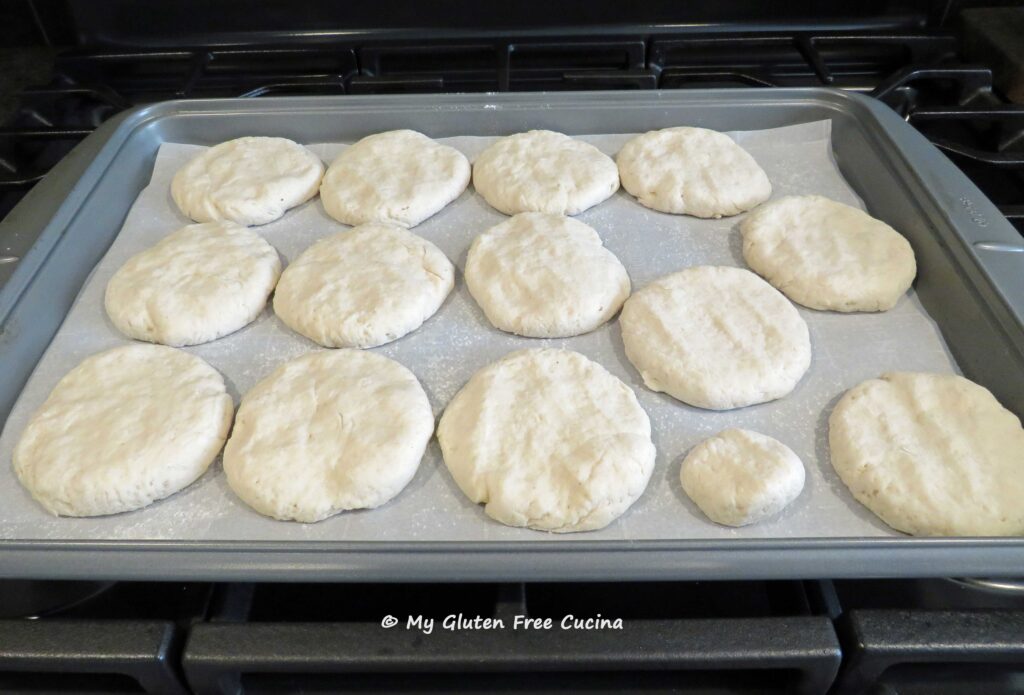
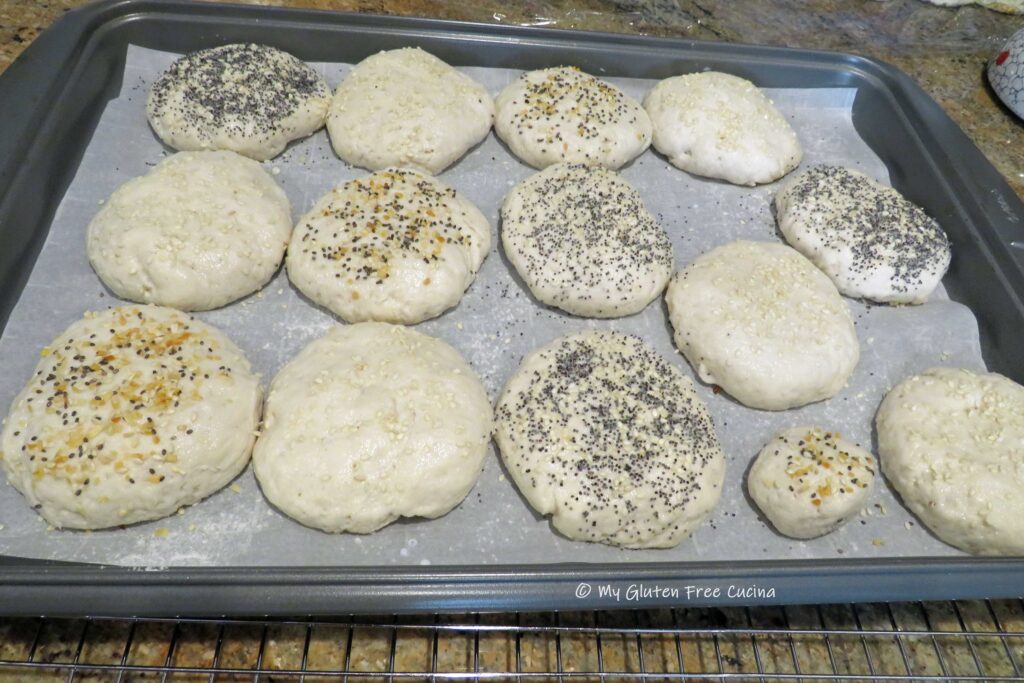
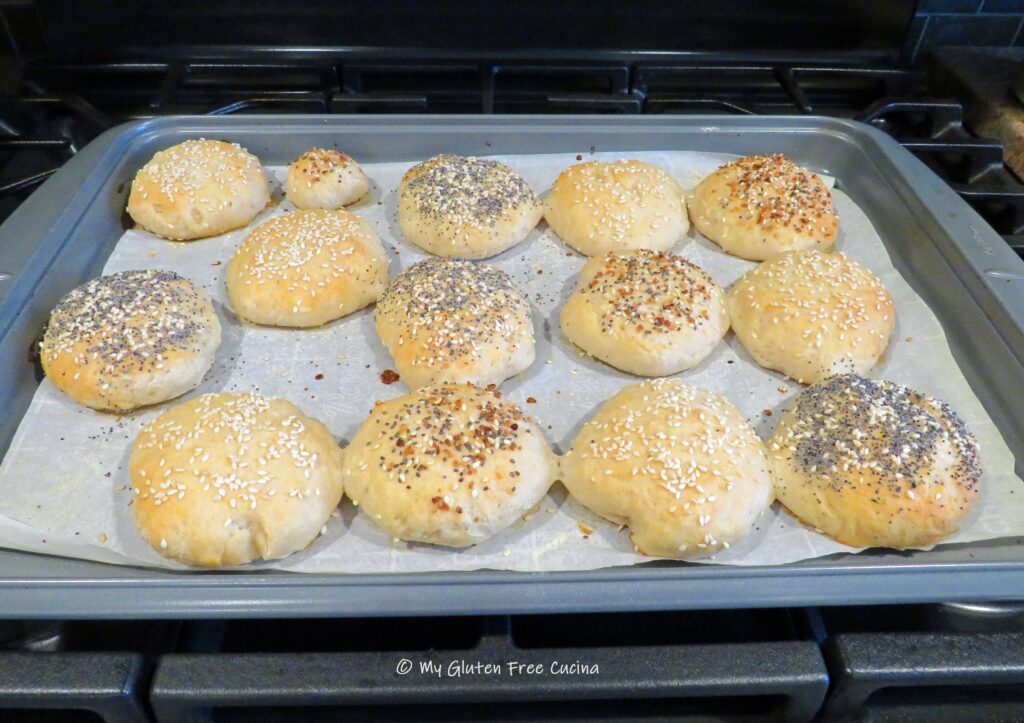
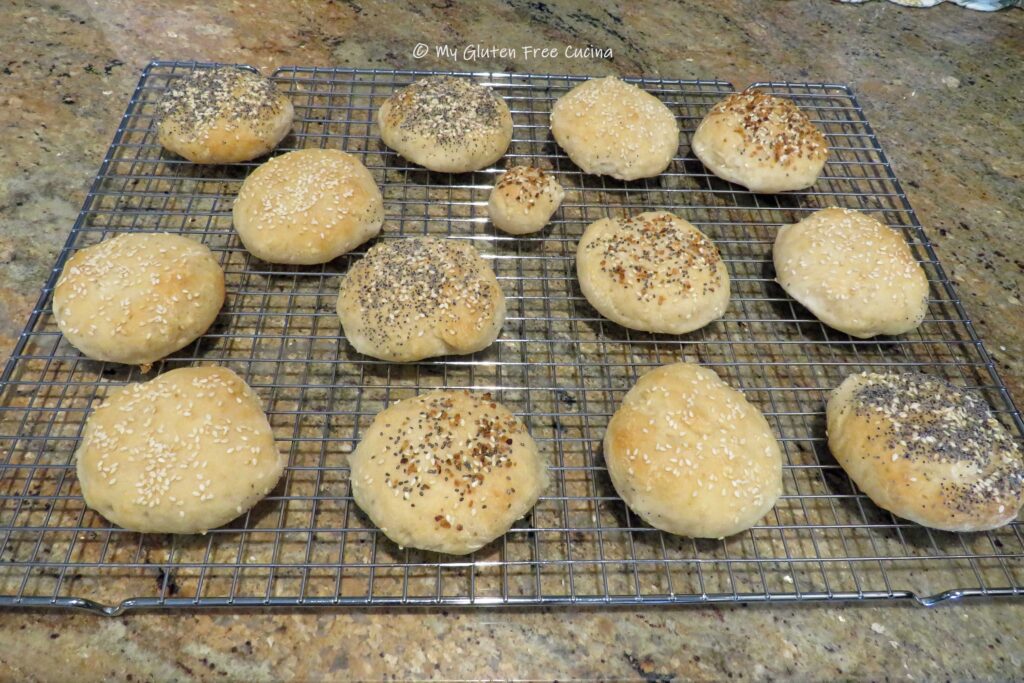
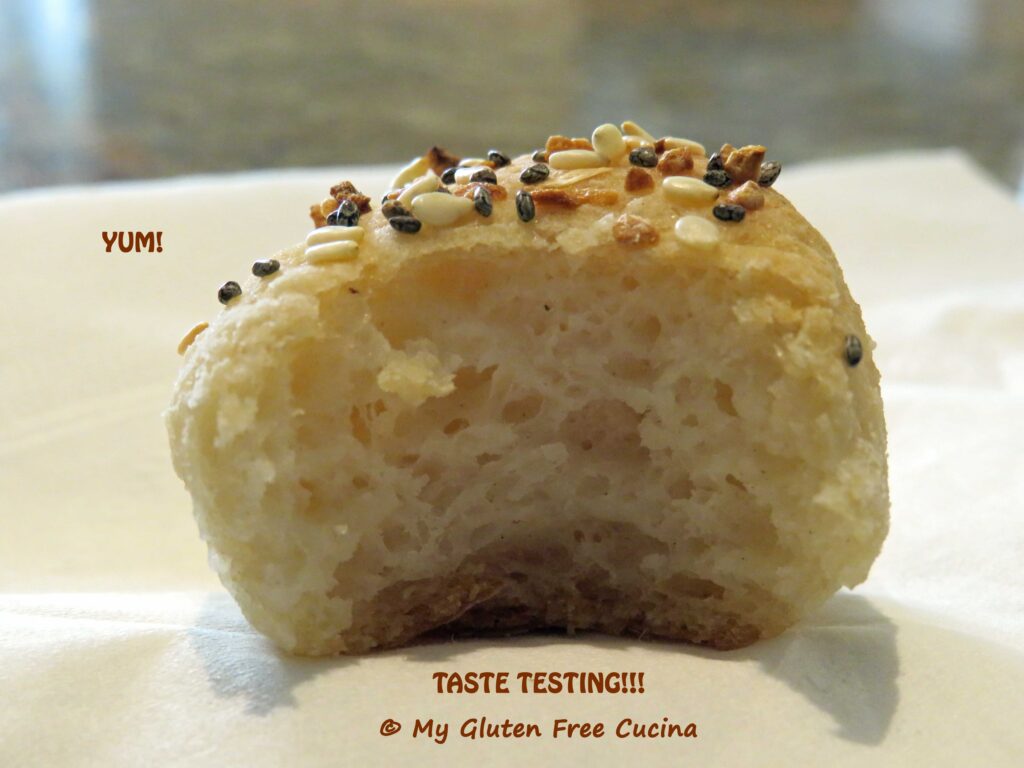 How nice that these rolls do not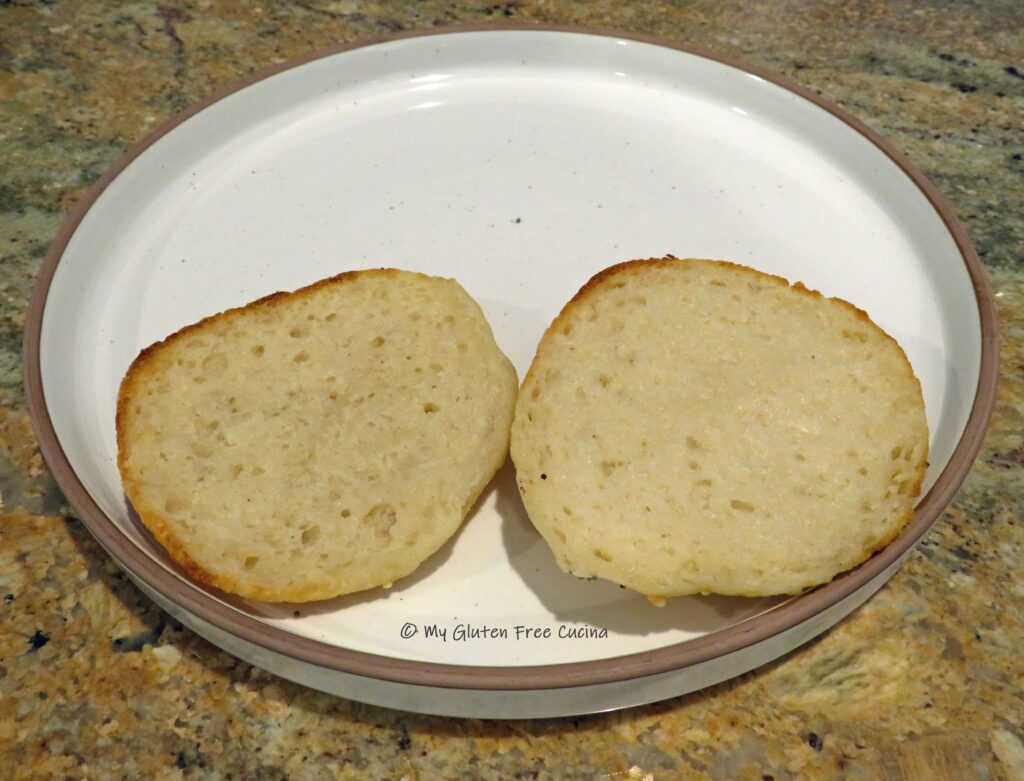









 Preparation:
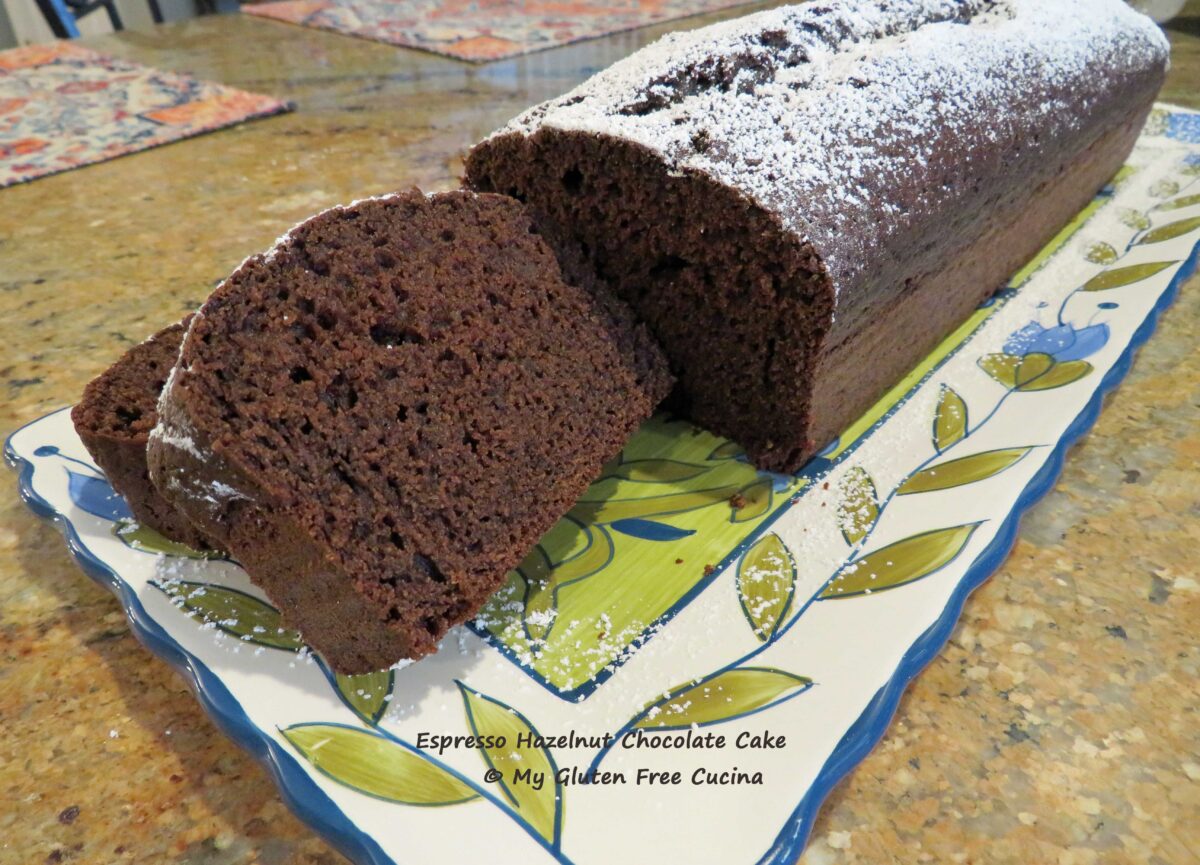
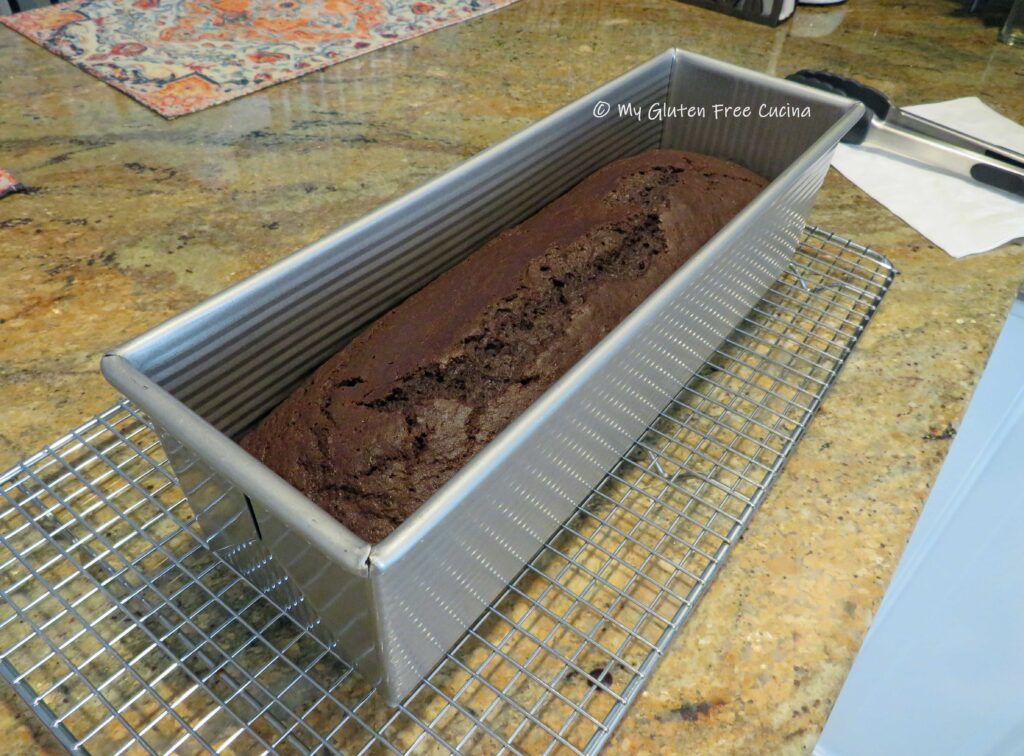 Remove from the oven and cool in the pan for 15 minutes then tip the pan gently to slide the cake onto a rack to cool.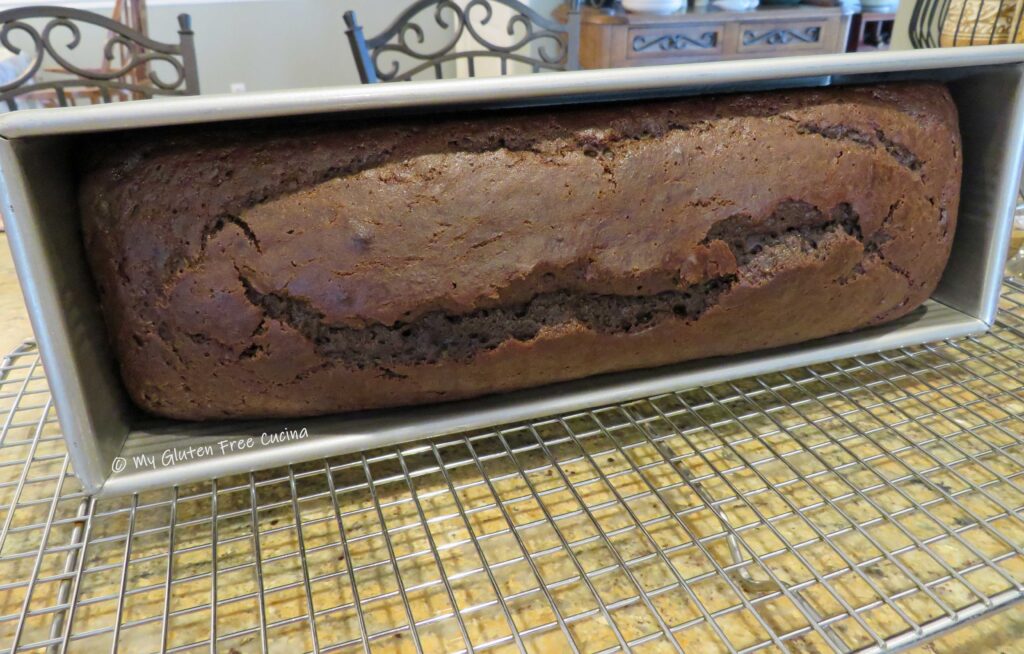
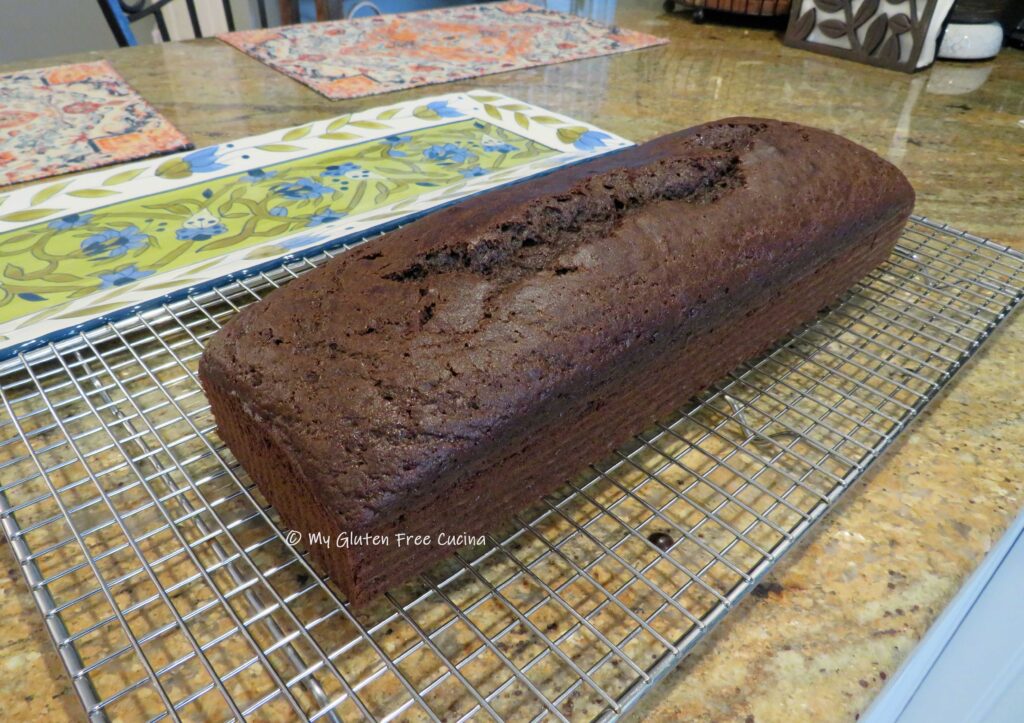

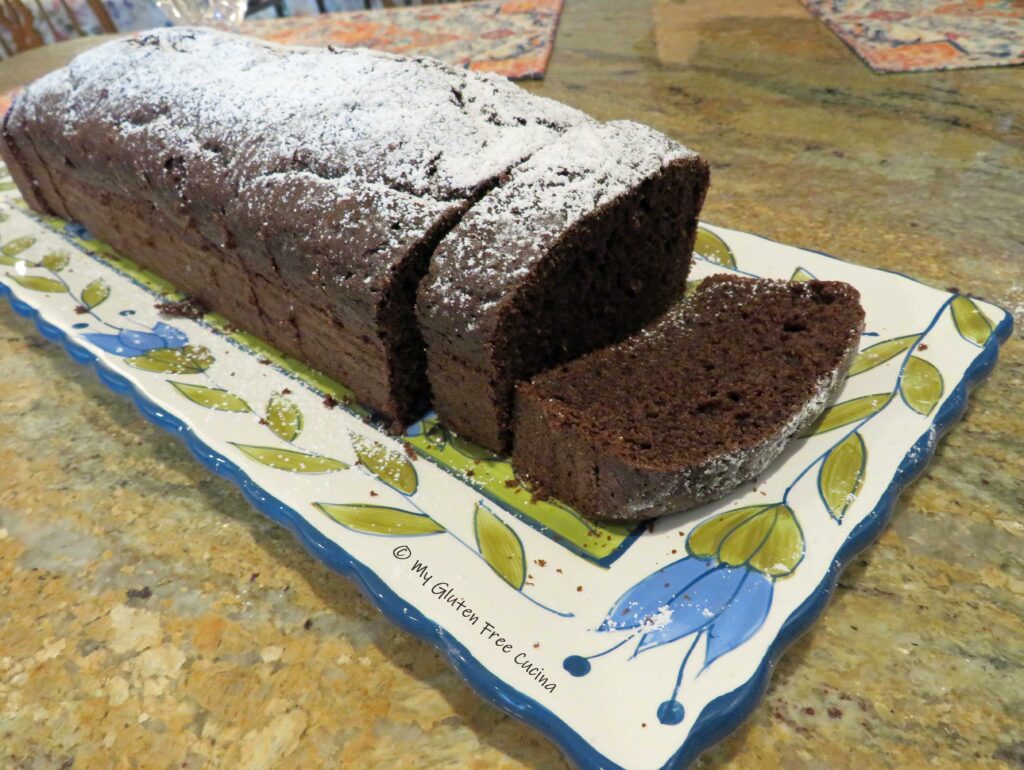
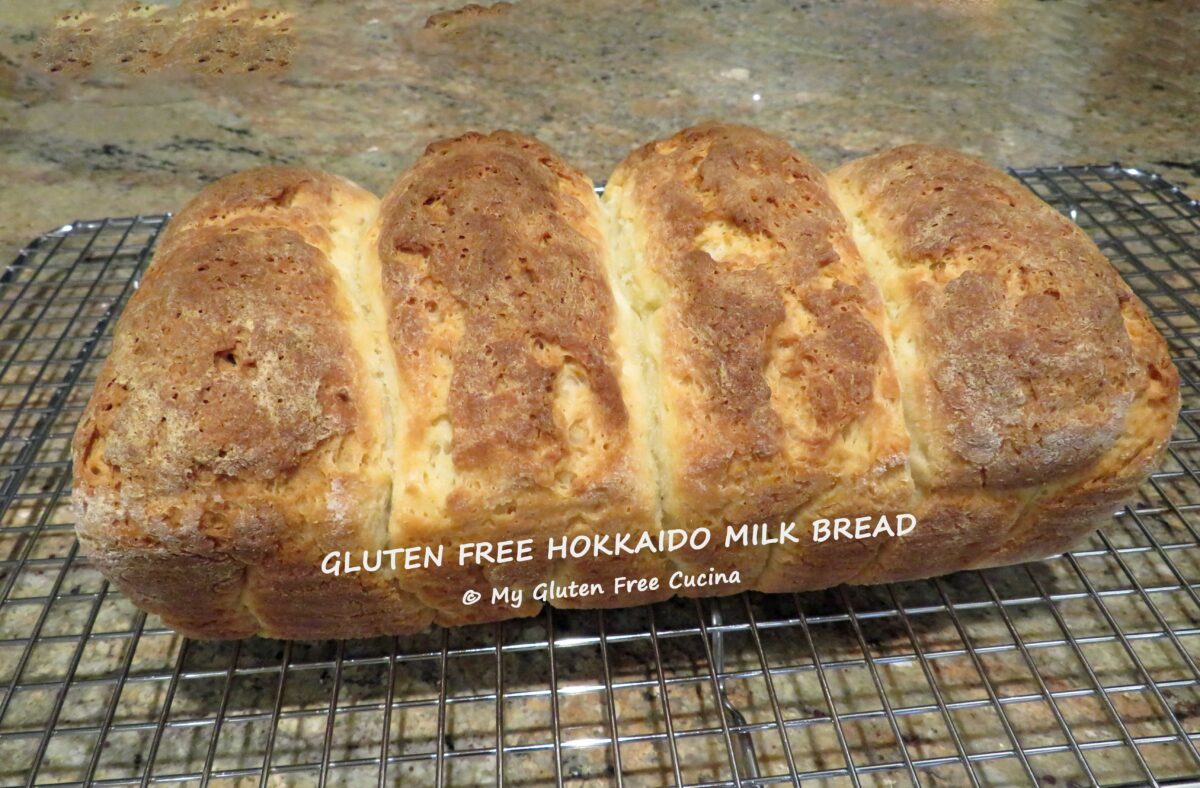
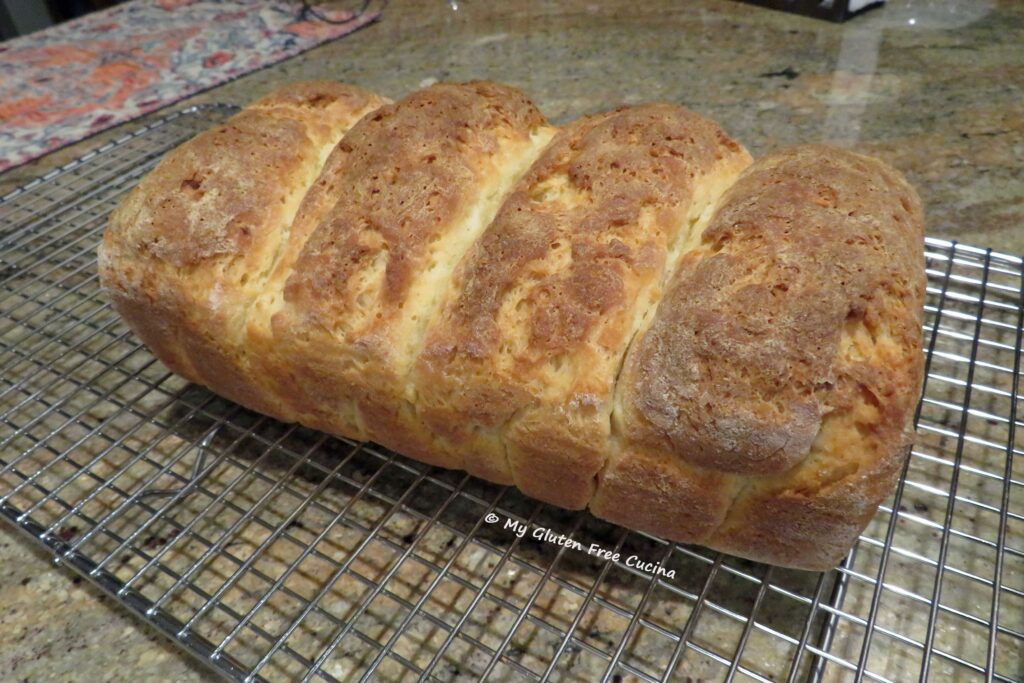
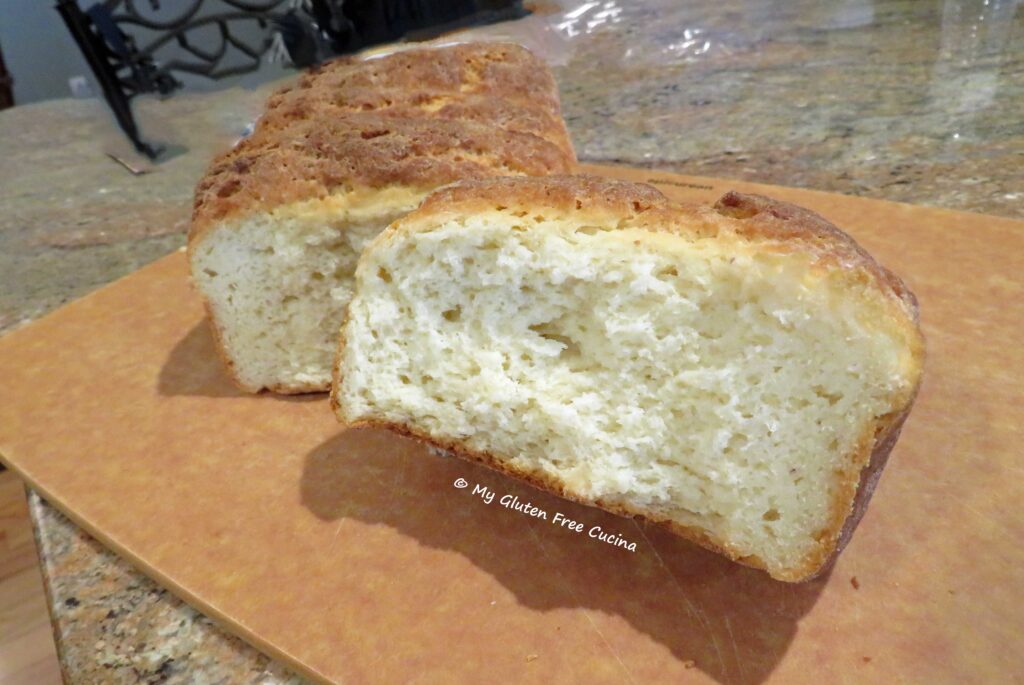
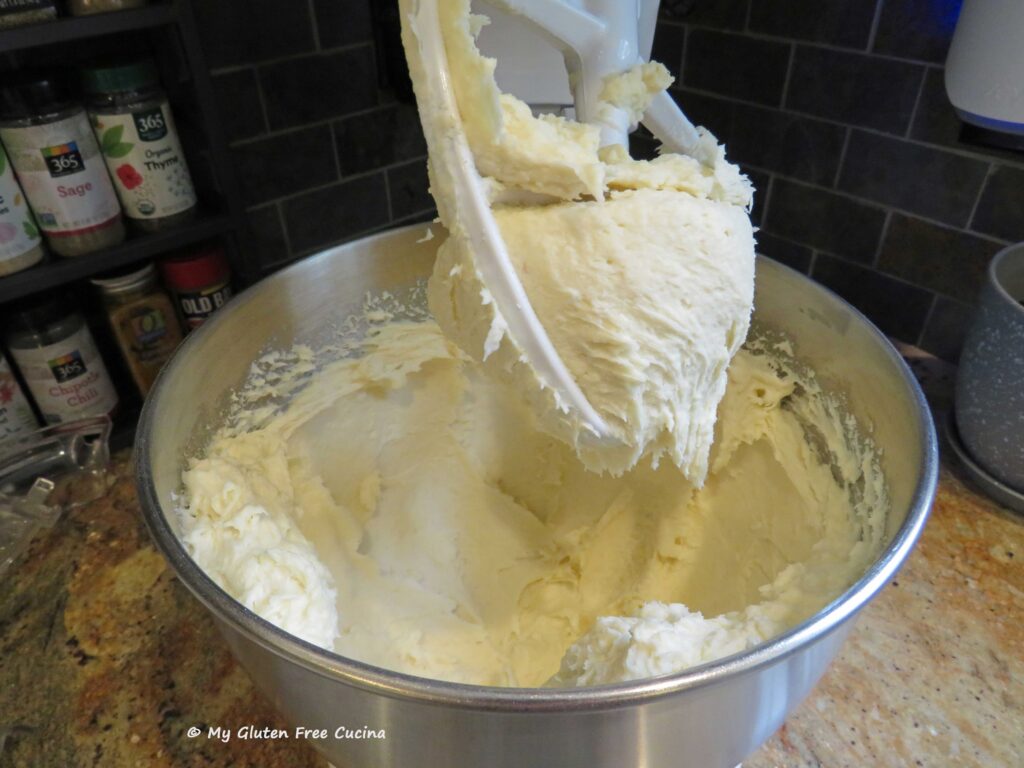
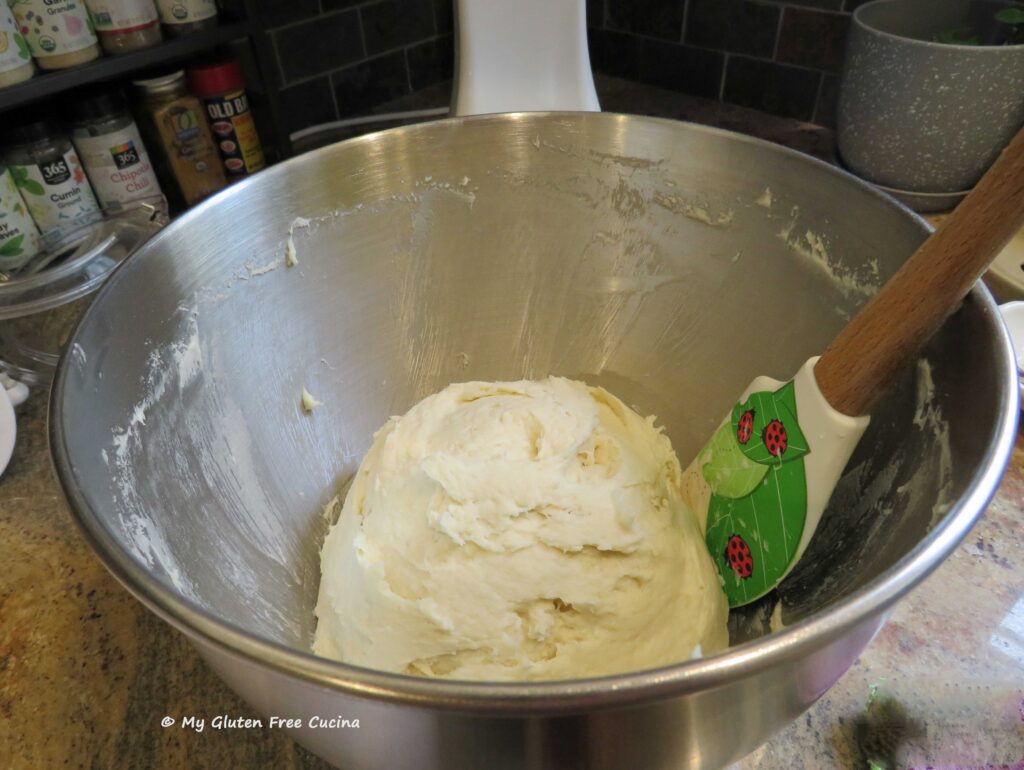
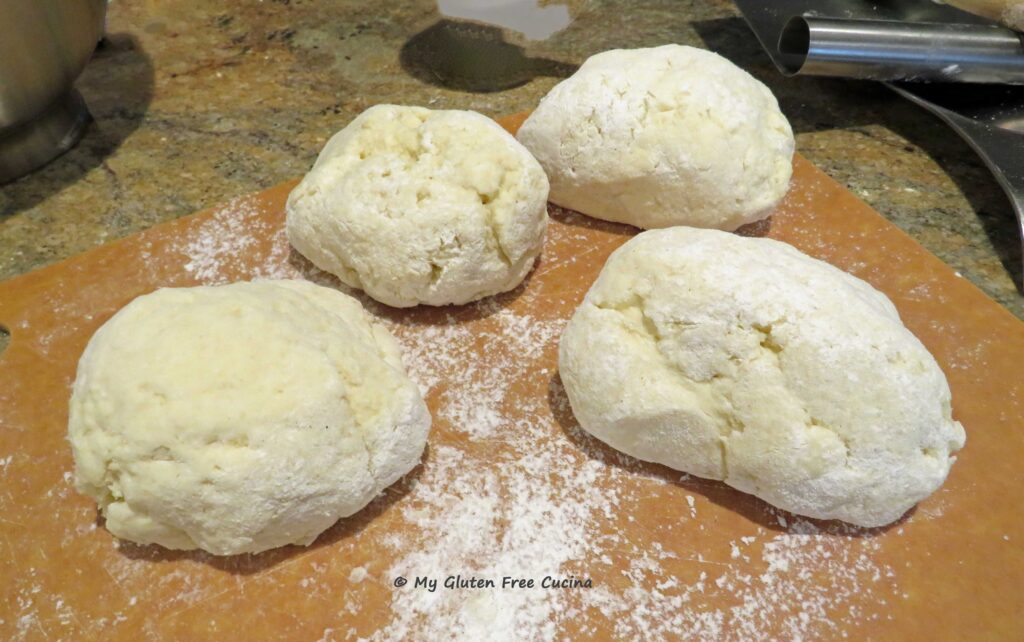
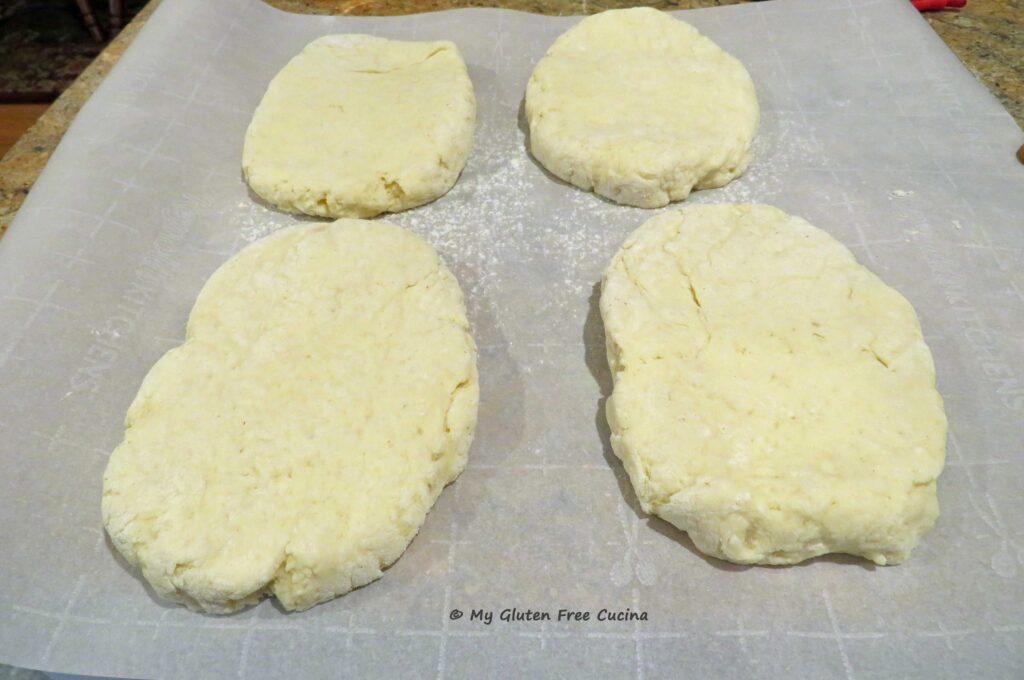
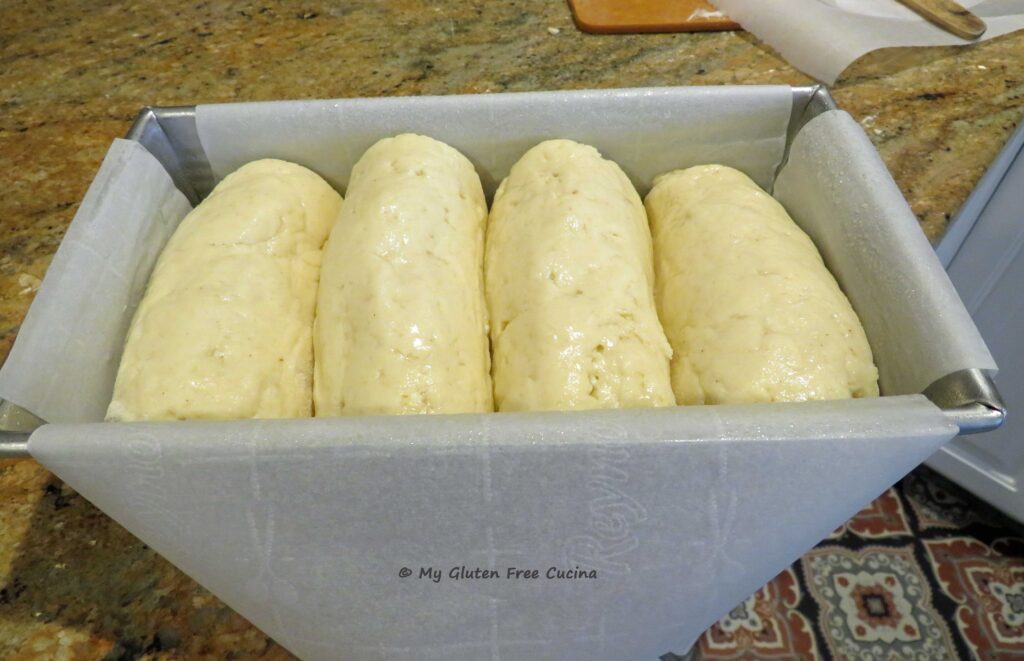
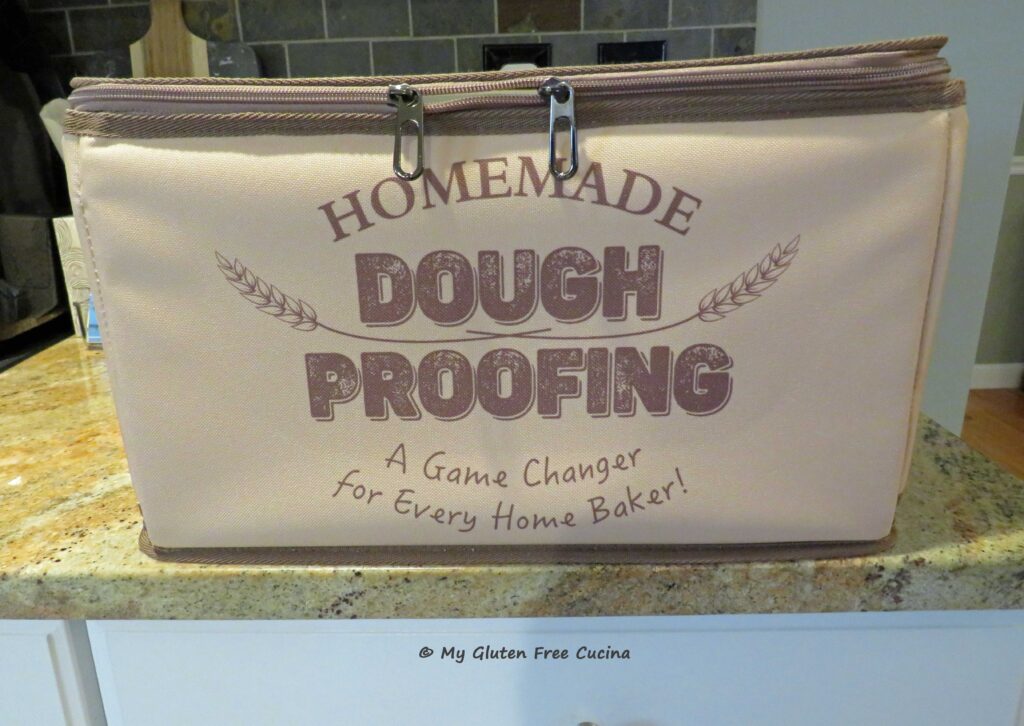
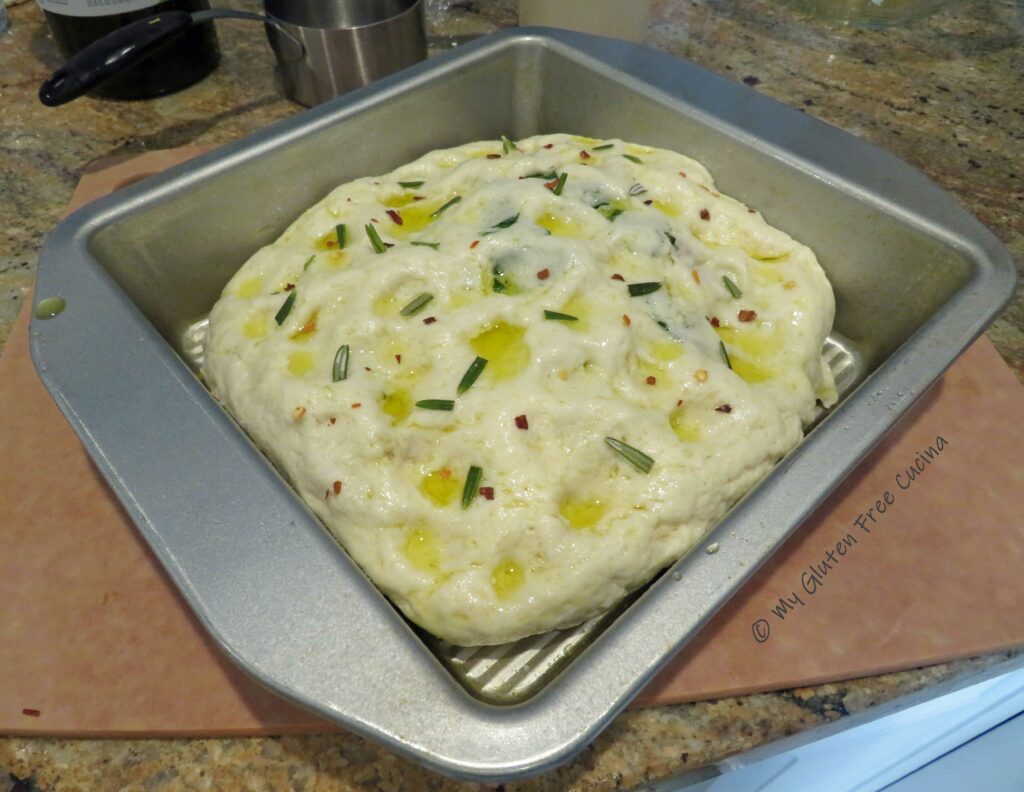
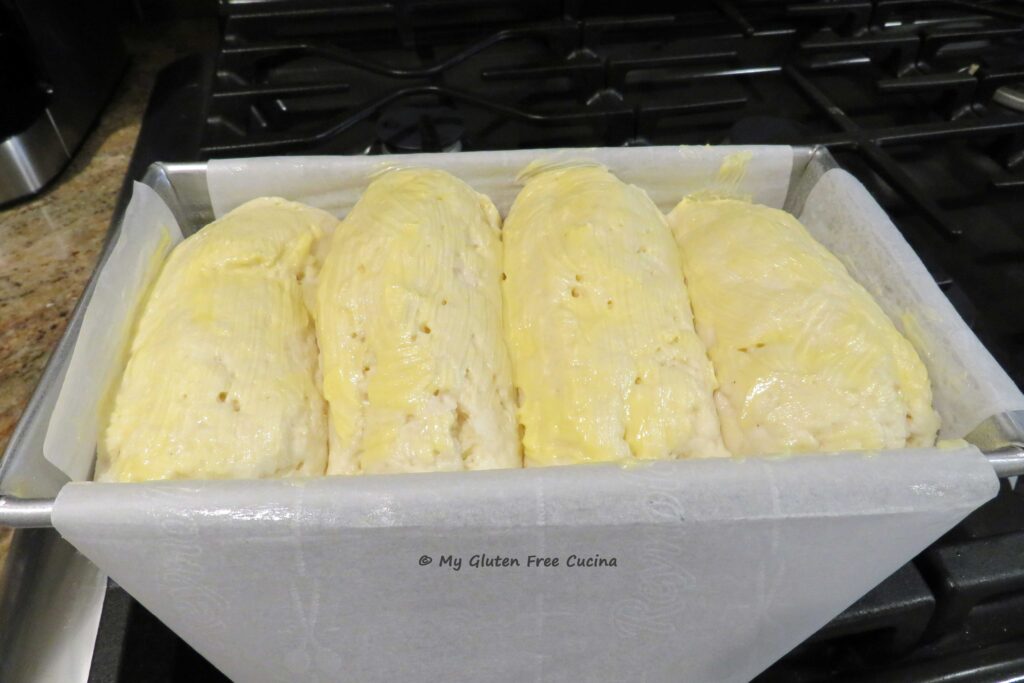 Place it on the center rack and throw a few ice cubes onto the bottom of the oven. Bake for 45 minutes, or until the internal temperature reaches 190º.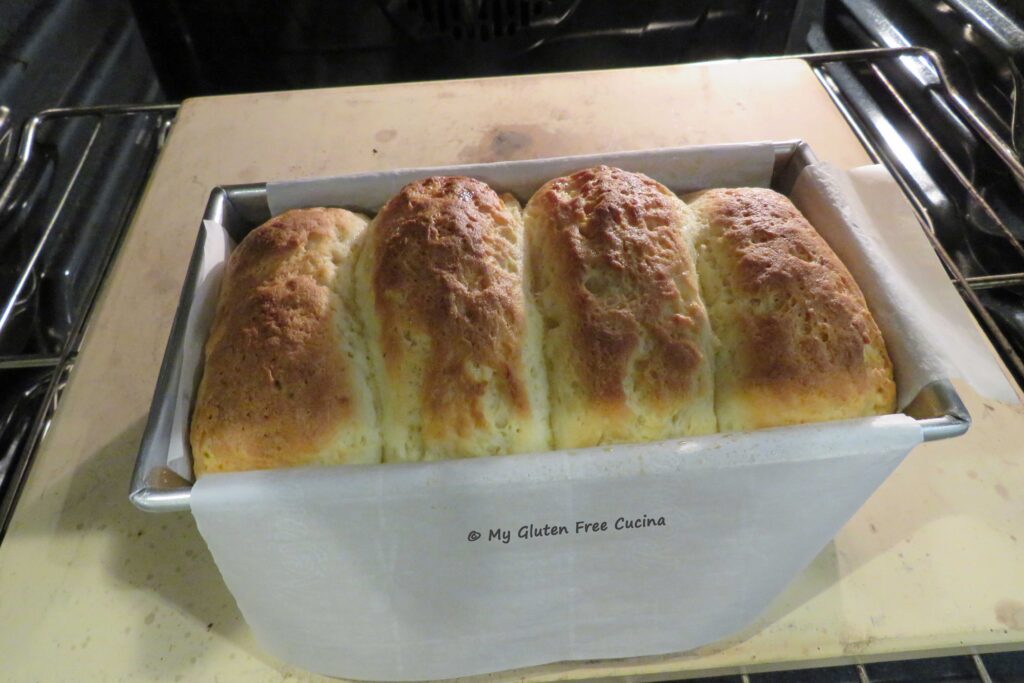
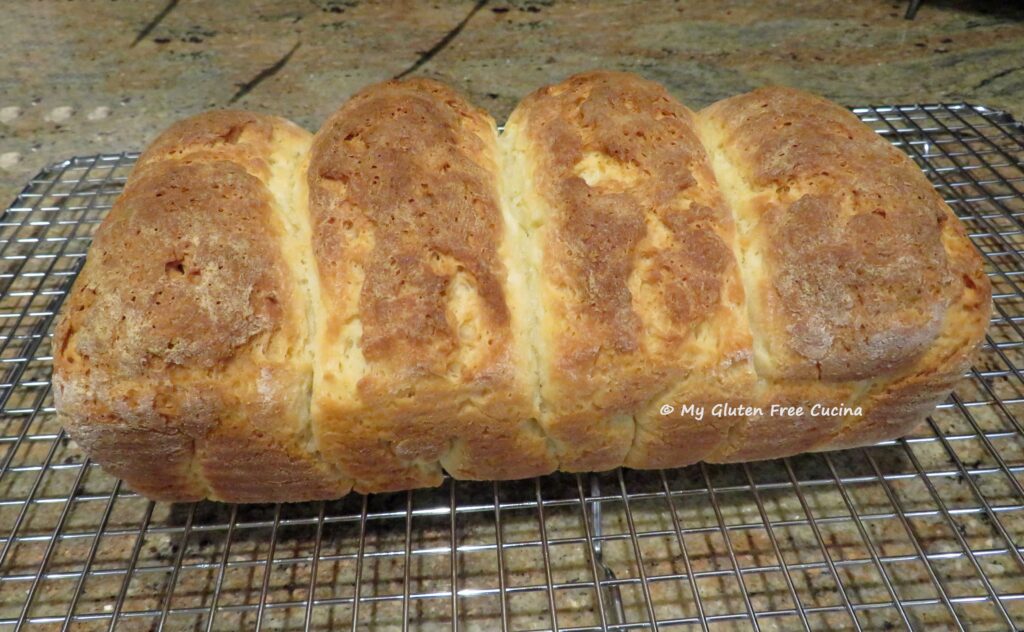
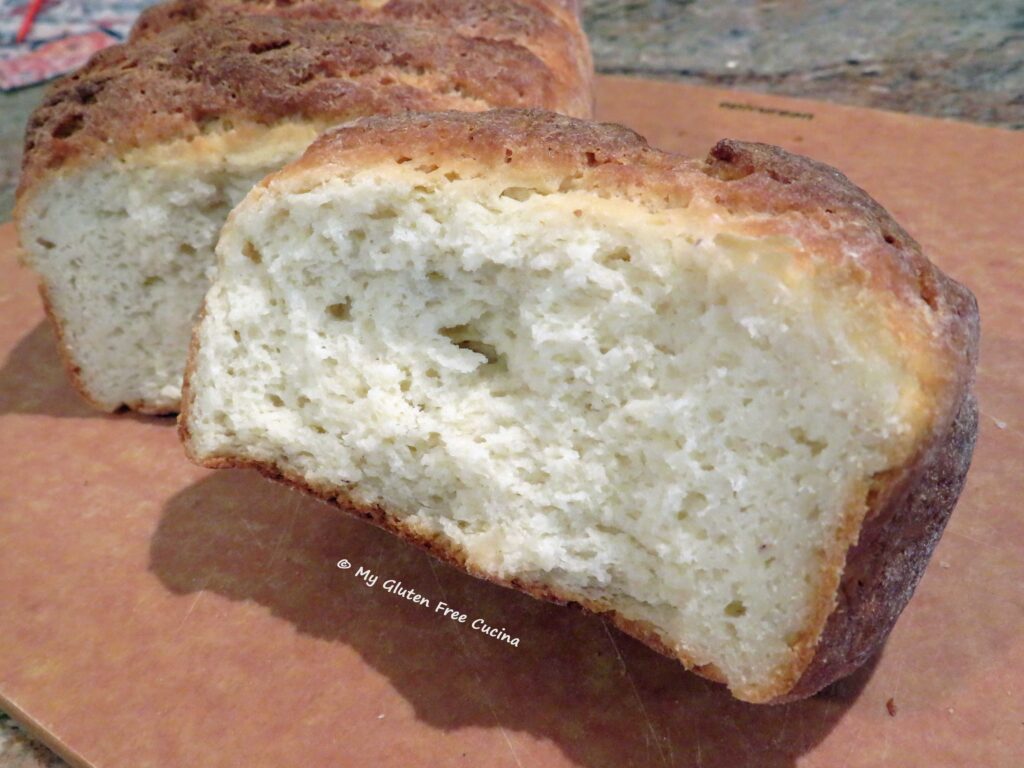
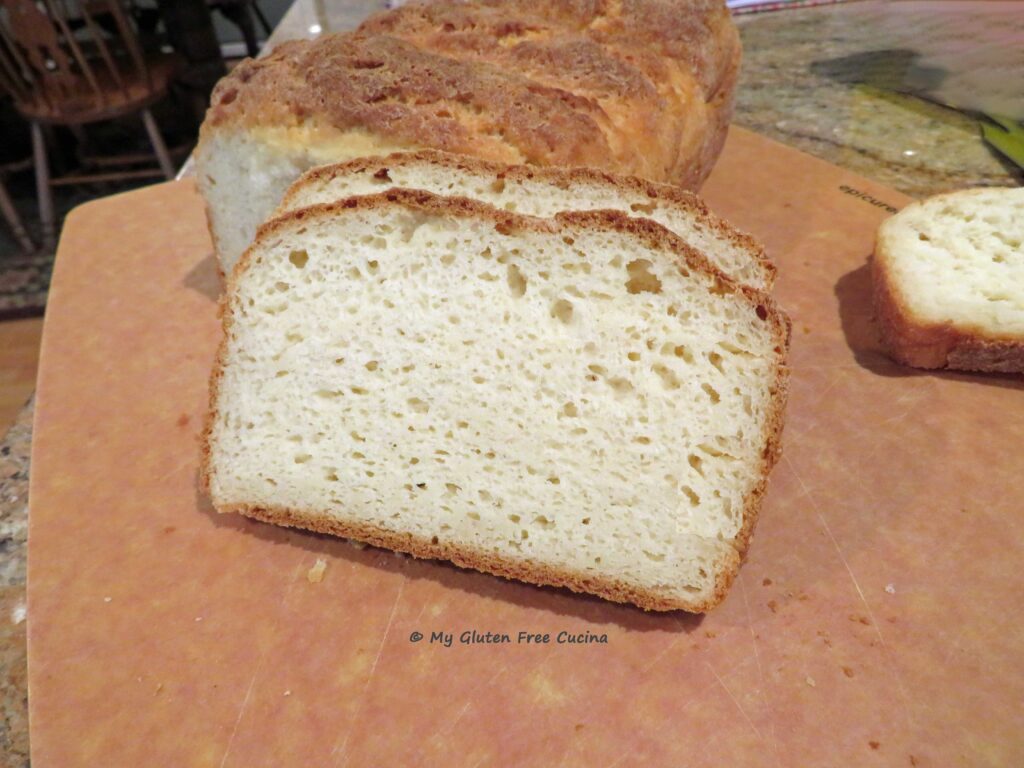
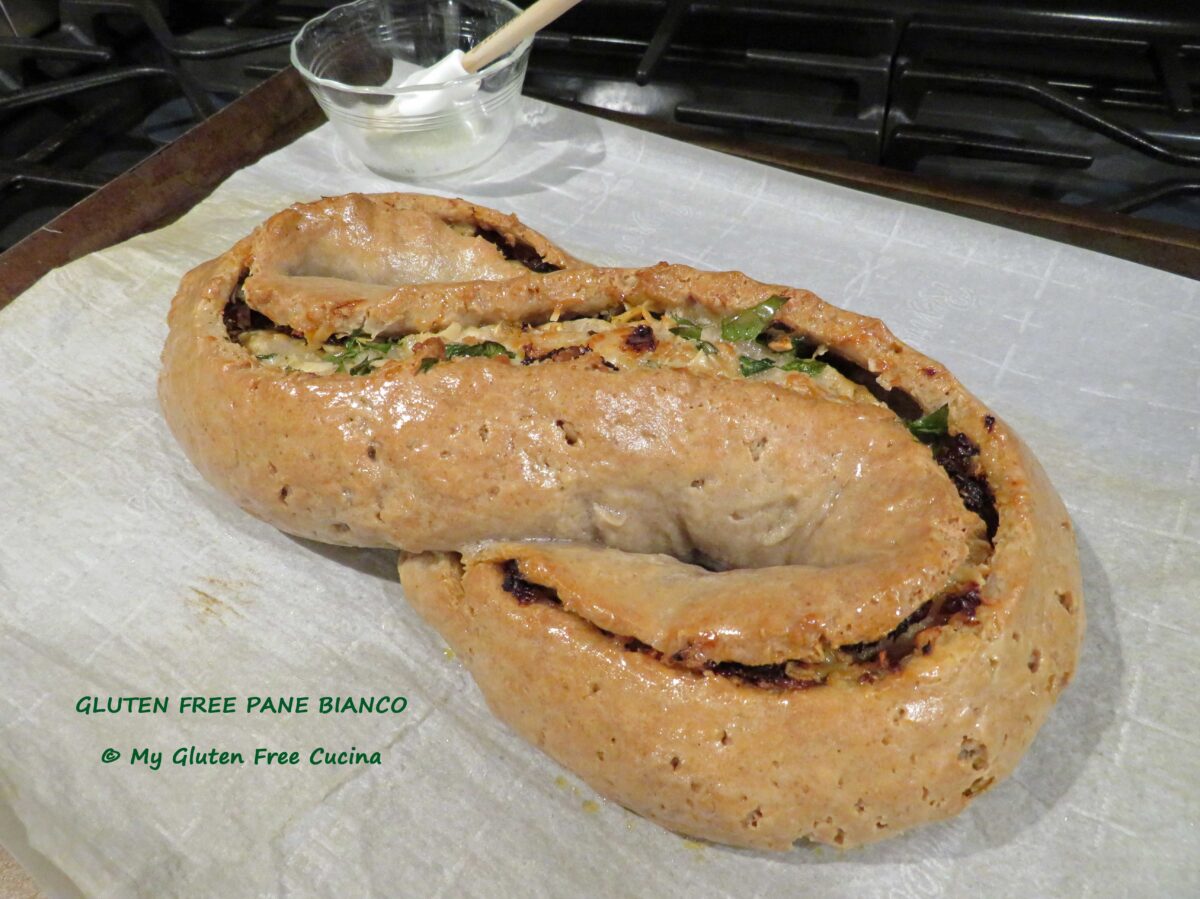

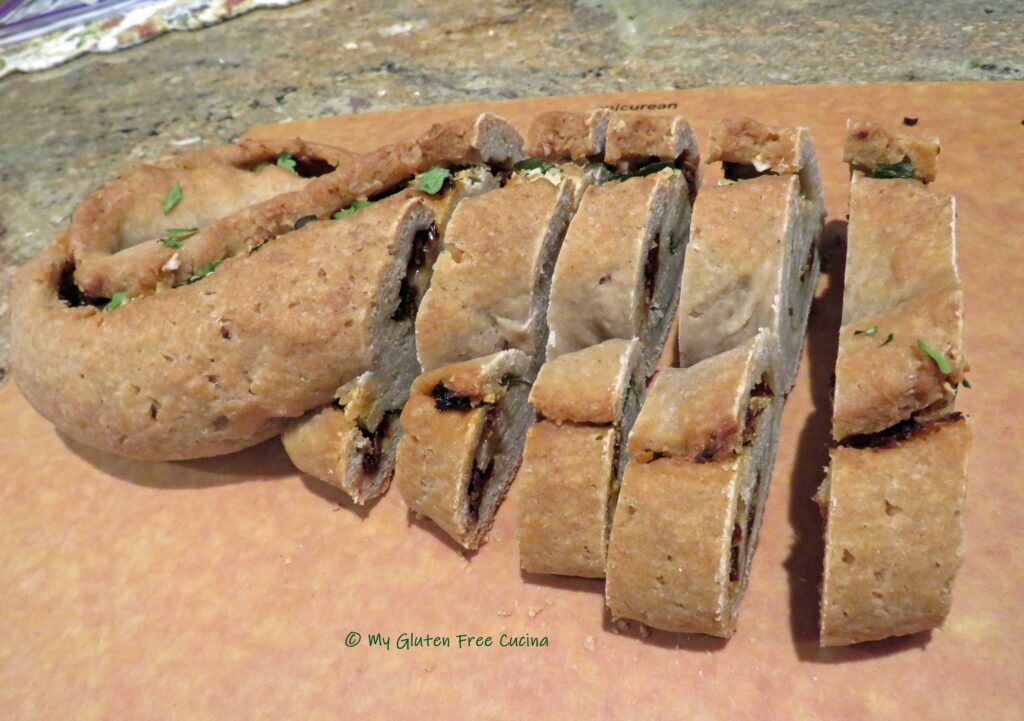
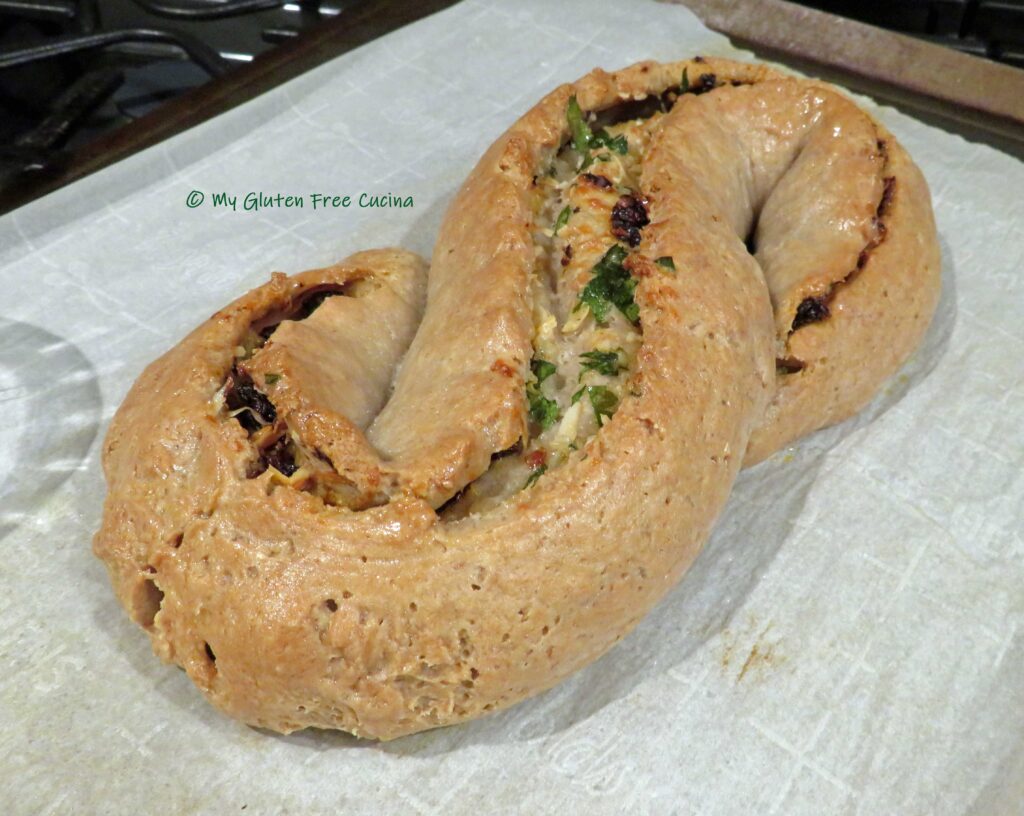
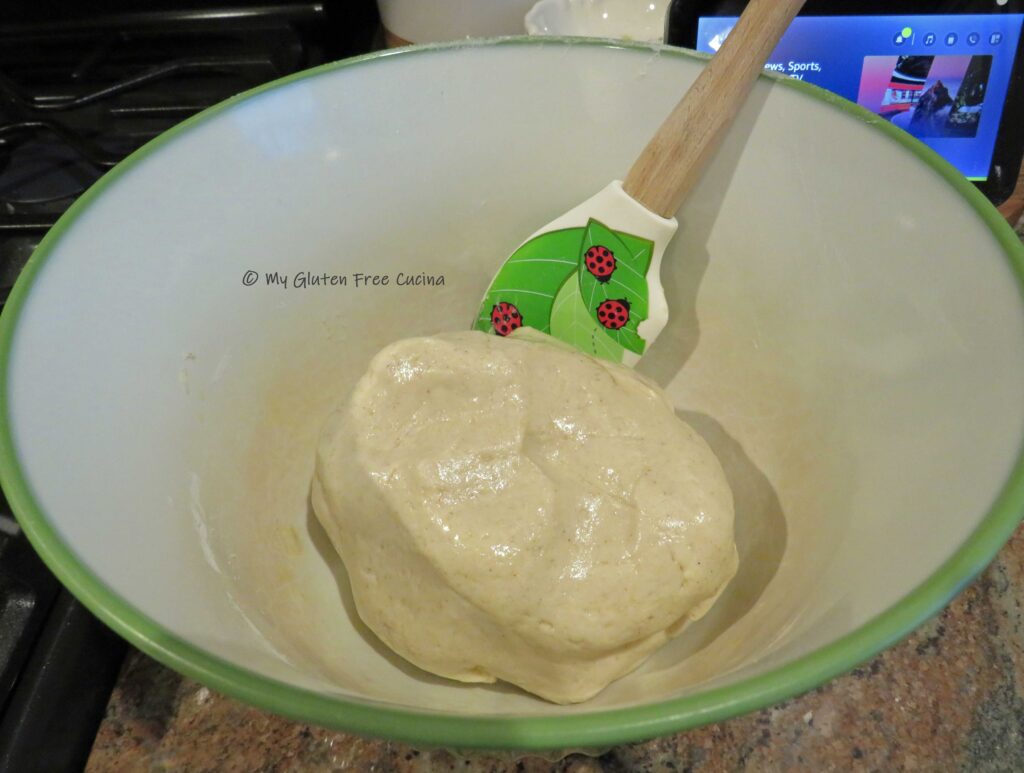
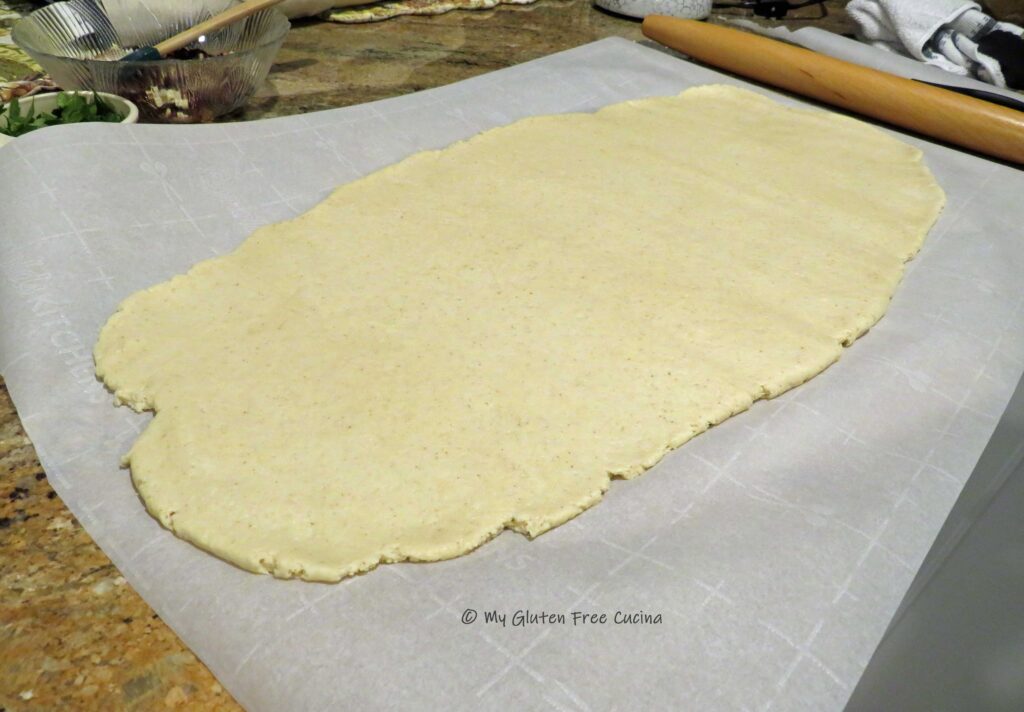
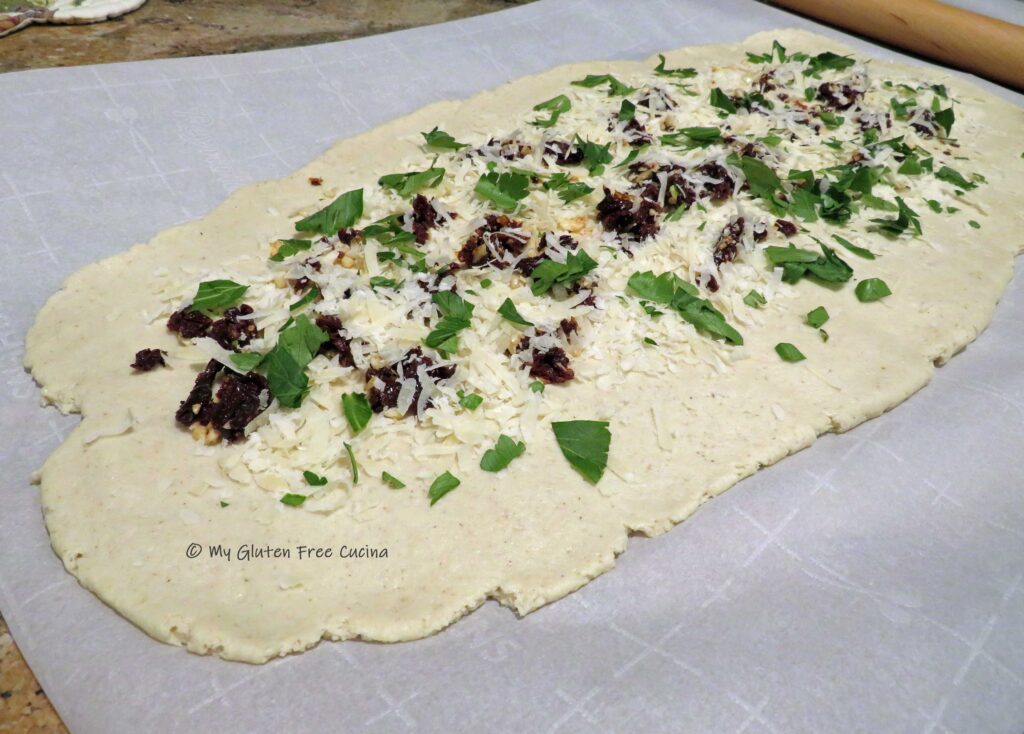
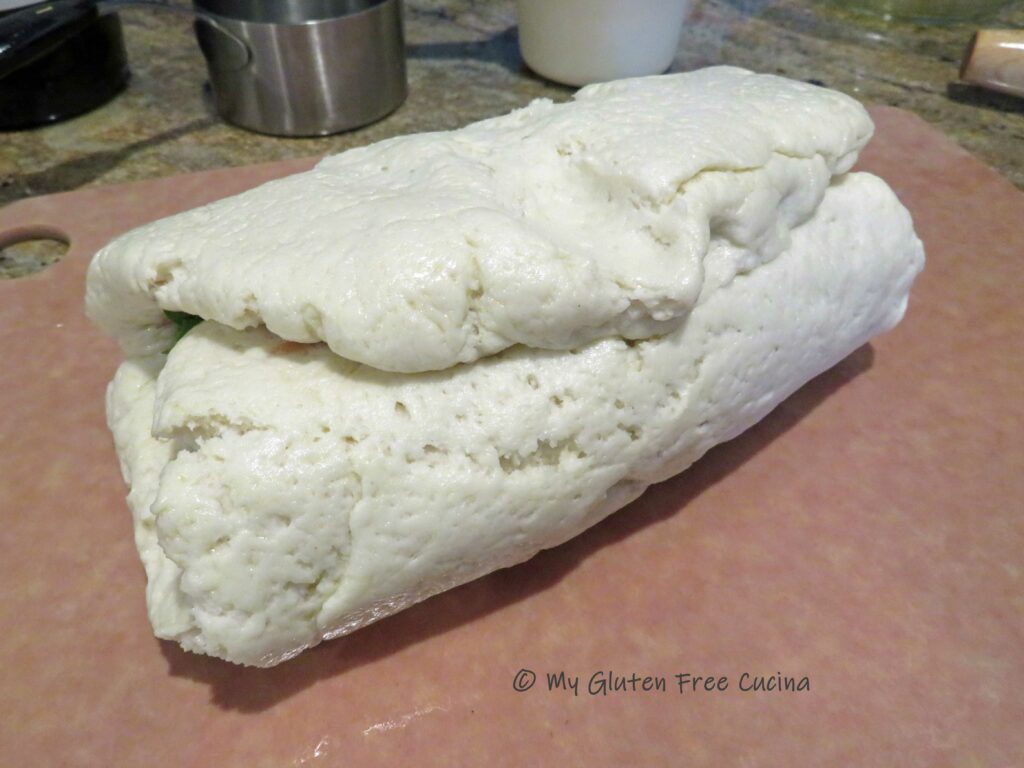
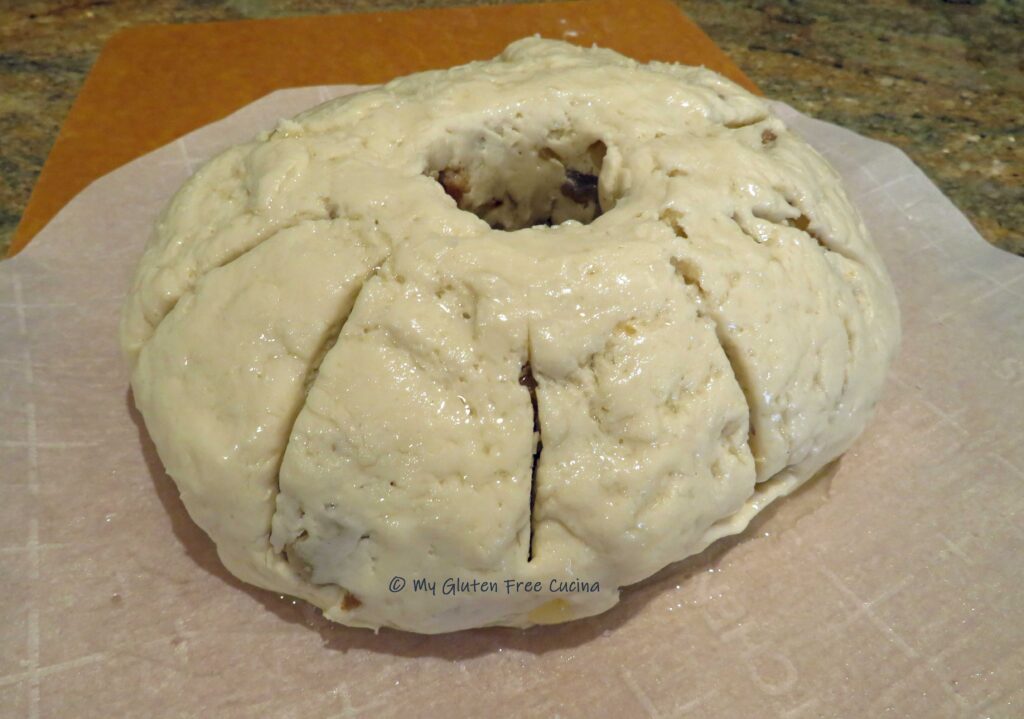
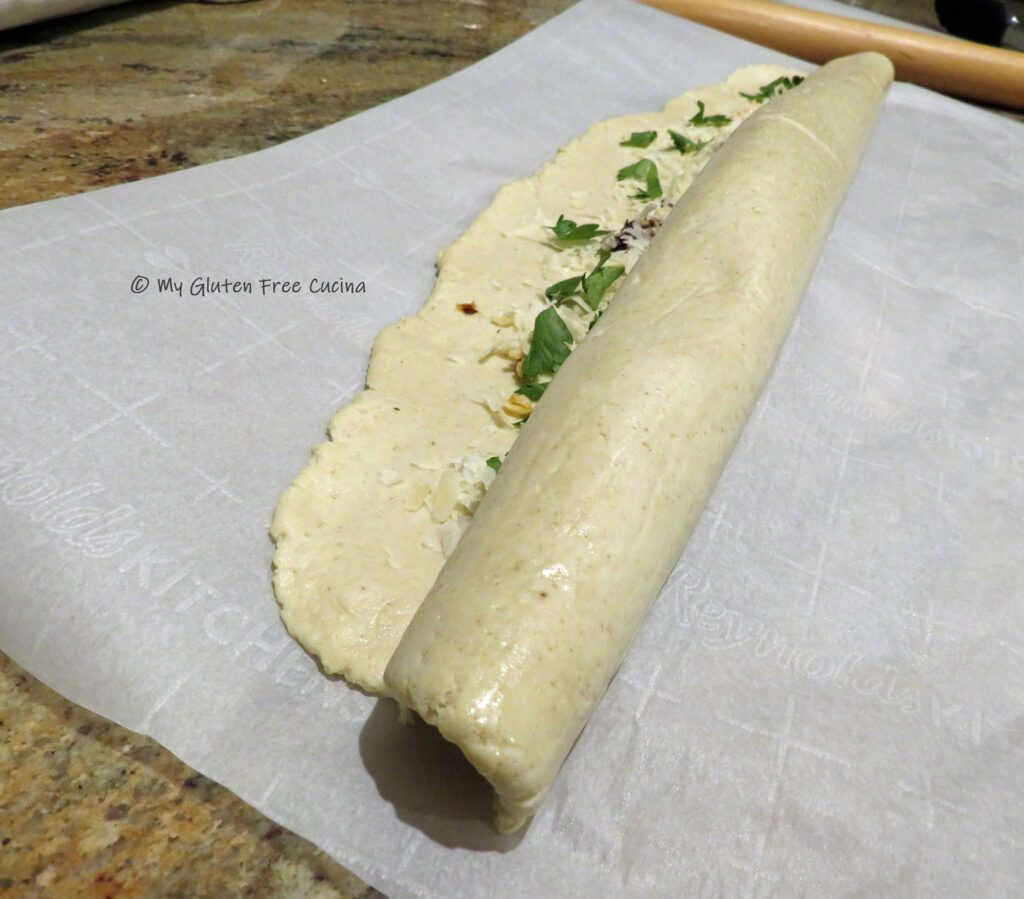 Pinch the edges together and if they don’t seal use a fork to smooth out the seam.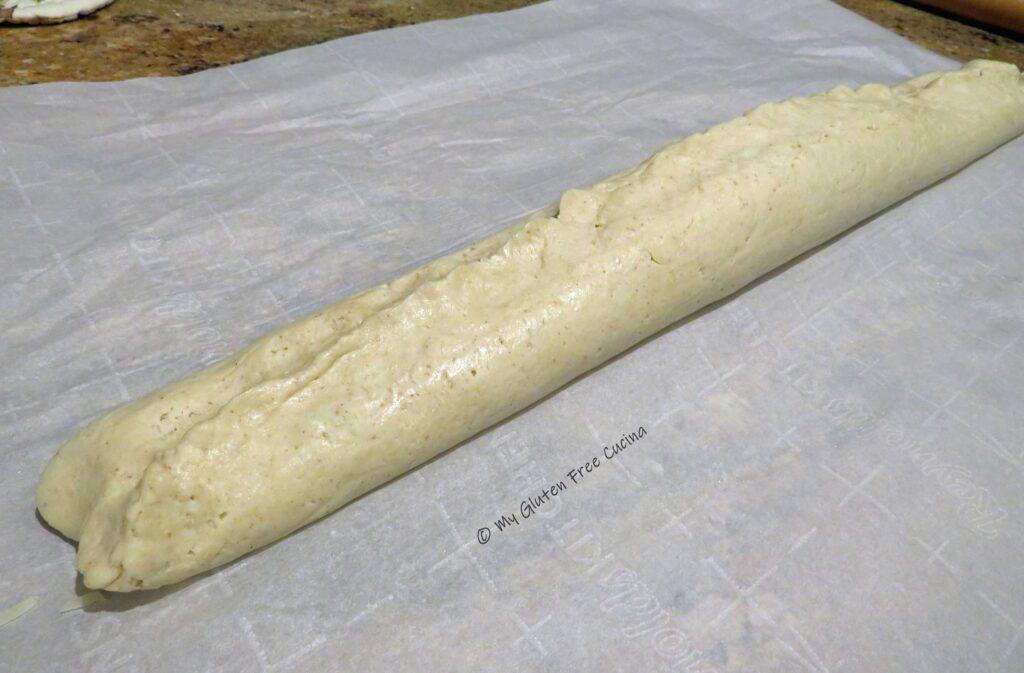
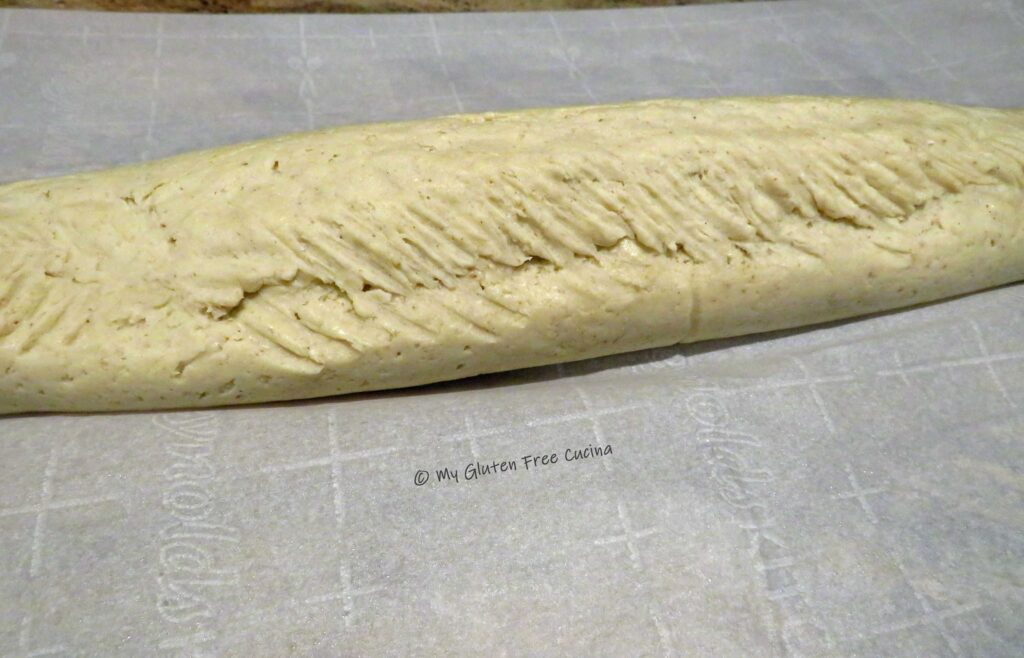
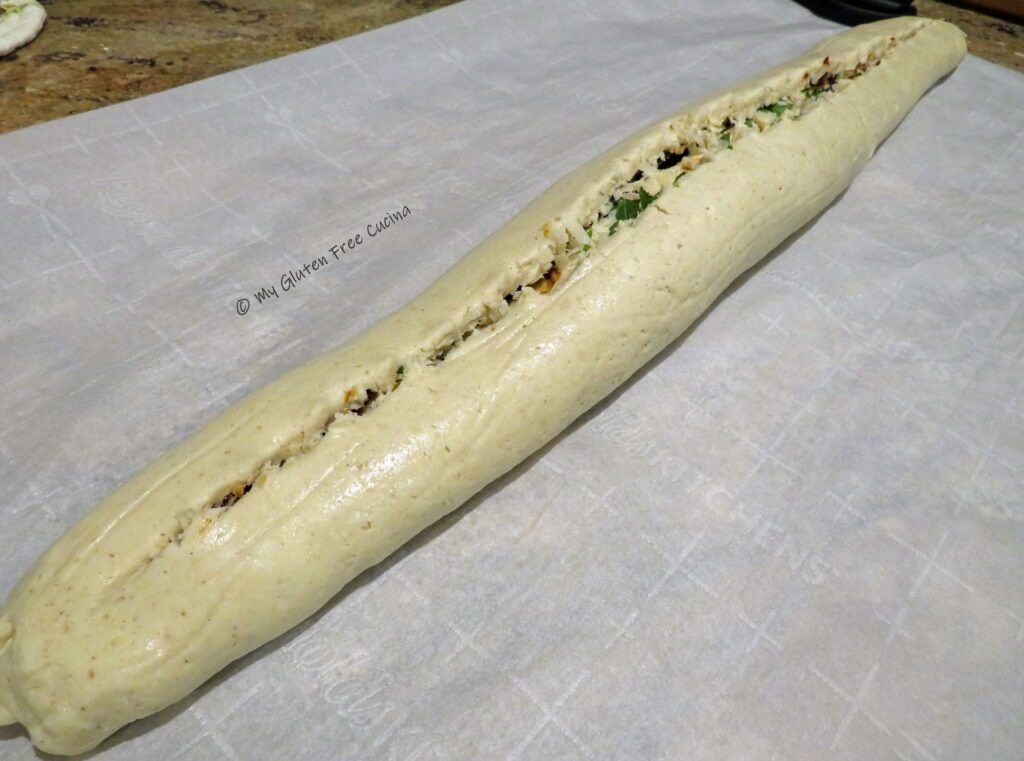
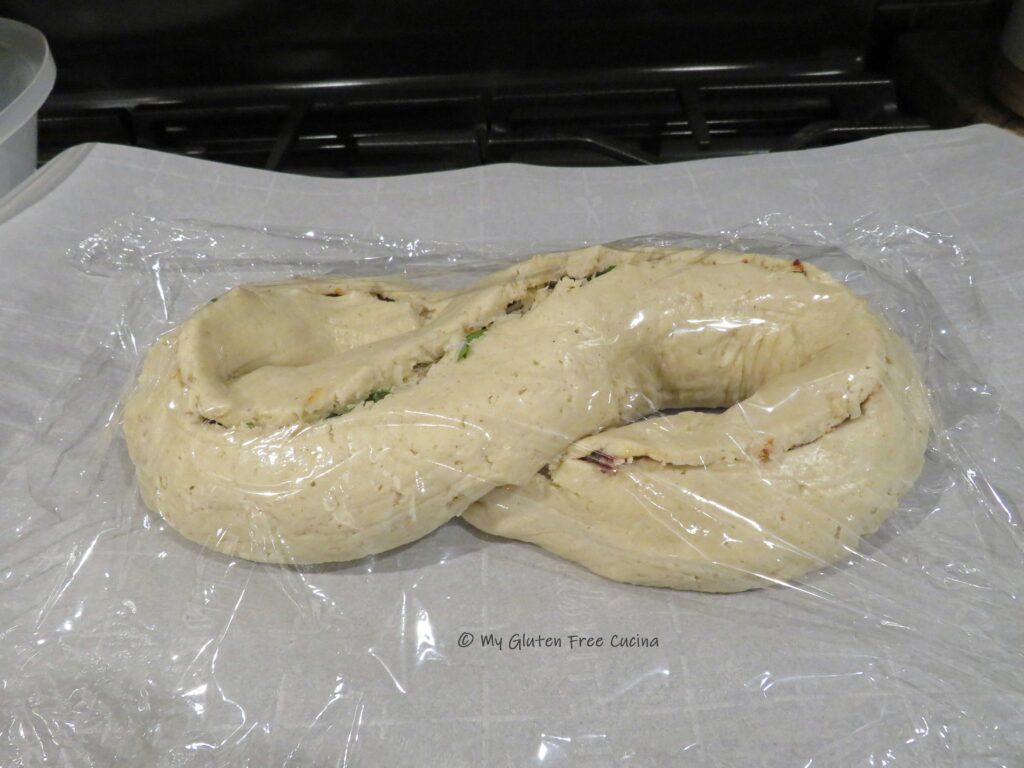
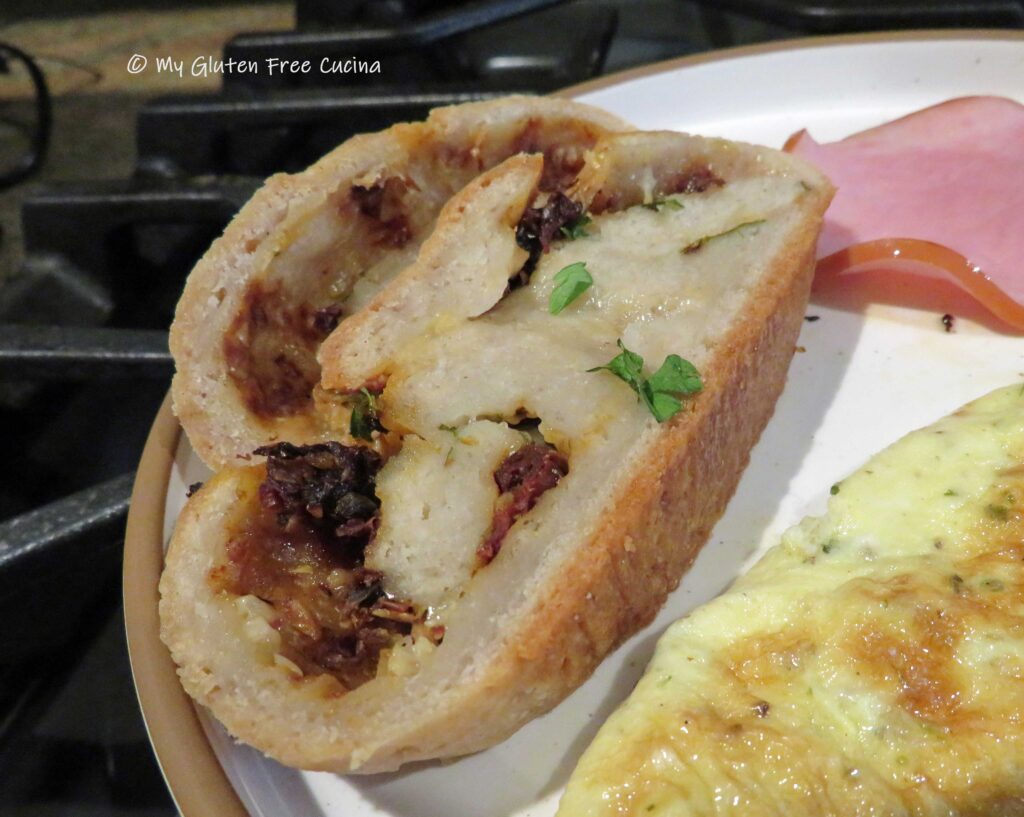 You can store the loaf at room temperature for up to a day, then freeze the leftovers.



 Wet Ingredients:
 Preparation:
 Preheat the oven to 400º. Add the dry ingredients to the wet and use a
 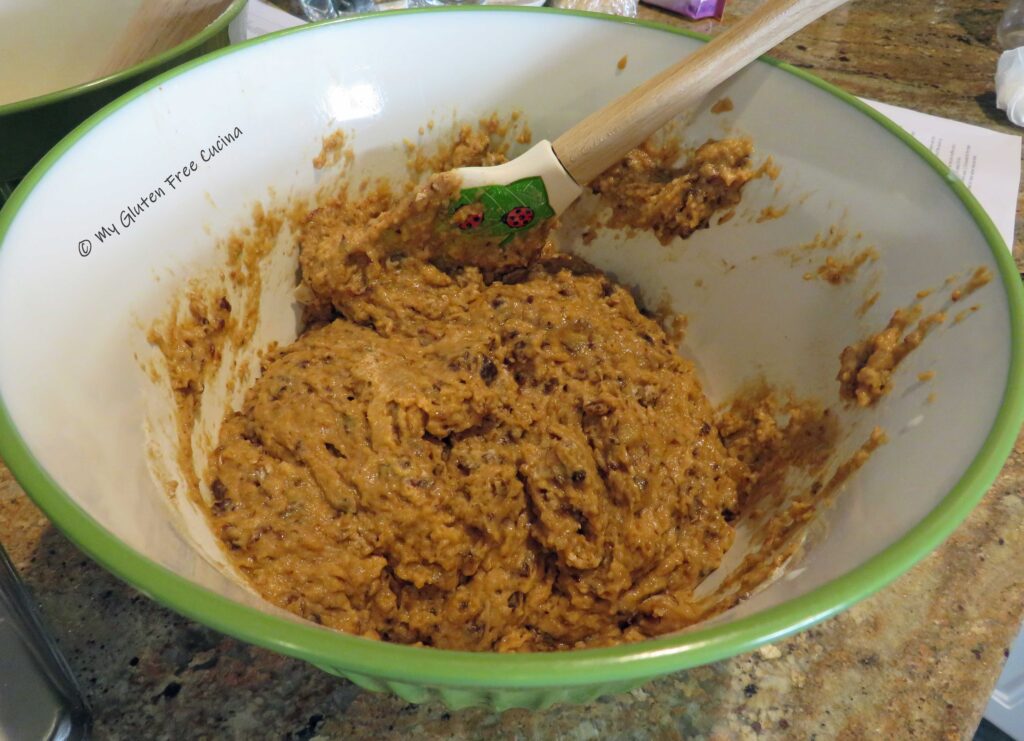 Let the batter rest while the oven preheats, then spoon into a
  Bake for 20 minutes and check that they are done with a toothpick.
 Cool in the pan for 15 minutes, then transfer to a rack.
 If not serving immediately, you can cool to room temperature then wrap individually in plastic wrap and store in a freezer safe bag. I usually freeze muffins to have for breakfast during the week.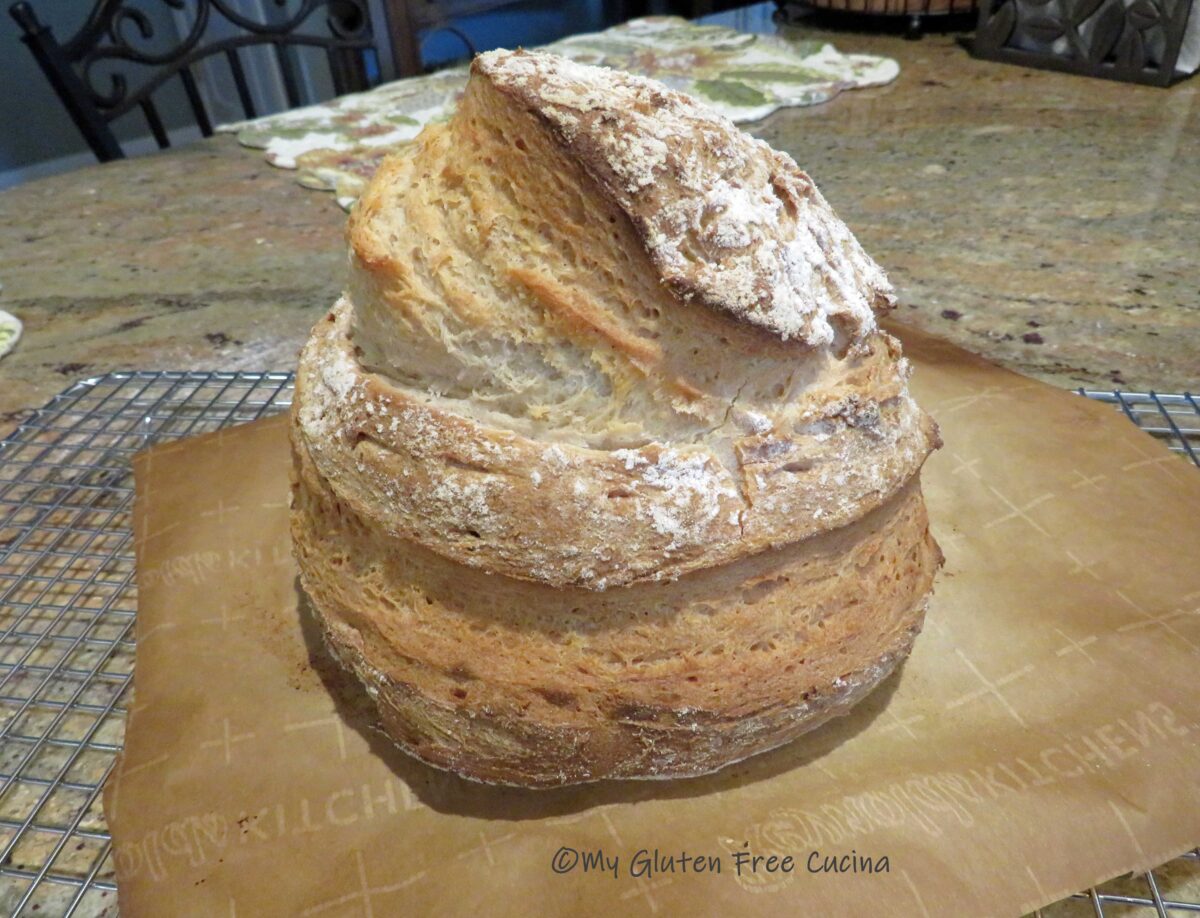
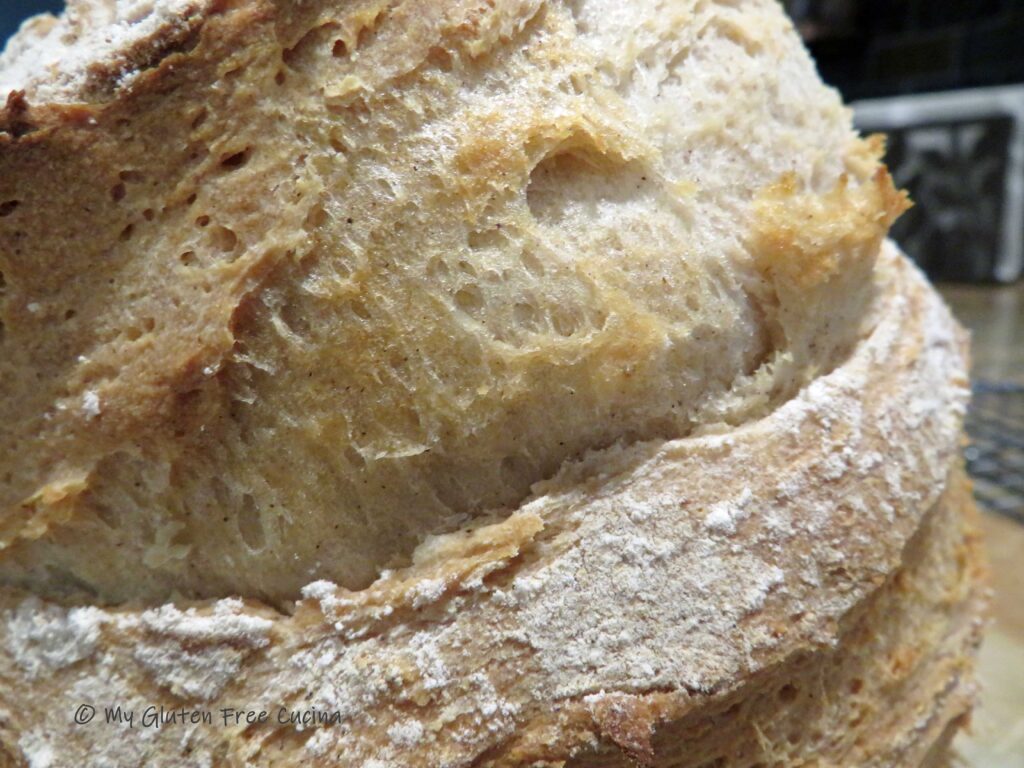

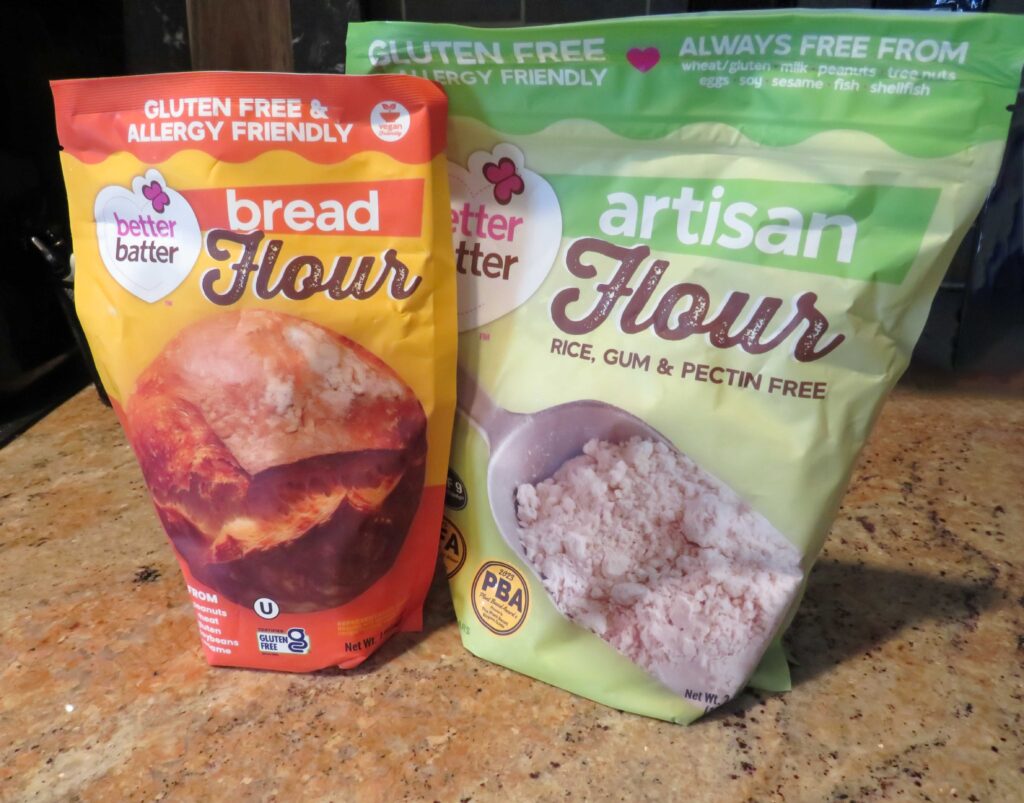
 Have you ordered the new Bread Flour from Better Batter yet?
 Preparation: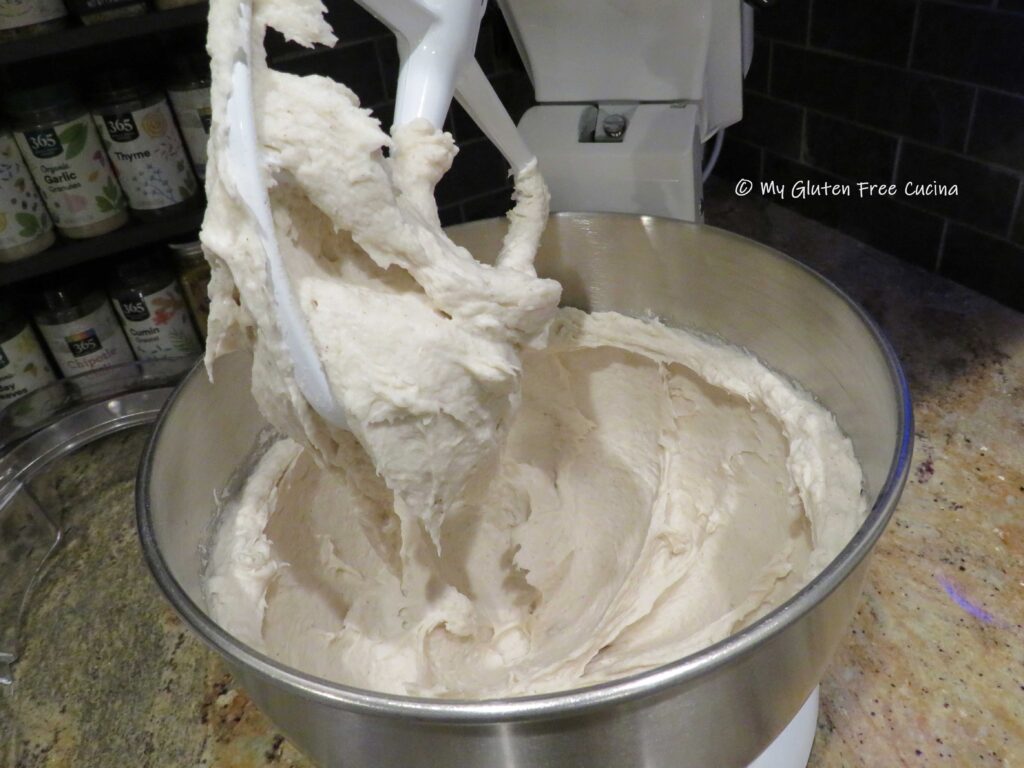


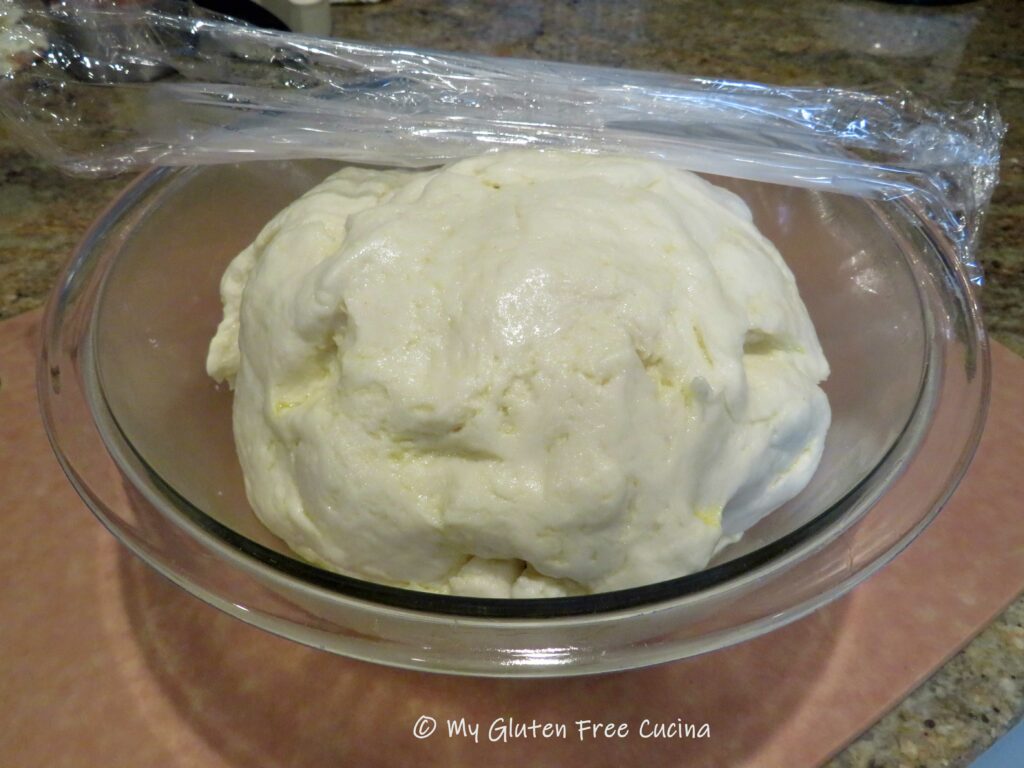
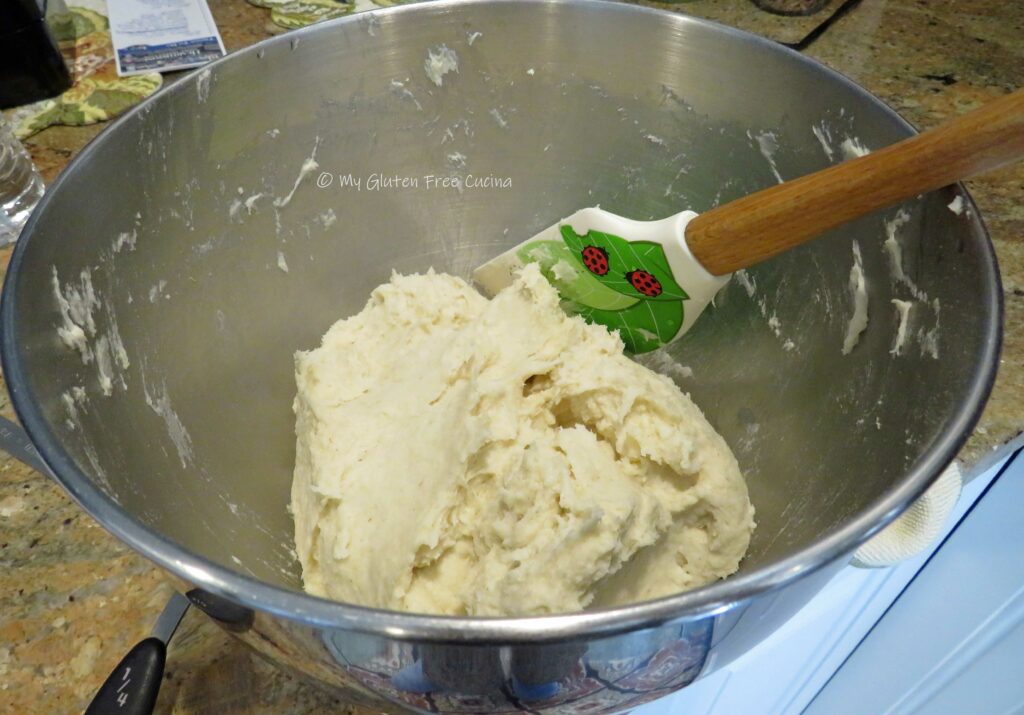
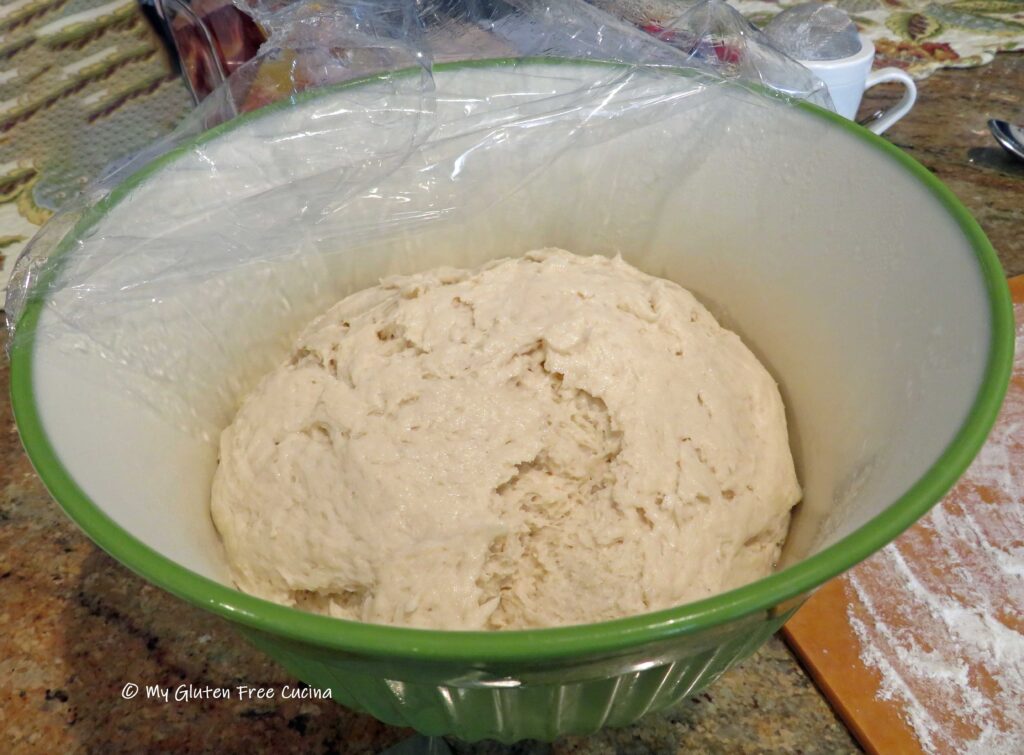
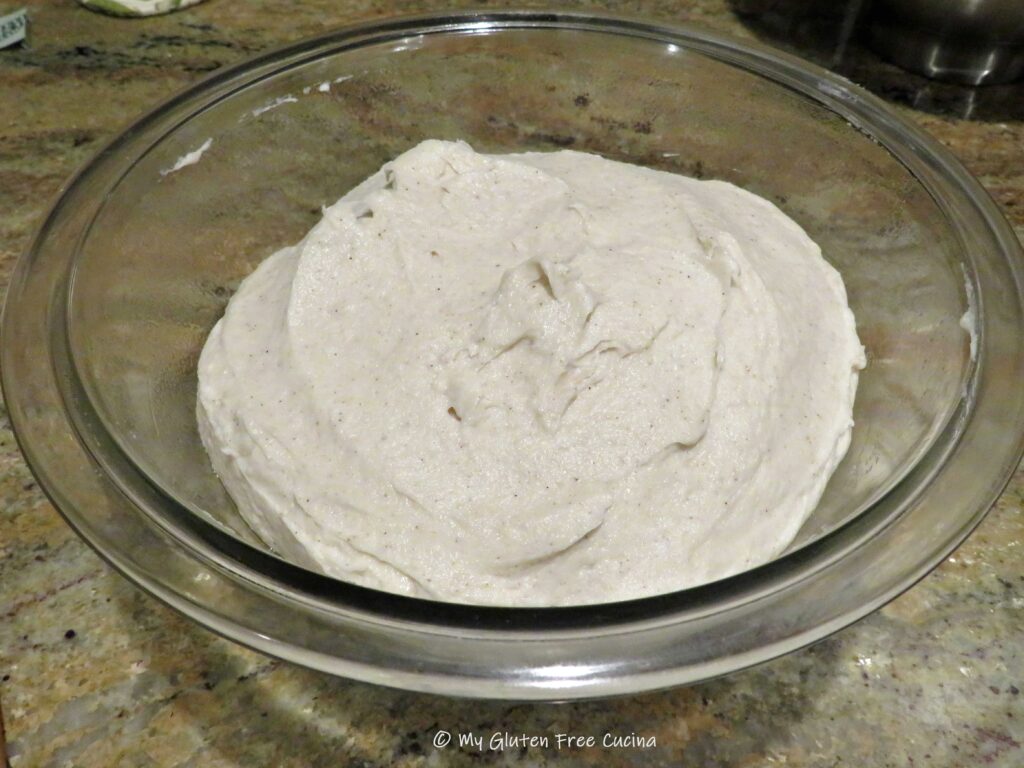
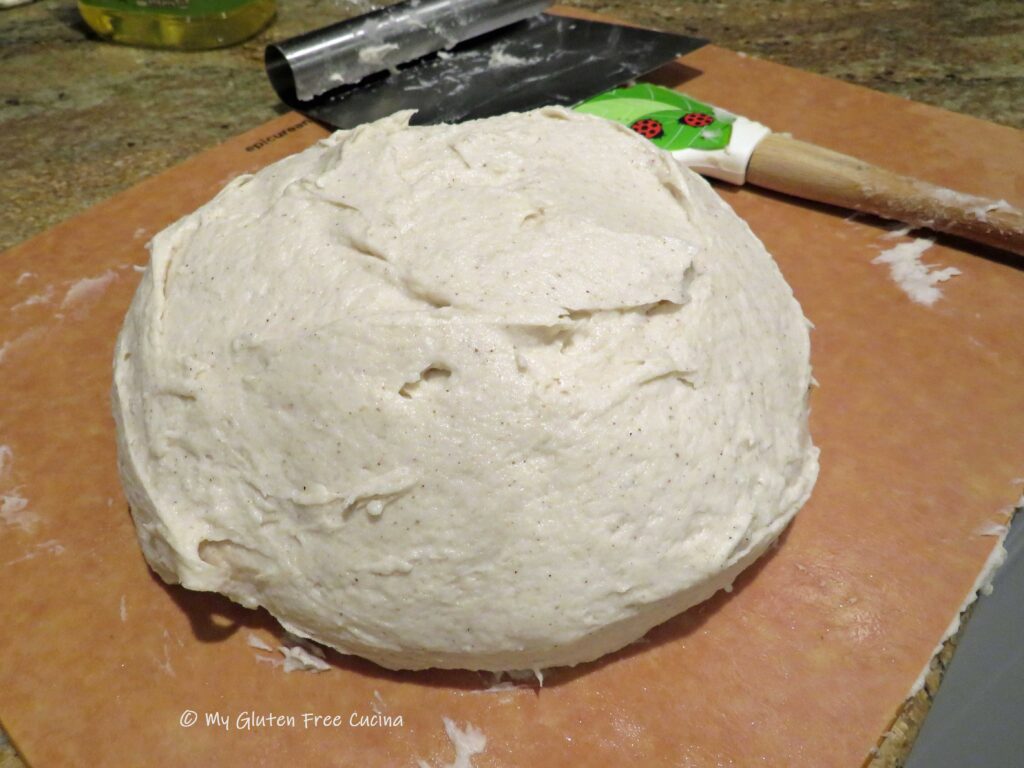 Place the dough ball in an oiled bowl, cover with plastic wrap and refrigerate overnight for 12 hours.
 In the morning, preheat the oven to 475º with
  Use a spatula to smooth it into a round shape.
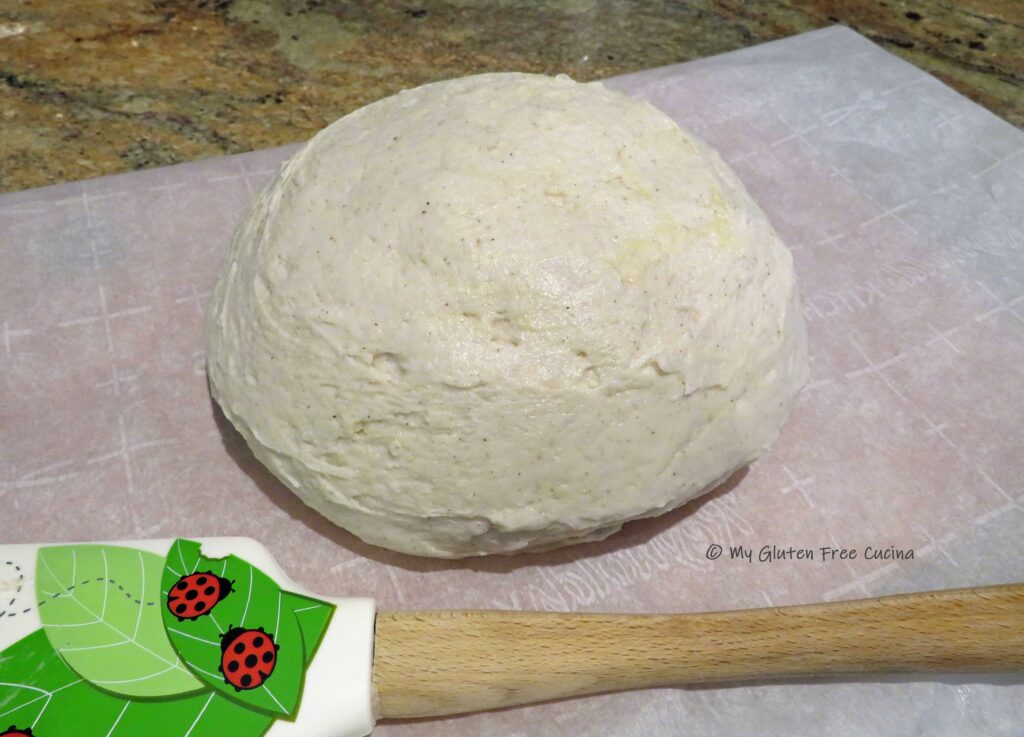 Use a
Use a 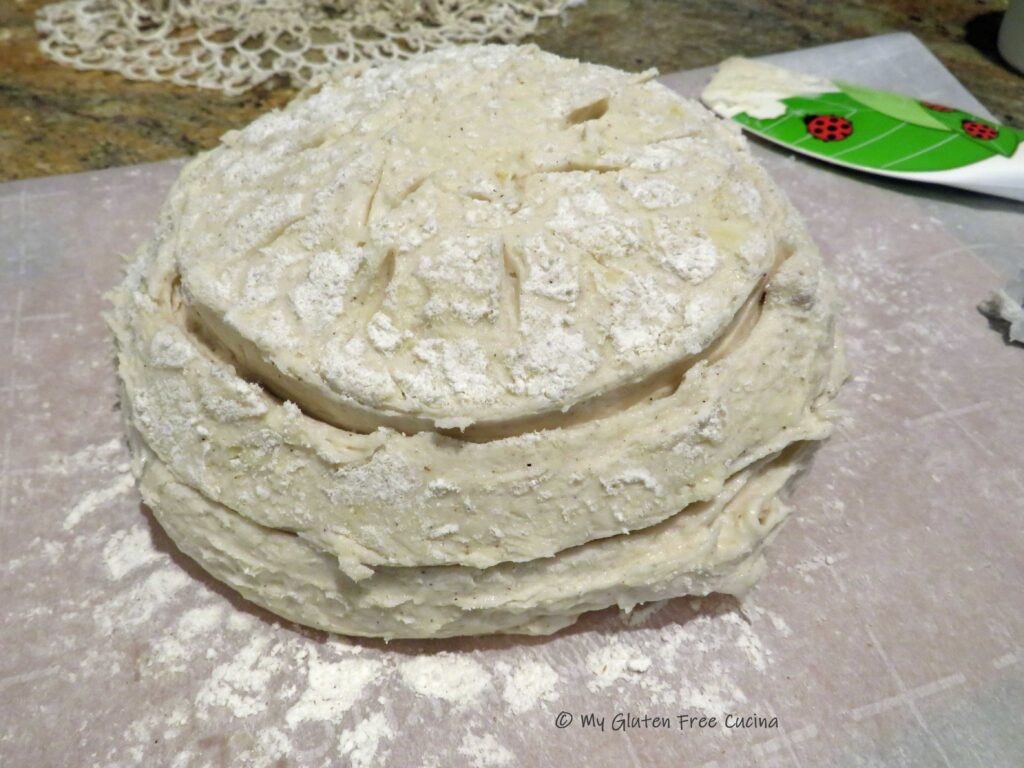 Transfer the dough, with parchment to the oven. Throw a few ice cubes onto the bottom of the oven and quickly shut the door. After the first 5 minutes throw in a few more ice cubes.
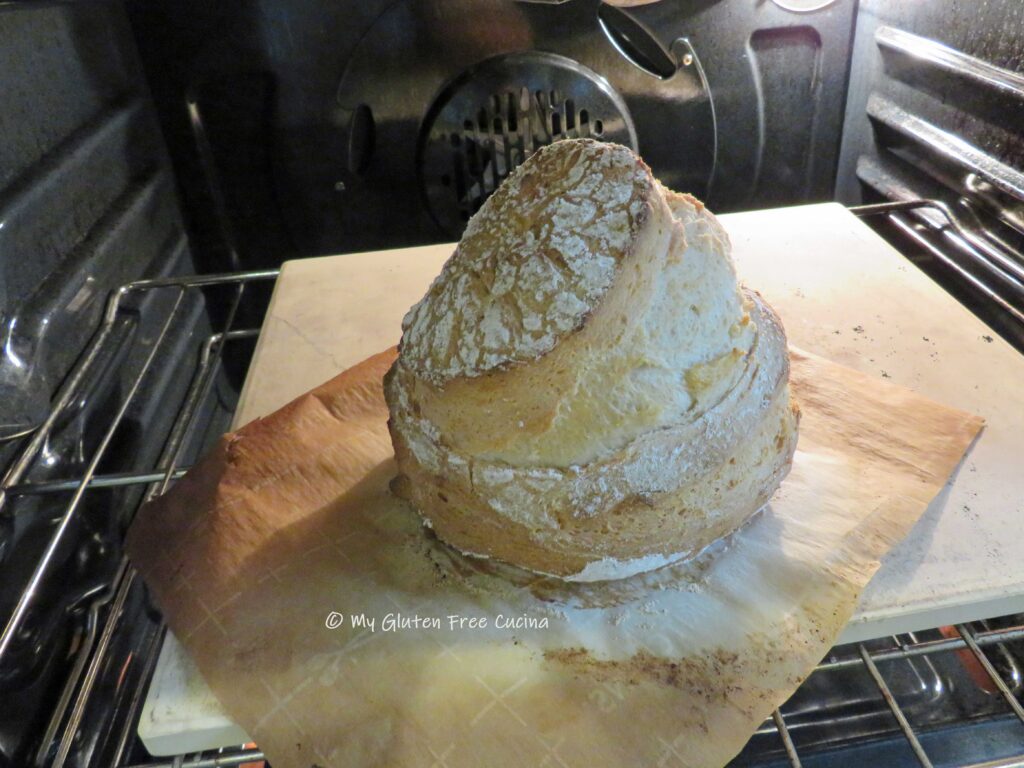 Cool completely on a rack then store in a plastic bag at room temperature. Wait 24 hours to slice.