Gluten Free Cavatelli with Sausage, Mushrooms and Peas

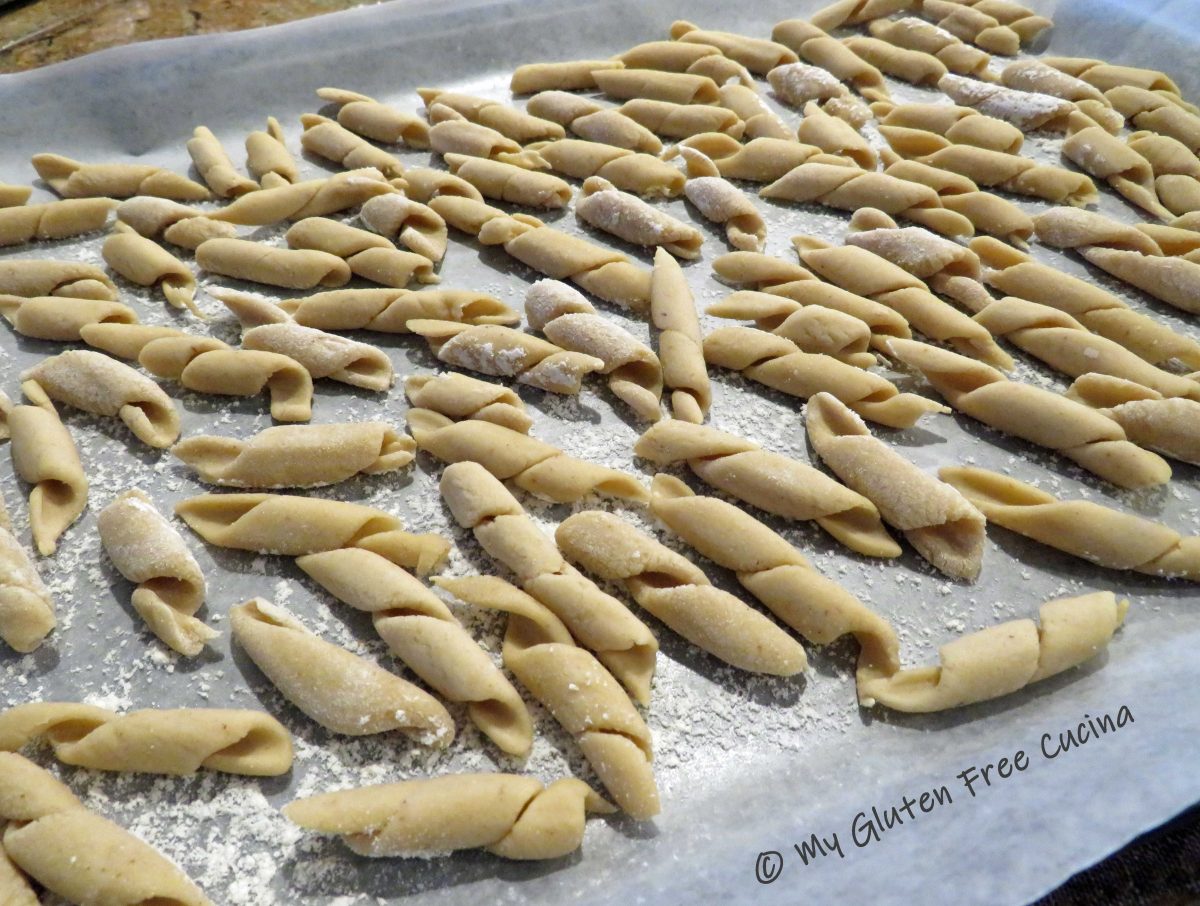
Cavatelli are a small, indented pasta popular throughout Southern Italy.  Similar to gnocchi, they are among the easiest types of hand formed pasta to make from scratch.  Cavatelli were a favorite of my Dad, who was definitely not a pasta lover but I remember he liked the “cavati” from the Italian market.  Perhaps they brought back a long ago memory of pasta being made in the home.

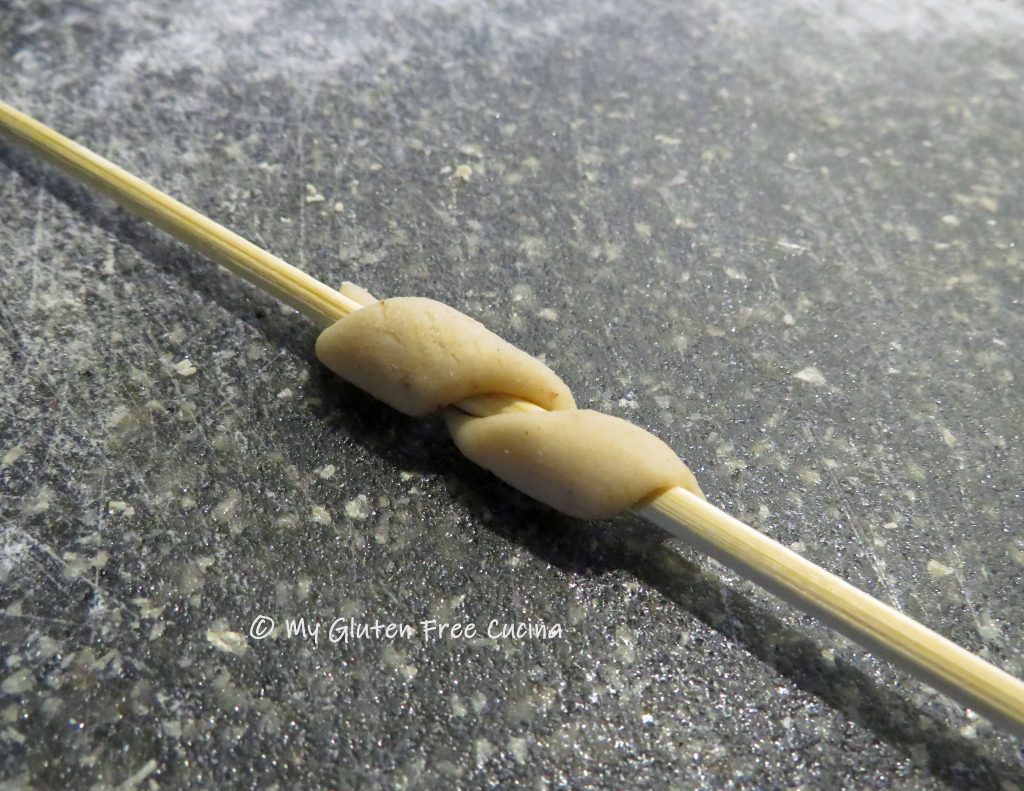
Traditional cavatelli are made with semolina flour.  They are shaped on a smooth surface, with the cavity formed by pressing fingers into the dough, or by using a knife.  To make them gluten free, the semolina was replaced with a gluten free flour blend and the addition of eggs (again not traditional) helped form a smooth stretchy dough.

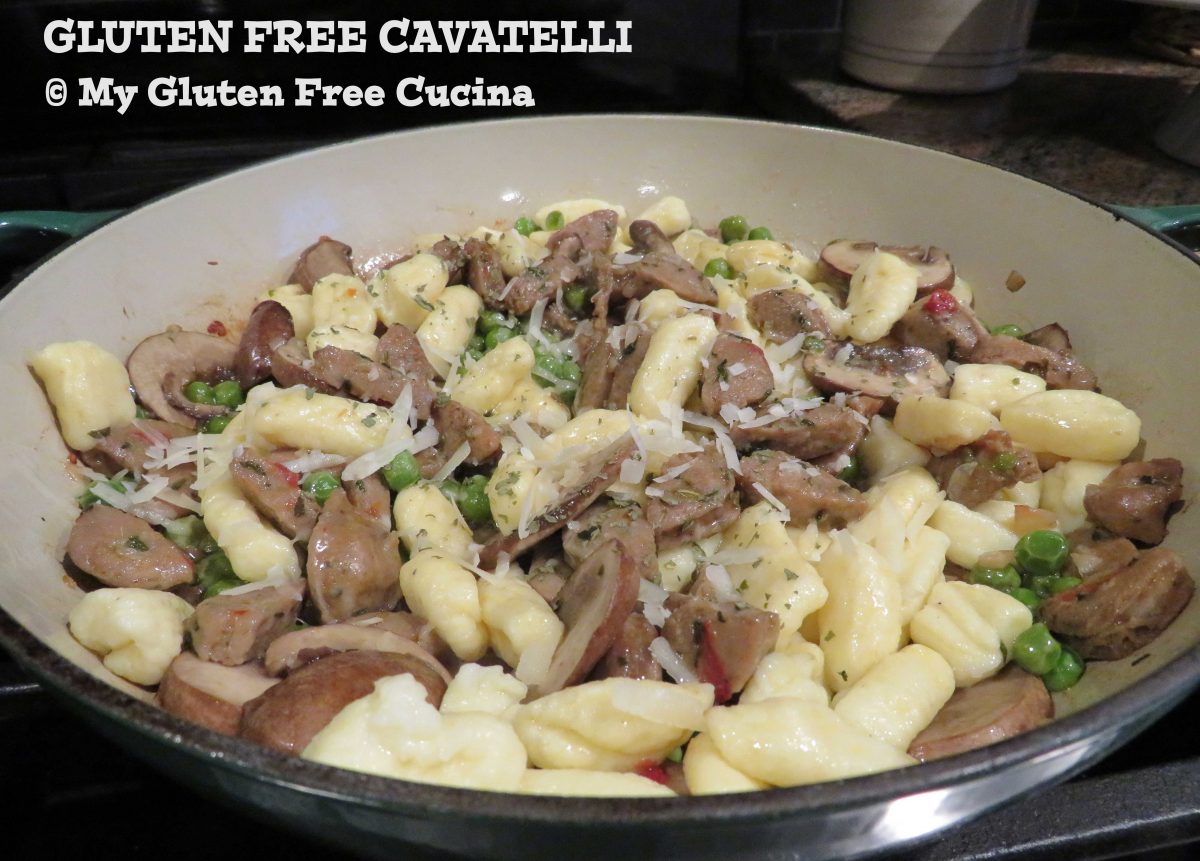
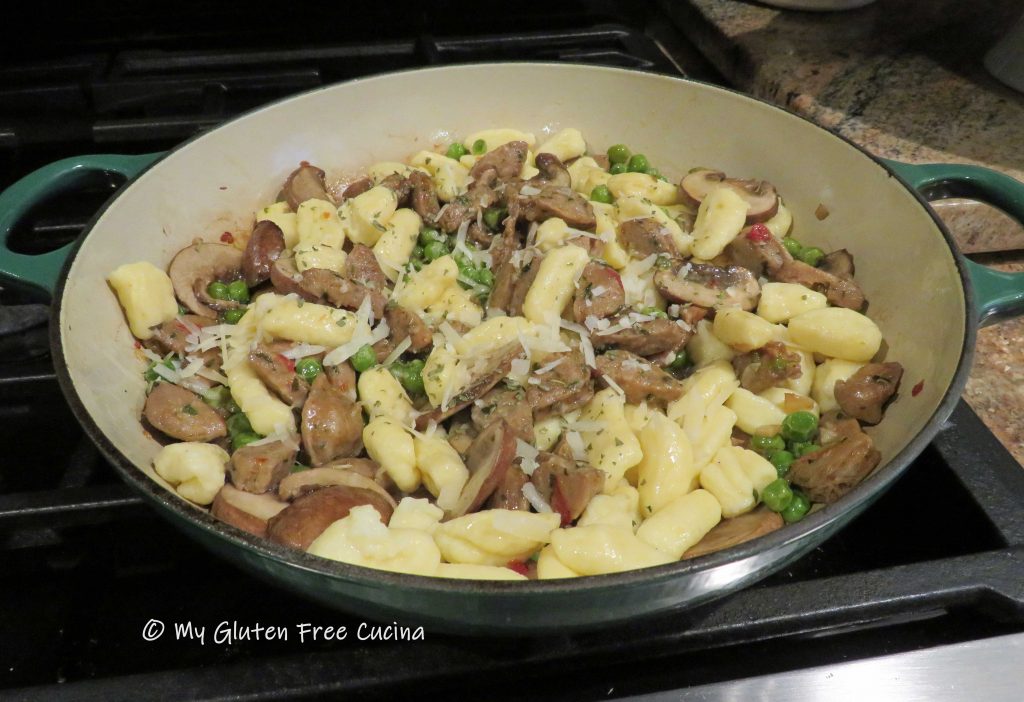
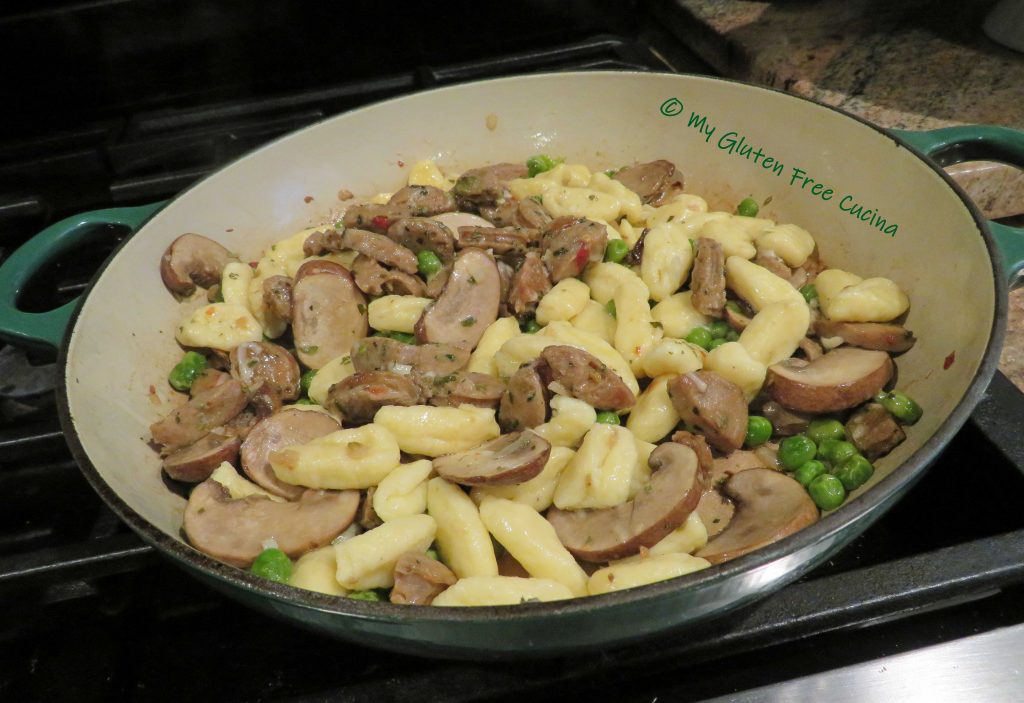
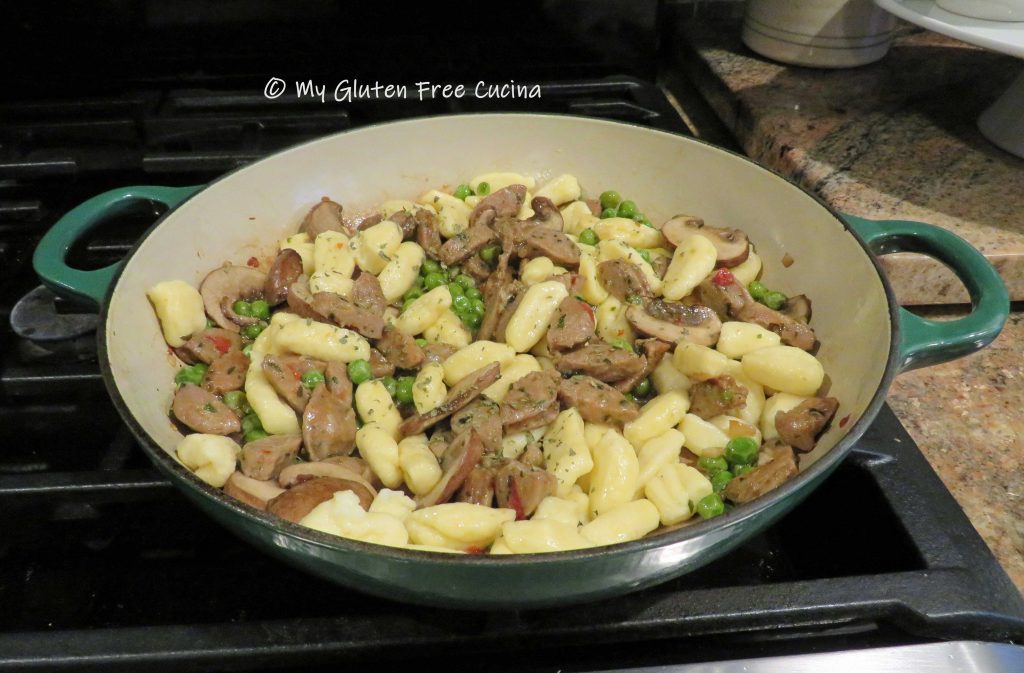
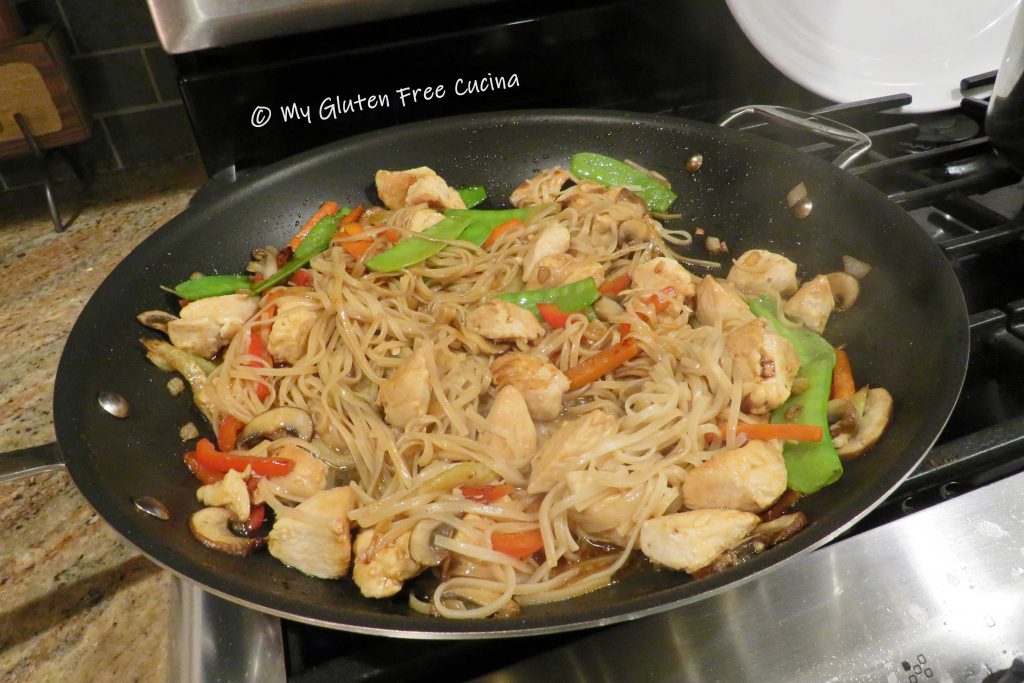
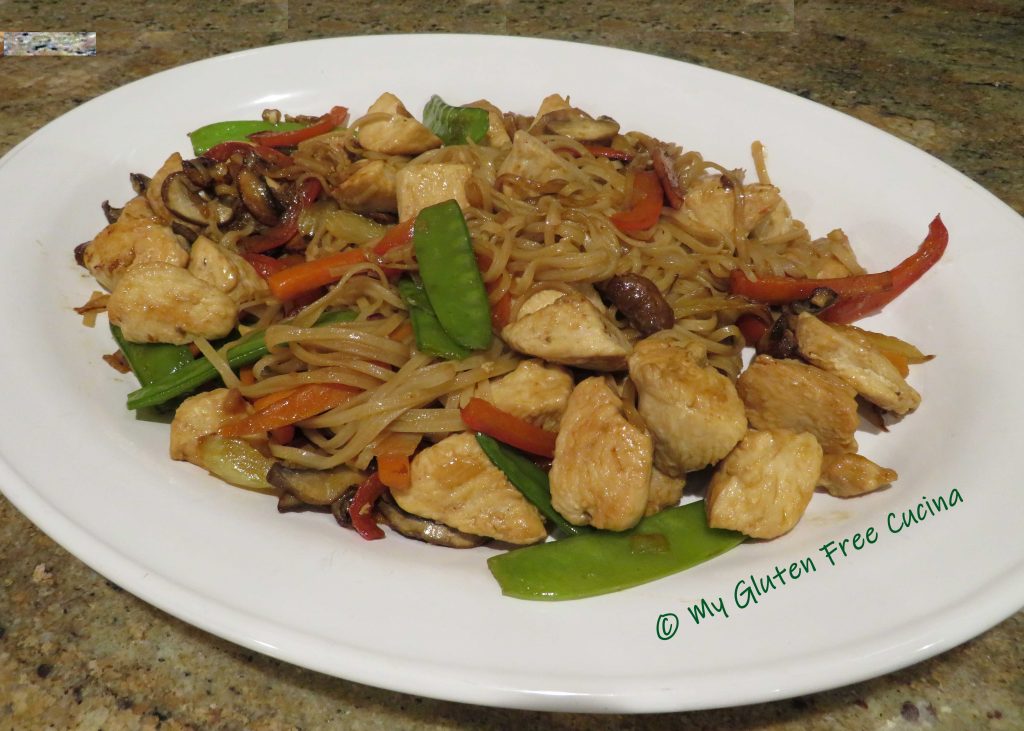
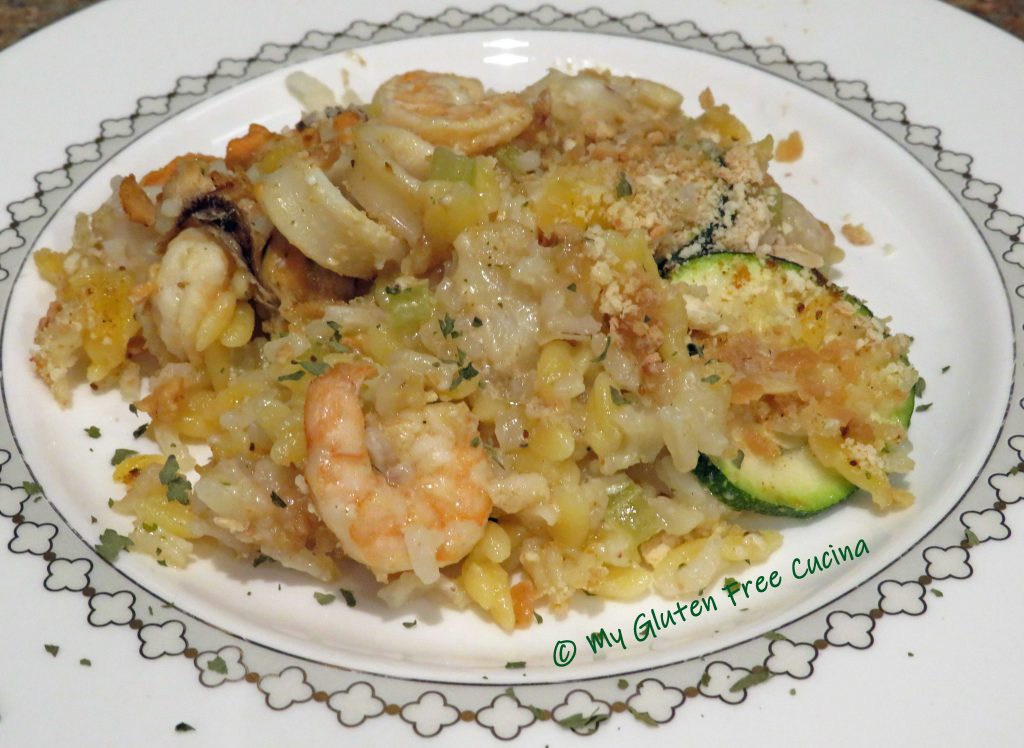
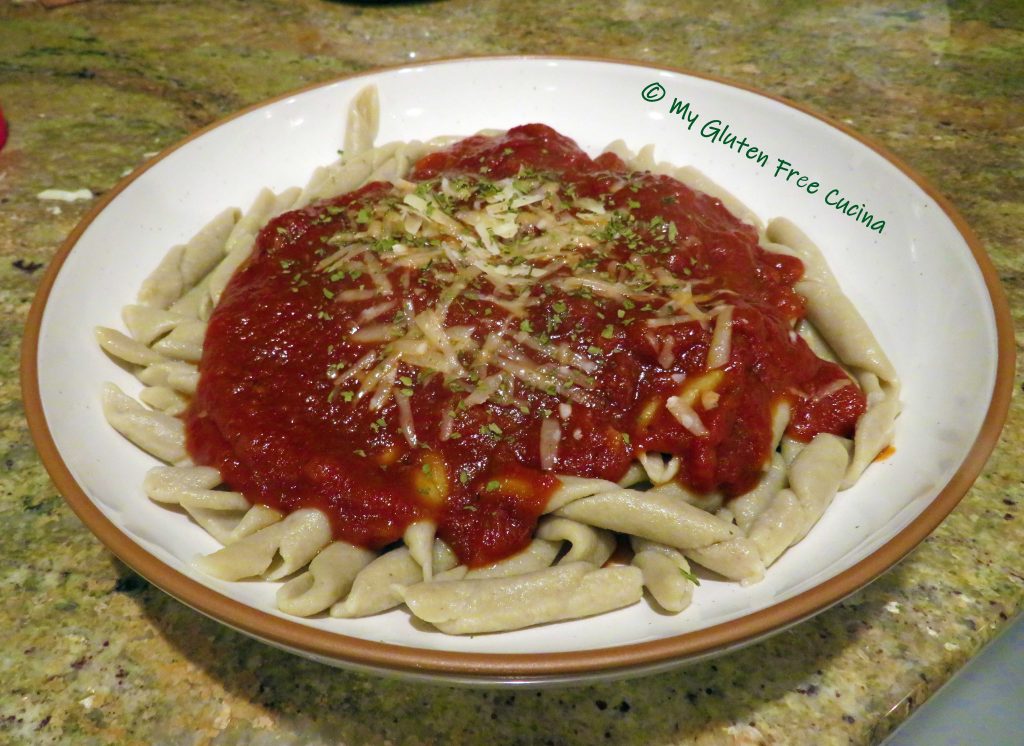
I served the cavatelli with an easy pan preparation of Italian Chicken Sausage, mushrooms and peas.  It was so good!  A simple, satisfying meal that was just the right amount for the two of us.  If you have bigger appetites or want leftovers just double the recipe!

Dinner for two.

This post contains affiliate links.

Ingredients:

For the pasta

Finish the dish

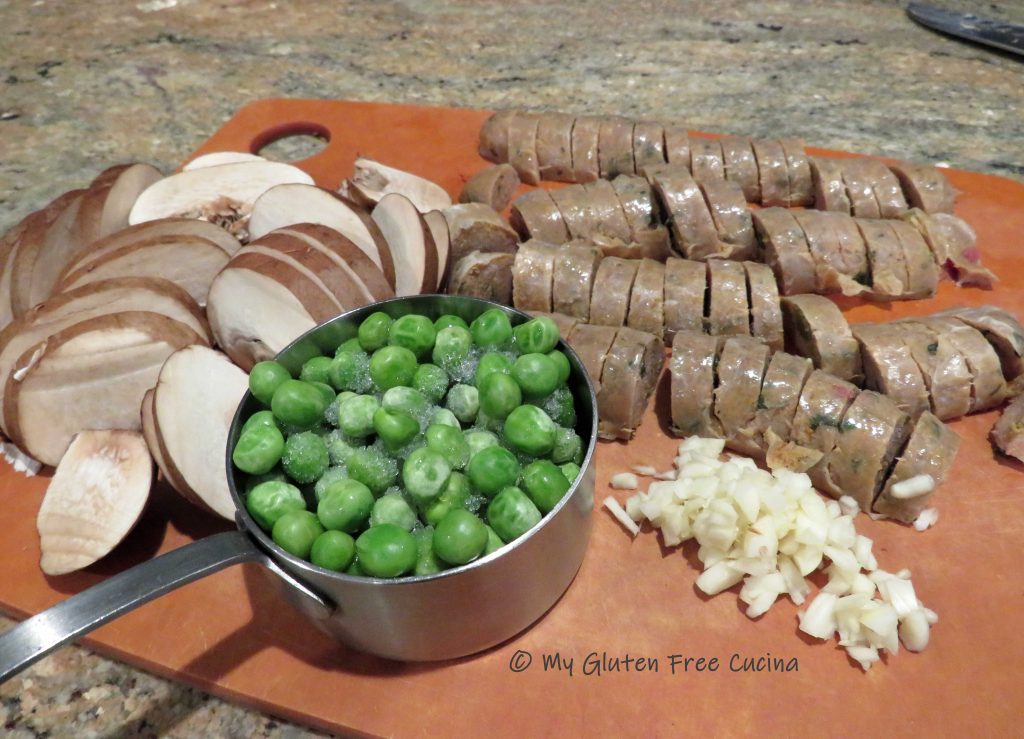
  • 6 oz. (2 links) gluten free Italian Chicken Sausage
  • 1 cup frozen peas
  • 2 garlic cloves, minced
  • 2 cups sliced mushrooms
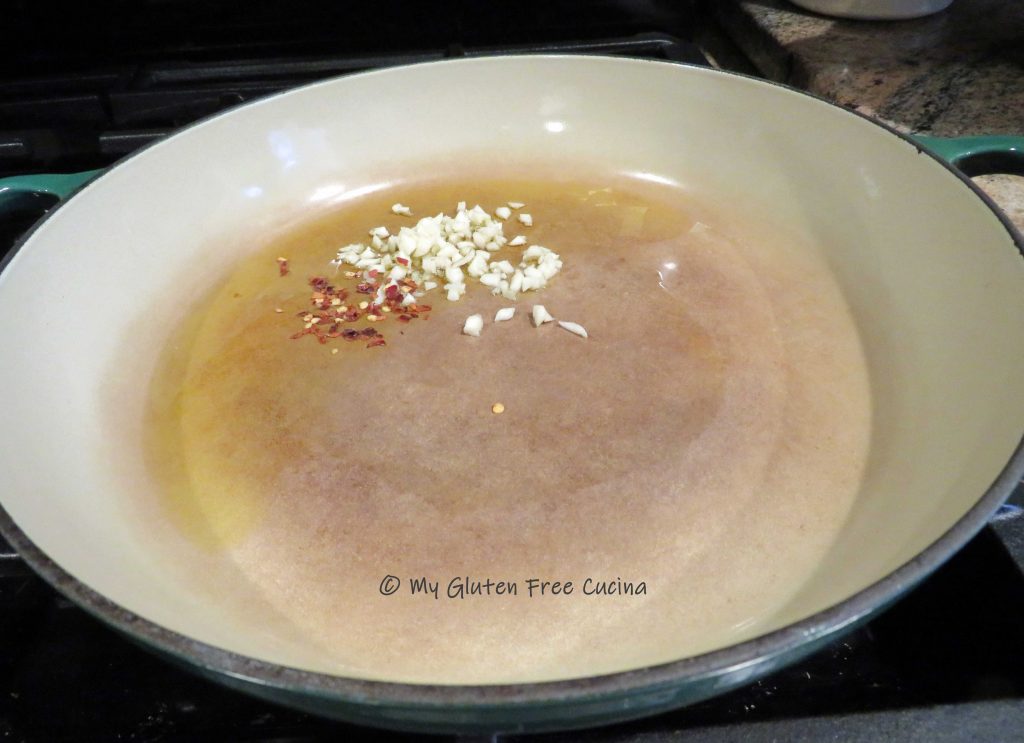
  • 2 tbsp. olive oil + more for finishing
  • pinch red pepper flakes (optional)
  • splash (~ 1/4 cup) of white wine
  • 1 tbsp. of butter
  • grated cheese
  • Italian parsley

Preparation:

Combine the pasta ingredients in the bowl of a stand mixer and beat 3-4 minutes with the paddle attachment.

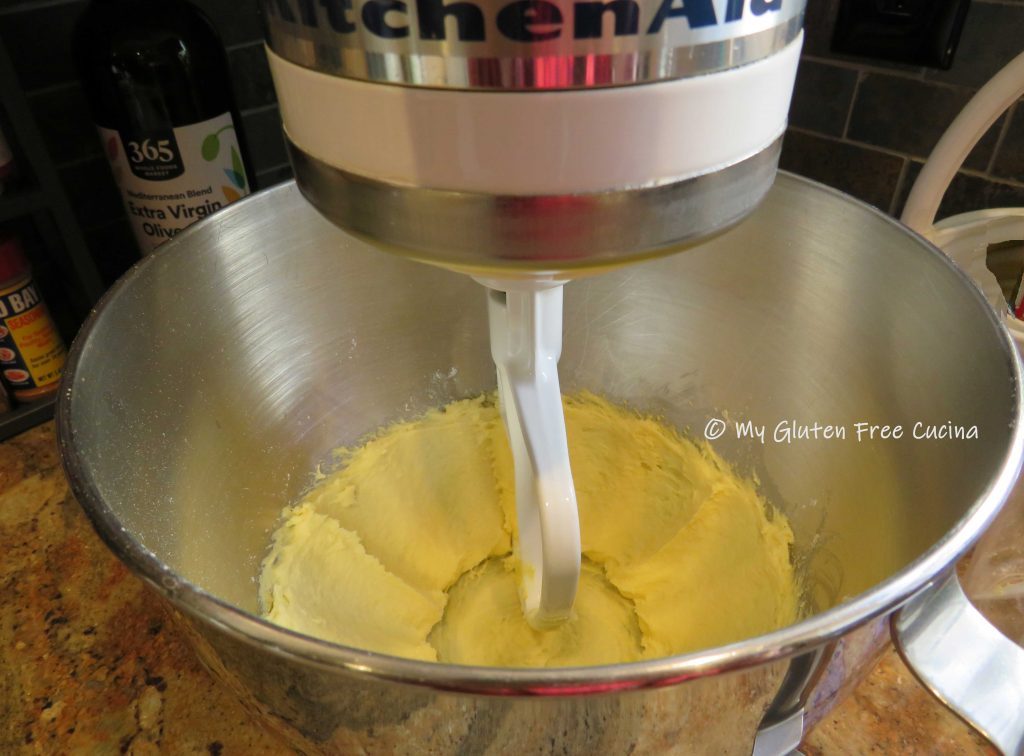
Gather the dough into a ball and dust with flour.  Cover with plastic wrap and rest 15 minutes.

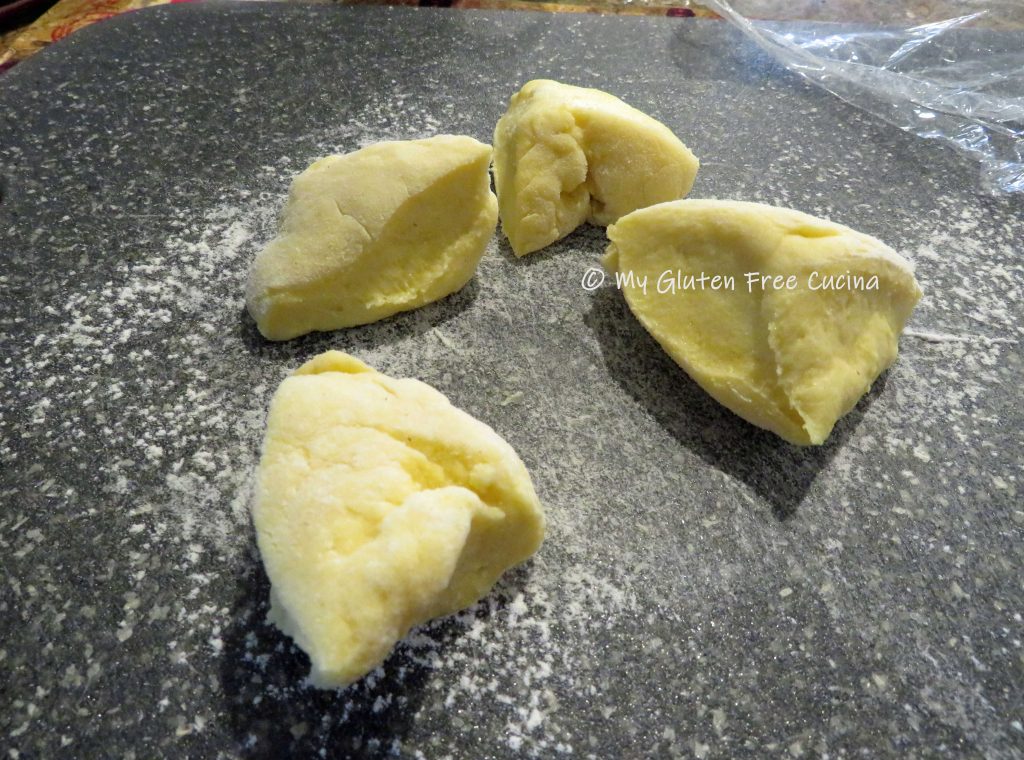
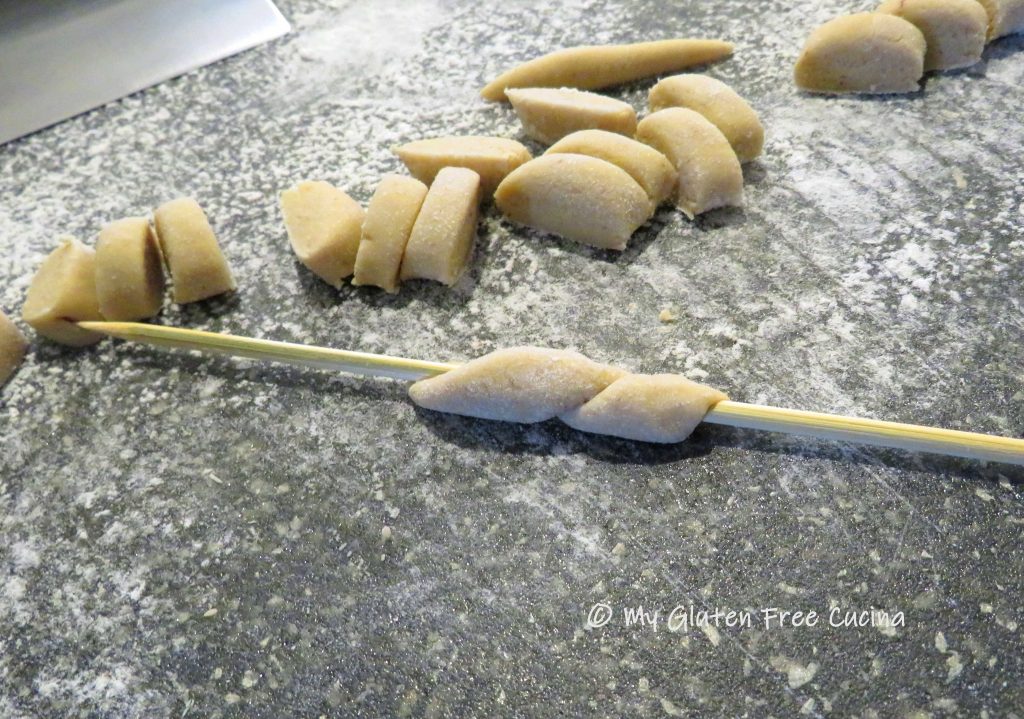
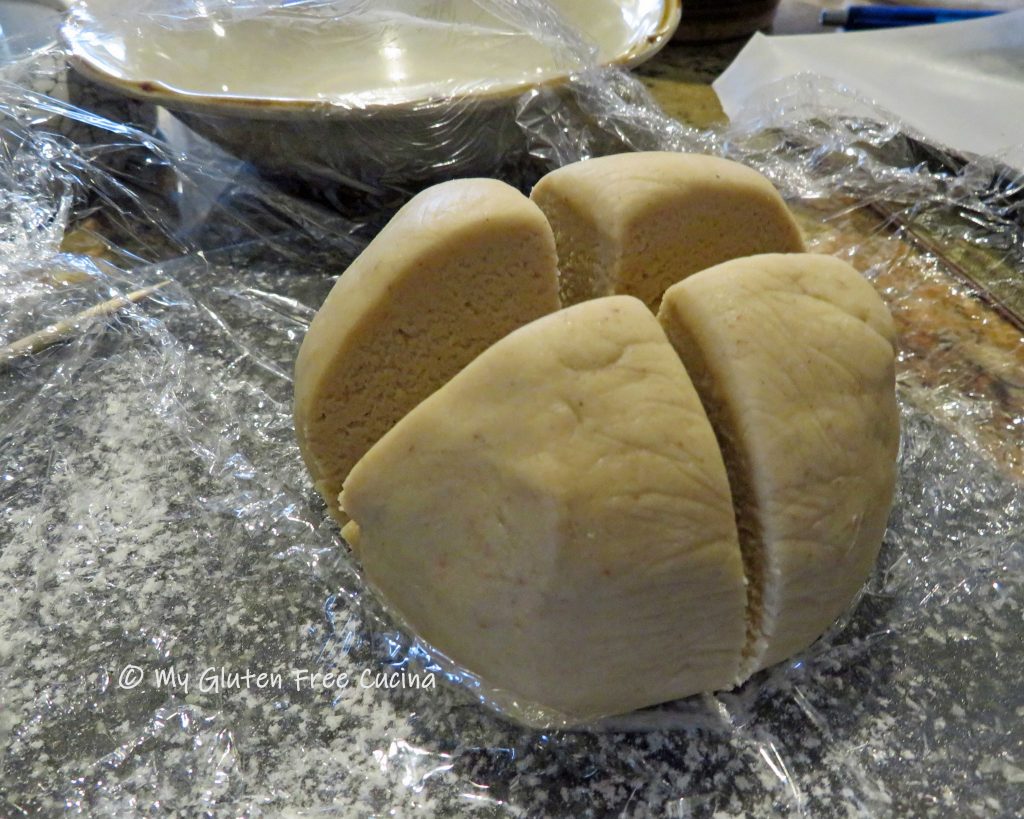
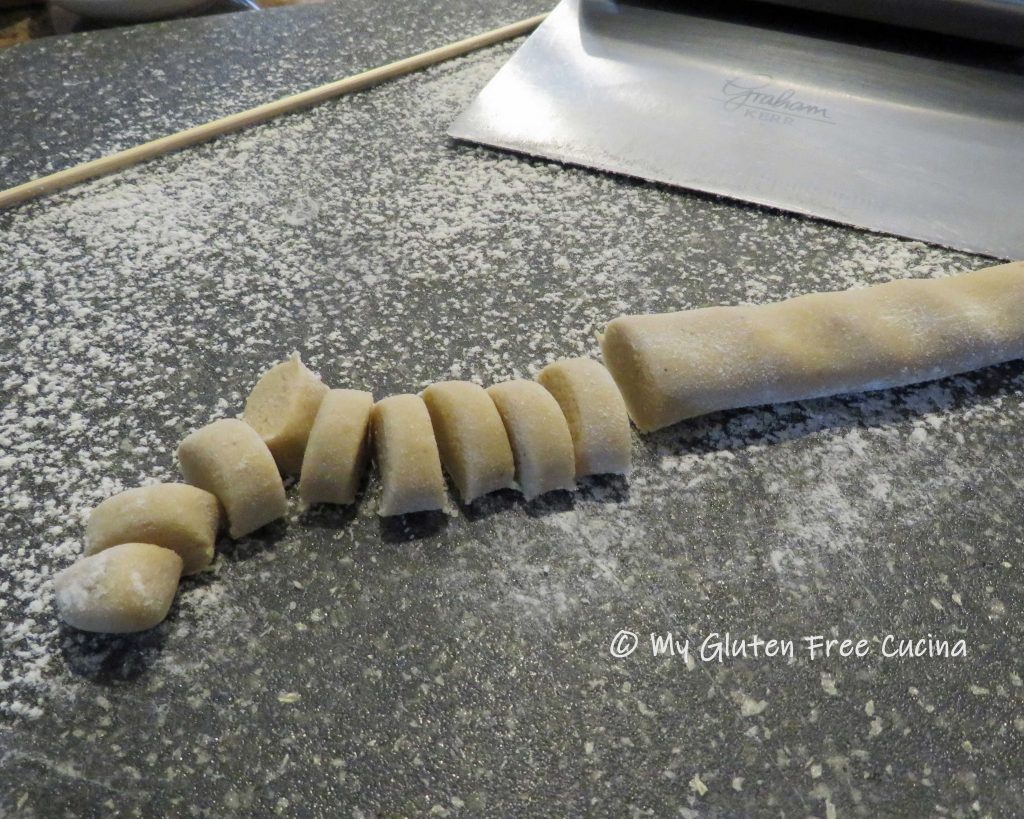
Generously flour a cutting board.  Use a bench knife to divide the dough into 4 sections.  Working with one section at a time, roll the dough into a 1/2″ rope.

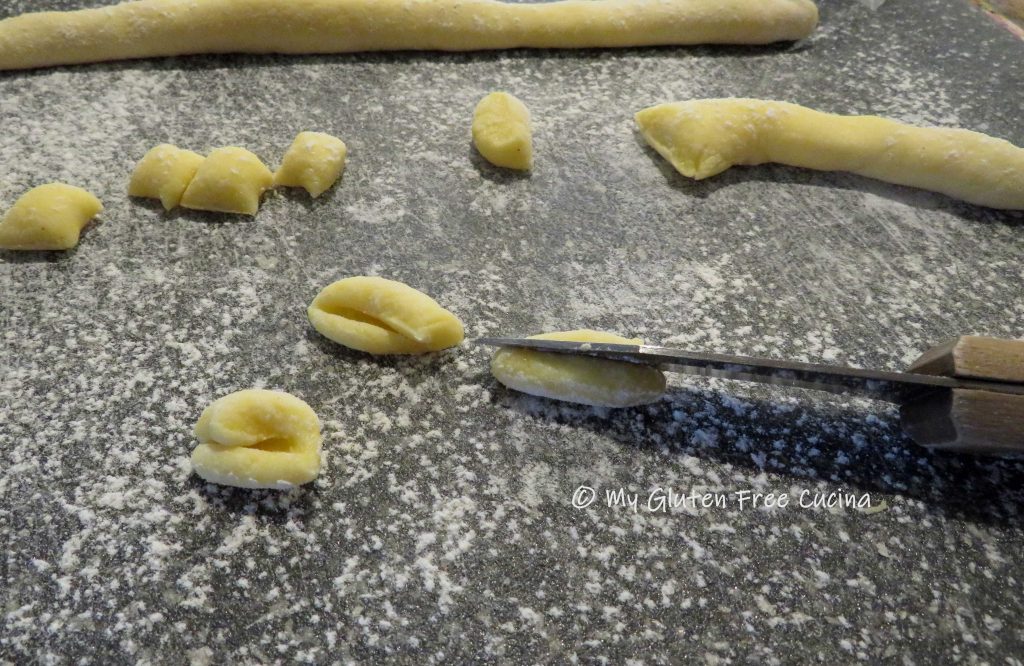
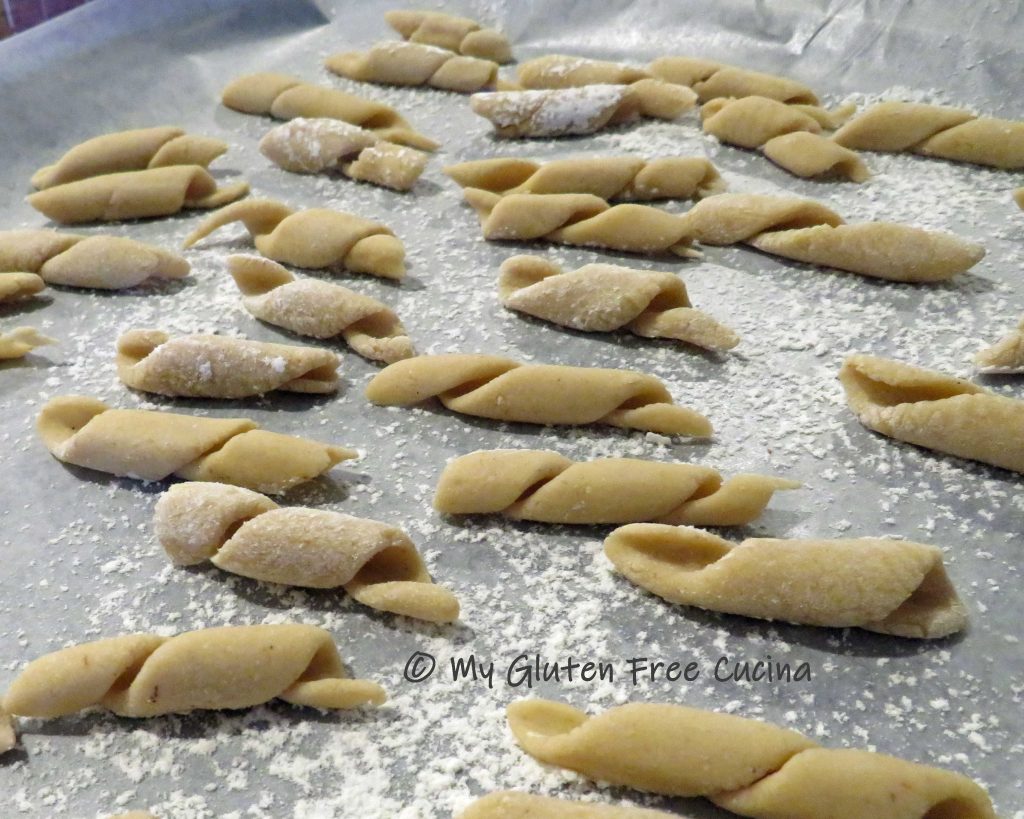
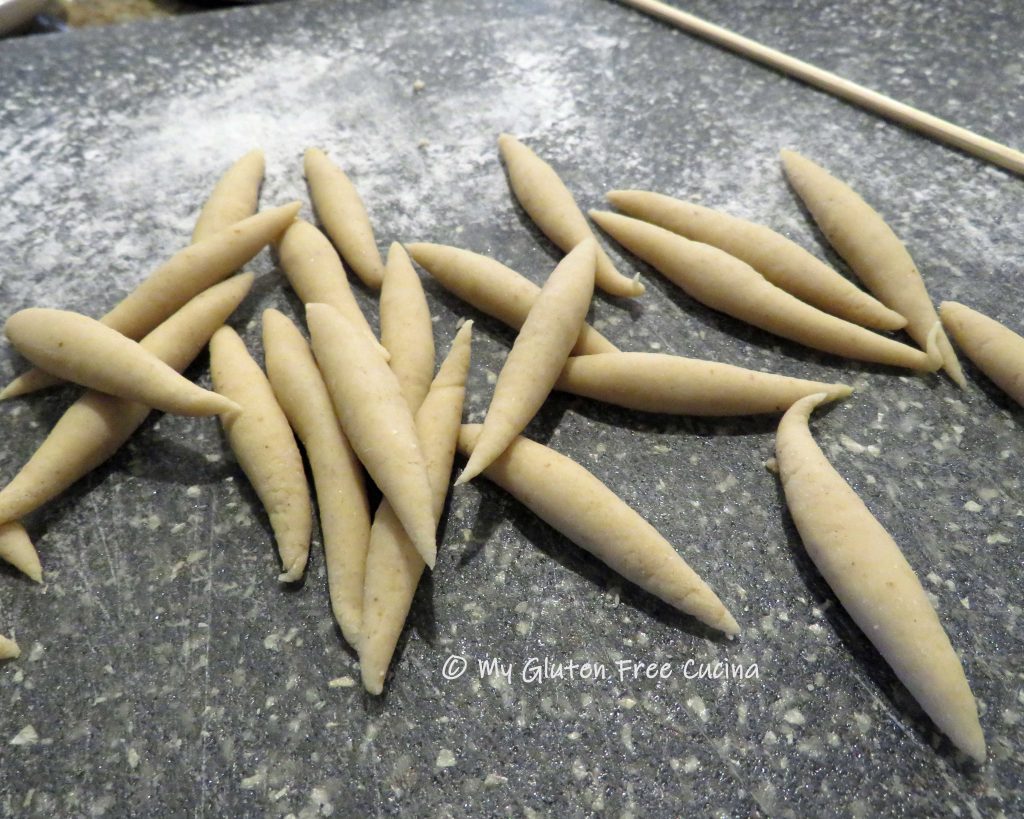
Cut the rope into 1/2″ pieces, then use a small paring knife to gently press and drag the pieces toward you to form the center indentation and curled edges.

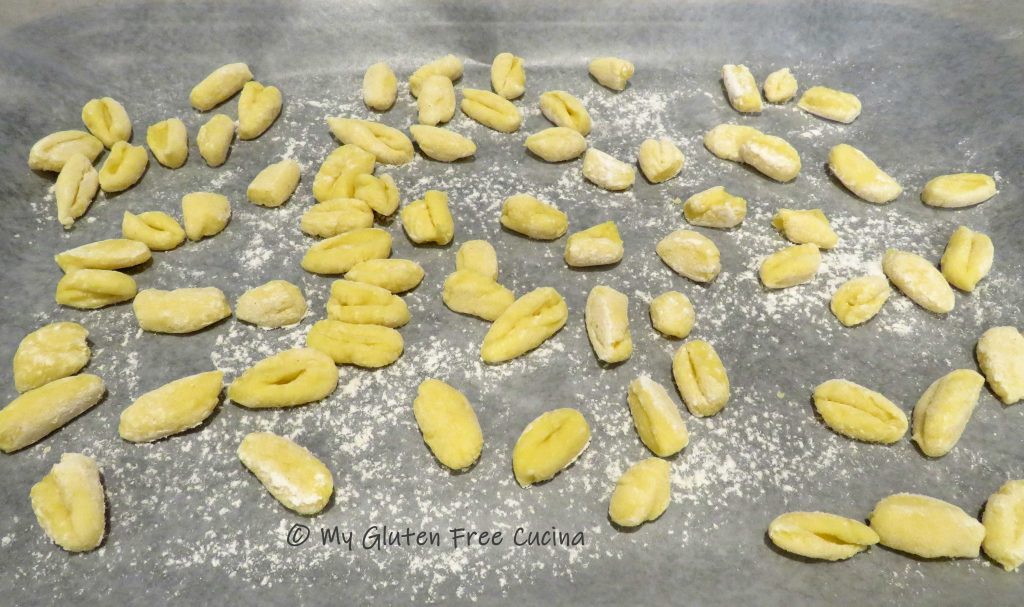
Place the formed pasta on a floured tray and refrigerate until ready to cook.

To finish the dish cut the sausage links in half lengthwise and then slice into half moons.

Heat a braising pan or heavy skillet on the lowest setting and add 2 tbsp. olive oil.  Add the garlic and red pepper flakes and gently warm them to infuse the oil.  Heat a large pan of salted water for the pasta.

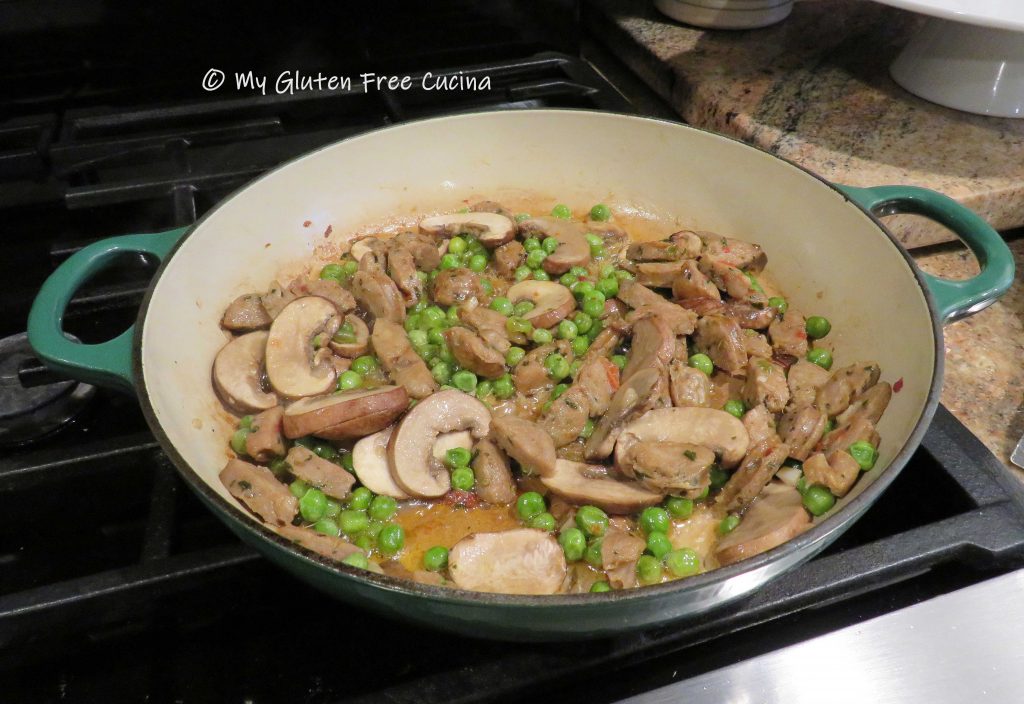
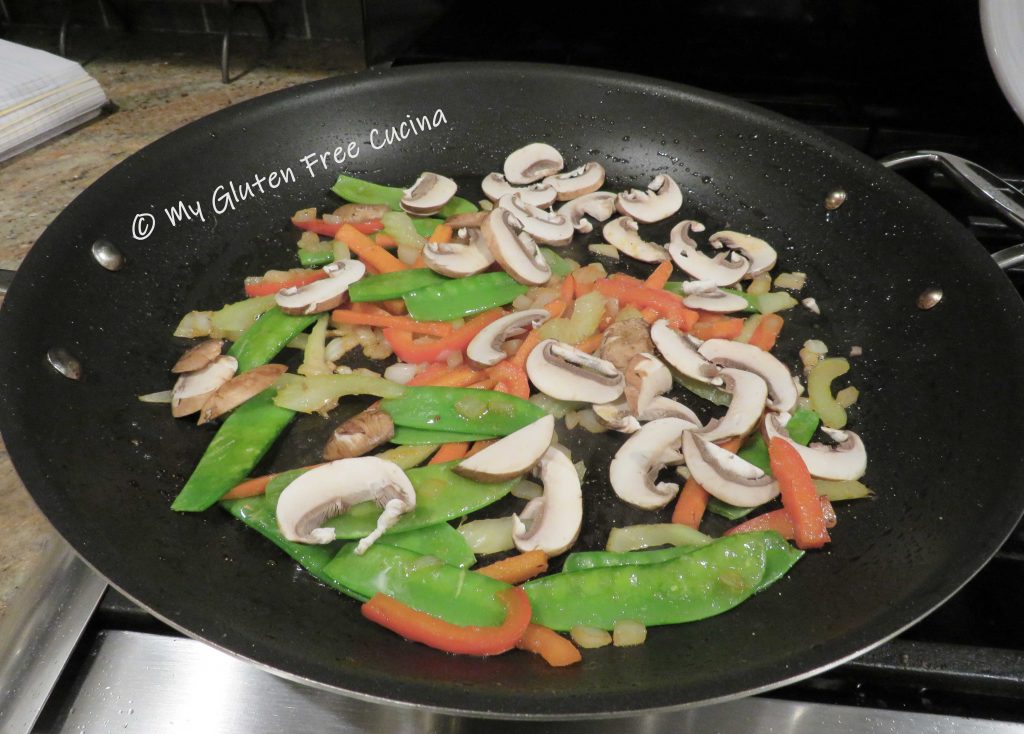
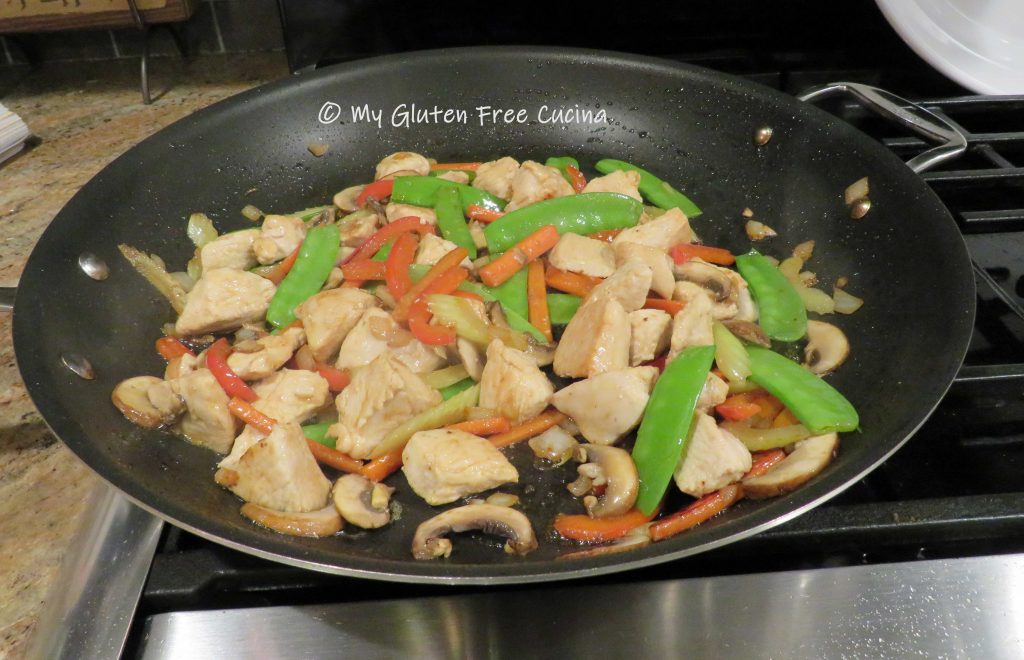
Add the sausage to the pan, cook for 1 minute then add the peas and the mushrooms.

Turn up the heat and cook, stirring frequently until most of the liquid evaporates.

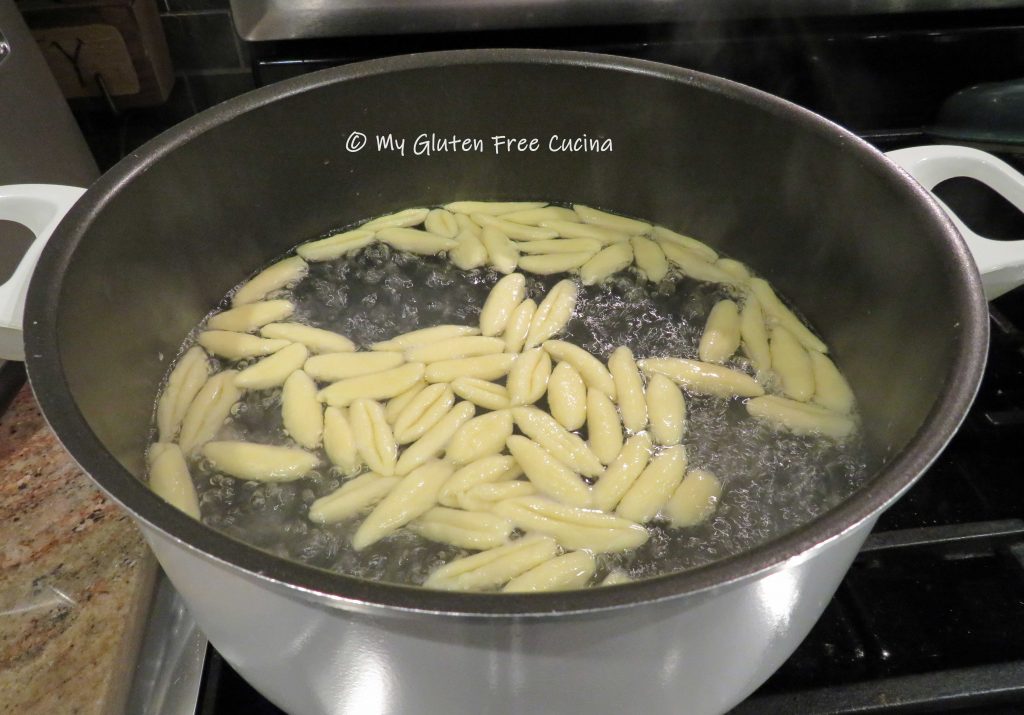
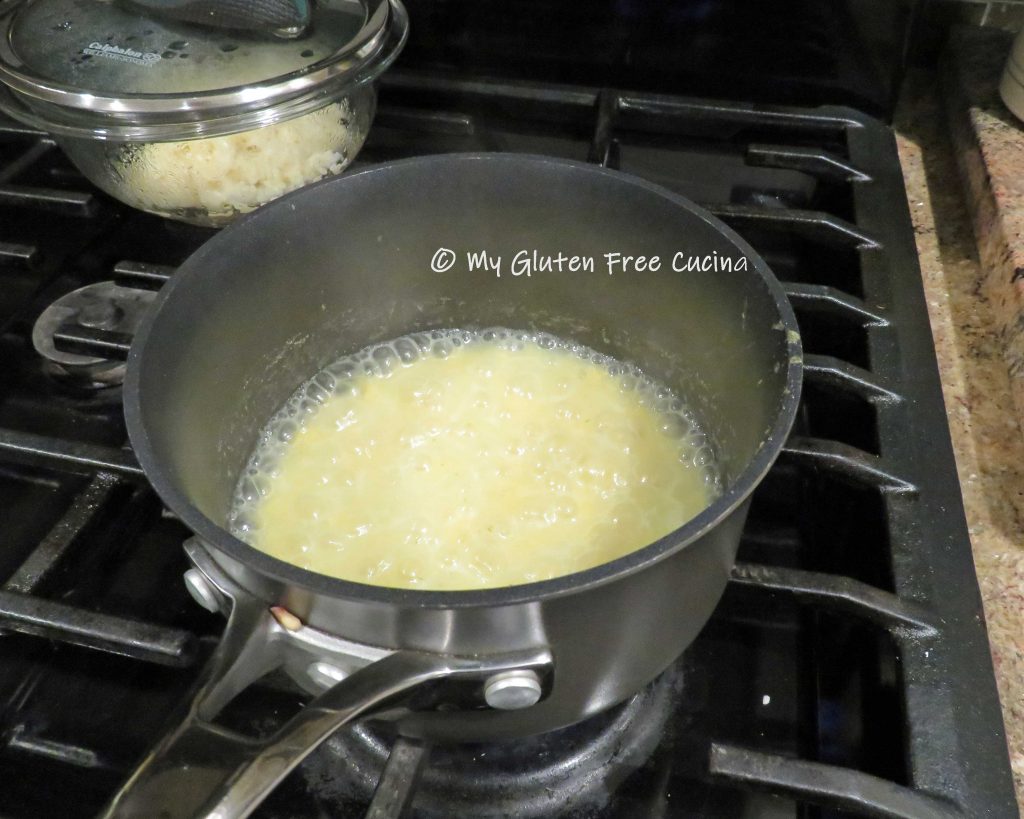
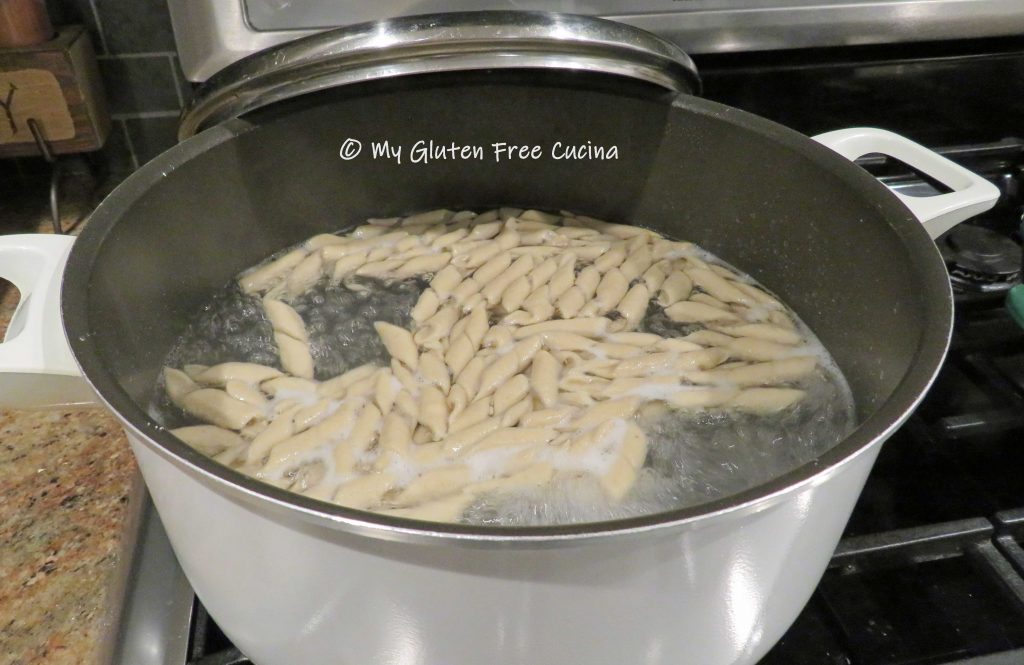
Cook the pasta for 3 minutes.  It’s done when it floats to the top.

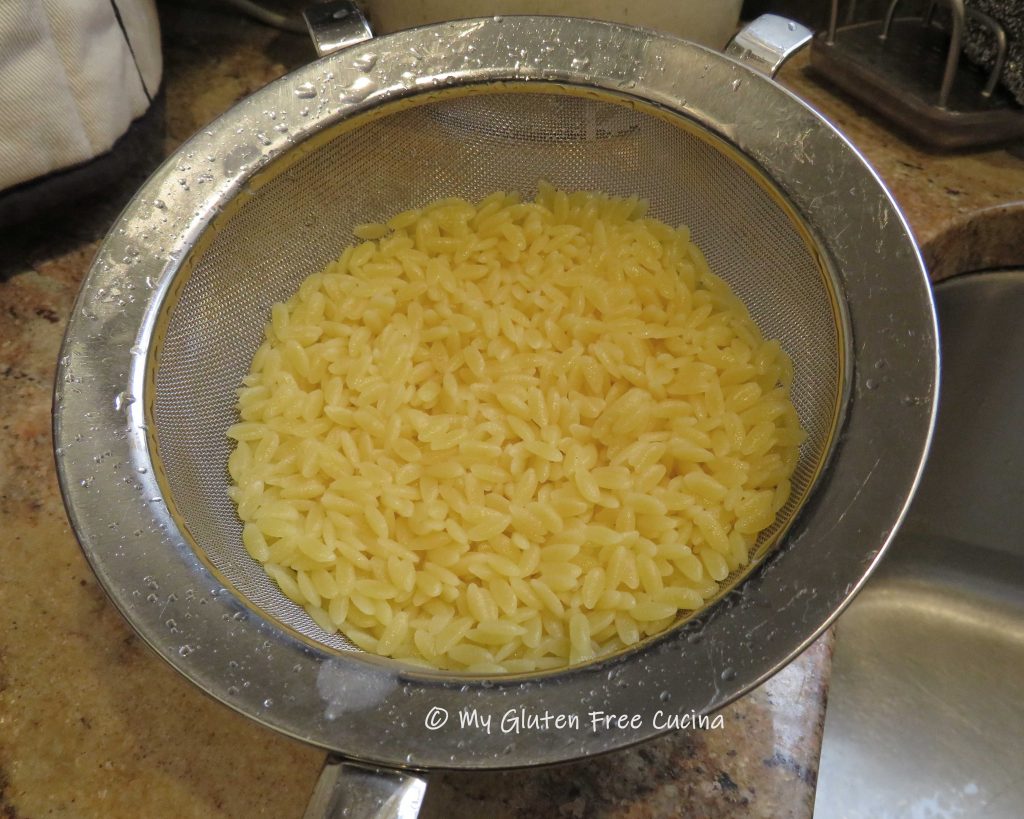
Add a little more olive oil, splash of white wine and a pat of butter to the skillet.  Drain the pasta and toss with the sausage mixture.  Cook for 1-2 more minutes to incorporate the flavors.

Drizzle with olive oil, then top with grated cheese and a sprinkle of parsley.

Notes ♪♫  As you probably know, I am a huge fan of Better Batter brand gluten free flours (not sponsored).  Both their Original Blend and Artisan Flour Blend are wonderful for making fresh pasta, either by hand or machine.  Check out some of my other made from scratch pasta dishes, like this Gluten Free Trofie and Gluten Free Pappardelle.

Print This Post Print This Post

Gluten Free Cabbage Soup

Another St. Patrick’s Day has come and gone, and I still have some cabbage in the refrigerator.  And since the Corned Beef dinner is a once a year occasion at our house, I wanted to make something healthy to use up what’s left of the cabbage.

This soup contains a whopping 8 cups of shredded cabbage (1/2 head) and it is packed with flavor.  Along with the cabbage, I made this soup with ingredients from my pantry.  I had diced tomatoes, beef stock and bouillon, carrots, celery and onions.  Also, the last container of frozen turkey stock from last Thanksgiving, about 2 cups.

The first ingredient in the list may surprise you, but it was all part of the “use it up” nature of this recipe!

Need more ideas to use up that cabbage?  Check out my Asian Chicken and Cabbage, a healthy and delicious stir fry dinner.

This post contains affiliate links.

Ingredients:

Preparation:

Use a 4 quart soup pot or Dutch oven.  Begin by browning the diced sausage in a little olive oil.

Dice the carrots, celery and onion and add to the pot.  Cook for 5 minutes, stirring frequently.  Add the diced tomatoes with their juice.

Now stir in the stock, sage, thyme, pepper flakes and bouillon.

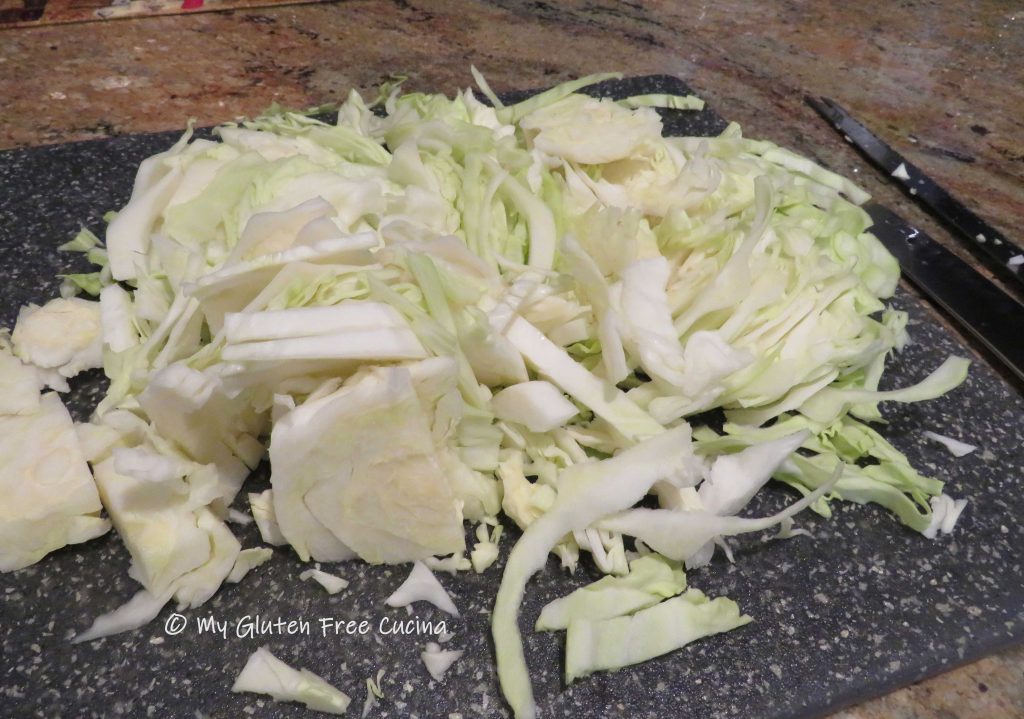
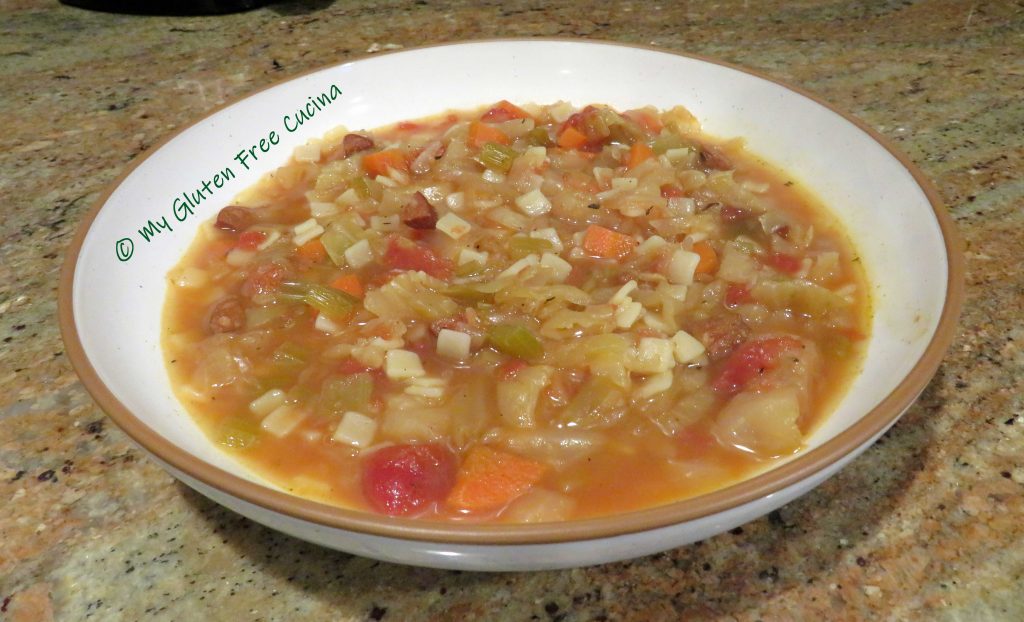
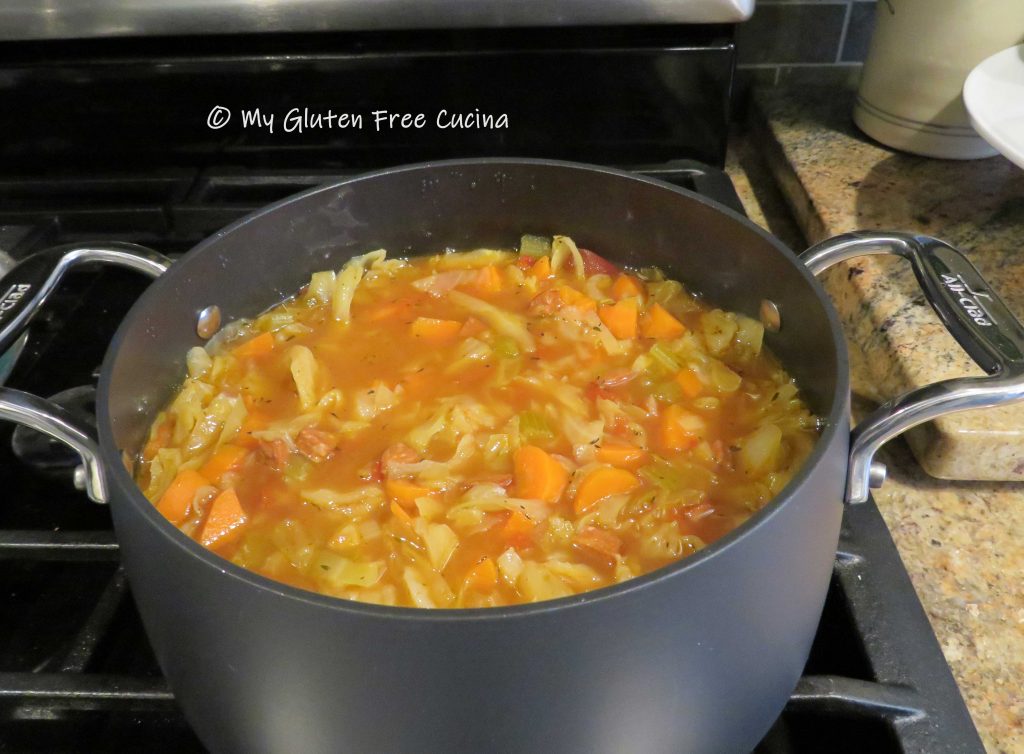
Bring to a low simmer, add all of the cabbage, cover and cook on low for 3 hours.

Stir every half hour and add more stock (or water) if needed.  Soup is done when the cabbage is tender.  Cook the soup pasta according to the package directions and add to the pot.

This is a hearty and filling soup that can be a great first course or a meal by itself!  Serve with gluten free bread or dinner rolls.

Notes ♪♫ Although many recipes for Cabbage Soup use ground beef, I did not have any on hand.  A quick search of the freezer and I found some gluten free Linguica sausage.  Wow, what a happy accident!  This was an incredibly flavorful soup with some nice heat from the sausage.  I’ll make it this way from now on!

Print This Post Print This Post

Gluten Free Chicken Lo Mein

Back in the day ordering Chinese takeout was such a treat.  I really miss being able to do that since being gluten free.  There are few places in our area that offer gluten free Chinese food, but cross contact is always a concern.

That’s why I learned to make gluten free alternatives at home, like this Lo Mein.  The recipe is gluten free and lower in sodium than takeout, so I would call that a success!

This post contains affiliate links.

Although a true Lo Mein would be made with egg noodles, I used Annie Chun’s Brown Rice Noodles in this recipe, and they were a great stand in.  I use their noodles in many of my Asian stir fry meals.

Ingredients:

For the Sauce:

For the Lo Mein:

  • 1 lb. boneless chicken breast, cut into 1″ cubes
  • 1/2 cup celery
  • 3/4 cup carrots
  • 3/4 cup onion
  • 3/4 cup mushrooms
  • 1/2 cup bell pepper
  • 3/4 cup snow peas
  • sesame oil
  • olive oil
  • coconut aminos
  • 1/2 tsp. garlic powder
  • 1/2 tsp. ginger powder
  • 4 oz. gluten free rice noodles

Preparation:

This is one of those recipes where you need to get organized before you begin cooking.  Prep the veggies, cut the chicken into cubes and have all other ingredients lined up and ready.

Begin by whisking the sauce ingredients together and set aside.

Set up a pot of salted water for the rice noodles and bring to a boil.  Heat a large nonstick skillet with 1 tbsp. olive oil and 1 tsp. sesame oil.  Cook the chicken, turning to brown on all sides.  When the chicken is almost cooked through, remove it from the pan and set aside.

Wipe the pan clean and add 1 tsp. sesame oil.  Begin cooking the carrots, peppers and snow peas for several minutes until crisp tender.  Next add the mushrooms and garlic with an additional tsp. of sesame oil.  Cook for 1 minute.

Add the rice noodles to the boiling water, and at the same time return the chicken to the skillet.  Pour half the sauce over the chicken and vegetables.

Drain the pasta after 3 minutes, add it to the skillet and top with the remaining sauce.  Toss well and stir to combine it all, cook for another minute.

Transfer to a platter and serve.

Notes ♪♫ Have you ever purchased a large piece of gingerroot for a recipe, only to use a small amount and have the rest go bad in the refrigerator?  Here’s a trick I learned this past winter, you can cut fresh ginger into smaller pieces and freeze them for later use.  It is so easy to grate gingerroot right out of the freezer.  Perfect for recipes like this one, where fresh ginger is a key flavor in the sauce.

Print This Post Print This Post


Gluten Free Seafood Casserole

When you think of a casserole, do you imagine a heavy, calorie laden meal full of butter, cheese and cream of something-or-other?  Not this one!  Enjoy a lightened up, Gluten Free Seafood Casserole with all the flavor you crave and a fraction of the calories.  The rice and orzo combination is reminiscent of the packaged rice pilaf mix, but it’s completely gluten free.

This post contains affiliate links.

I made this dish with ingredients from my pantry, so no extra trips to the store.  For the fish, I used this Frozen Seafood Medley from Whole Foods (availability varies, see notes), which made the meal extra easy to prepare.  For the pilaf, I used Delallo Gluten Free Orzo, which I always have on hand for soup, and for the crumb topping I used Schar Gluten Free Entertainment CrackersOld Bay Seasoning is a natural for seafood dishes and it has always been a part of my spice collection.

Ingredients:

Preparation:

I defrosted the fish in a bowl of milk, about 3/4 cup of 1% milk for 1 lb. of fish.  The milk lends a milder taste and texture to many types of seafood, the squid rings especially will benefit from a short soak.  Cover and let the fish defrost at room temperature for 1 hour, stirring occasionally.

To begin preparing the casserole, cook the rice in 1/2 cup chicken broth with seasoning of choice, 15 minutes.  Transfer the cooked rice to a bowl, cover and keep warm.

Next, cook the orzo in 3/4 cup water with seasoning of choice, 10 minutes.  If the pasta water looks gummy, drain and rinse the orzo under warm water before adding it to the rice.

Drain and rinse the seafood under cold water.

Heat 1 tbsp. butter in a braising pan or oven proof skillet.  Add the celery and cook on low heat for 2 minutes.

Add the fish to the pan and season with Old Bay.  Cook for 2 minutes.  The fish does not have to be cooked through at this point, it will finish in the oven.

Add the zucchini slices to the pan, along with the rice and orzo mixture.  Sprinkle more Old Bay, then add a few shakes of Worcestershire sauce and 1/4 cup 1% milk.  Stir well to combine.  Pulse gluten free crackers in a processer or electric chopper (or just crumble them with your hands).  Spread the cracker crumbs over the casserole and dot with butter, about 2 tbsp.

Bake uncovered for 20 minutes at 350º.

Garnish with parsley and serve.

Notes ♪♫ I love the flavors in this casserole.  You can change up the seafood to suit your taste.  The seafood medley from Whole Foods was delicious, but you could make your own mixture of shrimp, scallops and squid.  Add more shellfish, or a flaky white fish like cod or flounder.  I had zucchini in the fridge so that is what I used, but you can sub other quick cooking veggies like asparagus or broccoli.  Use your favorites and make it your own!

Print This Post Print This Post


Gluten Free Trofie Pasta

Trofie are a thin, twisted pasta shape popular in Liguria, Italy.  They are formed by rolling small pieces of dough on a flat surface, or between the palms of your hands.  Twisting into the final shape can be done using a wooden skewer, or a bench knife.

To make the Trofie Pasta, it was important that the dough be smooth and supple, easy to roll and shape.  A tall order for gluten free!  I created this gluten free Trofie with the Artisan Flour Blend from Better Batter.

The pasta was delicious!  The color and texture of the dough are reminiscent of whole wheat pasta.  Look closely and you can see flecks of grain in the dough.

The ingredients for this recipe will make a small batch, more than enough for 2 people.  We had it for dinner and there were leftovers.  You can double or triple the recipe for a large family.

Ingredients:

This post contains affiliate links.

When you shop Better Batter and use my code MGFC30 at checkout, you will receive 30% off any non-sale item! 

Preparation:

Whisk together the flour and the salt.  Add the wet ingredients to the bowl of a stand mixer and whisk thoroughly.  Then add the dry ingredients to the wet and mix with the paddle attachment on low until the dough comes together.

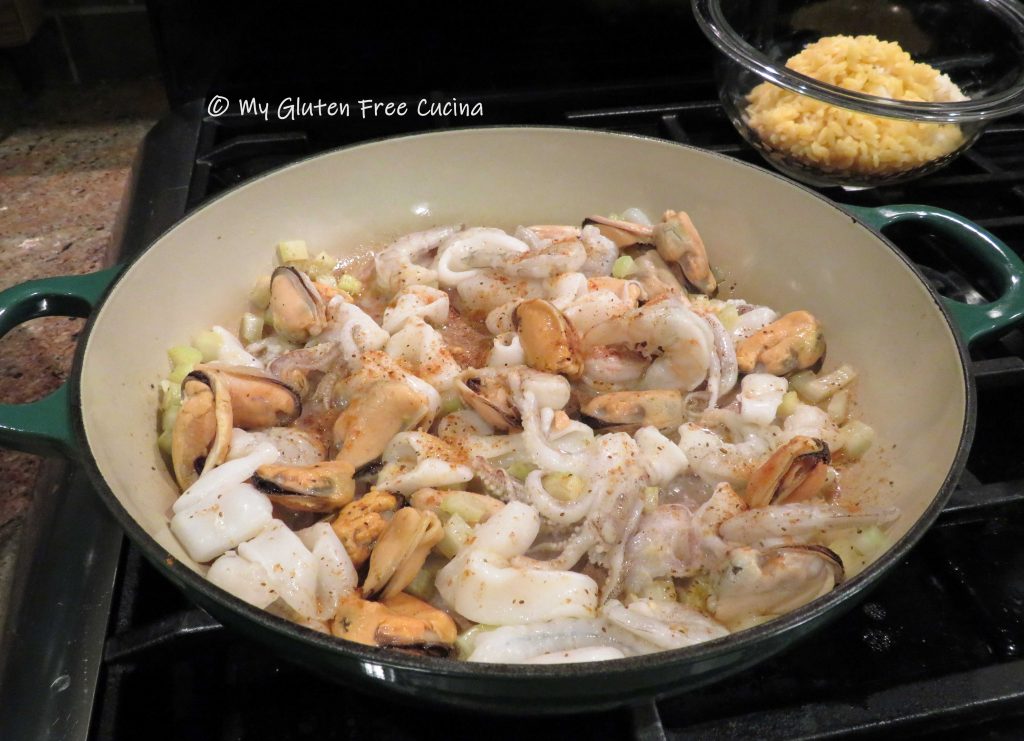
Increase the speed and mix for 6-8 minutes until a smooth dough forms.

Press the dough into a ball, cover with plastic wrap and rest for 1 hour.

Divide the dough into 4 pieces.  Work with one section at a time, and keep the rest covered to prevent it from drying out.

On a floured cutting board, roll each section of dough into a long rope 1/2″ thick.  Cut the rope into 1/2″ pieces.  Be sure to keep the pieces small and uniform, so they will all cook at the same time.

Roll each piece between the palms of your hands into a long thin shape, tapering the ends.  Flour your hands as needed to keep the dough from sticking.

Working with one piece at a time, hold a wooden skewer or bench knife at a 90-degree angle, pressing lightly as you roll it over the dough to twist it into the final shape.

As you form each piece, slide it onto a baking sheet lined with floured wax paper.  Can you believe that little ball of dough made all this pasta?

Don’t overcrowd the tray and try to space out the pasta so it doesn’t stick together.  Cover with plastic wrap and refrigerate until ready to cook.

Bring a large pot of salted water to a rolling boil.  Add the pasta, stir and cover until the water returns to a boil.  Fresh pasta cooks quickly.  When it floats to the top it’s done, about 3 minutes for al dente.  Don’t overcook it!

To help the pasta keep its spiral shape, use a spider strainer (instead of a colander) to gently remove it from the pot and transfer to a serving bowl.  Doesn’t that look wonderful?

Top with your favorite sauce and finish with grated cheese and parsley.

The twisted shape holds onto sauce beautifully.  Leftovers the next day had excellent texture when reheated in the microwave.  I had so much fun making these!

Notes ♪If you are missing whole wheat pasta on the gluten free diet (I know I was) the taste and texture of this pasta will make you smile.  Always follow food safety guidelines for fresh pasta made with eggs, if you are not going to cook the pasta immediately it should be refrigerated!

Originally posted 05/2019                                               Updated 03/2022

[print_link]

Gluten Free Air Fryer Chicken Thighs

Look at those crispy chicken thighs!  Would you believe they were not deep fried?  Of course the title gives it away, this chicken was cooked in an air fryer.  Crispy on the outside, moist and juicy on the inside.  It reminds me of the “bucket of chicken” I loved as a child!  It’s hard to believe this chicken is gluten free!

Now for the real surprise.  These chicken thighs are both boneless and skinless!  That’s right friends, you don’t need the skin to get that delicious crispy coating.  And it’s the best “fried” chicken I’ve had in years.

This post contains affiliate links.

4 Servings

Ingredients:

Preparation:

Whisk together the buttermilk (or use powdered equivalent), and Montreal chicken seasoning.  Buttermilk is not a pantry staple at our house, but I always keep buttermilk powder in the pantry.  Alternately, you can add 0ne tbsp. of lemon juice to regular milk and let the mixture stand for 15 minutes.

Set a clean food grade plastic bag (such as a bread bag) in a medium bowl.

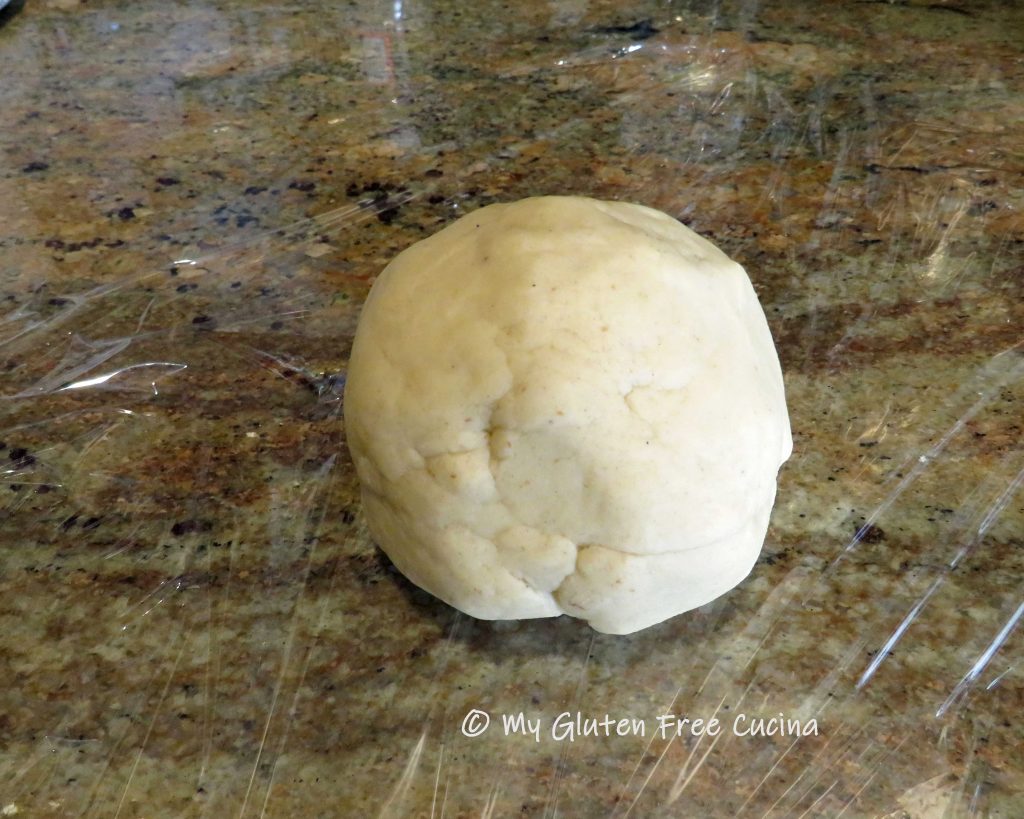
Add the chicken pieces to the bag, and pour in the marinade.

Tie the bag to ensure all pieces are covered in the milk mixture, and let it sit at room temperature 1 hour.

In another plastic bag, add the tapioca starch and paprika.

Add the chicken to the flour mixture one piece at a time, shaking to coat.  Coat air fryer trays with cooking spray and arrange the chicken.  Use 2 trays to allow room for the air to circulate.

Refrigerate the floured chicken for 30 minutes.

Preheat the air fryer for 5 minutes at 400º.  Spray the top of the chicken with cooking spray (Important: you need that little bit of cooking spray to get the crispy crust.  You don’t need to saturate it, just a light even coating of oil.)  Place trays in the air fryer and set to 400º for 30 minutes.

Half way through, turn the chicken over and (don’t forget) spray with cooking spray.  Return to the air fryer, switching positions (the tray that was on top moves to the bottom) and continue cooking for another 15 minutes.  Check the internal temperature with a thermometer.  Thighs are done at 165º-170º.

Don’t they look delicious?  This chicken has become a new family favorite!

Notes ♪♫  The air fryer has been a game changer in my kitchen, as I can now enjoy some old favorites that I haven’t had in years!  Mine is a shelf style, so I was able to air fry all four pieces at once.  If you have a smaller model, or a basket style air fryer you may be limited to how many pieces you can prepare at once.

Print This Post Print This Post