Gluten Free Corn Cakes

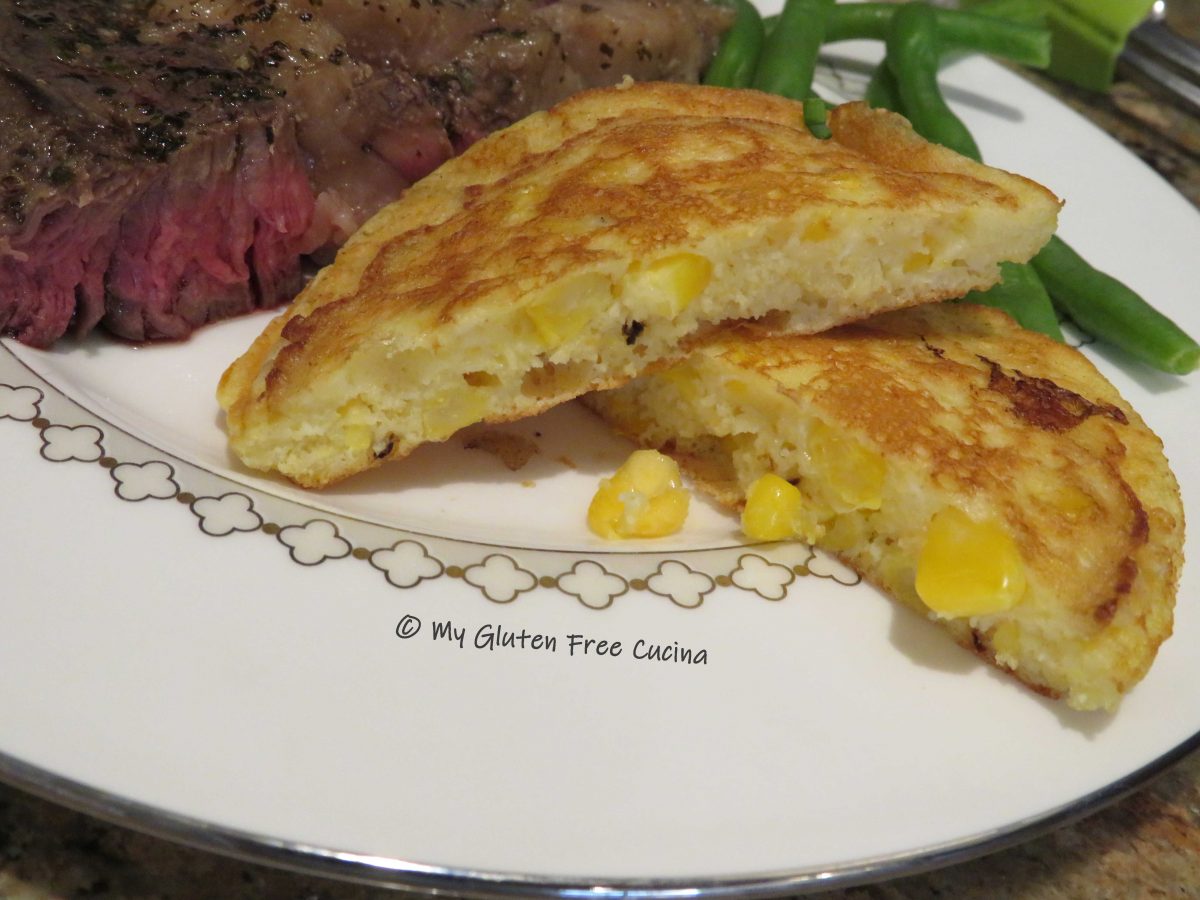
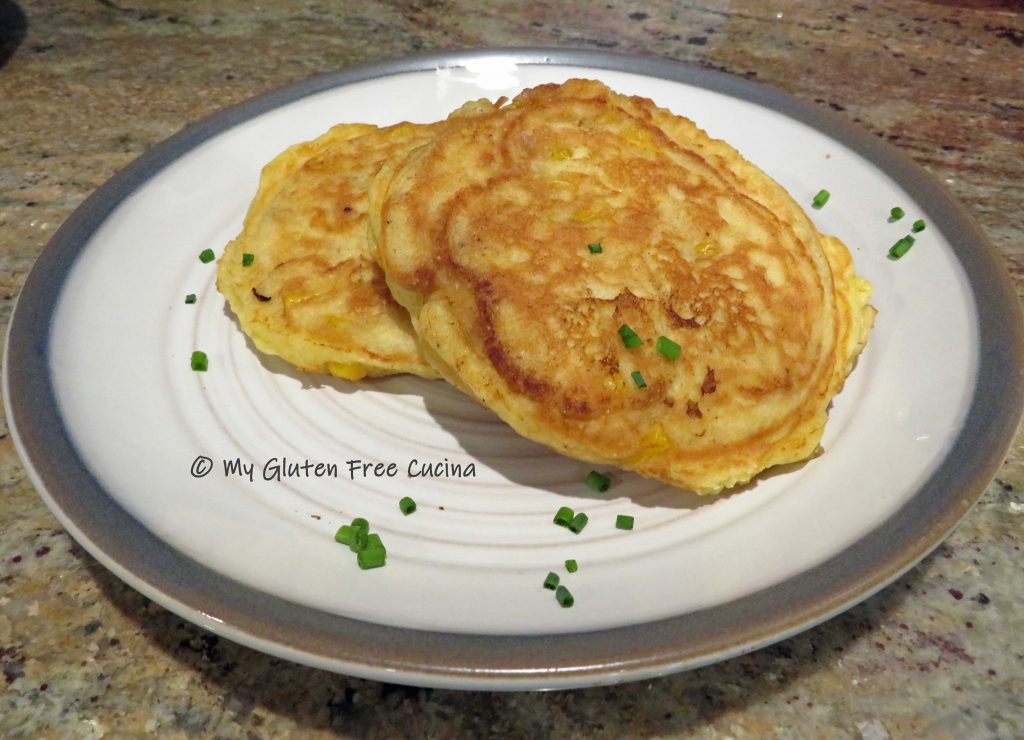
Are you tired of the usual rice and potato sides?  When you’re gluten free, it can really get monotonous.  So, one night I thought I’d try something different.  Popular in the South, I had (can you believe) never had corn cakes before.  I just made a small batch to taste, and wow, they were good!

Corn Cakes would be a fun and easy side for a BBQ dinner or potluck.  You can easily double or triple the recipe, and add more or less spice to suit your family’s taste.  Making them gluten free was easy, just by swapping out the flours.

This post contains affiliate links.
4 Servings

Ingredients:

Preparation:

Whisk together the flour, corn meal, salt, baking powder and seasoning.  In another bowl, whisk the egg, milk and oil.
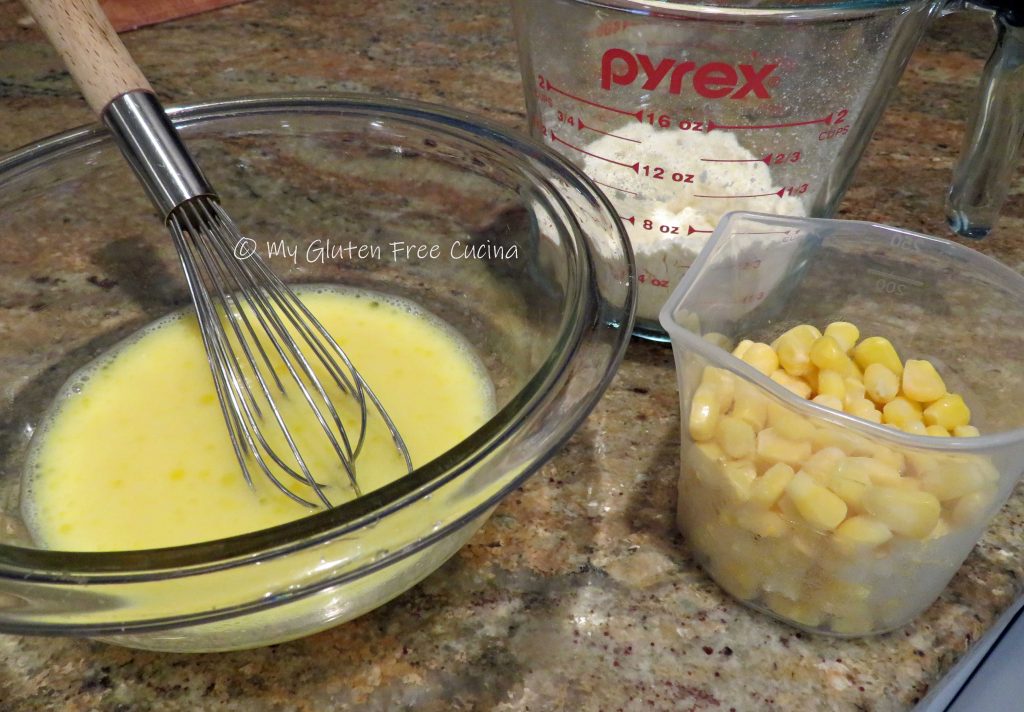
I took my corn kernels out to defrost about 30 minutes earlier.  Stir them into the egg mixture to finish thawing while you heat your griddle or skillet.
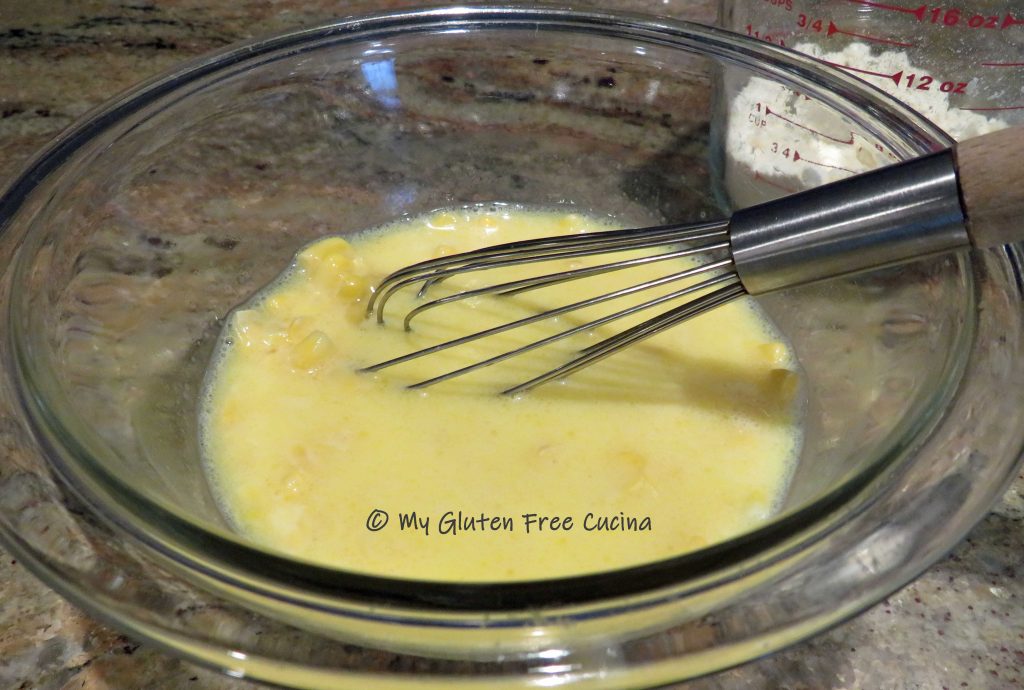
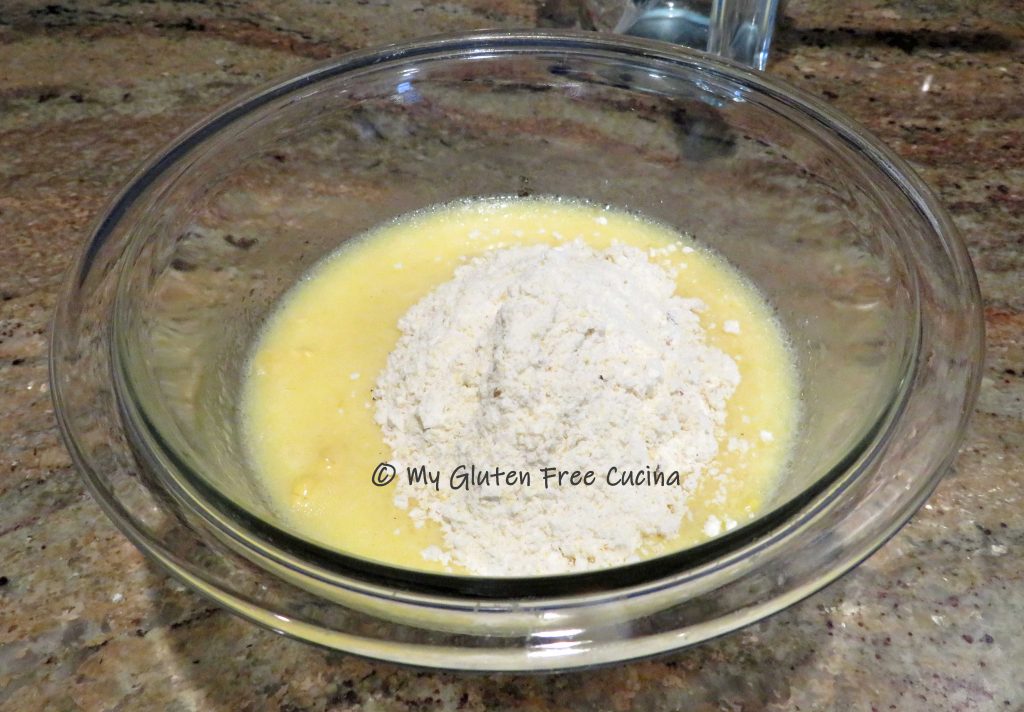
Stir the dry ingredients into the wet.  You will have about 1 of cup batter.
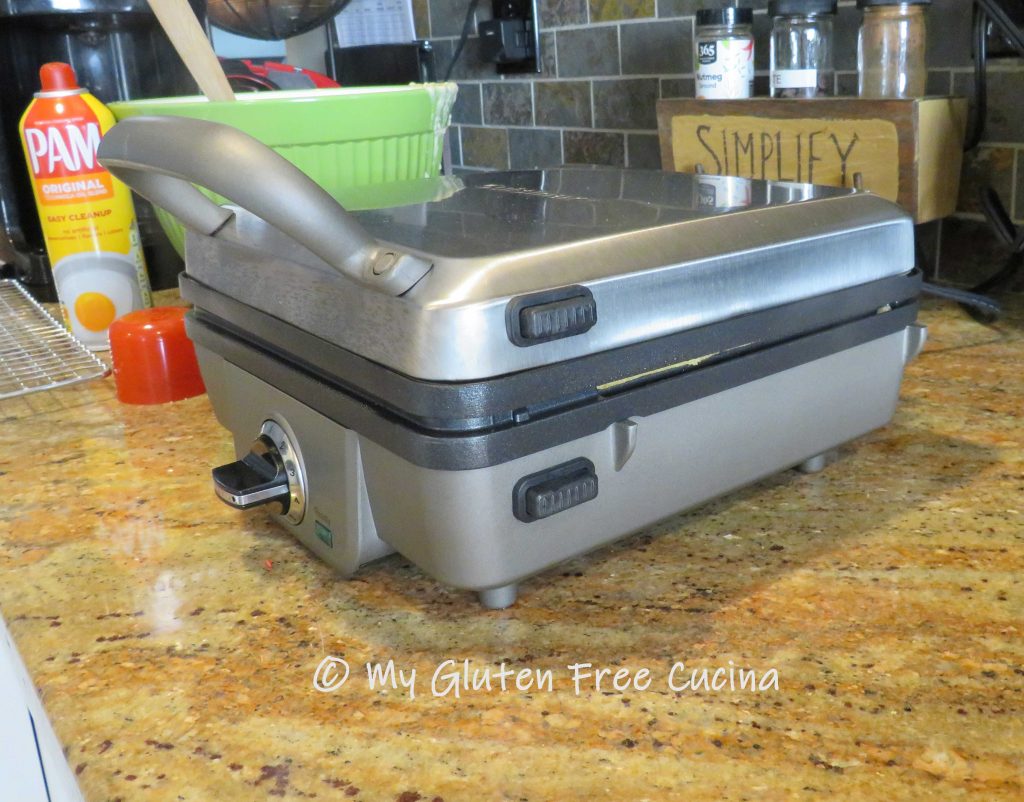
When I first tested this recipe, I used a large nonstick skillet.  Today I made them on my new waffle maker because I wanted to try out the pancake plates.  I preheated it to 350° and brushed with butter.  I ladled the batter into the 4 pancake cups, about 1/4 cup each.
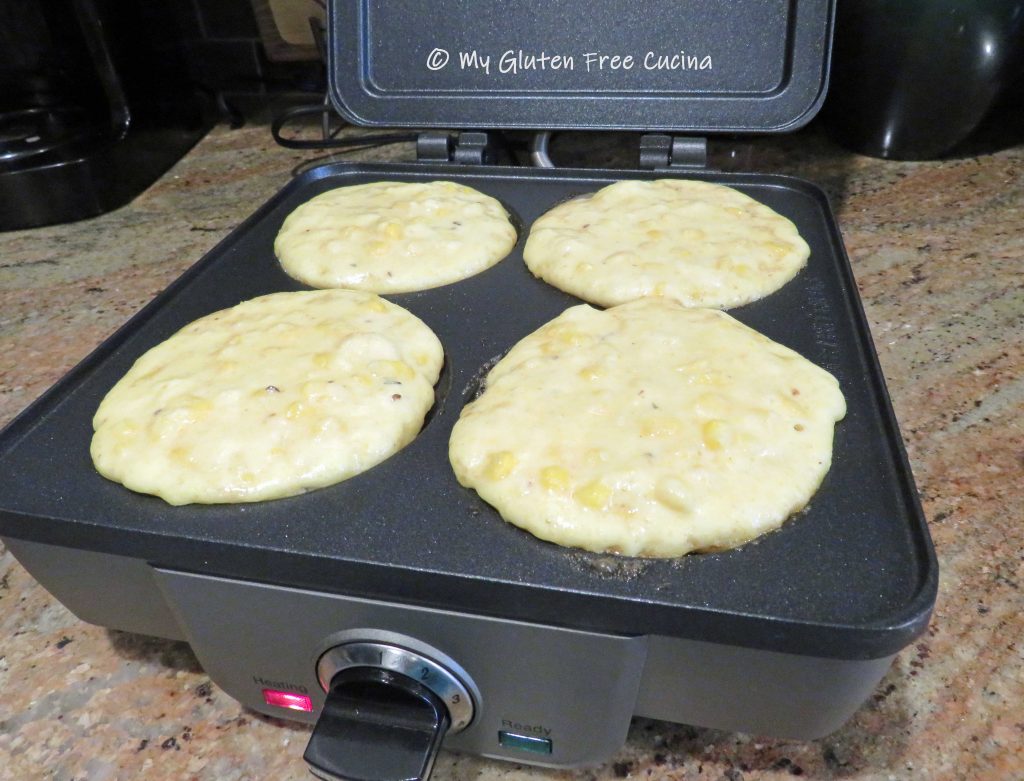
Cook them for about 4 minutes, until the bottoms are set and you can see a few bubbles in the batter.
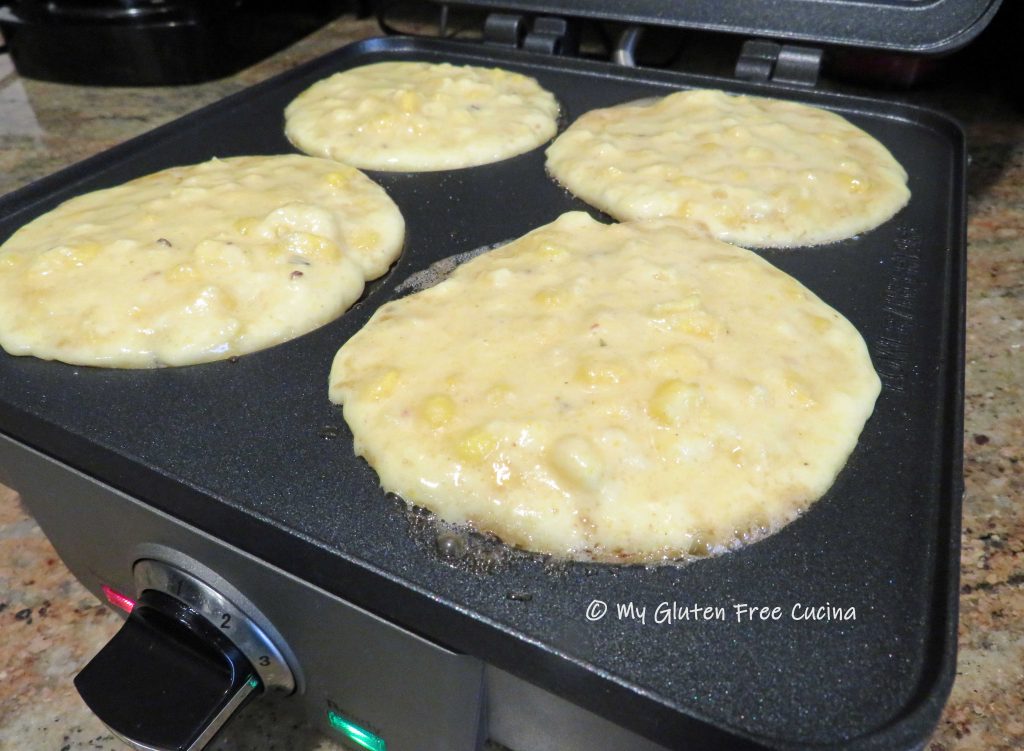
Carefully turn them over with a spatula and cook 3-4 minutes longer.

Check the center with a toothpick, if it comes out dry, they are done.  Serve hot or at room temperature.
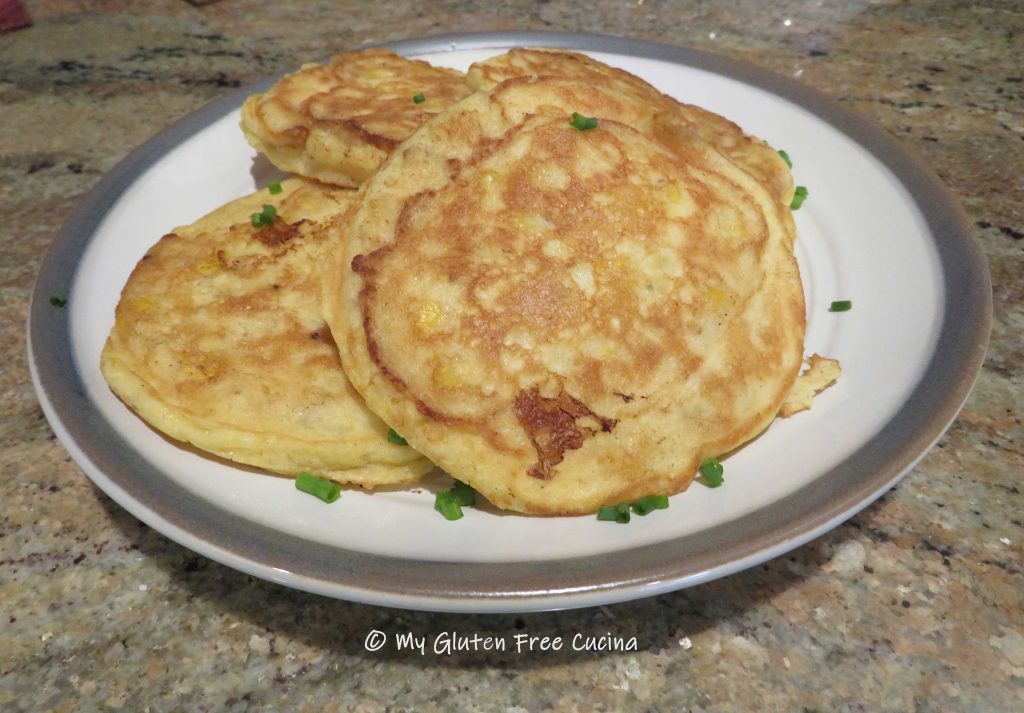
This is a fun side that goes with so many things, from your favorite BBQ fare to a casual steak dinner.
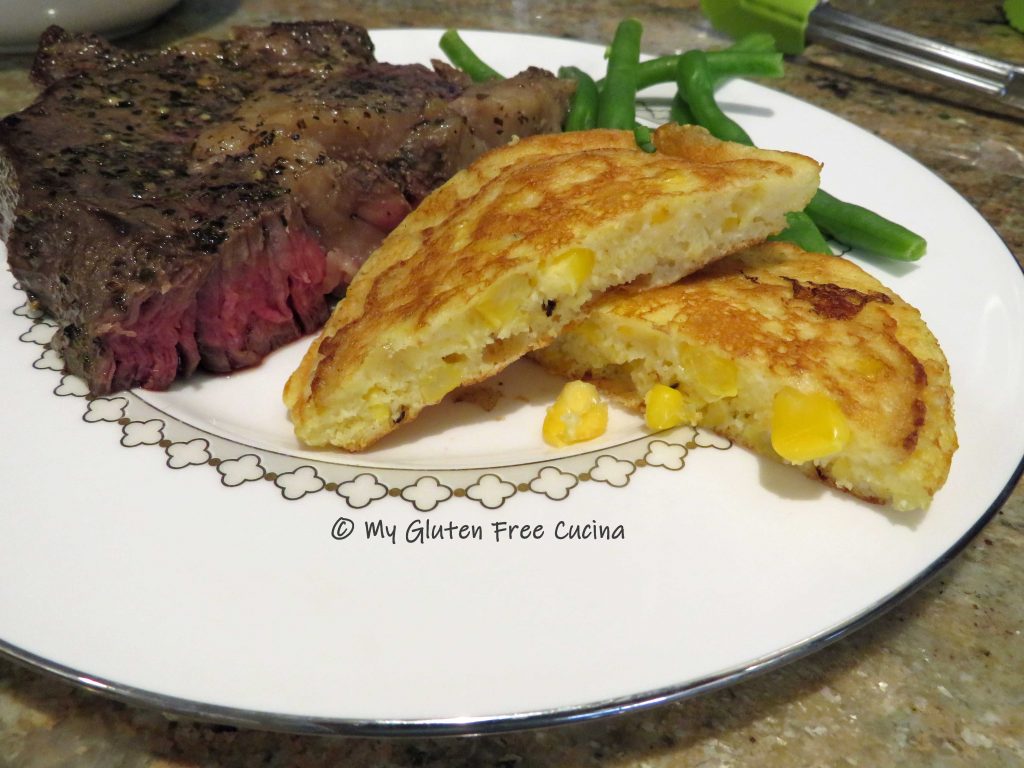
Notes: ♪♫ I used this Mexican Spice Blend to kick up the flavor of my corn cakes.  Made with Chipotle Chile, cumin, onion powder and oregano, it is a salt free blend with some heat!  Since the recipe already has salt and baking powder, I didn’t want to add more sodium.  If salt isn’t an issue for you, you can sub your favorite gluten free seasoned salt and make it as mild or spicy as you like!

[print_link]
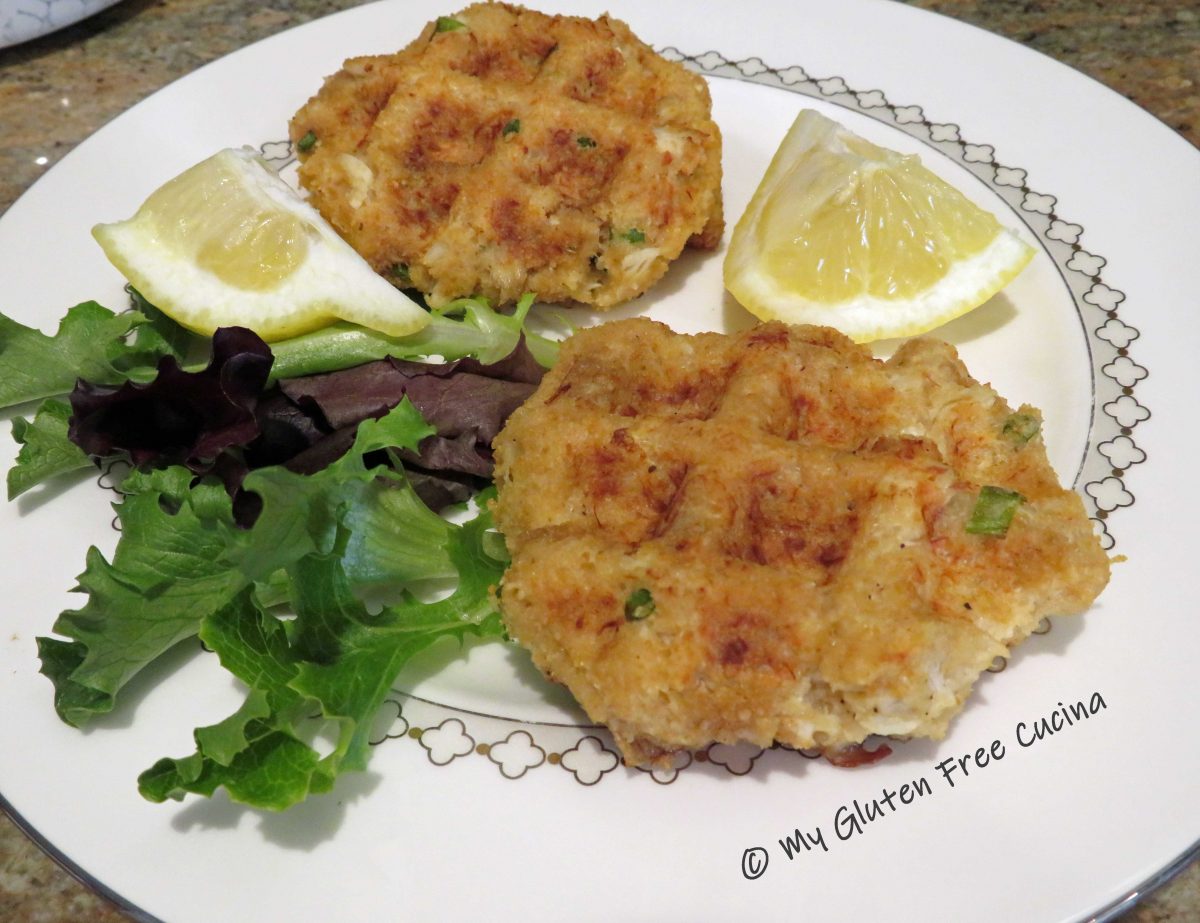
Gluten Free Crab Cake Waffles

Check out these cute little Crab Cake Waffles!  Gluten free and cooked on a waffle maker, they are the perfect light meal or appetizer.  Like regular crab cakes, but more fun. 😉

It’s so nice to have a new kitchen toy!  When my old waffle iron gave out after many years of service, I was excited to get this newer model.  It has detachable plates, a game changer when it comes to cleanup!

I couldn’t wait to try out my new waffle maker, but breakfast wasn’t the first thing on the menu!

This post contains affiliate links.

Inspired by Skinny Taste, these Gluten Free Crab Cake Waffles are surprisingly filling!  The recipe makes 2-4 servings, depending on your appetite.  A single waffle with a couple of sides was enough for me.

Ingredients:

  • 6 oz. can fancy lump crab meat
  • 1/2 cup gluten free plain breadcrumbs (I used Gillian’s)
  • 1 egg
  • 2 tbsp. egg whites
  • 1 tbsp. gluten free mayo
  • 1 tsp. Dijon mustard
  • 2 tbsp. fresh chives
  • 1 tbsp. lemon juice
  • 1/2 tsp. Old Bay Seasoning
  • 1/8 tsp. paprika
  • 1/2 tsp. gluten free Worcestershire sauce
  • few grinds of black pepper
  • cooking spray
  • lemon wedges for serving

Preparation:

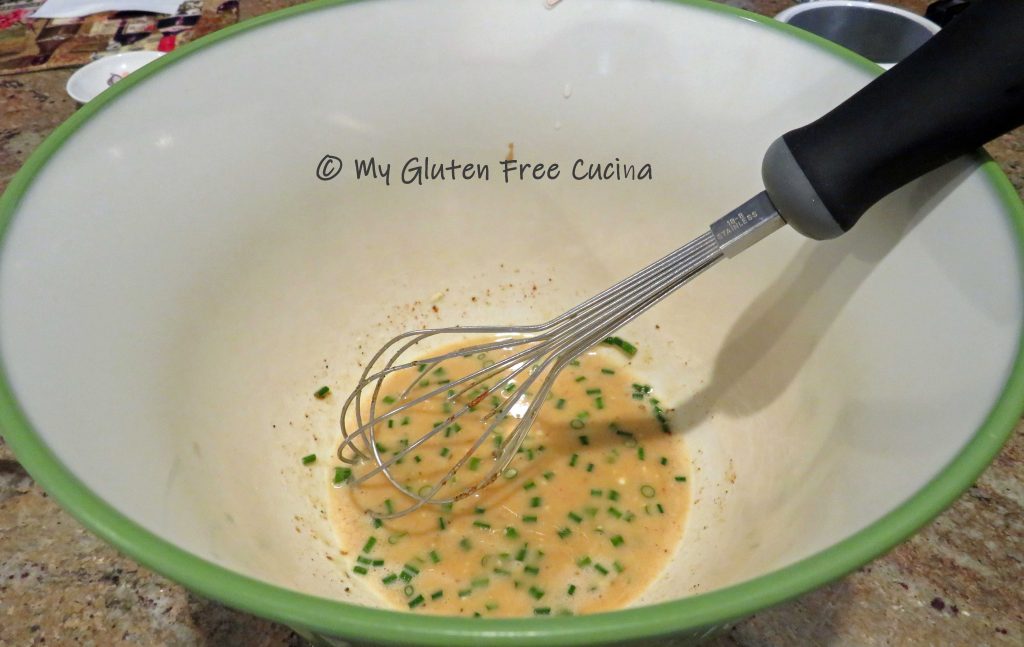
Whisk together the egg, egg whites, mayo, mustard, chives, lemon juice, Worcestershire, Old Bay and Paprika.  Add a few grinds of black pepper, to taste.

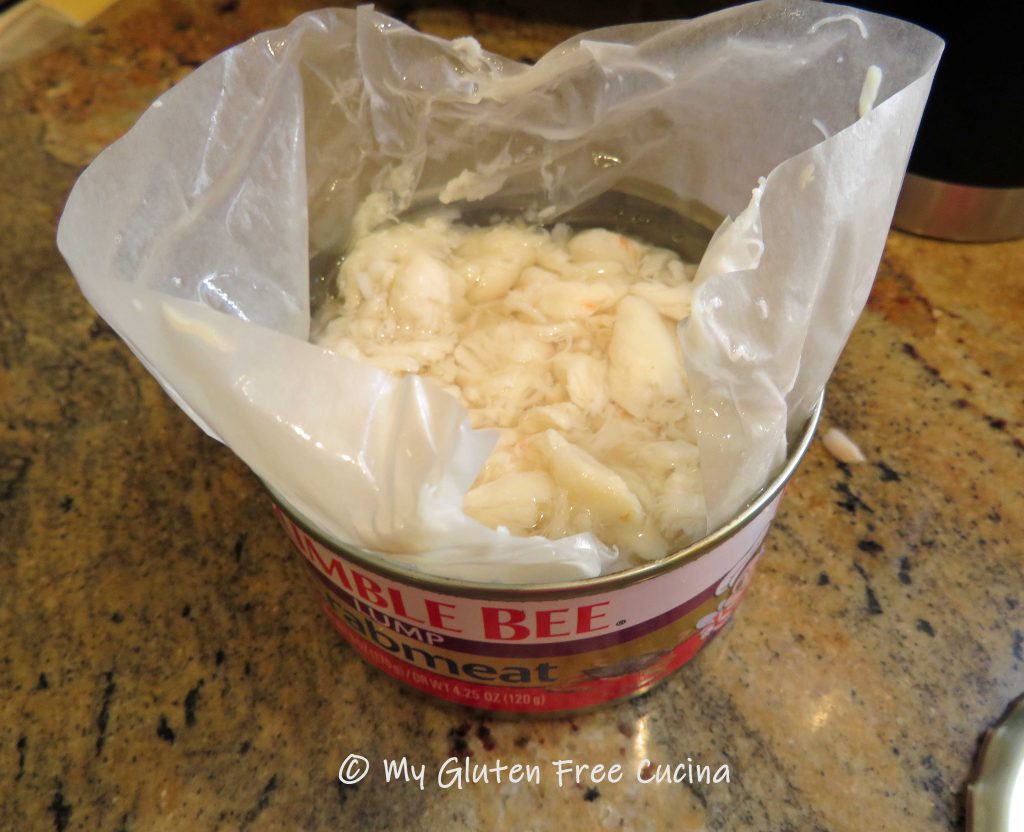
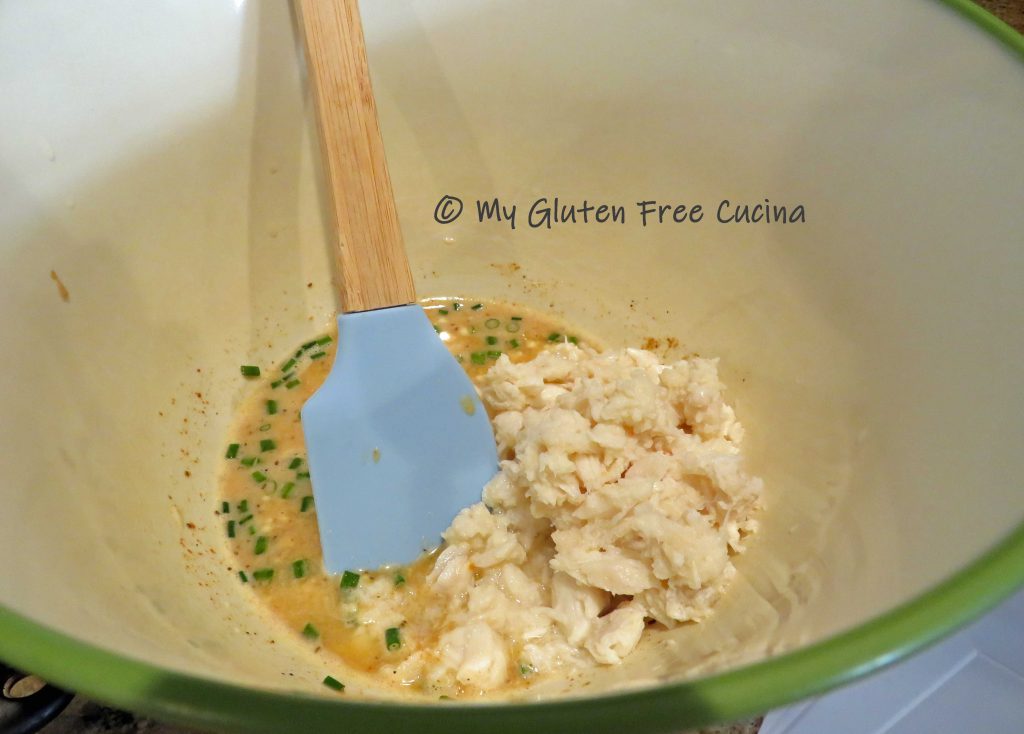
Drain the crab meat and gently stir it in.

Sprinkle the breadcrumbs a little at a time and gently fold into the mixture.  Don’t overwork it, handle as little as possible.

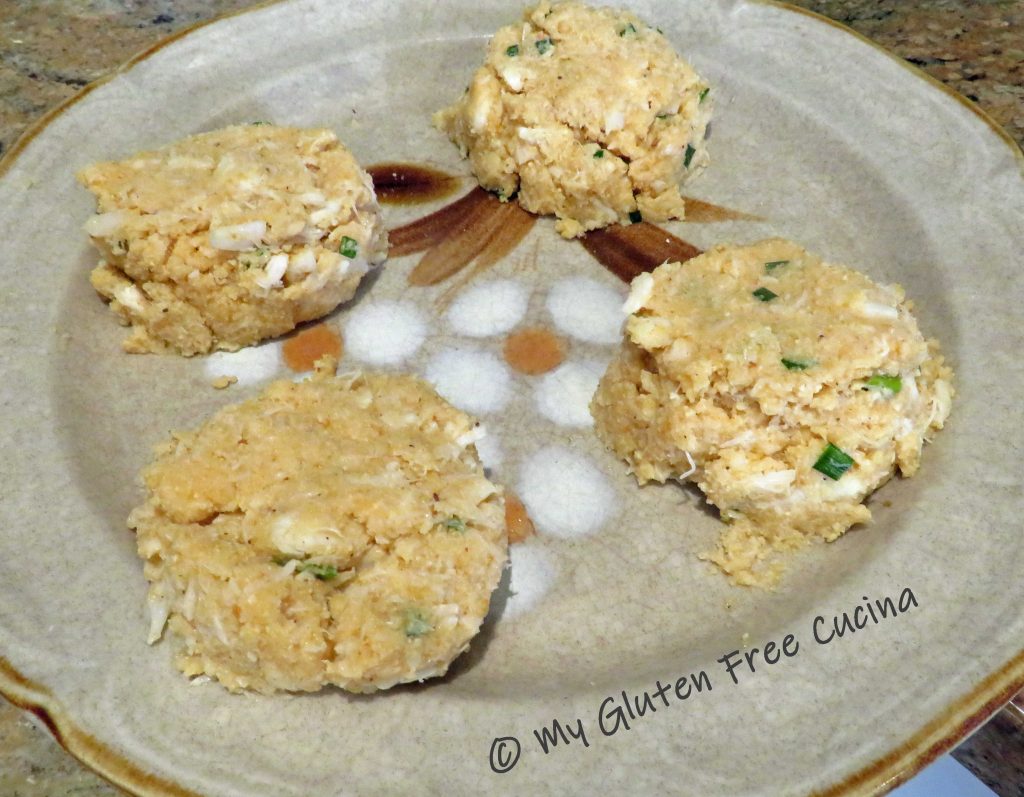
Scoop the mixture into 4 portions, about 1/3 cup each.

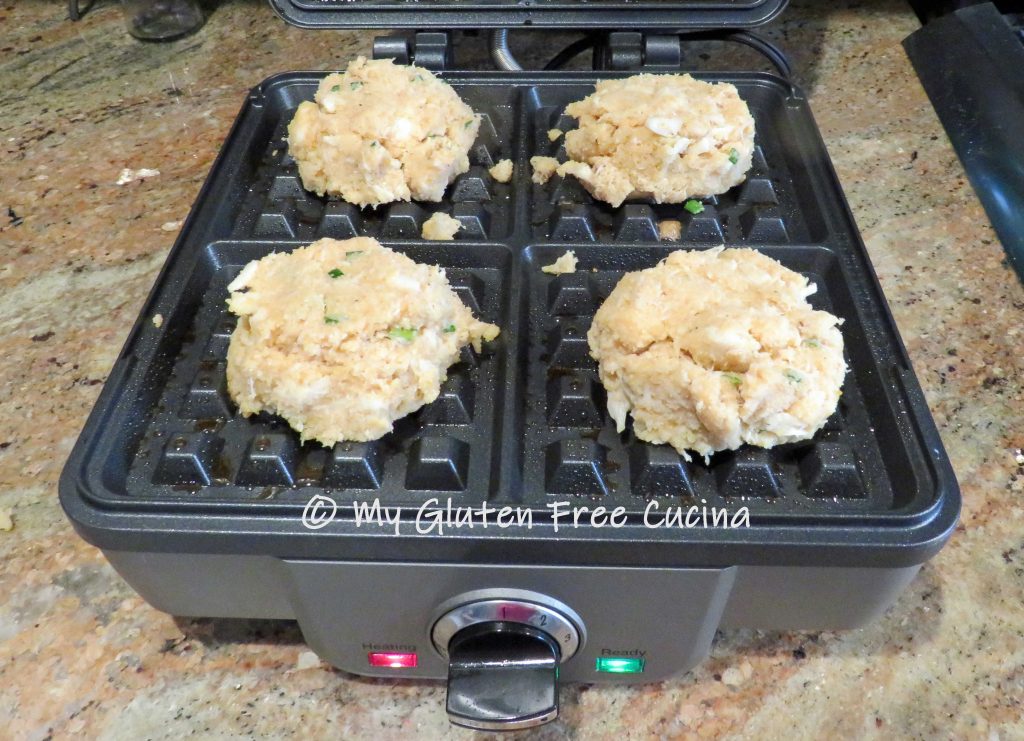
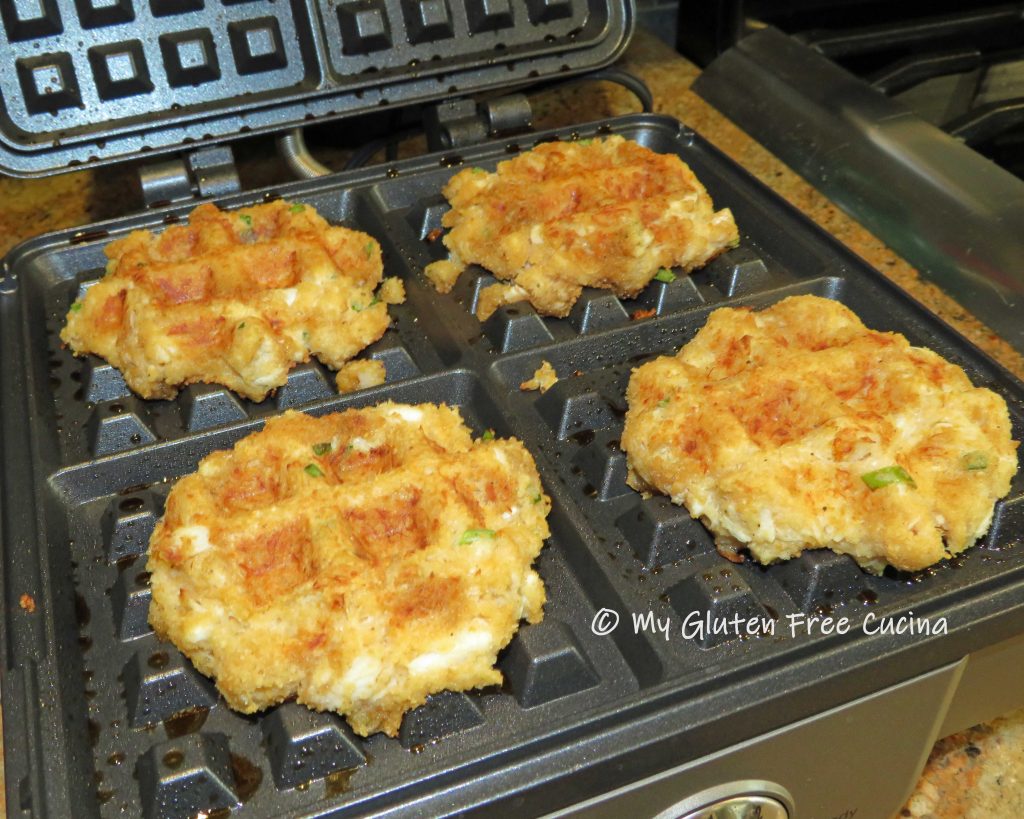
Heat the waffle iron to 350º and coat with cooking spray.  Place one crab cake on each section of the waffle iron and close the lid, pressing gently.

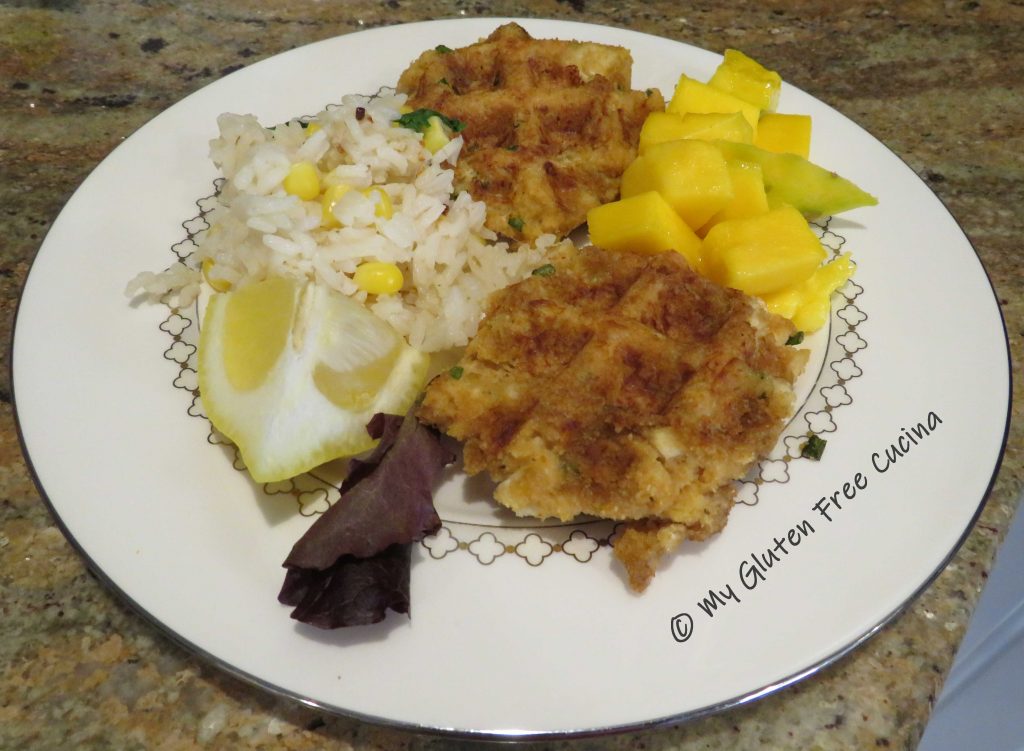
The crab cakes will be done to a golden brown in 3-5 minutes.  Start checking after 3 minutes.

For an appetizer, serve with salad greens and lemon wedges.

As a main course, enjoy them with Cilantro Lime Rice and refreshing diced mango.

Notes ♪♫ I hope you enjoyed this fun recipe!  No waffle iron?  No problem.  Here is a traditional crab cake recipe that is every bit as good!

Print
clock clock iconcutlery cutlery iconflag flag iconfolder folder iconinstagram instagram iconpinterest pinterest iconfacebook facebook iconprint print iconsquares squares iconheart heart iconheart solid heart solid icon

Gluten Free Crab Cake Waffles

5 Stars 4 Stars 3 Stars 2 Stars 1 Star No reviews
  • Author: © My Gluten Free Cucina
  • Yield: 4 Servings 1x
  • Category: Appetizer
  • Diet: Gluten-Free

Description

Check out these cute little Crab Cake Waffles!  Gluten free and cooked on a waffle maker, they are the perfect light meal or appetizer.  Like regular crab cakes, but more fun. 😉


Ingredients

Units Scale
  • · 6 oz. can fancy lump crab meat
  • · 1/2 cup gluten free plain breadcrumbs (I used Gillian's)
  • · 1 egg
  • · 2 tbsp. egg whites
  • · 1 tbsp. gluten free mayo
  • · 1 tsp. Dijon mustard
  • · 2 tbsp. fresh chives
  • · 1 tbsp. lemon juice
  • · 1/2 tsp. Old Bay Seasoning
  • · 1/8 tsp. paprika
  • · 1/2 tsp. gluten free Worcestershire sauce
  • · few grinds of black pepper
  • · cooking spray
  • · lemon wedges for serving

Instructions

  1. Whisk together the egg, egg whites, mayo, mustard, chives, lemon juice, Worcestershire, Old Bay and Paprika. Add a few grinds of black pepper, to taste.
  2. Drain the crab meat and gently stir it in.
  3. Sprinkle the breadcrumbs a little at a time and gently fold into the mixture. Don’t overwork it, handle as little as possible.
  4. Scoop the mixture into 4 portions, about 1/3 cup each.
  5. Heat the waffle iron to 350º and coat with cooking spray. Place one crab cake on each section of the waffle iron and close the lid, pressing gently.
  6. The crab cakes will be done to a golden brown in 3-5 minutes. Start checking after 3 minutes.
  7. For an appetizer, serve with salad greens and lemon wedges. As a main course, enjoy them with Cilantro Lime Rice and refreshing diced mango.

Notes

Notes ♪♫ No waffle iron?  No problem.  Here is a traditional crab cake recipe that is every bit as good!

© My Gluten Free Cucina * All Rights Reserved

Unauthorized use and/or duplication of this material without express and written permission from this blog’s author and/or owner is strictly prohibited.

Gluten Free Sole Francaise

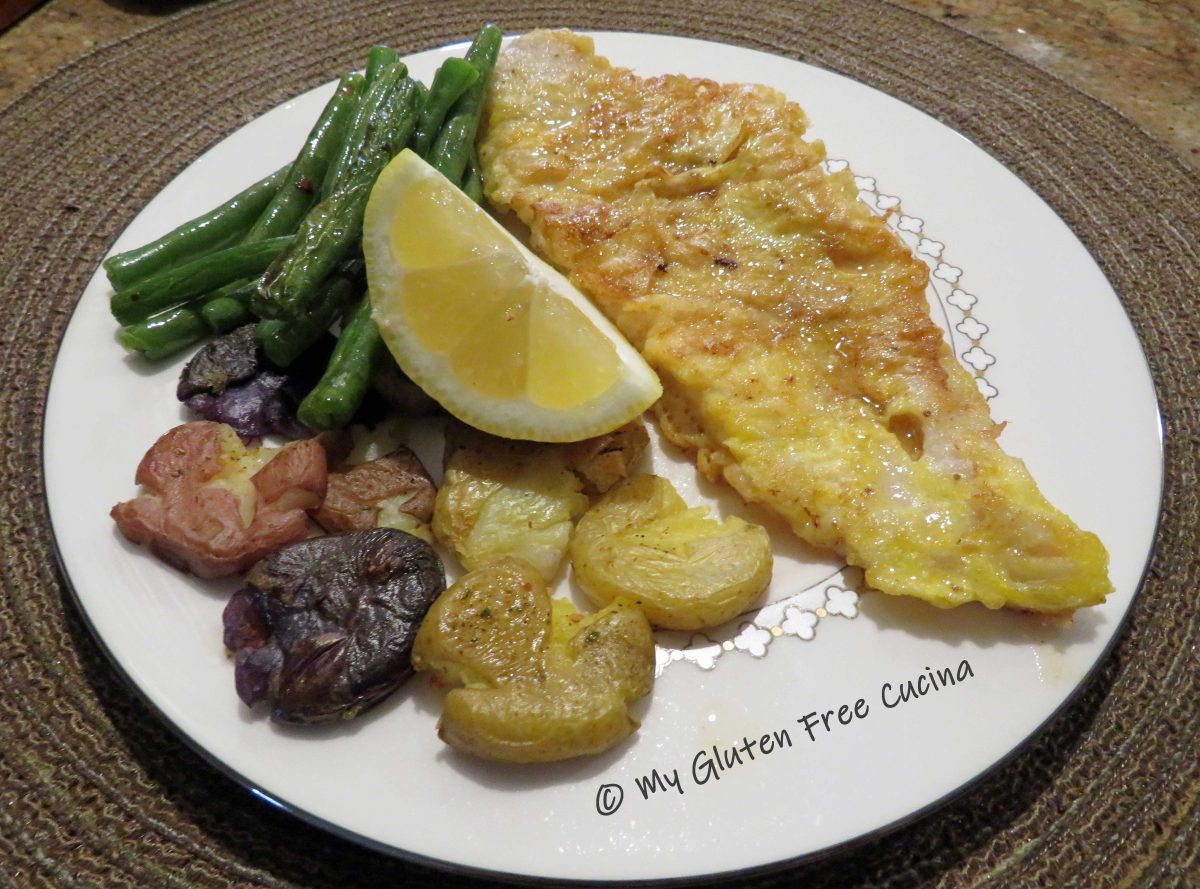
Sole Francaise is an old restaurant favorite of mine, but you don’t often see it on the menu anymore.  Of course, if you are gluten free this dish is off limits.  So today with just one simple substitution I’ll show you how to prepare this five-star entrée right at home.  Superfine white rice flour is a pantry staple at My Gluten Free Cucina, and I promise your gluten eating friends and family will not be able to tell the difference.

This post contains affiliate links.

Ingredients:

  • 1 lb. sole fillets
  • 3/4 cup superfine white rice flour
  • 2 eggs, beaten
  • Old Bay seasoning, to taste
  • salt, to taste
  • 2 tbsp. olive oil
  • 2 tbsp. butter
  • 1/2 cup white wine
  • 2 tbsp. lemon juice

Preparation:

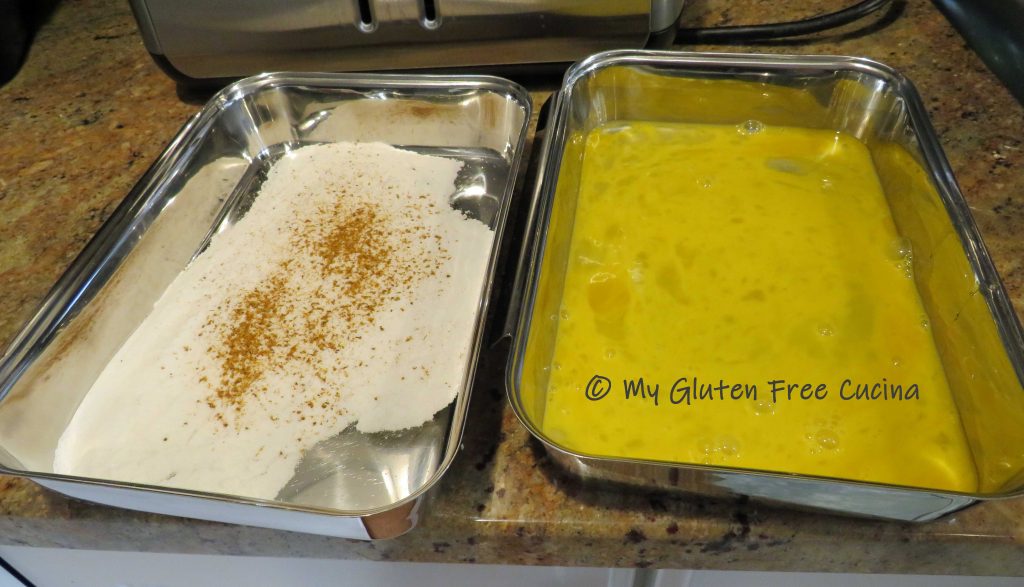
Use a superfine white rice flour in place of traditional all purpose.  It works just as well in this recipe, so don’t waste your even pricier gluten free all-purpose flour.  Set up 2 breading trays or plates, one with the flour and the other with the beaten egg.  Sprinkle the flour with Old Bay.

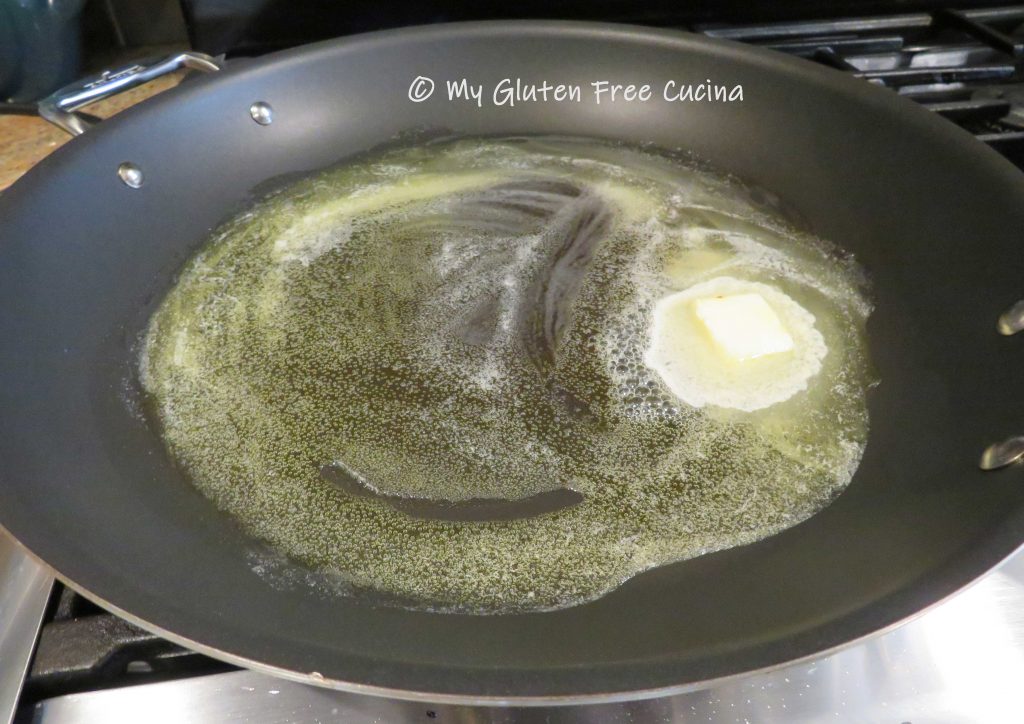
Heat a large nonstick skillet with 2 tbsp. butter and 2 tbsp. oil.

Sprinkle the sole fillets with Old Bay, then dredge each piece in flour.  Dip in egg, shaking off the excess.
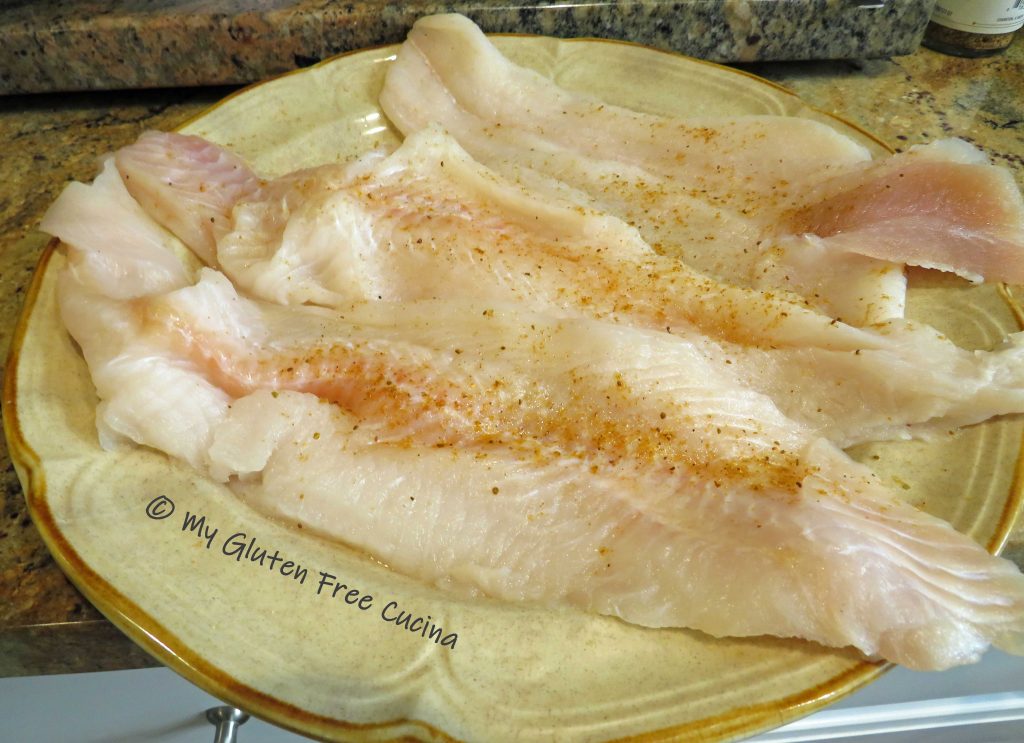
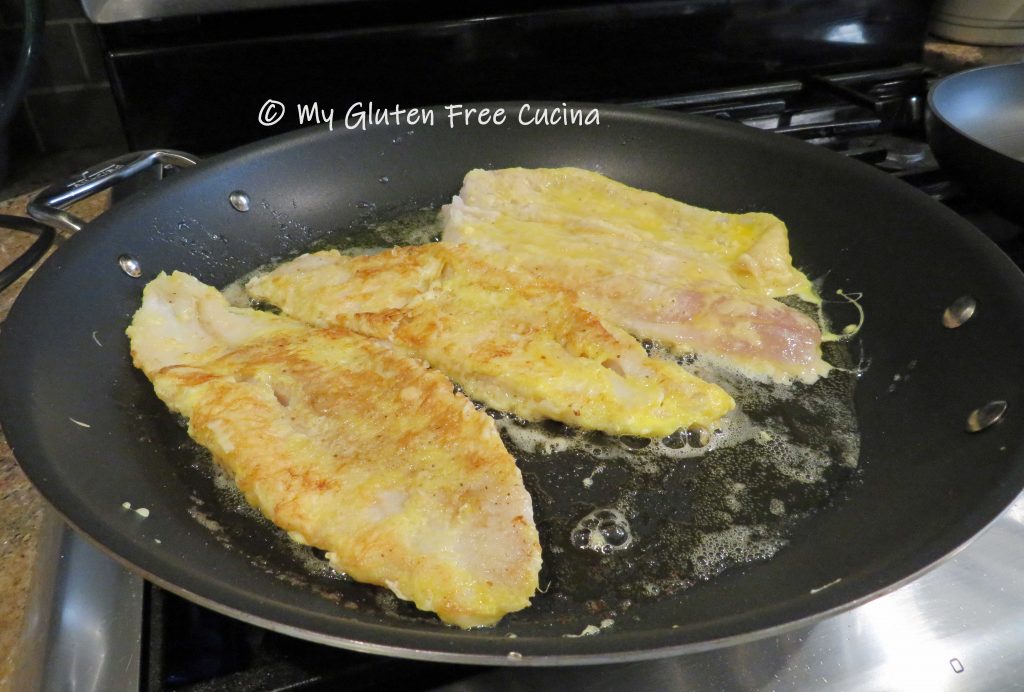
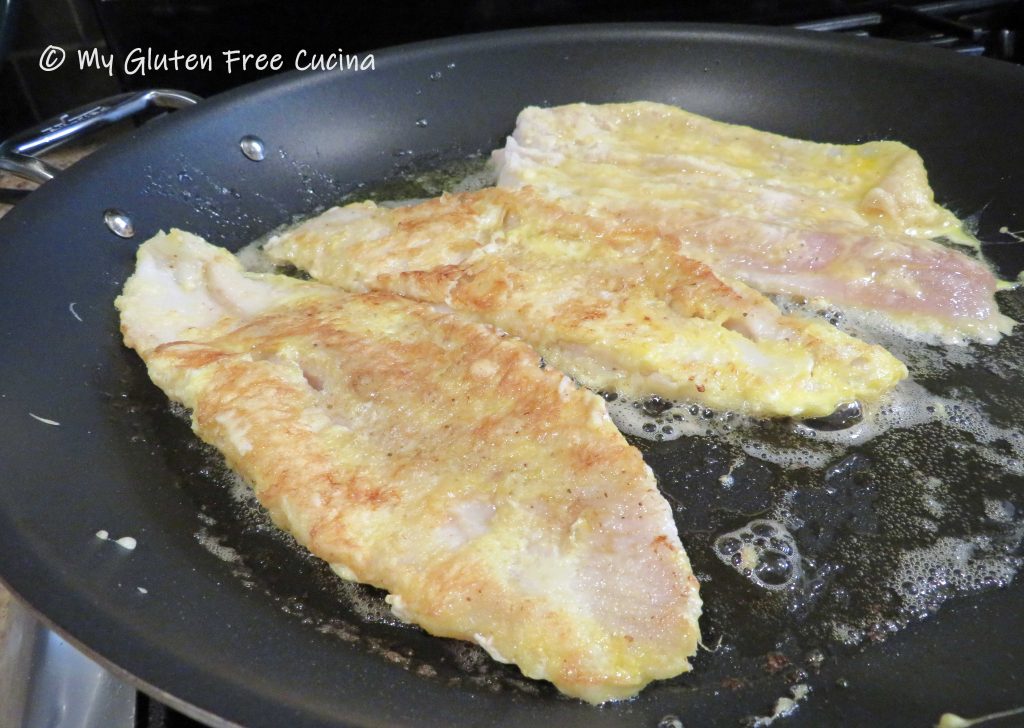
Cook the fish 3 minutes per side.  Try not to tear the delicate egg batter when you flip them over (use 2 spatulas for better control).  Cook in batches if needed, do not crowd the pan.

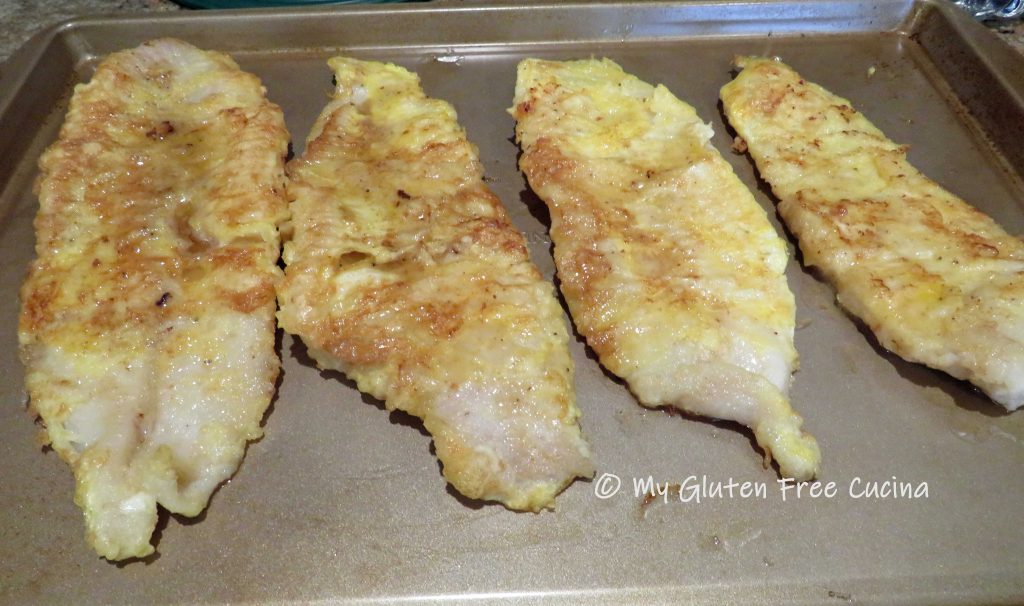
Transfer the fillets to a baking sheet and keep warm in the oven (especially if cooking in batches).

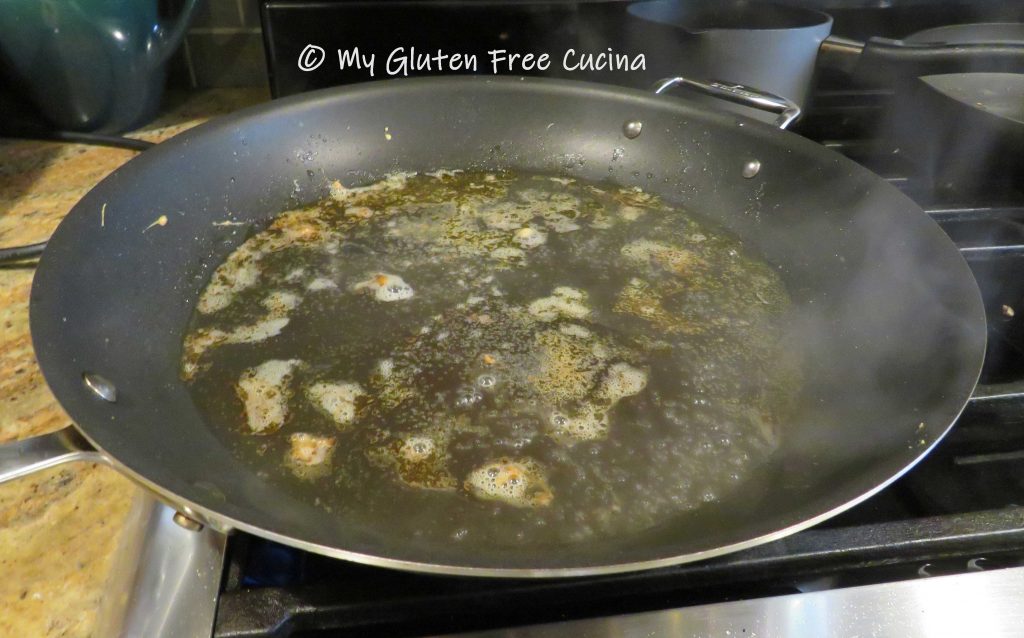
Add the wine and lemon juice to the skillet, swirl around and cook until reduced by half.

Drizzle the reduction over the fish and serve with a lemon wedge.  Dinner is served, with  Smashed Potatoes and garlic green beans.

Notes ♪♫ When cooking with wine, always choose something that you can drink with the meal.  I had a bottle of Pinot Grigio that was just perfect with this dish.  I never use cooking wine, as it is loaded with sodium and additives.


Print
clock clock iconcutlery cutlery iconflag flag iconfolder folder iconinstagram instagram iconpinterest pinterest iconfacebook facebook iconprint print iconsquares squares iconheart heart iconheart solid heart solid icon

Gluten Free Sole Francaise

5 Stars 4 Stars 3 Stars 2 Stars 1 Star No reviews
  • Author: © My Gluten Free Cucina
  • Category: Dinner
  • Diet: Gluten-Free

Description

With just one simple substitution I’ll show you how to prepare Sole Francaise at home, minus the gluten.


Ingredients

Units Scale
  • 1 lb. sole fillets
  • 3/4 cup superfine white rice flour
  • 2 eggs, beaten
  • Old Bay seasoning, to taste
  • salt, to taste
  • 2 tbsp. olive oil
  • 2 tbsp. butter
  • 1/2 cup white wine
  • 2 tbsp. lemon juice

Instructions

Use a superfine white rice flour in place of traditional all purpose.  It works just as well in this recipe, so don’t waste your even pricier gluten free all-purpose flour.  Set up 2 breading trays or plates, one with the flour and the other with the beaten egg.  Sprinkle the flour with Old Bay.

Heat a large nonstick skillet with 2 tbsp. butter and 2 tbsp. oil.

Sprinkle the sole fillets with Old Bay, then dredge each piece in flour.  Dip in egg, shaking off the excess.
Cook the fish 3 minutes per side.  Try not to tear the delicate egg batter when you flip them over (use 2 spatulas for better control).  Cook in batches if needed, do not crowd the pan.

Transfer the fillets to a baking sheet and keep warm in the oven (especially if cooking in batches).

Add the wine and lemon juice to the skillet, swirl around and cook until reduced by half.

Drizzle the reduction over the fish and serve with a lemon wedge.


Notes

Notes ♪♫ When cooking with wine, always choose something that you can drink with the meal.  I had a bottle of Pinot Grigio that was just perfect with this dish.  I never use cooking wine, as it is loaded with sodium and additives.

© My Gluten Free Cucina * All Rights Reserved

Unauthorized use and/or duplication of this material without express and written permission from this blog’s author and/or owner is strictly prohibited.


Homemade Breakfast Sausage Patties

Homemade Breakfast Sausage Patties are the bomb!  I always say homemade is best, but why would you go to the trouble of making your own sausage patties?  For starters, you control the fat, you control the salt, no chemicals, no nitrites, no preservatives, NO GLUTEN!  And with no casings needed they are easy to make.  You can buy gluten free breakfast sausage seasoning or make your own.  Experiment with different spice combinations to find the one you like best.  Be sure to use real maple syrup.  For years I purchased breakfast sausage links at the supermarket, but not anymore!

This post contains affiliate links.

Ingredients:

  • 1 lb. ground pork
  • 1 lb. ground turkey
  • 2 tbsp. homemade gluten free sausage seasoning (see below)
  • 4 tbsp. maple syrup
  • fresh thyme sprigs, for garnish

Sausage Seasoning:

OR use a purchased Sausage Seasoning

Preparation:

Combine the pork and turkey in a large bowl and blend together lightly with 2 forks.  Don’t compress the meat.  Of course, you can use all pork or all turkey, but I found that blending equal amounts of each gives a good balance of flavor and fat.

Drizzle in the maple syrup and sprinkle the seasoning a little at a time.  With each addition, use the forks to thoroughly incorporate.

Line a baking sheet with wax paper.  Scoop the mixture into 2 oz. balls, then gently press into patties.  You will have about 15 total.

Prepare the patties and refrigerate one day ahead for a brunch.  The patties will keep for several months in the freezer.  You can freeze them on the baking sheet then transfer to a freezer safe bag.  They are great to have on hand to enjoy on the weekend.

Cook sausage patties 5 minutes per side in a nonstick skillet.  For a nice presentation, I like to garnish the patties with fresh thyme sprigs.

Add some homemade goodness to your family breakfast table with this easy recipe.  If you enjoyed this post, check out some of my favorite brunch ideas to feed a family or a crowd!

Notes ♪♫ Always check ingredient labels for hidden gluten.  Seasoning blends are convenient, but if you are limiting salt make your own!

[print_link]

Smashed Potatoes

Tonight try something different from your usual potato side.  These little potatoes are so tasty!  This is a family style dish that you can serve on a pretty plate, or right from the pan- no fussing!

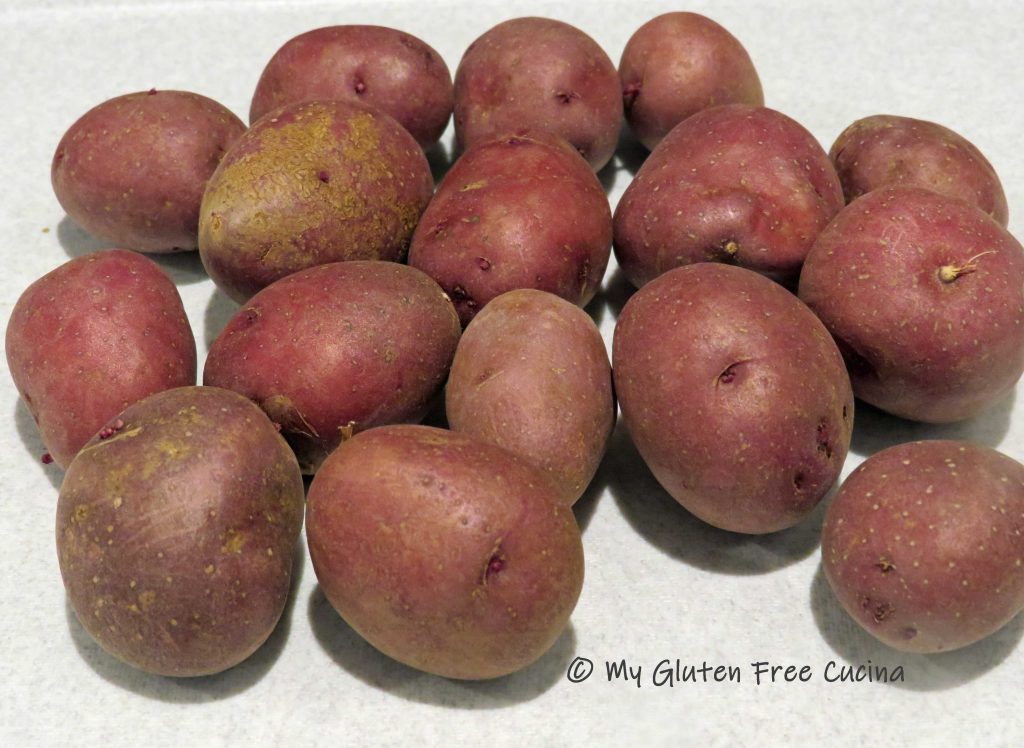
Marble potatoes come in round and fingerling variety, and you can find them in red, gold and even purple shades, they are all delicious!  I like the round potatoes because they are more uniform in size, but if you can only find the fingerlings just cut them into smaller pieces so they all cook at the same time.

This easy dish is most definitely casual fare.  Would I serve it if the king and queen were coming to dinner?  Maybe not, but for everyday family meals it’s a winner.

Naturally gluten free!

This post contains affiliate links.

4-6 Servings

Ingredients:

  • 1 bag marble or fingerling potatoes
  • 2 tbsp. olive oil
  • 2 tbsp. butter
  • seasoning of choice
  • fresh parsley or chives, for garnish
  • cooking spray

Preparation:

Rinse the potatoes and if needed cut the larger ones in half so that all are about the same size.  Preheat the oven to 350º.

Steam the potatoes for 20 minutes to soften.

Line a half sheet pan with foil and mist with cooking spray.  Arrange the potatoes on the baking sheet, leaving at least 2″ space in between.

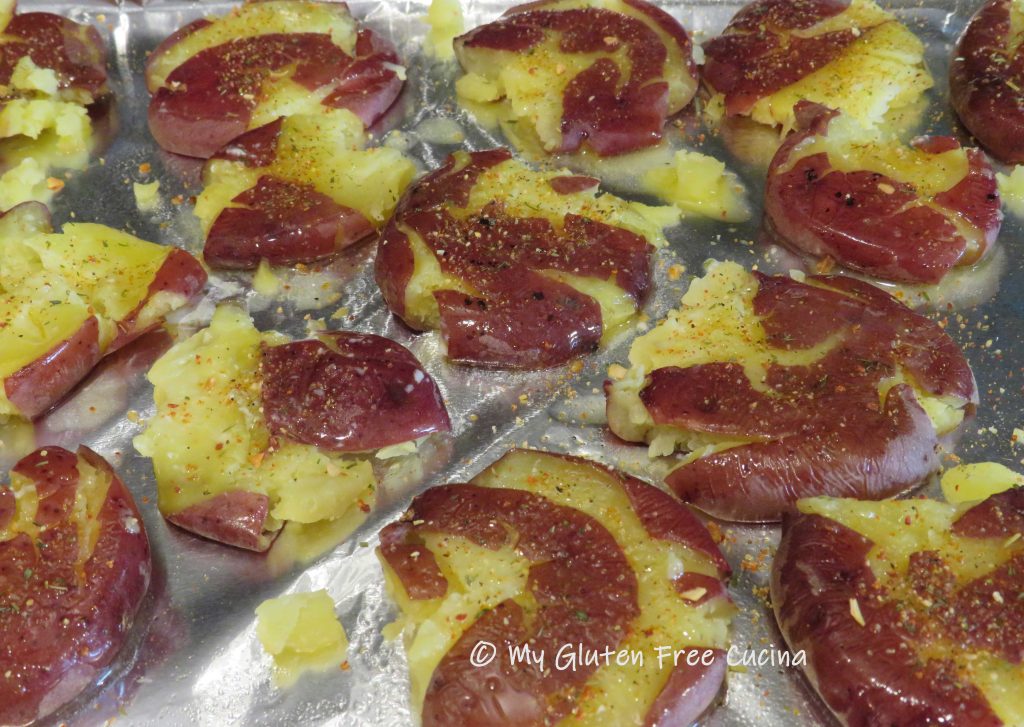
Use a wide bottom mug to “smash” the potatoes by gently pressing them to flatten.  I misted the bottom of the mug with cooking spray so the potatoes would release easily.

Melt butter and combine with the olive oil.  Brush over the potatoes and season.

Bake for 20 minutes.  Transfer to a serving platter or serve right in the pan.
For a pretty presentation garnish with fresh parsley or chives.

Notes: ♪♫ Potatoes are naturally gluten free and they are a regular part of my menu rotation.  If you are limiting white potatoes, you might give these little marble potatoes a try.  With more skin per bite, they are a healthier choice and a nice change from the usual!

[print_link]

Sheet Pan Pork Chops, Potatoes and Asparagus

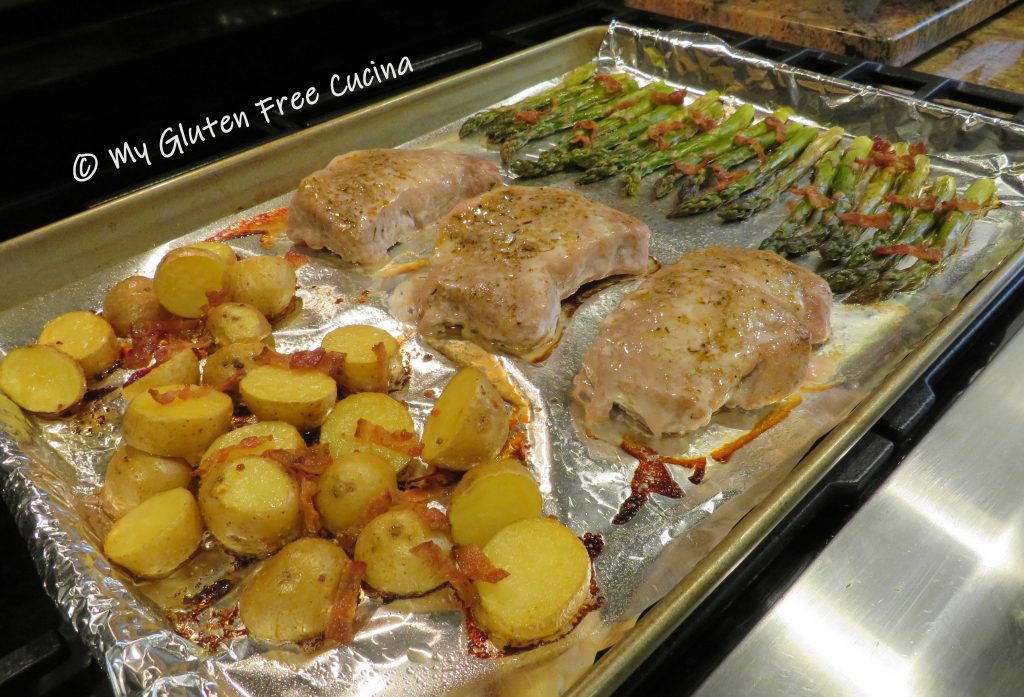
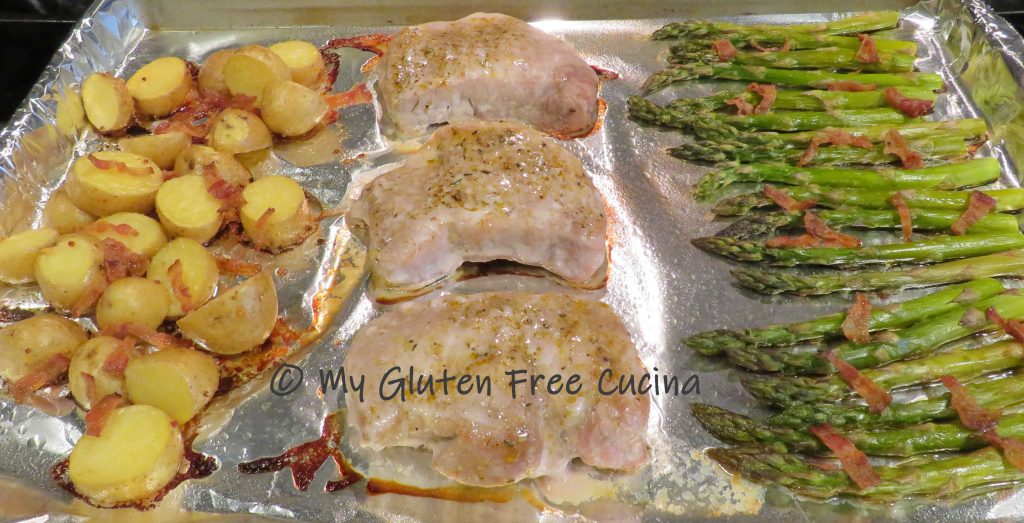
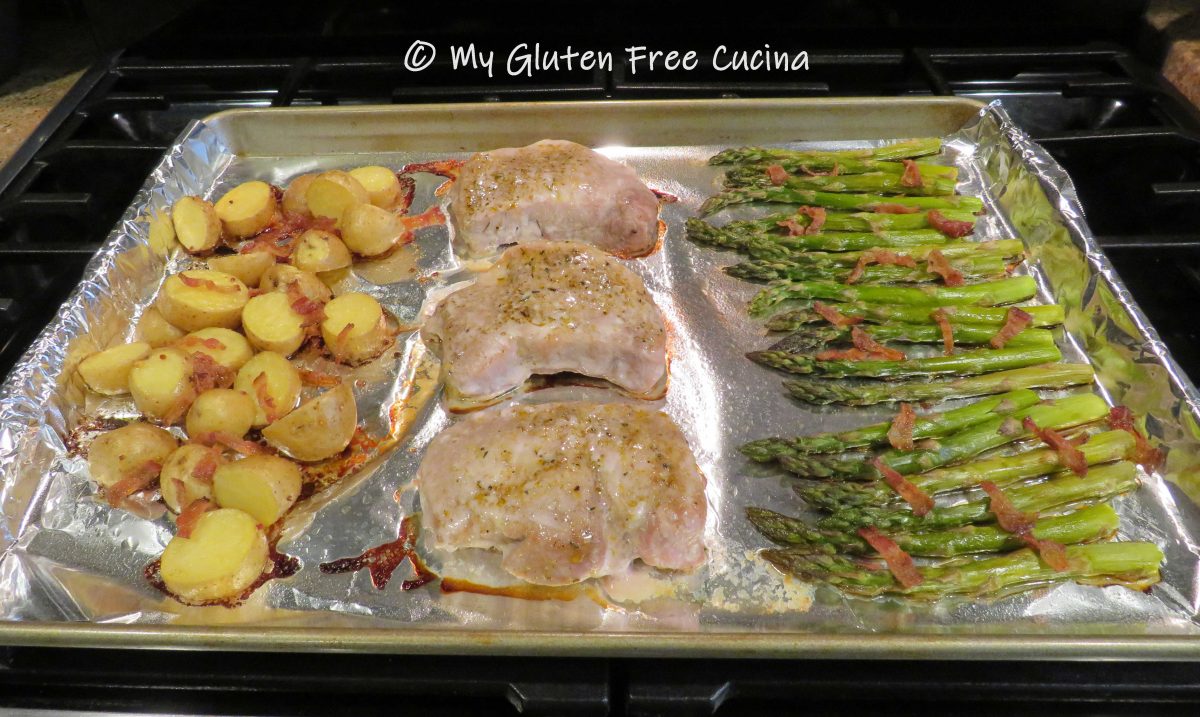
Easy, delicious and only one pan to clean?  Yes please!  Juicy pork chops, tender potatoes and asparagus spears all perfectly seasoned and baked in a sheet pan.  Both the cook and the dishwasher are sure to love this one dish meal!  You can change up the seasonings to suit your taste or just use salt and pepper.  I had a little leftover bacon from another meal, and it really made the veggies pop!

3 servings

This post contains affiliate links.

Ingredients:

Preparation:

Line a half sheet pan with foil and mist with cooking spray.  Preheat the oven to 350º.

For the potatoes

I used yellow marble potatoes because of their quick cook time.  If using russet potatoes, you may need to give them a 10-minute head start in the oven or microwave for a few minutes before baking.  Rinse the potatoes and cut them into even size pieces.  In a small bowl, toss them with olive oil and seasoning.  I like a garlic pepper seasoning like this one from McCormick.  Spread the potatoes evenly on the right side of the pan and top with 1 strip of chopped bacon.

For the pork chops

Pat the pork chops dry with paper towels, then brush both sides with olive oil.  Sprinkle with seasoning and lay them out in the center of the pan.  Try a barbeque seasoning like this one, with hints of maple flavoring that picks up on the bacon in the veggies.

For the asparagus

Cut the bottom 3″ off the asparagus and discard.  Rinse and spread the spears out on the left side of the pan, drizzle with olive oil and top with remaining strip of chopped bacon.  Try a bold seasoning blend like this one, it’s not just for steak!

Bake for 40 minutes at 350º.  Potatoes should be fork-tender, and pork chops should reach an internal temperature of 145º.  Bring to the table right in the pan for casual dining and easy cleanup!

Notes ♪♫ I can be quite the spice snob at times, but supermarket brands like McCormick offer a wide range of herbs, spices and blends that are gluten free.  McCormick is forthcoming with ingredients and will note any allergens in their labeling.

[print_link]

Oven Roasted Chicken Leg Quarters

You are going to love this easy roast chicken dinner.  Leg quarters are an inexpensive option and provide a hefty portion for big appetites (we ate half for dinner and saved the rest for lunch the next day).  For this preparation, I sear the leg quarters in olive oil then finish in the oven using a roasting pan with rack.  The result, moist juicy meat with a crispy skin!

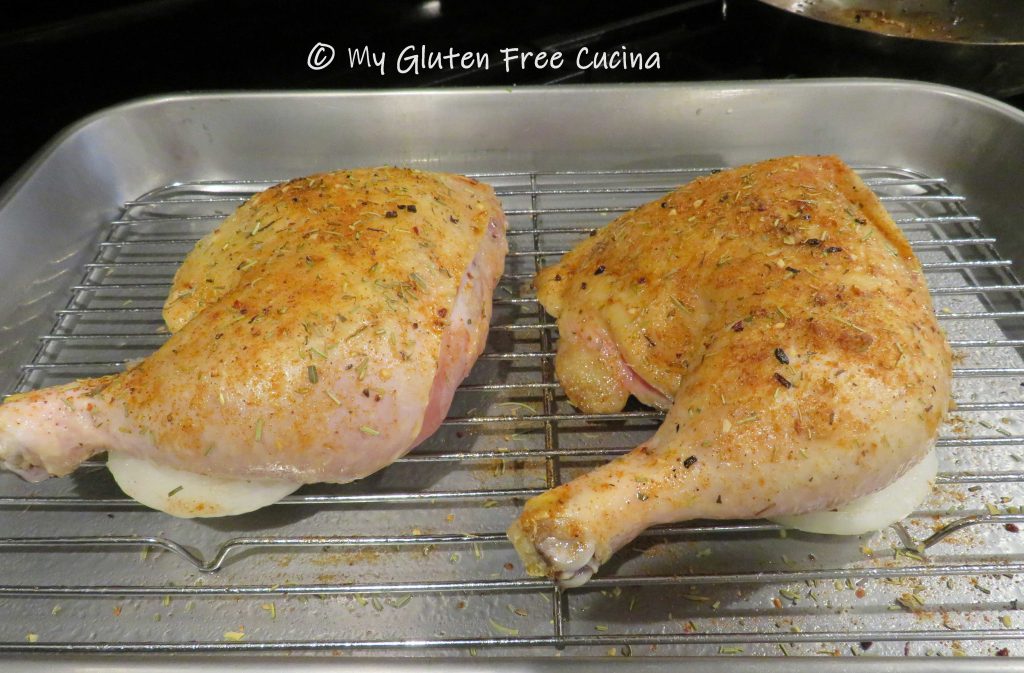
Tip  **Place onion slices under chicken to keep it from sticking to a roasting rack, this works on the grill as well**

Dinner for 2

This post contains affiliate links.

Ingredients:

Preparation:

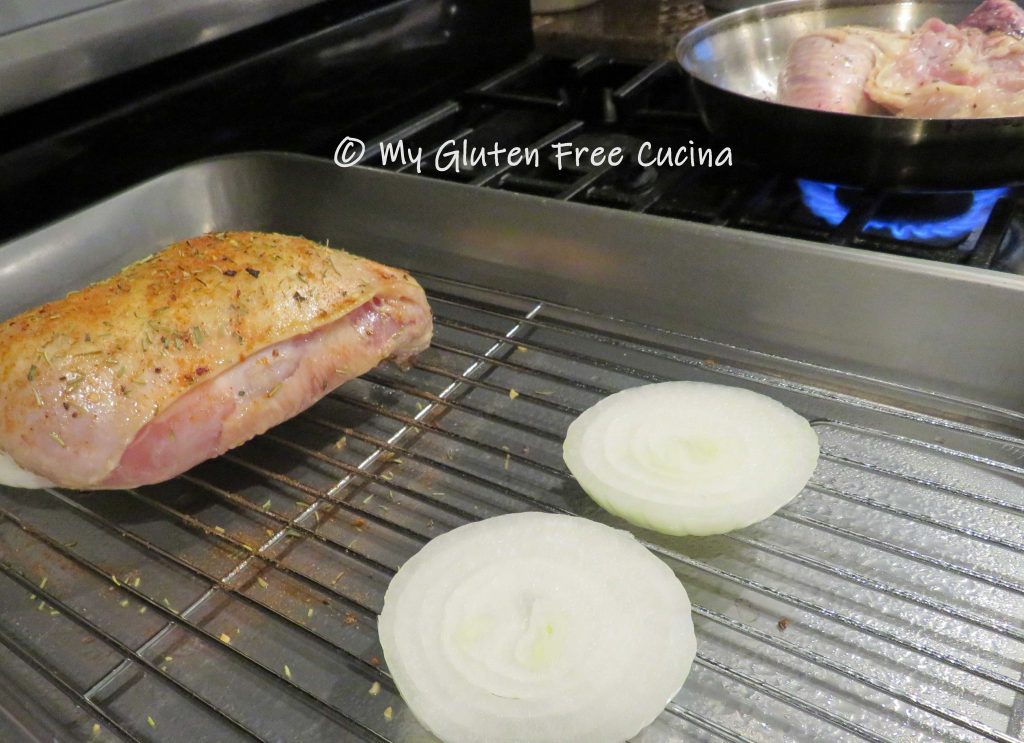
Preheat the oven to 325º.  Cut the onion into 4 thick slices.  Heat a stainless steel skillet with olive oil and place the leg quarters skin side down for several minutes to get some color.  Don’t crowd the pan, brown the leg quarters one at a time if needed.

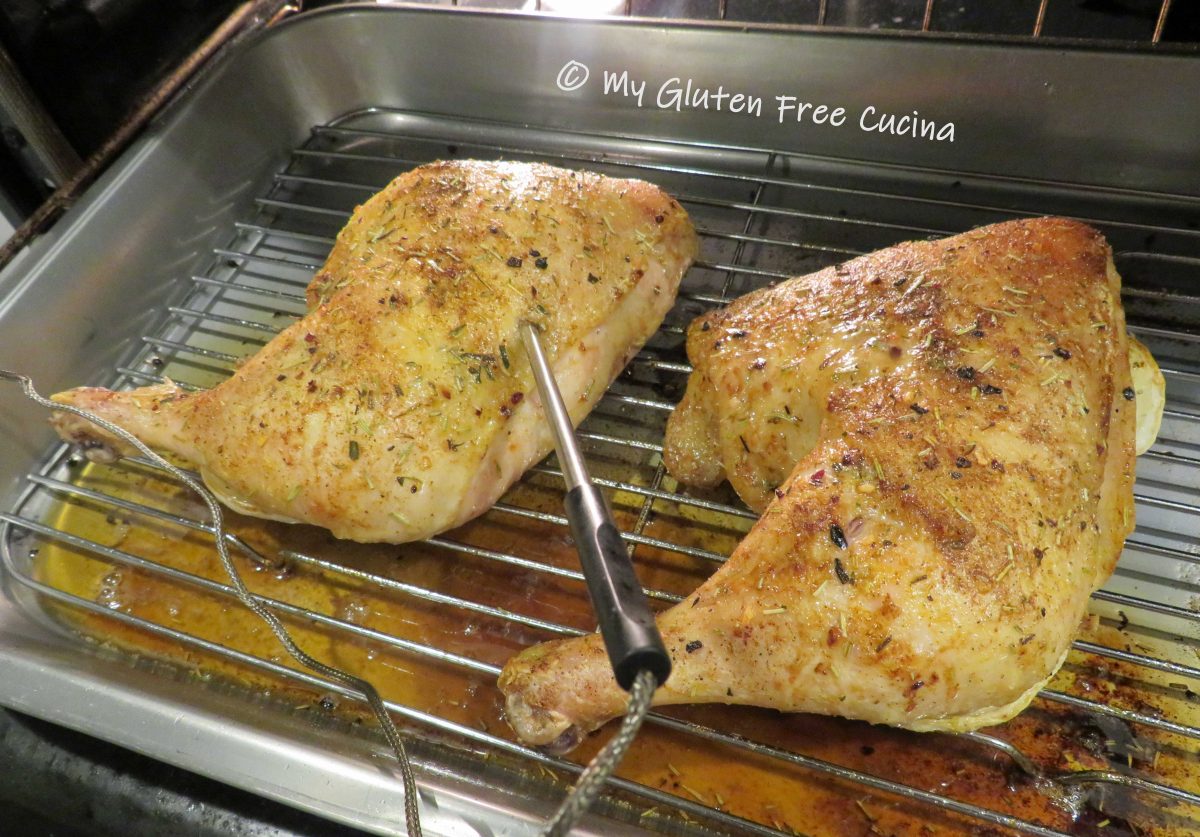
Set up a roasting pan with rack.  Mist the rack with cooking spray and arrange the onion slices, 2 on each side.  Lay chicken over the onion slices and sprinkle generously with seasoning of choice, then paprika.

Insert a meat thermometer into the chicken.  Bake for 1-1/2 hours, or until the internal temperature reaches 170º.

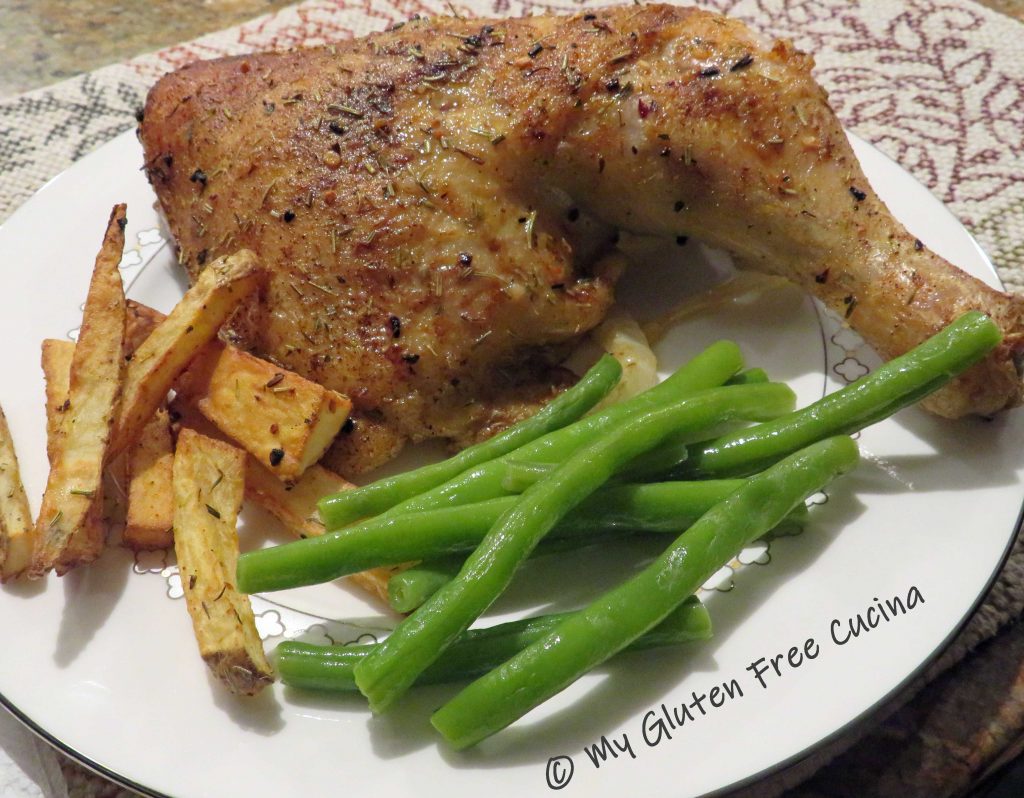
I served it with oven fries and green beans.  An excellent meal!

Notes: ♪♫  The roasting pan you see in this post belonged to my mother.  Never used, it passed down to me and decades later it became a part of my kitchen collection.  Although I could not locate this exact model, here is a similar style pan that you can purchase.

[print_link]

Basic Fried Rice, Gluten Free and Lower Sodium

I have shared so many of my Asian inspired meals here on the blog and I know you love them as much as I do!  Today though, I thought I would focus on a basic recipe for fried rice that you can make at home with common pantry staples.  This is an easy preparation that is gluten free with lower sodium options.  I did not add meat, but you can choose (just like in your takeout menu), to add chicken, shrimp, pork, beef, etc… whatever you like to make it a complete meal.

Why make it at home?  You control the salt, you control the fat, and you will be absolutely certain that it’s gluten free!

Cheat some of the prep work by using frozen veggies, like mixed peas and carrots.  Or use up bits of leftover veggies from other meals, just chop them into small pieces and throw them in.  Get fancy and add canned water chestnuts or bean sprouts!

Ingredients:

Preparation:

A large, nonstick skillet is my first choice for stir fry dishes.  Having a large surface area is great when you want to spread out your ingredients in the pan.

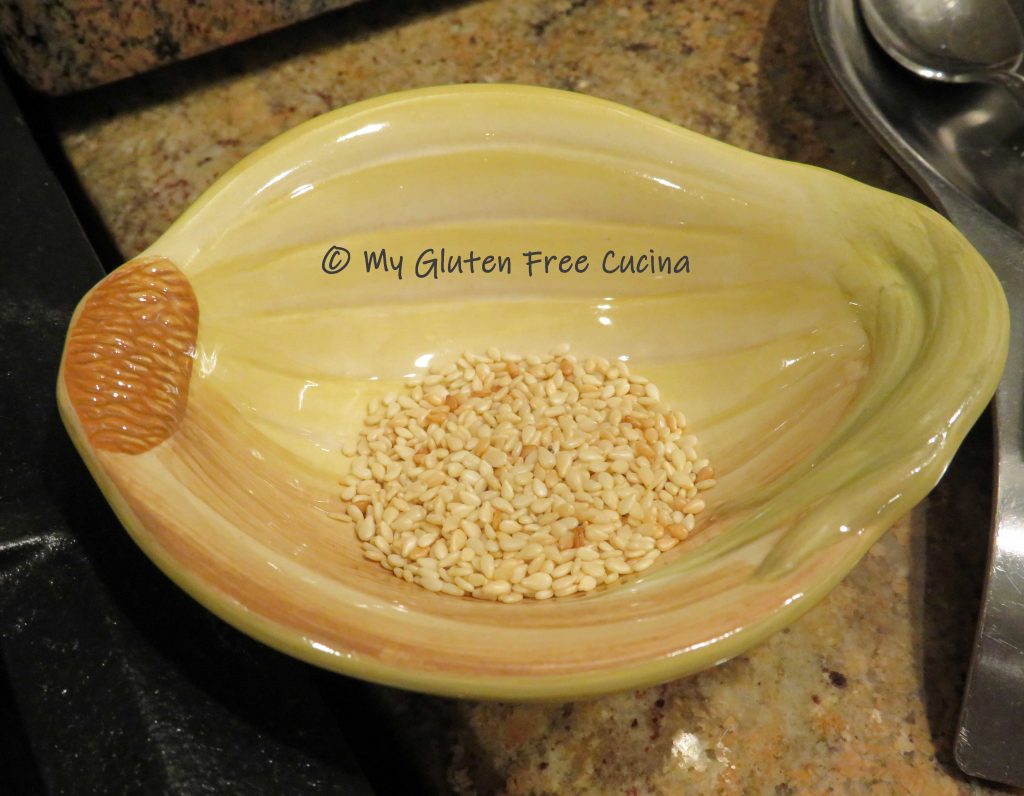
Make ahead steps: Cook the rice ahead of time, cool and refrigerate.  If using frozen vegetables, take them out to defrost.  Toast the sesame seeds in a small, nonstick saucepan and set them aside for garnish.

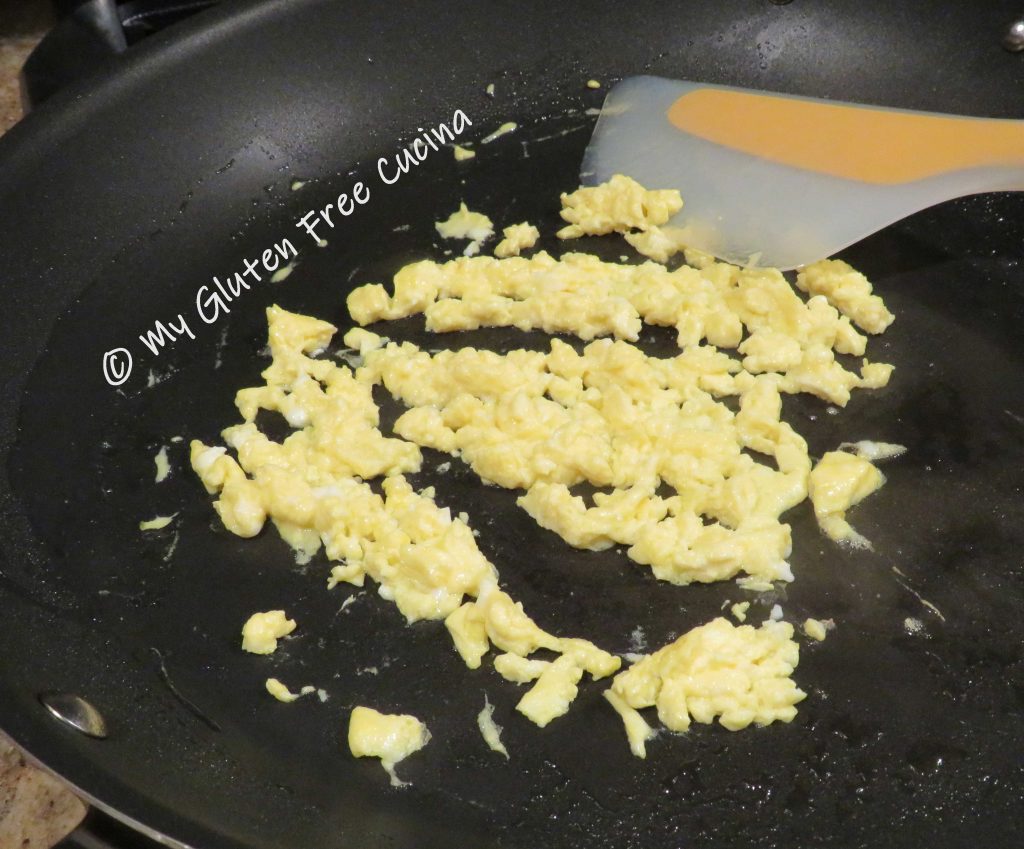
Heat a large, nonstick skillet with cooking spray.  Scramble the egg and break it up with a spatula.

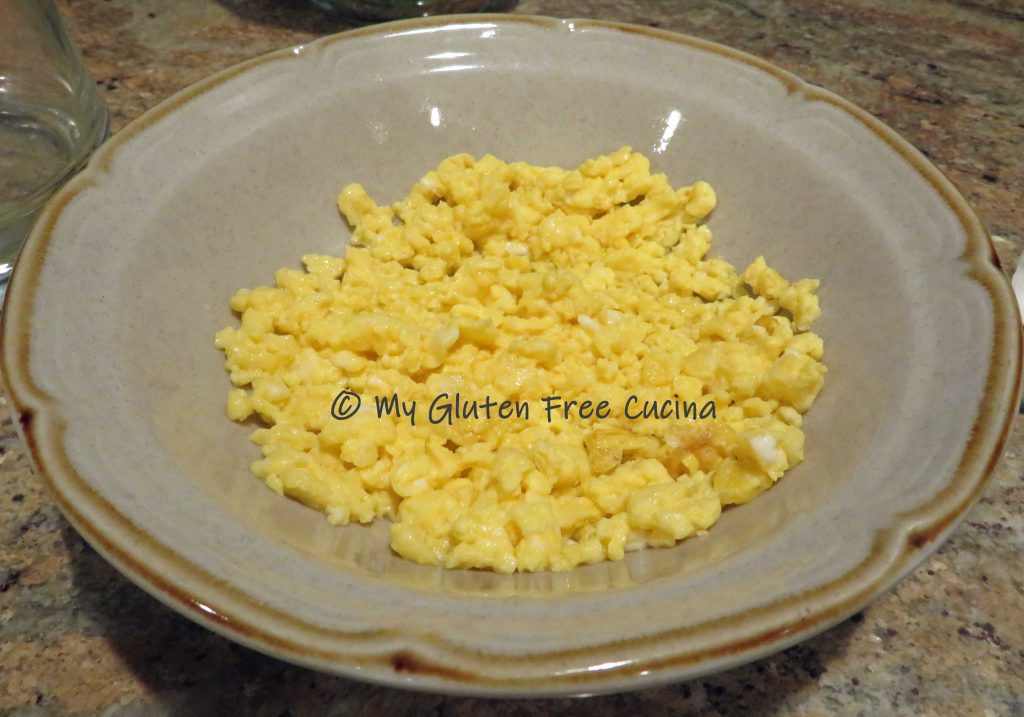
Set the egg aside and wipe the pan clean.

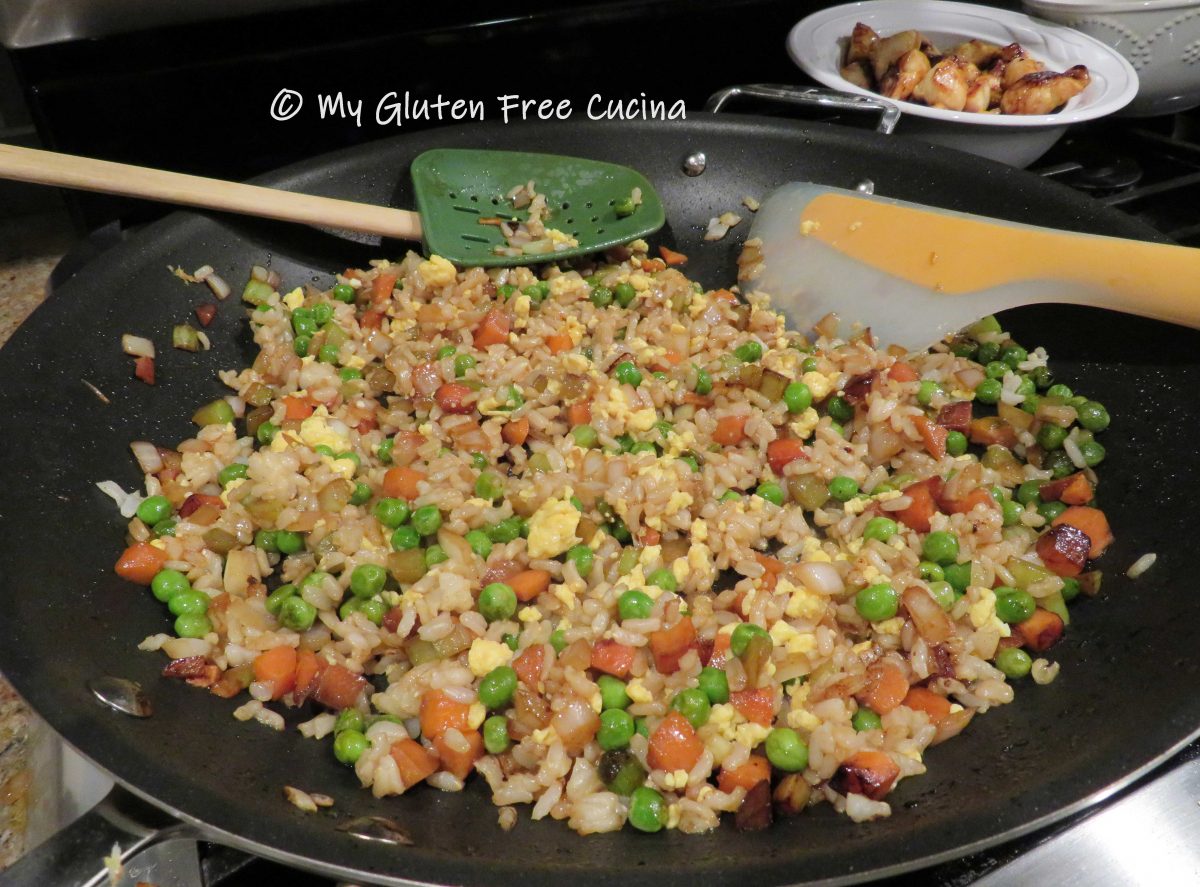
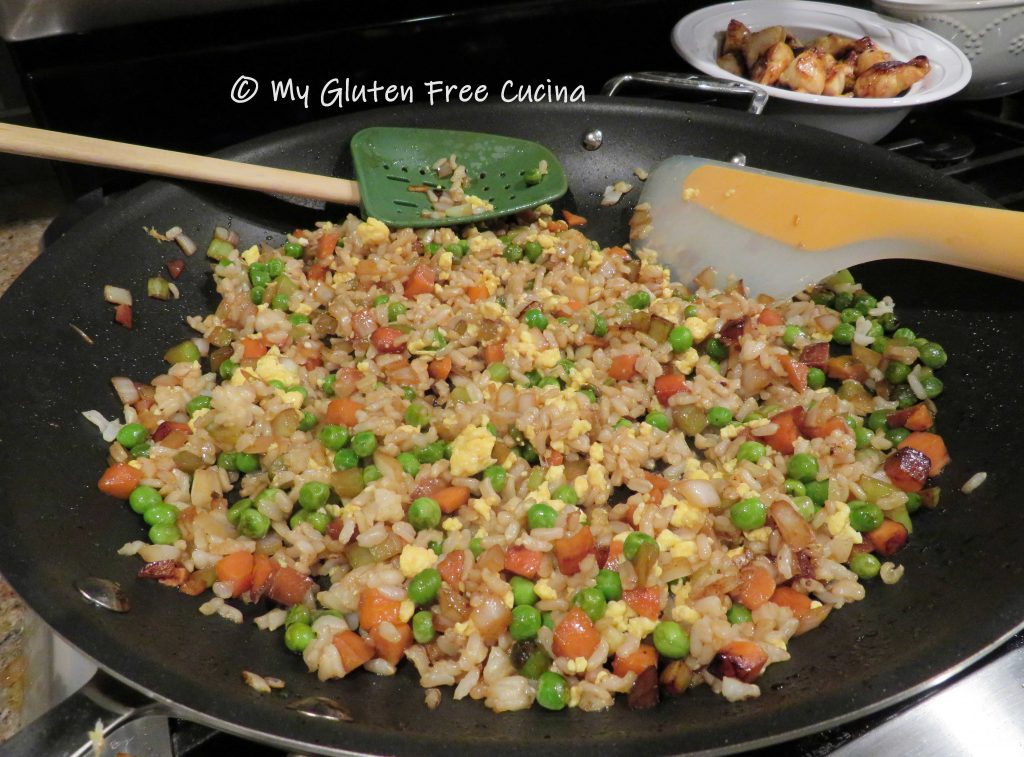
Mist the skillet with cooking spray and add 1 tbsp. olive oil, 1 tsp. sesame oil and 1 tbsp. tamari or coconut aminos.  Add the veggies and sprinkle with the garlic and ginger.  Cook for 5 minutes over medium low heat, stirring frequently.

Add a little more sesame oil with tamari or coconut aminos, then stir in the cooked rice.  Cook 1 minute to heat through, then add back the scrambled egg.

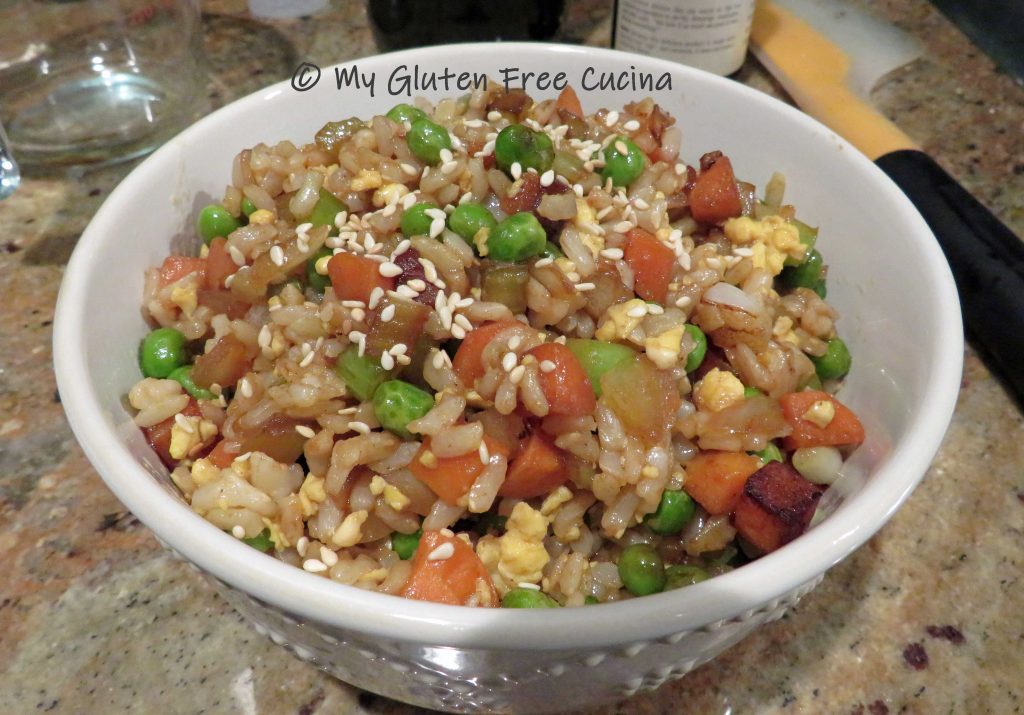
Toss well to incorporate and transfer to a serving bowl.  Garnish with toasted sesame seeds.

Notes ♪ If you’re making this after a long day at work, it’s nice to be a step ahead in your prep, so cook your rice the day before!  In fact, this recipe works best when the rice is cooked ahead of time and refrigerated.

♫ If you are on a low salt diet, use coconut aminos in this recipe instead of soy sauce.  It is gluten free and much lower in sodium than tamari or gluten free soy sauce.  You can use any of these, or a combination to suit your taste and dietary needs.

Print
clock clock iconcutlery cutlery iconflag flag iconfolder folder iconinstagram instagram iconpinterest pinterest iconfacebook facebook iconprint print iconsquares squares iconheart heart iconheart solid heart solid icon

Basic Fried Rice, Gluten Free and Lower Sodium

5 Stars 4 Stars 3 Stars 2 Stars 1 Star No reviews
  • Author: © My Gluten Free Cucina
  • Category: Side Dish
  • Method: Skillet
  • Cuisine: Asian Inspired
  • Diet: Gluten-Free

Description

This is a basic recipe for fried rice that you can make at home with common pantry staples. 


Ingredients

Units Scale
  • · 1-1/2 cups cooked rice, chilled (I used long grain brown rice)
  • · 1-1/2 cups diced veggies (I used peas, carrots, onion and celery)
  • · 1/4 tsp. garlic granules
  • · 1/4 tsp. powdered ginger
  • · 1 egg, scrambled
  • · cooking spray
  • · olive oil
  • · toasted sesame oil
  • · Gluten free Tamari, or coconut aminos
  • · 1 tsp. toasted sesame seeds, for garnish

Instructions

  1. Make ahead steps: Cook the rice ahead of time, cool and refrigerate. If using frozen vegetables, take them out to defrost. Toast the sesame seeds in a small, nonstick sauce pan and set them aside for garnish.
  2. Heat a large, nonstick skillet with cooking spray. Scramble the egg and break it up with a spatula.
  3. Set the egg aside and wipe the pan clean.
  4. Mist the skillet with cooking spray and add 1 tbsp. olive oil, 1 tsp. sesame oil and 1 tbsp. tamari or coconut aminos. Add the veggies and sprinkle with the garlic and ginger. Cook for 5 minutes over medium low heat, stirring frequently.
  5. Add a little more sesame oil with tamari or coconut aminos, then stir in the cooked rice. Cook 1 minute to heat through, then add back the scrambled egg.
  6. Toss well to incorporate and transfer to a serving bowl. Garnish with toasted sesame seeds.

Notes

If you are on a low salt diet, use coconut aminos in this recipe instead of gluten free soy sauce.  It is much lower in sodium than tamari or gluten free soy sauce.  You can use any of these, or a combination to suit your taste and dietary needs.

© My Gluten Free Cucina * All Rights Reserved

Unauthorized use and/or duplication of this material without express and written permission from this blog’s author and/or owner is strictly prohibited.


Gluten Free Asian Beef and Broccoli

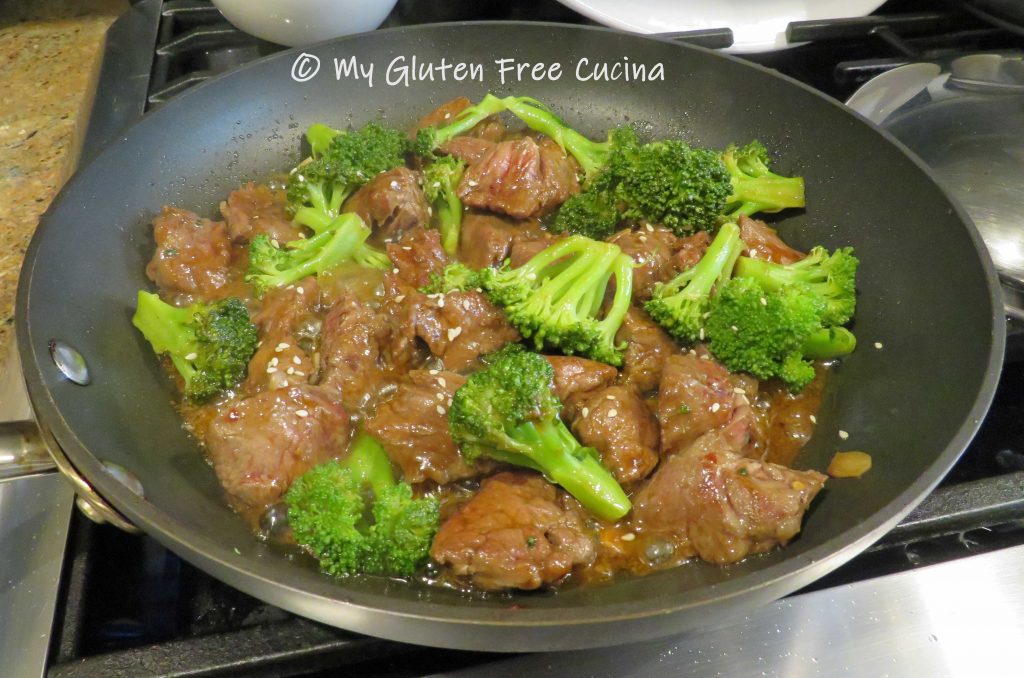
Asian Beef and Broccoli- a restaurant favorite that can be made right at home with just a handful of ingredients.  Adapting the recipe to be gluten free was easy, not to mention less salty than the restaurant version.

These days I try to make meals that are not only gluten free but also lower in sodium.  That means some of my Asian inspired meals have gone on the back burner because they are made with a salt bomb of condiments!  With that in mind, I wanted to keep the sodium to a minimum in this recipe, and it was definitely a success.
This post contains affiliate links.

For this makeover, I used Coconut Aminos, a pantry staple in my kitchen that is much lower in sodium than gluten free soy sauce or tamari.  I have substituted Coconut Aminos in many of my recipes that call for soy sauce.  And a little Hoisin Sauce goes a long way, I limited it to 2 tbsp., and it was still delicious.

4 Servings

Ingredients:

  • 1 lb. sirloin tips or petite sirloin (top sirloin), cubed
  • 1 tbsp. coconut aminos
  • 1 tsp. dark brown sugar
  • 3 garlic cloves, sliced thin
  • 1-1/2 tsp. sesame oil, divided
  • 2 tbsp. olive oil, divided
  • 1/4 tsp. powdered ginger
  • 2 tsp. fresh chives
  • pinch red pepper flakes
  • 1 large broccoli crown (about 2 cups)
  • 2 tbsp. gluten free Hoisin sauce
  • 1 tsp. sesame seeds, toasted
  • rice or gluten free rice noodles for serving

Preparation:

Once you start cooking this dish comes together very quickly, so measure and prep all of the ingredients ahead of time.

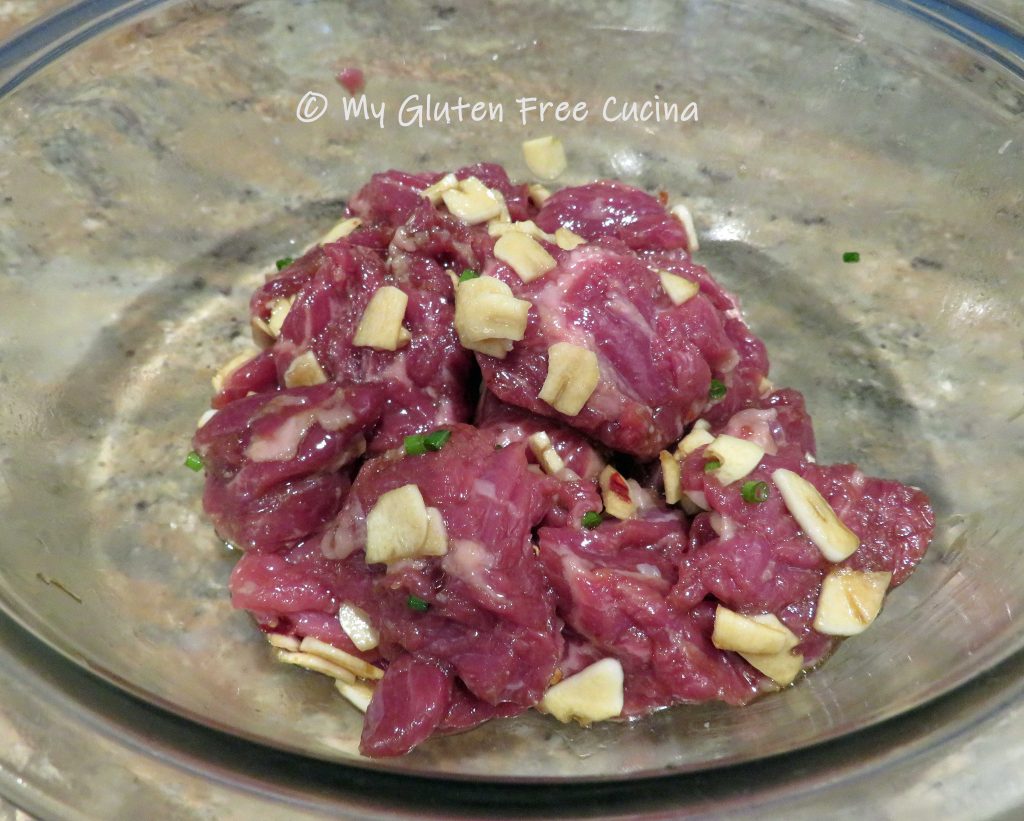
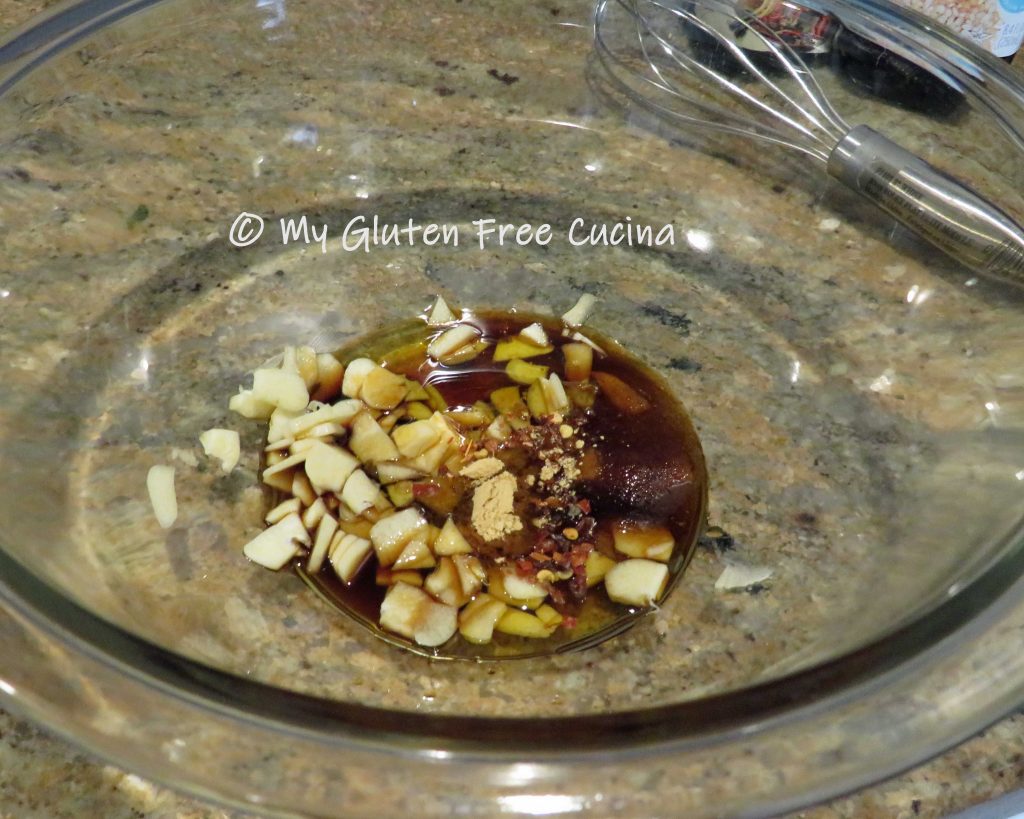
For the marinade, whisk together 1 tbsp. coconut aminos, 1 tsp. brown sugar, the garlic slices, 1 tbsp. of olive oil, 1/2 tsp. of sesame oil, 1/4 tsp. powdered ginger, chives and pinch of red pepper flakes.

Cut the sirloin (uncooked) into 1″ cubes and add to the marinade.  Cover and let it stand at room temperature for 30 minutes.

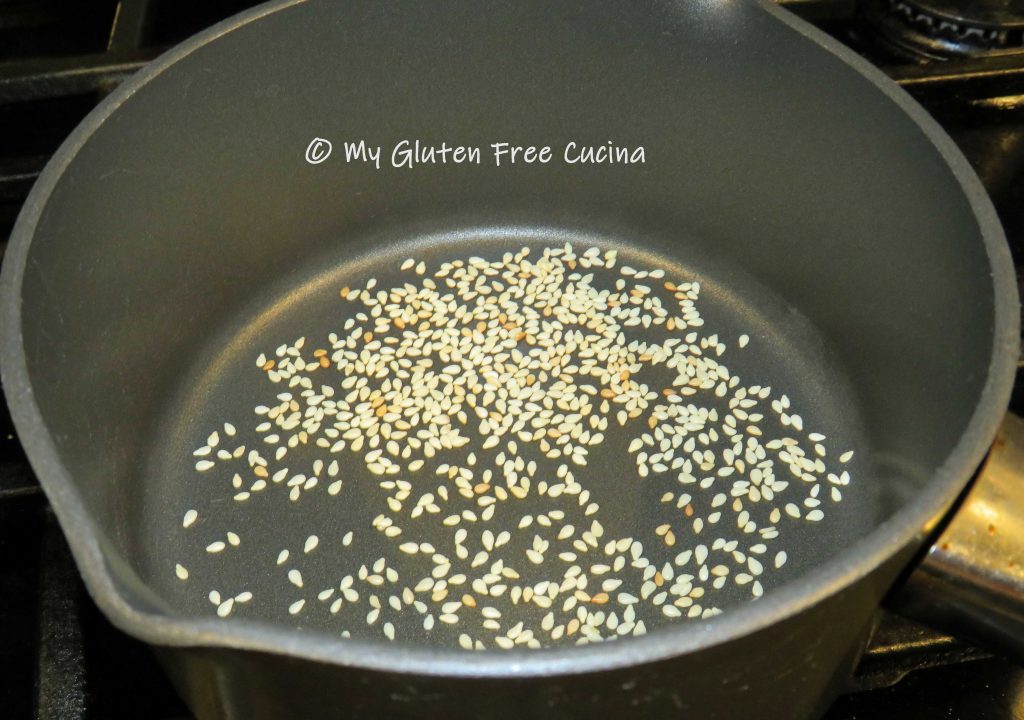
Toast the sesame seeds in a dry skillet, watching closely that they don’t burn.  Set aside for garnish.

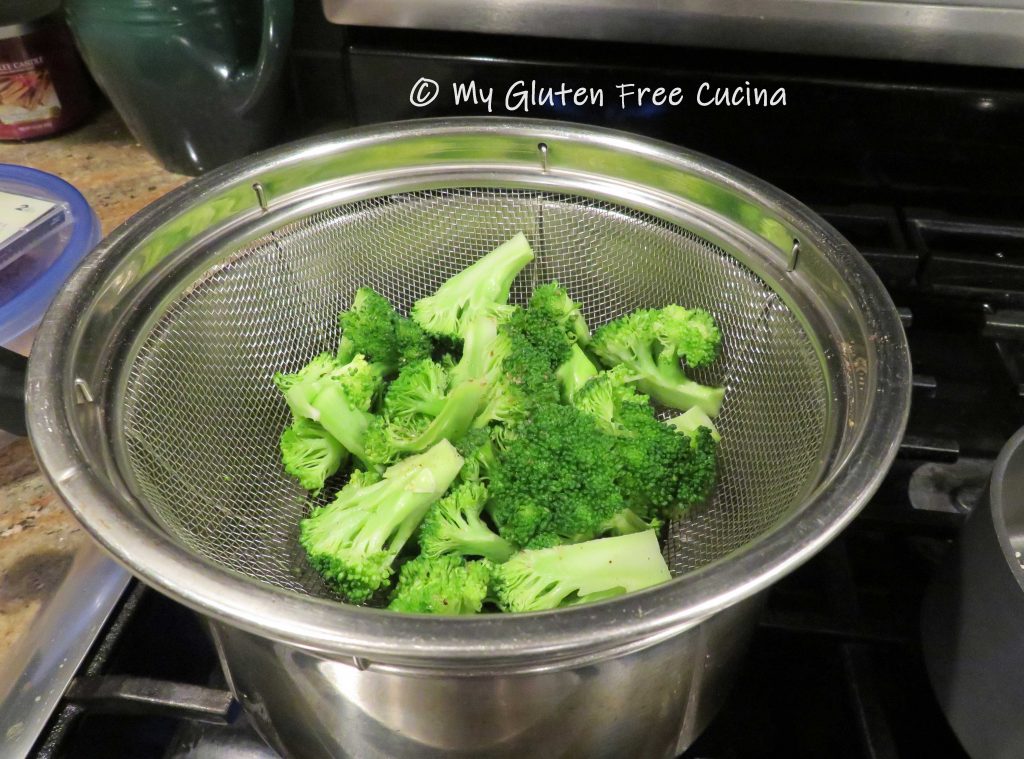
Next, cut the broccoli into uniform pieces.  Steam 5 minutes.  Remove the steamer basket from the heat and set aside while you finish the dish.

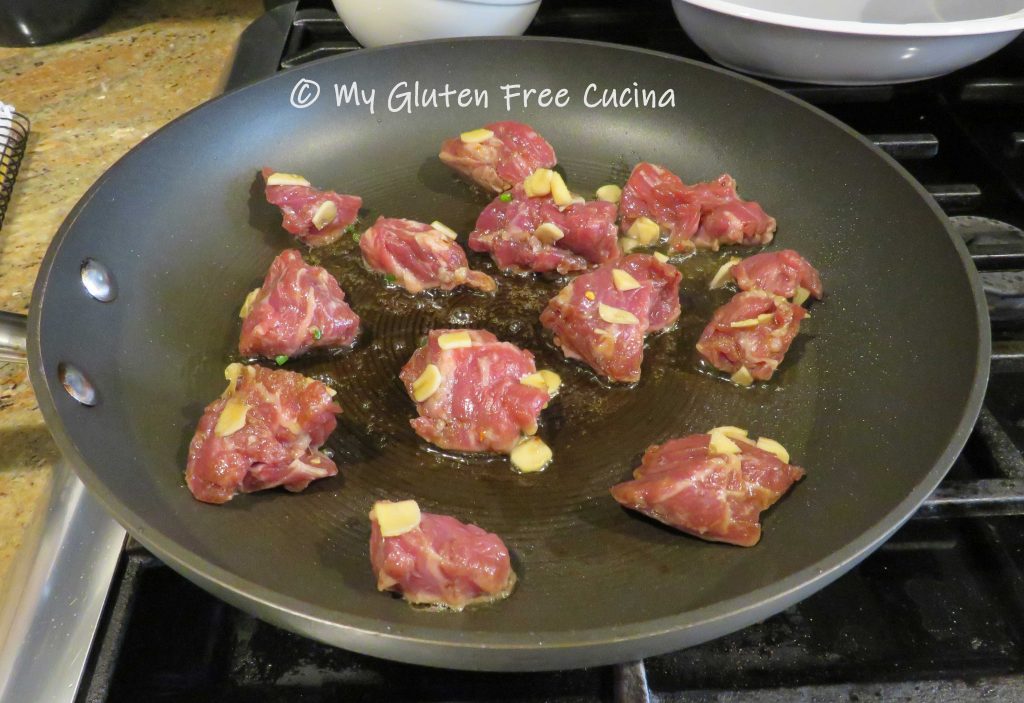
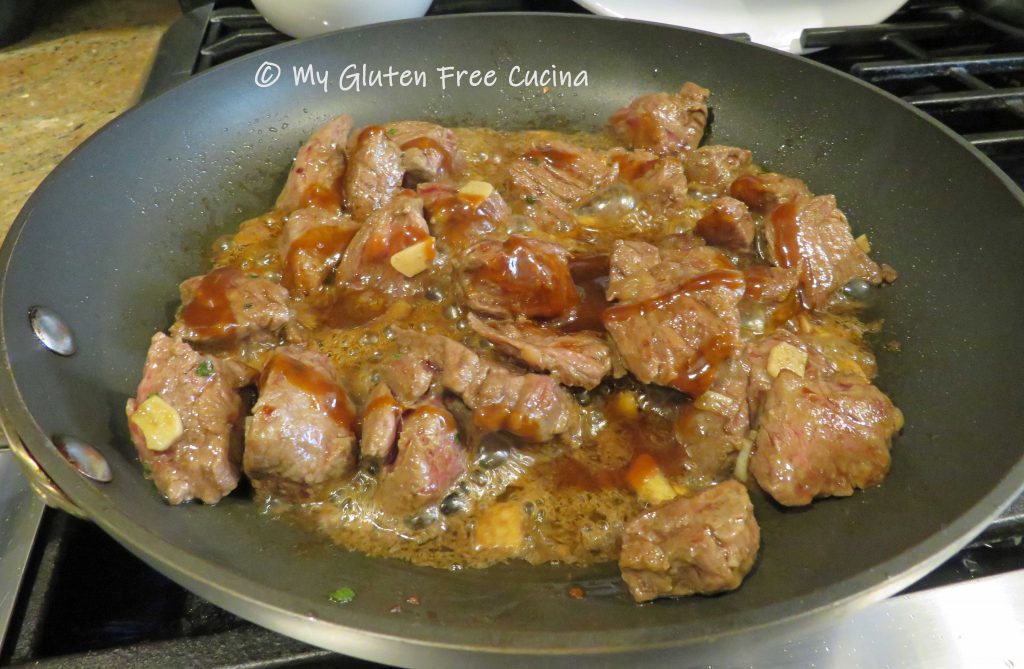
Add the remaining tbsp. olive oil and 1 tsp. sesame oil to the skillet and begin browning the beef.  Don’t crowd the pan, do it in 2 batches if needed.  Discard any marinade left in the bowl.

Stir in 2 tbsp. hoisin sauce.

Finally, add the broccoli to the skillet and toss with the beef.

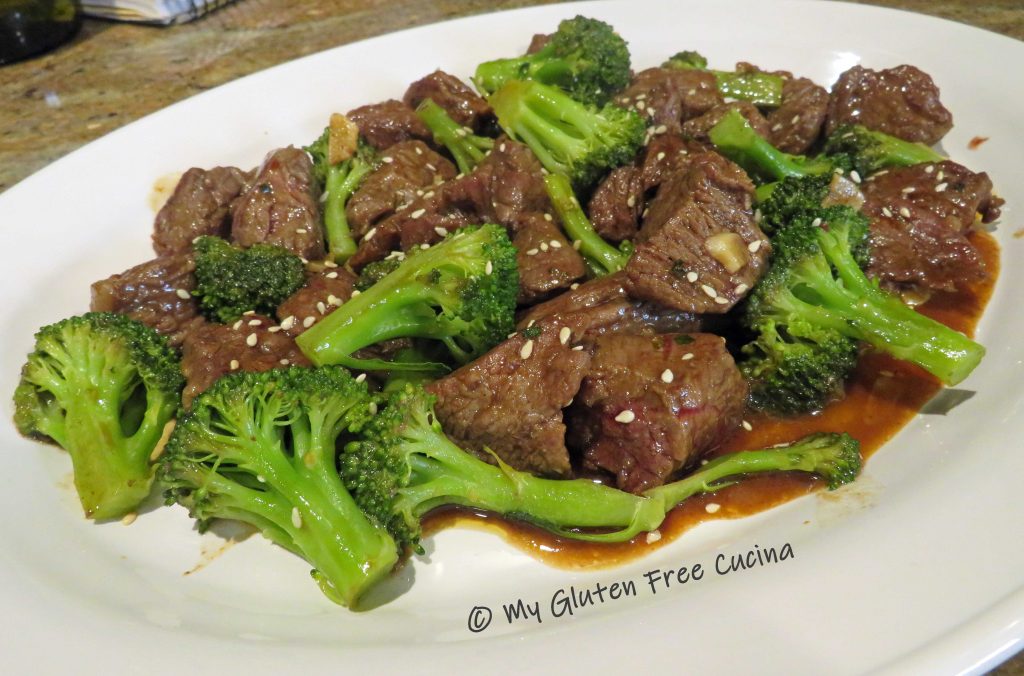
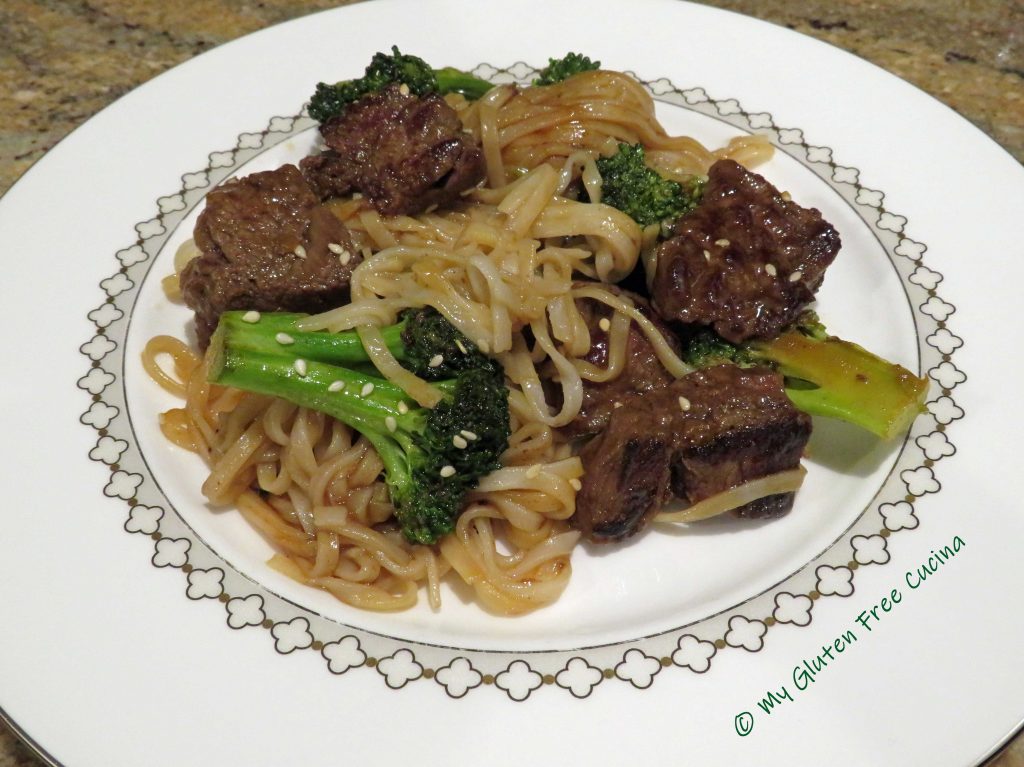
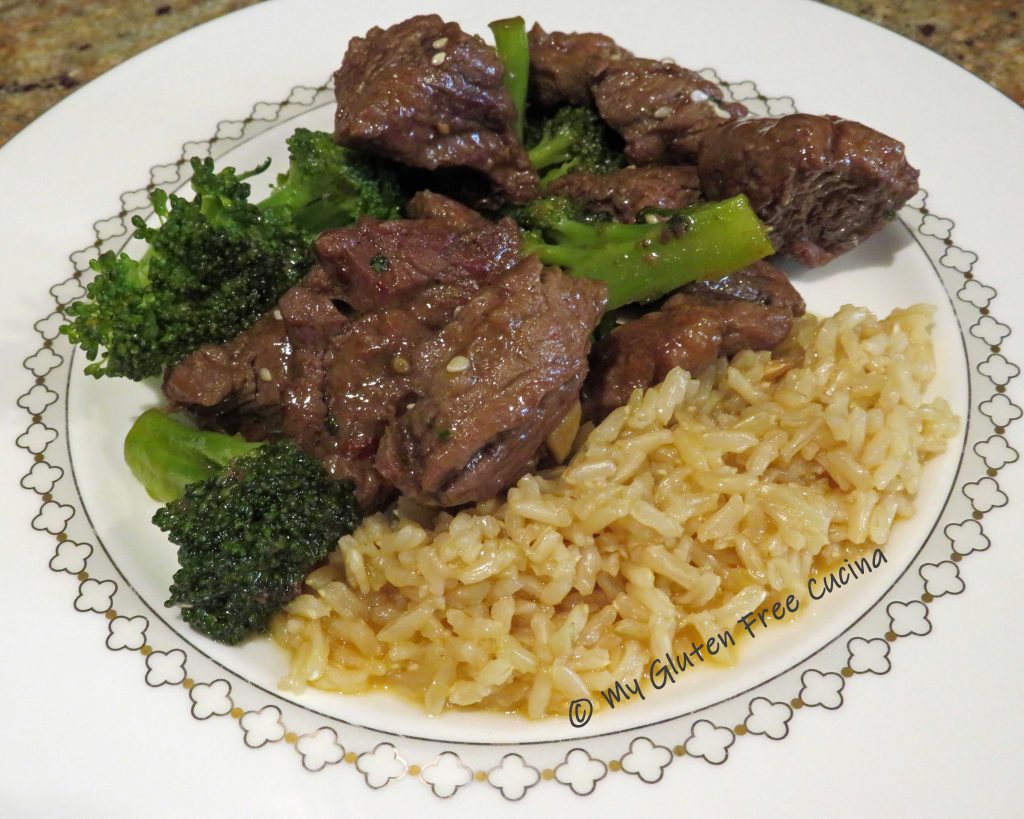
Let it cook for another minute or so, then transfer to a platter.  Garnish with toasted sesame seeds and either toss with rice noodles or serve with rice.

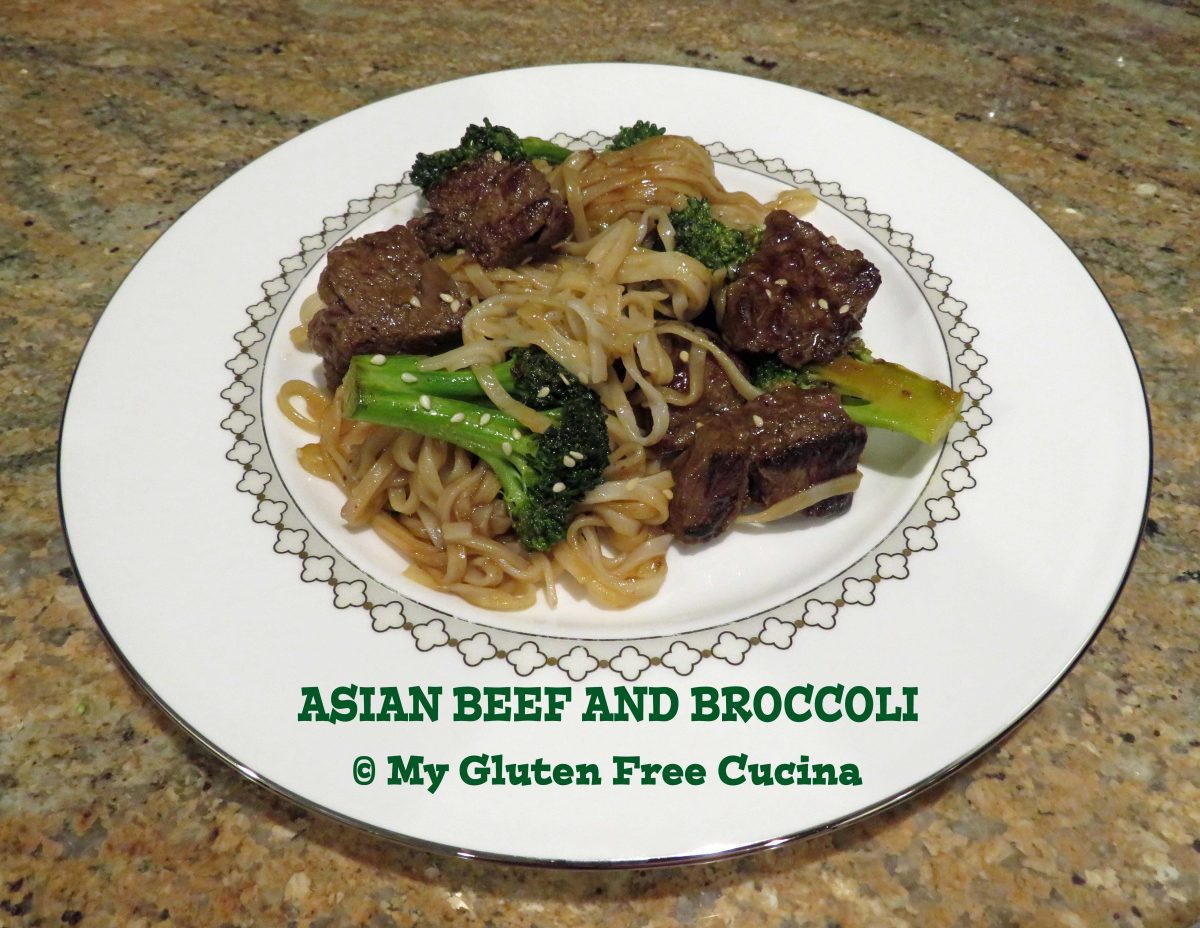
Here I served it with Thai rice noodles.

Shown here, served with rice.

So, were you thinking of ordering takeout?  Try this instead, you will love it!

Notes ♪ Coconut Aminos contain about 1/10th the sodium of gluten free soy sauce.  If you aren’t worried about sodium, try a gluten free soy sauce or tamari.  I love San-J Tamari, which also comes in a lower sodium version that is completely gluten free.

Notes ♫ Not all Hoisin sauce is gluten free!  Be sure to check the labeling.  Hoisin sauce that lists soy sauce as an ingredient is not gluten free.

[print_link]

Gluten Free Chicken Cordon Bleu

Classic Chicken Cordon Bleu.  Years ago, this dish was a restaurant standard, and it had long been on my culinary bucket list to make a gluten free version at home!  Swapping out the flour and breadcrumbs for gluten free was all that was needed.

This is a great dish for a dinner party, or a romantic dinner for two.  When planning your meal, allow about 6 oz. chicken cutlet and 2 slices prosciutto per serving.  You can save time by purchasing thin sliced chicken breast, but if all you can find are larger breasts then you can follow my instructions to cut and pound them into thin slices.

This post contains affiliate links.

Ingredients:

  • boneless chicken breast cutlets, 6 oz. per serving
  • thin sliced prosciutto, 2 slices per serving
  • grated gruyere cheese, 2-3 tbsp. per serving
  • 1 egg or 1/4 cup egg whites
  • 1/4 cup white rice flour seasoned with paprika
  • 1/2 cup gluten free seasoned breadcrumbs
  • cooking spray

Preparation:

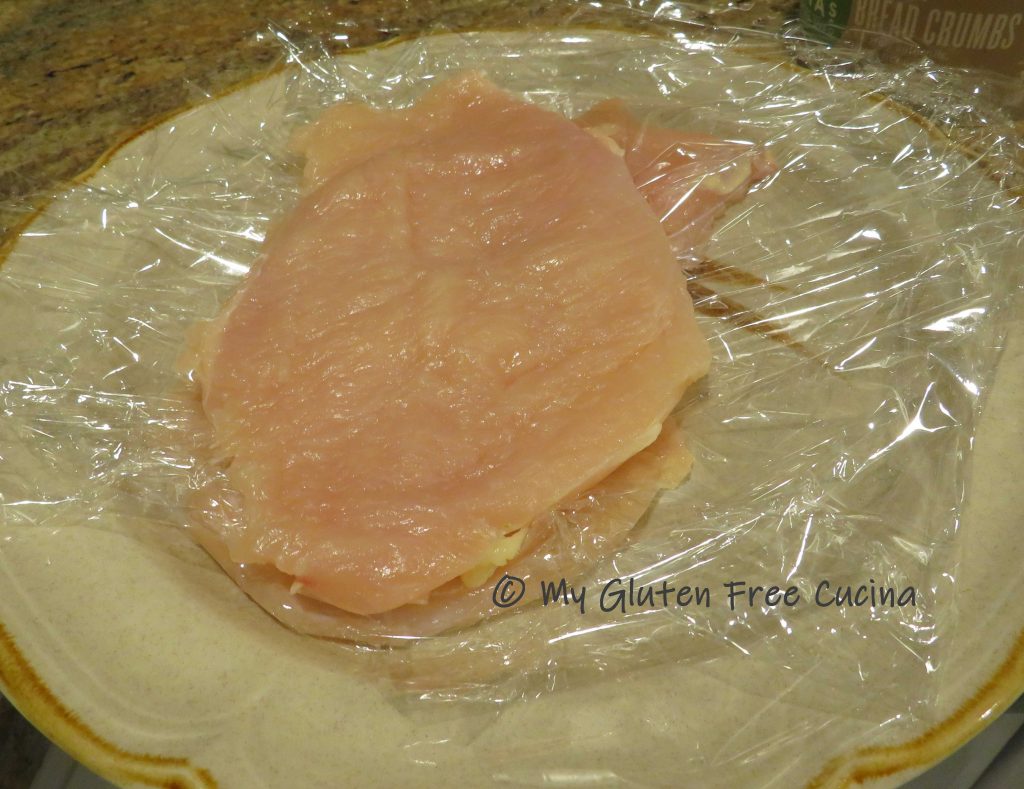
Using a sharp paring knife, slice horizontally through the center of the breast making 1/2″ slices about 6 oz. each.  Cover with plastic wrap and use the flat side of a meat mallet to pound each slice to an even thickness.

Continue with each slice, stacking between layers of plastic wrap.

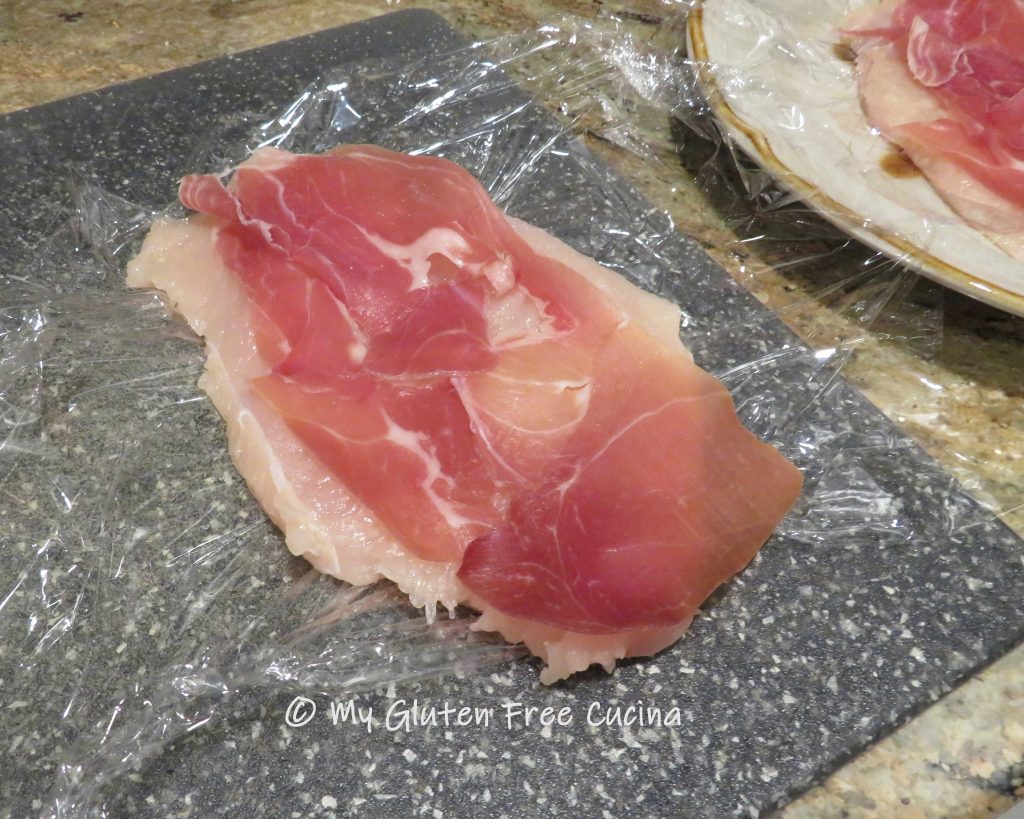
When you are ready to assemble, layer each piece of chicken with 2 slices of prosciutto.

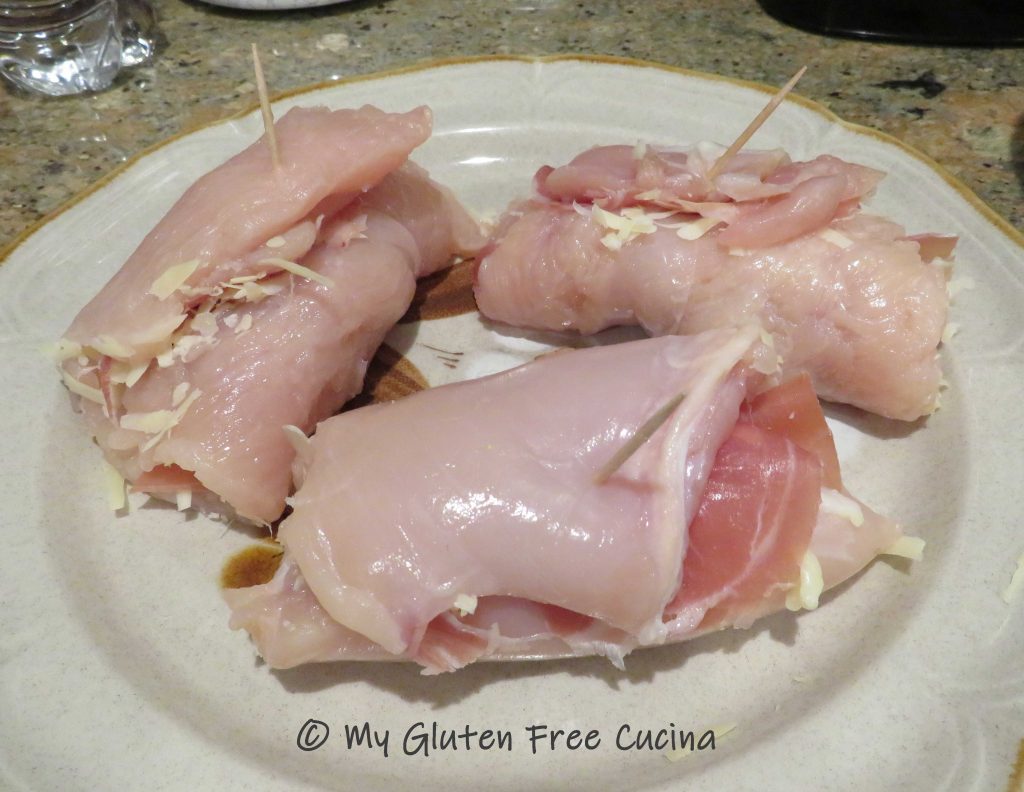
Sprinkle evenly with Gruyere cheese and roll up into a bundle.

If you have the time, roll up the chicken in plastic wrap, twisting the ends like a sausage casing.  Refrigerate for at least 1 hour.  This is a great trick for to help the bundles stay together without using twine or toothpicks!

Pressed for time and don’t have that extra hour?  Don’t worry!  Just secure the bundles with a toothpick, like this.

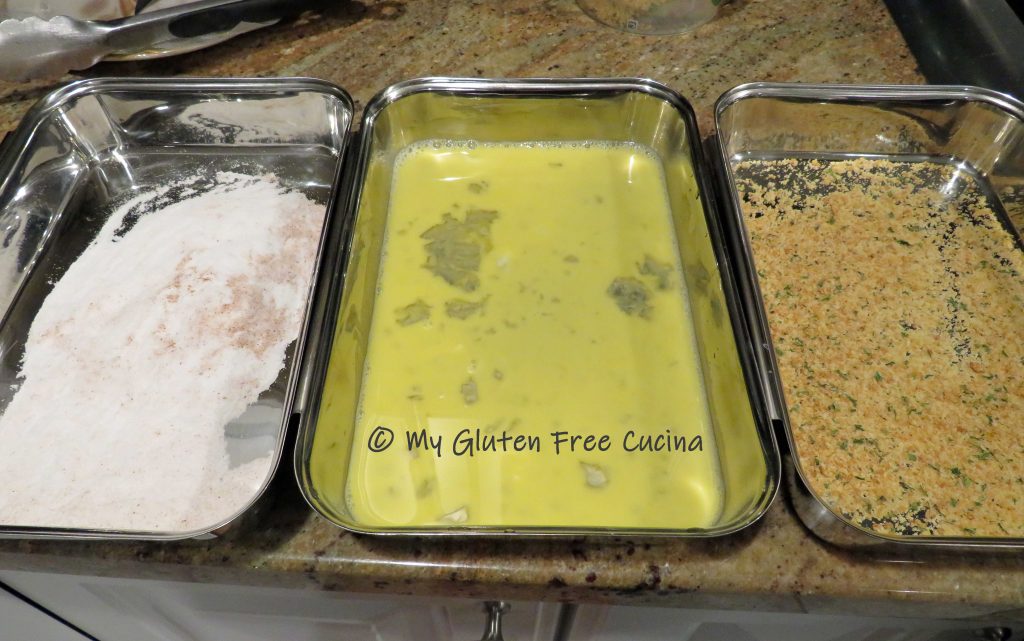
Set up breading trays with the flour, egg and breadcrumbs.

Gently roll the bundles in the flour, then dip in the egg, and finally roll in the breadcrumbs.

Set the bundles seam side down on a baking sheet lined with foil and coated with cooking spray.

Bake for 40 minutes at 350º and rest 5 minutes before serving.

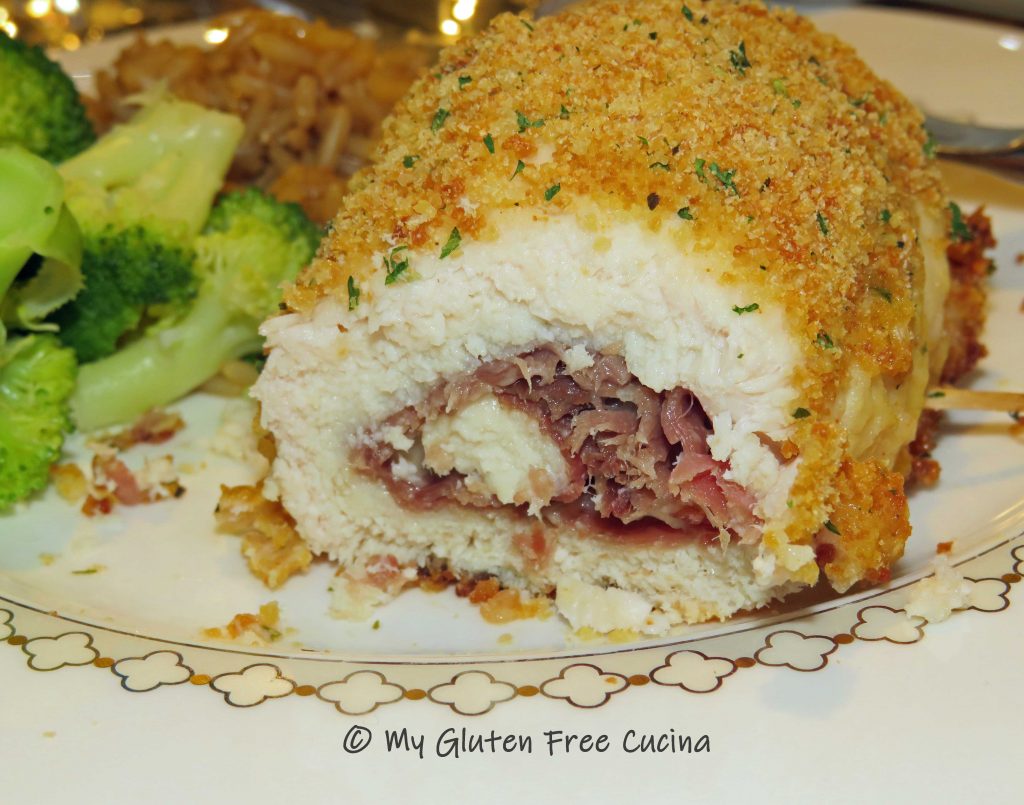
That’s it friends.  A beautiful plate!

I hope you enjoyed this post and have been inspired to give the recipe a try! Be sure to check out some of my other restaurant classics that you can make at home, gluten free.

Notes ♪♫ Ingredients make the difference!  I used Aleia’s gluten free Italian breadcrumbs in this recipe.  They are simply the best!

[print_link]